
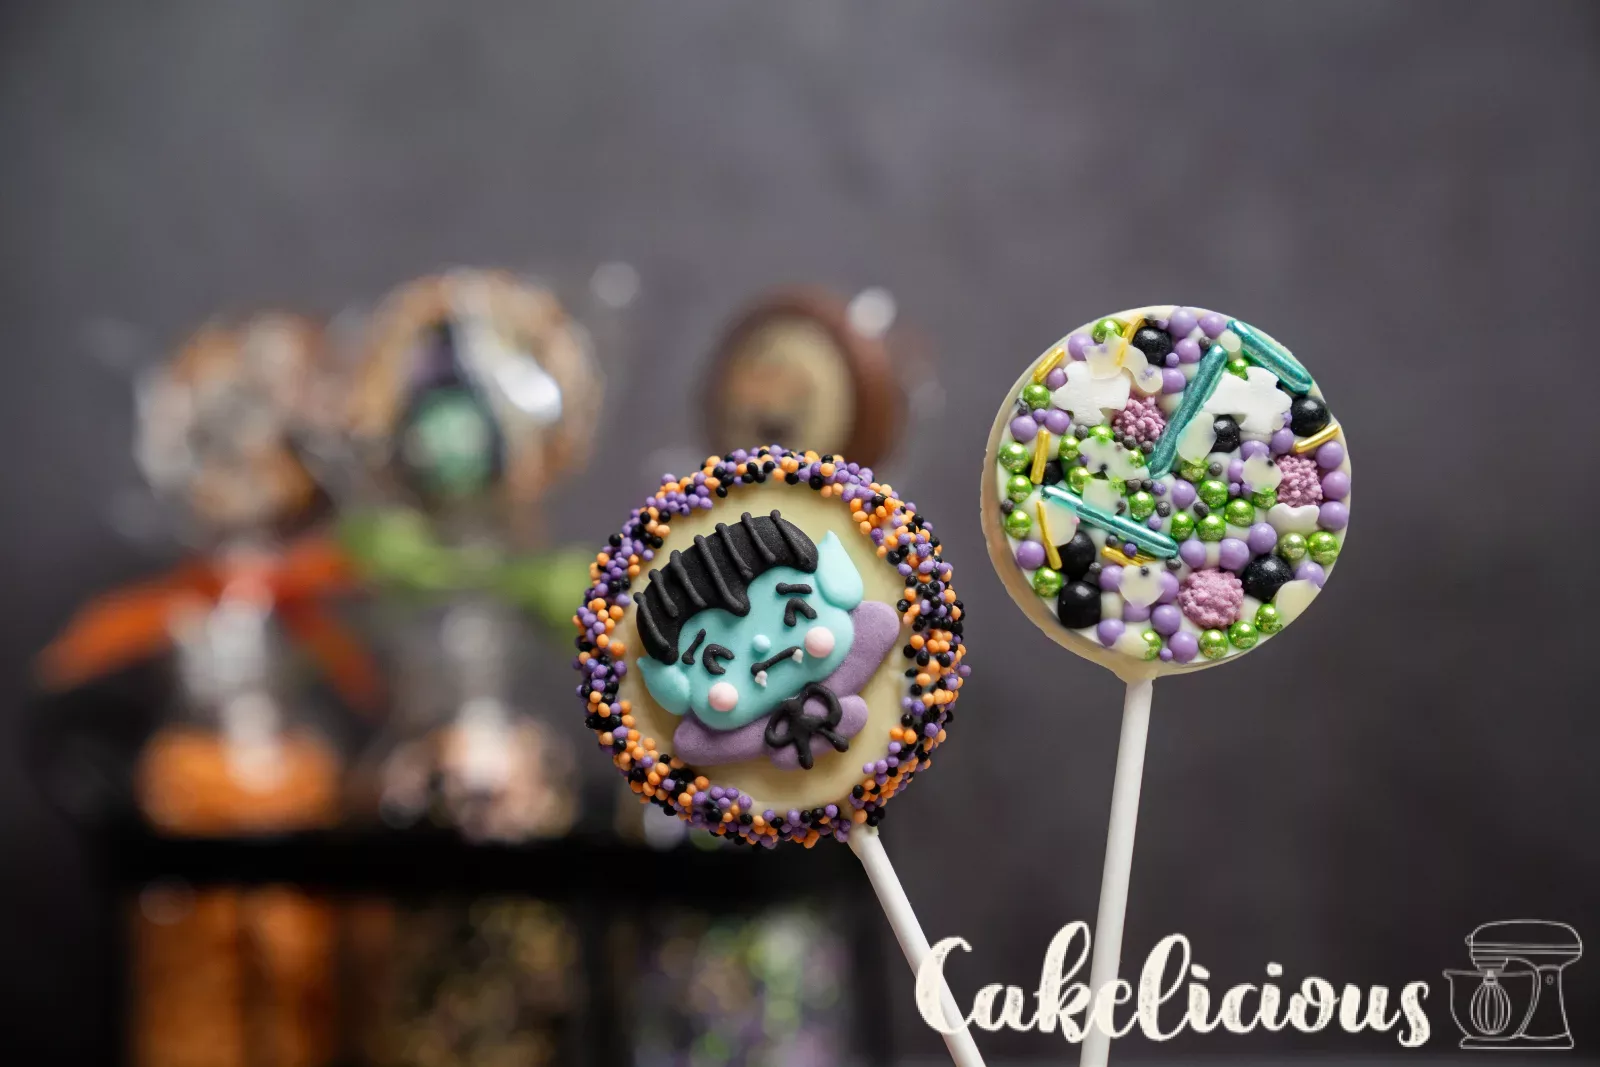
Halloween lollipops made of chocolate
Chocolate lollipops with sprinkles and monster decorations, for snacking and gifting
Hello chocolate lovers,
for a proper Halloween highlight you often don't need much at all: chocolate, a stick and a handful of colourful sprinkles, and you have a lollipop that nobody can walk past!
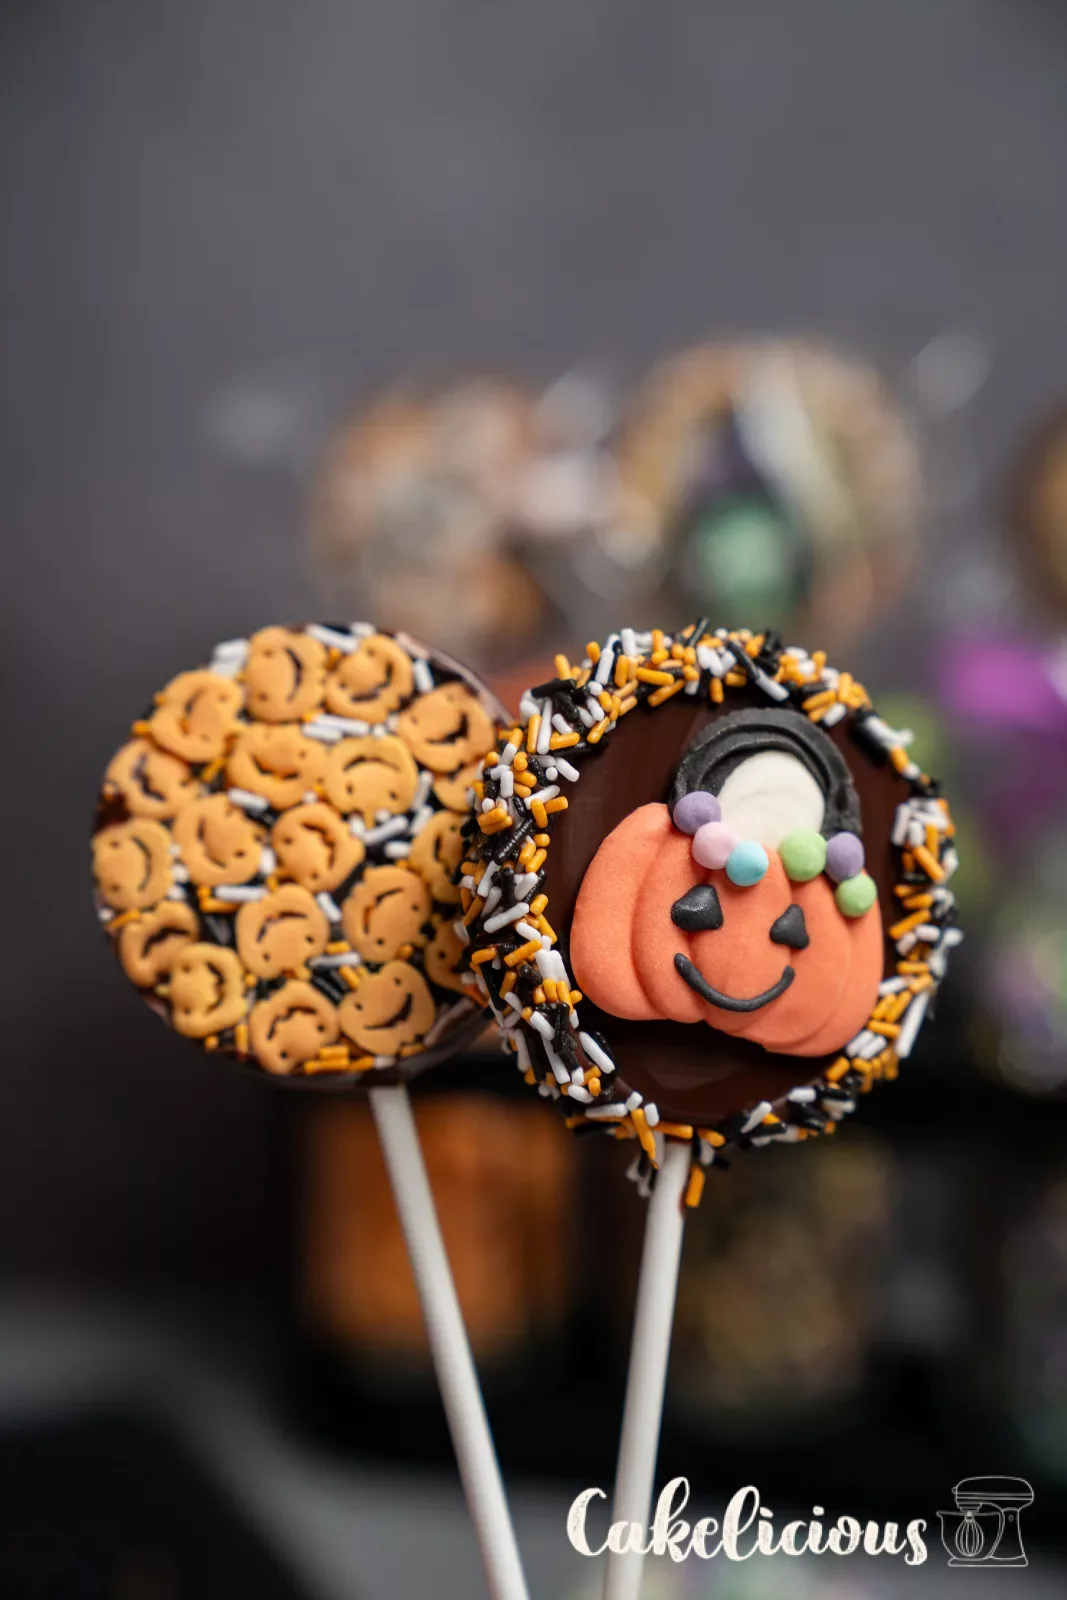
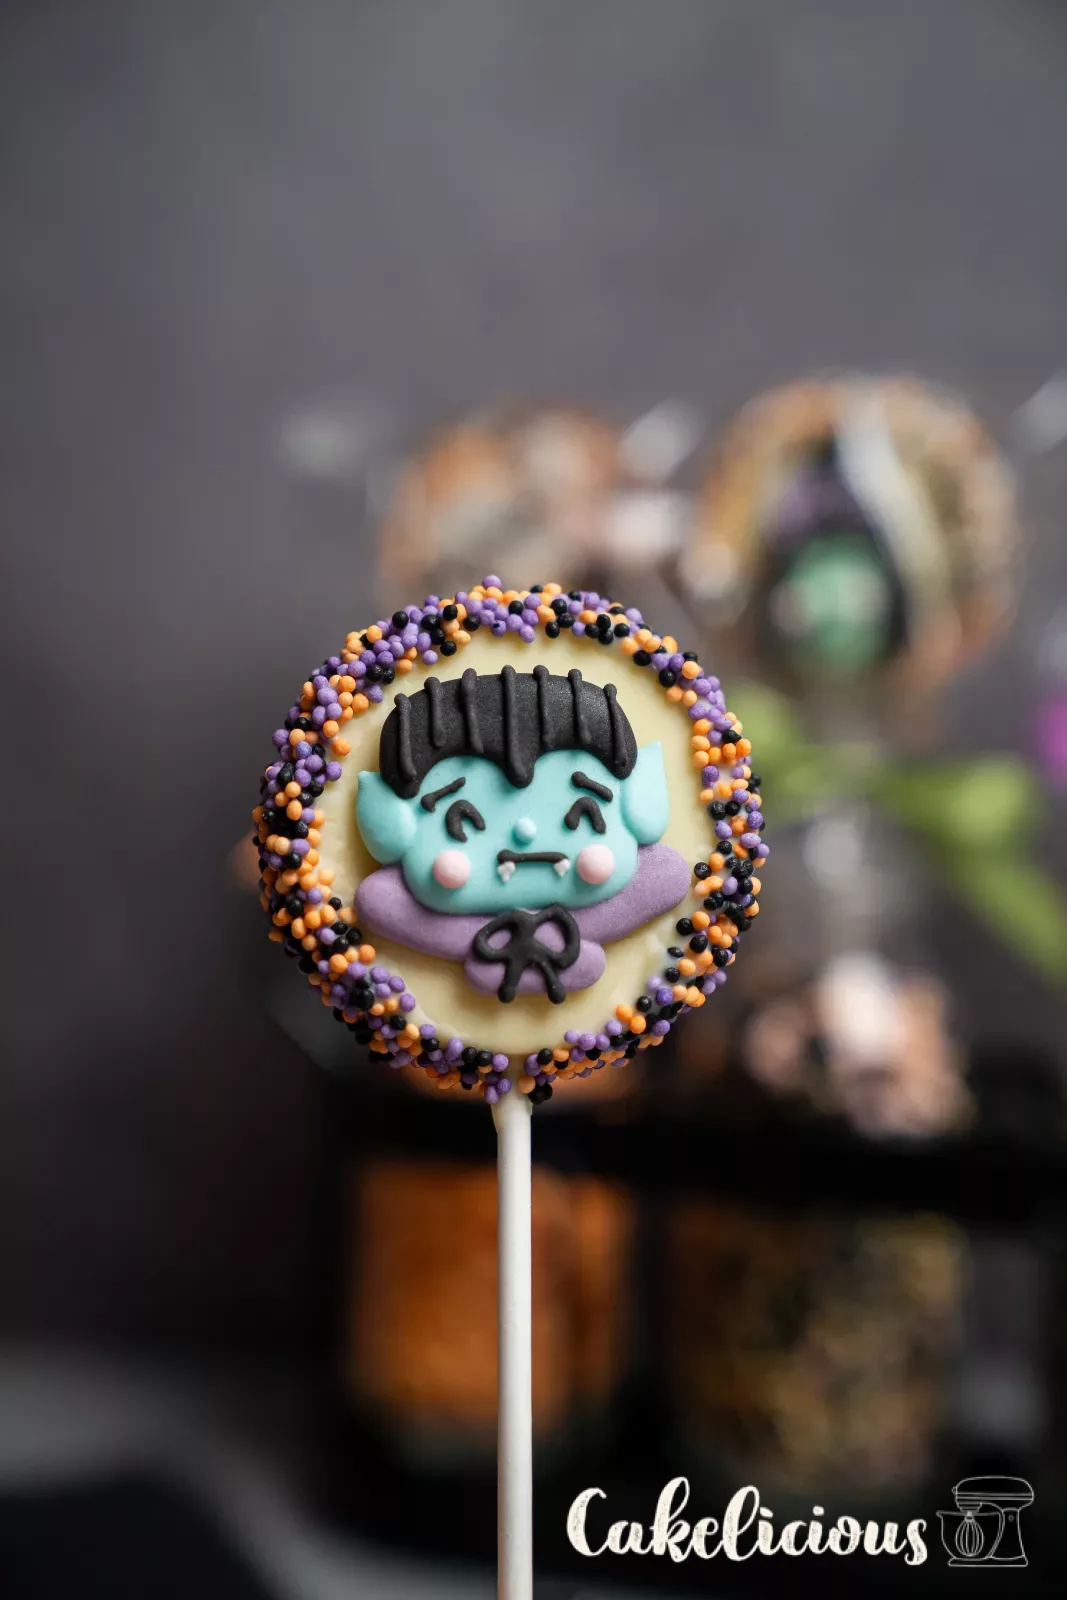
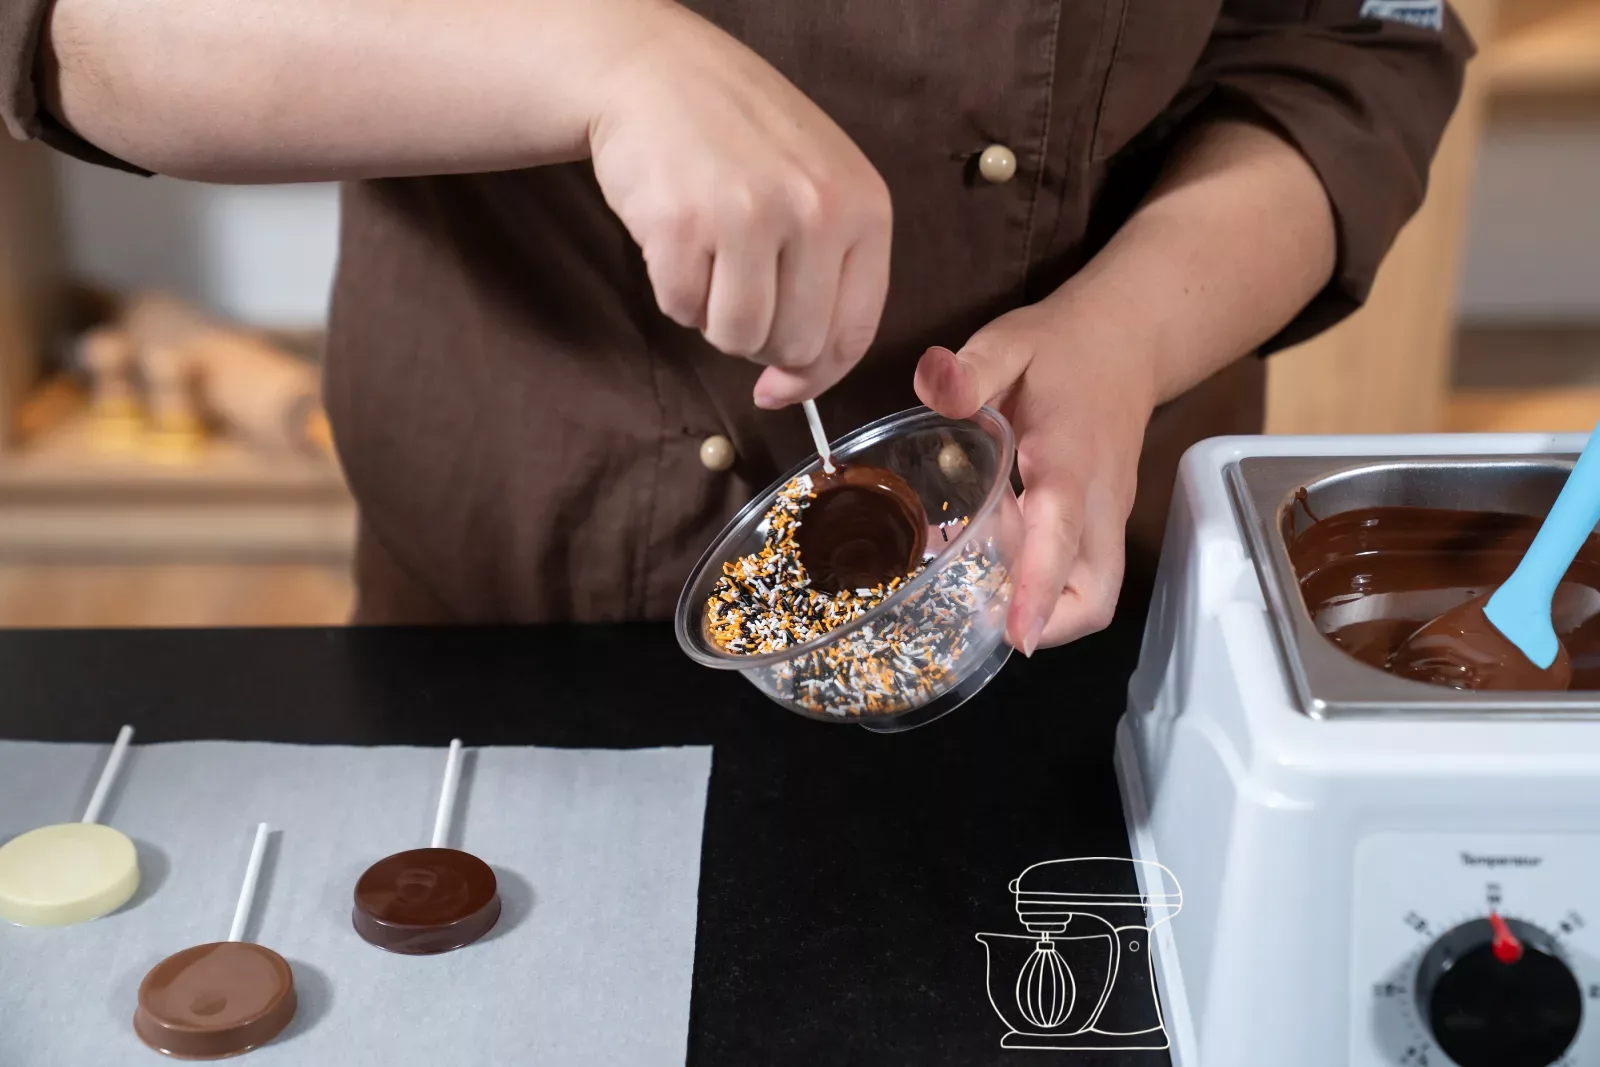
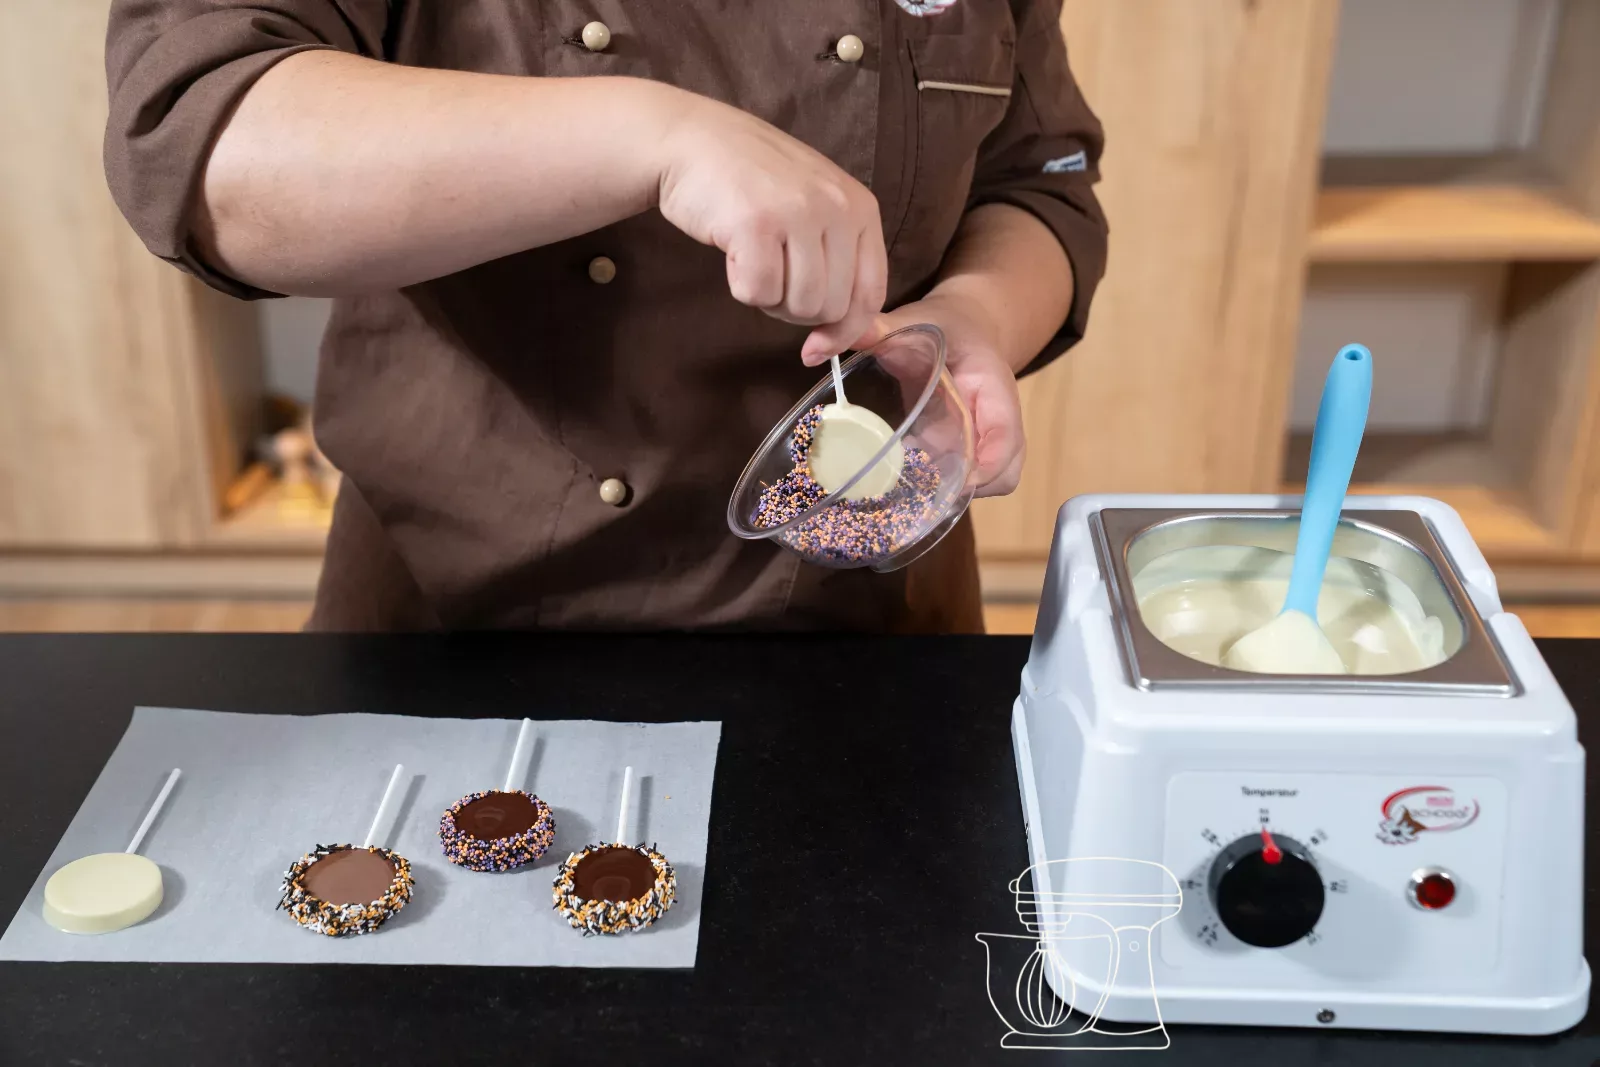
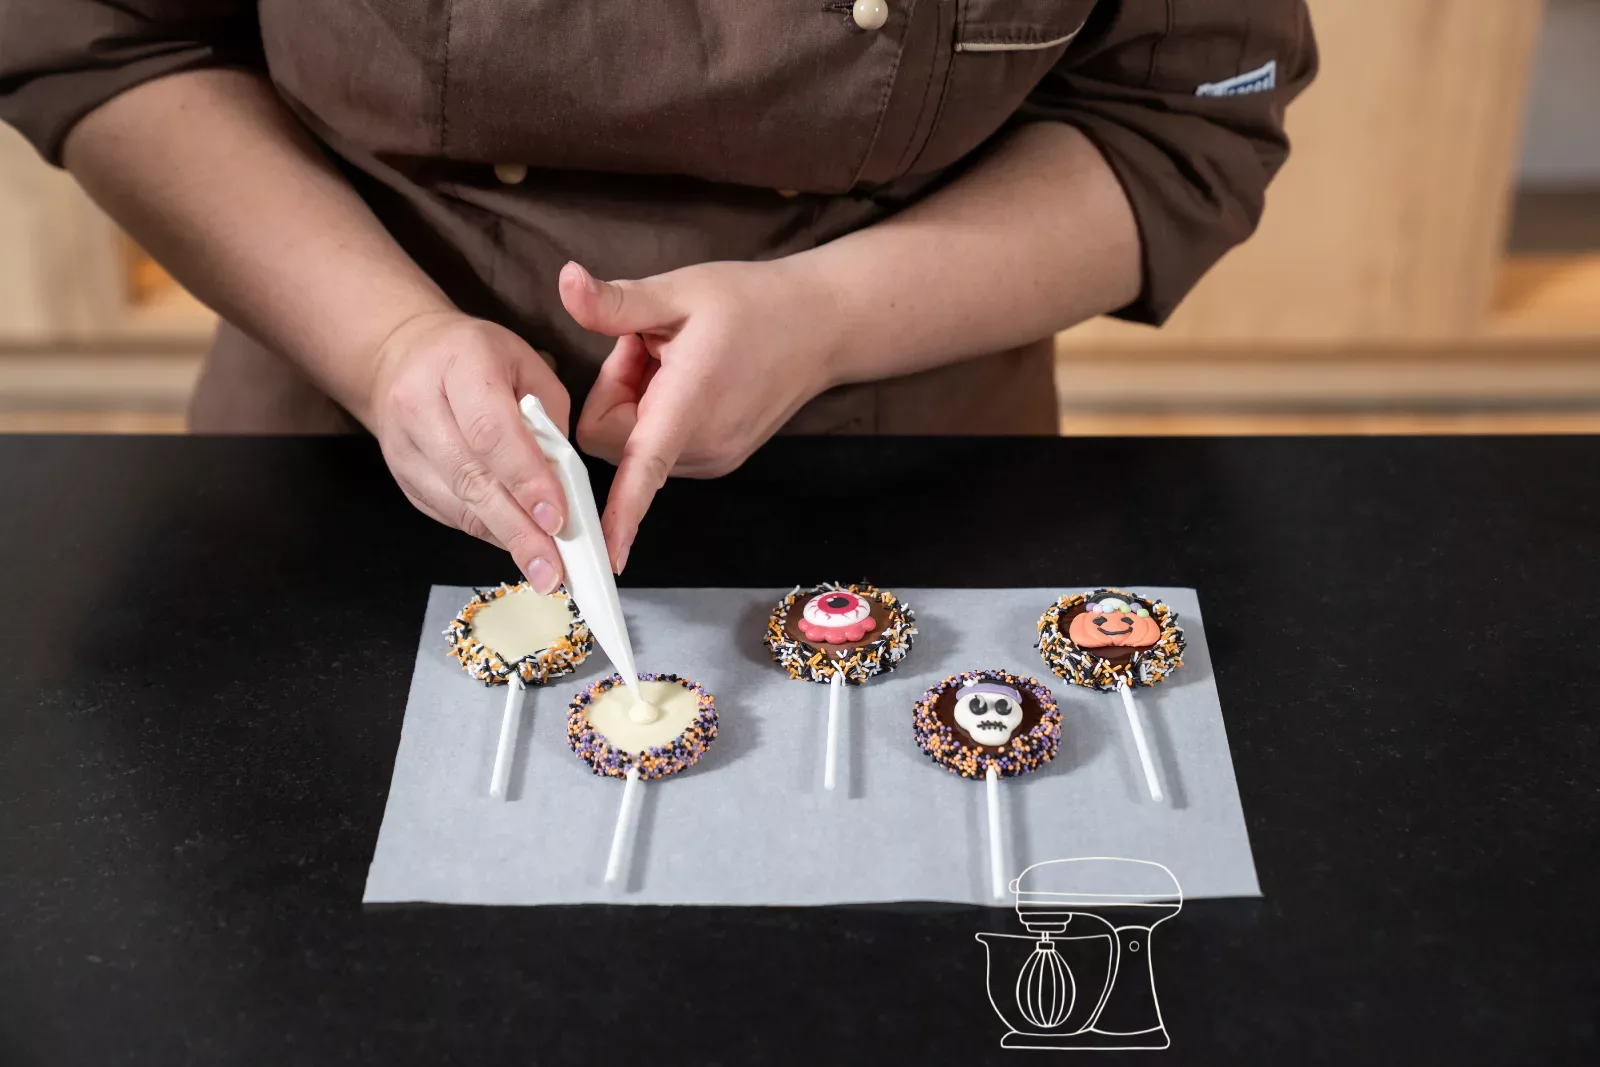
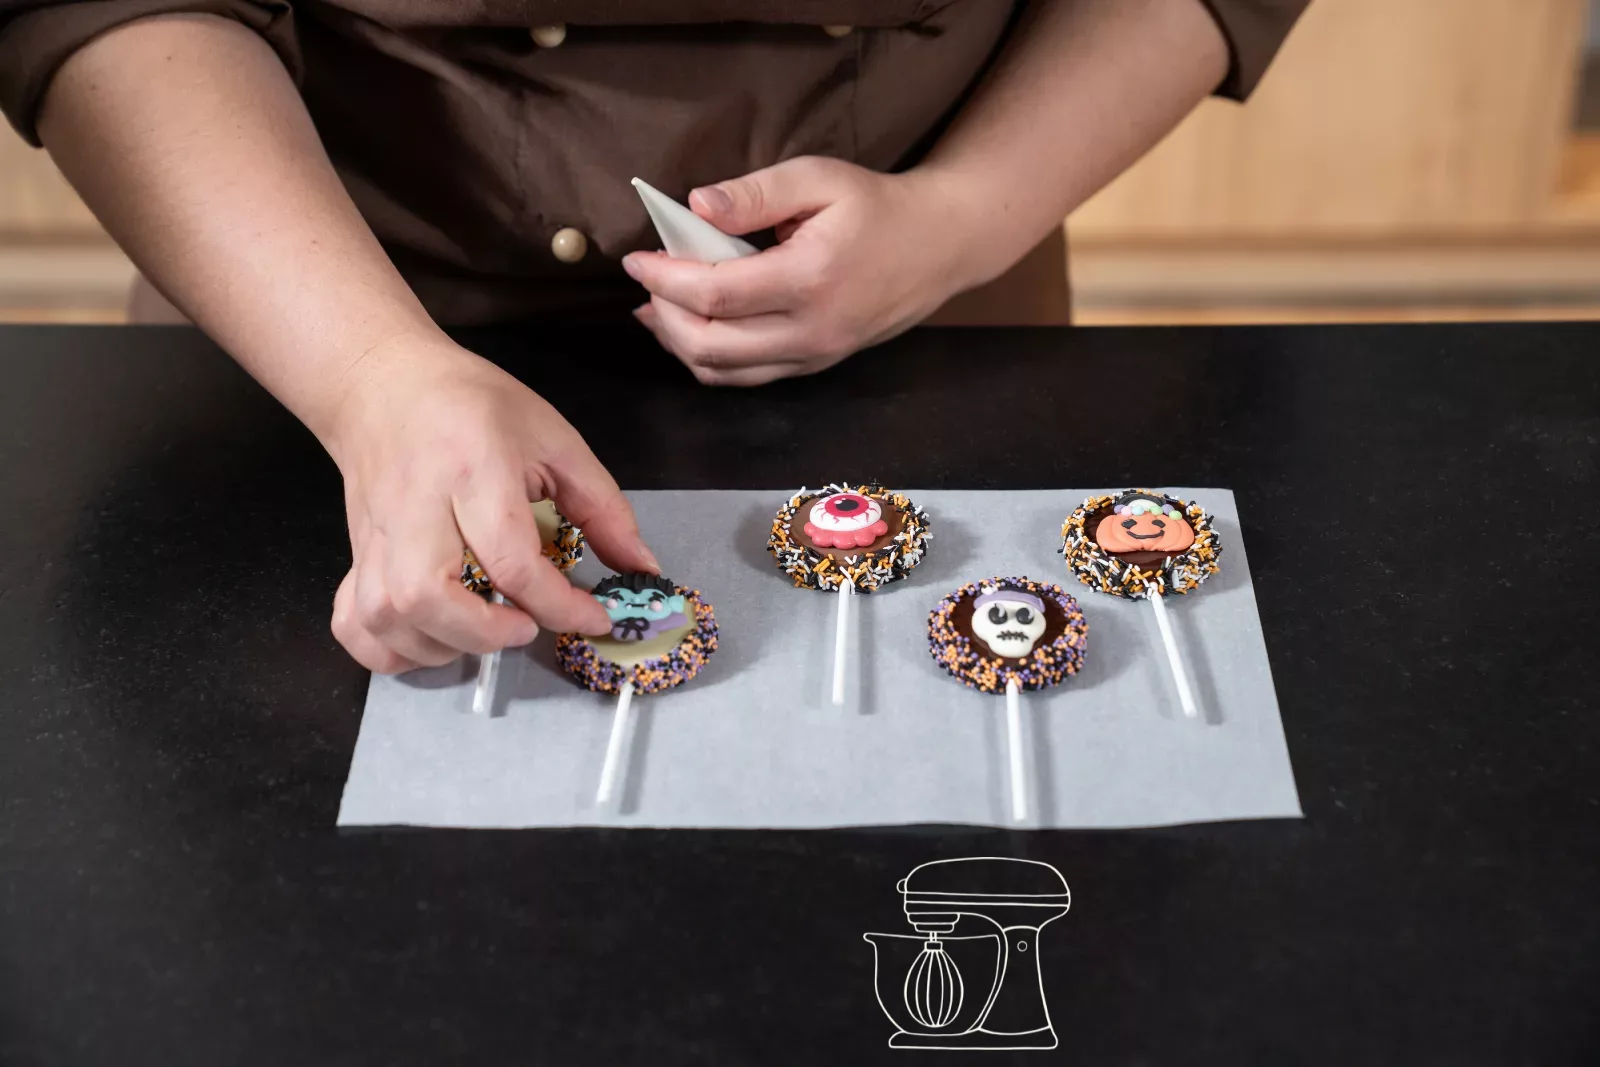
The lollipops are poured in a chocolate mold. The sprinkles go into the mold first and show up on the front once they're released. Or you stick a fun monster face made of sugar in the middle. And if you like it really colourful, dip the finished lollipop's edge in chocolate and roll it in sprinkles.
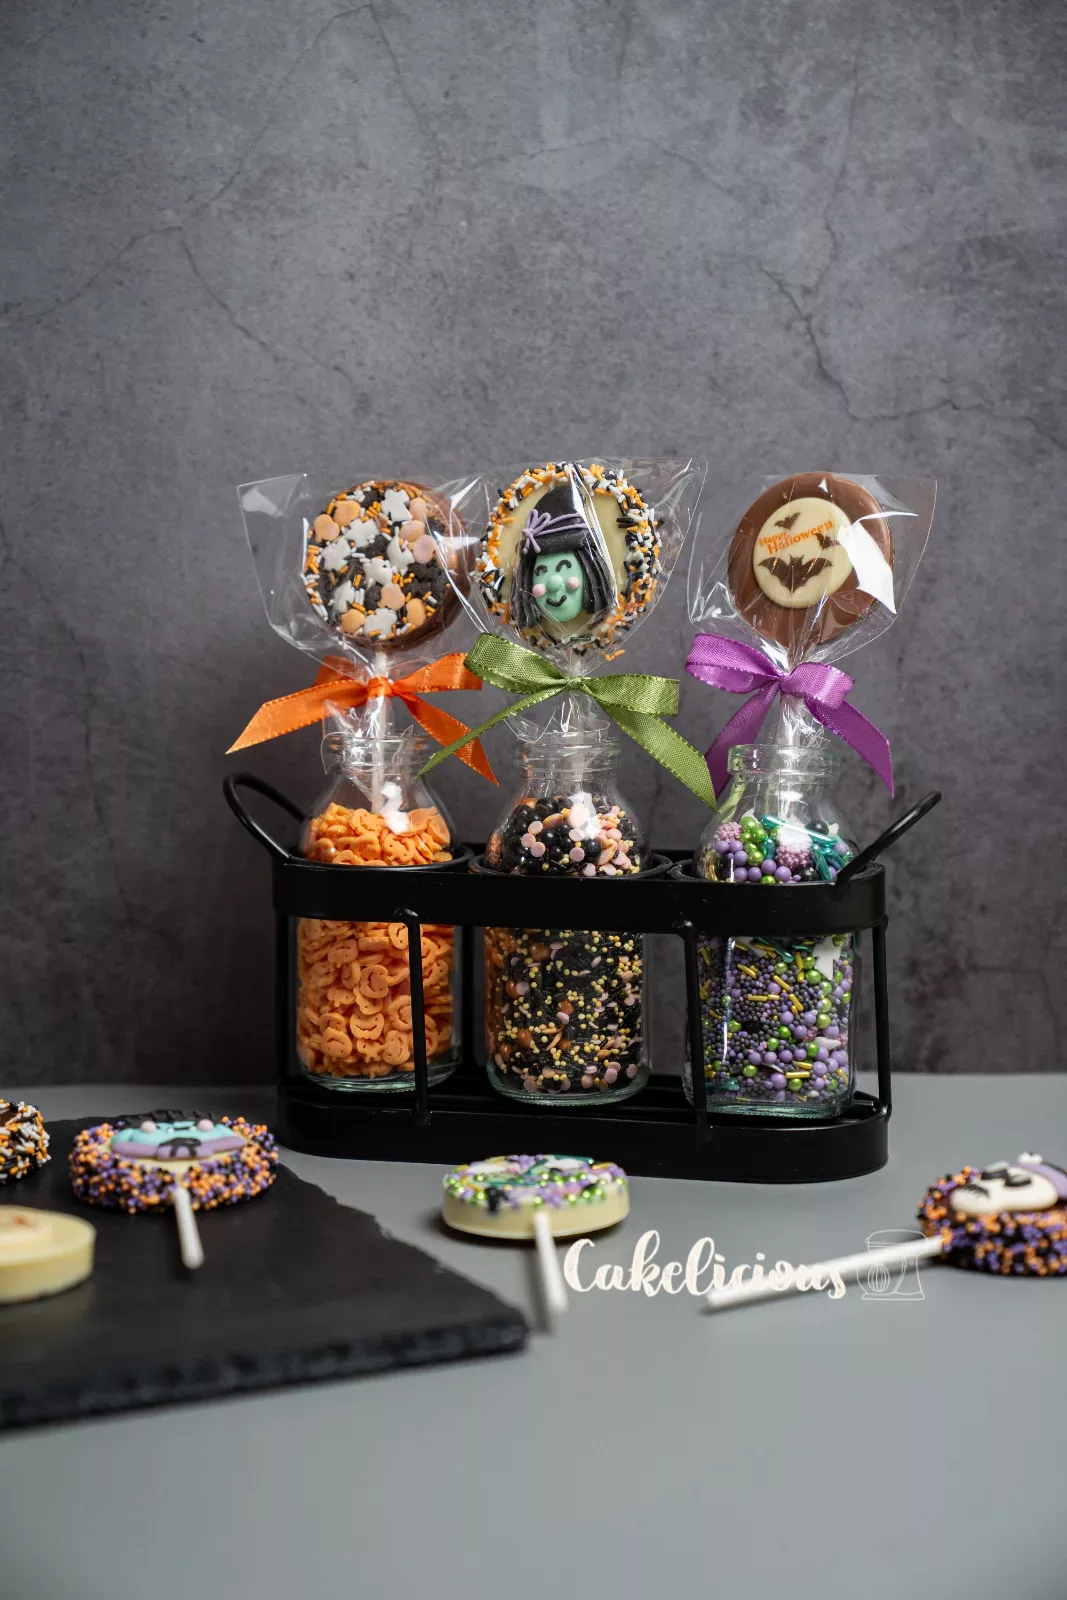
Milk, white or dark? We couldn't decide and simply made all three. Nicely packaged, the lollipops are also the perfect little gift for a Halloween party!
Ingredients
Decoration in the mold
For the sprinkle rim (optional)
Step by step
Preparation
Polish the mold
Polish the cavities of the lollipop chocolate mold with some cotton wool or kitchen paper. It sounds unimportant, but it is our most important trick: only in a clean, polished mold do the lollipops get a nice shine and release easily later on.
Milk couverture drops 500 g
White couverture drops 500 g
Chocolate mold for round lollipops, 8 pieces
Dark couverture drops 500 g
Temper the chocolate
Temper the couverture. Only tempered chocolate contracts slightly as it sets, which lets it release from the mold, gives it a glossy shine and a clean snap when you bite into it. Whether milk, white or dark is entirely up to you!
Pouring
Add the decorations to the mould
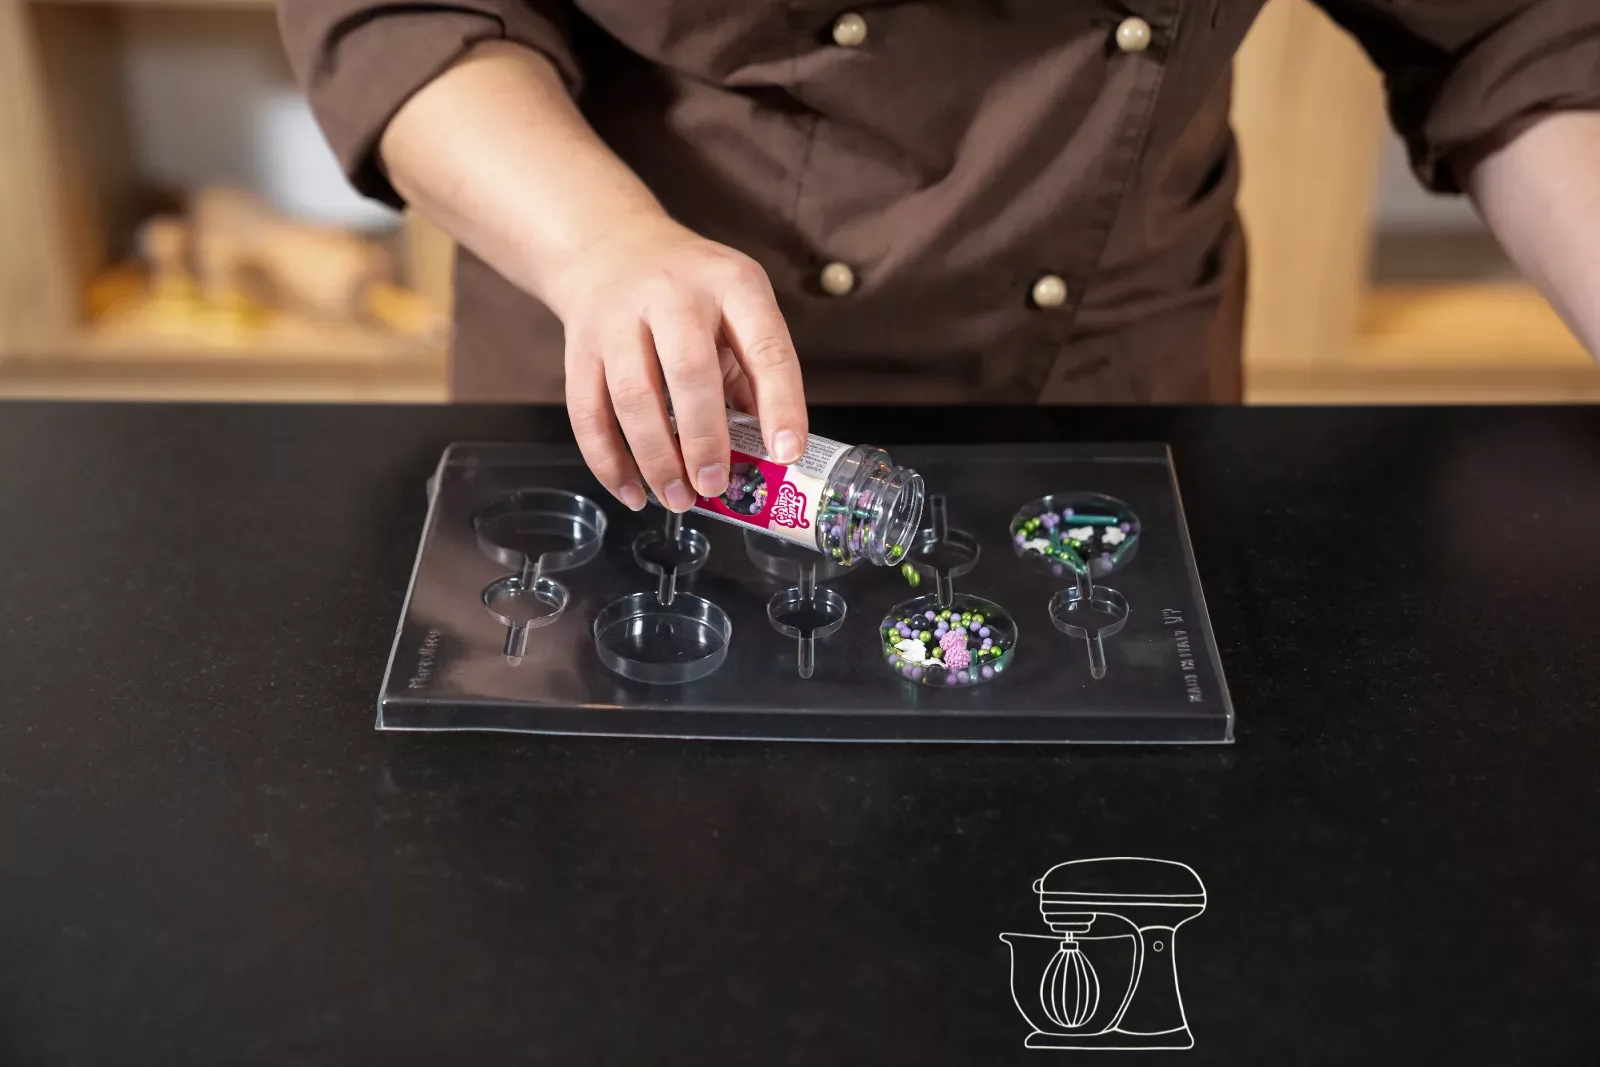
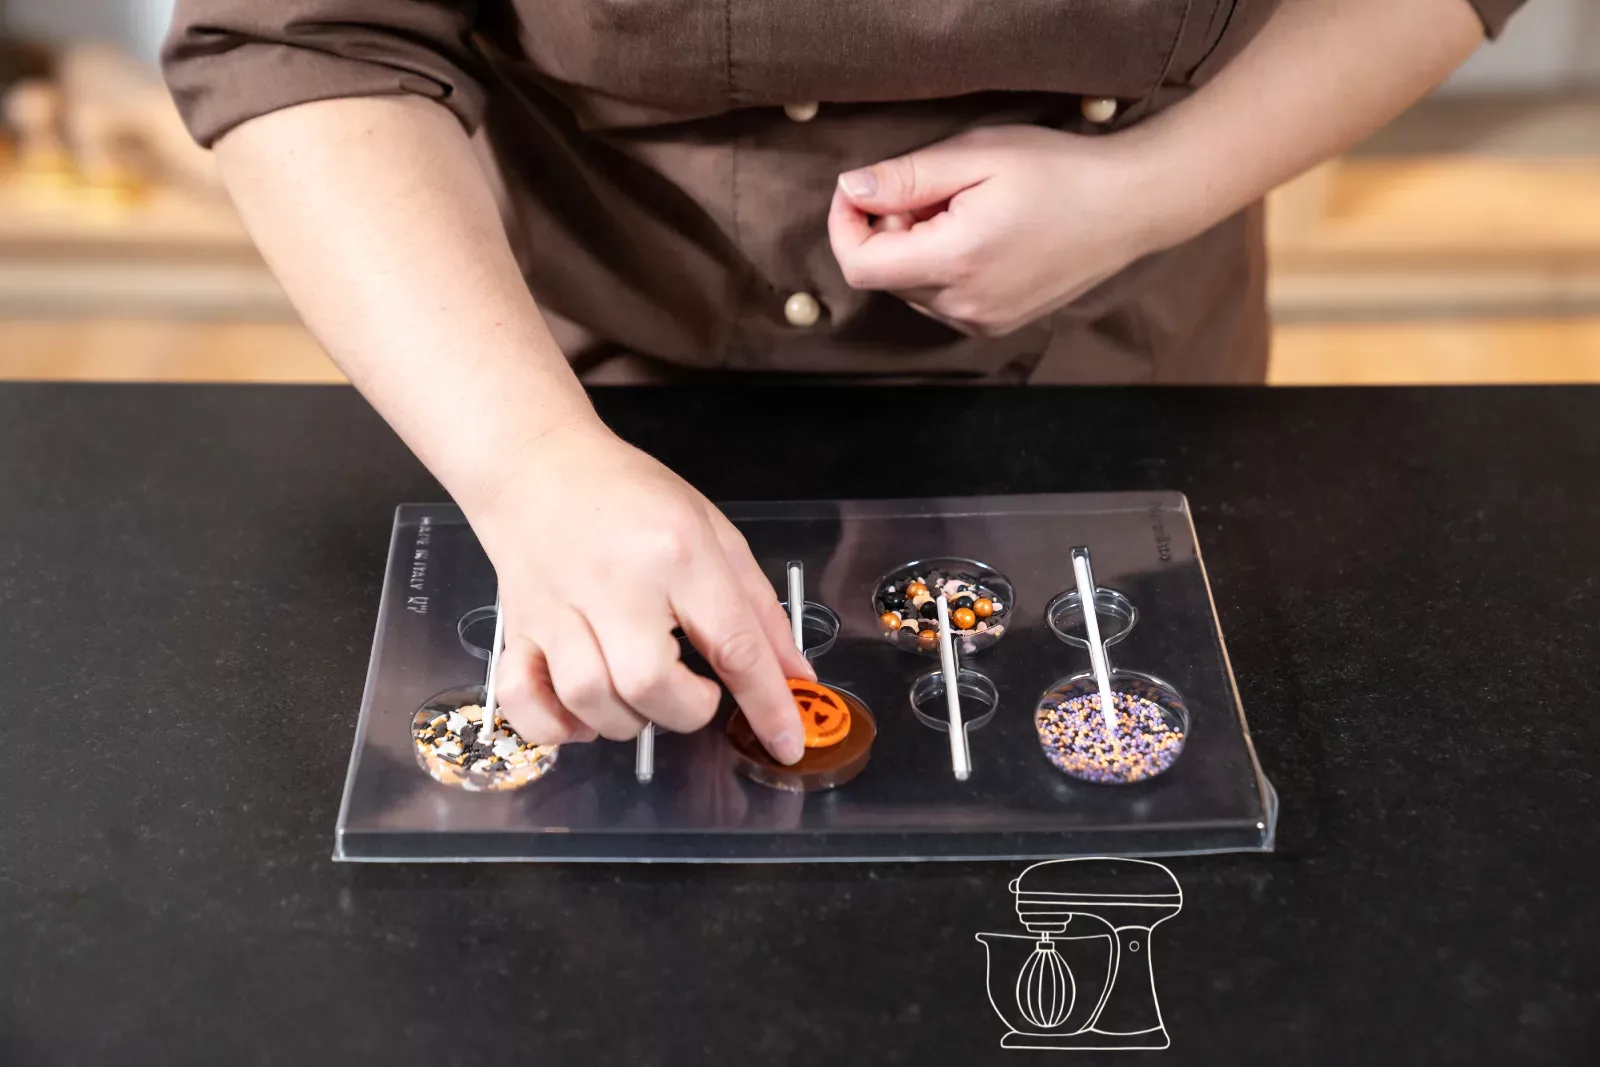
Sprinkle Halloween sprinkles or sugar decoration onto the bottom of the cavities. Remember: whatever ends up at the bottom will later be the front of your lollipop.
Sprinkle decor Halloween mix 4 in 1, 100 g
Halloween sugar decoration Spooky, 8 pieces
Sprinkle decor Spooky Halloween mix 4 in 1, 100 g
Sugar sprinkles Colourful Halloween, 65 g
Insert the sticks
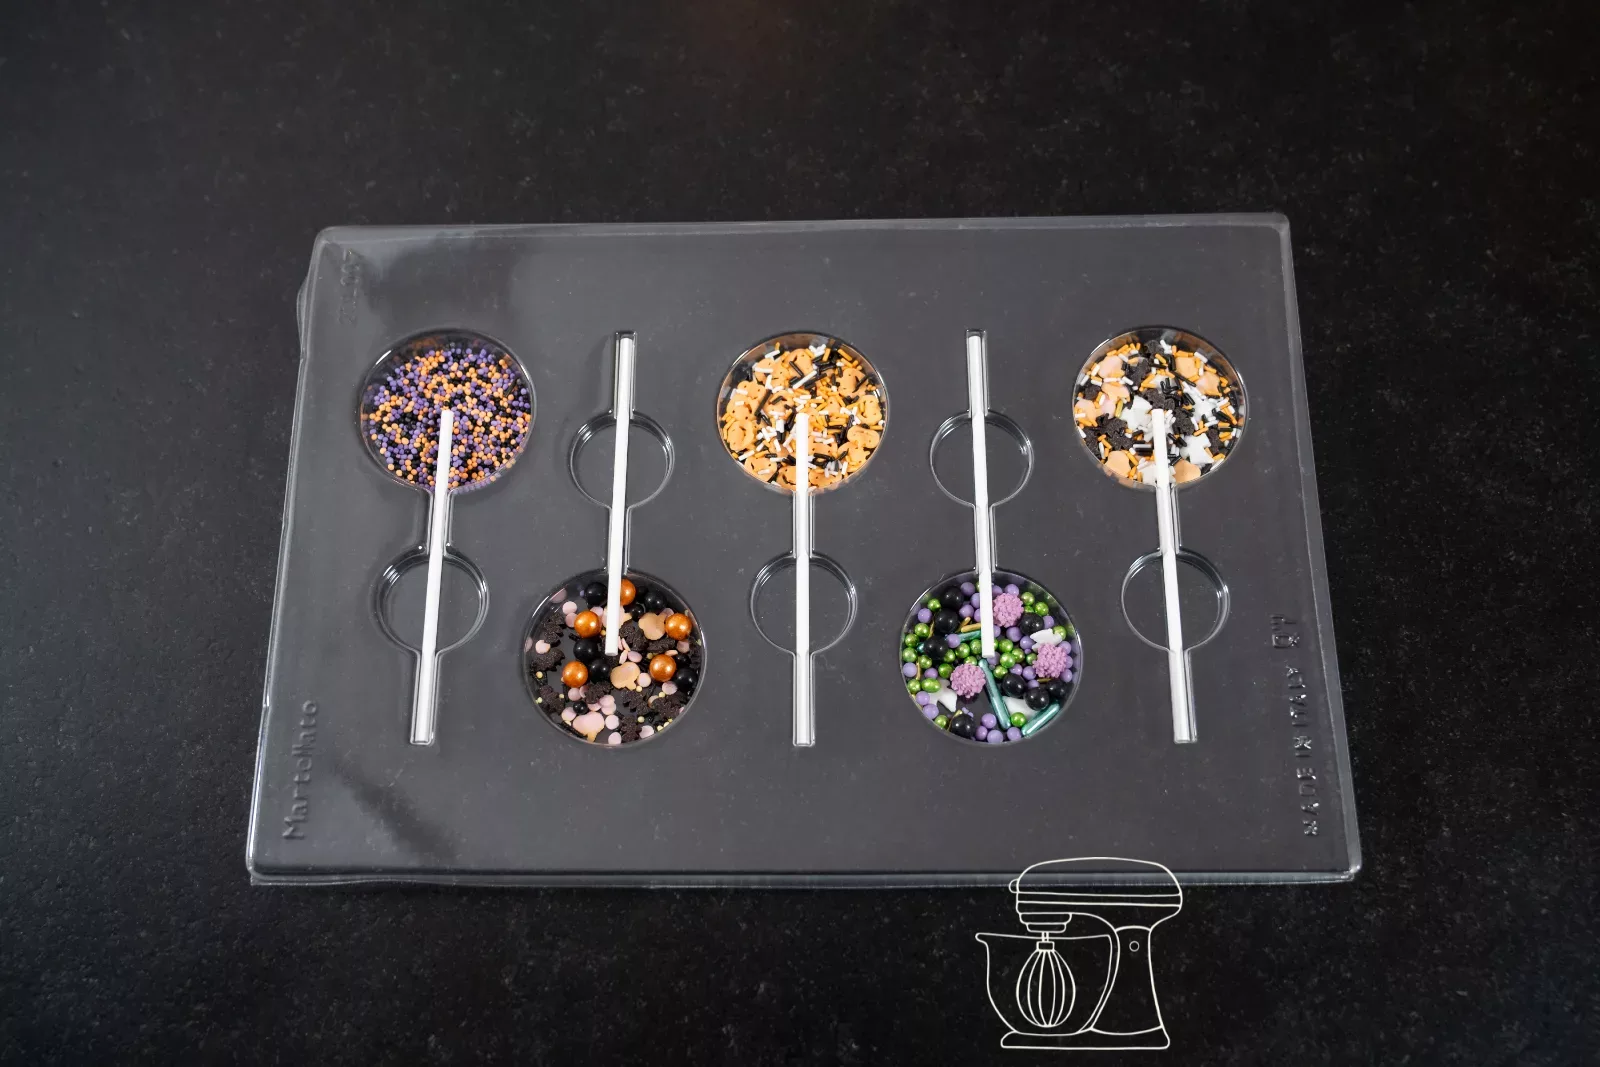
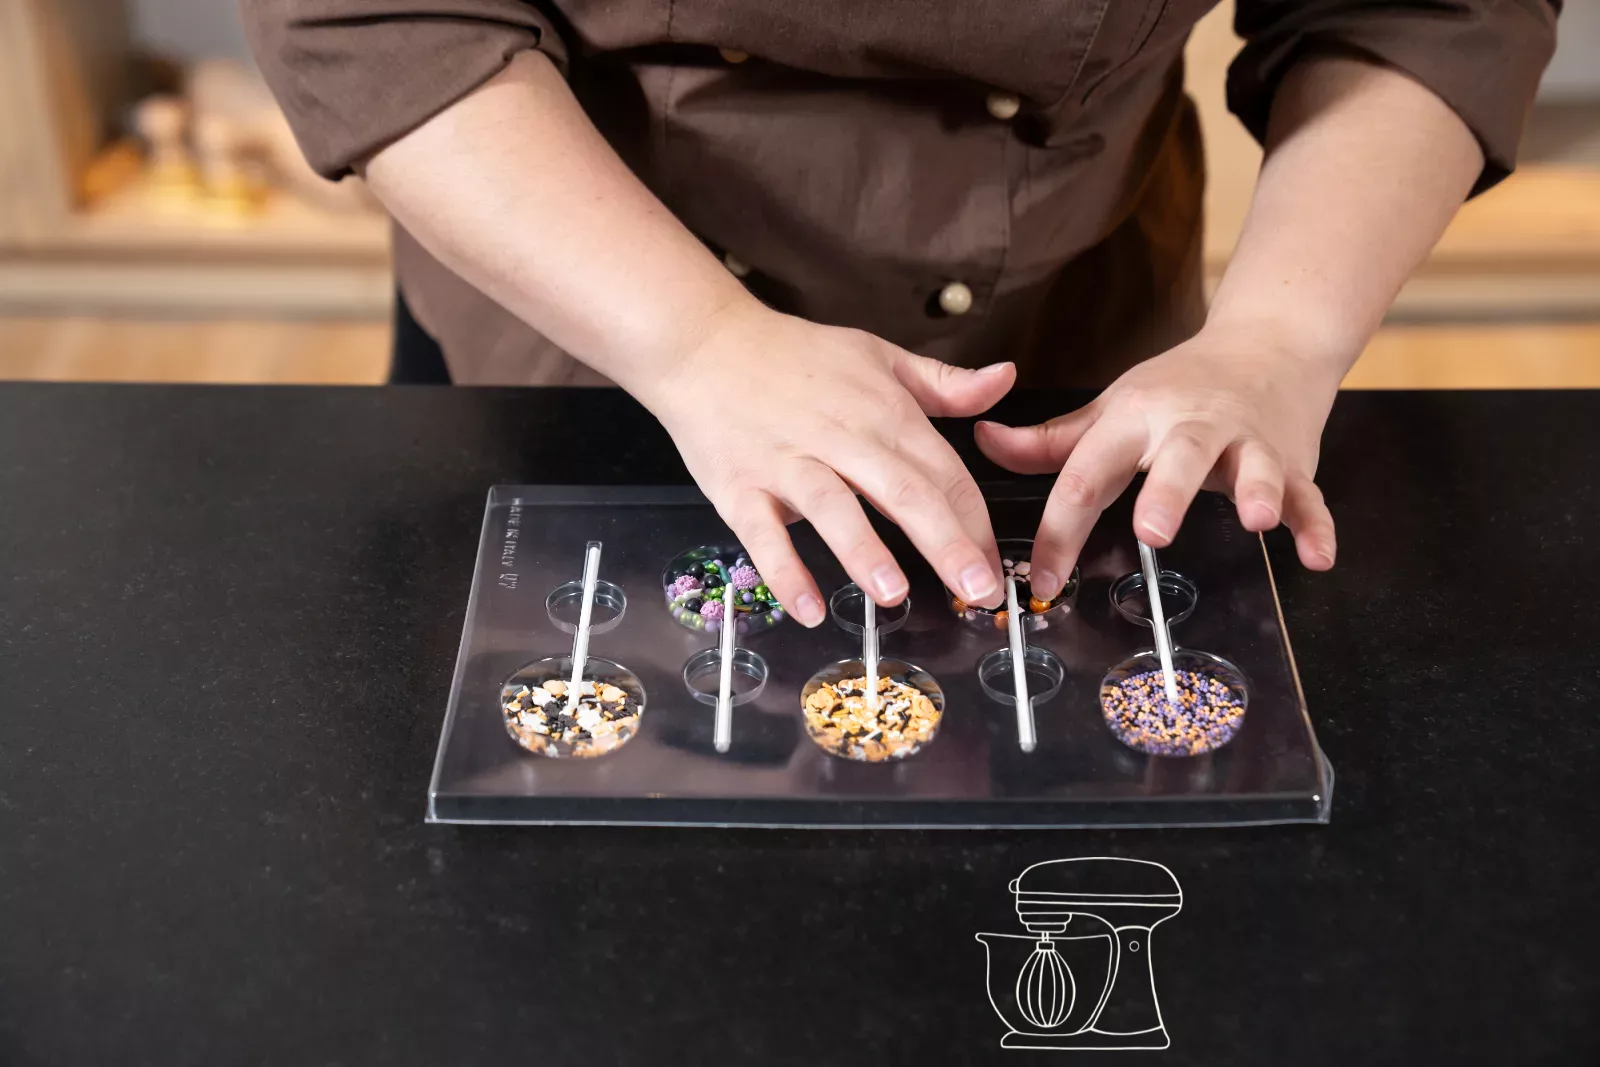
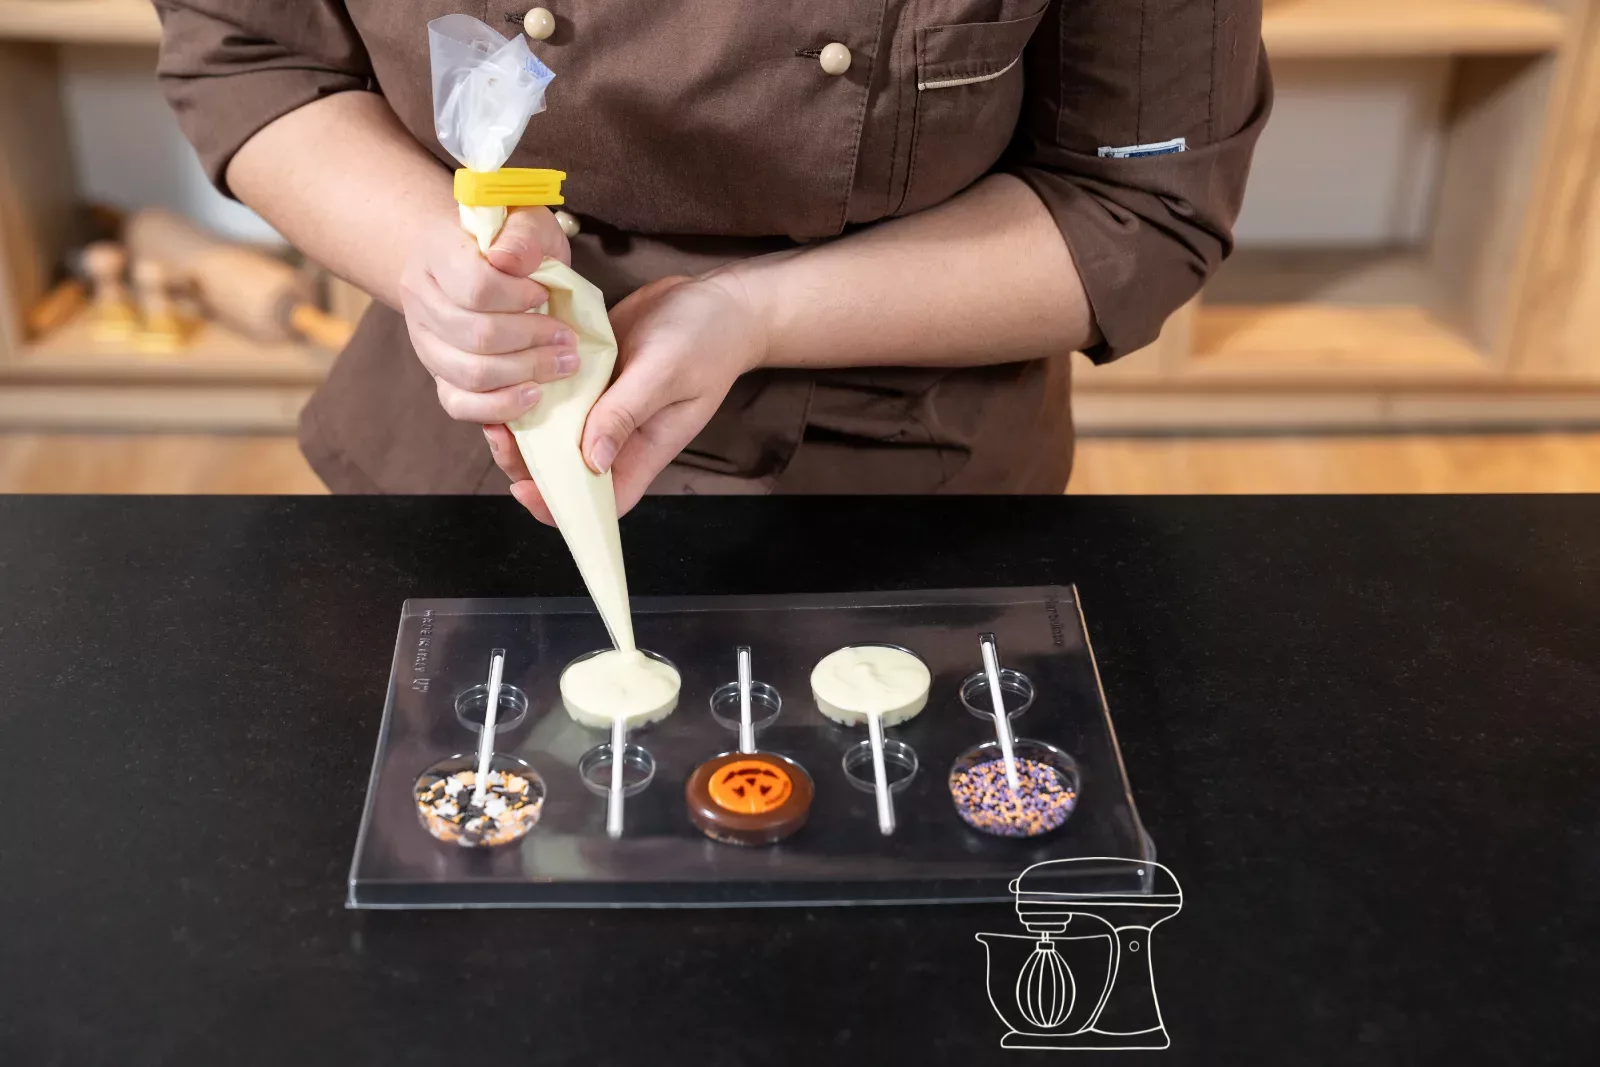
Place the sticks into the grooves of the mould so that they reach well into the middle of the cavities.
Fill with chocolate
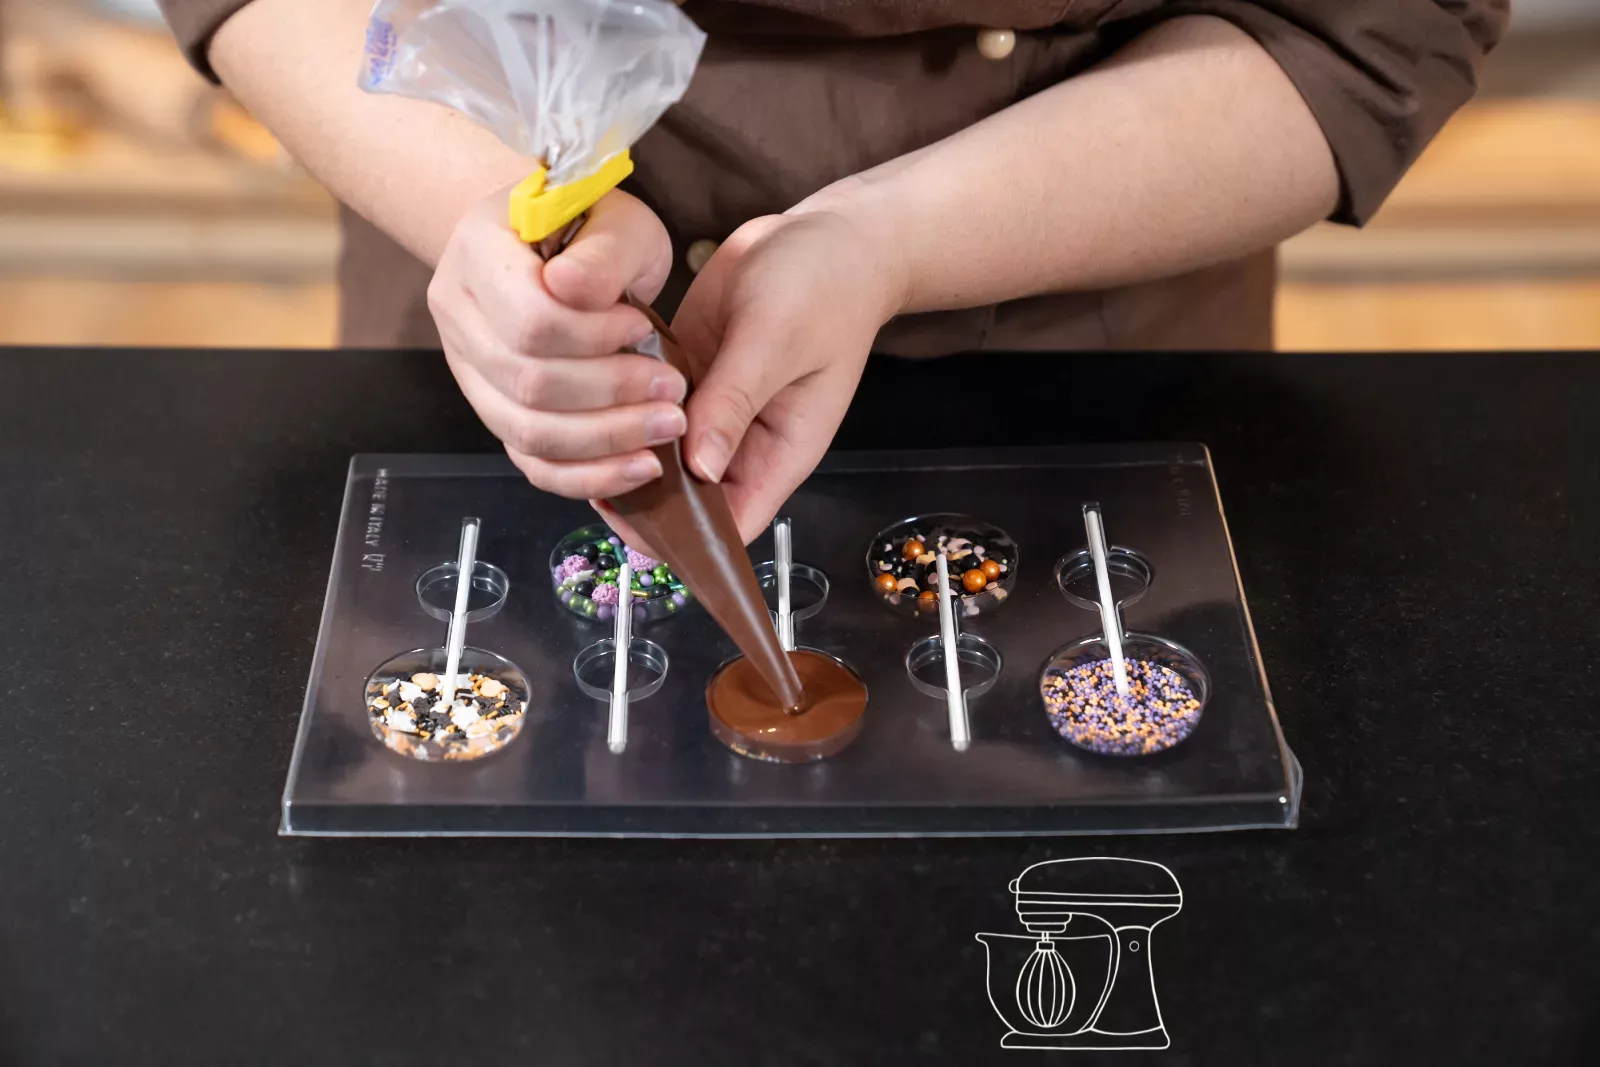
Fill the tempered chocolate into a piping bag and pipe the cavities full. Then tap the mould gently on the work surface a few times, so small air bubbles rise to the top and the chocolate spreads evenly.
Prefer a monster face instead of sprinkles? Then gently press a sugar decoration into the still soft chocolate.
Lollipop sticks 16 cm, 35 pieces
Disposable piping bag 41 cm, 24 pieces
White 3D chocolate decorations ghosts
White Halloween chocolate decorations
Chill and unmould
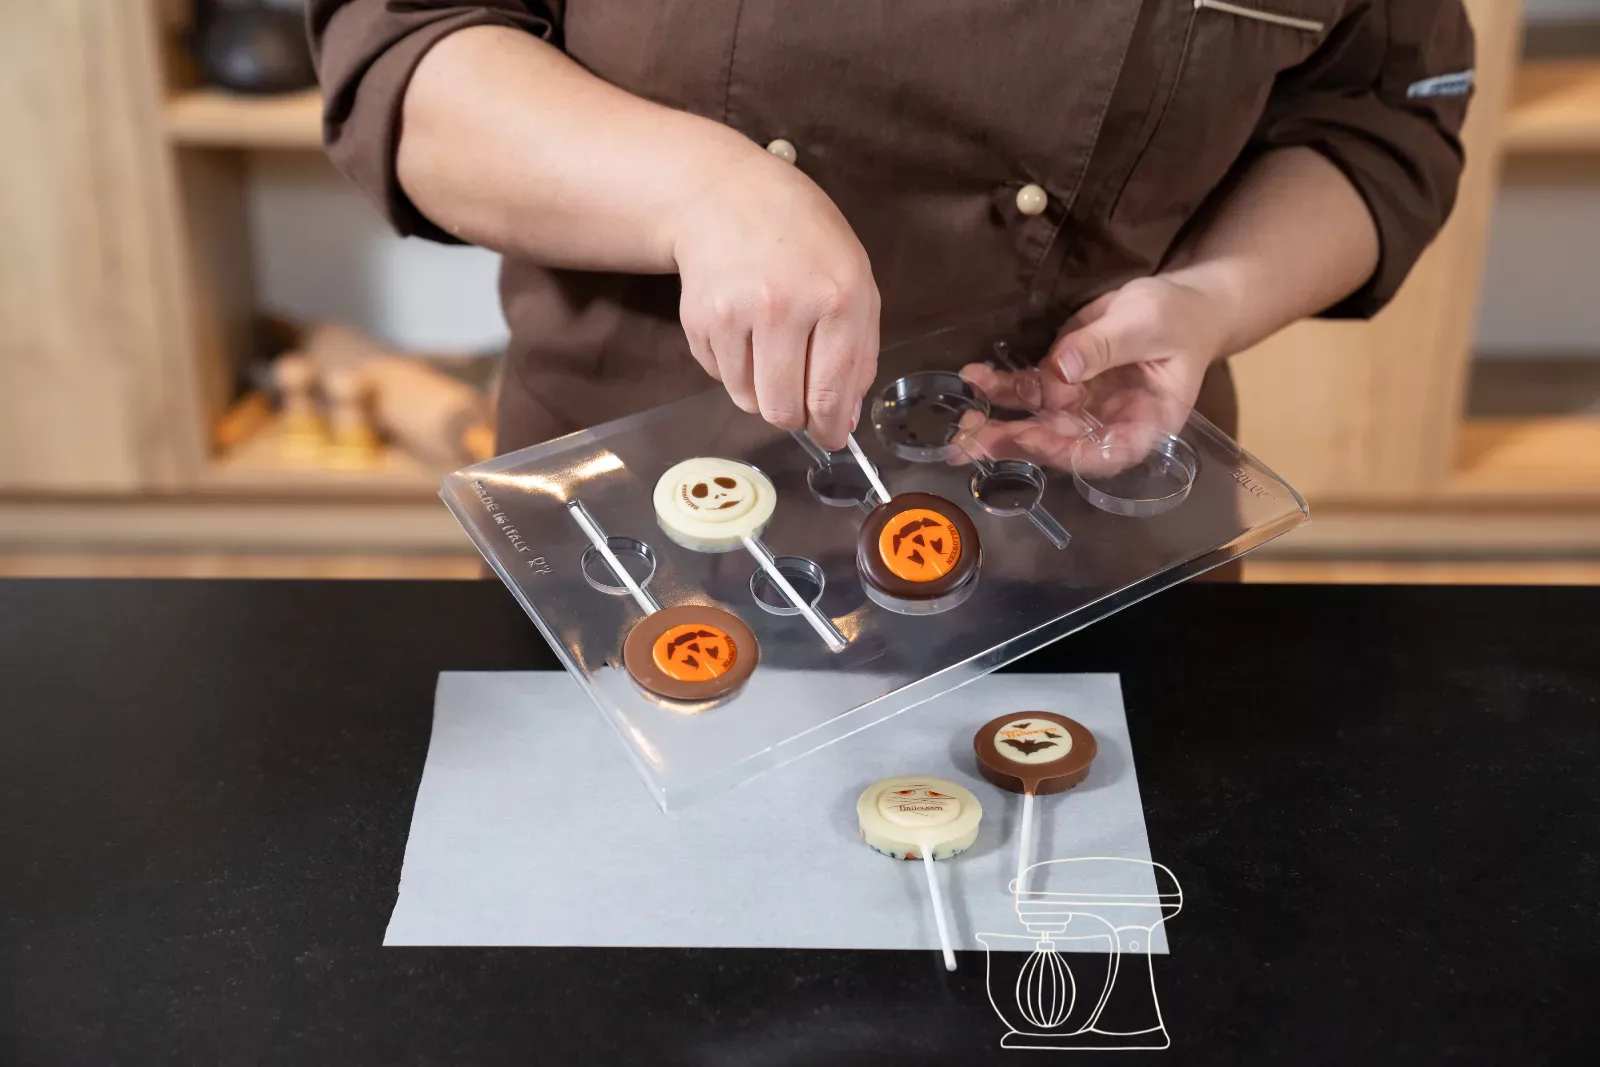
Place the mould in the fridge for about 20 minutes. As soon as the chocolate visibly pulls away from the edge, simply turn the mould over and let the lollipops fall out.
Decorate
Dip the edge in chocolate
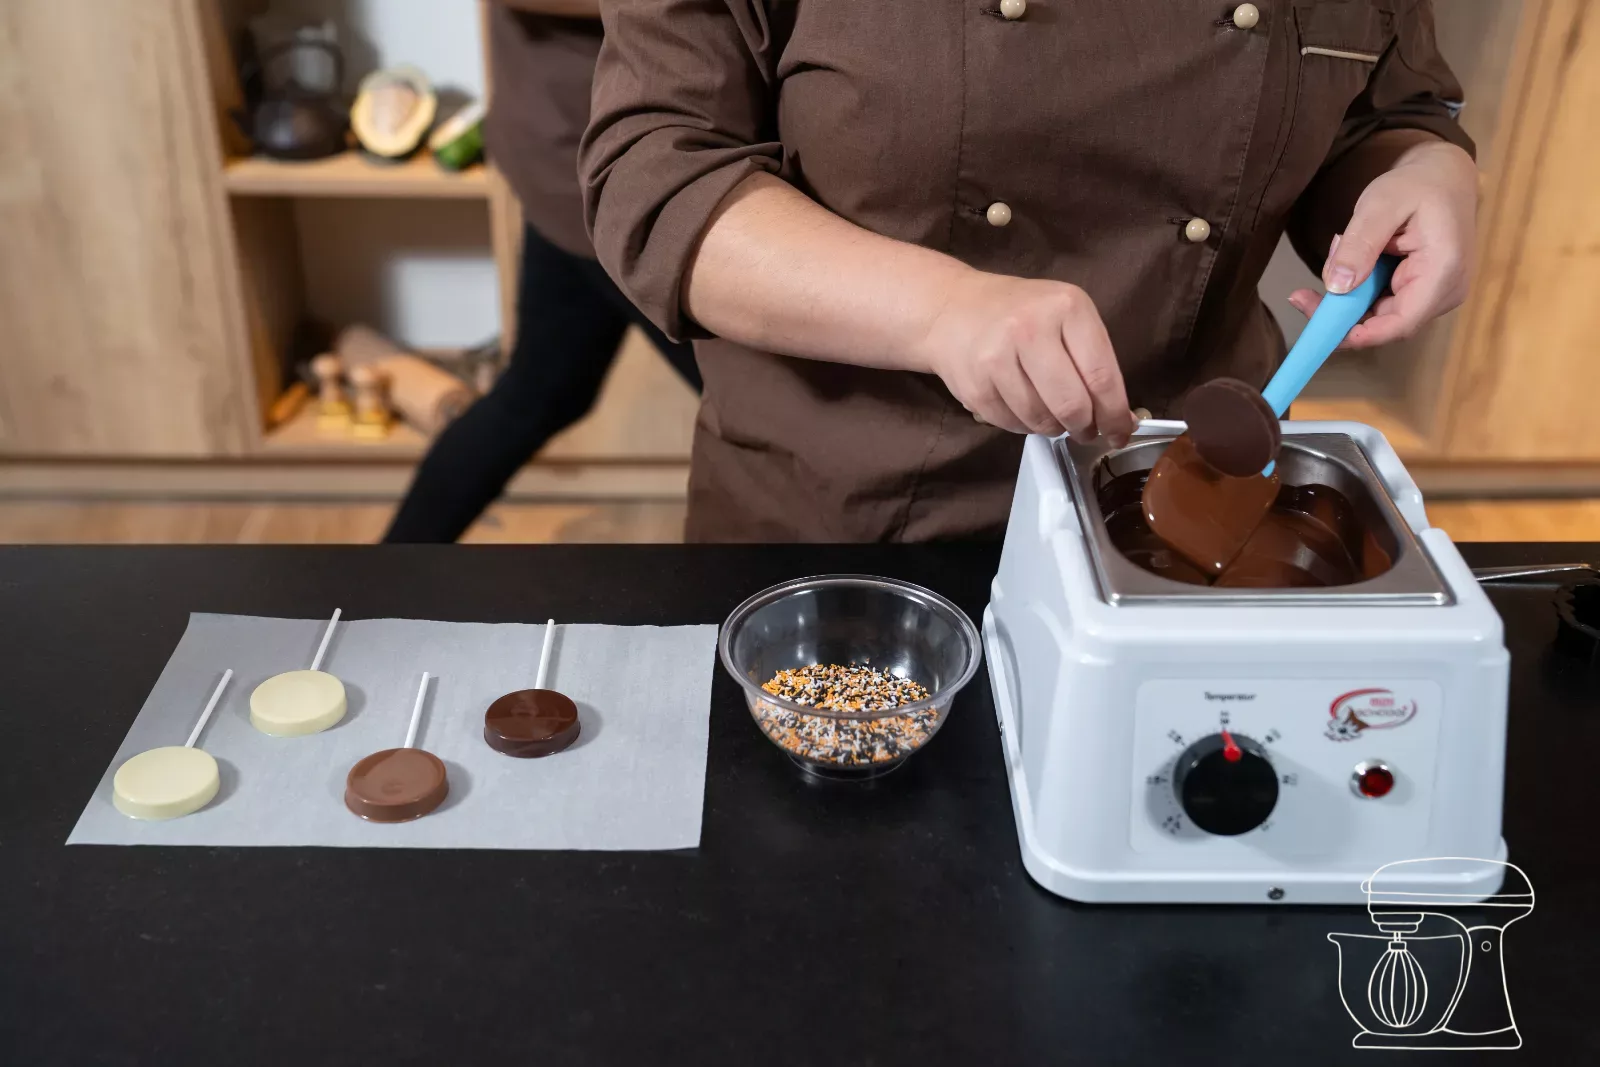
For a colourful edge, dip the firm lollipops sideways into tempered chocolate and turn them once all the way round.
Roll in sprinkles
Roll the edge straight away in Halloween sprinkles while the chocolate is still wet, then lay the lollipops on baking paper to set.
Sprinkle decor Halloween mix 4 in 1, 100 g
Sugar sprinkles colourful Halloween, 65 g
Sugar decoration pumpkin, zombie, mummy and hat
White 3D chocolate decorations - ghosts
Stick on the decor
Finally, use a small dab of chocolate to stick sugar decoration or candy eyes in the middle. Let it set briefly, and your Halloween lollipops are ready!
Halloween sugar decoration 3D ghost, 3 pieces
Halloween sugar decoration spooky pumpkins, 8 pieces
Bloody candy eyes decoration for Halloween
Pumpkin, vampire, witch and skull sugar decorations
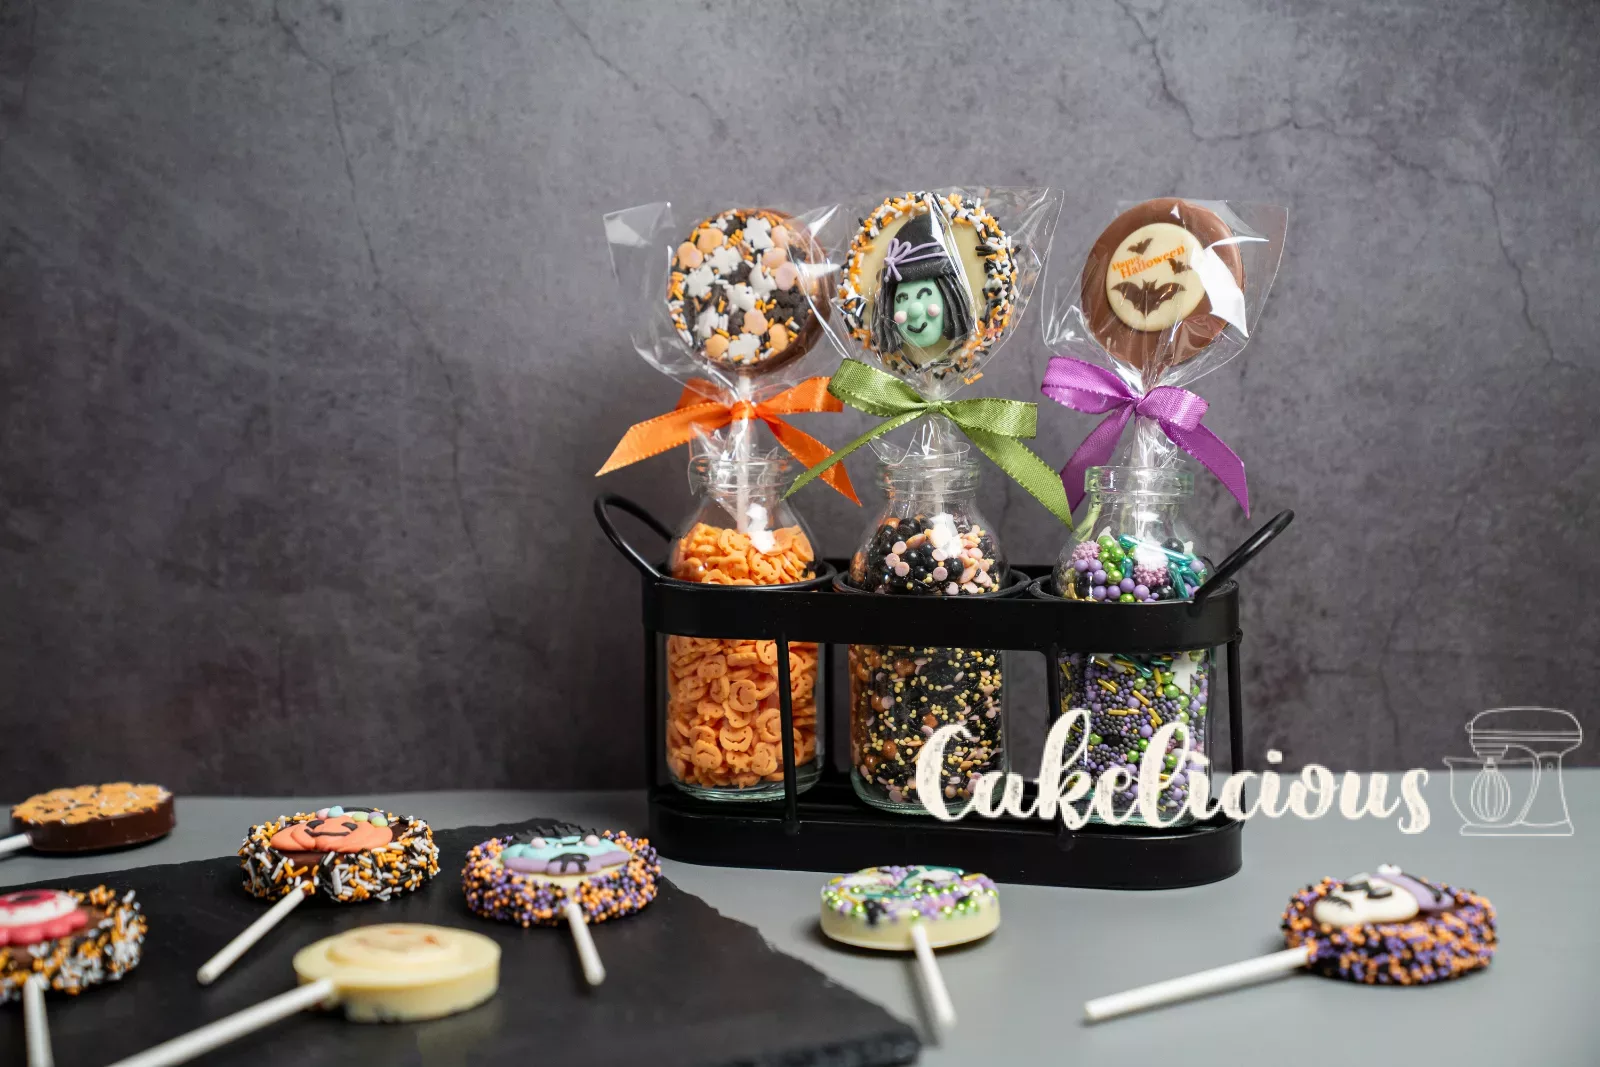
Halloween lollipops
Ingredients
Lollipops
Decoration in the mould
For the sprinkle edge (optional)
Preparation
- Mould: Polish the cavities with cotton wool.
- Tempering: Temper the milk, white or dark couverture.
- Pouring: Put sprinkles into the mould, insert the sticks, pour in the chocolate, gently tap the mould.
- Chilling: About 20 min. in the fridge, then unmould.
- Edge: If desired, dip the edge in chocolate and roll it in sprinkles.
- Decoration: Stick the sugar decoration on with a dab of chocolate.
Nutritional values per 100 g
Storage & shelf life
Everything for this recipe
Recommended by our bakery team, in exactly the sizes this recipe has been tested with.
Ingredients
Milk couverture drops 500 g
White couverture drops 500 g
Lolli sticks 16 cm, 35 pieces
Sprinkle decor Halloween mix 4 in 1, 100 g
Halloween sugar decoration Spooky, 8 pieces
Halloween sugar decoration 3D ghost, 3 pieces
Halloween sugar decoration Spooky pumpkins, 8 pieces
Bloody candy eyes, Halloween decoration
Dark couverture drops 500 g
Sprinkle decor Spooky Halloween mix 4 in 1, 100 g
Sugar sprinkles colourful Halloween, 65 g
Sugar decorations pumpkin, zombie, mummy and hat
White 3D chocolate decorations, ghosts
White Halloween chocolate decorations
Pumpkin, vampire, witch and skull sugar decorations
Accessories
Chocolate mold for round lollipops, 8 pieces
Disposable piping bag 41cm, 24 pieces
Delivery in 1 to 2 working days · Free shipping from CHF 100
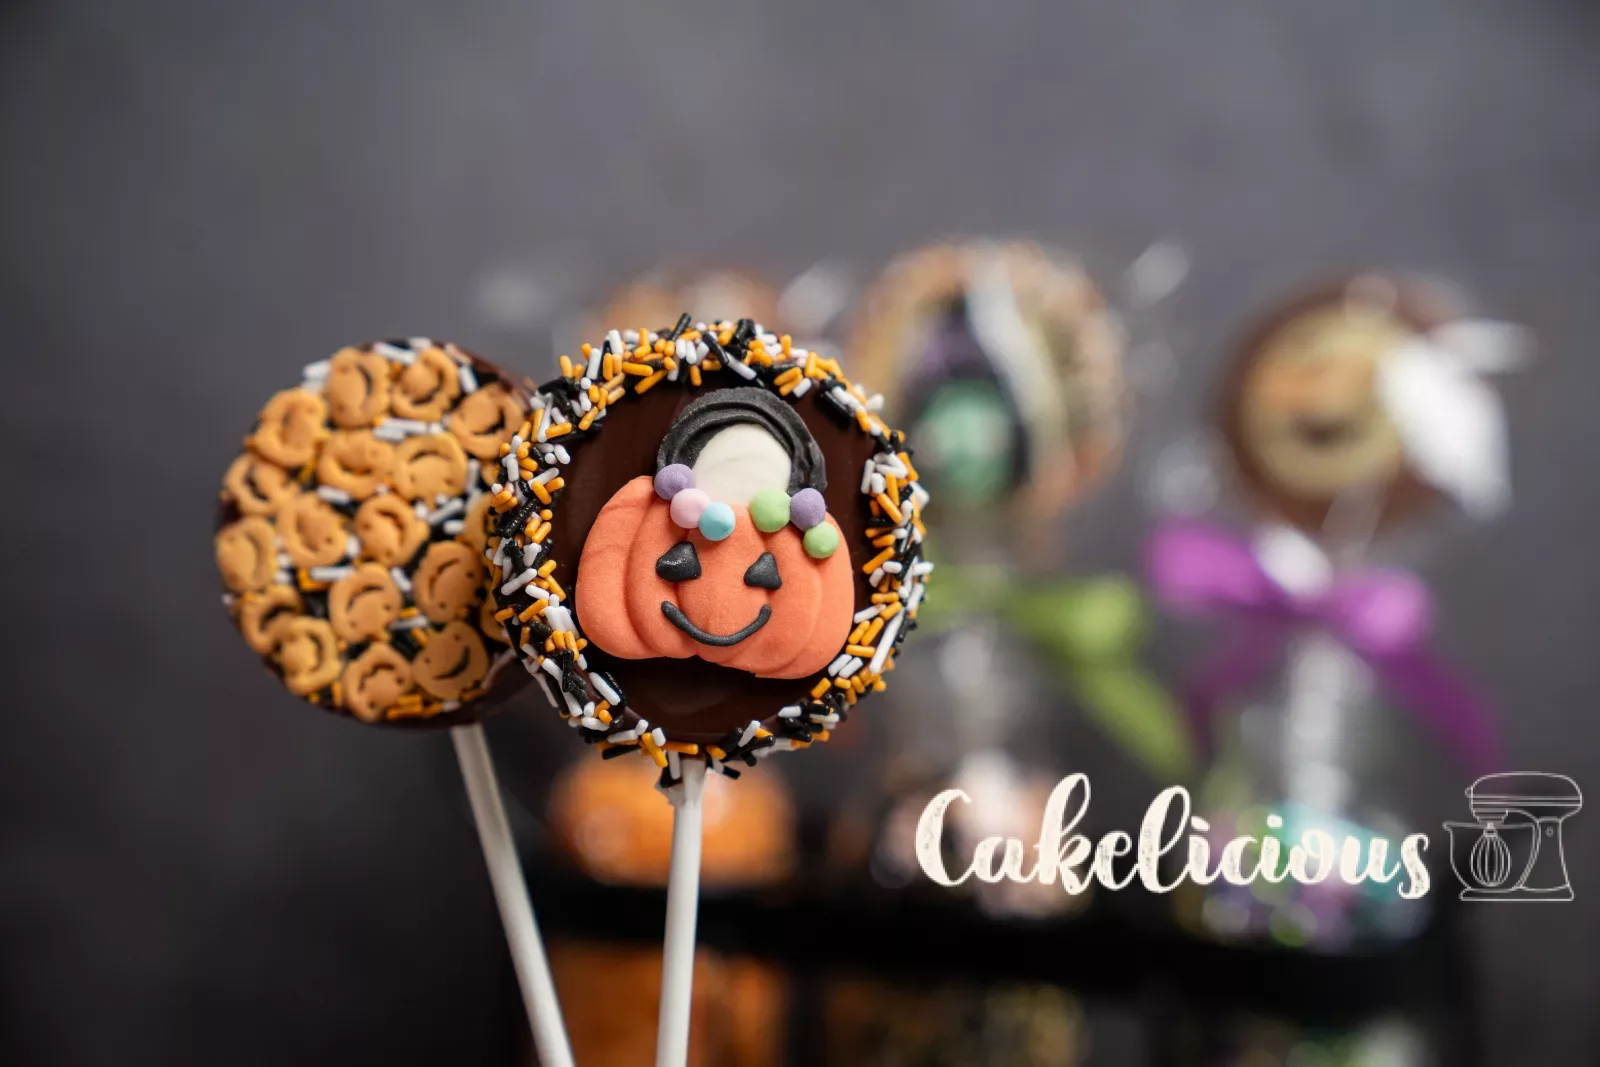
To make sure they turn out perfectly
Milk, white or dark, sprinkles at the bottom, a monster in the middle or a colourful rim: combine them however you like. Every lollipop is allowed to look different!
Stick the lollipops into a glass full of sprinkles and you have a sweet table decoration. With a small name tag on the stick, they become place cards for your Halloween party.
Packed in a transparent bag with a coloured bow, the lollies make the perfect little gift for friends, the school class or the little monsters who ring the doorbell on Halloween.
Frequently asked questions
Only tempered chocolate contracts slightly as it sets, so it releases cleanly from the mould. Untempered chocolate sticks, turns grey and dull.
With a carefully polished mould and properly tempered chocolate. Polish the cavities with cotton wool before each pour and gently tap the filled mould so no air bubbles remain.
That depends on your mould. If it has fewer cavities than the number of lollies you want, simply pour twice in succession. Keep the chocolate liquid in the tempering device or briefly in a water bath in between.
Print recipe
Choose what should appear on the printout.
Related posts
 Juicy Matcha Muffins with Pecan Nuts & White Chocolate
Matcha Iced Latte & Coconut Variant
Pull-apart bread with fresh wild garlic pesto
Mini Banana Bread with Chocolate Chips
Leave a comment