
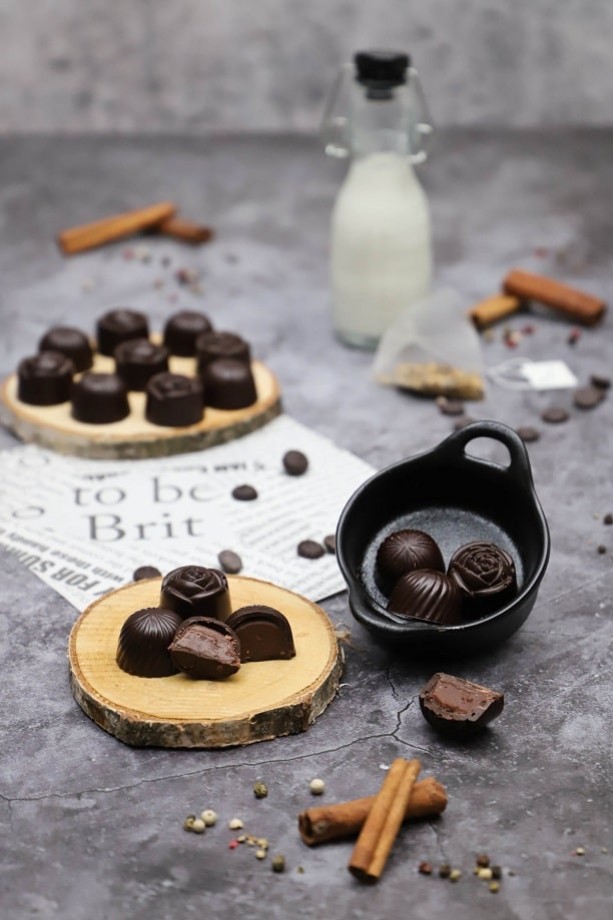
Chai tea chocolates - cinnamon
Hey foodies!
Little specialty of the day... This tutorial can be found as a video at the bottom of the recipe and it's also available as a highlight story on our Instagram account! :o) This allows you to see the entire tempering technique on video.
Christmas is just around the corner! And Christmas means chocolate. :o) I don't know if that saying exists but I like it.
I wanted to make homemade chocolates with a wintery scent. Here are my chai tea and cinnamon chocolates.

Here is the list of ingredients to make 65-70 chocolates, in 3-4 moulds (depending on the size chosen):
- 225gr milk chocolate
- 135gr heavy cream
- 2 chai tea bags
- 1 tsp ground cinnamon
- 15gr butter at room temperature
- 500gr dark chocolate
We start with the chai-cinnamon ganache, which needs to cool down a little once finished.
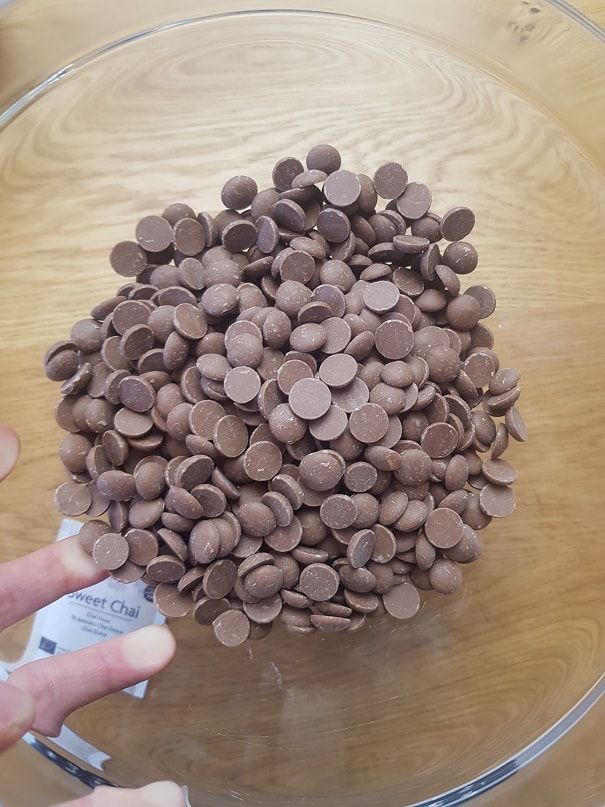
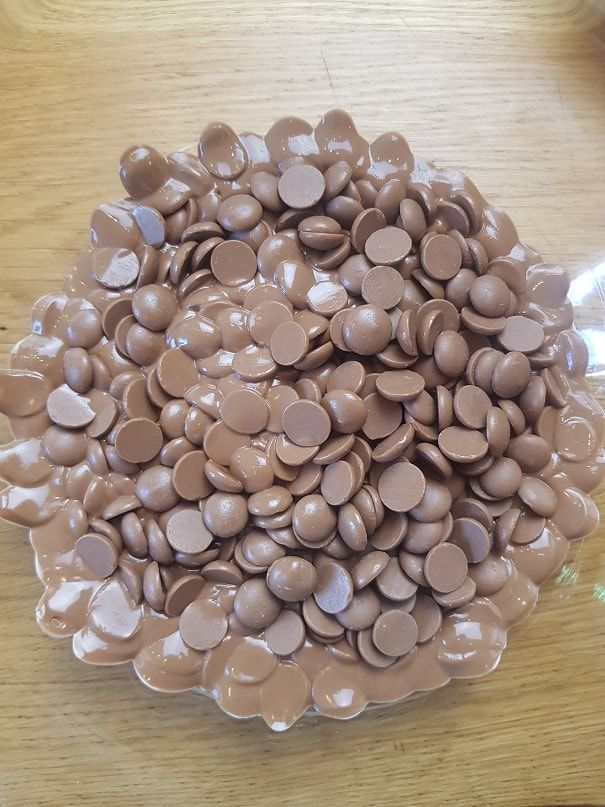
To begin, melt 225gr of milk chocolate in a large glass bowl by placing it in the microwave for 1.5 minutes at 600Watt. If you don't have a microwave, a double boiler works just as well. :o)
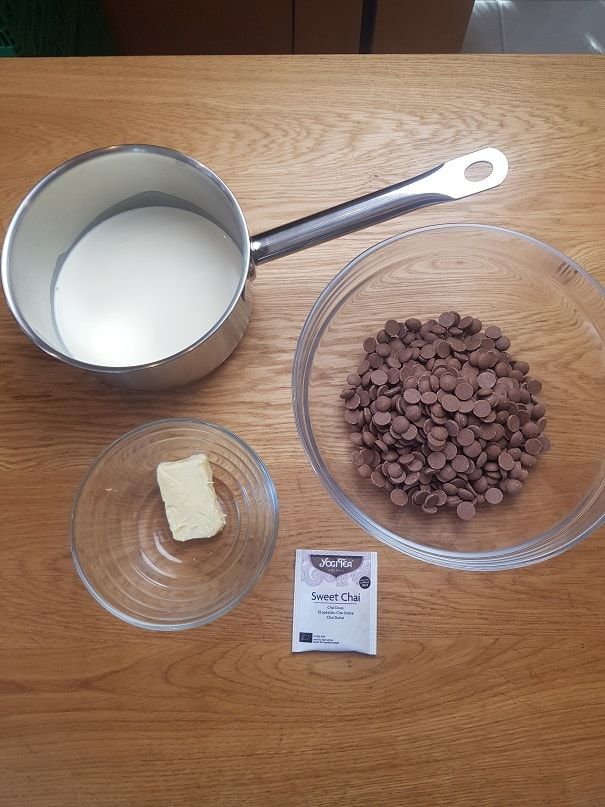
Next, pour 135gr of heavy cream into a saucepan.
Cut open 2 chai tea bags with scissors. Here I used Yogi Tea but any chai tea you enjoy will work just fine.
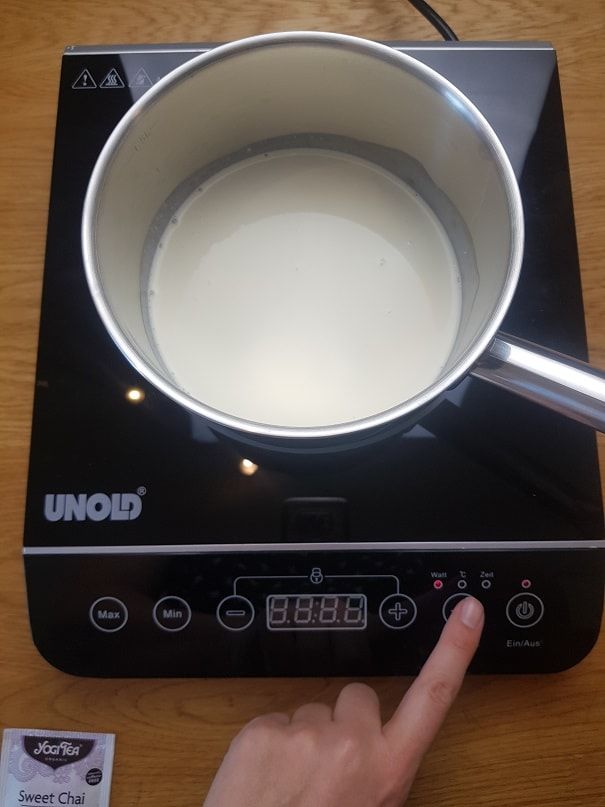
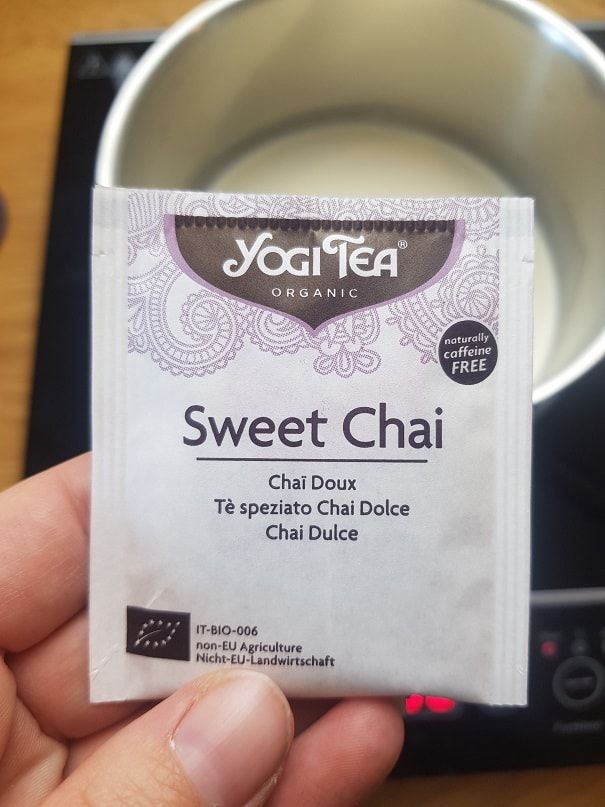
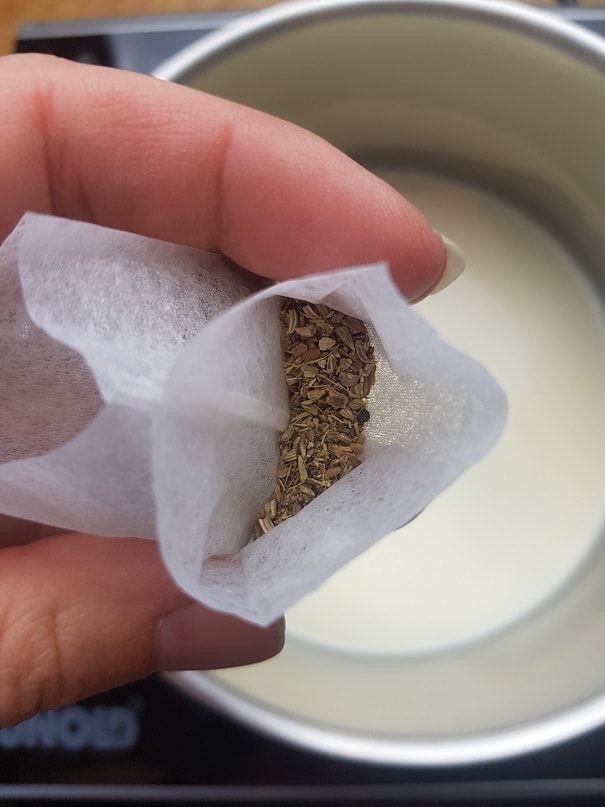
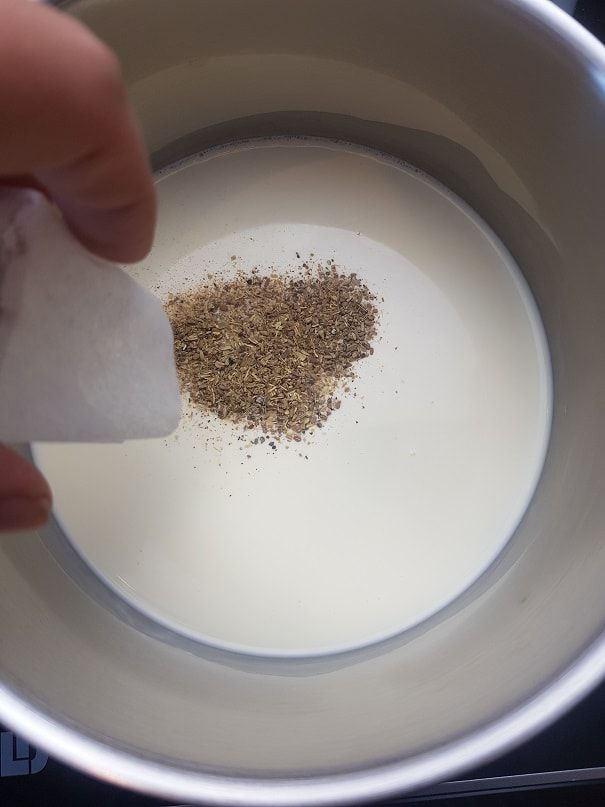
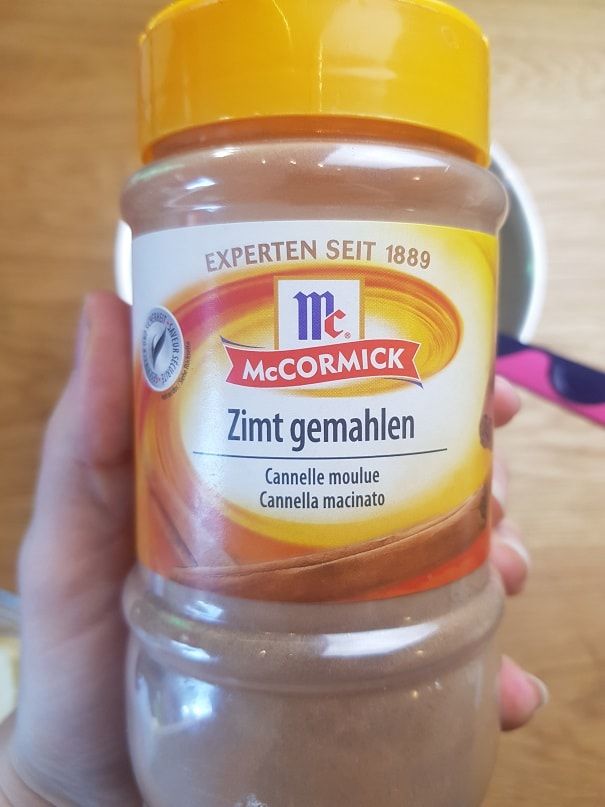
Pour the contents of the 2 chai tea bags into the cream and add 1 tsp of ground cinnamon.
Then mix lightly and bring the mixture to a boil.
Once the mixture is boiling, remove it from the heat and let it steep for 10 minutes.
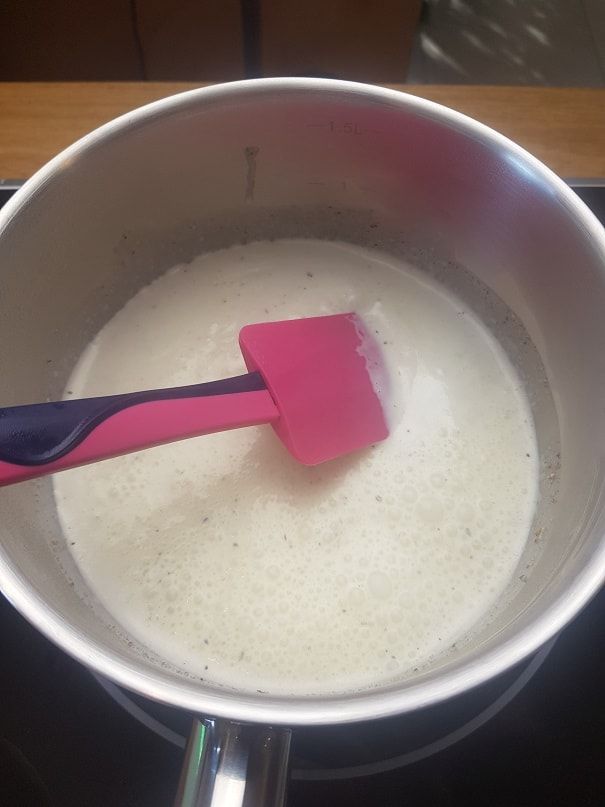
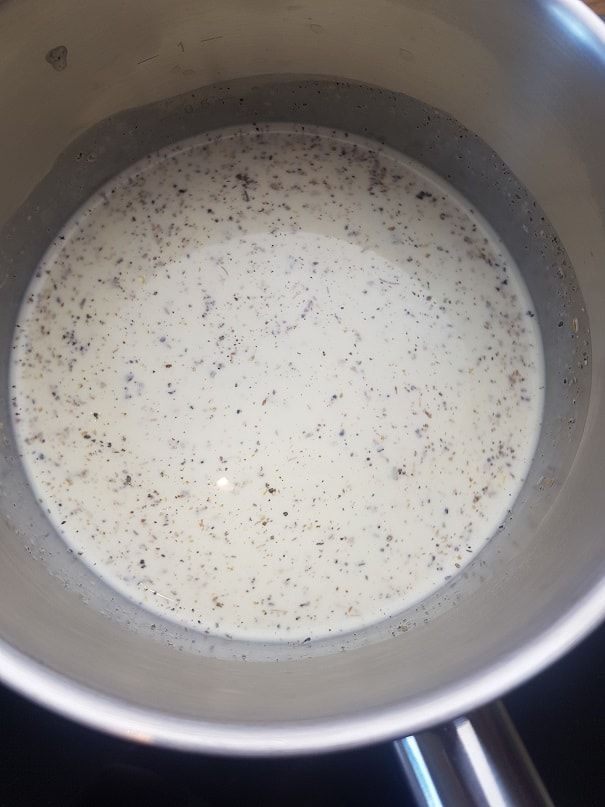
There you go! Your cream has steeped long enough. Heat the mixture again until it steams. Then remove from the heat.
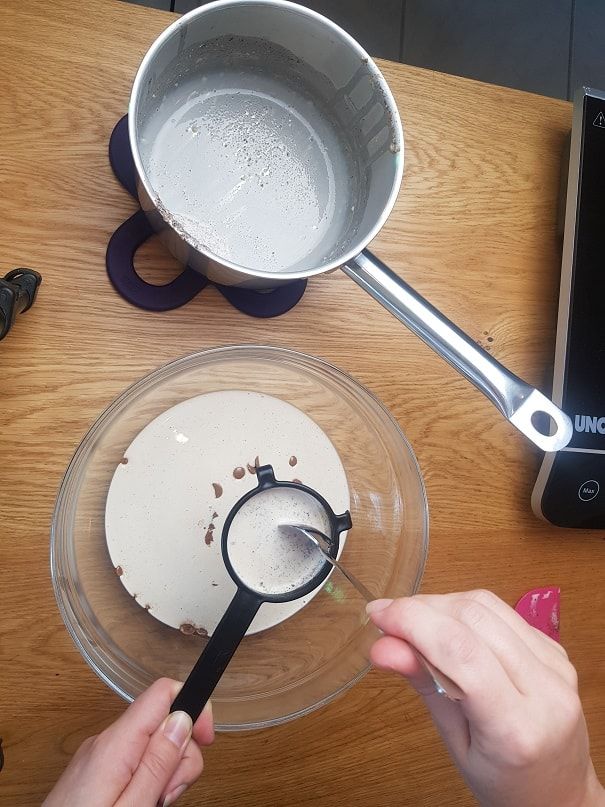
Using a small strainer, pour the cream through the strainer onto the chocolate.
Use a spoon to make sure all the cream passes through the strainer and only the residue remains in the strainer. :o)
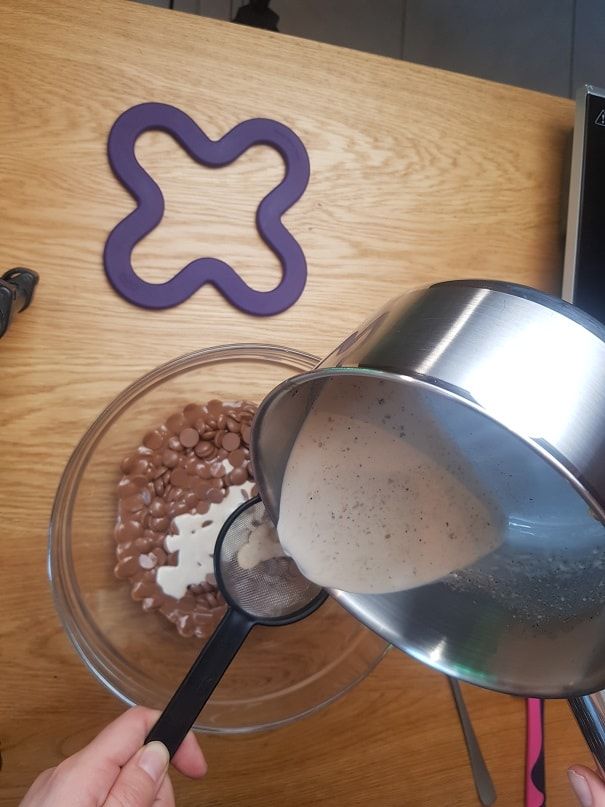
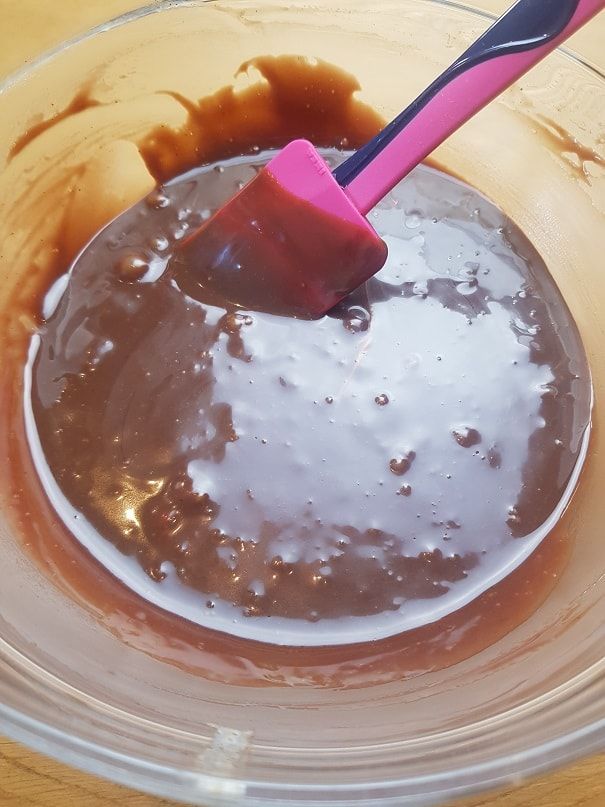
Vigorously mix the cream into the melted chocolate to get a nice smooth ganache.
Then add 15gr of butter at room temperature and mix again.
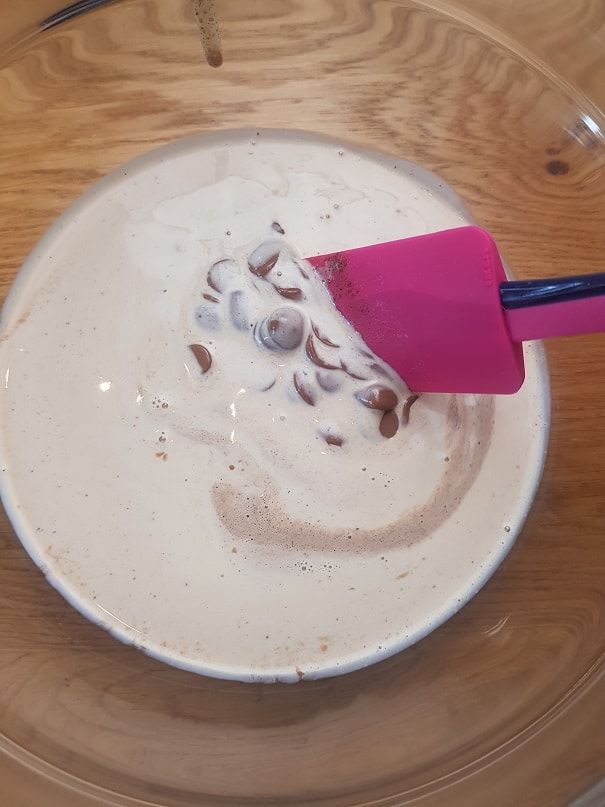
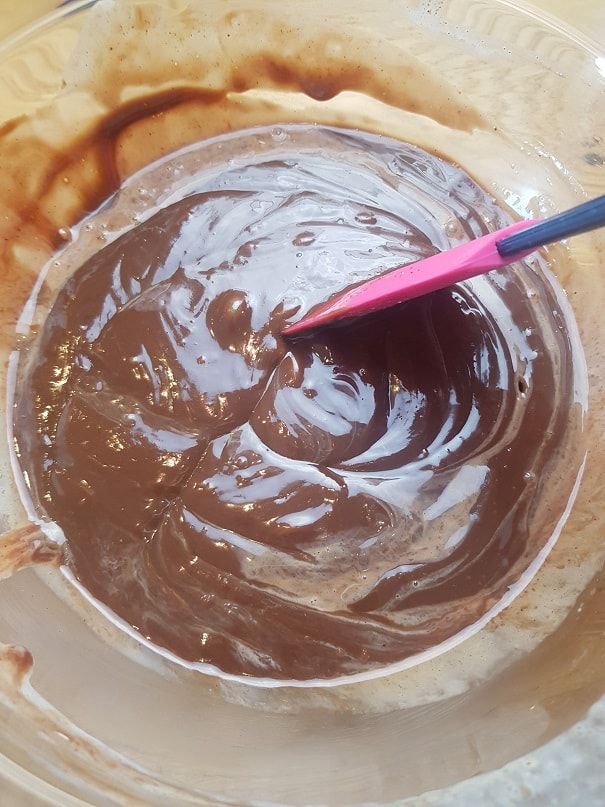
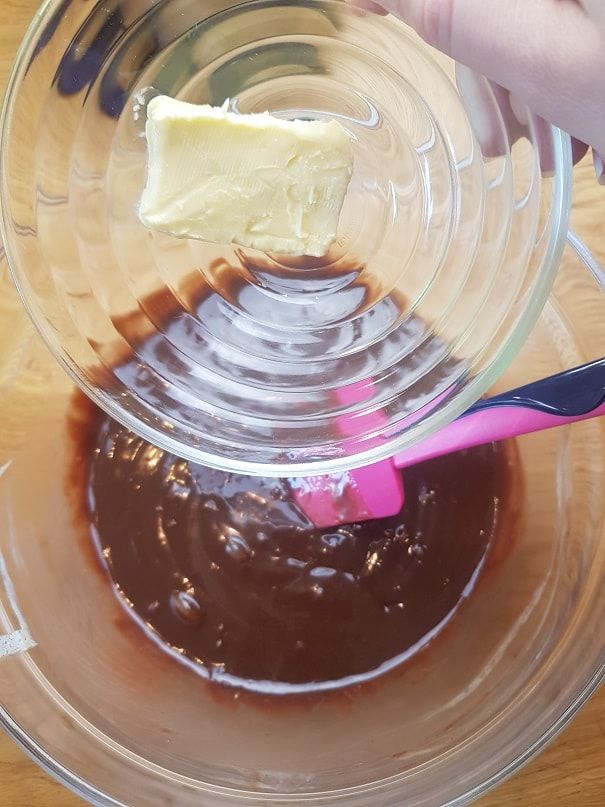
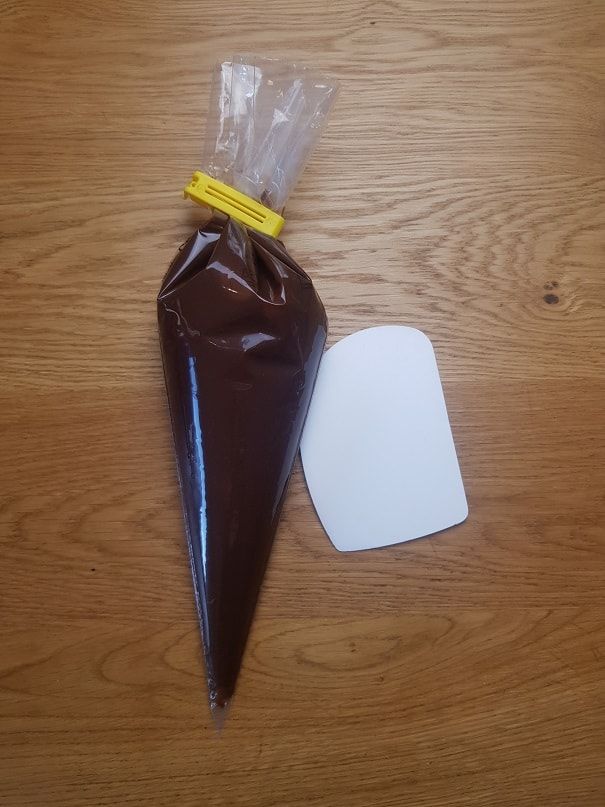
Once the butter is completely melted into the ganache, pour the ganache into a piping bag.
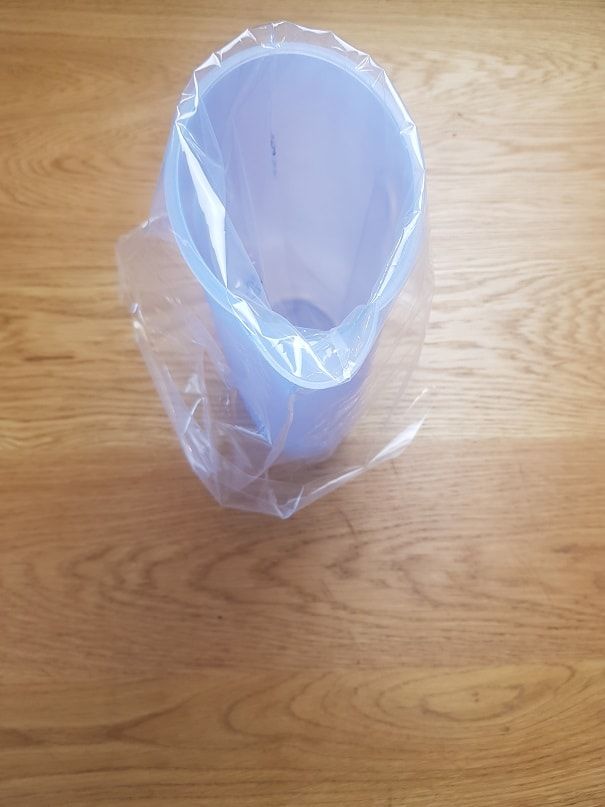
To fill your piping bag, think about using a jar to hold your piping bag upright. This way you'll have both hands free to pour the ganache into the piping bag. :o)
Set the ganache aside at room temperature while we make our chocolate shells.
Let's get started on our chocolate shells!
Here is the necessary equipment:
- 500gr dark Callebaut chocolate
- 3-4 polycarbonate chocolate moulds
- 1 rack
- A little cotton wool
- 1 chocolate spatula
- 1 thermometer
- 1 spatula

Start by cleaning your chocolate moulds with cotton wool. Whatever you do, don't rinse them with water before using them!
A simple piece of dry cotton wool will remove the last little bits of dirt and limescale marks as well.
If you don't do this, you'll get marks on your chocolates... That would be such a shame!


Let's go with our chocolate shells!
First of all, you should know that if you melt chocolate without following a precise temperature, your chocolates will have white spots and/or won't come out of the mould.
You really need to follow the indicated temperatures to the letter so that your chocolates unmould easily and shine brilliantly!
There are several tempering methods. Sometimes very special equipment is needed, like a marble slab to cool the chocolate... That can put a lot of people off...
Personally I temper my chocolate differently. The rule is simple: Melt a quantity of chocolate in the microwave at 600Watt and bring the temperature up to 45°C. Then add 1/3 of unmelted chocolate to the melted mass and let it cool down to approximately 31°C before using it. So for example for 450gr of melted chocolate, we will add 150gr of unmelted chocolate. Very very easy! But let's go through this step by step with pictures so you understand it well.
To work with chocolate, you need good chocolate! Not bar chocolate please! But proper professional chocolate.
Personally I work with either Valrhona or Callebaut. These are two brands I particularly love. Bar chocolate is not of good quality and doesn't have as many cocoa crystals as pistoles. Also, pistoles melt much more quickly. In short! Use good chocolate to make good homemade chocolates! It's like wine! :o)
So pour 375g of dark chocolate into a glass bowl (glass will distribute the heat evenly).


Then place the bowl in the microwave at 600Watt (never hotter, otherwise the chocolate burns and seizes) and heat for 1 minute.
Take the bowl out, stir with a spatula so that the already melted chocolate blends with the not-yet-melted chocolate, then put the bowl back in the microwave (still at 600Watt) for 1 additional minute.
This time, take the bowl out and stir slowly and gently to let the chocolate finish melting. Don't overheat the chocolate! Give it time to melt gradually.
If you're not sure whether or not to reheat it, place your thermometer to check the temperature after 1 minute of stirring.
Your chocolate must be at 45°C. If it's still too cold, add 10 to 20 seconds. However be careful that the chocolate doesn't go above 48°C because at 50°C it burns and crystallises... and at that point it's unrecoverable!


Once your chocolate is fully melted and at 45°C, add 125gr of unmelted chocolate.
And be patient... We're going to let the chocolate melt gently. It's normal that everything doesn't melt instantly. It needs time. Adding unmelted chocolate pistoles will add cocoa crystals and allow the chocolate to shine when unmoulded. It is therefore very important not to reheat your chocolate during this step.
The chocolate will cool down to 31°C-32°C. This is the perfect temperature to use it. If you use it warmer, your shells won't be thick enough, and if you use it below 29°C, your shells will be too thick... So 32°C for dark chocolate is perfect! :o)


Prepare your equipment:
- Your moulds cleaned with cotton wool
- A rack with a tray underneath to catch the excess chocolate
- A chocolate spatula
- As much baking paper as possible to protect your work surface because chocolate makes a mess!

We have enough for 3 moulds... BUT! Make sure to work on one mould at a time!
Pour a good amount of chocolate into your chocolate mould. Fill all the cavities.
Use the chocolate spatula to make sure the chocolate spreads evenly into all the cavities.


Then tap the mould on the table to bring air bubbles to the surface. This is very important! If you don't tap your moulds, when unmoulding there will be bubbles on the top of your chocolates! So make sure to tap your moulds!
Then pour the excess chocolate back into the bowl. Use your spatula and tilt the mould well so the excess can flow out properly.


Scrape well with your spatula so that your mould is as clean as possible.
This is what it should look like.


Then place your mould upside down on your rack and leave it for at least 5 minutes.
Then scrape again with the spatula so the mould is completely clean.
Then place the mould in the freezer for 5 minutes.

Grab your ganache and fill your cavities 3/4 of the way.
I forgot to take new photos of filling with my chai tea ganache so you have the photos from my old tutorial but the principle is the same. :o)
Be careful not to fill all the way to the top of the mould! Leave 2-3 mm free so you can close them with chocolate.
Then place the mould in the freezer for 10 minutes.


Here's the last step!
Pour chocolate (not ganache but pure chocolate) into all the cavities. If your chocolate has cooled too much, you can heat it for 10 seconds in the microwave at 600Watt.
Then scrape again so the mould is as clean as possible.
And place the mould in the freezer one last time for 10 minutes.


It's unmoulding time!
If you tempered your chocolate correctly, your chocolates will come out on their own! I just had to turn the mould over for all the chocolates to fall onto my baking paper.
If your chocolates don't fall out on their own, simply tap the mould against the table and they'll come out without any trouble. I promise your mould won't break! It's super sturdy!


Ta-da!
They're so shiny! :o) Tempering successful.
You can keep them in the fridge for about 2 weeks.
I wish you in advance a Merry Christmas! :o)
Have a lovely Sunday, foodies!
Karin
PS: All the equipment used can be found at the bottom of the recipe.
If you'd like to watch the creation of these chocolates on video, click here.


Related posts
 Juicy Matcha Muffins with Pecan Nuts & White Chocolate
Matcha Iced Latte & Coconut Variant
Pull-apart bread with fresh wild garlic pesto
Mini Banana Bread with Chocolate Chips
Juicy Matcha Muffins with Pecan Nuts & White Chocolate
Matcha Iced Latte & Coconut Variant
Pull-apart bread with fresh wild garlic pesto
Mini Banana Bread with Chocolate Chips
Leave a comment