
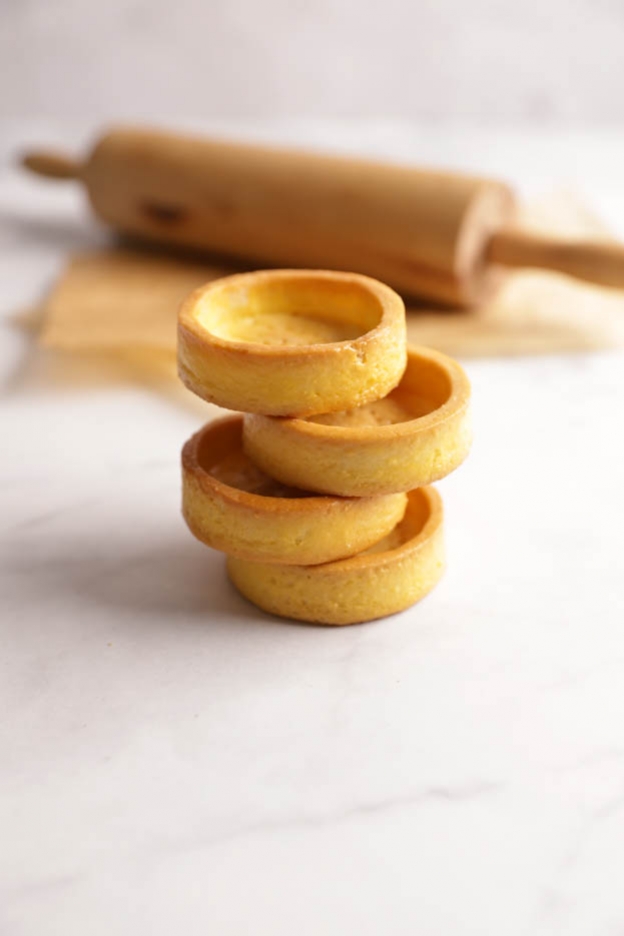
Shortcrust pastry
Hello food lovers,
Here is a basic recipe that you may have already discovered in many of my tart recipes.
This is THE shortcrust pastry recipe you can use for all your tart and tartlet bases.

Here are the ingredients for 8 tartlets of 7 cm or a 25 cm diameter and 2 cm high ring :
Shortcrust pastry
- 125gr tempered butter
- 75gr icing sugar
- 25gr egg
- 2gr salt
- Zest of 2 limes
- 225gr flour
Egg wash
- 1 egg yolk
- 1 tsp full-fat cream
Let's get started with the recipe!
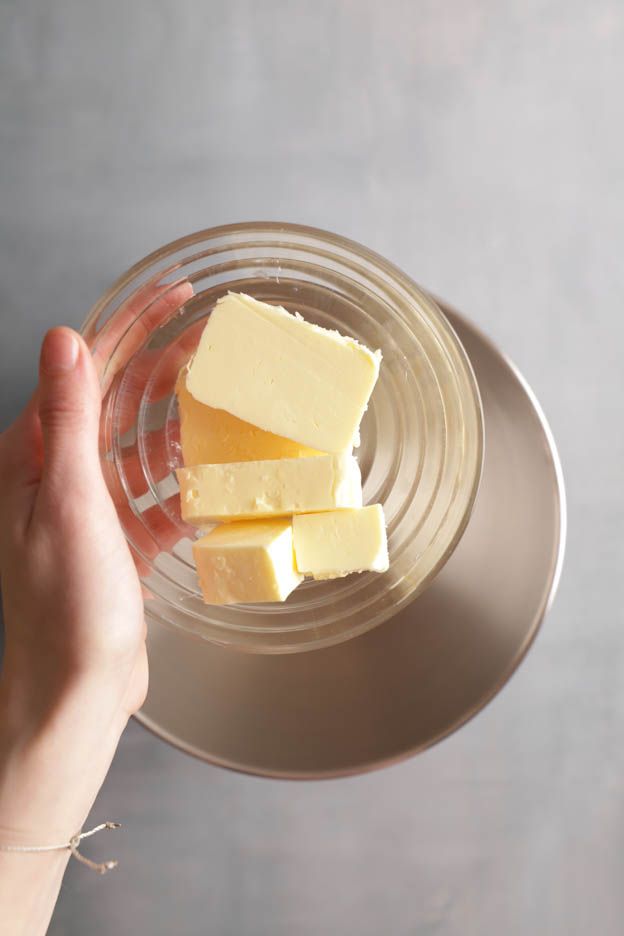
Start by cutting 125gr of butter into pieces and place it in a mixing bowl.
The butter should be at room temperature. If it is too cold, put it in the microwave at 600Watt for about 10 seconds.

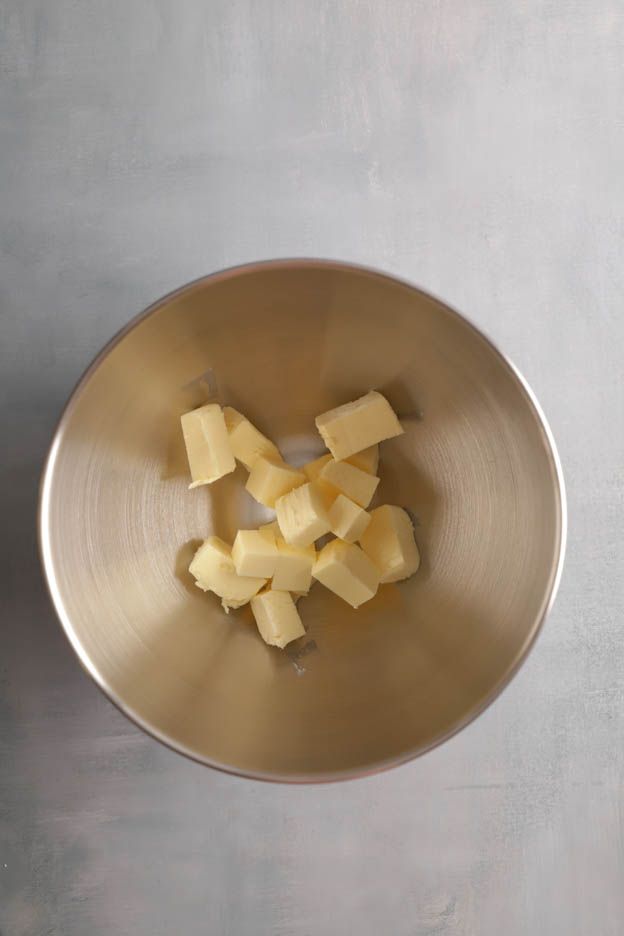
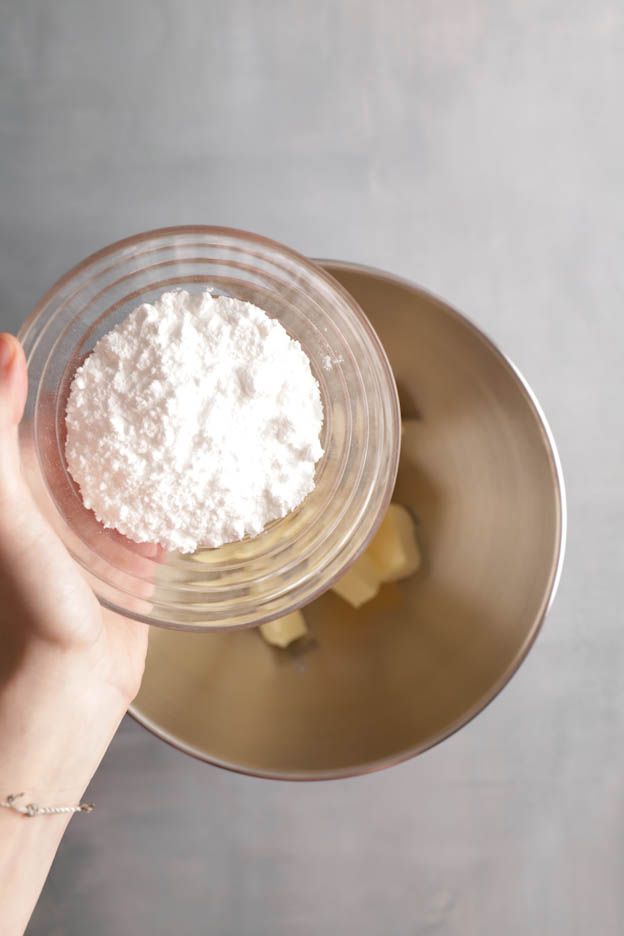
Add 75gr of icing sugar.
Mix these two ingredients using the flat beater (K attachment) until the mixture becomes creamy and smooth.


Crack an egg and lightly beat it with a fork. Then weigh 25gr of egg and add it to the bowl with the rest.
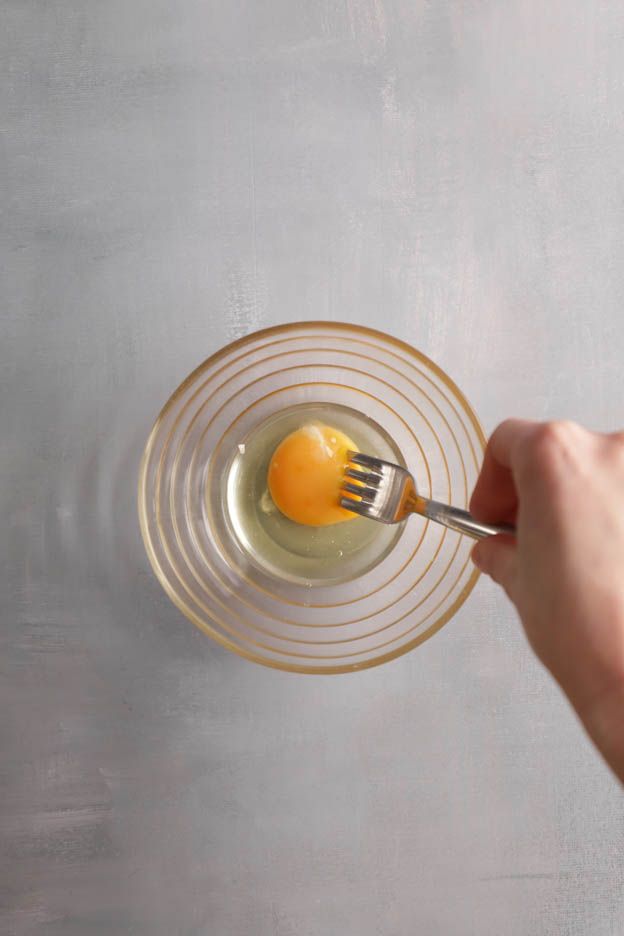
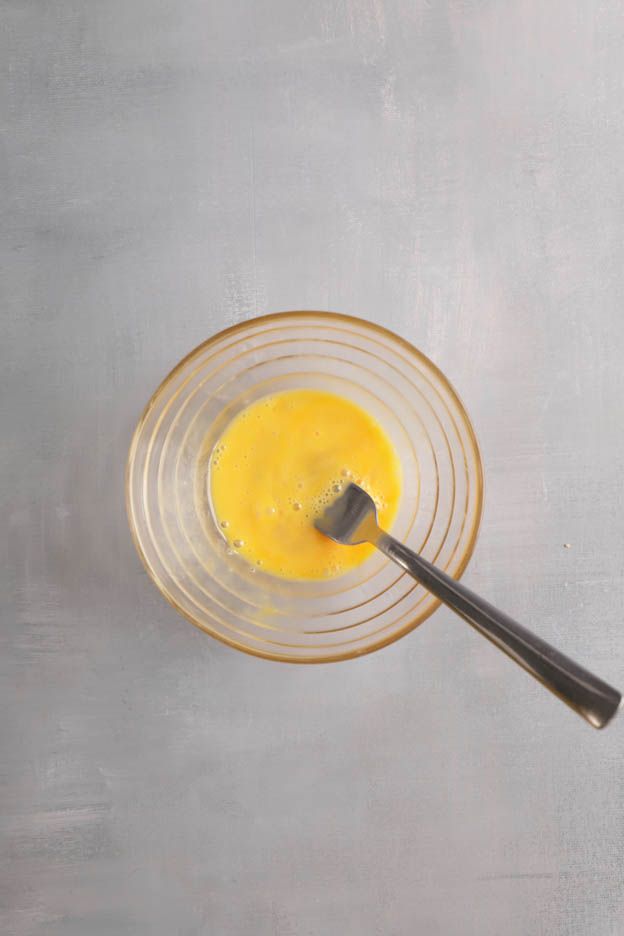

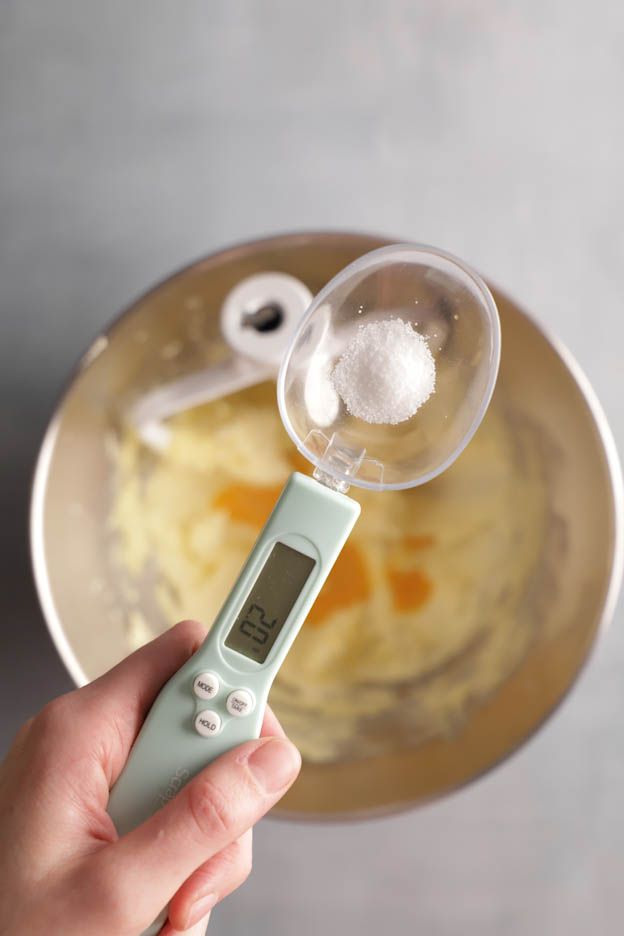
Weigh 2gr of salt using a precision spoon scale and add it to the mixture.
Zest 2 limes using the famous magic grater! I love this grater! It's magical and works with all citrus fruits as well as tonka beans. It also helps to level a tart base — in short, I love it!
Mix just a few seconds with the flat beater.


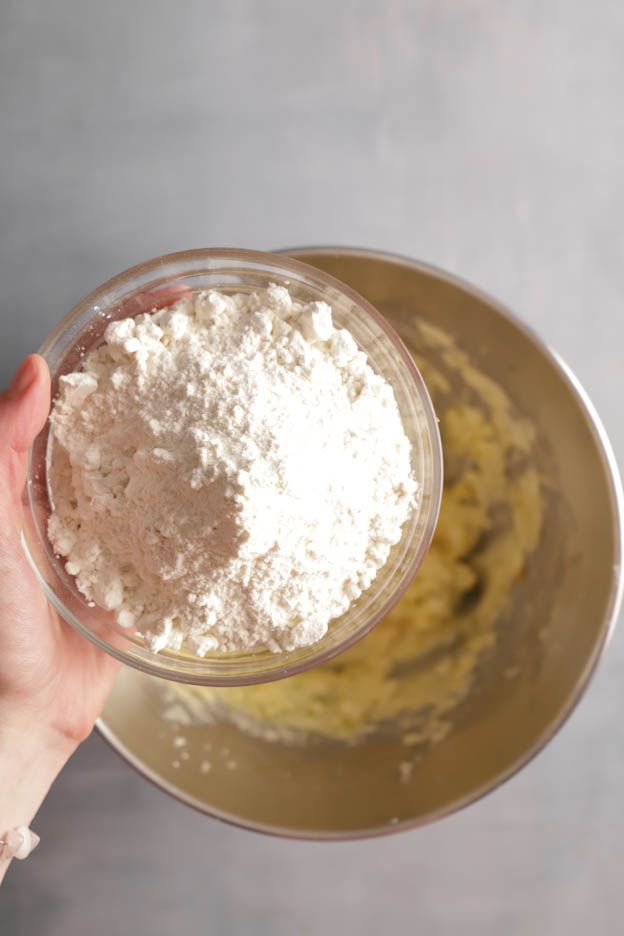
Finish by adding 225gr of flour and mix very very lightly with the flat beater. As soon as you see a crumble-like texture, as in the second photo below, stop the flat beater and finish kneading by hand.
If you mix too much, the gluten will develop and your pastry will puff up during baking. We want something nice and smooth that doesn't rise too much when baking. So don't over-mix! And everything will be fine. :o)
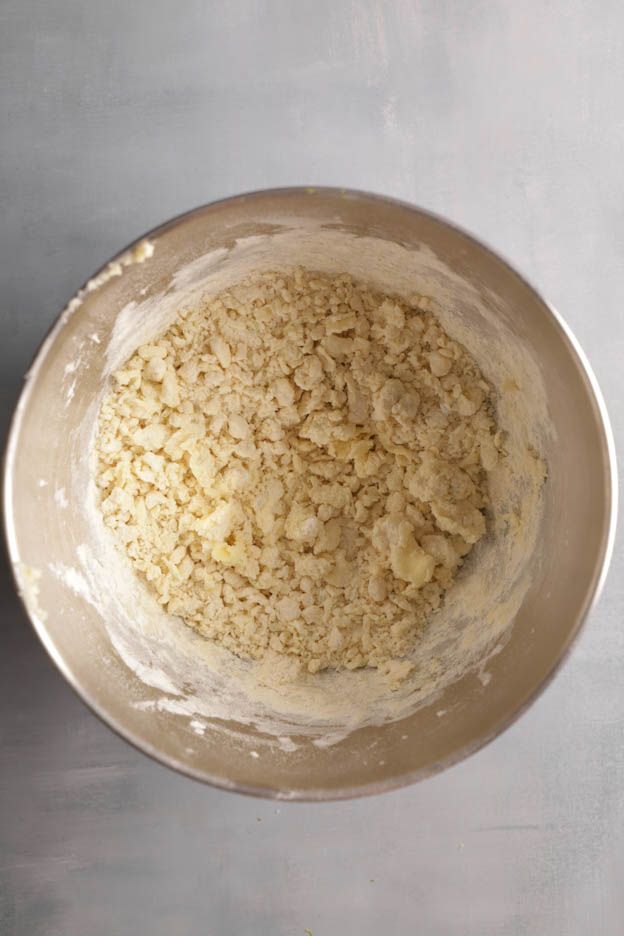
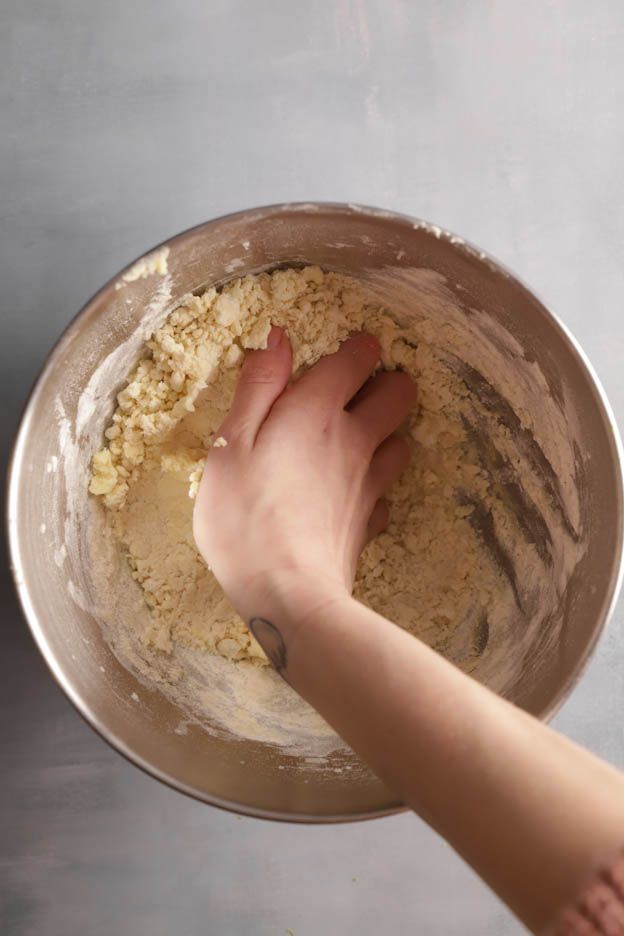
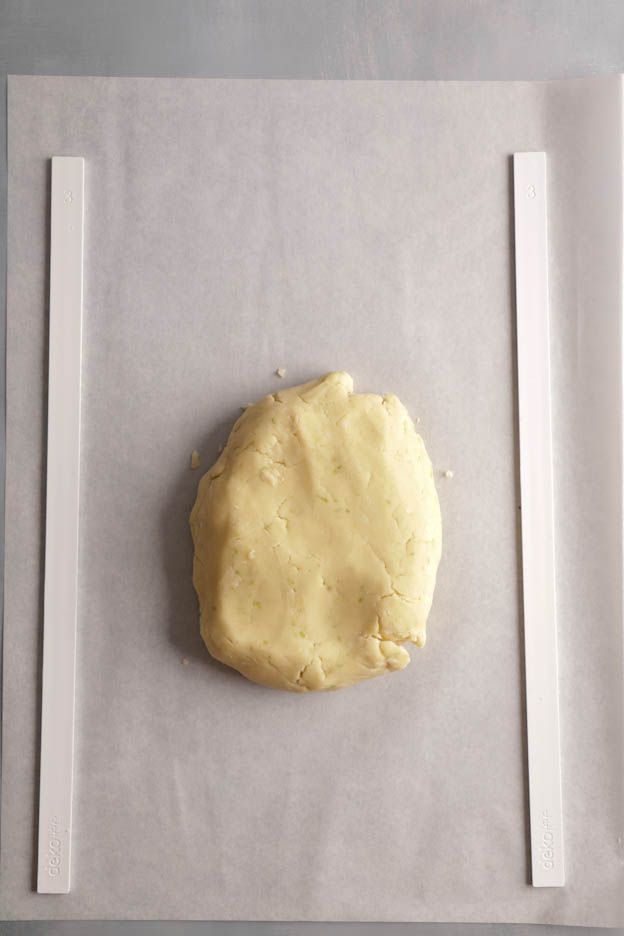
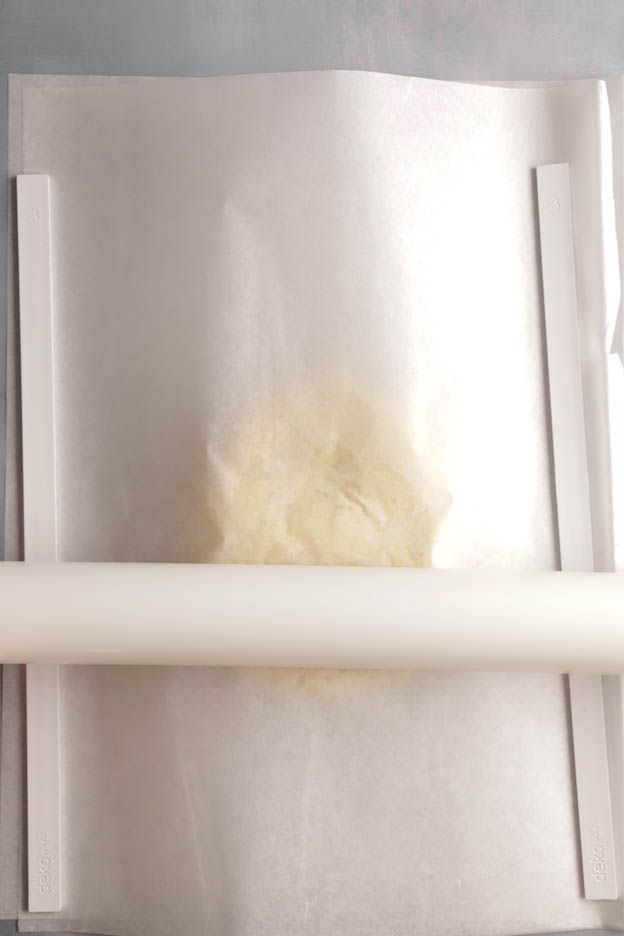
Once the dough is well mixed, place it between two sheets of baking paper. Place your 3 mm guide sticks next to the dough and roll it out evenly with your rolling pin.
Make sure the dough is smooth and evenly rolled out. Then place it in the freezer for 10 minutes.
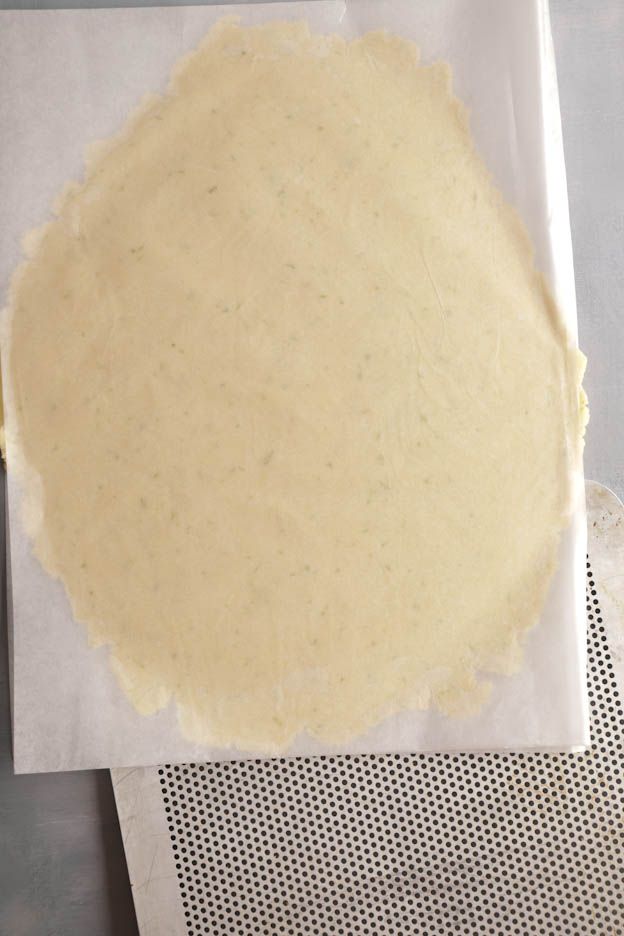
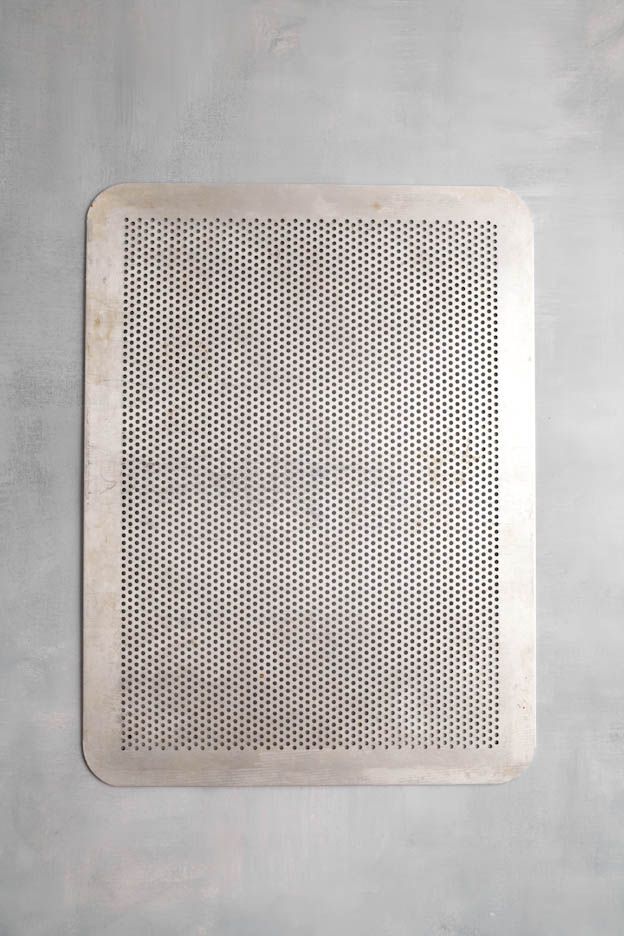
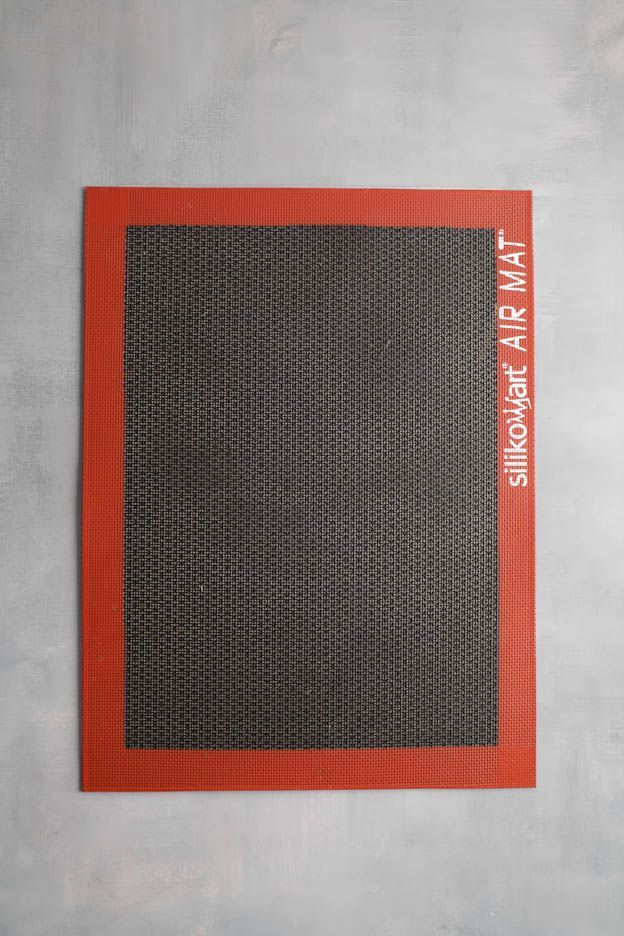
Get yourself a perforated baking tray and a perforated baking mat. Baking will be optimal with these two tools! The pastry will be crispy and well baked all the way through.
I used the 7 cm perforated rings from Silikomart here. These perforated rings are our favourites — you'll get a beautiful finish and a perfect bake. You can find them in different sizes in our range.
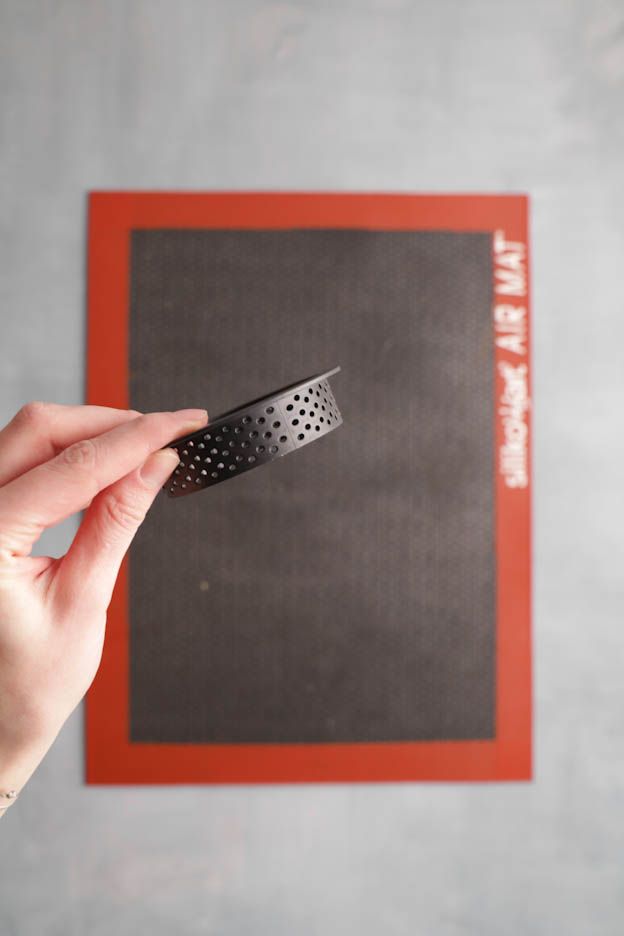
Once the 10 minutes are up, take your shortcrust pastry out of the freezer and cut it with the rings. Yes, that's exactly what they're for! They also work as cookie cutters! :o) So handy!
Leave the dough in the rings.
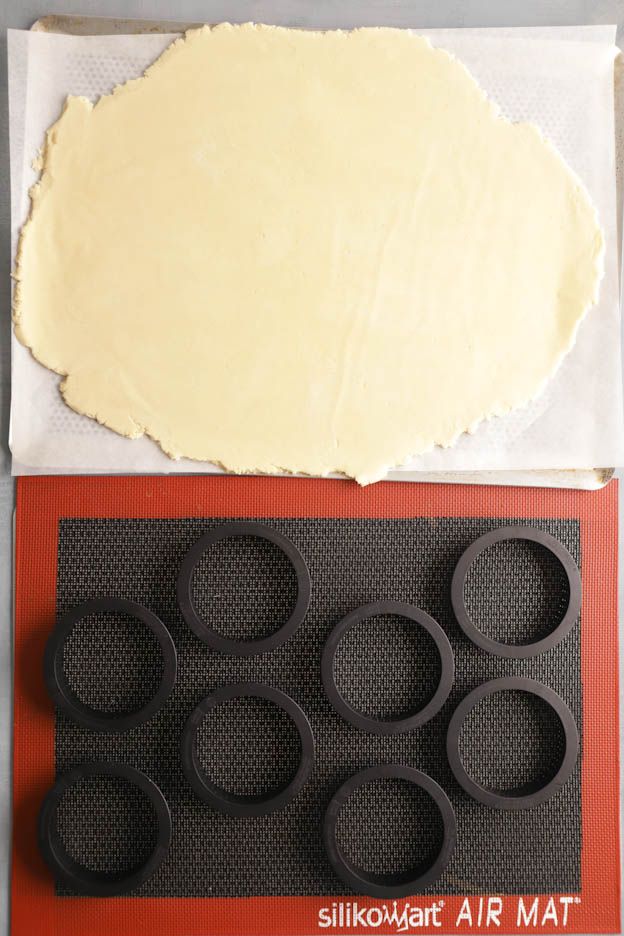
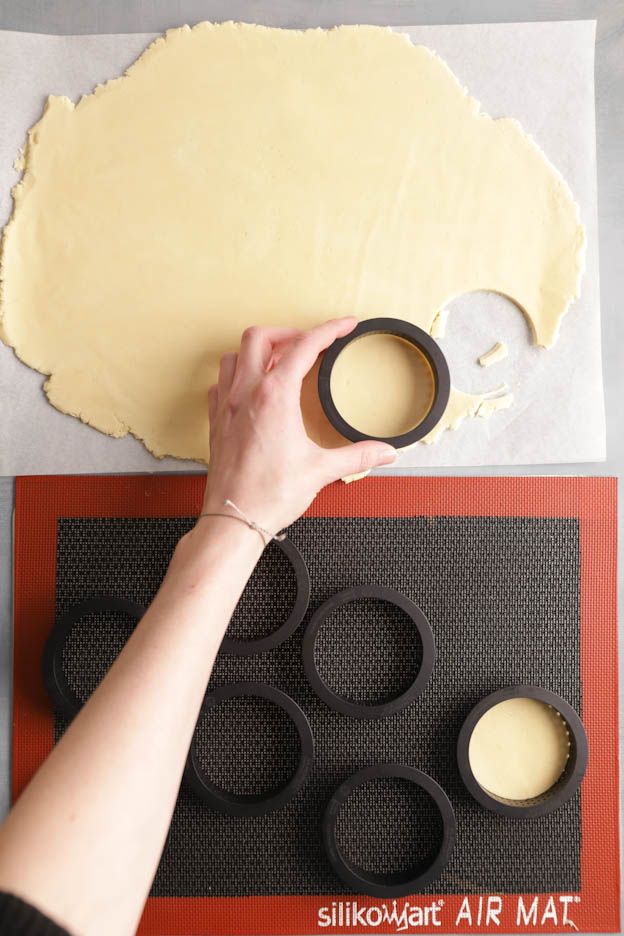
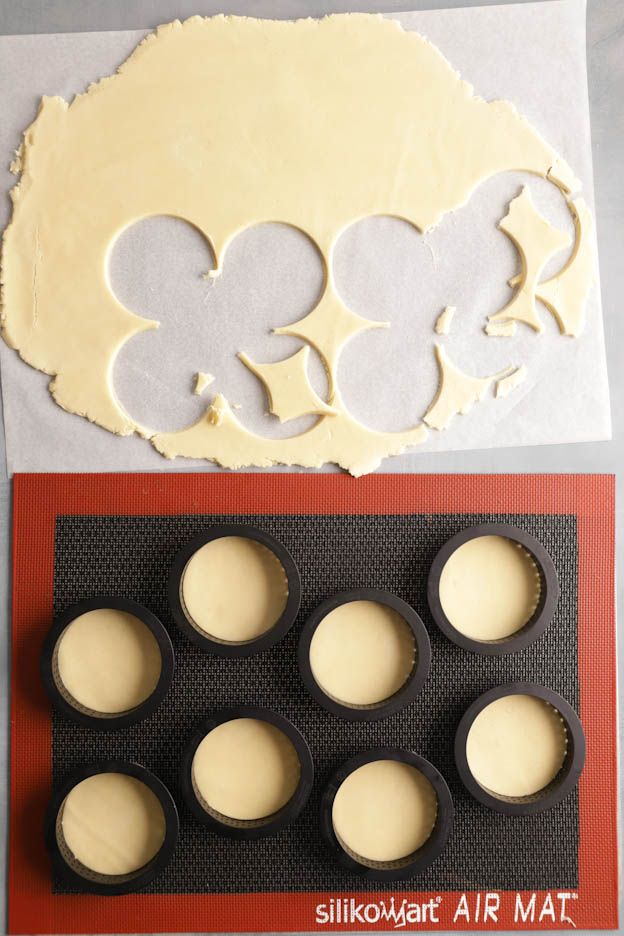
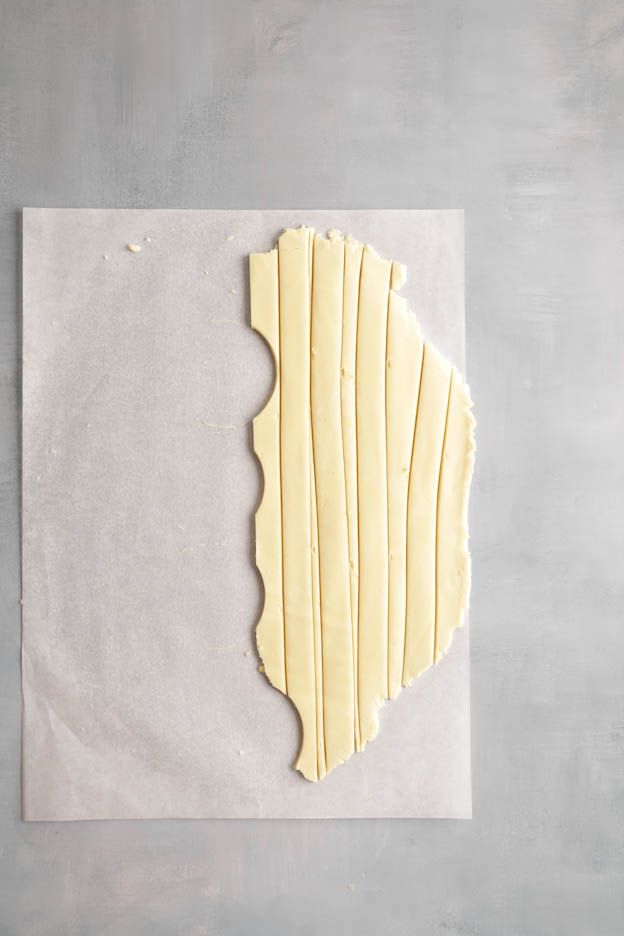
With the remaining rolled-out dough and using the pastry cutter, cut strips 2 cm wide.
This is a perfect tool to get evenly cut strips of dough and therefore even tartlet edges.
You will need to re-roll your dough to have enough strips. Place it back in the freezer for a few moments before continuing to cut it.
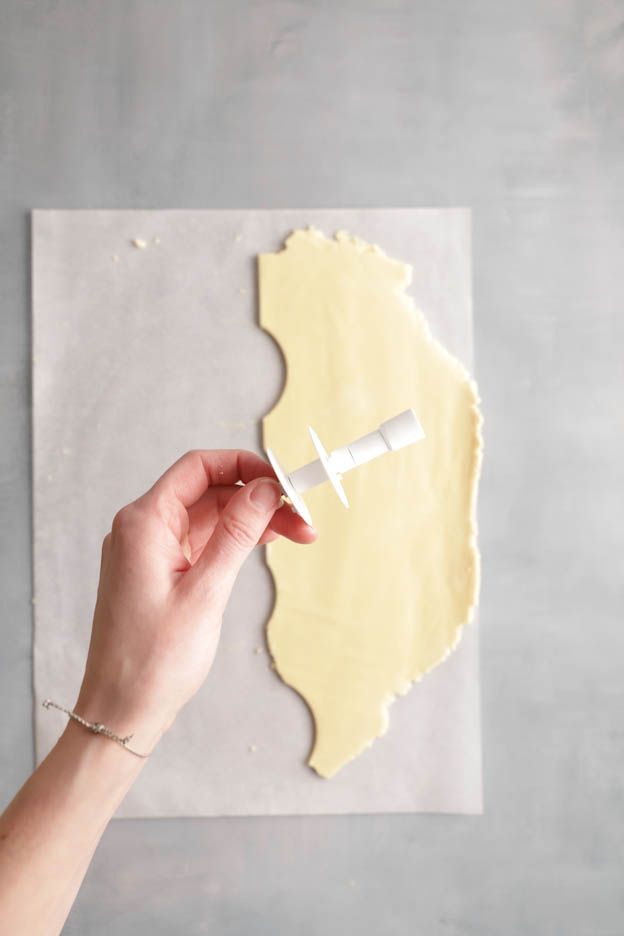
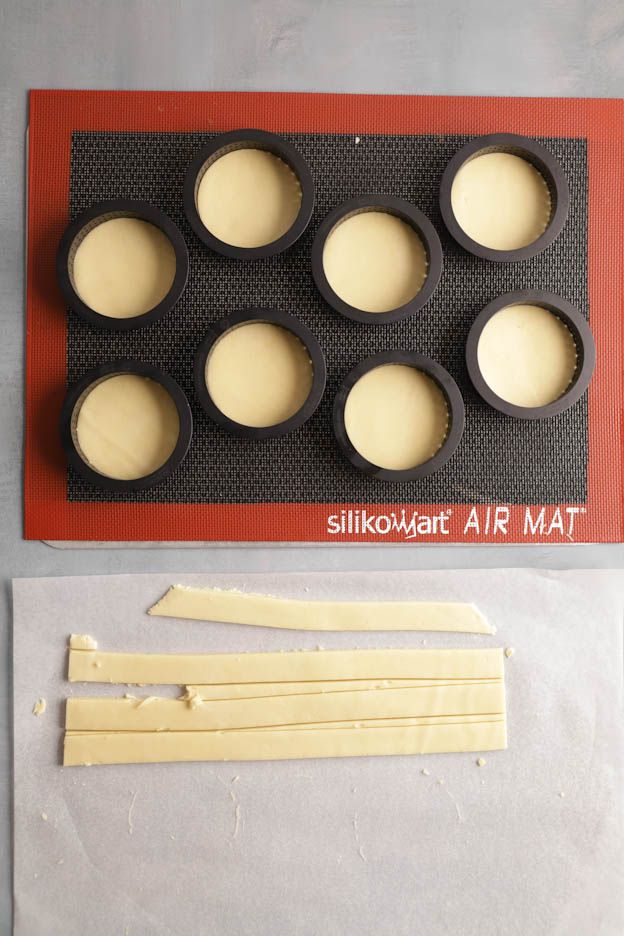
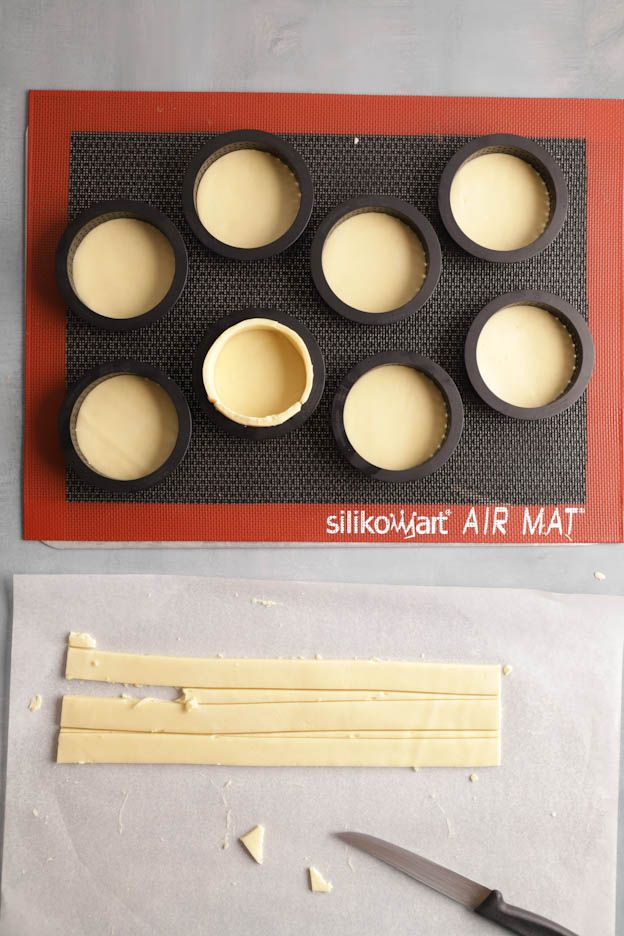
Place the strips of dough against the ring, pressing them firmly against the tart base.
Trim the excess dough with a smooth knife. Press the knife firmly against the tartlet ring to get a nice clean pastry edge.

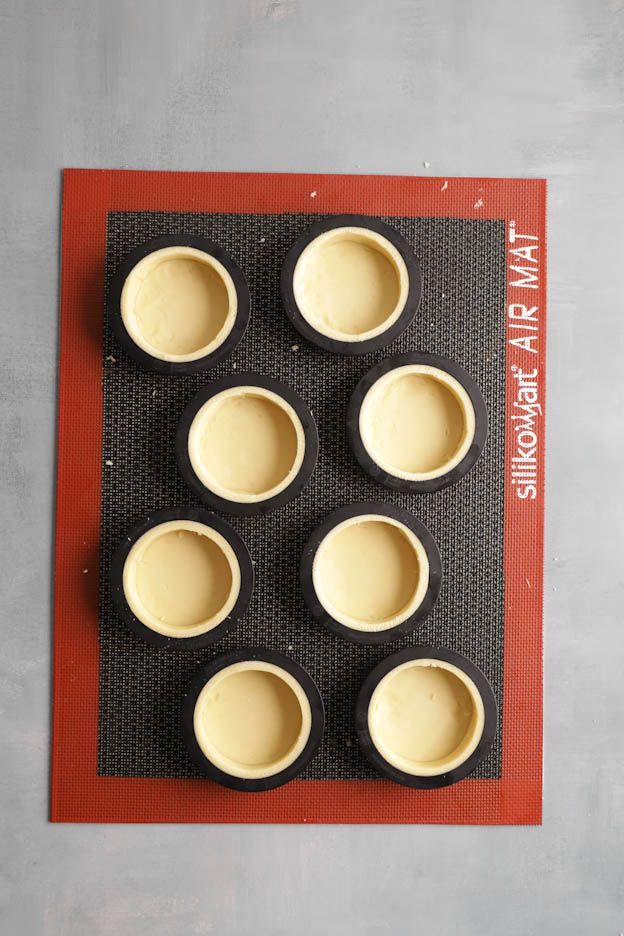
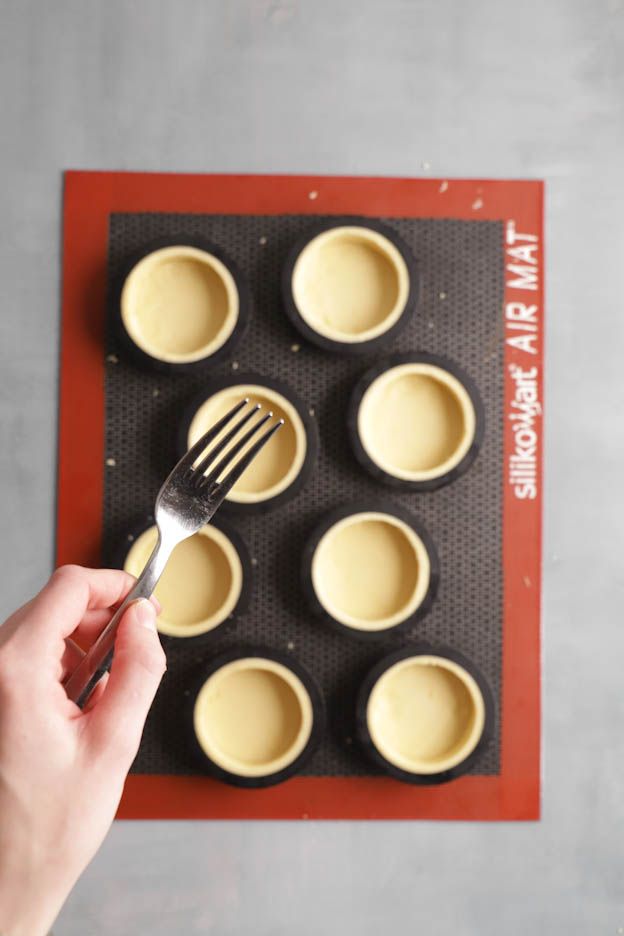
Dock the dough with a fork so that the tartlet bases don't puff up during baking.
Place the tartlet bases in the freezer for about 20 minutes.
In the meantime, preheat the oven to 170°C, fan-assisted.
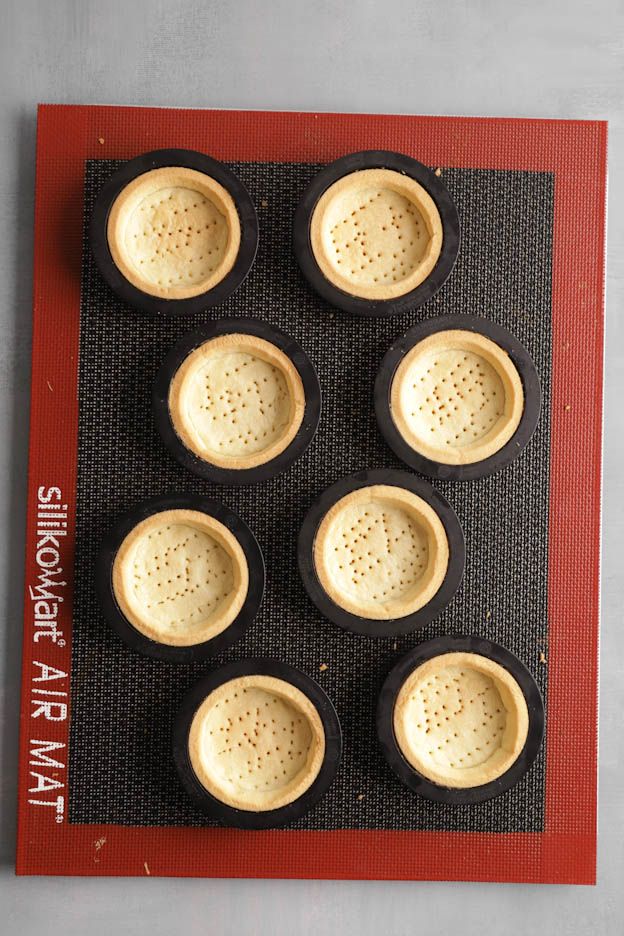
Bake the tartlets for 20 minutes in the middle of the oven.


There you go! Our tartlet bases are nicely baked and have a beautiful colour.
Leave your oven on, we'll need it again in a few minutes.
Wait about 10 minutes for the bases to cool down.
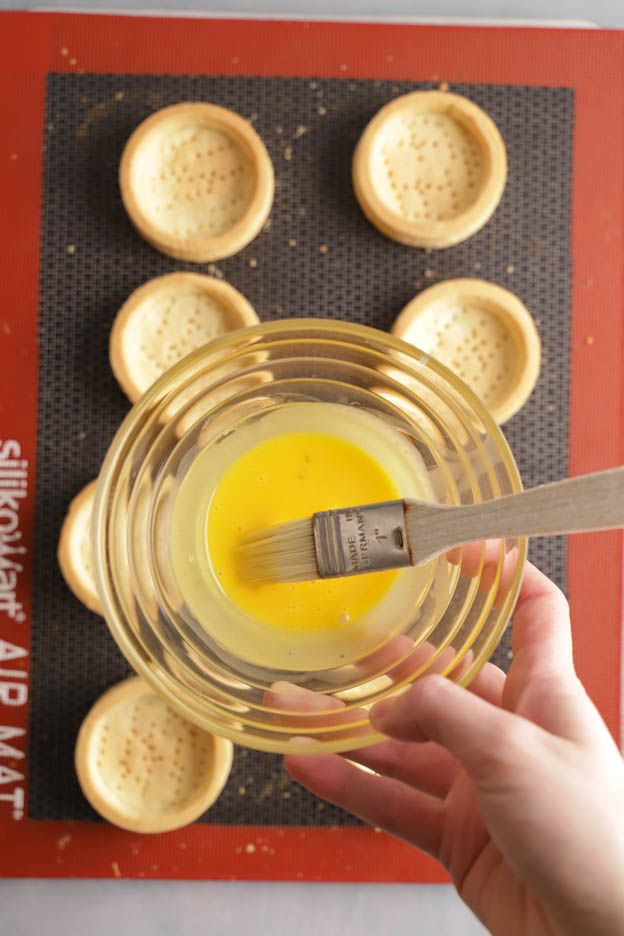
In the meantime, we'll prepare an egg wash to make the tartlet bases shine.
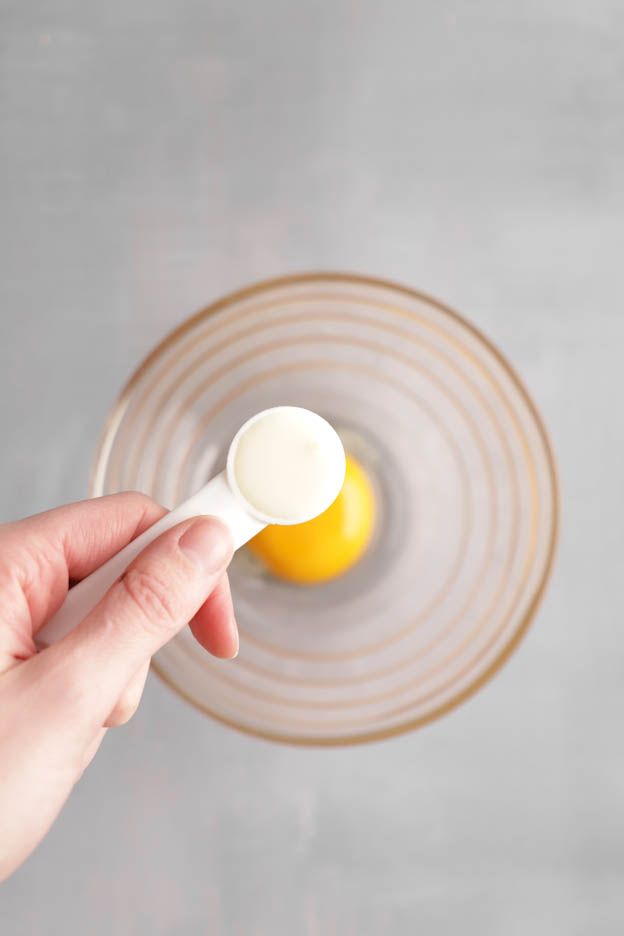
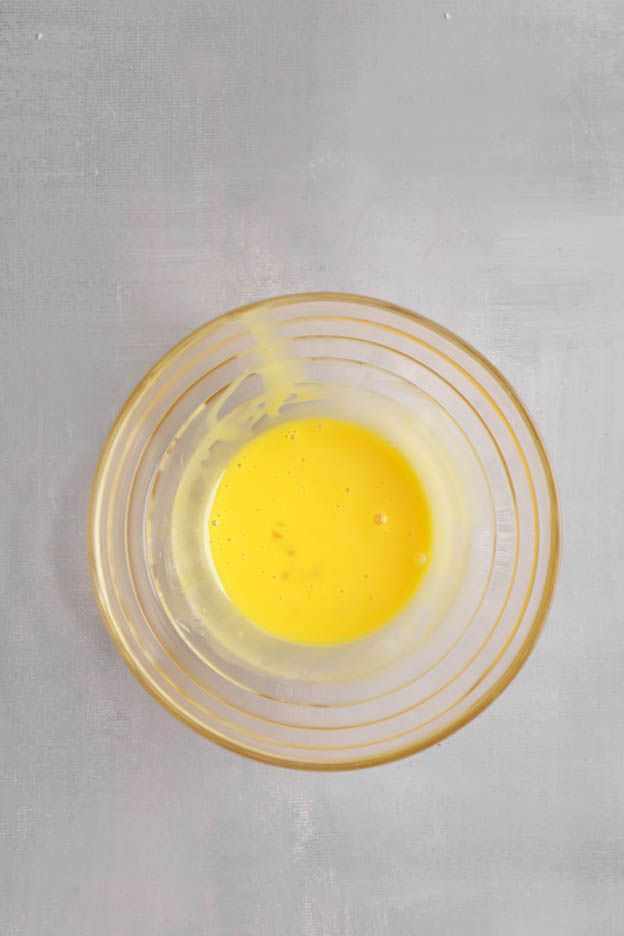
In a bowl, pour 1 egg yolk and 1 tsp of full-fat cream. Mix everything together well with a fork.
Carefully remove the rings from the tartlet bases.

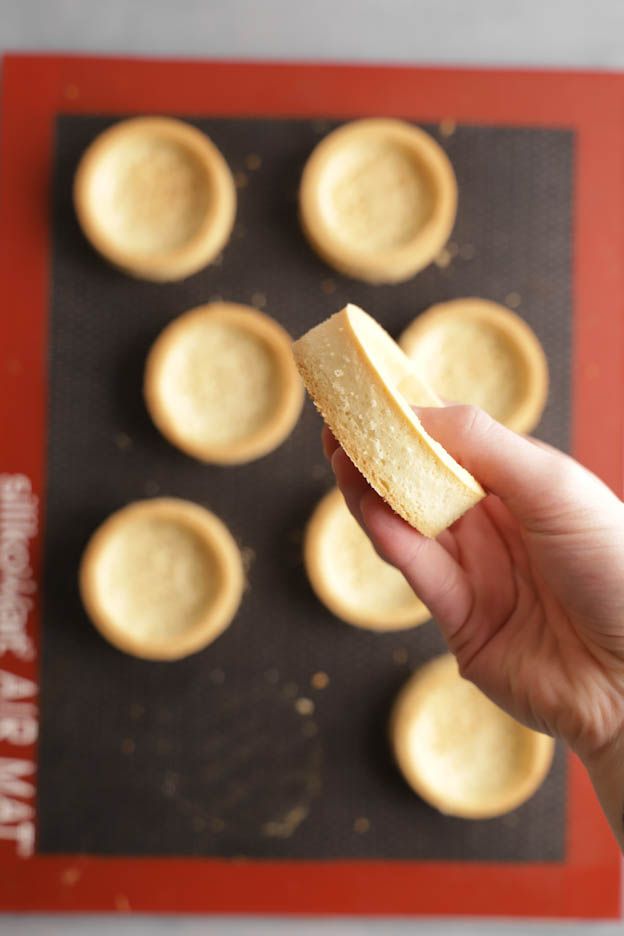

To get a clean and neat result, gently file the edges of the tartlets with the microplane grater.
Be careful not to press too hard so as not to damage them!
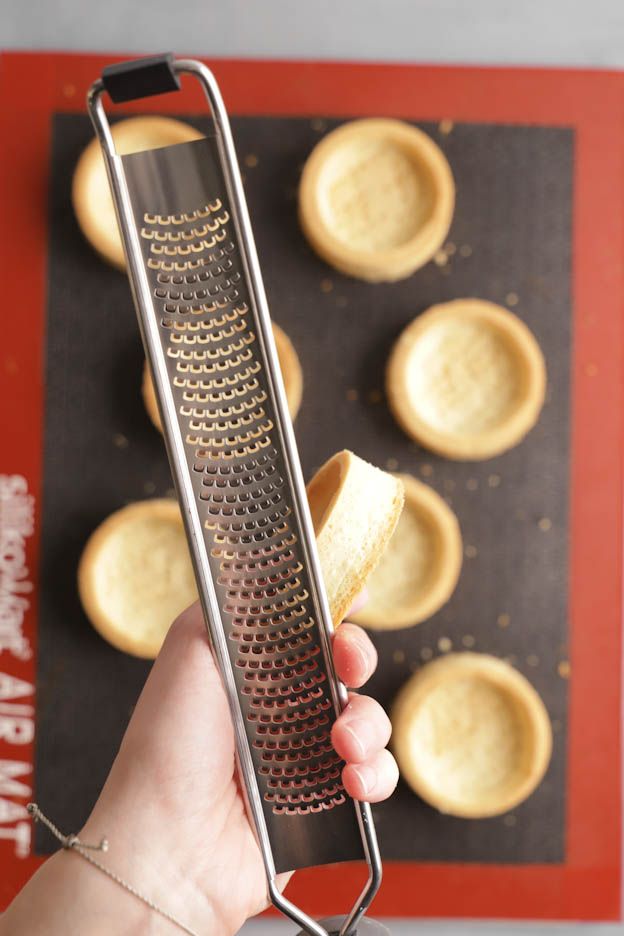
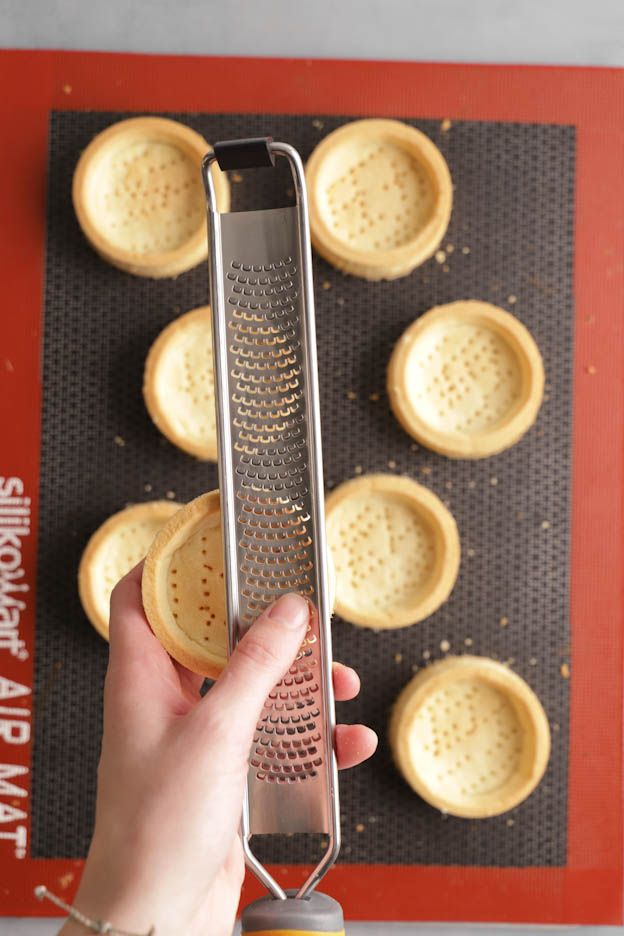
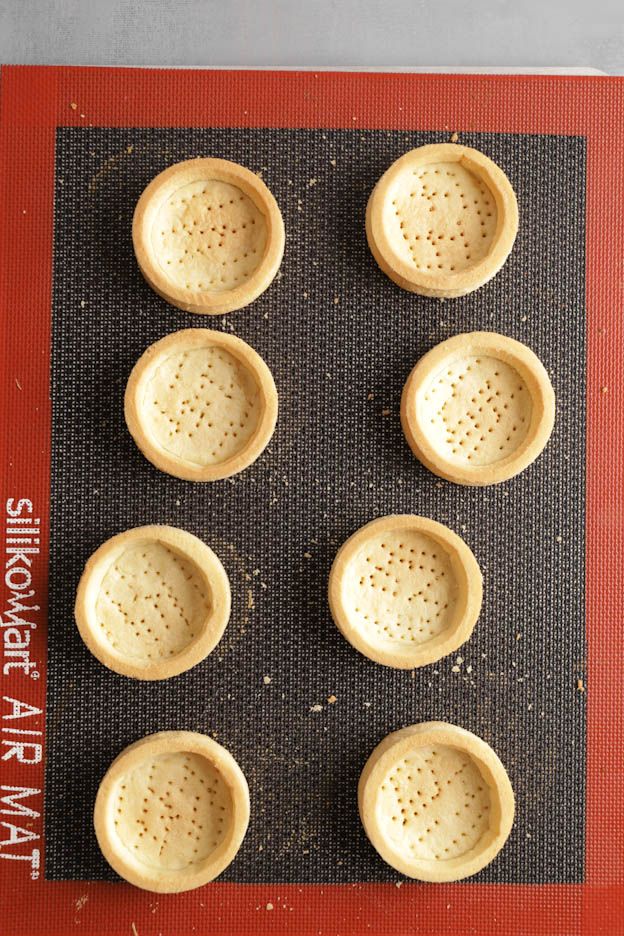
Using a pastry brush, spread a thin layer of egg wash on the inside and outside of the tartlets.
Place the bases back in the oven for 5 minutes. This will make the egg wash shine and set.
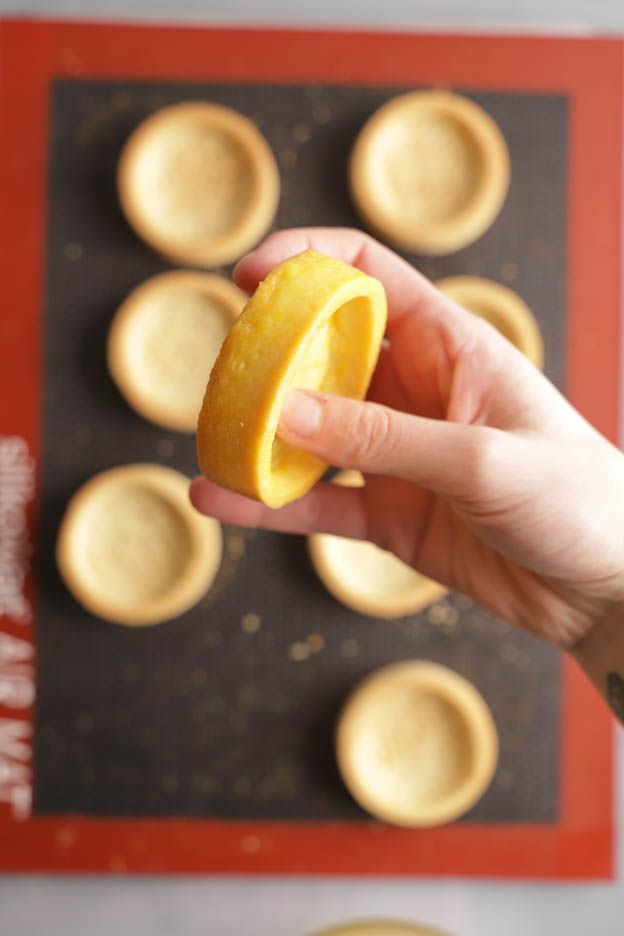

After 5 minutes of baking, let them cool to room temperature.
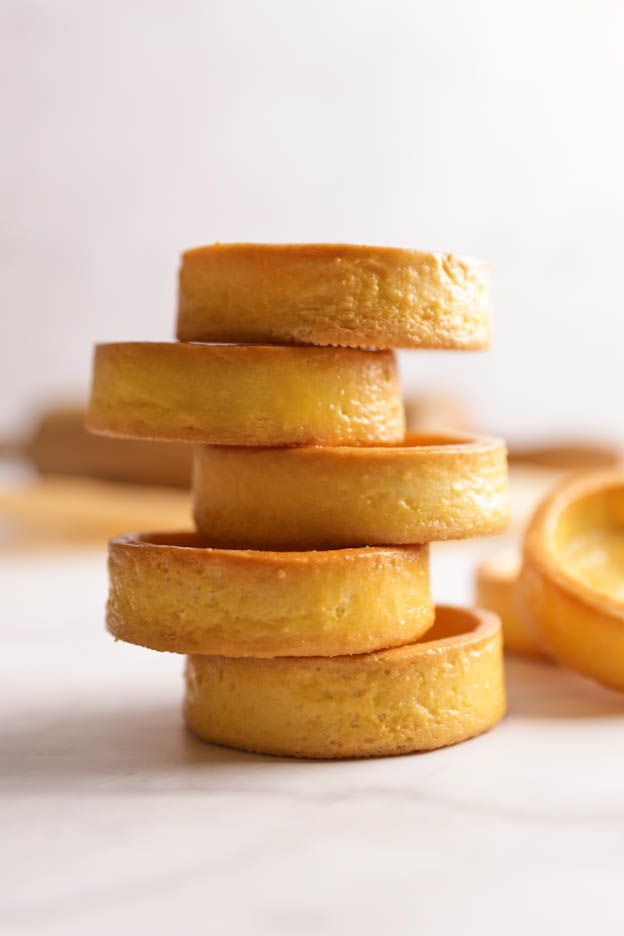
Here's the result! Beautiful, shiny tartlets. :o)
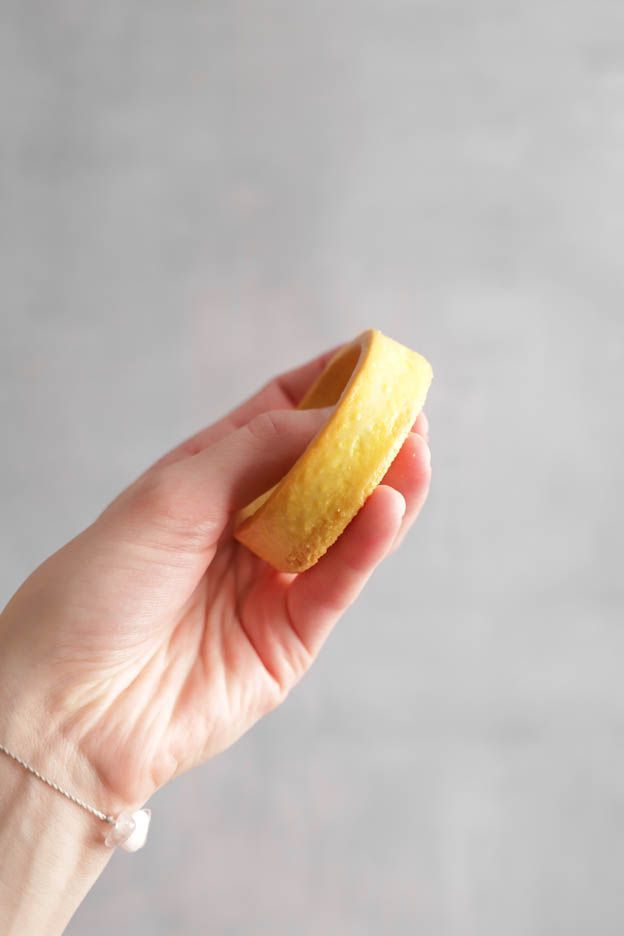
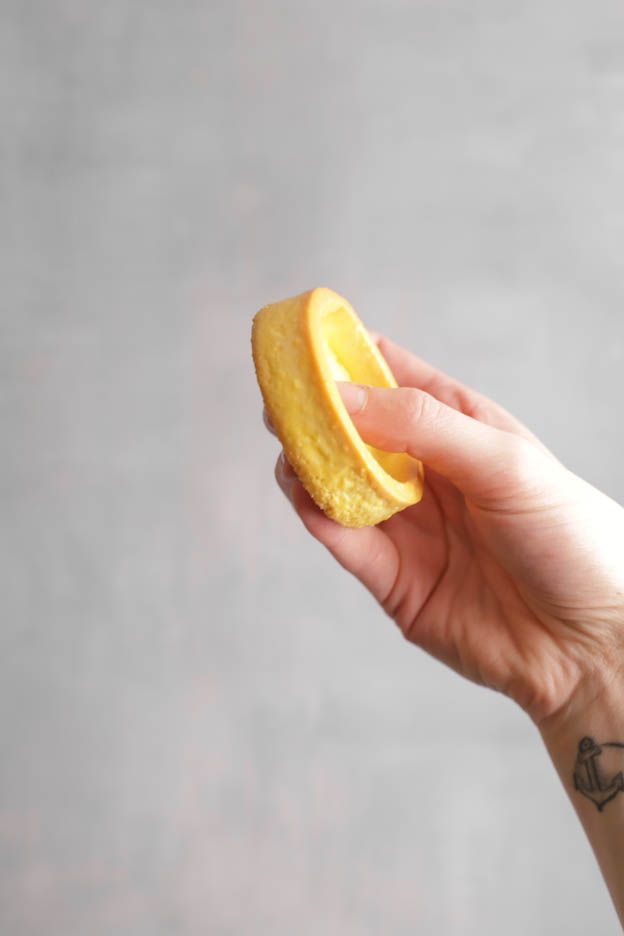
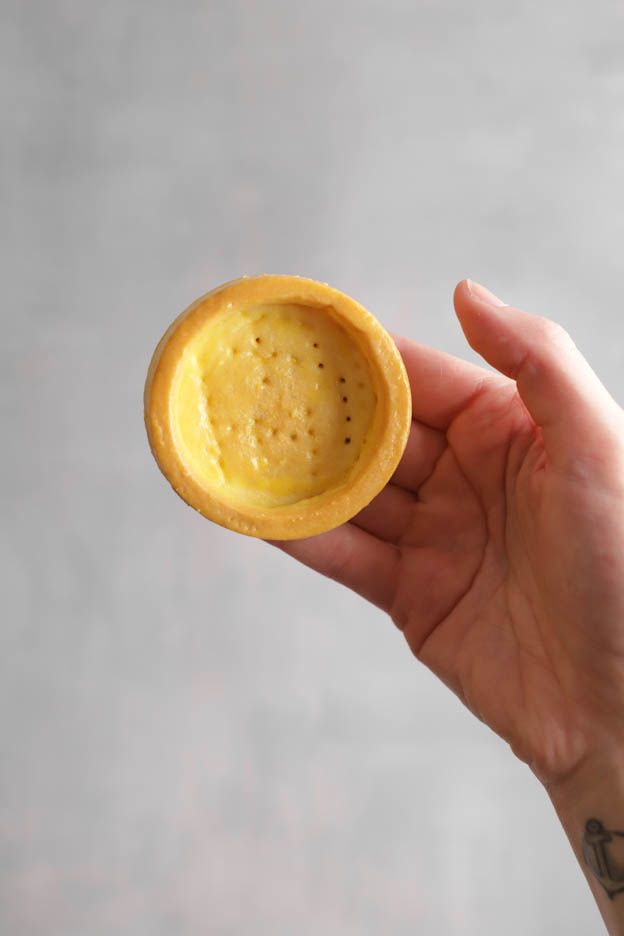
The tartlet bases keep for 4 to 5 days in a well-sealed airtight container.
On our blog, you can find various tart recipes in the "Tarts and entremets" category.
In the "Basic recipes" section, you will find the recipes for orange cremeux and passion fruit cremeux to fill the tartlets.
Have a wonderful day, food lovers!
Karin
P.S.: All the equipment used can be found at the bottom of the recipe.



Related posts
 Juicy Matcha Muffins with Pecan Nuts & White Chocolate
Matcha Iced Latte & Coconut Variant
Pull-apart bread with fresh wild garlic pesto
Mini Banana Bread with Chocolate Chips
Juicy Matcha Muffins with Pecan Nuts & White Chocolate
Matcha Iced Latte & Coconut Variant
Pull-apart bread with fresh wild garlic pesto
Mini Banana Bread with Chocolate Chips
Leave a comment
Comments
Question de Véronique
By: Véronique L. On 2025-04-10Bonjour, peut-on les congeler ? Merci de votre réponse. Belle journée !
Replied by: Karin On 2025-04-10
Replied by: Véronique L. On 2025-04-13