
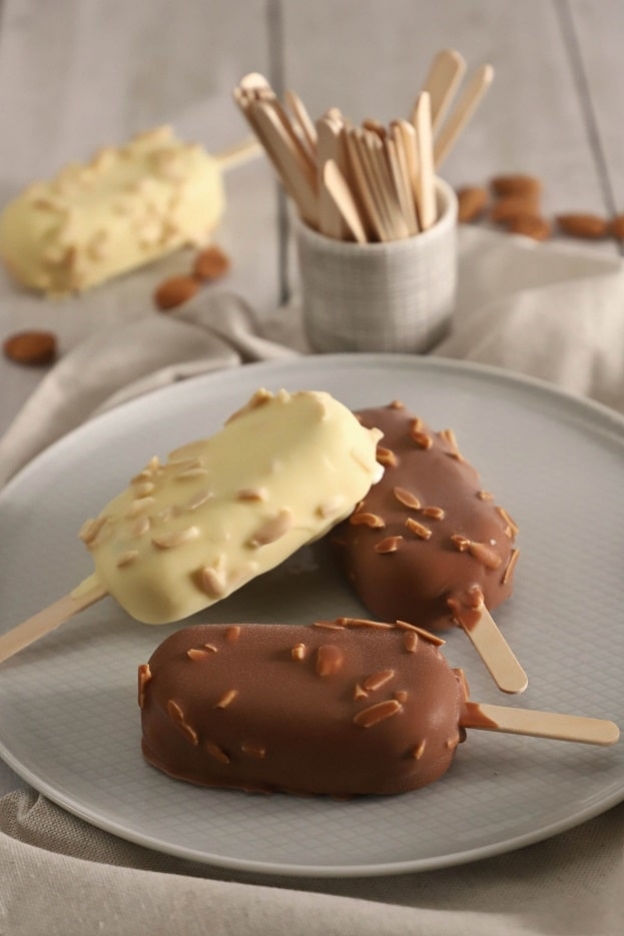
Homemade Magnum
Hello foodies,
With summer on its way, what could be better than an ice cream recipe? ;-) Many of you have asked us how to make homemade Magnums.
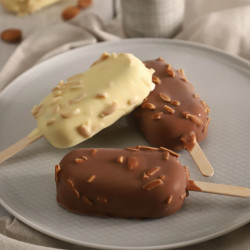
Here they are! :-) Delicious vanilla ice creams with a milk chocolate or white chocolate coating and almond sticks.

With this recipe you can make either 16 small ice creams, or 8 large ones or as in this tutorial 8 small and 4 large.
Here are the ingredients you will need:
Vanilla ice cream
- 200g whole milk
- 220g heavy cream
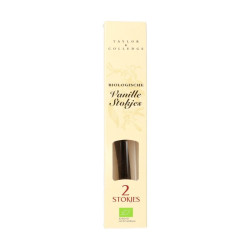
- 2 vanilla pods
- 2 egg yolks
- 84g sugar
Milk chocolate coating
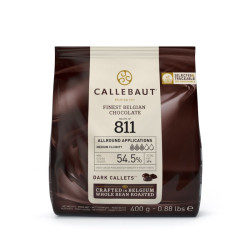
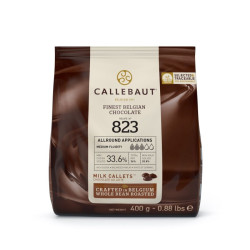
- 250g milk couverture chocolate
- 70g cocoa butter
- 35g rapeseed oil or grape seed oil
- 50g almond sticks
White chocolate coating
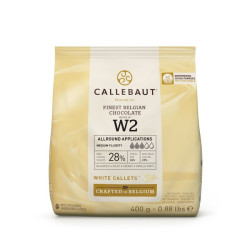
- 250g white couverture chocolate
- 70g cocoa butter
- 35g rapeseed oil or grape seed oil
- 50g almond sticks
First we will make the base for the vanilla ice cream, it will need to cool down and then set in the freezer.
Vanilla ice cream
In a bowl, add 2 egg yolks and 84g of sugar, mix well with a whisk.
Set the mixture aside for a few minutes.


In a saucepan, pour 200g of whole milk and 220g of heavy cream.


Using a knife, cut 2 vanilla pods in half lengthwise.
Then with the back of the knife, scrape the vanilla pods to collect the seeds and place them in the saucepan.


Place the scraped vanilla pods in the milk/cream mixture so they infuse well during cooking.
Bring everything to a boil.


Once the milk/cream/vanilla mixture comes to a boil, remove the saucepan from the heat.
Pour it in 2 additions over the egg yolk/sugar mixture while stirring constantly, to prevent the eggs from curdling.


Pour everything back into the saucepan and place it over medium heat.
Stir continuously throughout the cooking to prevent the eggs from scrambling.
For all my cooking where I need to monitor temperature, I use this whisk with a built-in thermometer.
Set the thermometer to the desired temperature and it will beep once that temperature is reached. Here, the vanilla cream must reach 82°C.


Once the mixture reaches 82°C, immediately remove the saucepan from the heat.
Pour the mixture into a bowl and cover with cling film pressed directly onto the surface (i.e. press the cling film against the mixture). This prevents a skin from forming on top of the mixture.
Place the vanilla cream in the fridge for at least 2h.
Of course, you can also make this mixture the day before and leave it in the fridge overnight without any problem. :-)


Once the vanilla cream is well chilled, transfer it into a jug, then into an ice cream maker.
Yes, for this recipe you will need an ice cream maker! There are different types available at reasonable prices.
Let it churn for about 45 minutes. The churning time will depend on the ice cream maker and the temperature of your mixture.


In the meantime, prepare on a tray 2 classic ice cream moulds and 2 classic mini ice cream moulds.
Place the moulds in the freezer while the ice cream finishes churning. This way the ice cream won't melt too much when filling the moulds.
The ice cream is ready when it becomes nice and creamy.
Take the moulds out of the freezer and fill them with vanilla ice cream using a spoon.


Using a small offset spatula, spread the ice cream evenly in the moulds.
Place the ice cream sticks in the slot provided for this purpose. Note that the sticks are different for small and large ice creams.


If needed, add more ice cream and smooth again with your spatula.
Do the same for the mini ice cream moulds.
Now it's time for a minimum of 12h in the freezer. Patience, patience! ;-)


Once the ice creams are fully frozen, unmould them and place them on a tray lined with baking paper.
Put them back in the freezer briefly while you prepare the coatings.


Coating
For this recipe I chose to make two types of coatings, one with milk chocolate and another with white chocolate.
If you wish to make only one type of coating, you will need to adjust the quantities accordingly. ;-)
Start by toasting 100g of almond sticks (i.e. 50g for the milk chocolate coating, and 50g for the white chocolate coating). Toasting the almonds will give them a more pronounced flavour. :-)
Preheat your oven to 150°C, fan-forced.
Spread the almond sticks on a perforated mat and a perforated tray.
Bake in the middle of the oven for about 10 minutes.


Now it's time to prepare the coatings. Whether it's the milk chocolate or the white chocolate one, the method is exactly the same.
I recommend making one type of coating at a time, dipping half the ice creams, then preparing the other type.
Here, I'm showing you the milk chocolate version, let's go! :)
In a bowl, place 250g of milk chocolate and add 70g of cocoa butter.


Place the bowl with the chocolate/cocoa butter in the microwave for 1 minute at 600W.
Mix well with a spatula, put your bowl back in the microwave for 30 seconds and mix again.
Repeat this step (in 30-second intervals each time) until the chocolate and cocoa butter are completely melted.


Add 35g of rapeseed oil or grape seed oil to the melted chocolate. Then pour in the 50g of toasted almond sticks.


Mix well with the spatula.
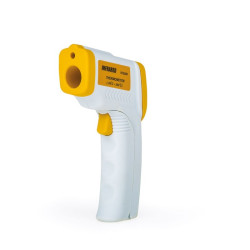
Check the temperature of the coating using a thermometer, it should be between 40°C and 42°C.
Transfer the coating into a 500 ml jug. Make sure your container is narrow and tall enough so you can properly dip the ice creams afterwards.


On a tray, prepare a sheet of baking paper to place the ice creams on once they are coated.
A little tip: Take the ice creams out one by one to coat them, otherwise they will melt too quickly.
For the coating, hold the ice cream by the stick, dip it into the coating, take it out and place it on the baking paper.
Try to put the ice creams back in the freezer quickly to prevent them from melting.


Do the same with the white chocolate coating.


You will have some coating left over, that's normal! However, I advise against reducing the quantities as it will make it more difficult to dip your ice creams.
Here's my tip: Pour the remaining coating onto a sheet of baking paper, spread it out with your offset spatula.
Slide the paper onto a tray and place everything in the fridge. Once the chocolate has hardened, break it into pieces to form shards. Not bad, right? You'll see, they won't last long before being eaten! ;-) However, keep them in the fridge in a sealed container.


There you have it, I hope you enjoy this homemade Magnum recipe!
The ice creams keep for about 3 months in the freezer.
In our range, we have different kinds of bags to wrap your ice creams. So handy!
I wish you a lovely Sunday and a beautiful summer! ;-)
Sophie
P.S.: All the equipment used can be found at the bottom of the recipe.


Related products
Mini wooden stick for ice cream
Microperforated silicone mats
Ice creams mold "Classic"
Parchment paper sheets
Infrared Thermometer
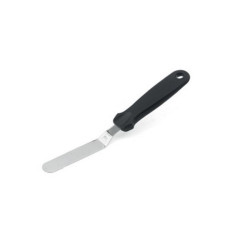
Angled spatula in steel
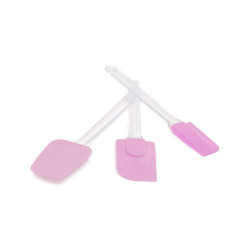
Spatulas set in silicone
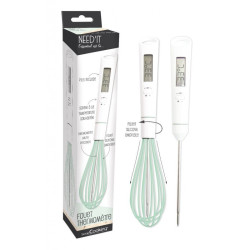
2 in 1 Whisk thermometer
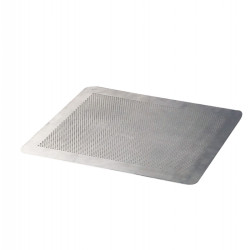
Flat perforated aluminium plate 40 x 30 cm
2 bio vanilla pods
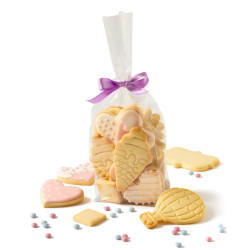
10 cookies bags 10 x 6 x 30 cm
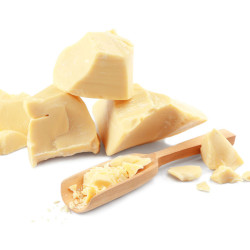
Cocoa butter granules 250 g
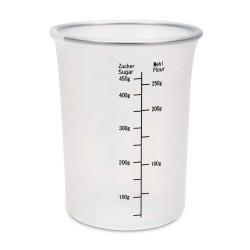
Silicone measuring cup 0.5 liter with pouring aid

Dough scraper light blue silicone, small
Cookie tin fair, 238 x 147 x 75 mm
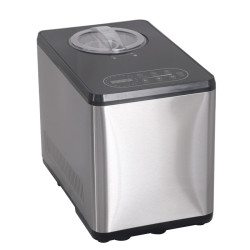
Ice cream maker 1.5 liter with compressor and timer

Related posts
 Juicy Matcha Muffins with Pecan Nuts & White Chocolate
Matcha Iced Latte & Coconut Variant
Pull-apart bread with fresh wild garlic pesto
Mini Banana Bread with Chocolate Chips
Juicy Matcha Muffins with Pecan Nuts & White Chocolate
Matcha Iced Latte & Coconut Variant
Pull-apart bread with fresh wild garlic pesto
Mini Banana Bread with Chocolate Chips
Leave a comment
Comments
Question de Héloïse
By: Héloïse R. On 2023-07-05Bonjour,
Combien de temps au congélateur pour que le chocolat de l'enrobage durcisse?
Merci :)
Replied by: Karin On 2023-07-05
Question de Natacha
By: Natacha B. On 2023-05-23Bonjour! Miam! Merci pour la recette trop bonne comme d'habitude :-)
Pourrait-on mettre un peu de sirop de glucose à la place du sucre pour que la glace soit un peu moins dure? Si oui, quelle proportion?
Merci et belle soirée!
Replied by: Laura On 2023-05-24
Question de Rachel
By: Rachel O. On 2022-08-06Bonjour,
Recette absolument délicieuse ! Merci beaucoup et pour le plaisir de nos papilles!
Le seul hic, la glace colle un peu en demoulant. Faut-il graisser les moules préalablement ? Merci pour votre retour
Replied by: Laura On 2022-08-08