
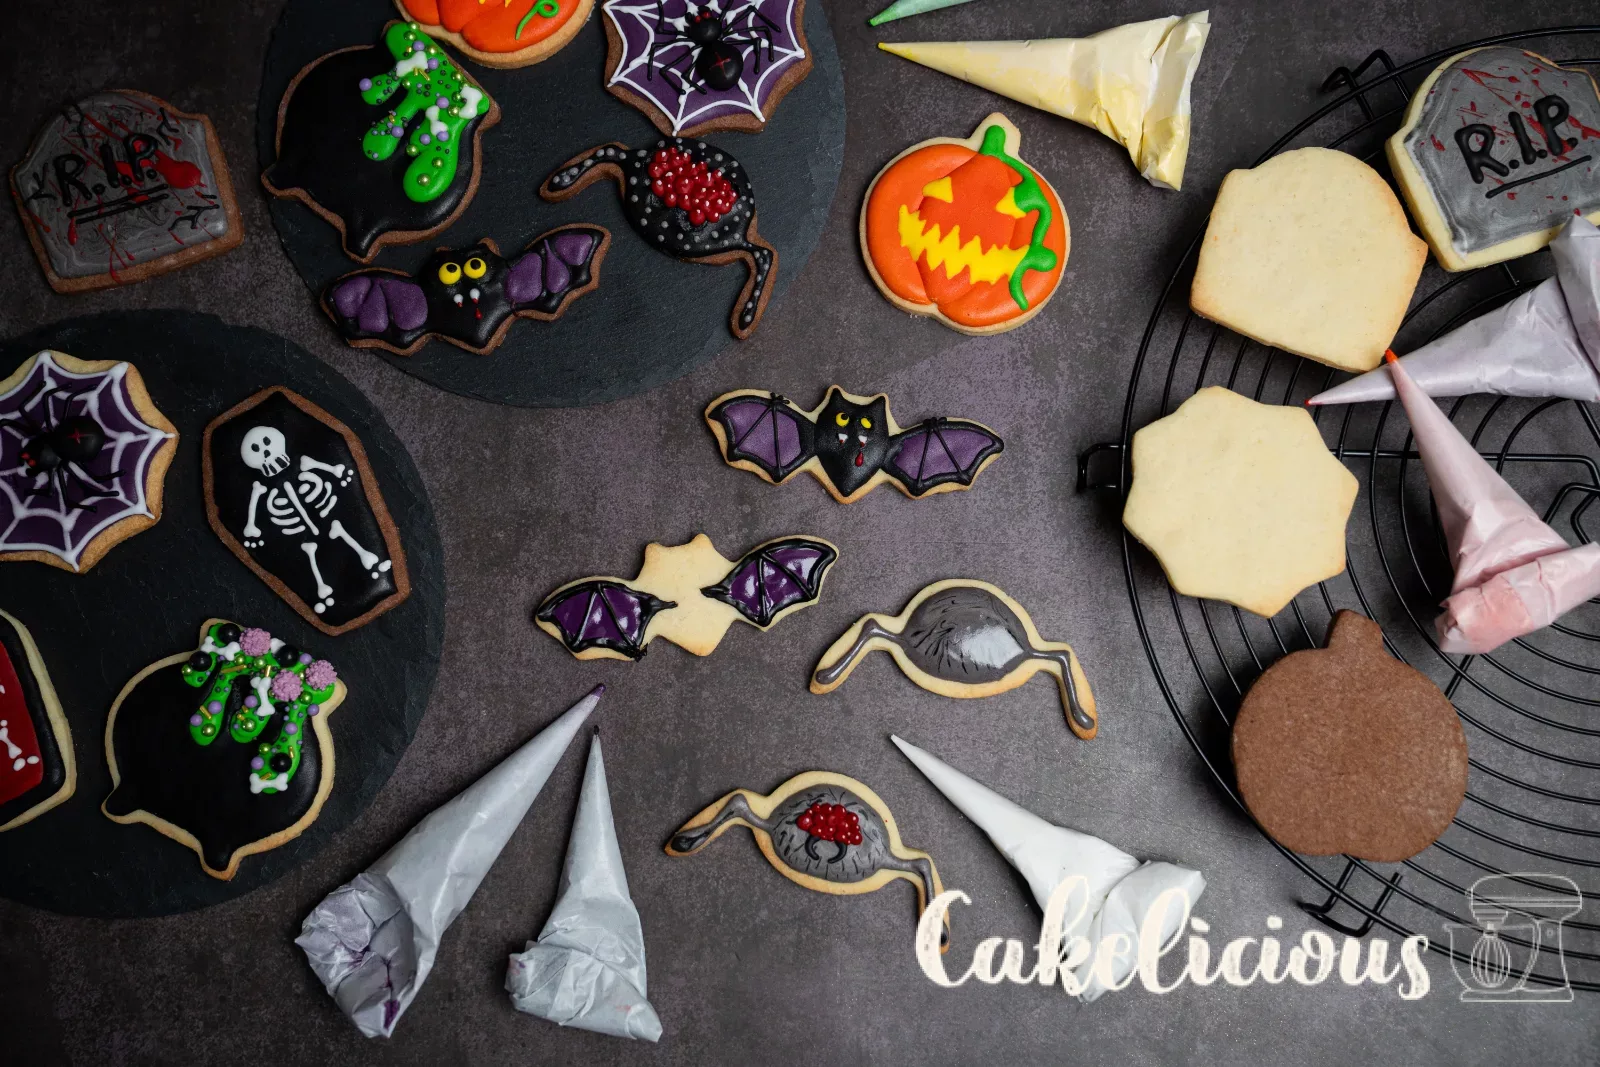
Halloween cookies with Royal icing
Shortcrust pastry cookies with colourful sugar icing, decorated step by step
Hello food lovers,
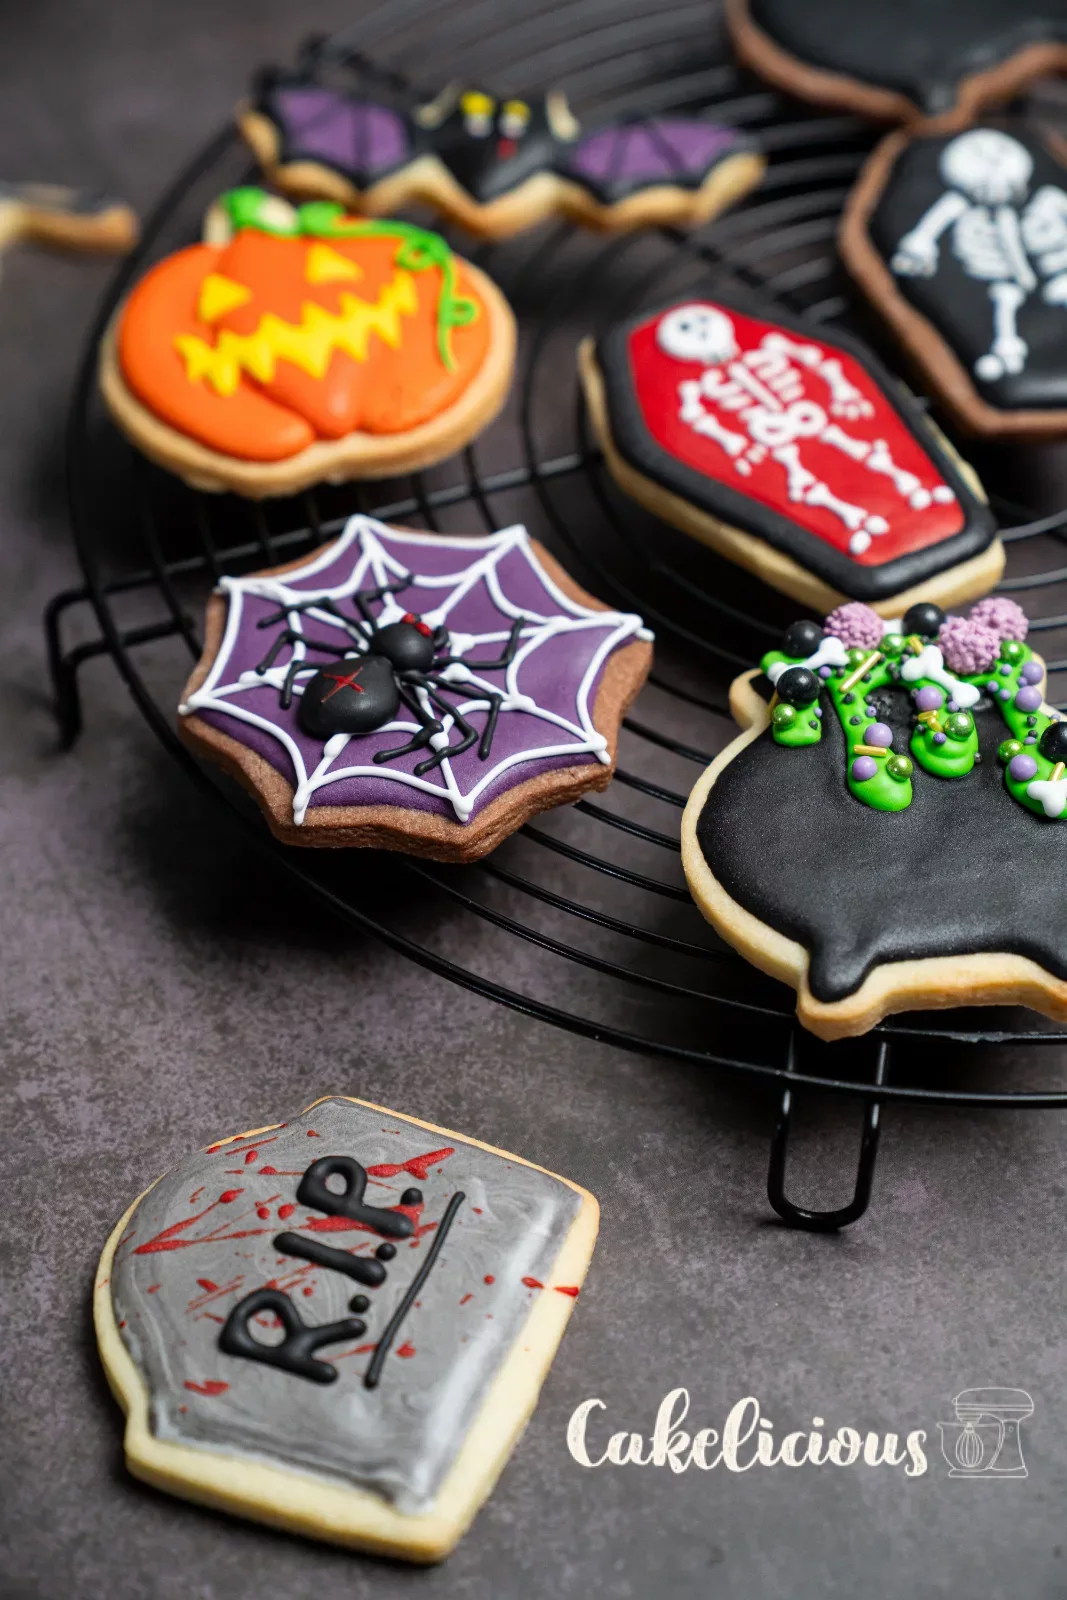
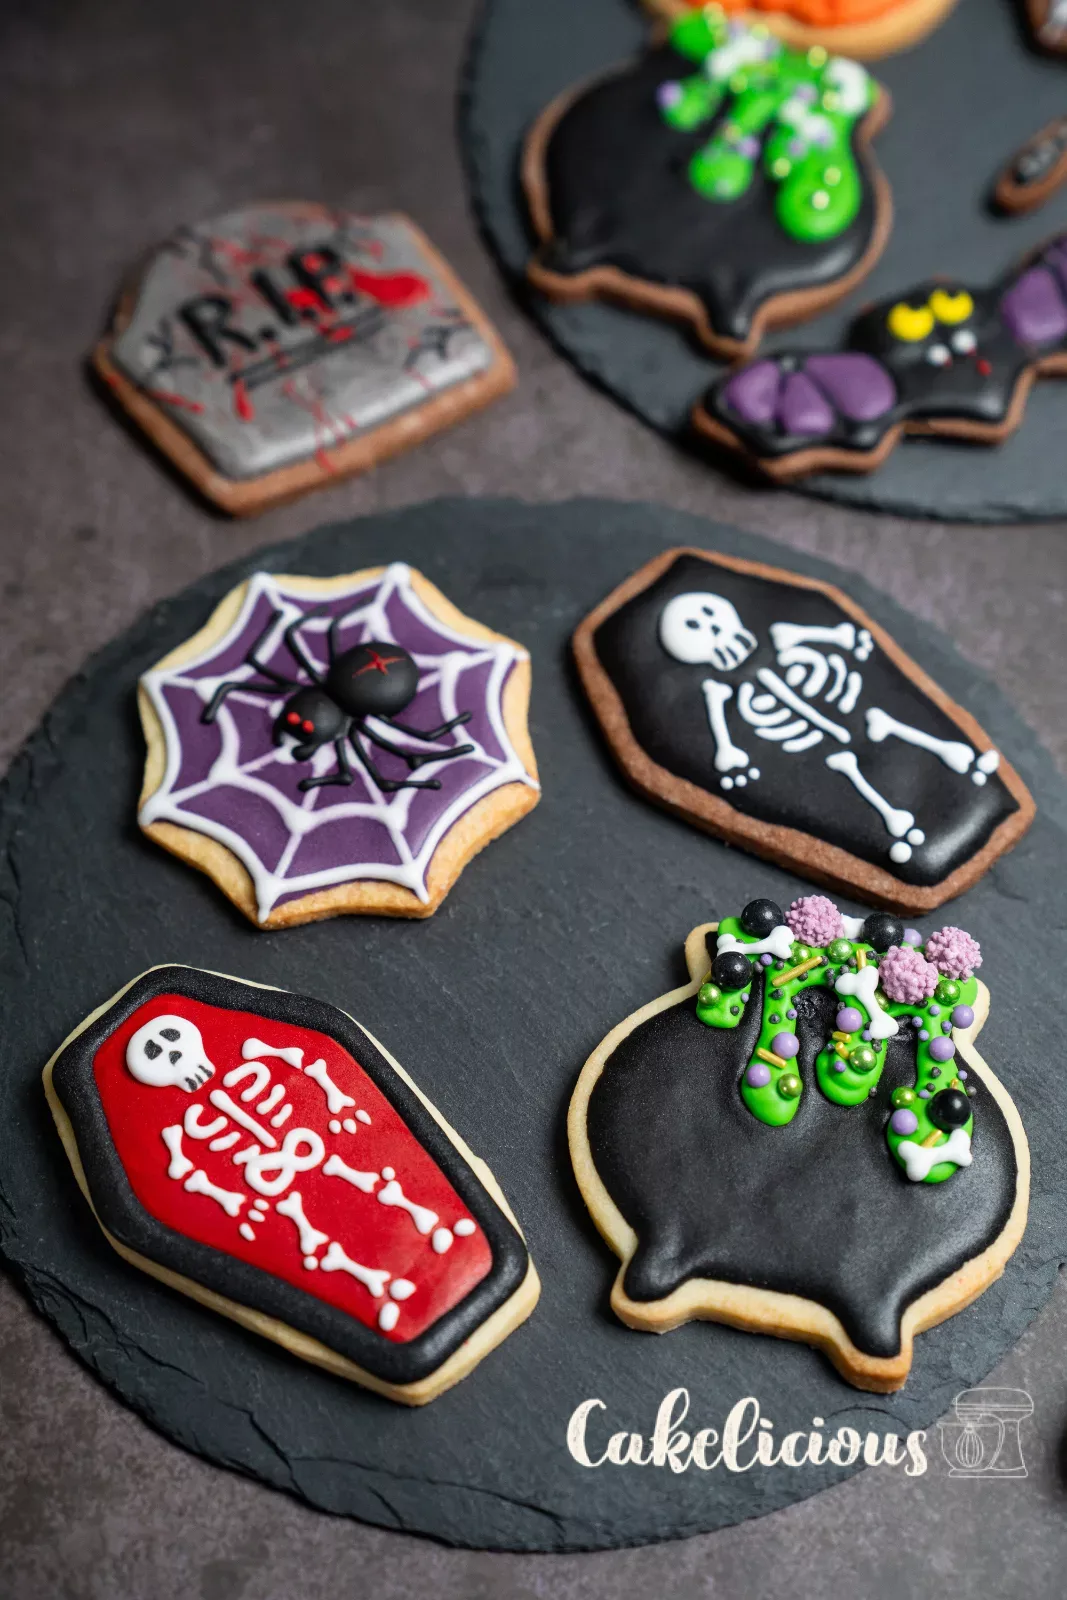
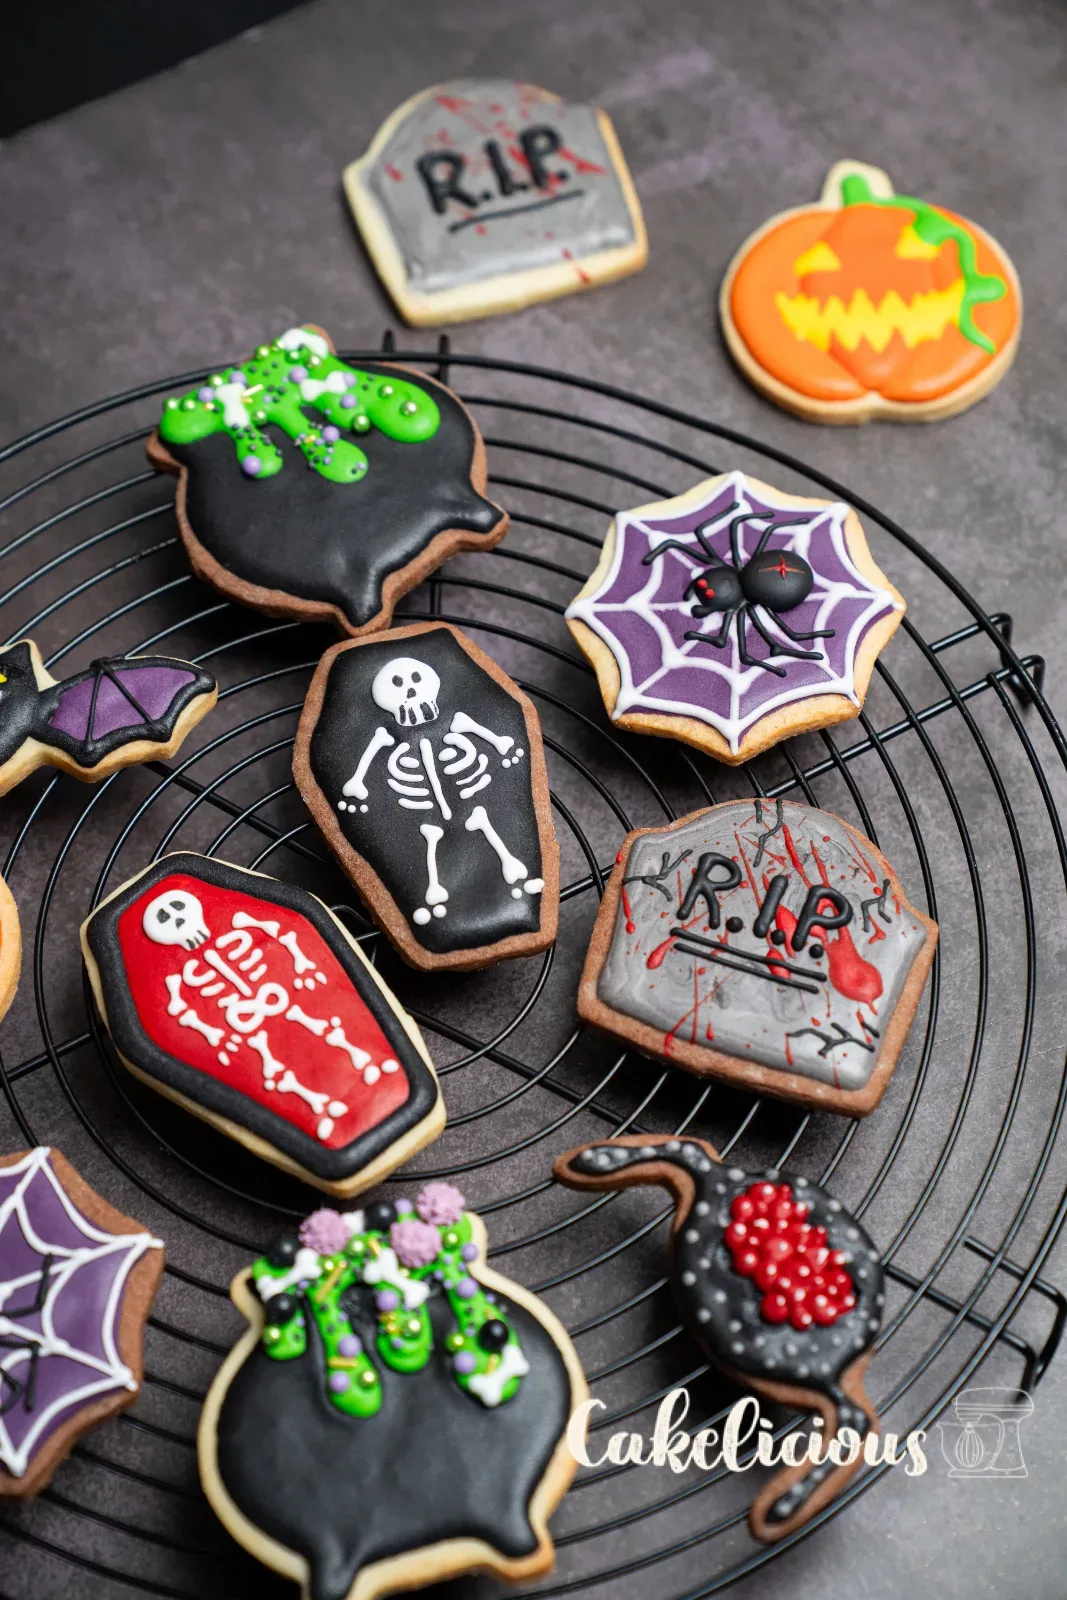
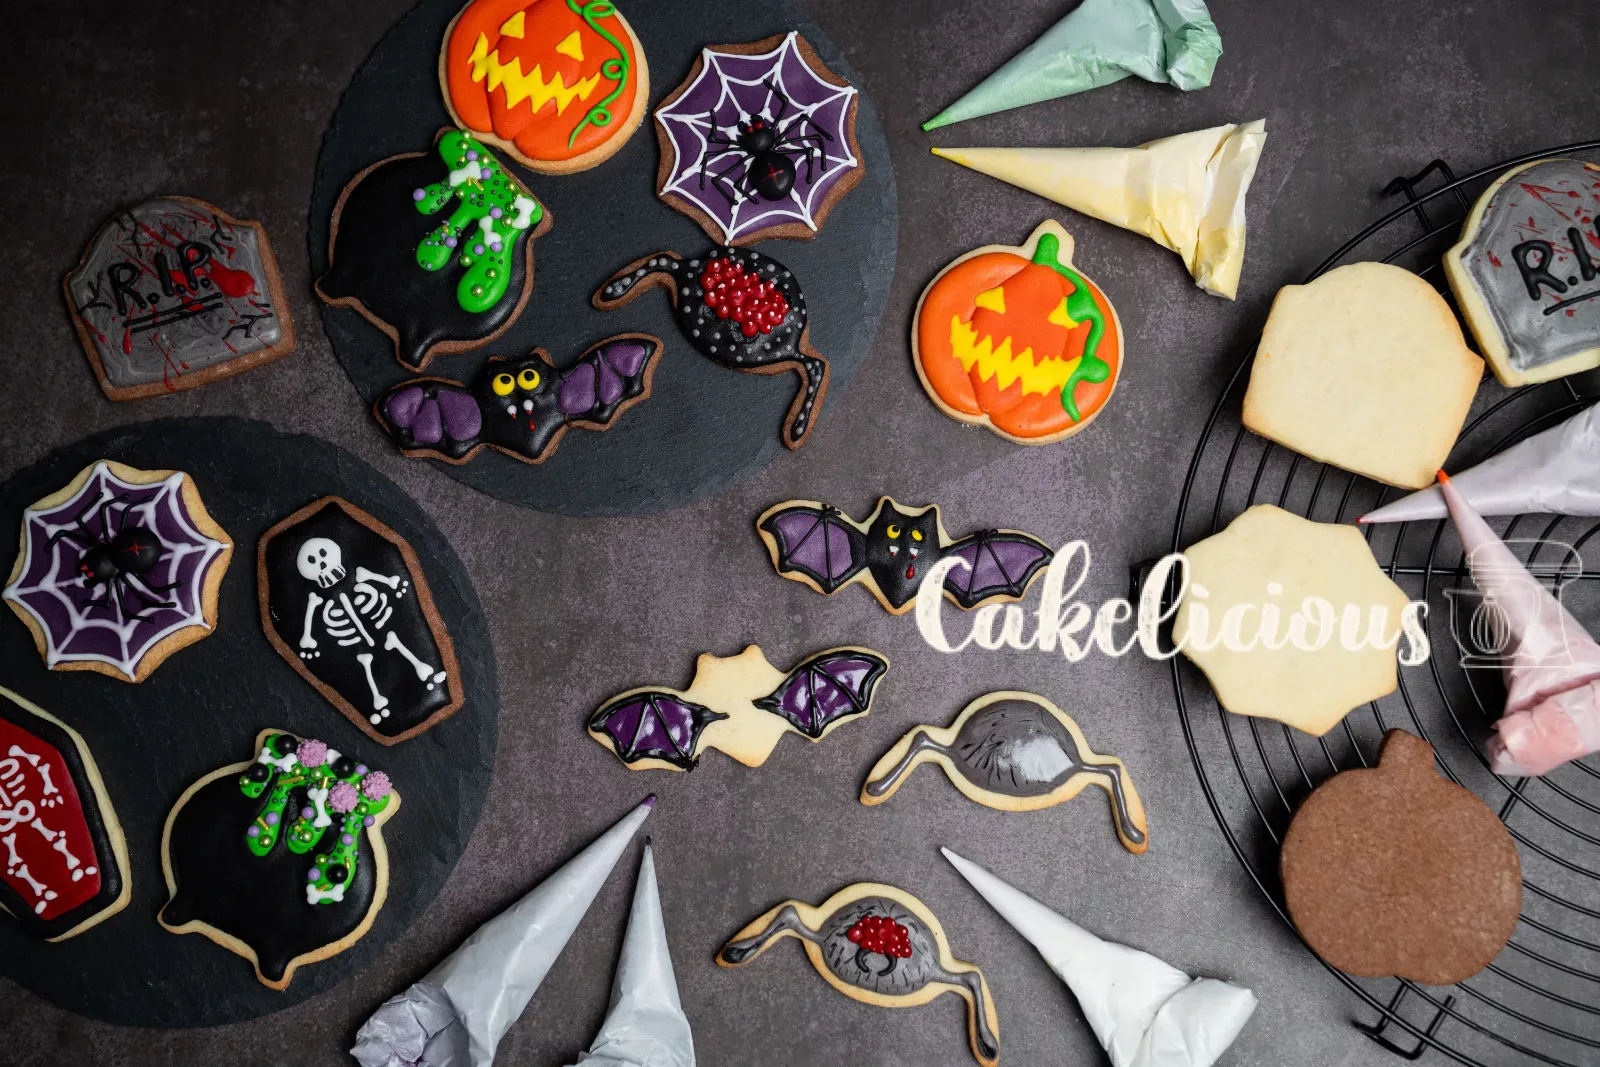
there are cookies you simply eat, and cookies you first admire for a while. These ones clearly belong to the second kind! Pumpkins with a wicked grin, bats, coffins with skeletons and spider webs, all made from a classic shortcrust pastry and decorated with royal icing.
Royal icing is a sugar icing made from egg white, icing sugar and a little lemon juice. The beauty of it: you decide the consistency yourself. A bit runnier for filling in areas, a bit firmer for outlines and fine details. We'll show you exactly how step by step.
Don't worry if the first cookie isn't perfect: by the third one you'll have the knack. And monsters painted a little crooked are the scariest anyway!
Ingredients
Shortcrust pastry (approx. 300 g)
Royal icing
For colouring
Step by step
Shortcrust pastry
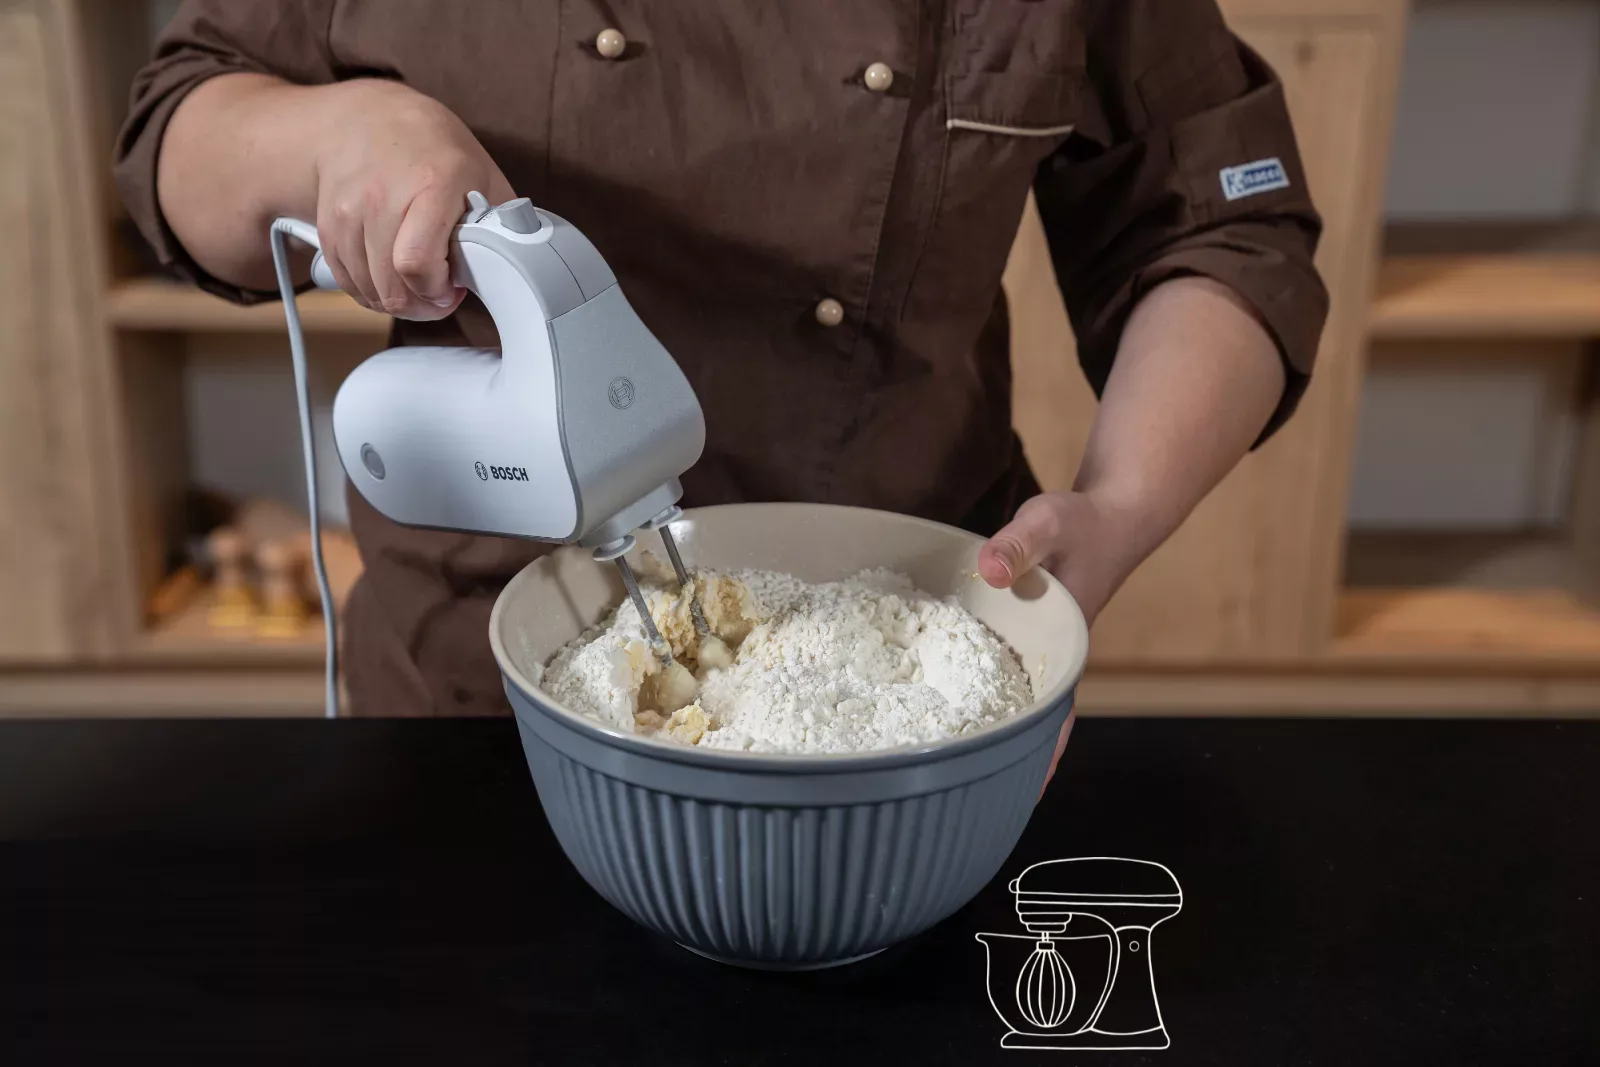
Beat butter, sugar and salt until fluffy
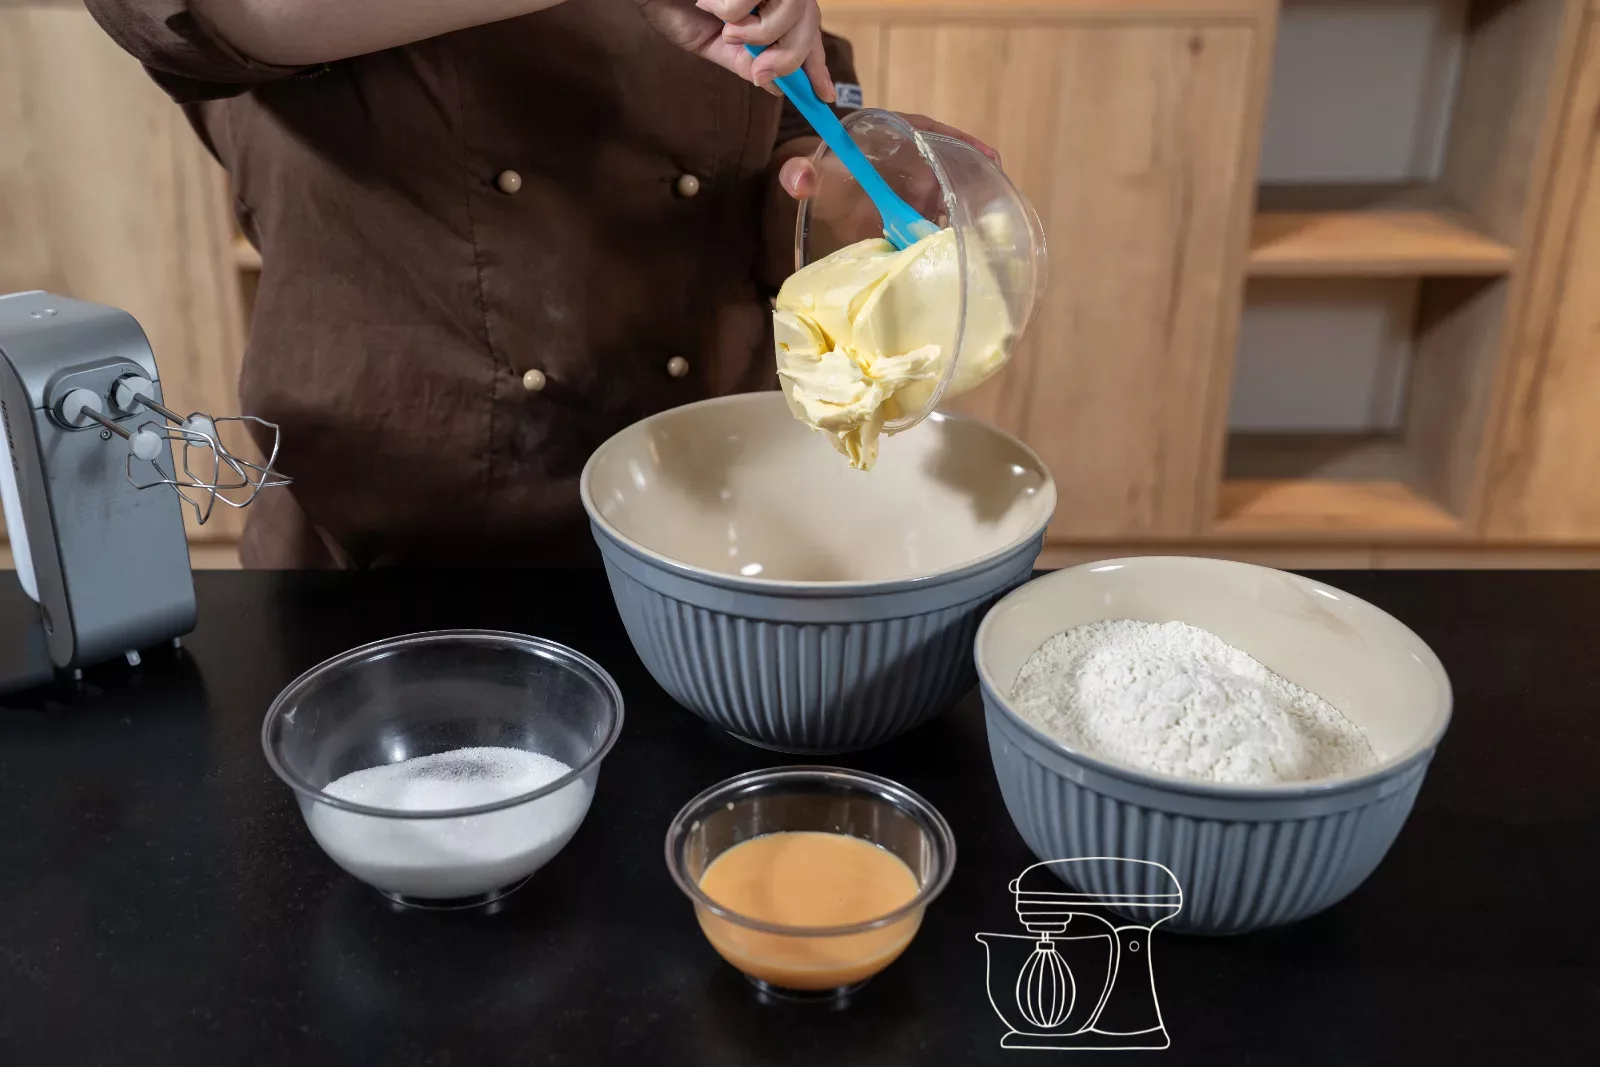
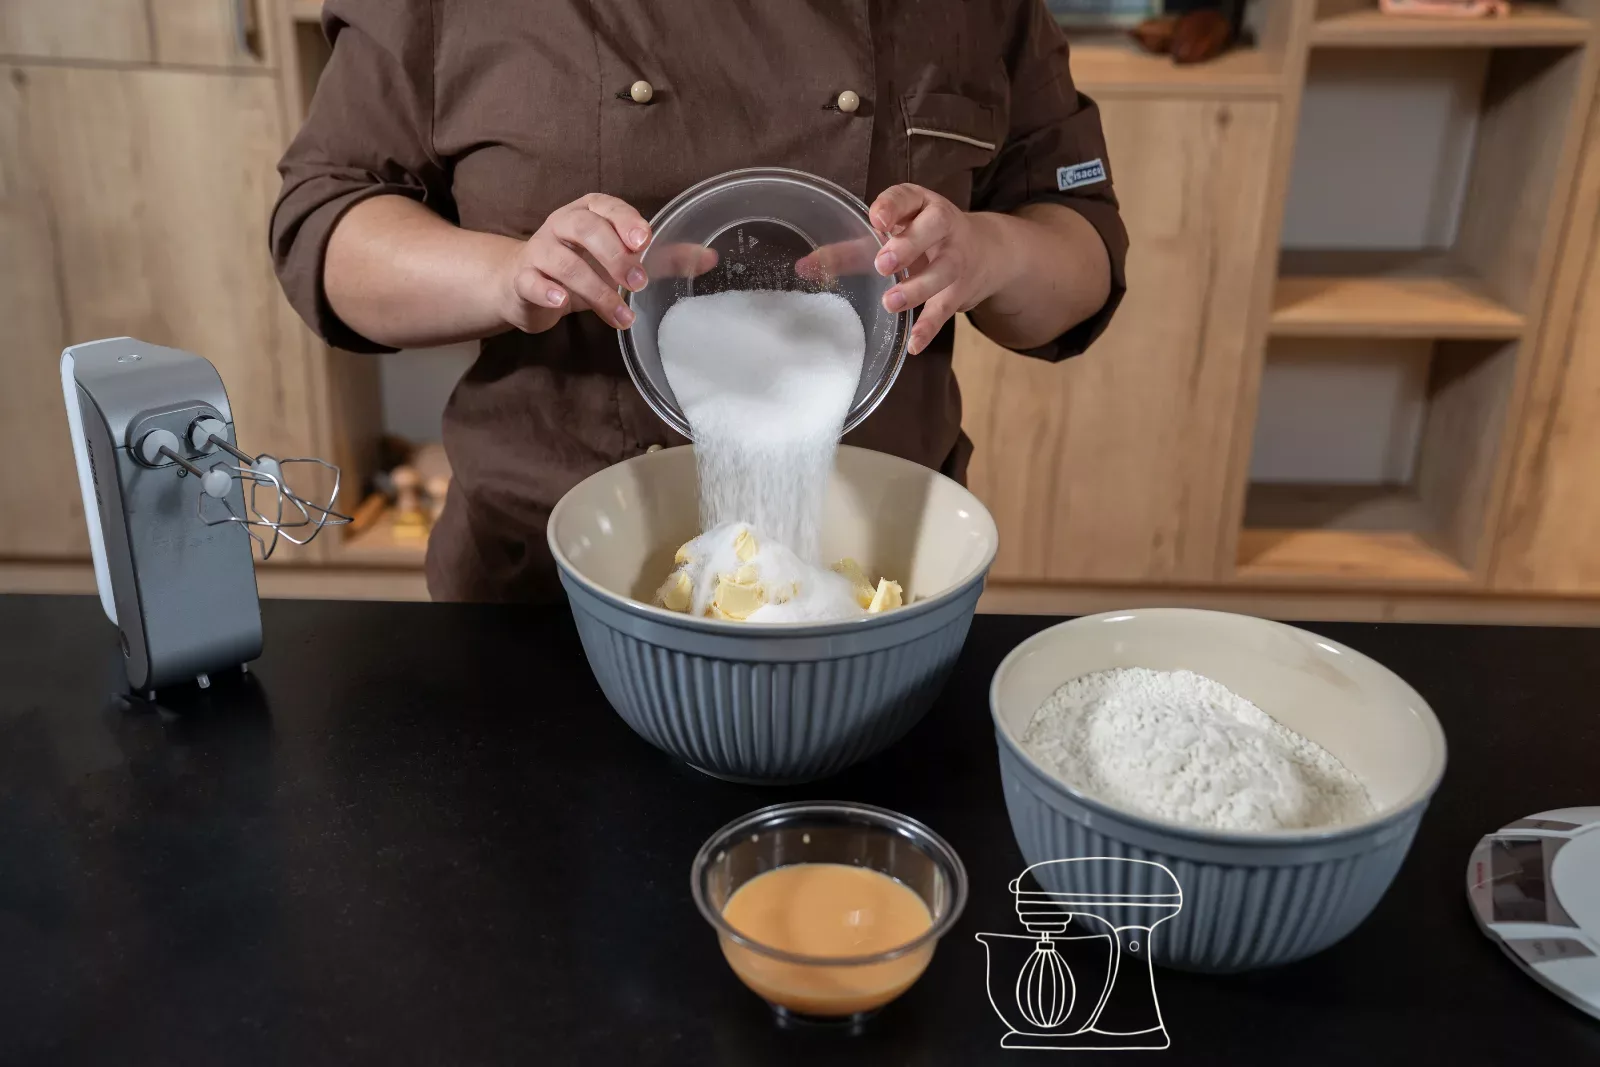
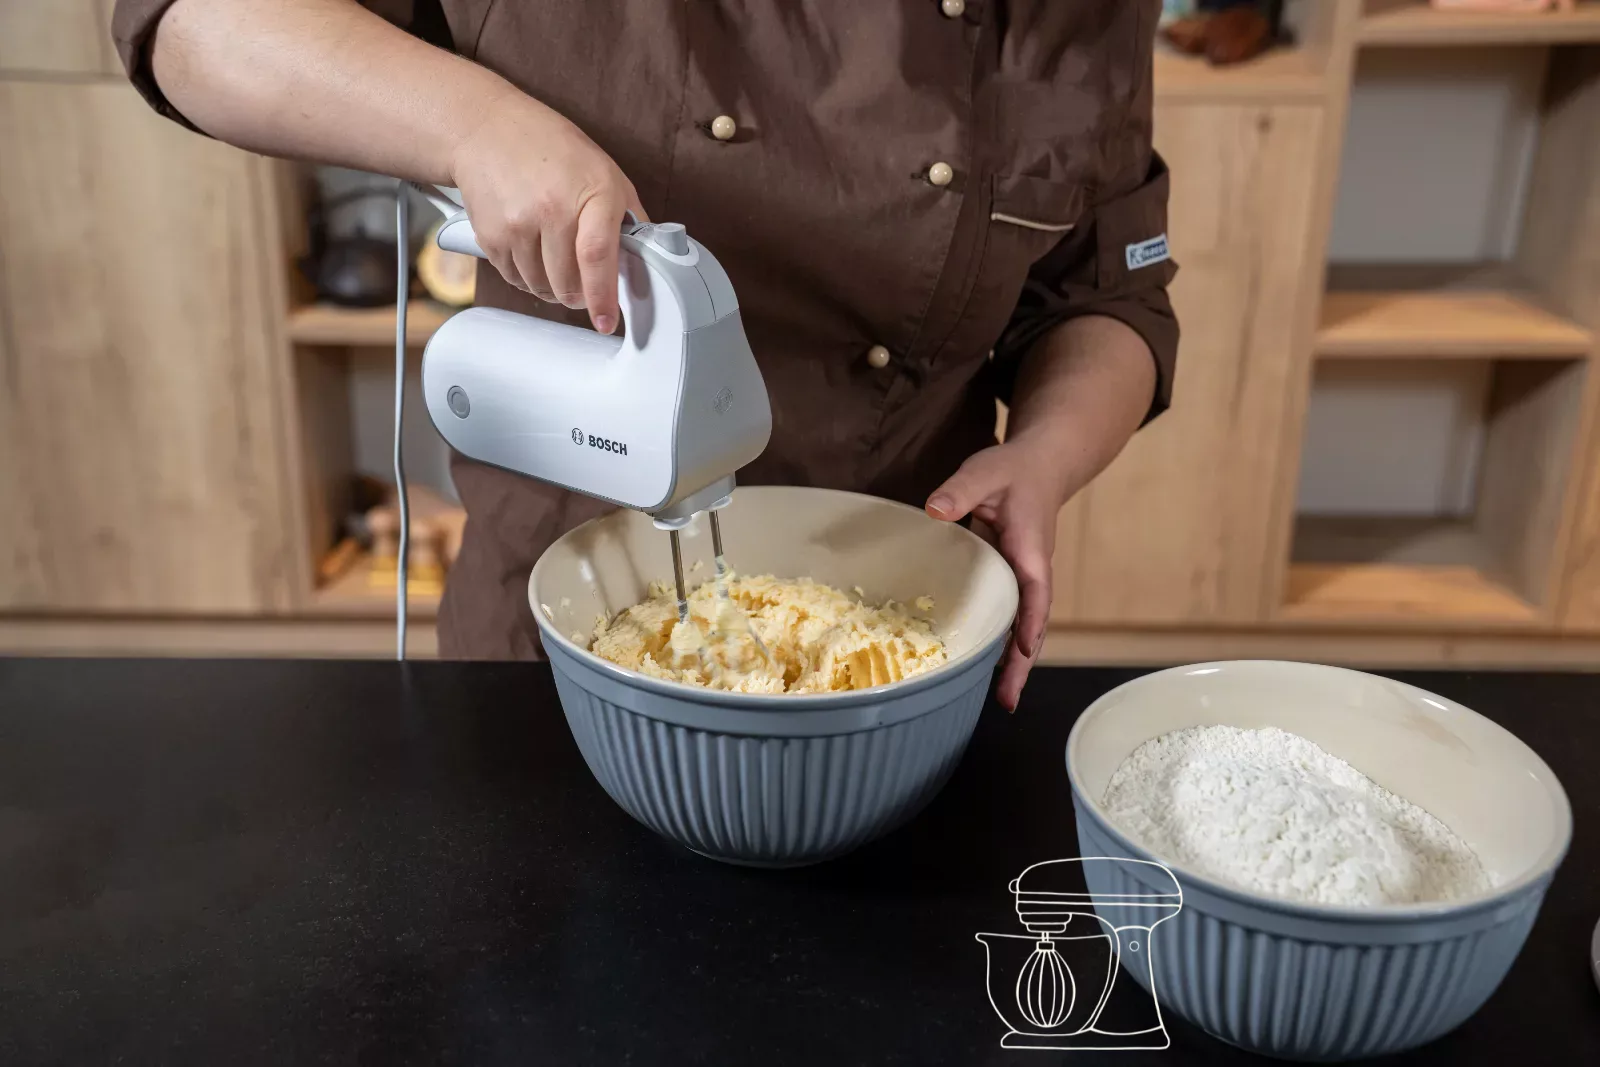
Cut the room-temperature butter into cubes. It's ready when you can press a small dent into it with your finger. Add the sugar, salt and vanilla and beat everything with the hand mixer for two to three minutes, until the mixture is pale and airy.
Swiss White flour, 1 kg
Cocoa powder, 1 kg
Bourbon vanilla seeds, 5 g
Beech wood rolling pins, 6-piece set (3/5/10 mm)
Add egg and flour
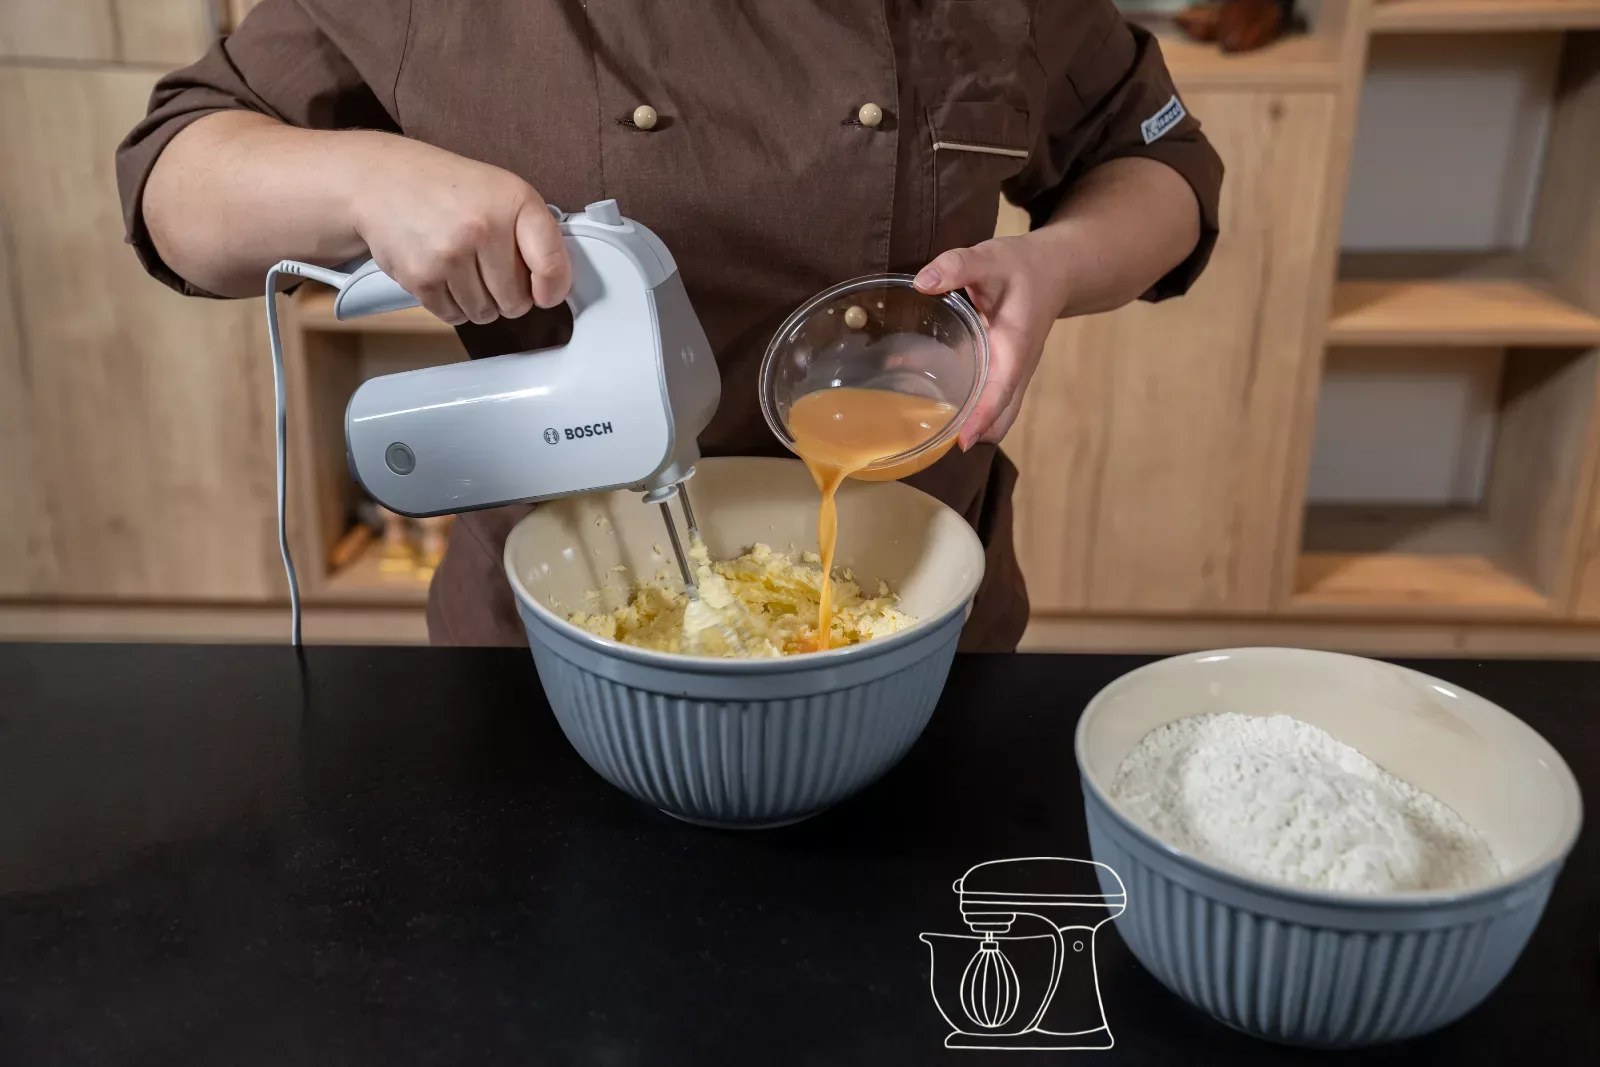
Let the beaten egg run in a thin stream while the mixer is running. Then add the flour: mix only until no dry flour is visible. The less you mix, the more tender your biscuits will be.
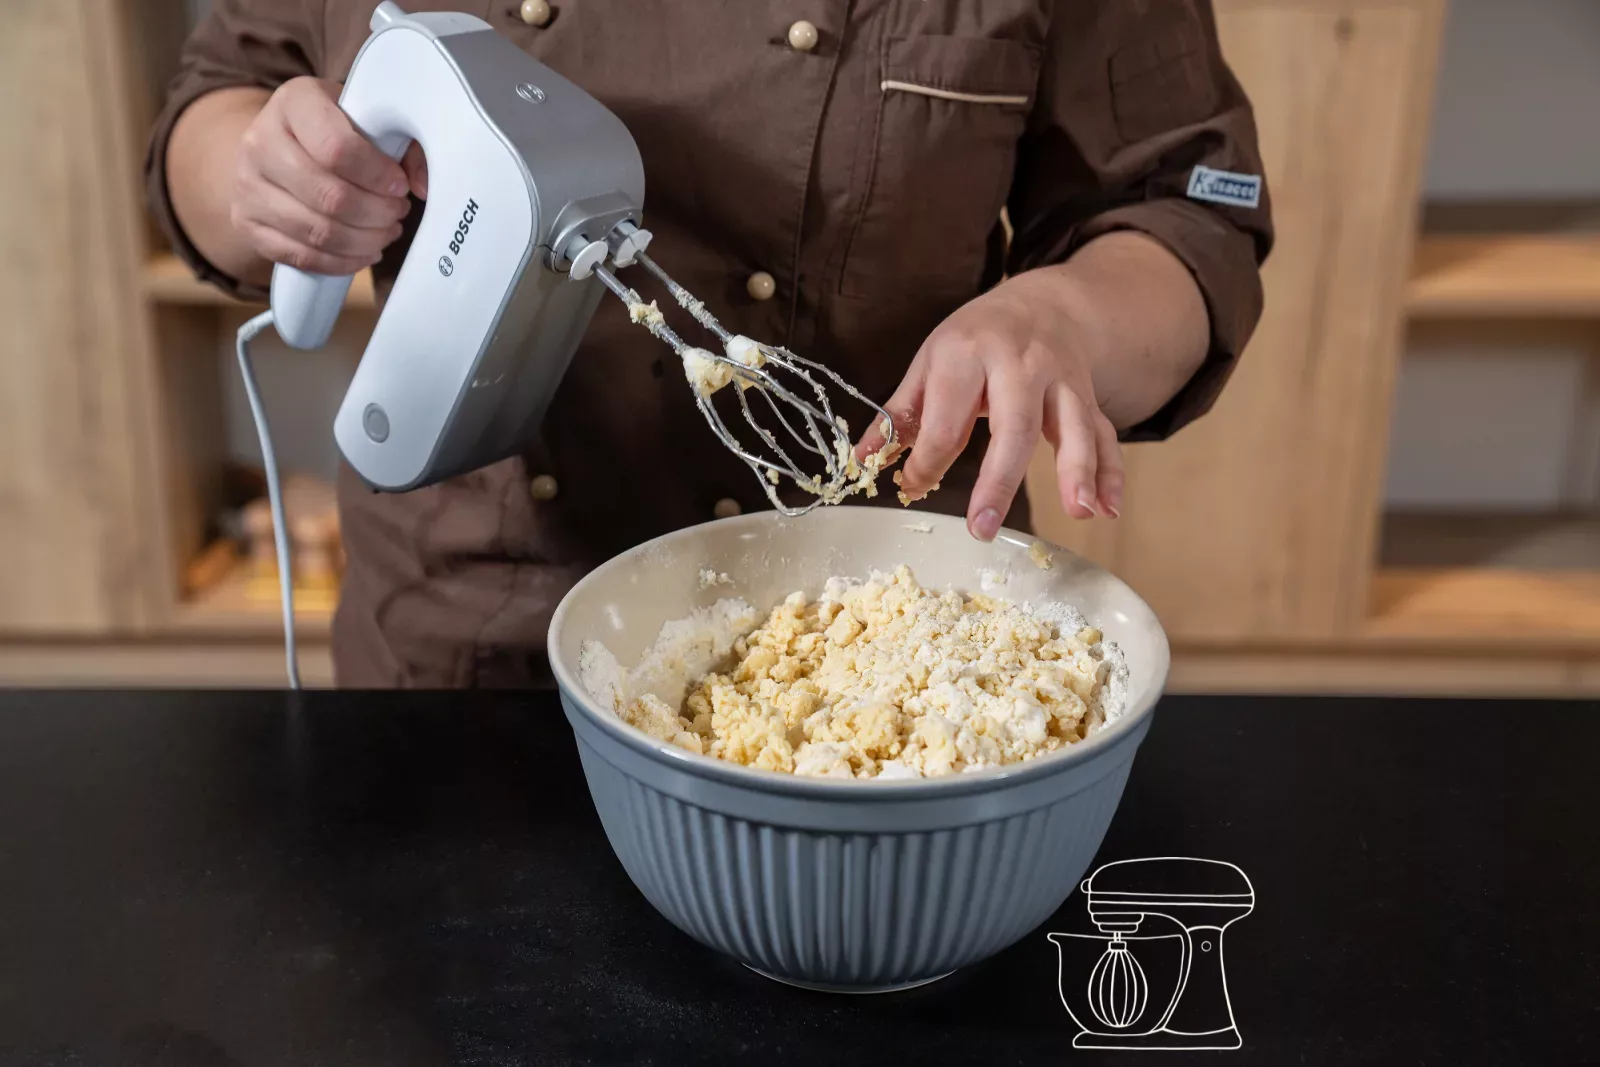
Chill the dough
Press the dough together briefly. For dark biscuits, such as tombstones, knead the cocoa into one portion of the dough. Flatten the dough, wrap it in cling film and chill it in the fridge for about an hour.
Cut out and bake
Roll out
Preheat the oven to 190 °C convection heat. Roll out the dough to 5 mm thick on a little flour. Place 5 mm rolling guides on the left and right, so the dough is the same thickness everywhere and all the cookies bake evenly.
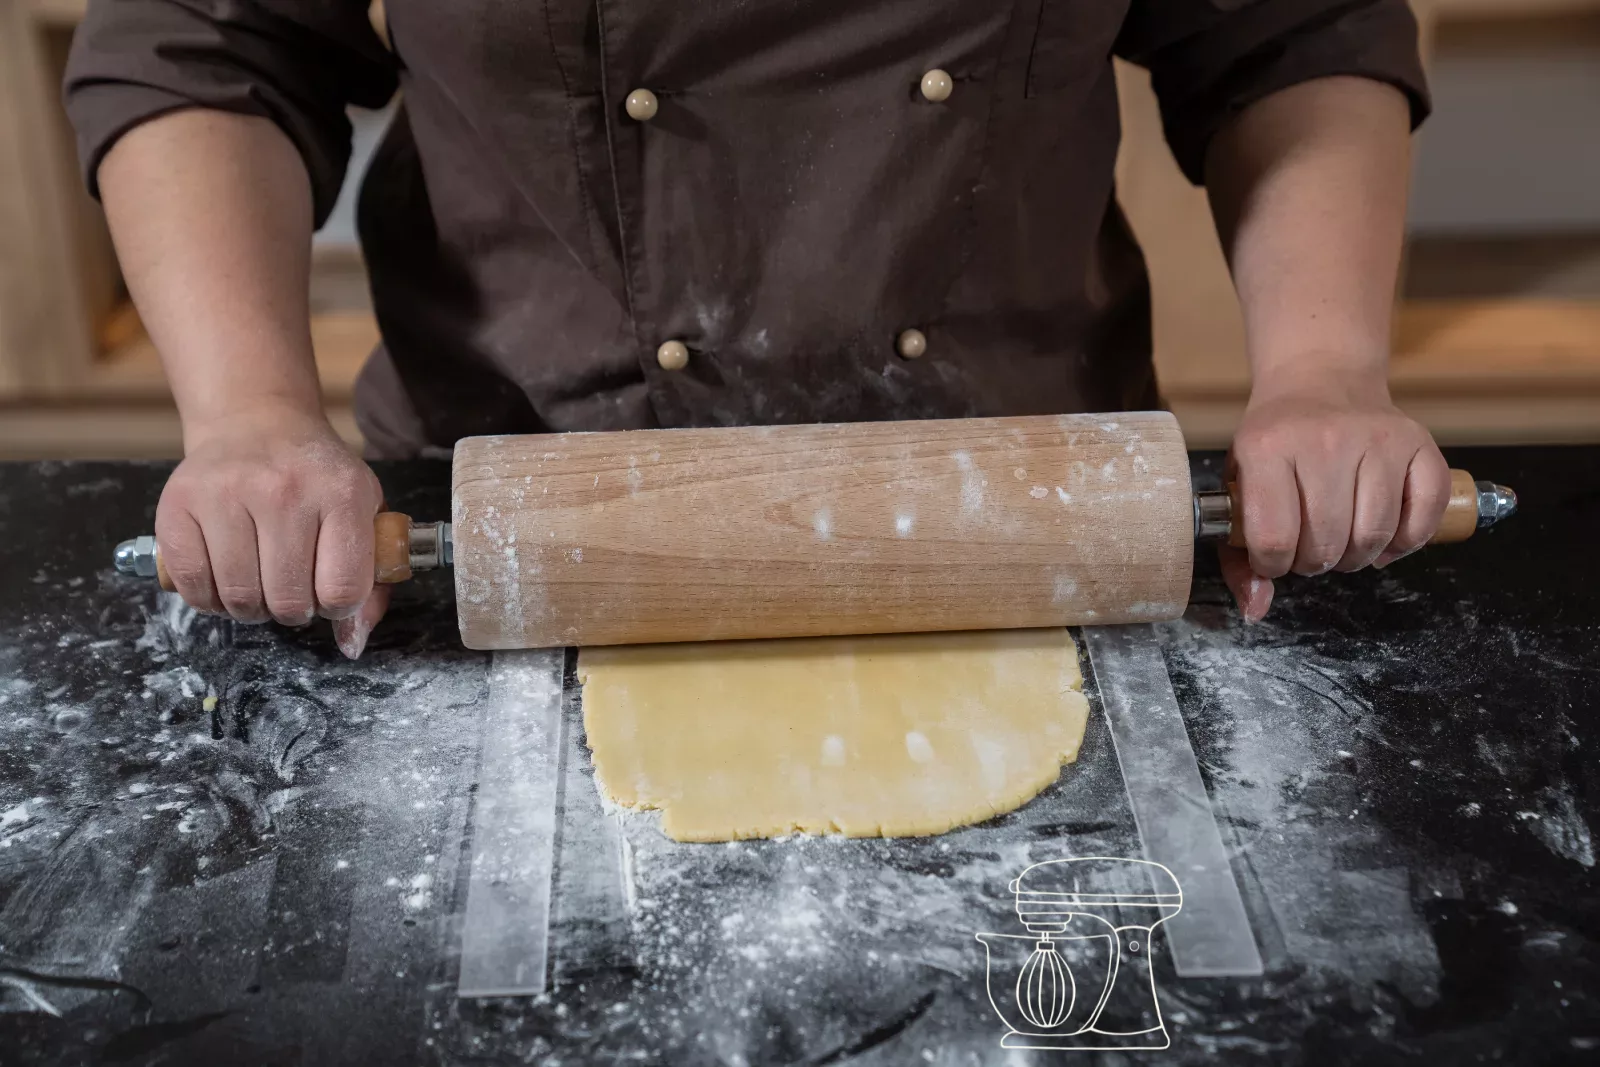
Cut out and bake
Cut out 14 Halloween cookies, for example pumpkins, bats, coffins, gravestones and spiderwebs, and place them on a baking tray lined with baking paper. Bake them for 12 minutes at 190 °C convection heat and let them cool completely before you start decorating.
Swiss white flour, 1 kg
Cornet paper, ready rolled, 15 pieces
Beechwood rolling pins, 6 pieces (3/5/10 mm)
Cookie cutter set Halloween haunted house, 7 motifs
Royal icing
Prepare the icing
Add the lemon juice to the egg white in a clean bowl and sieve the icing sugar over it. Sieving is important: even small lumps will later clog the fine tip of the cornet.
Egg white icing 900 g
The right consistency
Whisk the mixture with a hand mixer. After two to three minutes, the icing flows from the Whisk in a thick, creamy ribbon: this is the perfect consistency for filling in areas.
Take some of it out for outlines and details, and whisk the rest for about two minutes longer. The icing will then become firmer and suitable for drawing lines. If it is too runny, stir in a little icing sugar; if it is too stiff, add a few drops of lemon juice.
Colouring and filling
Divide the Royal icing among several small bowls and colour it with Gel color as you like: black for outlines and spiders, orange for pumpkins, violet for bats, green, red and grey. Fill the colours into cornets.
Progel gel colours: Black
Progel gel colours: Orange
Progel gel colours: Violet
Cornet paper, pre-rolled, 15 pieces
Decorating
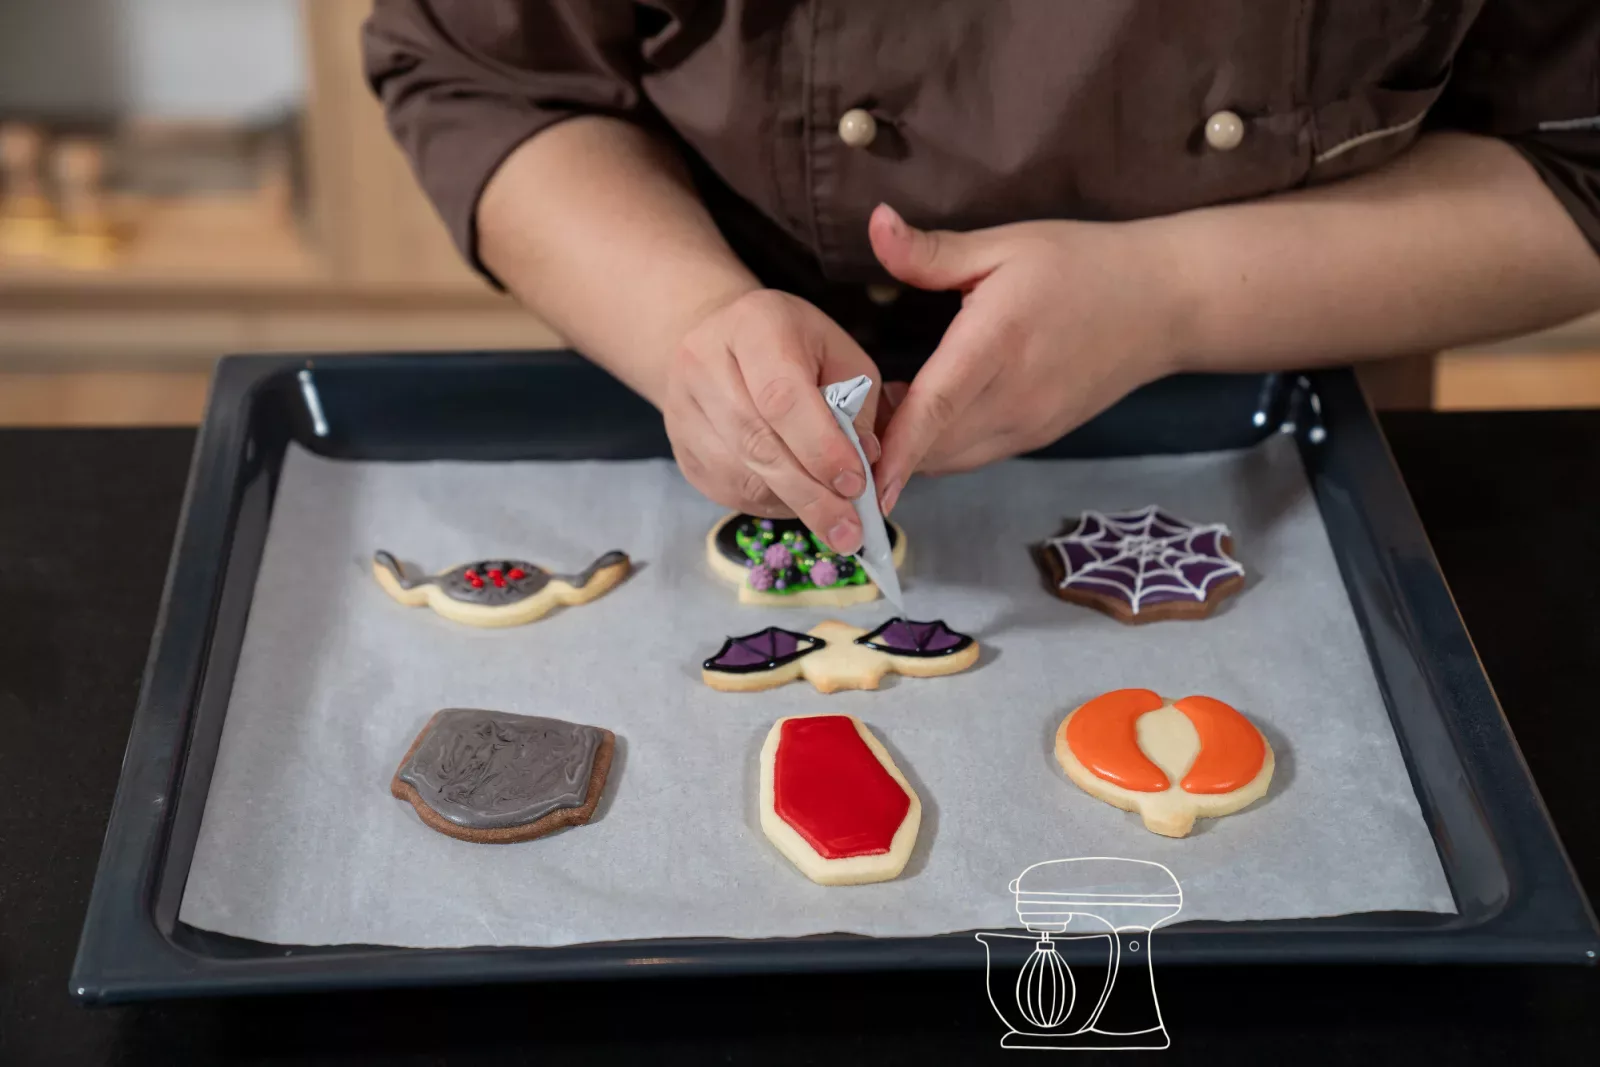
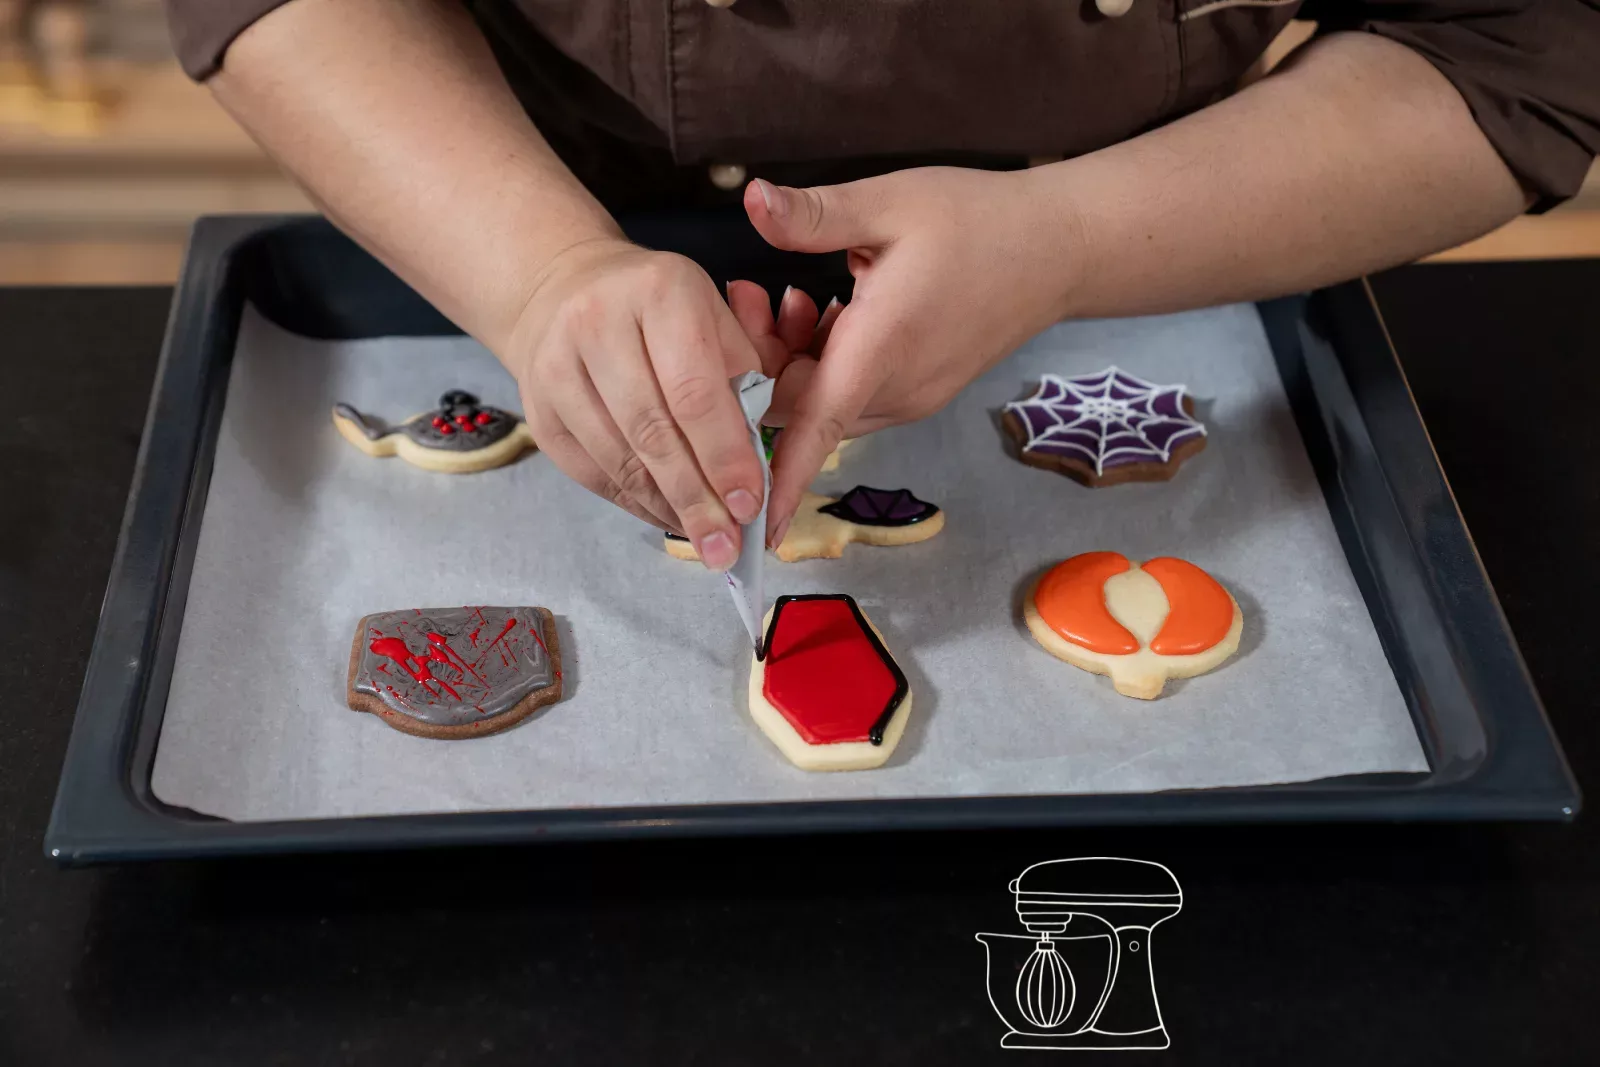
Piping outlines
Cut a very small opening at the tip of the cornet and use the firmer icing to pipe the outlines, keeping a little distance from the edge. The outline acts like a small dam: it holds back the more fluid icing later.
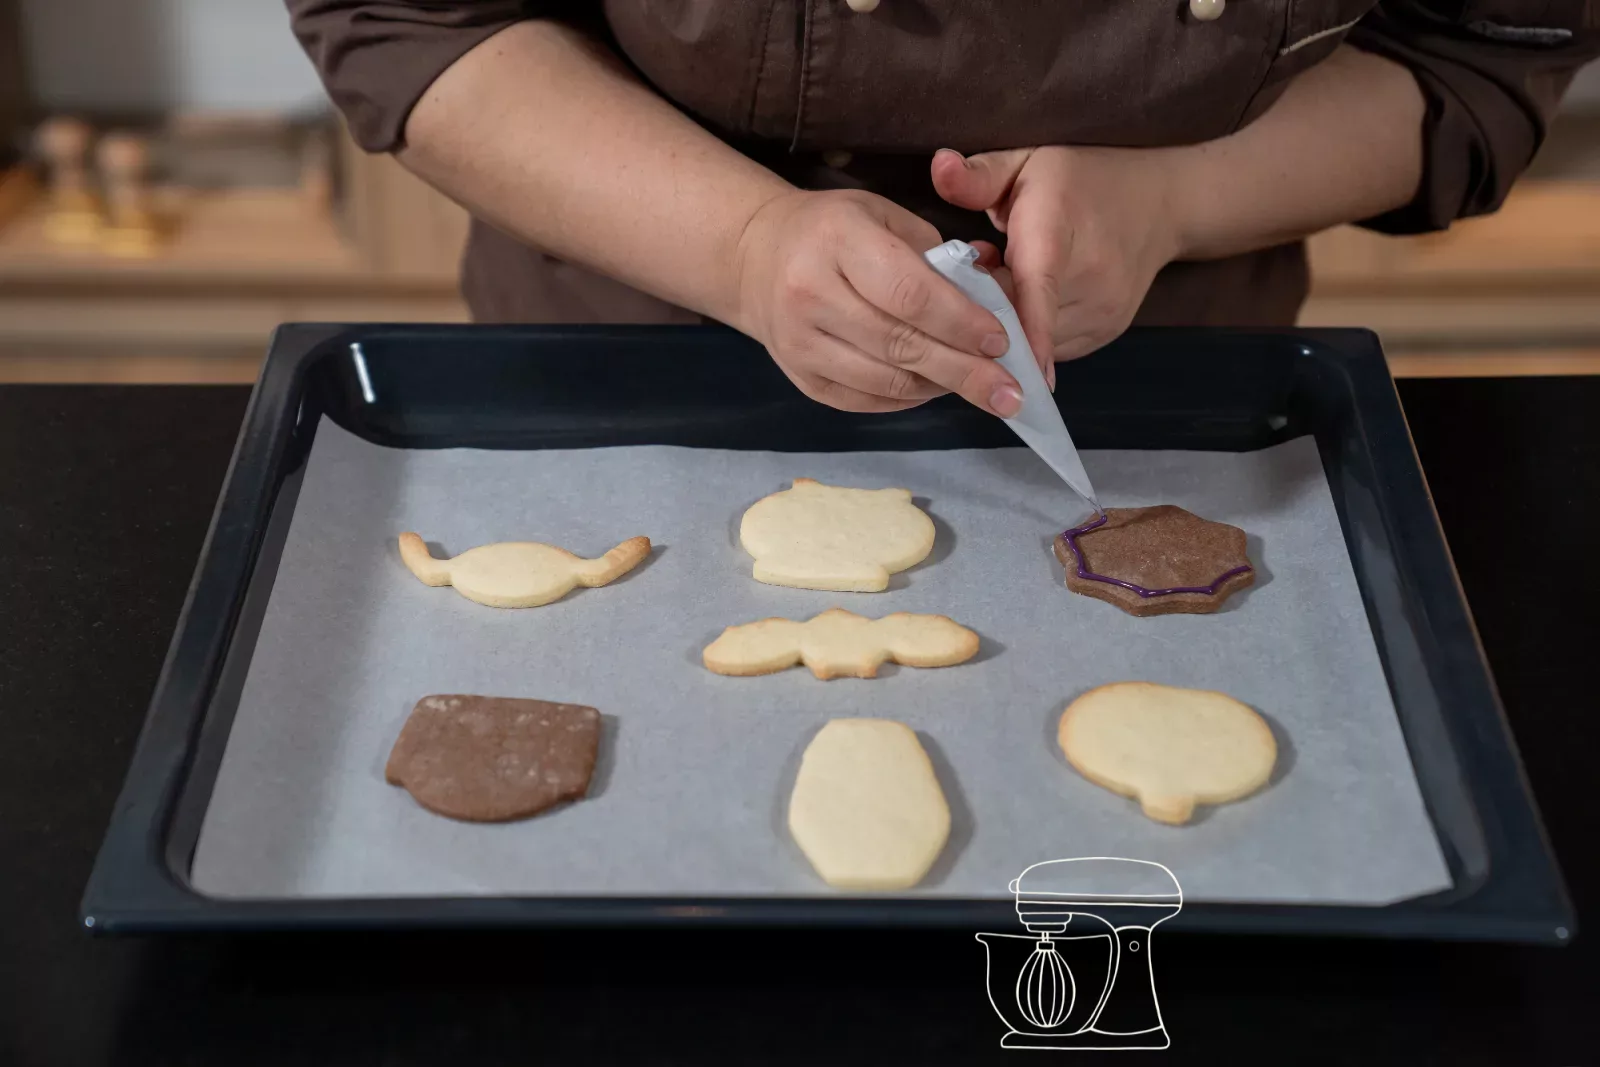
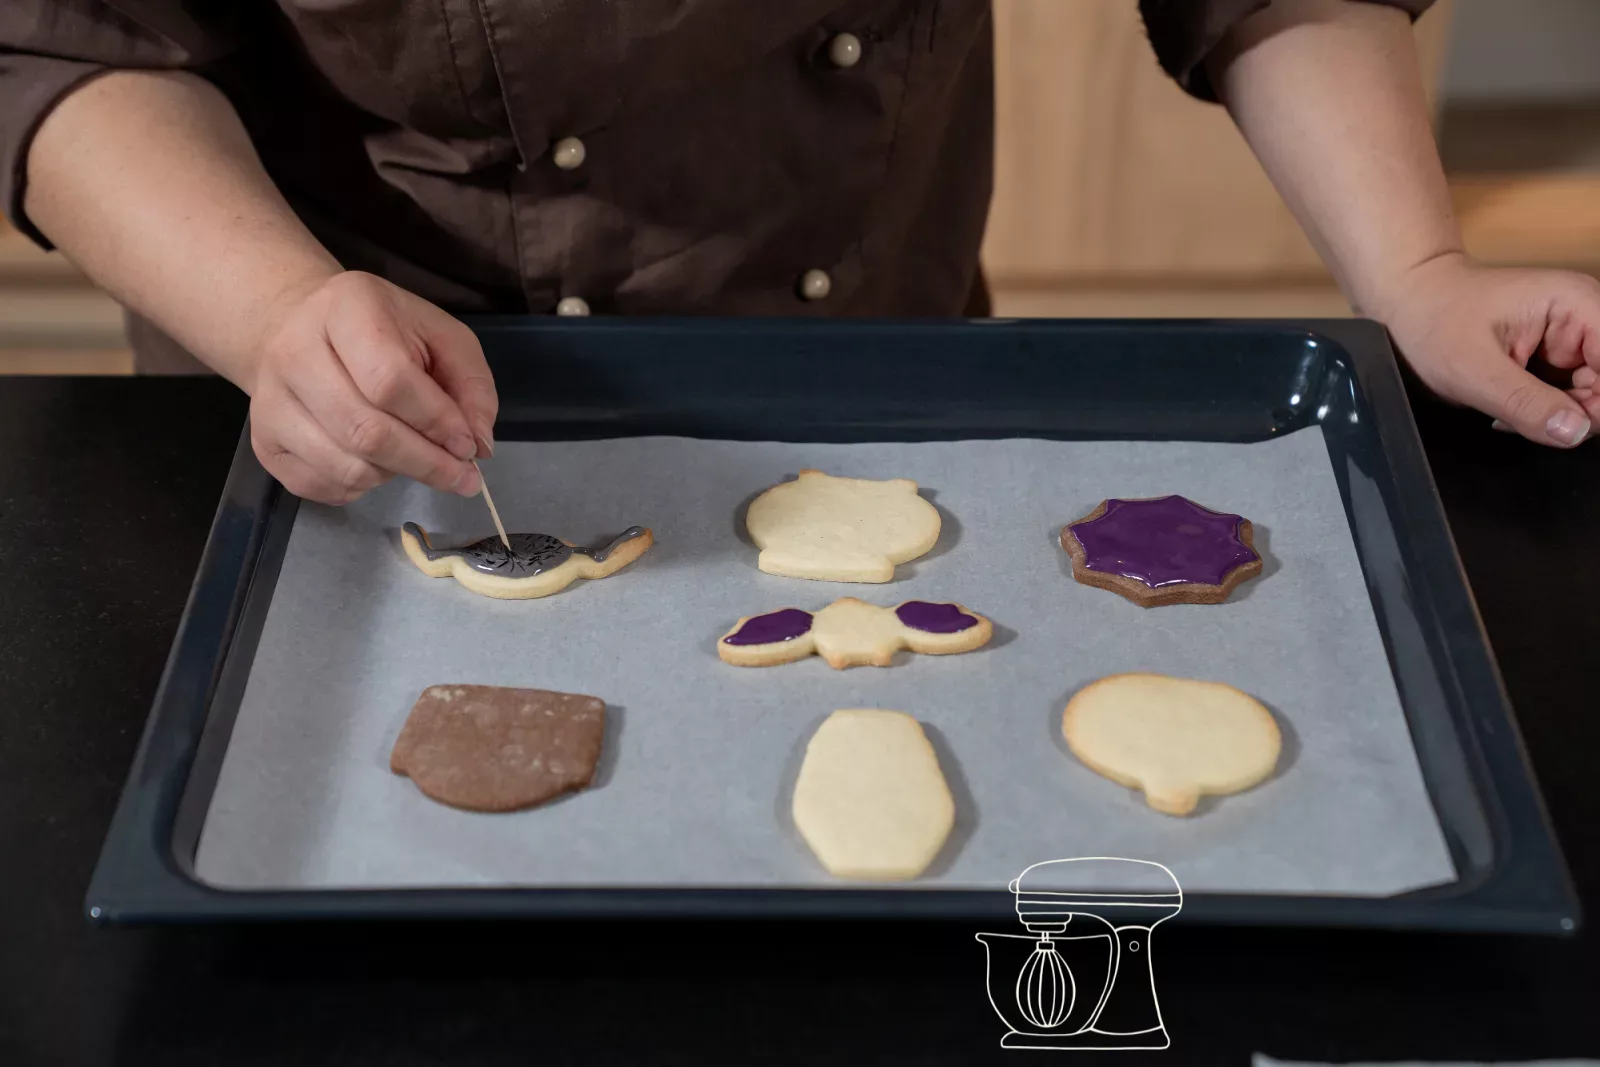
Flooding the areas
Flood the areas inside the outlines with the more fluid icing. Use a needle or a toothpick to spread it into the corners and pop small air bubbles. Drag the needle from the outside inwards through two wet colours to create attractive patterns.
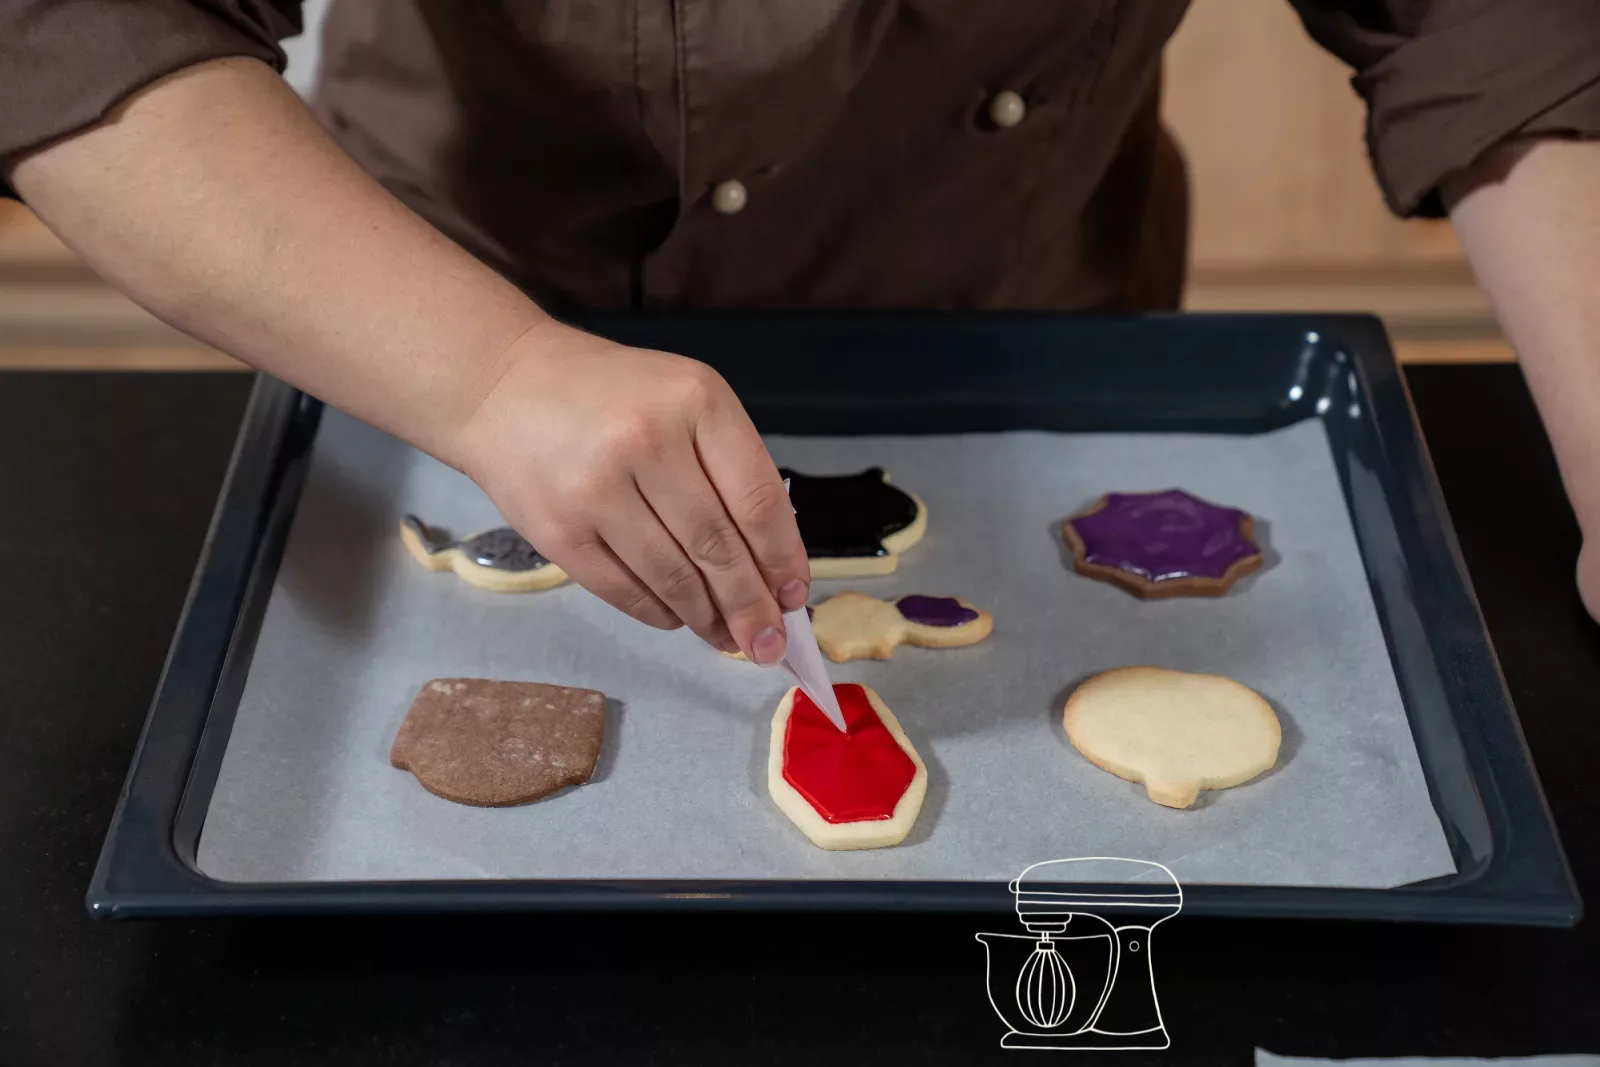
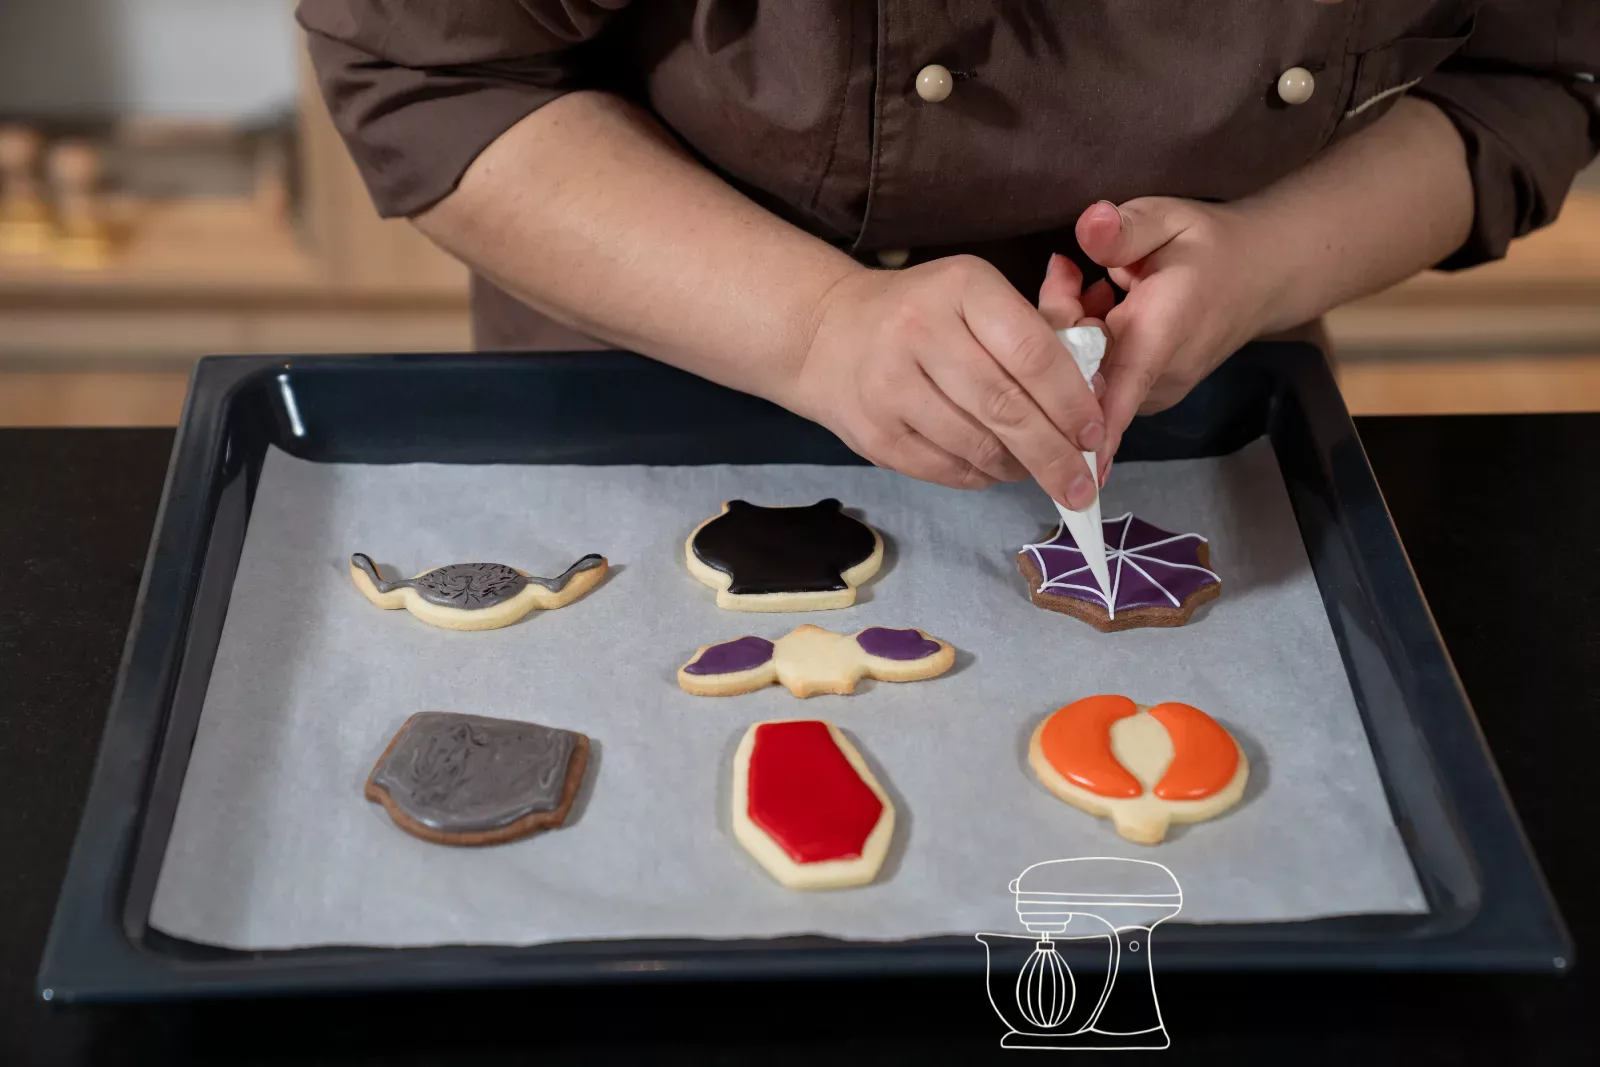
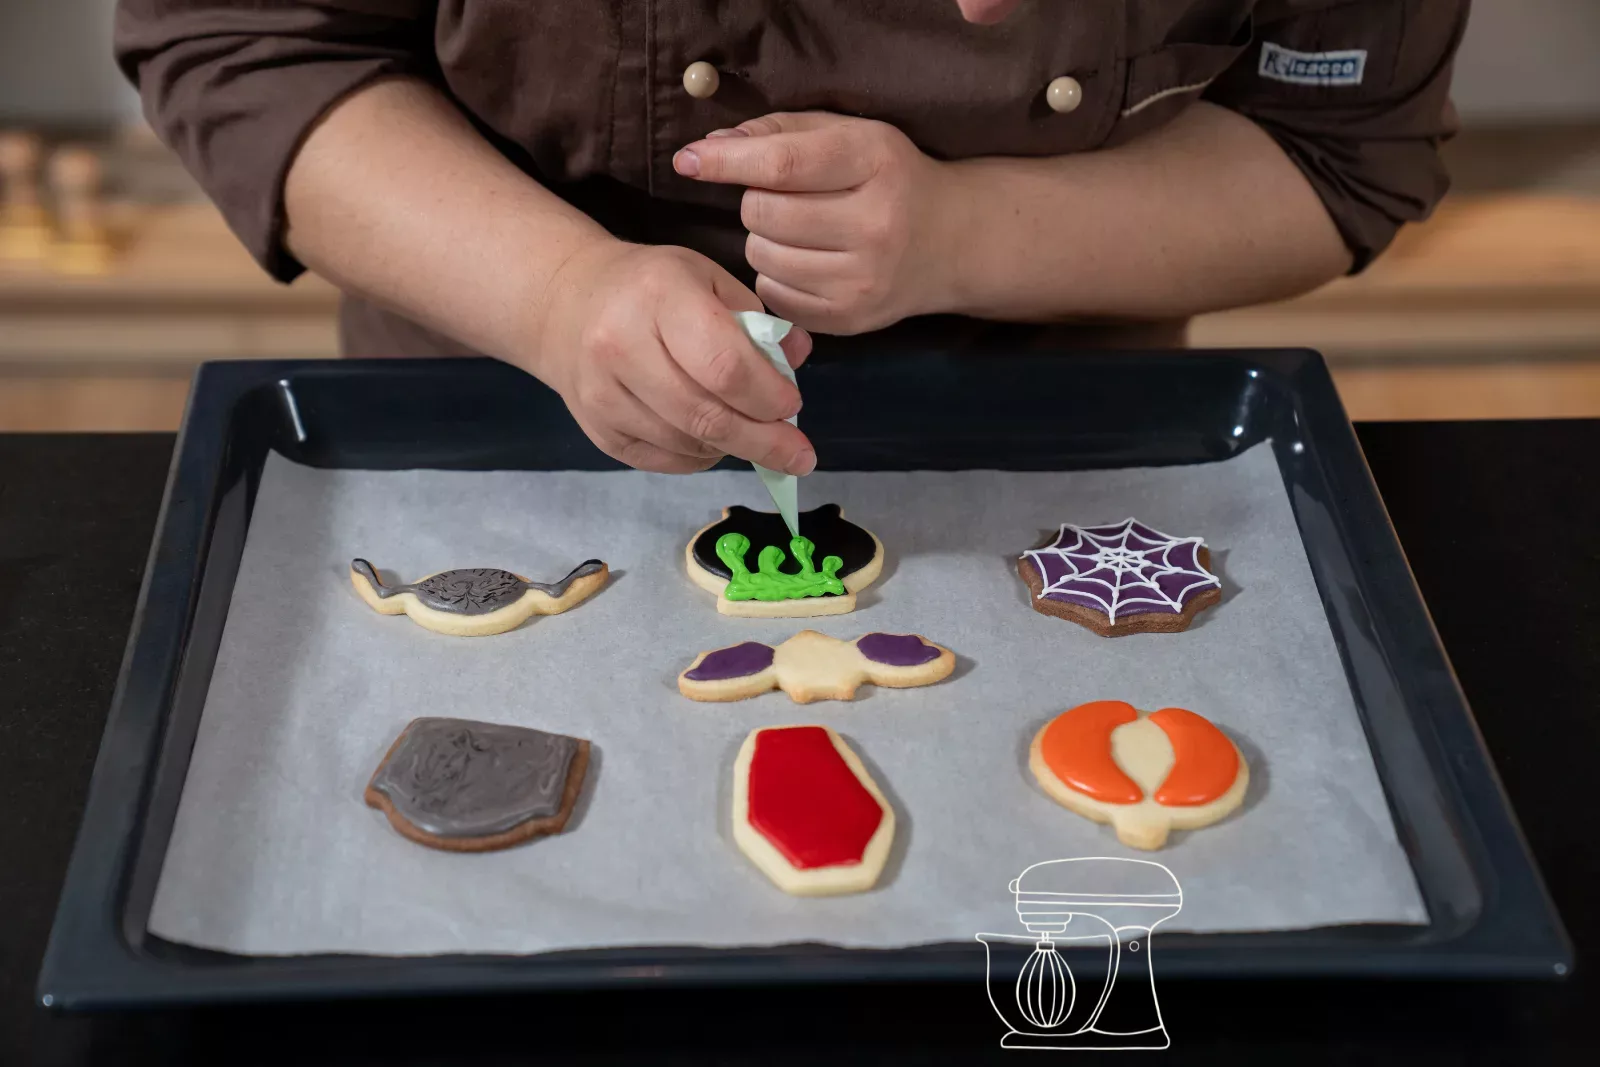
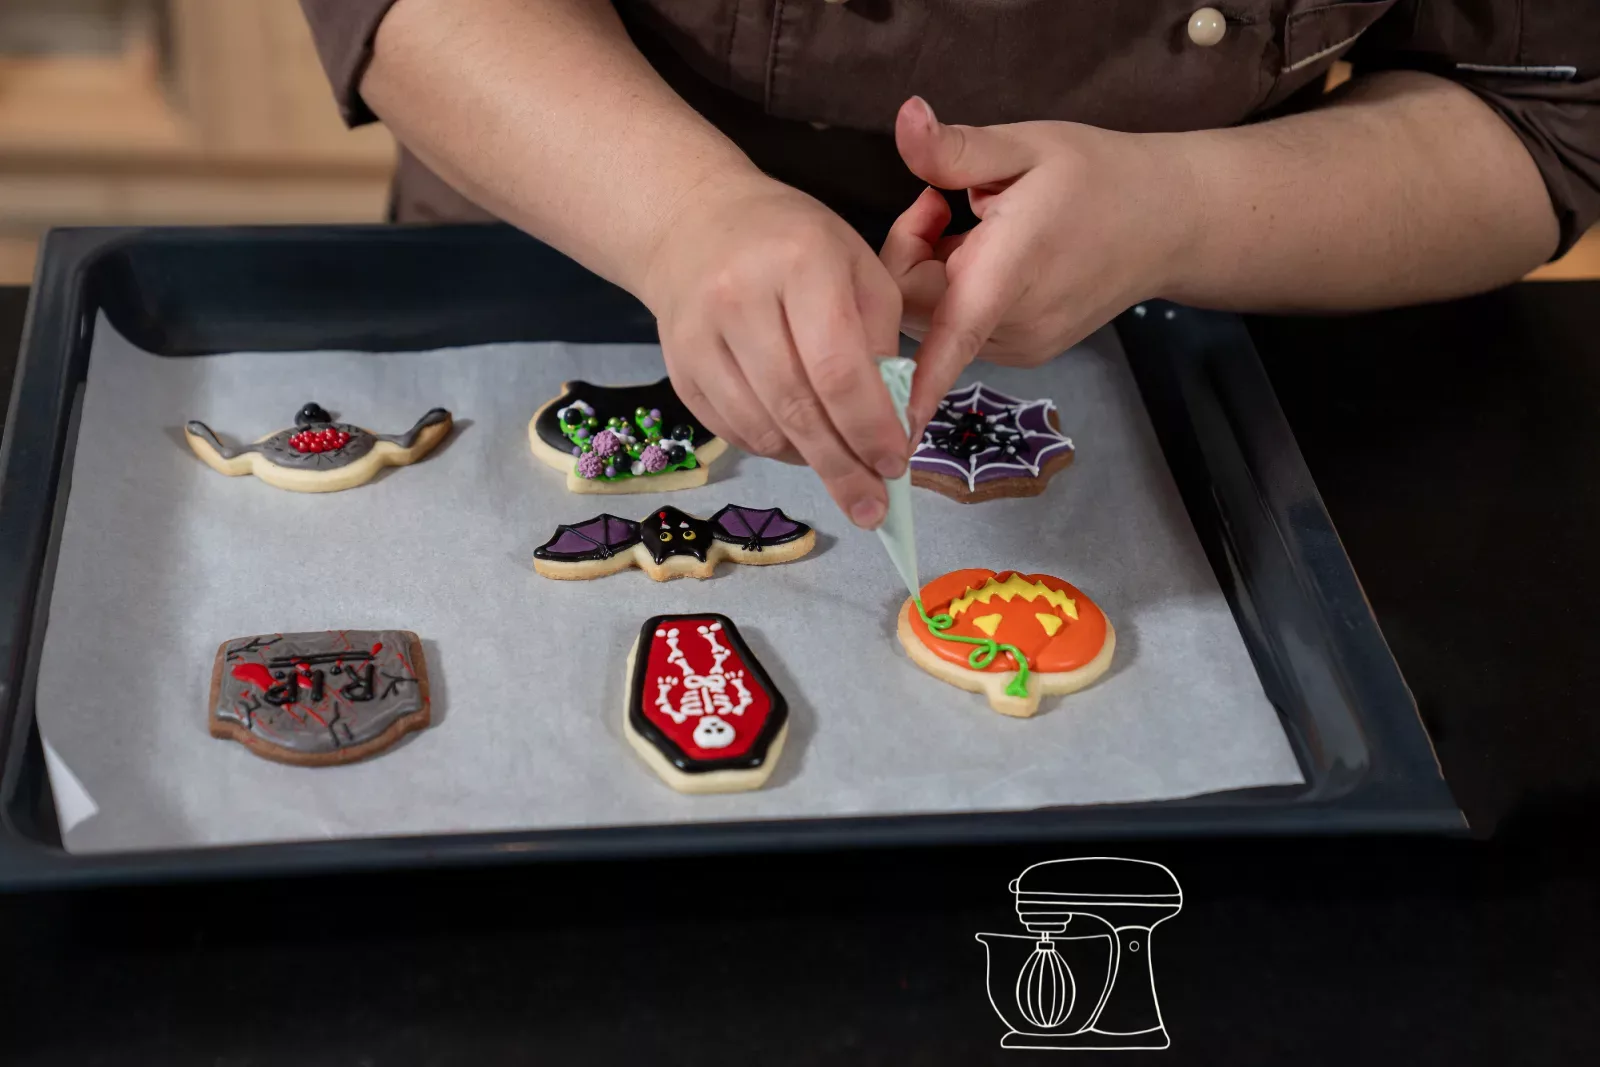
Drying and adding details
Let the base dry for at least one hour, until it feels firm. Only then paint the details on top with the firmer icing: faces, skeletons, spider webs, "R.I.P." and small spiders. This way the colours will not run into each other.
For best results, let the finished biscuits dry completely overnight.
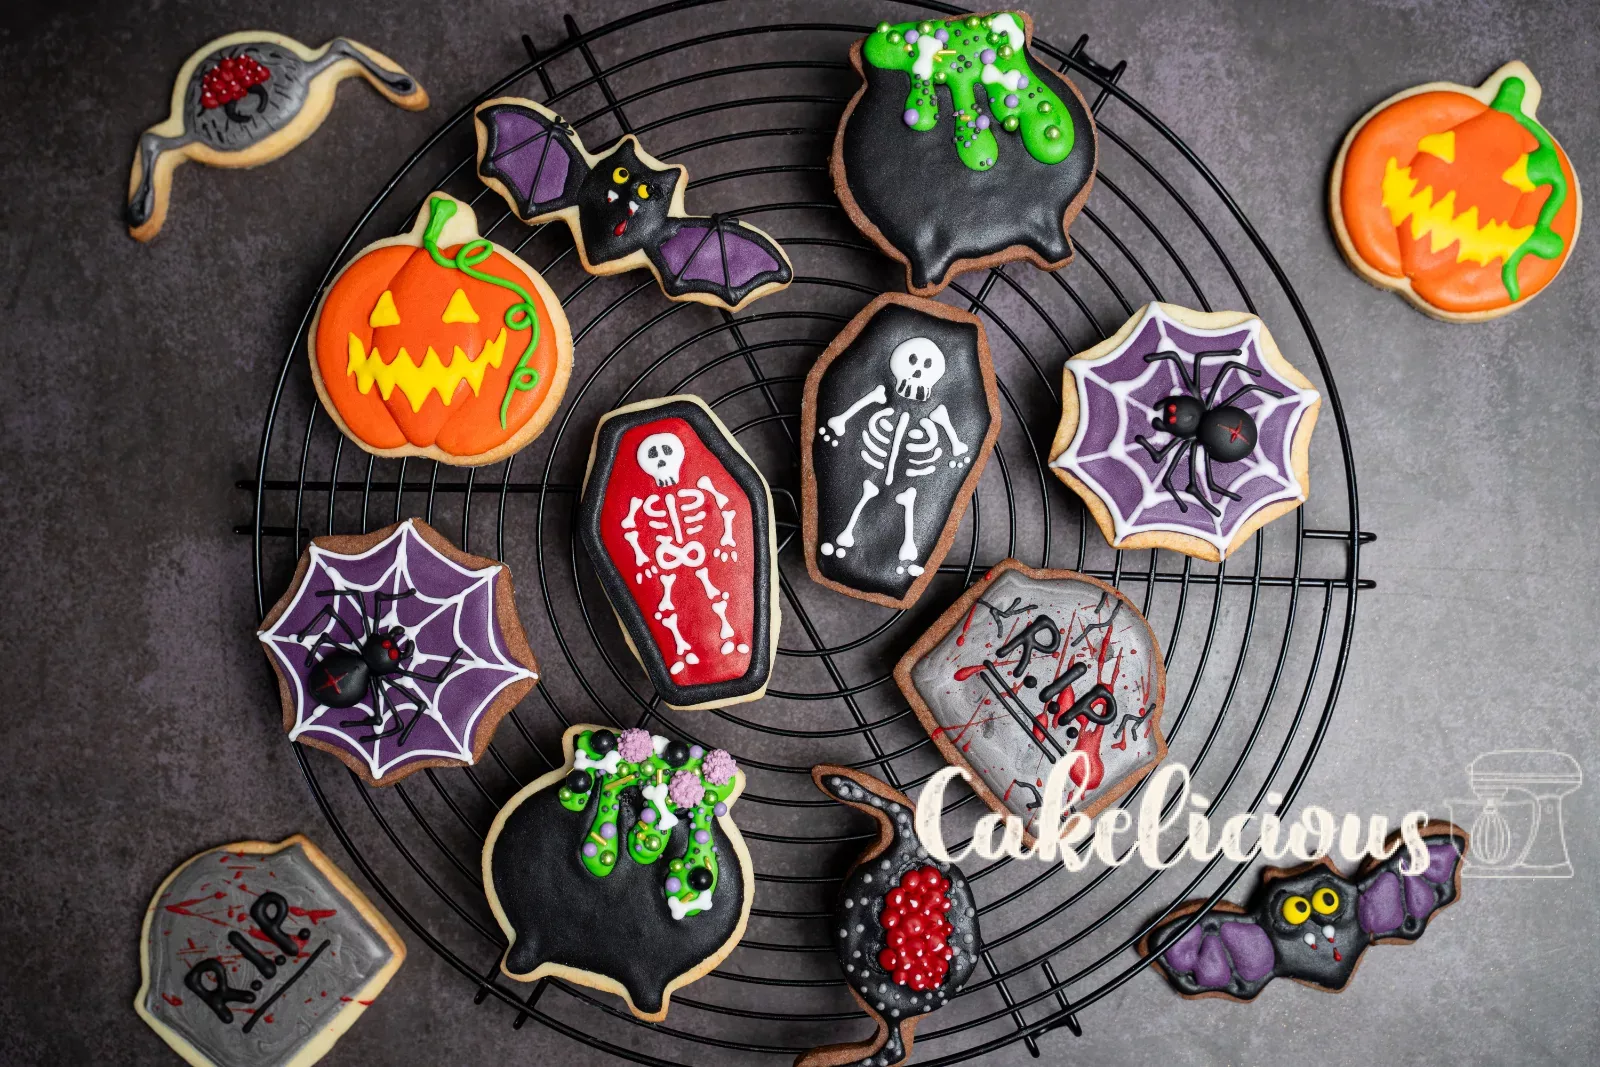
Halloween cookies with royal icing
Ingredients
Shortcrust pastry (approx. 300 g)
Royal icing
For colouring
Preparation
- Dough: Beat butter, sugar, salt and vanilla until fluffy, add egg gradually, briefly work in flour, chill for 1 hr.
- Baking: Roll out to 5 mm thickness, cut out 14 cookies, bake for 12 min at 190 °C convection, leave to cool.
- Icing: Beat egg white with lemon juice, sift icing sugar over it, whisk for 2 to 3 min (for flooding), 2 min longer for outlines.
- Colours: Divide, colour with gel colours, fill into cornets.
- Decorating: Pipe outlines, flood the areas, leave to dry for 1 hr, paint on details.
Nutritional values per 100 g
Storage & shelf life
Everything for this recipe
Recommended by our bakery team, in exactly the sizes this recipe was tested with.
Ingredients
Swiss white flour, 1 kg
Cocoa powder, 1 kg
Bourbon vanilla seeds, 5 g
Pasteurised egg white powder, 100 g
Progel gel colours: Black
Progel gel colours: Orange
Progel gel colours: Violet
Progel gel colours: Holly green
Gel colours Progel: Red
Gel colours Progel: Grey
Royal icing 900g
Sprinkle decor Spooky Halloween mix 4 in 1, 100 g
Sugar sprinkles Colourful Halloween, 65 g
Accessories
Cornet paper, pre-rolled, 15 pieces
Beechwood rolling pins, 6 pieces (3/5/10 mm)
Cookie cutter set Halloween haunted house, 7 designs
Delivery in 1 to 2 working days · Free shipping from CHF 100
To make sure it works every time
Royal icing can be adjusted at any time: add a little icing sugar to make it firmer, or a few drops of lemon juice to make it runnier. The longer you beat it, the stiffer it becomes.
Royal icing dries very quickly when exposed to air. Cover the bowls with a damp cloth or cling film whenever you are not working with it.
For designs with several areas, such as bat wings, finish painting one section first before moving on to the next. This way the colours won't bleed into each other at the edges.
Frequently asked questions
Yes, and it's actually convenient: mixed with water, pasteurised egg white powder means there are no raw eggs in the icing. Follow the instructions on the packet and use it in place of the 90 g of egg white.
For the details, it is enough when the surface feels firm after about an hour. The icing is fully dry after around eight hours, ideally overnight. Only then can you stack the cookies.
Gel color is very concentrated. Even a small amount gives strong shades without making the icing runnier. For a deep black you need a bit more colour and some patience: it continues to darken as it stands.
Print recipe
Choose what should appear on the printout.
Related posts
 Lemon Cereal Bars
Jam Finger Biscuits
Gift box thank you teacher
Caramel-chocolate cookies
Leave a comment