
Dry Caramel
Hello food lovers!
I always hear from customers who tell me they have trouble with the famous dry caramel.
There are a few essential tips you need to know to get it right!
Here is the tutorial that will help you nail it every time! :o)

Don't be scared! Really, it's not as complicated as it seems!
You will need the following equipment:
- A saucepan
- 120gr of sugar
- A silicone mat
Let's get started with the recipe!
Take a saucepan and add a thin layer of sugar (just a few mm at the bottom, no more).
We'll start by heating this thin layer of sugar.


Once it starts to melt, add a small amount of sugar on top and wait for it to melt again. Continue like this until all the sugar has melted.
WARNING: very very important! Never stir your caramel with a spatula or any other tool! It will crystallize immediately!
TIP: to prevent the caramel from browning too quickly, I lift my saucepan from time to time (or remove it from the heat) and give it a swirling motion. This way, the sugar will melt evenly without burning.


The caramel is now ready.
To turn it into a solid mass, you can pour the caramel onto a silicone mat.
Let it cool completely. Then break the caramel into small pieces to continue working with it.
Once hard, caramel can be sharp! I recommend breaking it with a small rolling pin rather than with your hands. ;o)
I love using this caramel to make praline or for my spread.


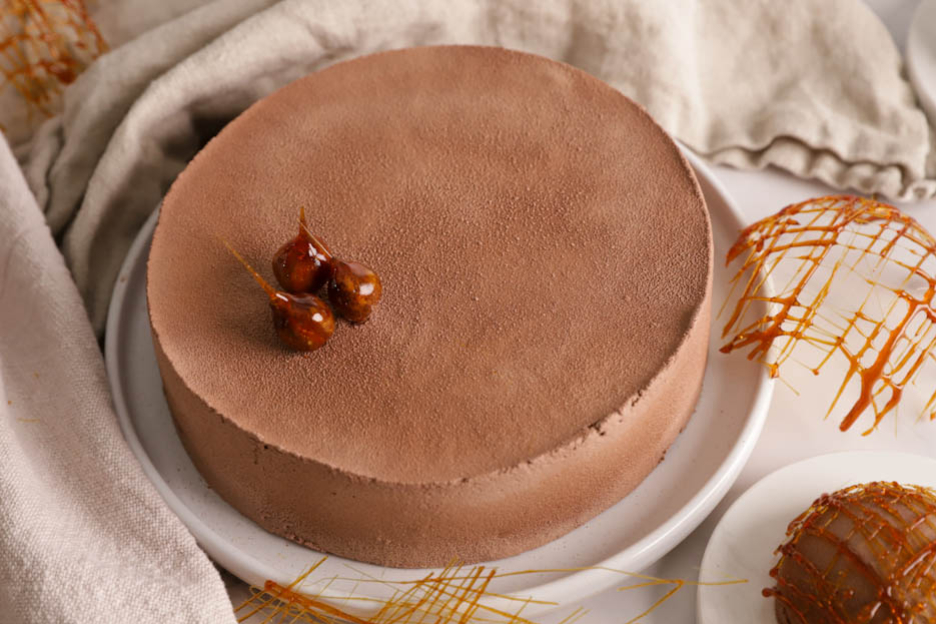
You can also use it for decorations by caramelizing hazelnuts, for example.
In that case, keep the caramel in the saucepan and let it cool for 1 to 2 minutes, it will be easier to create the decoration.
In the meantime, skewer the hazelnuts with a toothpick.


Then dip the hazelnut 1 to 3 times into the caramel (you'll notice that depending on the temperature of the caramel, it will be more or less thick).


When the thread starts to harden, you can cut it with a pair of scissors to the desired length.
Let everything harden completely before turning it over. The toothpick can then be carefully removed with a twisting motion.
And there you have a beautiful caramelized hazelnut! It's a lovely idea for decorating entremets. :o)


With this caramel you can also make small domes to decorate your desserts.
I used a silicone half-sphere mould of 7 cm here.
Use a spoon and make sure the caramel flows a bit like honey. If it's too hot, you won't be able to get nice threads; if it's too cold, the threads will be too thick and won't look pretty.
As soon as the caramel reaches the right consistency, make back-and-forth movements over your domes.
If the caramel becomes too difficult to work with, you can put it back on the heat to warm it up.


Once your caramel domes have cooled, they will come off on their own.
For a clean result, you can trim the excess caramel with a pair of scissors.


The same technique can of course be done on a silicone mat.
Just like the domes, make back-and-forth movements to create whatever decoration you like. :o)


Of course, there are many other possibilities! You can make spun sugar, dip small choux into the caramel to make a croquembouche...
I hope you enjoyed this little tutorial and that it will help you! ;o)
I wish you a wonderful day.
Karin
P.S.: You will find all the materials used at the bottom of the recipe.


How to make dry caramel

Related posts
 Juicy Matcha Muffins with Pecan Nuts & White Chocolate
Matcha Iced Latte & Coconut Variant
Pull-apart bread with fresh wild garlic pesto
Mini Banana Bread with Chocolate Chips
Juicy Matcha Muffins with Pecan Nuts & White Chocolate
Matcha Iced Latte & Coconut Variant
Pull-apart bread with fresh wild garlic pesto
Mini Banana Bread with Chocolate Chips
Leave a comment