

Toffifee
Hey food lovers!
This week, I'm sharing a Toffifee recipe! Who doesn't love them? Everyone in my house adores these little treats. So I wanted to offer you a homemade version.
I have to admit that I struggled to create a recipe worthy of the real Toffifee! Dozens of attempts (my husband never complained!). Lots and lots of caramel tests… but it was worth it!
So here are my homemade Toffifee!

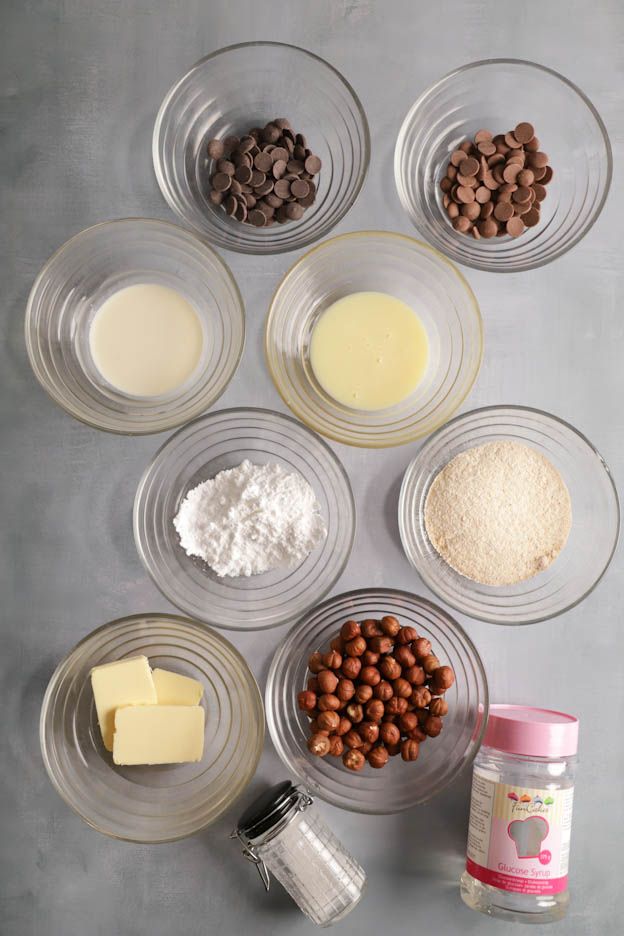
To make 24 Toffifee, you will need:
- 90g whole hazelnuts
- 60g sweetened condensed milk
- 20g heavy cream
- 2 tbsp glucose syrup
- 95g brown sugar powder
- 30g butter at room temperature
- Guérande sea salt
- 35g icing sugar
- 35g milk chocolate
- 30g dark chocolate
Let's get started! :o)
Preheat your oven to 150°C, fan-assisted.
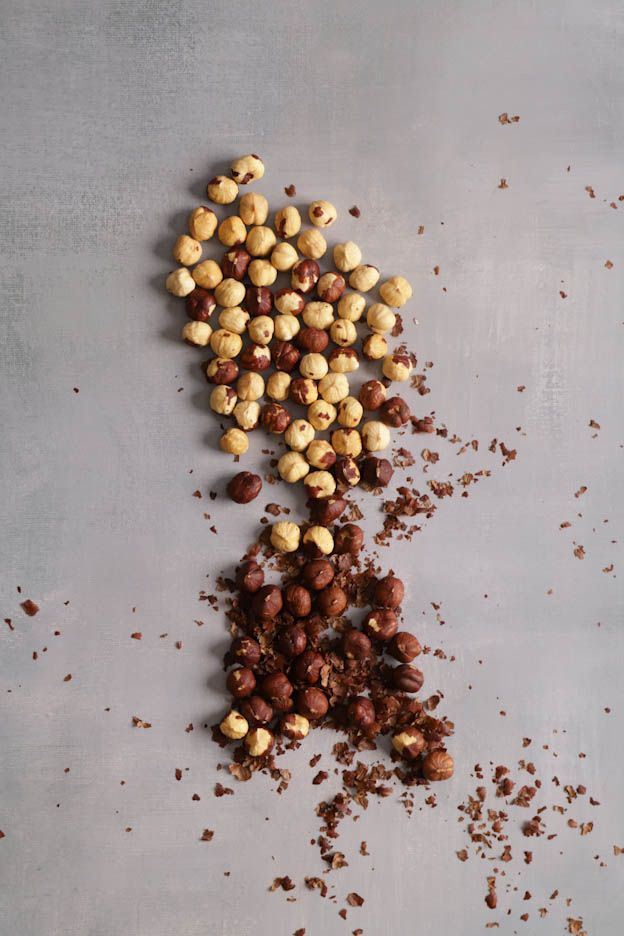
Spread 90g of whole hazelnuts on a perforated baking tray lined with a perforated mat.
We are going to toast the hazelnuts so that their flavour comes out and becomes more intense.
Once your oven is hot, bake your hazelnuts for 15 minutes at 150°C.
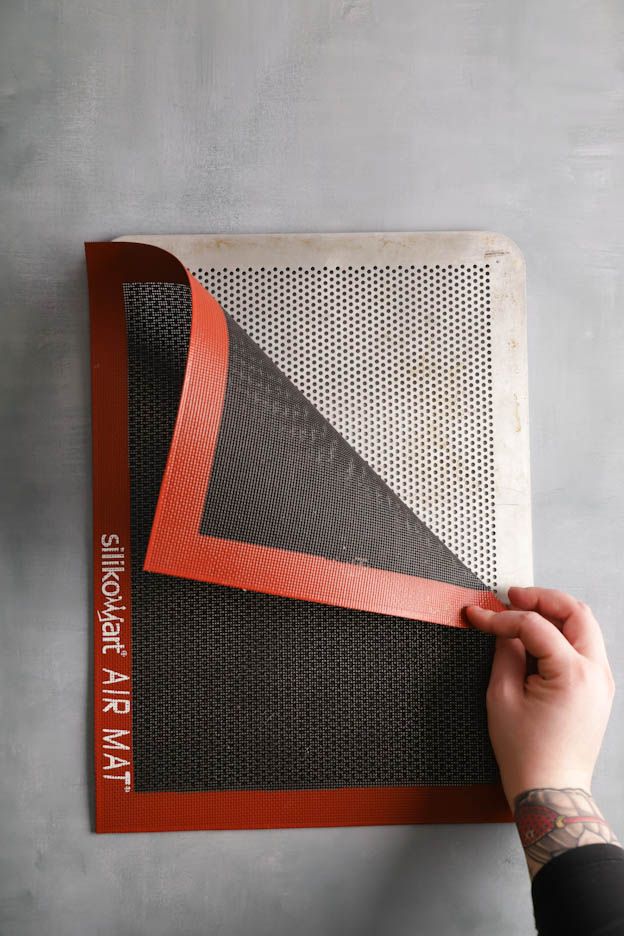
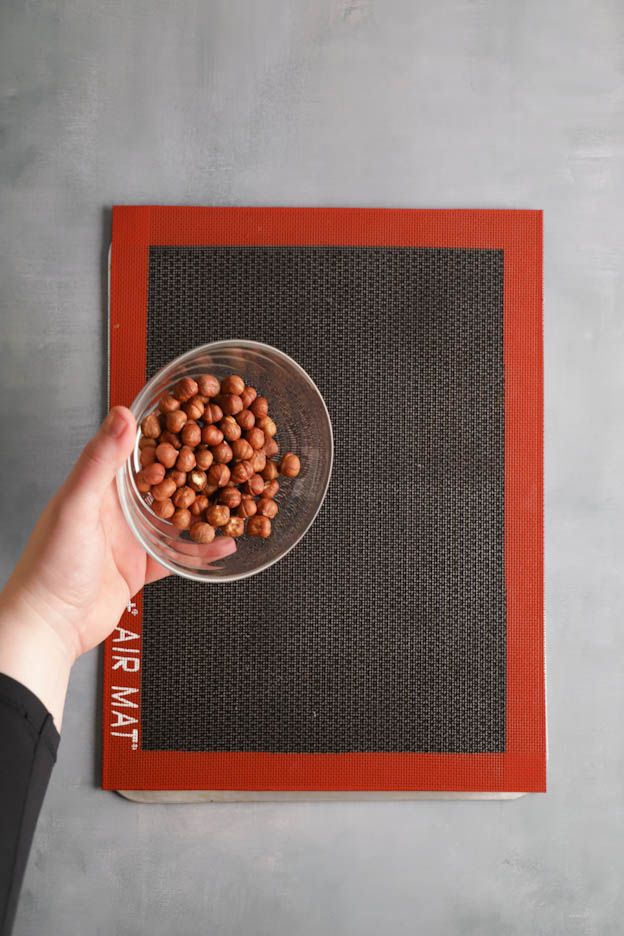
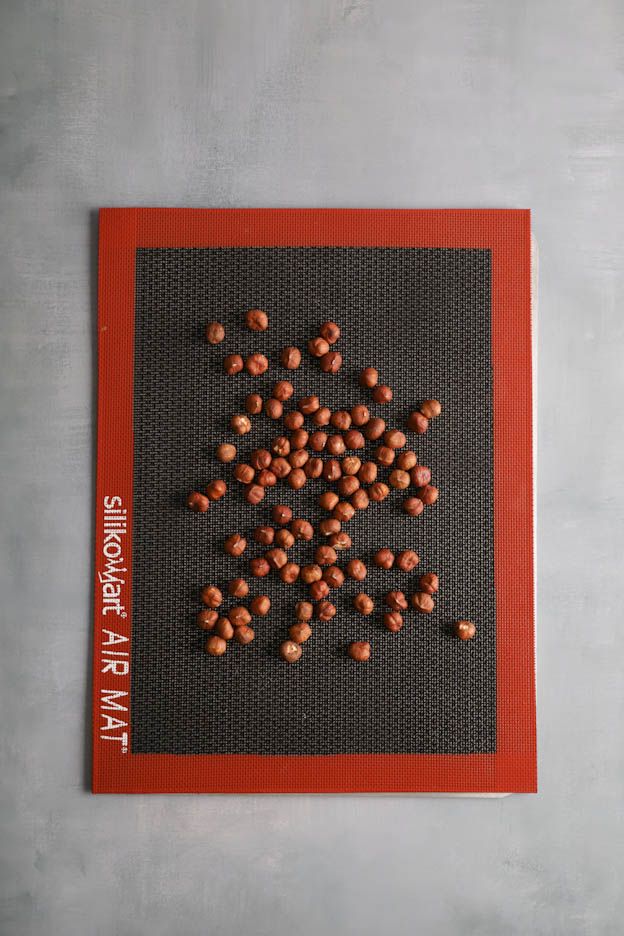
Remove your hazelnuts after 15 minutes and let them cool for a few minutes.
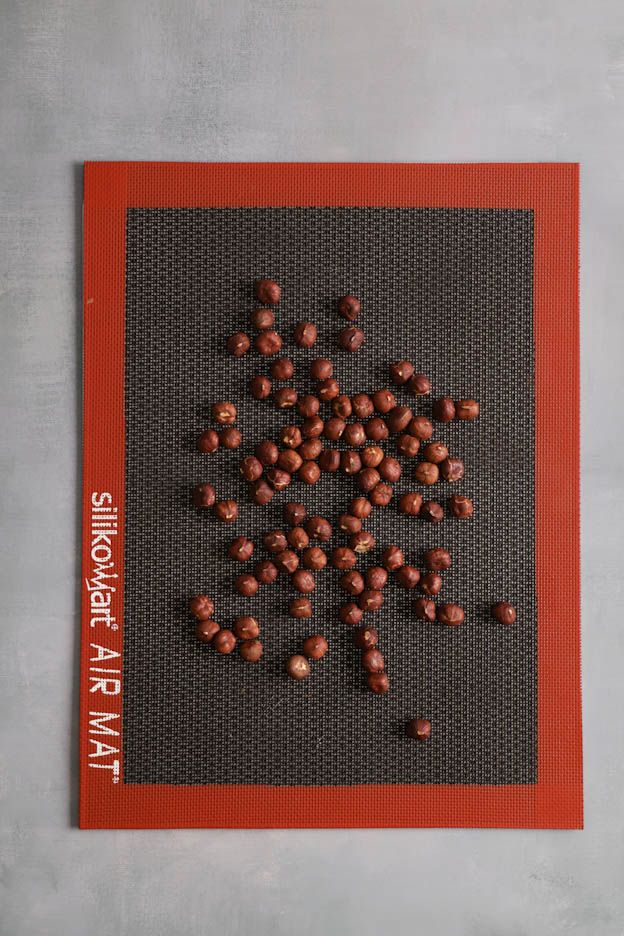
You will see that the skin of the hazelnuts will be all cracked. Perfect!
Once cooled, take the hazelnuts in your hands and rub them together. About 90% of the skin will come off very easily. If a little remains, that's totally fine. You can leave whatever doesn't come off on its own.
Set them aside while we make our caramel.

Caramel
In a saucepan, pour 60g of sweetened condensed milk, 20g of heavy cream, 2 tbsp of glucose syrup, 95g of brown sugar powder, 30g of butter and 1 pinch of Guérande sea salt.
Mix lightly with a whisk to obtain a fairly thick paste.
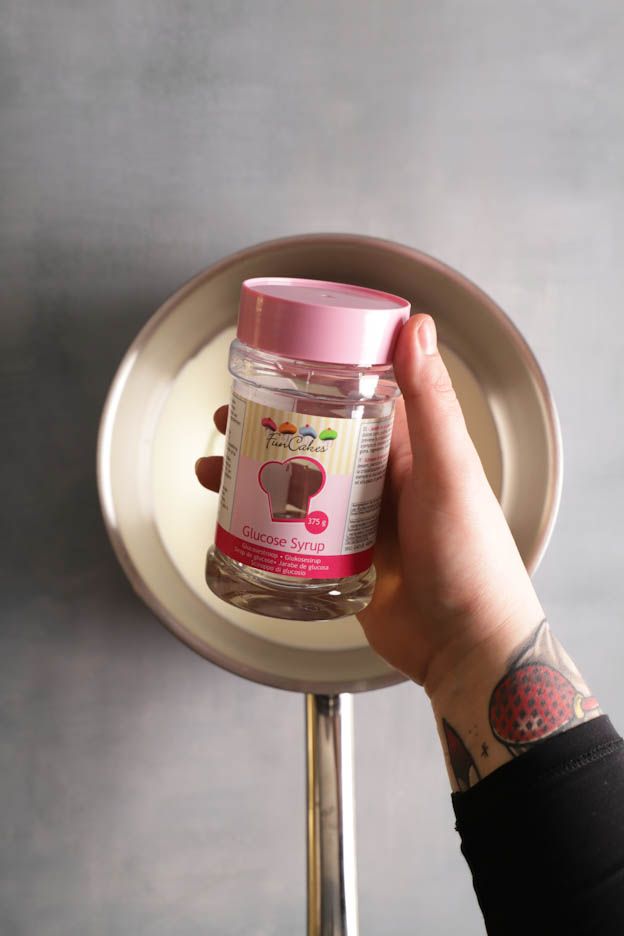

Turn your hob on to low/medium heat (I set mine to 3-4 and my glass-ceramic hob goes up to 9). This is very important!
If you heat the caramel too strongly, you'll end up with grainy or burnt caramel…
Always check the temperature. As long as the mixture hasn't reached 80°C, you can stir gently from time to time.
Once the temperature of 80°C is reached, never stop stirring and stir quite vigorously, without burning yourself.
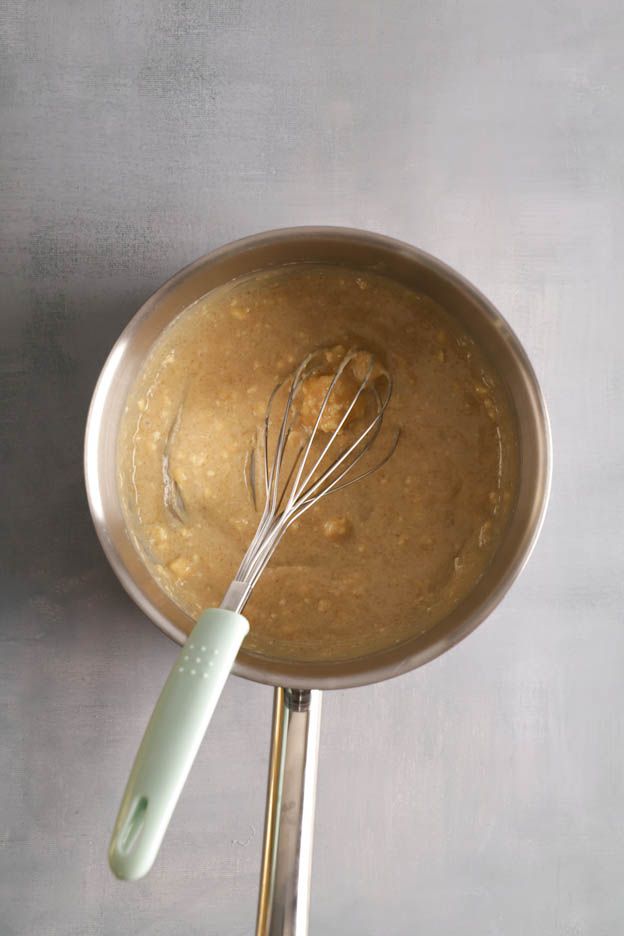
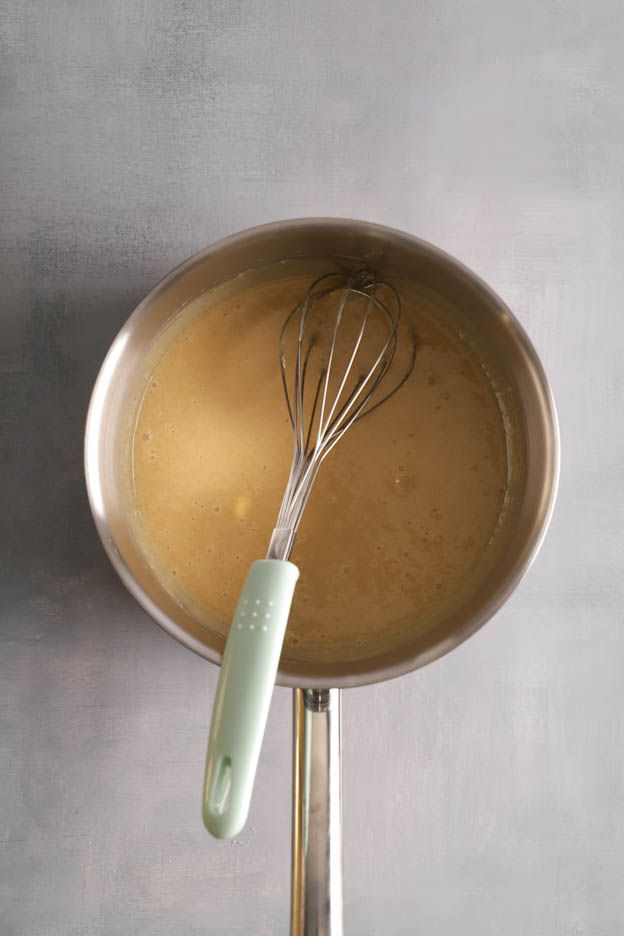
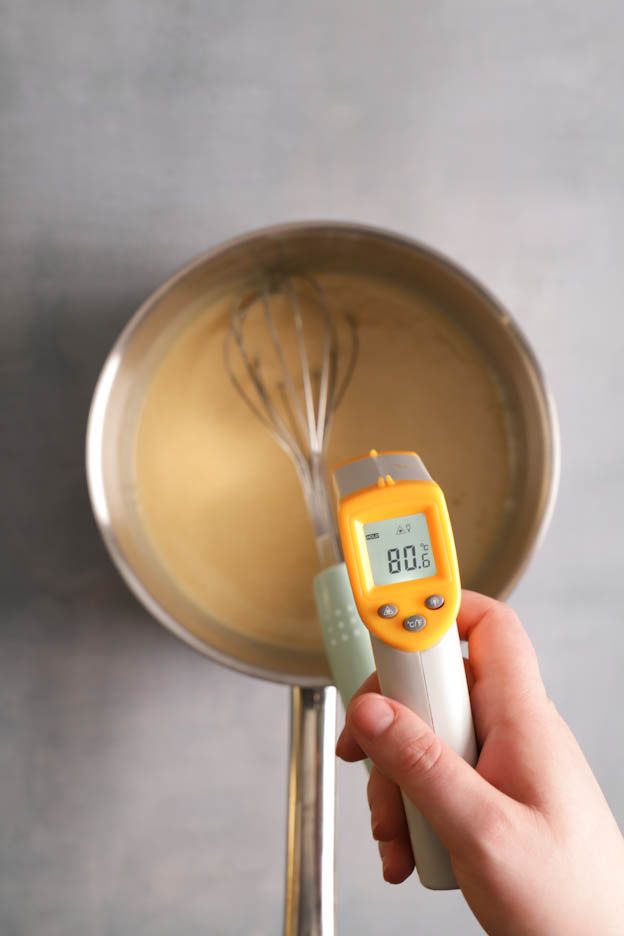
Lower the heat to low.
The caramel will thicken. Whisk well right into the edges of the saucepan so nothing burns.
Once the temperature of 115°C is reached, remove from heat and continue whisking for 1-2 minutes.
For those who have asked, I switched to an infrared thermometer because it is super precise, but a simple thermometer will work just fine too. :o)
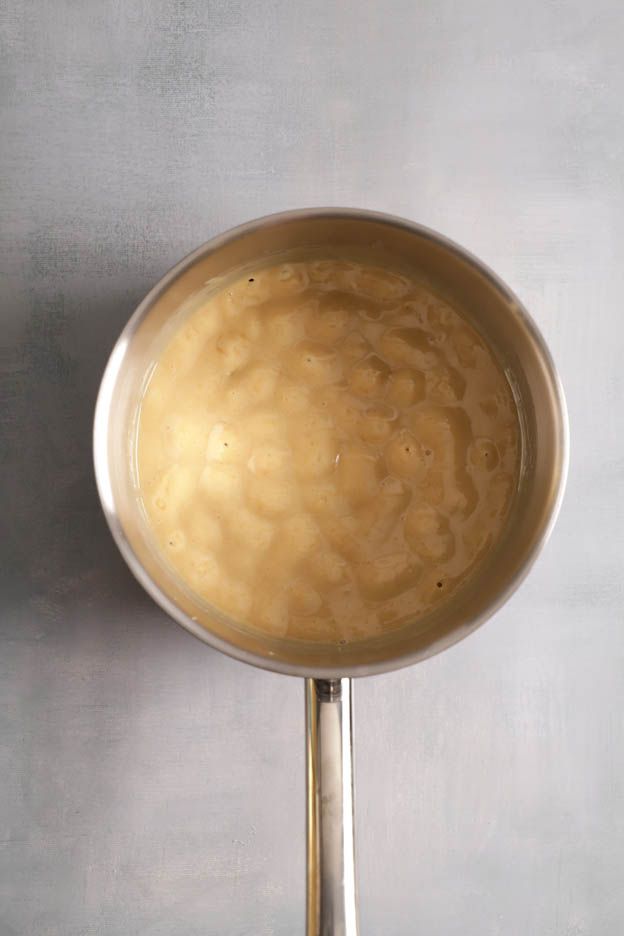
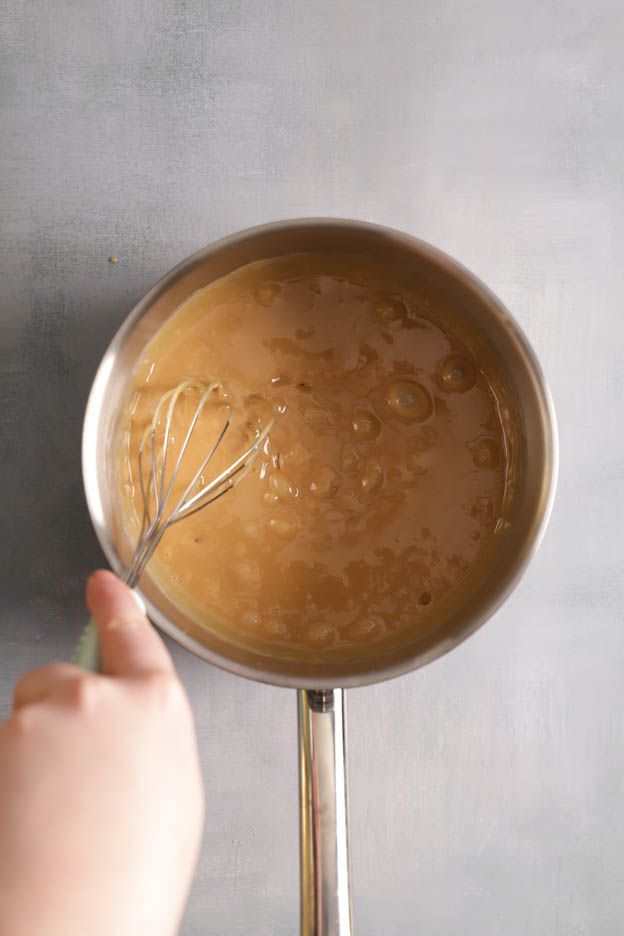

Do the caramel test. Take a small amount of caramel on a spoon and plunge it into very cold water.
If you can form a ball with the caramel, your caramel is a success! :o)

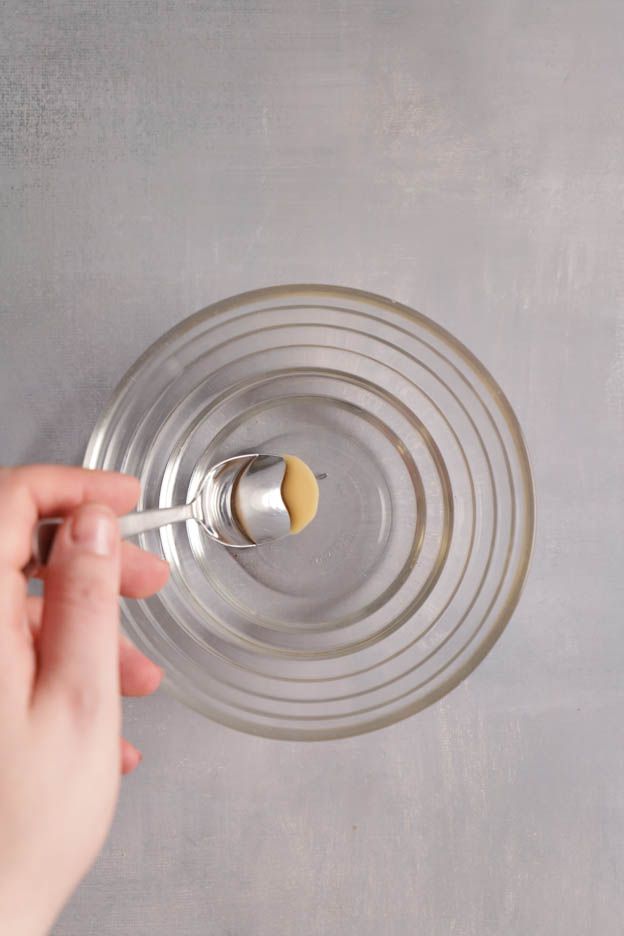
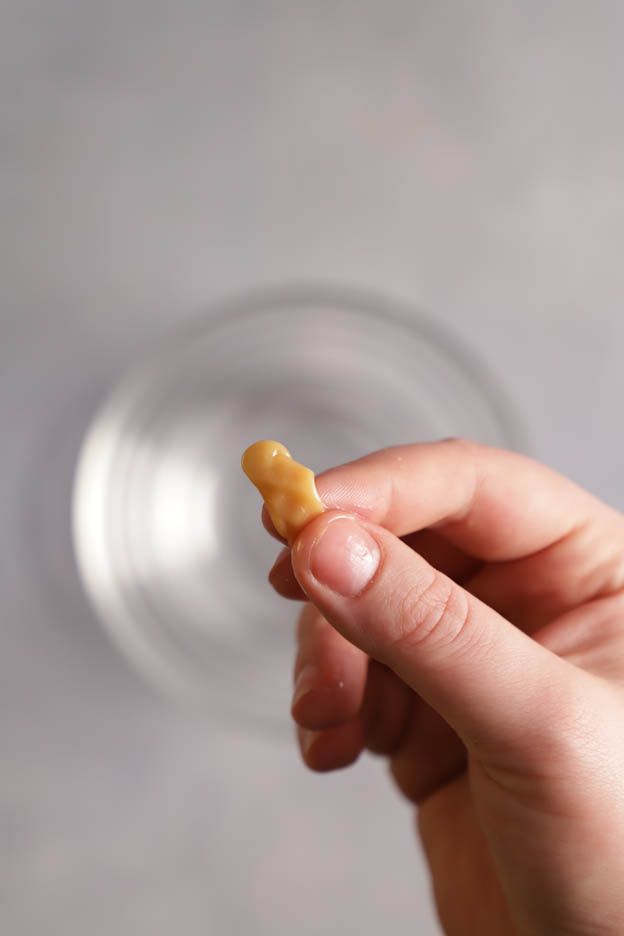
From here, you need to work fairly quickly so that the caramel doesn't harden too fast.
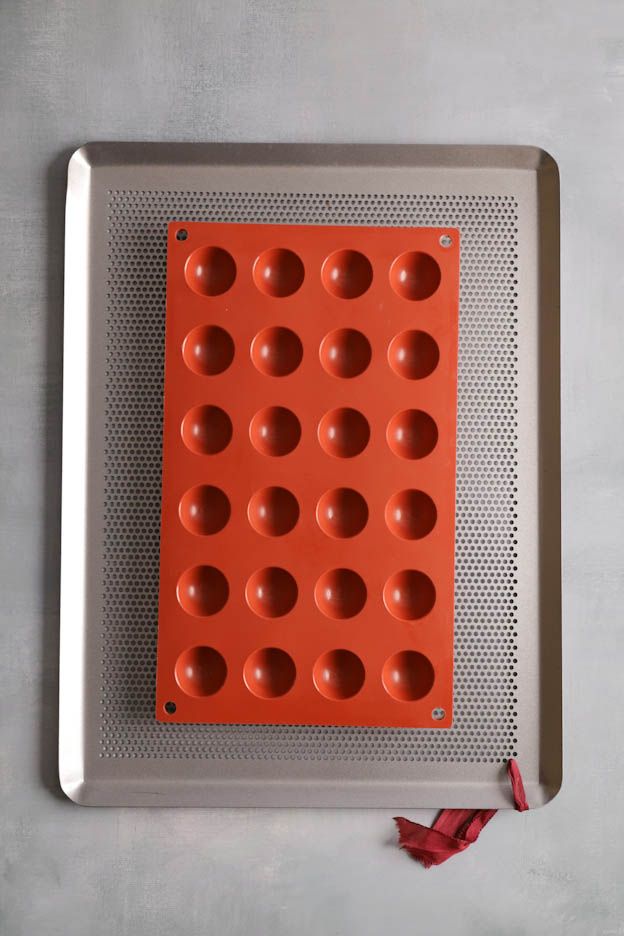
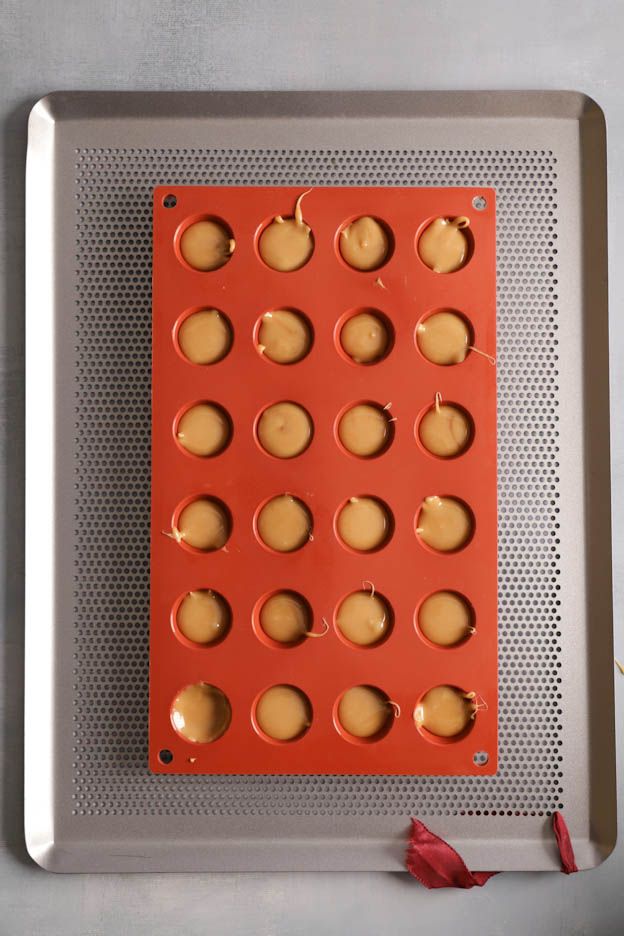
Grab a 3 cm diameter half-sphere mould. Remember to place a board under the mould so you can move it later.
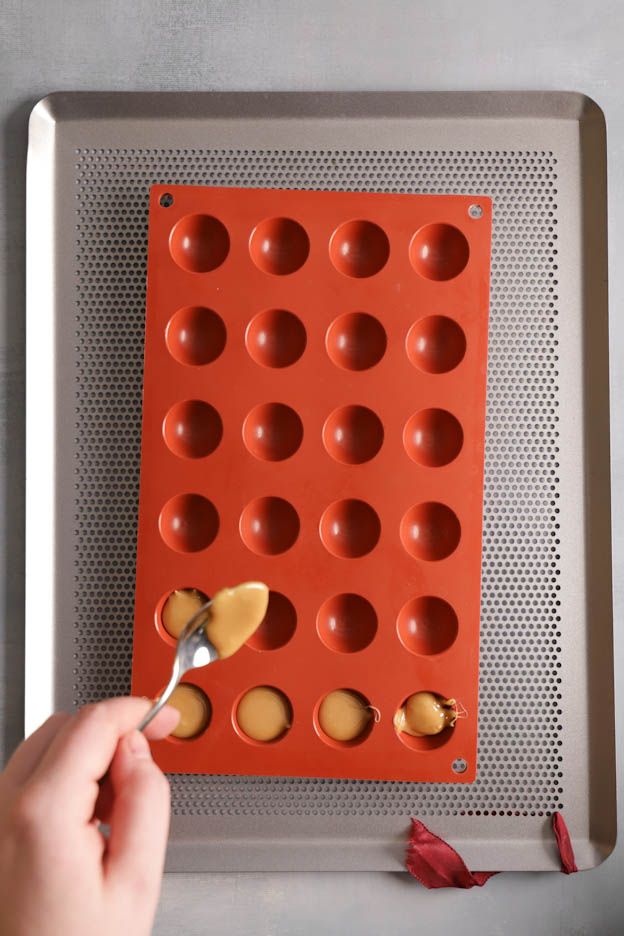
Fill the cavities 3/4 full with still very warm caramel. Be careful not to burn yourself!
I used a simple spoon to fill my cavities. Usually I like to use a piping bag for this type of filling, but the caramel was far too hot. So plan B = small spoon. :o)
Next, grab a small bowl filled with cold water and an ice cube.
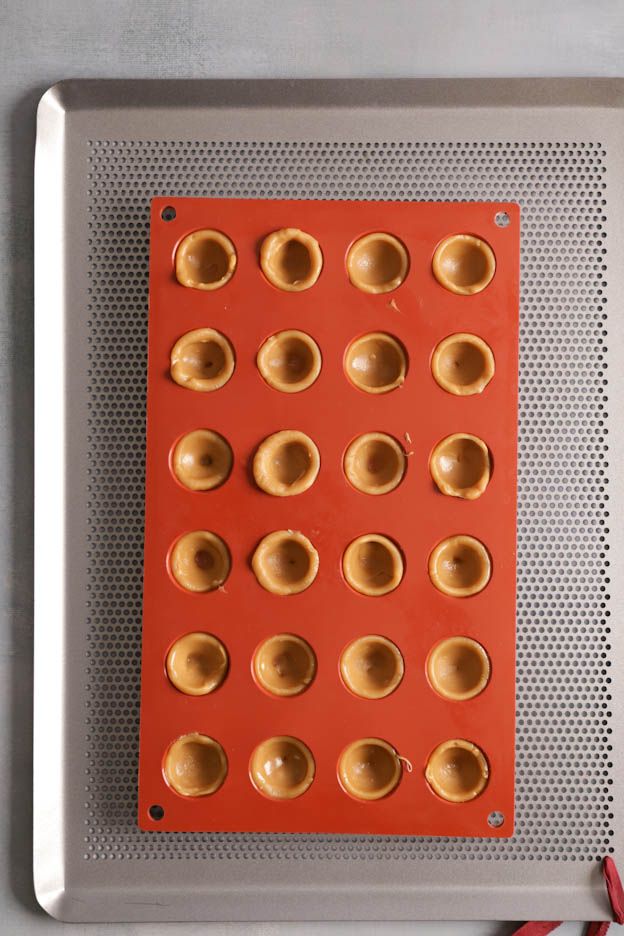
To make the indentations in my caramel, I used this measuring spoon. It was perfect! It's the 1/2 teaspoon measure.
Once the caramel is barely sticky to the touch (don't wait too long or your caramel will become hard), press indentations using the magic spoon! :o)
Between each indentation, I recommend cooling your spoon in the cold water.
Be careful not to pour water into your caramel. The cold water is just to cool your spoon.


There we go, all my indentations have been made.
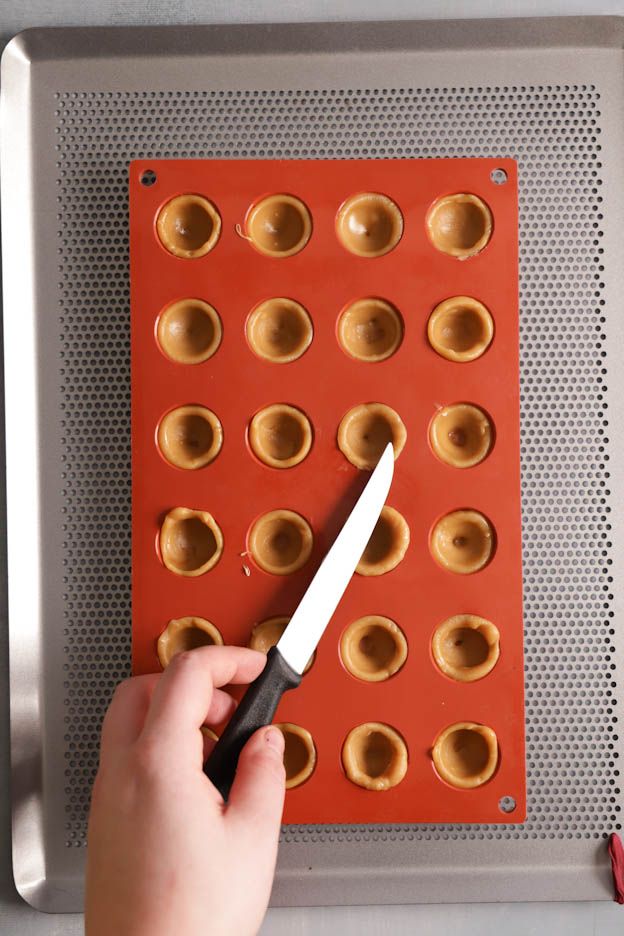
For a neater finish, I carefully trimmed the excess caramel with a knife. Be mindful of your mould.
The excess caramel disappeared without any trouble. :o)
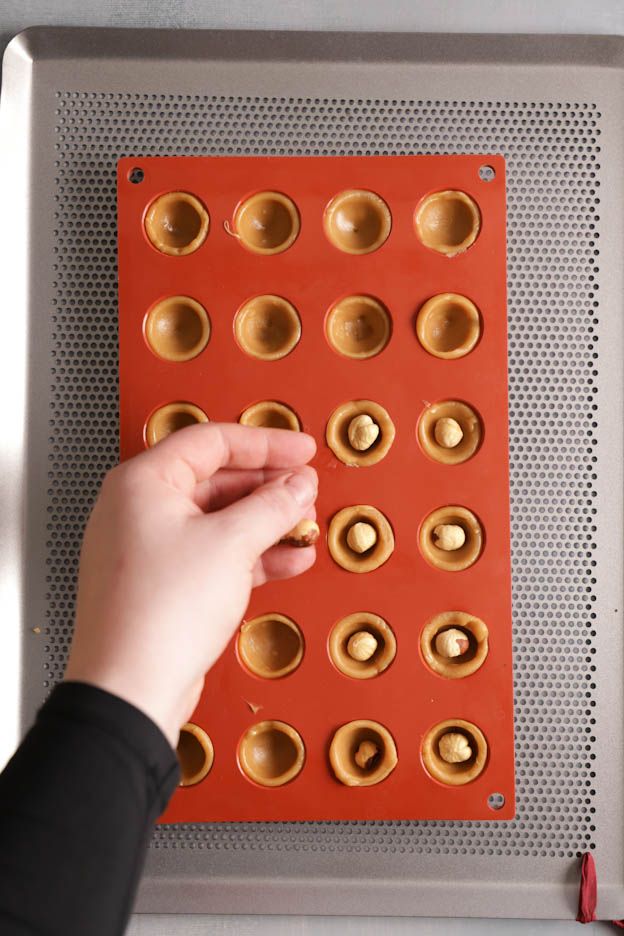
Then place one hazelnut in each cavity. Press the hazelnut down firmly so it goes as deep as possible.
Set aside.
Gianduja
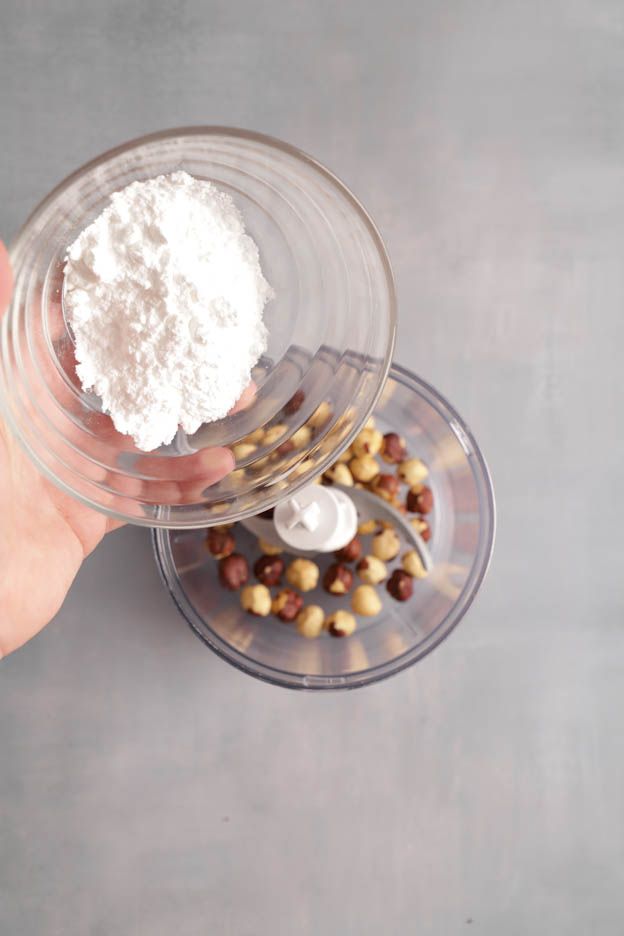
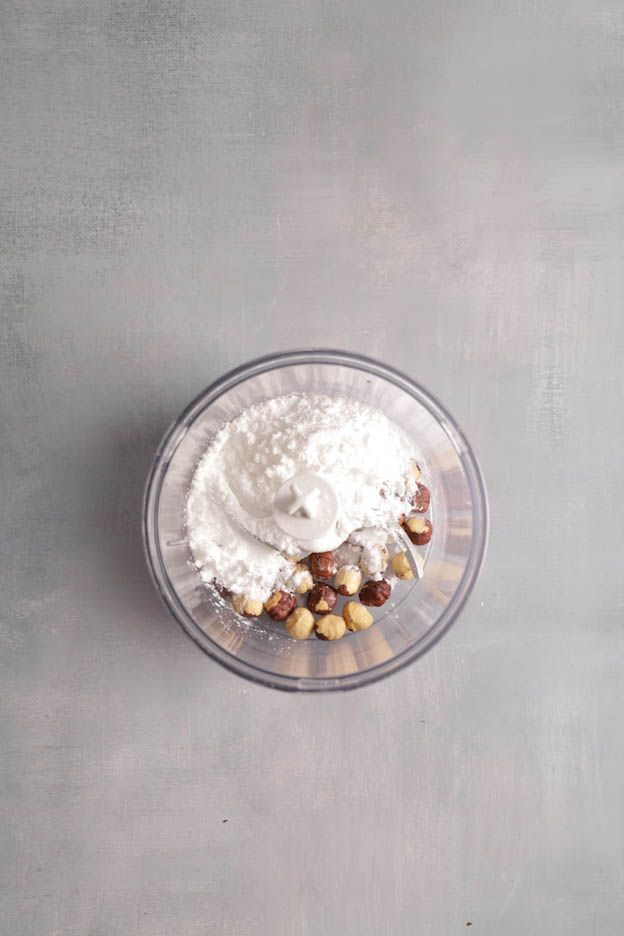
To do this, place 35g of toasted hazelnuts with 35g of icing sugar and 1 pinch of Guérande sea salt in a mixer or blender.
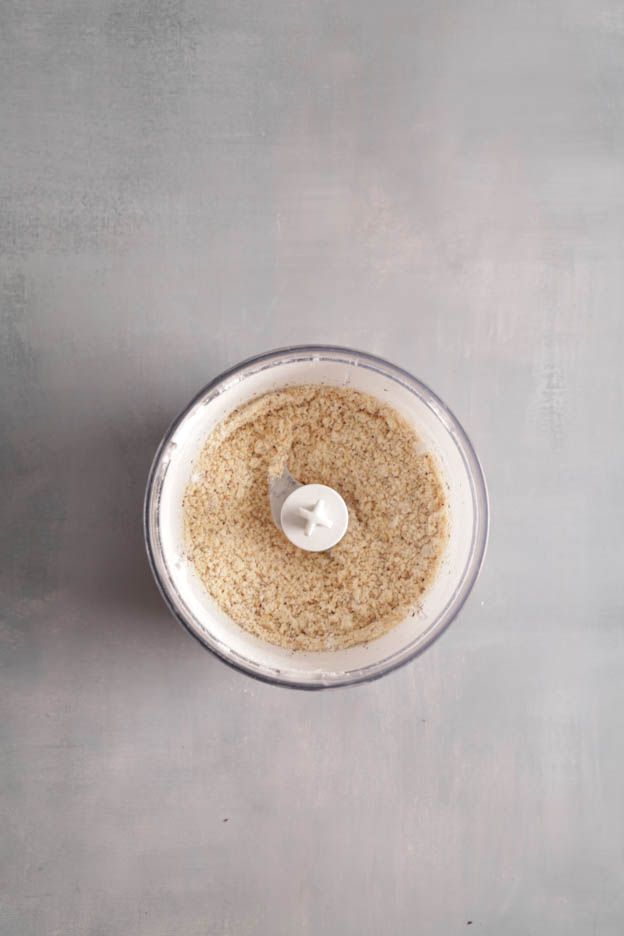
Blend until you obtain a hazelnut paste. Every 1-2 minutes, stop the mixer, stir the mixture with a spoon and blend again.
This way, you will have a lovely hazelnut paste in 5-6 minutes.
Pour 35g of milk chocolate into a small glass bowl and heat in the microwave at 600W for about 1 minute.
Add the chocolate to the hazelnut paste and blend again to obtain a creamy and fairly liquid Gianduja.
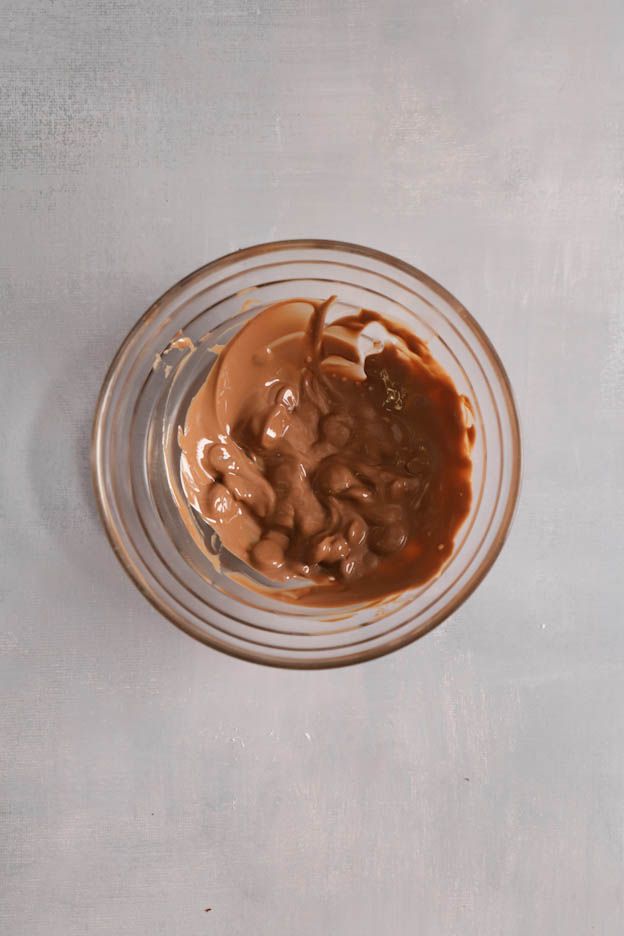

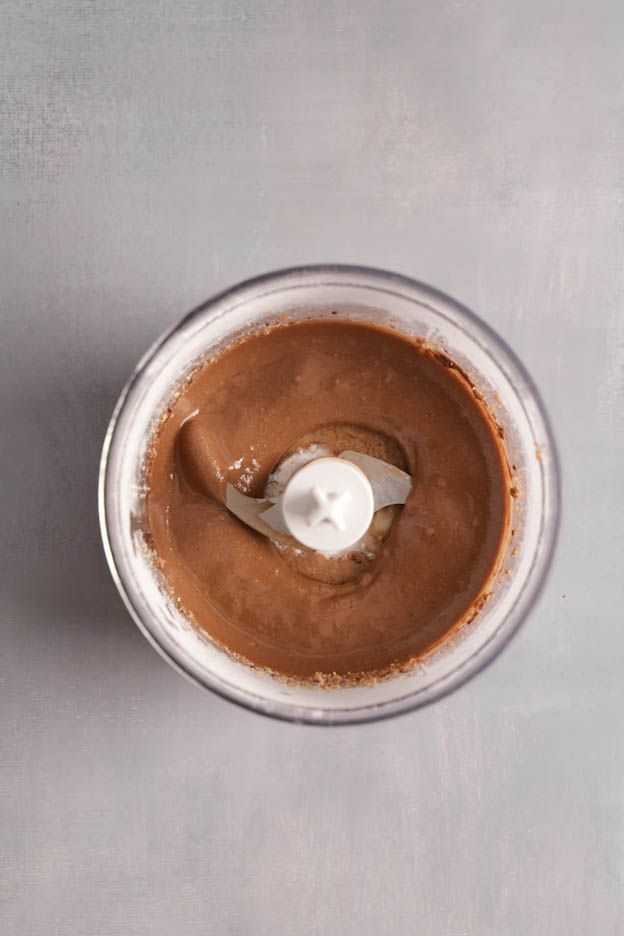
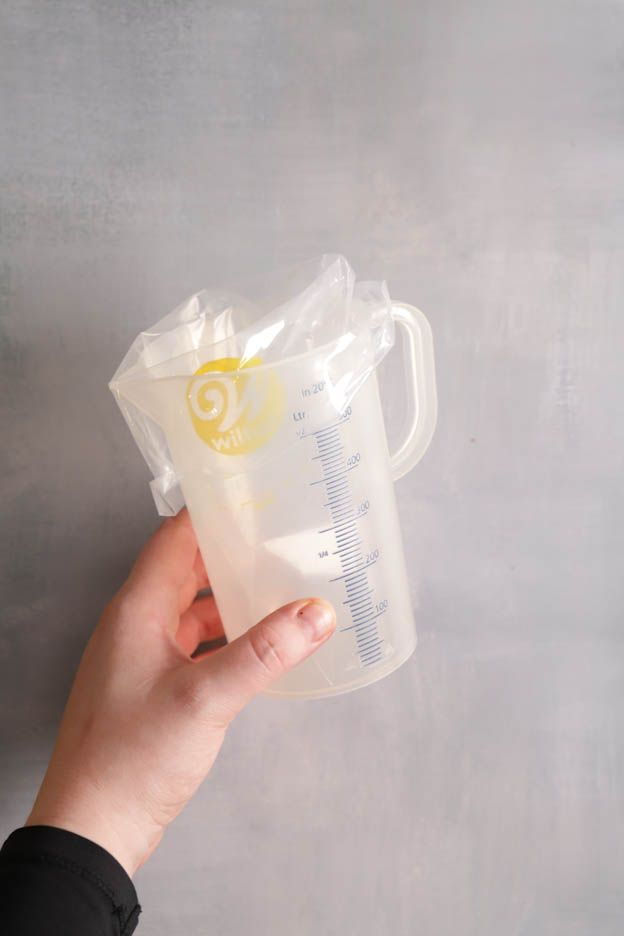
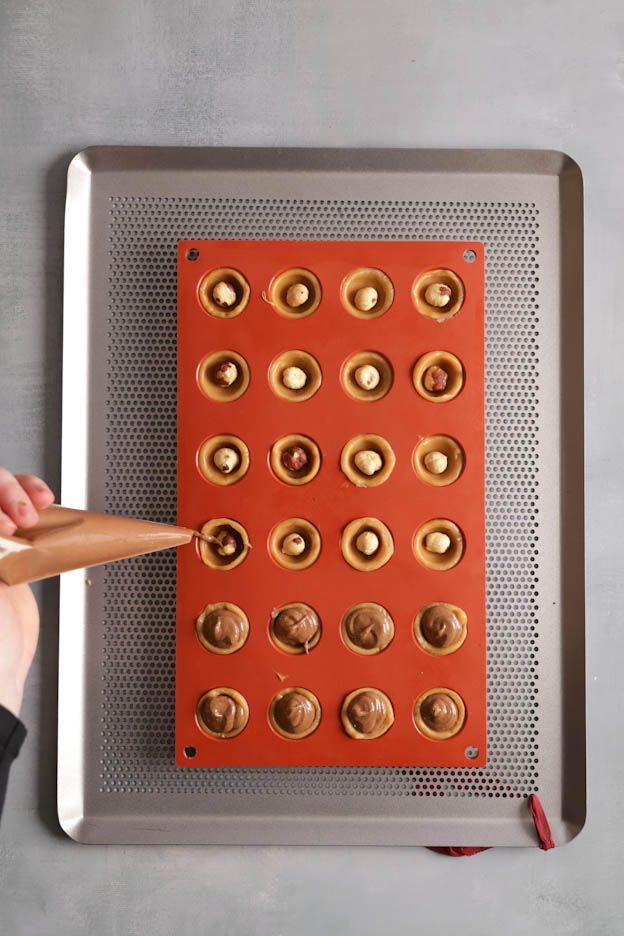
Place the Gianduja in a small piping bag and grab your caramels.
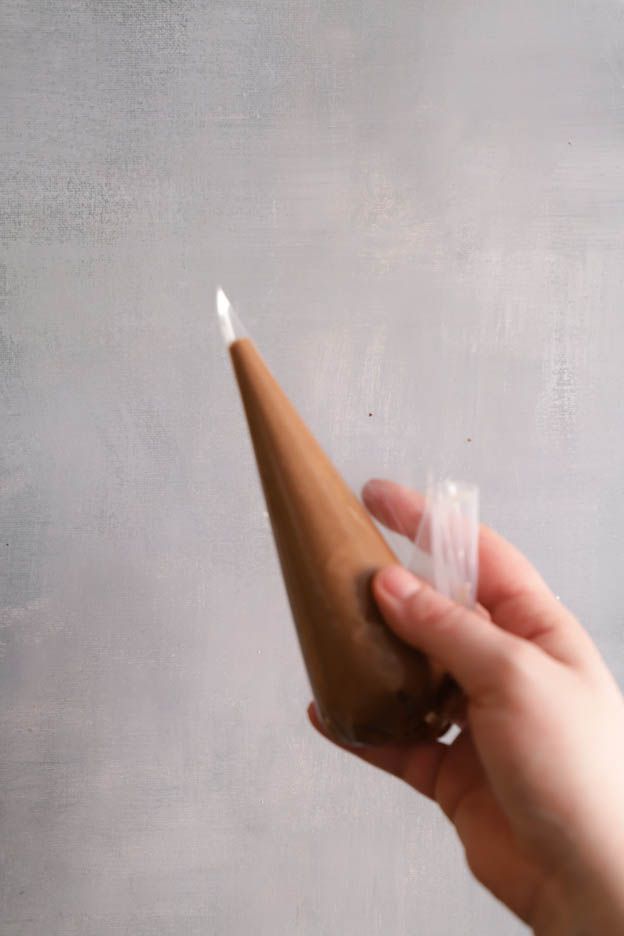
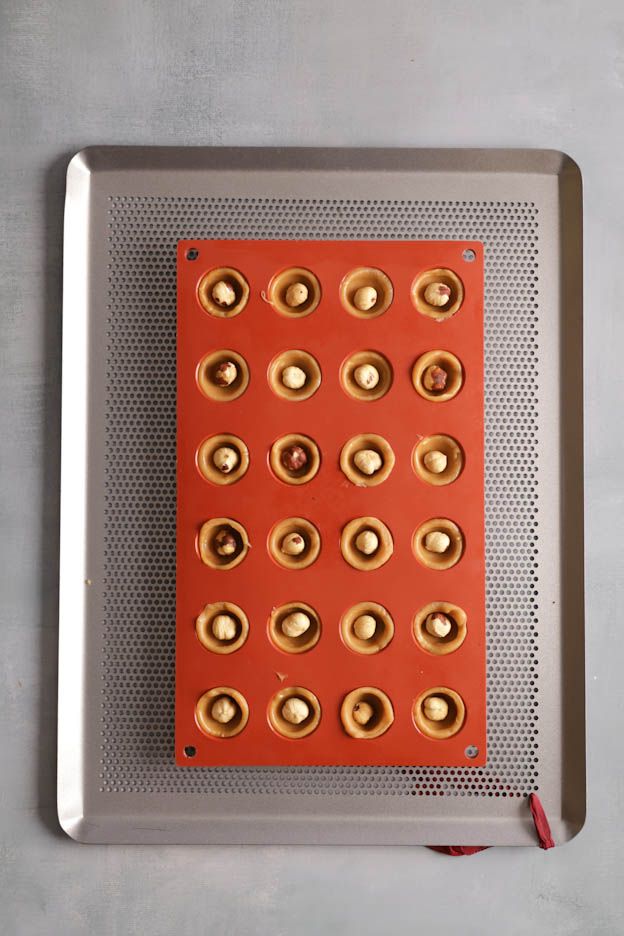
Fill each caramel with Gianduja. Be generous! :o)
Once the Gianduja has been piped into each cavity, tap your tray on the work surface so it smooths out slightly.
Then place your mould in the freezer for 15 minutes.

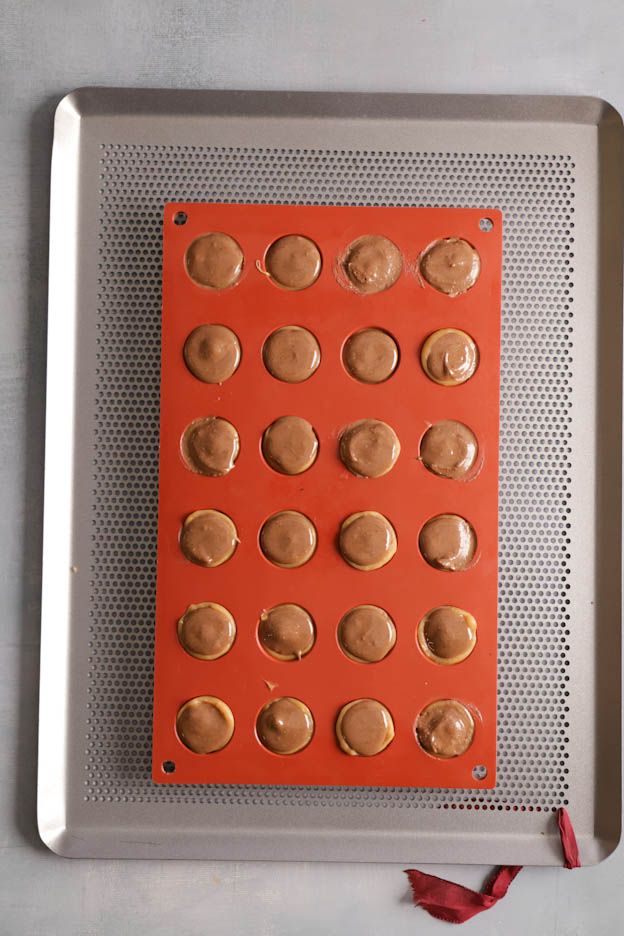
All that's left is the final little decoration! Woohoo!
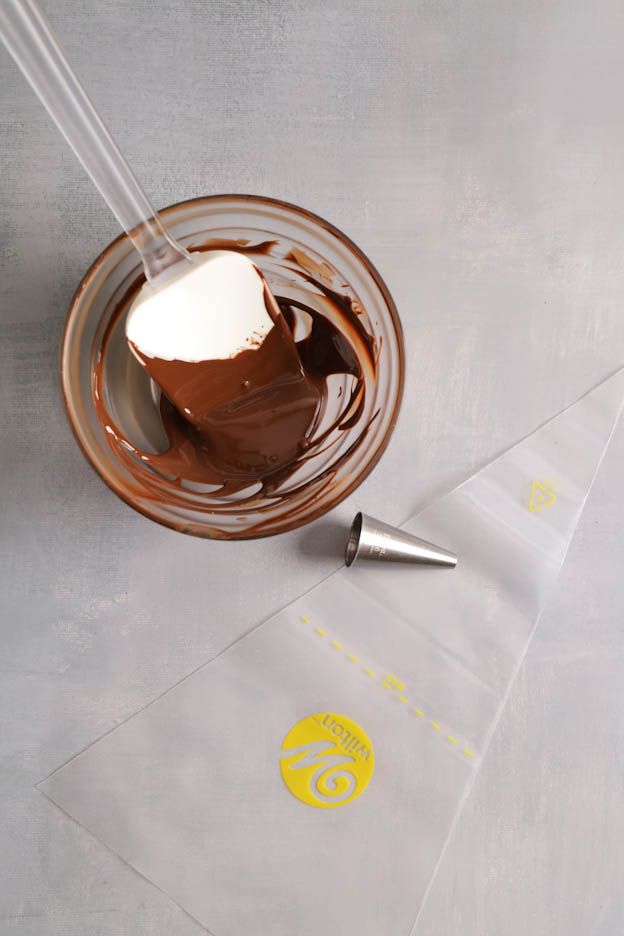
Pour 30g of dark chocolate into a glass bowl and heat for 30 seconds in the microwave at 600W.
Grab a nozzle N°10 (to make nice round dots) and fill your piping bag with melted dark chocolate.
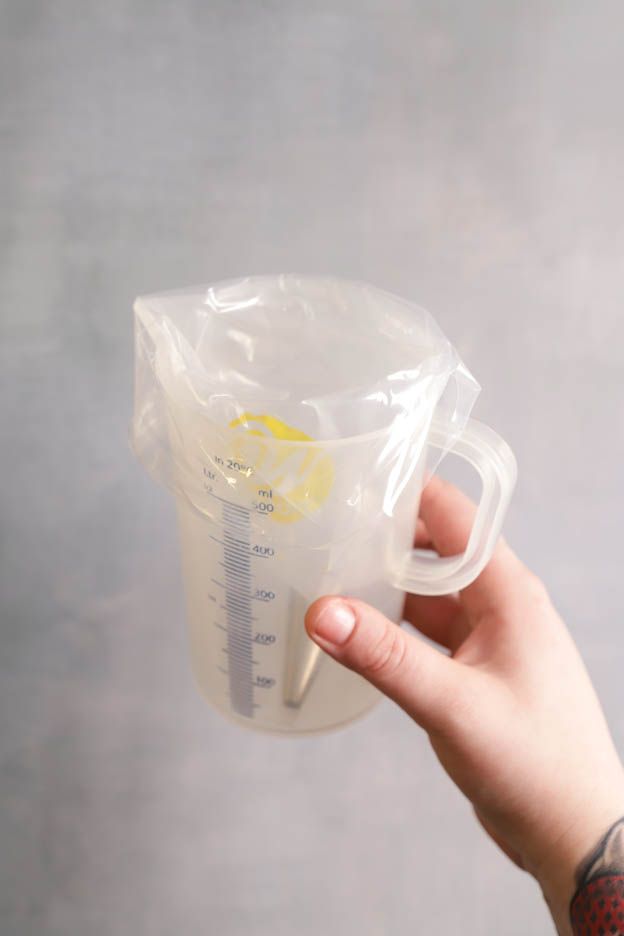
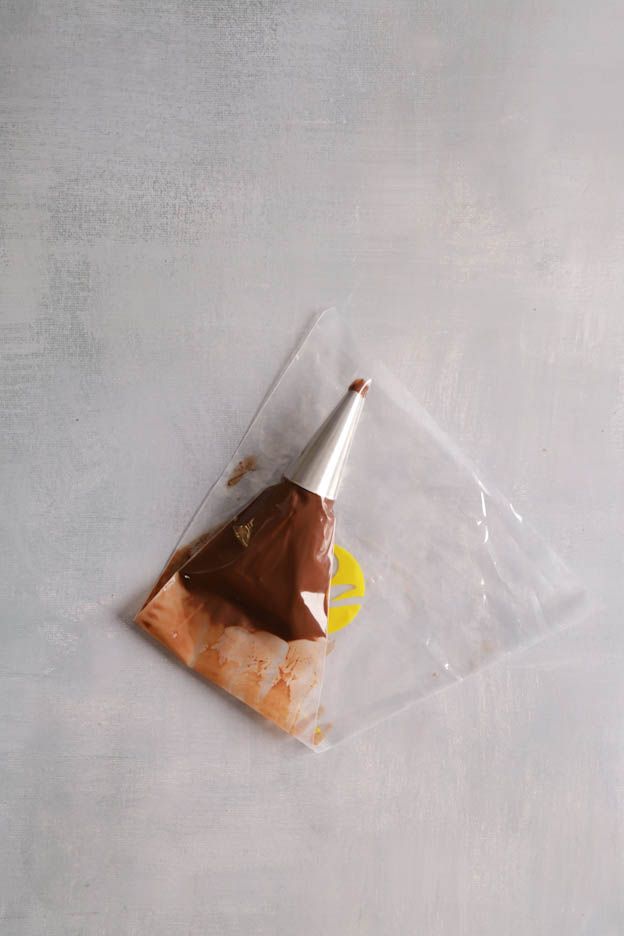
Take your caramels out of the freezer and pipe nice little round dots on your Toffifee.
Just tap your tray once on the table so the dot is flatter and you're DONE! :o)
Let your Toffifee set in the fridge for 30 minutes or in the freezer if you're in a hurry.


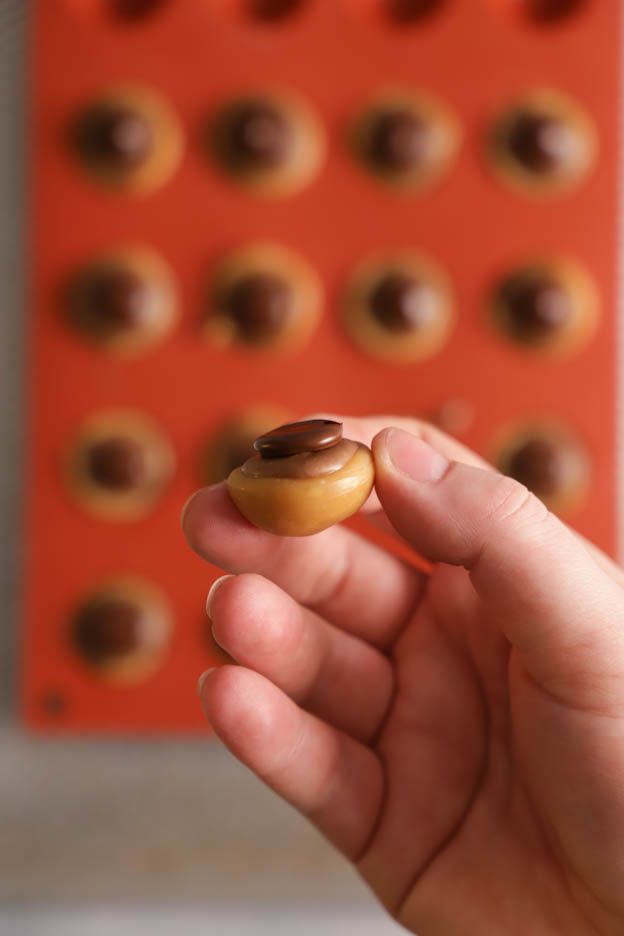
And here is the result!
Hide them! Otherwise they'll be devoured in minutes! :o) They keep very well in the fridge for 1 week or even 10 days.
I hope you enjoy this tutorial.
Have a wonderful Sunday, food lovers!
Karin
P.S.: All the equipment can be found at the bottom of the recipe.


Related posts
 Juicy Matcha Muffins with Pecan Nuts & White Chocolate
Matcha Iced Latte & Coconut Variant
Pull-apart bread with fresh wild garlic pesto
Mini Banana Bread with Chocolate Chips
Juicy Matcha Muffins with Pecan Nuts & White Chocolate
Matcha Iced Latte & Coconut Variant
Pull-apart bread with fresh wild garlic pesto
Mini Banana Bread with Chocolate Chips
Leave a comment
Comments
Question de Sylvie
By: Sylvie V. On 2021-12-07Bonjour! Pour le caramel, est-ce que le glucose peut remplacer le sirop de mais?
Replied by: Laura On 2021-12-07