

Summer Cakesicles
Hello sweet tooths,
Here's a great end-of-year gift idea for your children's teachers.
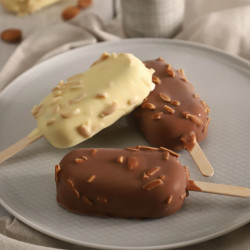
Summer cakesicles with a chocolate-vanilla marble cake inside. :-)
These little ice cream-shaped cakes are very trendy right now and can be made with the help of your children.

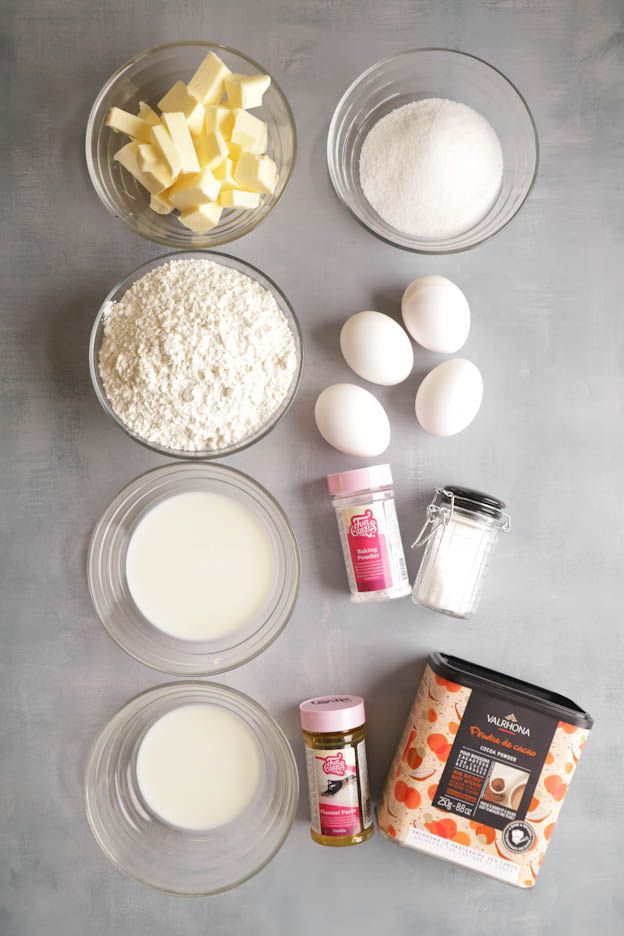
To make 8 large and 8 small cakesicles, you will need:
Marble cake
- 150gr butter
- 150gr sugar
- 2 pinches of salt
- 4 eggs
- 125gr whole milk
- 280gr flour
- 2 tsp baking powder
- 2 tsp vanilla extract
- 50gr whole milk
- 3 tbsp unsweetened cocoa powder
Decoration
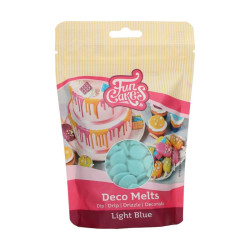
- 1 pack of light blue Déco Melts
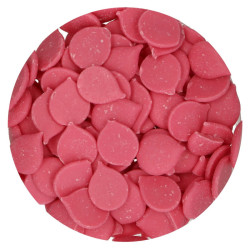
- 1 pack of pink Déco Melts
- 2 packs of natural white Déco Melts
- 1 pack of yellow Déco Melts
- Water green chocolate flavour pen
- Pastel yellow chocolate flavour pen
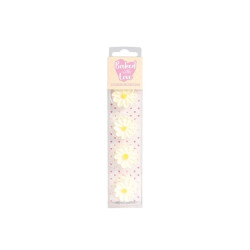
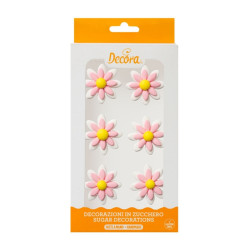
- White and pink sugar daisies
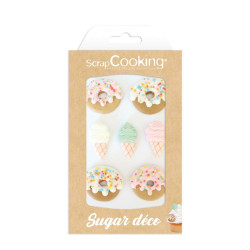
- Various sugar decorations, such as "Tropical Sugar Decorations", "Candies Sugar Decorations", or "Donuts & Ice Cream Sugar Decorations"
- "Spring" Medley mix
- "Pretty Sweet Medley" sprinkles
- Pastel Nonpareils
Marble cake
First, we are going to make the inside of our cakesicles.
I chose a chocolate and vanilla marble cake for extra indulgence. :-)
In a large bowl, pour 150gr of butter and add 150gr of sugar.
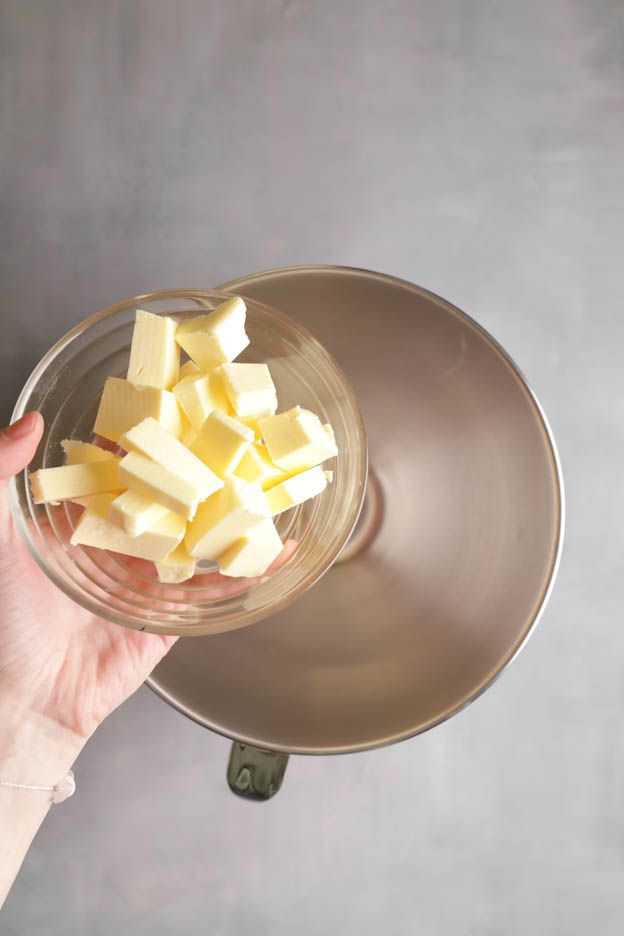
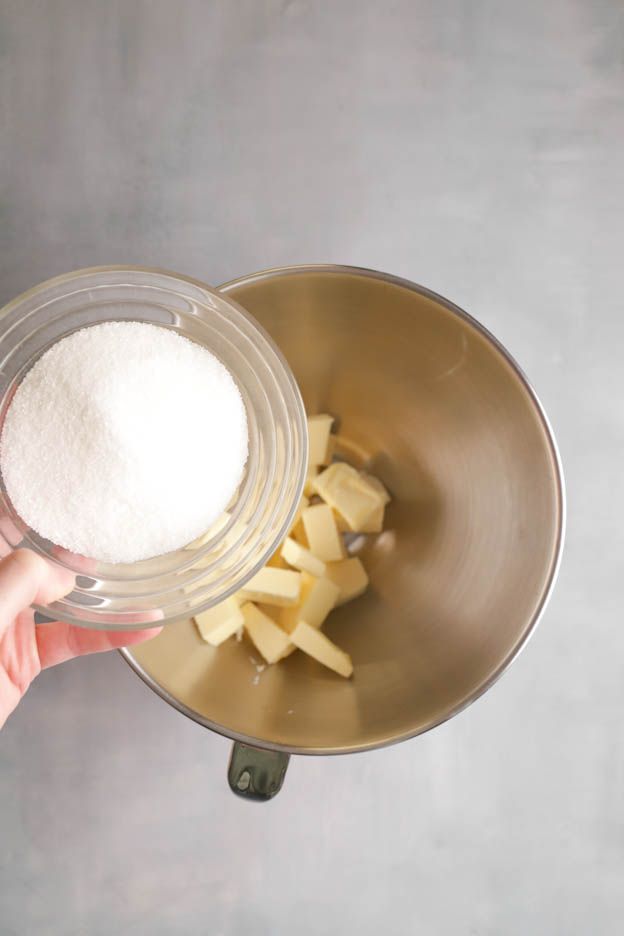
Using the whisk attachment of your mixer, beat everything at medium speed for about 10 minutes.
The mixture will become fluffy and turn pale.
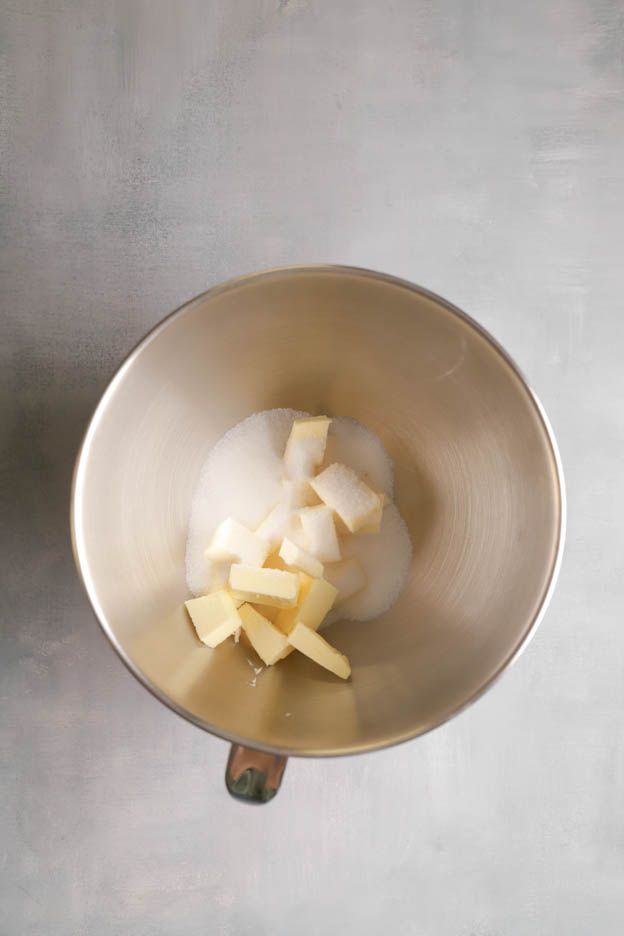
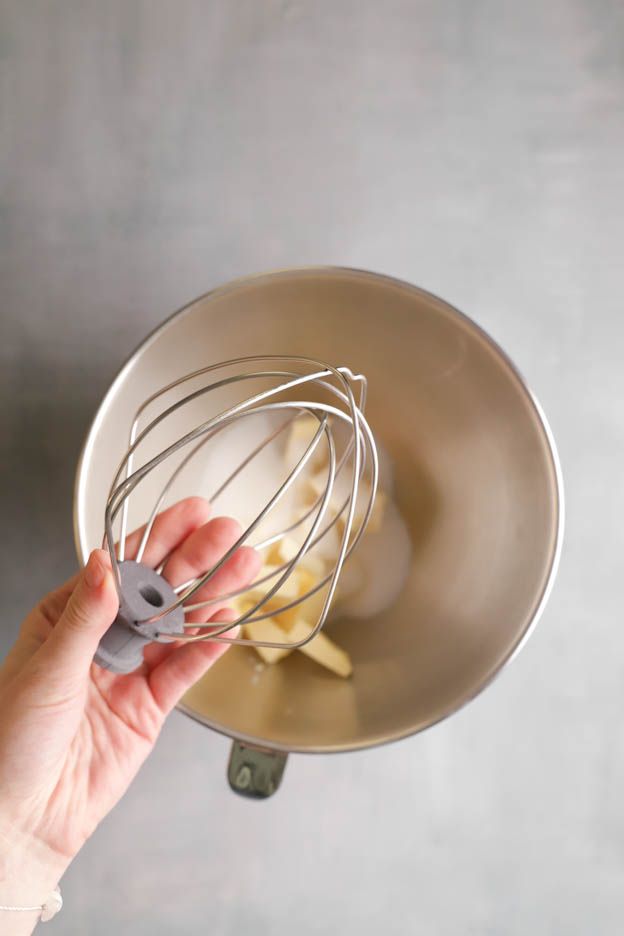
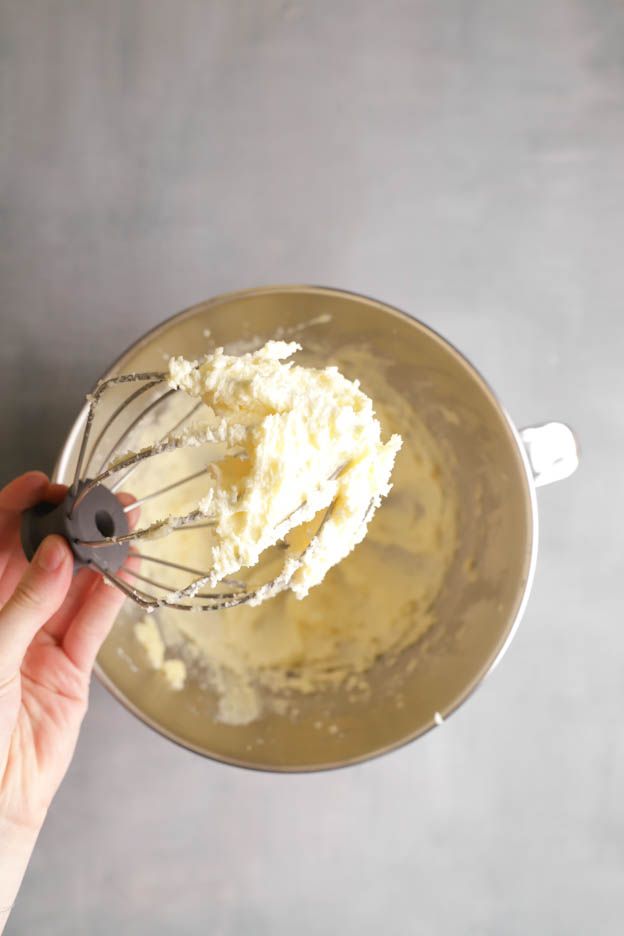
Add 2 pinches of salt, then crack 4 eggs into the butter/sugar mixture.
I recommend using eggs that are at room temperature, they will blend better with the rest of the ingredients.
Mix again with the whisk for a few seconds.

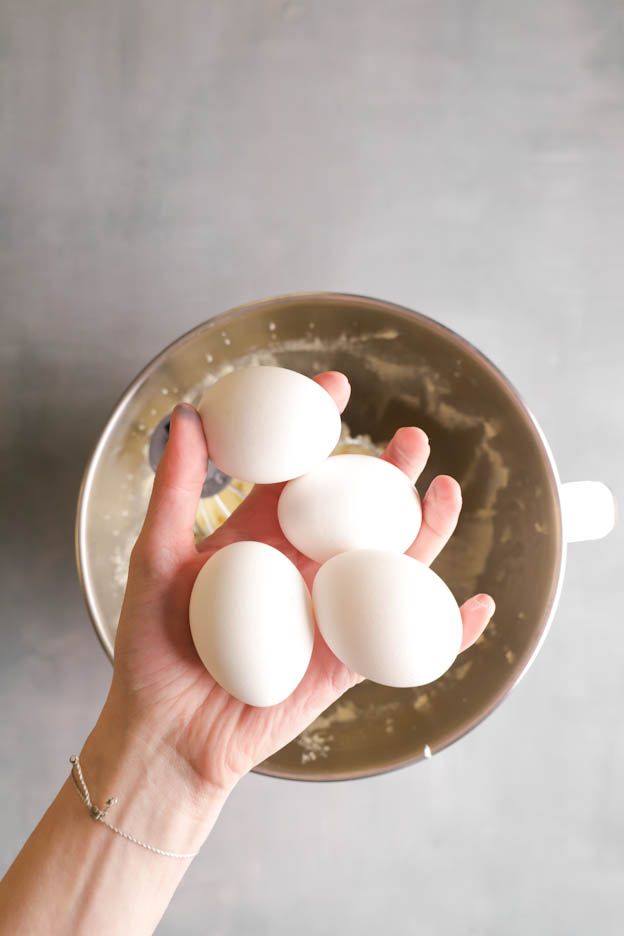
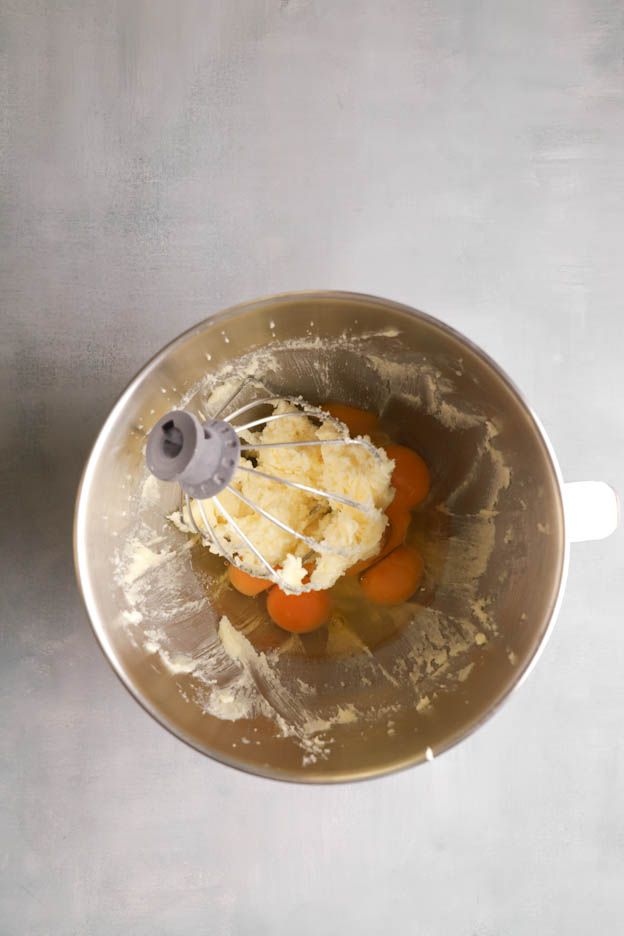
Pour in 125gr of whole milk and 280gr of flour.
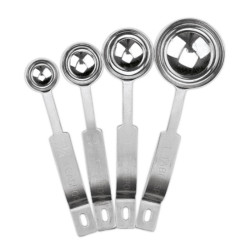
Add 2 tsp of baking powder, use measuring spoons to be precise.
Mix everything with a mixer for 2 minutes at maximum speed.
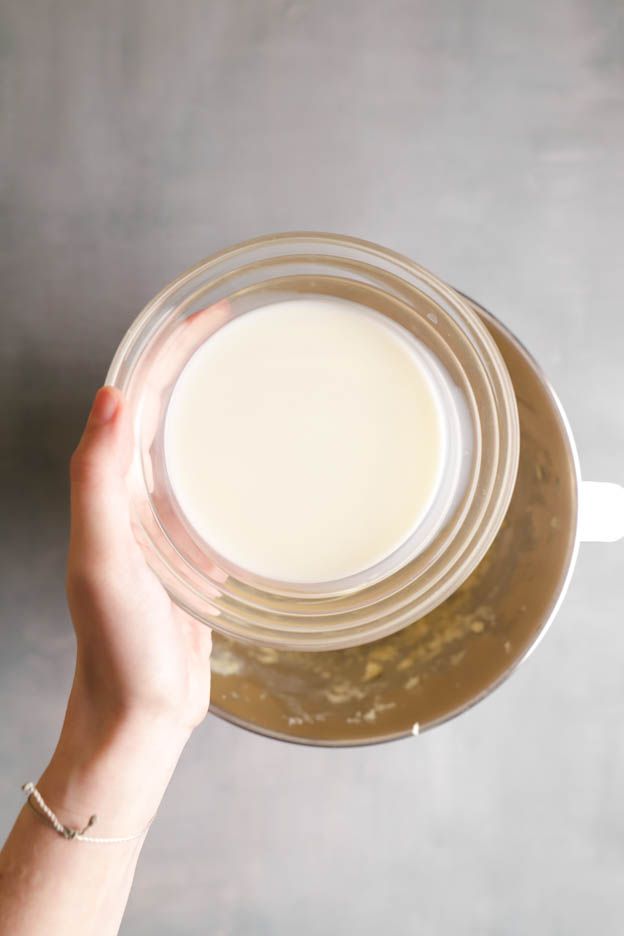
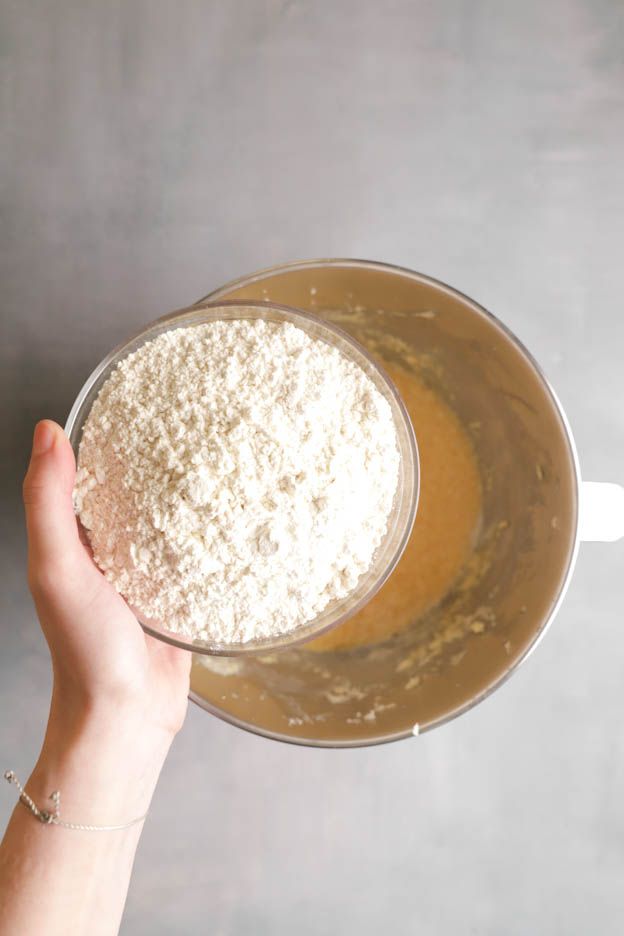
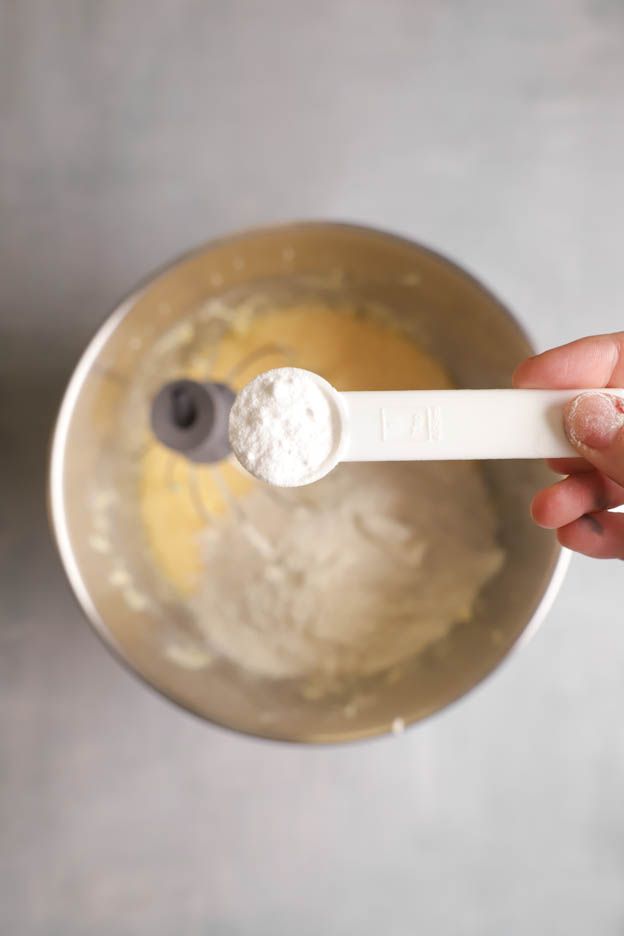
There we go, we have a lovely cake batter.
To create the marble effect, we need two different coloured batters.
Get two bowls and divide the batter into two equal portions (about 440gr per bowl).
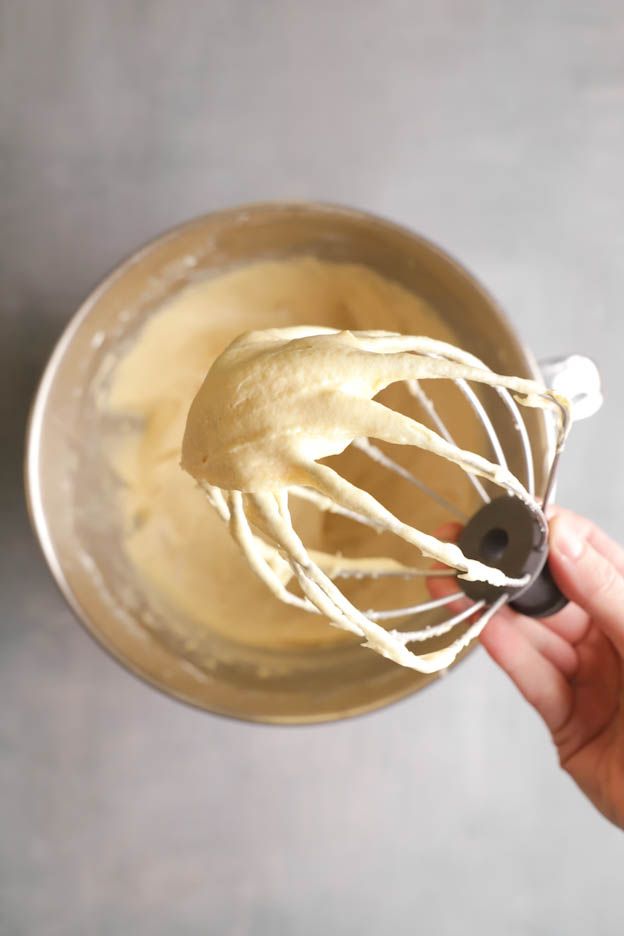
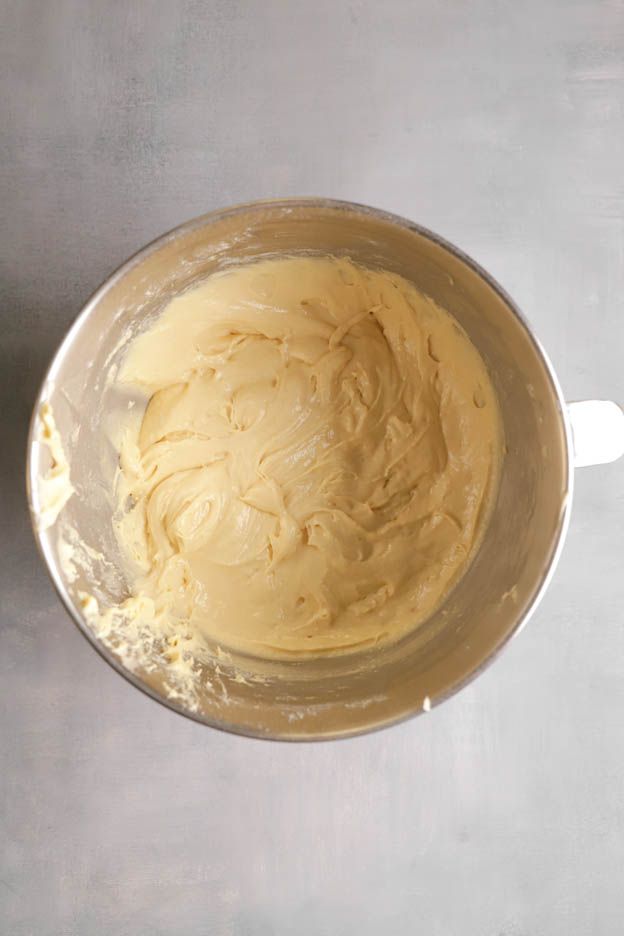
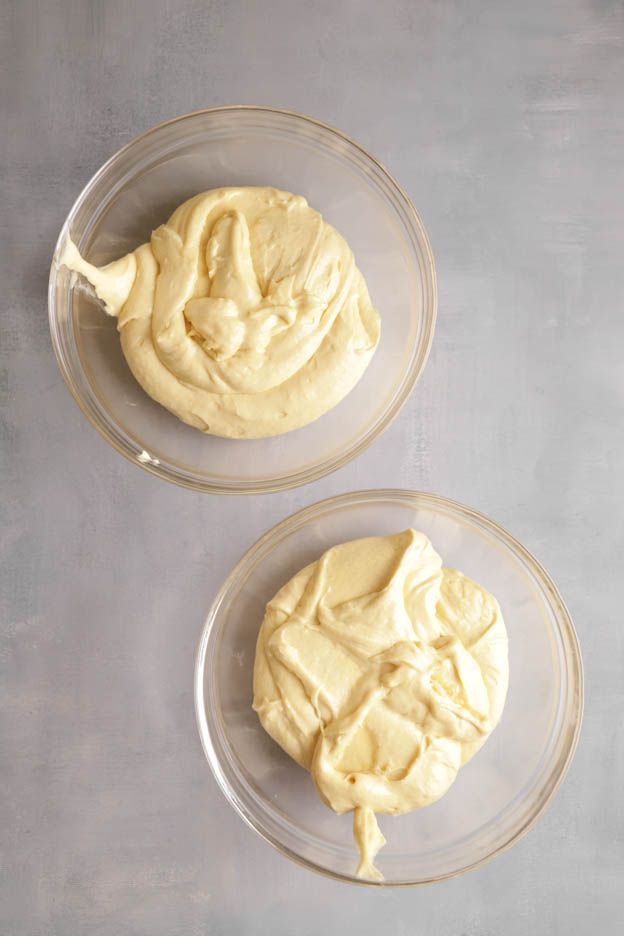
First, we'll make the vanilla batter.
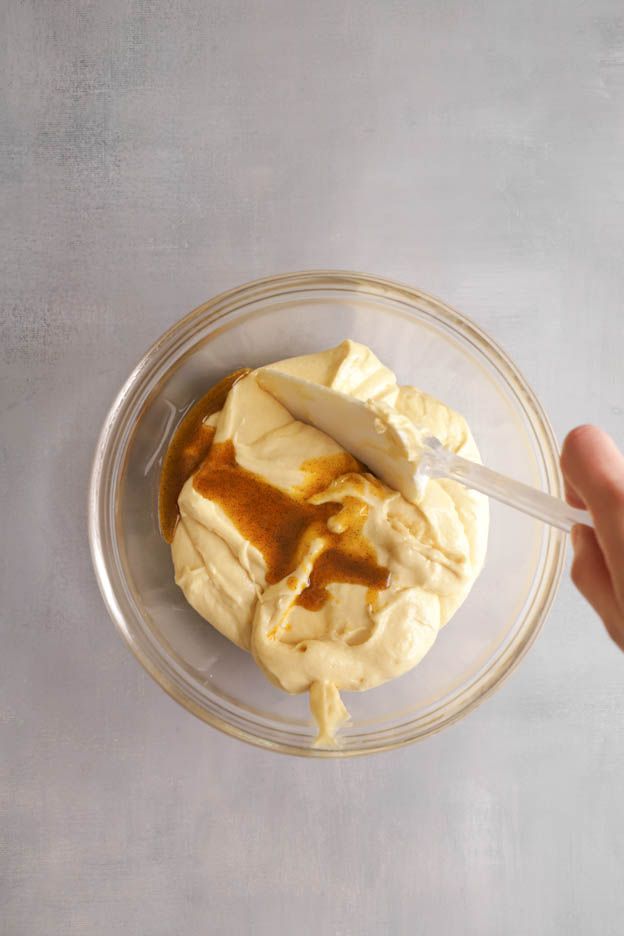
In one of the two bowls, add 2 tsp of vanilla flavouring.
Using a spatula, mix well to distribute the vanilla flavouring throughout the batter. And that's it, the vanilla cake batter is already ready! :-)
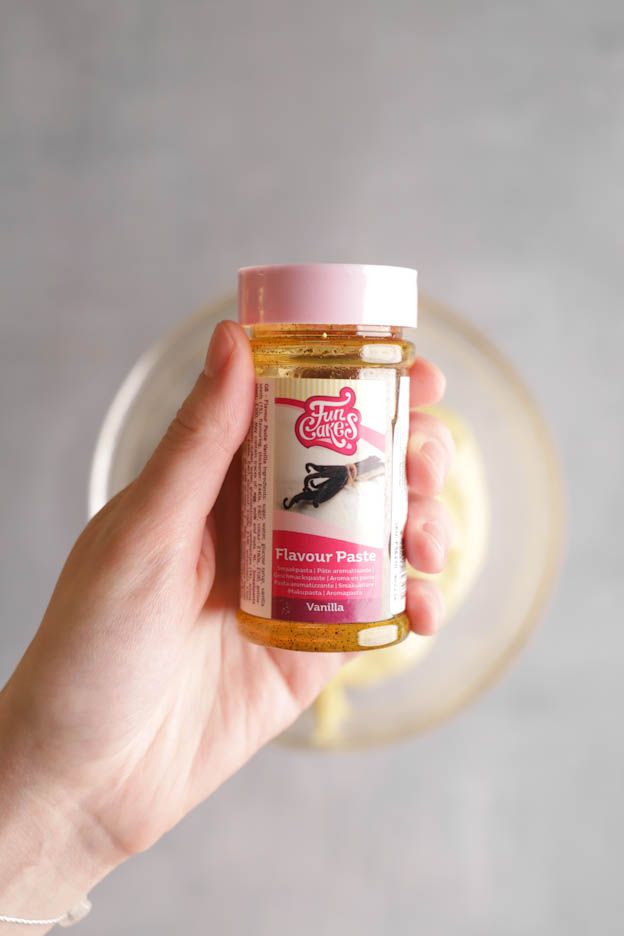
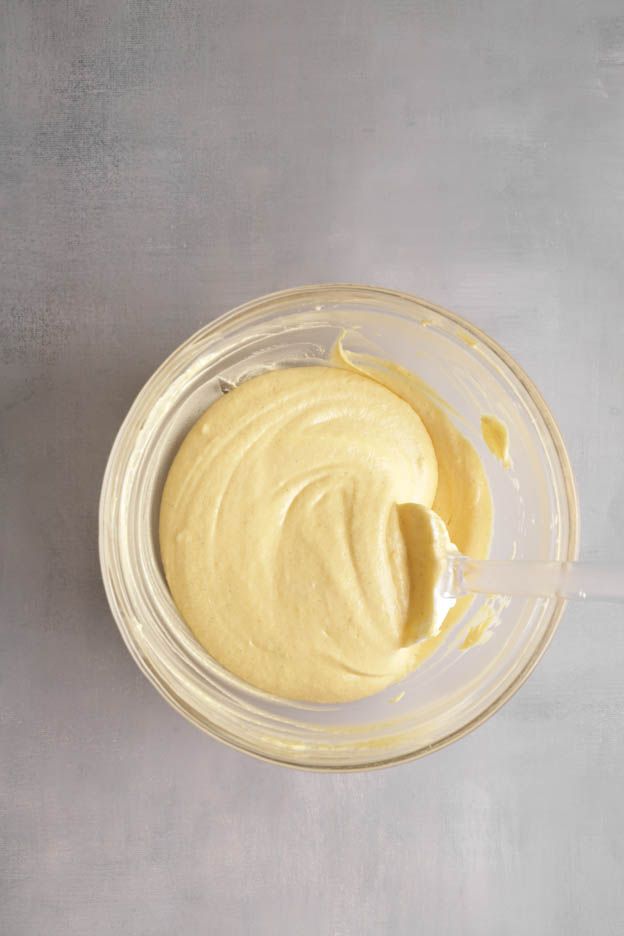
For the chocolate version, take your second bowl and pour in 50gr of whole milk.
We will also add unsweetened cocoa powder. It's important to use this, because if you use sweetened cocoa, your cakesicles will be far too sweet.
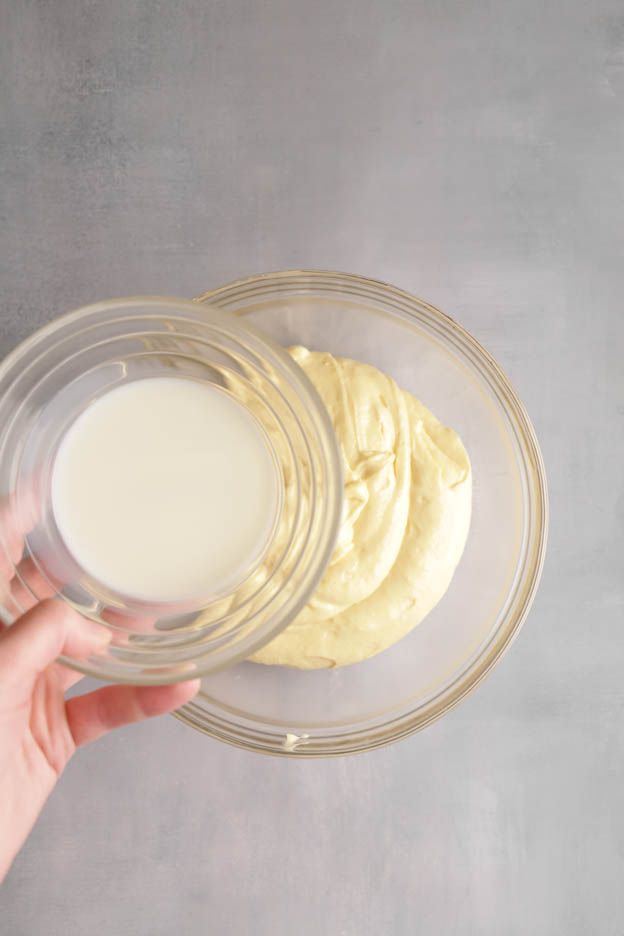
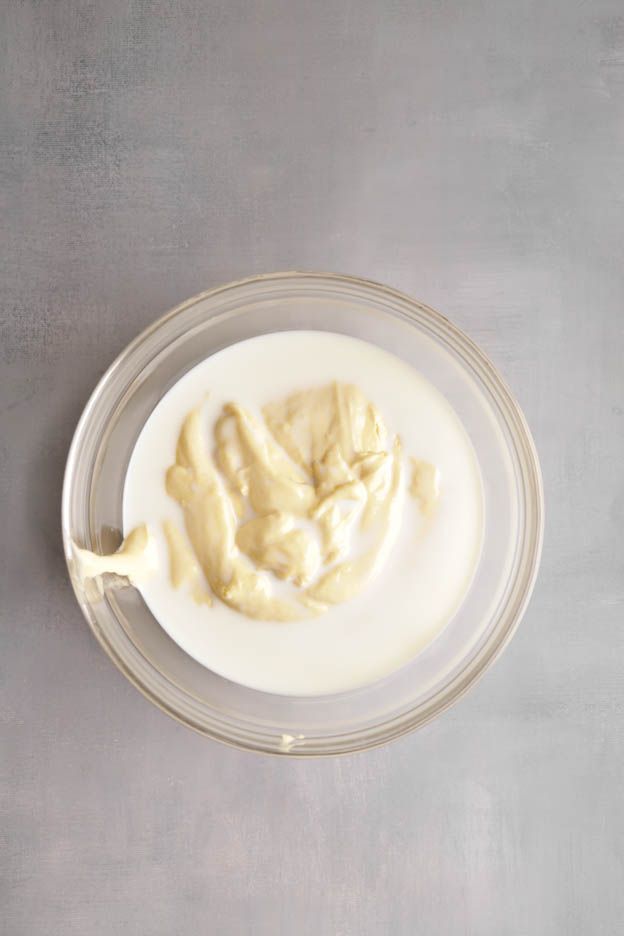
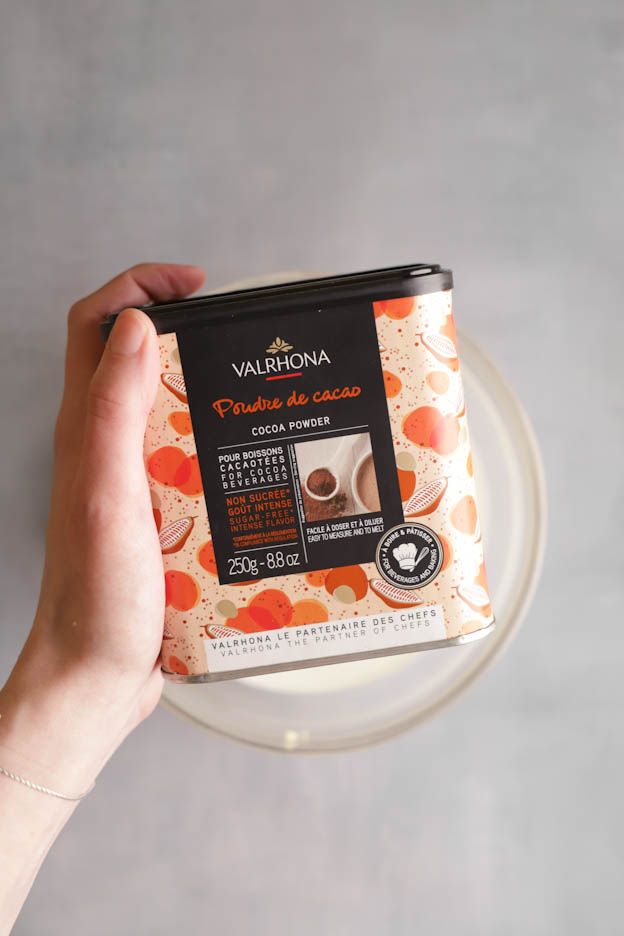
Pour in 3 tbsp of unsweetened cocoa powder, use measuring spoons for more precision.
Start by mixing with the whisk, then finish with the spatula to obtain a smooth, even mixture.
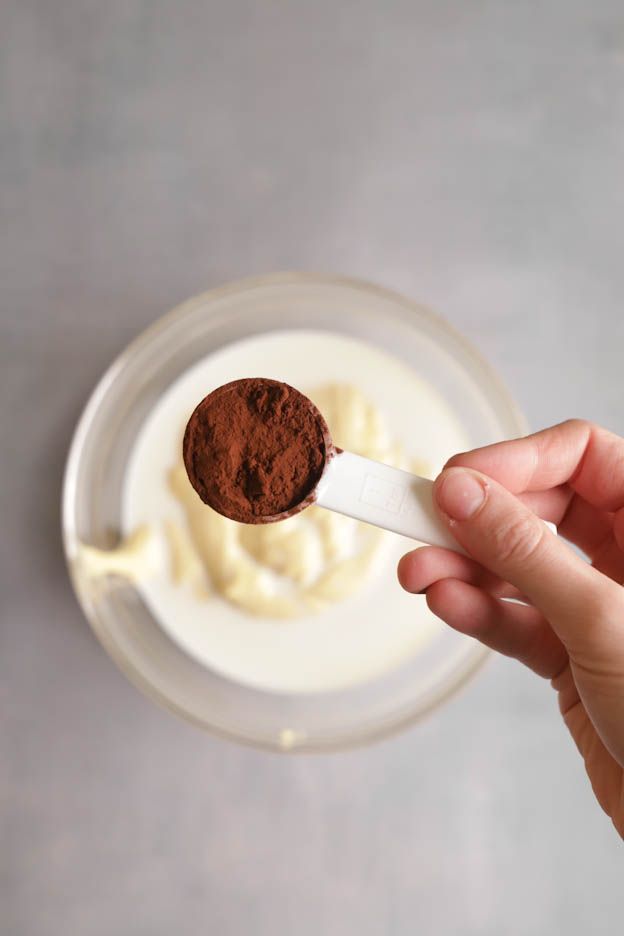


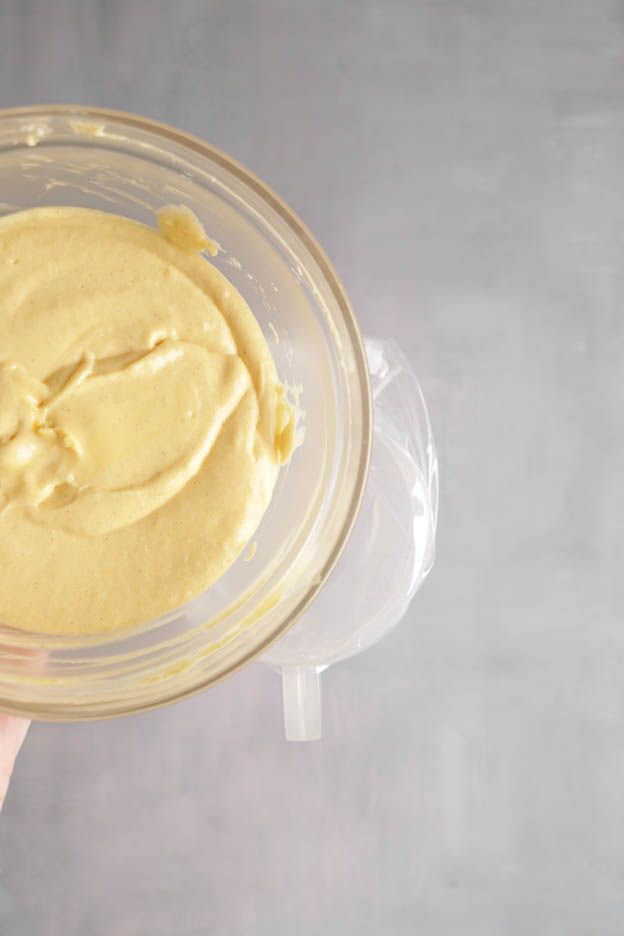
Our two cake batters are ready.
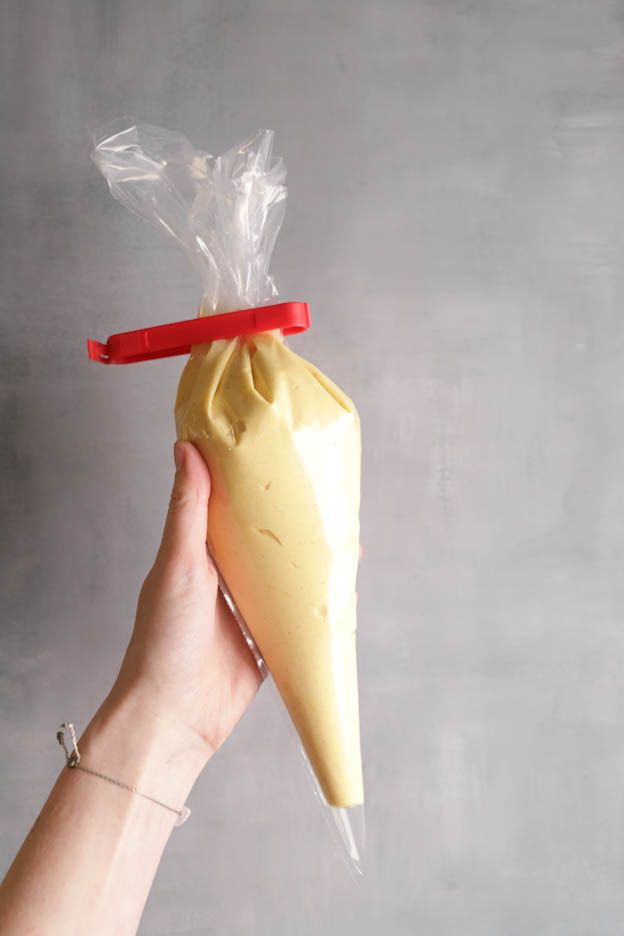
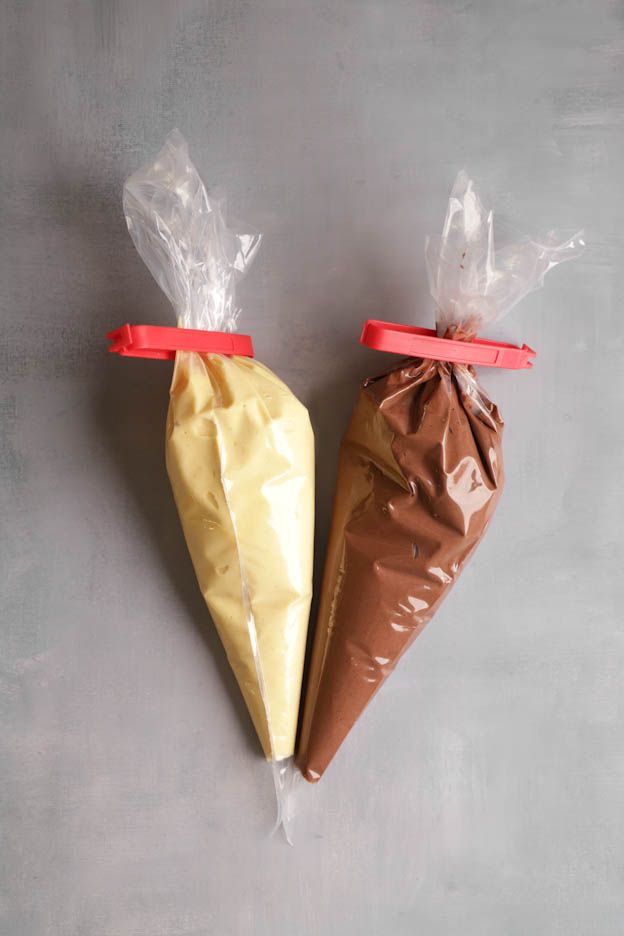
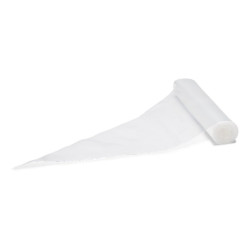
To neatly fill our cavities, pour each cake batter into two separate large piping bags.
I recommend using a jug to neatly fill your piping bags.
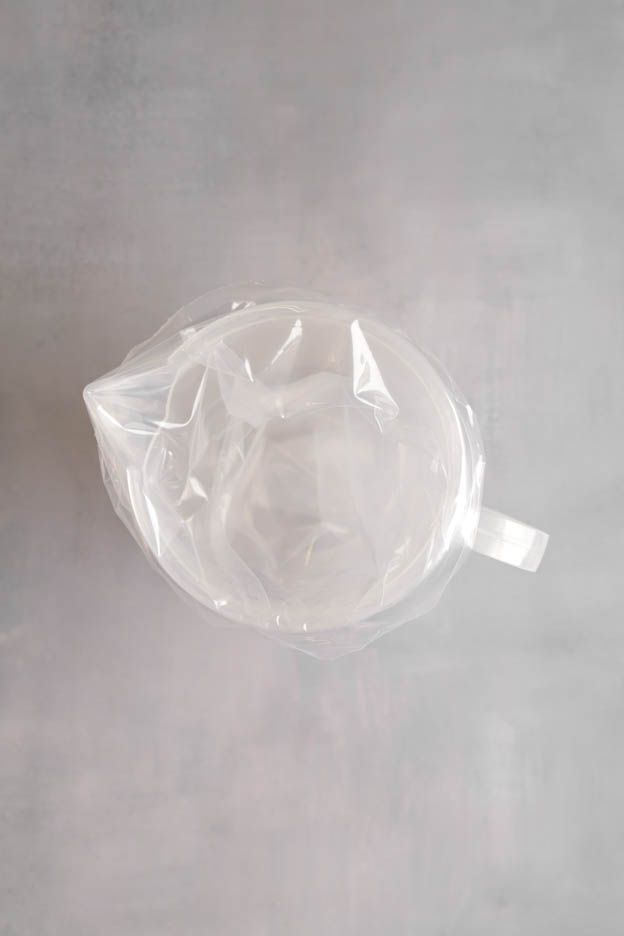

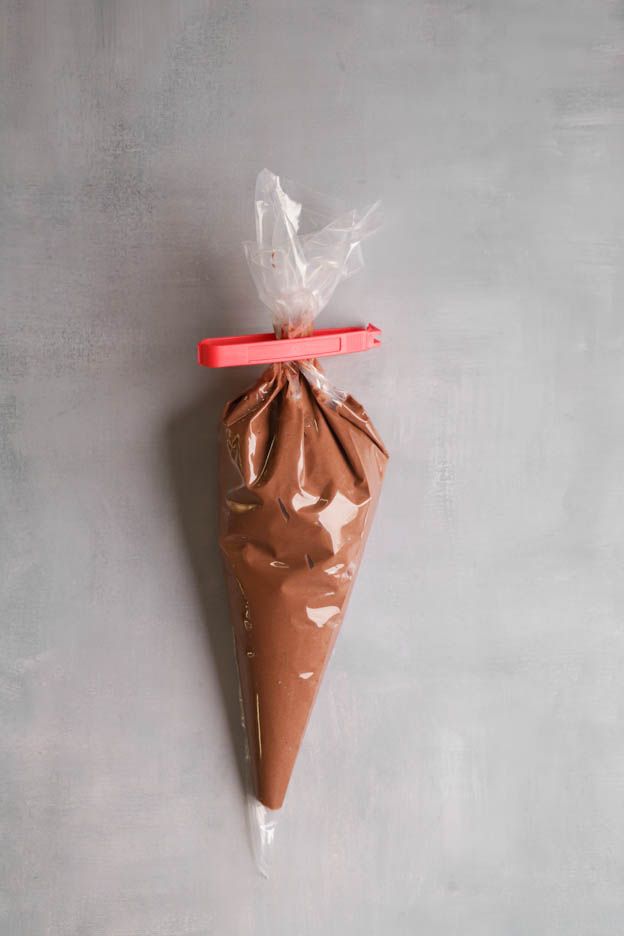
To prevent the batter from leaking out of the bag, use a clip to close it.
Both cake batters are ready to be piped.
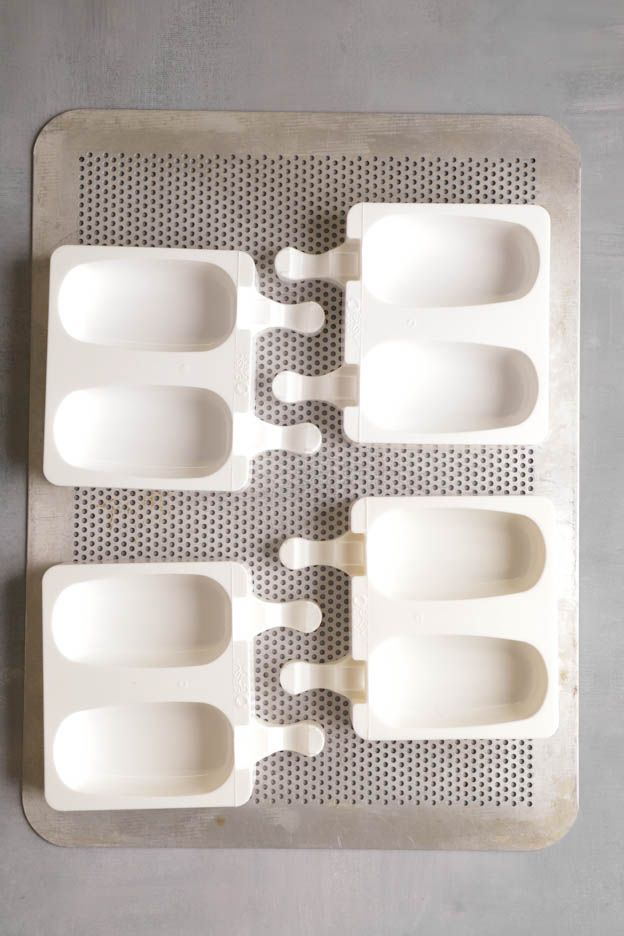
To achieve the ice cream look, we will need 2 packs of large ice cream moulds (4 moulds) and 2 small ice cream moulds. You'll see, these silicone moulds are great for baking. :-)
Place the large moulds on a perforated baking tray and the small ones on another, as they will have different baking times.
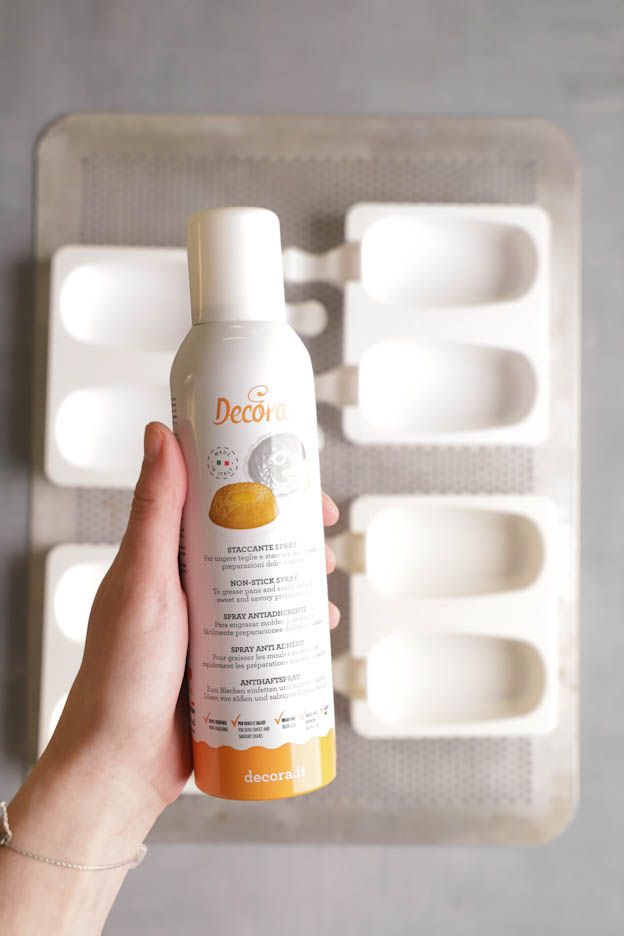
Spray the moulds with release spray, so the cakes come out easily once baked.
This release spray is really great, we use it in many of our recipes, it's one of our favourite products. :-)
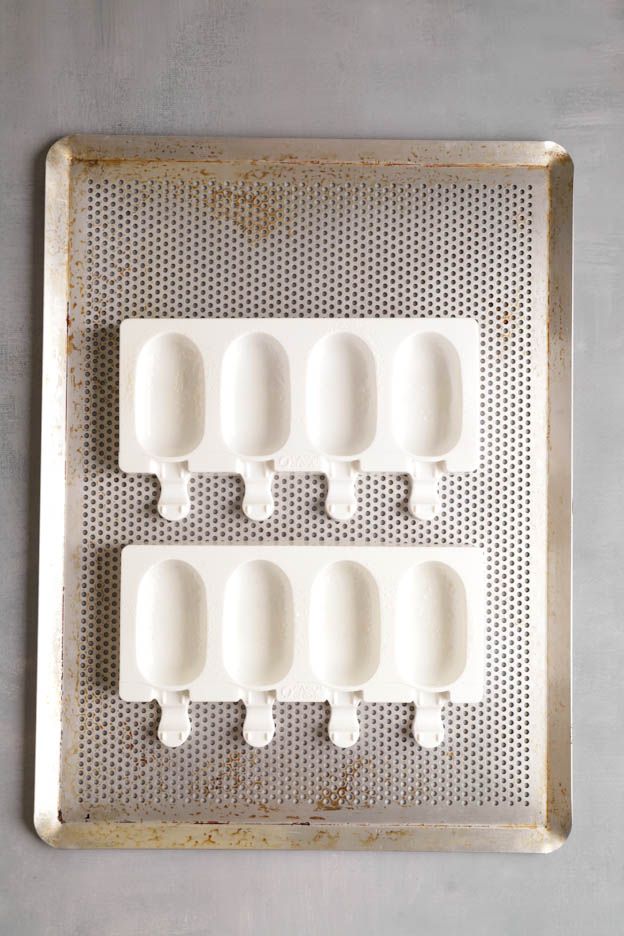
Preheat your oven to 160°C fan-forced.
We'll start by filling the large moulds.
Cut the tip of the piping bag with scissors, then pipe a little vanilla cake batter into the bottom of the cavities.
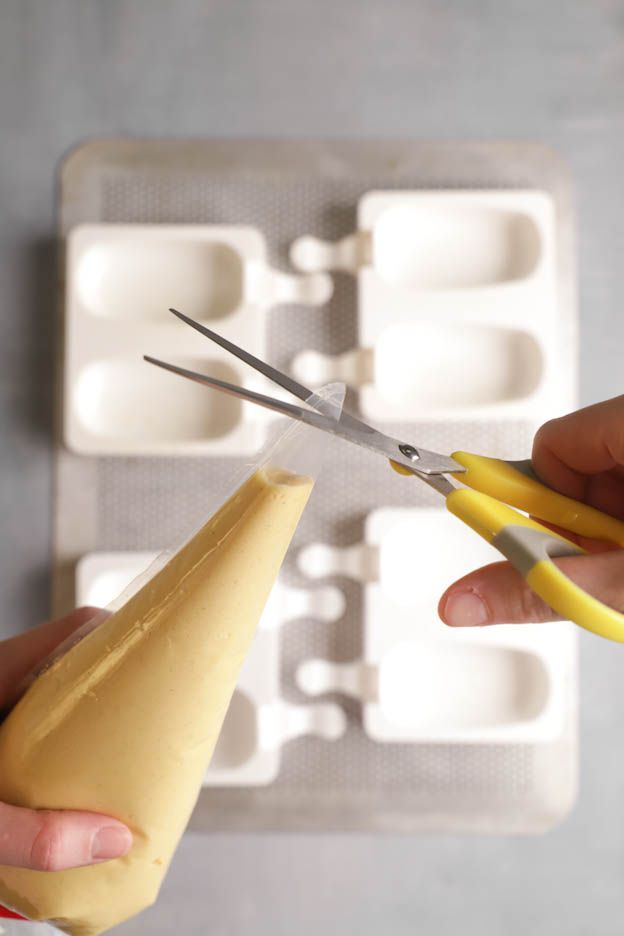
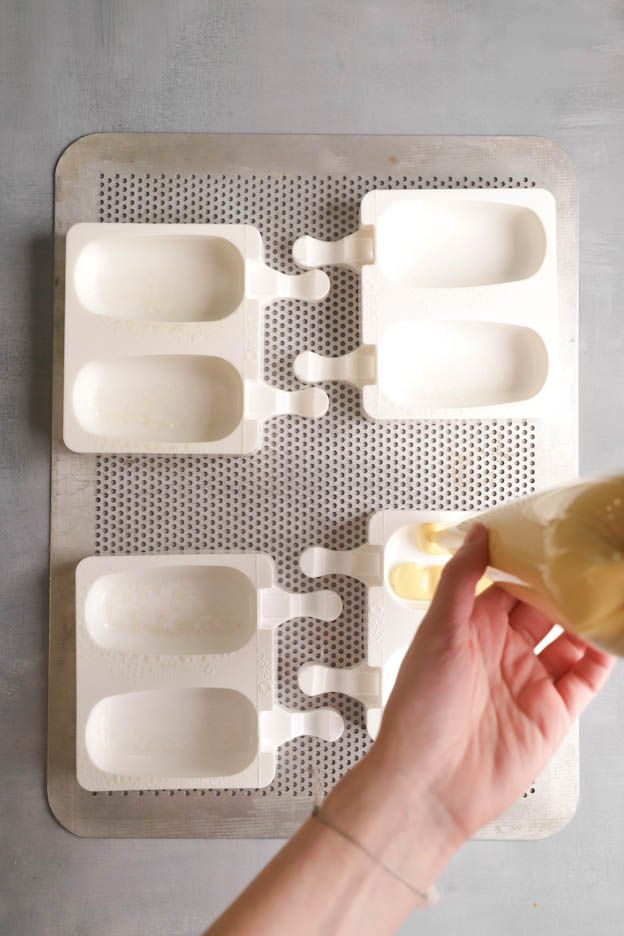
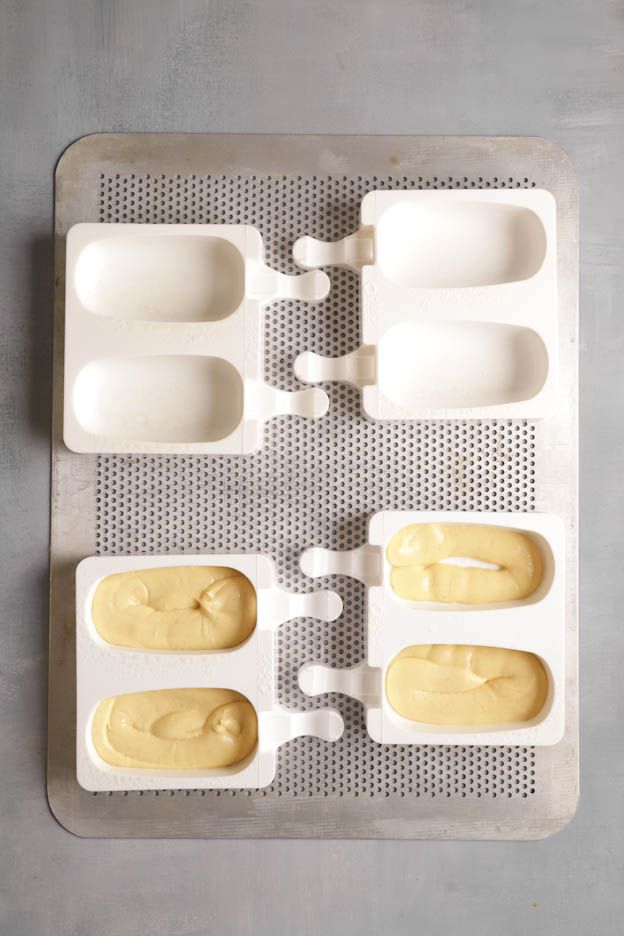
Pipe the chocolate cake batter on top of the vanilla cake batter.
Fill the moulds up to 3/4, no more or your cakes may overflow during baking.

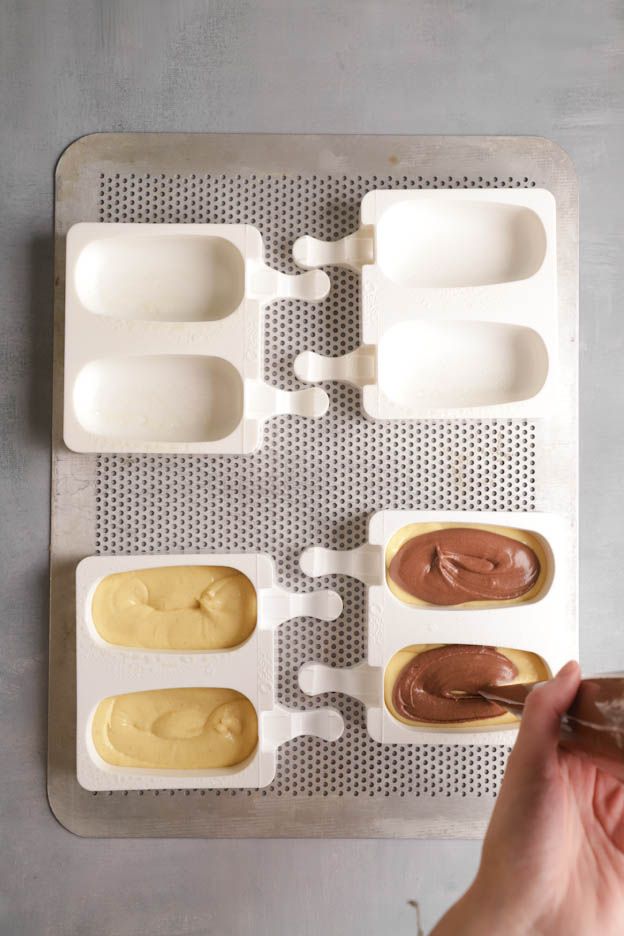
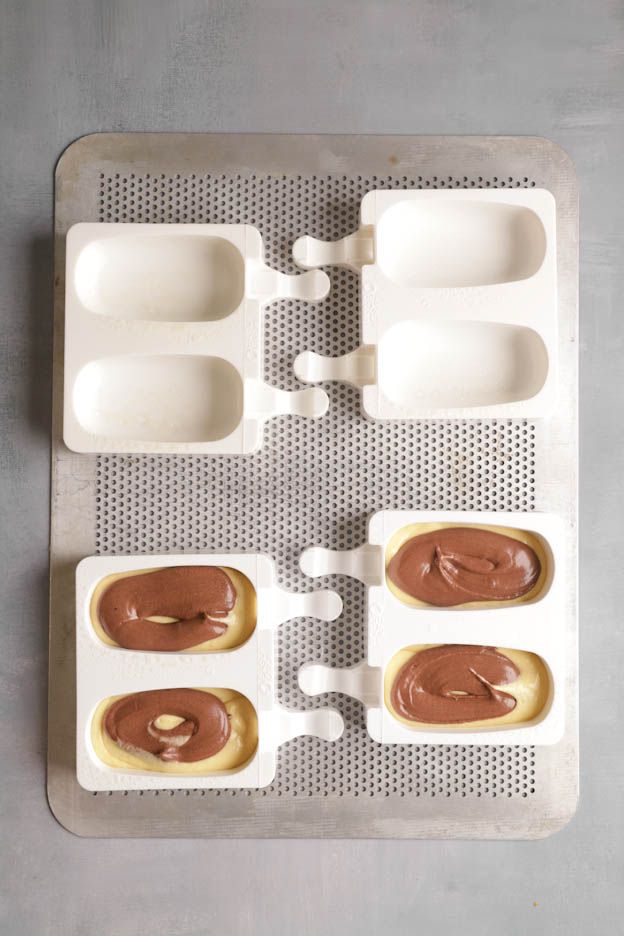
Using a fork, create the marble effect by making an "S" shape through the batter. Don't over-mix though, we really want to keep both colours.
Bake for 20 minutes in the middle of the preheated oven.
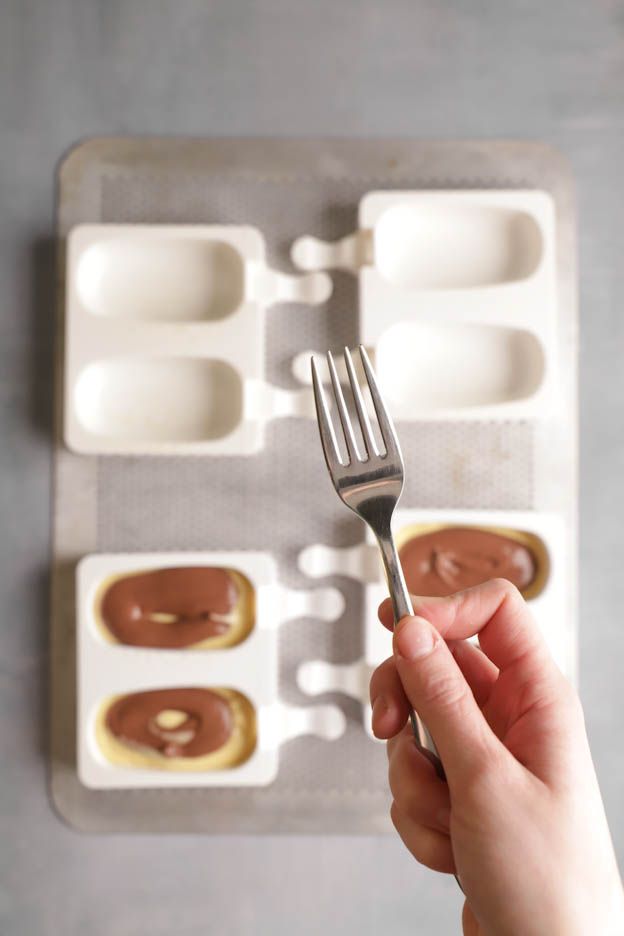
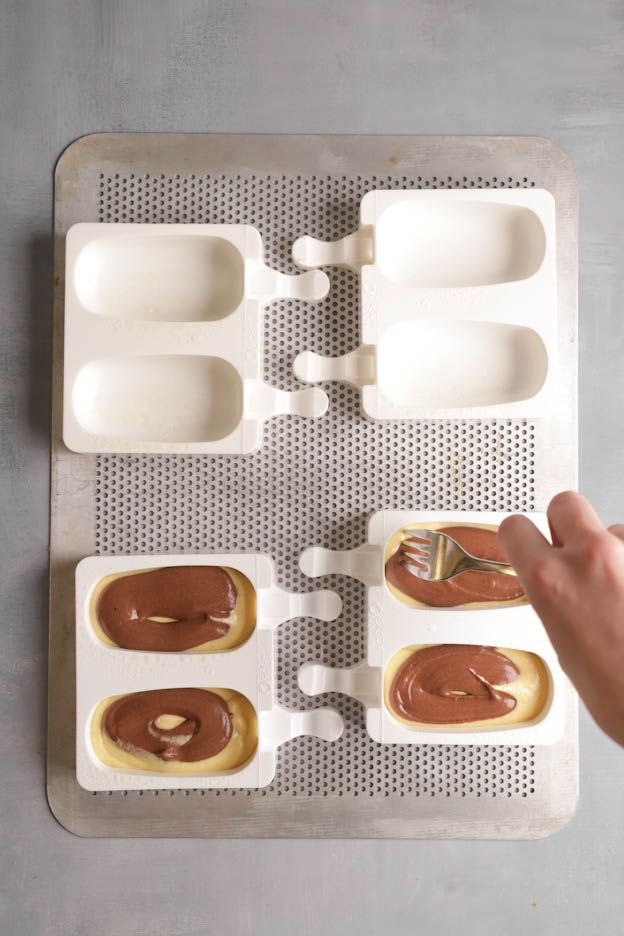
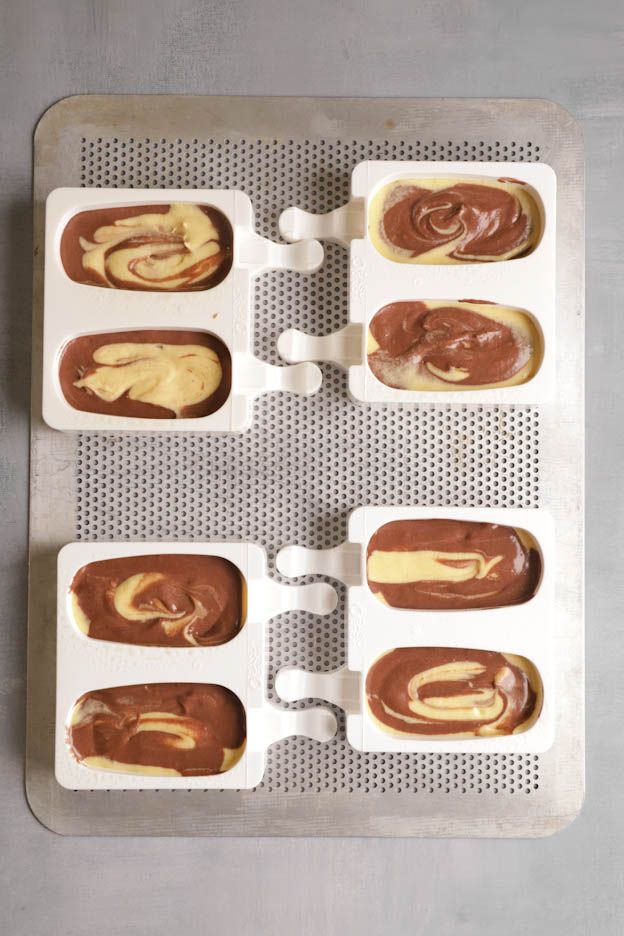
While the large cakes are baking, fill the small moulds. Proceed in the same way as for the large ones.
Once the large cakes are baked, remove them from the oven and let them cool at room temperature for about 15 minutes.
Bake the small ones for 15 minutes in the middle of the preheated oven.
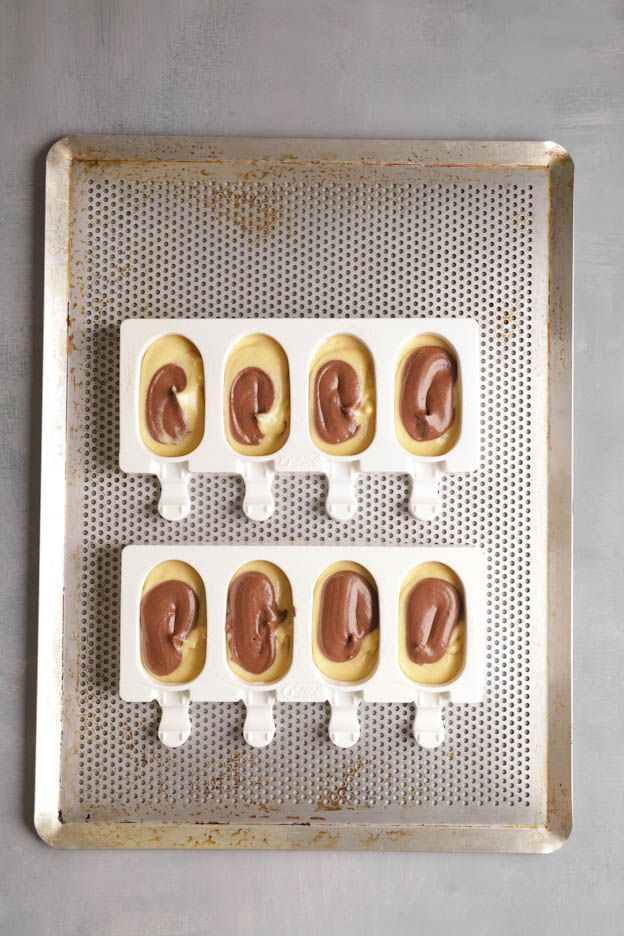

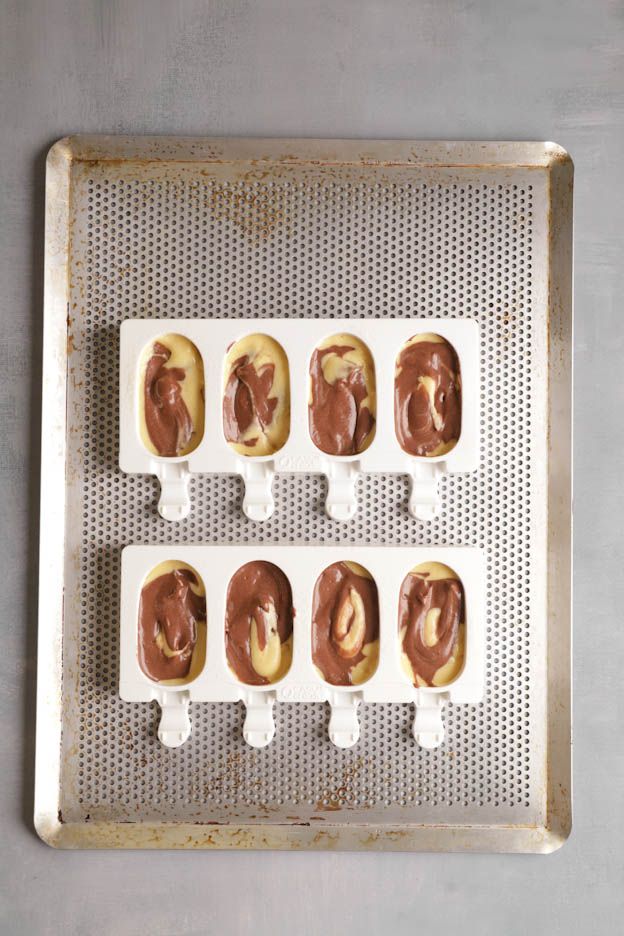
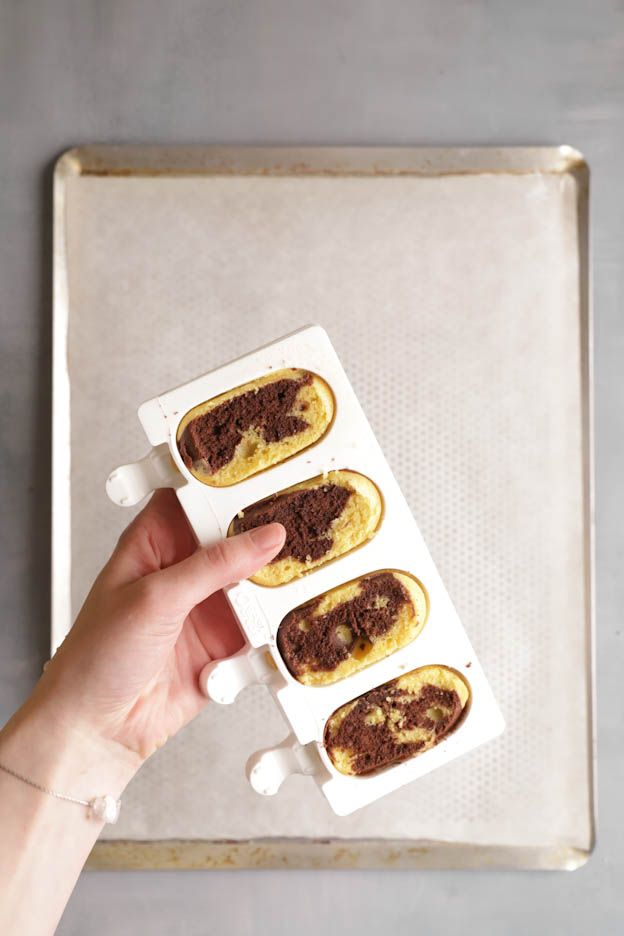
All our cakes are now baked and cooled. Since they rose during baking, we need to trim the excess cake.
Using a serrated knife, cut the cakes level with the mould so they are as flat as possible. Be careful not to damage your moulds!
The leftover cake will quickly be snacked on by you and your children. ;-P
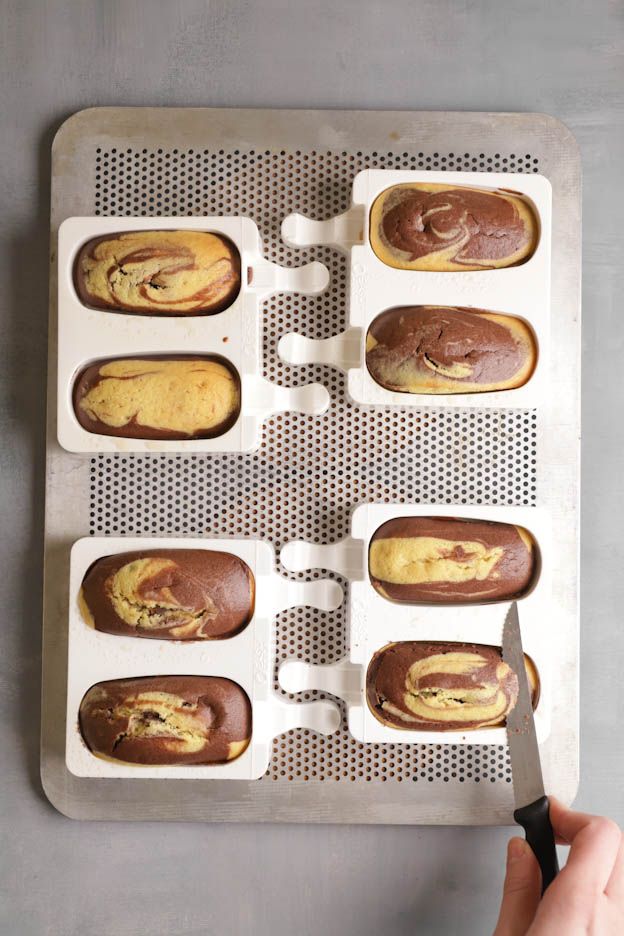
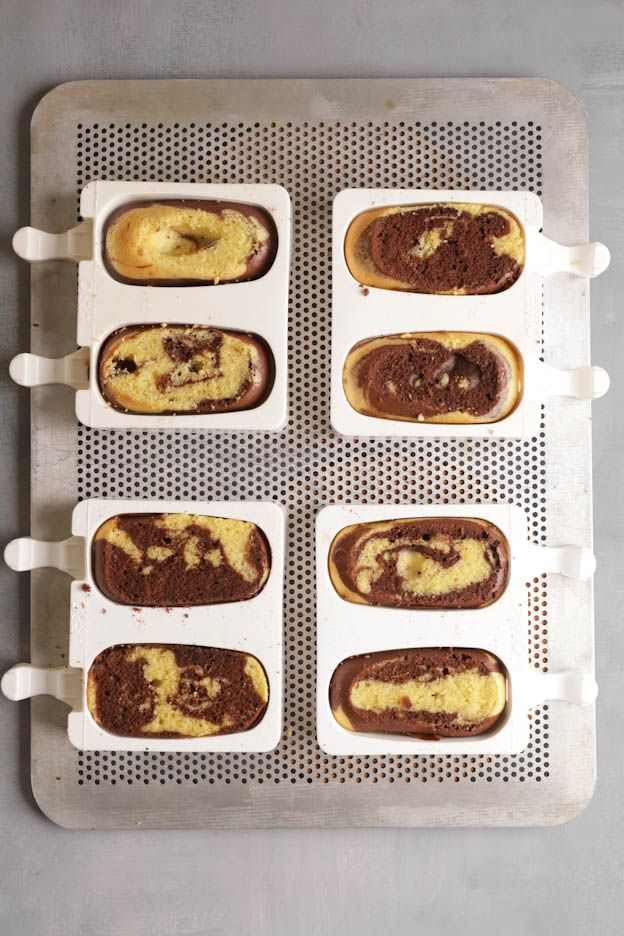
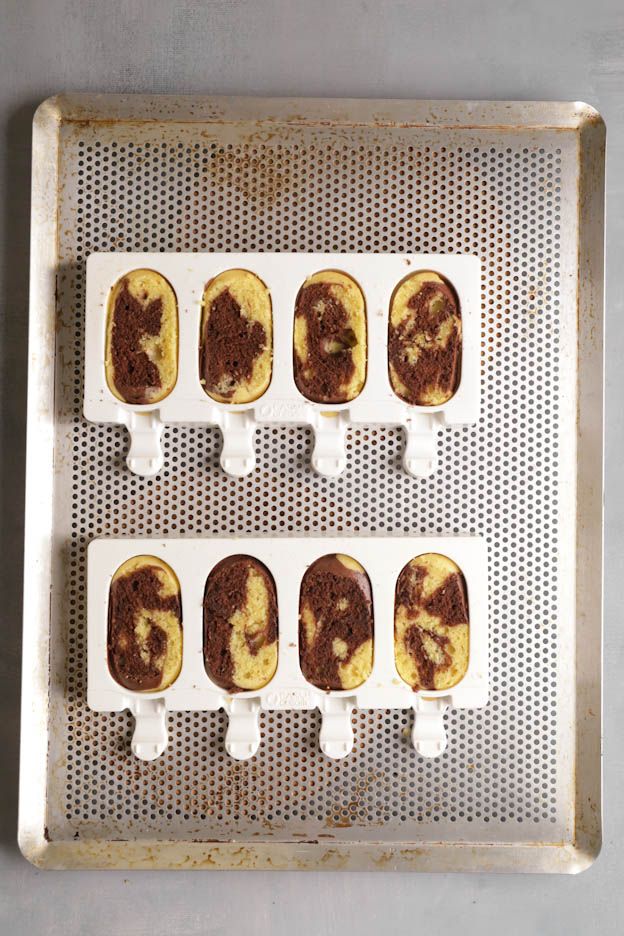
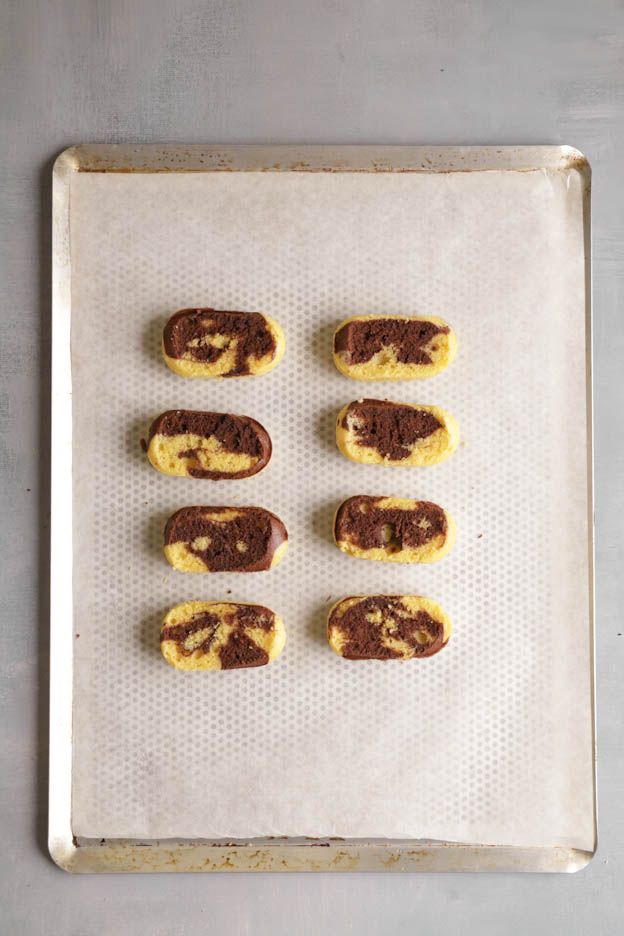
On a tray, place a sheet of baking paper and carefully unmould the cakes.

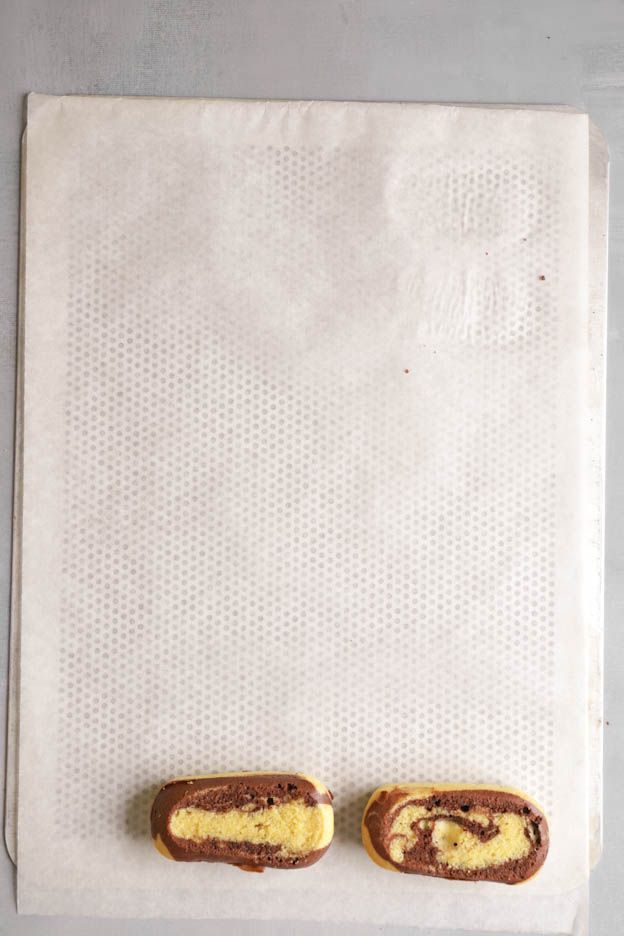
Do the same with the small cakes.
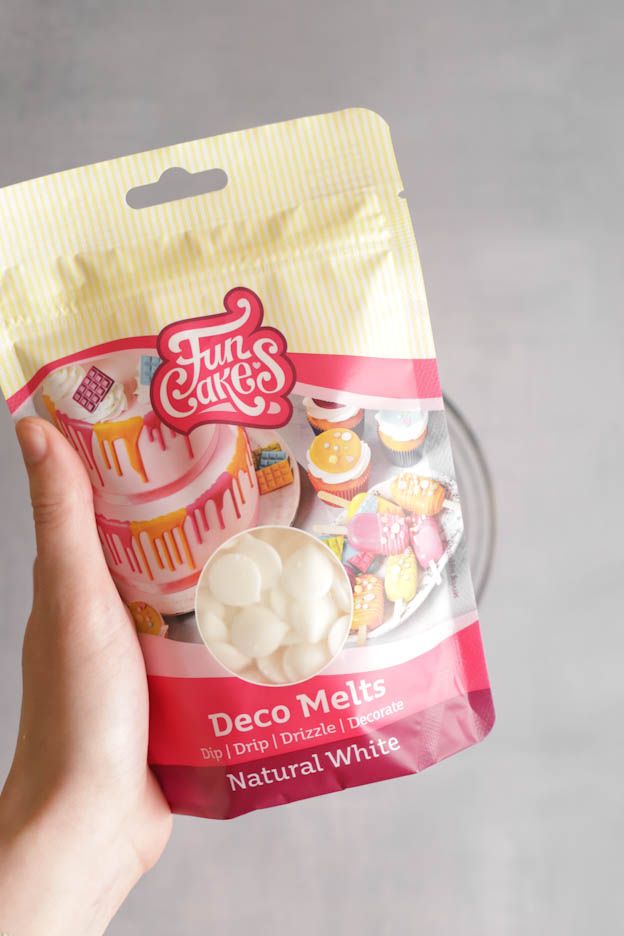
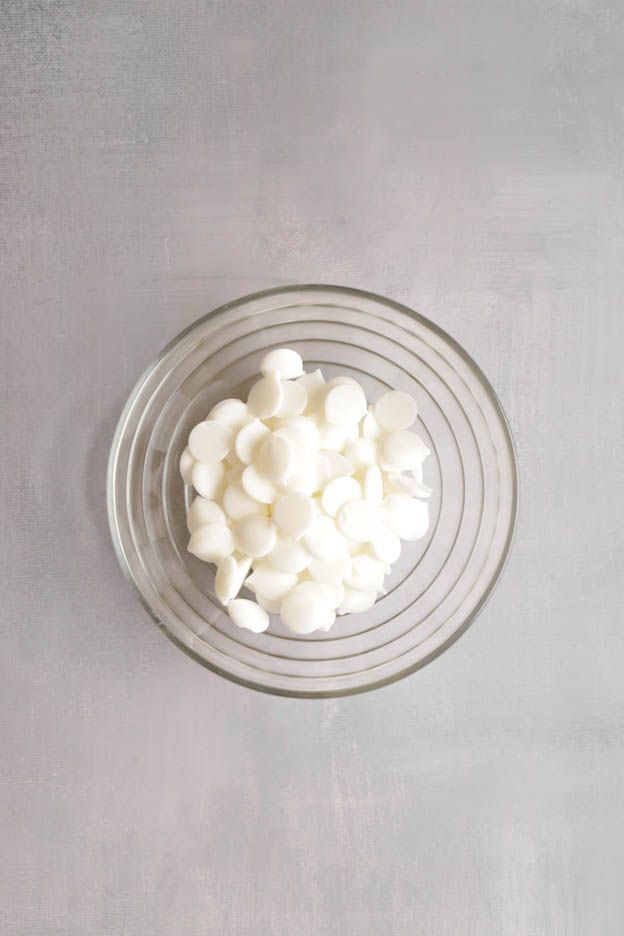
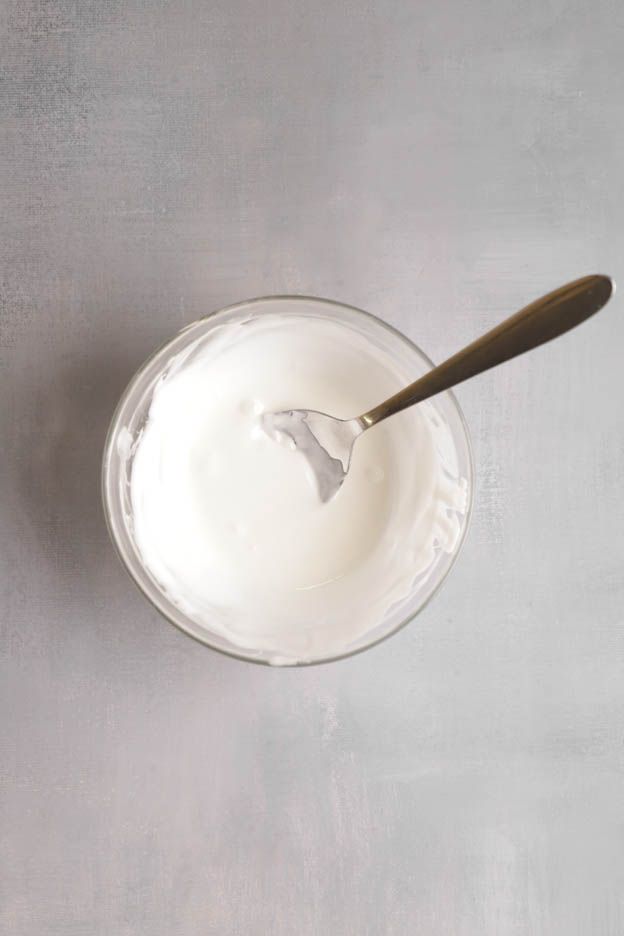
In a bowl, pour some natural white Déco Melts. It doesn't matter if you add too many, we'll use them for the decorations.
Place the bowl in the microwave at 600Watt for 30 seconds. Mix then put back in the microwave until the Déco Melts are completely melted.
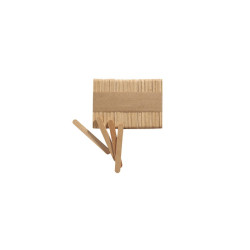
We will now insert the ice cream sticks into our cakes.
Just make sure to use the large sticks for the large cakes and the small sticks for the small ones.
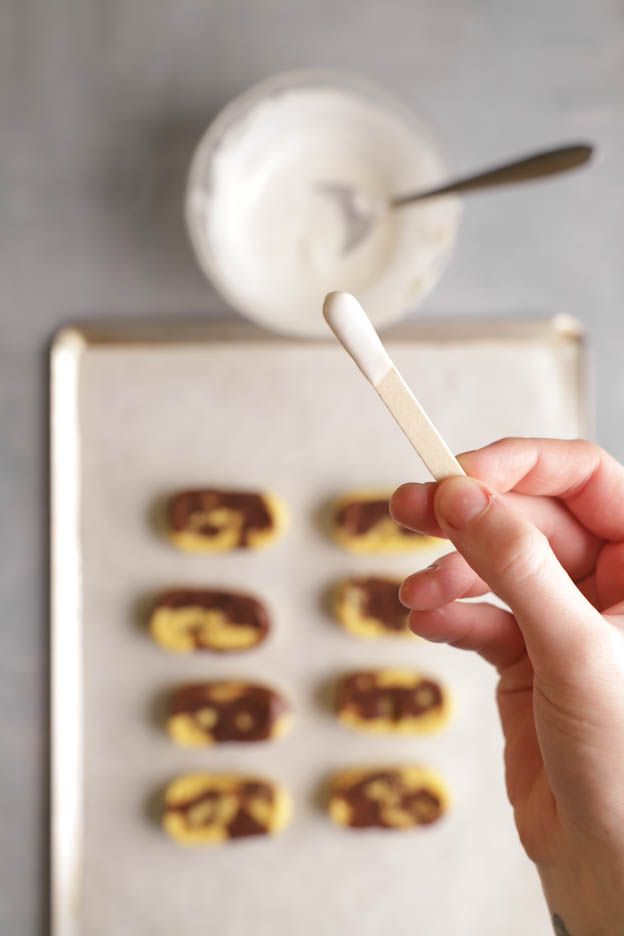
Dip the tip of the stick into the melted Déco Melts, this will help it hold in the cakes.


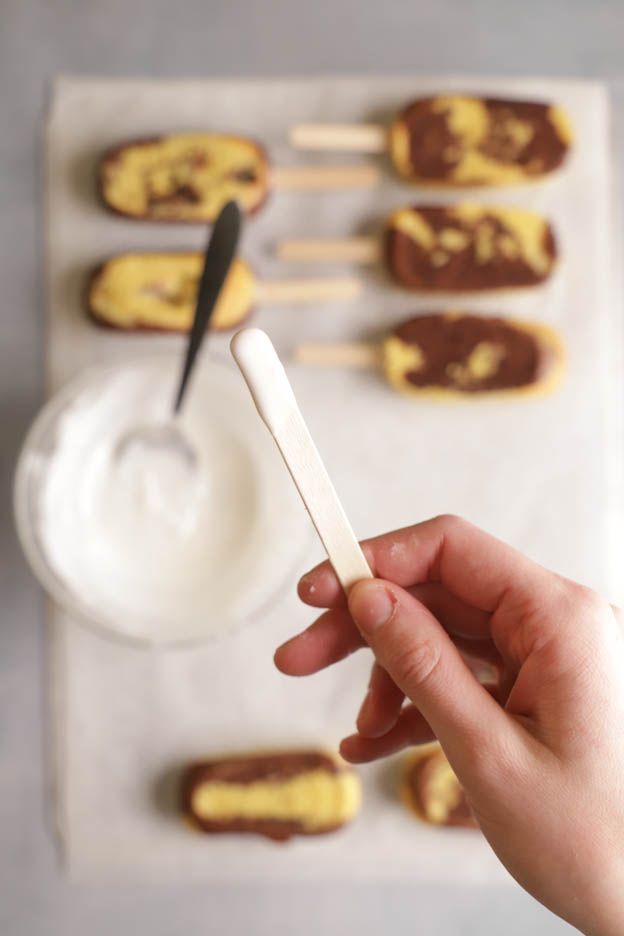
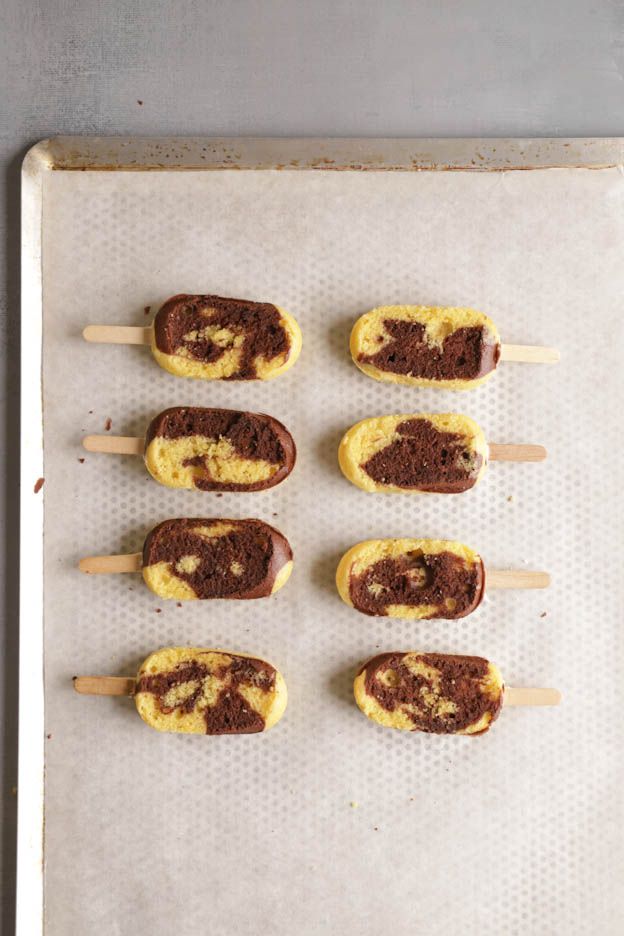
Push the stick into the cake, making sure it stays centred.
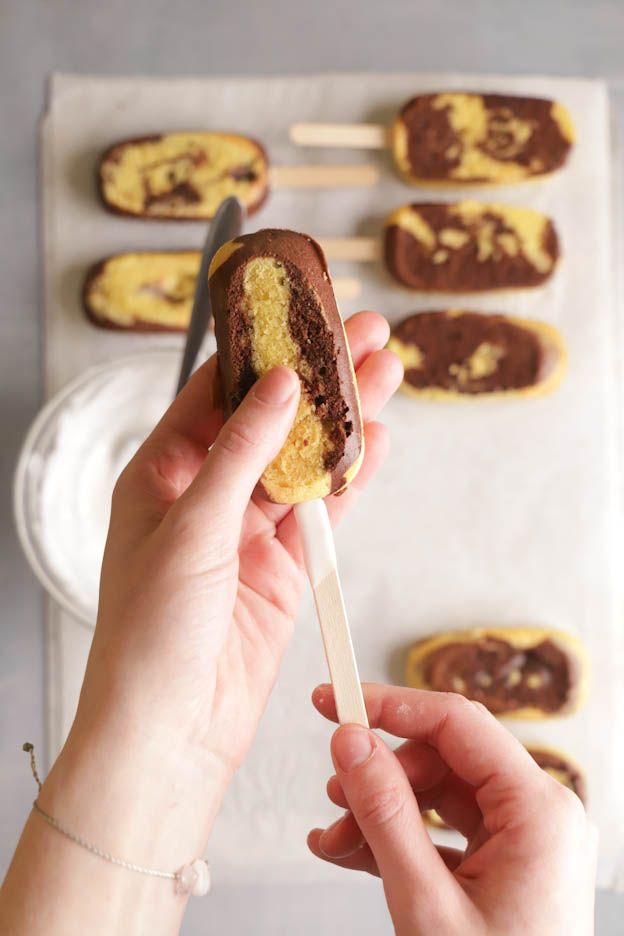

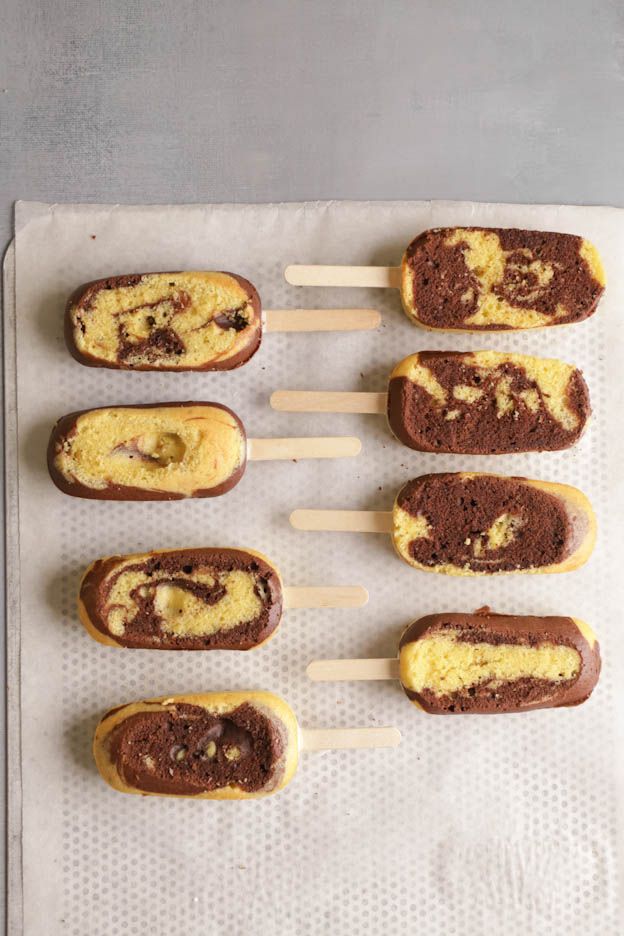
Do the same with the small cakes and place everything in the freezer for 1 hour.
The rest in the freezer is essential, it will allow the Déco Melts to adhere to the cakes. ;-)

Decoration
After 1 hour, we can move on to decorating the cakesicles.
I recommend dipping them all in the Déco Melts first and then decorating them. It will be much more convenient! :-)
In a fairly tall glass (ideally as tall as the large cakesicles), pour the Déco Melts. Here, I used pink, light blue, yellow and natural white.
I wanted to achieve slightly more pastel colours, which is why I added a little natural white Déco Melts (about 1/8) to each colour.
I recommend heating one colour, dipping a batch of cakesicles, then heating another colour and dipping another batch, and so on...
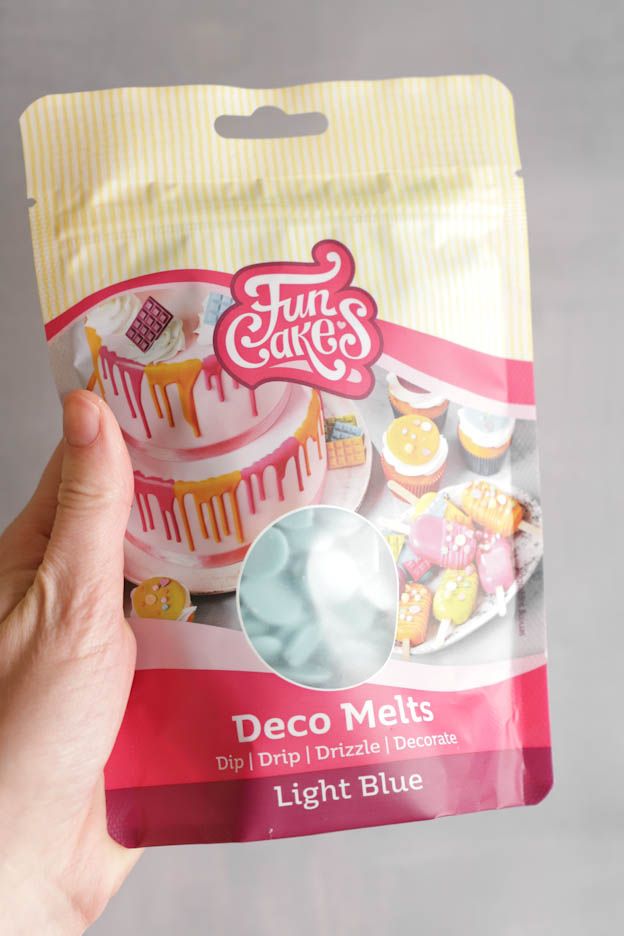
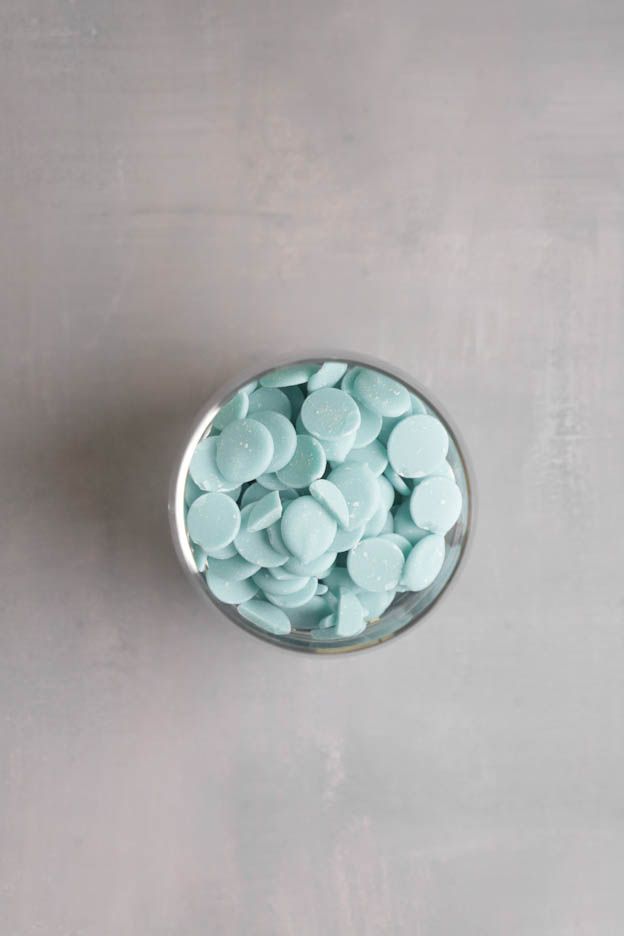
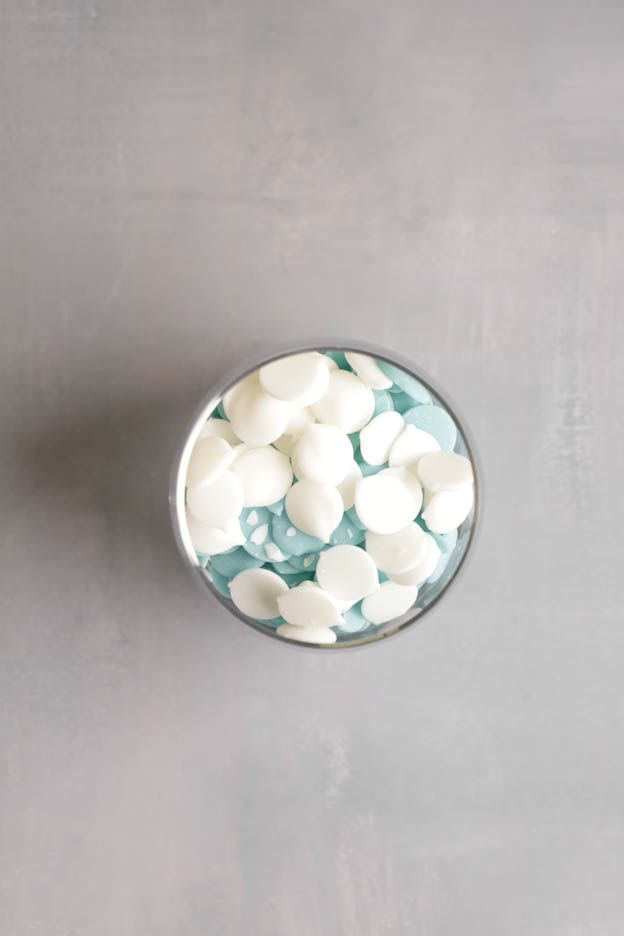
Place your glass filled with Déco Melts in the microwave for 30 seconds at 600Watt. Mix well and put back in the microwave for a few seconds until everything is completely melted. If you don't have a microwave, a double boiler will work perfectly. :-)
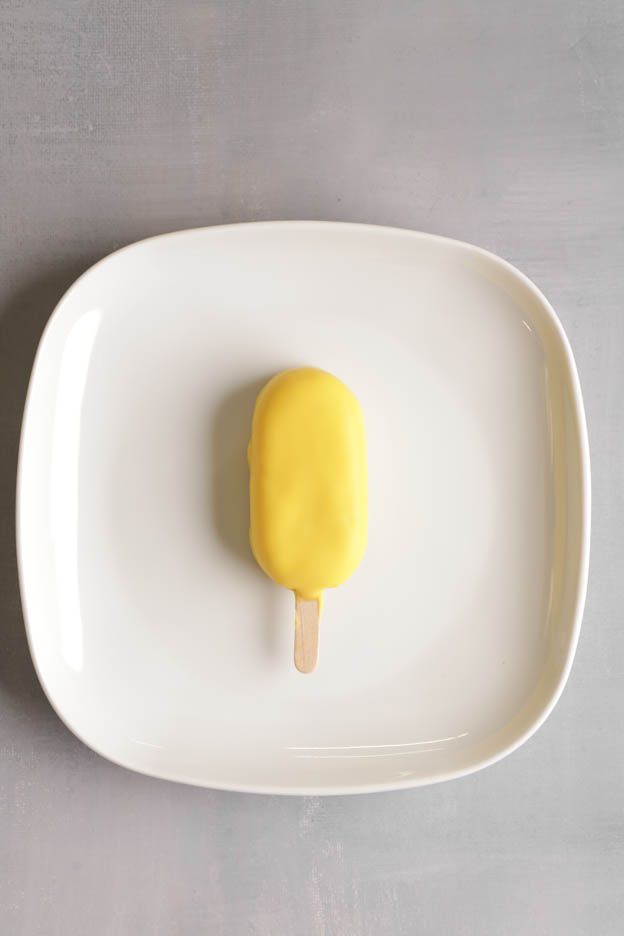
Take a cake out of the freezer and dip it into the Déco Melts.
Let it drip for a few seconds, then place it on baking paper until it sets.
If the Déco Melts become too thick, reheat them briefly in the microwave for a few seconds at 600Watt.
In the third photo below, you can see the result once the Déco Melts have set.
Do the same with all the other colours. Don't forget to add 1/8 of natural white Déco Melts to achieve pastel colours. ;-)
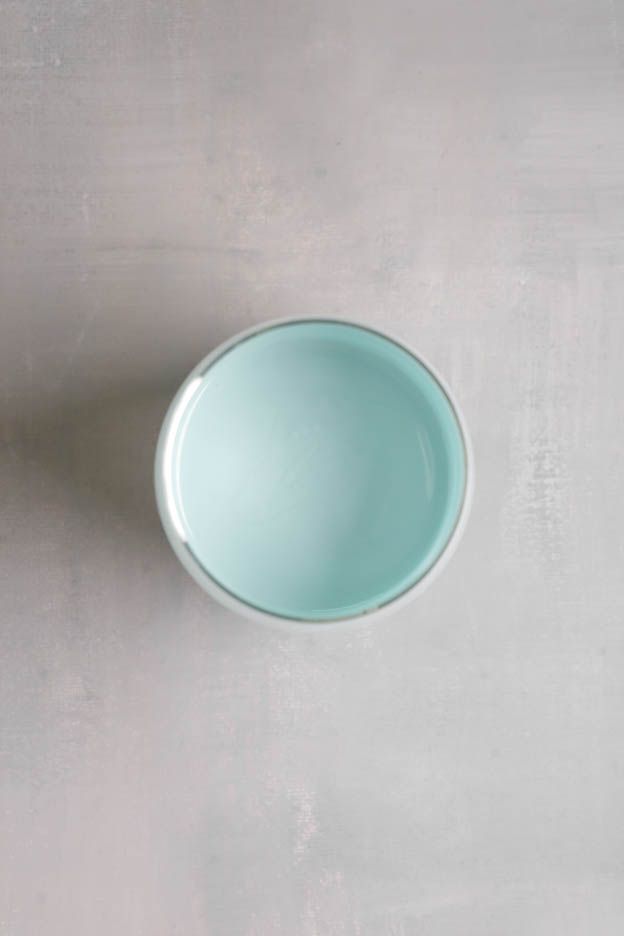
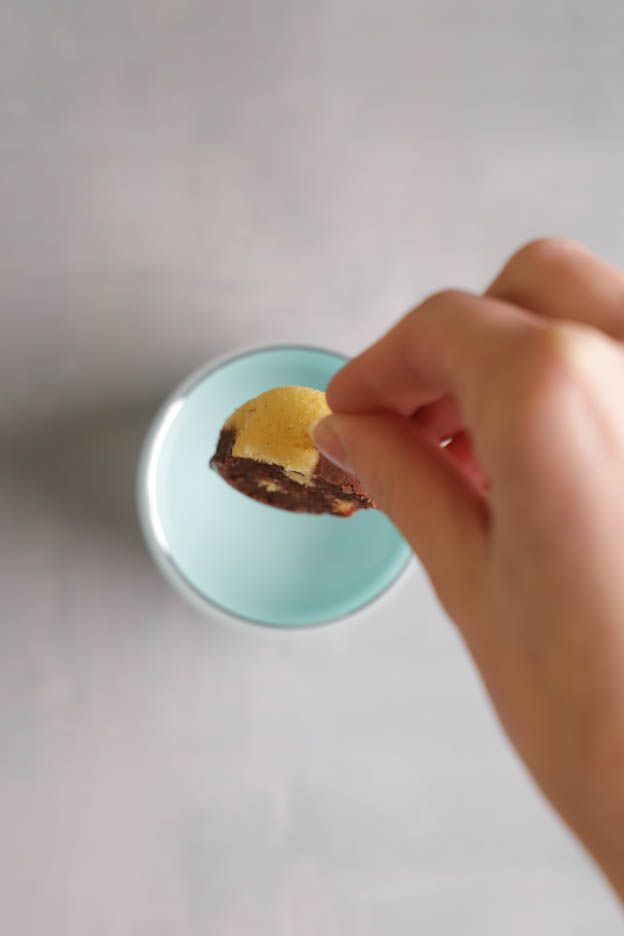
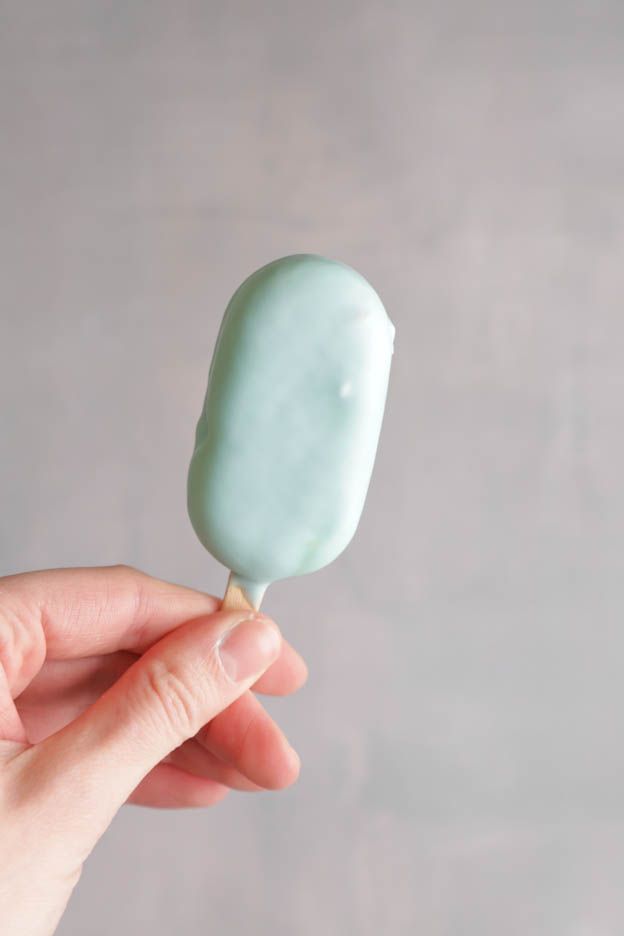
Once all the cakesicles have been dipped, we will decorate them. I'm sharing different ideas here, but let your imagination run wild.
Watch our video for inspiration :-)
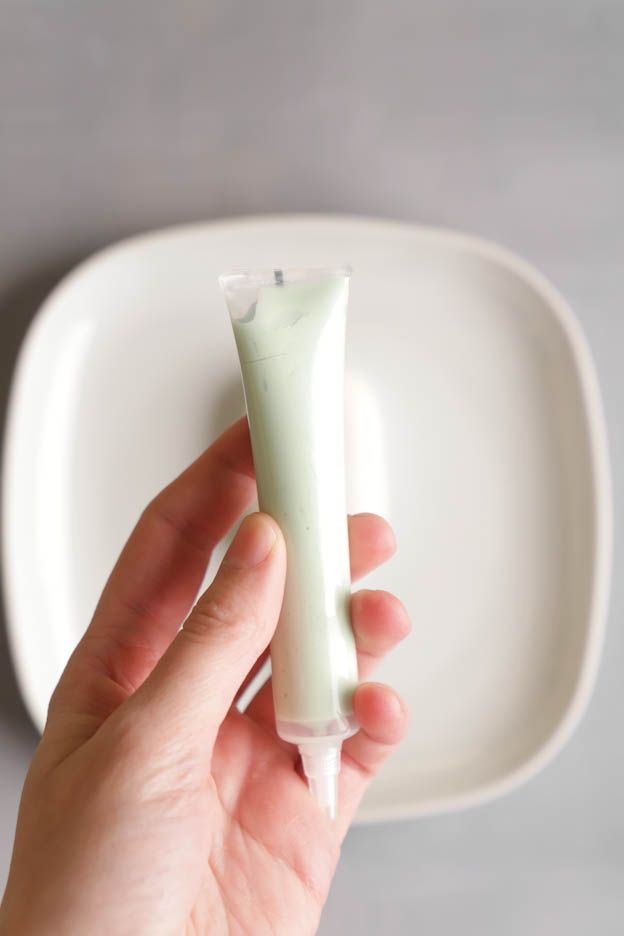
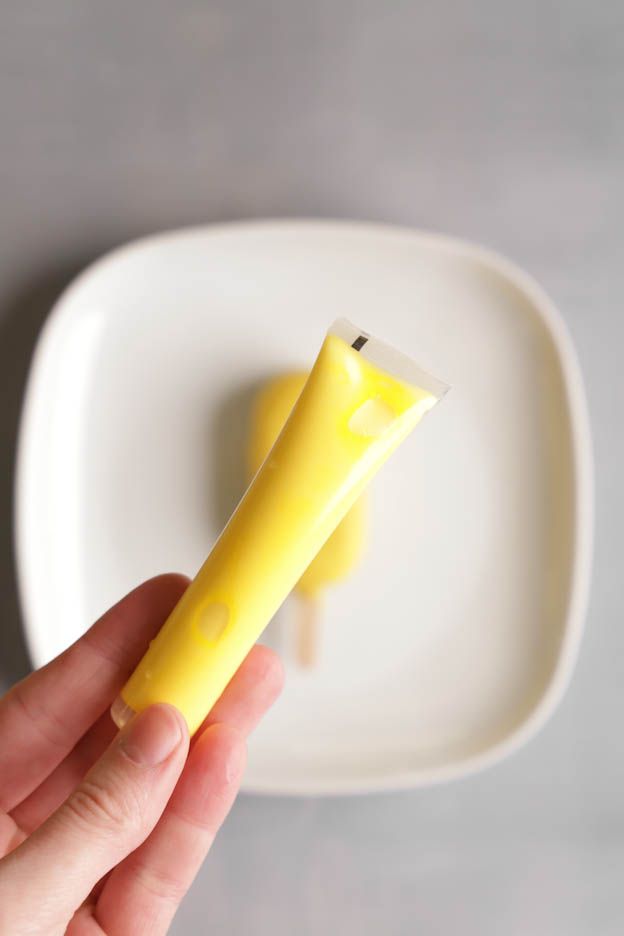
To decorate the cakesicles, I used the chocolate flavour pens which are great for this type of decoration. Plus, children love using them as they are very easy to hold in their little hands. :-)
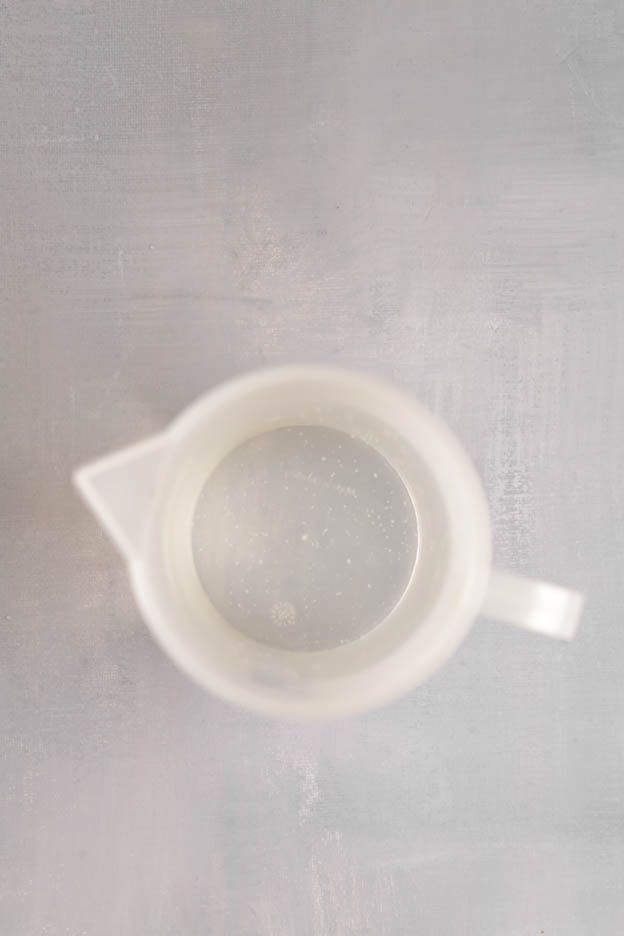
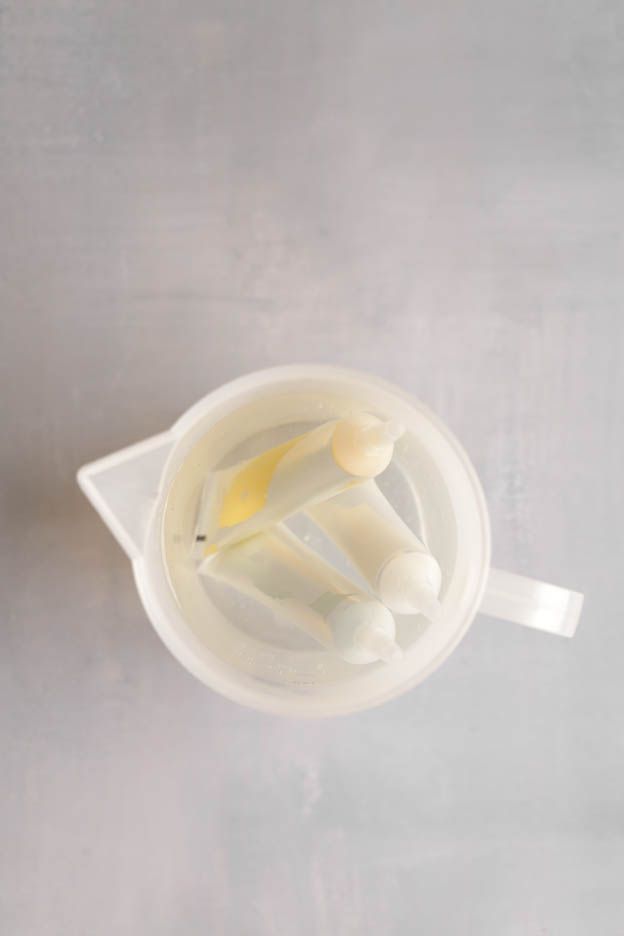
To melt them, heat some water and pour it into a jug. Place the chocolate flavour pens in the hot water for 10 minutes before using them.
I chose the colours pastel yellow, white and water green.
In our range, you'll find plenty of other chocolate flavour pen colours so have fun with the decoration. :-)
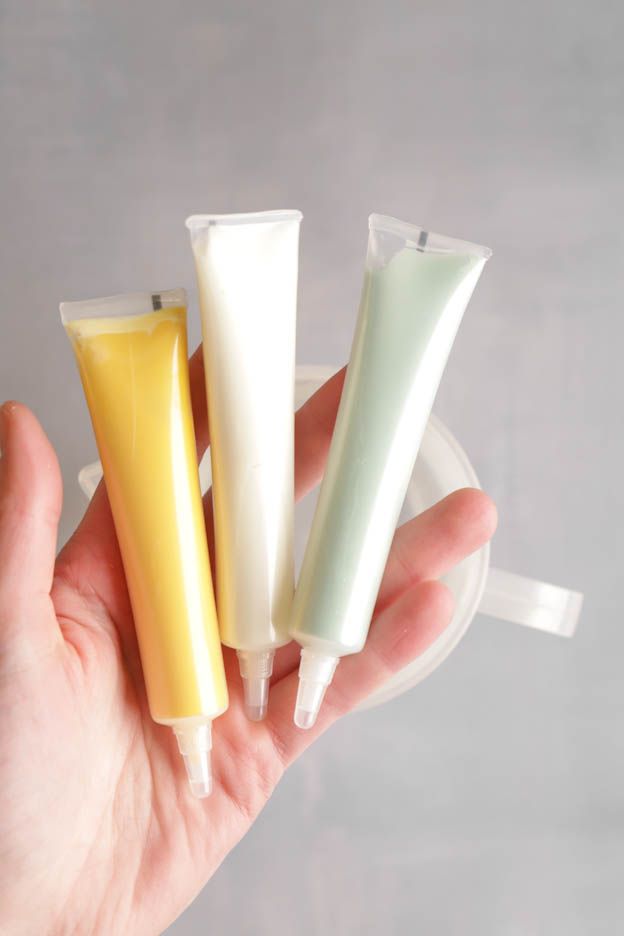
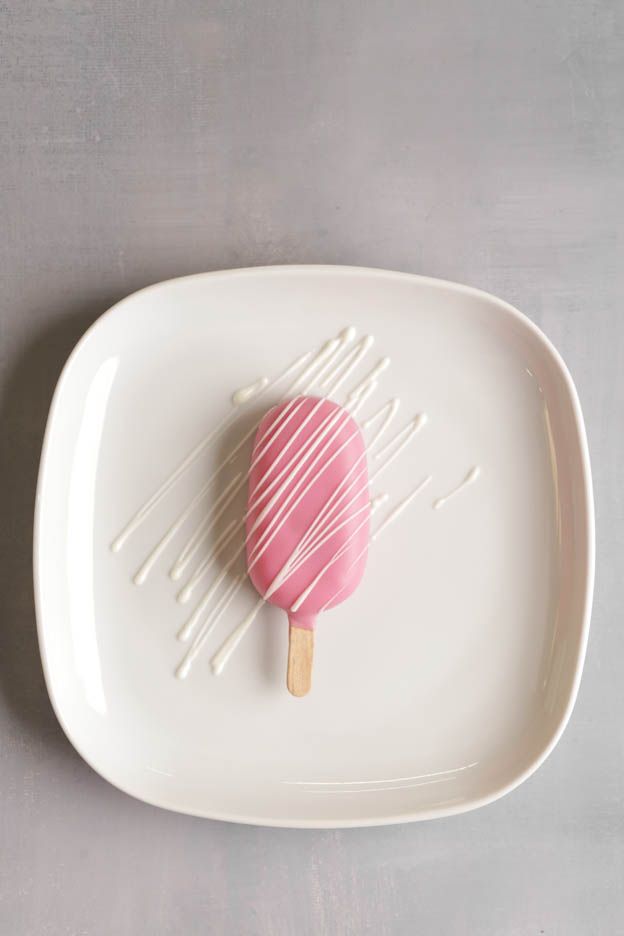
Using the white chocolate pen, stripe the pink cakesicles. To do this, make back-and-forth movements fairly quickly.
On these, I placed a pretty pink and white sugar daisy.
Be careful, you need to decorate fairly quickly. Once you have striped your cakesicles, you need to immediately place the decorations on them so they stick. If you wait too long, the decorations won't adhere... If this happens, don't panic, you can of course stick the decorations on afterwards using the chocolate pens. ;-)
As you'll see in the photos at the bottom of the blog, I made some with different decorations. There are so many possibilities for decorating cakesicles! :-)
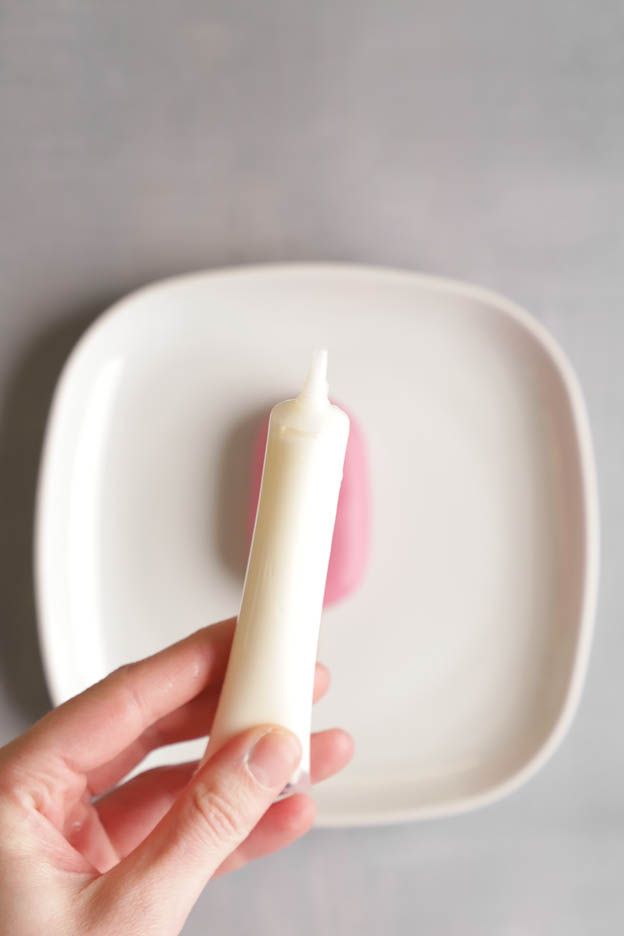

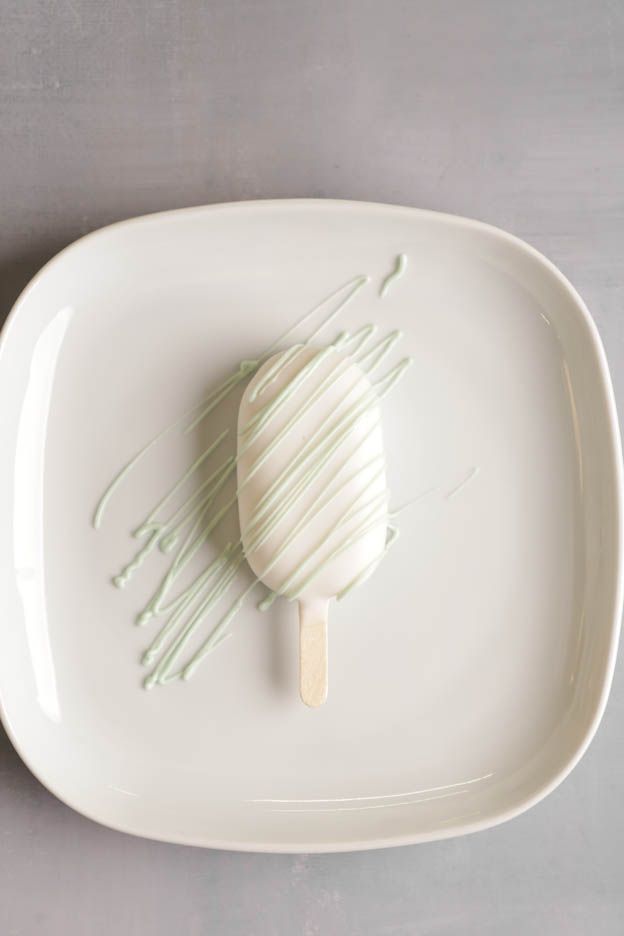
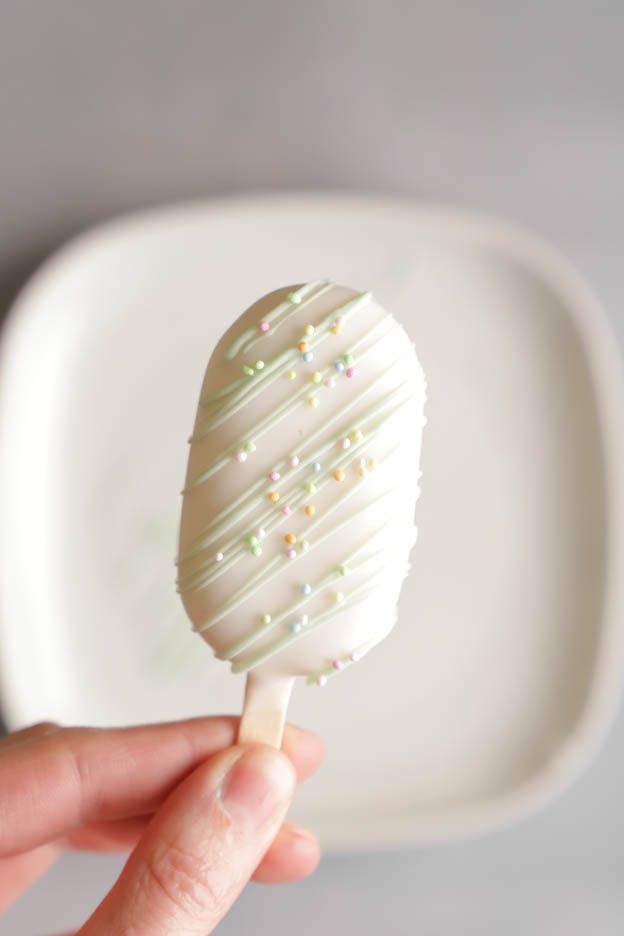
For the white cakesicles, I striped them with the water green chocolate pen.
Sprinkle them with Pastel Nonpareils.
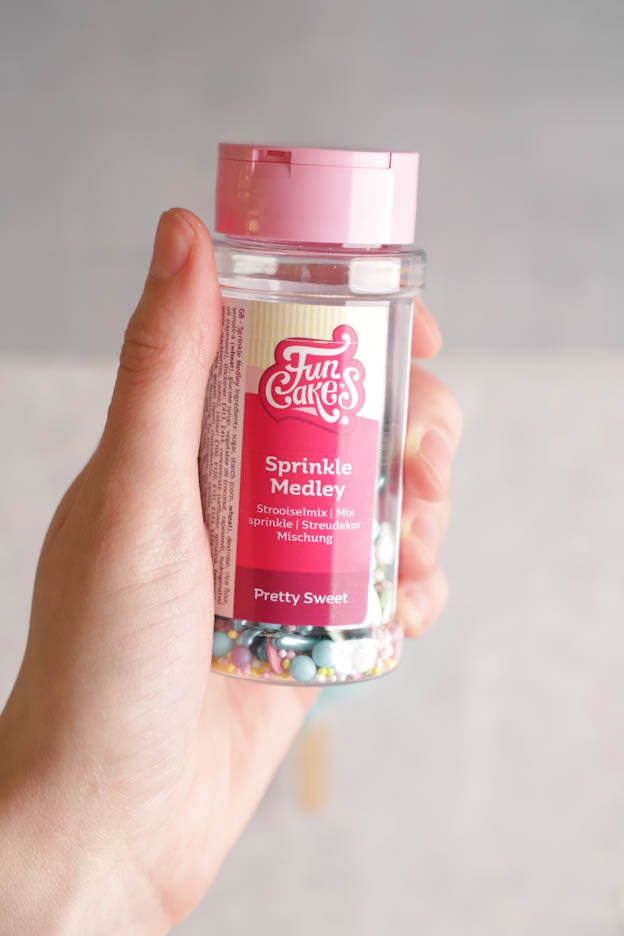
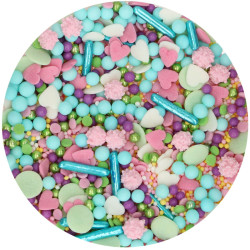
On some, I added a few "Pretty Sweet Medley" sprinkles.
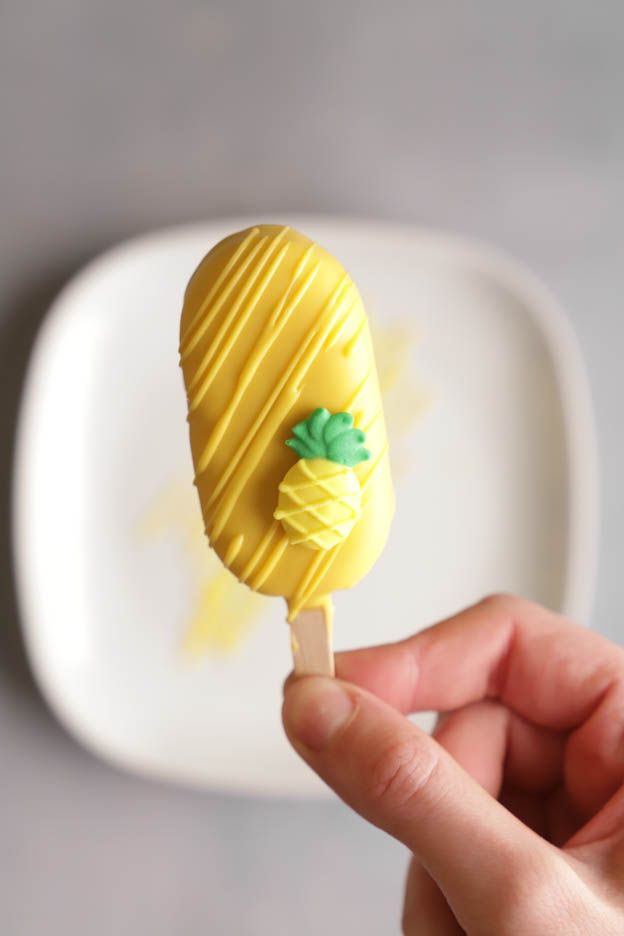
Stripe the yellow cakesicles with the yellow chocolate pen.
Add a small decoration like in the third photo below.
On some, I placed white sugar daisies or small watermelons.
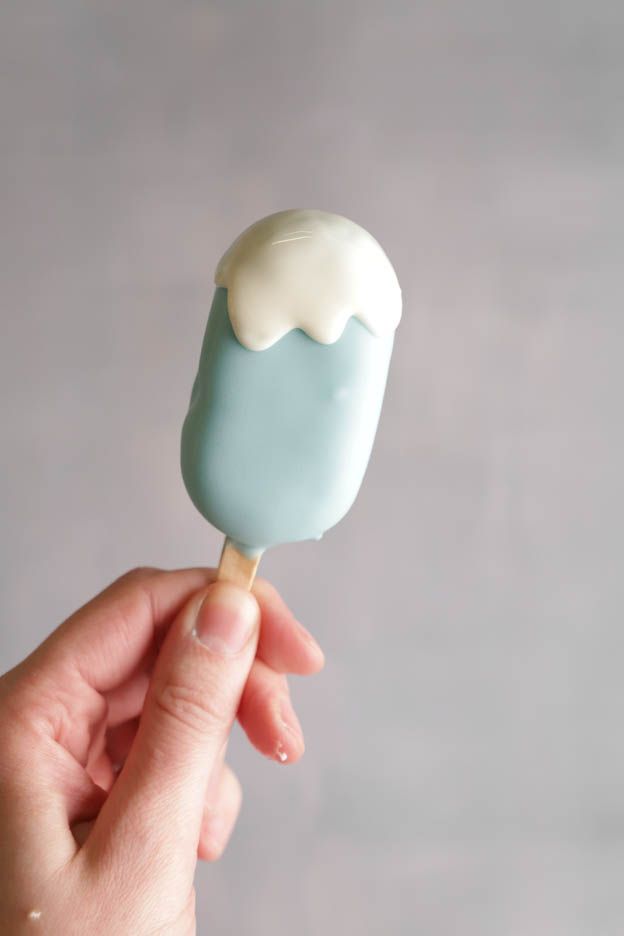
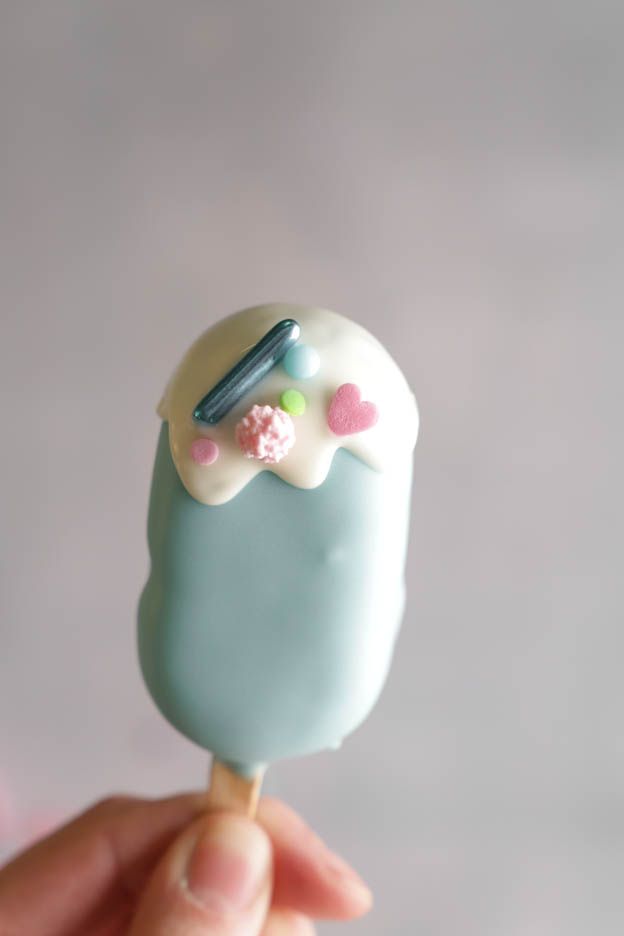
For the blue cakesicles, I thought it would be fun to do something a little different and created an ice cream effect. :-)
To do this, use a white chocolate pen, first draw the outline of the dripping ice cream, then fill in the inside of the outline.
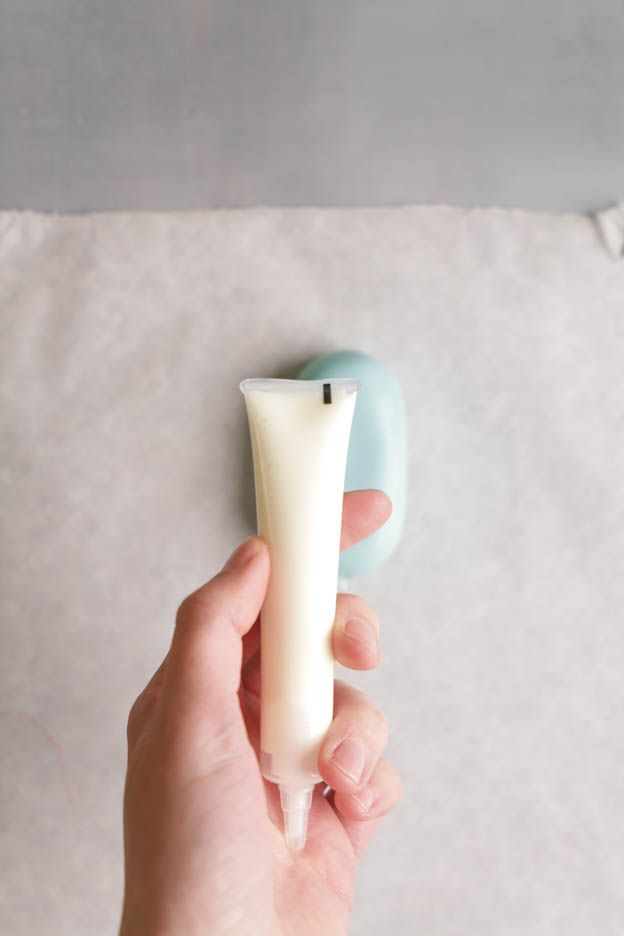
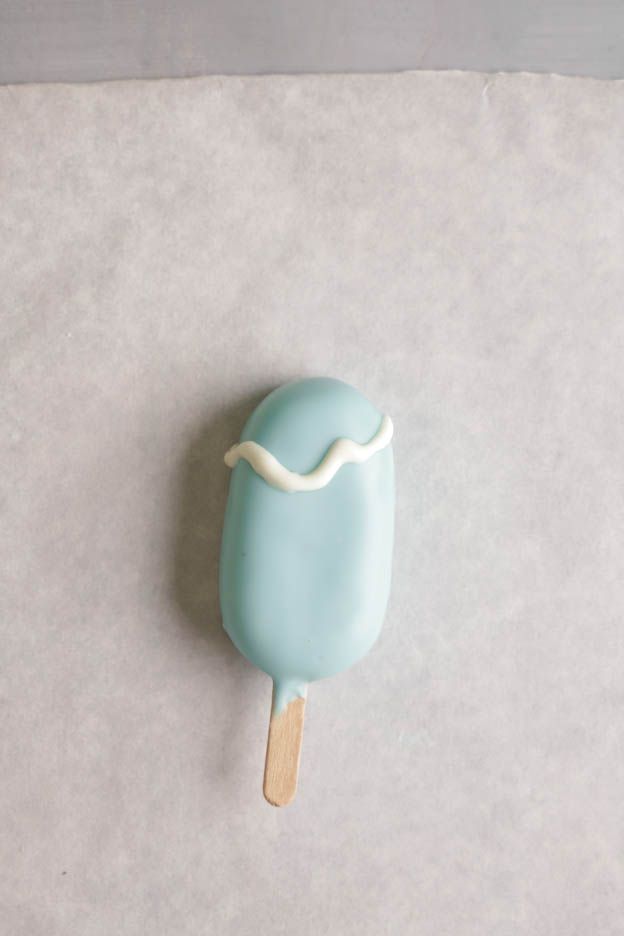
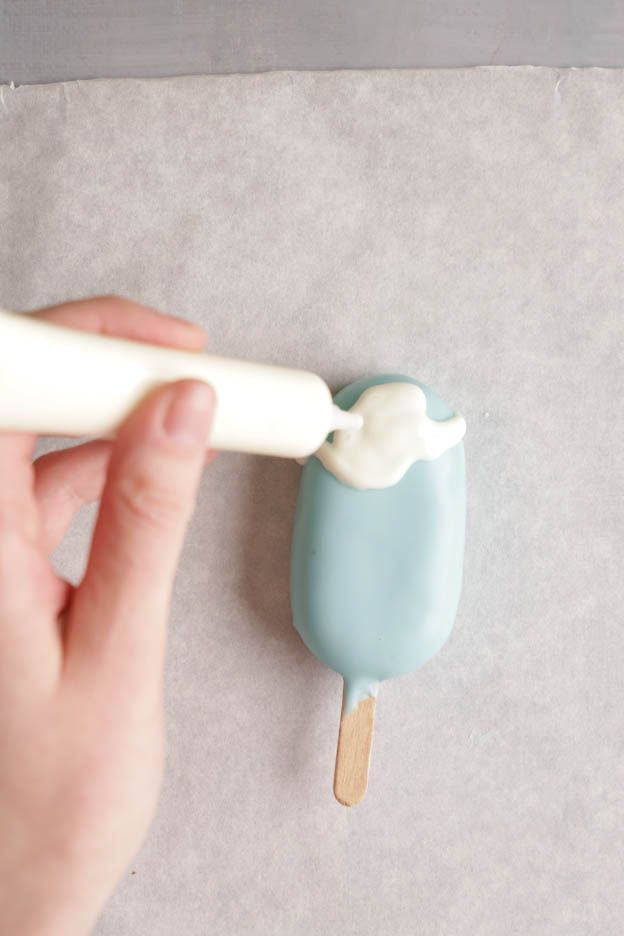
Sprinkle "Pretty Sweet Medley" sprinkles over the white chocolate.
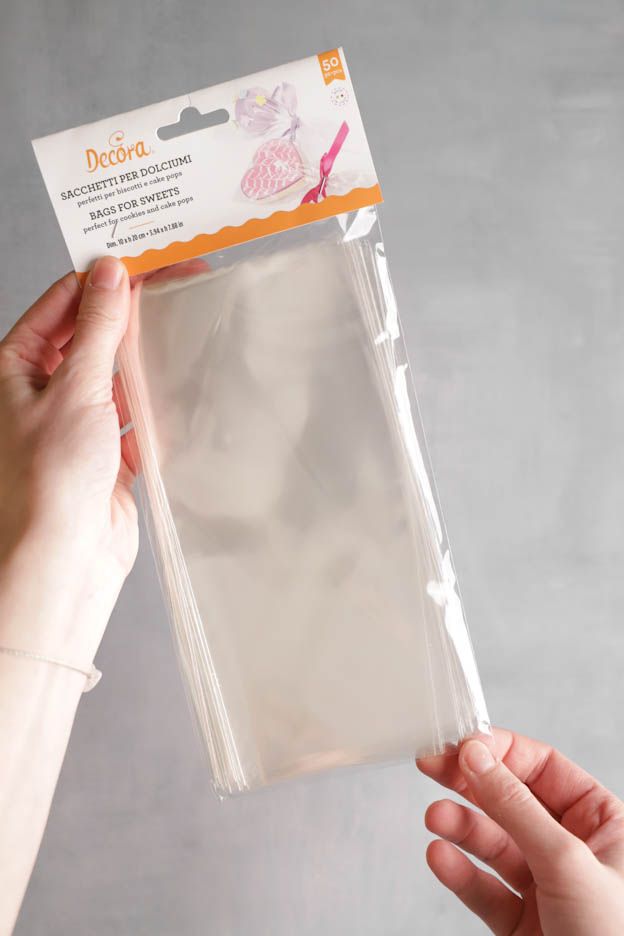
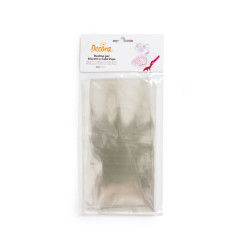
If you want to give your lovely creations as gifts, I recommend wrapping them.
In our range, we have these bags that will be perfect for wrapping your cakesicles.

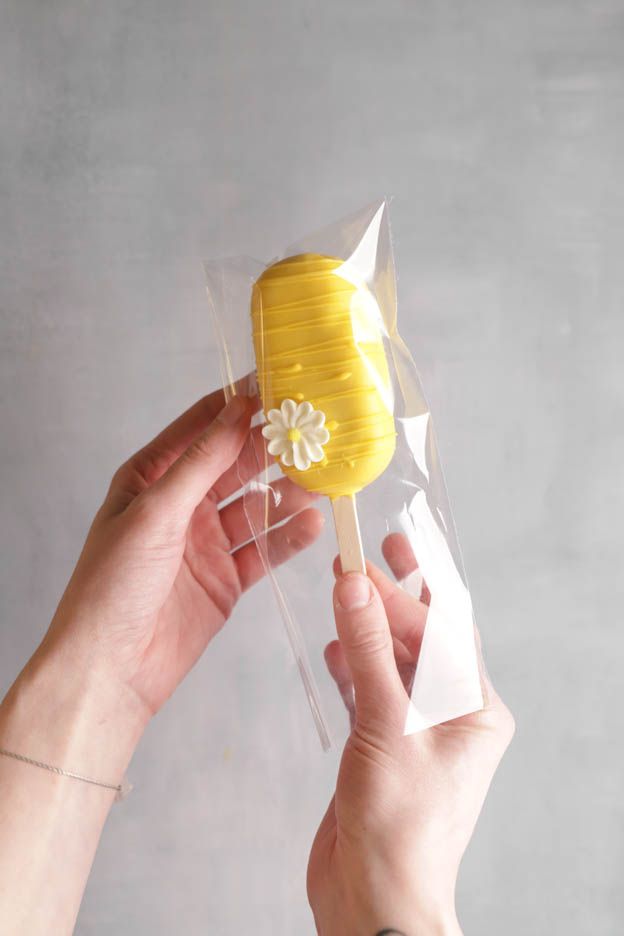
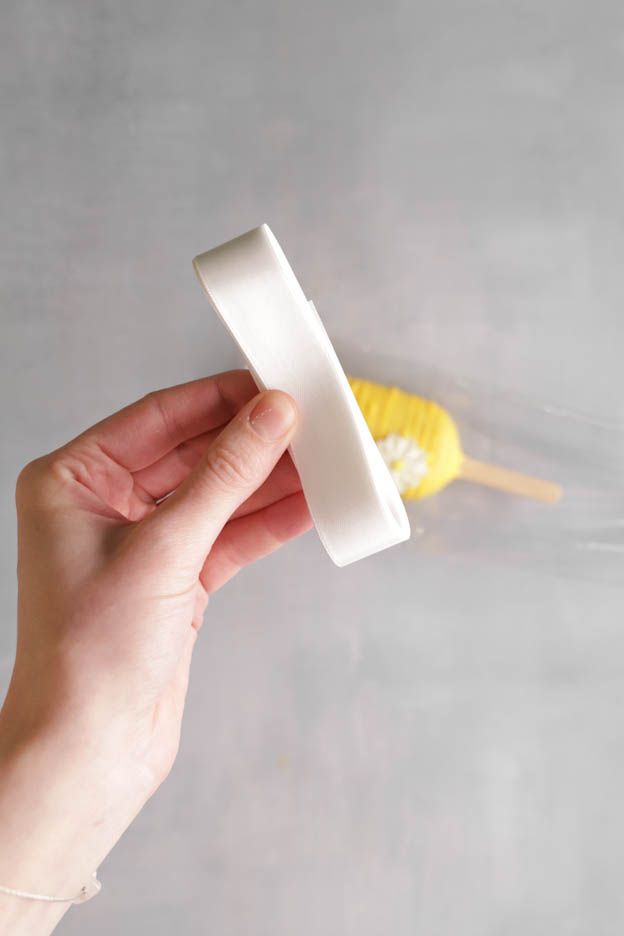
To give your packaging a lovely finishing touch, tie a pretty bow with a ribbon around the ice cream stick.
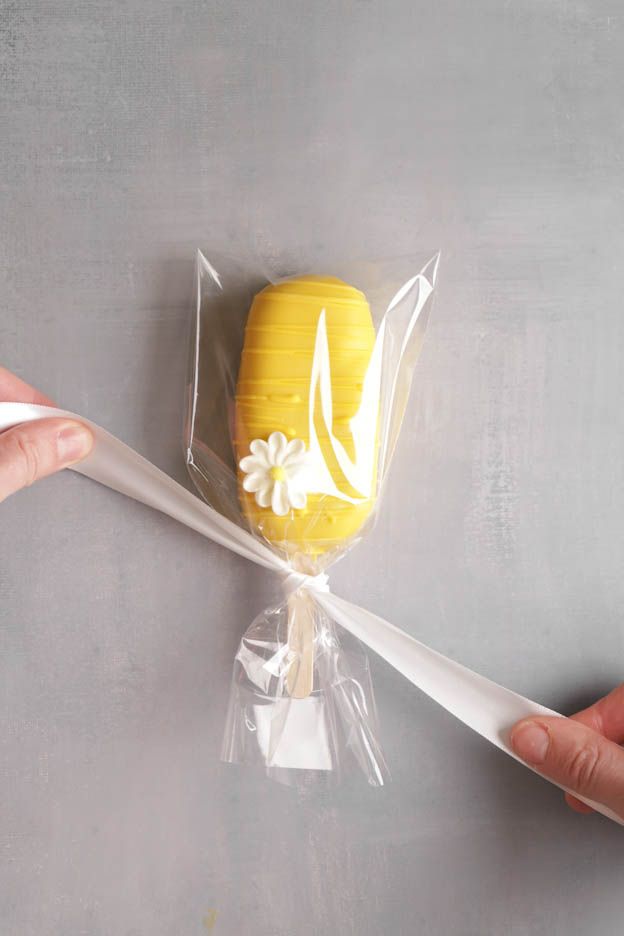
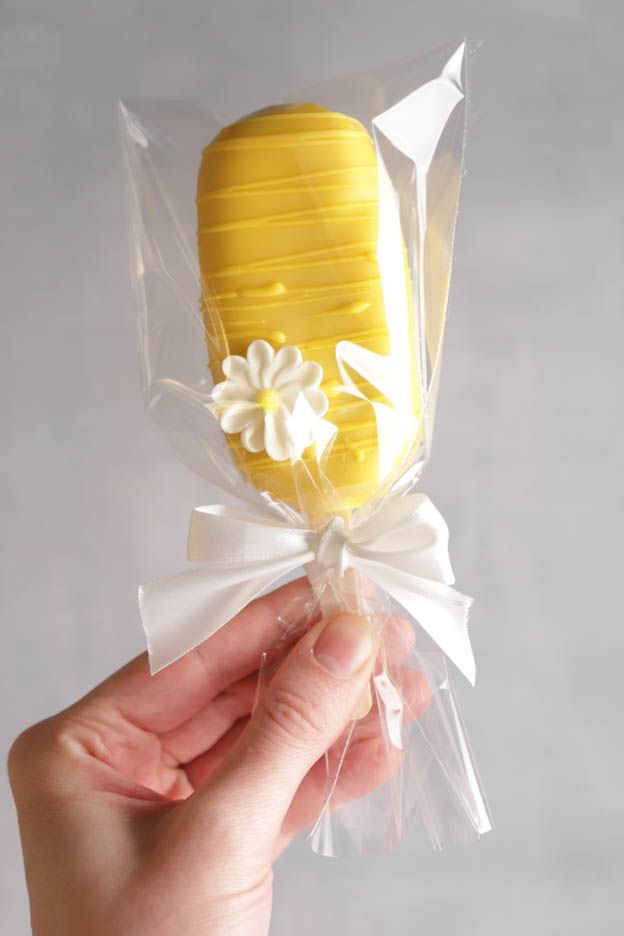
What lovely cakesicles!
A recipe to make on a rainy day or a day off with your children. :-)
Have fun with the decoration and let your creativity flow! Cakesicles can be made in so many different ways.
In our range, you'll find various sugar decorations, pearls, chocolate flavour pens. Lots of lovely decorations to create your cakesicles.
These little cakes keep for about 4 days at room temperature, well wrapped.
Wishing you a lovely Sunday, sweet tooths!
Sophie
P.S.: All the materials used can be found at the bottom of the recipe.



Related products
Baking Powder 80g
Mini wooden stick for ice cream
Disposable Decorating Bags - 41cm - 24pc
Flavour "Vanilla"
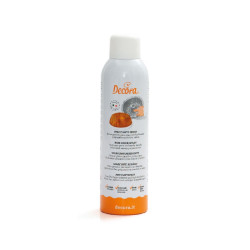
250ml Non-stick Spray
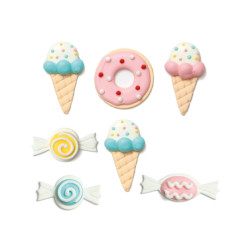
Candies sugar decorations
Ice creams mold "Classic"
Parchment paper sheets
Sprinkles Pretty Sweet Medley
Spatulas set in silicone
Flat perforated aluminium plate 40 x 30 cm
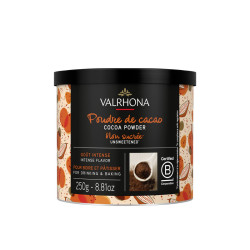
Cocoa powder without sugar - 250 g
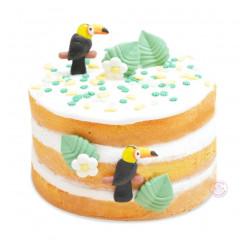
Tropical sugar decorations
Nonpareils pastel colors
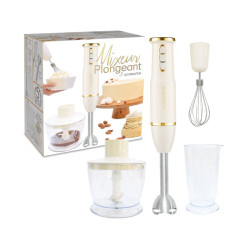
Hand blender - chopper 3 in 1
Sugar daisy flowers
White and pink sugar daisies
Graduated measuring cup 1 liter
Donuts and icecream sugar decorations
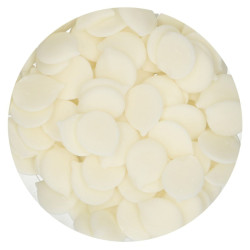
Deco melts - color deco melt: Natural white
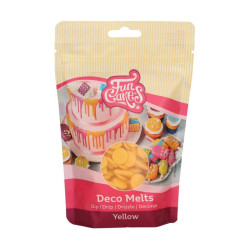
Deco melts - Yellow
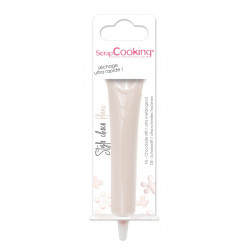
Chocolate flavour pen - Available colors: White
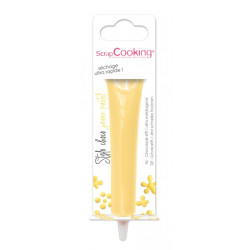
Chocolate flavour pen - Available colors: Pastel yellow
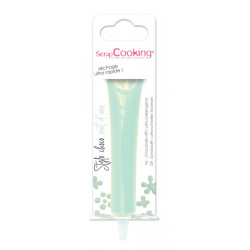
Chocolate flavour pen - Available colors: water green
Swiss white flour, 1 kg
Satin cake ribbon silver
Measuring spoon set, 4 pieces (1.25 - 15 ml)

Related posts
 Juicy Matcha Muffins with Pecan Nuts & White Chocolate
Matcha Iced Latte & Coconut Variant
Pull-apart bread with fresh wild garlic pesto
Mini Banana Bread with Chocolate Chips
Juicy Matcha Muffins with Pecan Nuts & White Chocolate
Matcha Iced Latte & Coconut Variant
Pull-apart bread with fresh wild garlic pesto
Mini Banana Bread with Chocolate Chips
Leave a comment
Comments
Question de Florence
By: Florence C. On 2024-07-07Bonjour,
J'ai voulu en refaire, ma première il y a quelques mois avait été un franc succès. Par contre ce jour impossible d'avoir la bonne consistance pour les décomelts. Ca restait collant/épais et lorsque les glaces" étaient trempées, ça faisait des gros tas et ne s'écoulait pas... J'ai tenté de chauffer une nouvelle fois au bain-marie, de mettre quelques gouttes d'huile végétale, rien n'y a fait. J'ai fini par les tapisser avec la maryse, mais le résultat est vraiment moyen... Une idée de ce qui a pu se passer? J'ai l'impression d'avoir fait exactement comme la 1ère fois... Merci!"
Replied by: Karin On 2024-07-08
Replied by: Florence C. On 2024-07-12
Question de Séverine
By: Séverine F. On 2024-02-18Bonjour,
Je souhaiterais faire décorer des cakesicles comme animation pour l'anniversaire de ma fille. J'aimerais les préparer à l'avance. Est-il possible de les congeler? A quel moment de la recette est-ce le plus opportun avant ou après le déco melt ? Et pour les décogeler dois-je faire attention à quelque chose en particulier?
Merci pour votre réponse, je me réjouis de tester cette recette.
Replied by: Karin On 2024-02-19