
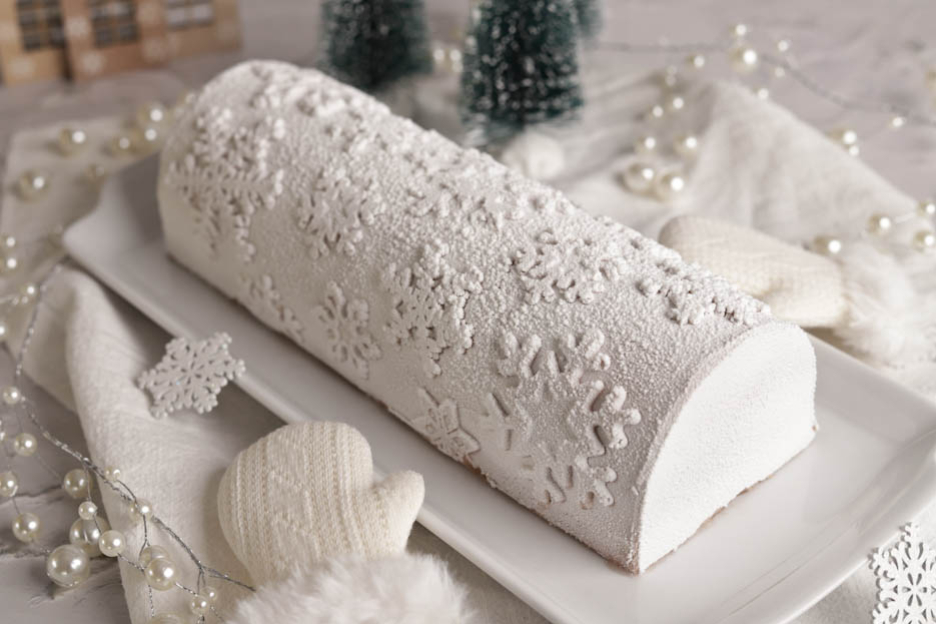
Strawberry-Lime Yule Log
Hey food lovers!
It's starting to feel a lot like Christmas around here! So I thought a little tutorial on Christmas yule logs might interest you!
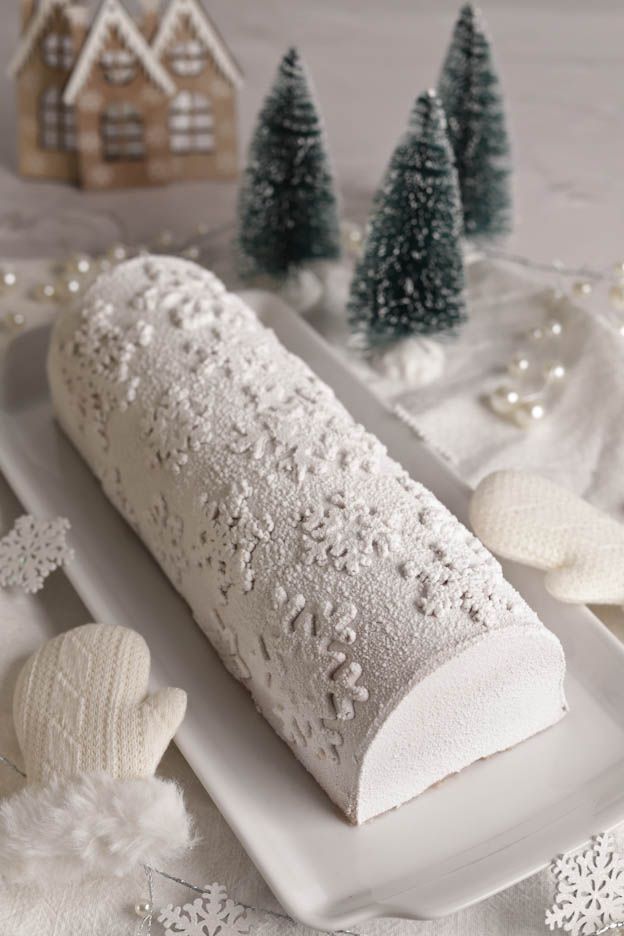
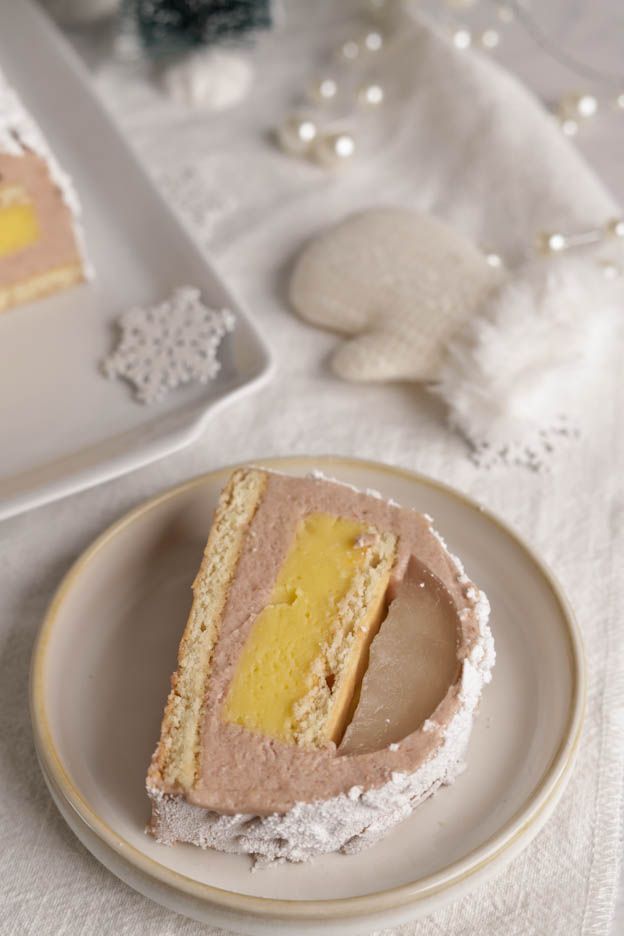
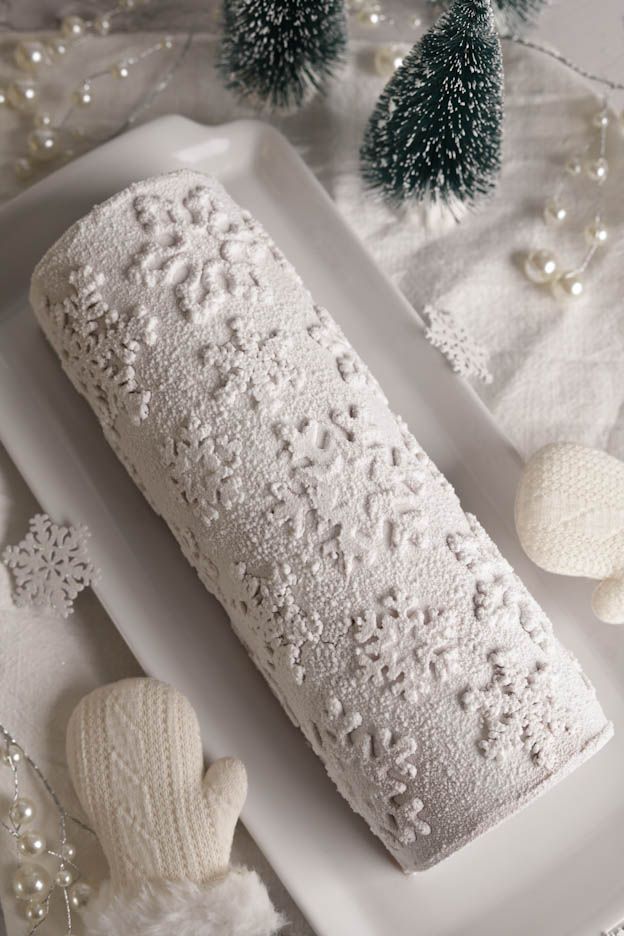
Here's my yule log. Strawberry mousse, lime jelly insert, lime curd and a small financier sponge with a white velvet finish.
It didn't last long at our place. ;o)

To make this yule log, you will need to allow time for freezing. I therefore suggest making it over 2-3 days.
This yule log serves approximately 10 people.
For this recipe, you will need the following equipment:
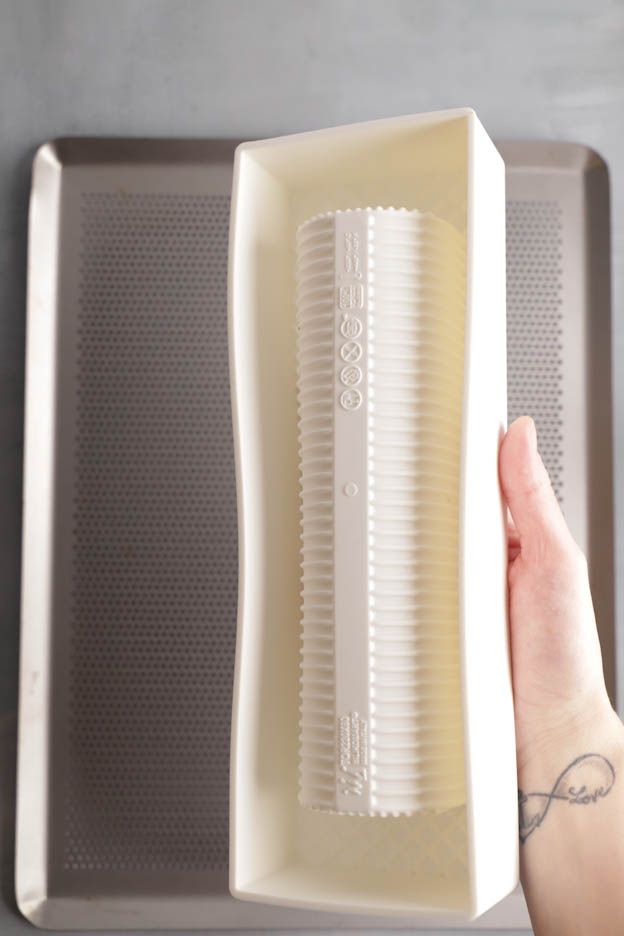
- 25 cm x 9 cm silicone mould
- 22 cm x 6 cm silicone insert mould
- Snowflake texture mat
- A few small tools mentioned below
Here is the list of ingredients:
- 130g water
- 30g lime juice
- 40g sugar
- 2 gelatine leaves
- 40g butter
- 2 egg whites
- 55g sugar
- 80g ground almonds
- 20g flour
- 1 gelatine leaf
- 1 egg
- 50g sugar
- 5g cornstarch
- 100g lime juice
- 70g butter
- 280g strawberry purée
- 65g sugar
- 4 gelatine leaves
- 160g heavy cream
- 20g lime juice
Lime Jelly
Start by softening 2 gelatine leaves in very cold water.
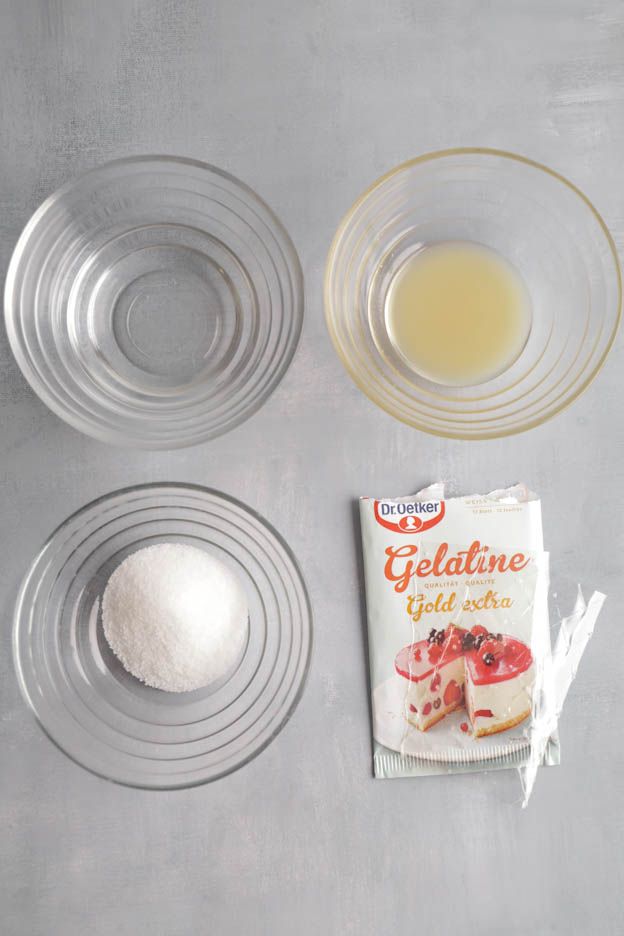
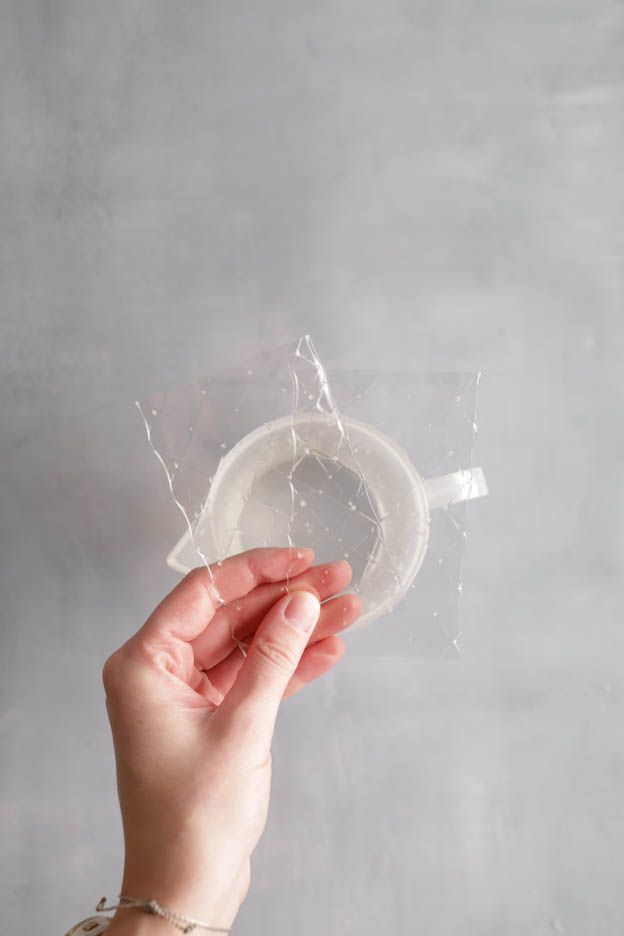

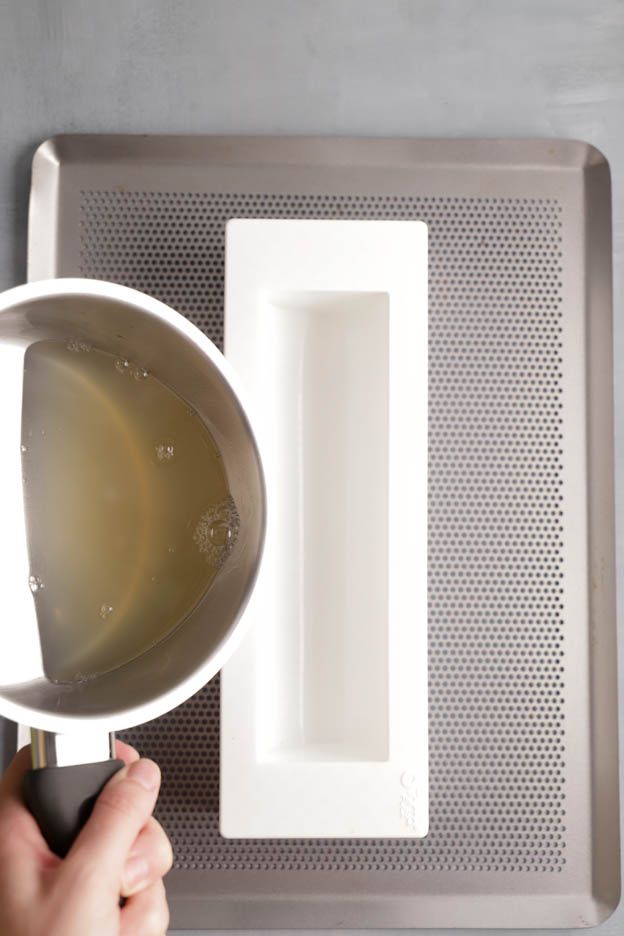
Pour 130g of water, 30g of lime juice and 40g of sugar into a saucepan.
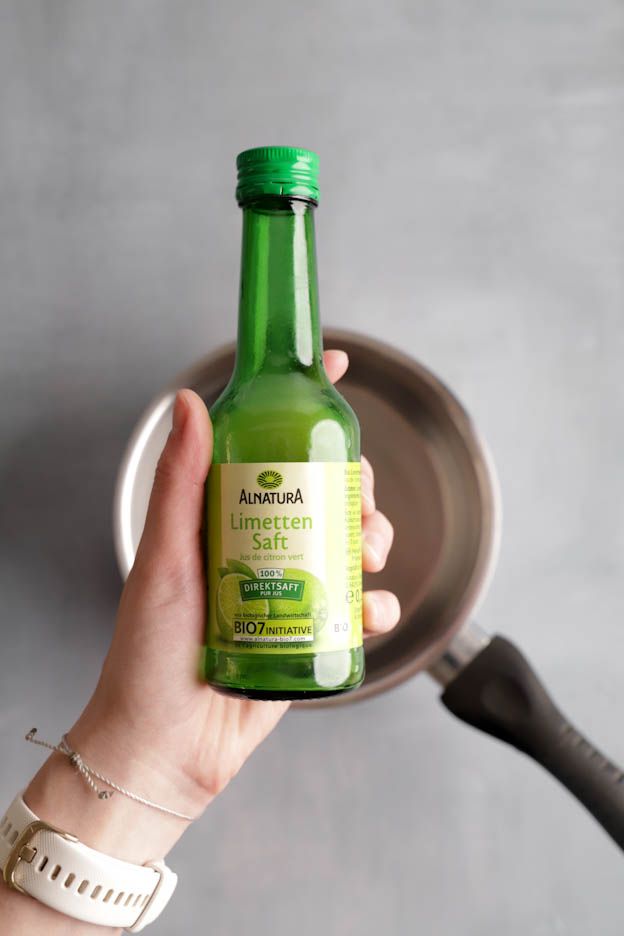
Here I use organic lime juice from Alnatura. It's great! You can find it at Migros if needed. :o)
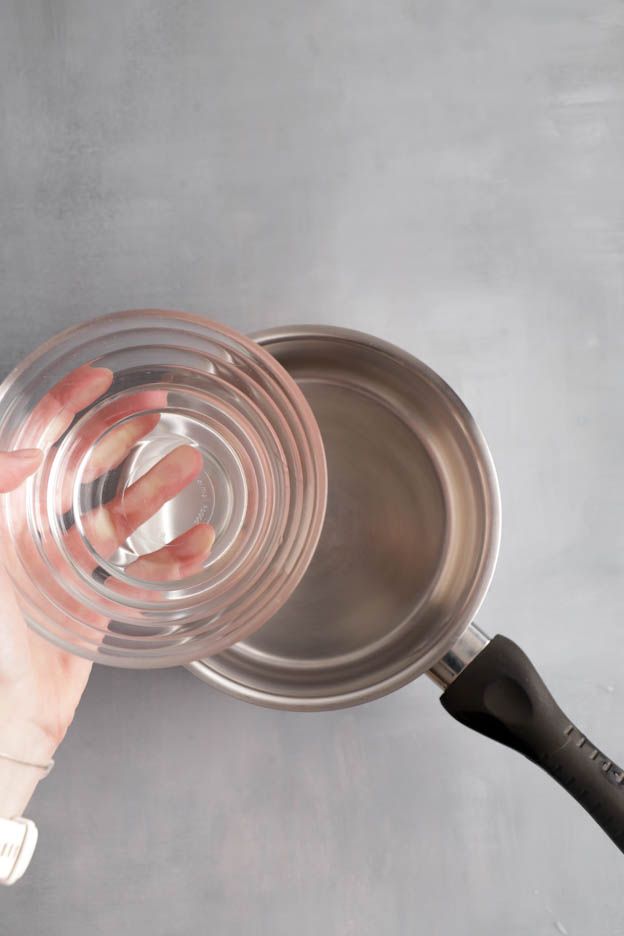

Bring the mixture to a boil.
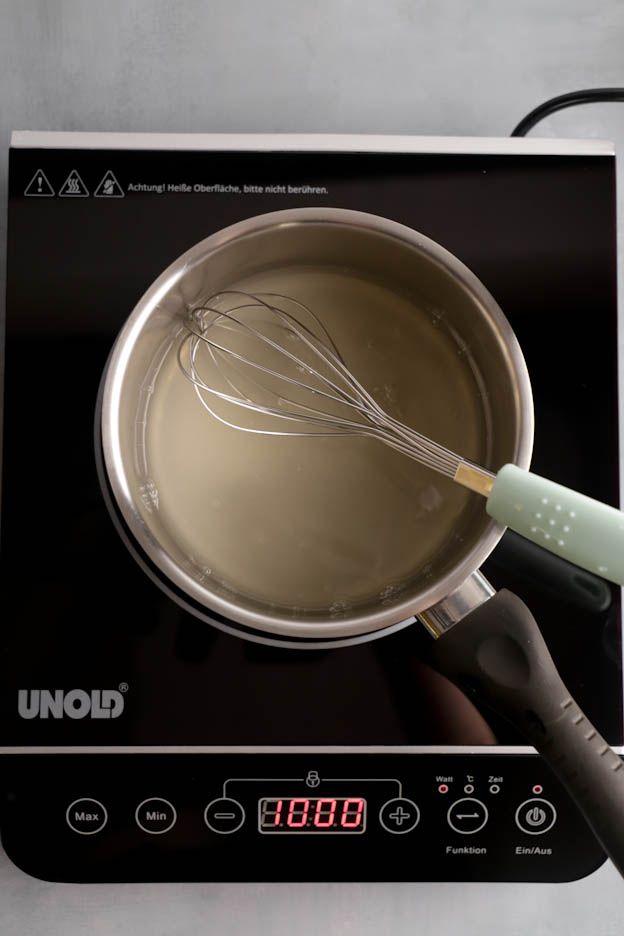
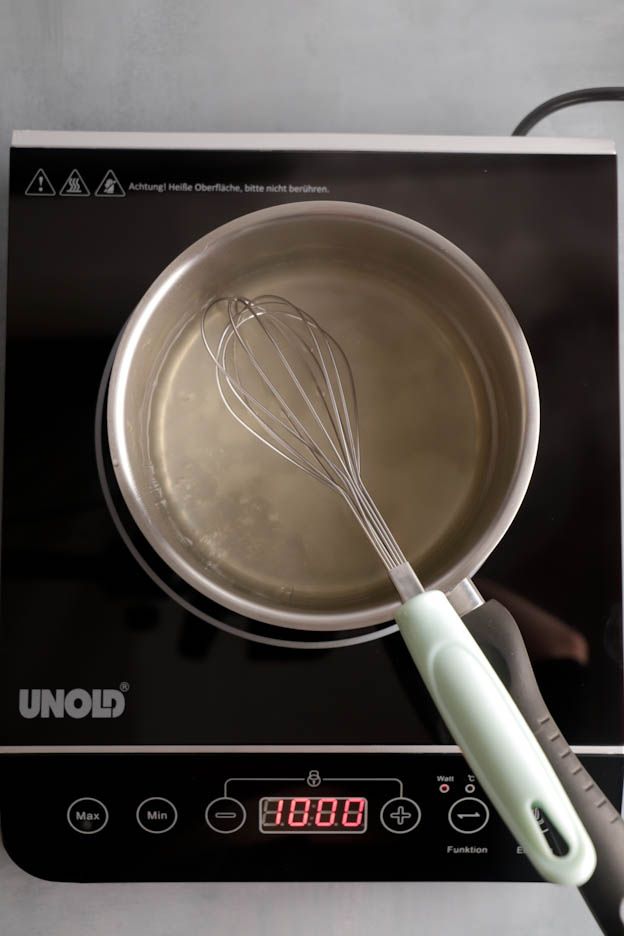
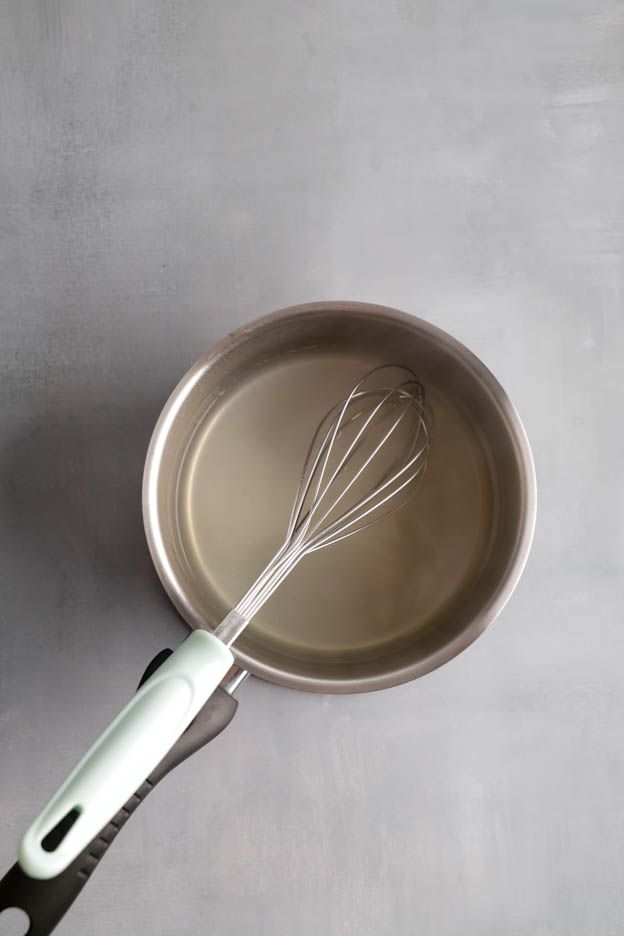
Once the mixture has come to a boil, add the softened gelatine (squeeze out the excess water first).
Then mix until it has fully dissolved into the mixture.
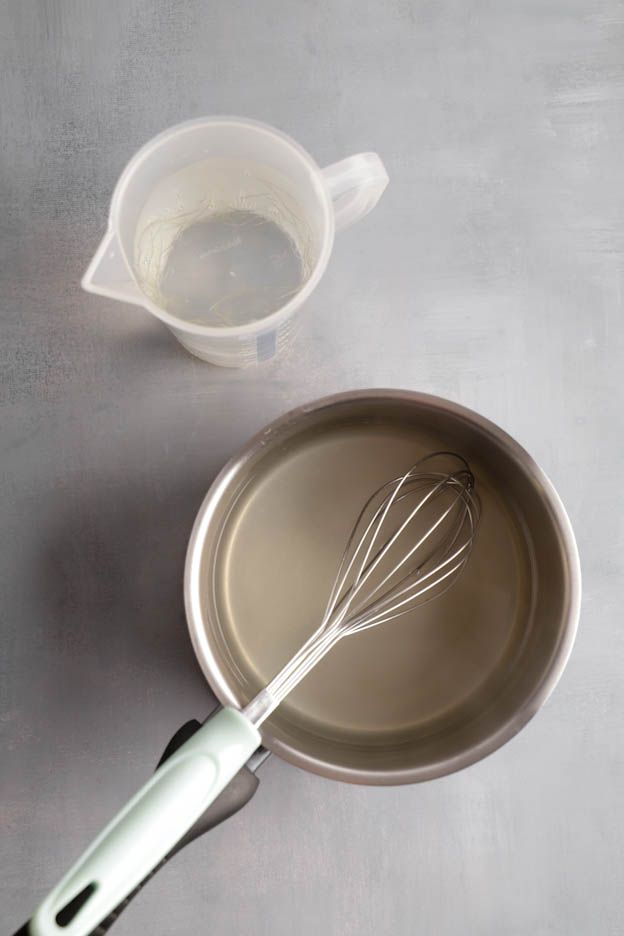
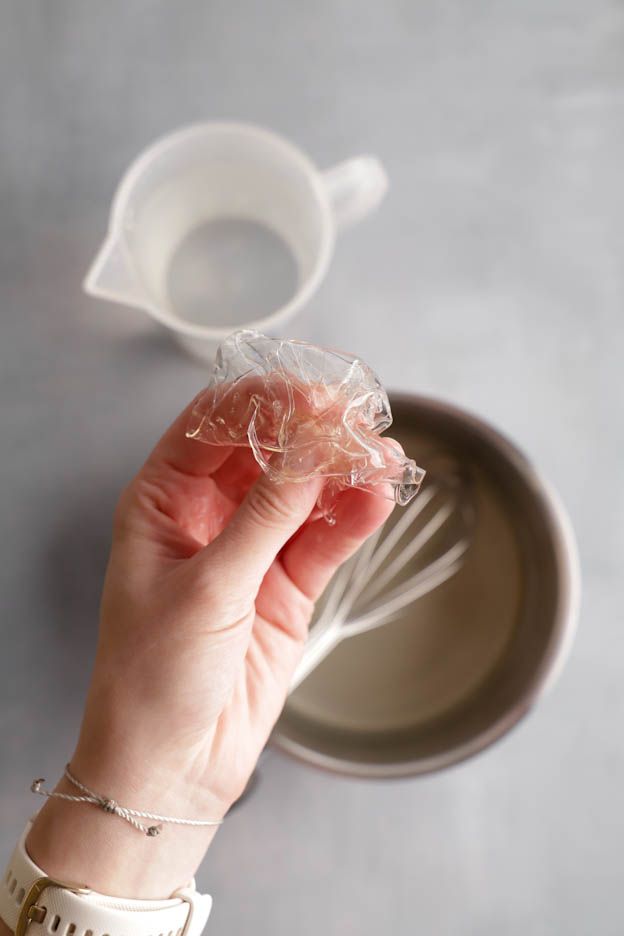
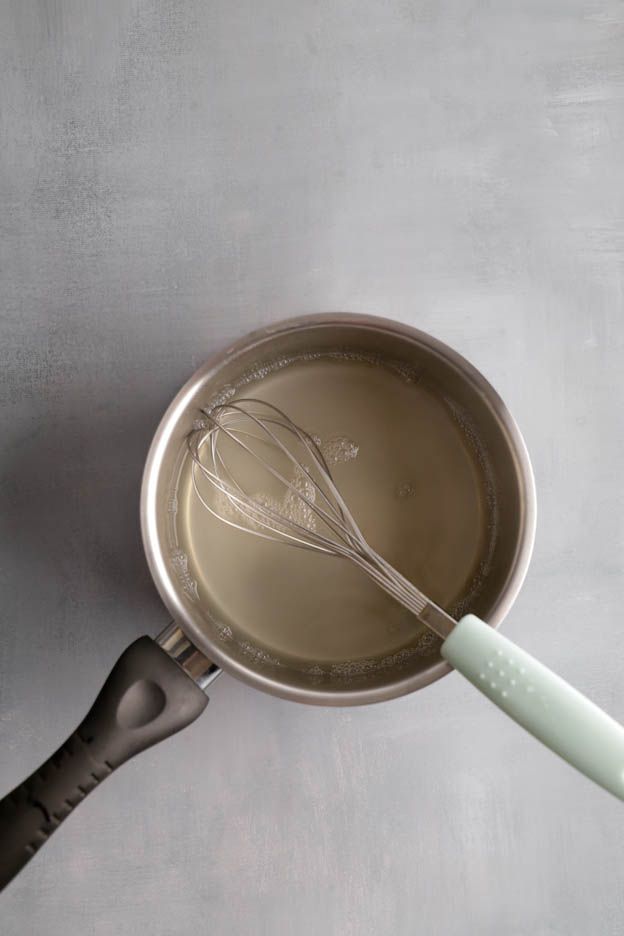
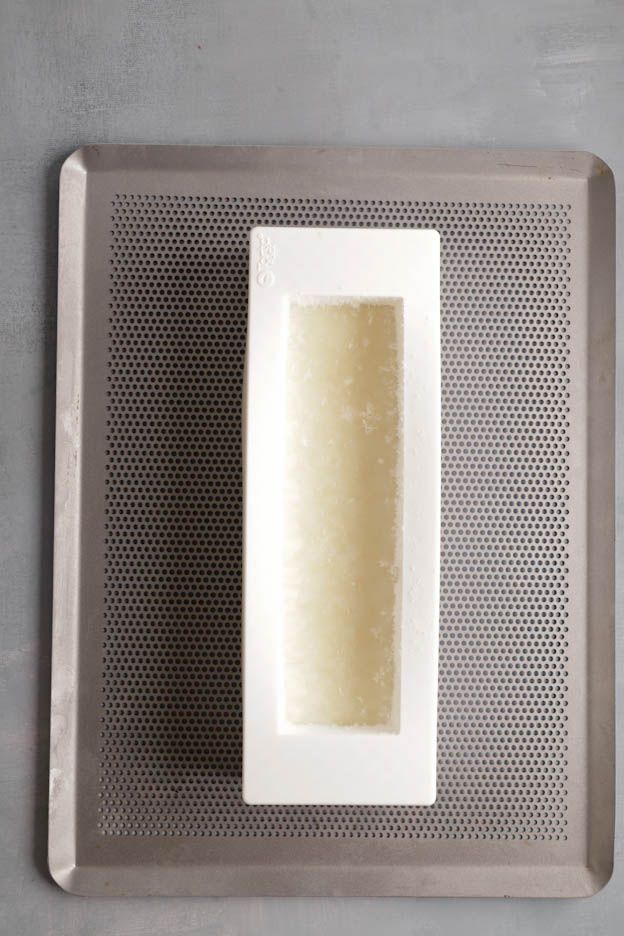
Then pour everything into the insert mould and place it in the freezer.
Financier Sponge
In the meantime, let's make the financier sponge.
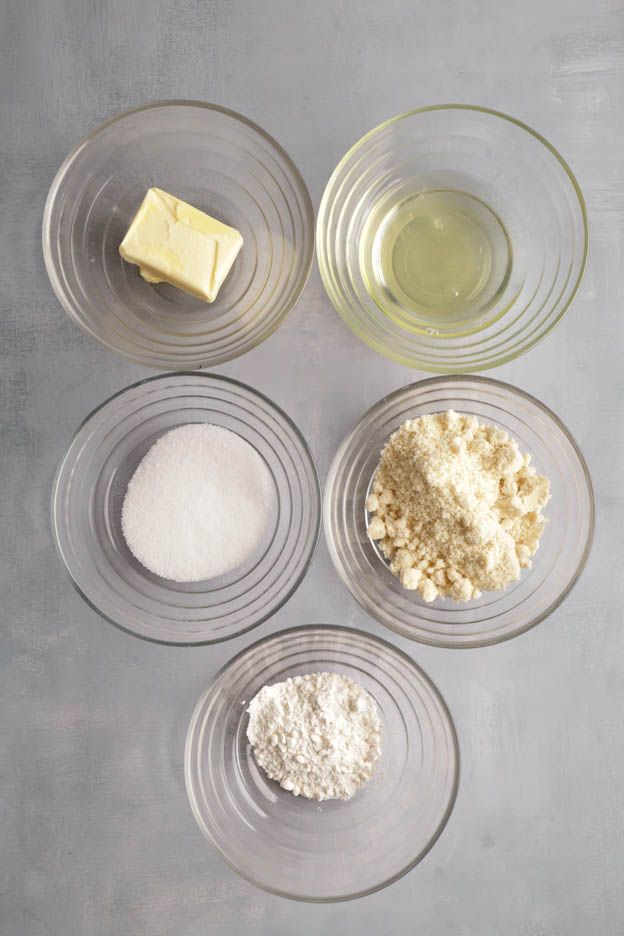
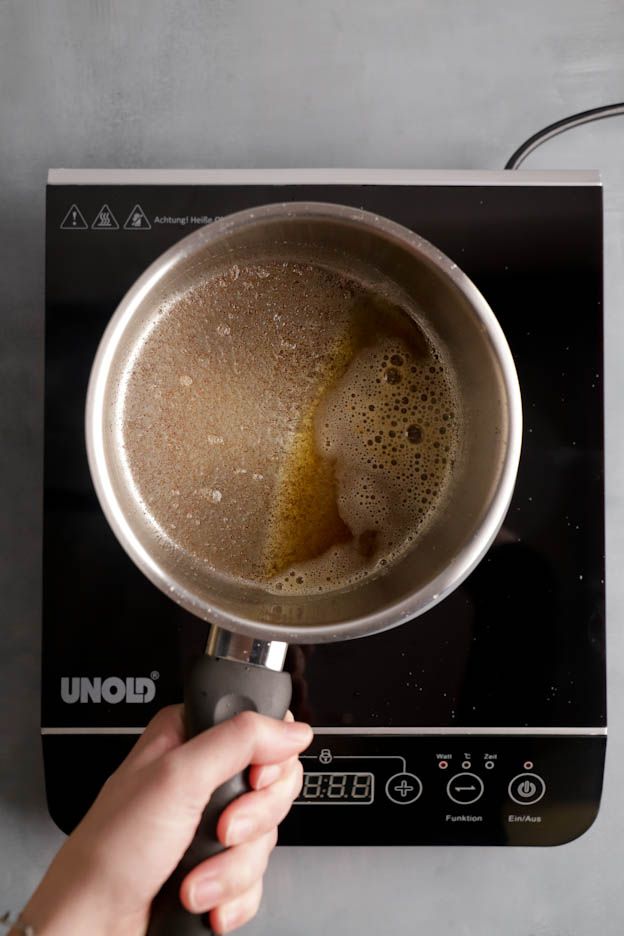
Start by making a brown butter! I find the financier sponge is so much better when you brown the butter first!
Simply place 40g of butter in a saucepan and heat it until it turns slightly golden. Be careful — remove it from the heat as soon as you see it starting to colour.
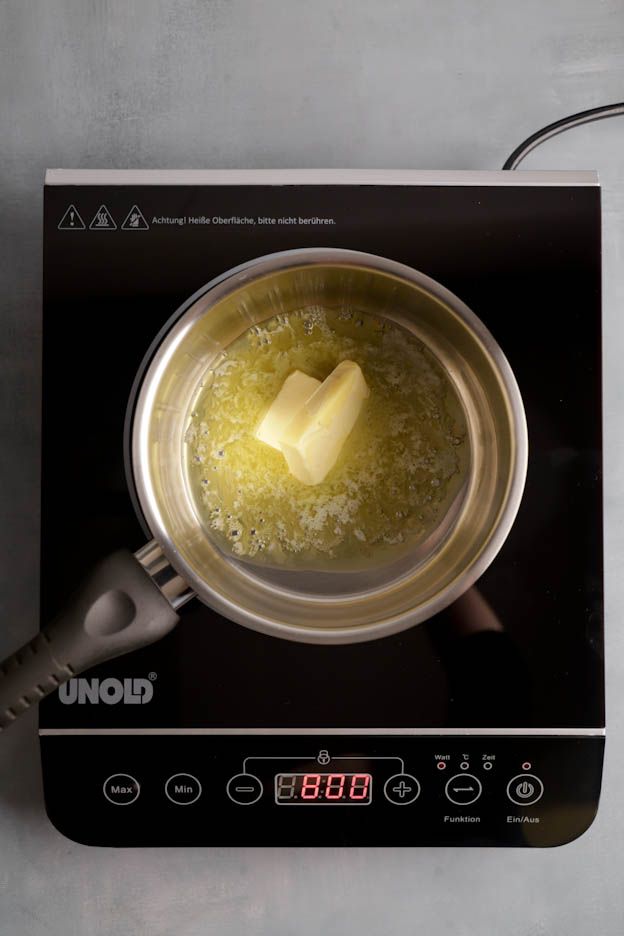
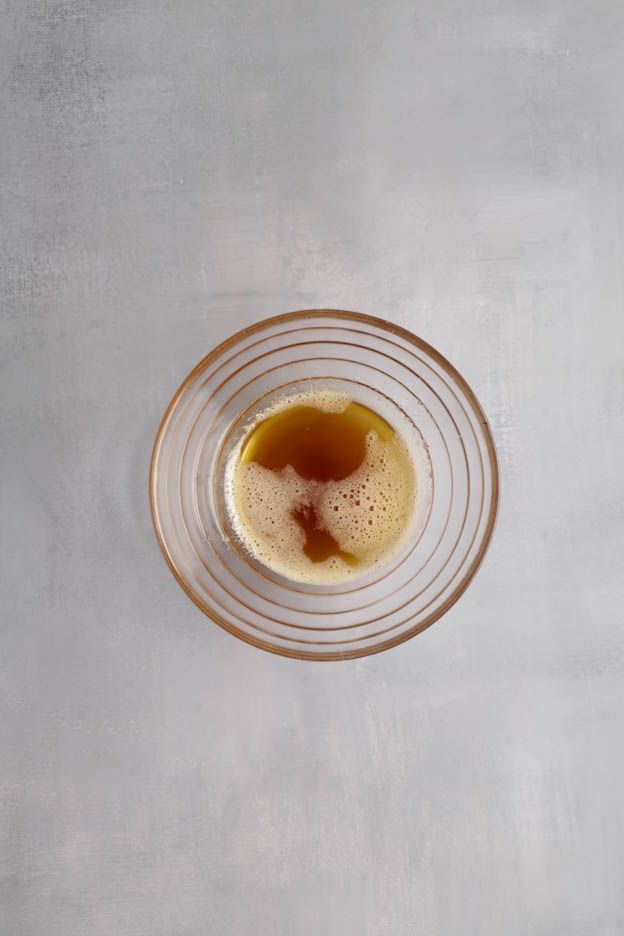
To stop the butter from cooking further, pour it into a glass bowl — if you leave it in the saucepan, it will burn.
Set it aside in the fridge.
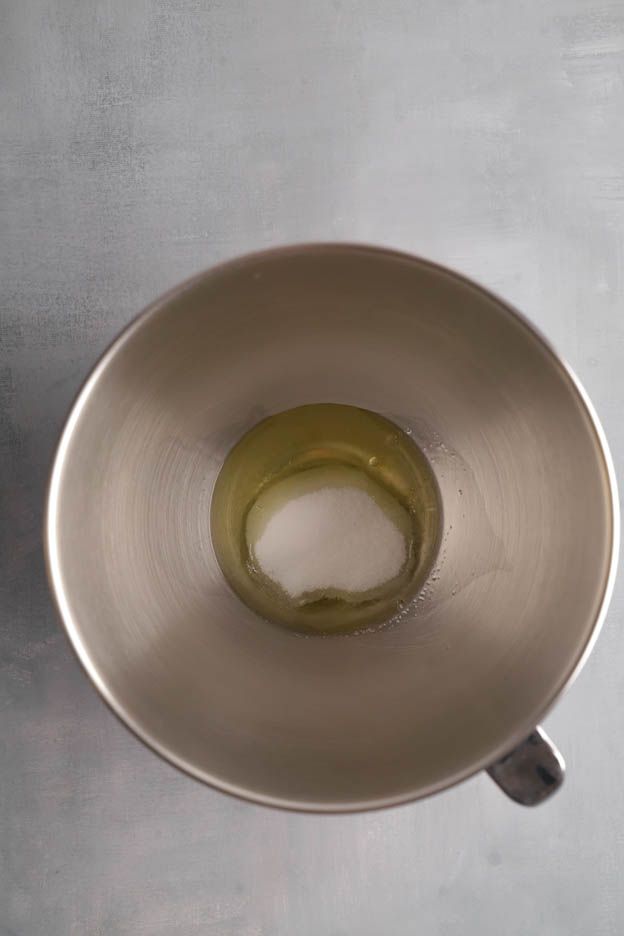
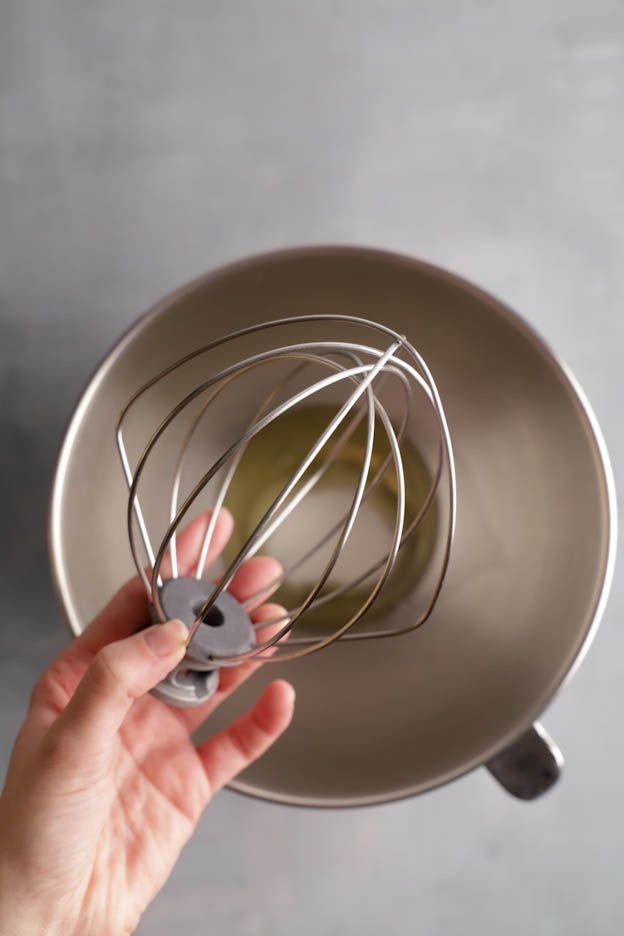
In a bowl, pour 2 egg whites and 55g of sugar.
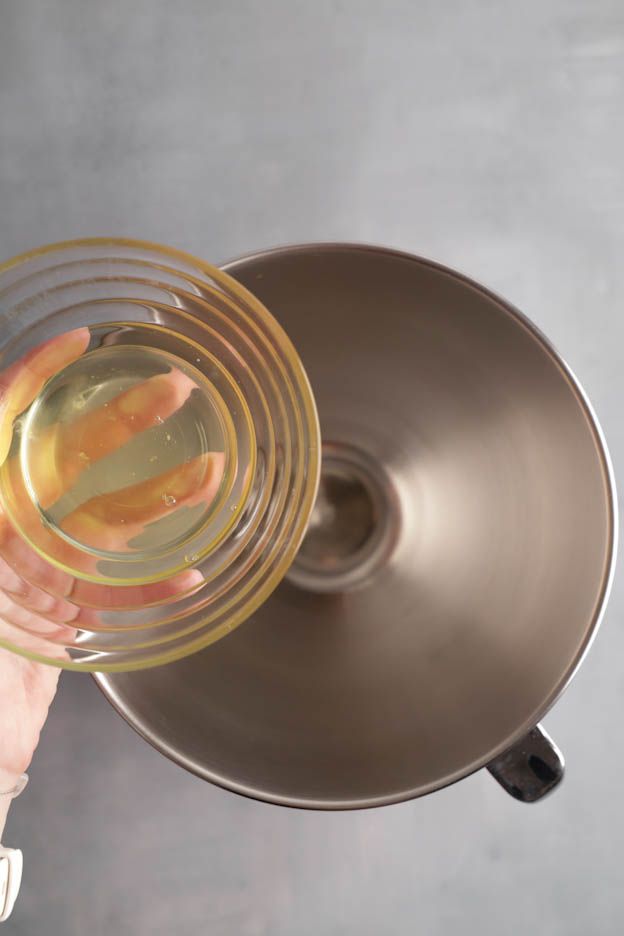
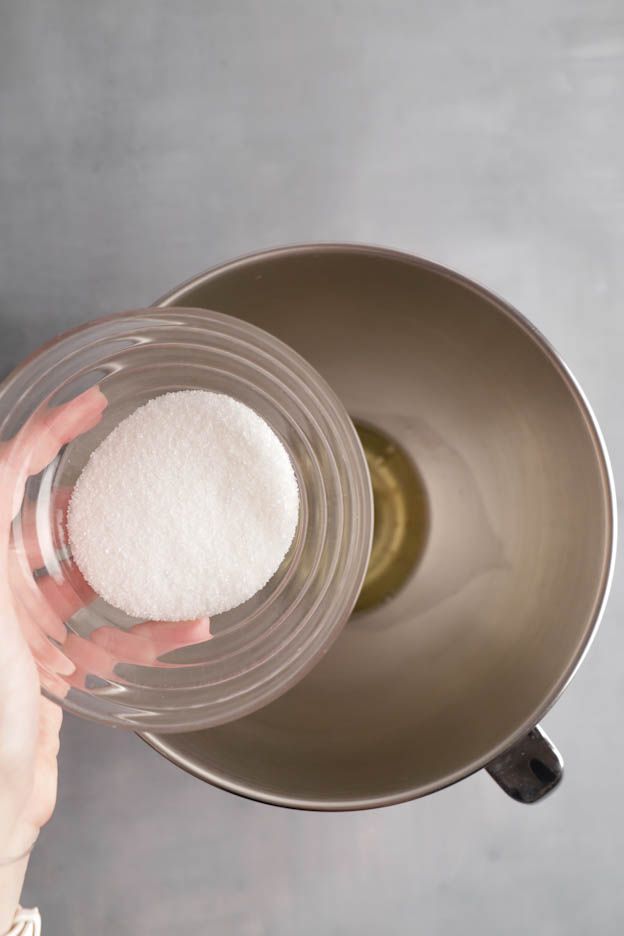
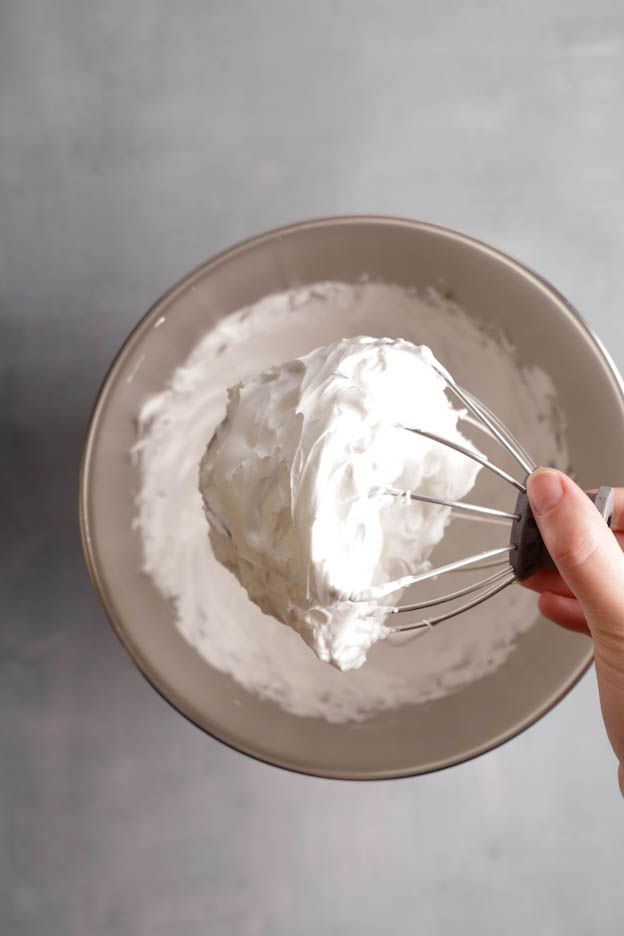
Whisk the egg white/sugar mixture until you get a nice, firm meringue. Set aside for a few minutes.
Then sift 20g of flour and 80g of ground almonds.
I use Scrapcooking ground almonds because they are extra fine! I love them! I only use this brand now.
As you can see, I keep it simple. I sift everything at once — flour and ground almonds together — and mix afterwards.
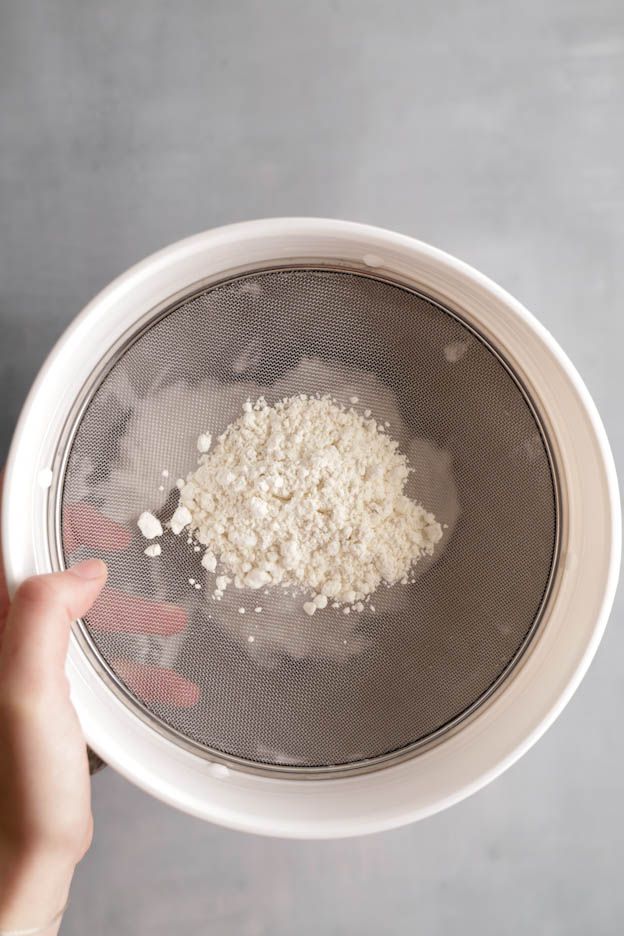
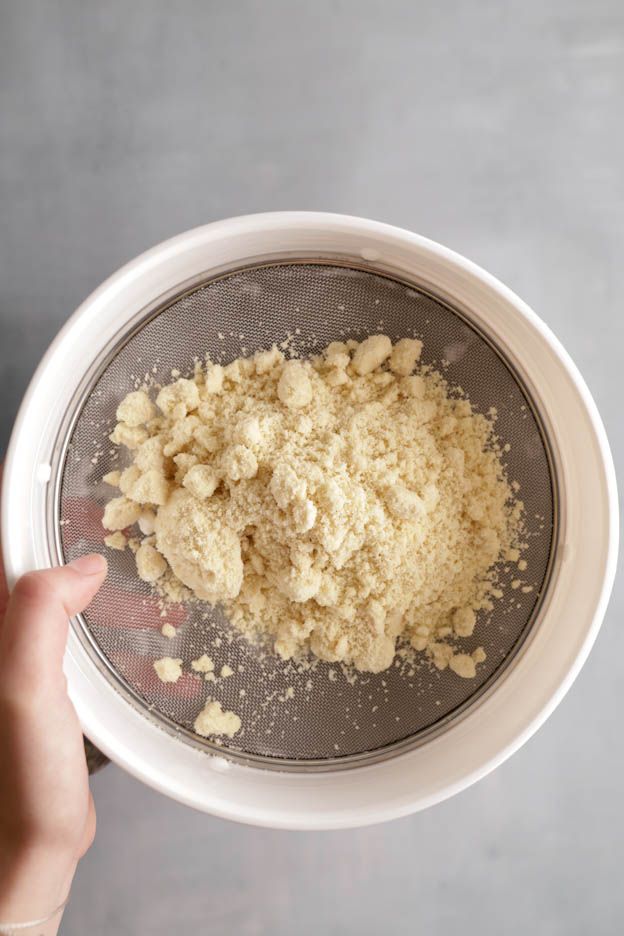
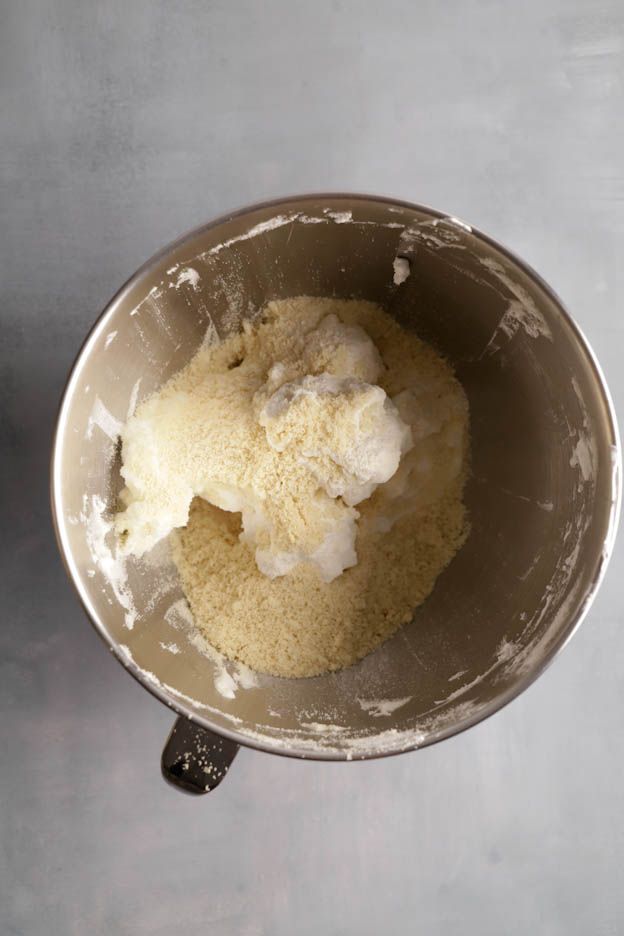
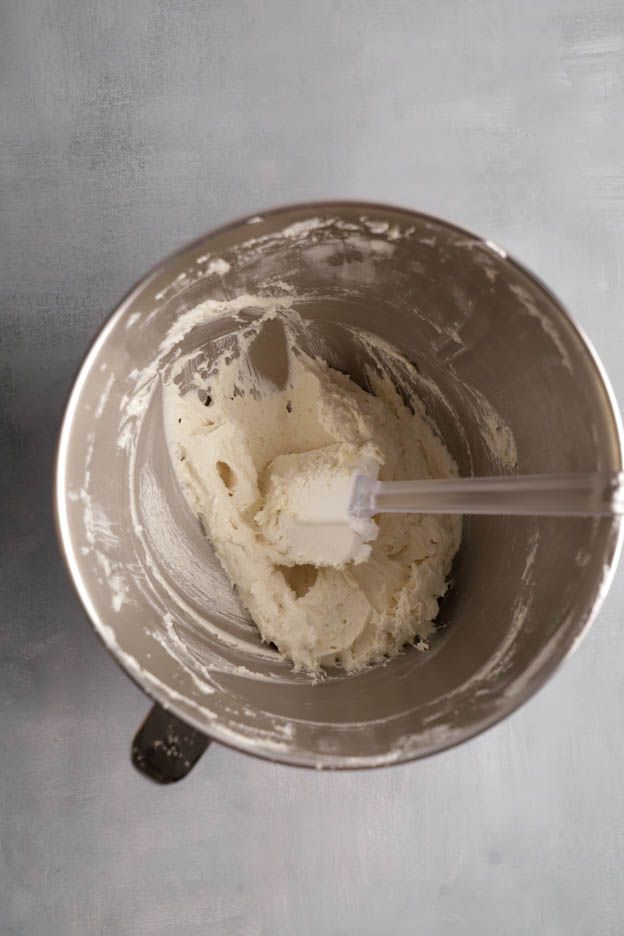
Once the flour and ground almonds are sifted, fold everything together using a spatula.
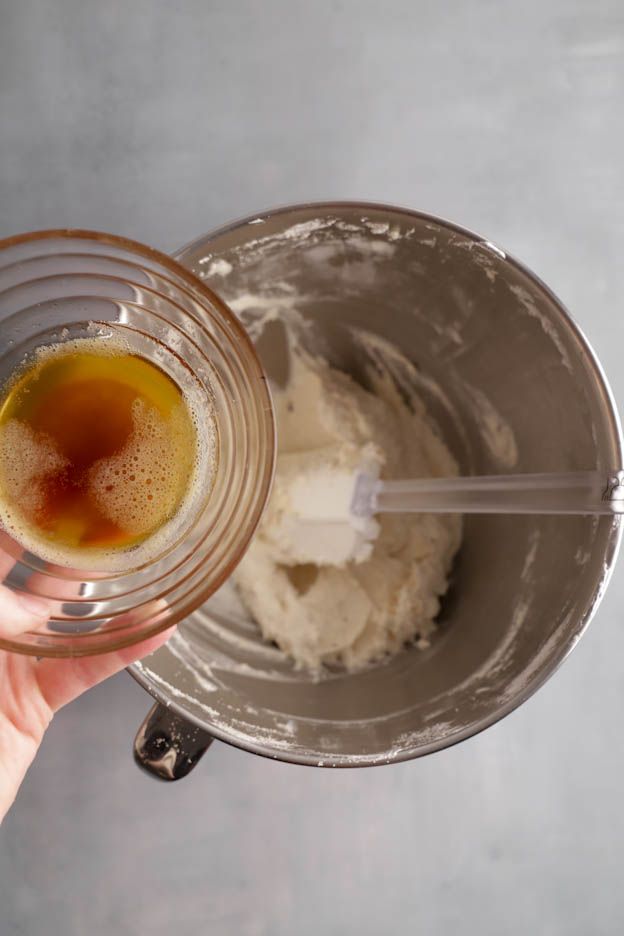
When the texture is nice and smooth, add the brown butter and mix again.
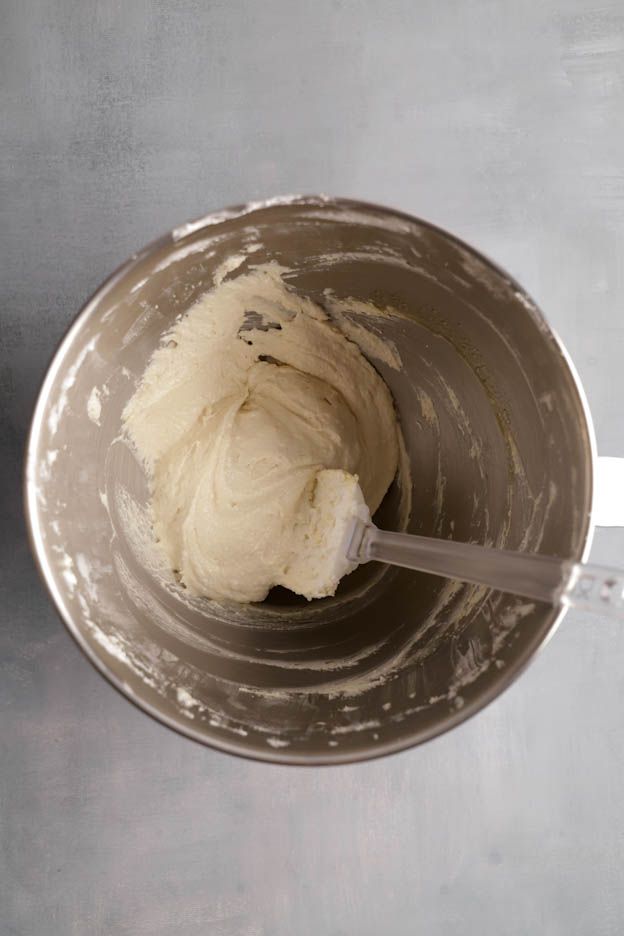
You'll get a beautiful financier batter.
Preheat your oven to 180°C, fan-assisted.
To ensure the financier is perfectly even in thickness and the right size, I use an adjustable frame.
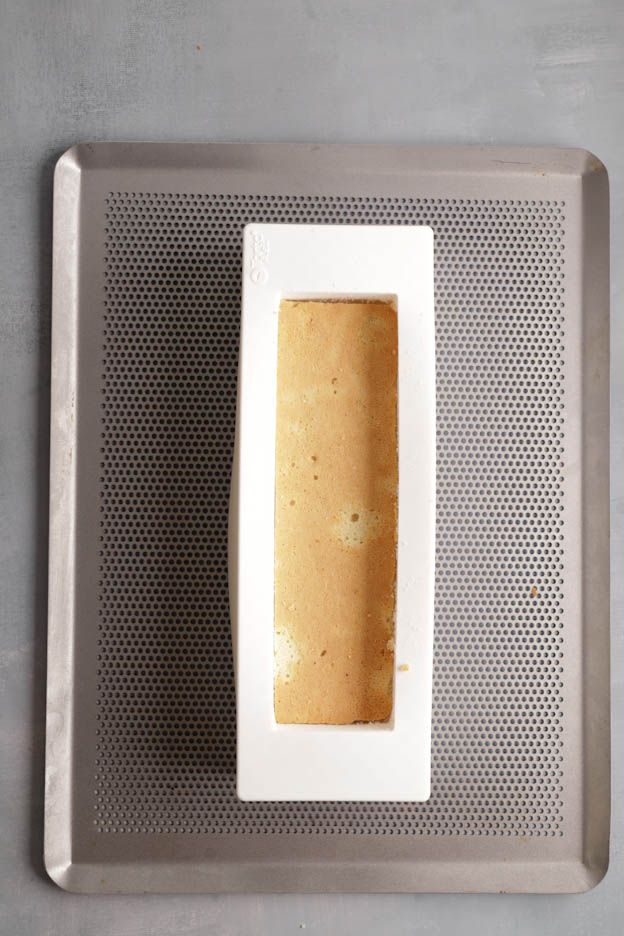
Place it on your perforated baking tray lined with parchment paper. Set your frame to the following size: 30 x 17 cm.
I find the perforated tray is fantastic for sponges. The baking is super even.
Don't forget to spray your mould before adding your financier batter. Otherwise, it will be impossible to remove your sponge cleanly. I always use my non-stick release spray here.
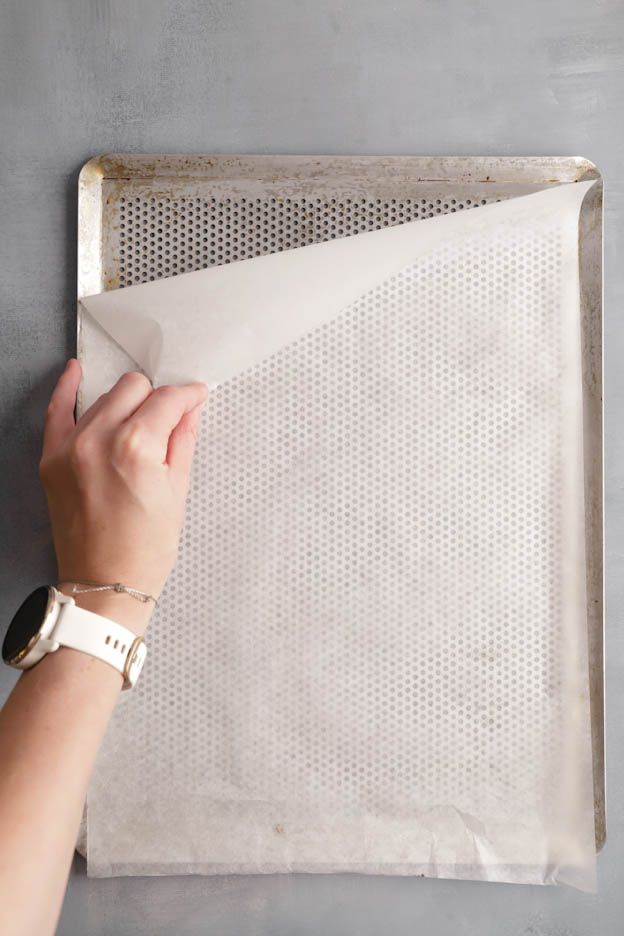
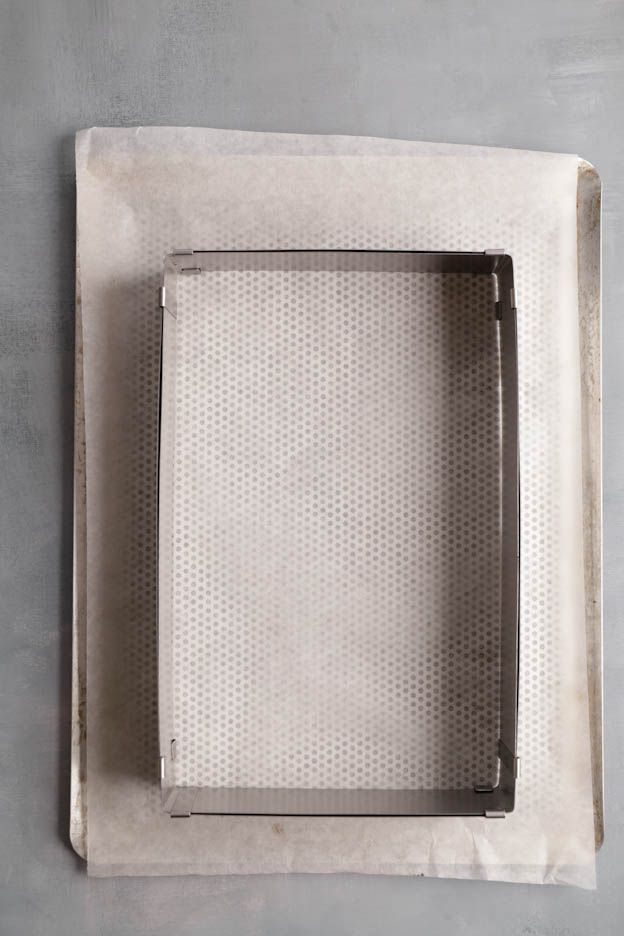
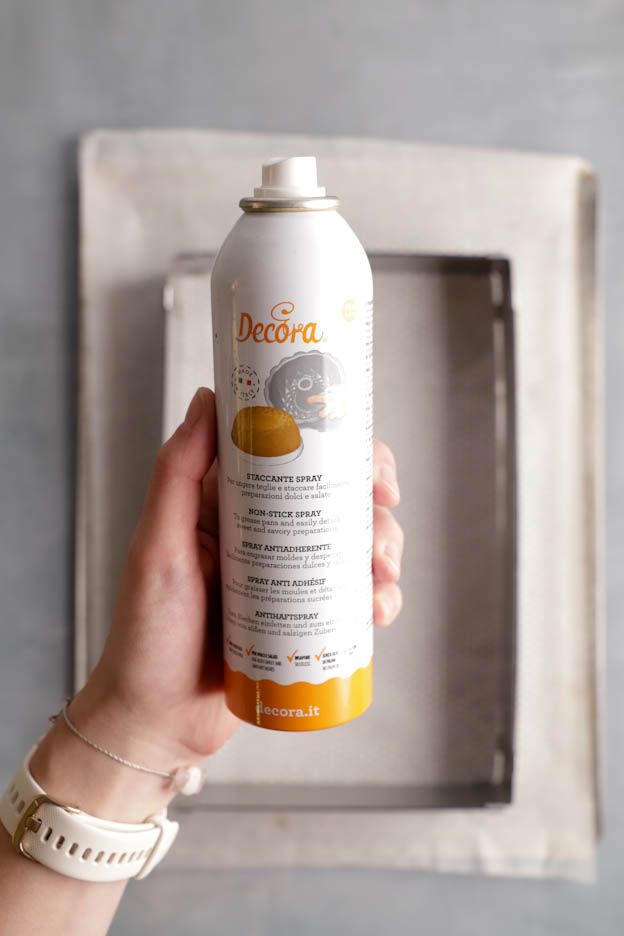
To smooth your financier sponge properly, you'll need an offset spatula. It's the best method for getting a perfectly smooth surface.
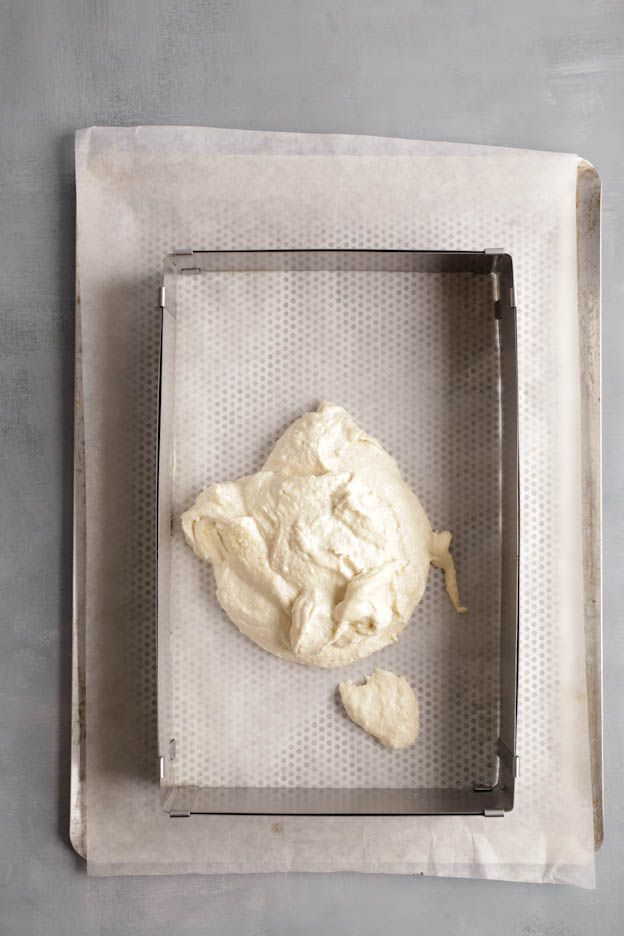
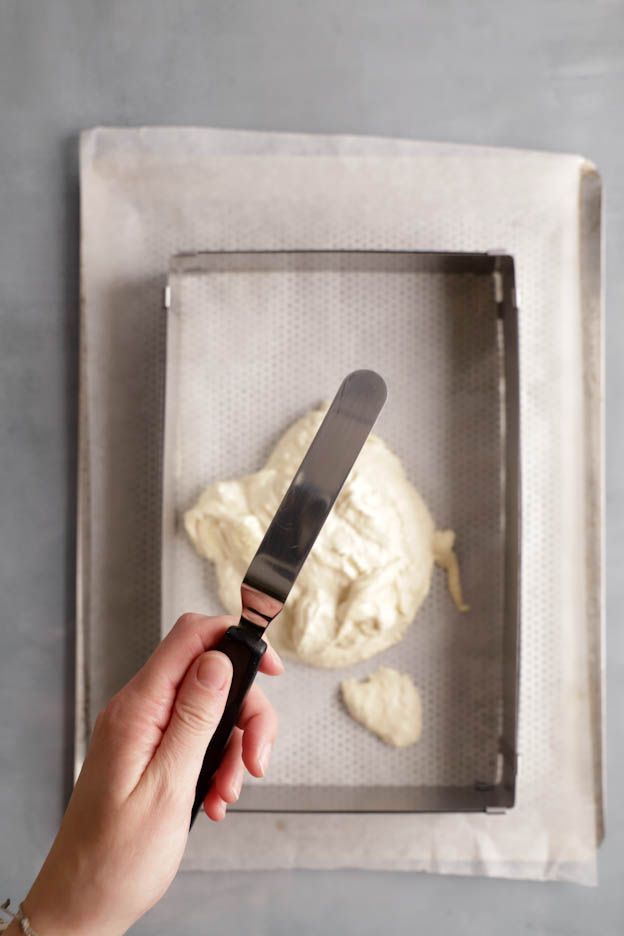
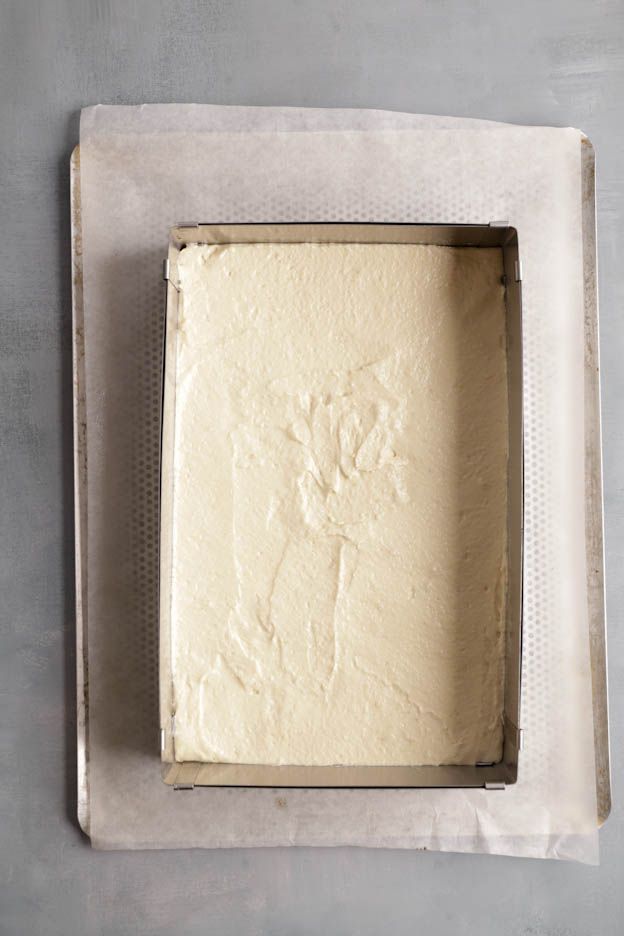
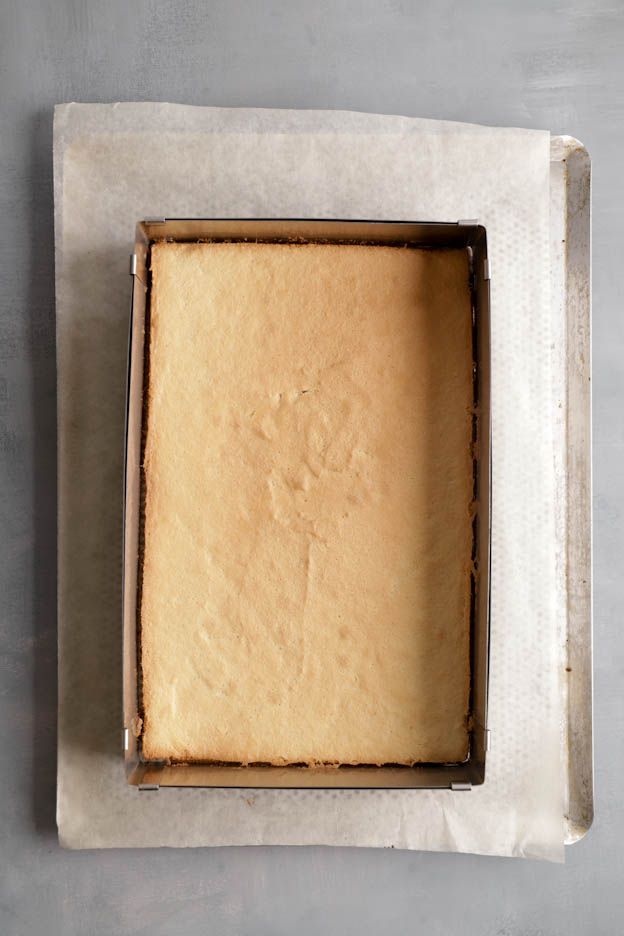
Once the batter is well smoothed out, bake your sponge at 180°C, fan-assisted for 15 to 20 minutes.
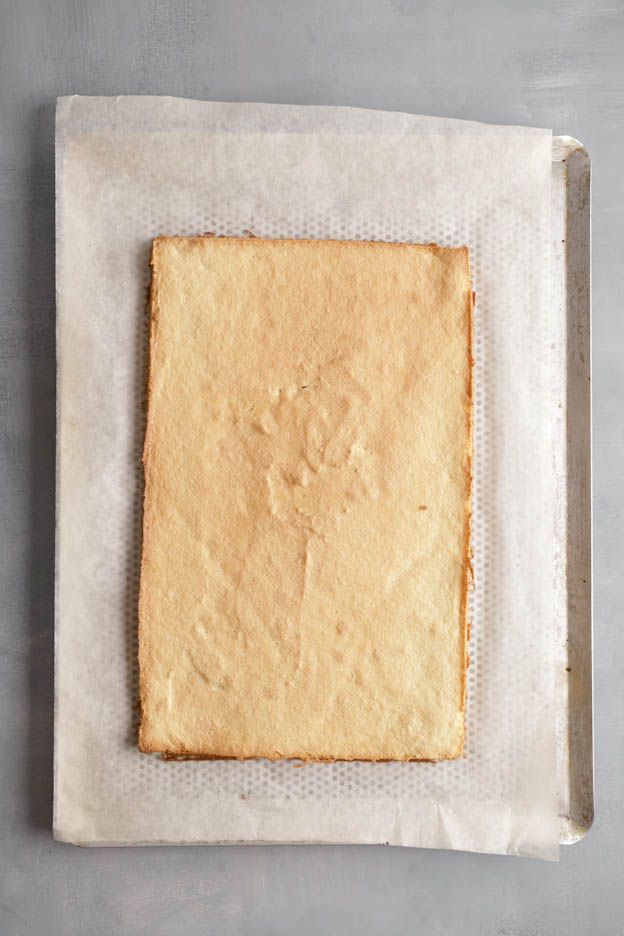
Your sponge should be lightly coloured on top, but not too much — otherwise it will crack when you cut it.
Then set your sponge aside.
Once cooled, cut your sponge to the following dimensions:
- 25 x 8.5 cm (for the base of the yule log)
- 21.5 x 6 cm (for the insert)

Lime Curd
Let's go! Time to tackle the curd.
Just so you know, a curd is what you find in lemon tarts — a kind of pastry cream but made with fruit.
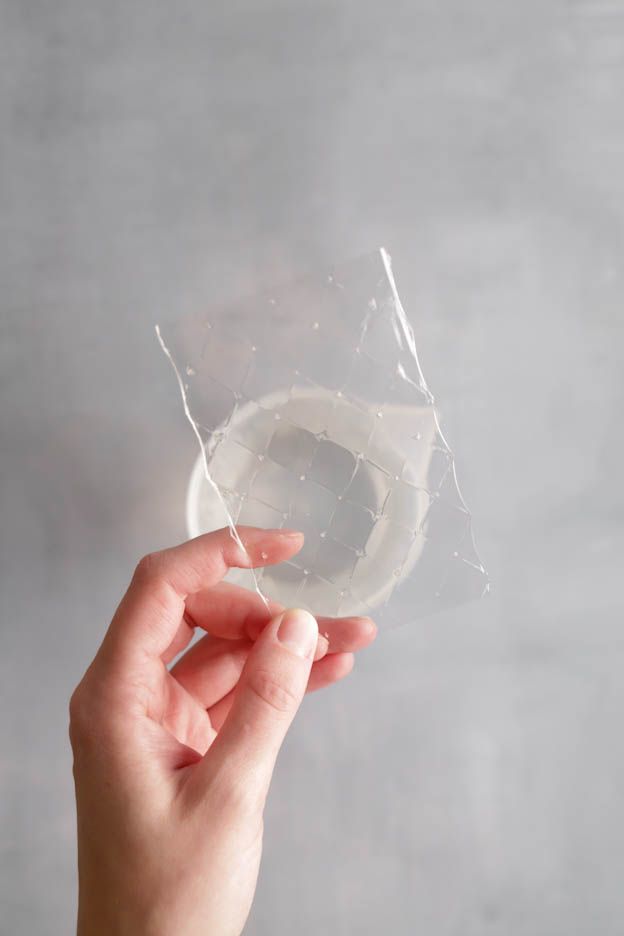
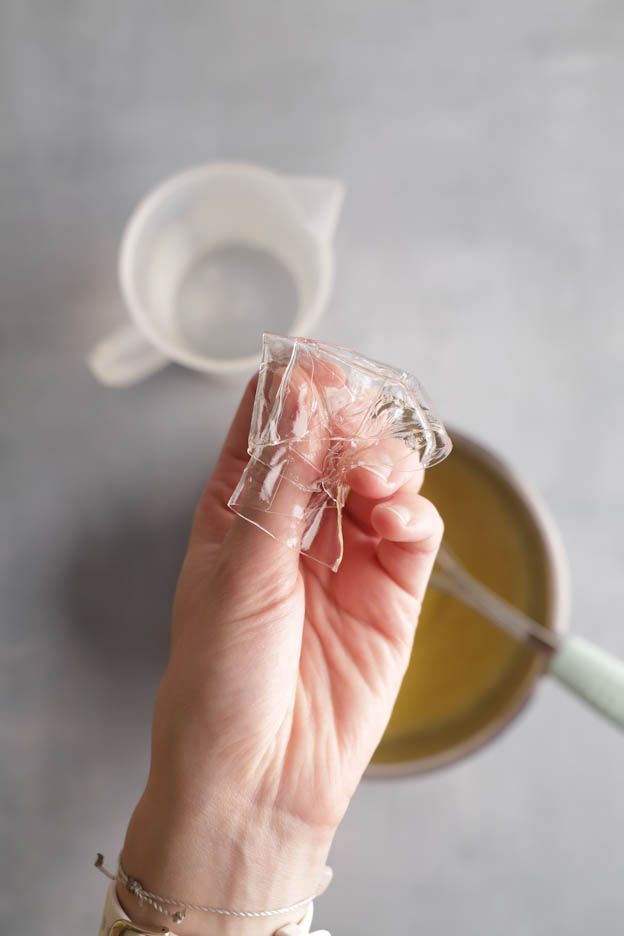
Start by softening 1 gelatine leaf in very cold water.
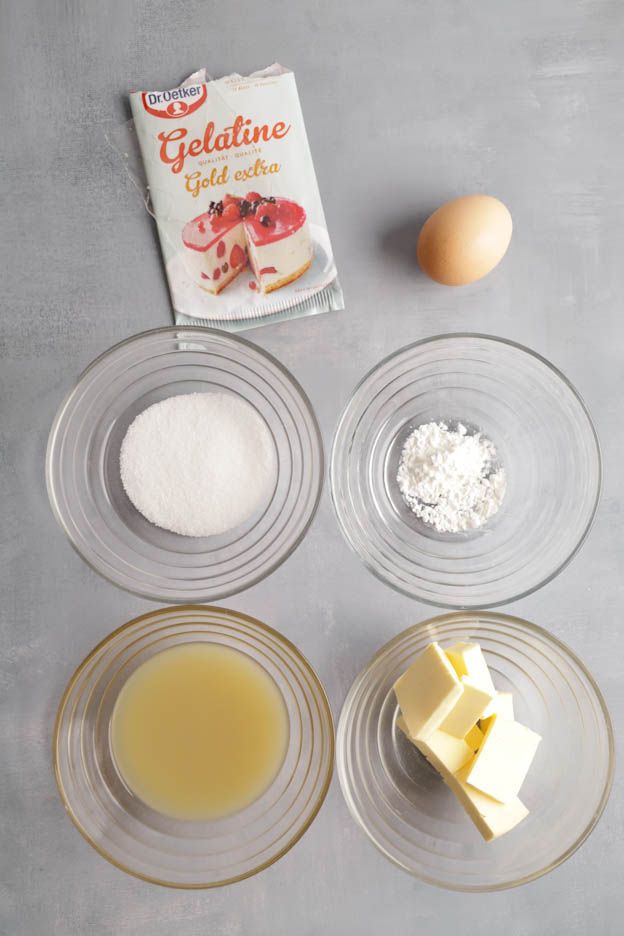

Next, weigh 5g of cornstarch using a precision spoon scale. Pour the cornstarch and 1 whole egg into your saucepan.
Then add 50g of sugar.
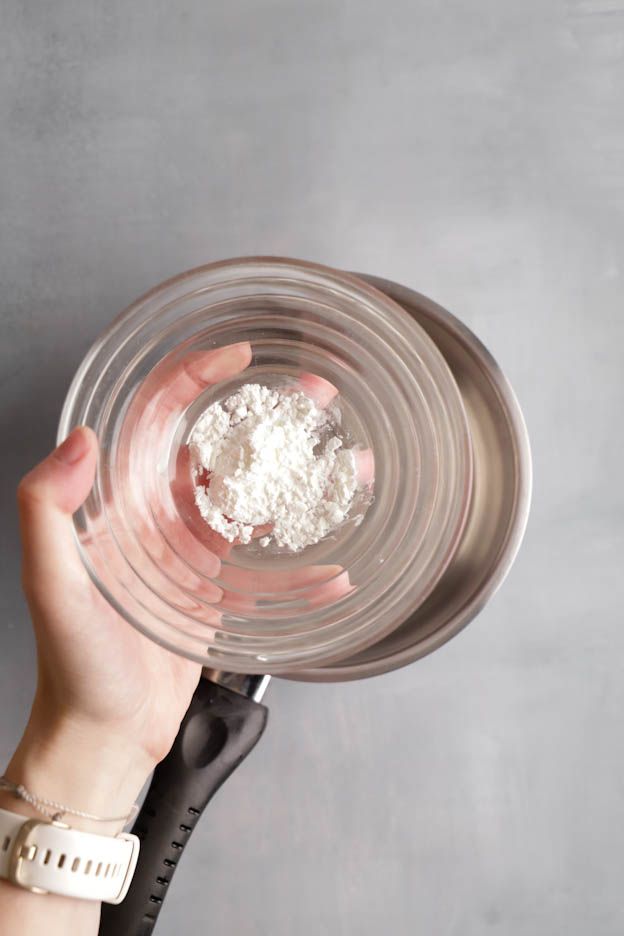
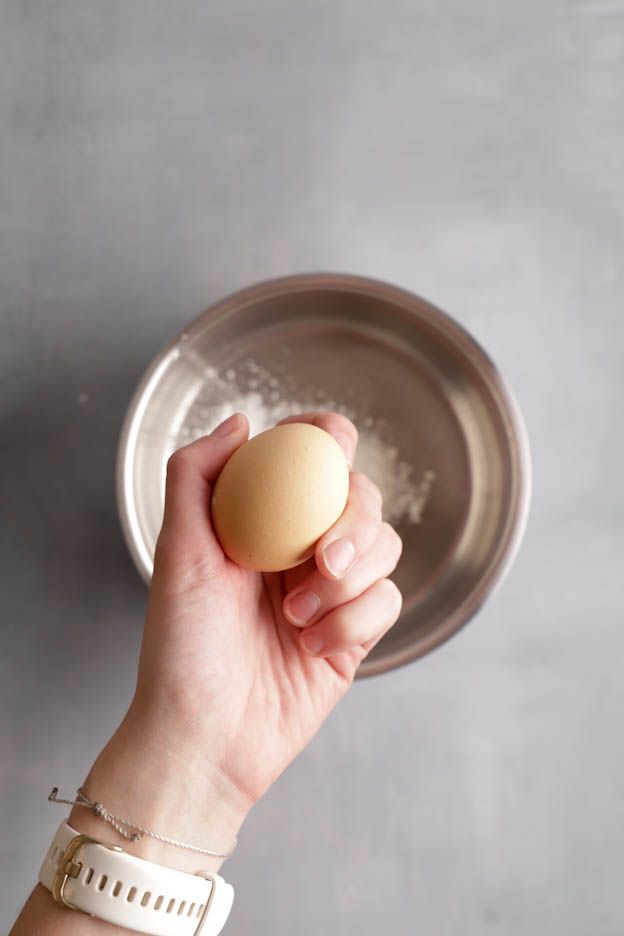
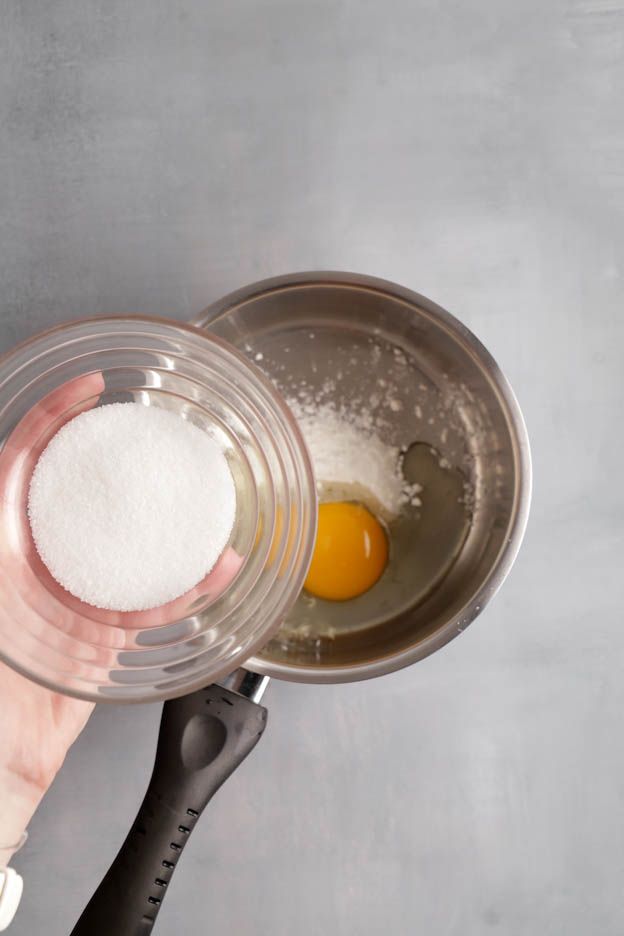
Whisk the mixture and add 100g of lime juice, then mix again.
Now heat the mixture over medium heat until the first boil.
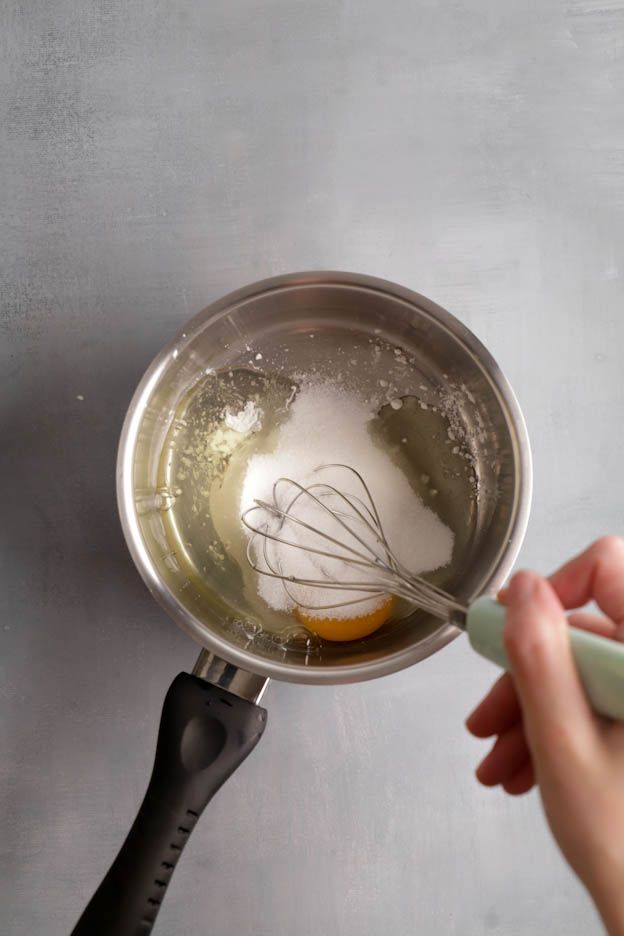
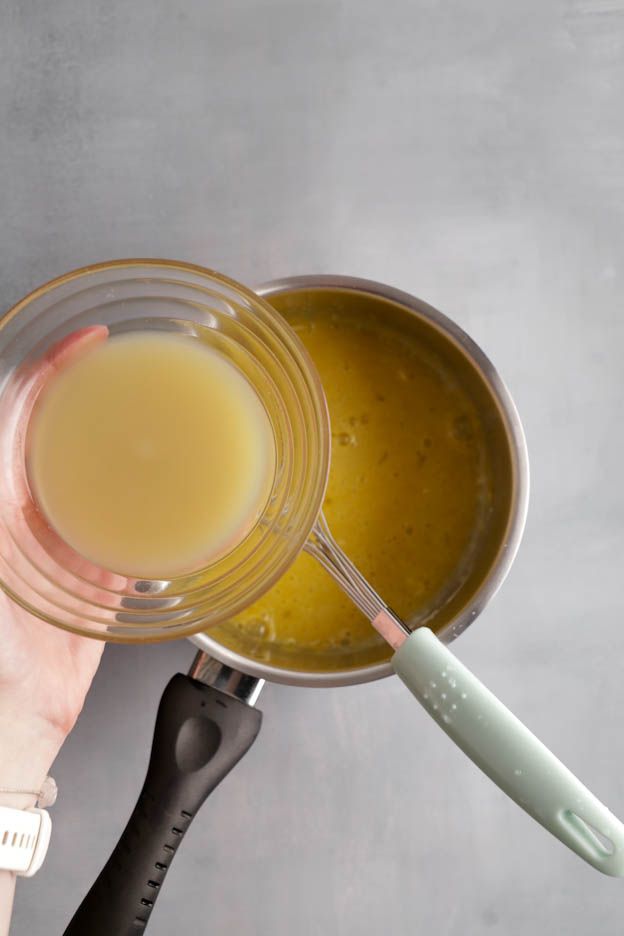
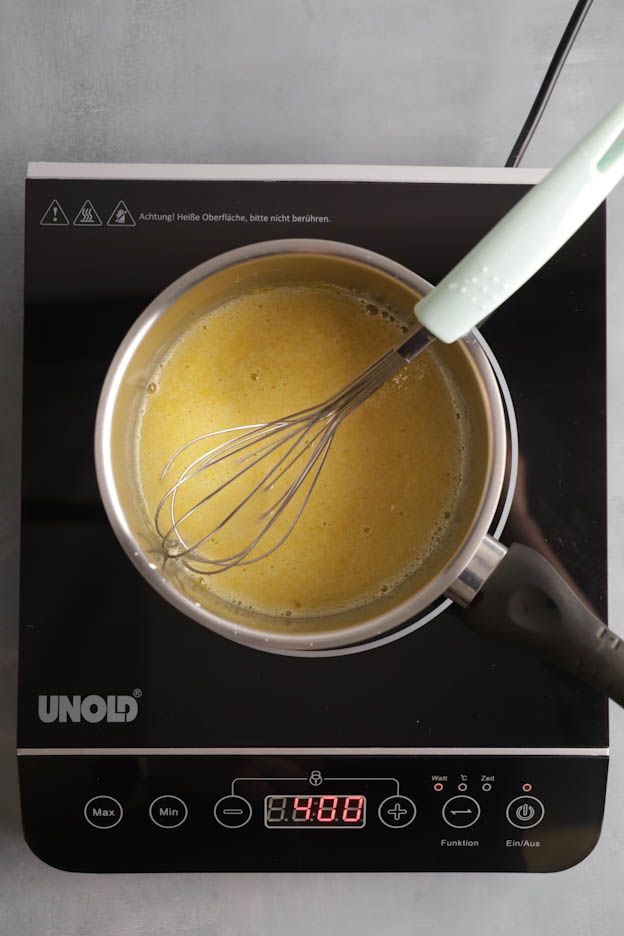
You'll notice that as the mixture heats, it forms a slight foam on top.
WARNING: Never stop whisking the mixture. Otherwise you risk ending up with cooked egg... Yuck.
As soon as the first boil appears, immediately remove the saucepan from the heat but keep whisking until the foam disappears.
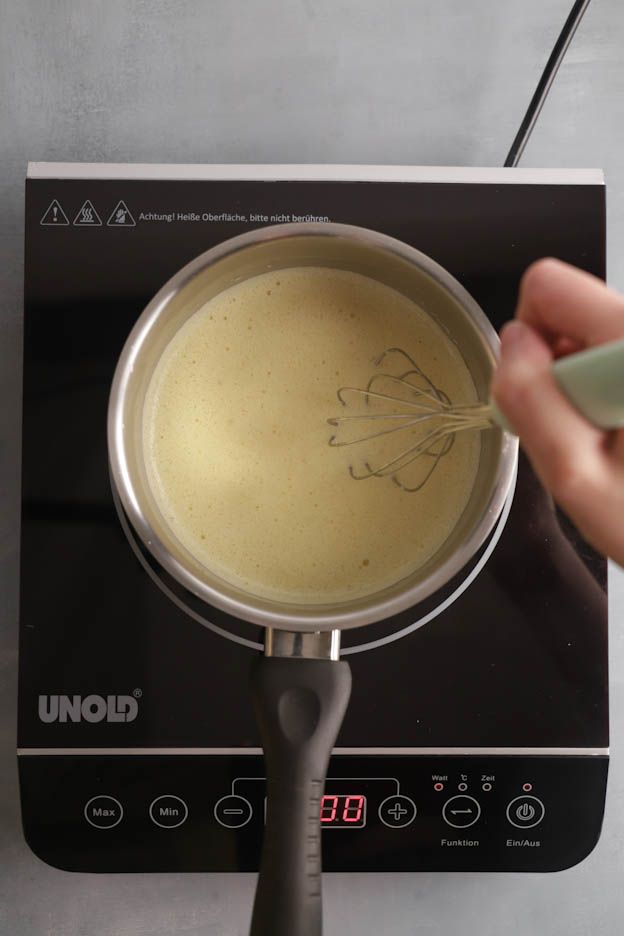
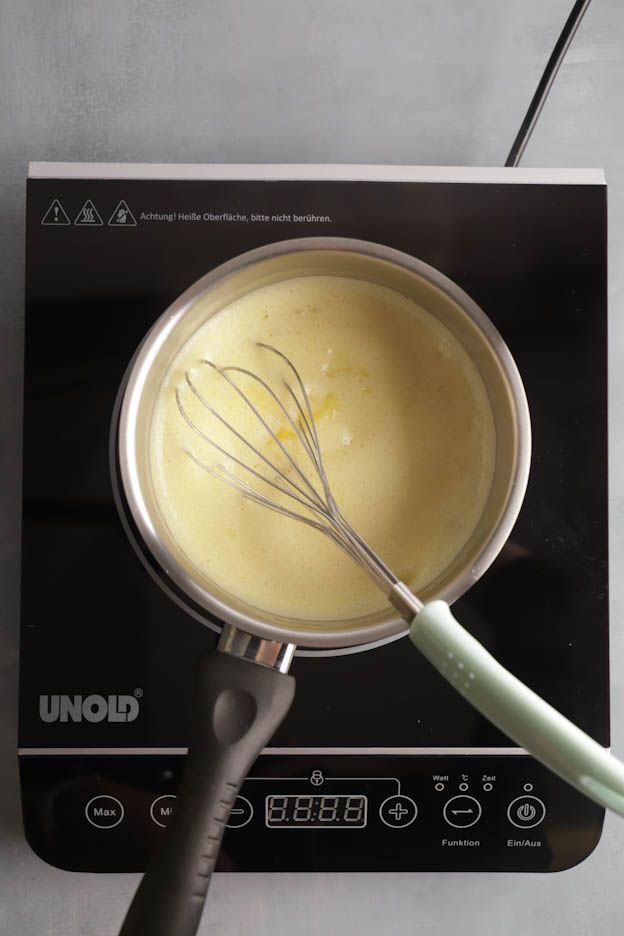
Then add the squeezed gelatine leaf and whisk again.
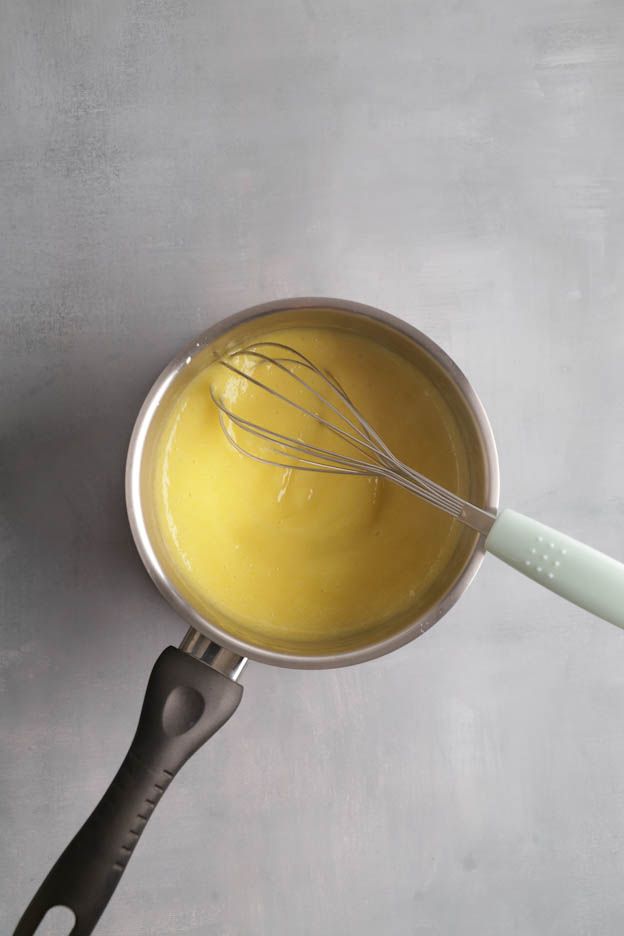
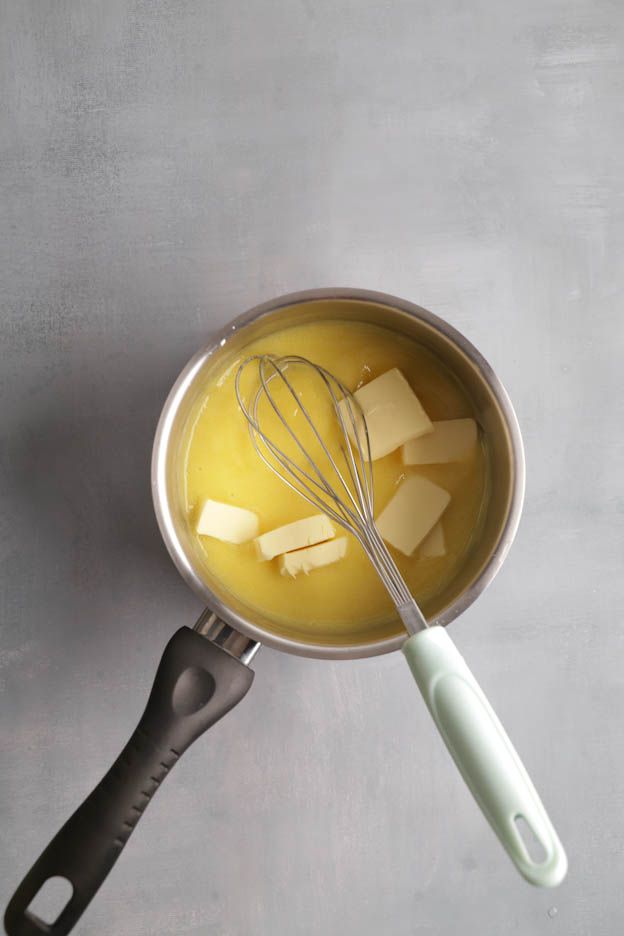
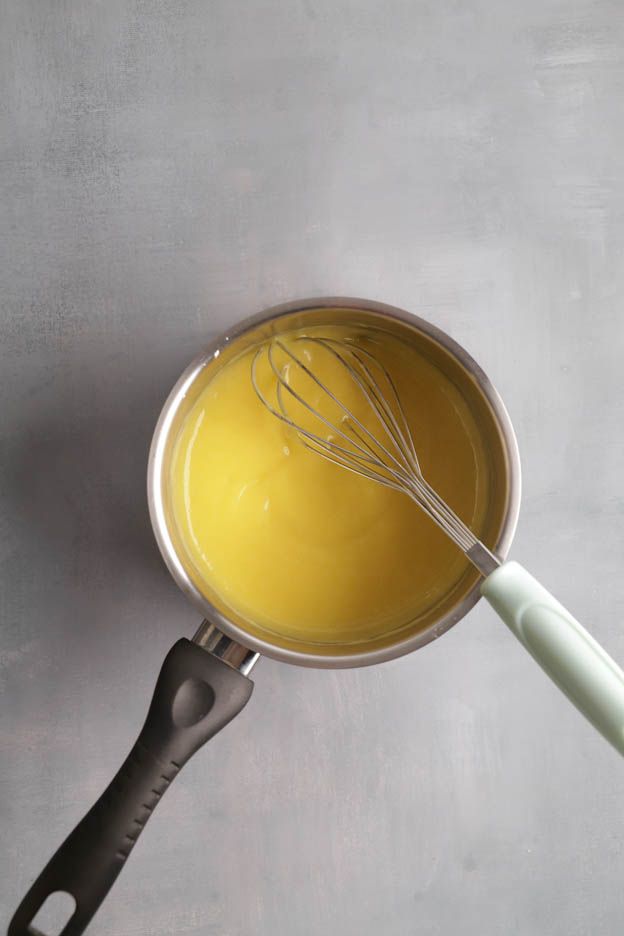
Finally, add 70g of butter and let it melt while mixing with the whisk.
Our curd is ready! Woohoo! Set it aside for a few minutes.
Just so you know, you can use this curd for your lemon tarts or to fill macarons.
Insert Assembly
Take your insert out of the freezer and place the 21.5 x 6 cm sponge on top of your lime jelly. Press the sponge down firmly so it sticks well to the jelly. If you don't press it down properly, your yule log will collapse when defrosting — so make sure it's firmly in place! ;o)
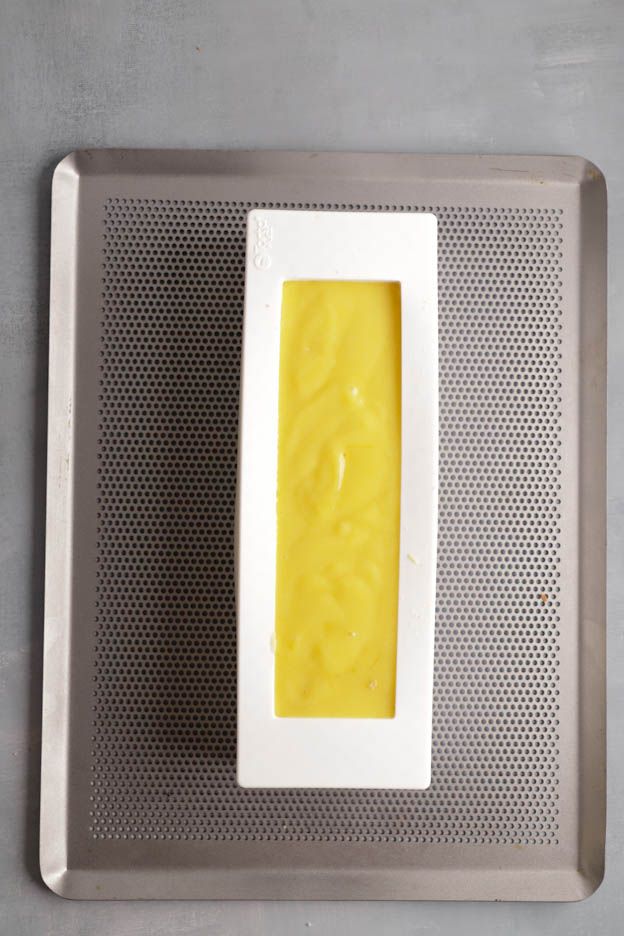
Once the sponge is well pressed down, pour your lime curd over it.
Smooth the top carefully so your insert is perfectly flat. Use an offset spatula to do this.
Place your insert in the freezer. You can leave it overnight to make sure it's fully set. If you're in a hurry, leave it for at least 3 to 4h.
Strawberry Mousse
Last step — the strawberry mousse!
Prepare your strawberry mousse only once your insert is fully frozen, not before.
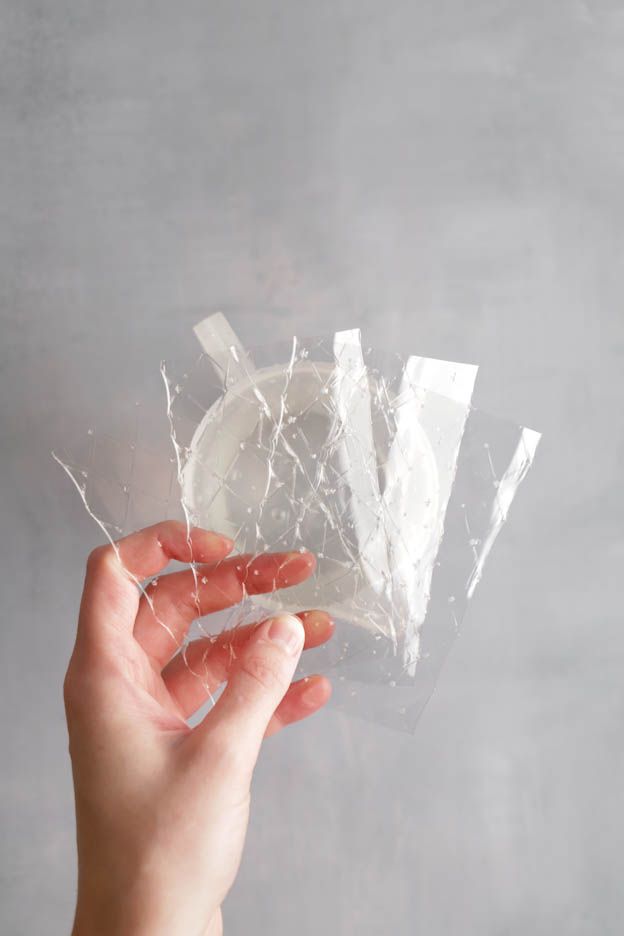
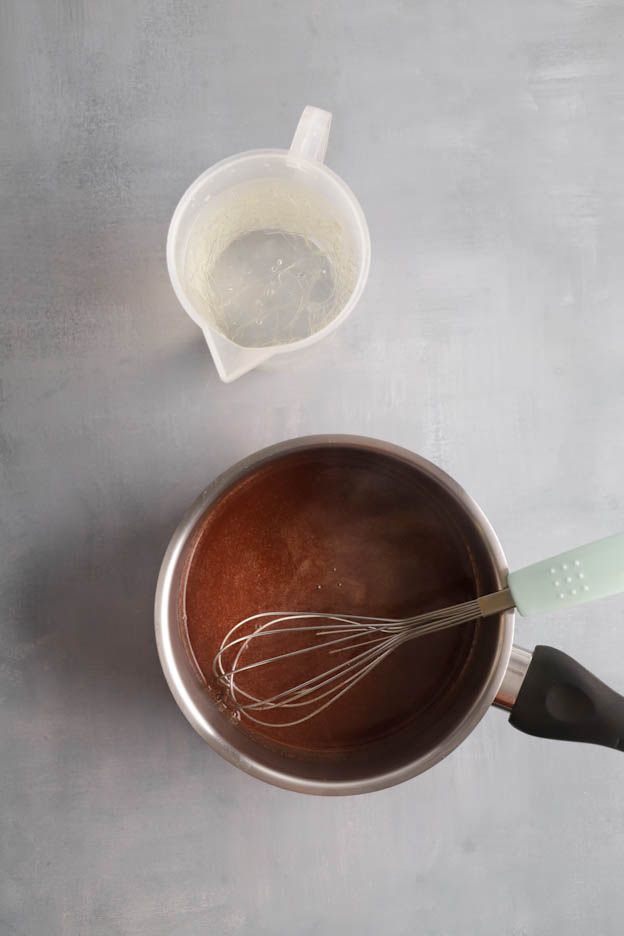
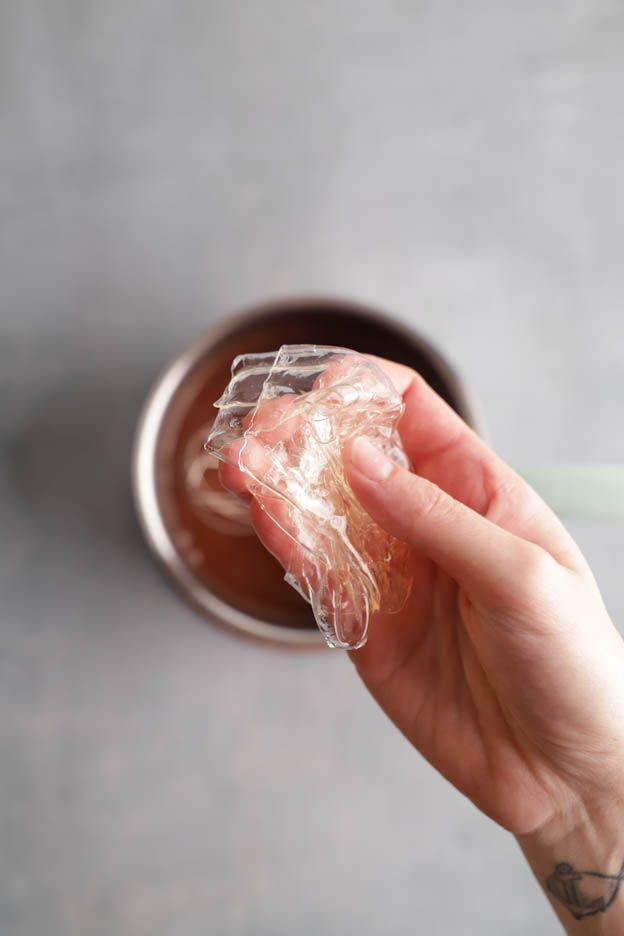
Start by softening 4 gelatine leaves in cold water. Yes, more gelatine... But if you want your yule log to hold its shape, you need it! ;o) And just so you know, it's not possible to use agar-agar! Unfortunately this gelling agent doesn't hold up after defrosting.
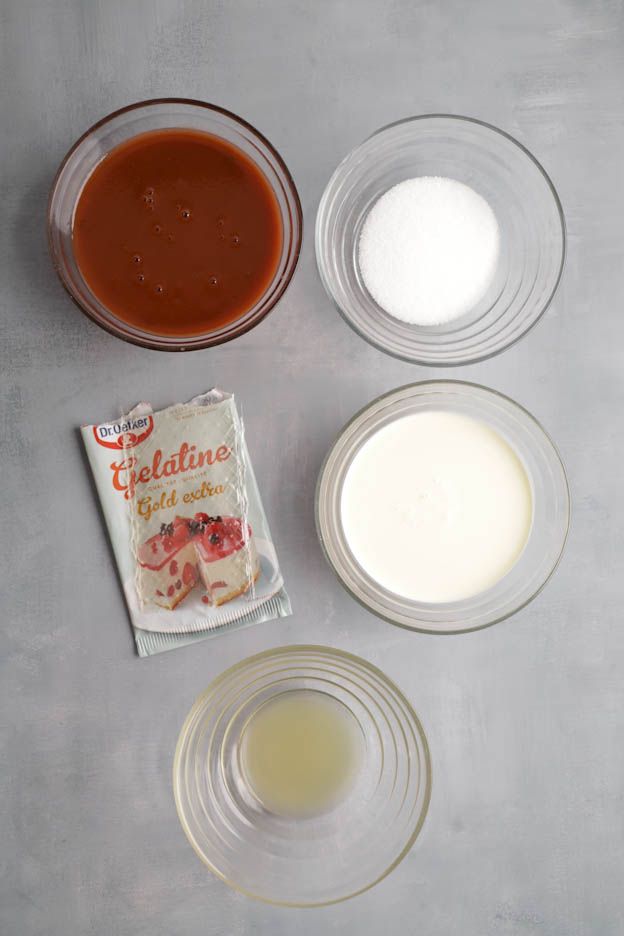
In a saucepan, pour 280g of strawberry purée, 65g of sugar and 20g of lime juice.
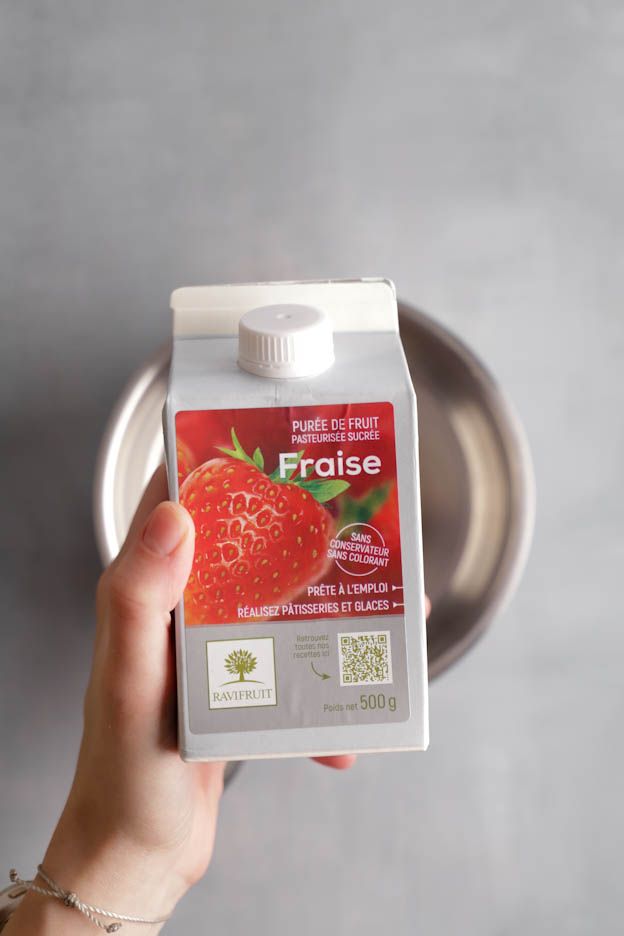
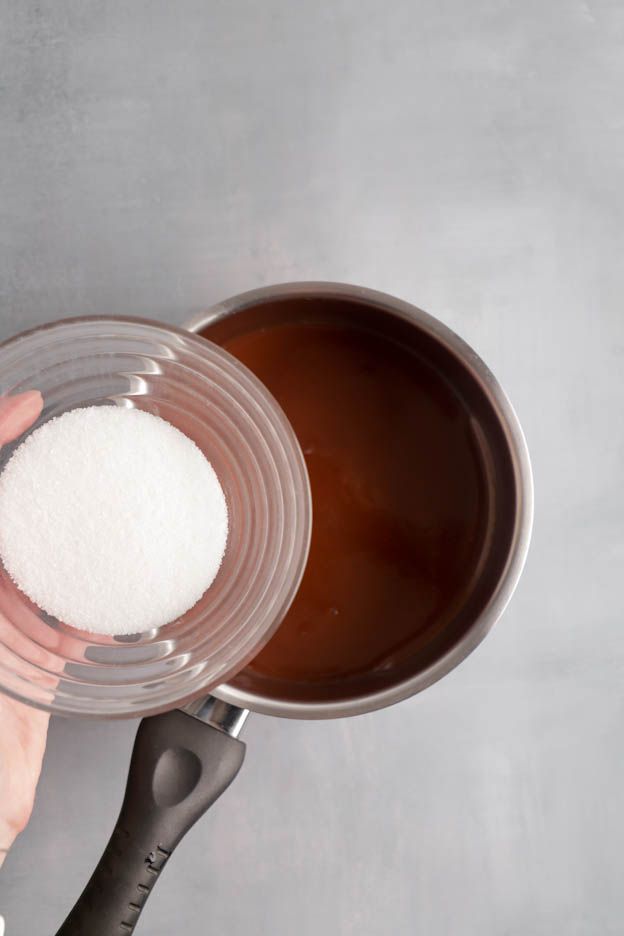
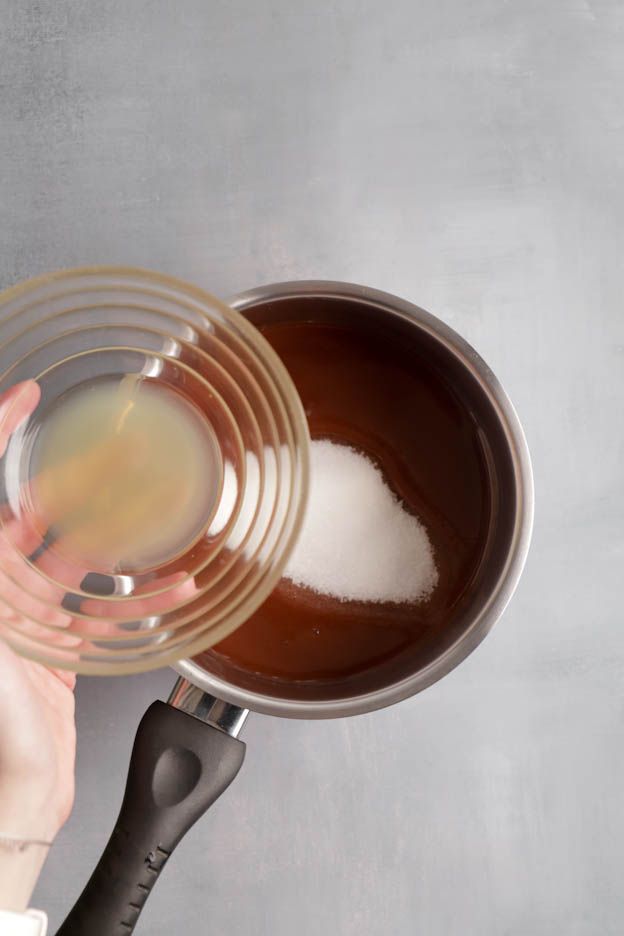
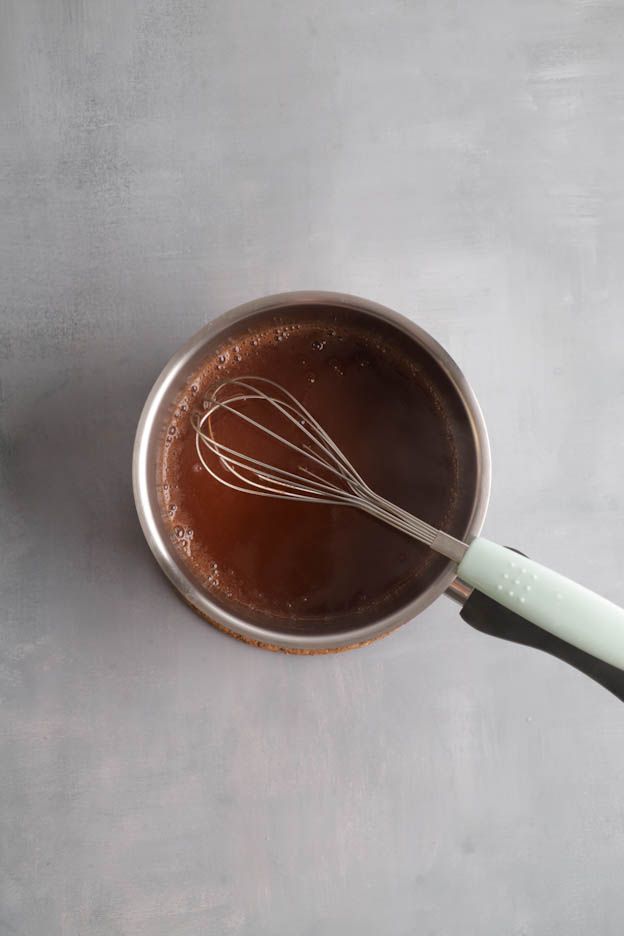
Bring the mixture to a boil.

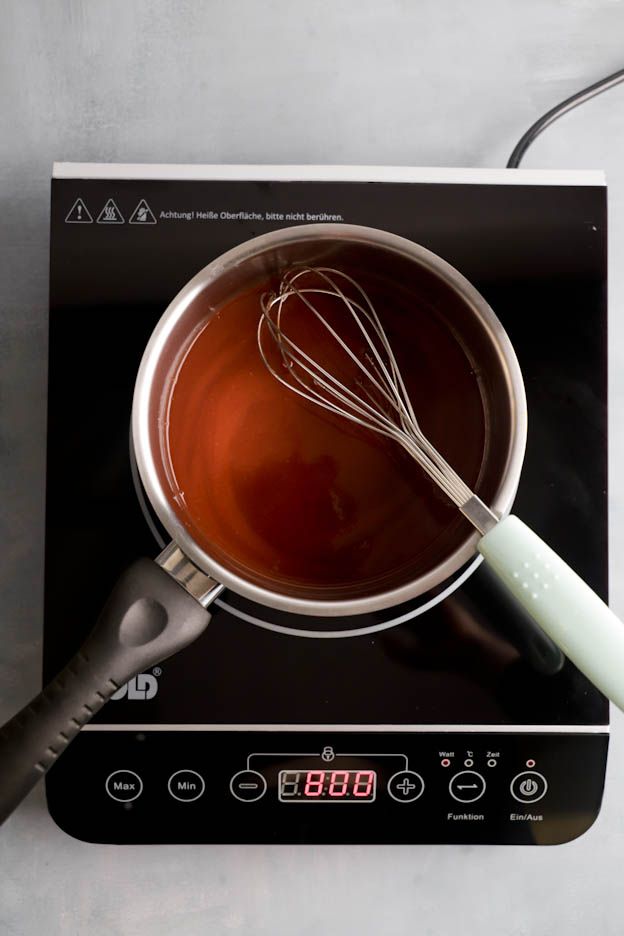
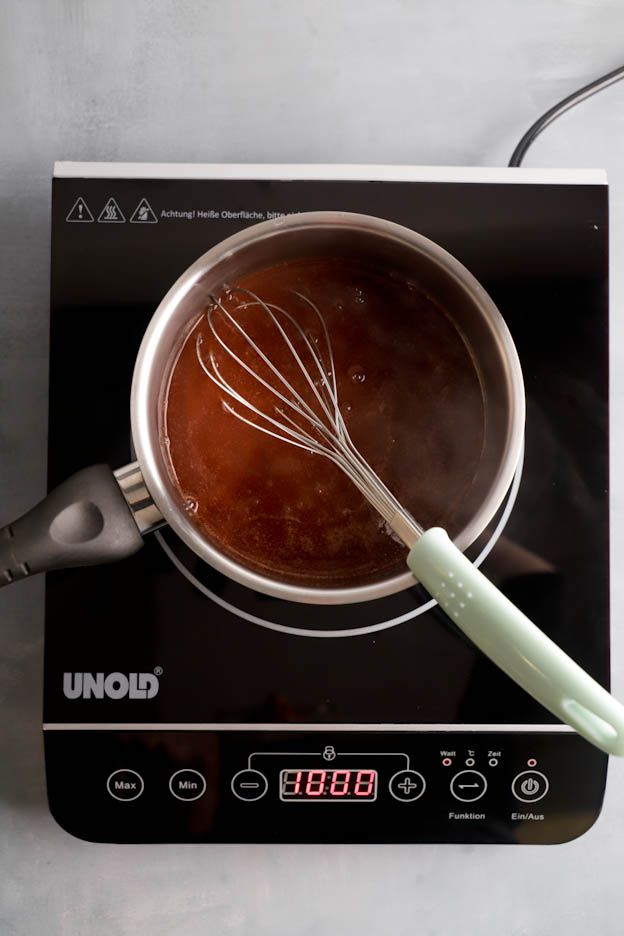
Remove from the heat and add the softened and squeezed gelatine leaves.
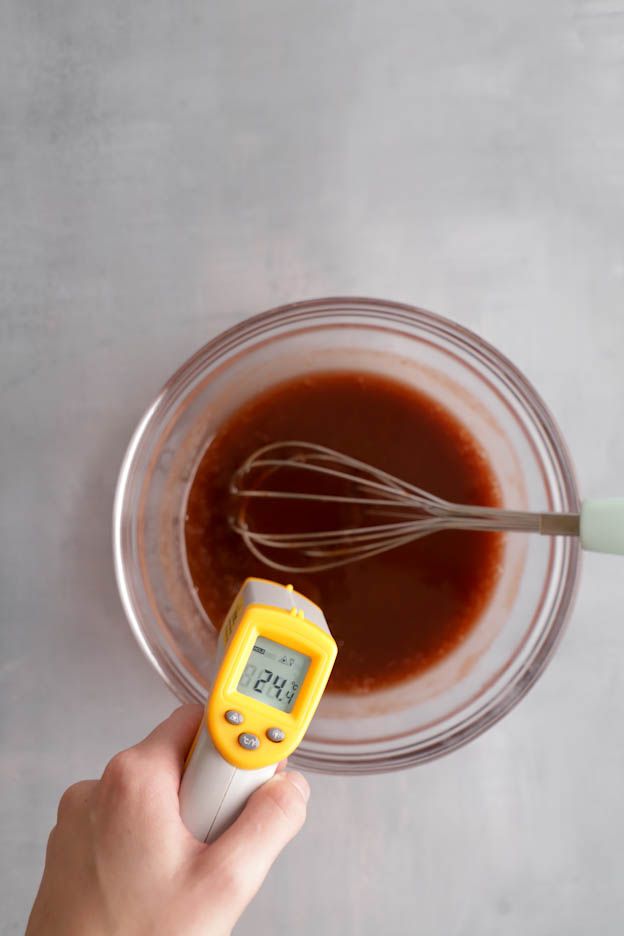
Let the mixture cool in the fridge until it reaches 22-25°C.
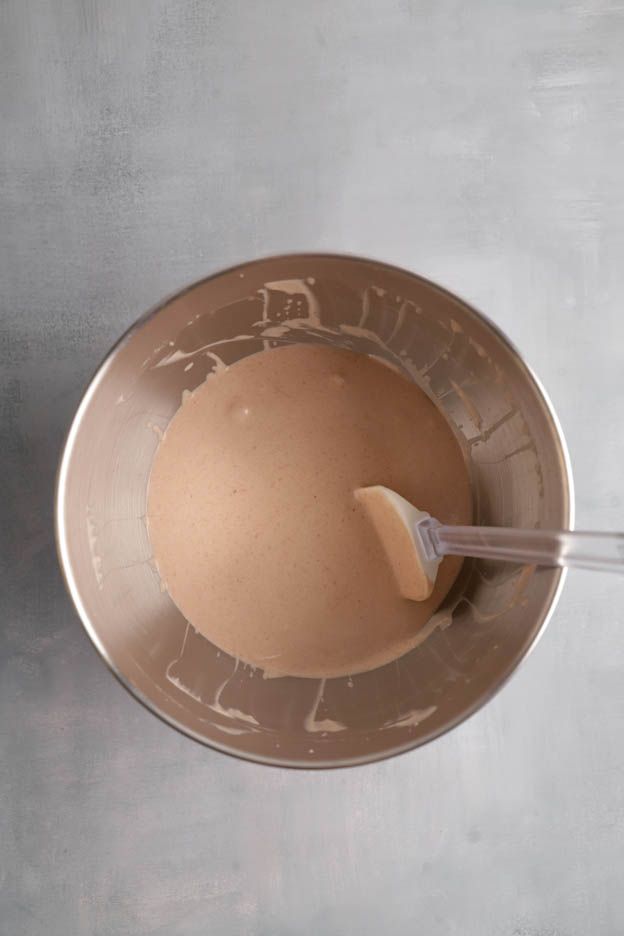
Once the mixture is at the right temperature, pour 160g of heavy cream into your mixer bowl and whisk until you get a beautiful whipped cream.
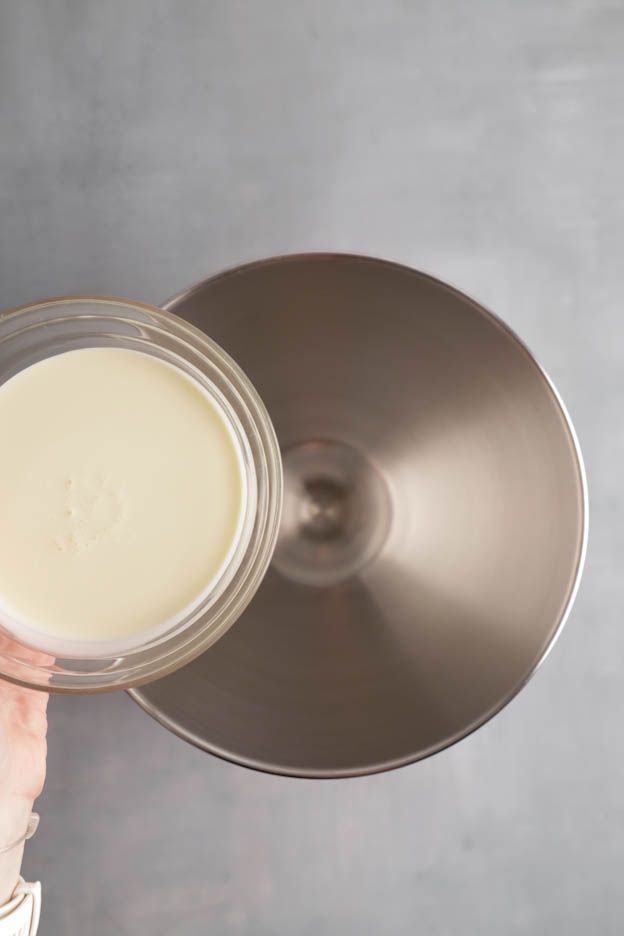
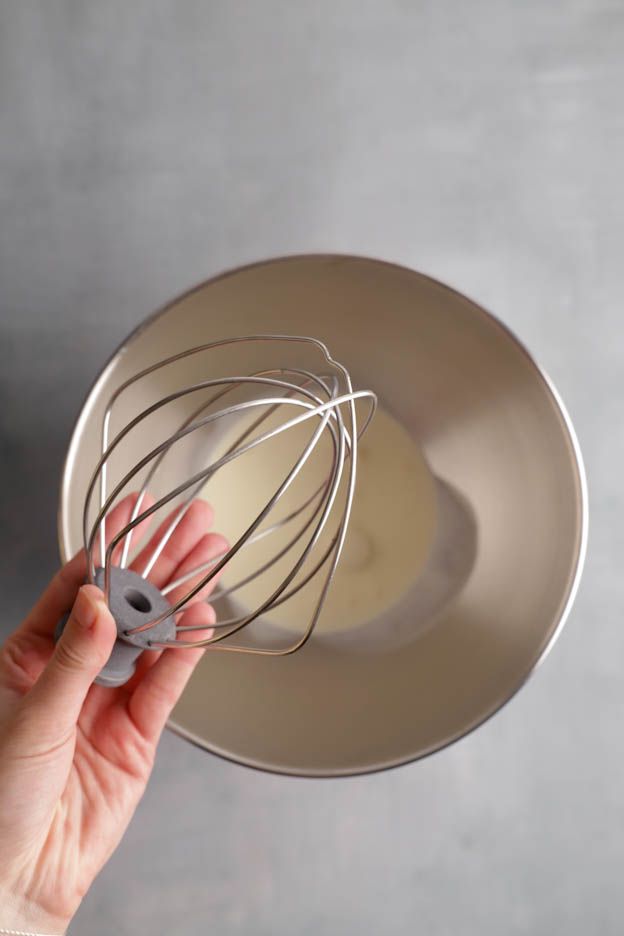
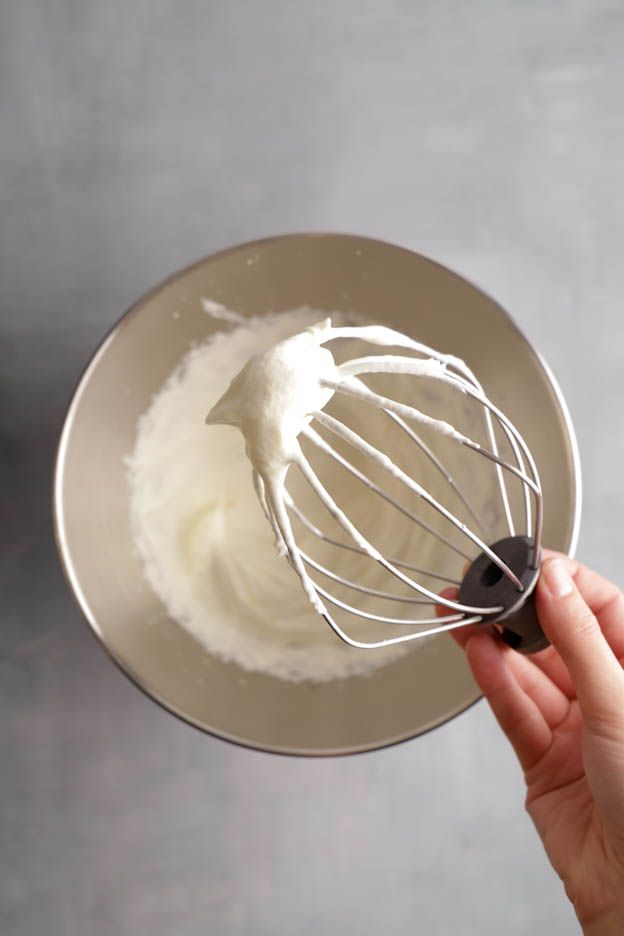
Be careful not to over-whip your cream — heavy cream can split very quickly!
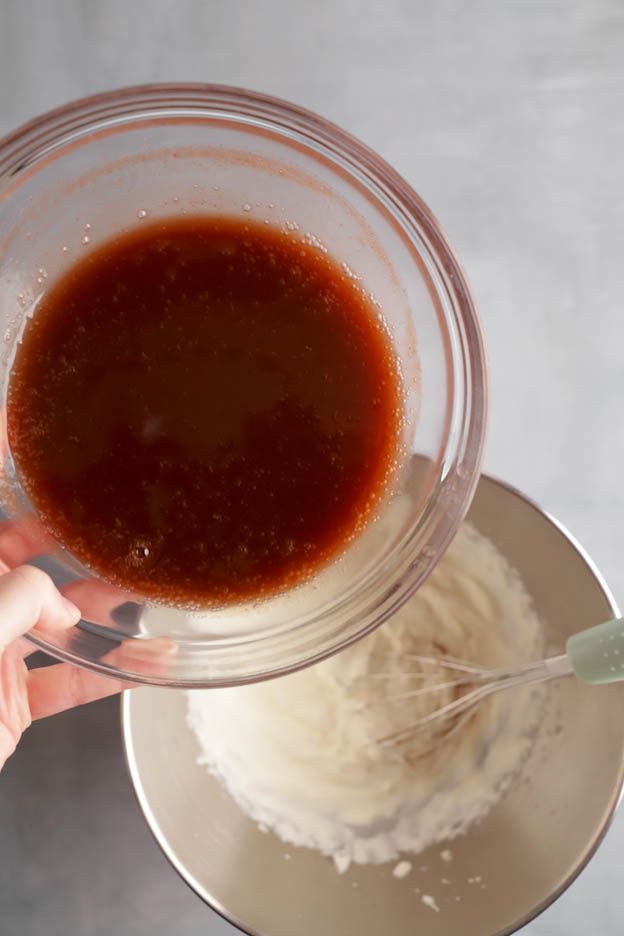
Pour 1/3 of the strawberry purée into your whipped cream and gently fold by hand so the two mixtures incorporate.
Add the rest in 3 additions, so as not to deflate everything.
Watch out! If your strawberries are above 25°C, your cream will melt! So really wait until the strawberries are at the right temperature.
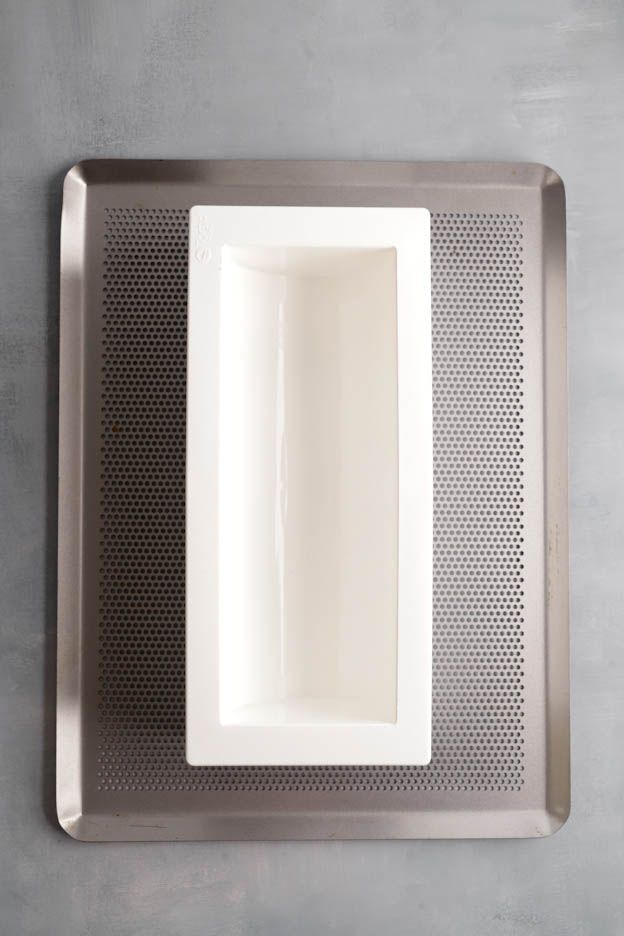
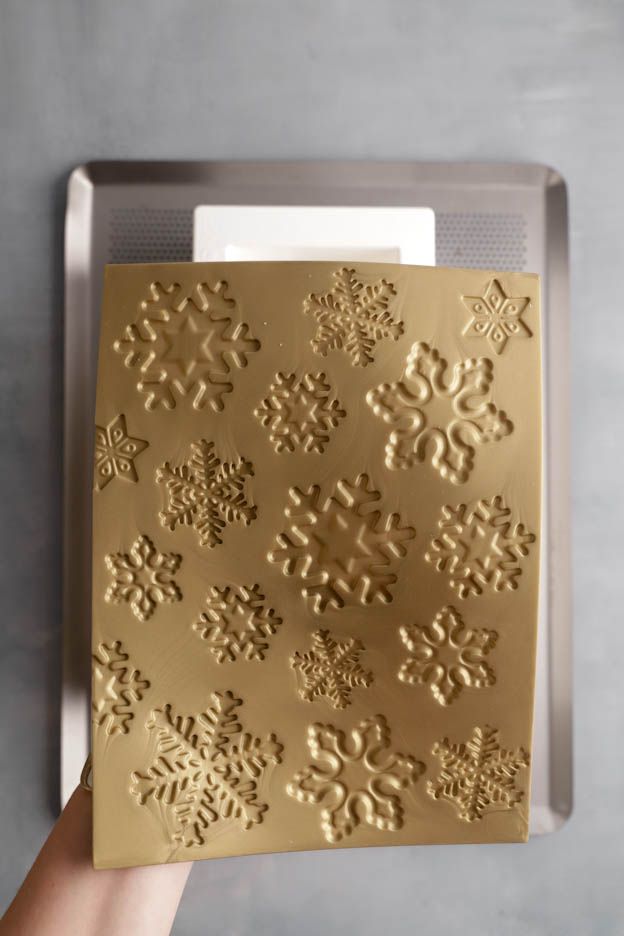
Take your yule log mould and choose a texture mat you like. Here I went with the snowflake mat. I love its clean effect and it suits the season perfectly! :O)
Place the mat inside the yule log mould and press it firmly against the sides.
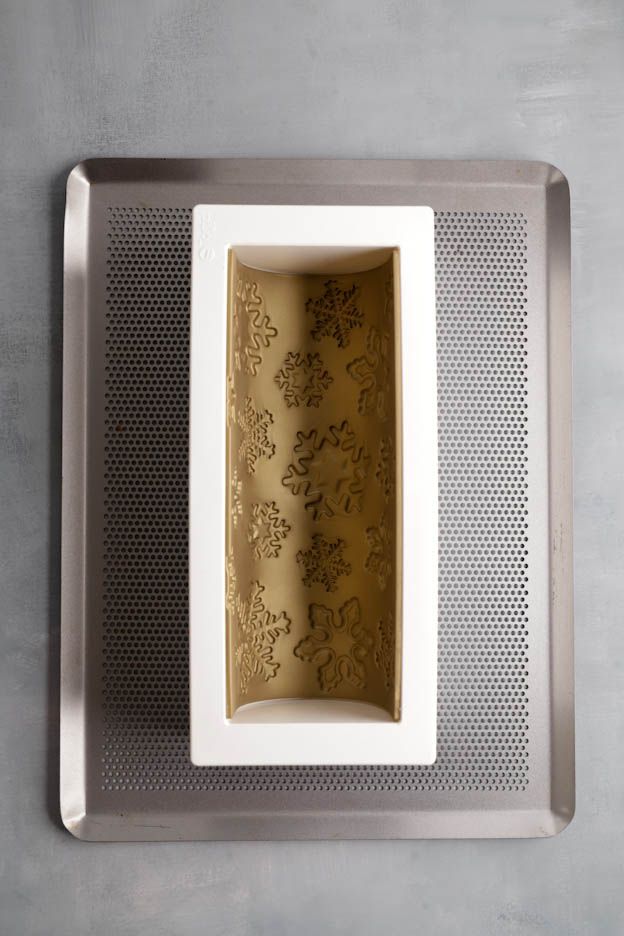
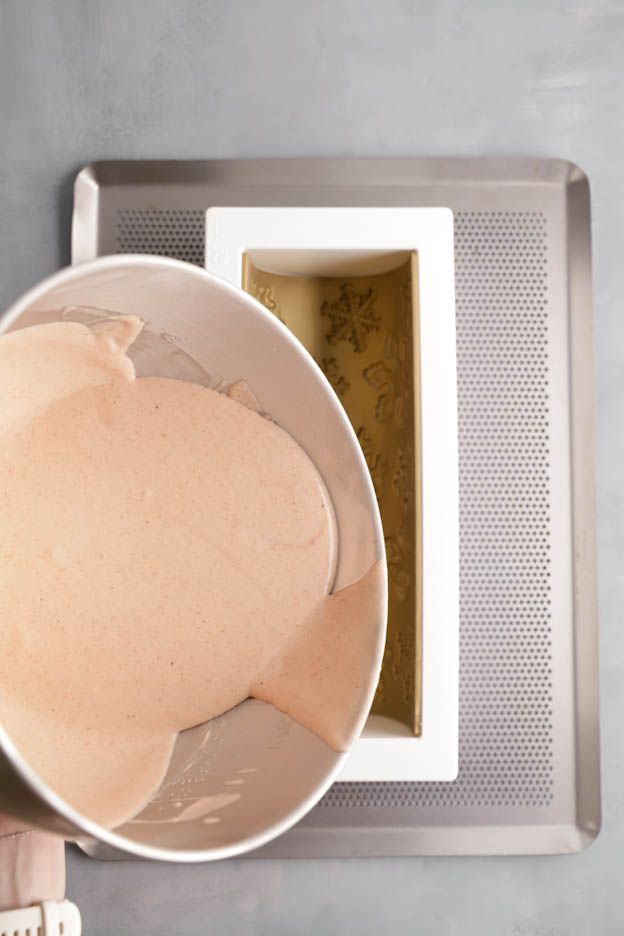
Pour the strawberry mousse into the yule log mould and tap the mould on the table so the mixture spreads evenly throughout the mould. Add enough mousse — I'd say about 3/4 of the mixture.
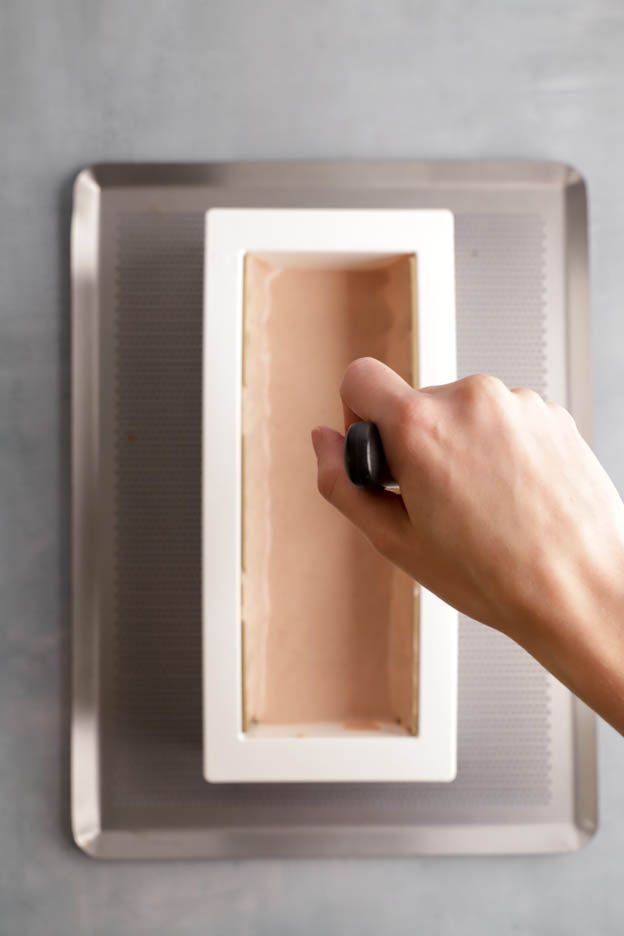
To avoid air bubbles when unmoulding, spread the mousse in the mould using a small offset spatula.
Once the mousse is evenly spread in the mould, unmould your insert.
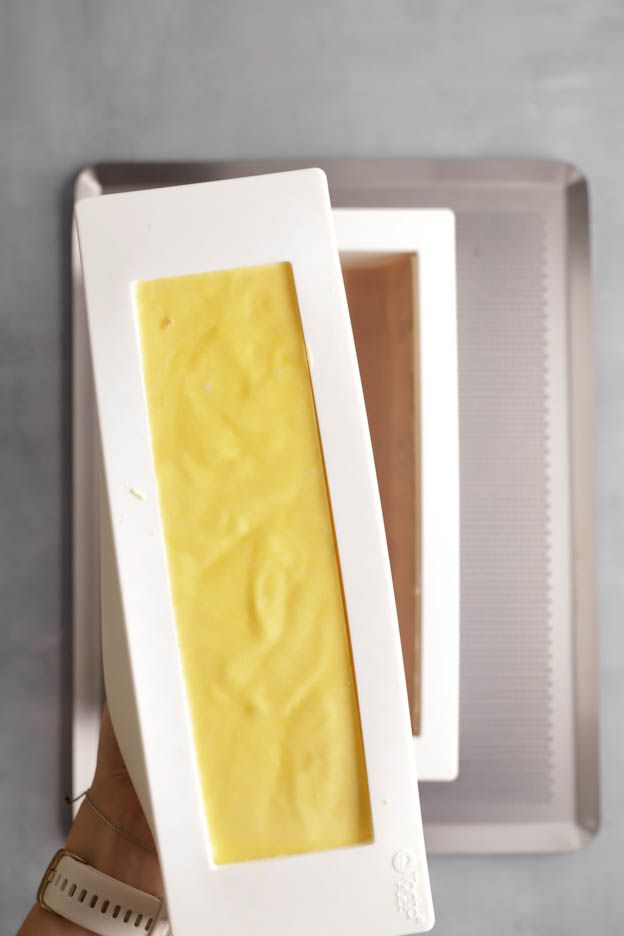
Your insert is unmoulded. Place it right in the centre of your yule log mould. The strawberry mousse will rise up the sides. Perfect!
Finish by covering the insert with the remaining strawberry mousse. Smooth the top carefully with your offset spatula.
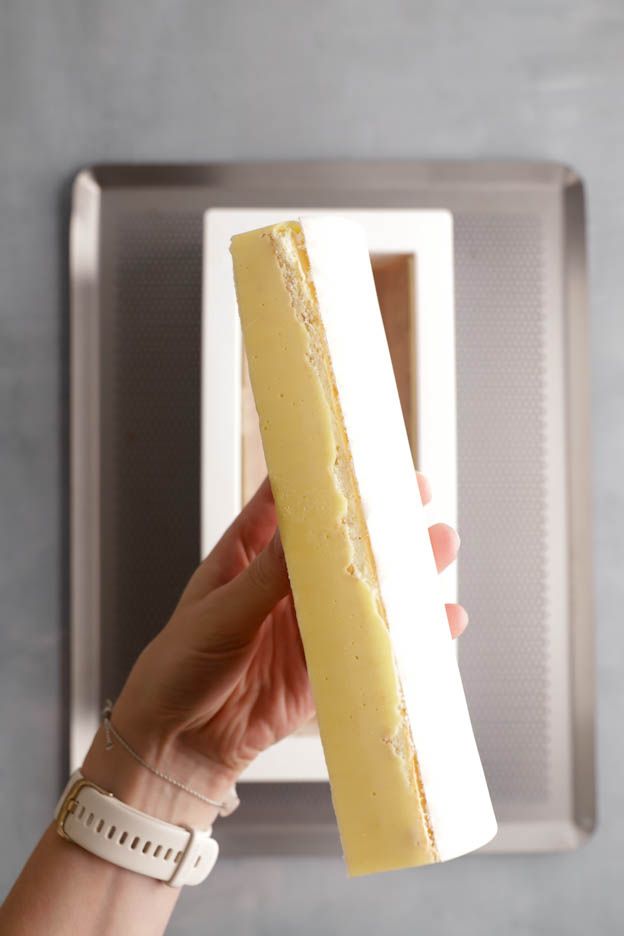
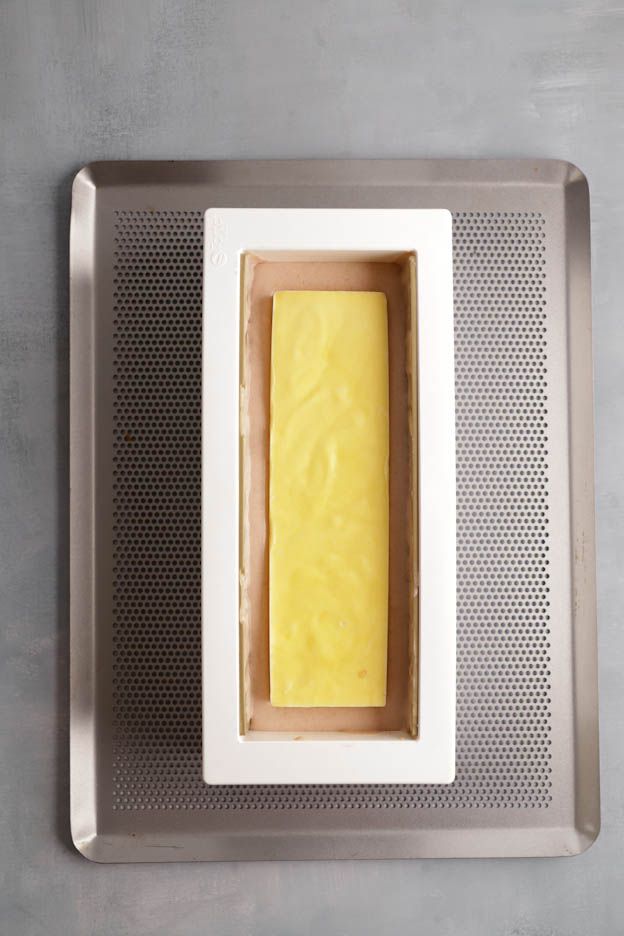
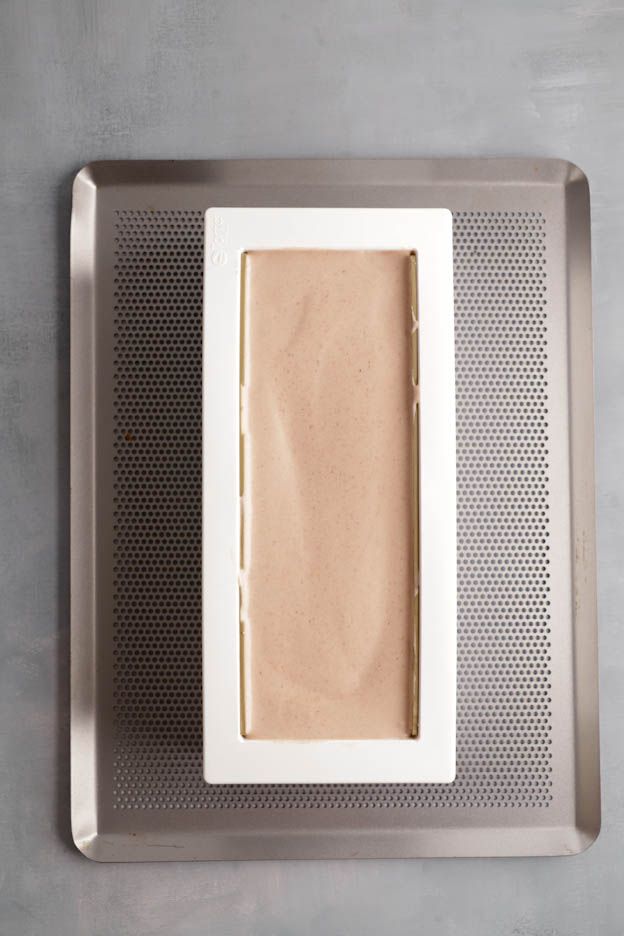
Place the sponge on top of your strawberry mousse. Press the sponge firmly against the mousse.
Remove any excess mousse using a small spatula.
Your yule log now needs to go in the freezer for about 4-5h.
You can really prepare this well in advance. A yule log like this can keep perfectly for up to 3-4 weeks in the freezer.


Your yule log must be completely frozen. This is very important! If it's not set enough, the decoration on top will be damaged, which would be a shame.
Finishing
To ensure the yule log is completely defrosted by the time you serve it, allow approximately 6-8h.
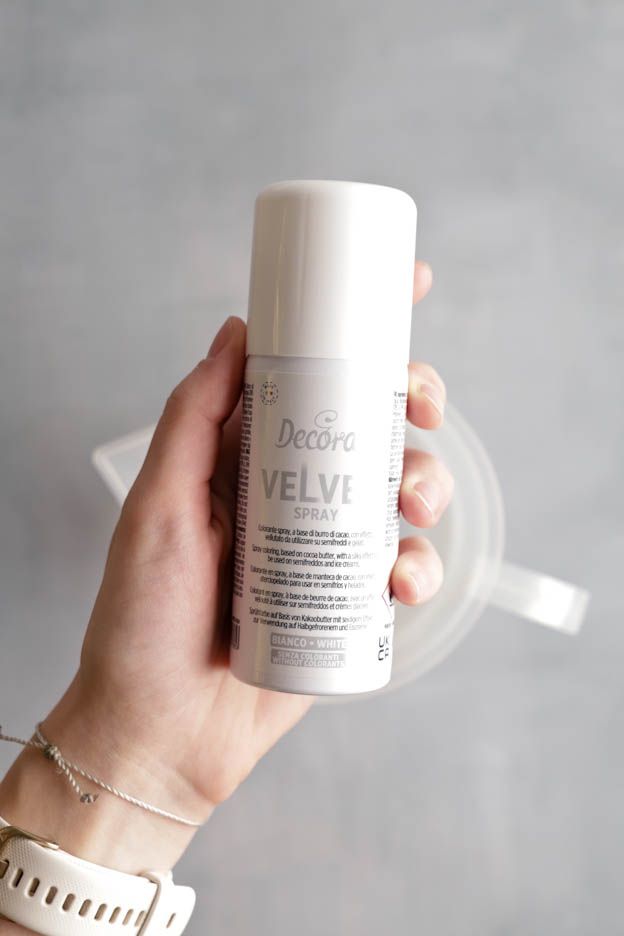
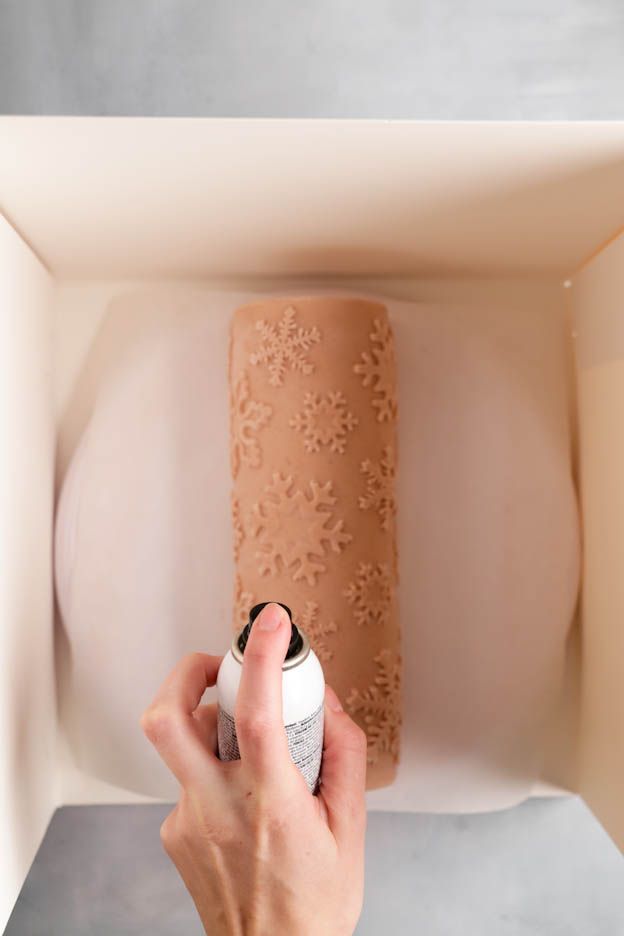
For the decoration of my yule log, I decided to use a white velvet spray. Velvet sprays are very, very fine! If you don't protect the surrounding area, you'll get it everywhere!
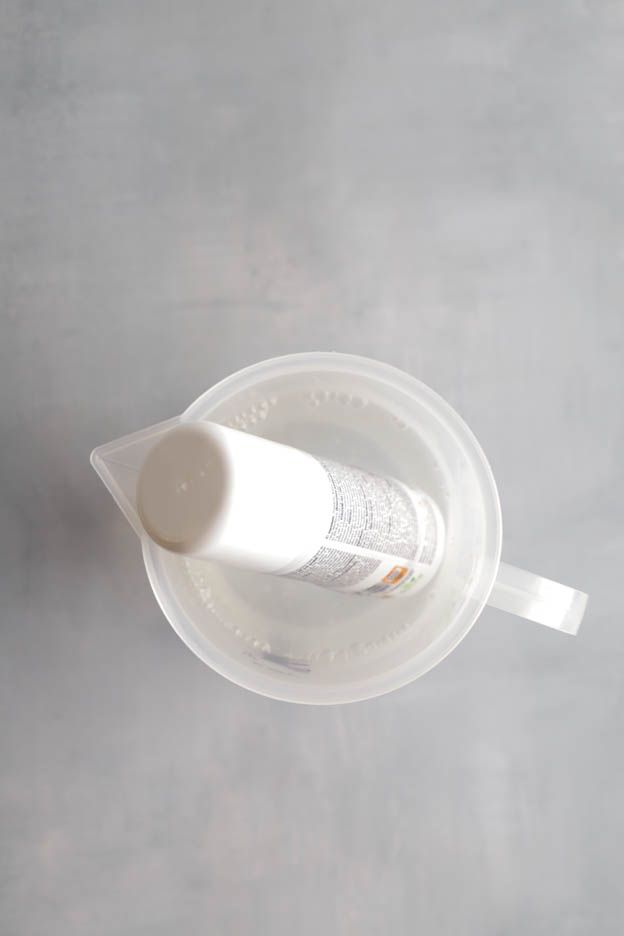
For a beautiful result, I recommend placing your velvet spray in a jug of hot water for 10 minutes. This will allow the cocoa butter to liquefy and give a fine, even finish.
When I use the velvet spray, I always use a tall box to protect my kitchen.
You'll also need a turntable. Without one, it's difficult to spray all around. Don't forget to protect it with parchment paper, so you don't end up with 2 hours of cleaning. ;o)
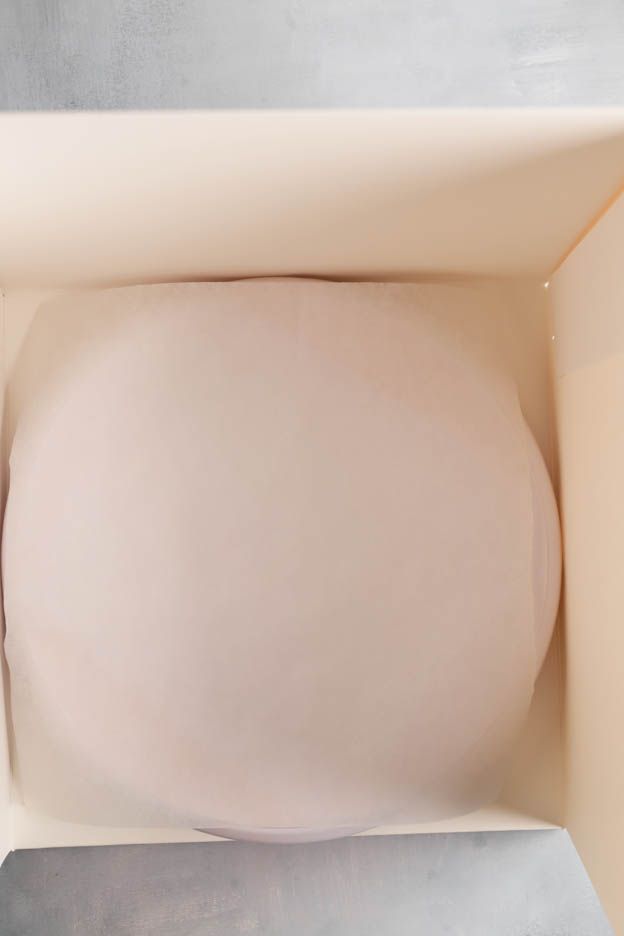
Start by unmoulding your yule log. Don't hesitate to pull on the silicone — it's sturdy!
Then carefully remove the mat. If your yule log is well frozen, it will come off easily.
If you have any small imperfections around the sponge, you can trim them away with a sharp knife.
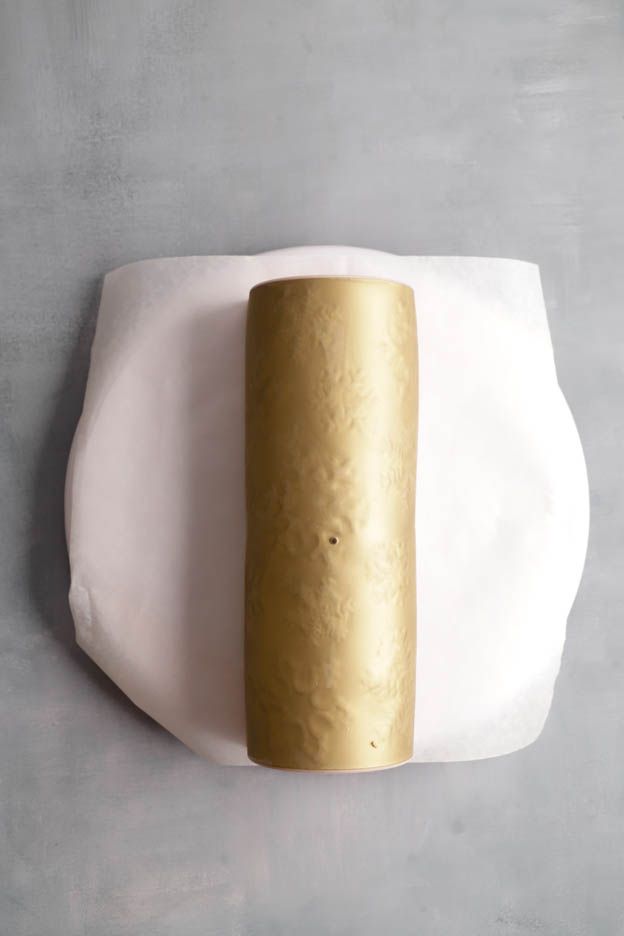
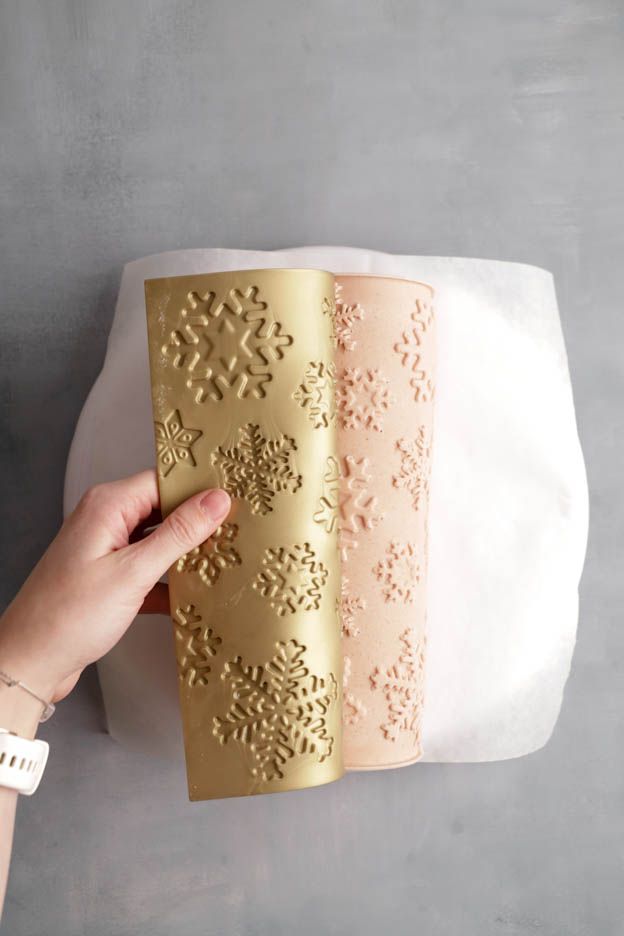
Spray your yule log keeping a distance of approximately 20 cm.
If you spray too close, you'll get ugly droplets. If you spray too far away, the velvet effect won't work. So keep a good distance.
Use one or two offset spatulas to move your yule log and be gentle. ;o)
Place your yule log on a serving board or a beautiful plate.
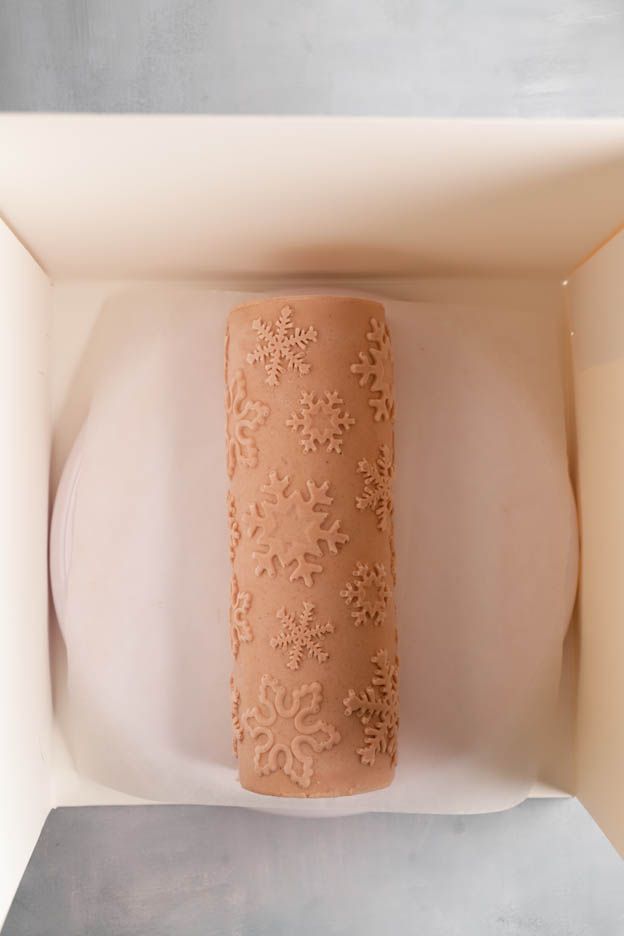

And here's the result!
A beautiful, indulgent Christmas yule log!
Have a wonderful day, my little foodies!
Karin
P.S.: All the equipment used can be found at the bottom of the recipe.

Related posts
 Juicy Matcha Muffins with Pecan Nuts & White Chocolate
Matcha Iced Latte & Coconut Variant
Pull-apart bread with fresh wild garlic pesto
Mini Banana Bread with Chocolate Chips
Juicy Matcha Muffins with Pecan Nuts & White Chocolate
Matcha Iced Latte & Coconut Variant
Pull-apart bread with fresh wild garlic pesto
Mini Banana Bread with Chocolate Chips
Leave a comment
Comments
Question de Marine
By: Marine V. On 2024-11-27Bonjour, par quoi peut-on remplacer la gélatine ? Merci d'avance
Replied by: Karin On 2024-11-28
Question de Elisabet
By: Elisabet C. On 2023-12-20Bonjour,
la bûche peut être laissée à température amiante pour être décongelée 6-8h avant le repas ou faut-il la laisser décongeler au frigo ?
merci pour la précision et belle journée
Replied by: Karin On 2023-12-20
Replied by: Elisabet C. On 2023-12-22
Question de Doris
By: Doris C. On 2023-12-19Bonsoir je suis en train de faire cette buche le biscuit financier il est de quelle épaisseur svp le moins de fait pas la grandeur du cadre pas assez de matière faut il doubler la recette ?
Merci très bonne soirée
Replied by: Karin On 2023-12-20
Question de Christine
By: Christine Z. On 2022-12-18Bonsoir, je vais préparer cette bûche pour le 24,si j'ai bien compris c'est possible de la sprayer de velours et ensuite la remettre au congélateur pour la sortir 6 à 8h avant. Merci pour votre réponse et joyeuses fêtes
Replied by: Laura On 2022-12-19
Replied by: Christine Z. On 2023-01-01
Réponse
By: Karin On 2022-12-17oui oui sans souci si vous la sprayez de velours.
Belle soirée
Question de Sandrine
By: Sandrine A. On 2022-12-16Bonjour ! Je prépare cette bûche pour dimanche vers 14h. Est ce ok si je la spraye samedi après midi soit 24h avant et que je la laisse ensuite au réfrigérateur pdt 24 h ? Ou bien vaut il mieux remettre la bûche sprayée au congélateur pour la ressortir 6-8h avant de la manger ? Merci d’avance !
Question de Vanessa
By: Vanessa P. On 2022-12-16Bonjour,
Avec quel biscuit remplacer pour les personnes allergiques aux fruits à coque? Une génoise ??
Replied by: Laura On 2022-12-16
Question de Florence
By: Florence B. On 2021-12-22Bonjour,
Est-ce possible de faire un coulis fraise maison?
Merci pour votre réponse
Belle journée
Replied by: Karin On 2021-12-22
Replied by: Florence B. On 2021-12-22
Réponse
By: Karin On 2020-12-16Comptez 6 bonnes heures au frigo pour que votre bûche soit décongelée. ;o) Belle journée.
Question de Liza
By: Liza C. On 2020-12-16Bonjour, combien de temps avant de la manger faut-il la sortir du congélateur ? Merci
Replied by: Liza C. On 2020-12-21
Réponse
By: Karin On 2019-12-29vous pouvez remplacer le citron par de l'orange. :o) De cette manière le curd et l'insert seront moins acide. Belle soirée. Karin
Question de Stephania
By: Stephania P. On 2019-11-29Merci pour votre réponse.
Belle journée
Réponse à Stephania
By: Karin On 2019-11-29Alors oui vous pouvez faire un glaçage miroir mais celui-ci doit être vraiment fin pour que l'on puisse voir un peu l'effet tablette. Pour moi le velours serait quand même le plus indiqué avec ce tapis. :o) Belle journée.
Question de Jennifer
By: Jennifer S. On 2019-11-25Parfait merci beaucoup
Réponse
By: Karin On 2019-11-24Oui tout à fait. Il faut bien laisser votre bûche au frigo pour la décongélation. Comptez 5-6 heures environ. Belle journée. Karin
Réponse à Monsieur
By: Cakelicious-Team On 2019-11-15Roduit,
Nous vous remercions de votre message.
Pour une décongélation totale, il faudrait bien compter 6heures. Le mieux serait de la sortir la veille pour être bien sûr que votre bûche soit bien décongelée.
Nous restons à disposition pour toutes questions supplémentaires.
Meilleures salutations,
Cakelicious Team
Réponse
By: Cakelicious-Team On 2018-12-17Magali: Bonjour, Avec plaisir. :o) Oui oui bien sûre vous pouvez remplacer les fraises par des framboises. Par contre il faudra juste enlever les grains de framboises (chiner) car cela n'est pas très agréable en bouche sinon. Vous pouvez sans soucis faire une première bûche, la congeler, puis la démouler et l'emballer dans du cellophane pour ensuite la conserver au congélateur et ainsi ré-utiliser votre moule. :o)
Très belle journée.
Salutations.
Karin
Réponse
By: Cakelicious-Team On 2018-12-15Nini71: Bonjour, alors vous devez sprayer votre bûche quand elle est bien congelée. Ensuite vous pouvez sans soucis la remettre au congélateur ou la laisser décongeler au frigo. Il faudra compter environ 5-6h pour qu'elle décongèle correctement au frigo. :o)
Très belle journée.
Karin
Réponse à Célia
By: Cakelicious-Team On 2018-11-22Merci pour votre message!
Alors il faudra environ 5-6 heures pour que la bûche décongèle totalement.
Il faut bien la laisser au frigo pour qu'elle décongèle car si vous la laissez à température ambiante, la crème va tourner et tout va s'affaisser.
Oubliez pas de nous faire une photo. :o) On aime bien avoir des retours de nos clients!
Belle journée.
Karin
Réponse à Soraya
By: Cakelicious-Team On 2018-10-31Merci pour votre message.
Alors non il n'y a pas de colorant dans le curd car j'ai utilisé de la purée de framboise qui était bien bien rose foncée donc colorant naturel. :o)
Chez nous les feuilles de gélatine pèsent 1.66gr donc oui un peu différent de chez vous. De tête elle font 2gr chez vous en France.
J'espère avoir pu vous aider. Faites nous un retour quand vous aurez fait la bûche.
Bel après-midi.
Karin
Réponse à Laura
By: Cakelicious-Team On 2018-10-28Si vous n'avez pas la chaleur tournante, il vous suffit de mettre la chaleur haut/bas à 200°C au lieu de 180°C.
Belle soirée. :o)
Karin