

Strawberry Ice Cream
Hey there, sweet tooth!
You really loved my first tutorial on Oreo ice creams and I received loads and loads of requests for ice cream recipes using the ice cream maker as well.
So this morning, I'm sharing a recipe for strawberry-mint ice cream covered in chocolate! A real treat! :o)
This recipe is made with an ice cream maker to get a nice creamy texture.
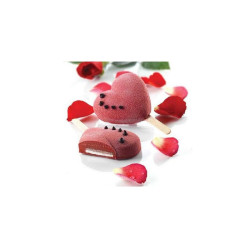
Tadaaa! Here are my beautiful heart-shaped strawberry ice creams.

For 9 mini ice creams or 4 large ones, you will need:
- 82g of heavy cream
- 55g of whole milk
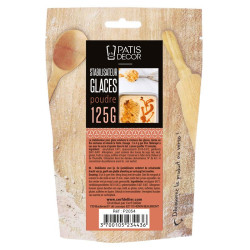
- 2g of stabilizer
- 165g of fresh strawberries
- 7 fresh mint leaves
- 11g of lemon juice
- 55g of glucose
In a small bowl, pour 82g of heavy cream with 55g of whole milk.
The stabilizer helps achieve a nice creamy texture and also prevents the ice cream from melting too quickly! In short, it's really useful and appreciated when making ice cream.


Add 2g of stabilizer. Use a precision spoon scale to make sure you have exactly 2g.
Mix the powder with the milk and cream using a spoon, then set the mixture aside.


In a large bowl, pour 165g of fresh strawberries cut into pieces with 7 mint leaves and 11g of lemon juice.
Here I used the organic lemon juice from Alnatura. I find it very convenient and always keep some in my fridge.


Then add 55g of glucose.
The glucose will also help achieve a nice texture. If you use sugar instead, your ice cream will be more crystallized and less creamy.
Finally, pour the cream/milk/stabilizer mixture over the strawberries.


Blend everything with a mixer for a few minutes.
It's important to blend the mixture well for a long time until it lightly foams.
In my second photo, you can see that my mixture is full of bubbles (these are not lumps, but air bubbles).
Pour the mixture into a pitcher.


Prepare your ice cream maker. Here I used a turbine ice cream maker with a one-litre bowl. It's the Betty Bossi one. :o)
Pour the mixture into the ice cream maker bowl and turn it on for 20 minutes.


While the ice cream is churning, prepare your ice cream molds.
Here I used 3 mini heart-shaped ice cream molds. So a total of 9 mini ice creams. We love mini ice creams at home, but if you prefer large ones, you'll get 4 normal-sized ice creams.
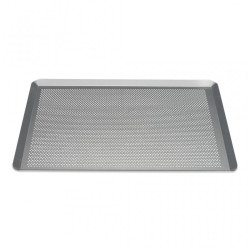
Place your molds on a perforated tray or a board, so you can move the molds once filled.
Check your ice cream from time to time.
Your ice cream is ready when you put some on your spoon, hold your spoon vertically and the ice cream stays on it for more than 10 seconds.


Once the ice cream is ready, fill your ice cream molds. Tap the molds on your work surface to make sure the ice cream fills the bottom of the molds well.
Using a small offset spatula, smooth the ice cream to remove any excess and spread it evenly in the molds.
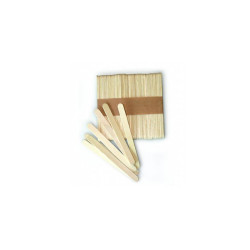
Insert a stick into each cavity. Make sure you use the right sticks — there are ones for mini ice creams and ones for large ice creams. ;o)


The stick should be pushed all the way to the edge of the rounded part of the mold.
Once the molds are well filled, smooth again and place them in the freezer for a minimum of 2-3 h. Overnight is even better!


It's time to prepare our chocolate.
Here I simply filled a small glass with milk chocolate pistoles. The important thing is to use a tall, narrow container so you can dip the ice creams in it later.
I placed the glass in the microwave at 600W for 2-3 minutes.
Every minute, stir the chocolate with a spoon so it melts evenly.
I always work with Callebaut or Valrhona chocolate pistoles! It's the best chocolate! :o)
Once the chocolate is melted, add more unmelted chocolate pistoles and stir.


Place the glass in the microwave for 1 minute. Your mixture should reach around 45-50°C. It's important that the chocolate is hot enough so that the chocolate coating on the ice cream is thin. Use a thermometer to help you.
Unmold your ice creams by pulling on the silicone and pushing the stick outward.


Dip your ice cream in the chocolate, then let it drip for a few seconds before placing it on parchment paper.


Make sure your chocolate is still at minimum 45°C before dipping the ice creams.
Personally, I had to reheat my chocolate twice during the dipping process. Ice creams are cold! ;o)
Place the remaining chocolate in a small piping bag, drizzle part of the heart by quickly making back-and-forth movements, then immediately sprinkle with nonpareils. I used the little "Lots of Love" pearls to match the color of the ice cream. :o)


Let your imagination run wild with the decoration!
Once coated in chocolate, quickly place your ice creams in the freezer.
You can store them without any problem in a tupperware in the freezer. The chocolate will protect the ice creams from frost.
Enjoy! We find that the chocolate really brings out the strawberry flavor. :o)
Have a great Sunday, sweet tooth!
Karin
P.S.: All the materials used can be found at the bottom of the recipe.


Related products
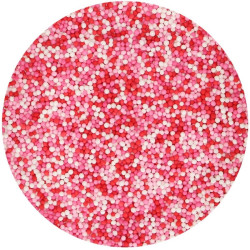
Nonpareils "Lots of Love" - 80g
Mini wooden stick for ice cream
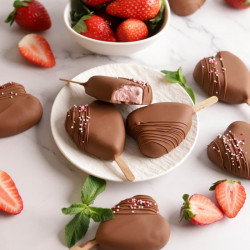
Ice creams mold "Mini heart"
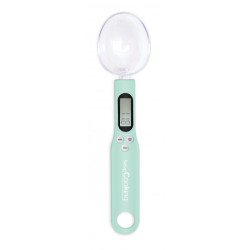
Digital scales spoon
Ice cream stabilizer
Ice creams mold "Hearts"
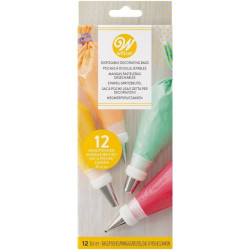
"Piping Bags" - 30cm
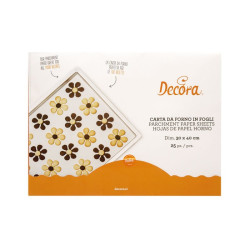
Parchment paper sheets
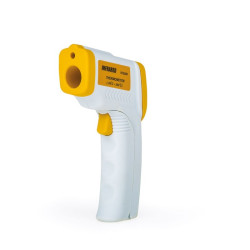
Infrared Thermometer
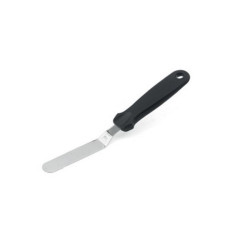
Angled spatula in steel
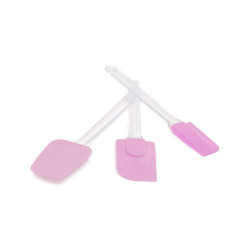
Spatulas set in silicone
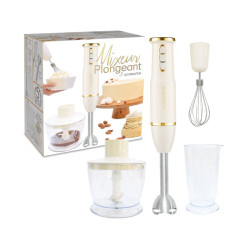
Hand blender - chopper 3 in 1
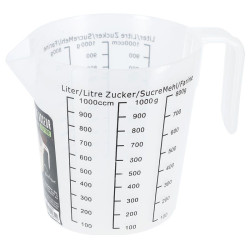
Graduated measuring cup 1 liter
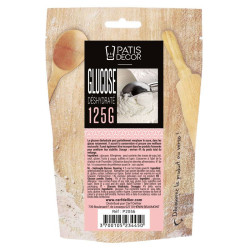
Dehydrated glucose 125 gr
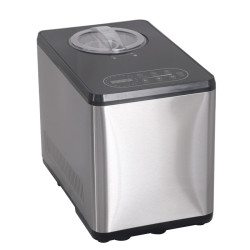
Ice cream maker 1.5 liter with compressor and timer

Related posts
 Juicy Matcha Muffins with Pecan Nuts & White Chocolate
Matcha Iced Latte & Coconut Variant
Pull-apart bread with fresh wild garlic pesto
Mini Banana Bread with Chocolate Chips
Juicy Matcha Muffins with Pecan Nuts & White Chocolate
Matcha Iced Latte & Coconut Variant
Pull-apart bread with fresh wild garlic pesto
Mini Banana Bread with Chocolate Chips
Leave a comment
Comments
Question de Muriel
By: Muriel B. On 2023-06-21Bonjour, j’ai déjà testé la recette sans le stabilisateur, elle était très bonne. Je viens de la refaire avec le stabilisateur, je me réjouis de voir la différence.
Je fais régulièrement des glaces, quand intégrer le stabilisateur dans les préparations où il faut chauffer le mélange ? Par exemple, une glace vanille que je démarre avec une « crème anglaise ». Bonne journée
Replied by: Laura On 2023-06-22
Replied by: Muriel B. On 2023-06-24
Question de Mireille
By: Mireille W. On 2022-05-21Bonjour, peut-on remplacer le glucose par du sucre?
Replied by: Karin On 2022-05-23