
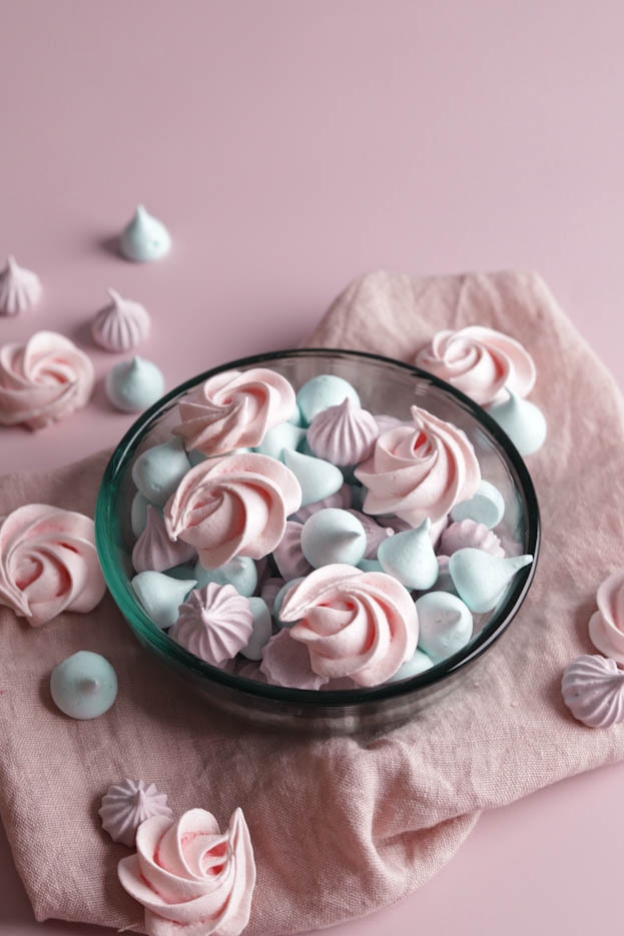
Mini meringues
Hey foodies,
Today I'm sharing an easy and quick recipe to make little homemade decorations.
Mini meringues in pretty pastel colours that will beautifully complement your desserts, cakes, number cakes, ice creams...
Personally, I always have some ready. They really add a lovely little touch to your creations. ;-)

To make these mini meringues, you will need:
- 2 egg whites
- 115gr of sugar
- Gel food colouring
Let's get started with the recipe!
Start by pouring 2 egg whites into a bowl.
It is very important that the bowl is ultra clean, as even the smallest impurity can prevent the whites from whipping up.
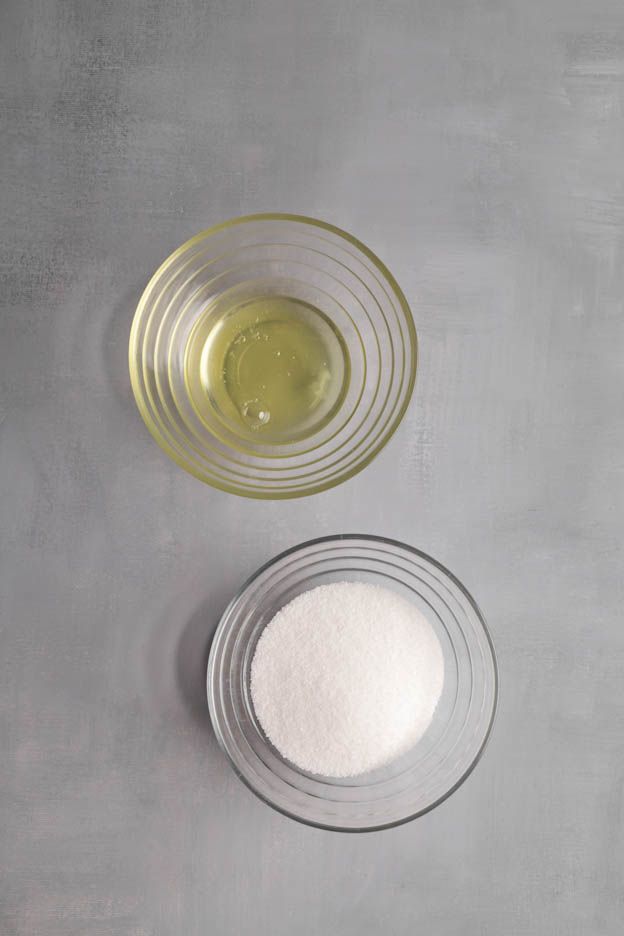
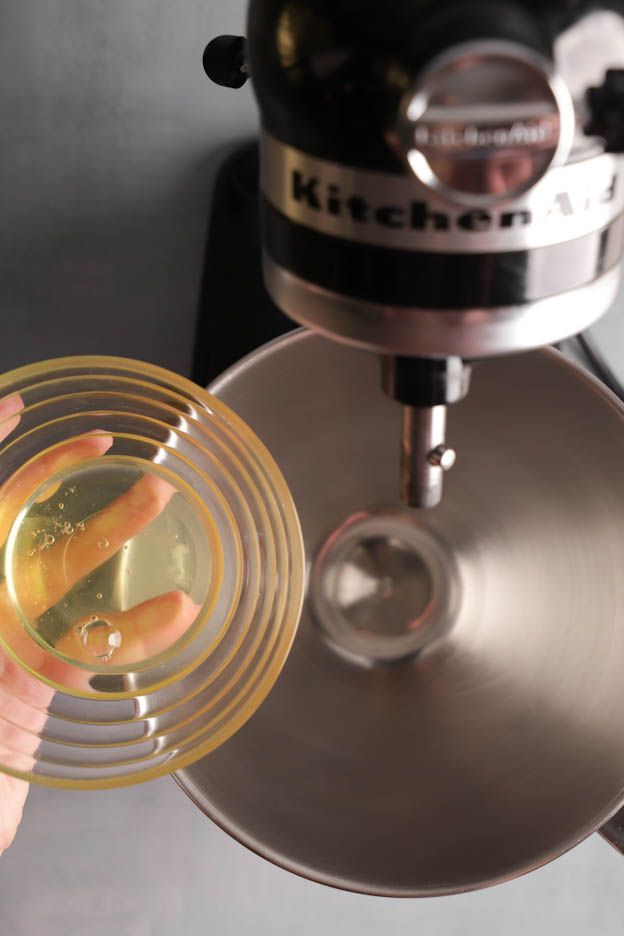
Add 1/3 of the sugar (38gr) to the egg whites and start whipping the whites with a whisk at max speed.
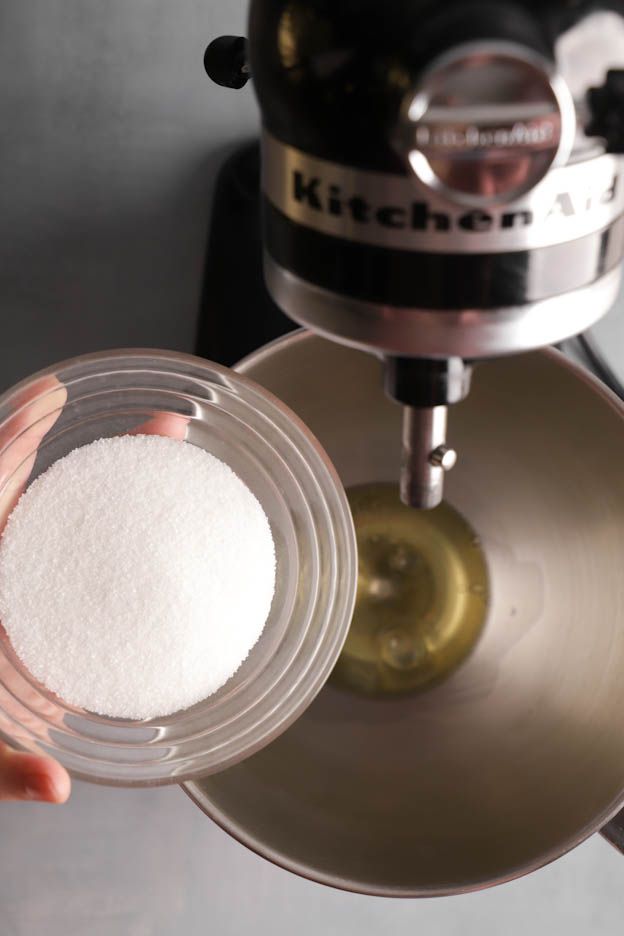
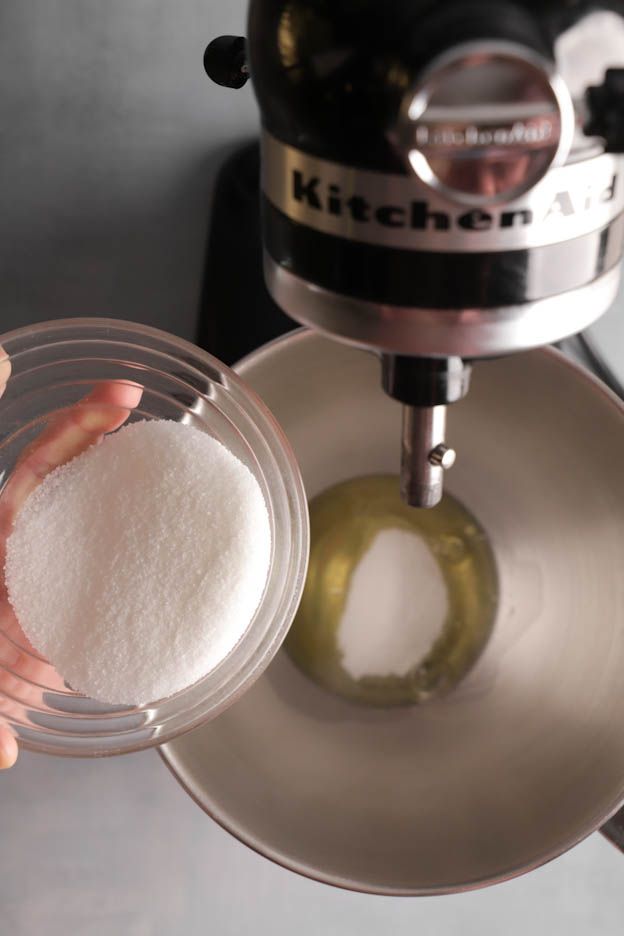

Once the egg whites and sugar start to hold, add the remaining sugar in 3 additions.
I recommend lowering the mixer to speed 1 when adding the sugar and returning it to max speed between each addition.
However, never stop the mixer until the meringue is fully whipped, otherwise it may collapse.
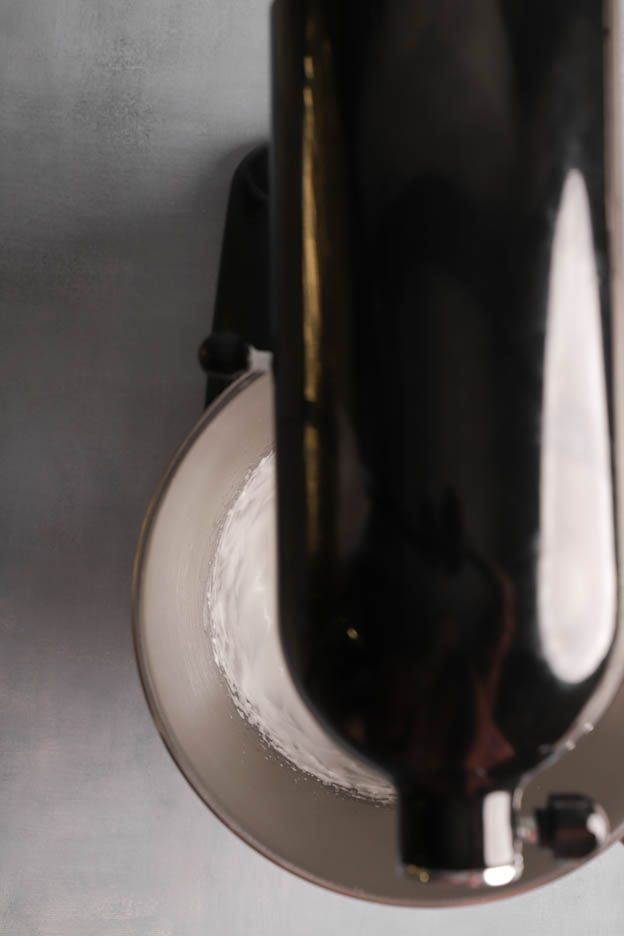


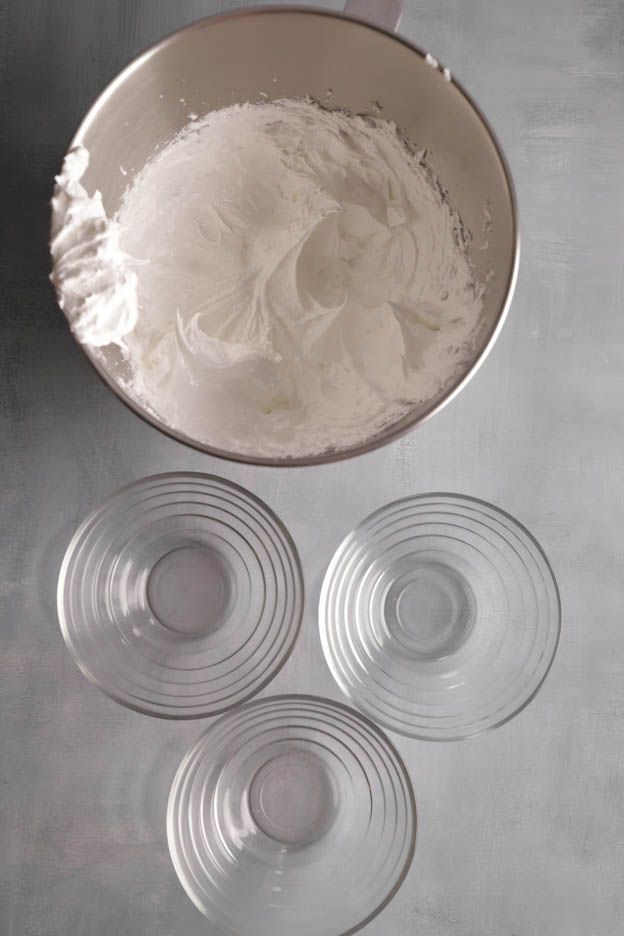
Once the meringue is ready, it will form a nice peak as in the first photo.
We are going to colour our meringue with 3 colours. I chose pastel colours. :-)
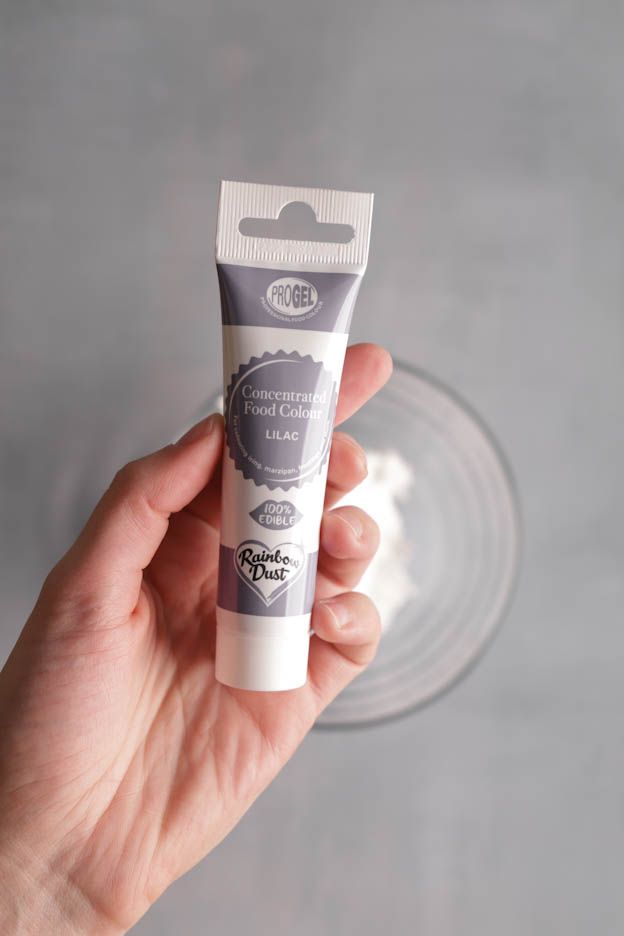
I recommend using gel food colouring, they are our favourites.
In our assortment, you will find different colours and different brands, they are great. ;-)
Divide the meringue into 3 small bowls.

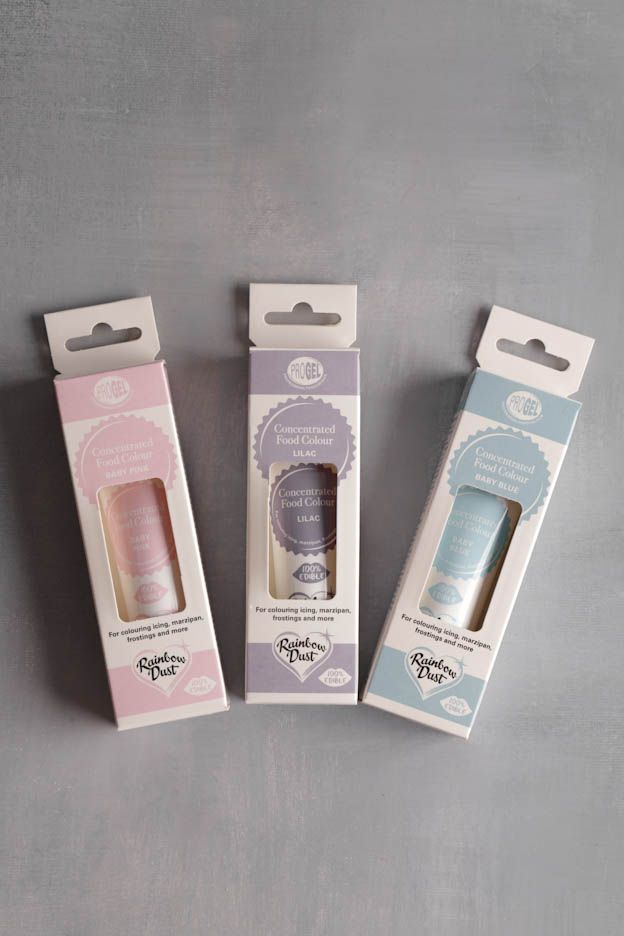
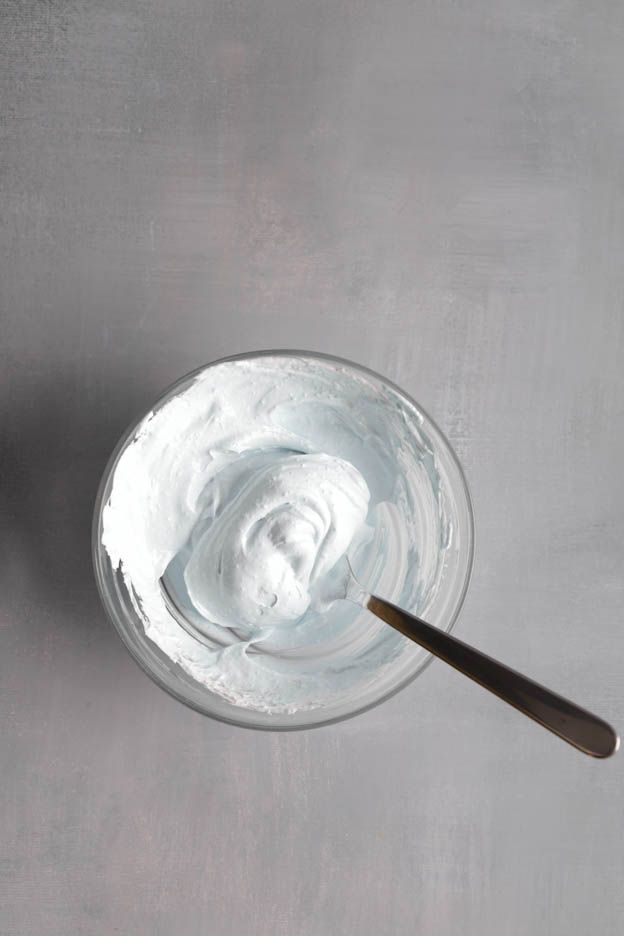
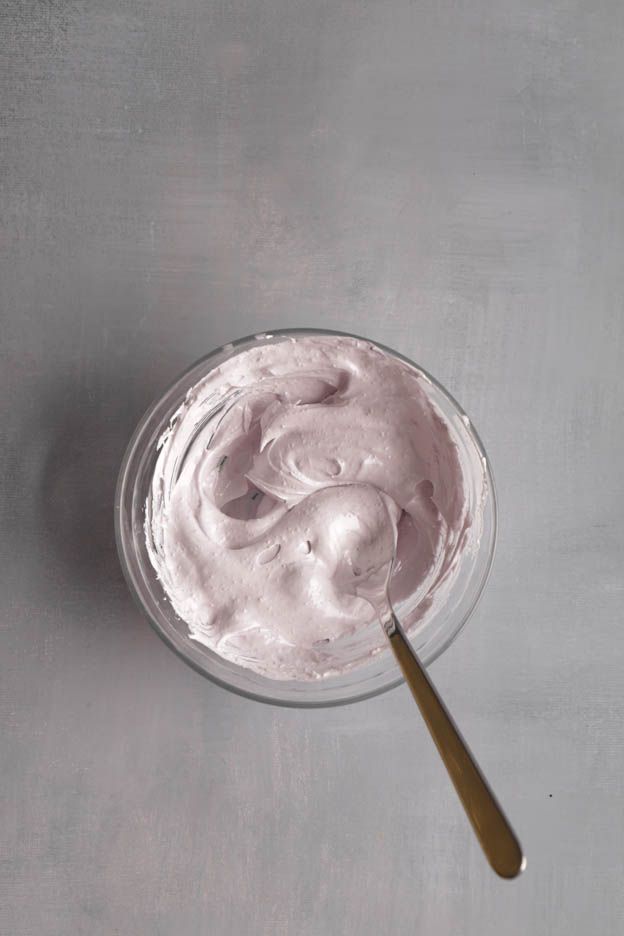
Add 1 to 2 drops of food colouring, that will be enough to achieve a lovely colour.
Mix gently with a spoon, being careful not to deflate the meringue.
I chose to use the following colours: baby pink, lila and baby blue.
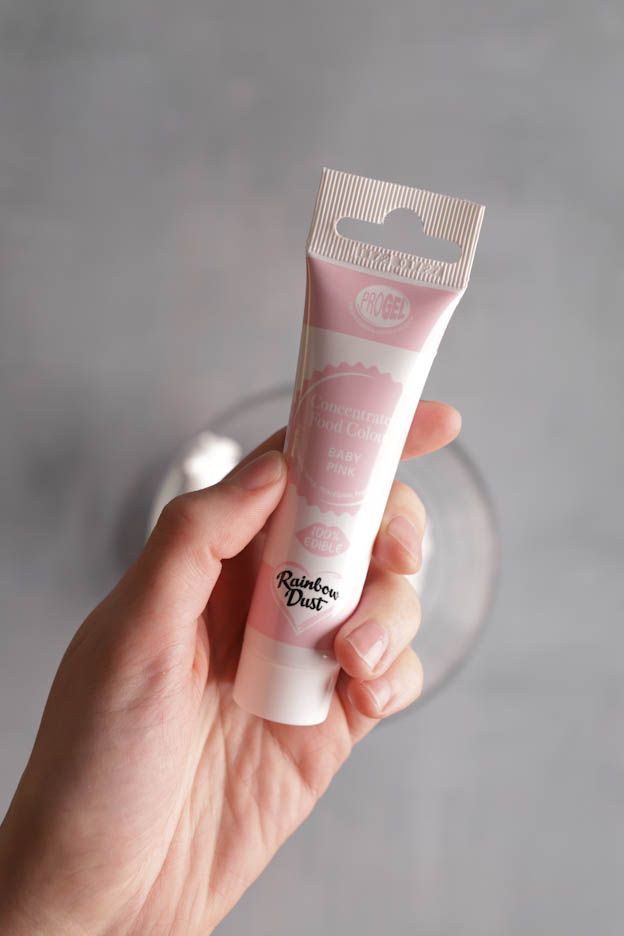

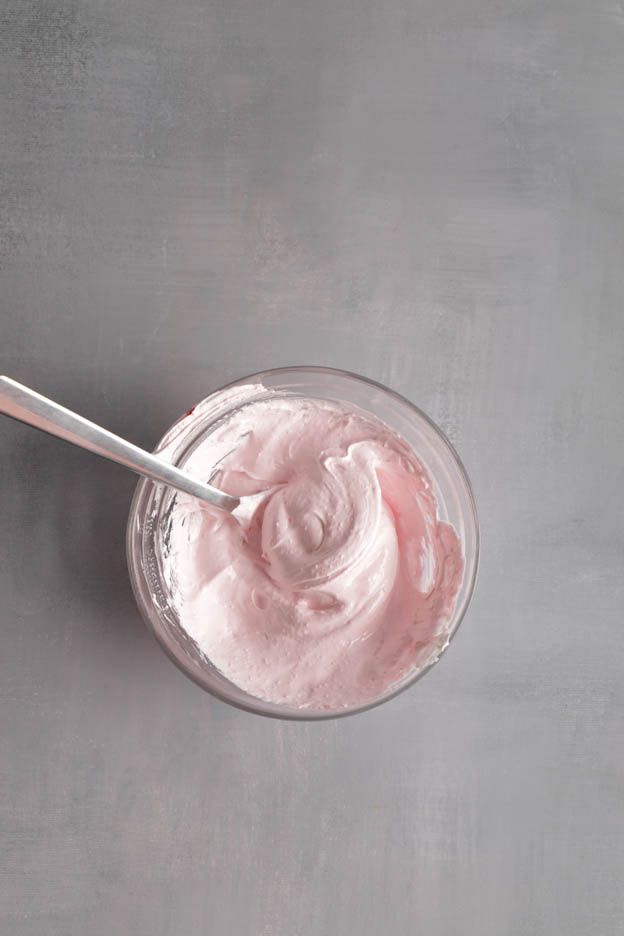
With these colours, you will get lovely pastel-coloured meringues.

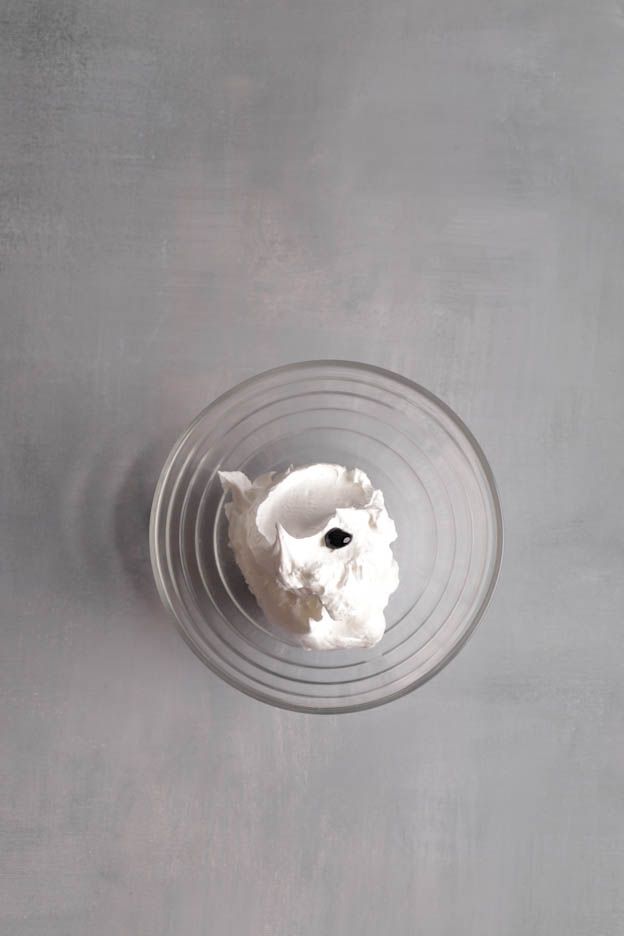
You can make meringues in different colours to match the themes of your cakes. ;-)

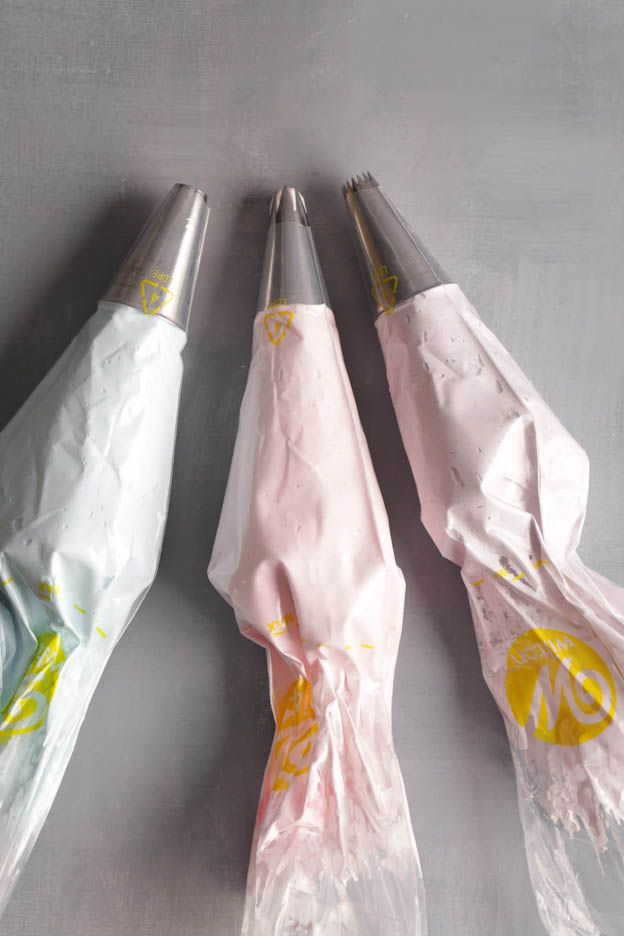
To get a variety of meringue shapes, use different piping tips.
I suggest 3: the 1M tip, the star tip 10 mm and the round tip 11 mm.


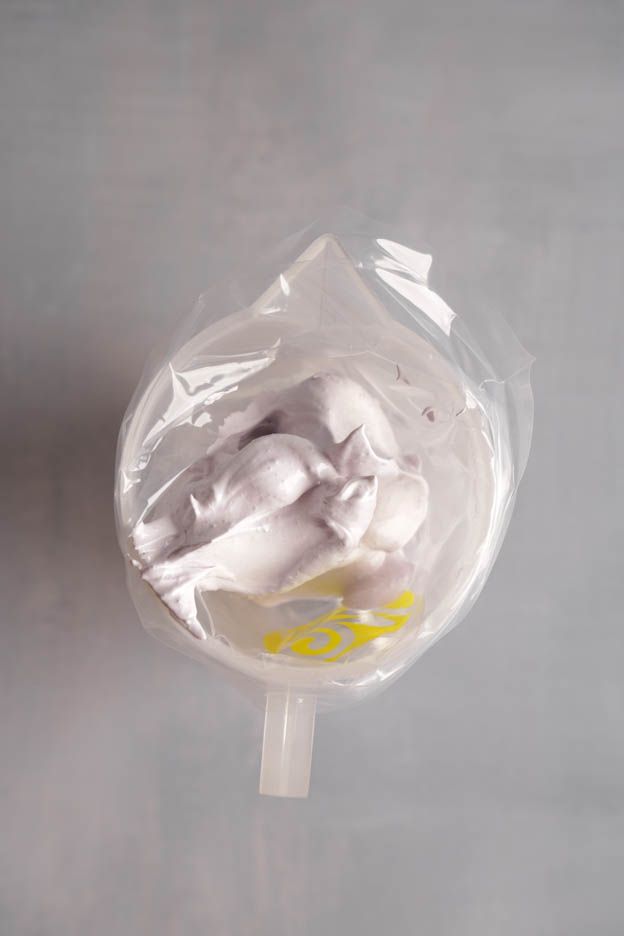
Place each tip in a 30 cm piping bag.
To fill the piping bag cleanly, place it in a pitcher. You'll see it's much easier! :-)

Preheat the oven to 90°C, fan setting.
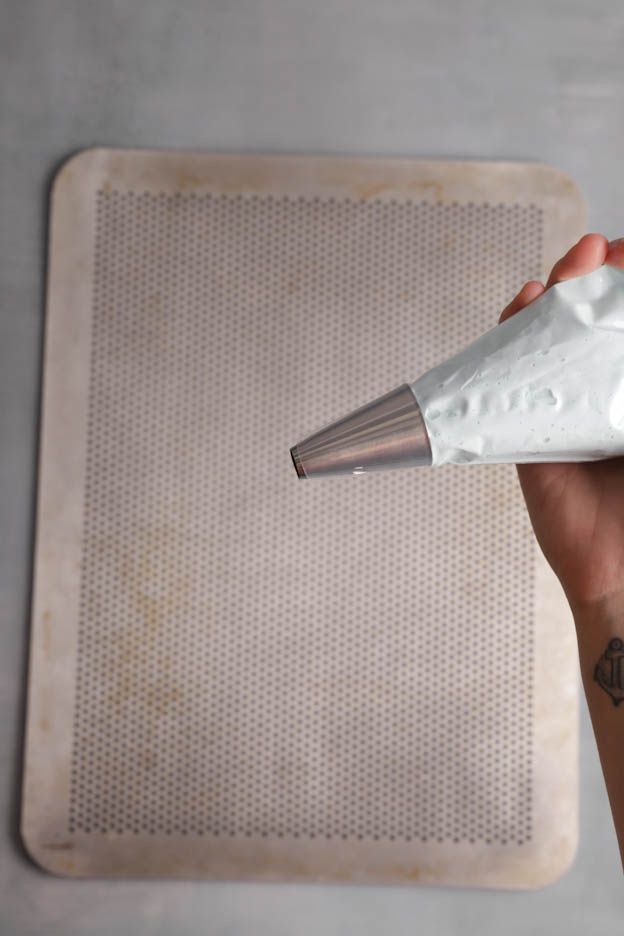
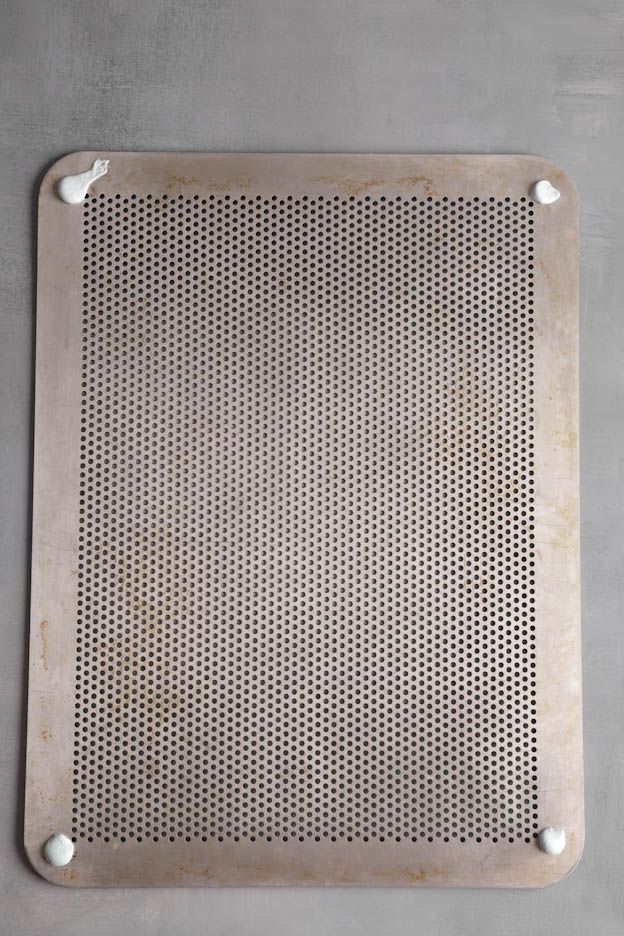
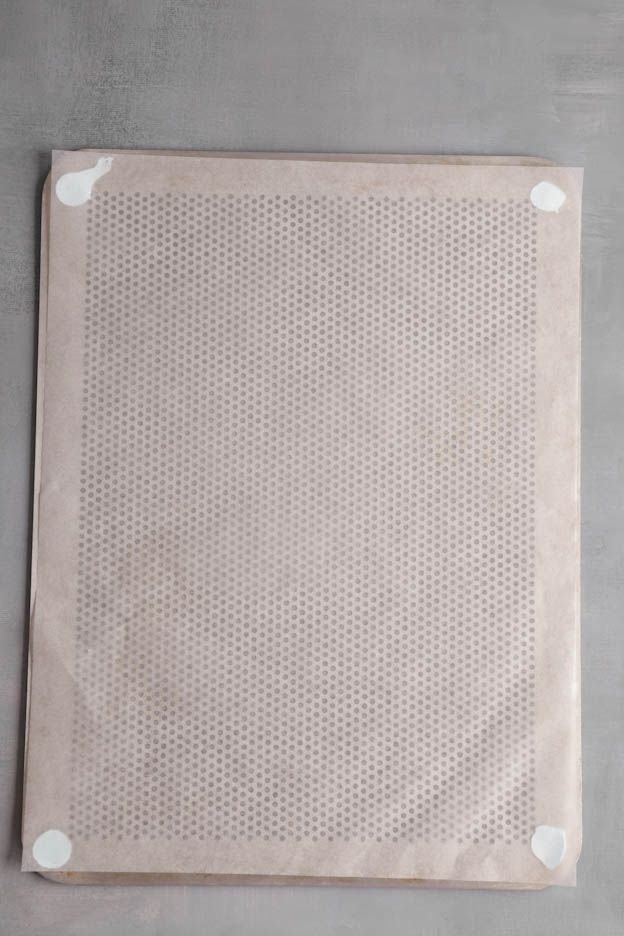
On a perforated baking tray, place a sheet of baking paper.
To keep the sheet from moving while piping, stick it down with a little meringue in the 4 corners.
Here is a short video of the different piping techniques:
Bake the meringues in the middle of the oven preheated to 90°C for 1h20.


And there we go, our meringues are done!
Photo N°1 = round tip 11 mm
Photo N°2 = star tip 10 mm
Photo N°3 = 1M tip


Let them cool at room temperature.
Store them in a metal tin; the meringues will keep for approximately 6 months away from light and humidity.
I hope you enjoy this recipe! ;-)
Have a wonderful day.
Sophie
P.S.: All the equipment used can be found at the bottom of the recipe.


Related posts
 Juicy Matcha Muffins with Pecan Nuts & White Chocolate
Matcha Iced Latte & Coconut Variant
Pull-apart bread with fresh wild garlic pesto
Mini Banana Bread with Chocolate Chips
Juicy Matcha Muffins with Pecan Nuts & White Chocolate
Matcha Iced Latte & Coconut Variant
Pull-apart bread with fresh wild garlic pesto
Mini Banana Bread with Chocolate Chips
Leave a comment
Comments
Question de Manon
By: Manon B. On 2025-02-09Bonjour,
Peut on faire la recette sans plaque perforée?
Replied by: Karin On 2025-02-10
Question de Anita
By: Anita P. On 2024-06-27Bonjour, j'ai tenté la recette et tout était parfait jusqu'au moment où les meringues ont refroidies et qu'elles sont devenues collantes. J'ai suivi la recette à la lettre... d'où peut venir le problème? Merci :-)
Replied by: Karin On 2024-06-28
Réponse à Morgane
By: Karin On 2023-04-21Oui votre idée est bonne, vous pouvez réaliser vos meringues de cette manière ou, si vous le souhaitez, nous avons un adaptateur triple qui peut vous aider, voici le lien https://cakelicious.ch/fr/douilles/5091-colorswirl-triple-adaptateur-a-douille-large-070896109323.html.
Belle journée et bonne pâtisserie ;-)
Replied by: Morgane P. On 2023-04-25