
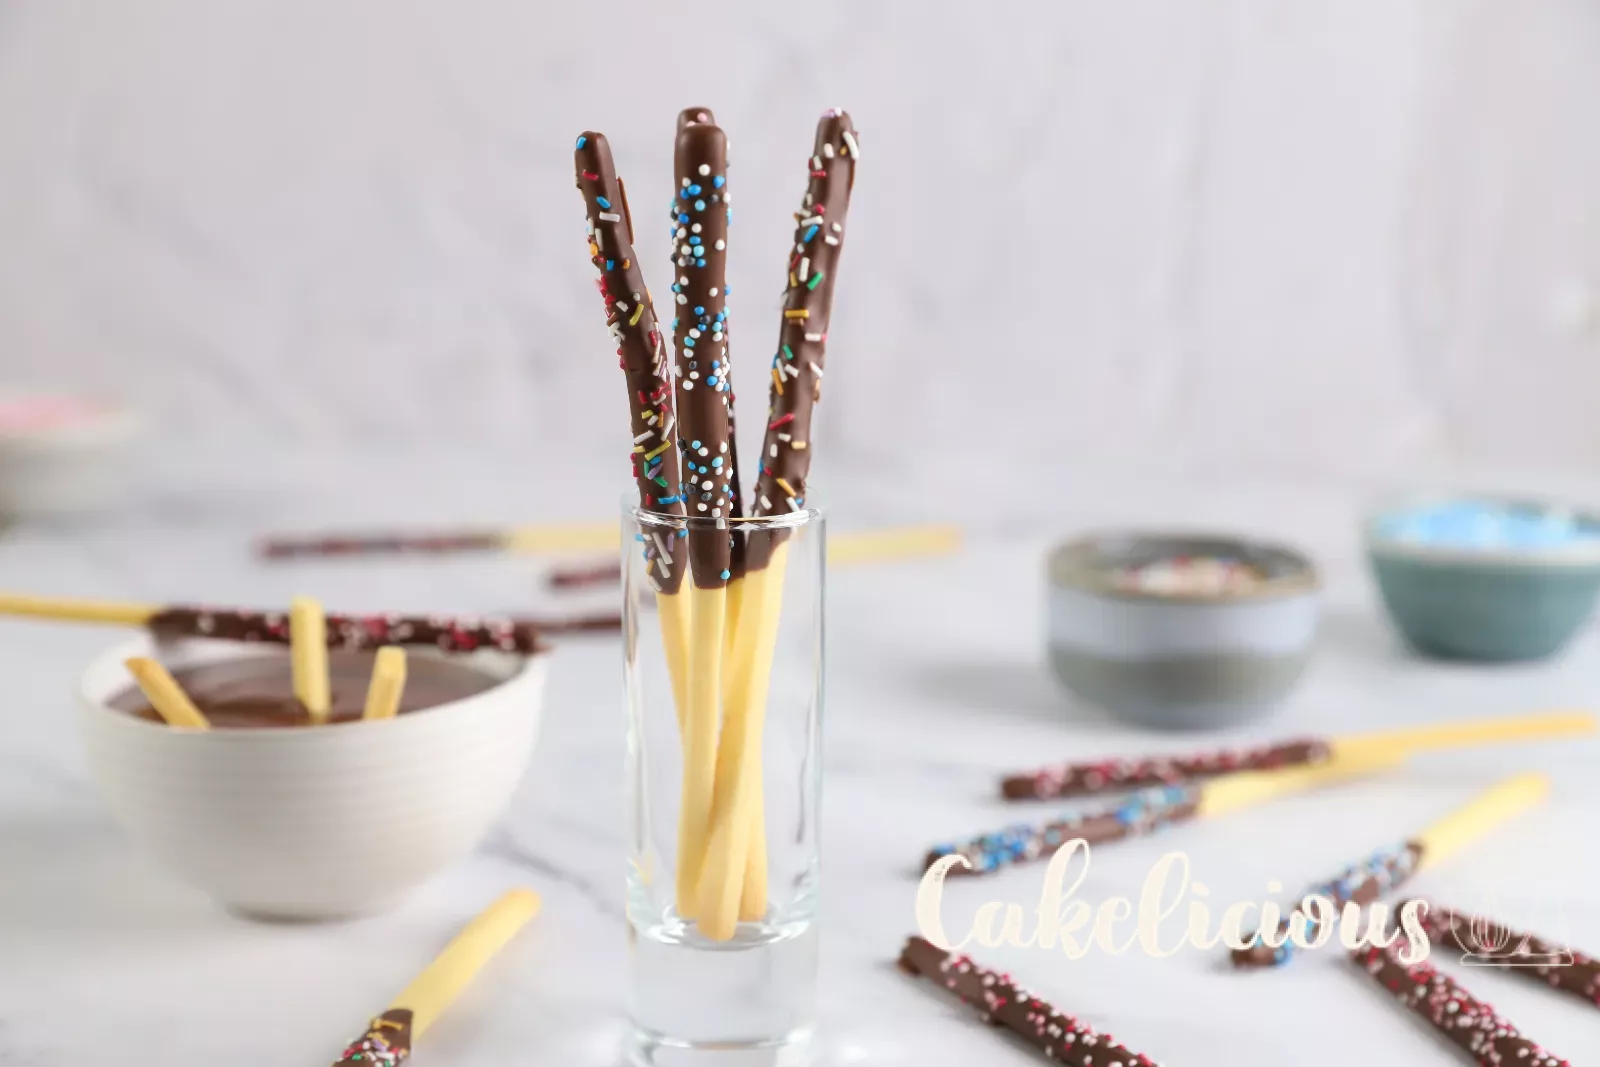
Mikado
Crispy biscuit sticks with chocolate and colourful sprinkles
Hello food lovers,
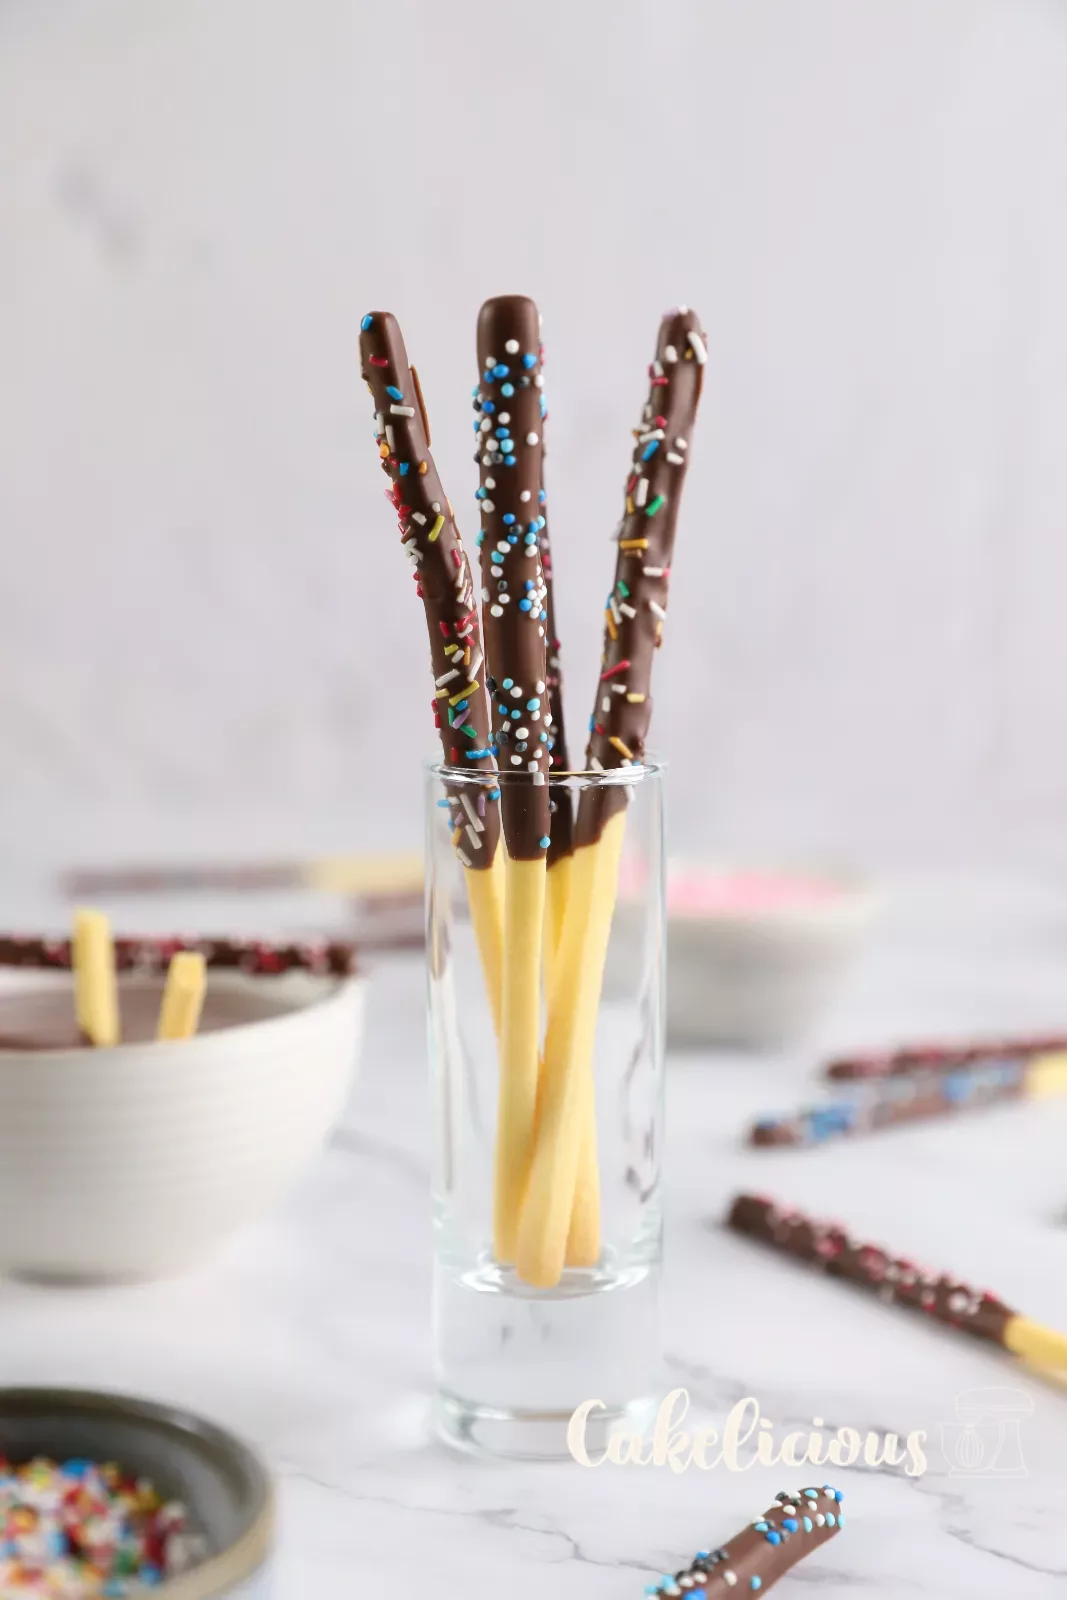
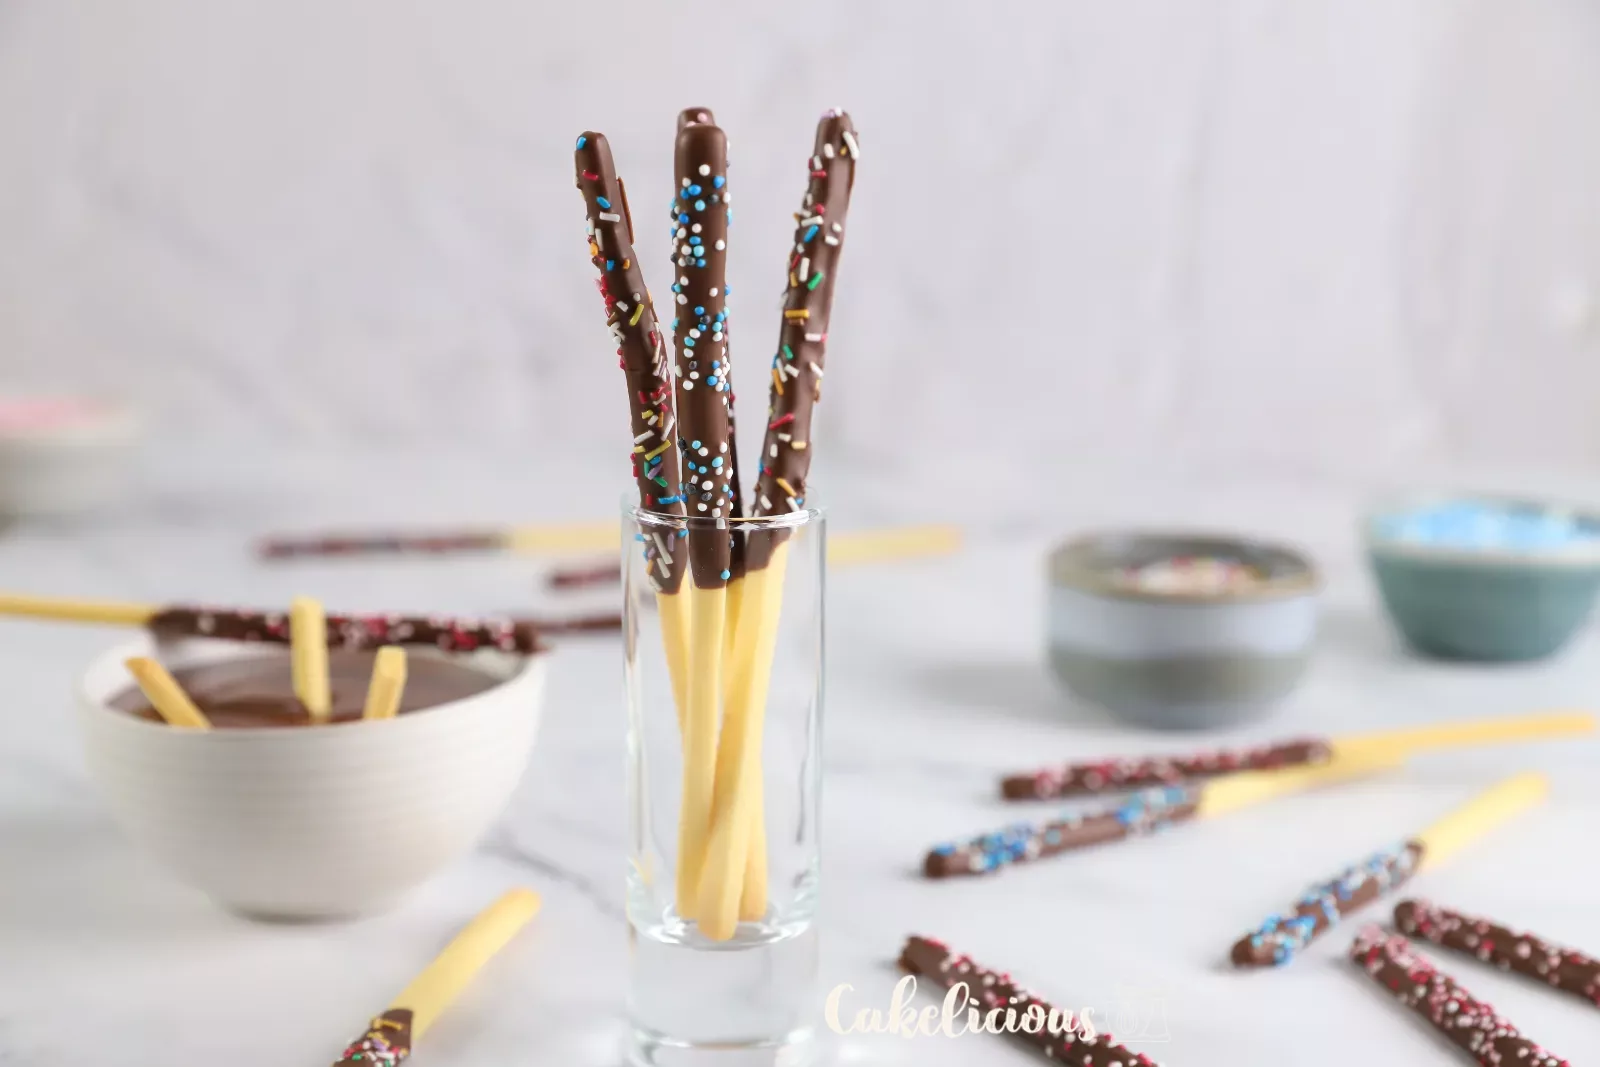
Are you in the mood for a great childhood classic? With our homemade Mikado, you'll rediscover how wonderful it is to bite into these thin, crispy sticks with a chocolate coating.
These little treats are easy to make and perfect for an afternoon snack. Packed in a pretty tin, they also make a lovely homemade gift.
For the dough, we use half of the biscuit dough from our recipe for biscuits decorated with Royal icing. For the decoration, you only need Deco melts with milk chocolate flavour, colourful sugar sprinkles and nonpareils.
Take a look at the recipe in the video too. And let's get started!
The recipe in the video
0:21 min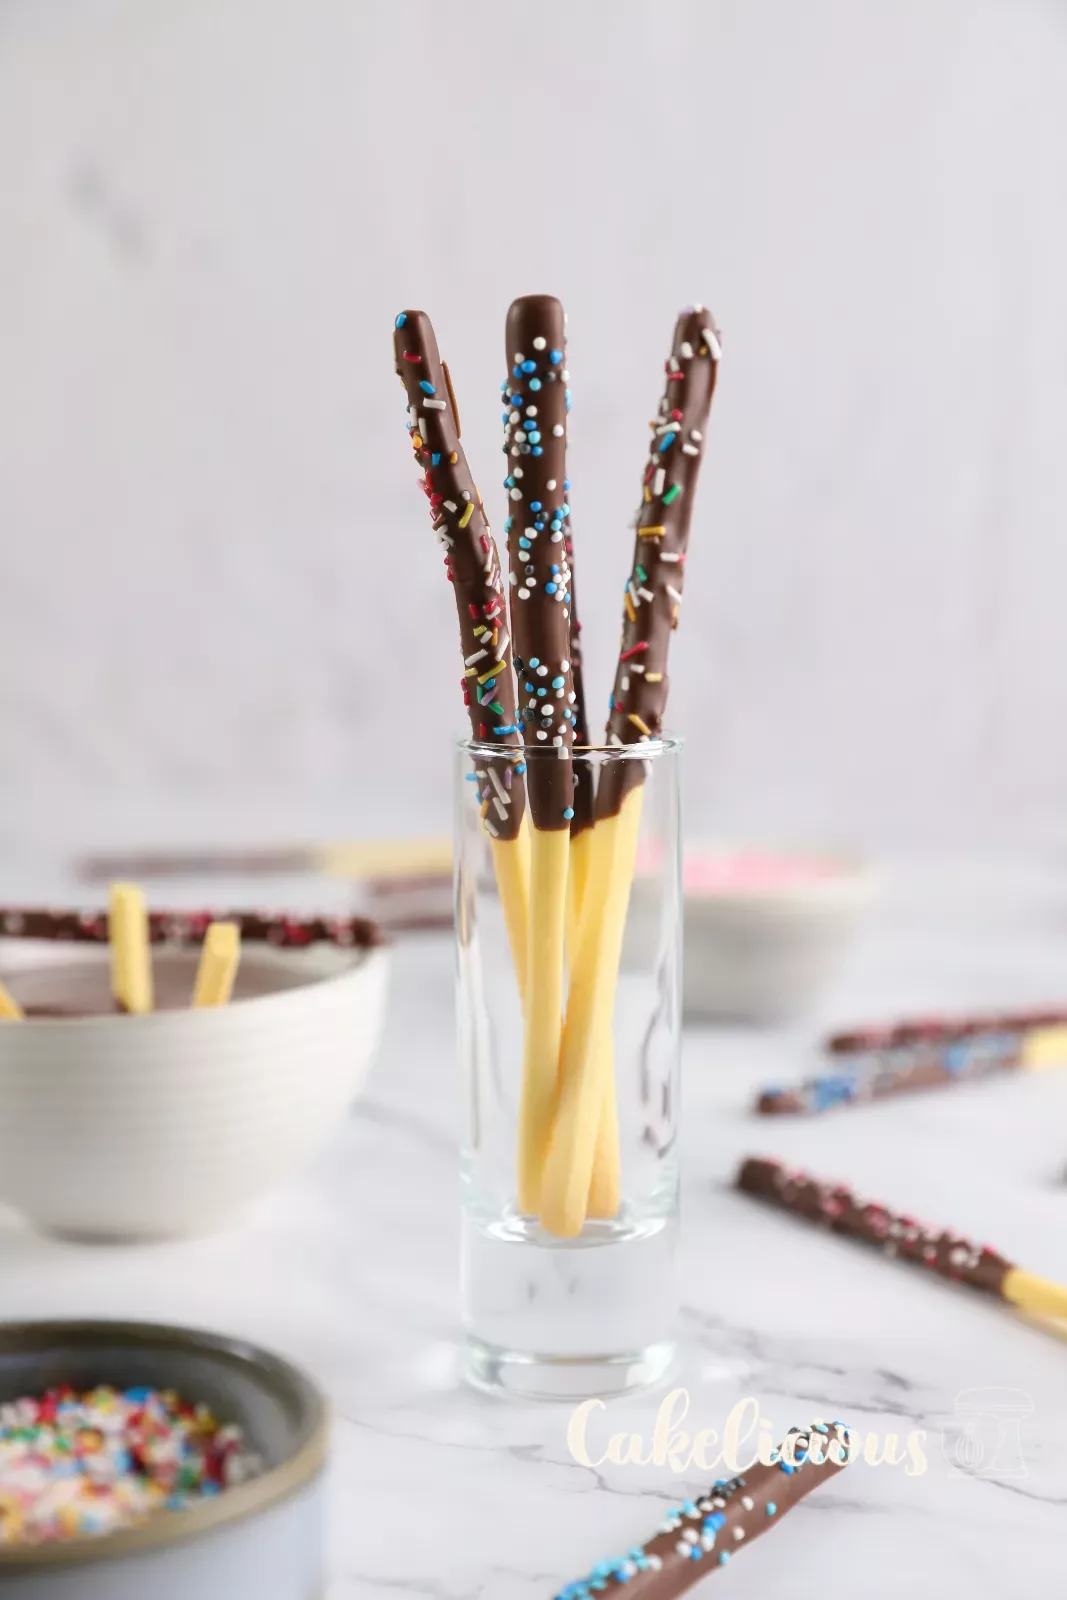
Ingredients
Cookie dough (half base recipe, without lemon)
Decoration
Equipment
Step by Step
Cookie sticks
Prepare the dough
First prepare the cookie dough following our recipe for decorated summer cookies , but use half the quantity. We leave out the lemon zest here, so the sticks taste as close to the original as possible.
In short: cream the butter and icing sugar, add the egg and salt, then flour mix in briefly and shape the dough into a ball by hand. The less you knead, the better the sticks keep their shape when baked.
Swiss White flour, 1 kg
Rolling out and chilling
Roll the dough out between two baking paperas described in the basic recipe, then place it in the freezer. Well-chilled dough can be cut into fine sticks much more cleanly.
Non-stick rolling pin 50 cm
Baking paper sheets, 25 pieces
Preheat the oven
Preheat your oven to 135 °C fan.
Cutting the sticks
Once the dough is rolled out and well chilled, cut it into sticks measuring 15 x 0.5 cm, for example with a pastry wheel. Place the sticks on a perforated tray with a perforated baking mat. The combination of perforated tray and perforated mat ensures the sticks bake evenly.
Pastry wheel
Flat aluminium perforated sheet 40 x 30 cm
Perforated baking mat
Bake and cool
Bake the sticks for 15 to 18 minutes in the middle of the oven. Then let them cool completely before you start decorating.
Decoration
Melt the Deco melts
Put the Deco melts with milk chocolate flavour into a fairly tall glass and melt them in the microwave for 1 minute at 600 watts. Stir well. If not everything has melted yet, just heat them for a few more seconds.
These drops are perfect for this recipe: you don't need to temper them, just melt them, and they taste really good like Milk chocolate.
Deco melts flavour Milk chocolate
Dip and decorate
Dip the sticks halfway into the melted Deco melts and scrape off the excess against the rim of the glass. Decorate them immediately with the Mix sugar sprinkles and the blue and pink nonpareils while the chocolate is still liquid.
Mix sugar sprinkles
Nonpareils light blue
Let them set
Place the decorated mikado on a baking paper and let them set in the fridge for 15 minutes. Voilà, they are ready to enjoy or to give away in a pretty tin.
Baking paper sheets, 25 pieces
Cookie tin Jahrmarkt, 238 x 147 x 75 mm
Mikado
Ingredients
Cookie dough (half basic recipe, without lemon)
Decoration
Equipment
Method
- Dough: Prepare the half basic cookie dough recipe without lemon zest, roll out and chill in the freezer.
- Baking: Cut sticks measuring 15 x 0.5 cm, place on a perforated baking sheet with a perforated baking mat and bake at 135 °C convection for 15 to 18 minutes, then leave to cool.
- Chocolate: Melt the deco melts in a tall glass for 1 minute at 600 watts, stirring well.
- Decorating: Dip half of each stick, scrape off the excess, sprinkle with sprinkles and nonpareils, then chill for 15 minutes.
Nutrition per 100 g
Storage & shelf life
Everything for this recipe
Recommended from our bakery, in exactly the sizes this recipe has been tested with.
Deco melts Milk chocolate flavour
Mix sugar sprinkles
Nonpareils light blue
Swiss White flour, 1 kg
Non-stick rolling pin 50 cm
Pastry wheel
Flat aluminium perforated sheet 40 x 30 cm
Perforated Baking mat
Baking paper sheets, 25 pieces
Cookie tin Jahrmarkt, 238 x 147 x 75 mm
Delivery in 1 to 2 working days · Free shipping from CHF 100
For guaranteed success
In a narrow, tall glass the melted Deco melts stand nicely high. That way you can dip each stick halfway in without needing much chocolate.
Perforated baking sheet and perforated Baking mat together let the heat reach the thin sticks from all sides. This way they become evenly crisp and don't brown unevenly.
Sprinkle the Sprinkles on right after dipping. Once the chocolate sets, they no longer stick.
Frequently asked questions
No. You only need to melt Deco melts, not temper them. That makes them ideal for this recipe and for baking with children.
In a well-sealed tin they keep for two weeks.
Print recipe
Choose what should appear on the printout.
Related posts
 Juicy Matcha Muffins with Pecan Nuts & White Chocolate
Matcha Iced Latte & Coconut Variant
Pull-apart bread with fresh wild garlic pesto
Mini Banana Bread with Chocolate Chips
Leave a comment