
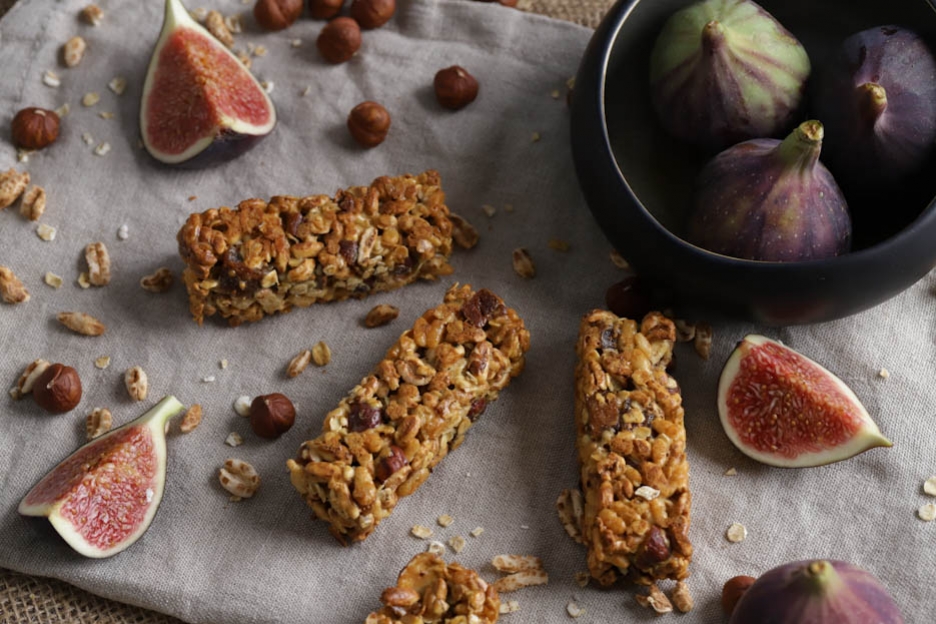
Hazelnut-fig cereal bars
Hey foodies!
This morning I'm sharing another homemade cereal bar recipe with you.
This time with hazelnuts and dried figs. I'll admit the kids preferred my apple-chocolate recipe. But I absolutely loved this one and I'm happy to share it with you! :o)
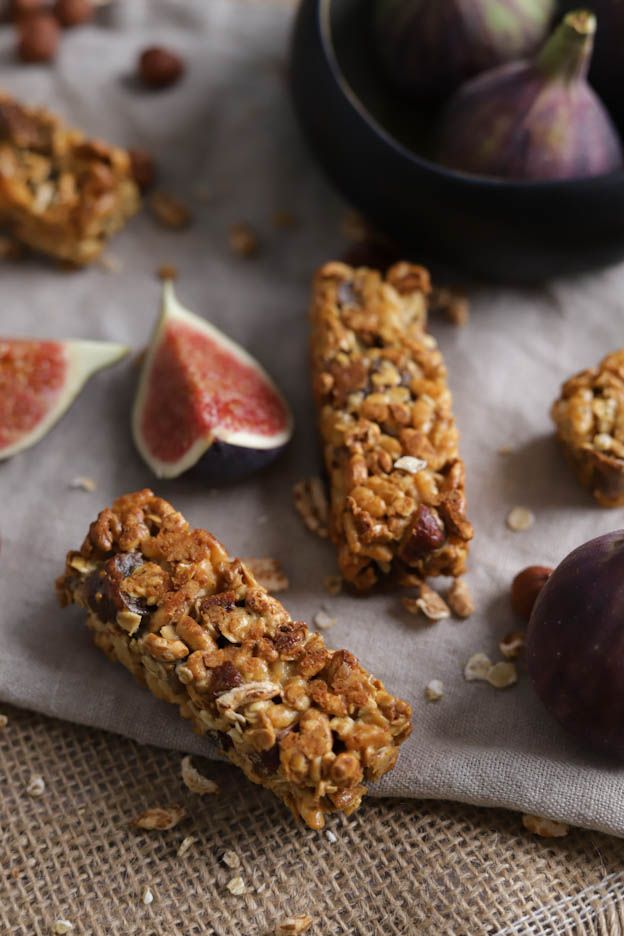
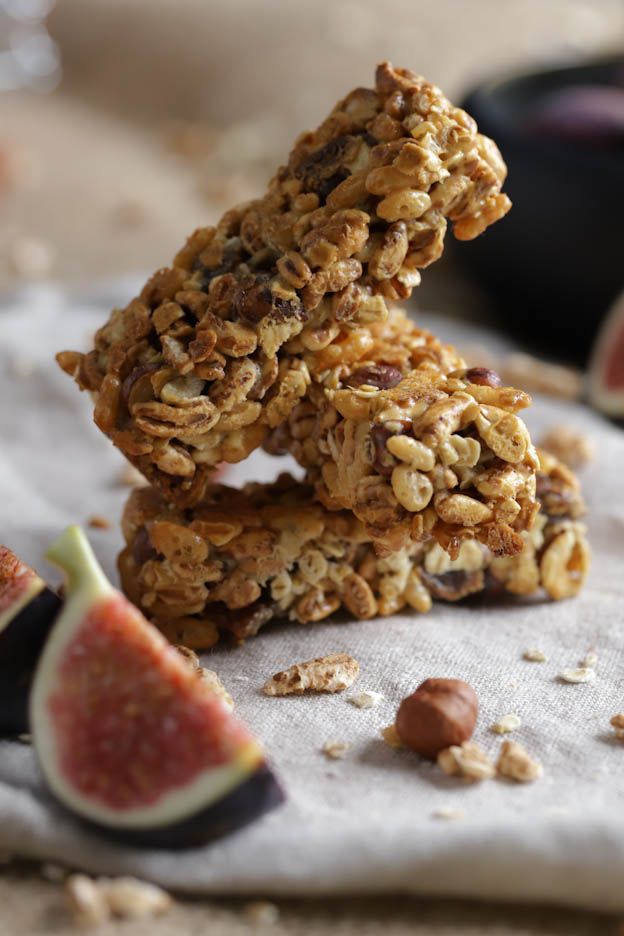
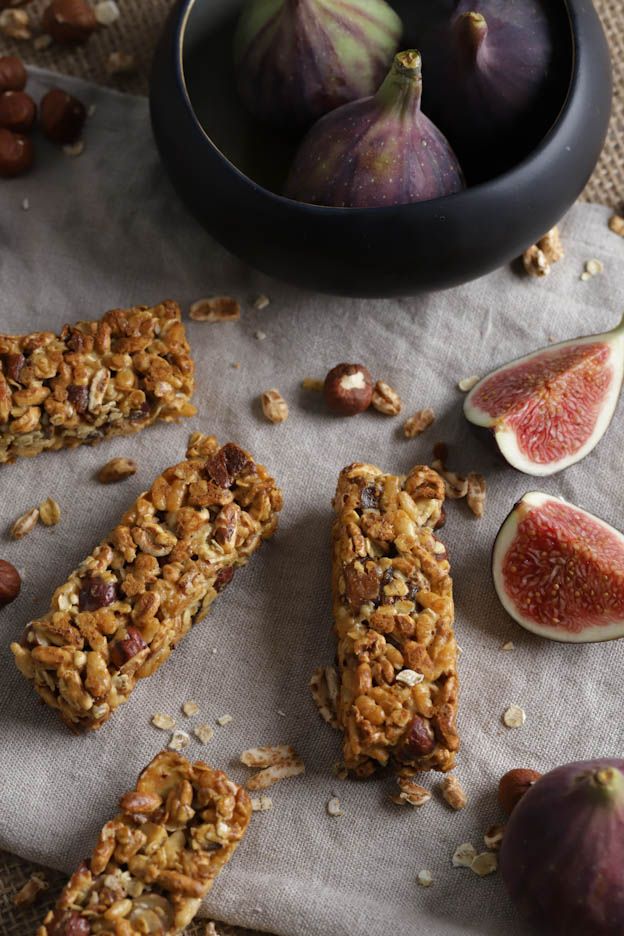
Here are my hazelnut-fig cereal bars.
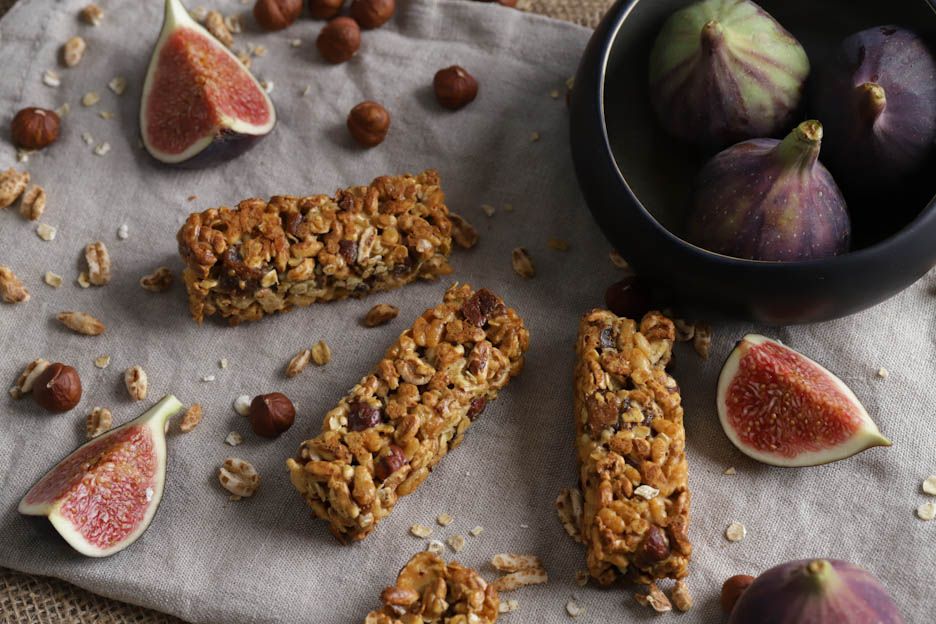
To make these cereal bars, you will need the following ingredients:
- 90g dried figs
- 60g hazelnuts
- 60g oat flakes
- 20g puffed rice
- 40g oat clusters
- 50g butter
- 120g sweetened condensed milk
For reference, oat clusters look a lot like Smacks except they're not sweetened. I bought them at Coop if I remember correctly.

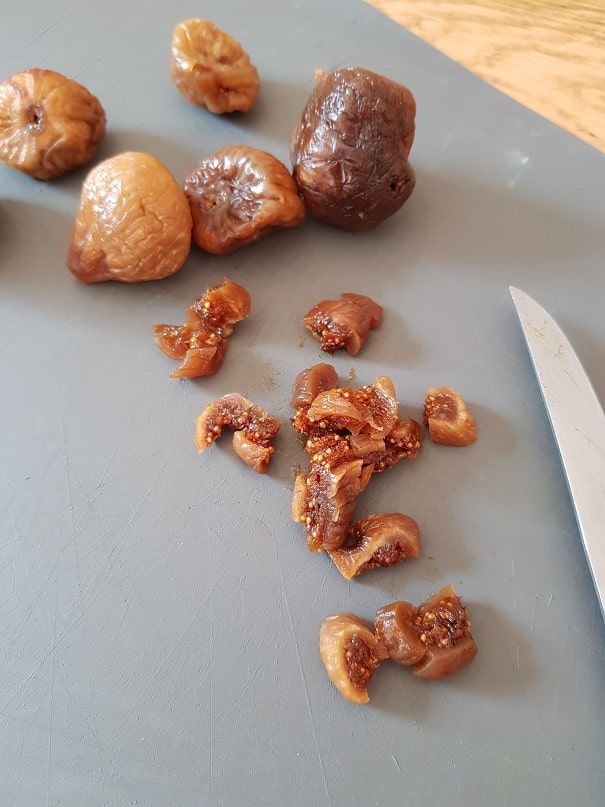
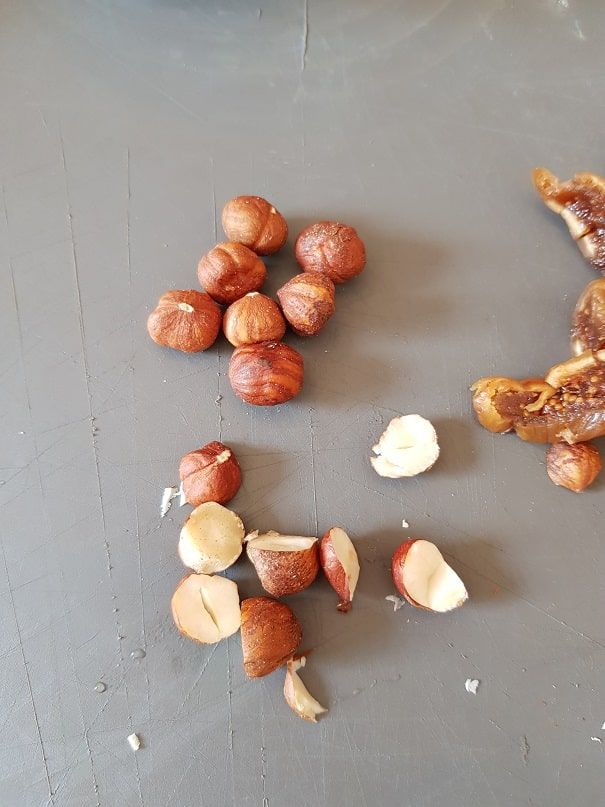
Start by cutting 90g of dried figs into small cubes of about 0.5 cm and 60g of hazelnuts into 2 or 3 pieces.
Then pour everything into a large bowl and mix with a spoon.
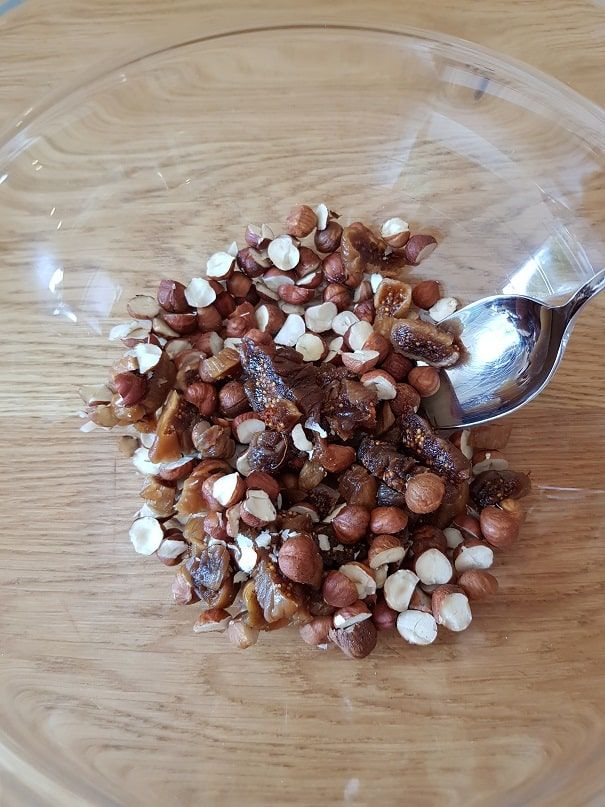
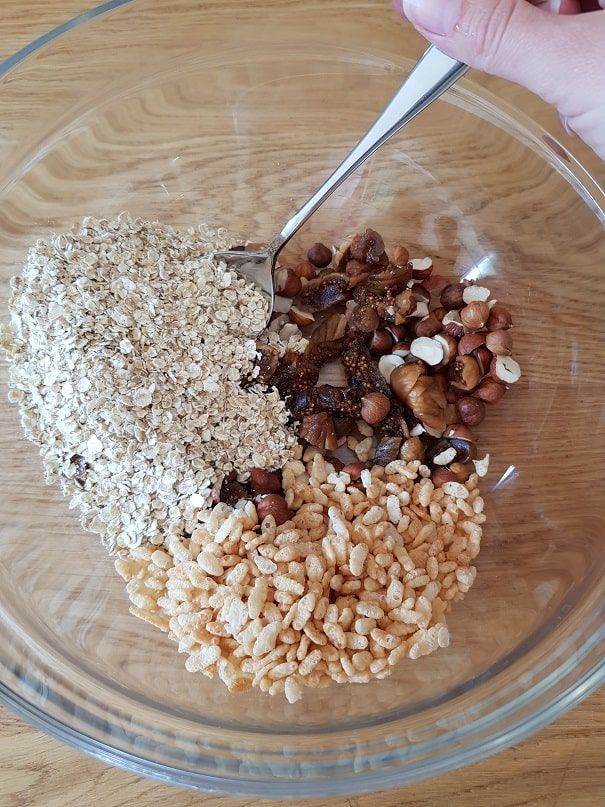
Then add 60g of oat flakes, 20g of puffed rice and 40g of oat clusters and mix again with a spoon.
Set the mixture aside for a few minutes.
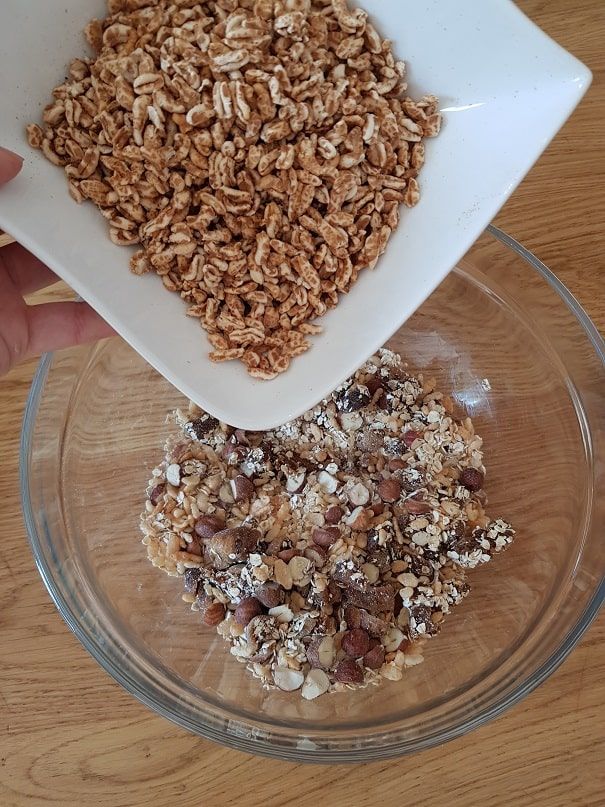
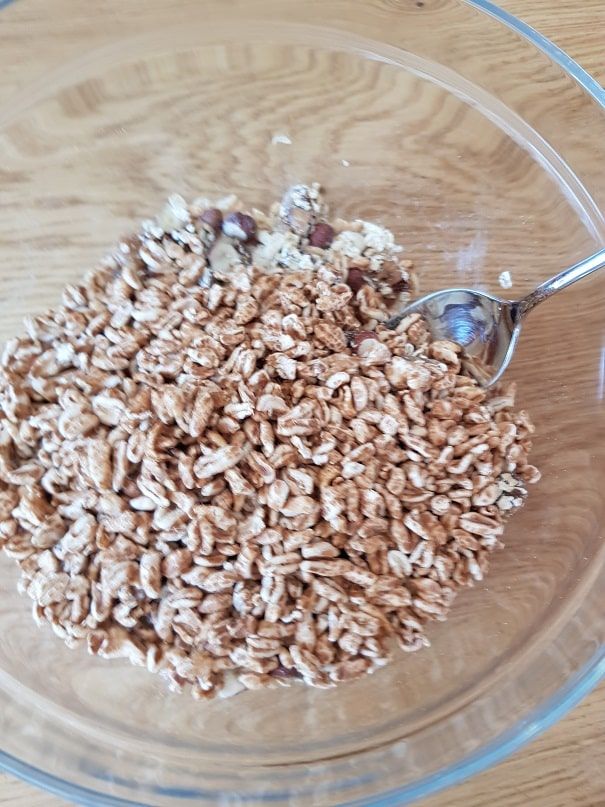
In a saucepan, pour 120g of sweetened condensed milk with 50g of butter and melt the mixture.
The butter must be completely melted. Stir with a spatula or whisk until everything is fully melted.
Once the mixture is hot enough and the butter is melted, pour the mixture over the cereals.
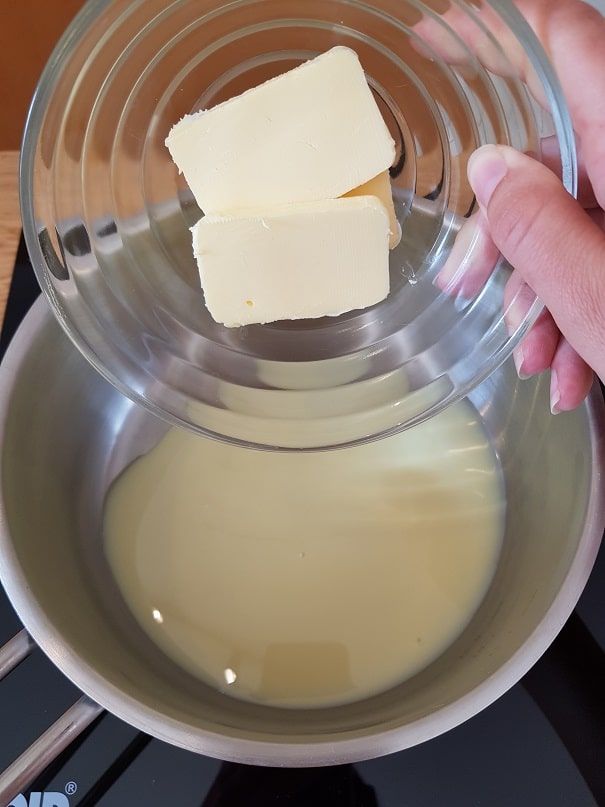
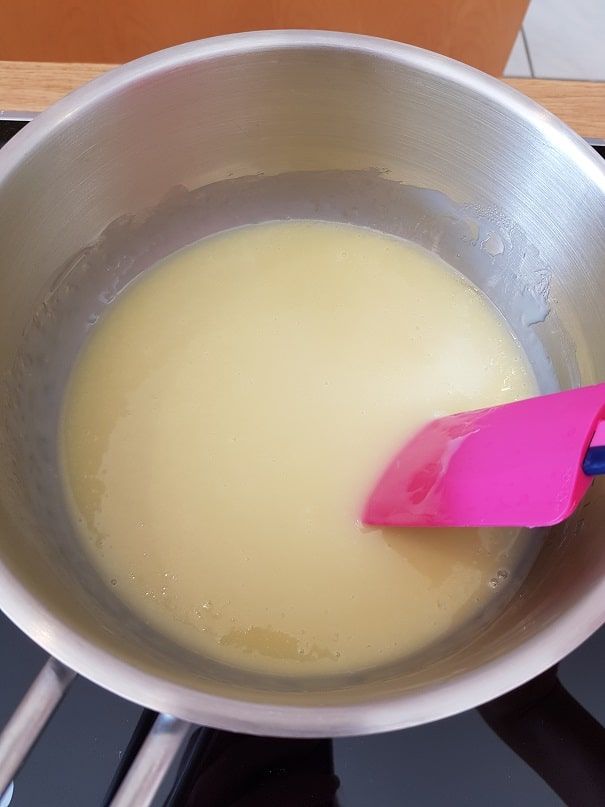
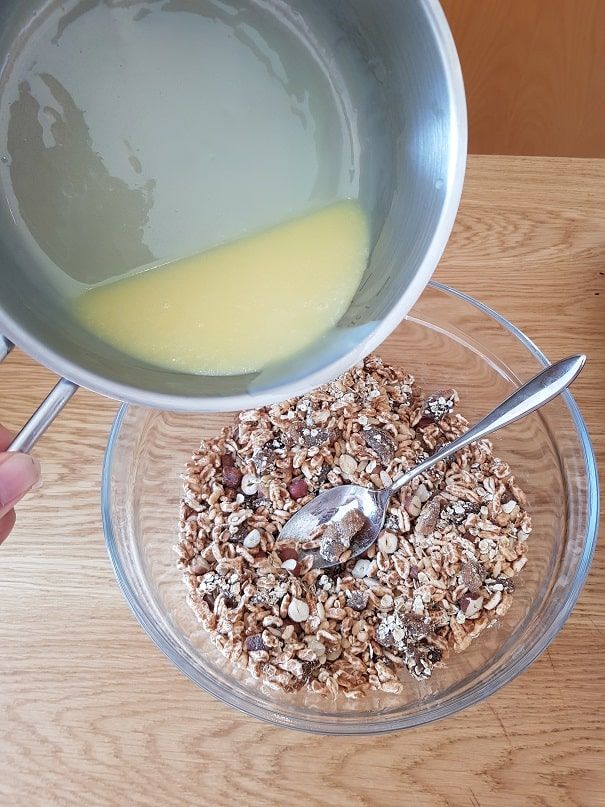
Preheat your oven to 160°C, fan setting.
Then mix the milk/butter with the cereals to get a nice, well-homogeneous mass.
Grab a perforated baking tray and two mini cake moulds.
Fill the cavities 3/4 full and press everything down firmly with a fork so your cereal bars are nice and solid once baked. :o)
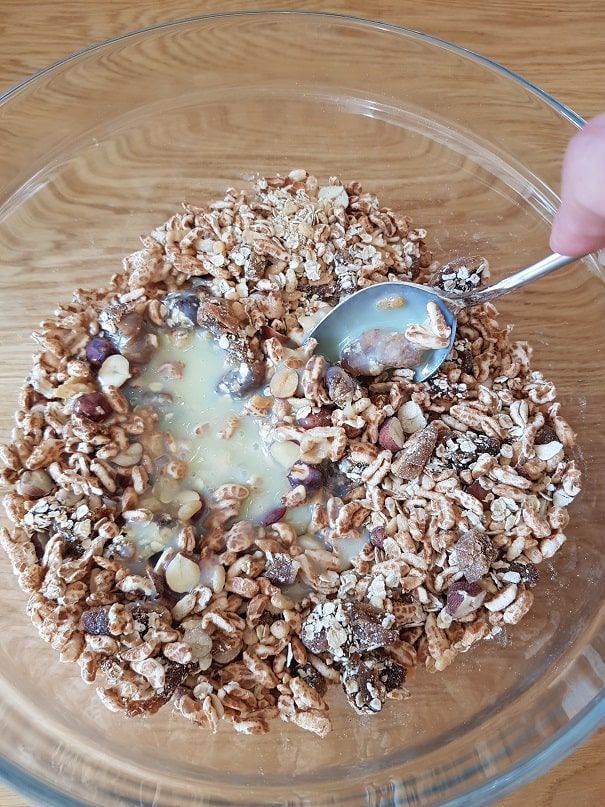
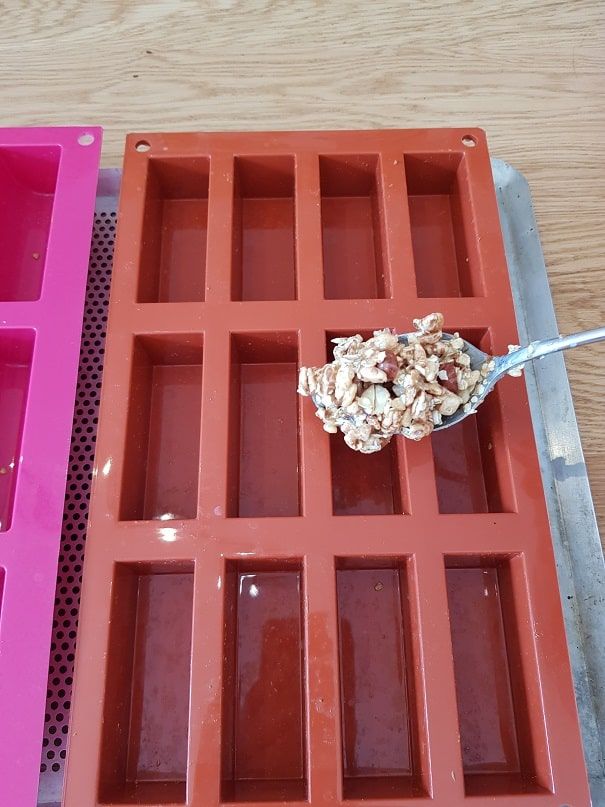
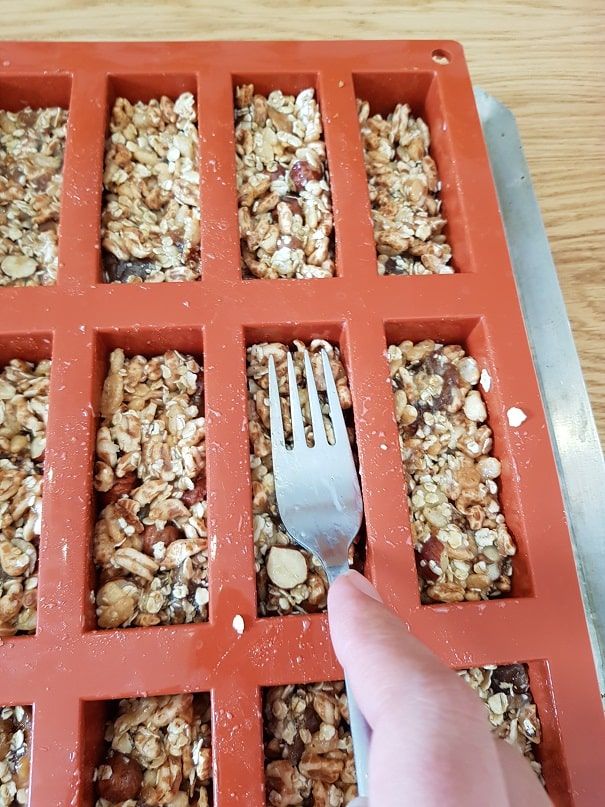
Here I almost filled two moulds.
Place your moulds in the preheated oven at 160°C for 20 minutes of baking.
Once baked, let the cereal bars cool for a good 15 minutes in the moulds.
If you unmould them too quickly, they will break.
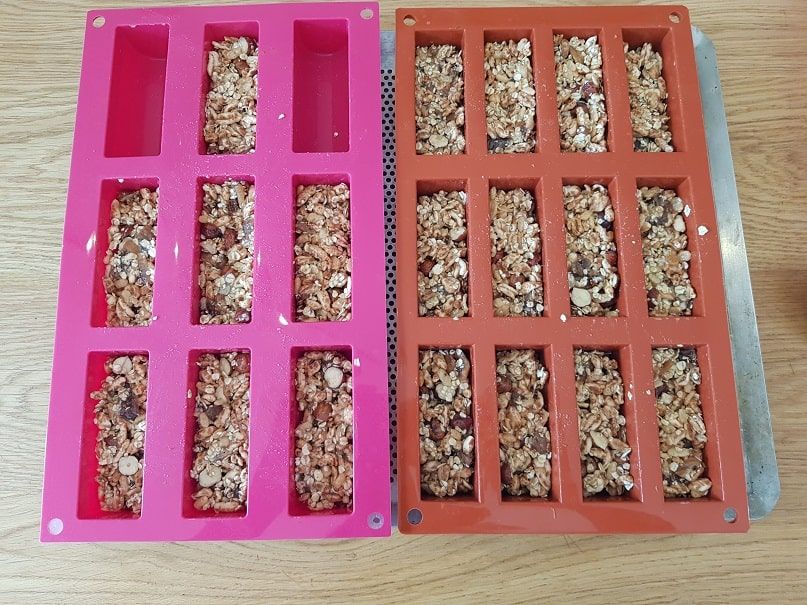
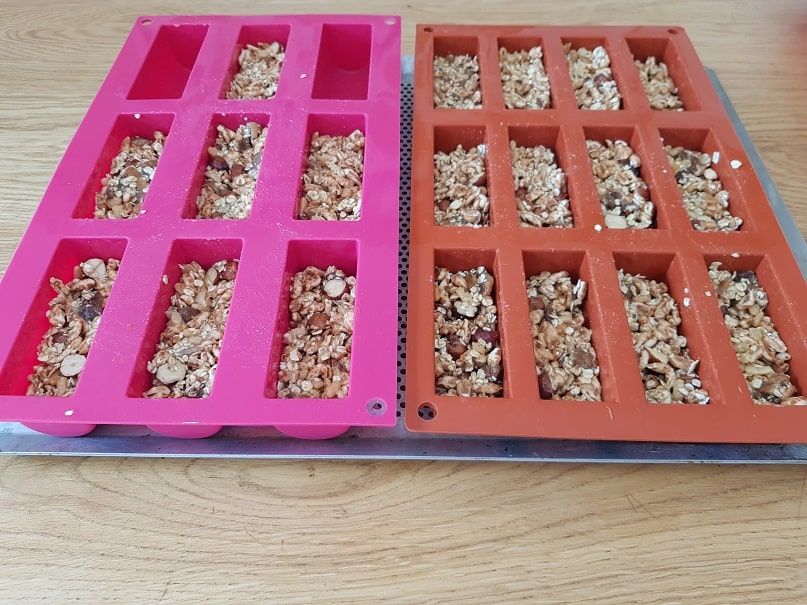
And here's the result! :o)
Perfect for the 10am break or for a tasty snack on a beautiful Swiss mountain. :o)
The cereal bars keep for 10 days in a tin box. After that they will start to soften.
Happy Sunday foodies!
Karin
P.S.: All the equipment used can be found at the bottom of the recipe.

Related posts
 Juicy Matcha Muffins with Pecan Nuts & White Chocolate
Matcha Iced Latte & Coconut Variant
Pull-apart bread with fresh wild garlic pesto
Mini Banana Bread with Chocolate Chips
Juicy Matcha Muffins with Pecan Nuts & White Chocolate
Matcha Iced Latte & Coconut Variant
Pull-apart bread with fresh wild garlic pesto
Mini Banana Bread with Chocolate Chips
Leave a comment