
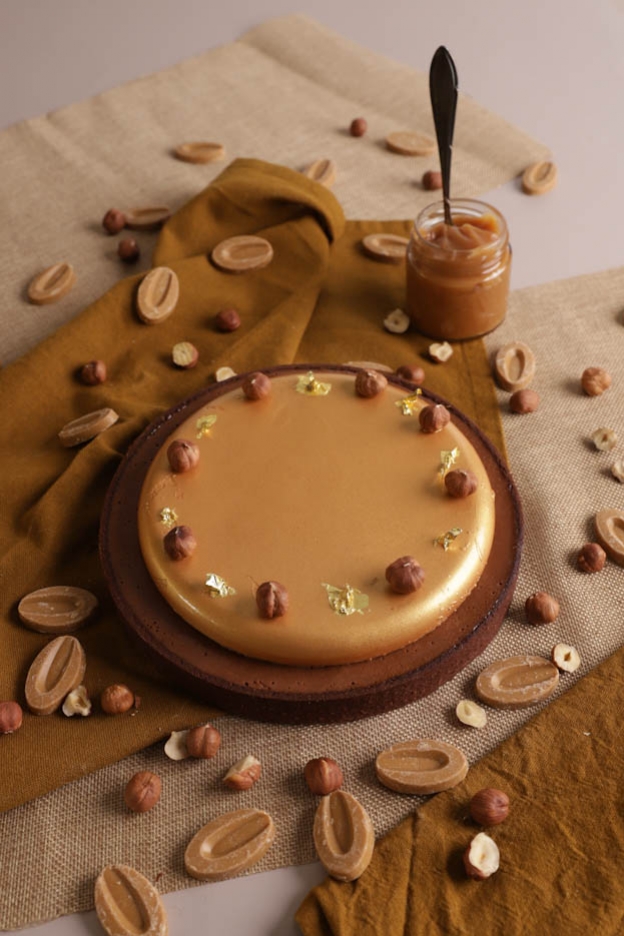
Dulcey Chocolate Tart
Hey foodies!
This week, I'm back with another tart! Well yes... I've become a fan of these new Silikomart pastry gems! :o)
But be warned!... this is a chocolate bomb!
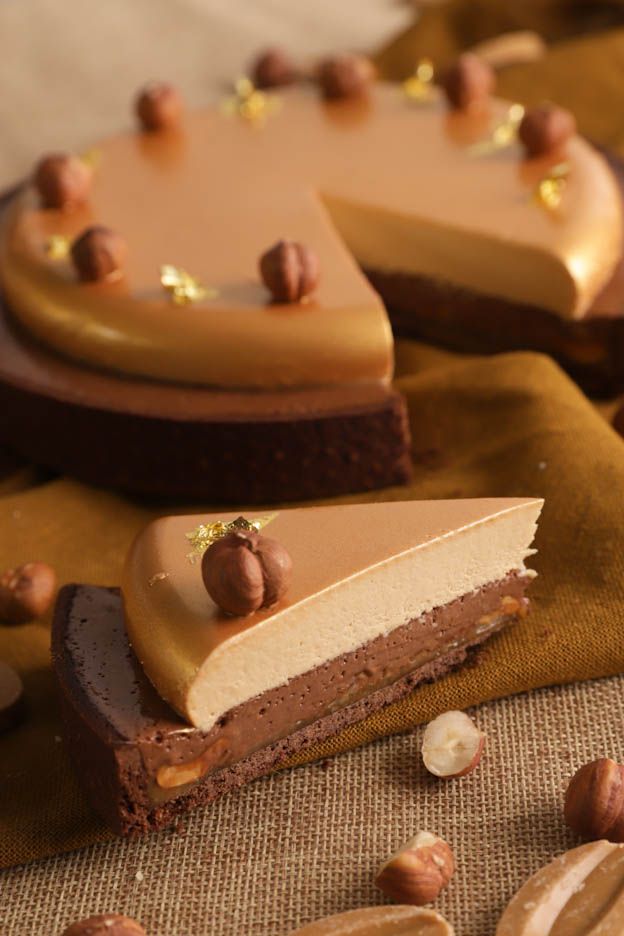
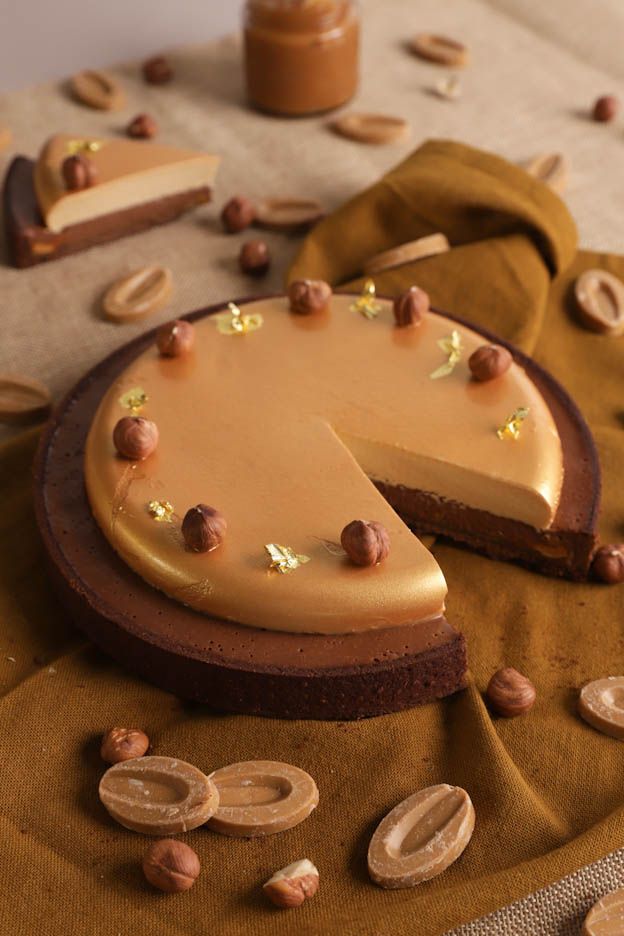
Chocolate shortcrust pastry, salted butter caramel on the tart base, roasted hazelnuts, chocolate cremeux and Dulcey mousse. A treat!
This tart takes some time to make… but don't give up! You can make it over several days without any problem.
You should count about 4 good hours of cooking time. The tart keeps very well in the freezer so go ahead and make two at once and keep one in the freezer for another occasion.

To make one tart for approximately 6 to 8 people, you will need:
- 30gr of hazelnuts
Dulcey Mousse
- 1.6gr of powdered gelatine
- 8gr of cold water
- 84gr of Dulcey chocolate
- 52gr of whole milk
- 105gr of heavy cream
Chocolate shortcrust pastry
- 45gr icing sugar
- 12gr of unsweetened cocoa powder
- 60gr of butter (slightly softened)
- 1gr of salt
- 15gr of almond flour
- 25gr of egg (1/2 egg)
- 105gr of flour
Salted butter caramel
For this recipe, one jar of salted butter caramel will be enough.
Follow the blog recipe HERE
Chocolate Cremeux
- 1.5gr of powdered gelatine
- 7.5gr of water
- 70gr of dark chocolate
- 80gr of milk
- 80gr of heavy cream
- 1 egg yolk
- 25gr of sugar
Decoration
- Gold metallic spray
- Gold leaf
- A few hazelnuts
We'll start by roasting our hazelnuts.
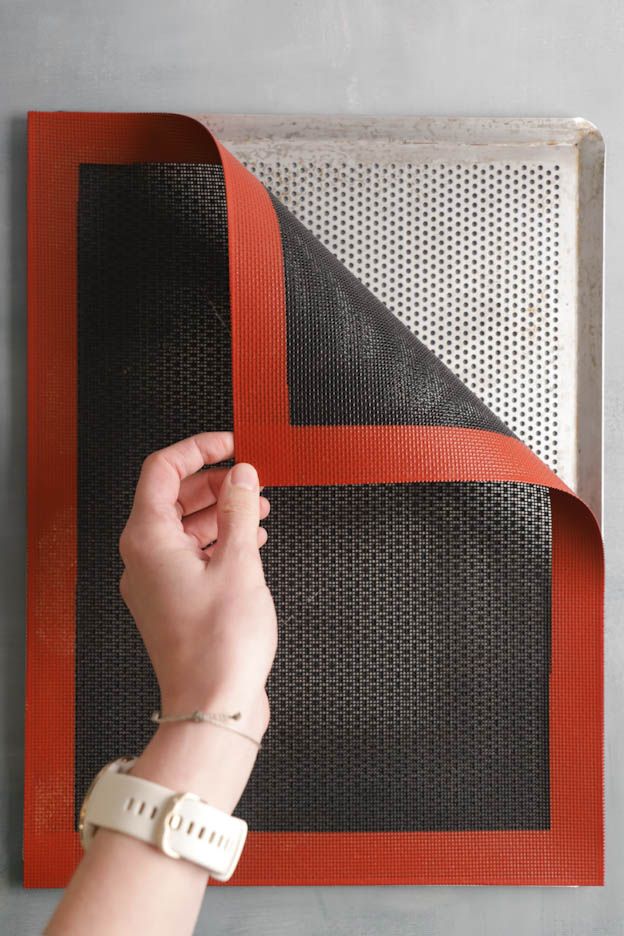
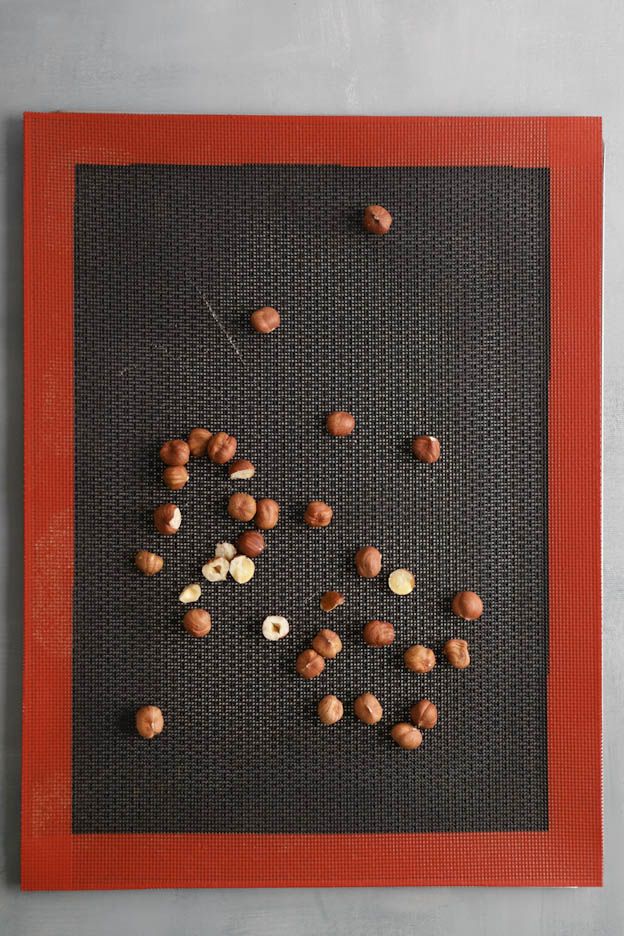
Preheat your oven to 170°C fan-assisted and bake 30gr of hazelnuts on a perforated tray lined with a perforated mat for 20 minutes.
Your hazelnuts will roast and release all their flavours! Let them cool.

Dulcey Mousse
I don't know if you're familiar with this chocolate... but it's an amazing chocolate! A white chocolate that has been caramelised and transformed into a blond Dulcey chocolate with a wonderful caramel flavour!
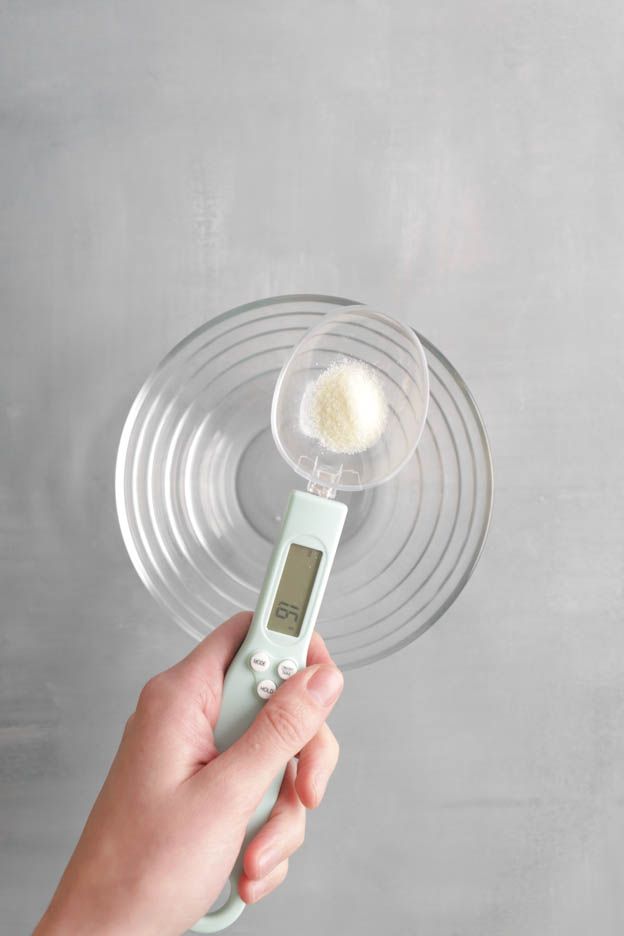
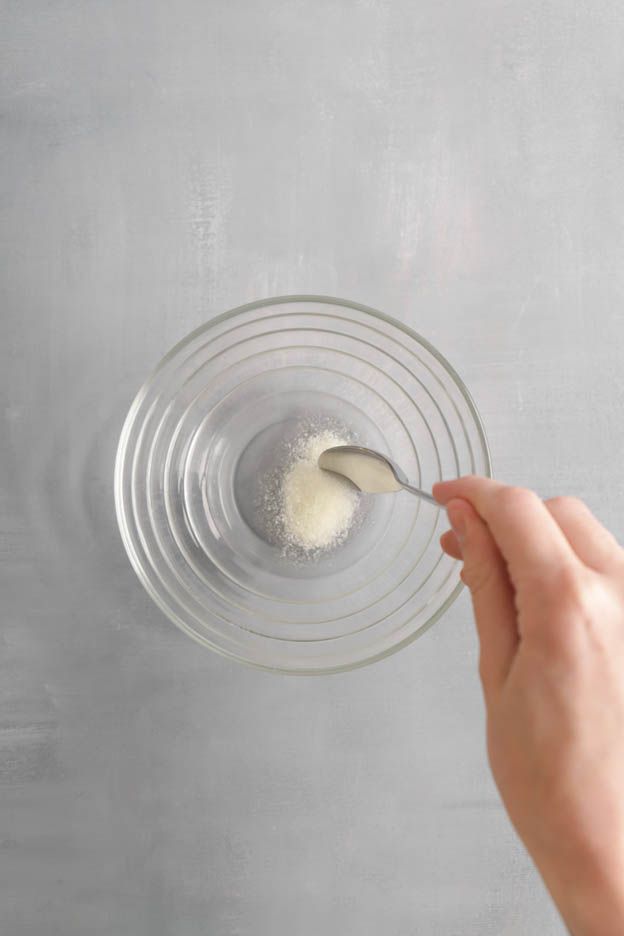
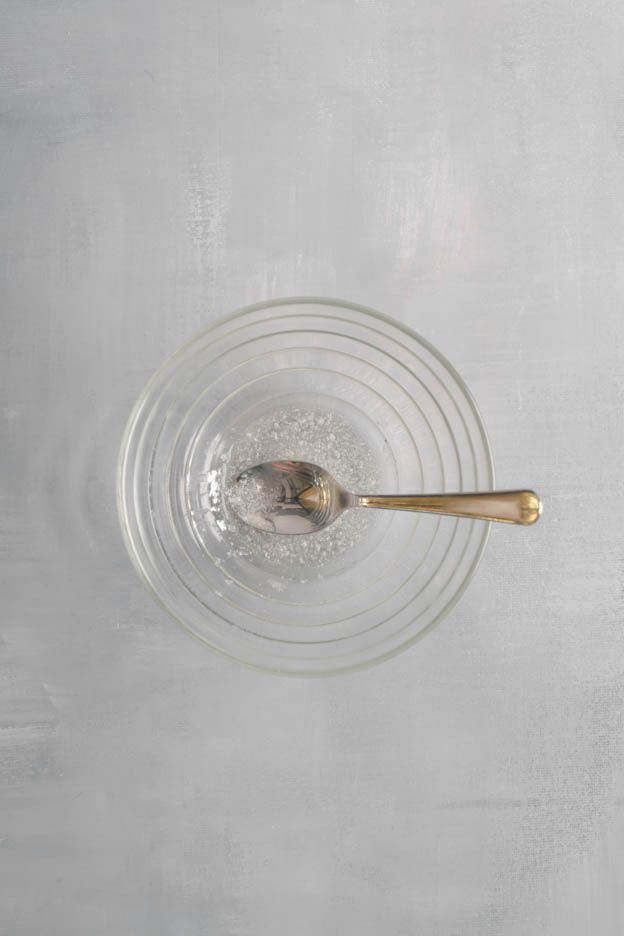
Start by weighing 1.6gr of powdered gelatine using your scale spoon, then pour it into 8gr of cold water.
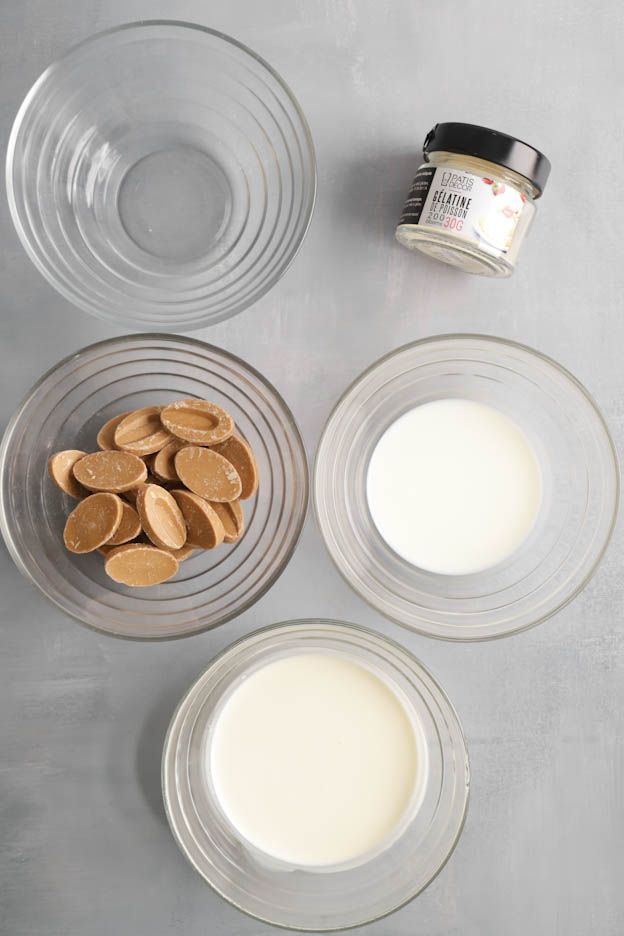
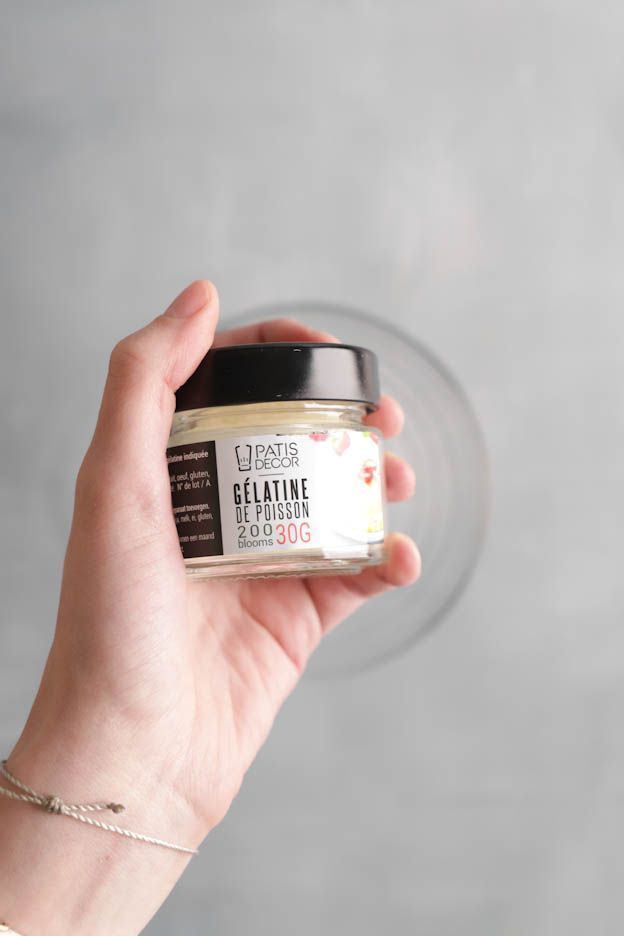
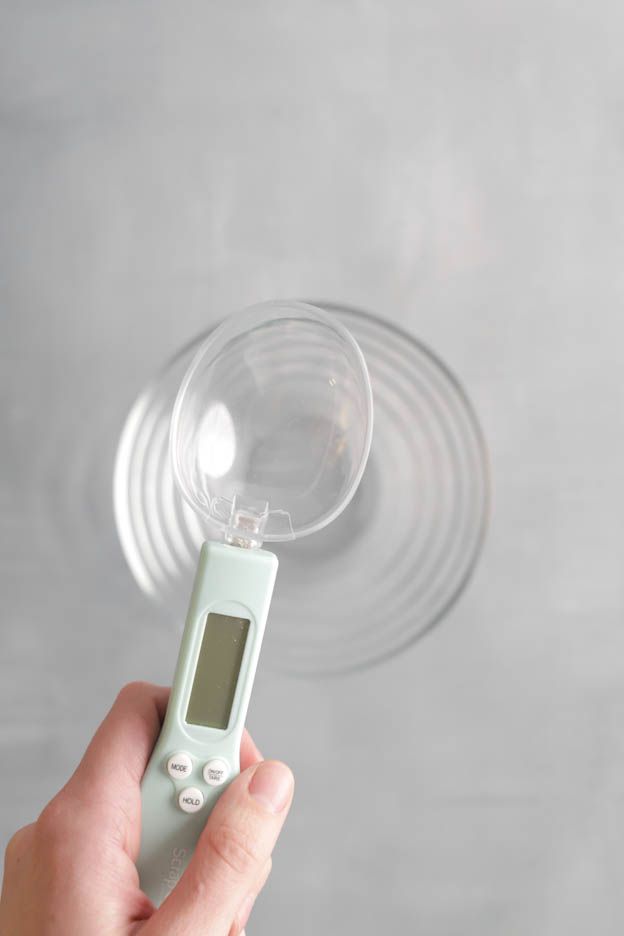
Then mix with a spoon and set aside.
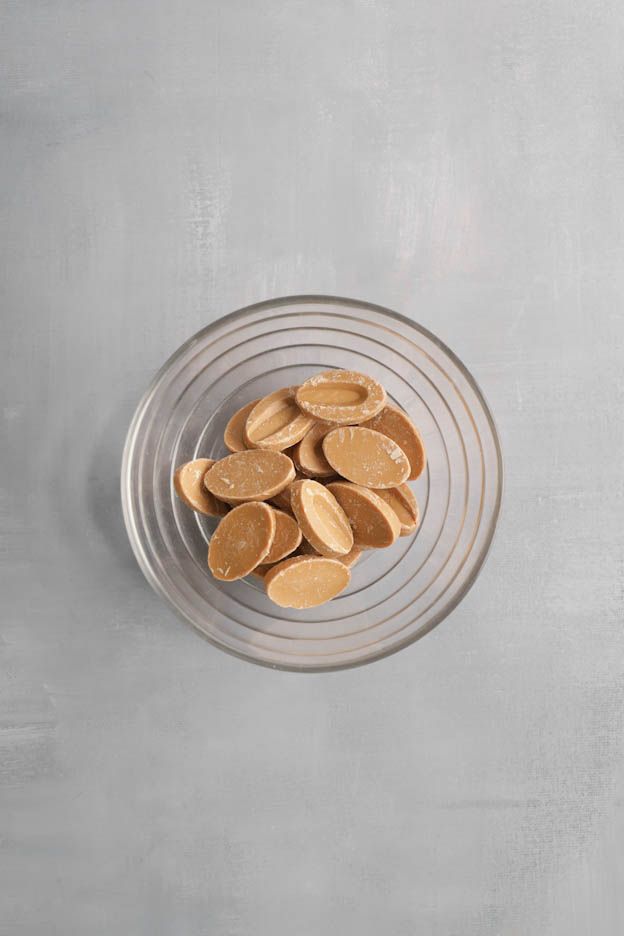
Here is our famous Dulcey chocolate... just seeing it in a photo makes me drool! :o)
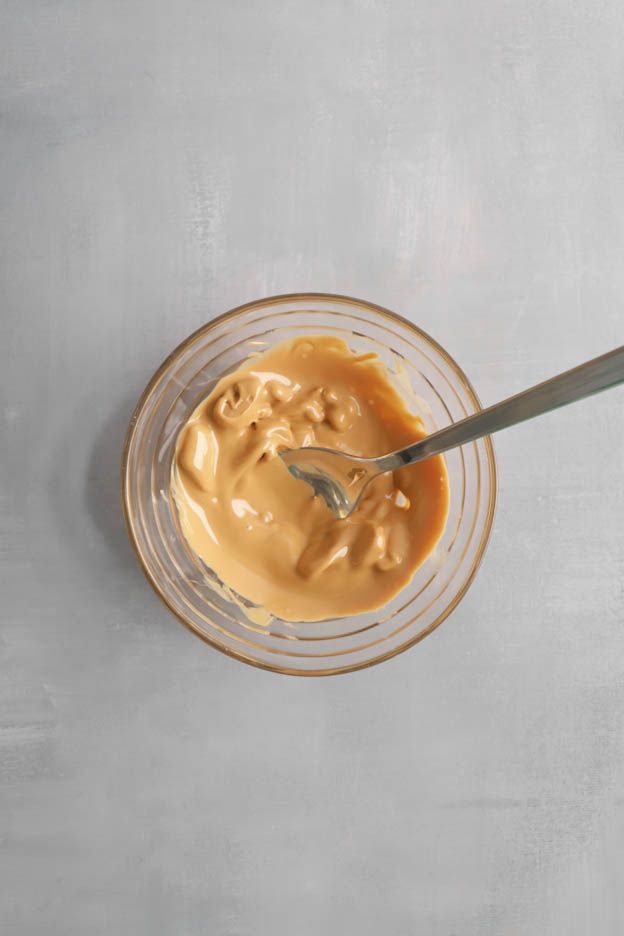
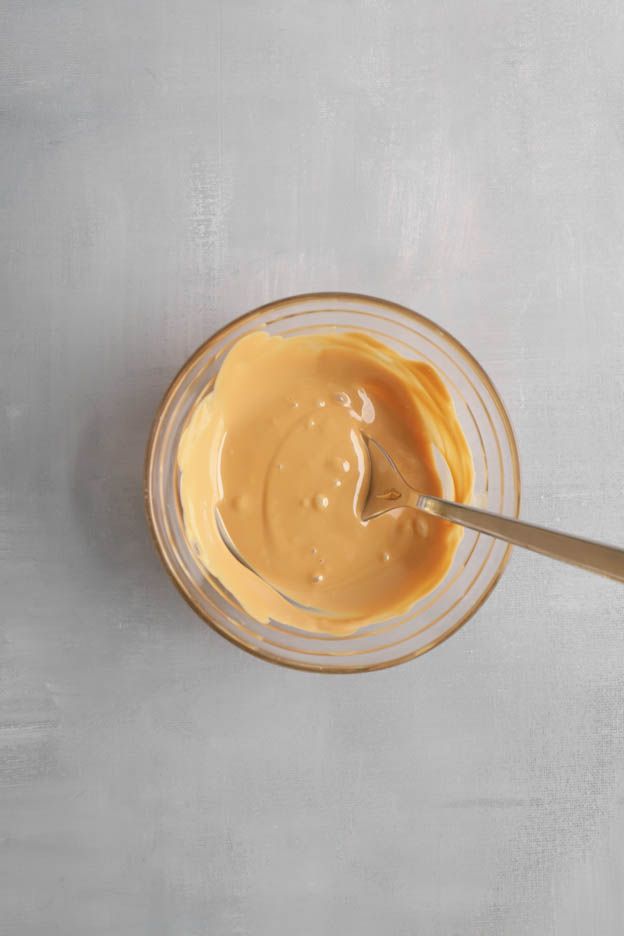
Melt 84gr of Dulcey chocolate in the microwave at 600Watt for about 1 minute. Stir well with a spoon and let your chocolate melt. Do not overheat your chocolate, because if it exceeds 50°C, it will seize up and you won't be able to do anything with it…
Once the chocolate is melted, set it aside.
Grab a saucepan and bring 52gr of whole milk to a boil.
Add the gelatine off the heat.
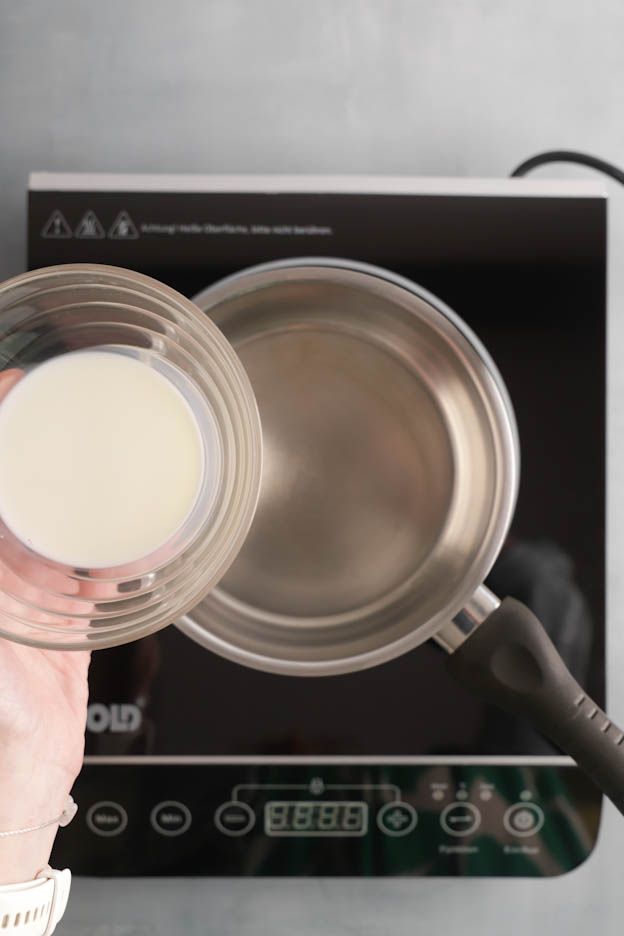
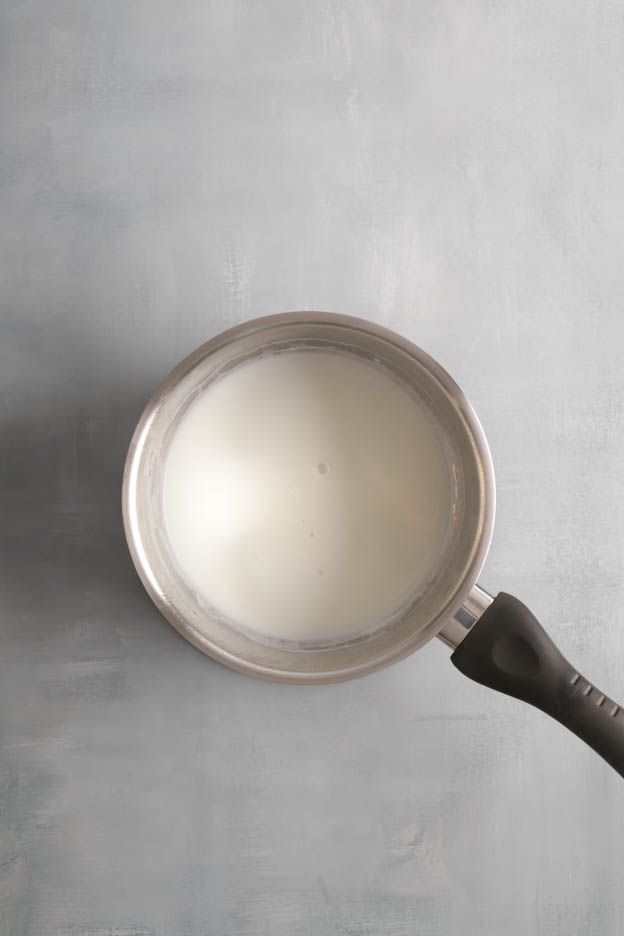
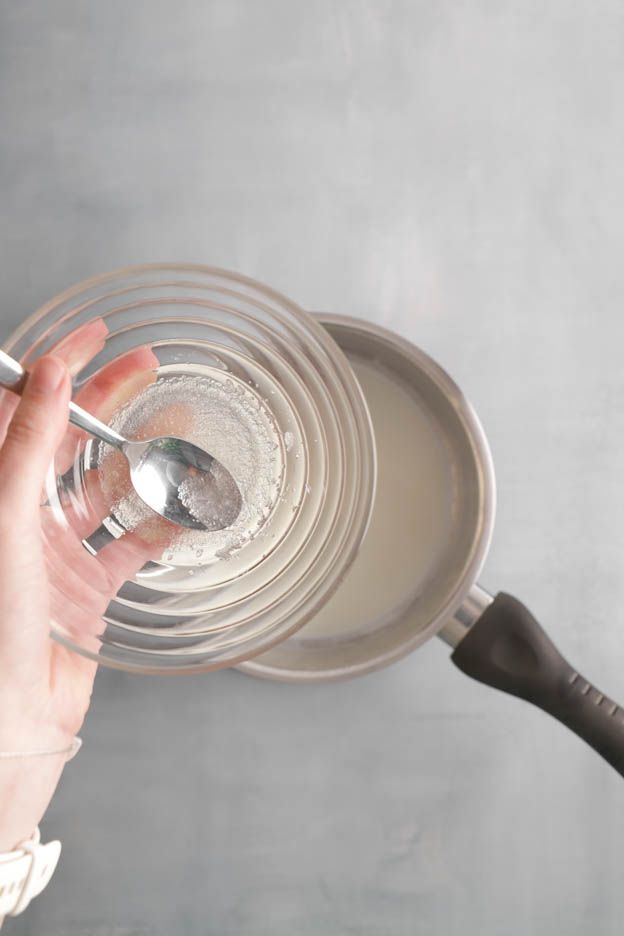
Stir with a spatula so the gelatine dissolves properly in the hot milk.
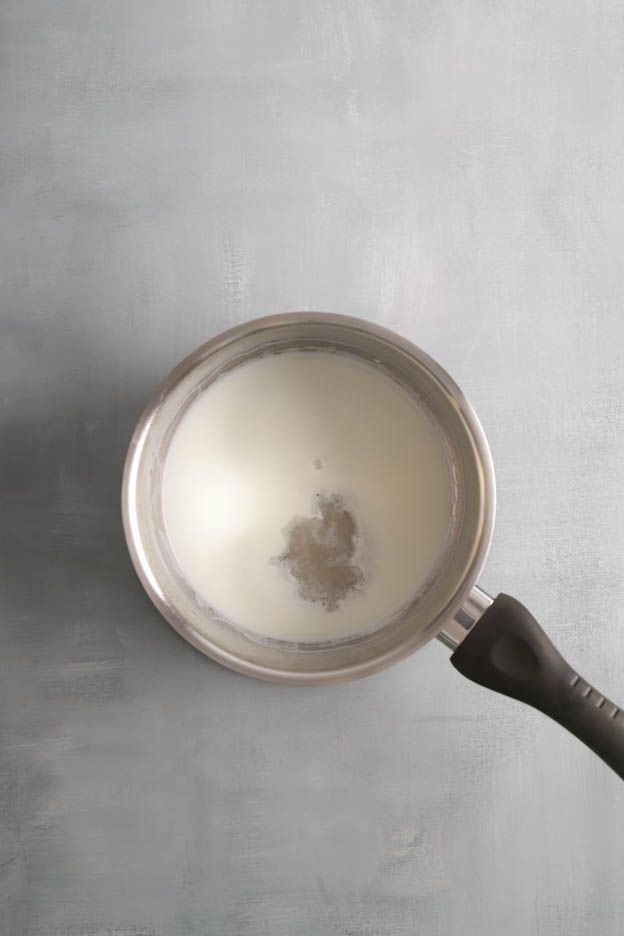
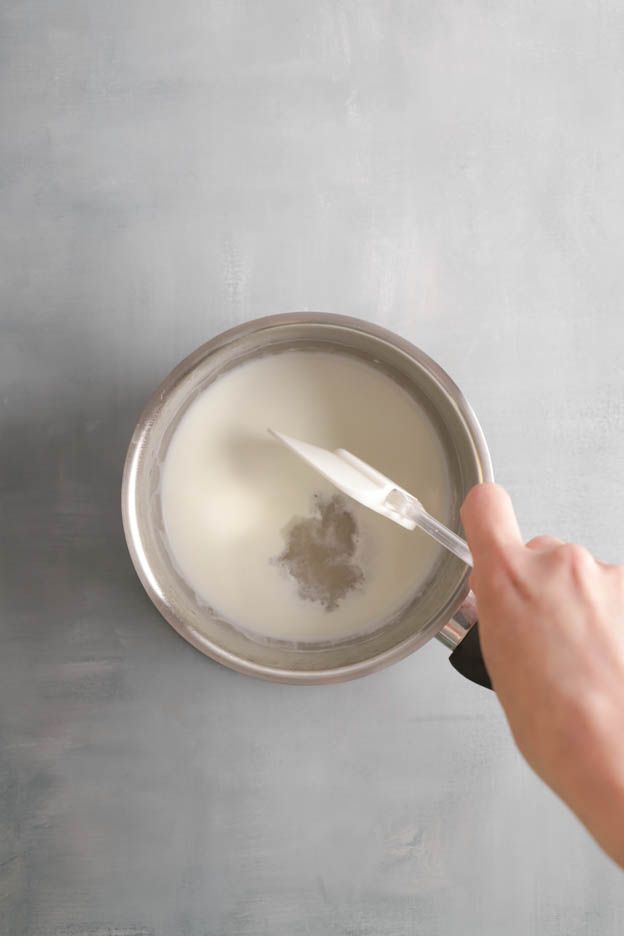
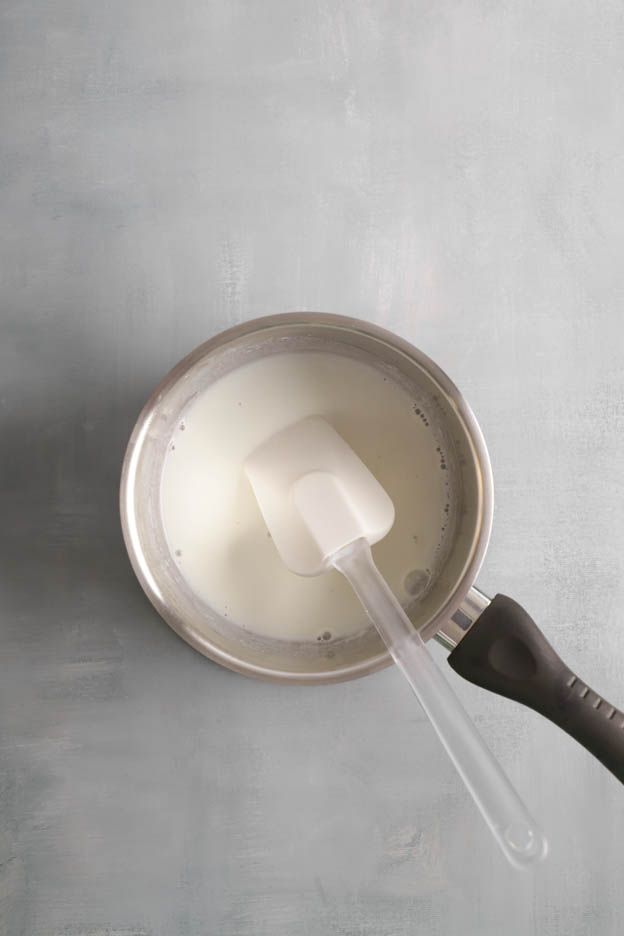
Then pour the milk over the melted Dulcey chocolate and mix with a spatula until you get a smooth, homogeneous mixture.
Set the mixture aside at room temperature. It needs to cool down to 25-30°C. Use a thermometer to check the temperature.
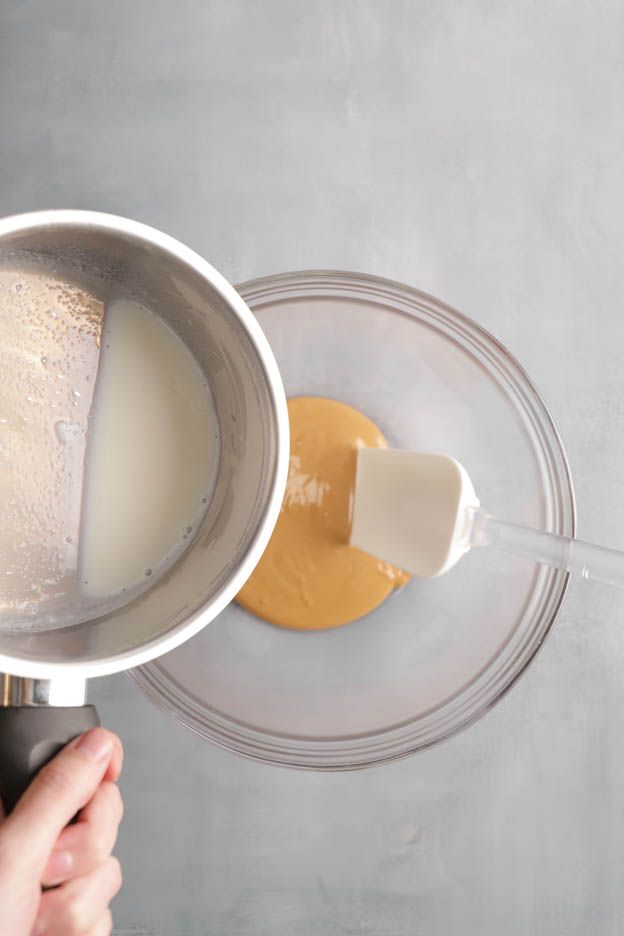

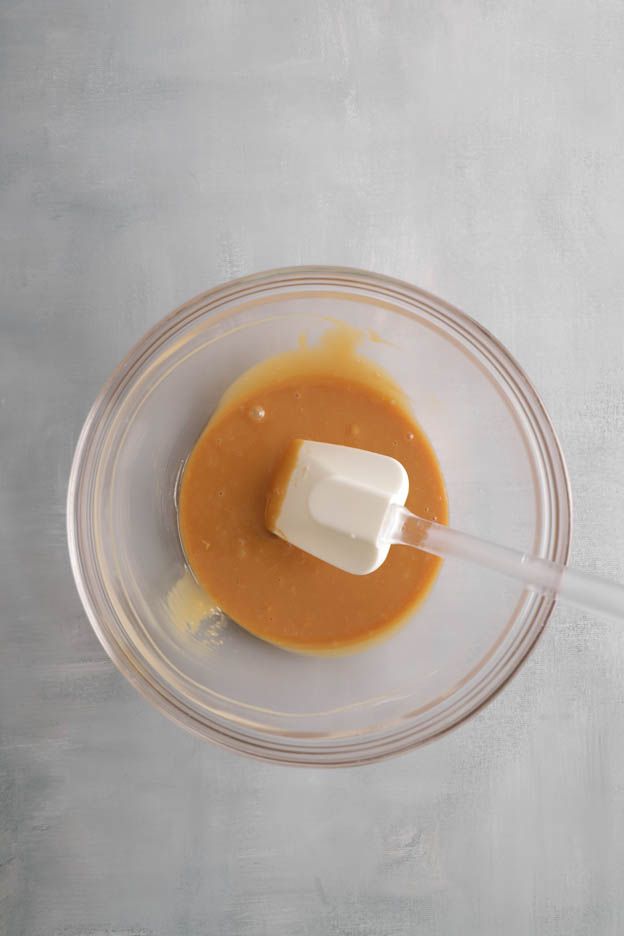
Once the mixture is at 25-30°C maximum, whip 105gr of heavy cream.
Your cream should be just whipped, not too stiff… but not liquid either!

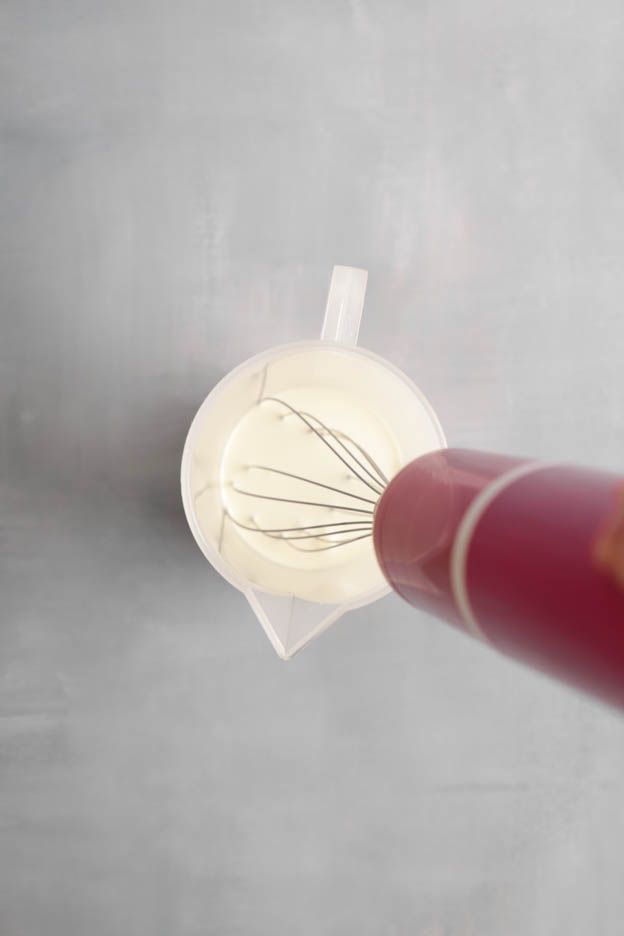
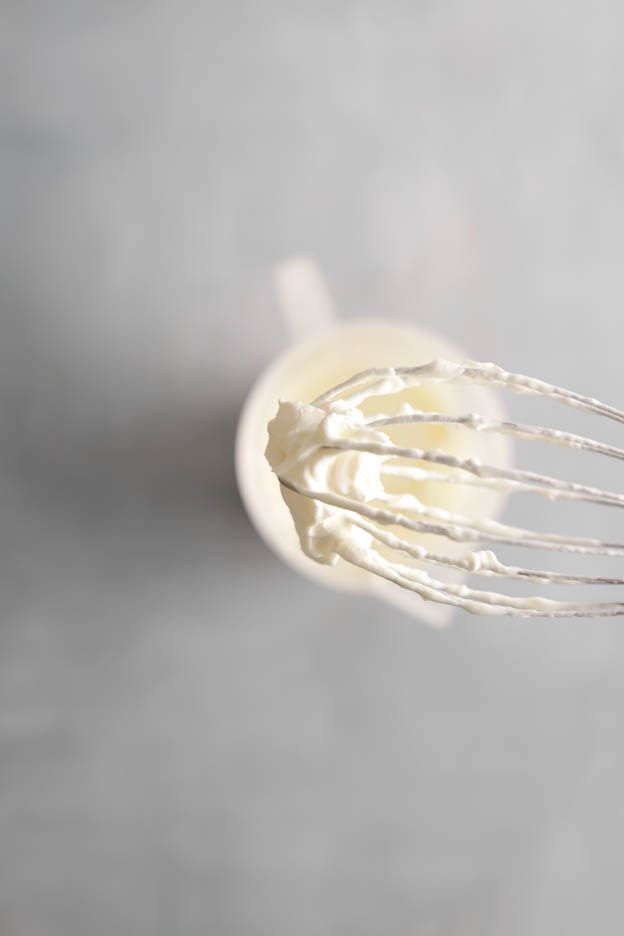
Pour your chocolate/milk mixture into the whipped cream in 3 additions. Be careful! Never pour the chocolate in all at once... your cream could turn liquid if it gets too warm... so take it slowly. A little chocolate, mix, then add a little more chocolate... etc...
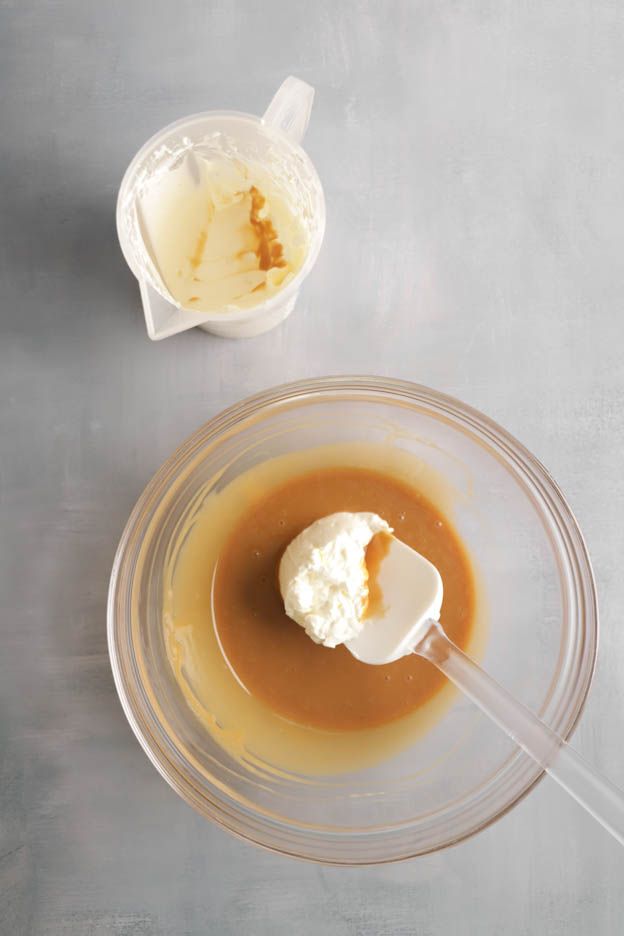

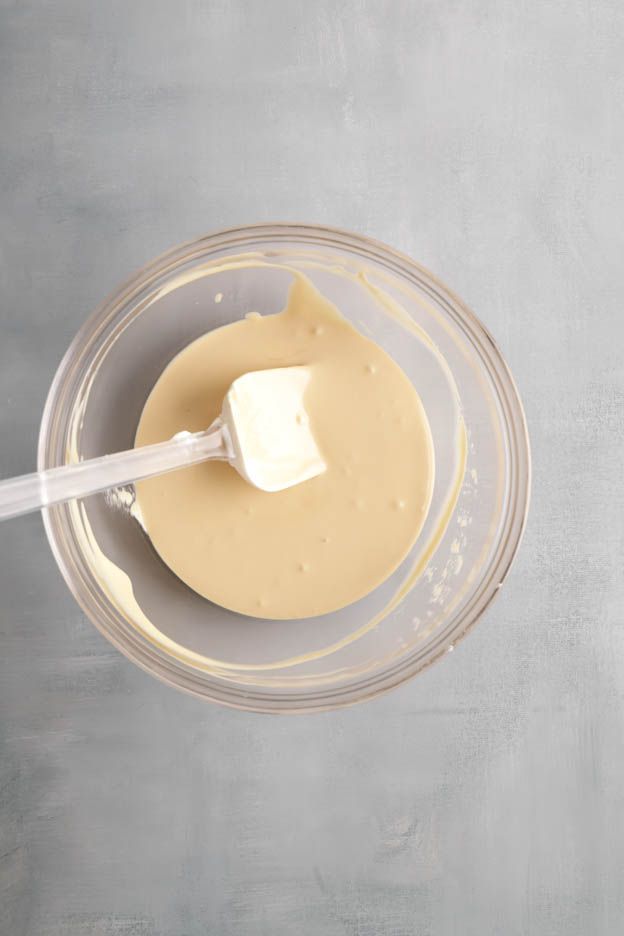
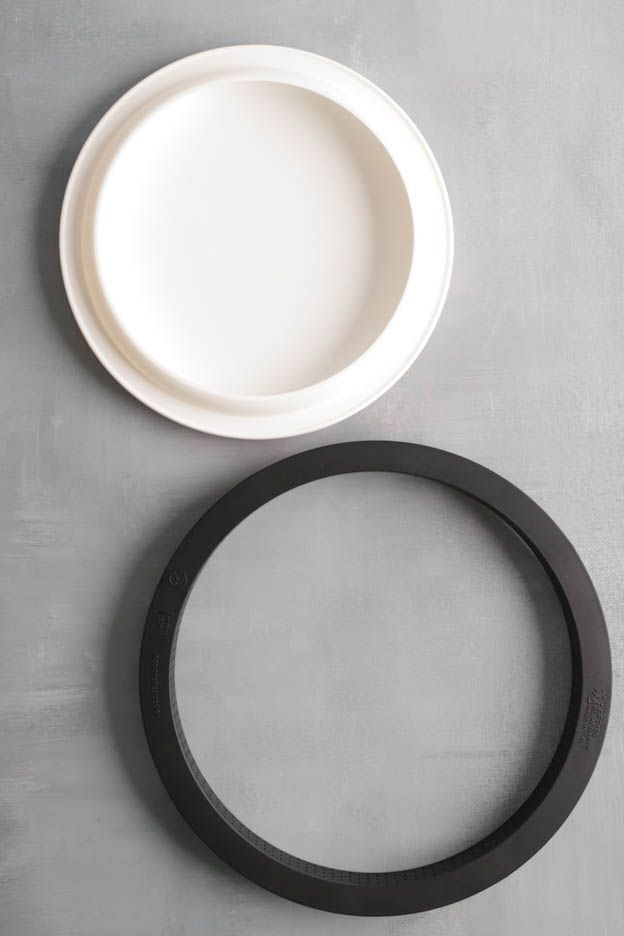
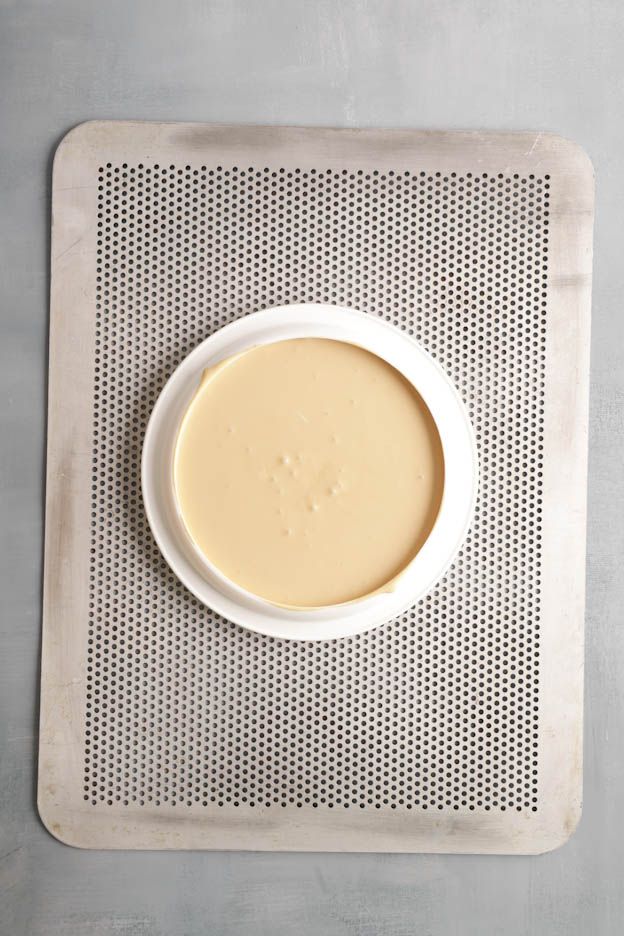
Once your mousse is nice and smooth, grab your silicone mould and place it on a board or perforated tray to make it easier to transfer to the freezer. :o)
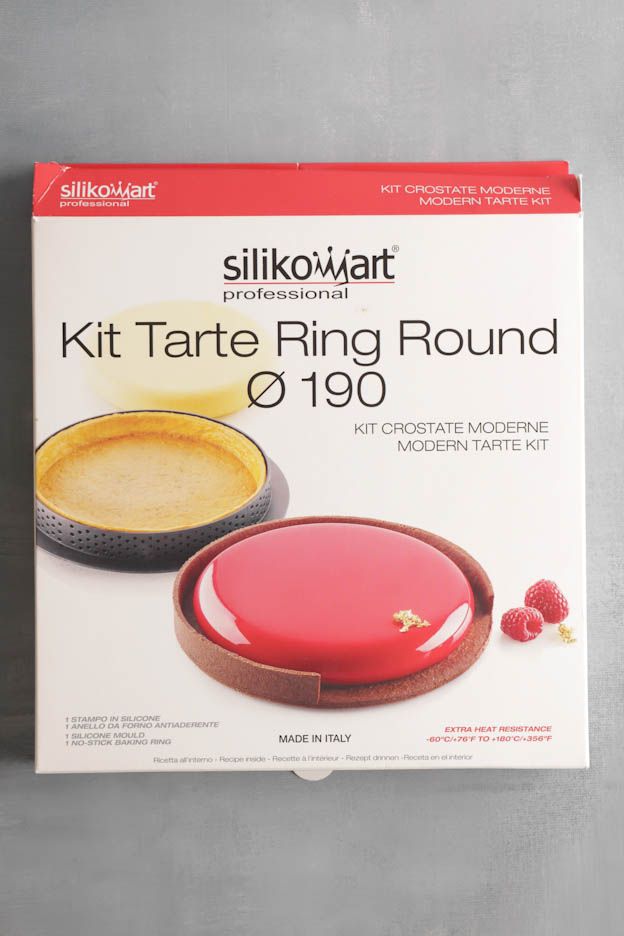
For this recipe, I used the Silikomart Kit Tarte Ring mould of 19 cm in diameter.
Pour the mousse into your mould.
Once the mould is filled, tap your tray on the table so that any bubbles rise to the surface. This will prevent air bubbles showing up in the wrong places when you unmould. :o)
Lightly smooth your mousse with an offset spatula so it is as flat as possible.
Place the mould in the freezer for about 2-3h.
Chocolate Shortcrust Pastry
We could have made a more neutral pastry like vanilla for example, but I wanted my tart to be chocolatey from top to bottom!
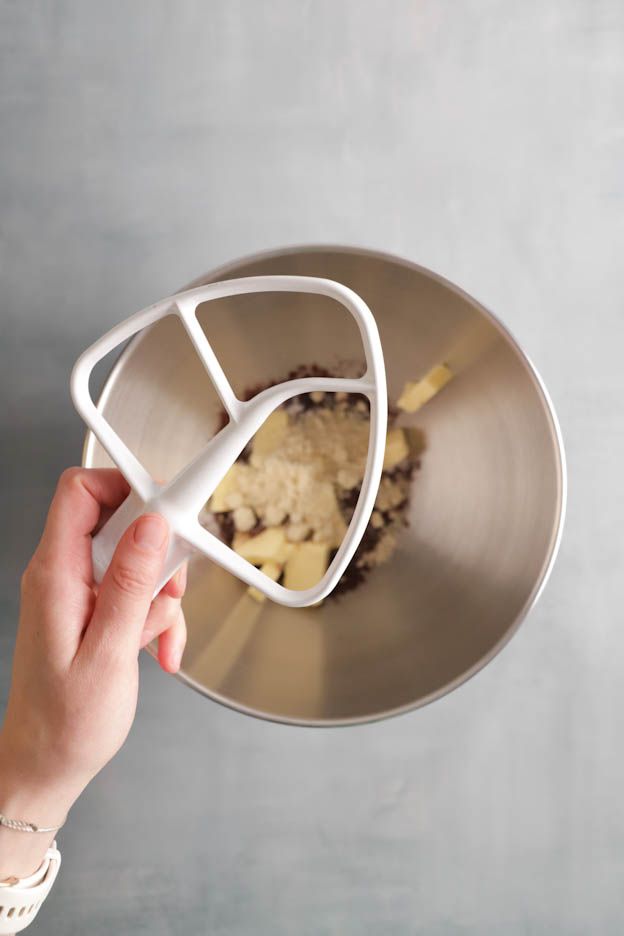
Start by combining 45gr of icing sugar with 12gr of unsweetened cocoa powder.
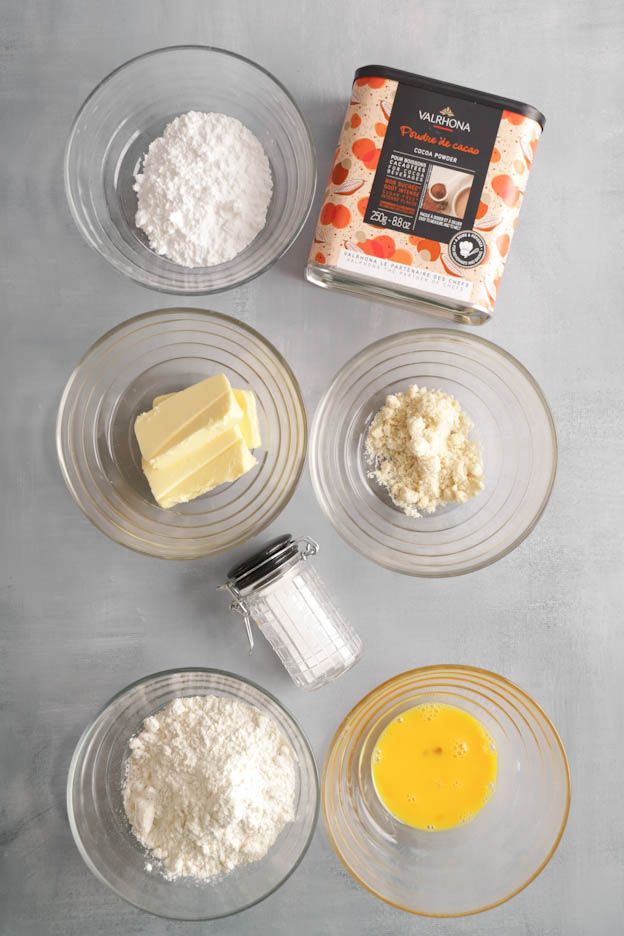
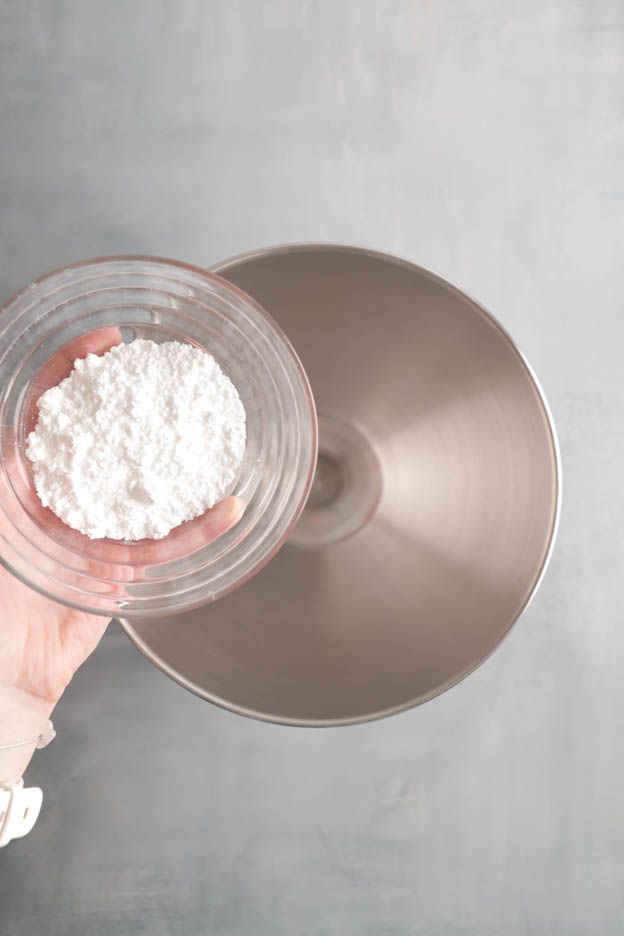
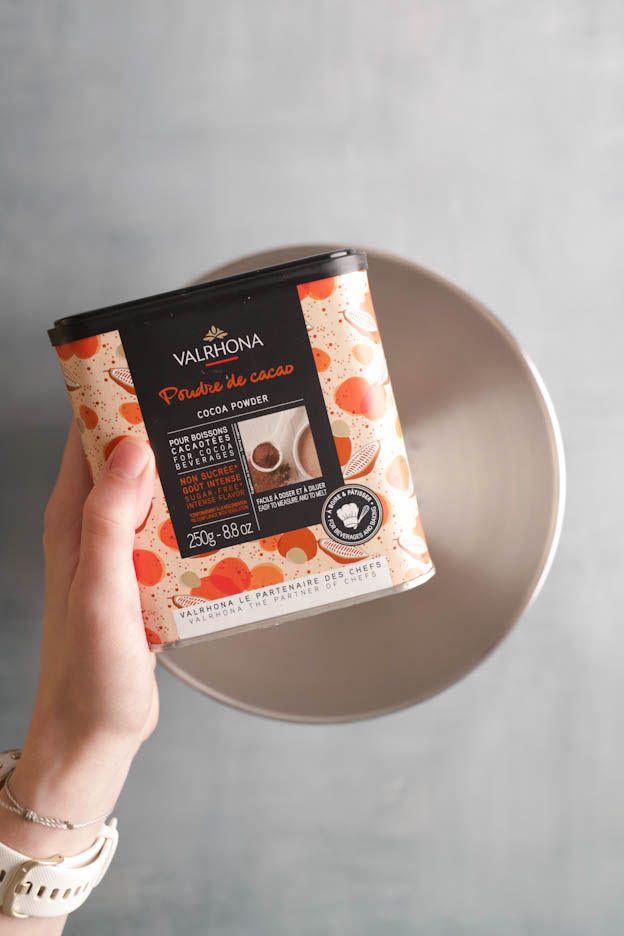
Add 60gr of butter cut into cubes. Ideally it should be slightly softened… so take it out a few minutes before using it.
Then add 1gr of salt and 15gr of almond flour and mix everything together with the paddle attachment (K beater).
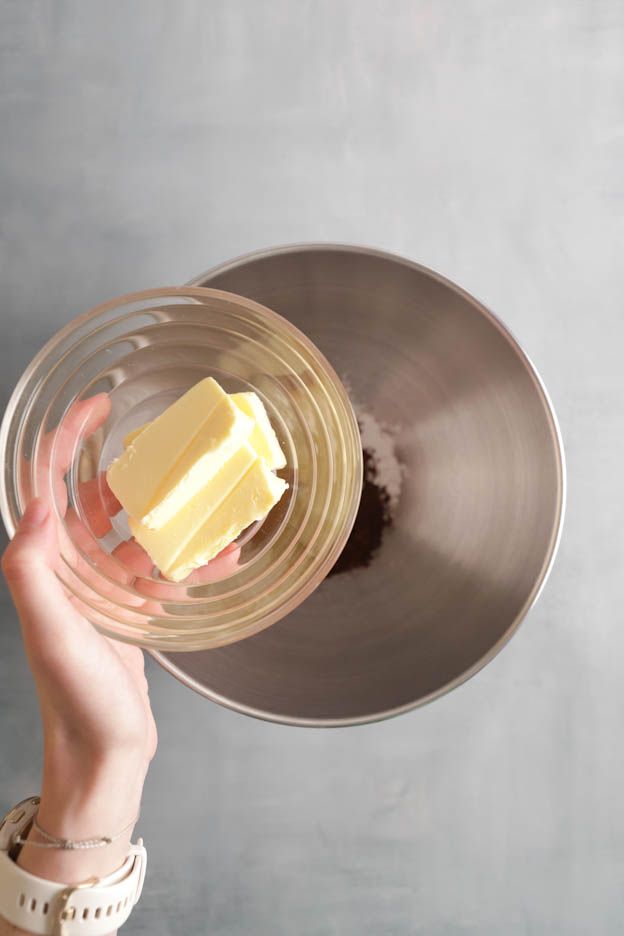
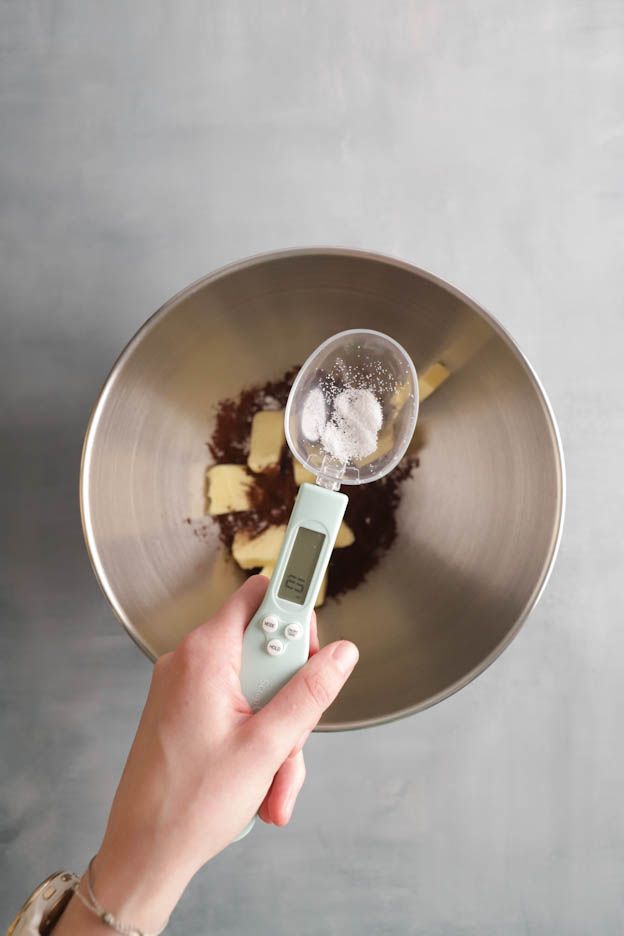
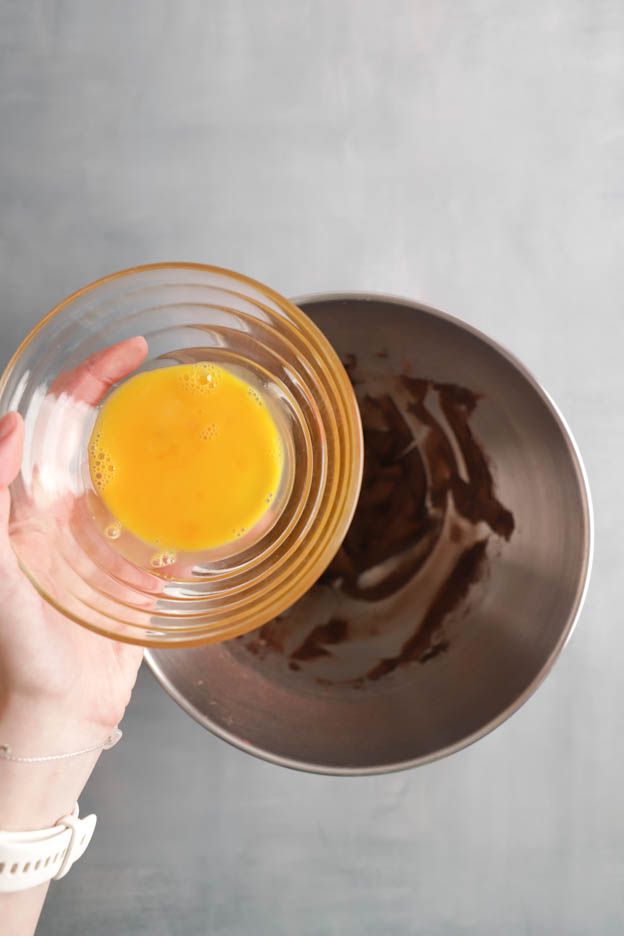
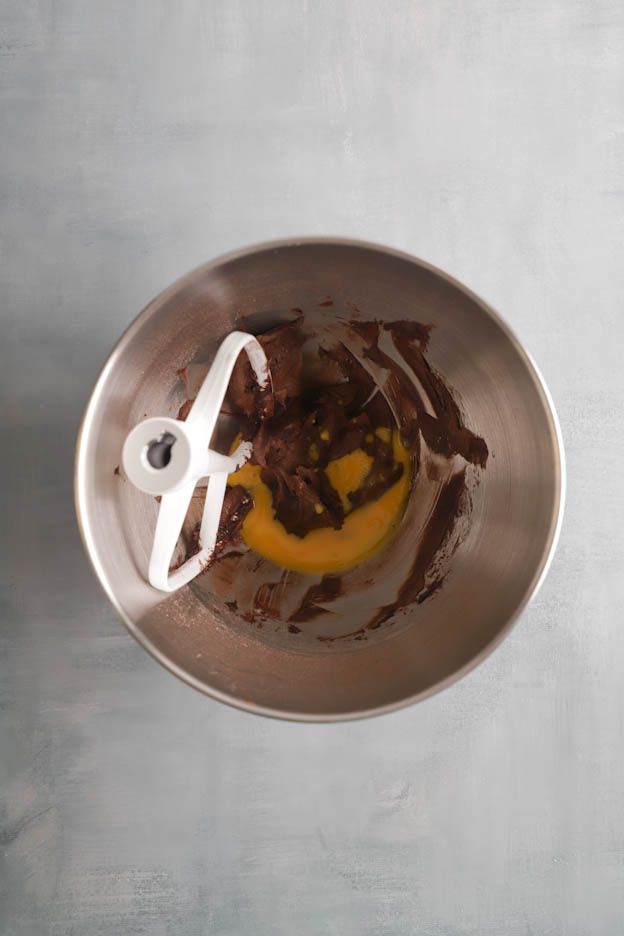
Crack an egg and beat it lightly with a fork. Weigh out 25gr of egg and add the 25gr to the butter/cocoa mixture.
Then mix again with the K beater. You will get a creamy dough.
Finally, add 105gr of flour and mix one last time. Just 30 seconds! No more!

If you over-mix your dough, it will become elastic and puff up during baking. We don't want that for this recipe.
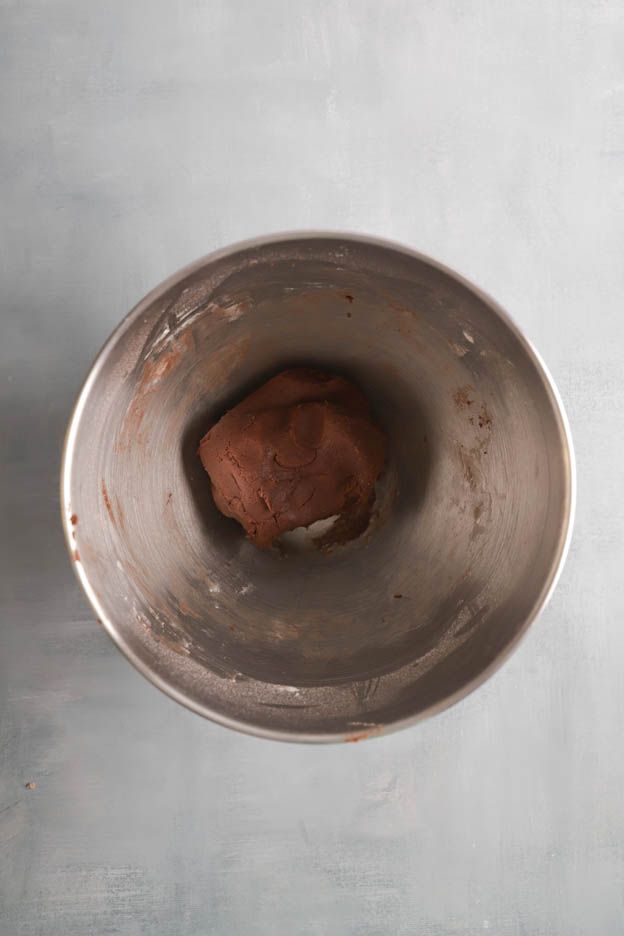
Your dough won't form a ball. That's normal. Use a dough scraper to bring the dough together into a ball.
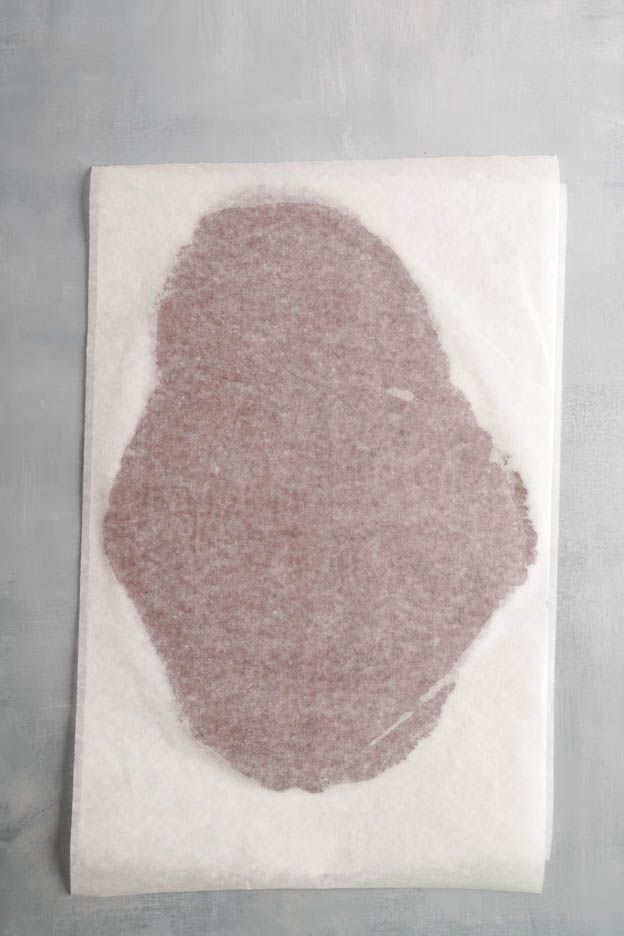
Once your ball is formed, place it between two sheets of baking paper.
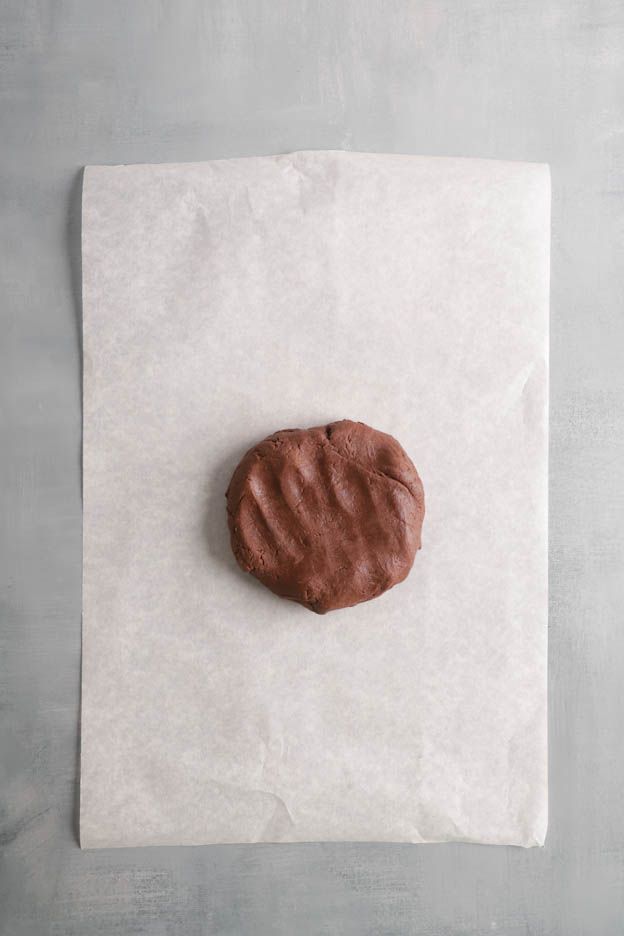
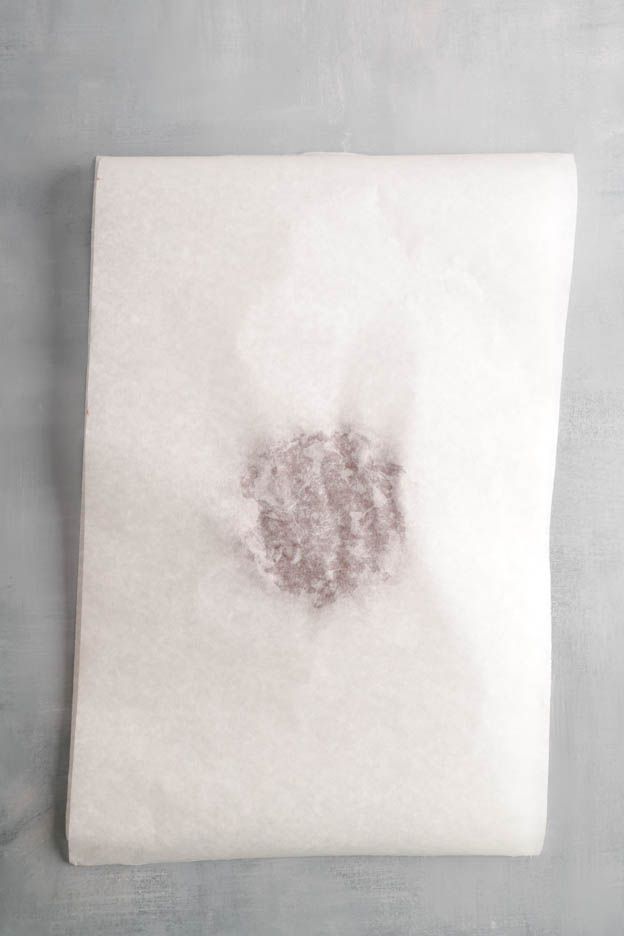
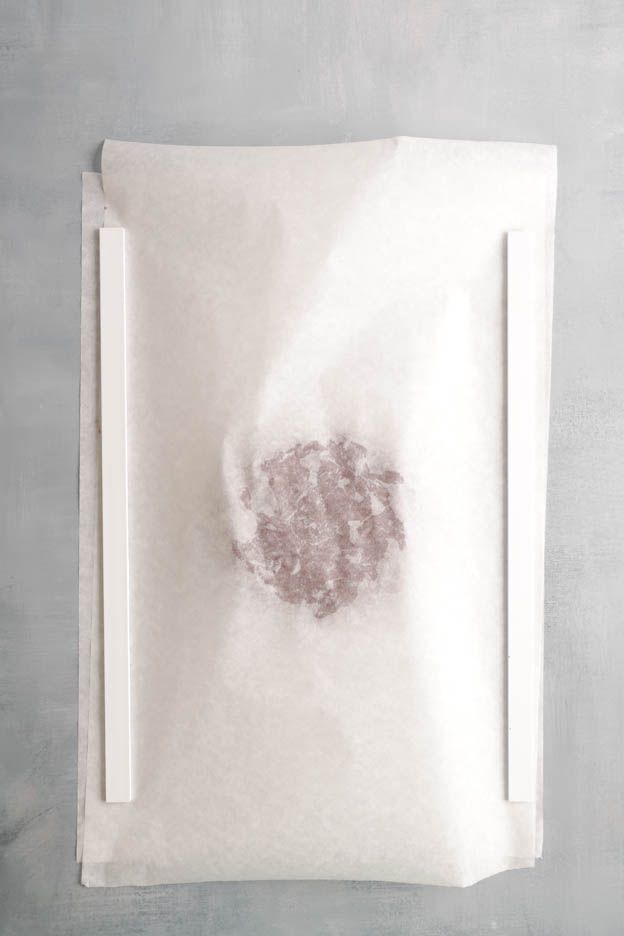
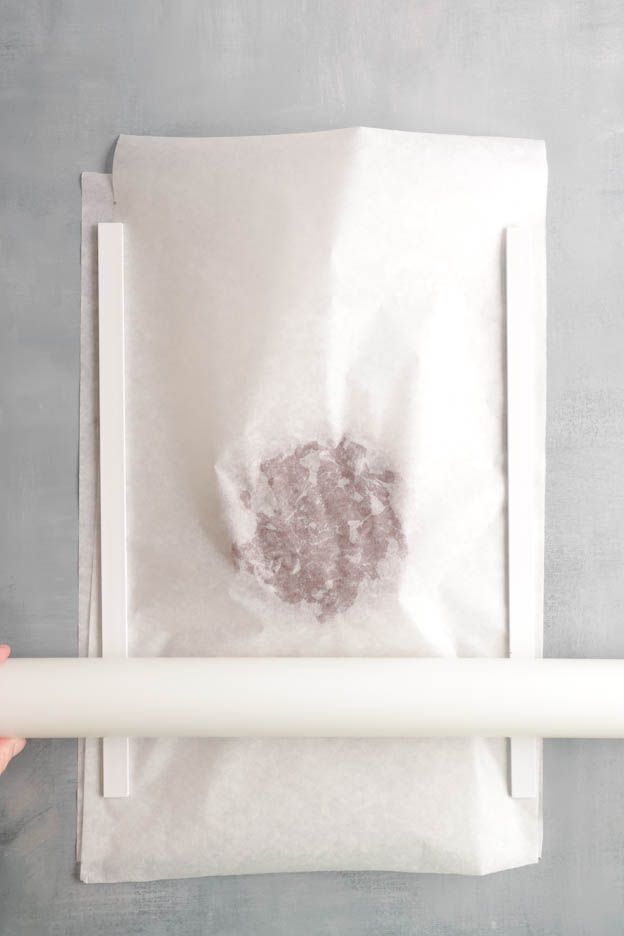
Use 3 mm thickness guide bars and roll out the dough with a large rolling pin.
Be as precise as possible. To even out your dough, you can slide instead of roll on the final passes. This helps achieve a very even dough. :o)
Once the dough is well rolled out, place it in the freezer for 15 minutes. This way, it will be much easier to work with.
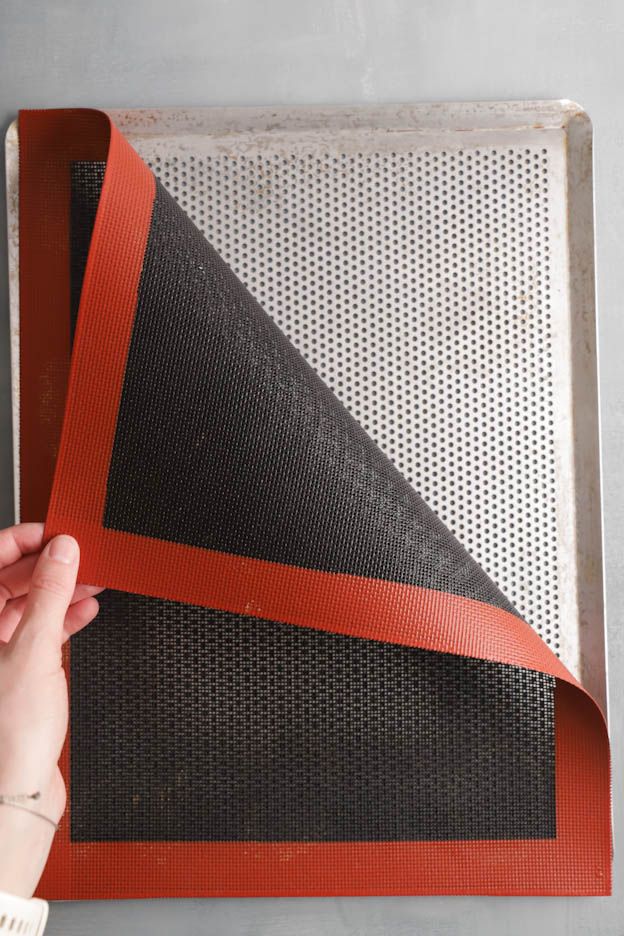
To bake a pastry properly, you need the right equipment! Personally, I always bake my pastry bases on a perforated tray lined with a perforated mat. The result is great this way!
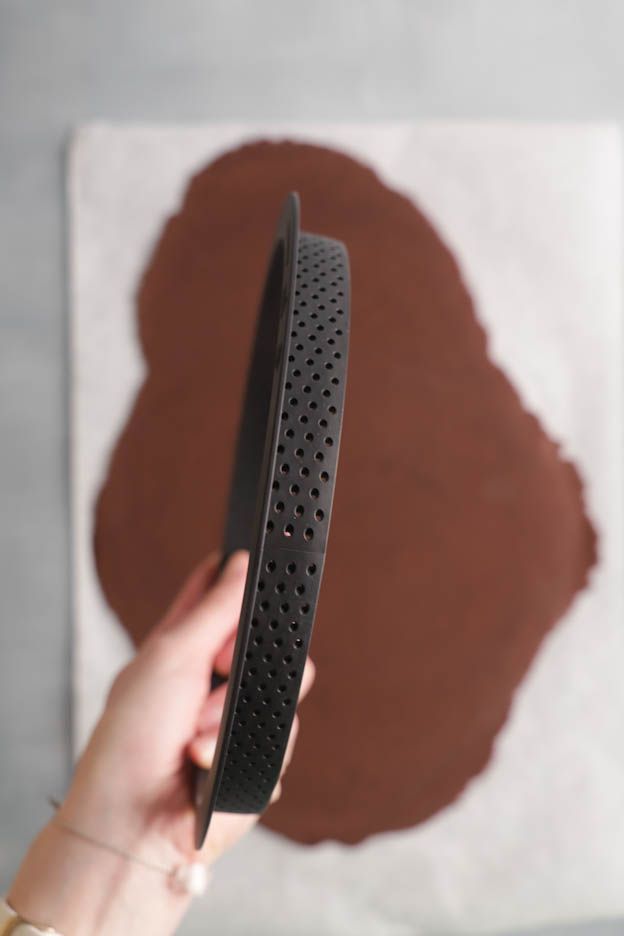
The Silikomart novelty is their perforated rings made of hard silicone. The texture is fantastic to work with! I swear by these rings now. They don't warp and are even dishwasher safe. :o) An essential when you bake often.
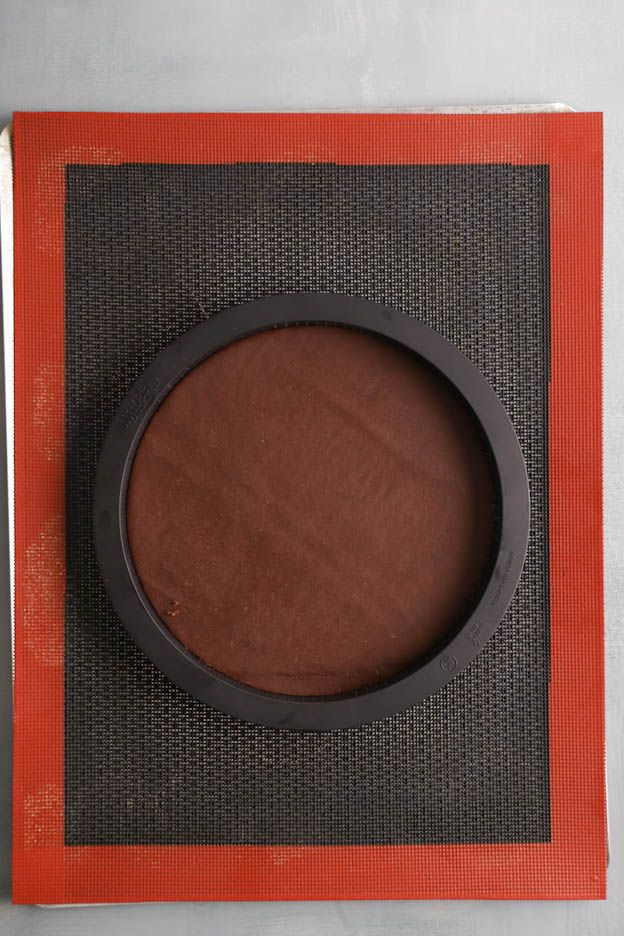
Cut out your dough using the ring! Yes… it also works as a cutter. Press firmly all around the ring so the cut is clean.
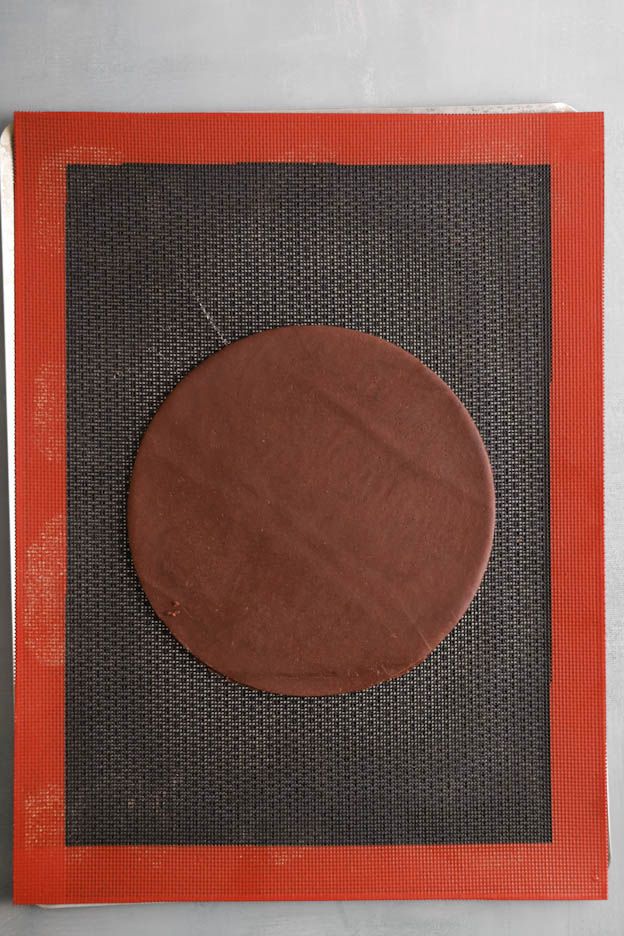
Place the cut-out on the perforated mat inside the ring.
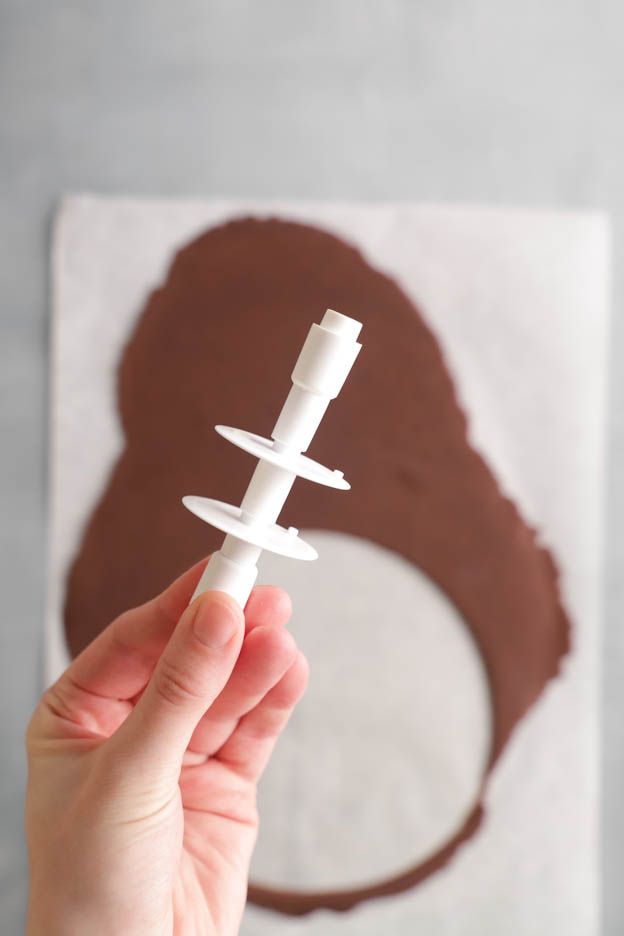
To cut the strips for the sides, I always use my pastry strip cutter. It's my magic tool! No more ruler and knife. Set your strip cutter to 2 cm wide.
Cut a strip as long as possible. I don't complicate things… I always make my border in 2 pieces.
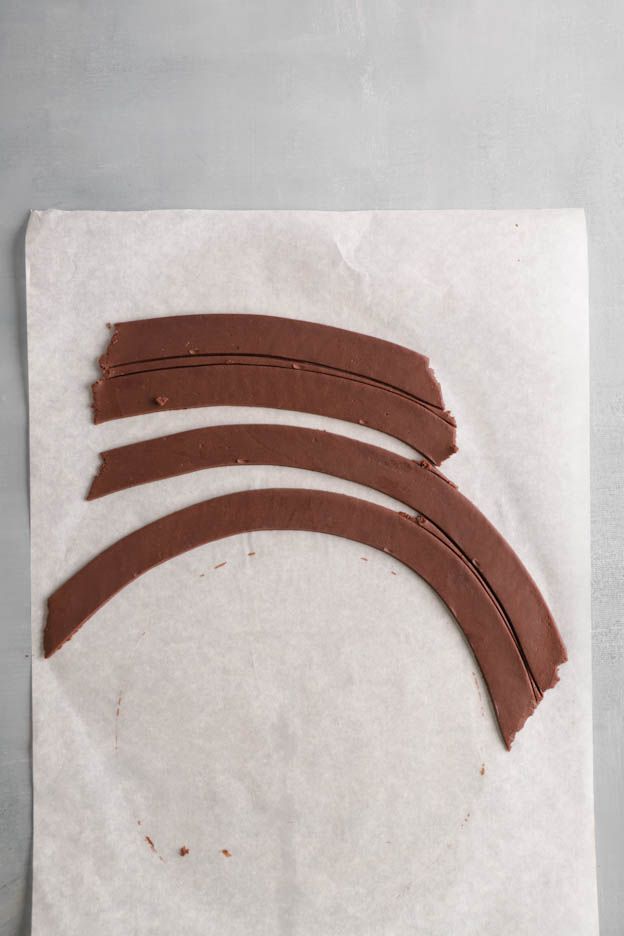
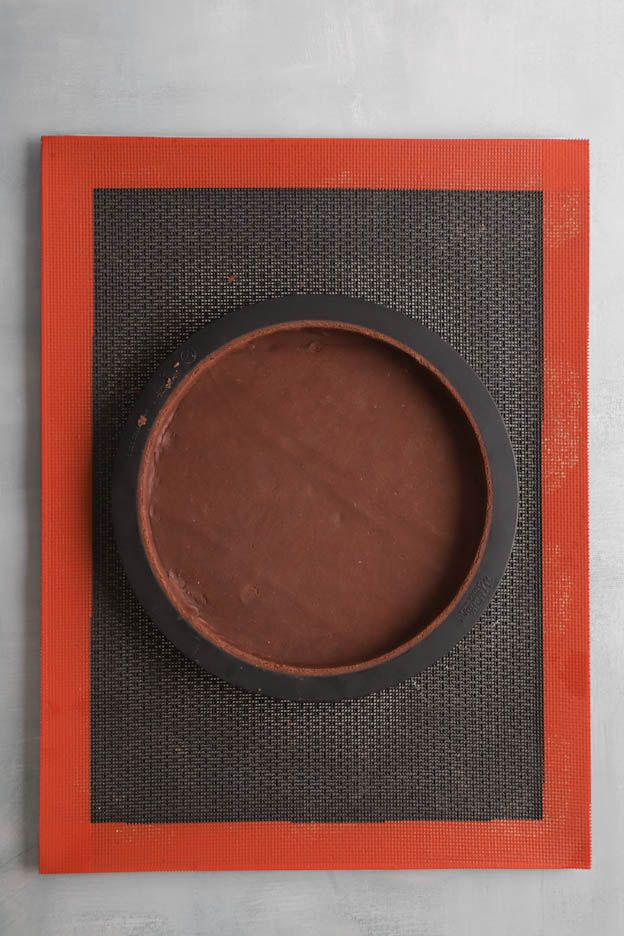
Once the strip is cut, press it against the inside edge of the ring. Make sure to press the border firmly against the ring, but also against the tart base. Because if there's a gap between the two, your cremeux will leak through afterwards…
Place a second strip to finish your tart. Be as precise as possible when joining the two borders together. I use a pointed knife to help. Then finish with my finger to press the two parts together and smooth out the join.
Once the border is in place, trim any excess with a knife by running it along the edge of the ring.
And there you have a nice and neat tart!
Place your tart base in the freezer for 15-20 minutes. This way, the dough won't sink during baking.


Salted Butter Caramel
In the meantime, you can prepare the salted butter caramel.
The recipe can be found here: SALTED BUTTER CARAMEL
You can easily make 1x the recipe. You'll have more than you need, but I promise the jar will be finished very quickly on pancakes, toast or simply eaten with a spoon :o)
It's difficult to make caramel in tiny quantities so it's better to make more and keep some in the fridge for something else. :o)

Preheat your oven to 170°C, fan-assisted.
It's time to bake our tart base, take it out of the freezer.
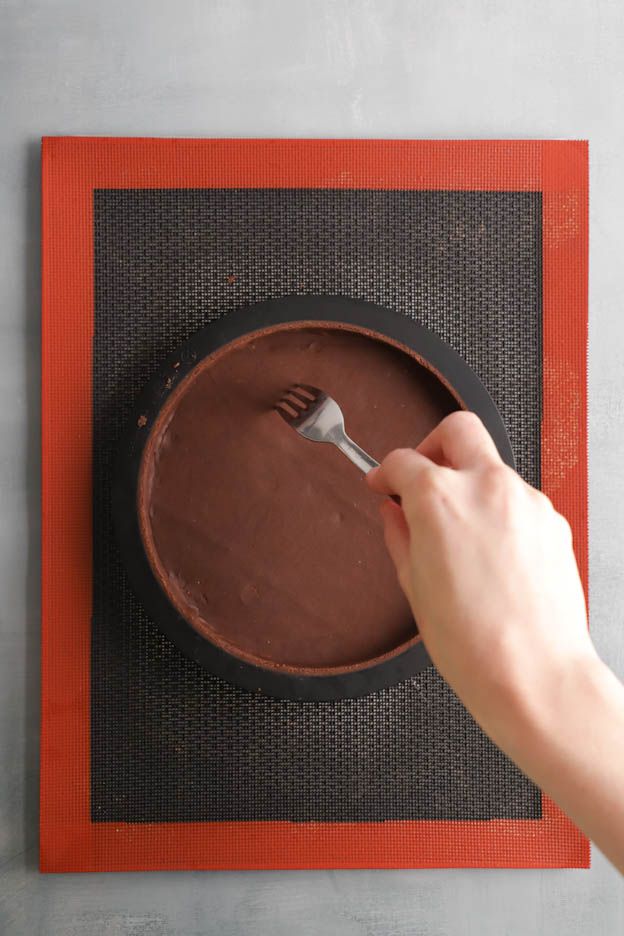
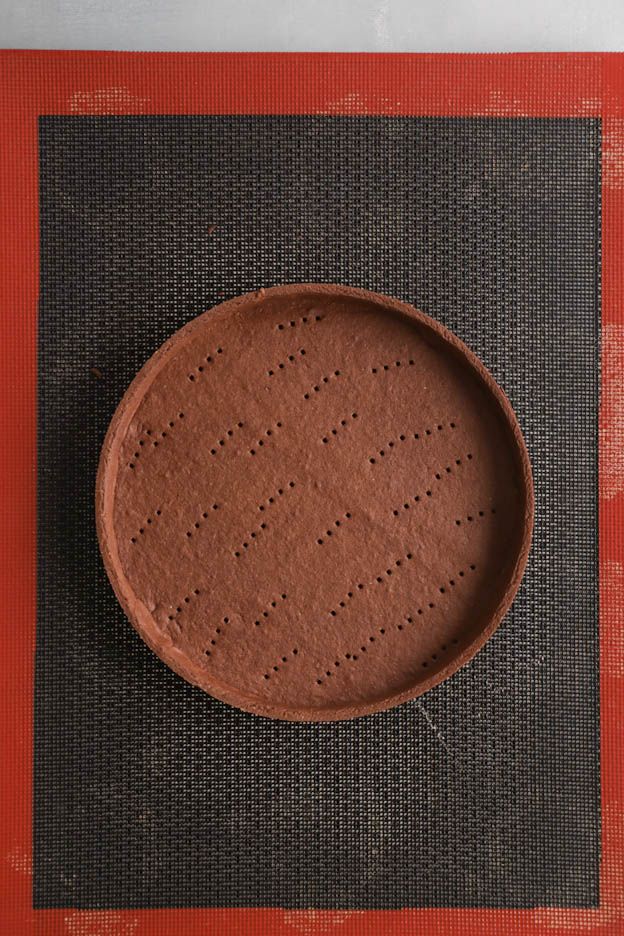
Prick your tart with a fork. Then bake your tart for 15 to 20 minutes.
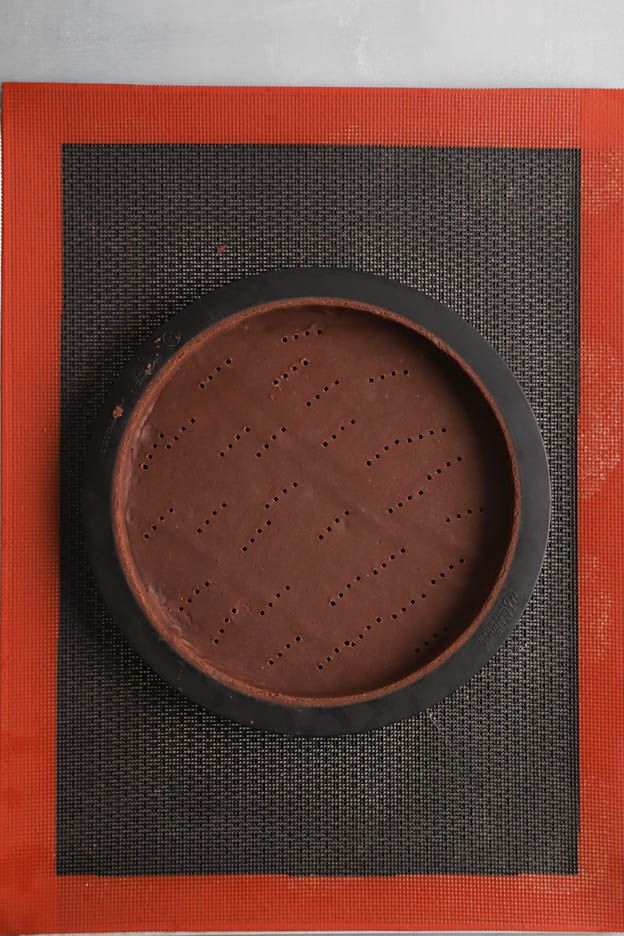
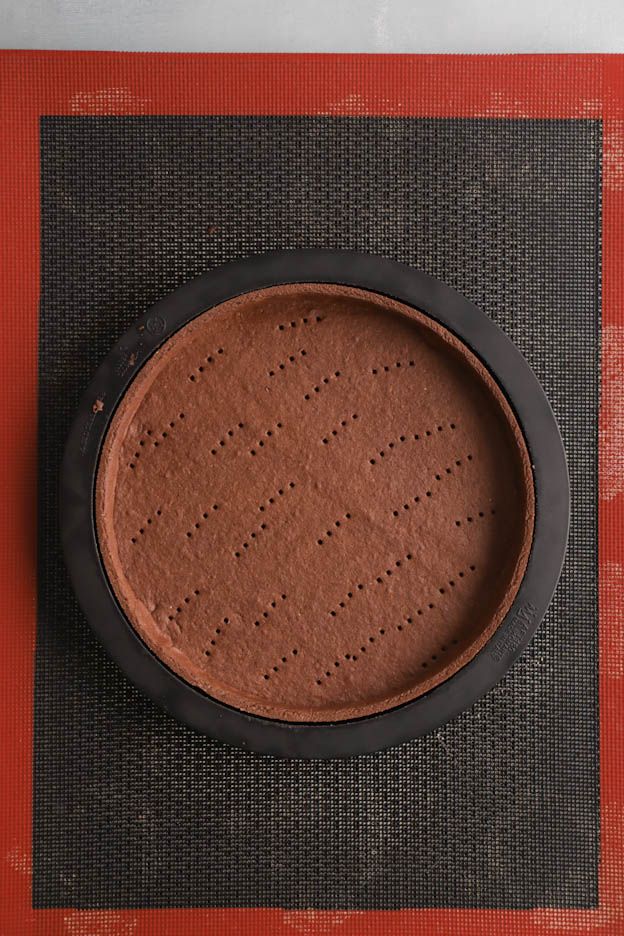
Your tart will be ready when the edges pull away from the ring. Look at the first photo below. You can clearly see the gap between the pastry and the ring. :o)
Unmould immediately and let your tart cool as is. Whatever you do, don't move it while it's hot! It could break.
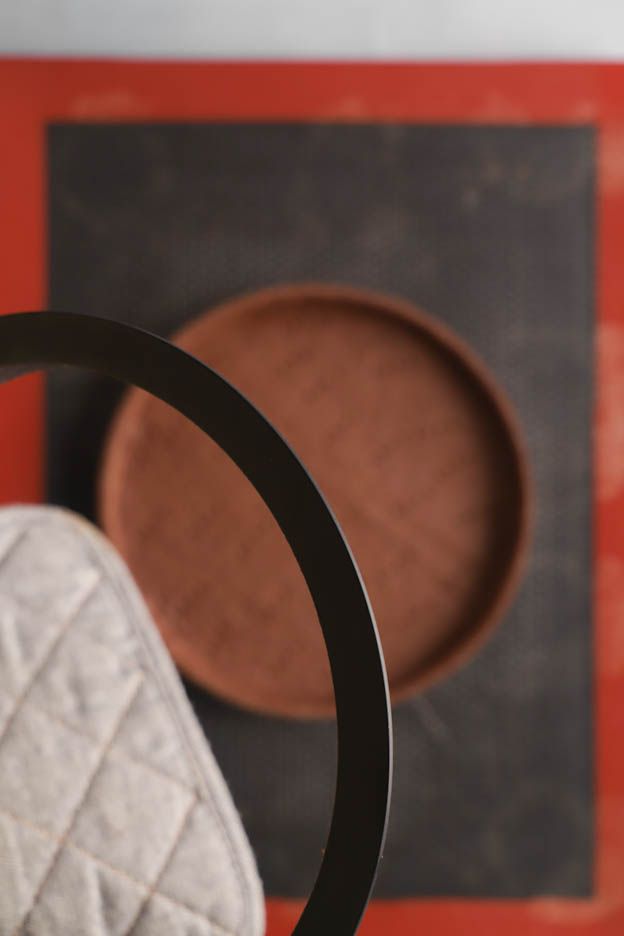
While your tart base cools, peel the roasted hazelnuts from the beginning of the recipe. Rub them between your hands.
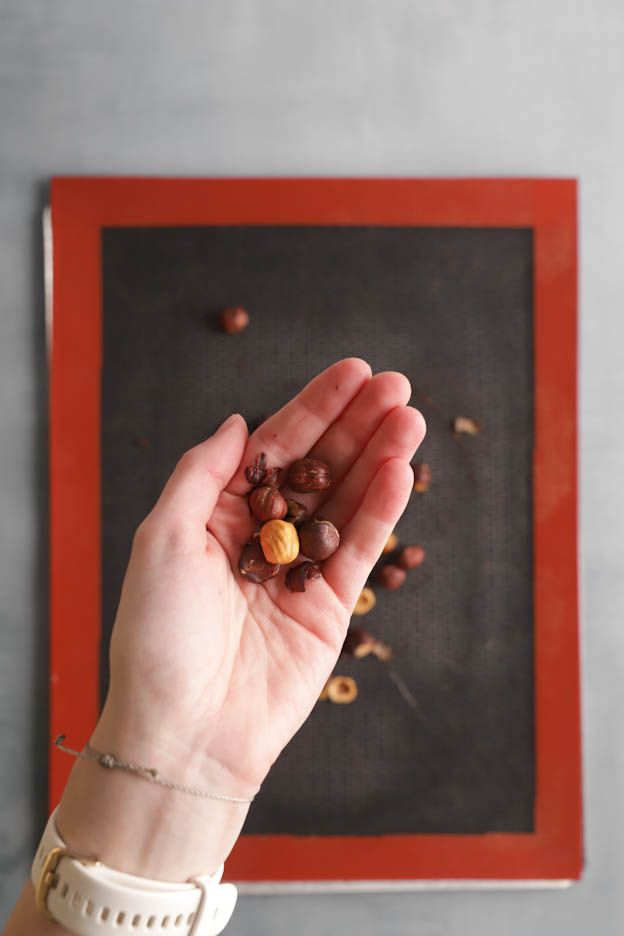
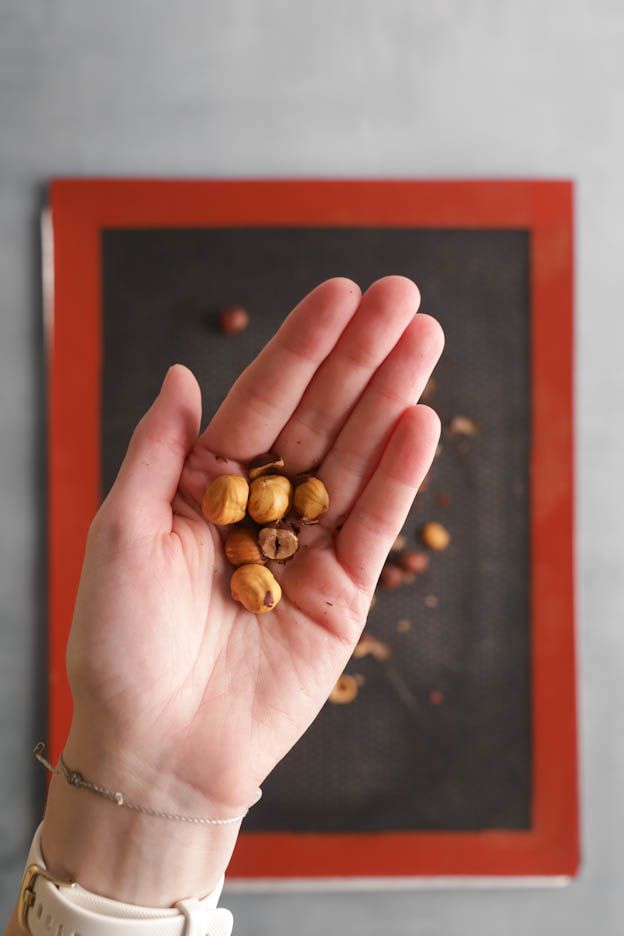
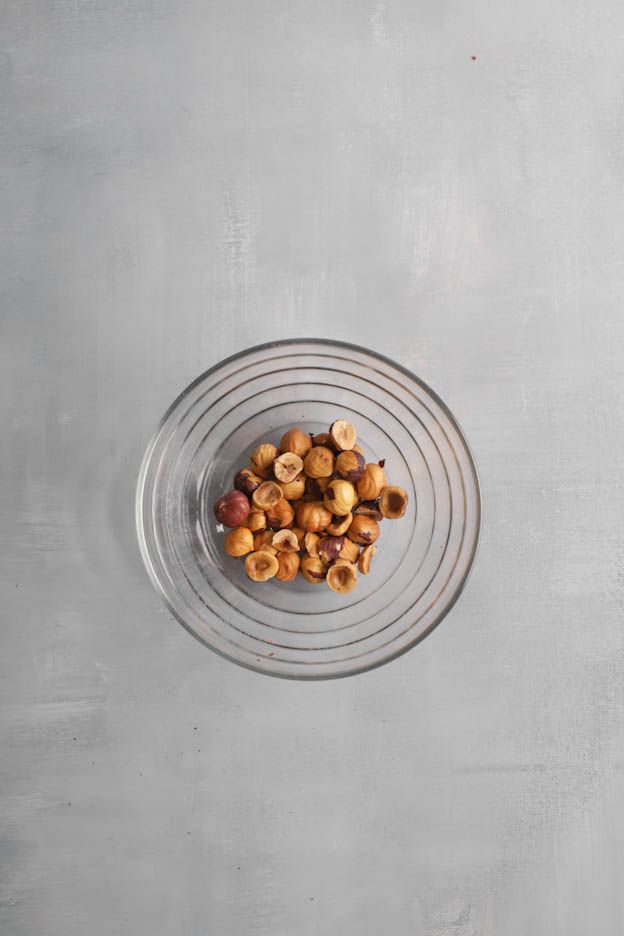
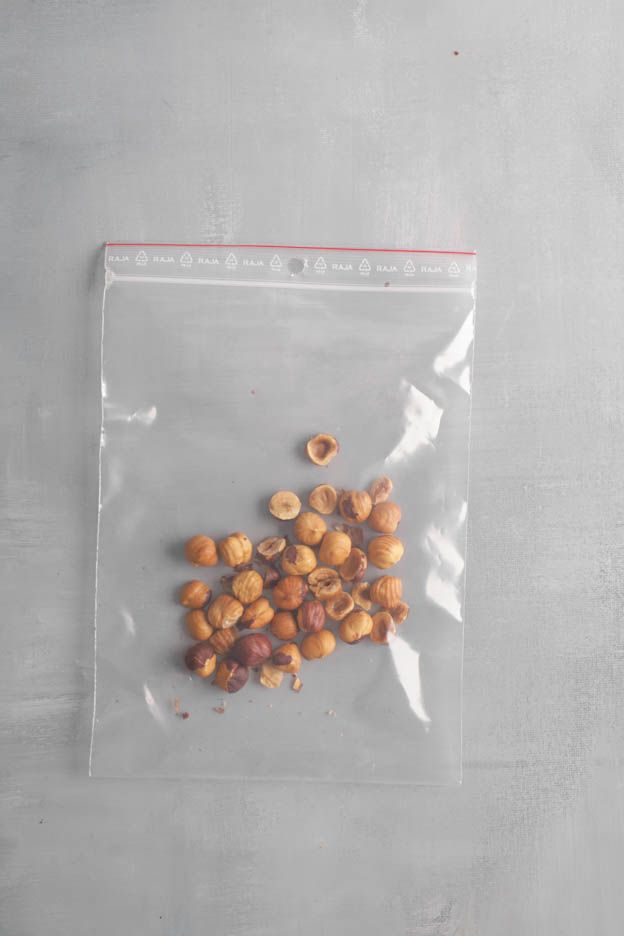
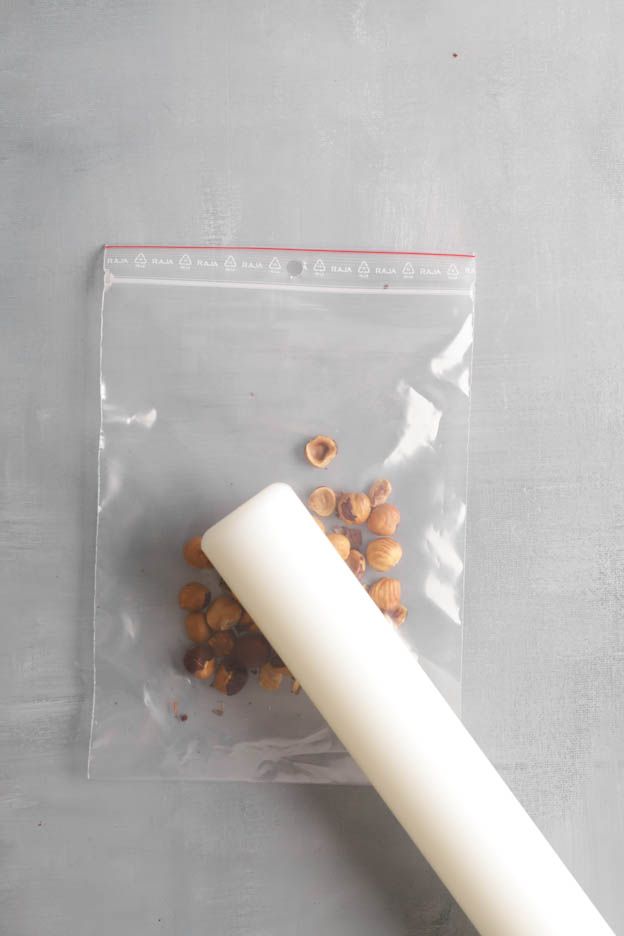
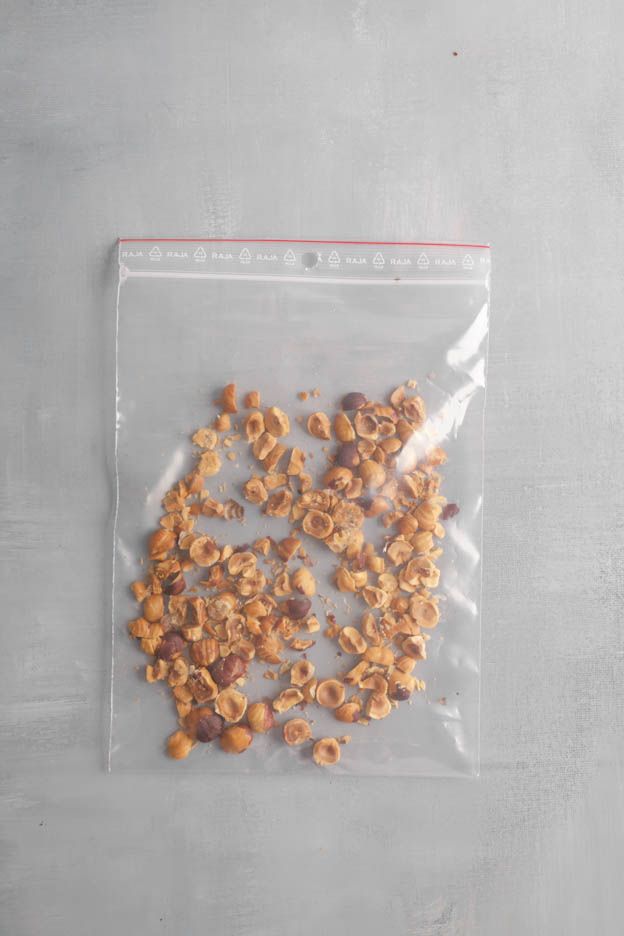
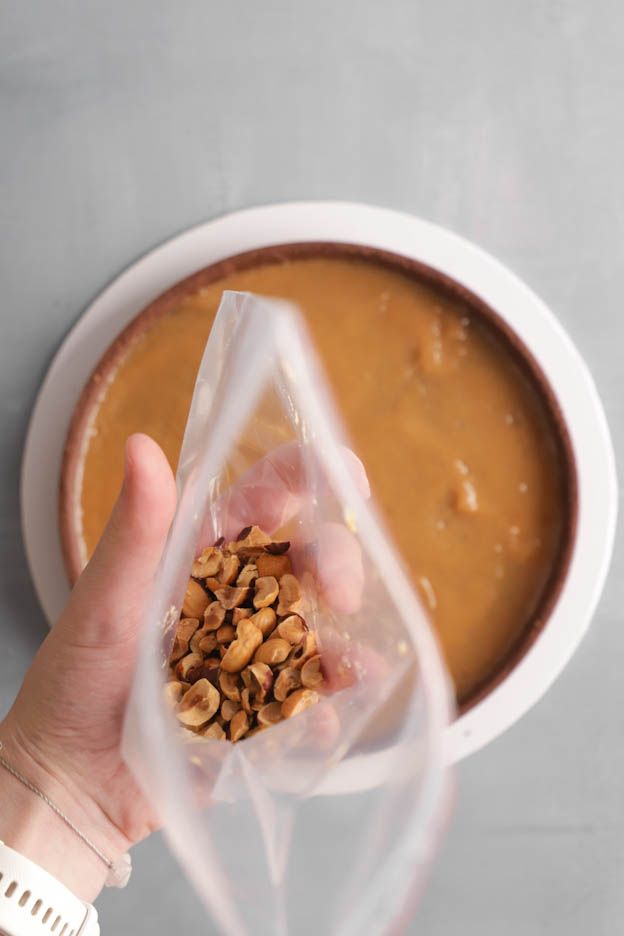
Roughly crush your hazelnuts with a rolling pin. To avoid getting them everywhere, I put my hazelnuts in a freezer bag.
We don't want hazelnut crumbs. If they're broken into two or three pieces that's perfect! It will give our tart a nice crunch. :o)
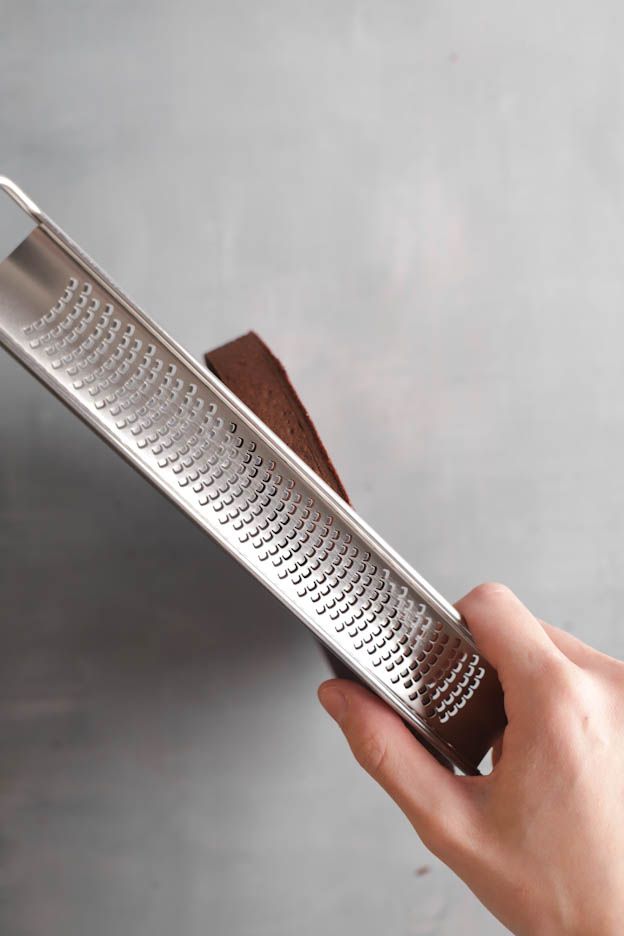
Once your tart has cooled, smooth out any small imperfections using a steel grater.
Gently file the top and sides very carefully. Be careful not to break your tart.
This way, it will look perfect.
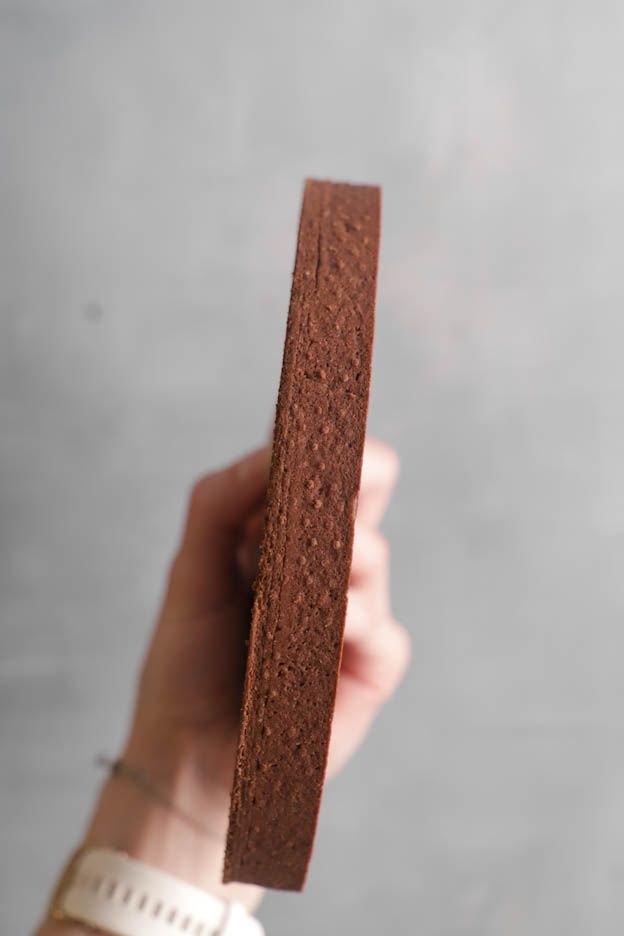
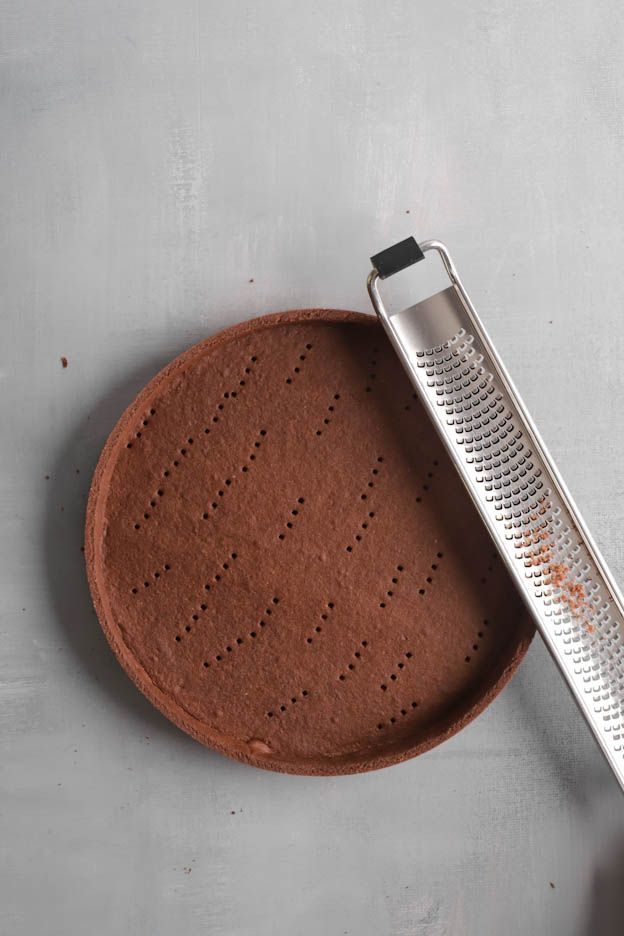
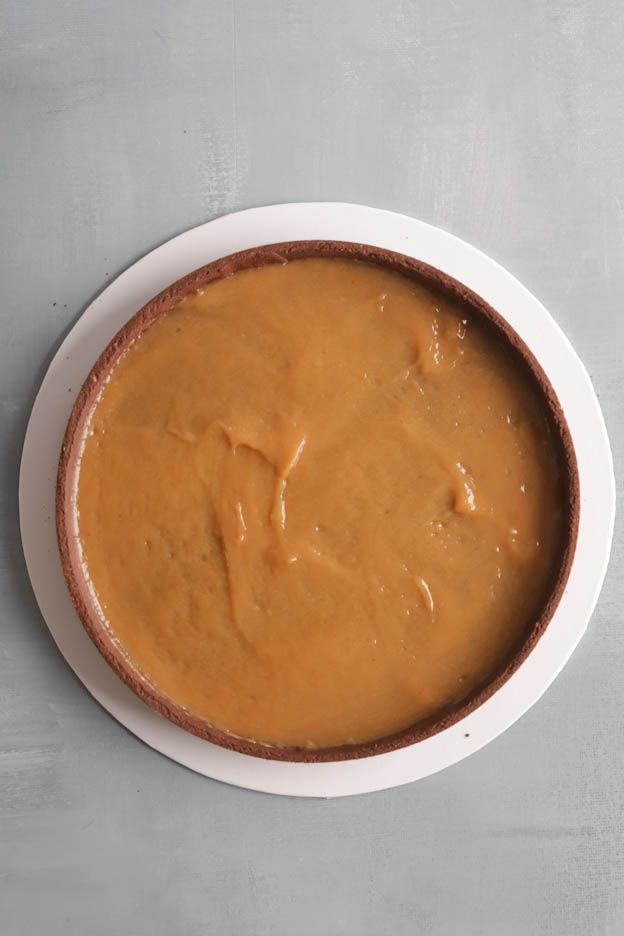
It's time to add our caramel to the tart base. Pour 60gr of salted butter caramel into the bottom of the tart and, using an offset spatula, spread the caramel to create a thin even layer.

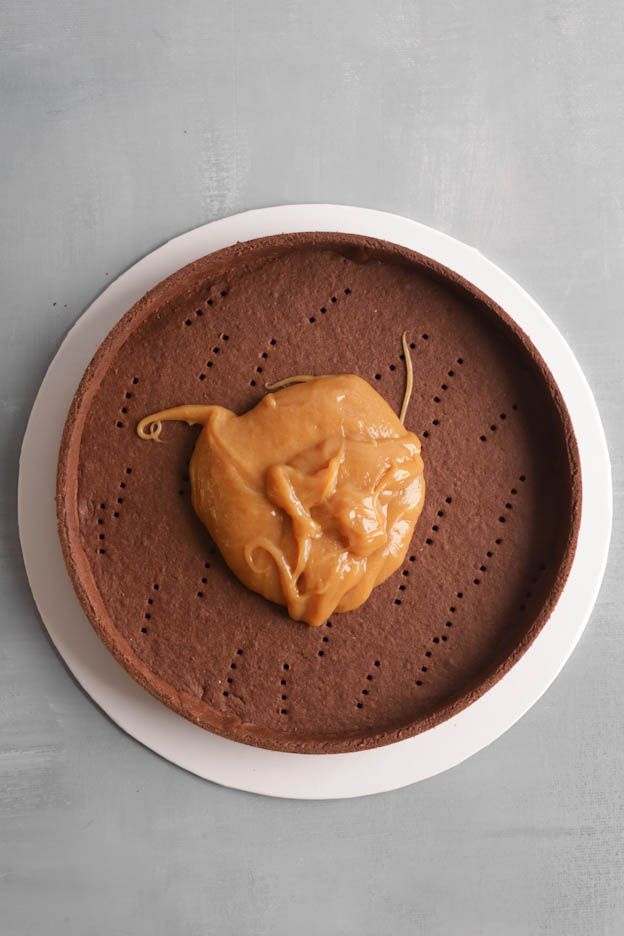
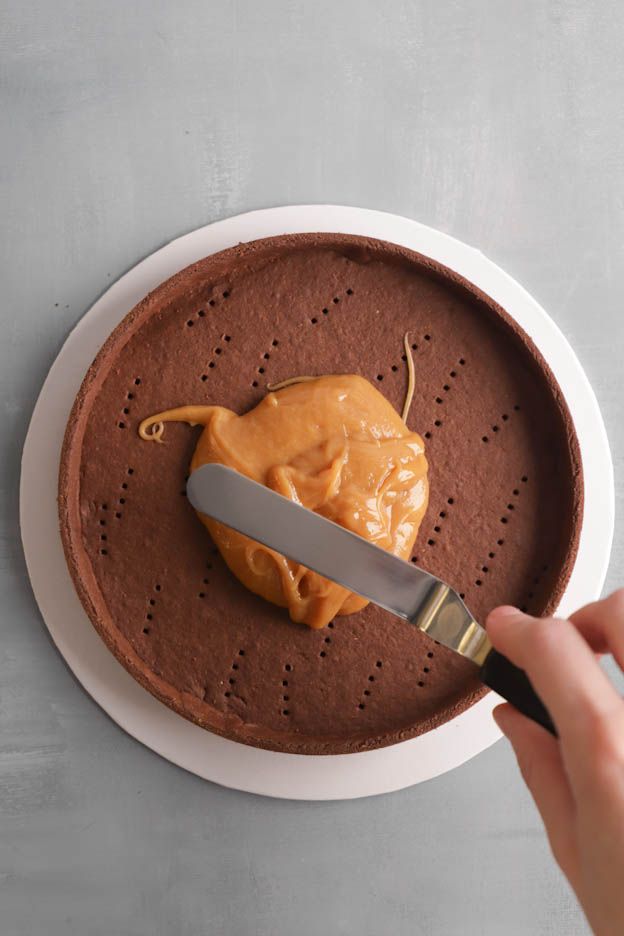
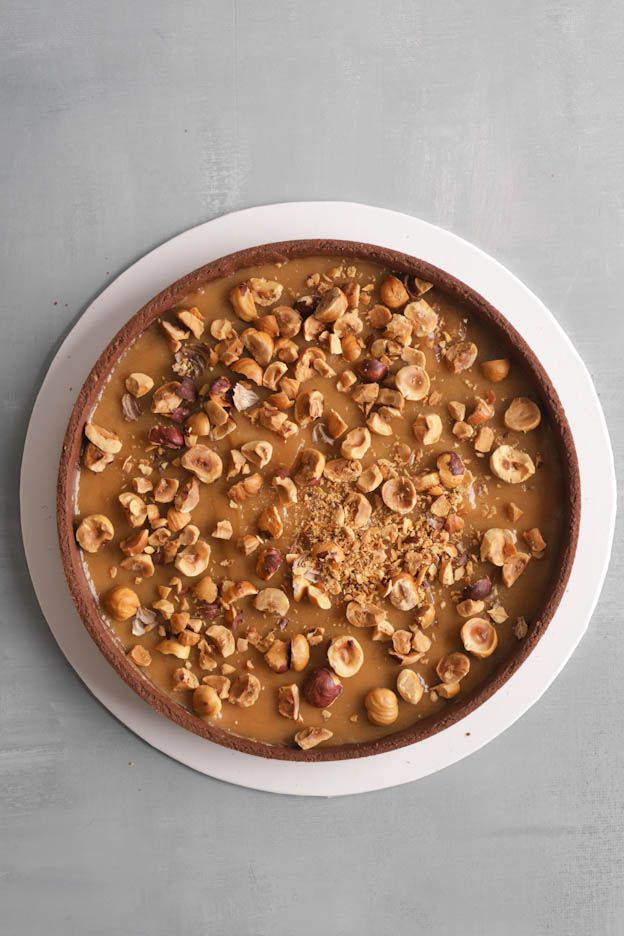
Once the caramel is well spread, scatter the hazelnuts on top. I used 30gr of hazelnuts for this tart just so you know.
Set the tart aside.
Chocolate Cremeux
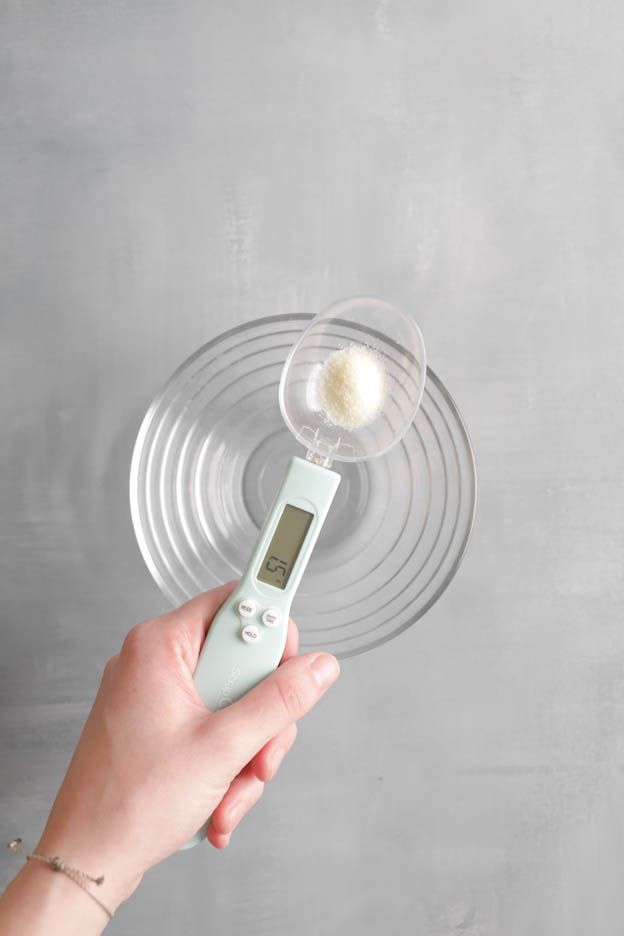
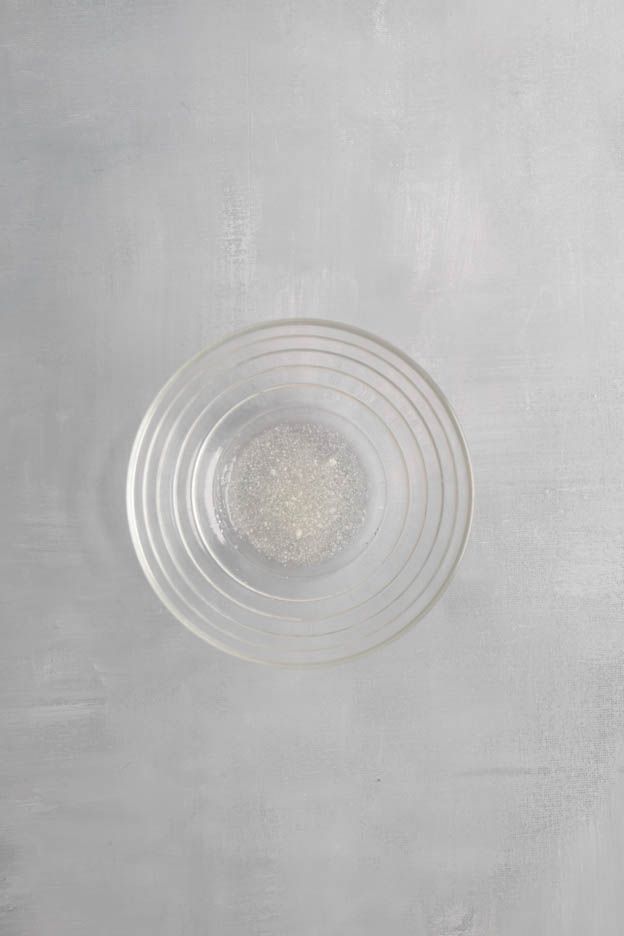
Start by softening 1.5gr of powdered gelatine in 7.5gr of cold water.
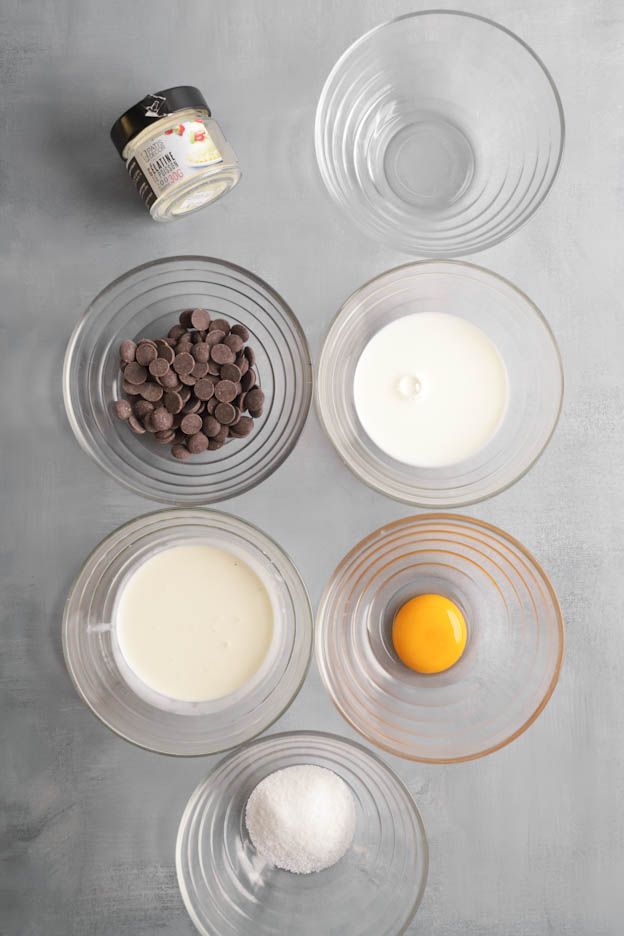
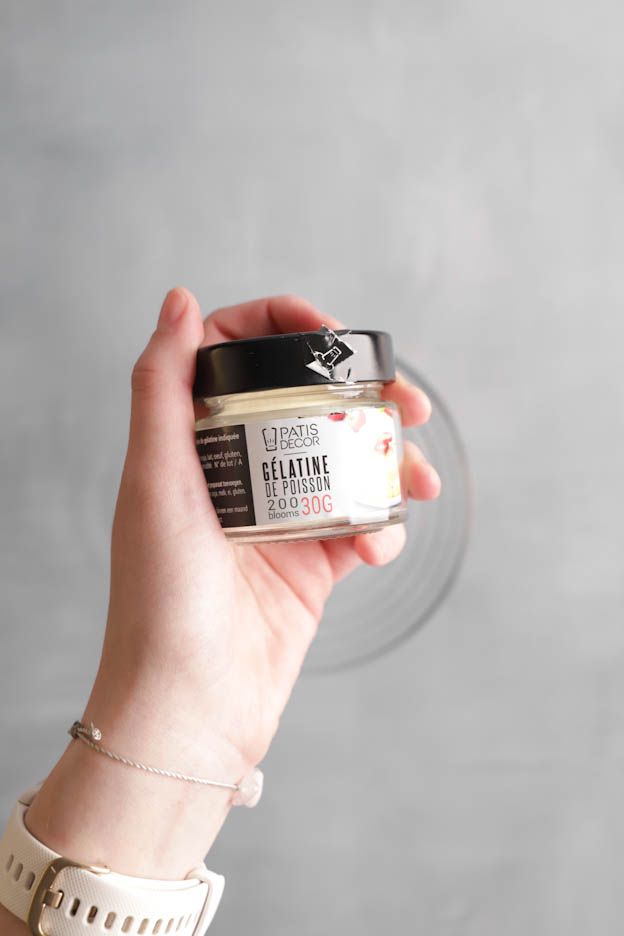
Mix lightly with a spoon and set aside.
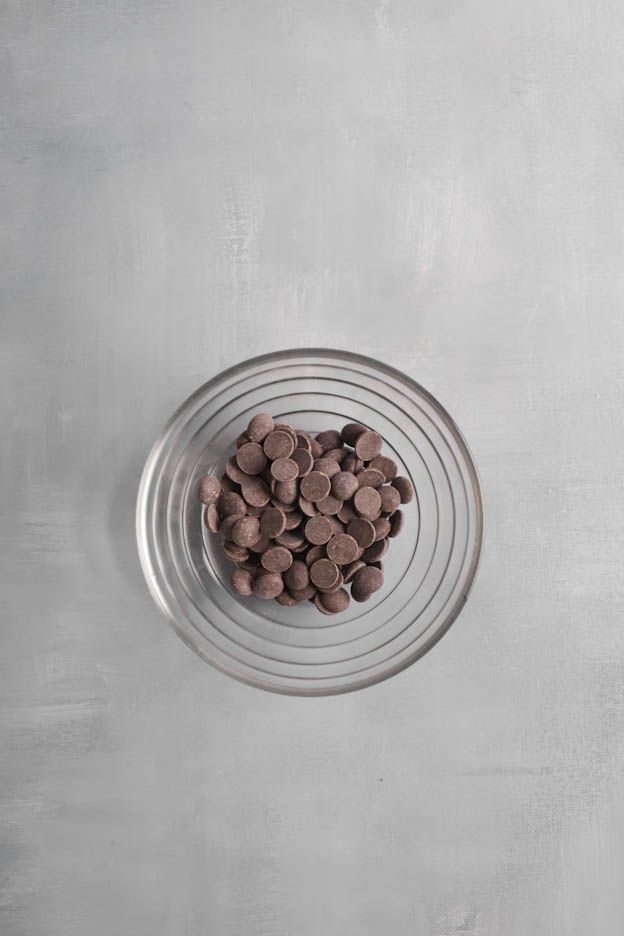
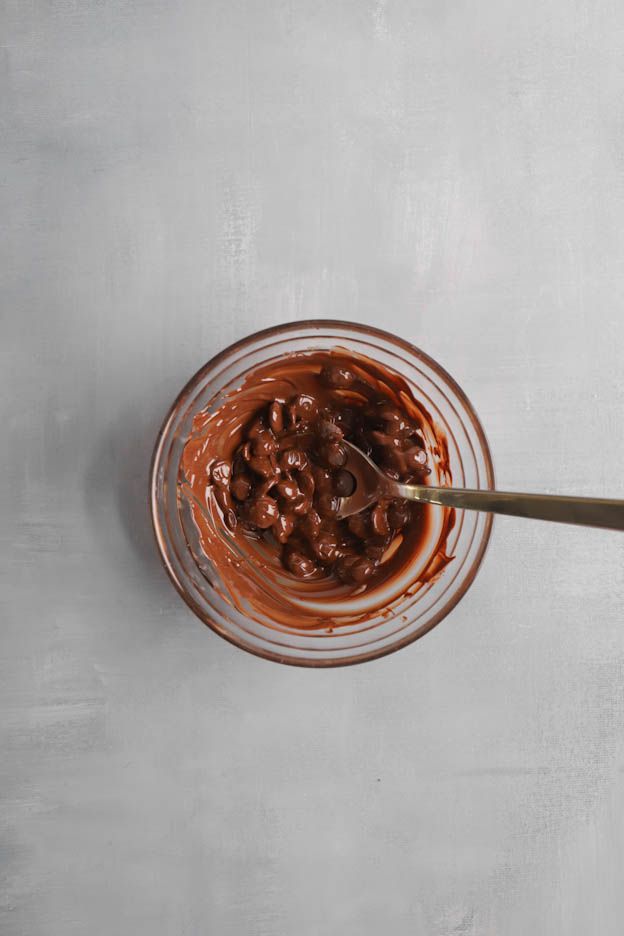
Then pour 70gr of dark chocolate into a glass bowl and melt the chocolate in the microwave at 600Watt for about 1 minute.
Stir with a spoon and let the chocolate melt fully. If needed, put the chocolate back in the microwave for 30 seconds. Then set the melted chocolate aside.

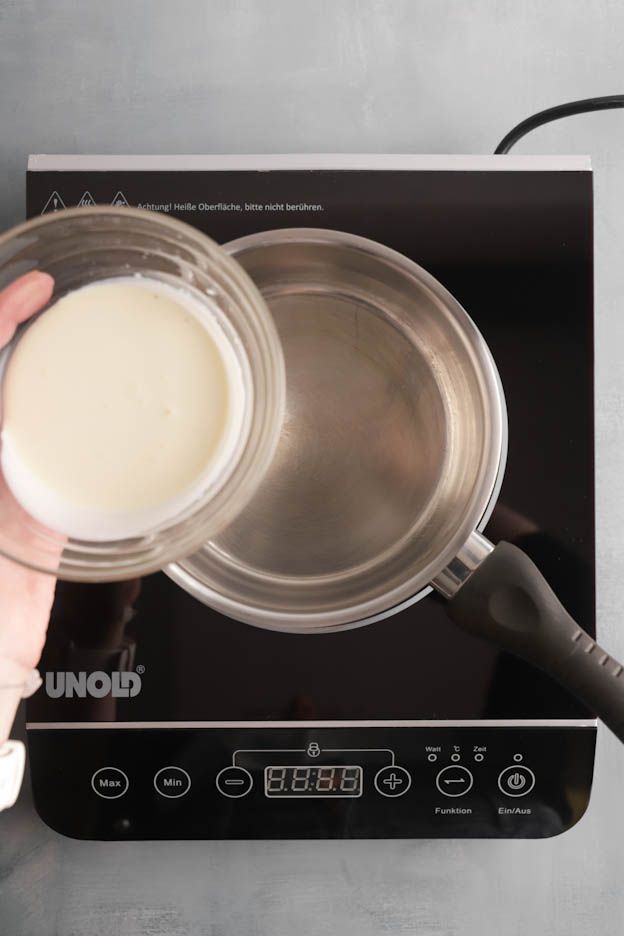
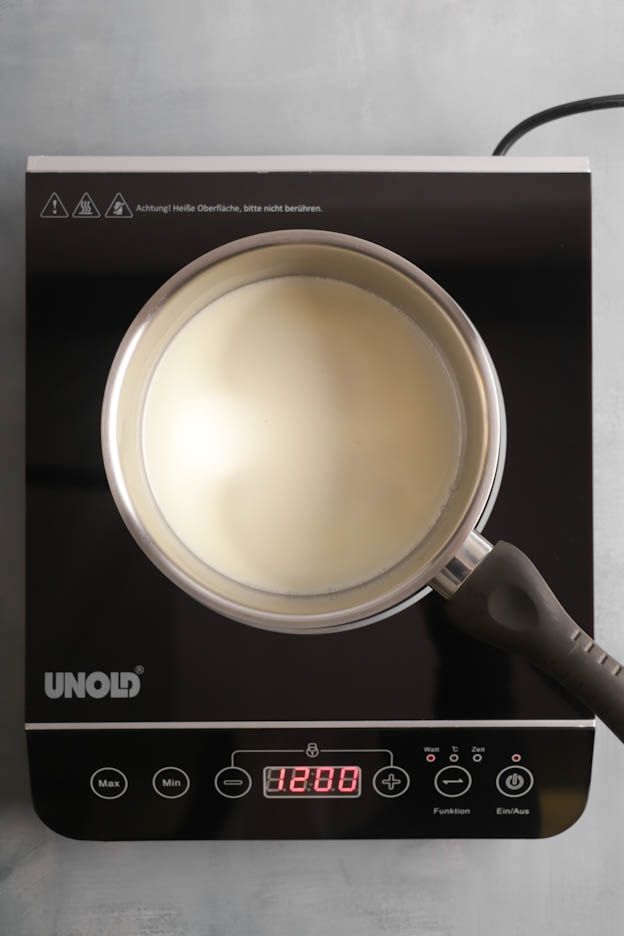
Pour 80gr of heavy cream and 80gr of milk into a saucepan and heat the mixture. It doesn't need to boil, steaming is enough.

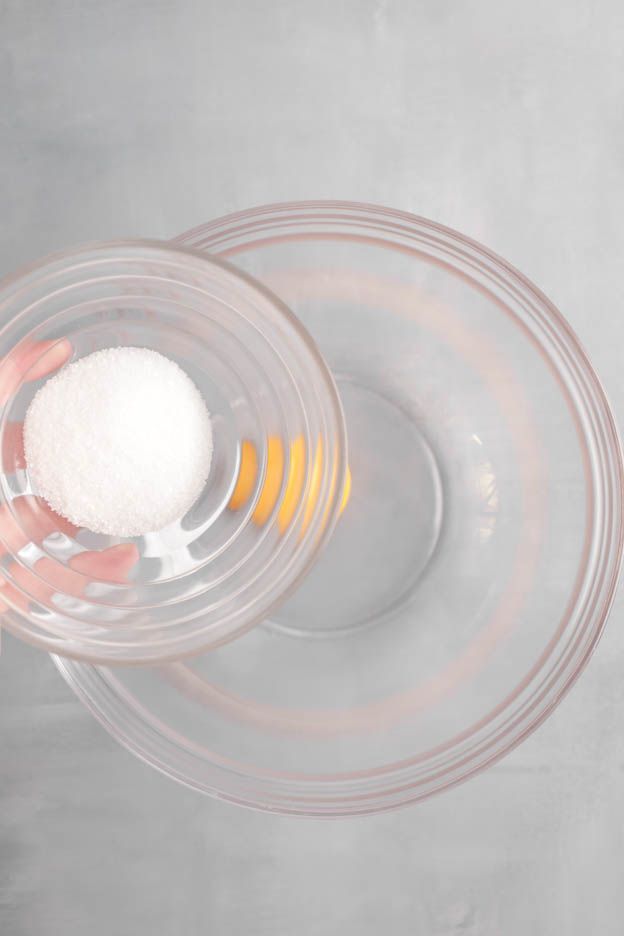
Meanwhile, whisk 1 egg yolk with 25gr of sugar until foamy.
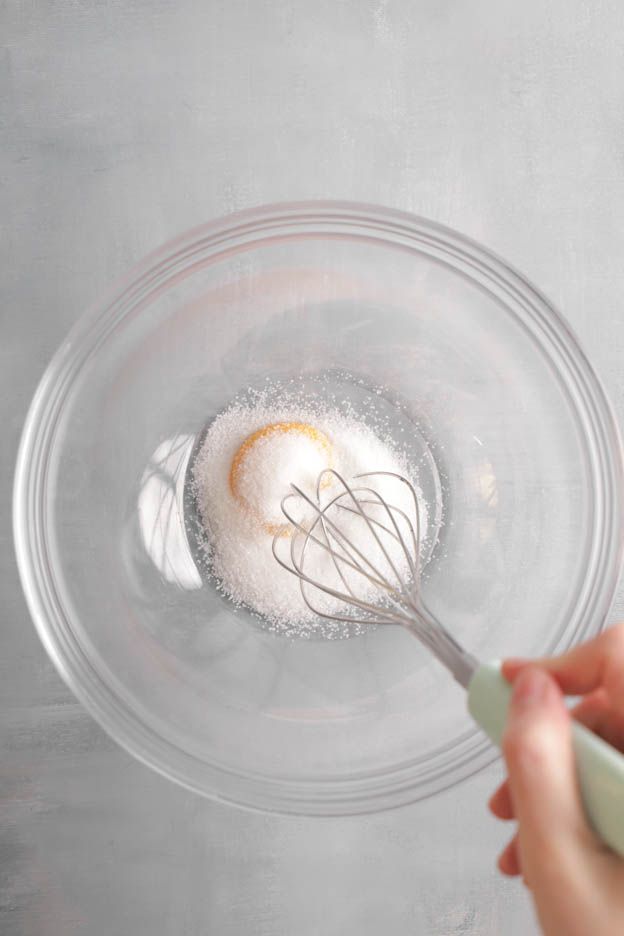
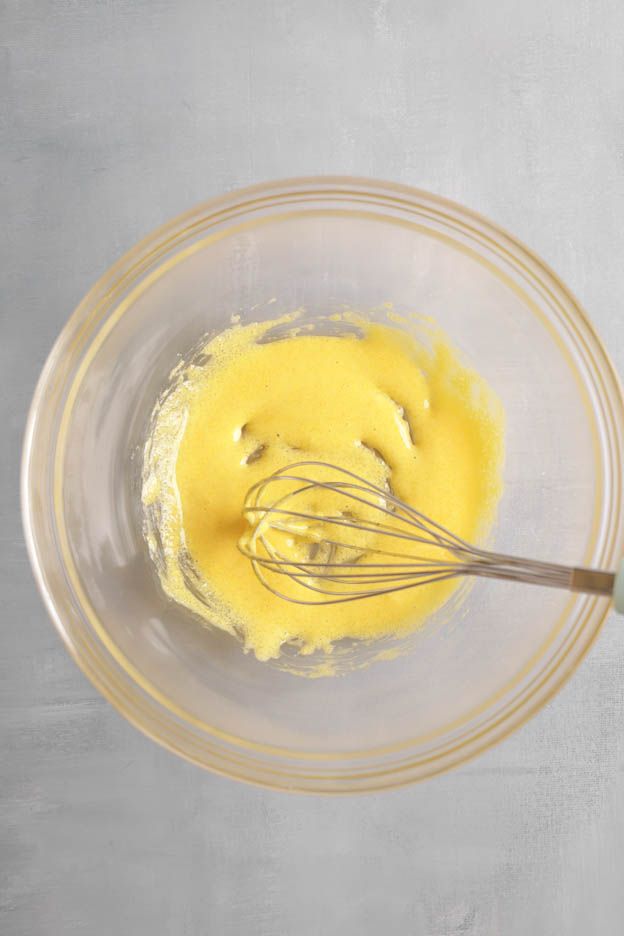
Then pour 1/3 of the heated milk/cream mixture into the egg/sugar and mix well with a whisk.
This prevents the egg from scrambling in the saucepan afterwards.
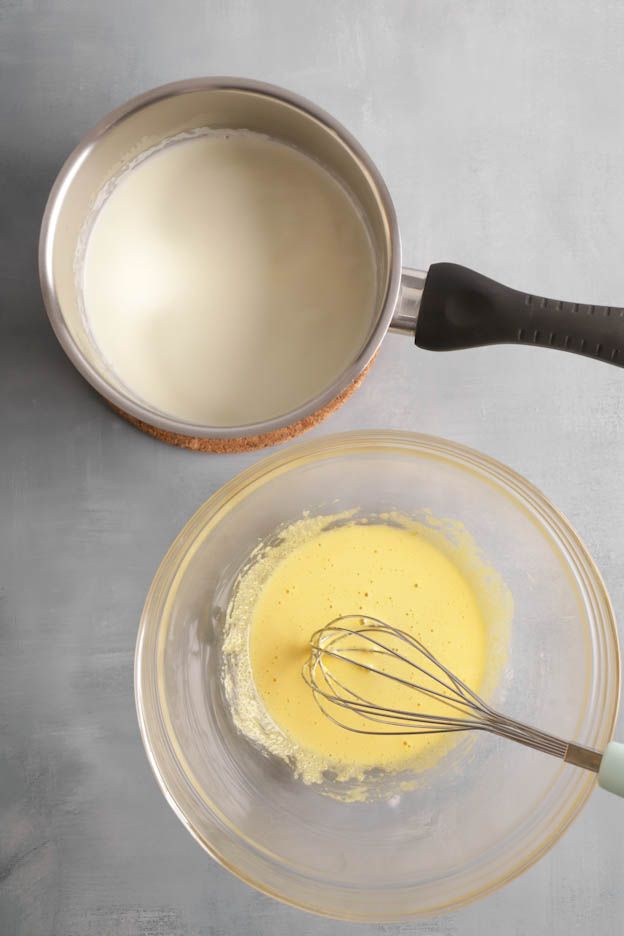
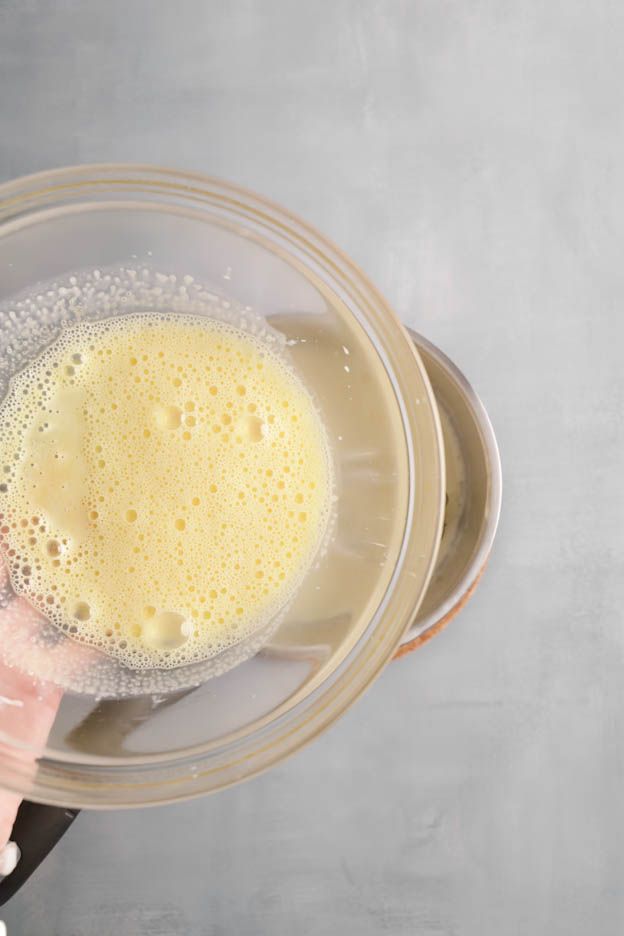
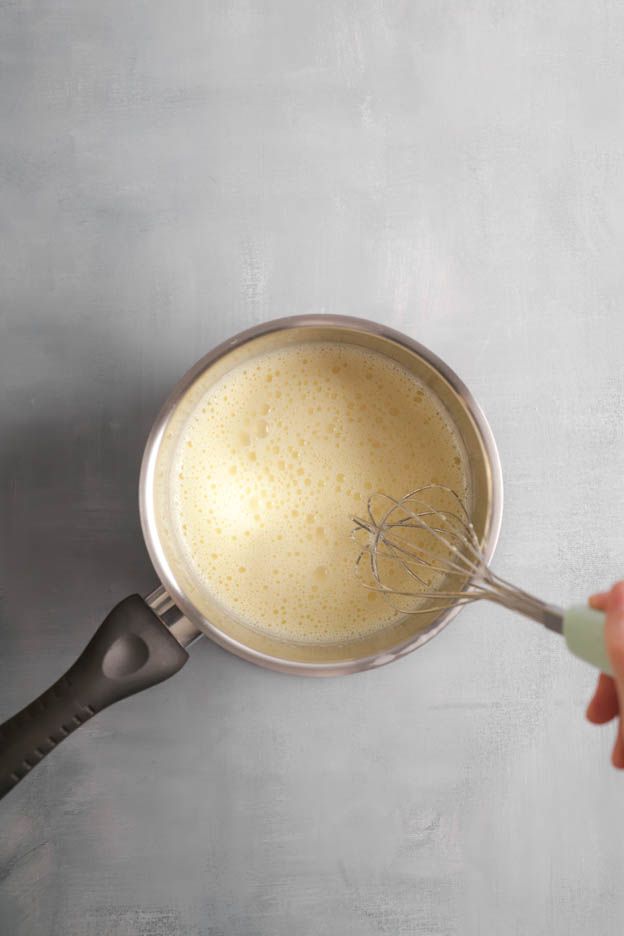
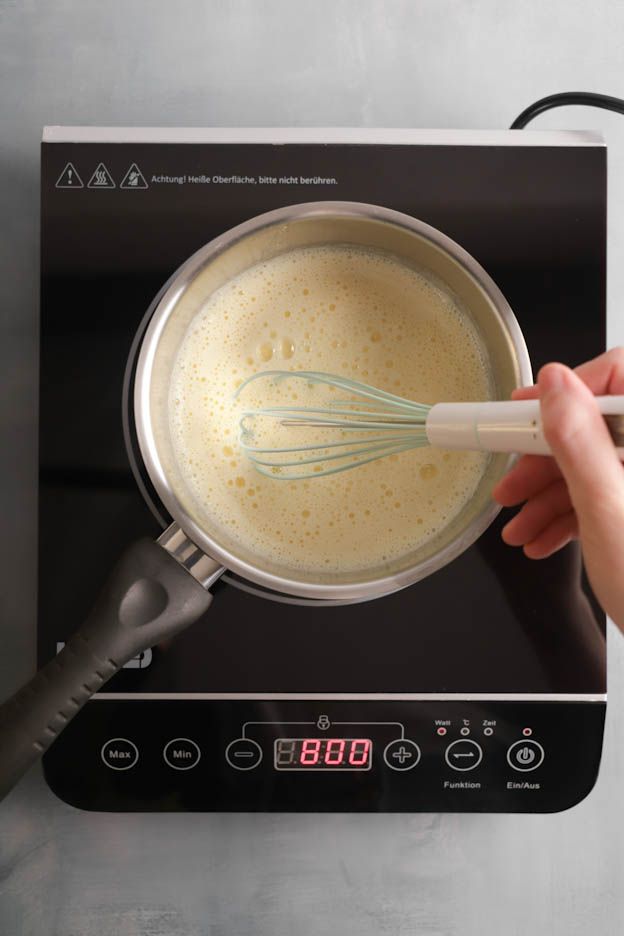
Then pour everything back into the saucepan and bring the mixture to 85°C while gently whisking.
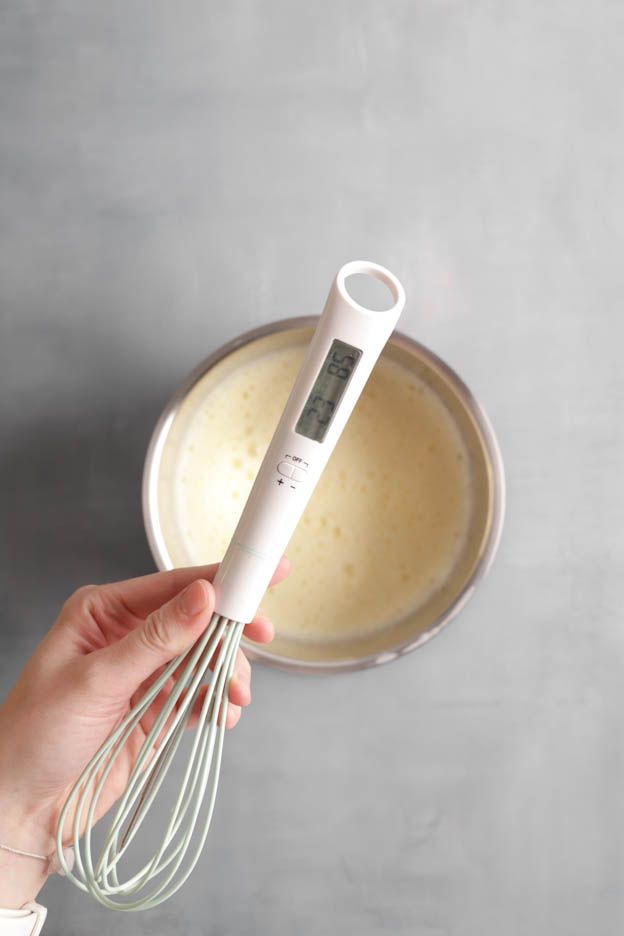
For this step, use a thermometer whisk — it's great for this kind of preparation. No need to whisk while holding a thermometer separately since it's built into the whisk.
Once the mixture reaches 85°C, remove the saucepan from the heat.
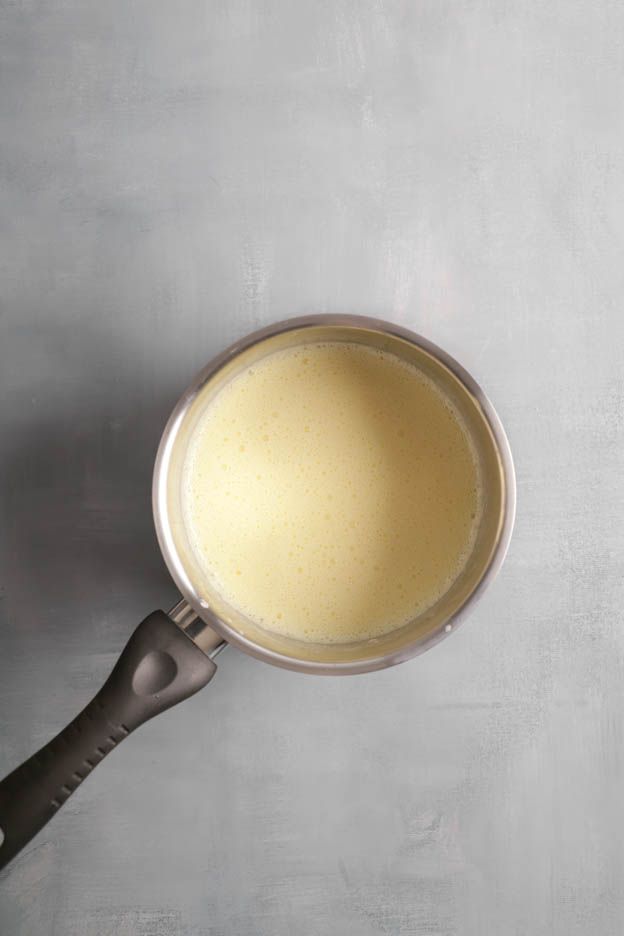
Add the gelatine. Mix well so it dissolves into the mixture.
Finish by adding the melted chocolate.
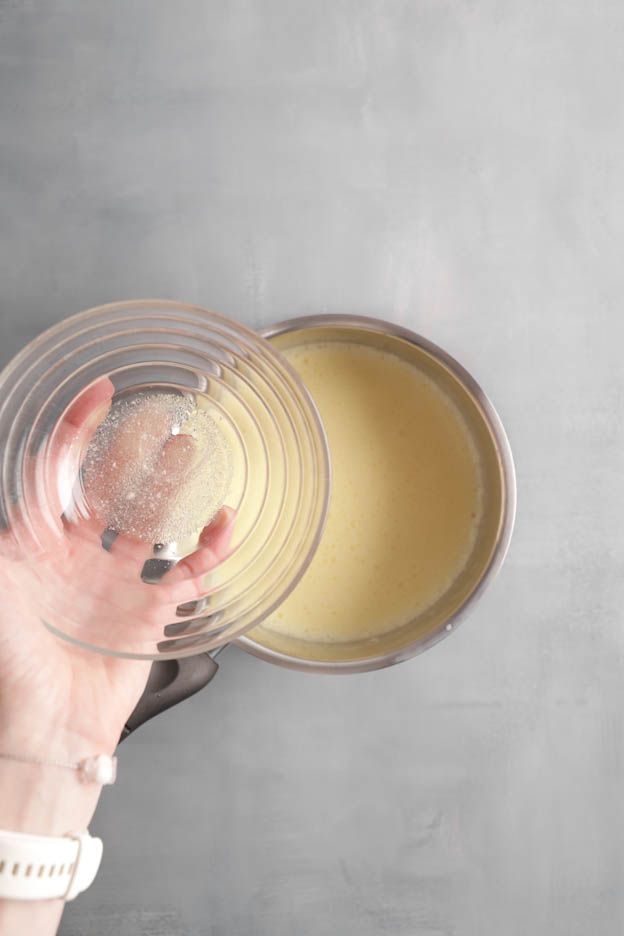

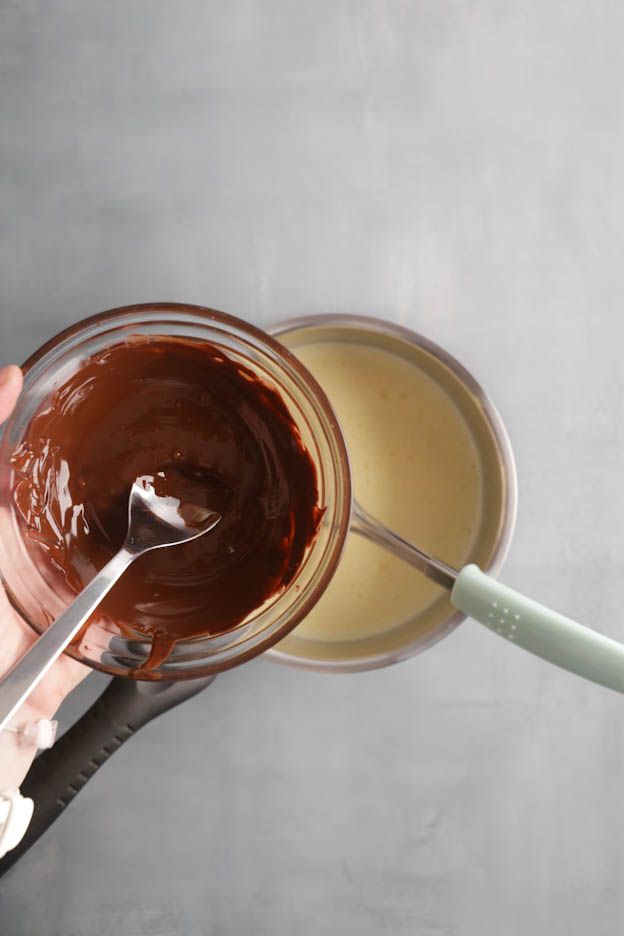
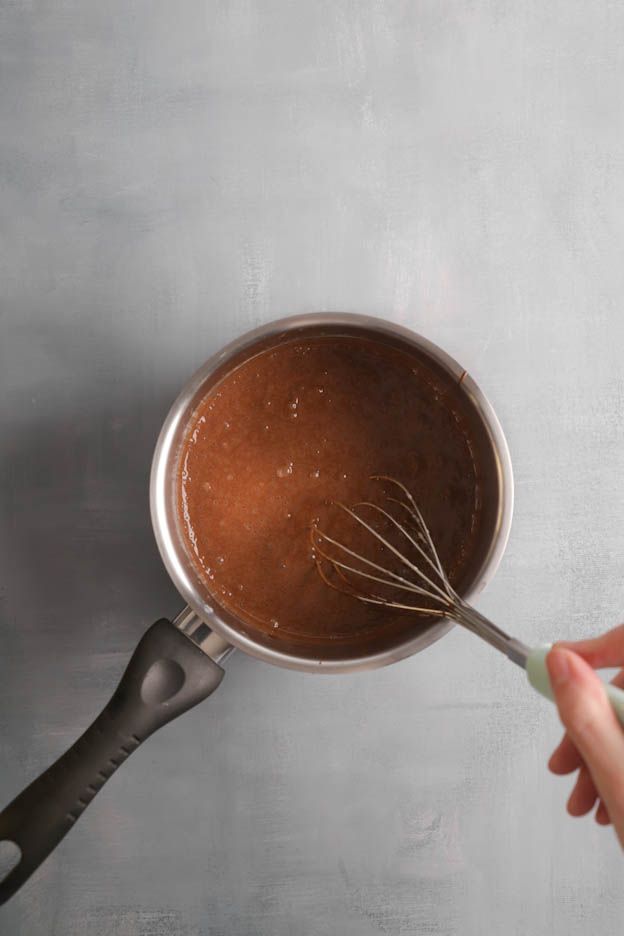
Mix one last time so the chocolate is evenly distributed throughout the mixture.
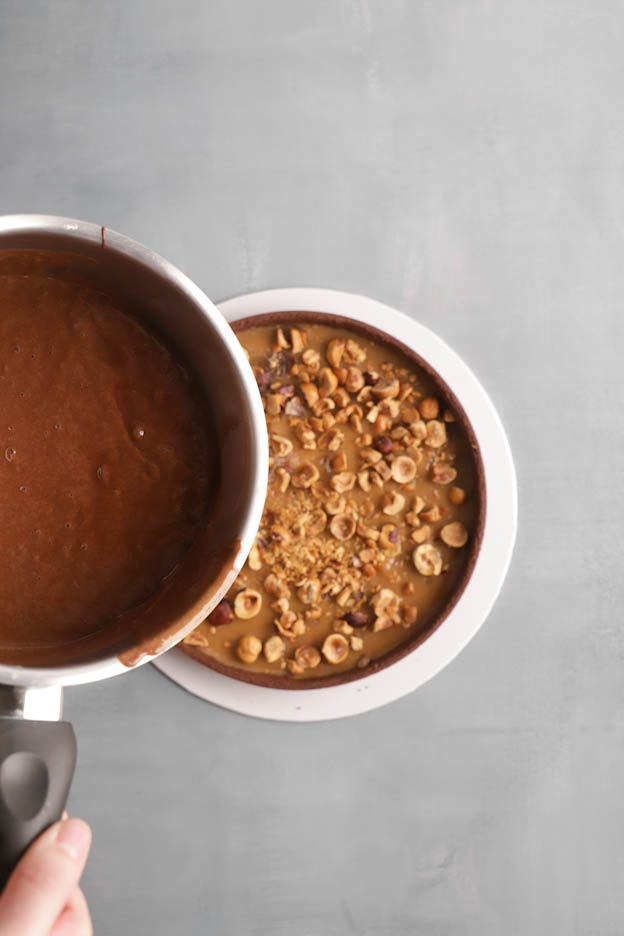
Once the mixture is smooth and homogeneous, pour the cremeux into the tart base. About 220gr of cremeux. :o) Yes yes, I weigh everything!
I placed my tart on a tray to make it easier to transport.
Place your tart in the freezer for at least 1h, to allow the cremeux to set and support the weight of the mousse.
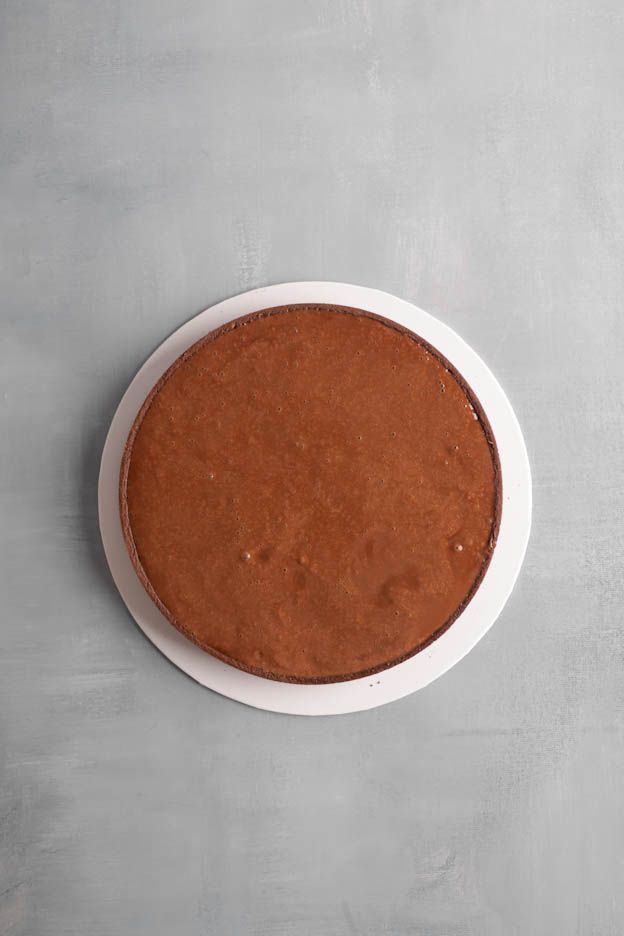
And now it's time for assembly! :o) FINALLY!
Assembly and finishing touches
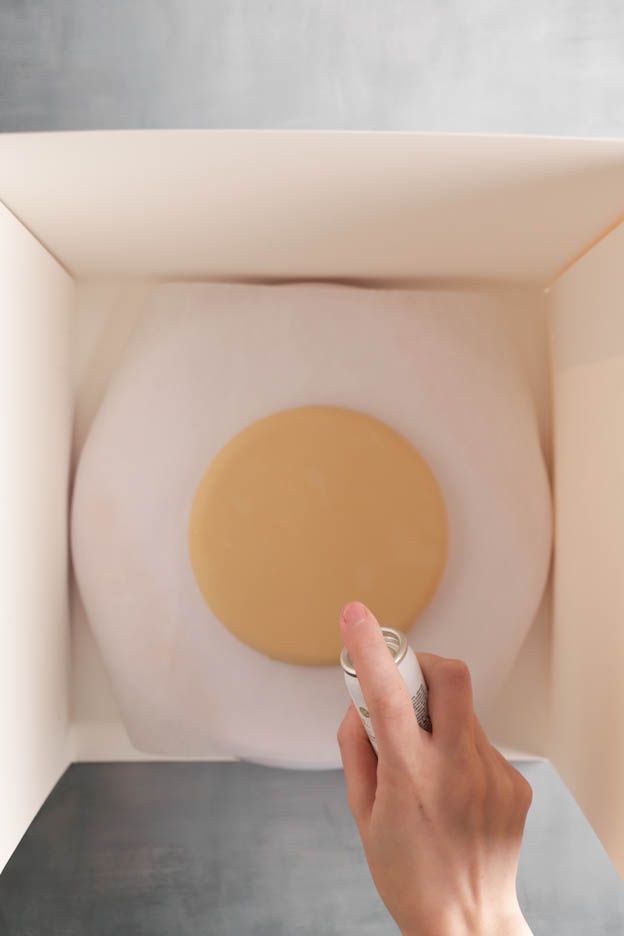
I decided to spray my Dulcey mousse in gold for an even more magical finish, I used the gold metallic spray here.
You can also, if you prefer the velvet effect, use the gold velvet spray.
To avoid turning my kitchen into golden glitter, I used a tall box to protect the surroundings.
Grab a turntable covered with baking paper and there we go! We're ready to spray the mousse.
Unmould your fully frozen mousse and place it on your turntable.
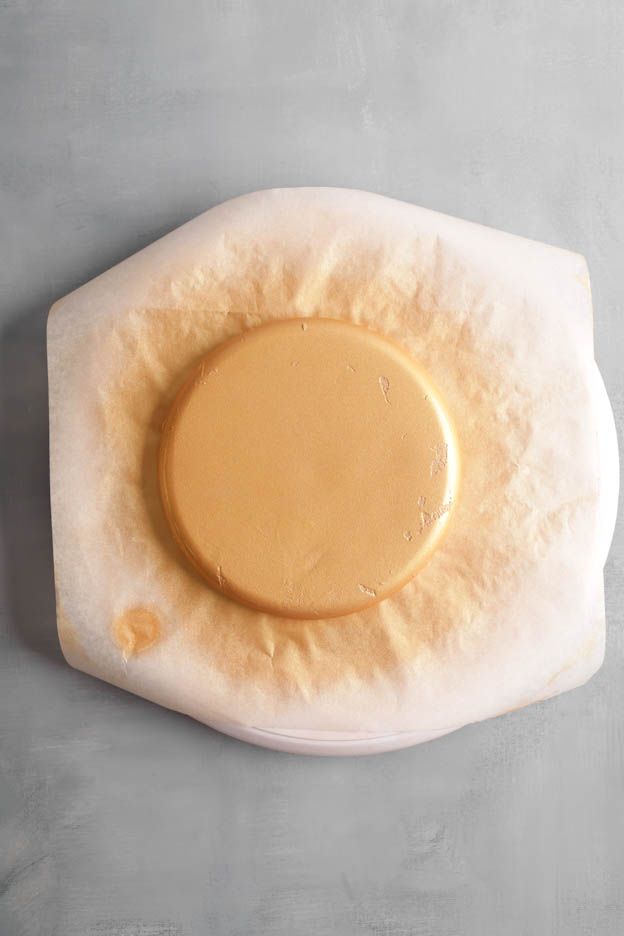
Shake your spray well, then spray at a distance of 20 cm. If you are too close, your spray will leave marks on your dessert. If you are too far away, it's your kitchen you'll be spraying. :o)
If you are using a velvet spray, soak it in hot water for 10 minutes before using it, so that the cocoa butter (inside) doesn't clump together.
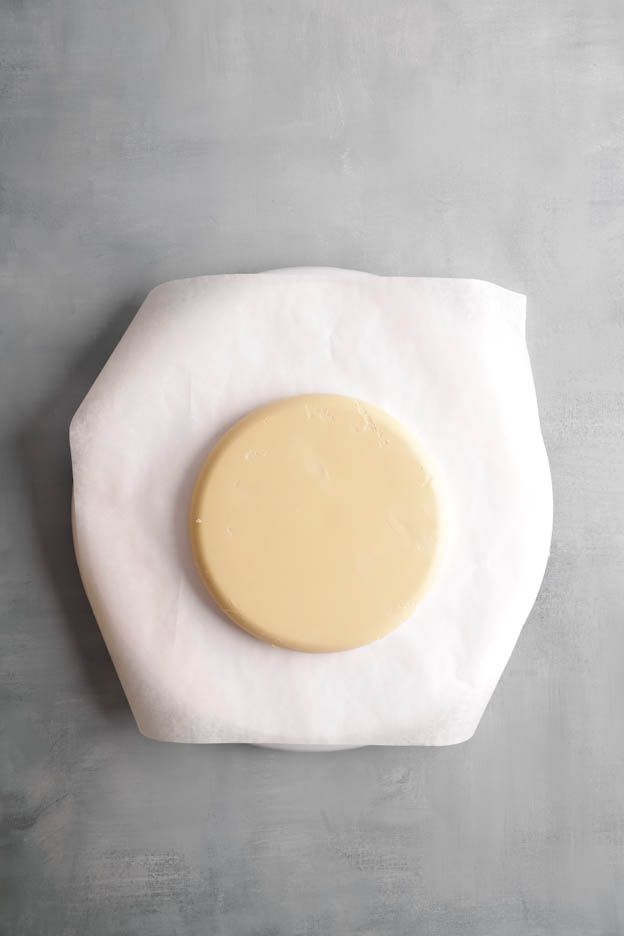
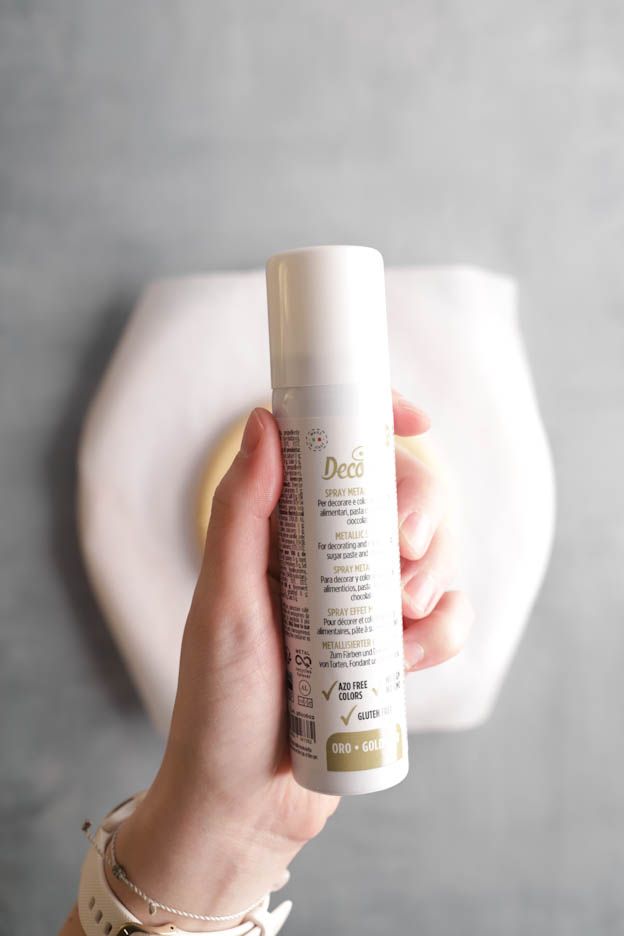
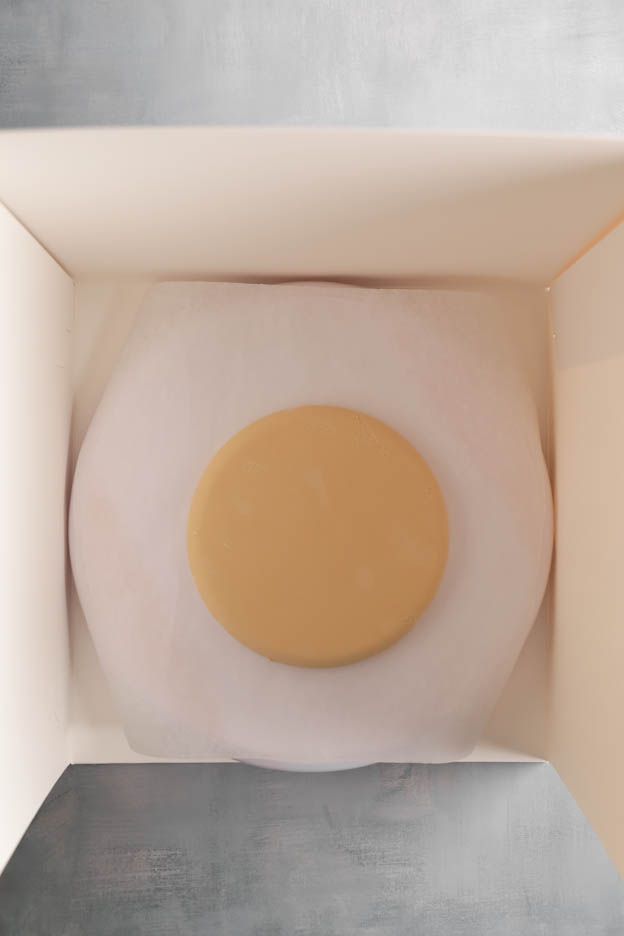
There you go, your mousse is evenly sprayed.
Grab two offset spatulas and gently place the mousse on top of your cremeux. As centred as possible.
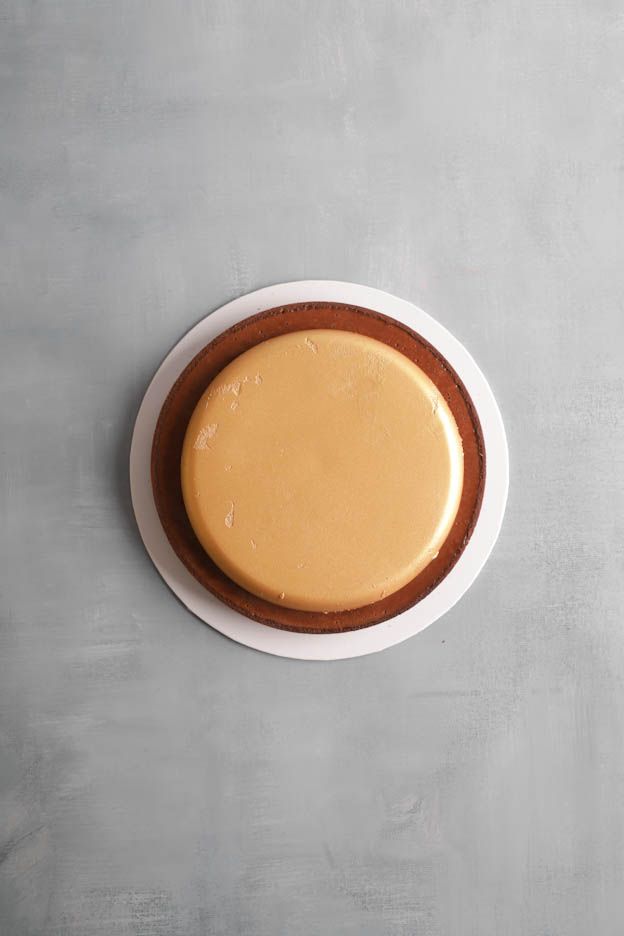
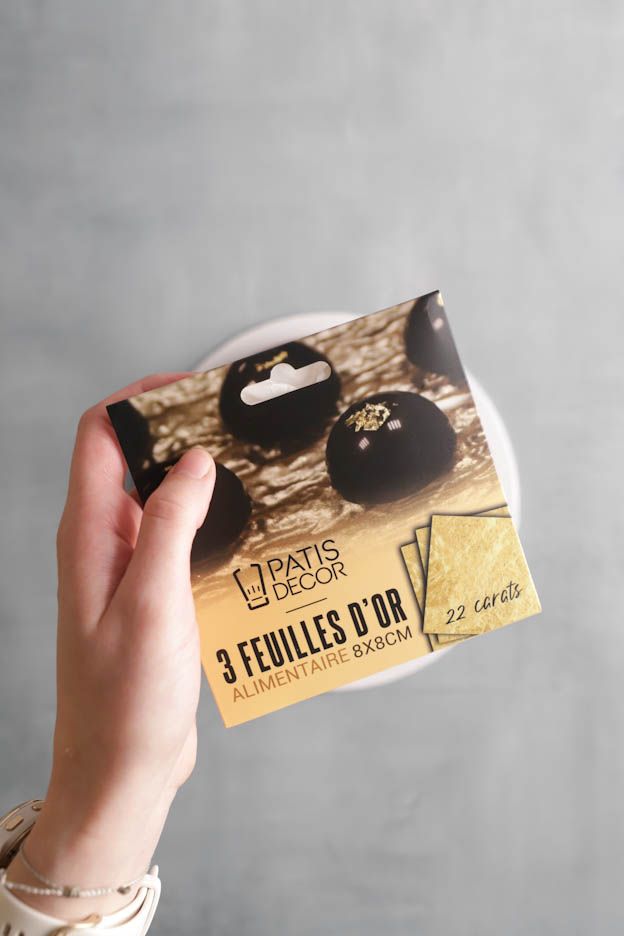
Finish your tart by placing a few hazelnuts and some gold leaf.
To easily place the gold leaf, use a small precision tweezer.
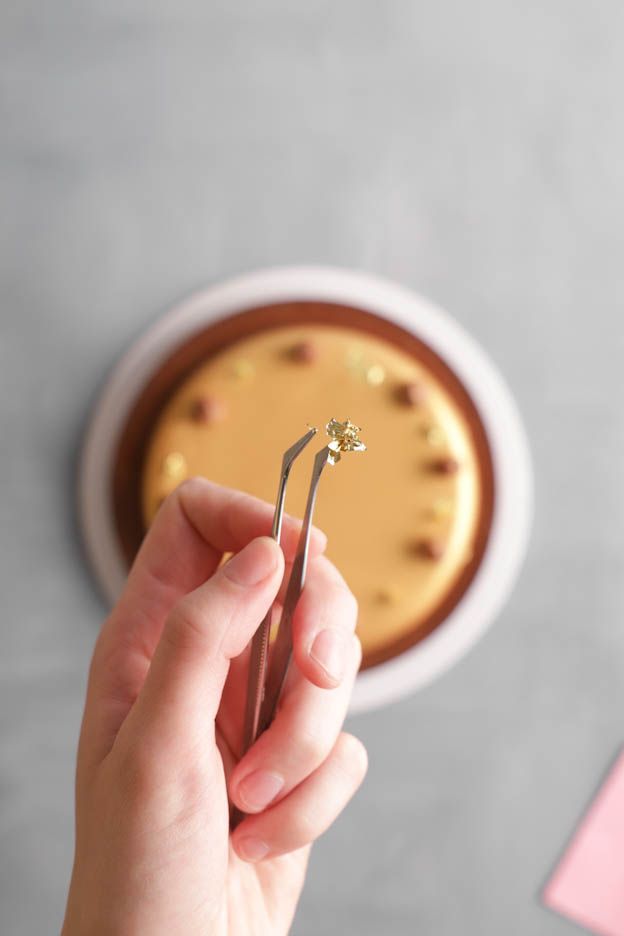
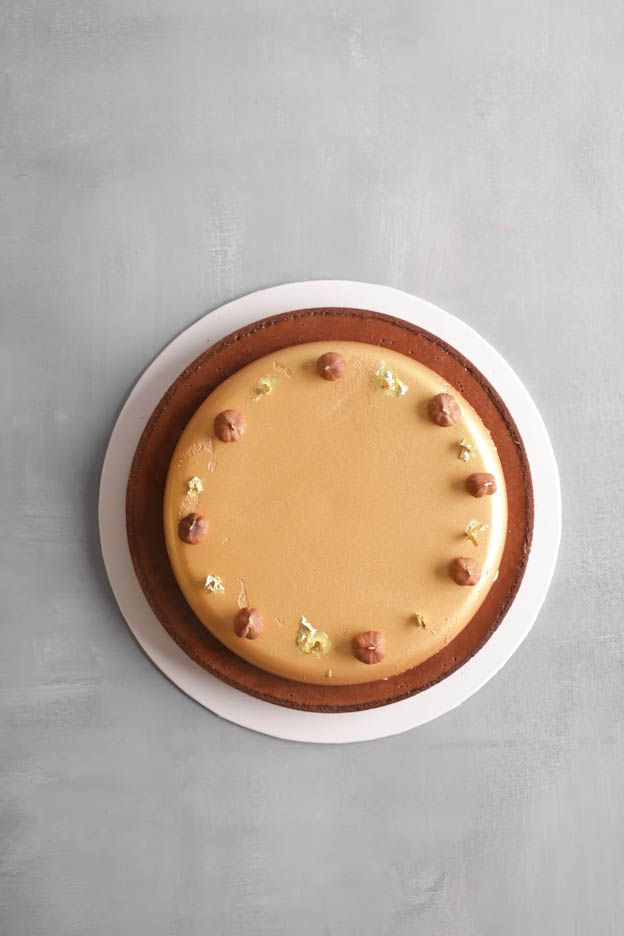
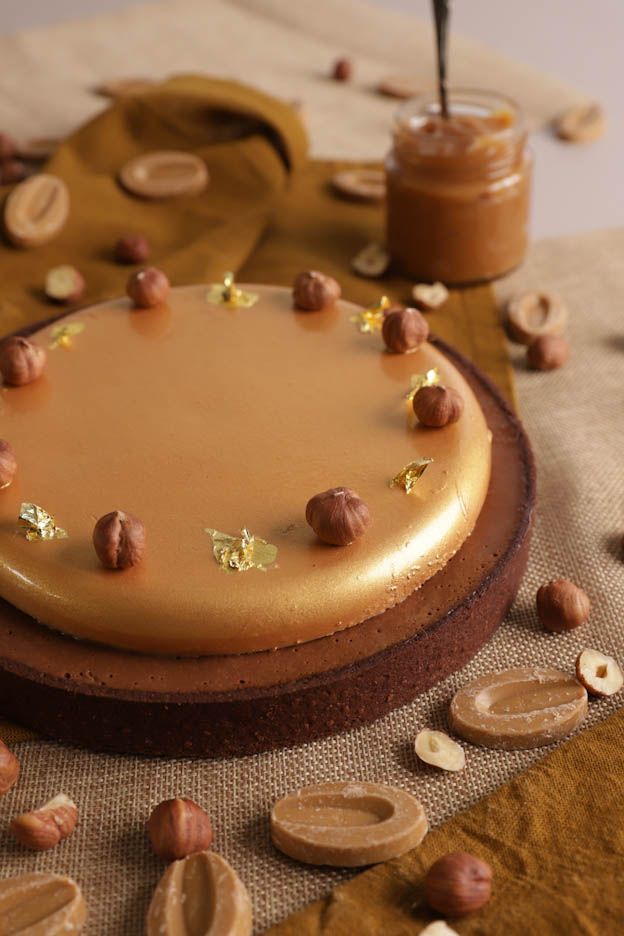
And here is the result! :o)
Keep your tart in the fridge while it defrosts. Allow about 3h for it to be fully thawed.
You can make this tart over several days without any problem.
For example: make the salted butter caramel and the mousse one day, then do the rest the next day.
Once the tart is finished, you can also freeze it. If you want to have a dessert ready for a party, that's perfectly possible. It will keep without any problem for 3 weeks in the freezer in a well-sealed container.
I hope you enjoyed my tutorial!
Happy Sunday foodies!
Karin
P.S.: All the equipment used can be found at the bottom of the recipe.

Related posts
 Juicy Matcha Muffins with Pecan Nuts & White Chocolate
Matcha Iced Latte & Coconut Variant
Pull-apart bread with fresh wild garlic pesto
Mini Banana Bread with Chocolate Chips
Juicy Matcha Muffins with Pecan Nuts & White Chocolate
Matcha Iced Latte & Coconut Variant
Pull-apart bread with fresh wild garlic pesto
Mini Banana Bread with Chocolate Chips
Leave a comment
Comments
Question de Louise
By: Louise B. On 2020-12-07Bonjour et merci pour votre recette. J'aurais voulu savoir pourquoi il faut piquer la pâte. Je pensais que ça ne fait pas de bulle si on utilise un tapis perforé. Est-ce qu'il n'y a pas de risque de fuite du caramel par les petits trous?
Replied by: Karin On 2020-12-07