
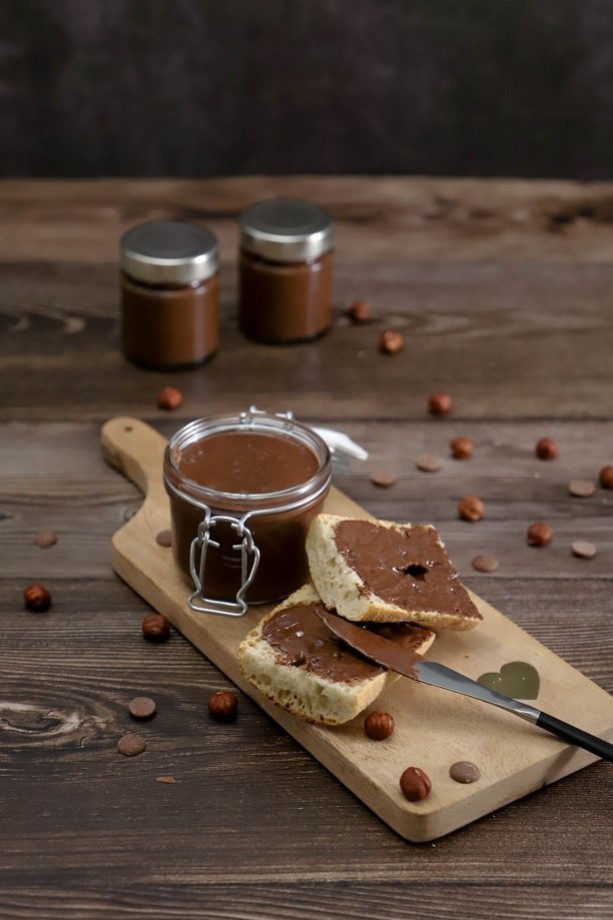
Chocolate Spread
Hello food lovers!
This morning I really wanted to share with you a delicious chocolatey recipe that will delight young and old alike: homemade chocolate spread!
Absolutely amazing! Perfect for toast, crêpes, pancakes and even eating straight from the spoon! ;-)

One batch will give you 650-700gr of chocolate spread. I divided it into 3 small 200gr jars and a little bit left over that will be eaten straight from the spoon very quickly!
It takes about 50 minutes to make your homemade chocolate spread.
Plus with this recipe you'll learn how to make gianduja, praline and dry caramel!
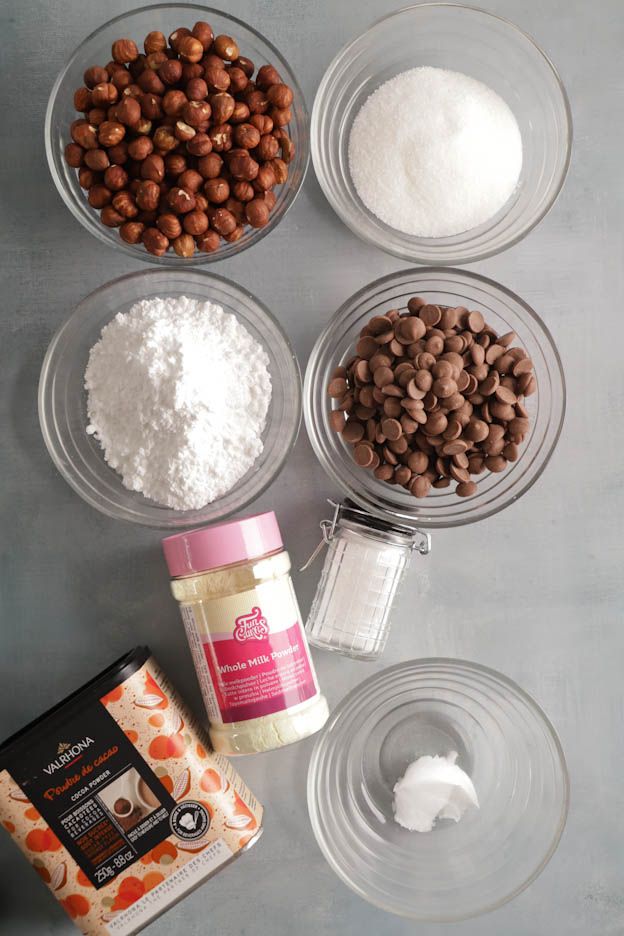
Here's what you'll need:
- 270gr of hazelnuts (or almonds)
- 120gr of sugar
- 150gr of icing sugar
- 200gr of milk chocolate
- 2gr of salt
- 20gr of unsweetened cocoa powder
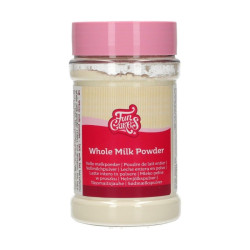
- 25gr of whole milk powder
- 10gr of coconut oil
Let's get started with the recipe!
We'll start by roasting our hazelnuts. This means putting them in the oven for 20 minutes so they release even more aroma.
Preheat your oven to 170°C.
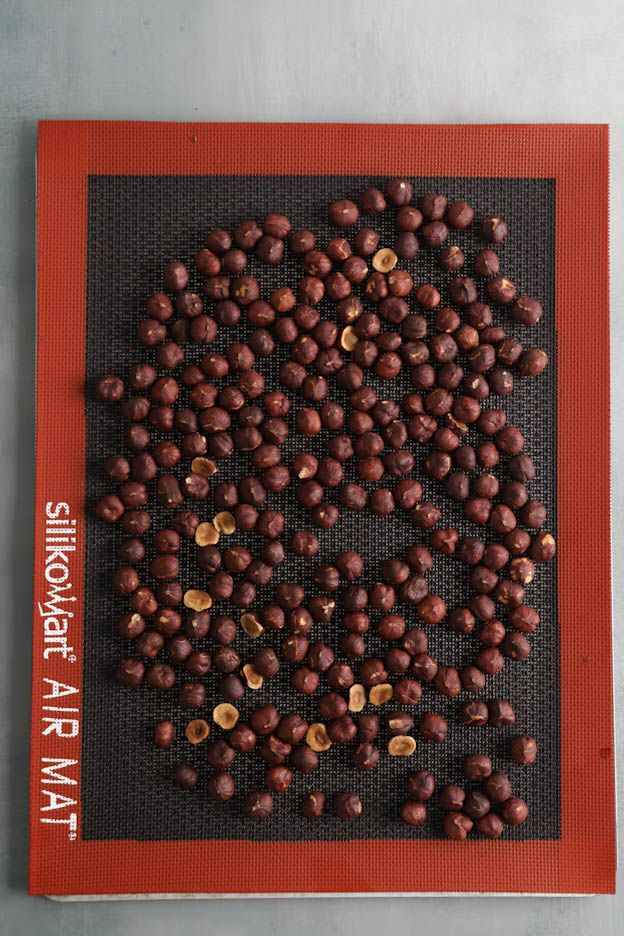
Pour 270gr of hazelnuts onto a perforated baking tray lined with a perforated mat and bake them for 20 to 25 minutes. The perforated tray will allow for better cooking of the hazelnuts.
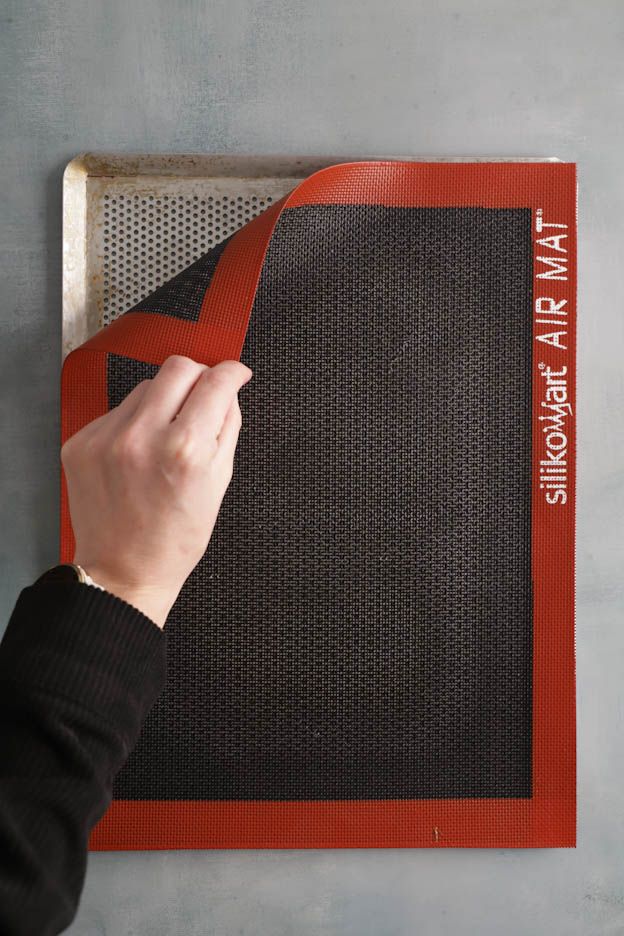
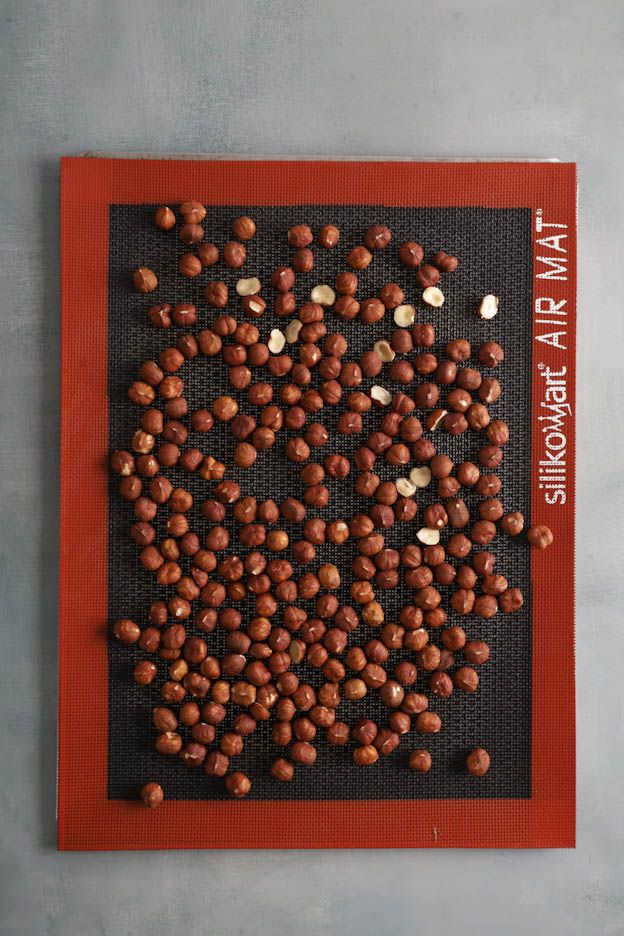
You can do this the day before if you don't want to wait for them to cool down.
Let them cool for a good 20 minutes. If they're still crackling that's normal. ;)
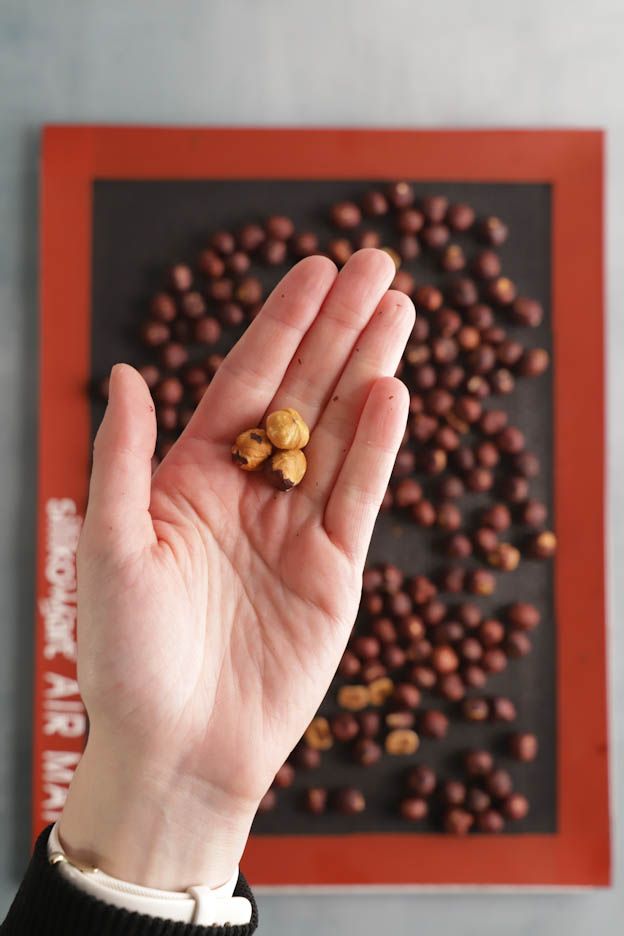
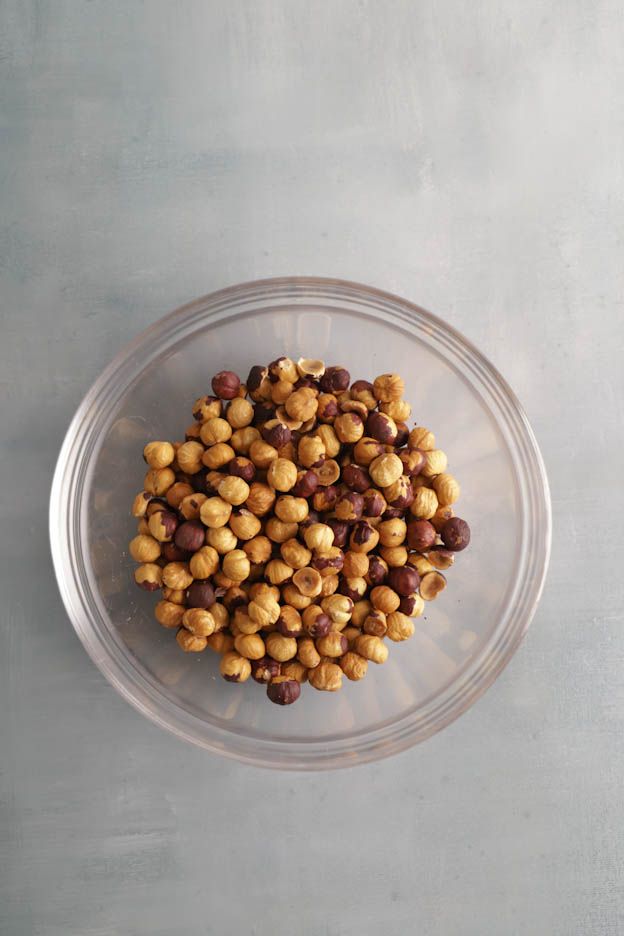
Once cooled, we're going to peel them. Take them between your hands and rub them against each other. The skin will come off very easily. It's not a problem if a little remains. But you should remove as much skin as possible.
You can also put them in a cloth and rub them inside the cloth, but personally I prefer the hands method.
Perfect! Now let's tackle our dry caramel. Don't be scared! It really isn't as complicated as it seems.
Take a saucepan and put a thin layer of sugar at the bottom (just a thin layer of a few millimetres, no more).
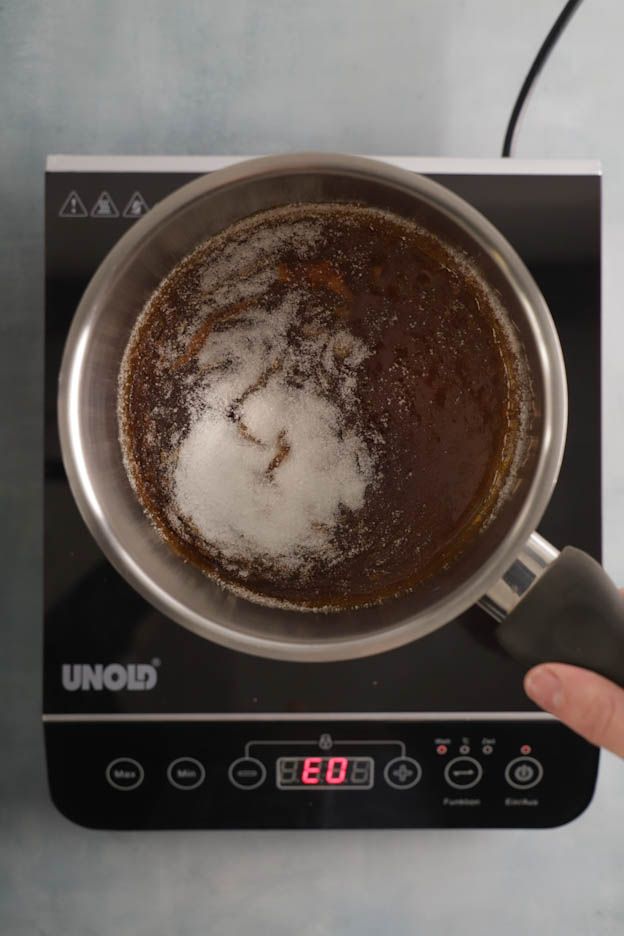
We'll start by heating this layer of sugar. Once it starts to melt, add a small amount of sugar on top and wait again for it to melt. Continue like this (120gr of sugar in total) until all the sugar has melted.
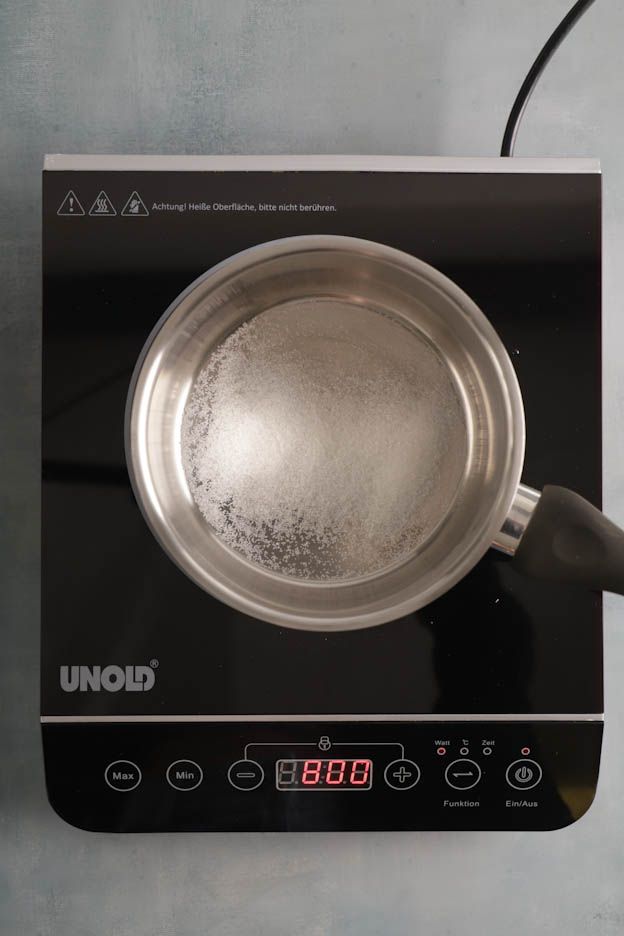
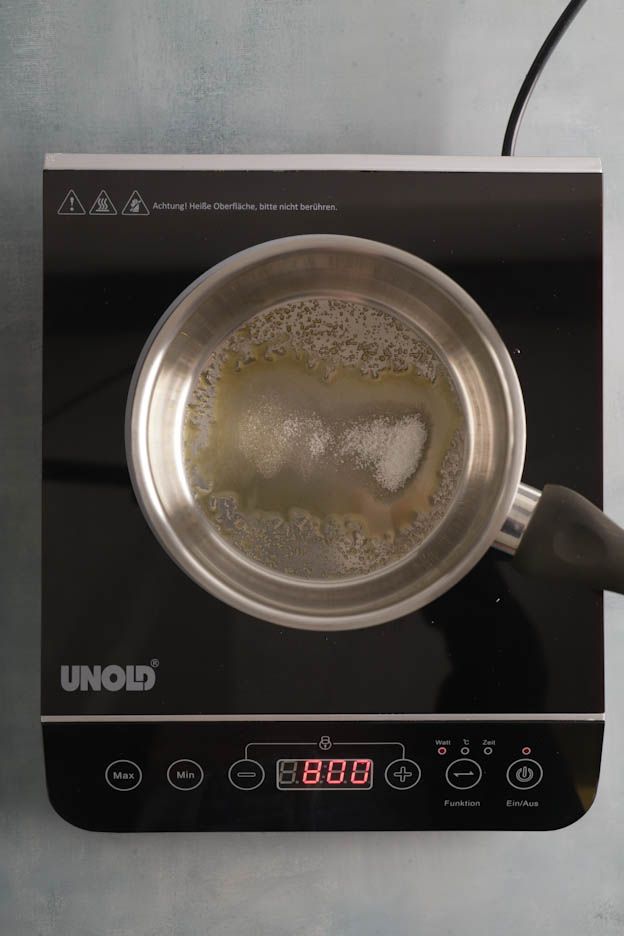
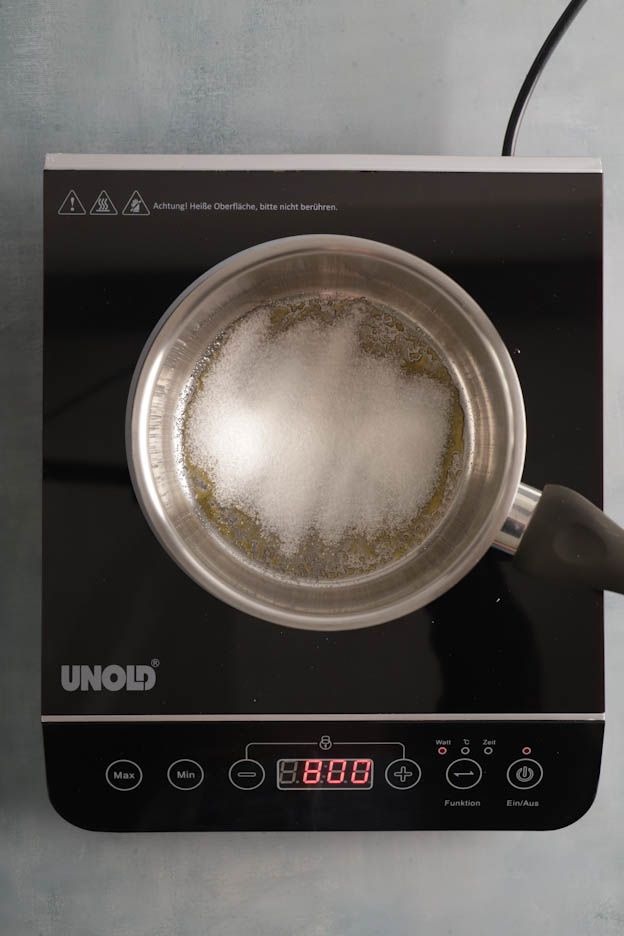
WARNING: Very very important! Never stir the caramel with a spatula or any other tool! It would crystallise immediately!
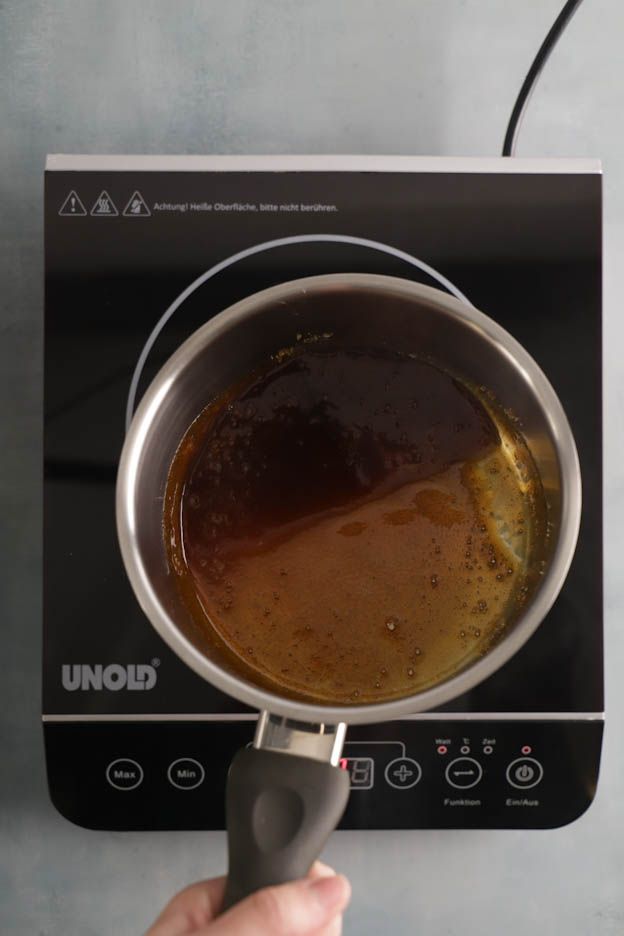
TIP: To prevent the caramel from browning too quickly, I lift my saucepan from time to time (or remove it from the heat) while giving it a rotating motion. This way, the sugar will melt evenly without burning.
There we go, our dry caramel is ready. We now need to pour it onto a silpat and let it cool.
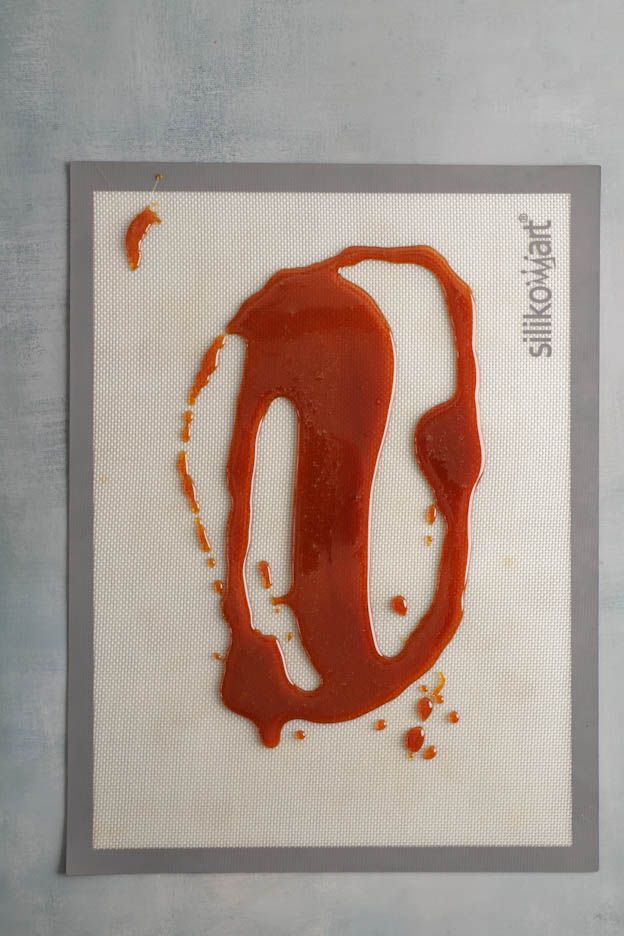
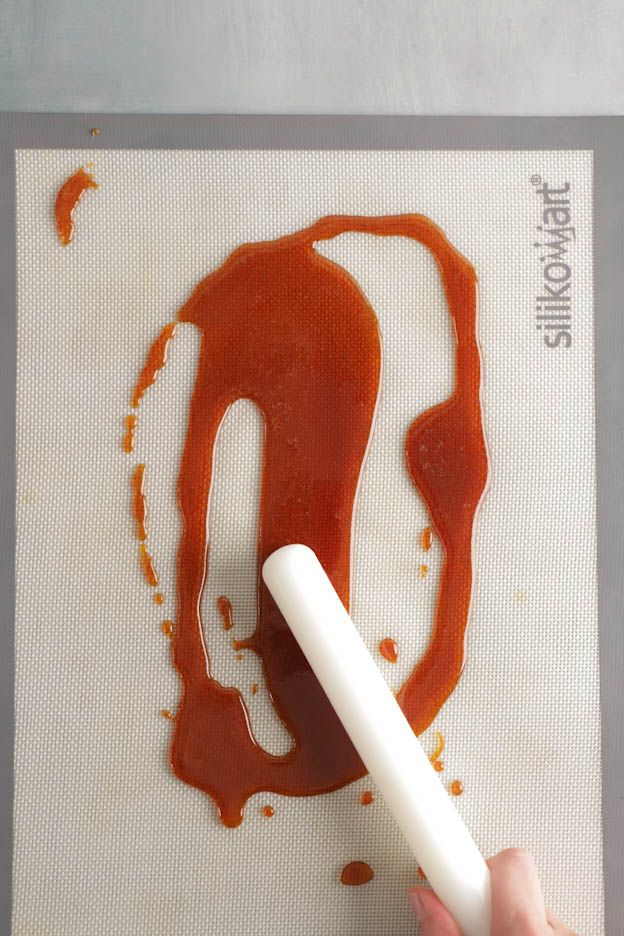
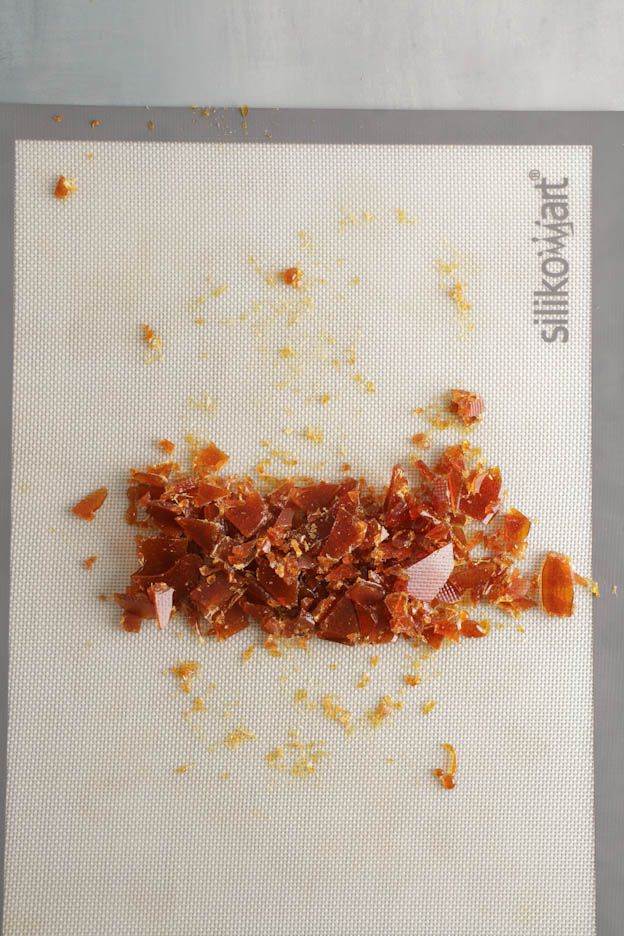
We'll now move on to the next step by preparing the praline. To do this, break the cooled caramel into pieces.
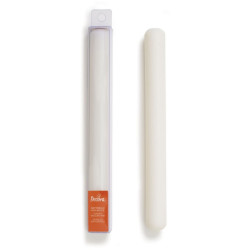
Use a small rolling pin to do this to avoid accidents like the one I had when doing it by hand and cutting myself ;-)
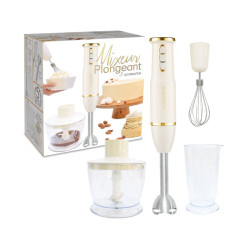
Then place 120gr of roasted hazelnuts with your caramel pieces in your blender or food processor.
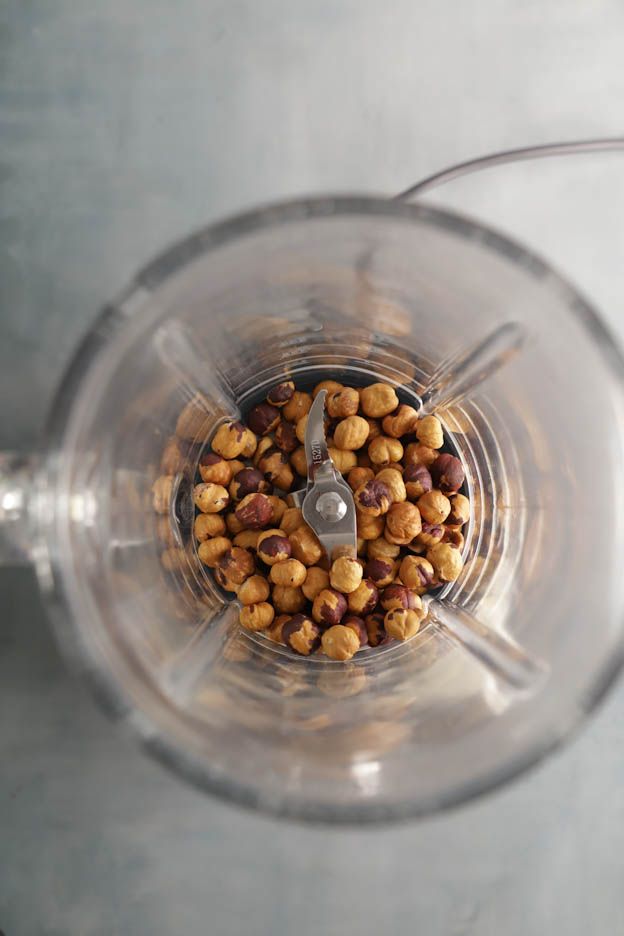
Add 2gr of salt to the mixture, it doesn't matter whether it's before or after.
I always use my precision spoon scale to weigh salt and other small-quantity ingredients.
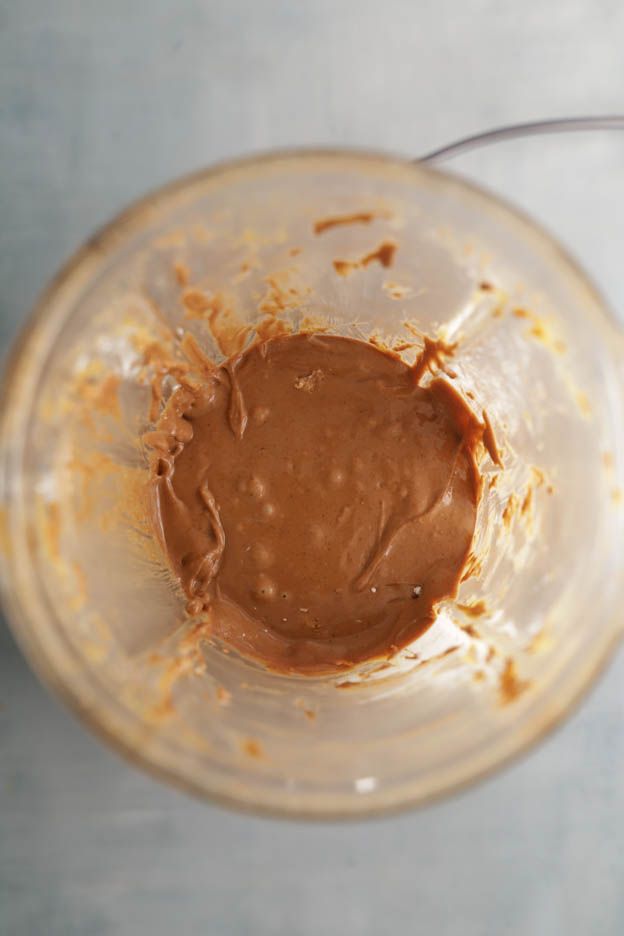
The praline will form gradually. Don't blend too powerfully as you risk overheating your blender. The praline will first be grainy, then sandy, before finally becoming more liquid. That's when you'll have your homemade praline!
TIP: If your blender gets too hot, take a few breaks.
This is the texture we're looking for (see the third photo below).
You can use this praline for many pastries or to fill pralines, for example chocolate shells.
Set your praline aside in a bowl.
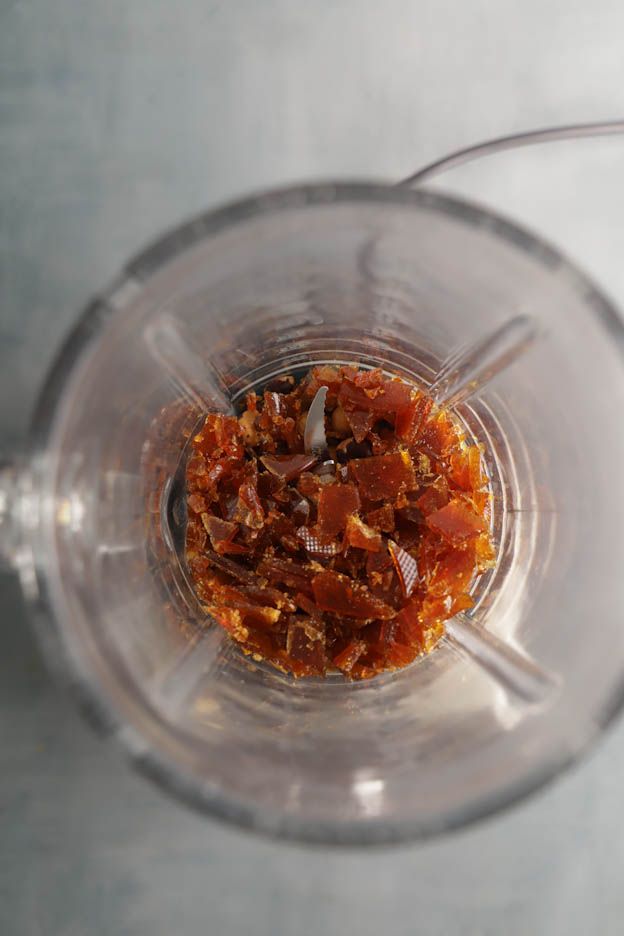
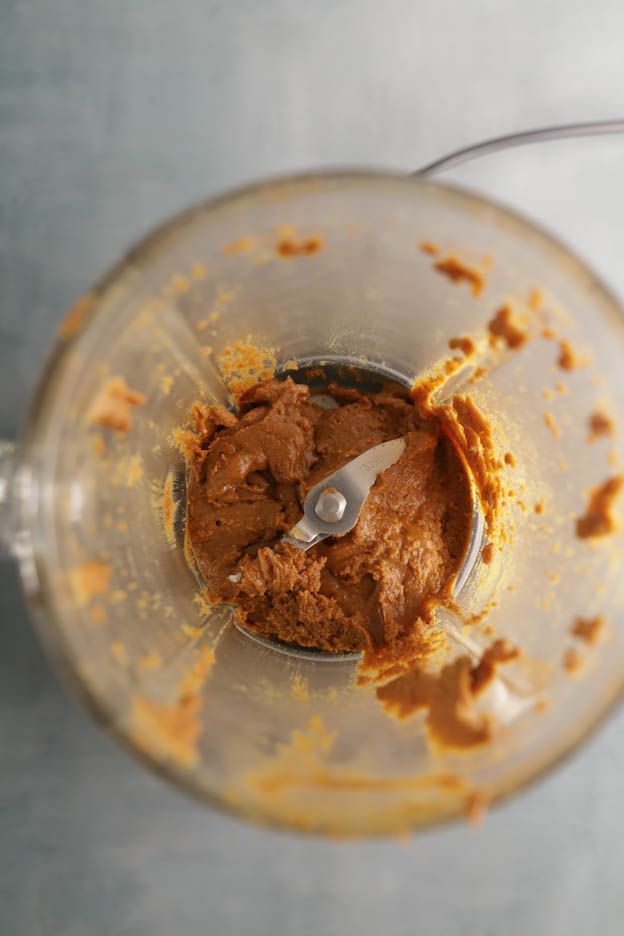
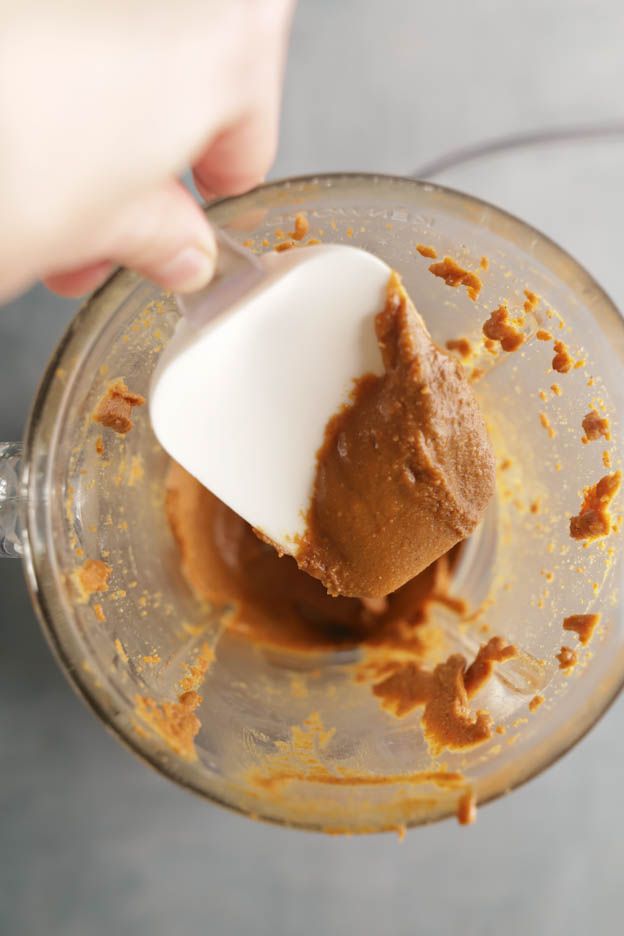
No need to wash your blender , we're going to use it again straight away and it doesn't matter if a little praline remains inside.
Pour the remaining roasted hazelnuts with 150gr of icing sugar and blend the mixture.
You'll get a hazelnut paste. Blend until the mixture is well combined and smooth enough.
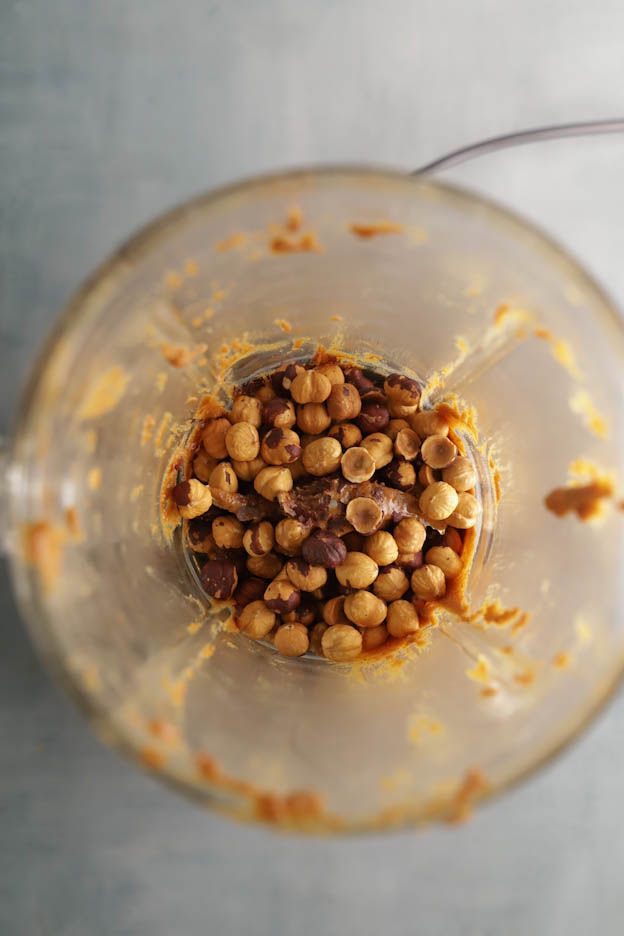
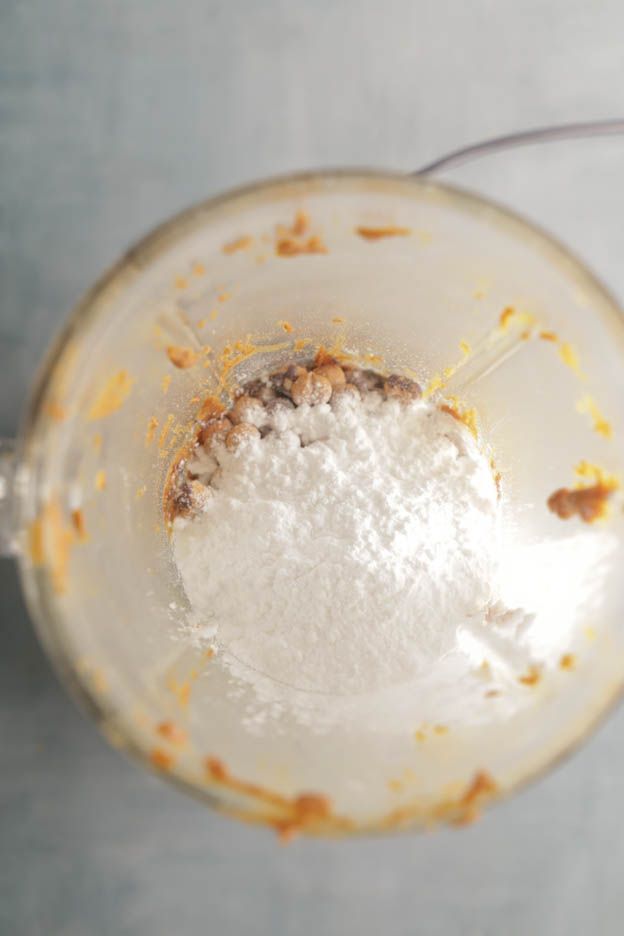
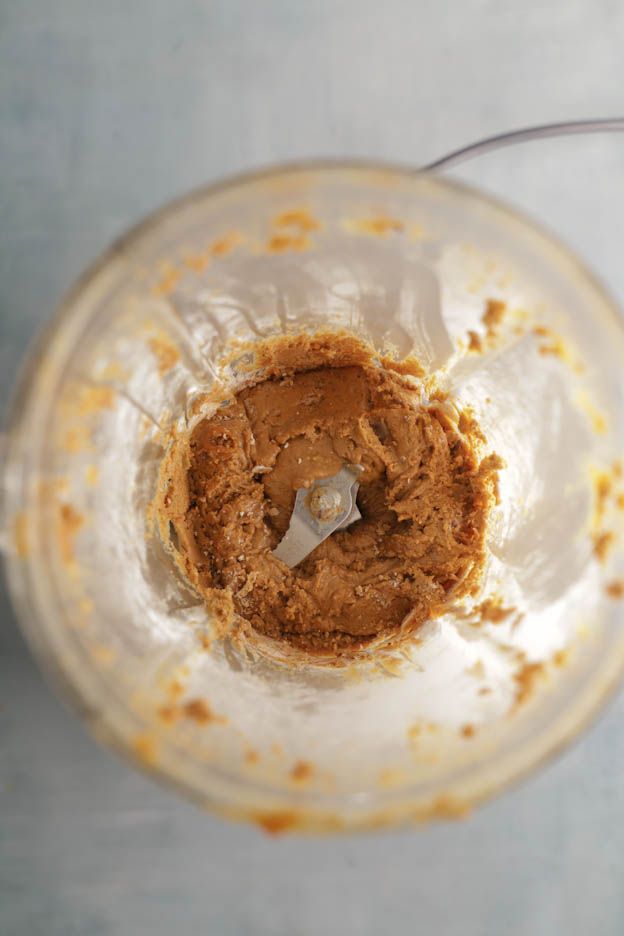
We're going to make a gianduja.
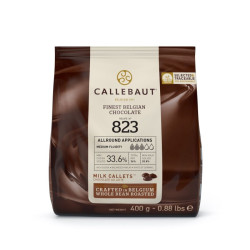
To do this, melt 200gr of milk chocolate in the microwave at 600Watt for one minute. I very often use Callebaut chocolate. This chocolate is one of the best in the world! It's a Belgian chocolate in pistole form. It melts very quickly and its quality is perfect for baking.
Then add the melted chocolate to the hazelnut paste and blend again to obtain a gianduja.
Now you have your gianduja ready! This mixture is excellent for making chocolates or entremet cakes.
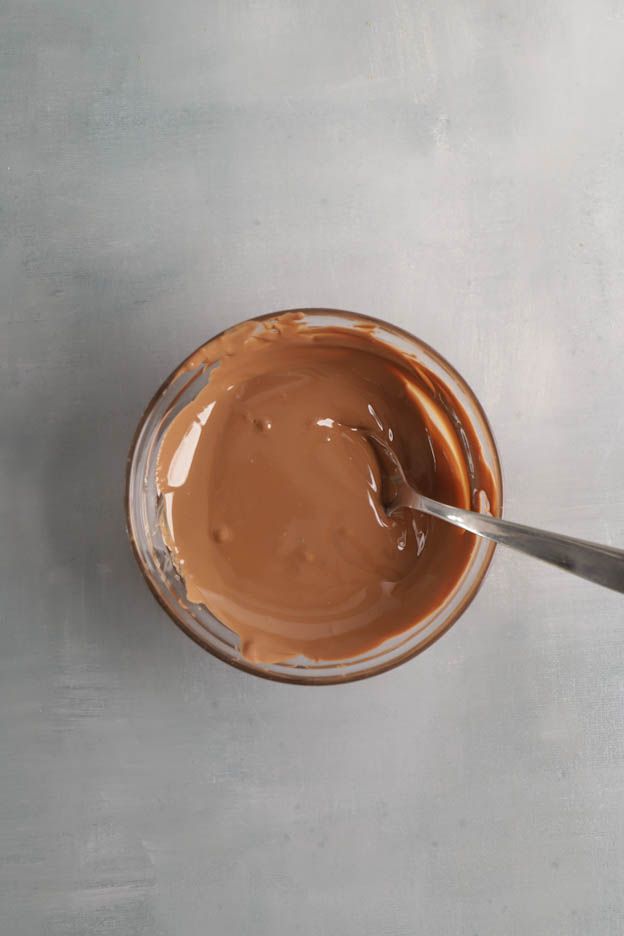
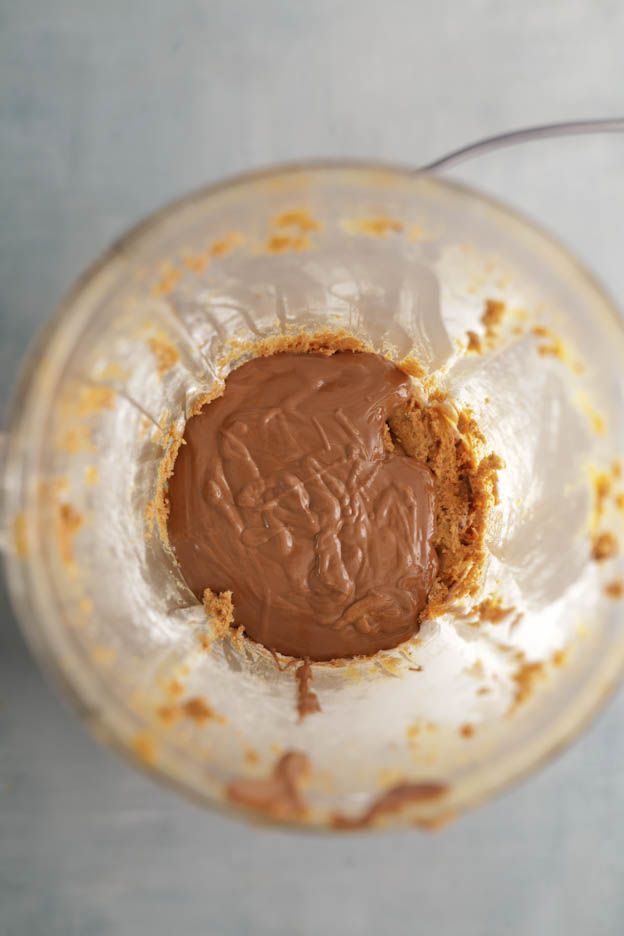
All that's left is to combine all the ingredients together and your homemade chocolate spread will be ready! :o)
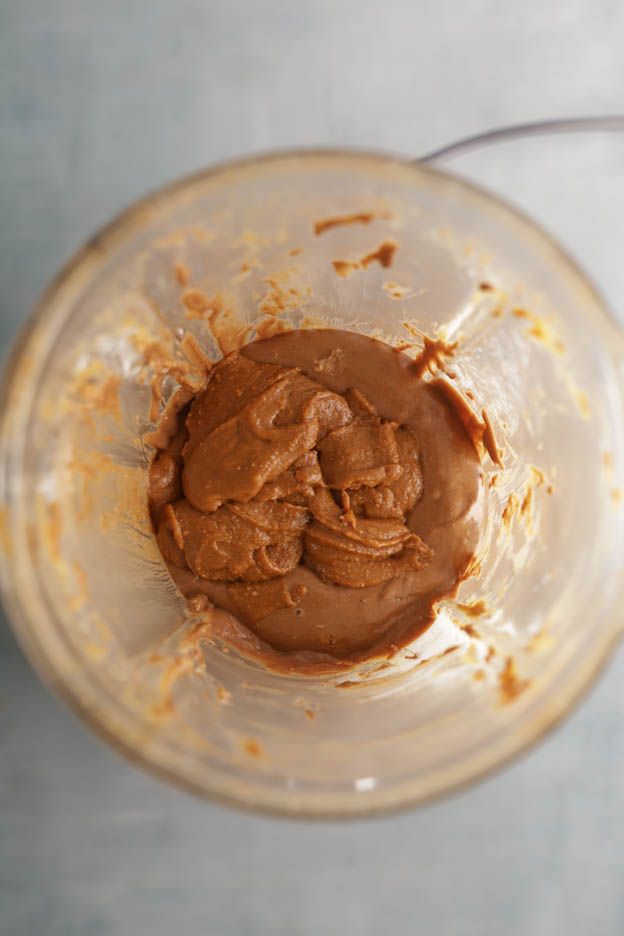
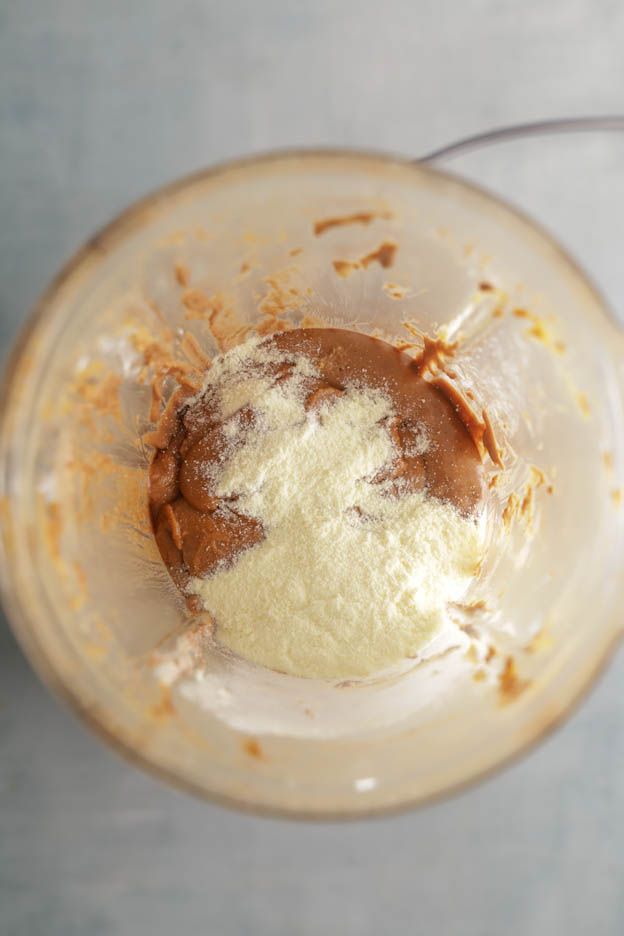
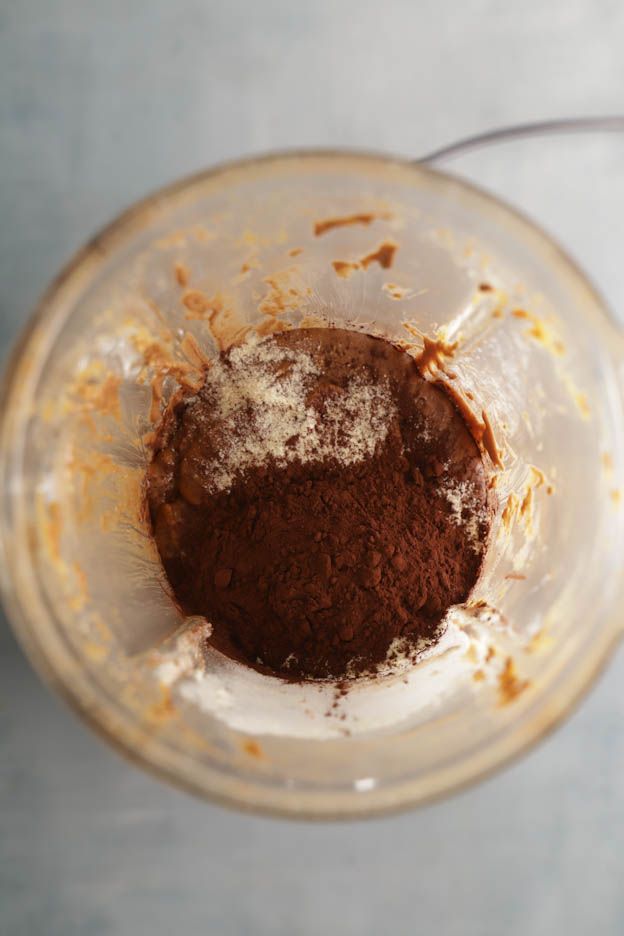
Pour the praline, 20gr of unsweetened cocoa powder, and 25gr of whole milk powder into the blender.
The milk powder will help preserve and dry out the chocolate spread. Careful! It is not possible to replace the milk powder with liquid milk.
Last ingredient, the coconut oil. Simply melt 10gr of coconut oil in the microwave at 600Watt for one minute.
You'll find coconut oil at Coop and Migros too. Personally, I find it adds a nice little flavour to the chocolate spread.
Add the coconut oil to the mixture and blend everything together.
Your chocolate spread will be liquid and that's normal, don't worry!
The mixture will harden in the fridge within a few hours thanks to the chocolate and the coconut oil.
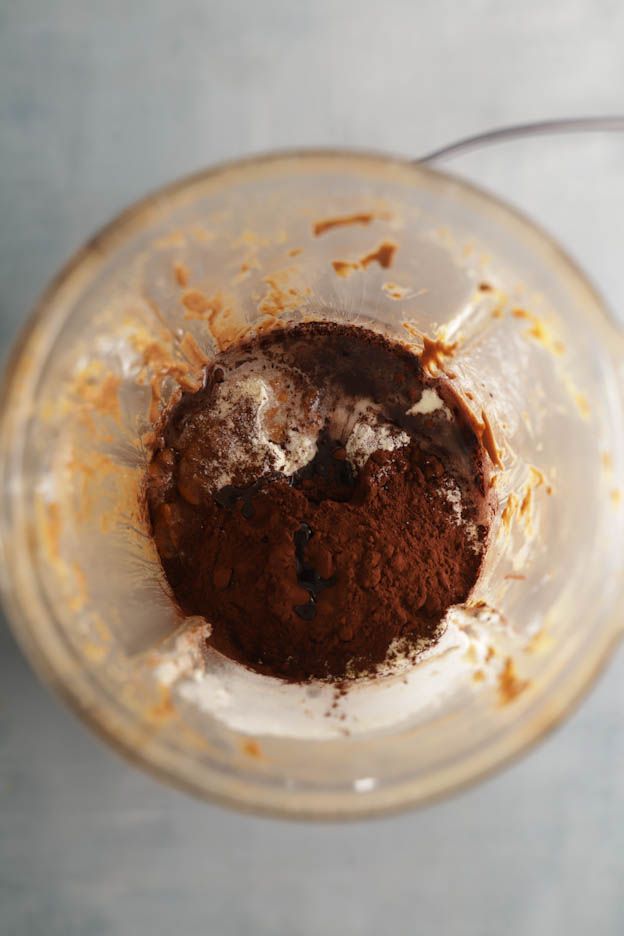
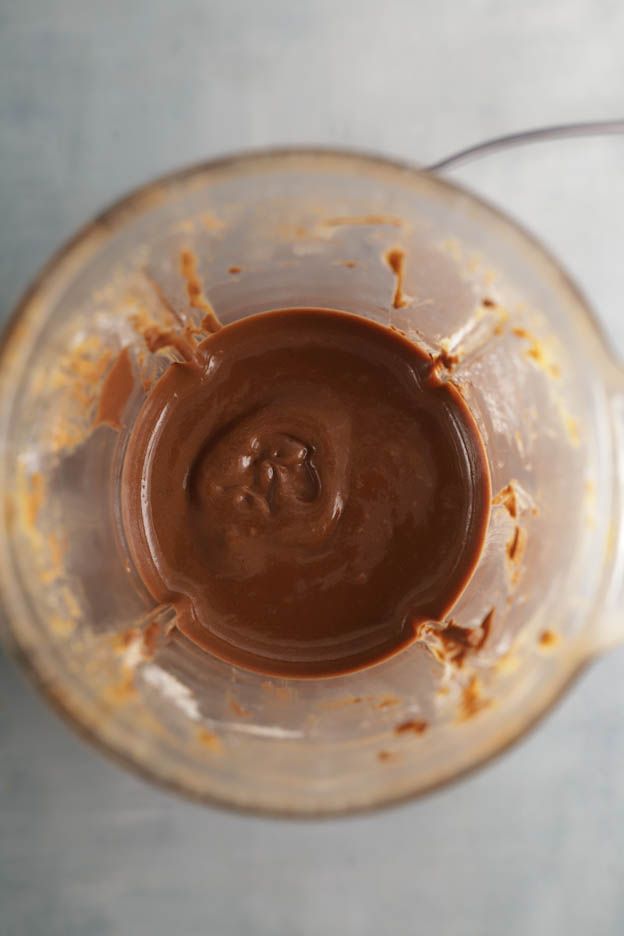
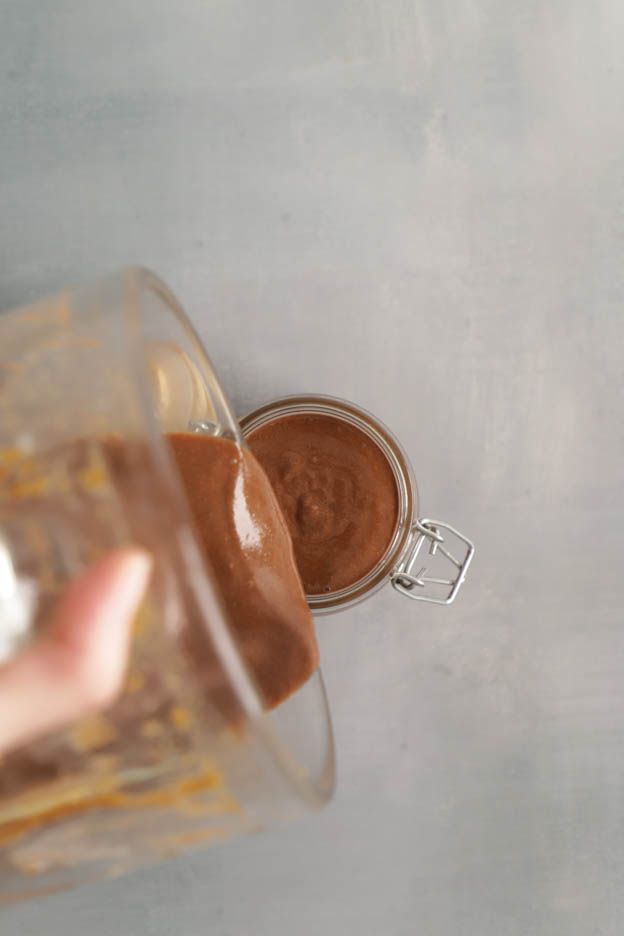
Now transfer your chocolate spread into glass jars.
As I mentioned at the beginning of the recipe, I poured the chocolate spread into 3 small jars.
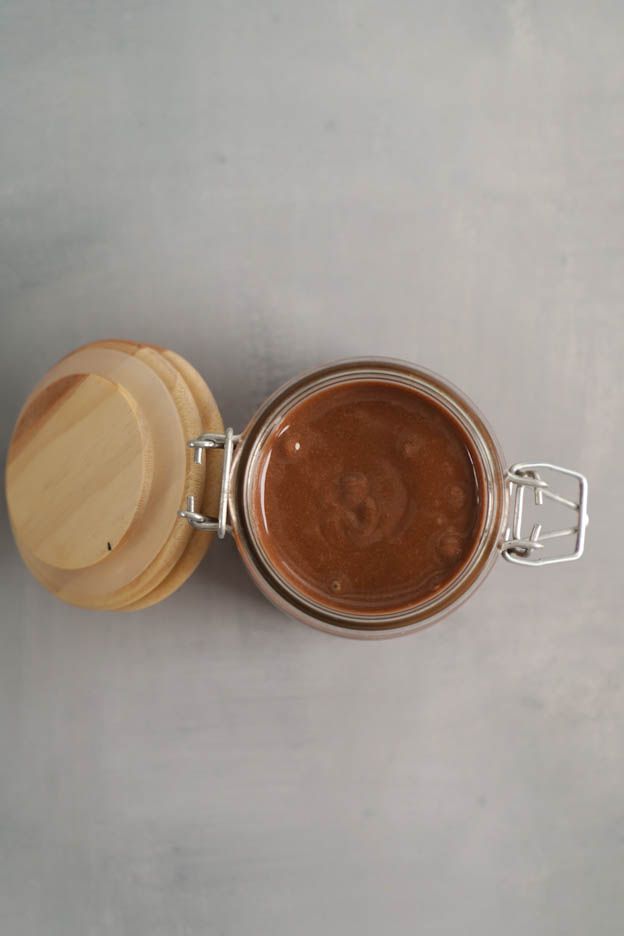
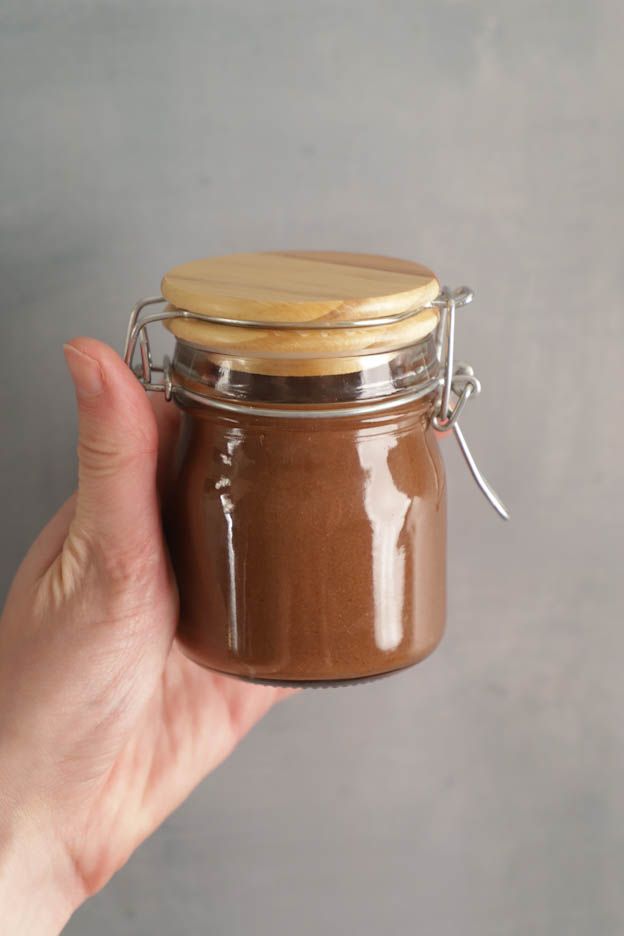
This chocolate spread is perfect for homemade gifts!
Have a great Sunday, food lovers!
Karin
P.S.: All the equipment used can be found at the bottom of the recipe.

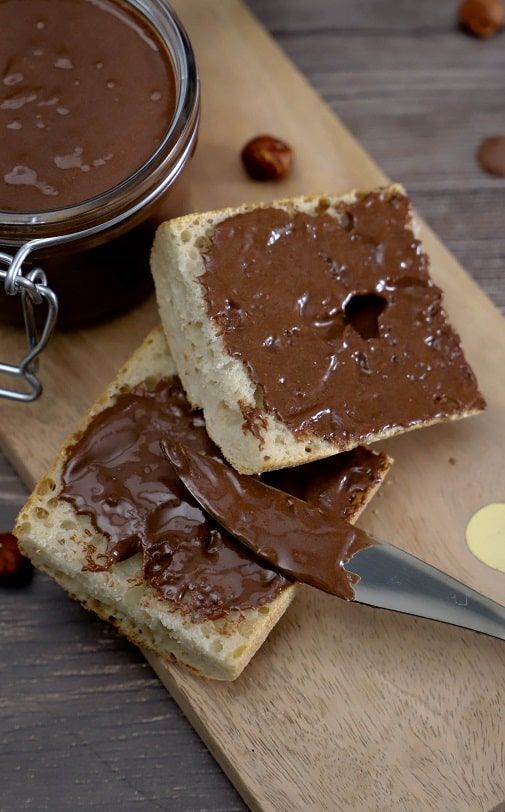
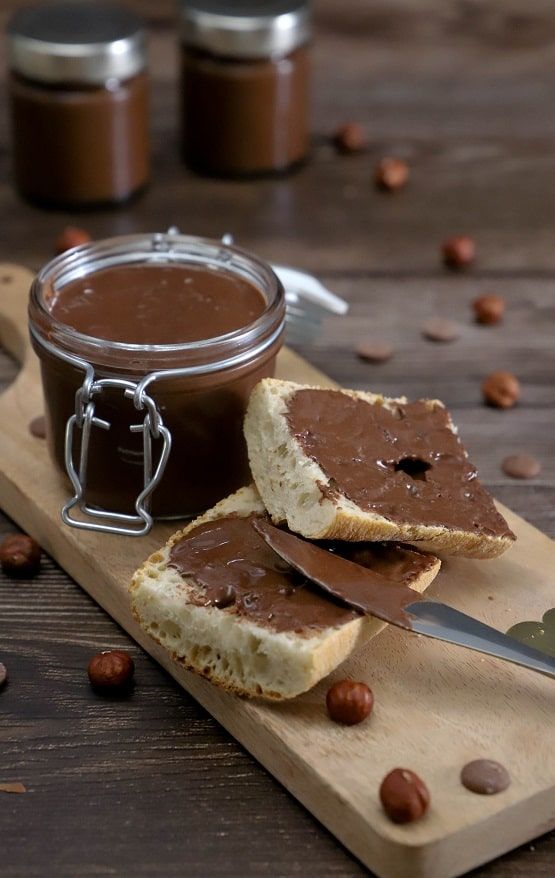
Discover our recipe in video!
Related products
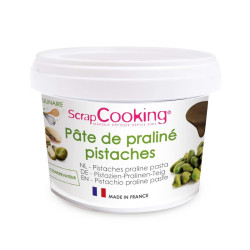
Pistachio praline paste 200g
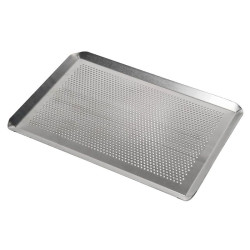
Perforated aluminium baking tray 40 x 30 cm

Digital scales spoon
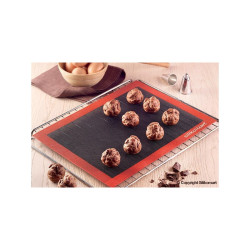
Microperforated silicone mats
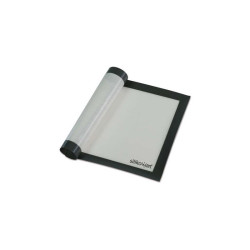
Silicone mat - 40 x 30 cm
Rolling Pin 25 cm
Whole milk powder
Hand blender - chopper 3 in 1
Hazelnut filling 200 g
Cocoa powder, 1 kg

Related posts
 Juicy Matcha Muffins with Pecan Nuts & White Chocolate
Matcha Iced Latte & Coconut Variant
Pull-apart bread with fresh wild garlic pesto
Mini Banana Bread with Chocolate Chips
Juicy Matcha Muffins with Pecan Nuts & White Chocolate
Matcha Iced Latte & Coconut Variant
Pull-apart bread with fresh wild garlic pesto
Mini Banana Bread with Chocolate Chips
Leave a comment
Comments
Question de Marion
By: Marion D. On 2021-11-26Bonjour,
Est-il possible de faire cette recette avec du chocolat plus foncé? Il y a-t-il des adaptations à faire?
Merci pour toutes vos délicieuses recettes.
Replied by: Karin On 2021-11-26
Réponse à Oui
By: Karin On 2021-05-14vous pouvez faire le test en rajoutant sans autre un peu d'huile de coco ;)
Bonne pâtisserie et belle journée
Question de Karin
By: Karin B. On 2021-05-12Bonjour.
Ma pâte à tartiner durcit à force qu'on la mange (moins il y en a plus elle durcit), malgré que je ne la garde pas du tout au frigo. J'aime bien quand elle est ni liquide ni ferme. Savez-vous ce que je pourrais faire pour qu'elle reste à la bonne texture? Rajouter plus d'huile de coco?
Question de Marie-France
By: Marie-France F. On 2020-10-05Bonjour,
Pouvez-vous me donner le modèle de votre Blender Kenwood ?
Merci beaucoup :)
Replied by: Karin On 2020-10-07
Réponse
By: Karin On 2019-11-18Alors en effet votre mixer ne doit pas être assez puissant et cela prend plus de temps. Surtout ne rajoutez pas de liquide. Arrêter un moment le mixer, laissez le refroidir, puis remixez à nouveau jusqu'à ce que le mélange se liquéfie. Et vous n'êtes pas obligé d'émonder les amandes... Cela fera un praliné un peu plus amer mais c'est bon aussi. Belle journée. Karin
Question de Estelle
By: Estelle S. On 2019-11-17J'ai bel et bien torréfié mes amandes sauf que l'émondage était impossible, après recherche, pour émonder les amandes, il faut les tremper dans de l'eau bouillante, j'ai donc racheter des amandes et ai procédé de cette manière et torréfié ensuite. J'ai mixé bien longtemps mais le mixeur ne devait pas être assez puissant... Une fois terminé, la pâte étant trop sèche, j'ai rajouté du lait pour avoir un résultat plus ou moins convenable mais le goût ne nous a pas plu. J'ai fini par rajouter des oeufs et de la farine et l'ai mis 30 minutes au four, une tuerie :P
Réponse à Estelle
By: Karin On 2019-11-16Vous n'avez simplement pas mixé assez longtemps votre praliné et votre gianduja. :o)
Le praliné s'obtient en mixant assez longtemps et se liquéfie.
J'ai fait cette recette des dizaines de fois et vraiment si vous mixez assez longuement, vous verrez le praliné se liquéfier et votre texture sera parfaite. :o)
Avez-vous bien torréfié vos amandes ou noisette? Donc chauffé à 150°C durant 15 bonnes minutes? Car si vous avez esquivé cette étape cela peut également être une autre réponse. :o)
Belle soirée.
Salutations.
Karin
Réponse à Estelle
By: Cakelicious-Team On 2019-11-16Nous vous remercions de votre message.
Pour la recette, nous utilisons du chocolat au lait. Le meilleur reste de prendre du chocolat professionel et non en plaque, car la qualité sera meilleur avec du bon chocolat.
N'hésitez pas à nous recontacter pour toutes autres questions.
Nous vous souhaitons un excellent weekend.
Cakelicious Team
Réponse à Marine
By: Cakelicious-Team On 2019-10-26Nous vous remercions de votre message :)
Nous utilisons des blender de la marques Kenwood mais le Kitchenaid fonctionnera également très bien.
N'hésitez pas à nous recontacter pour toutes autres questions.
Un excellent weekend
Cakelicious Team
Réponse
By: Cakelicious-Team On 2018-09-13Merci Julie pour le super commentaire!
Pour répondre à ta question... C'est deux techniques différentes mais qui fonctionnent bien les deux.
Je préfère faire mon sucre à côté par gain de temps. Le praliné fait à ma façon sera plus croustillant et un poil plus granuleux que la façon Paris-Brest. Donc à toi de choisir ce que tu préfères. :o)
Belle journée.
Karin
Réponse à Justine
By: Cakelicious-Team On 2018-08-22Merci pour votre retour! C'est sûre que votre poignet à dû en prendre un coup et votre bamix aussi! lol
Essayez avec le robot la prochaine fois, ça sera un peu plus relax! :o)
Profitez bien de la pâte à tartiner! Nous on a déjà tout fini! Hihi
Karin