
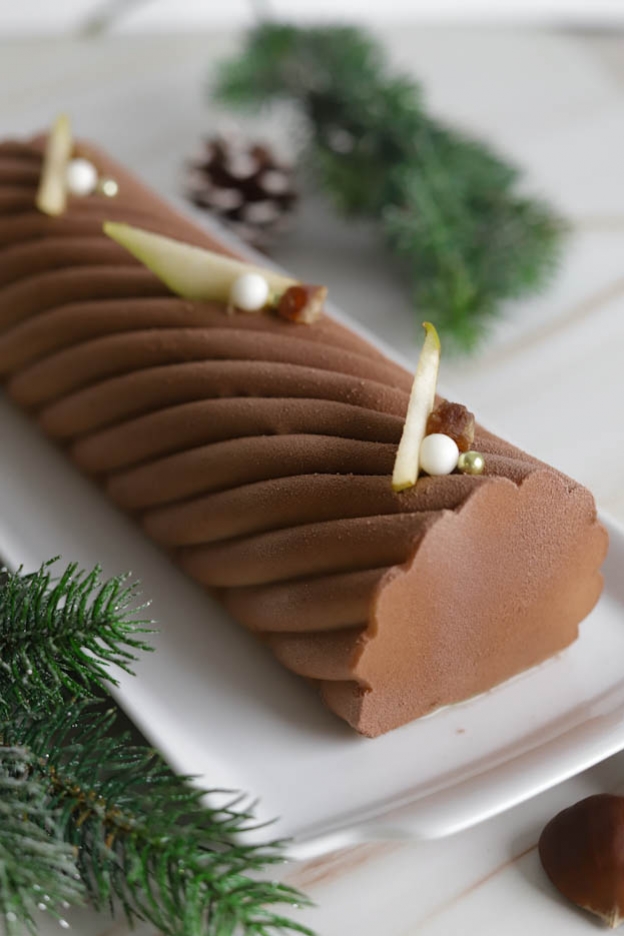
Chestnut-Pear Yule Log
Hello food lovers,
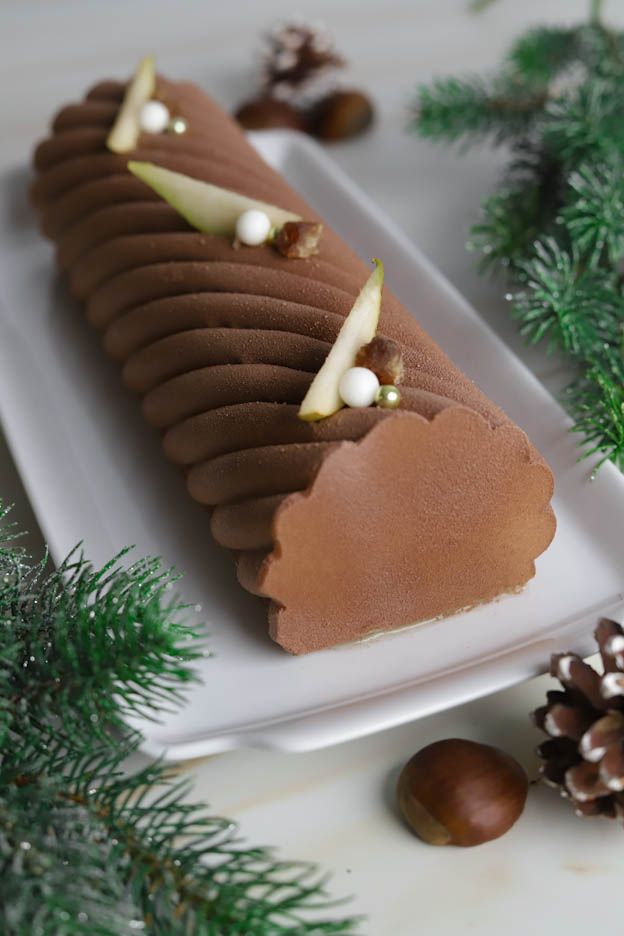
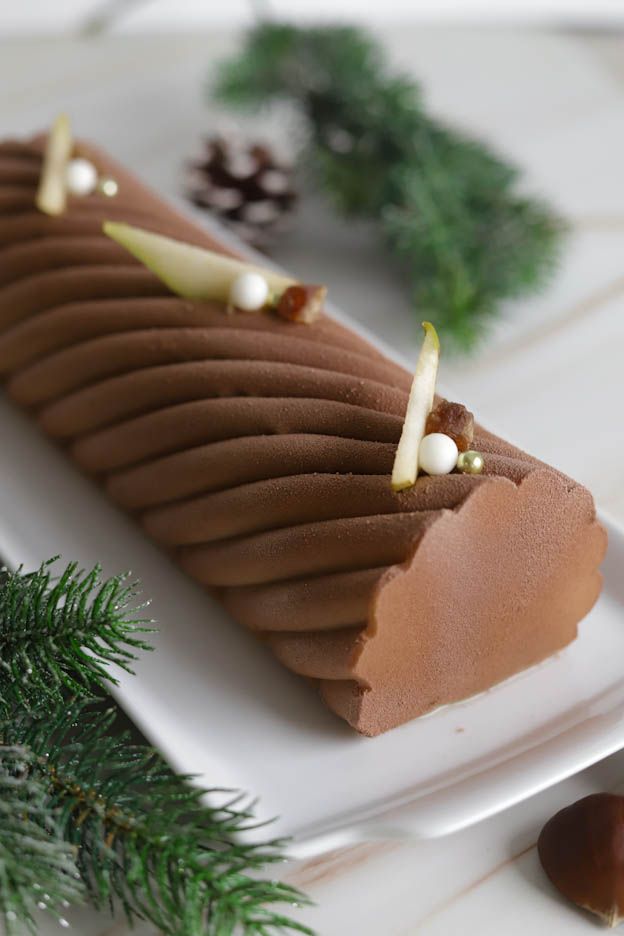
This week, I'm sharing a Christmas yule log with winter flavours. ;-)
A totally indulgent log made in a beautiful mould that had been catching my eye for a while, the Spiral Roll kit by Silikomart. :-)
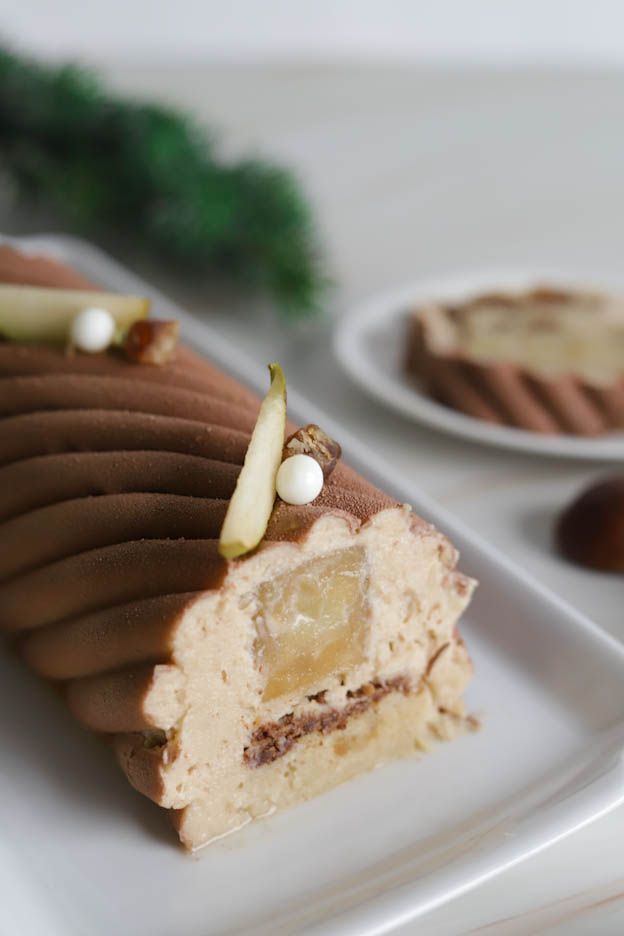
Let's dive into a chestnut mousse, a pear insert, a dark chocolate crunch and a candied chestnut financier sponge. :-P

To make this log for about 8 people you will need:
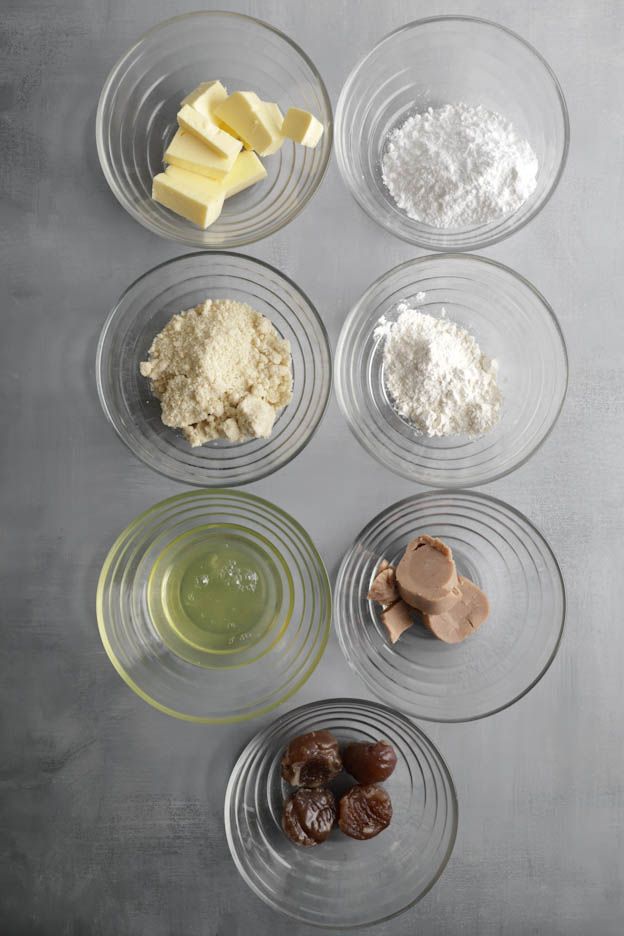
Candied chestnut financier sponge
- 75gr of butter
- 50gr of icing sugar
- 60gr of almond flour
- 25gr of flour
- 70gr of egg whites
- 60gr of chestnut purée (vermicelli)
- 3 candied chestnuts
Pear insert
- 200gr of peeled and chopped pears
- 25gr of sugar
- 100gr of pear purée
- 2 gelatine leaves
Crunch layer
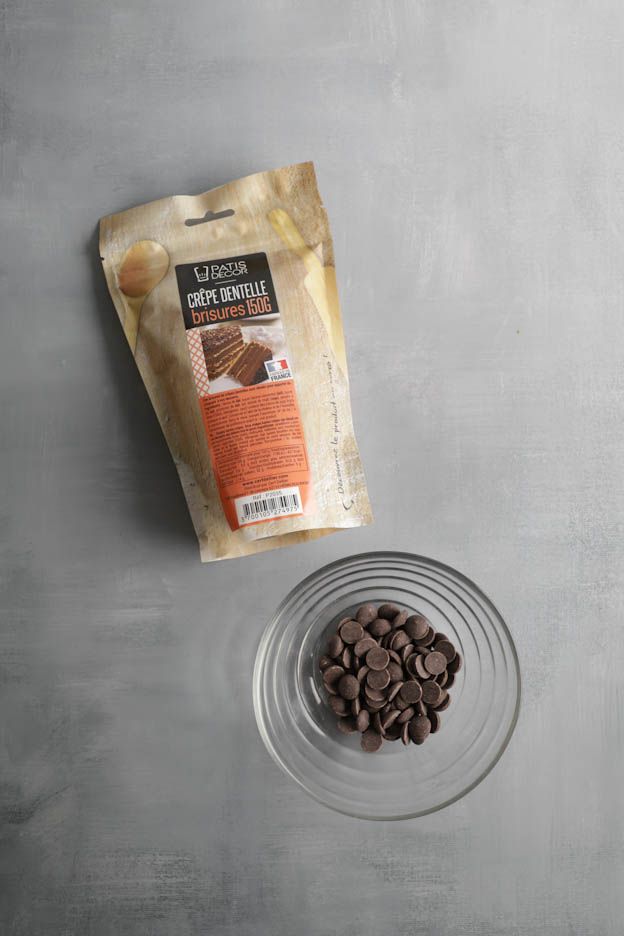
- 20gr of crushed lace crêpes
- 25gr of dark chocolate
Chestnut mousse
- 450gr of chestnut purée (vermicelli)
- 225gr of full-fat cream
- 45gr of egg whites
- 20gr of sugar
- 2 gelatine leaves
Decorations
- Cocoa/milk chocolate velvet sprays
To start, we'll make the sponge.
Candied chestnut financier sponge
In a saucepan, weigh out 75gr of butter. Heat over medium heat.
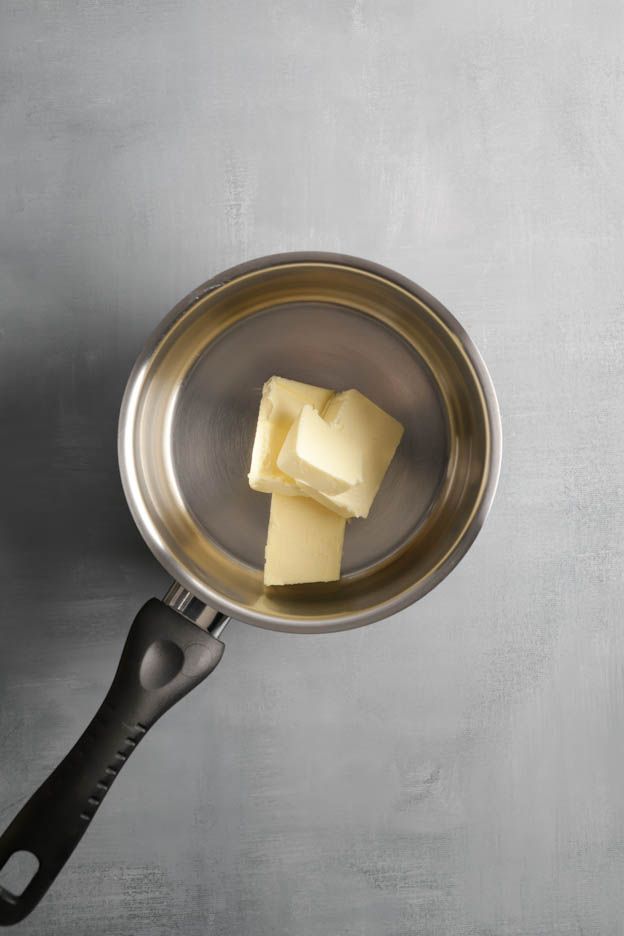

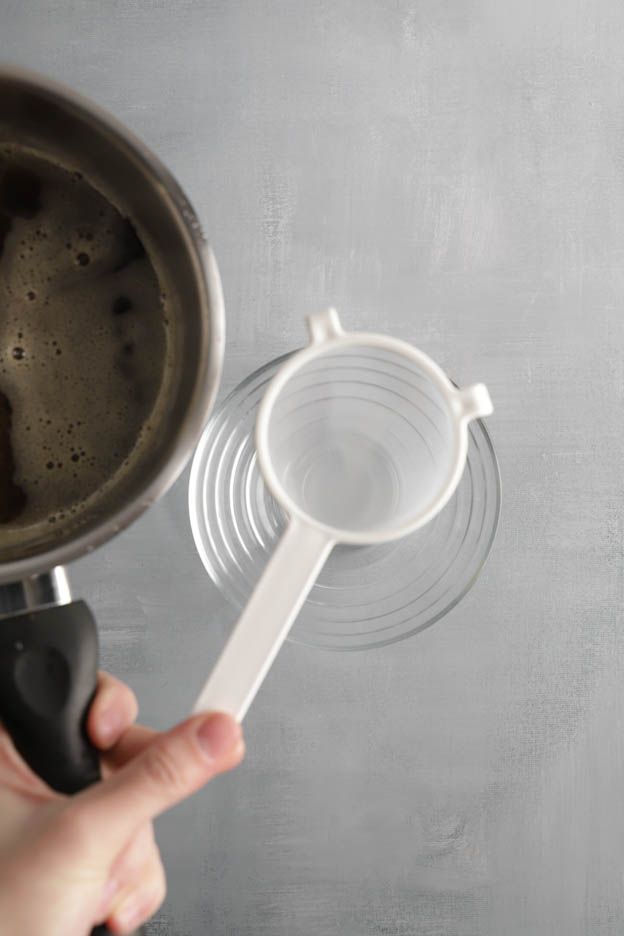
We are going to make a brown butter.
Brown butter is butter that you heat until it turns a lovely colour and develops a slight hazelnut flavour.
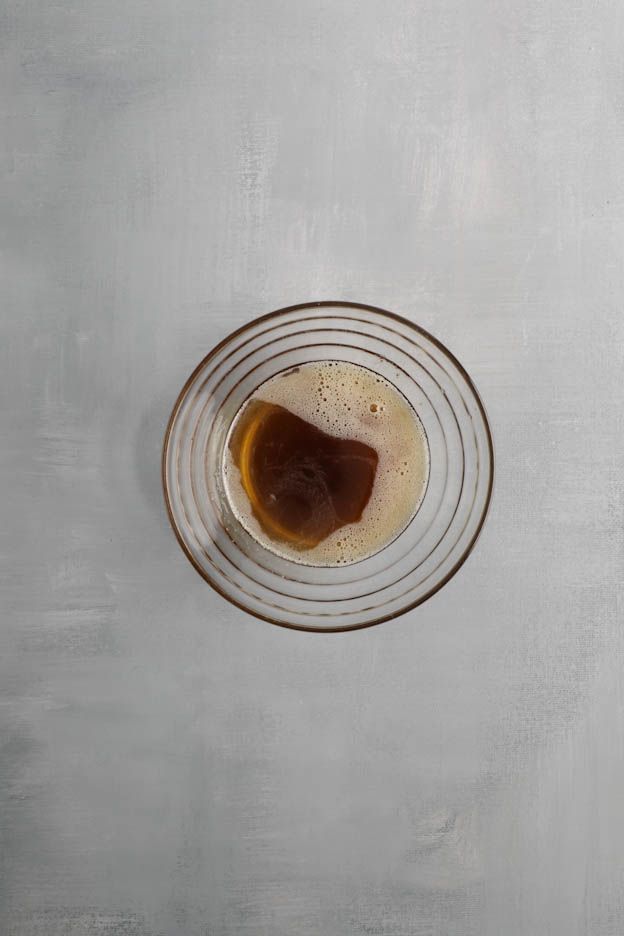
Once the brown butter is ready, strain it through a sieve to remove all the small residues. Set it aside in a bowl for later.

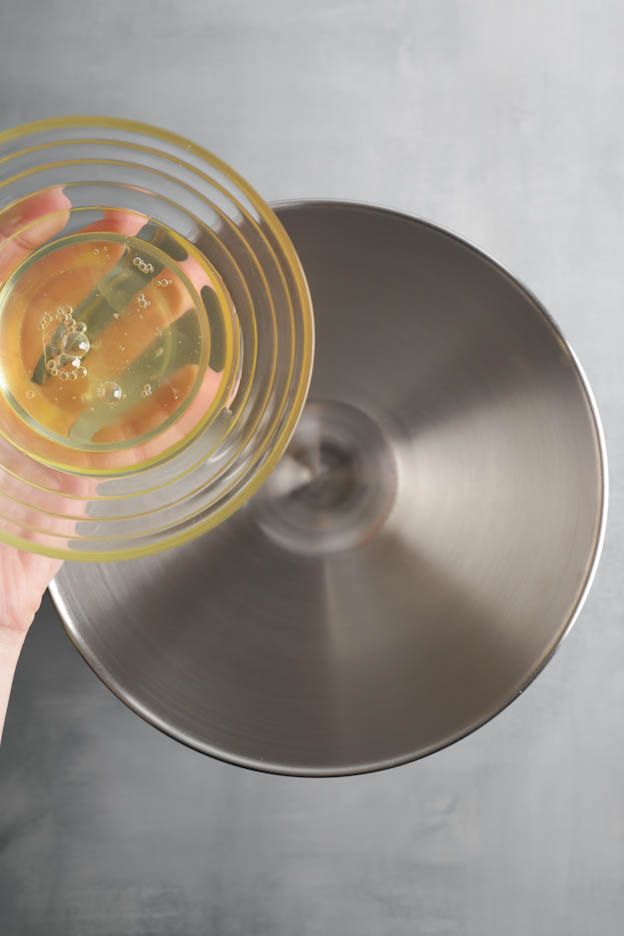
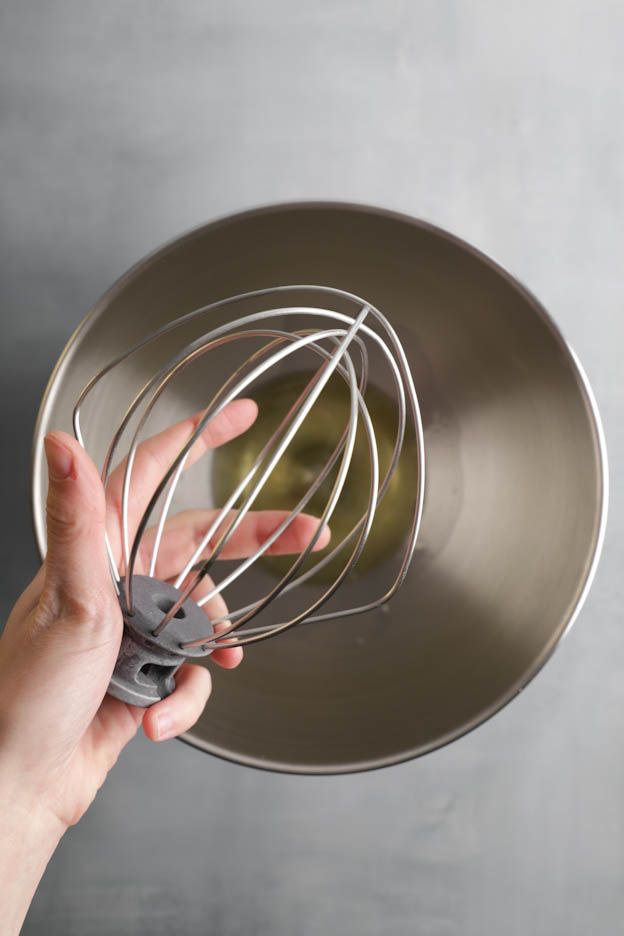
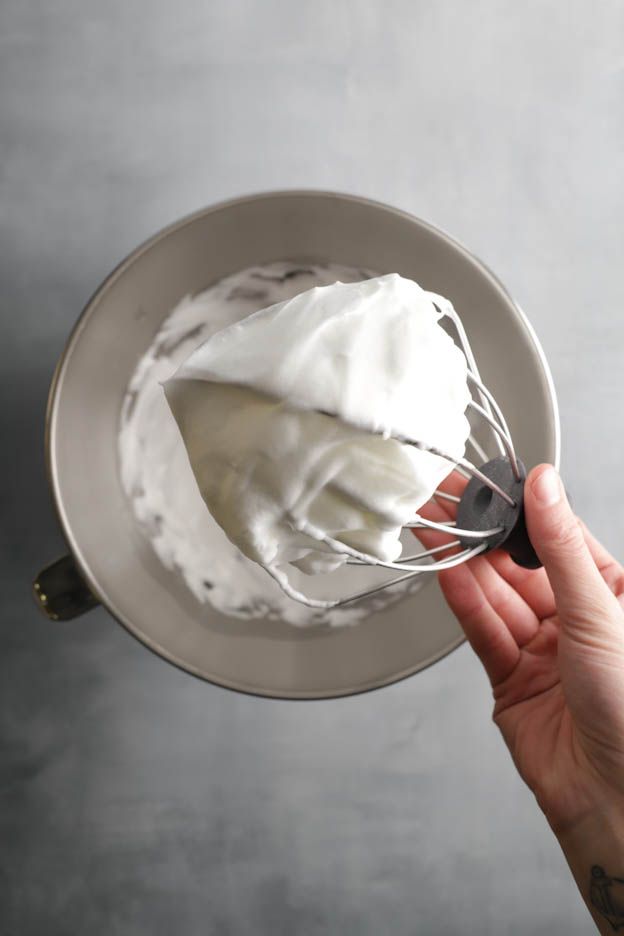
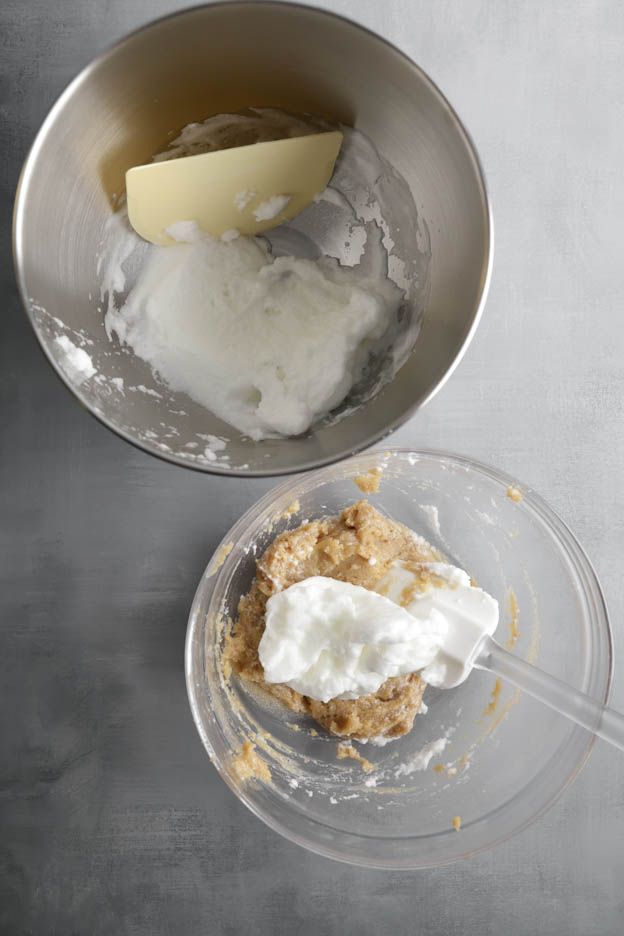
In the mixer bowl, pour 70gr of egg whites. Using the whisk, beat them to stiff peaks.
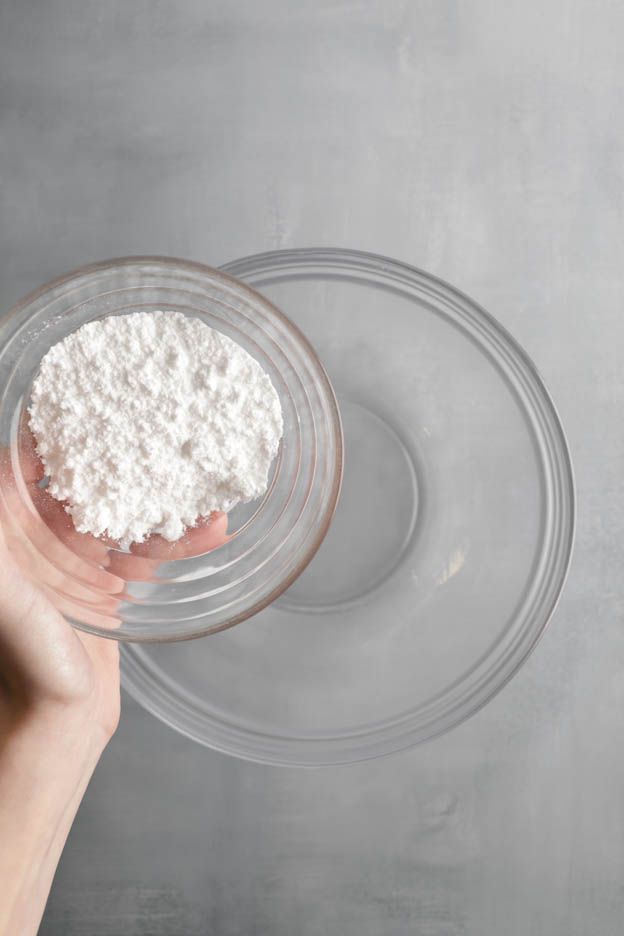
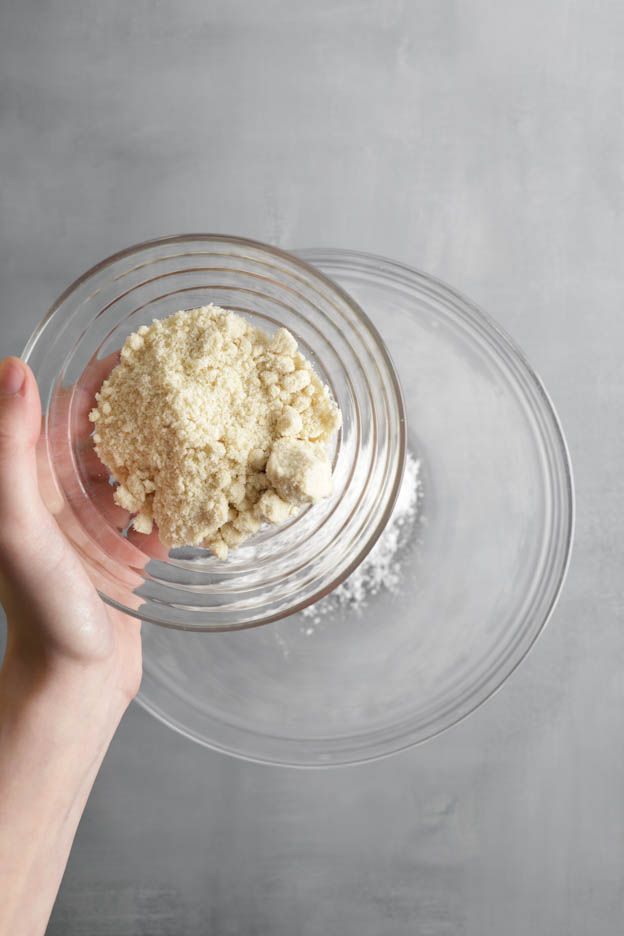
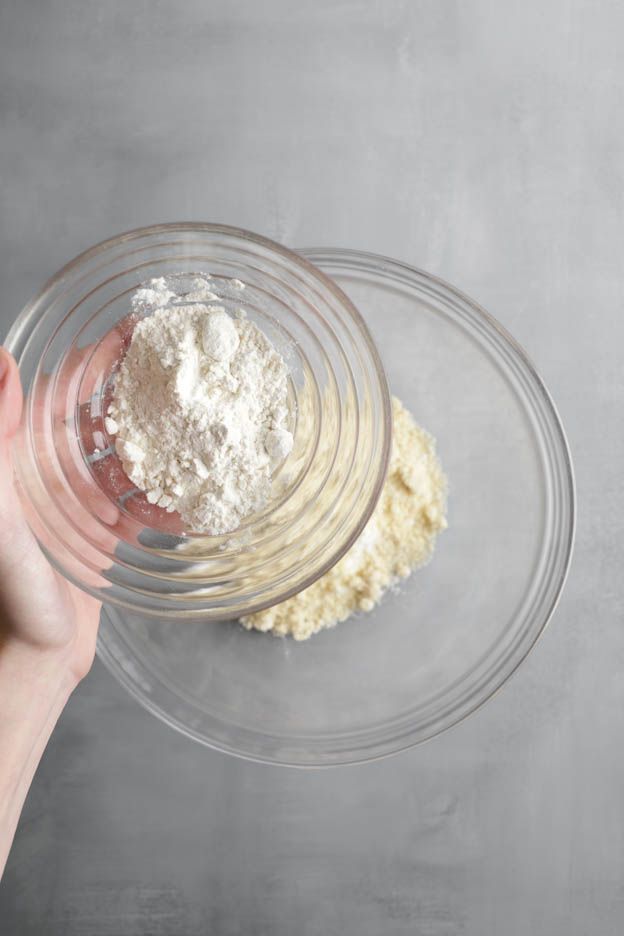
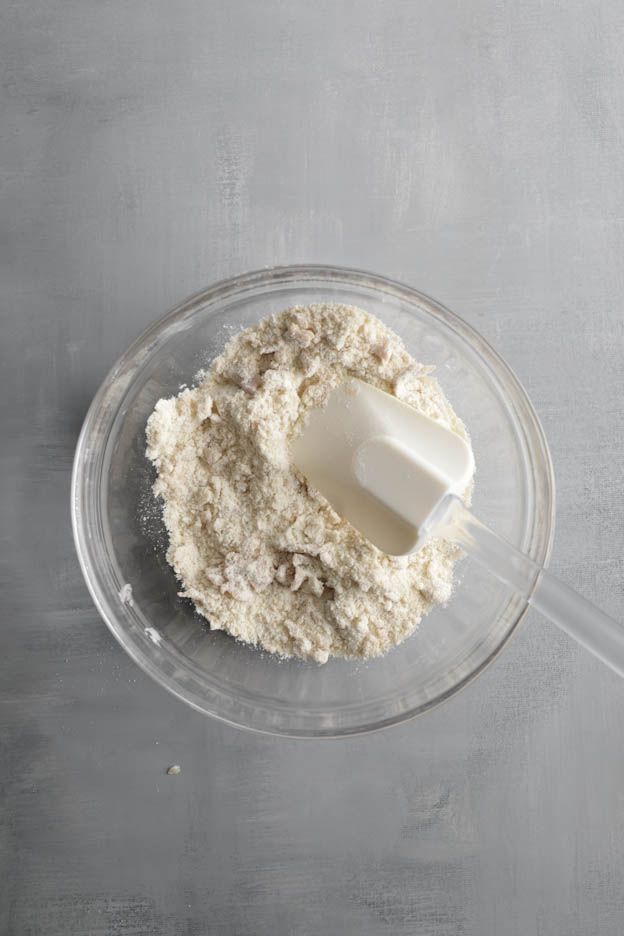
In another bowl, mix the dry ingredients together: 50gr of icing sugar, 60gr of almond flour and 25gr of flour.
Add 60gr of chestnut purée (vermicelli).
Mix again.

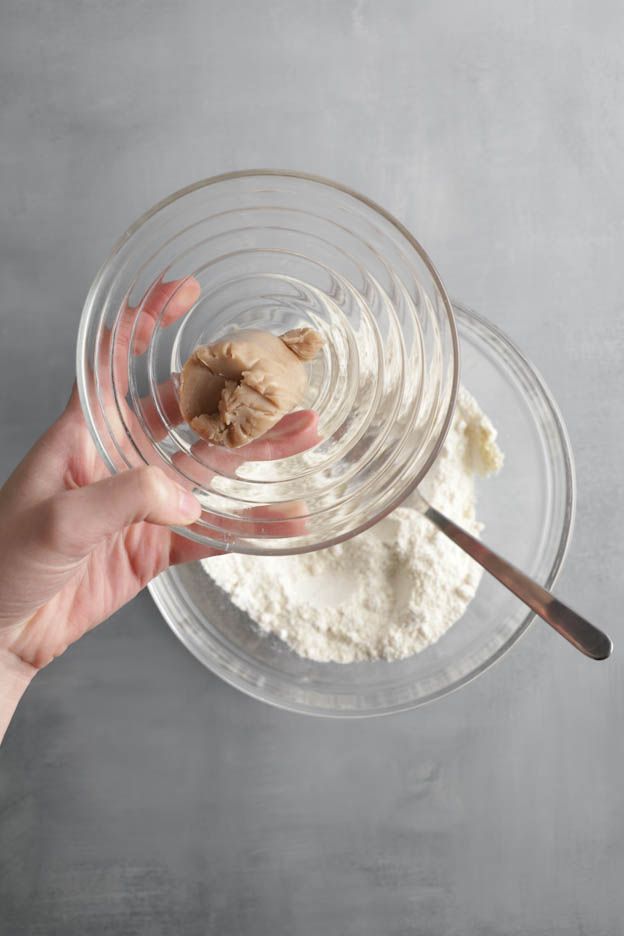
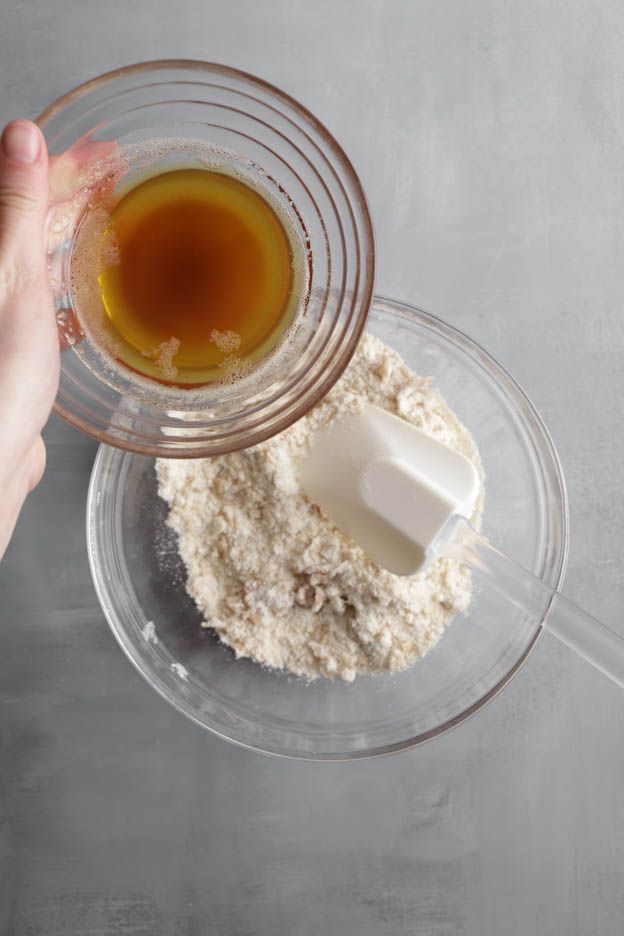
Pour the brown butter into the dry ingredients/chestnut purée mixture and mix well.
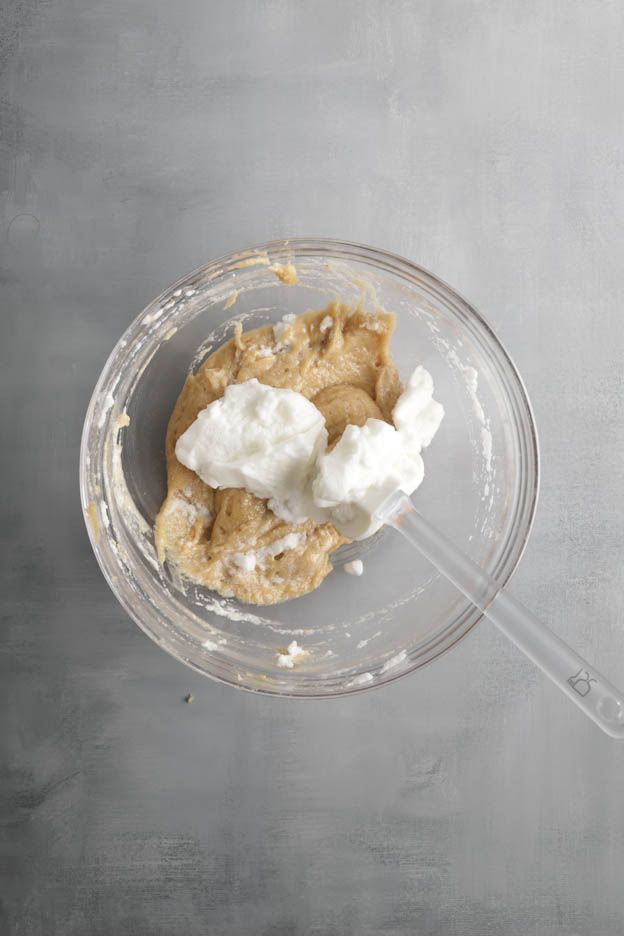
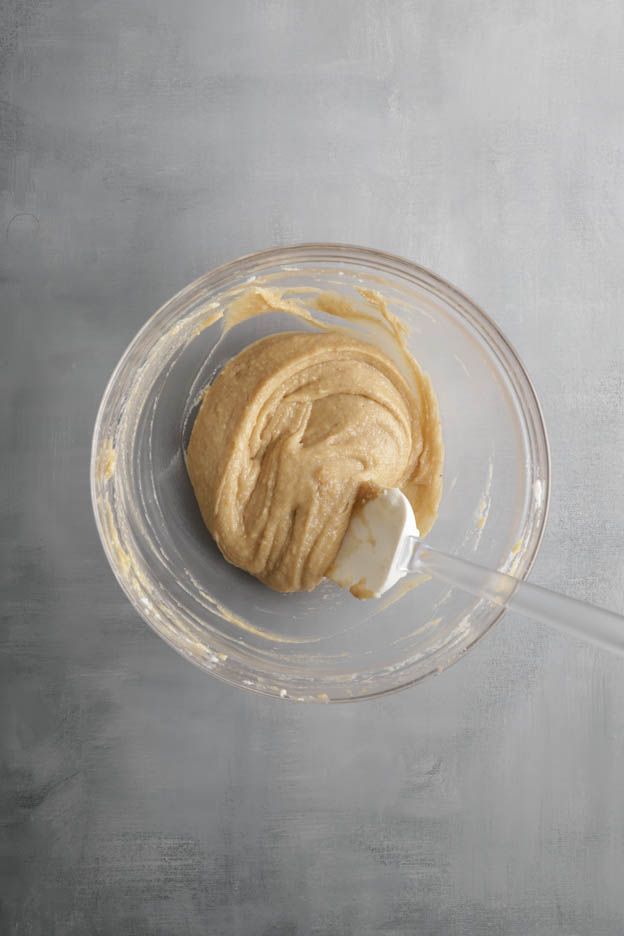
Gradually fold in the beaten egg whites.
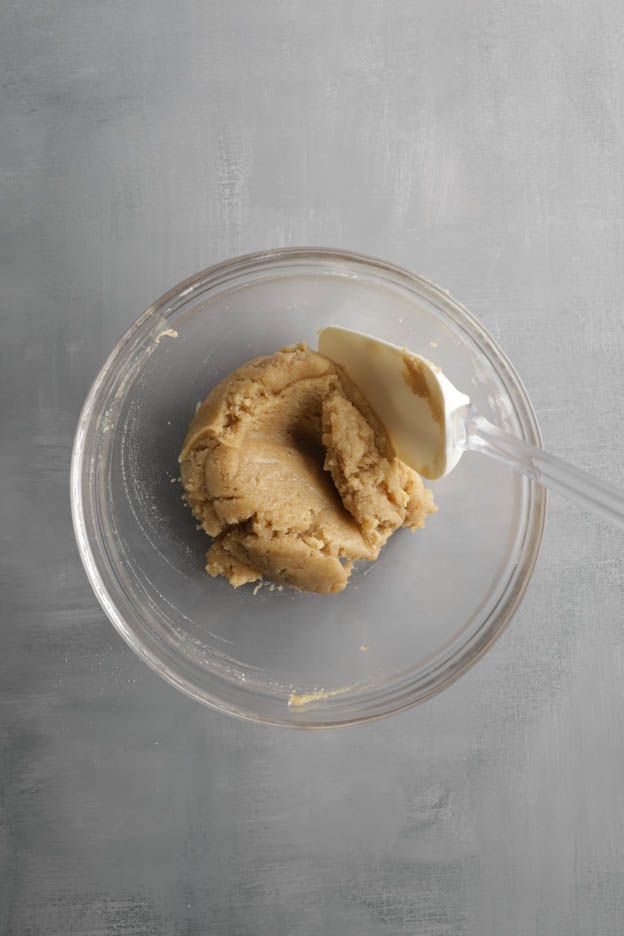
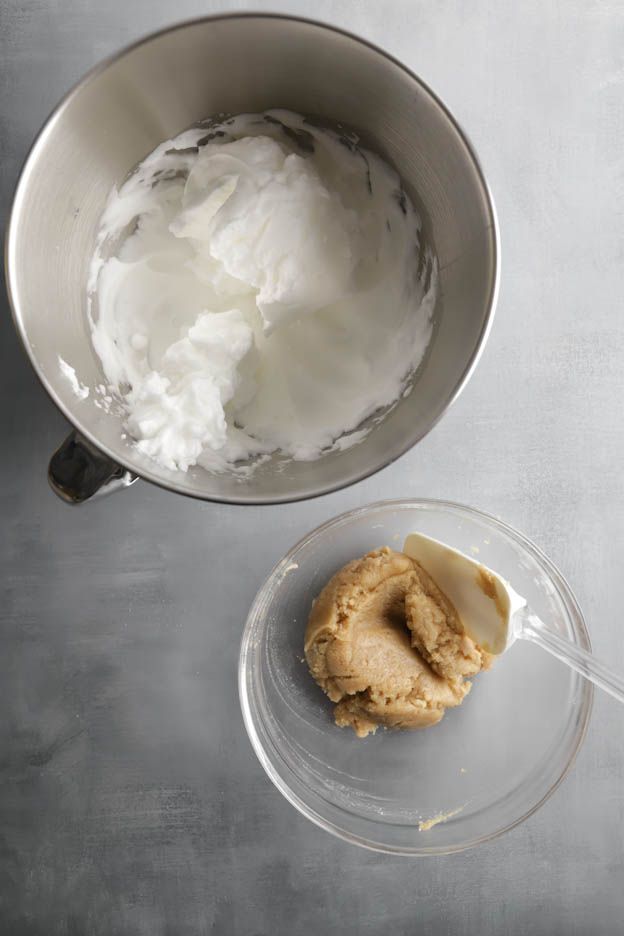
To keep the egg whites from deflating, gently fold using a spatula until the batter is completely smooth and homogeneous.
Preheat the oven to 170°C, fan-assisted.
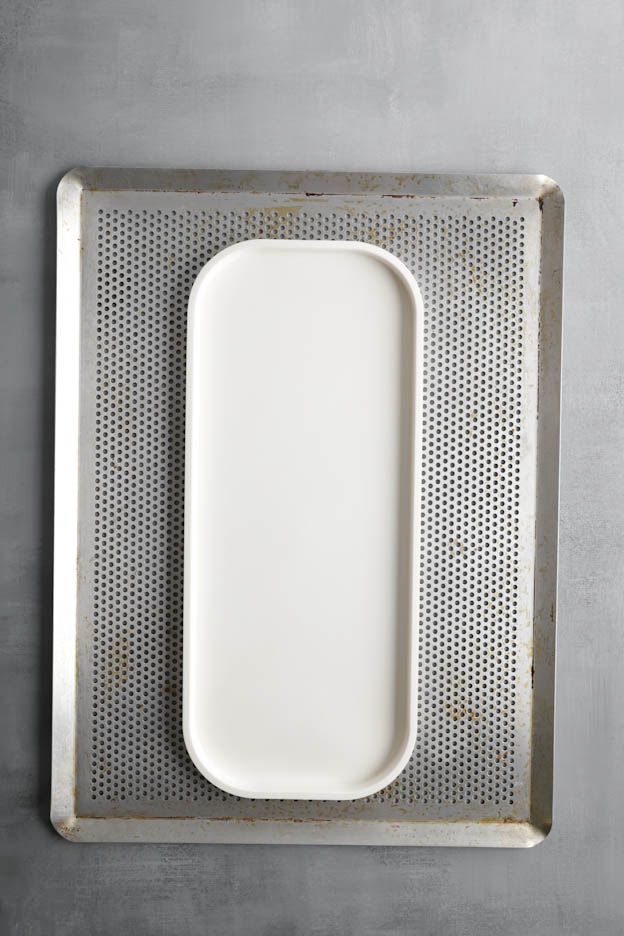
For this recipe, I used the small silicone mat from Silikomart, which is perfect for making this sponge.
Place it on a perforated baking sheet and spray it with release spray.
Pour the financier batter into the mould.
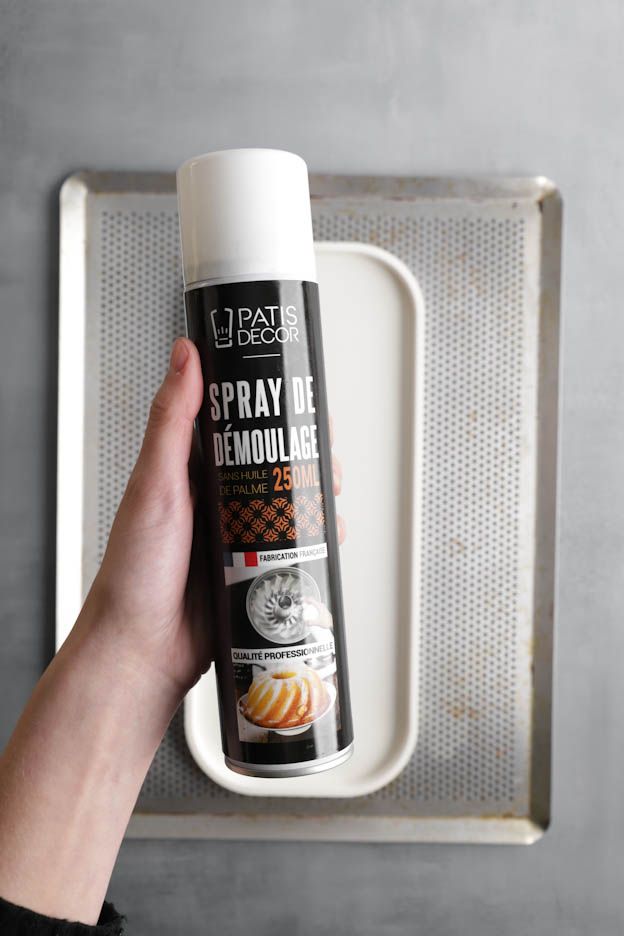
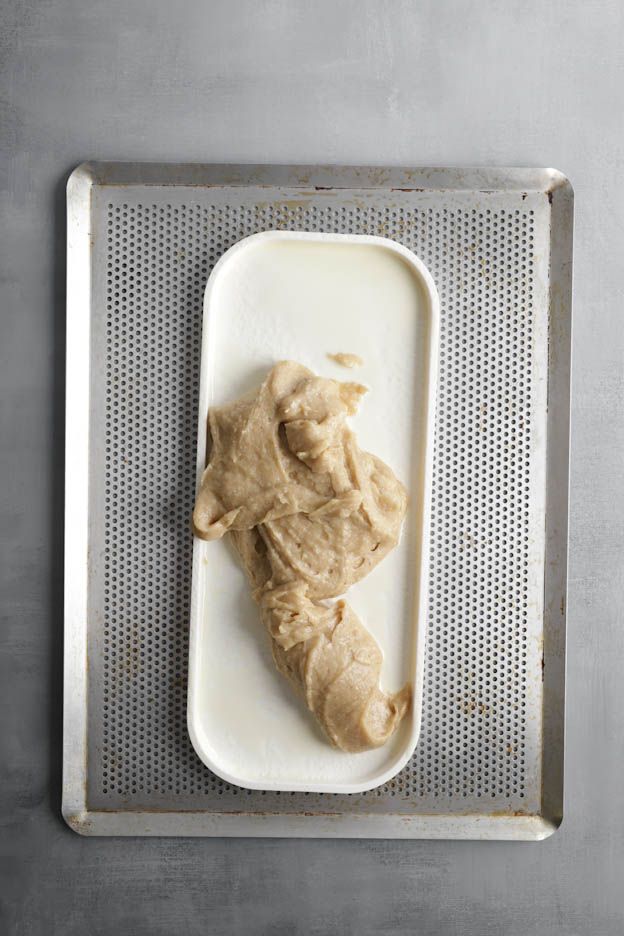
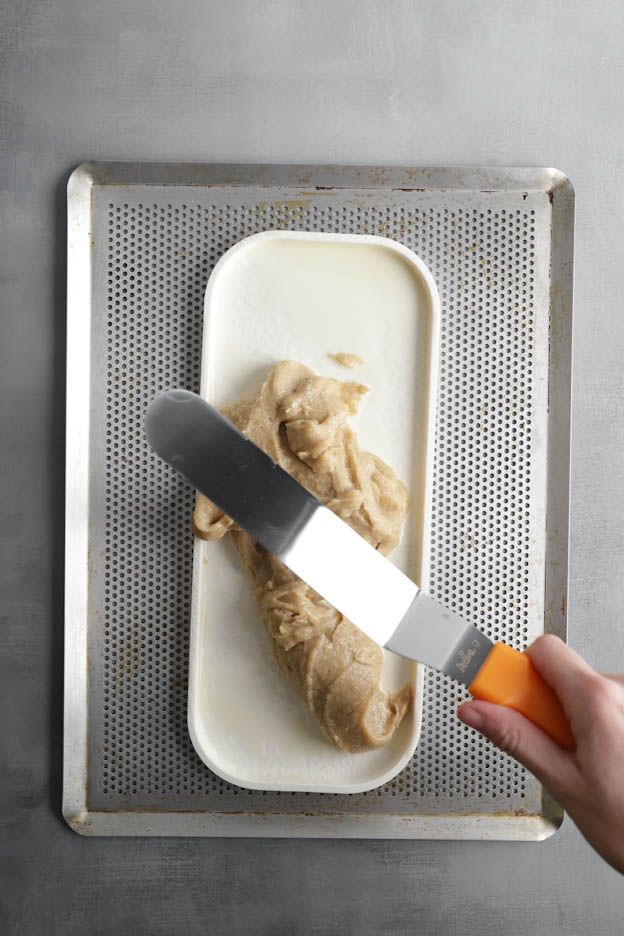
Spread evenly using an offset spatula.
For even more indulgence, crumble 3 candied chestnuts over the top. This will definitely add a little something extra to the sponge! ;-)
Gently press the chestnuts so they are well embedded in the batter.
Bake for 15 minutes in the middle of the preheated oven.
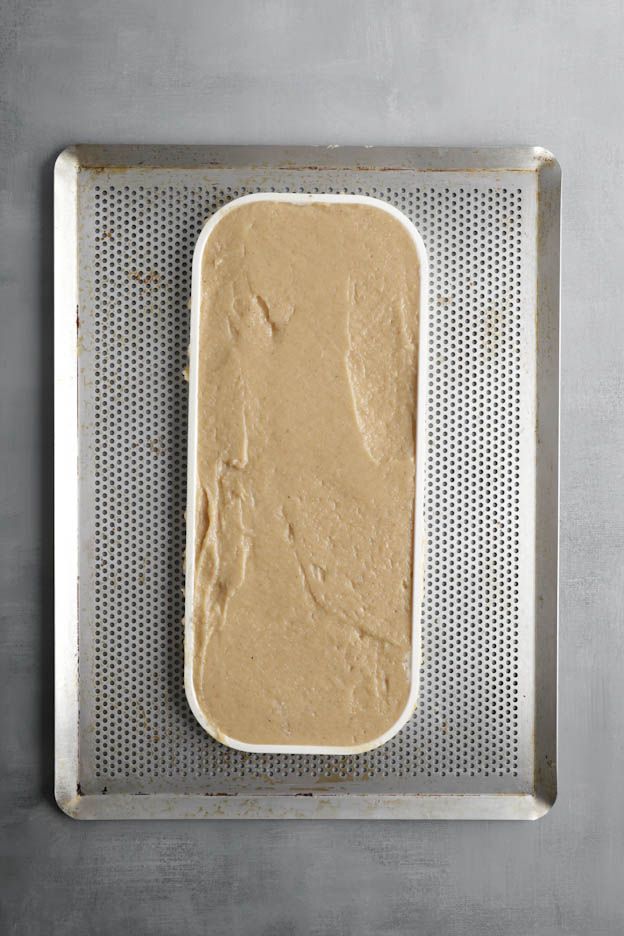
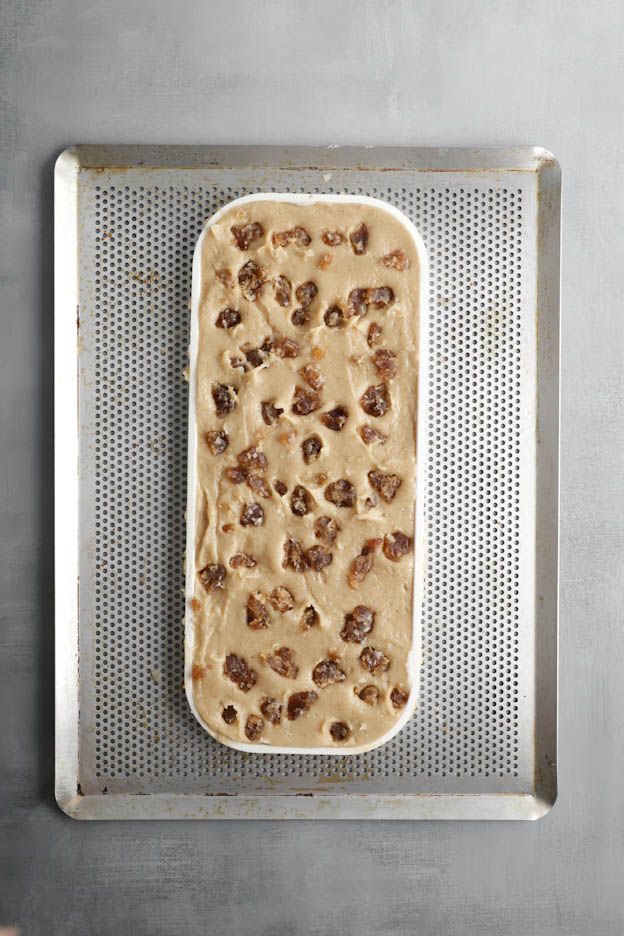
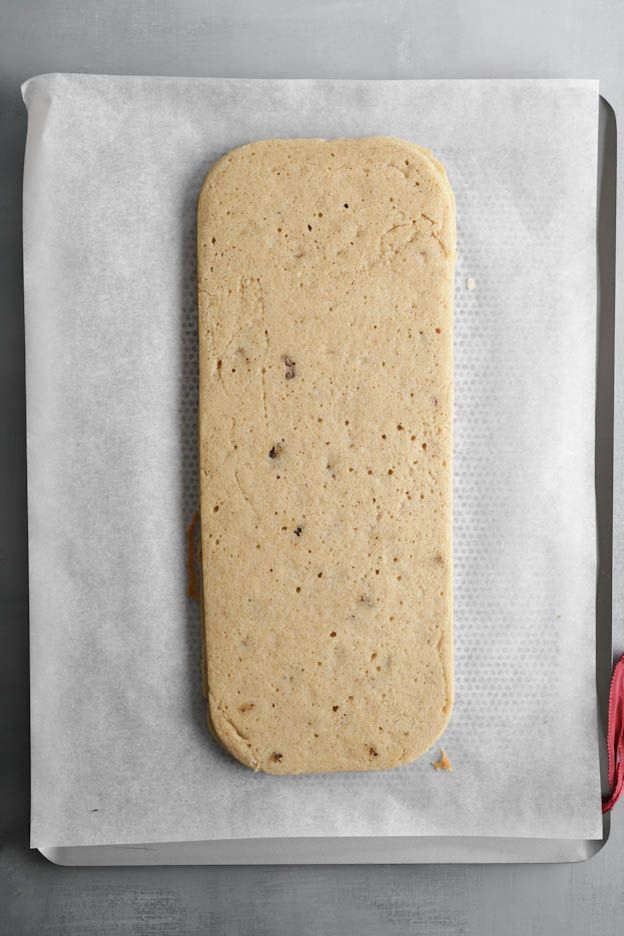
Once the sponge is baked, turn it out onto a sheet of baking paper and let it cool at room temperature.
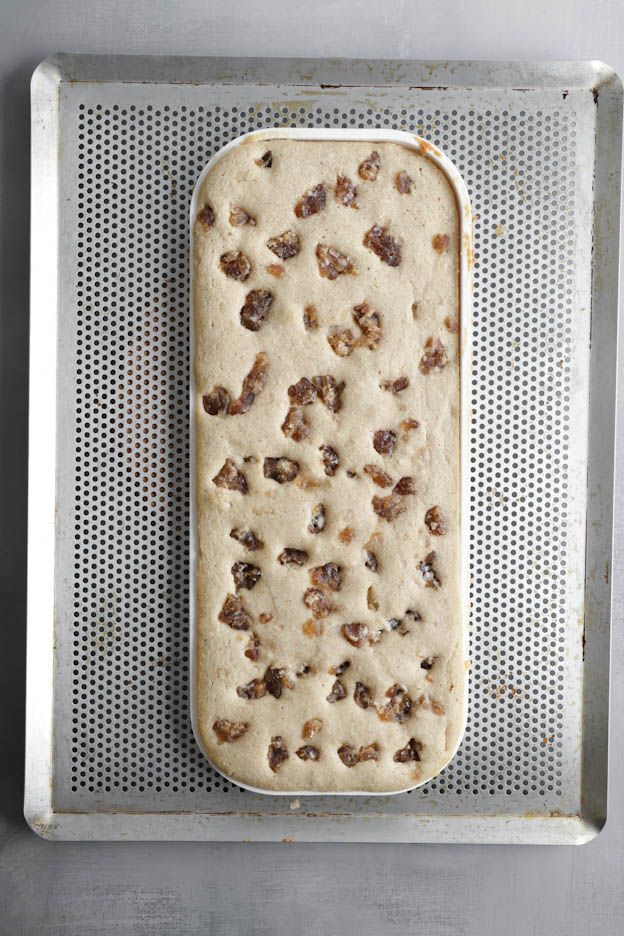
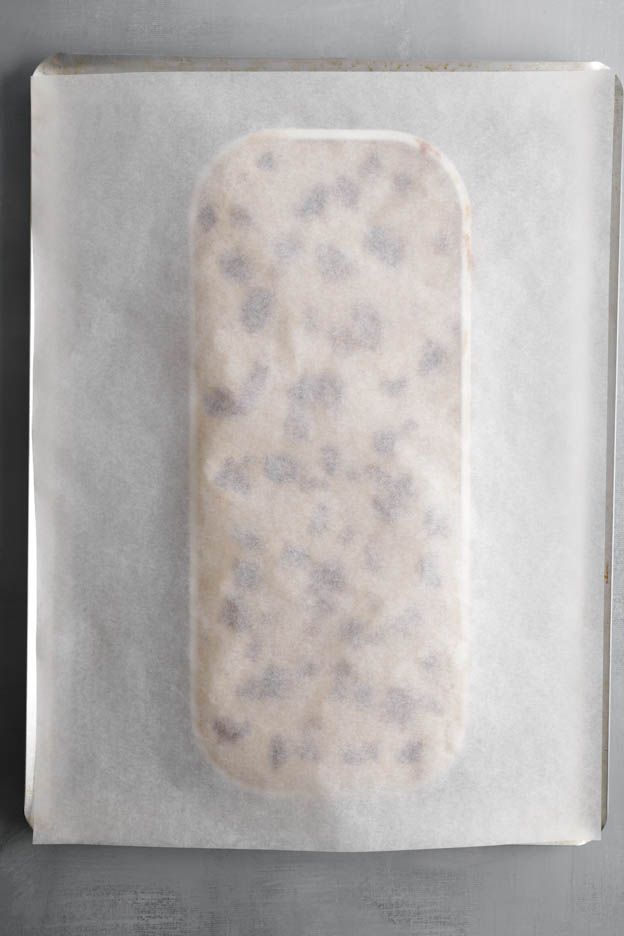
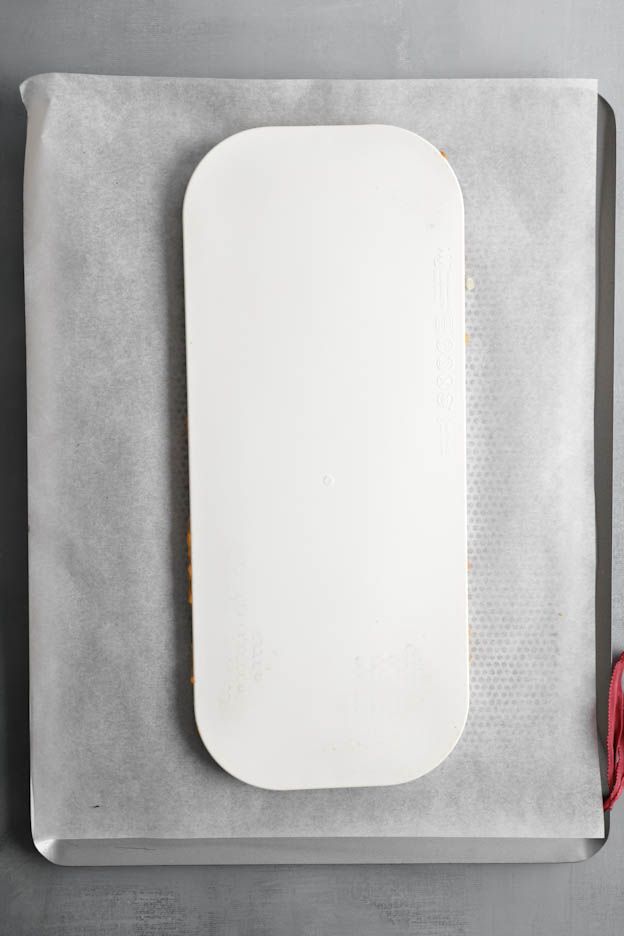
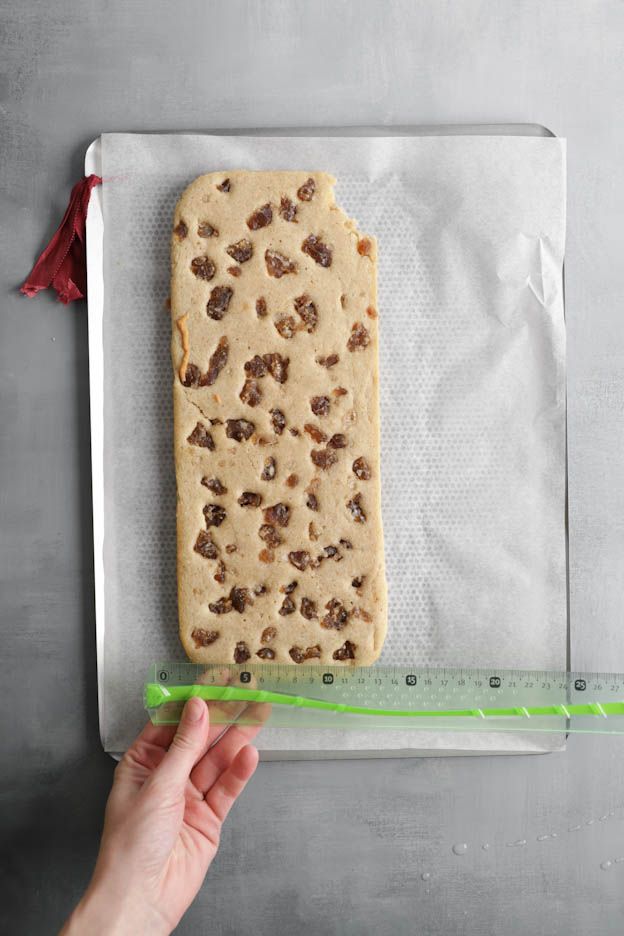
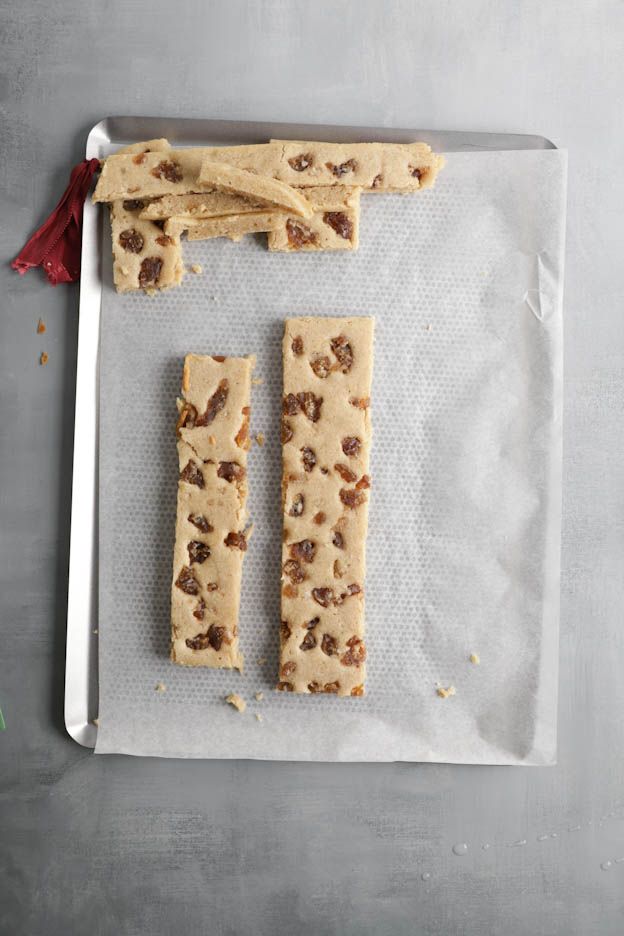
Once the sponge is completely cold, cut out 2 rectangles: one of 4 x 21 cm for the insert and one of 5 x 24 cm for the log. Set aside.
We will now make the insert.
Pear insert
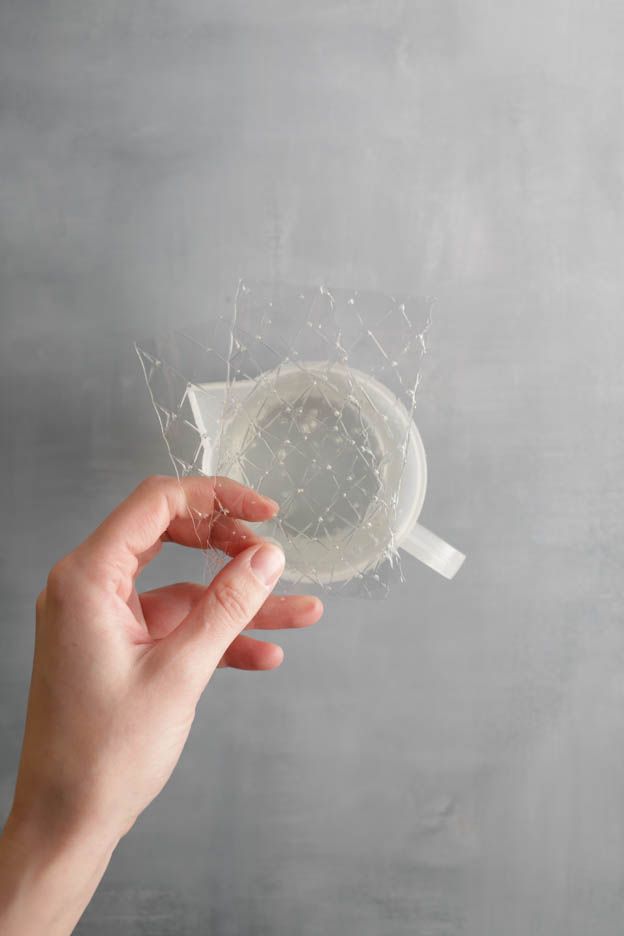
To start, place 2 gelatine leaves in a jug of cold water.
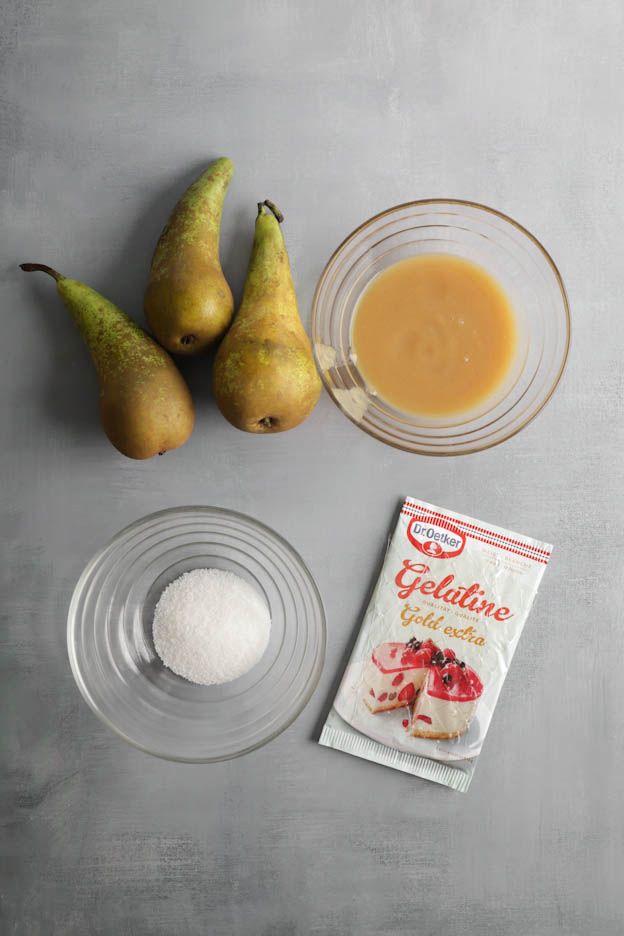
We will need 200gr of peeled and chopped pears in total to make the insert.
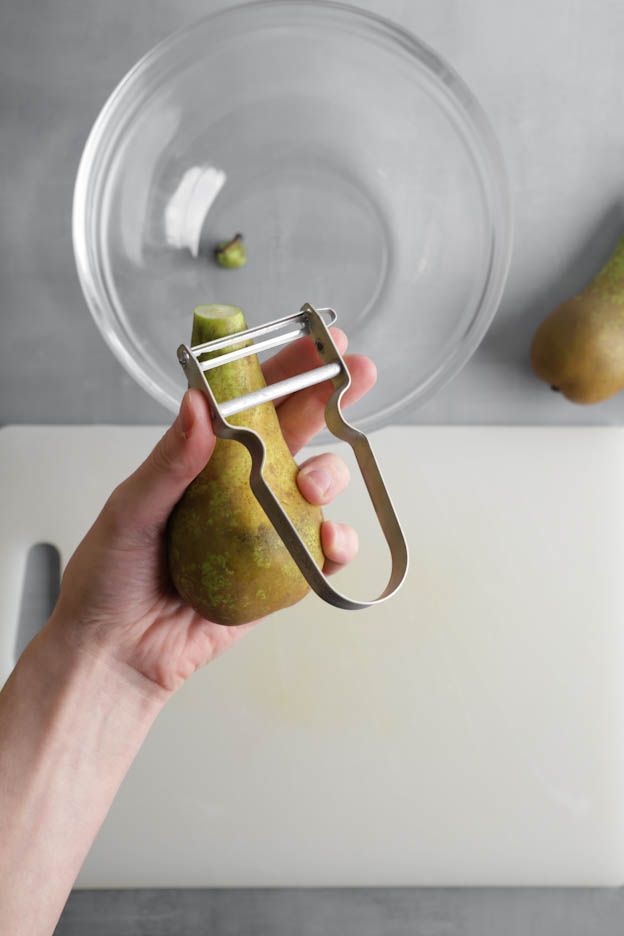
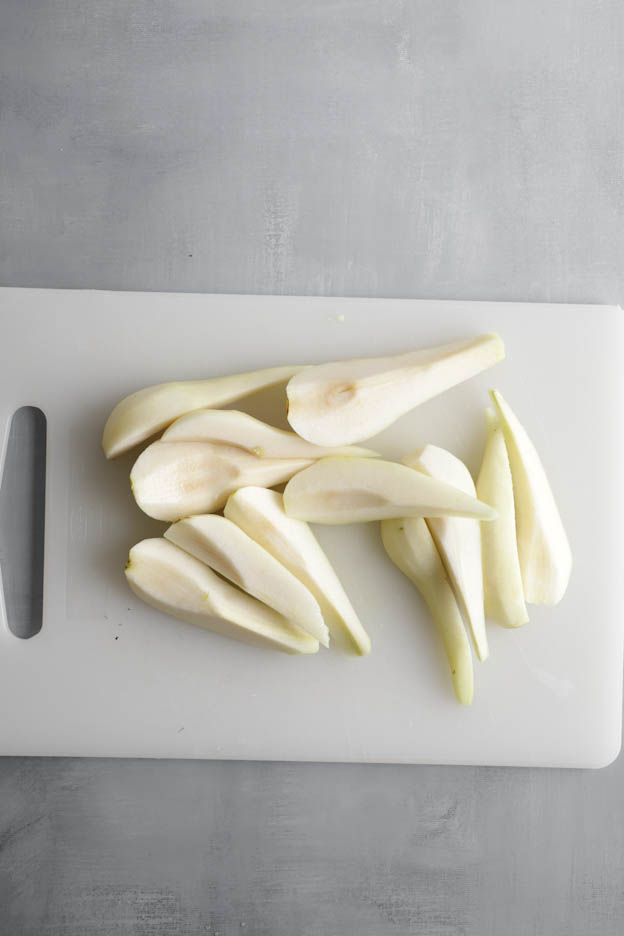
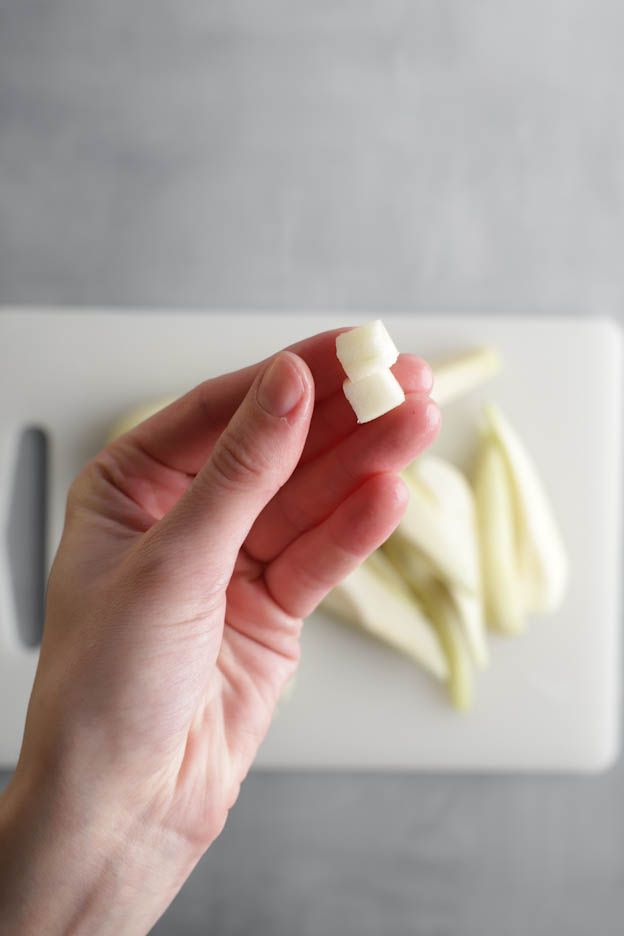
Start by peeling and coring the pears. Here, I chose Conference pears.
Cut them into cubes of about 5 mm.
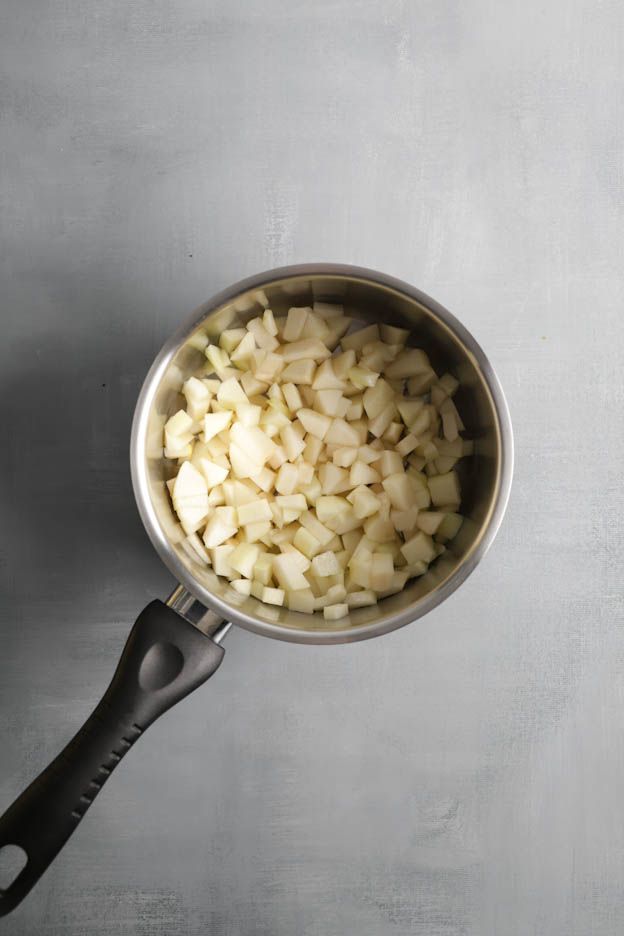
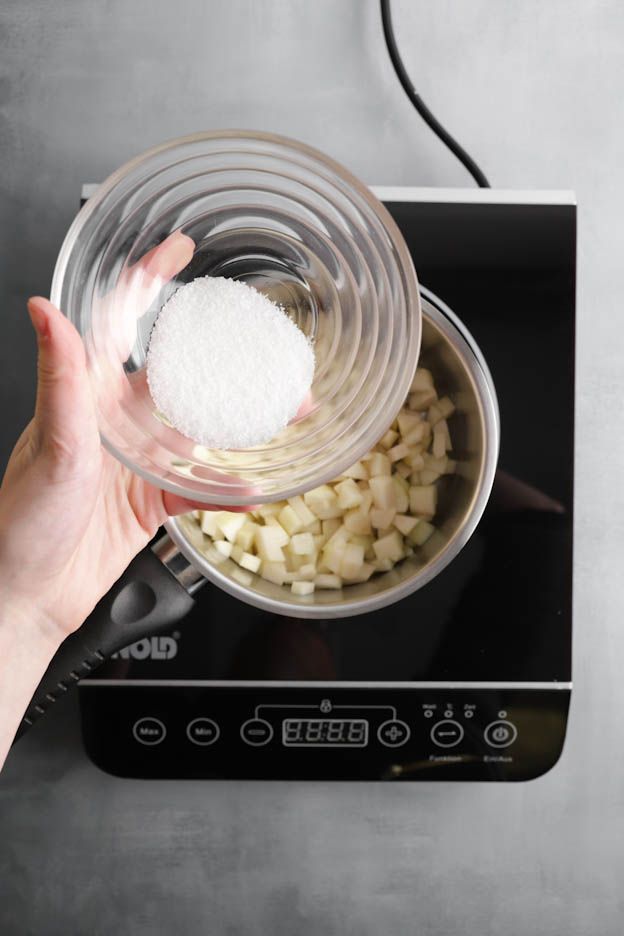
Pour the pears into a saucepan and add 25gr of sugar.
Cook them over medium heat for about 5 minutes. They should still be slightly firm. Cooking time will depend on the type of pears you use.
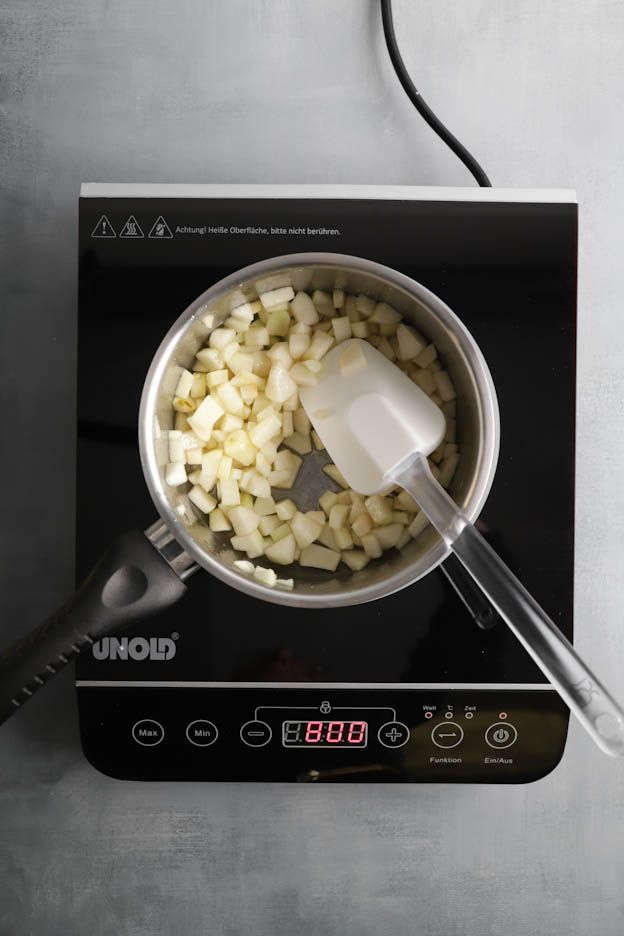
Pour 100gr of pear purée into the pear cubes and bring everything to a boil.
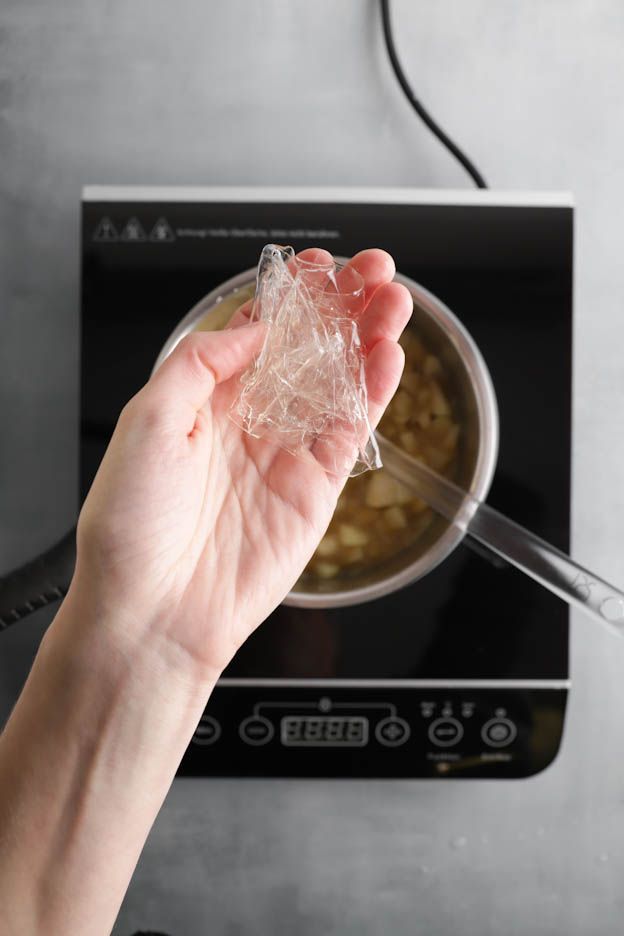
Squeeze the gelatine leaves and add them to the saucepan. Mix well until the gelatine is completely dissolved.


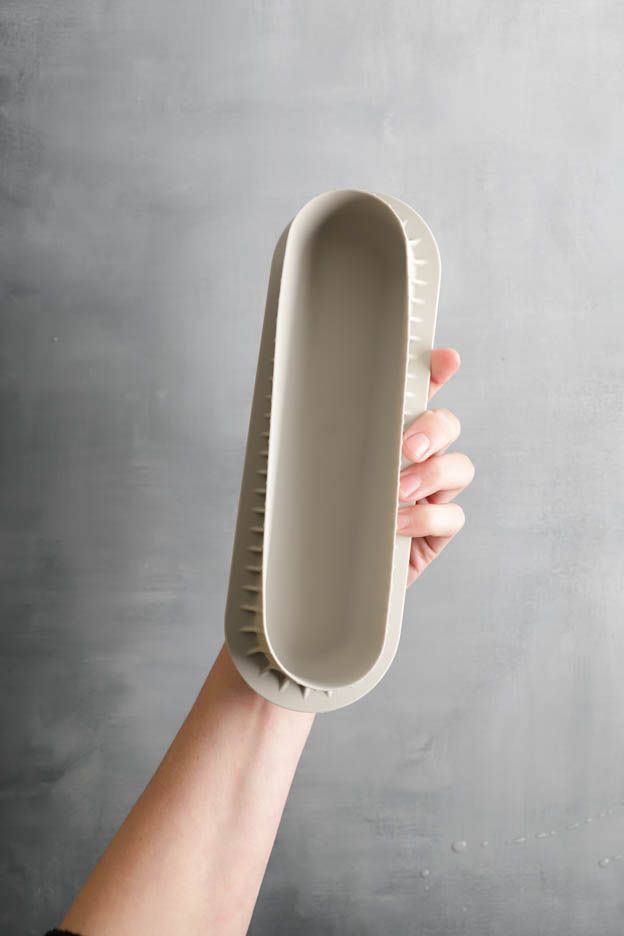
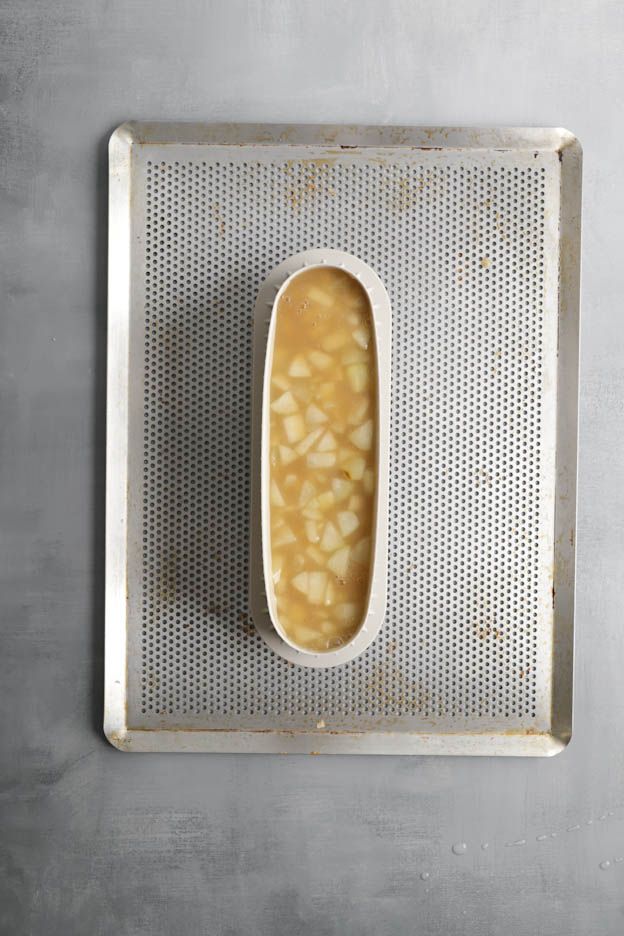
To make this insert, use the silicone multiple log insert mould. There are two sizes, but for this log, use the larger part.
Place the mould on a perforated tray/board. This will make it easier to move to the freezer.

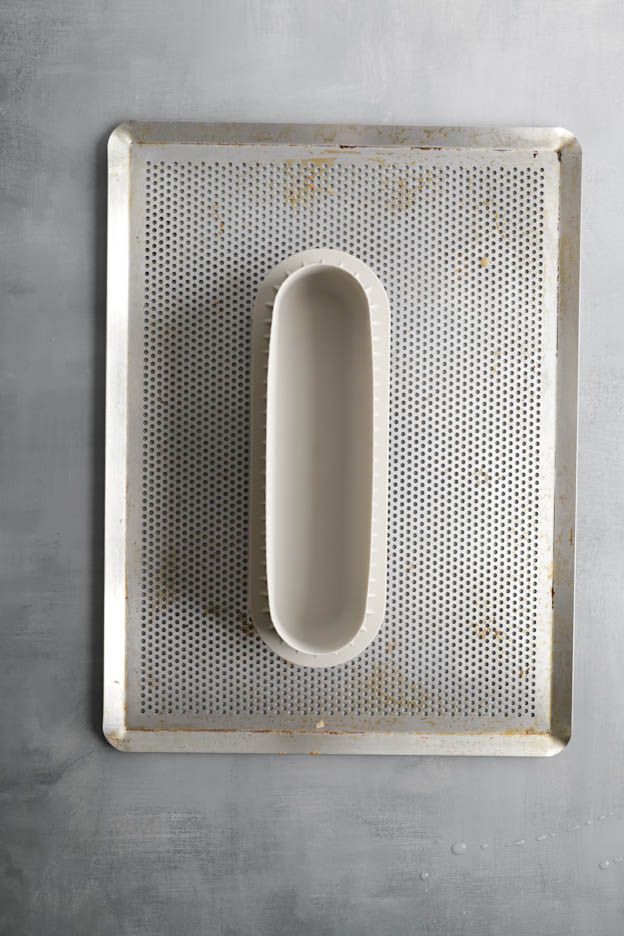
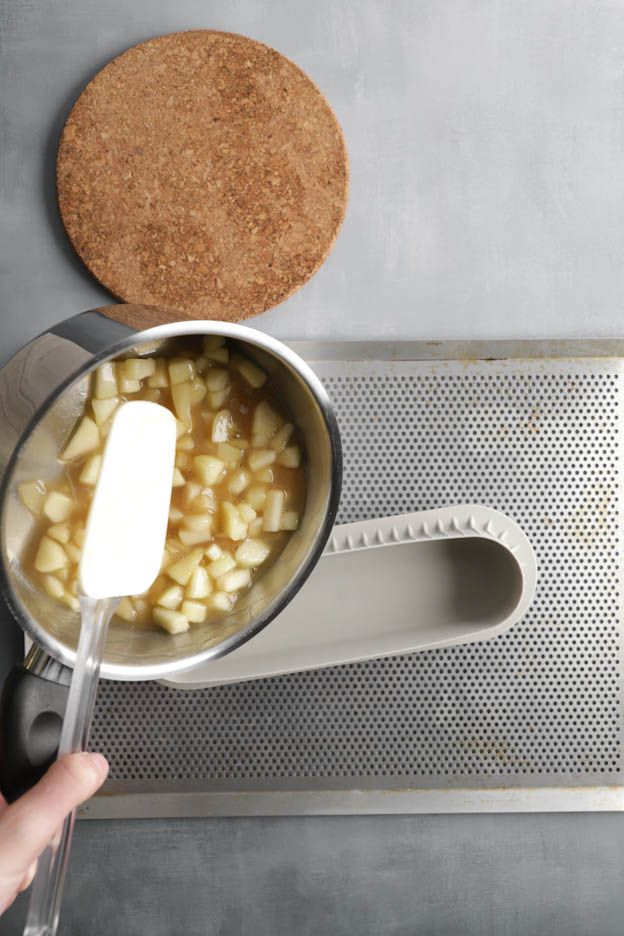
Pour the pears into the log insert mould.
Place the smaller of the two sponge pieces (4 x 21 cm), cut earlier, on top.
Place the insert in the freezer for about 3 hours.

Crunch layer
To add some crunch to our log, we are going to make a simple crunch layer.
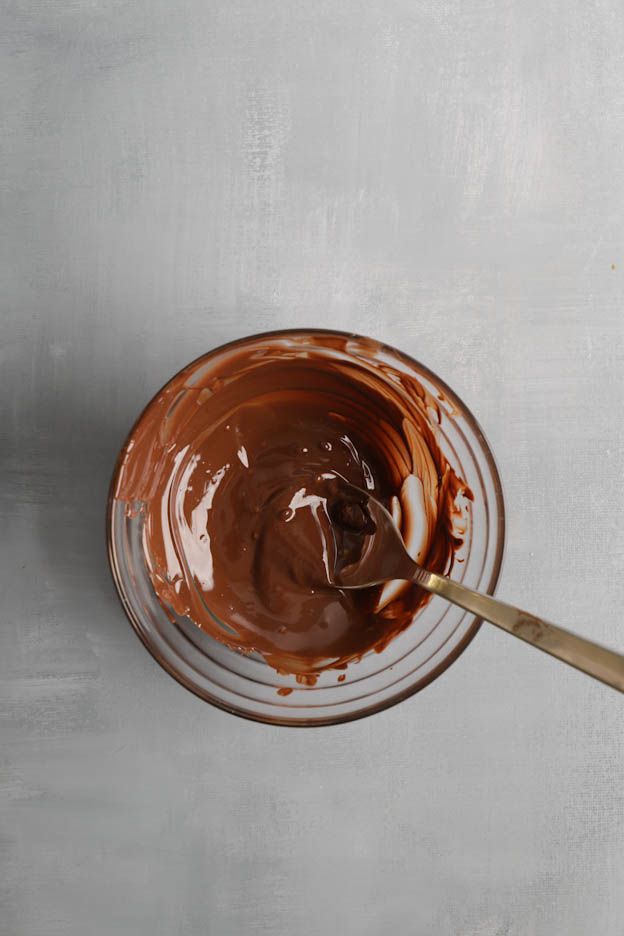
Melt 25gr of dark chocolate in the microwave, 30 seconds at 600Watt.
The chocolate must be completely melted. If not, put it back in the microwave for a few seconds.
Add 20gr of crushed lace crêpes and mix well.
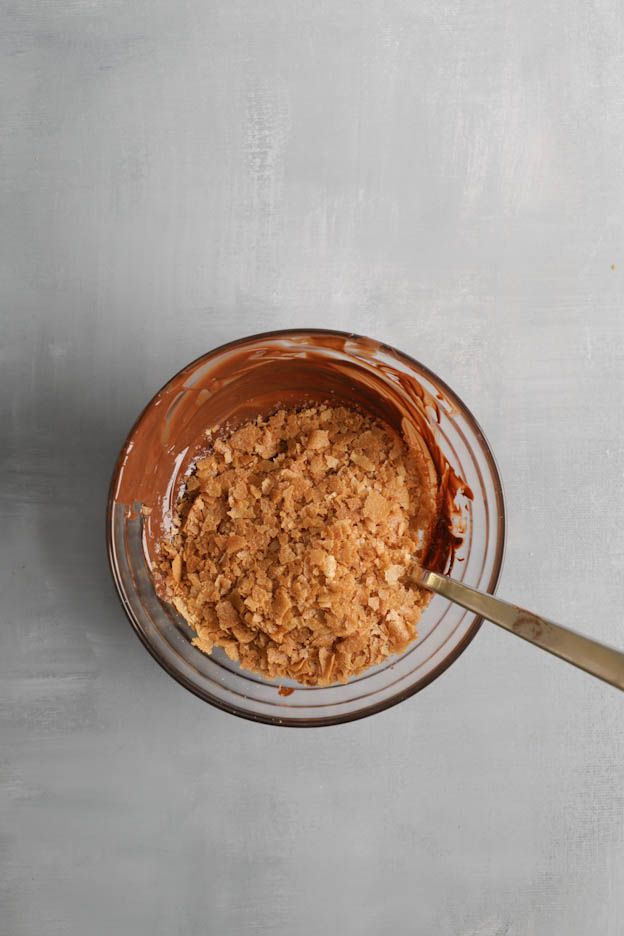
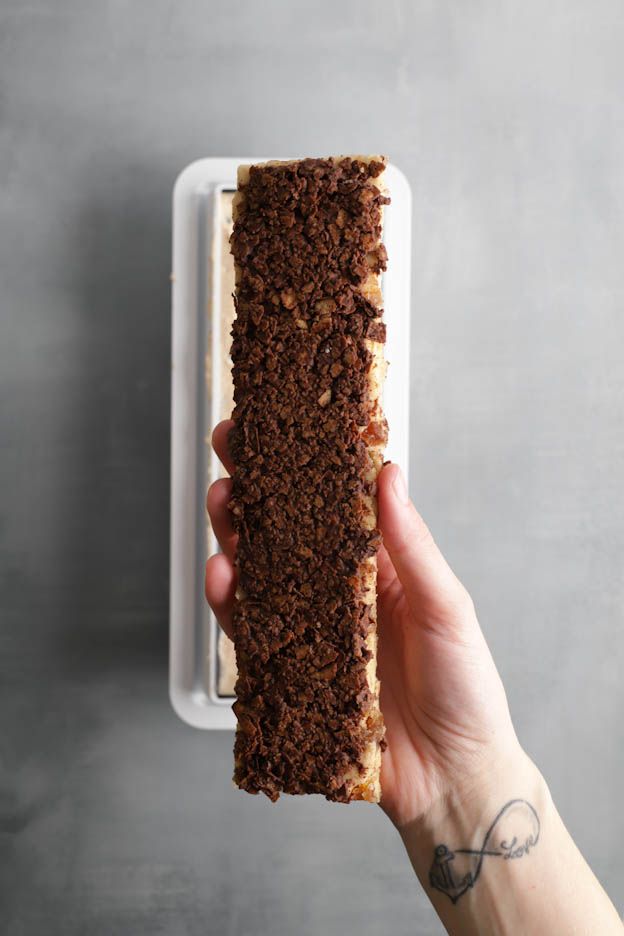
On the remaining sponge (5 x 24 cm), spread the crunch layer using a small offset spatula.
Place the sponge in the freezer while you prepare the chestnut mousse.
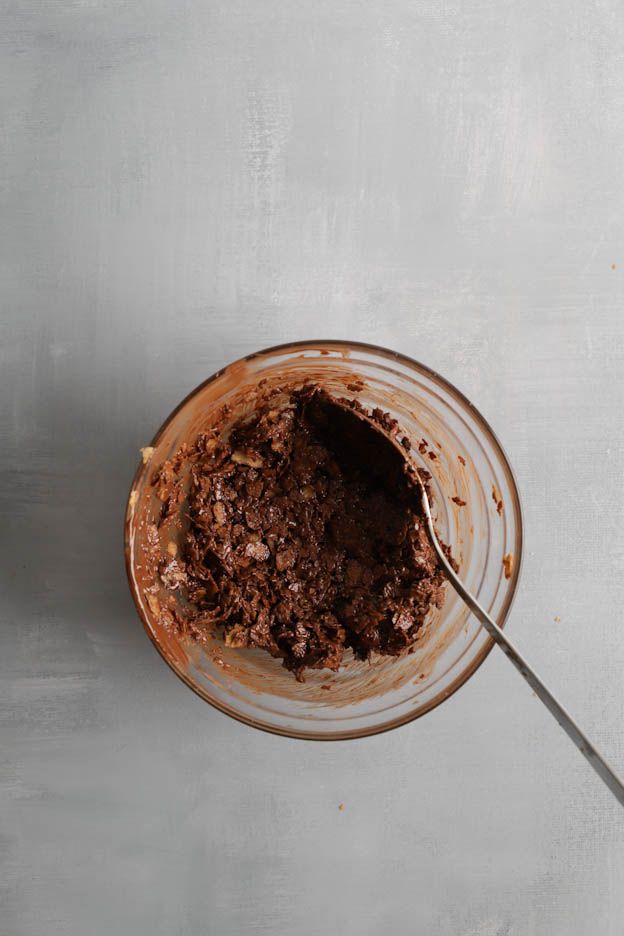
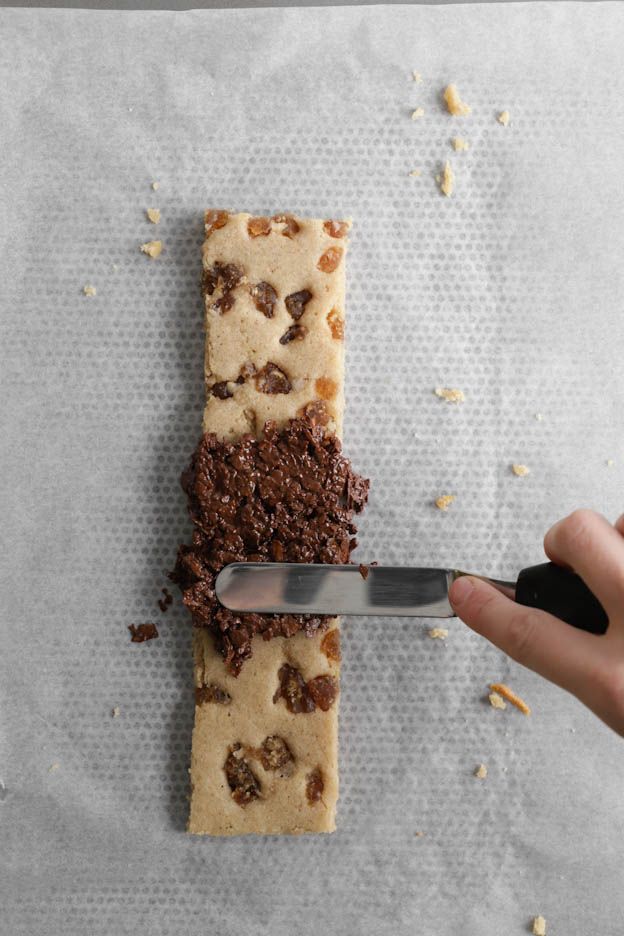
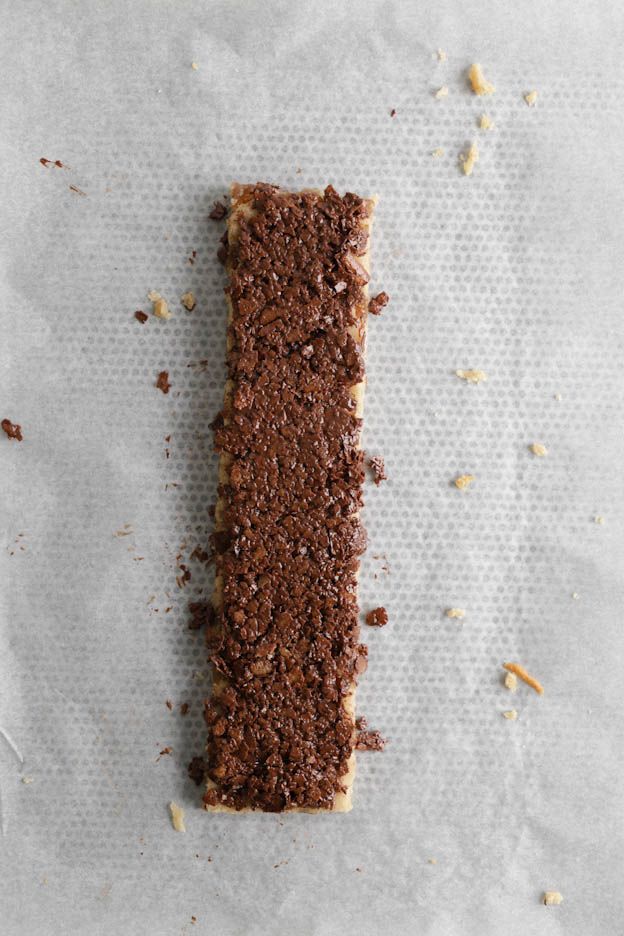
We are now onto the last preparation for our log.
Chestnut mousse
First of all, place 2 gelatine leaves in a jug of cold water.
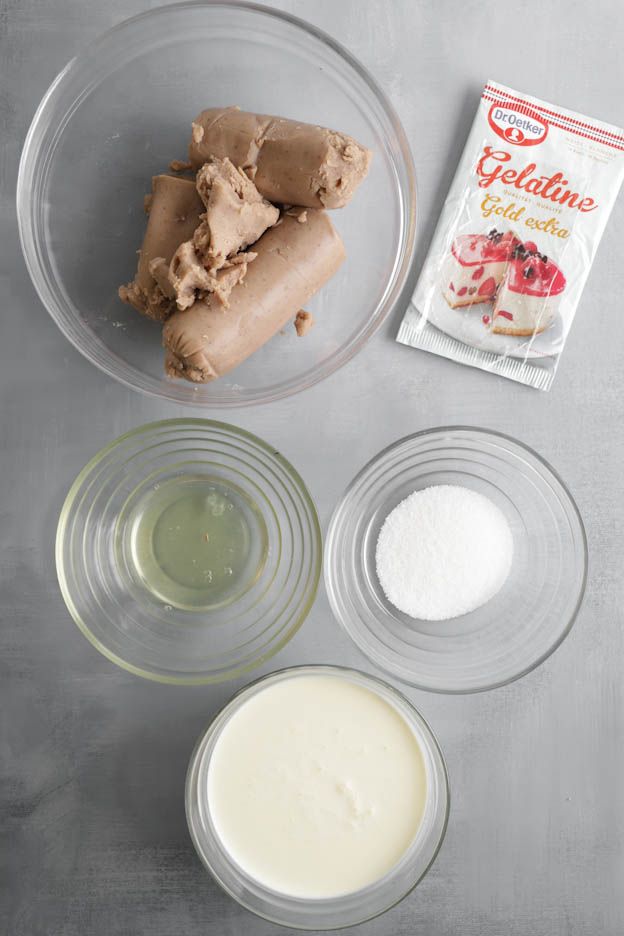
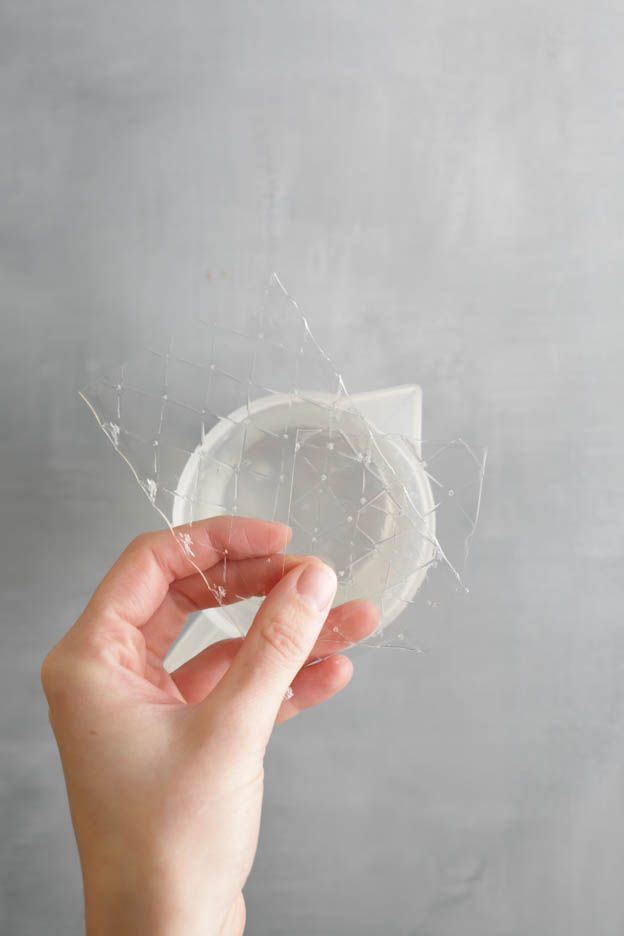
In a large bowl, pour 225gr of full-fat cream and whip it to stiff whipped cream. Set aside in the fridge.
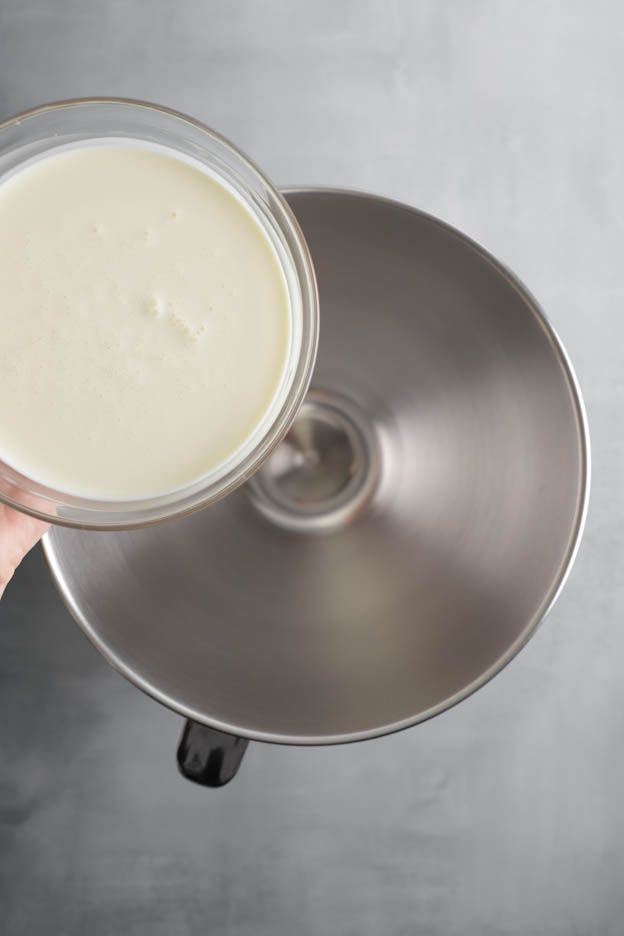
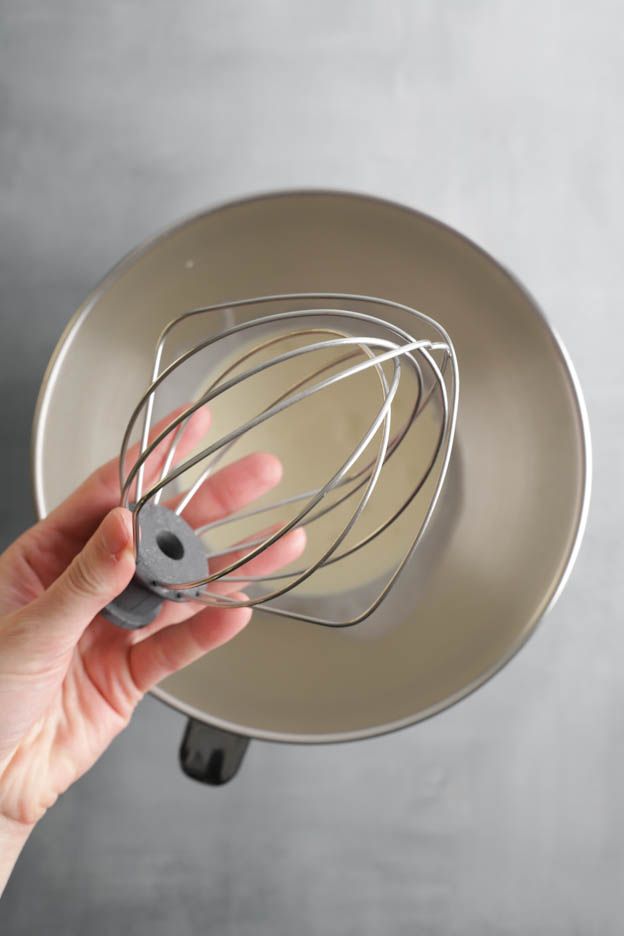
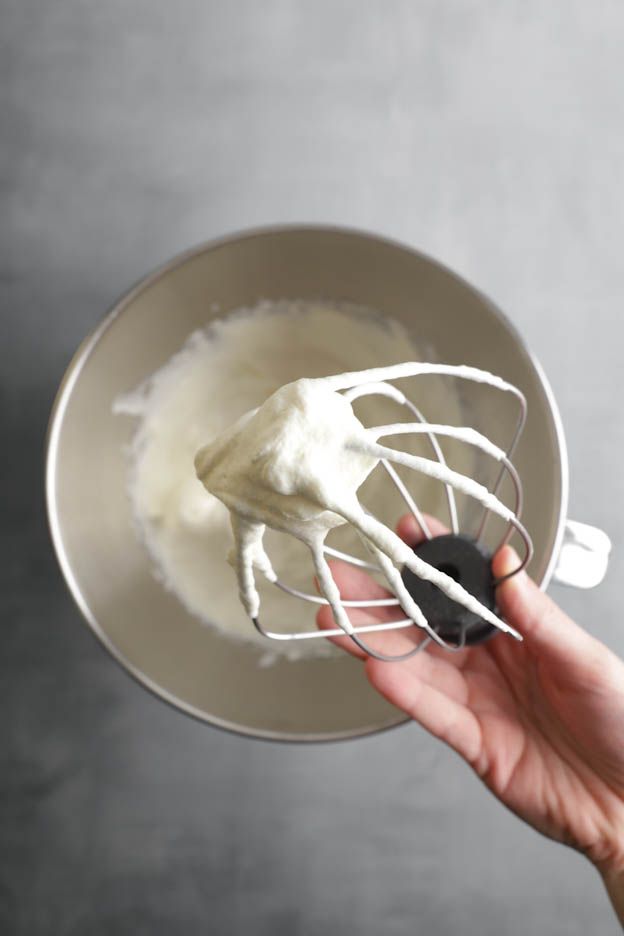
To make it easier to mix the ingredients, I recommend loosening the 450gr of chestnut purée in the mixer for about 30 seconds at maximum speed.

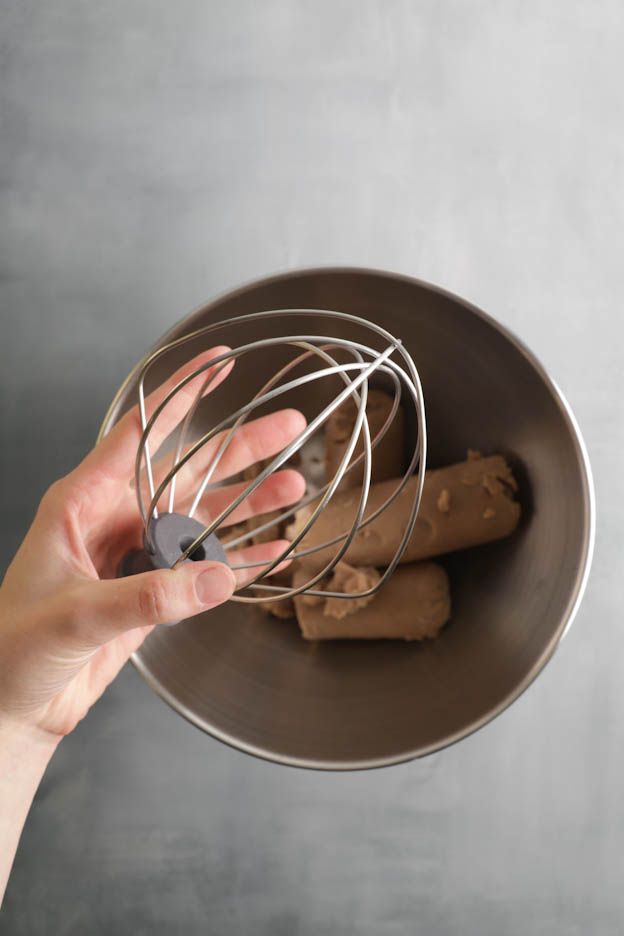
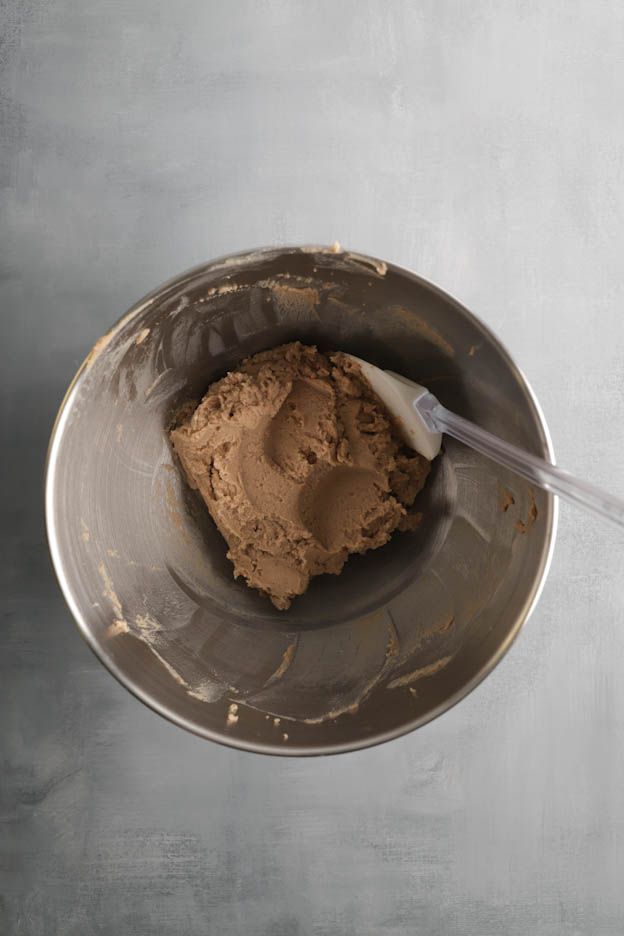
Using the whisk at maximum speed, beat 45gr of egg whites and 20gr of sugar to stiff peaks.

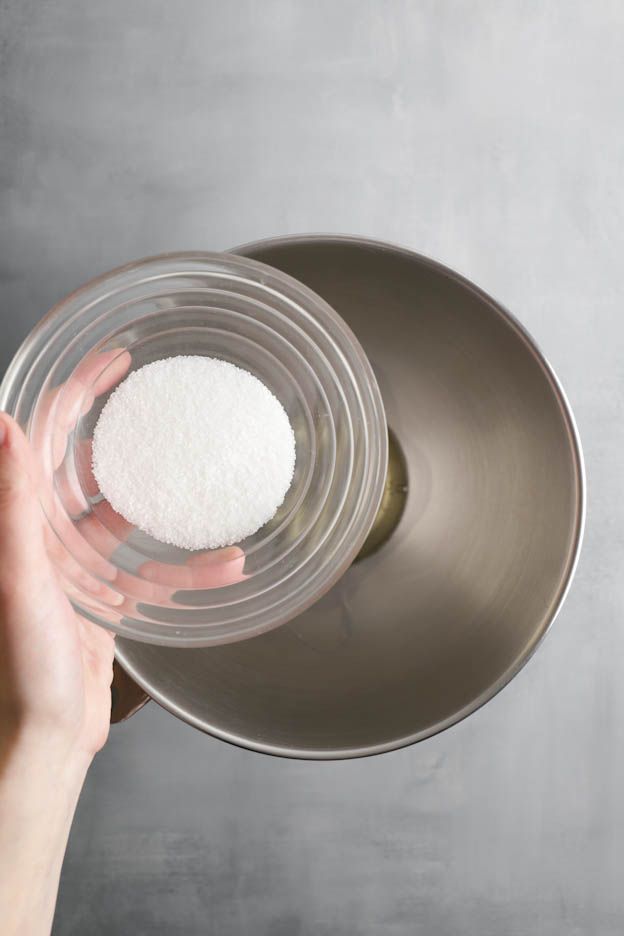
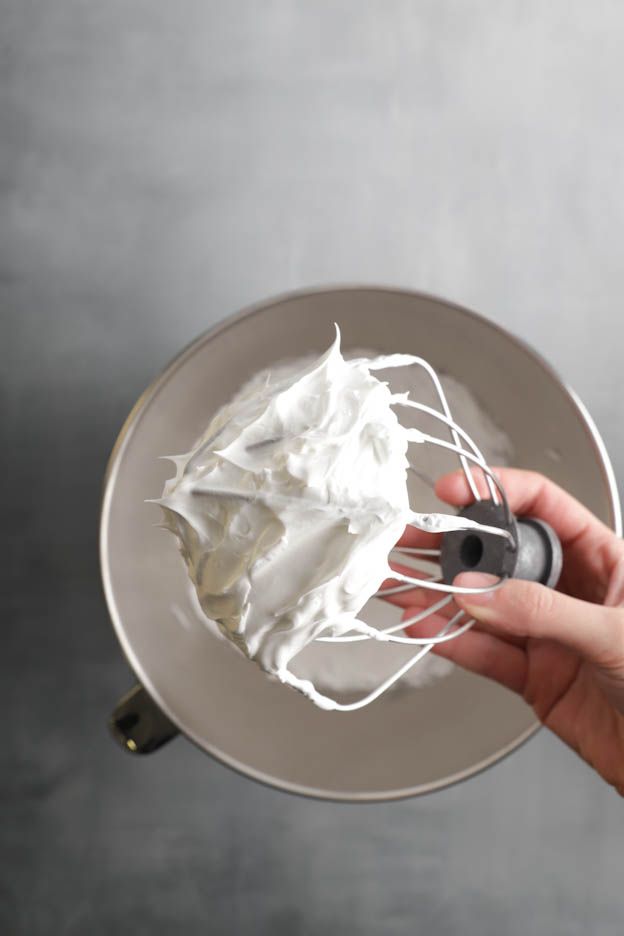
While the egg whites and sugar are being whipped, weigh out 50gr of chestnut purée (taken from the 450gr of chestnut purée) into a saucepan and add the 2 squeezed gelatine leaves.
Over low heat, melt the gelatine with the chestnut purée, stirring well.
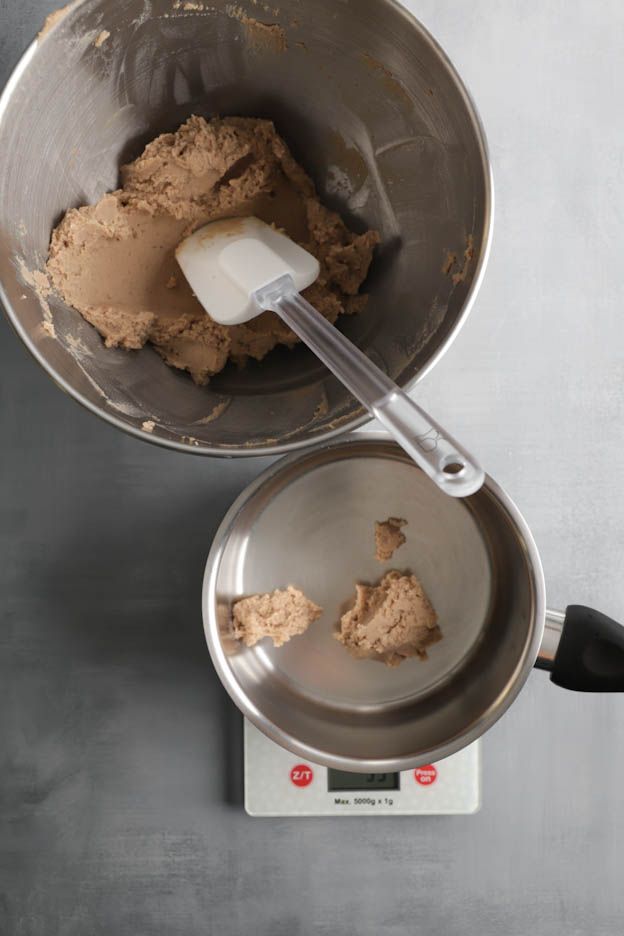
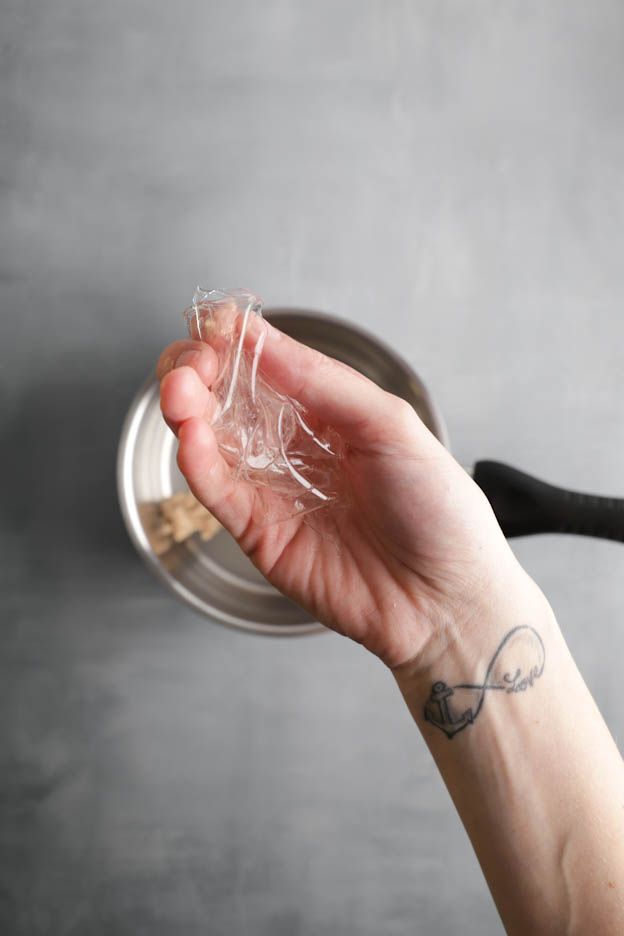
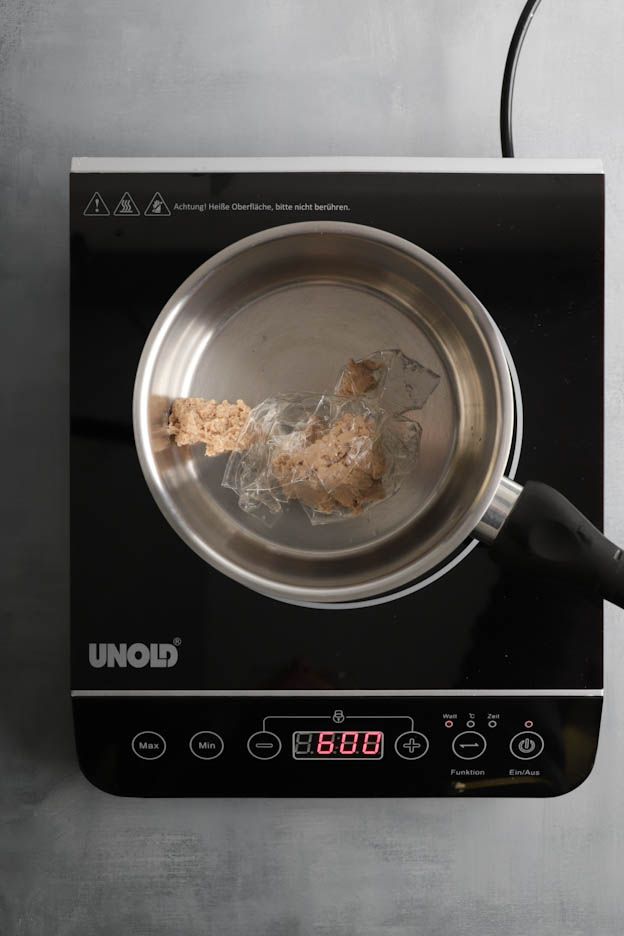
Pour the gelatine/chestnut purée mixture into the large bowl of chestnut purée.
Mix everything well.

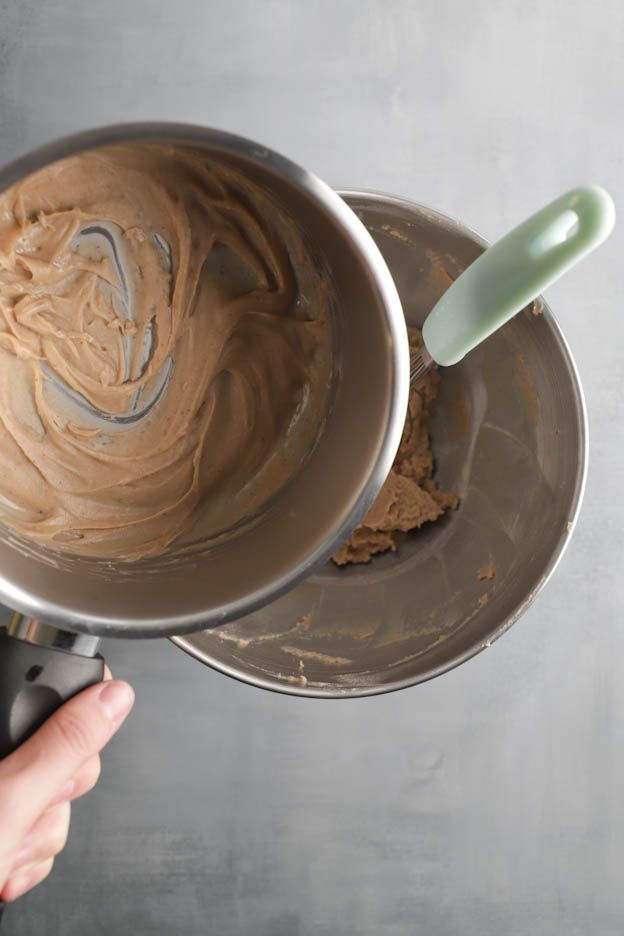
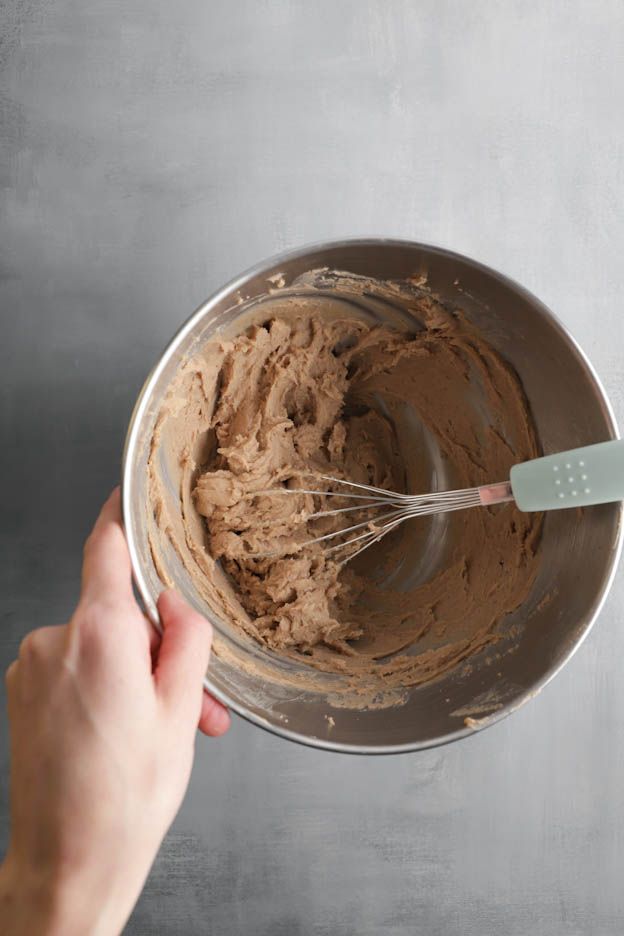
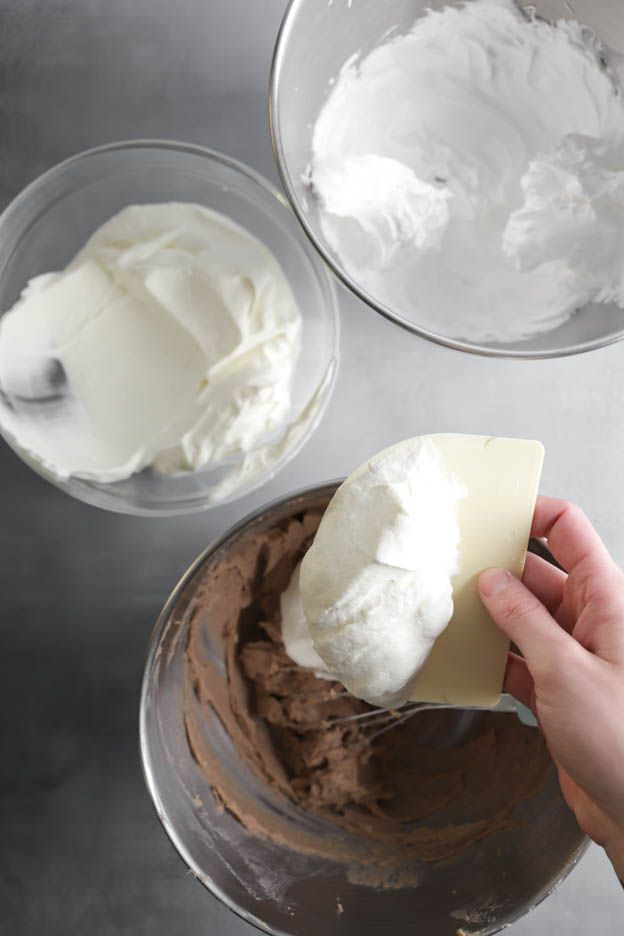
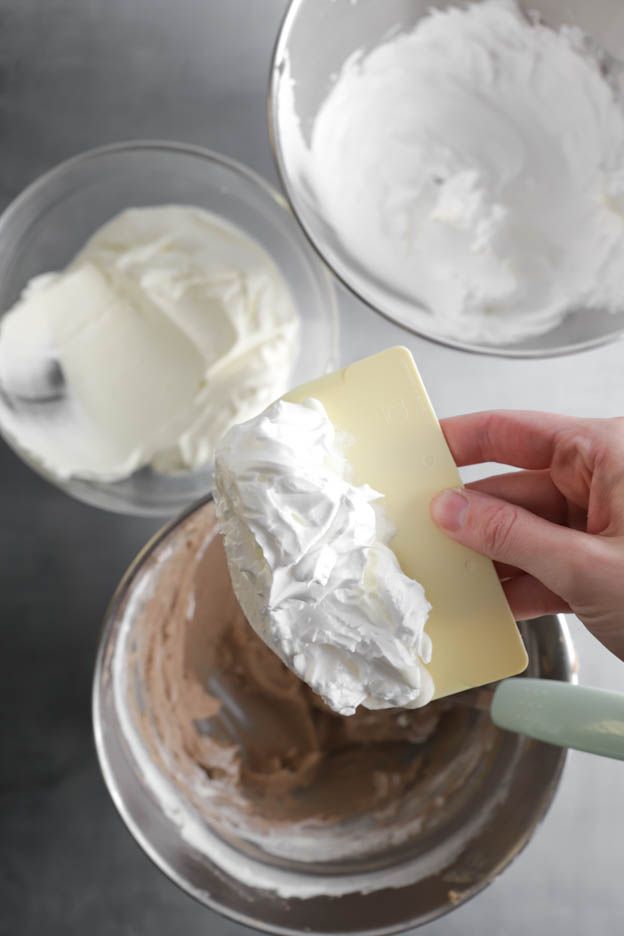
Once the egg whites are ready, start by adding one spatula of whipped cream to the chestnut purée and mix, then one spatula of egg whites and mix again using a spatula.
Repeat until all the preparations are well combined.
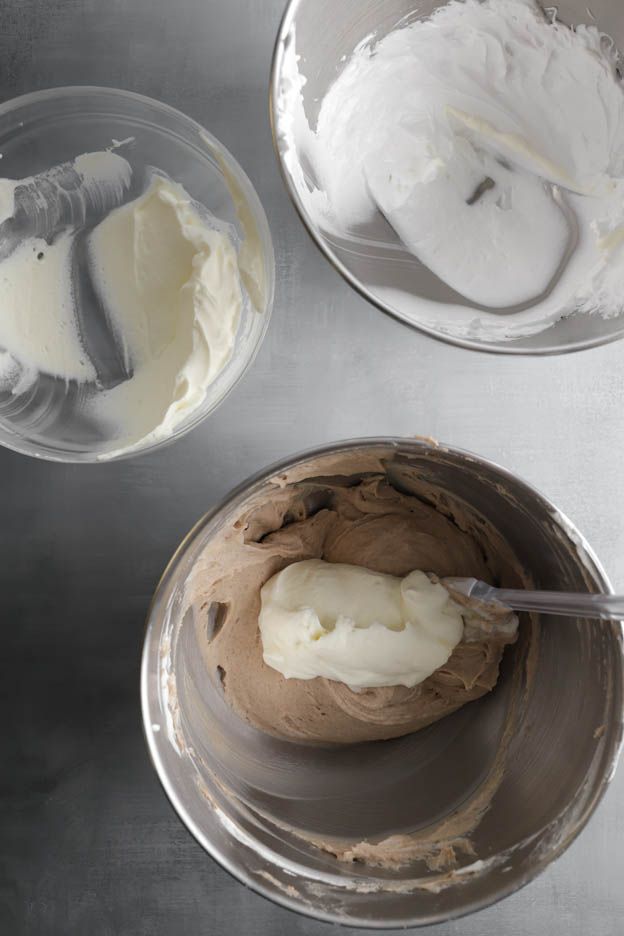
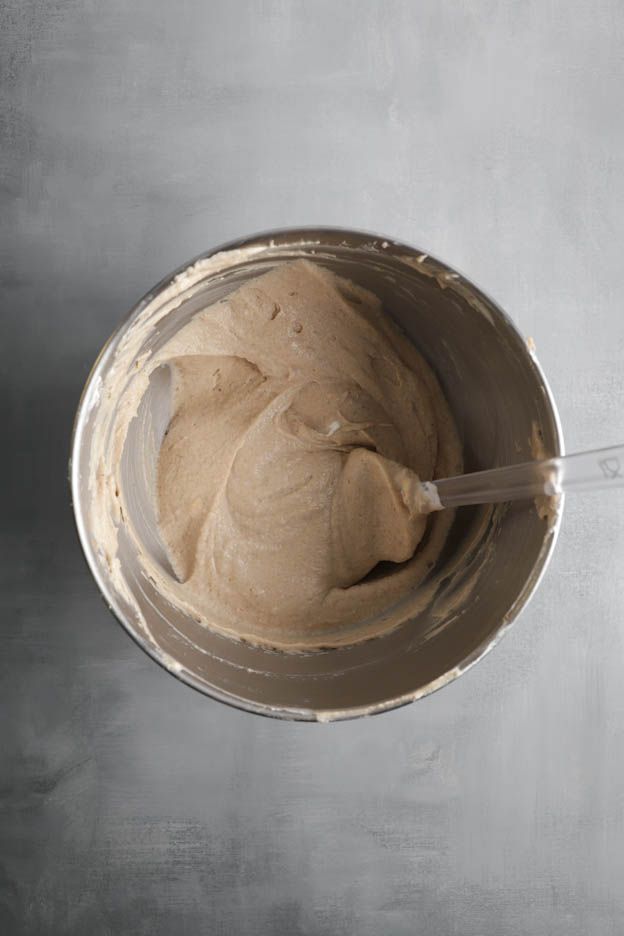
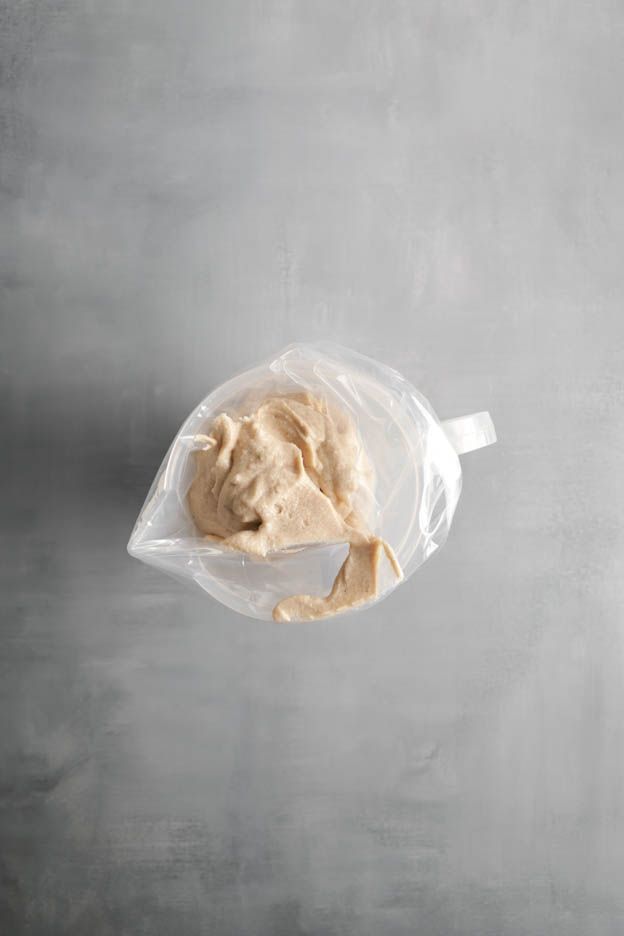
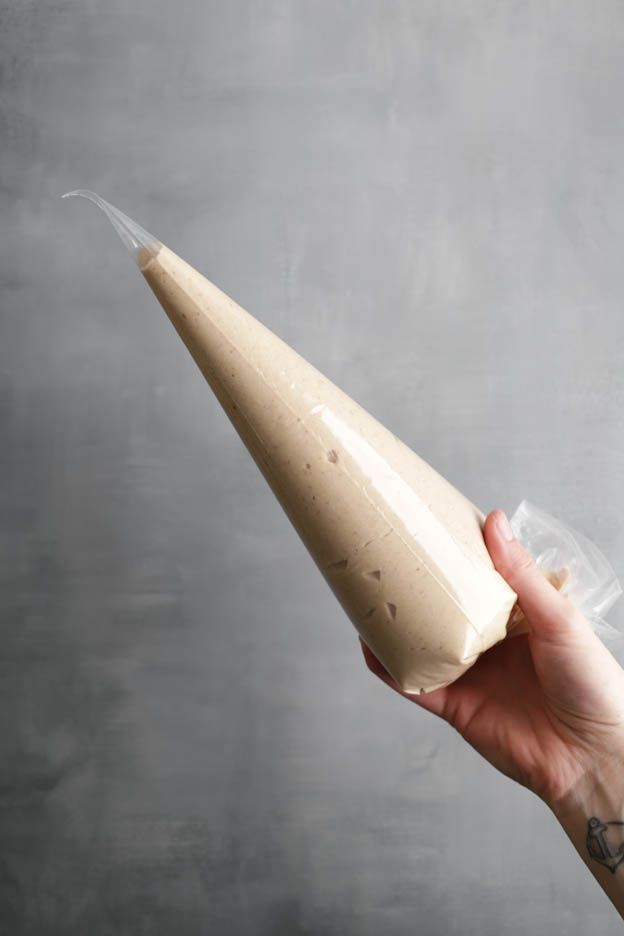
Our mousse is ready! Place it in a large piping bag. Use a large jug to help fill the bag, so you won't make a mess. :-)
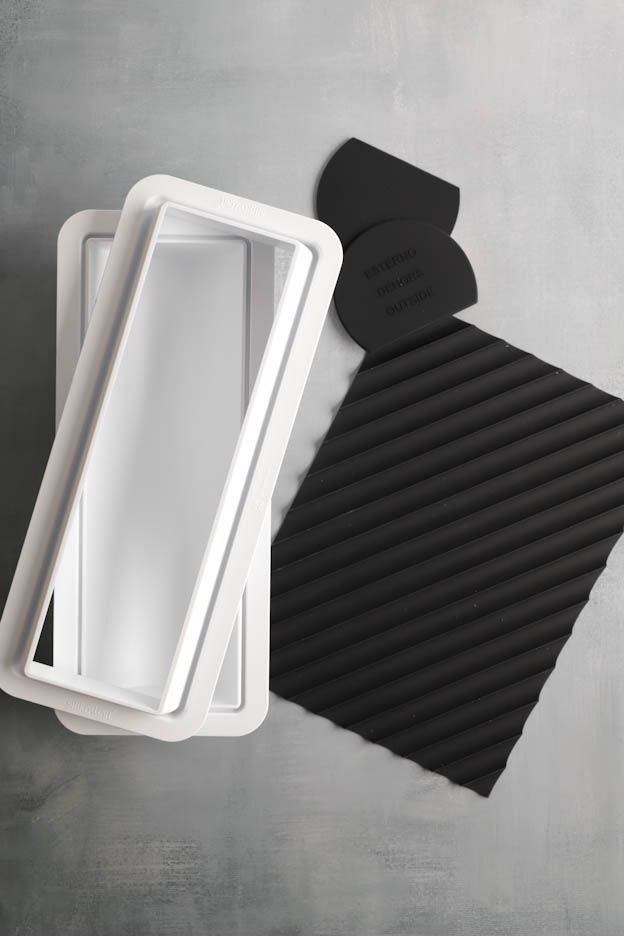
Prepare the log mould which is made up of several parts:
The base, the two end caps, a smooth mat, a "spiral" mat and the top part.
For this recipe, we used the "spiral" mat. :-)
Start by placing the two end caps in the base, then the "spiral" mat and finally the top part which will hold the mat in place.
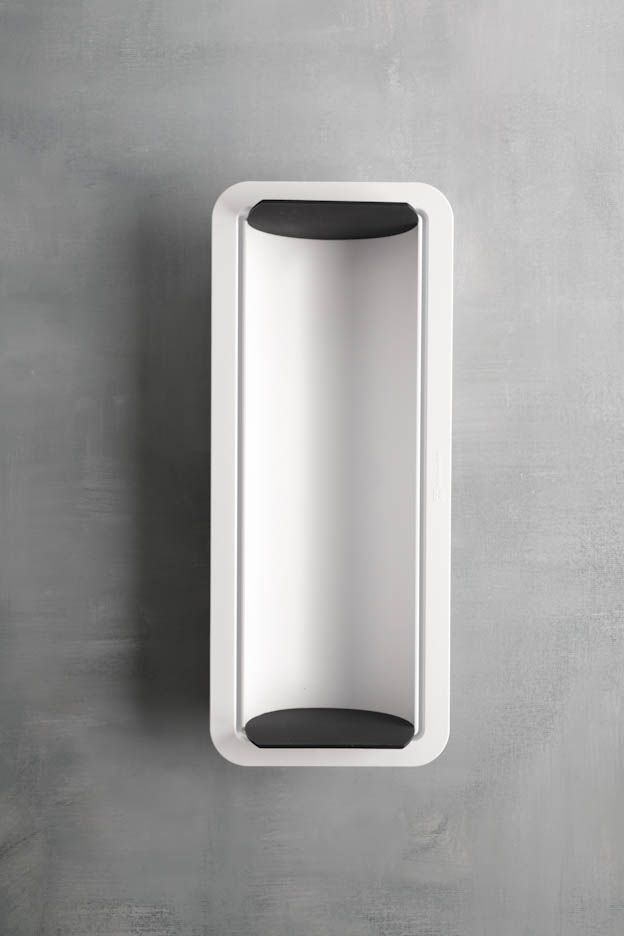
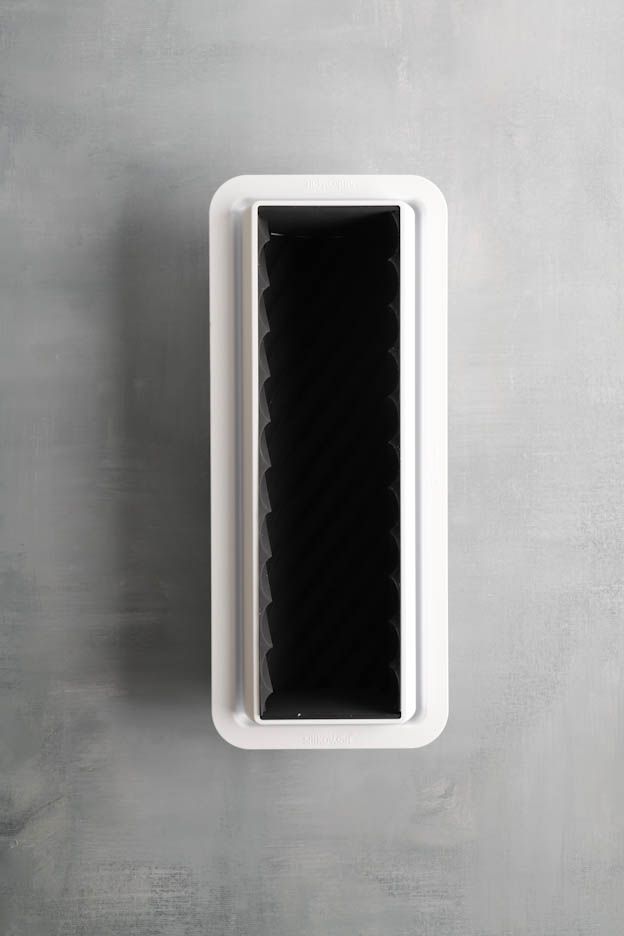
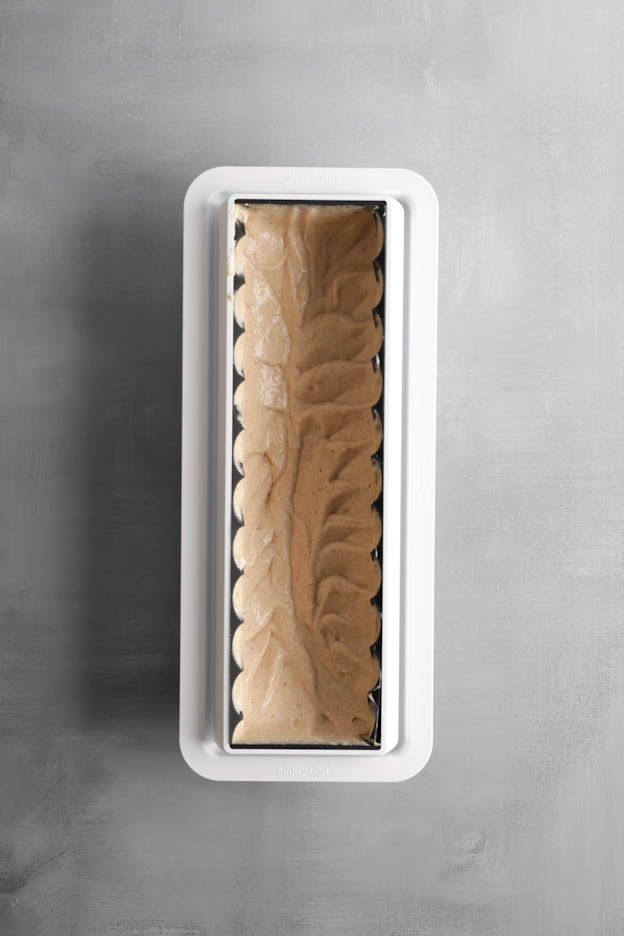
Pipe the mousse into the bottom of the mould, about halfway up.
Using a small offset spatula, spread the mousse along the sides of the mould.
This will prevent air bubbles and ensure mousse covers everything.
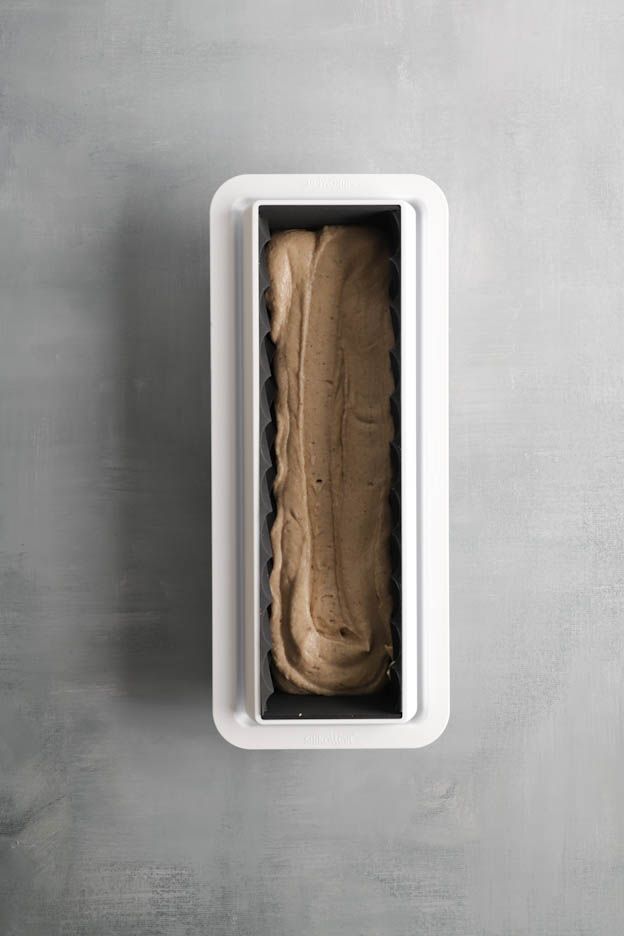
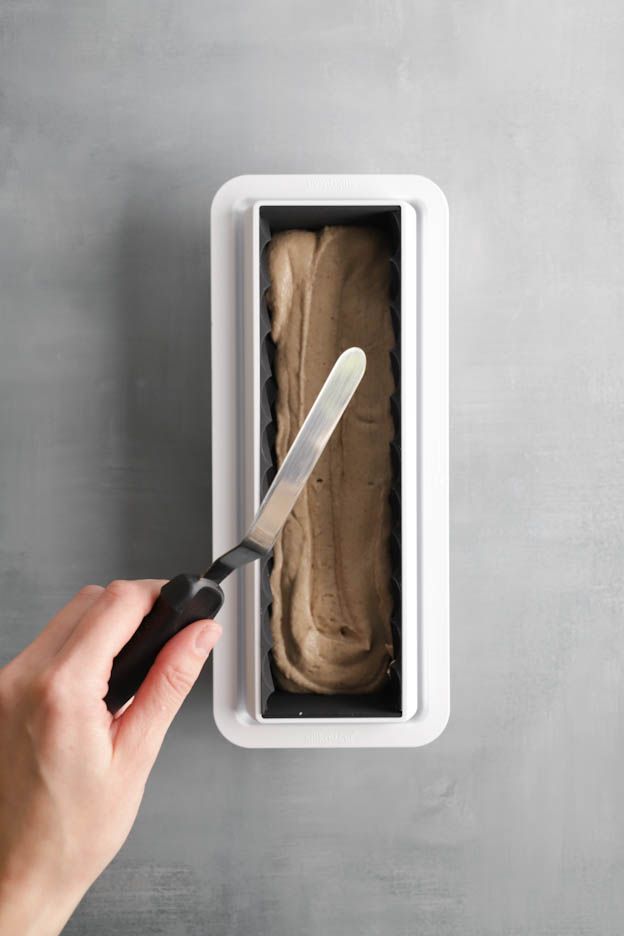
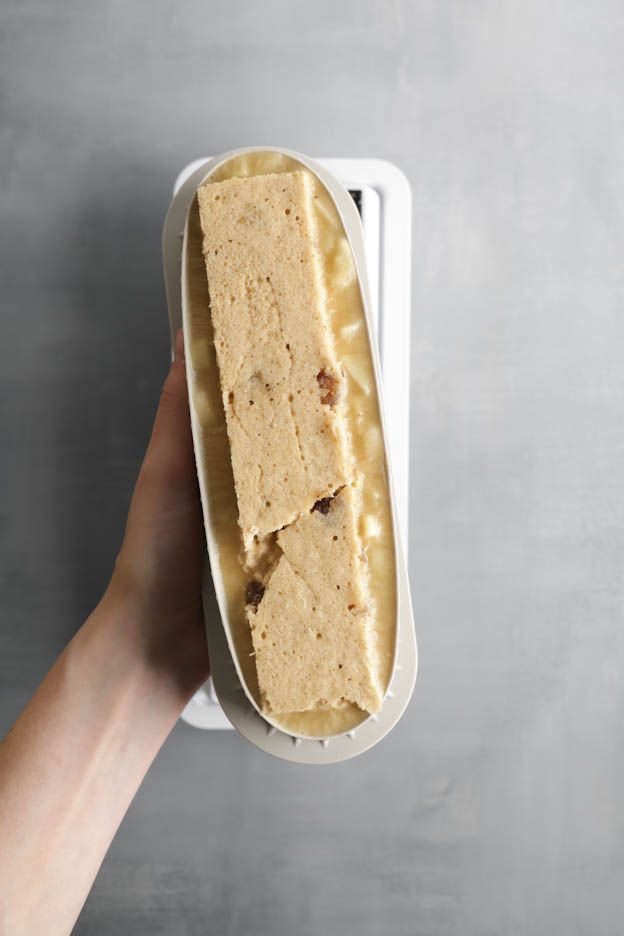
Remove the insert from the freezer and unmould it.
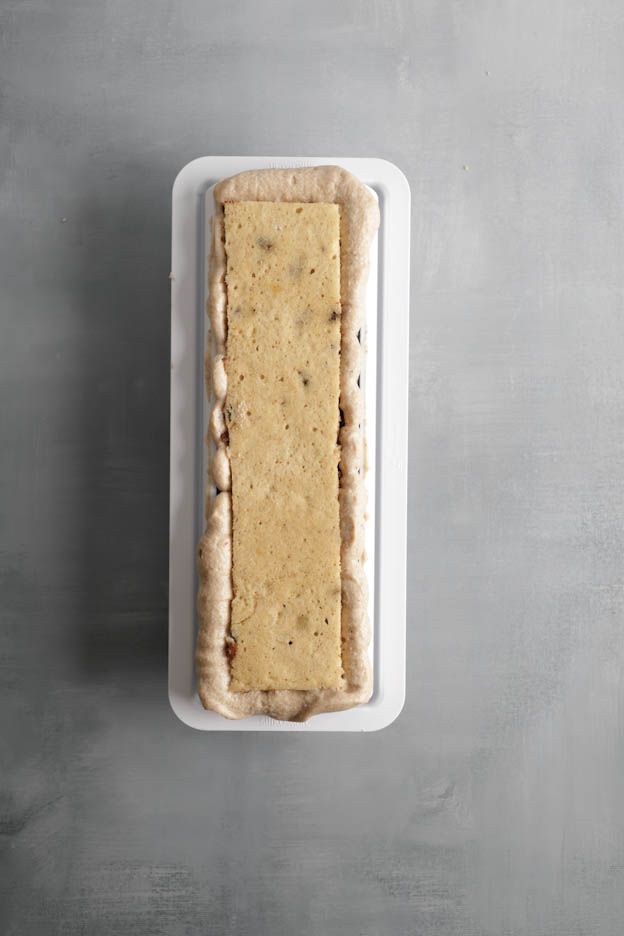
Place the insert on the mousse and press down so that the mousse rises up around the insert.
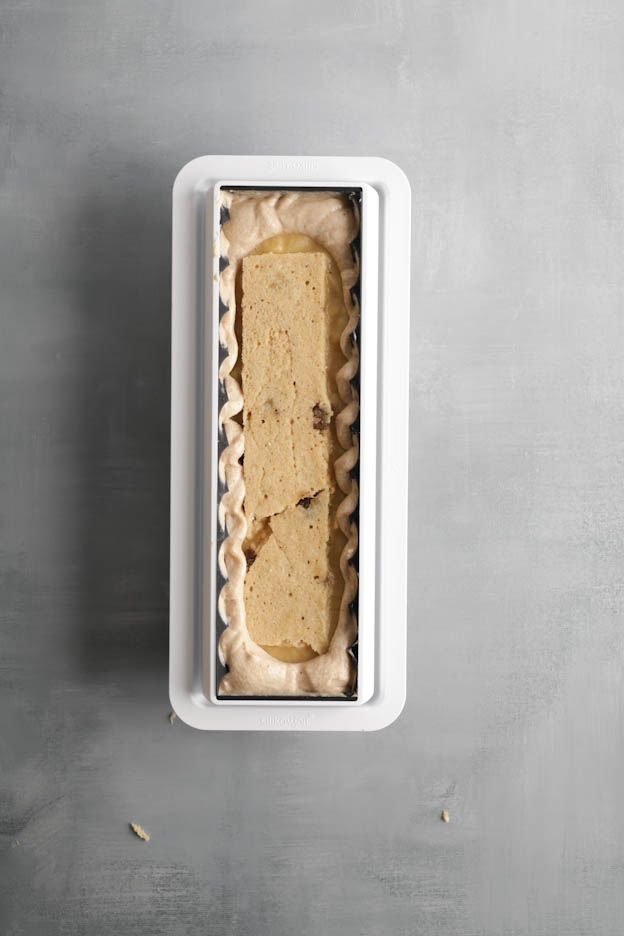
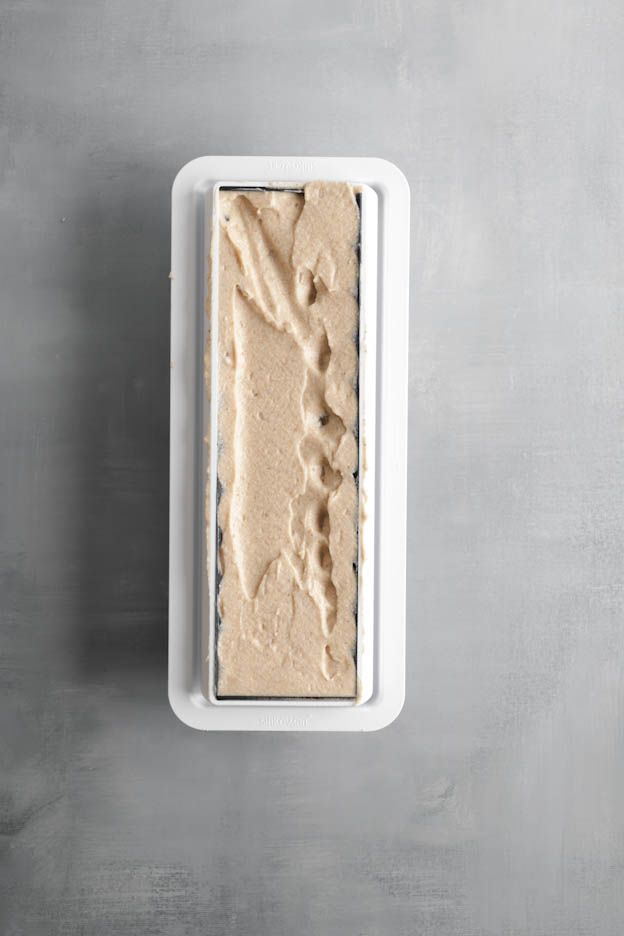
Add a little mousse on top of the insert, then the sponge with the crunch layer.
Press down on the sponge so that the mousse rises up along the sides and the sponge sits completely inside the mould.
Using a spatula, remove any excess mousse.
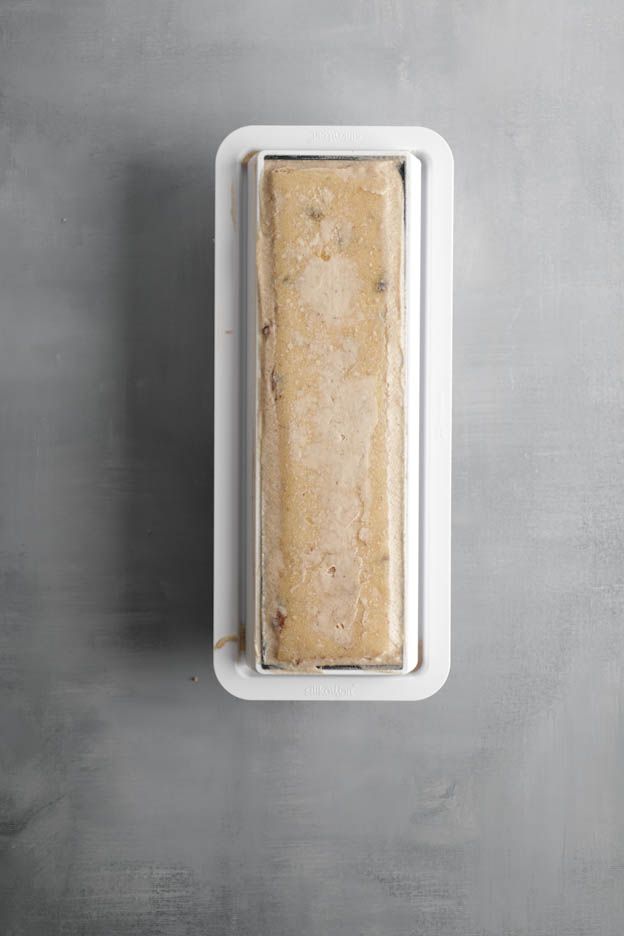
Place the log in the freezer for a minimum of 12h.
Decorations
There we go! Our log is frozen, now let's move on to the finishing touches.
For this log, I chose to use a cocoa/milk chocolate velvet spray.
Spray the log about 8 hours before serving so it can thaw (in the fridge) before tasting.
If you'd like to make this log in advance, you can spray it and put it straight back in the freezer, wrapped in a box. That way, all you'll need to do is take it out on the day! :o) Do not leave it more than 3 weeks in the freezer to avoid affecting the flavours and textures.
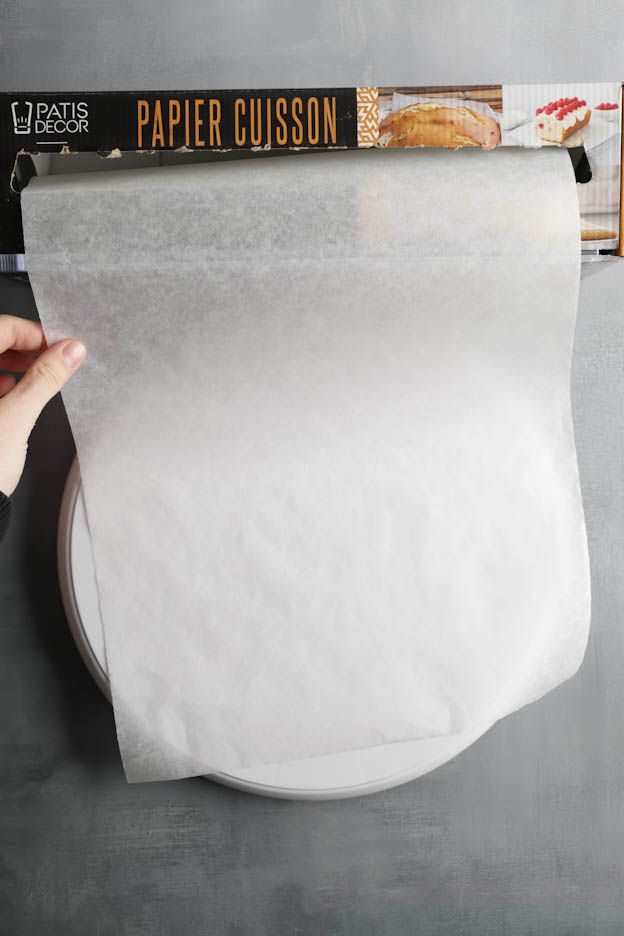
Prepare a turntable covered with baking paper to place the log on. This will allow you to spray it evenly.
To unmould the log, start by removing the top part, then the base.
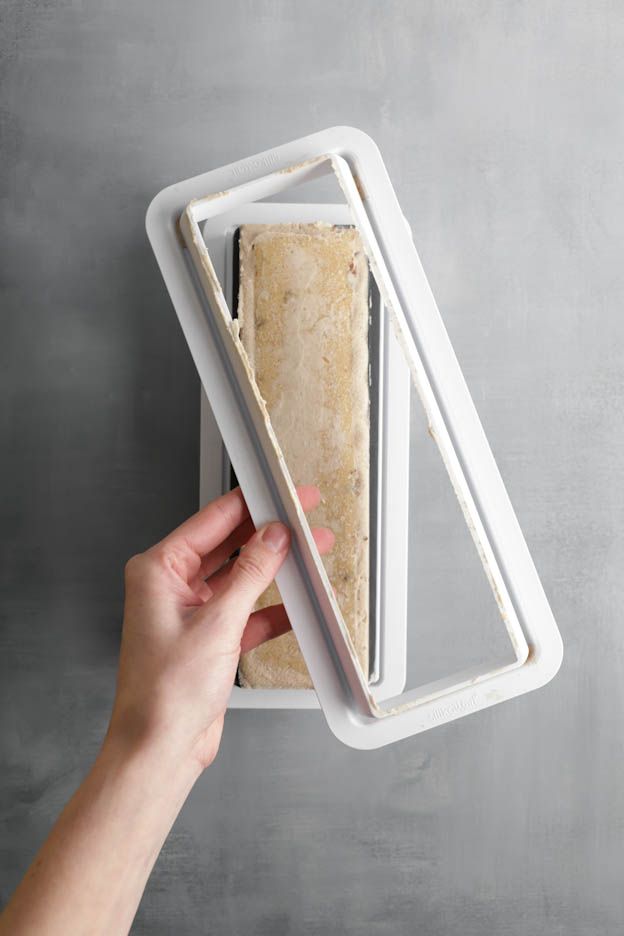

Remove the two end caps, then carefully peel off the mat. Put the log back in the freezer while you get everything ready for spraying.

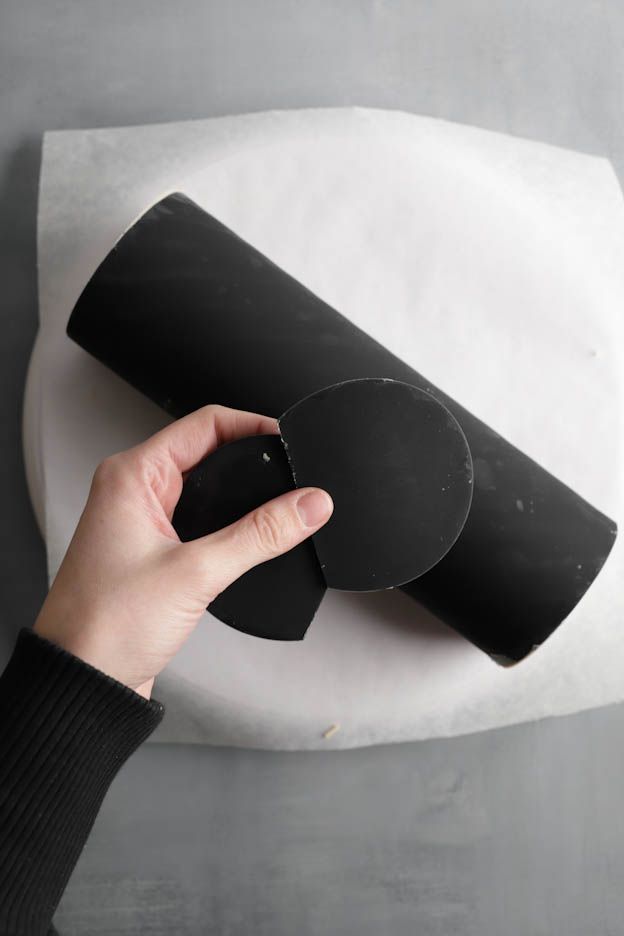
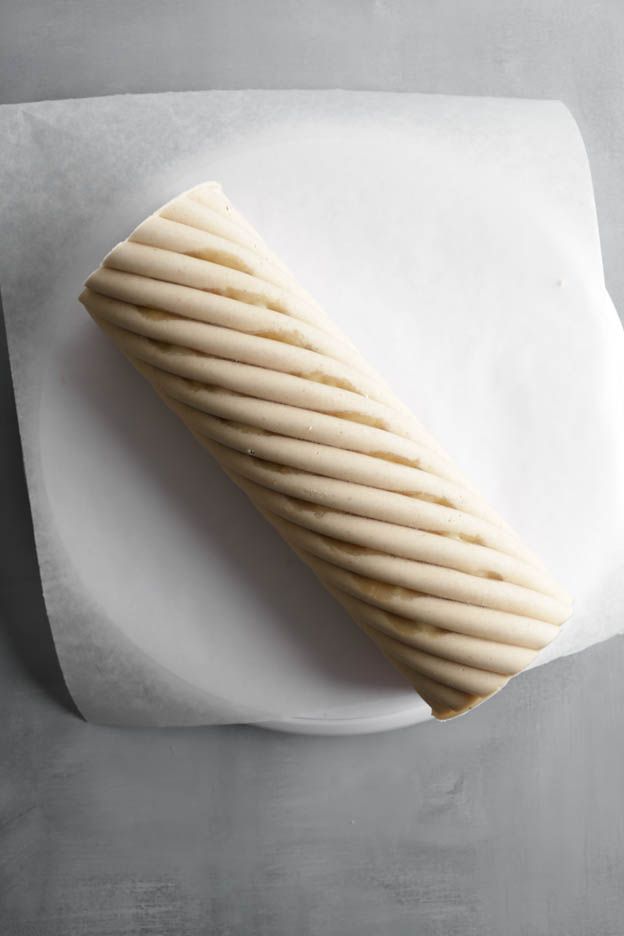
Place the velvet spray can 10 minutes in a jug of warm tap water to allow the cocoa butter inside the can to reach the right temperature and achieve an optimal consistency when used.
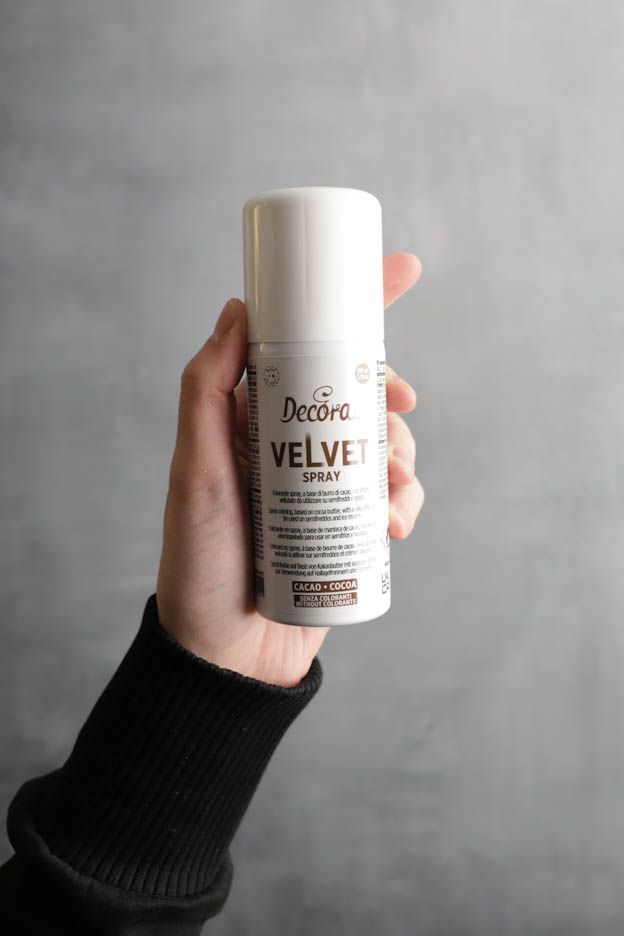
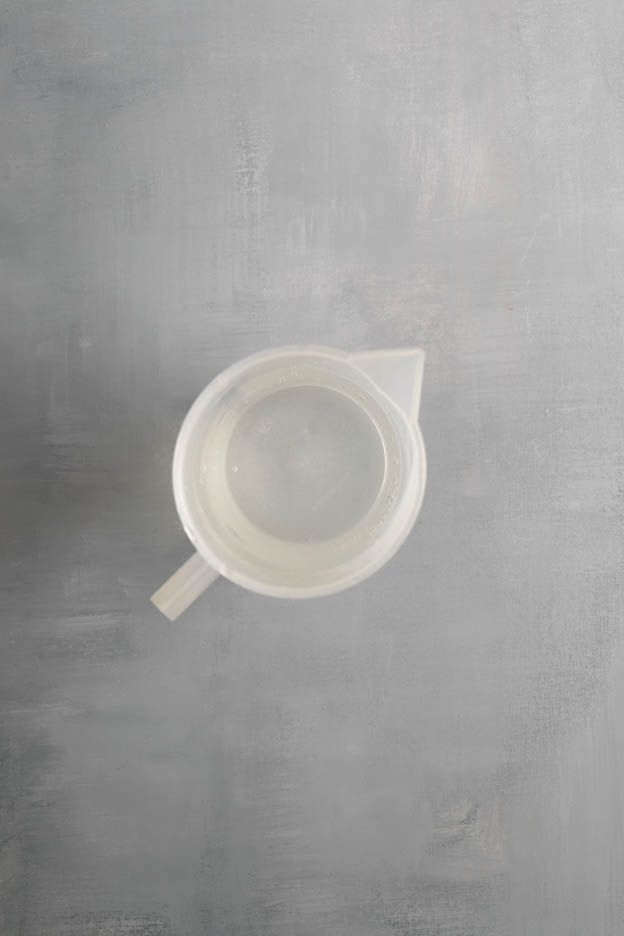
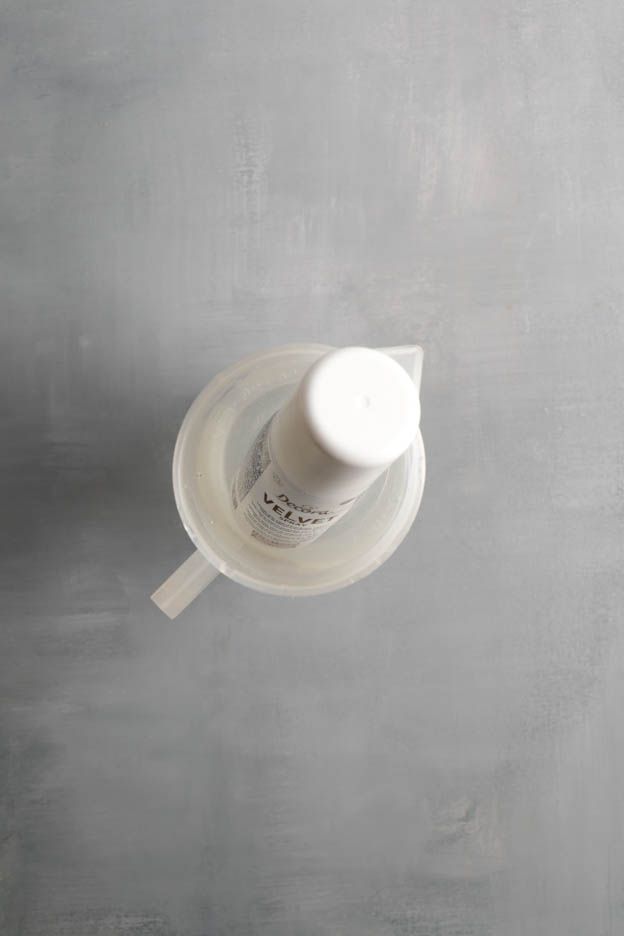
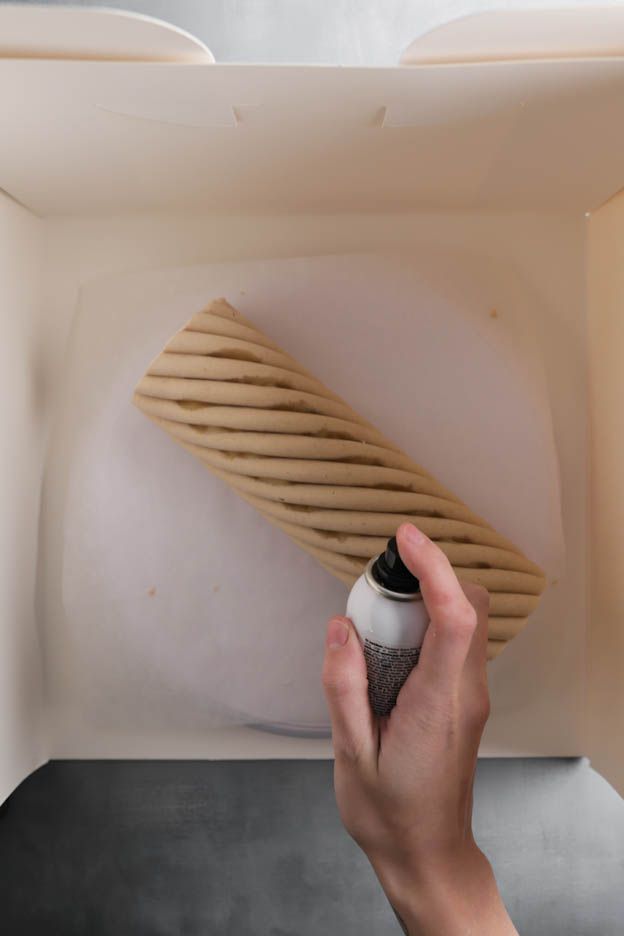
To spray it, I recommend doing so inside a deep box to avoid getting it everywhere. Cocoa butter is a nightmare to clean up, so protect the surrounding area well! ;-)
Once the log is inside the deep box, spray it keeping a distance of about 30 cm to achieve a fine, even velvet coating.
To move the log, use a large offset spatula.
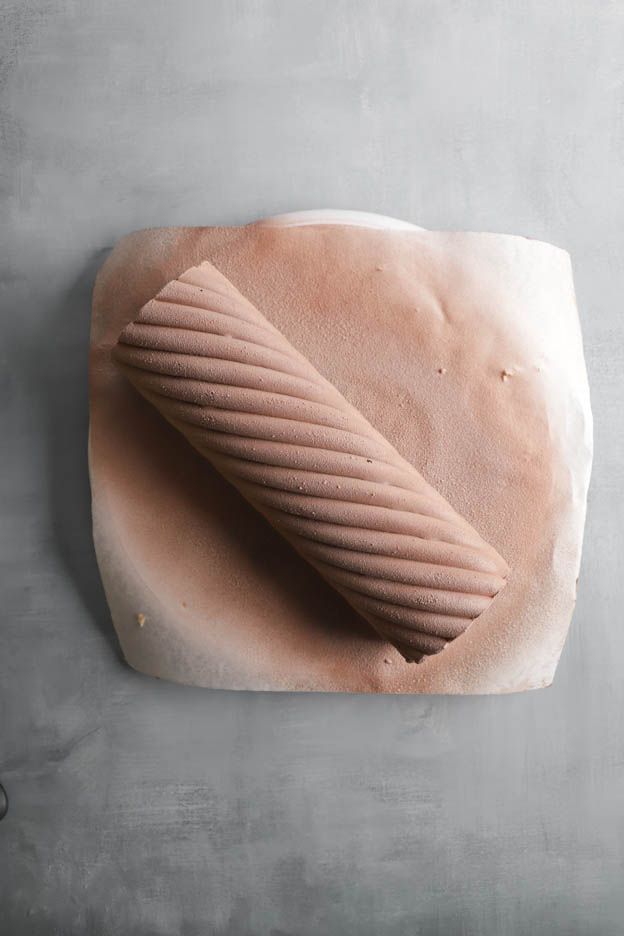
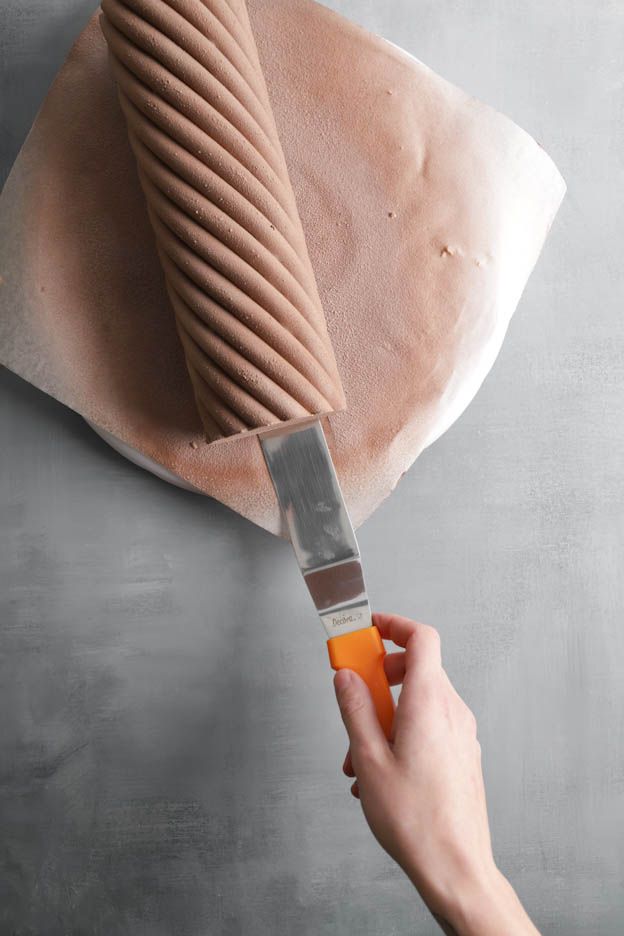
I wanted to create a simple decoration. For that, I used some fairy medley pearls, candied chestnuts and pear slices.
I recommend placing the pears at the last moment, just before serving the log, so they don't oxidise. You can also dip them briefly in lemon juice.
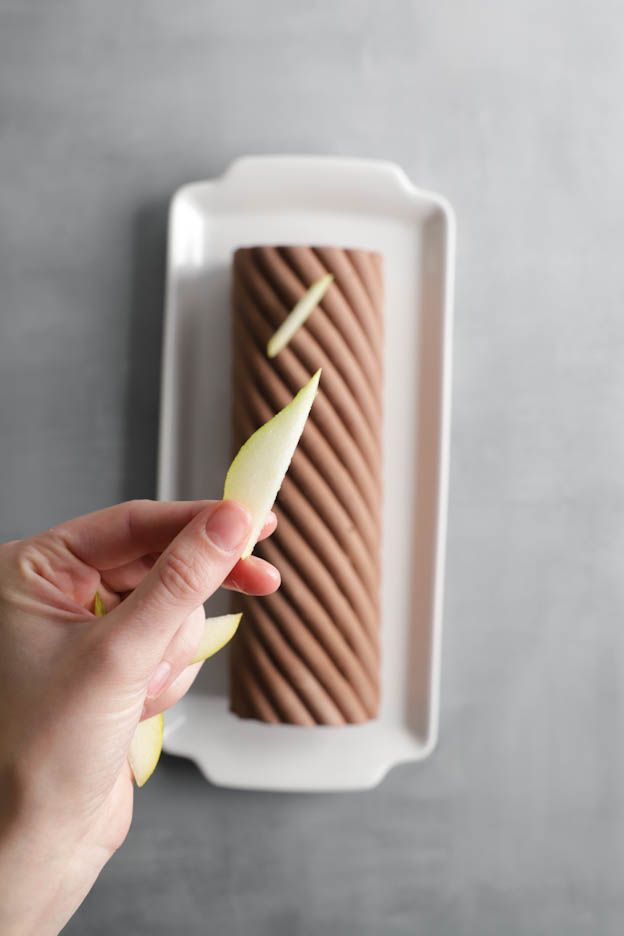
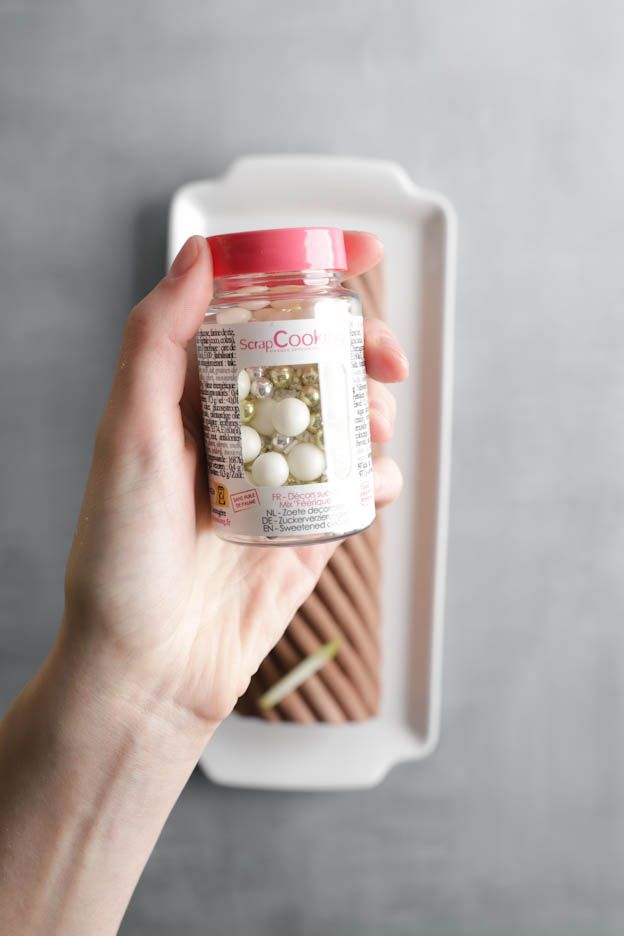
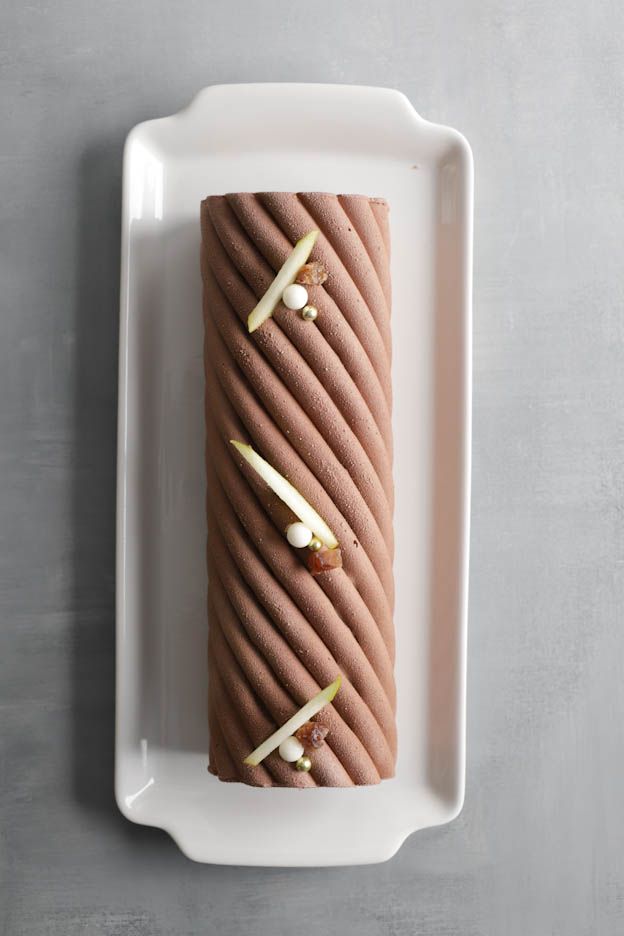
Once the log is decorated, let it thaw for about 8h in the fridge before tasting.
I recommend placing it on a log board and in a log box. This will prevent any accidents in the fridge or during transport. ;-)
I hope you'll love this yule log recipe and feel inspired to try it for Christmas. ;-)
Wishing you a wonderful holiday season!
Sophie
P.S.: All the equipment used can be found at the bottom of the recipe.

Related posts
 Juicy Matcha Muffins with Pecan Nuts & White Chocolate
Matcha Iced Latte & Coconut Variant
Pull-apart bread with fresh wild garlic pesto
Mini Banana Bread with Chocolate Chips
Juicy Matcha Muffins with Pecan Nuts & White Chocolate
Matcha Iced Latte & Coconut Variant
Pull-apart bread with fresh wild garlic pesto
Mini Banana Bread with Chocolate Chips
Leave a comment
Comments
Question de Véronique
By: Véronique L. On 2024-12-13Bonjour, merci pour cette belle recette. Ma bûche est au congélateur déjà floquée. Est-ce que le temps de 8hs de décongélation au frigo est un minimum et si oui est-ce que je peux la placer au frigo 1 voir 2 jours avant ? Merci d'avance de votre réponse. Belle journée.
Replied by: Karin On 2024-12-13
Replied by: Véronique L. On 2024-12-13
Question de Baptistine
By: Baptistine G. On 2024-12-06Bonjour,
J'aimerais réalisé cette bûche mais avec le moule et l'insert de la bûche Tiramisu (avec une autre tapis). Comment dois-je adapter les quantités ? Merci d'avance pour la réponse
Replied by: Karin On 2024-12-09
Question de Anne-Christine
By: Anne-Christine G. On 2023-12-15Bonjour, est-ce que vous allez recevoir avant Noël les brisure de crêpe? Et dois-je adapter les quantités pour le moule Lana? Merci!
Replied by: Cakelicious-Team On 2023-12-15
Question de Noémie
By: Noémie T. On 2023-12-09Bonjour, elle se garde combien de temps finie au congélateur?
Replied by: Laura On 2023-12-11
Réponse
By: Karin On 2022-12-17Oui tout à fait pour le moule Starlight. C'est d'ailleurs Le même moule mais avec un tapis différent.
Par contre le moule a bûche classique fait 1.3 litre donc il est plus grand. Je conseille donc le moule Starlight.
Belle soirée
Question de Christelle
By: Christelle M. On 2022-12-16Bonjour,
Est ce possible d utiliser le moule de la buche starlight (sans le tapis étoiles) pour cette bûche ?
Ou le moule en silicone de la buche fraise citron (avec un tapis texture)?
Je vous remercie pour votre réponse!
Replied by: Christelle M. On 2022-12-18
Question de Cindy
By: Cindy L. On 2022-12-12Bonjour, allez vous bientôt recevoir de la purée de poire ? Sinon, avec quoi est-ce que je pourrais la remplacer ?
Merci beaucoup
Replied by: Laura On 2022-12-13
Question de Marie
By: Marie B. On 2022-12-10Bonjour,
J’aimerai faire cette bûche dans le moule Corallo … Comment puis-je adapter la recette ?
Cordiales salutations et belle semaine.
Blanc-Gillioz Marie
Replied by: Laura On 2022-12-11
Question de Sabine
By: Sabine D. On 2022-12-07Bonjour,
Cette recette à l'air délicieuse, j'ai bien envie de la tester. Par quoi pourrais-je remplacer les brisures de crêpe dentelle ?
Replied by: Karin On 2022-12-09