
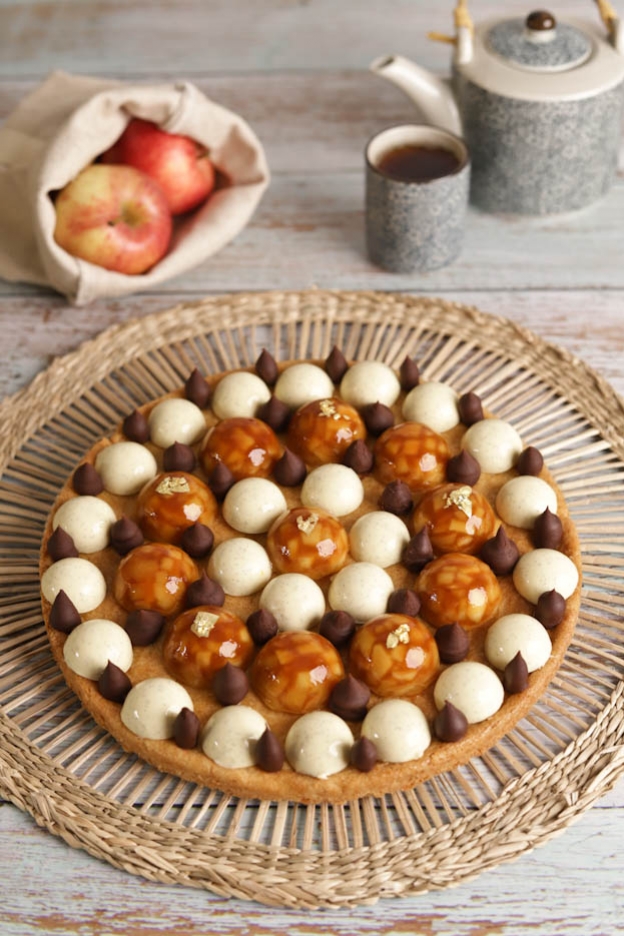
Vanilla-Apple Tart
Hey foodies!
How about a tart that changes flavour with every bite? Personally, I love the idea! Because often, a simple dessert bursts in your mouth for the first two bites, but then that excitement fades a little. With this tart, you'll have that excitement throughout your whole slice. ;o)
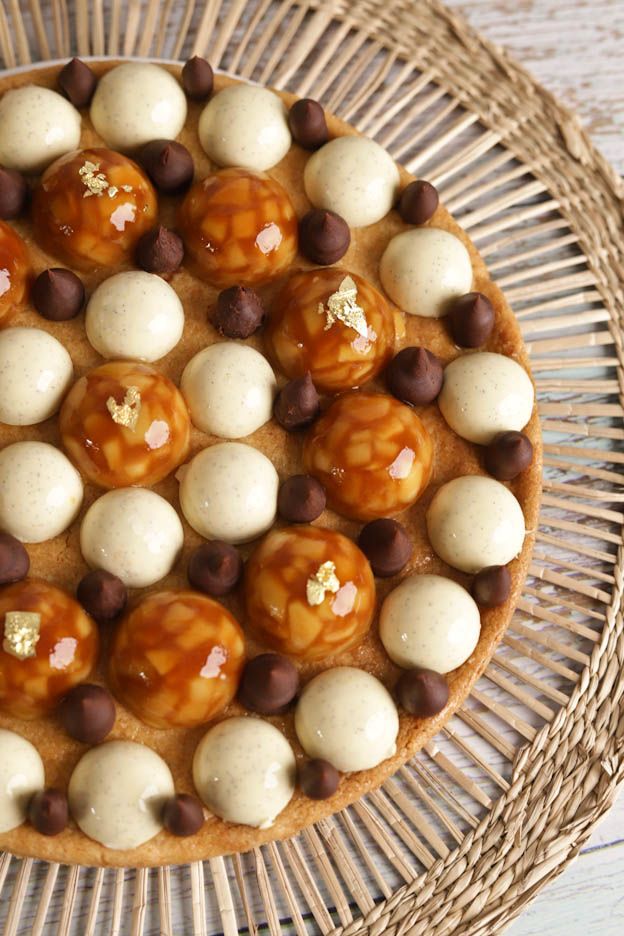
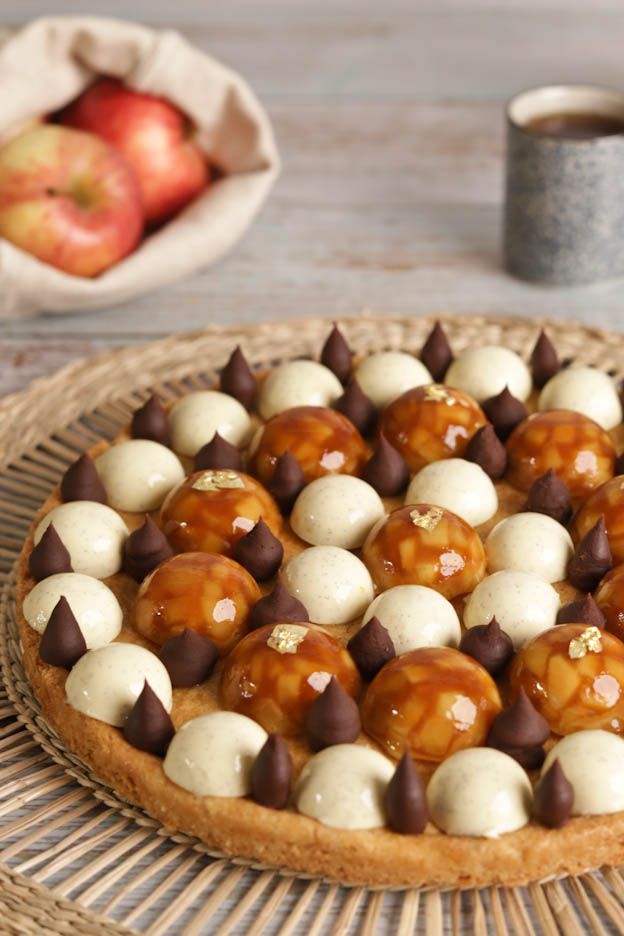
So here is my apple-vanilla-chocolate tart. A Breton shortbread, apple tatin domes, vanilla mousse domes and a praline chocolate ganache. ;o)

To make this 25 cm tart (serves 8), you will need:
Apple Tatin
- 2-3 medium Gala apples (320gr)
- 25gr inverted sugar
- 15gr butter
- 2gr powdered gelatine
- 50gr sugar
- 20gr heavy cream
Vanilla Mousse
- 1 gelatine leaf
- 1 egg yolk
- 25gr sugar
- 125gr heavy cream
- 1 vanilla pod
- 50gr mascarpone
- 25gr heavy cream
Praline Ganache
- 62gr heavy cream
- 62gr dark chocolate
- 25gr praline
Breton Shortbread
- 110gr butter
- 105gr sugar
- 2 egg yolks
- 2gr salt
- 4gr baking powder
- 150gr flour
Equipment and decoration
- Gelatine spray
- Gold leaf
- 25 cm ring
- 3 cm half-sphere mould
- 4 cm half-sphere mould
Apple Tatin
We'll start by preparing our apple tatin.
Begin by peeling and cutting 320gr of apples into small cubes of about 5 mm. Be careful not to make larger pieces... Our cavities are small so it won't look nice if they're bigger.
Here I used Gala apples because their acidity, sweetness and firmness make them a perfect apple for our tarte tatin.
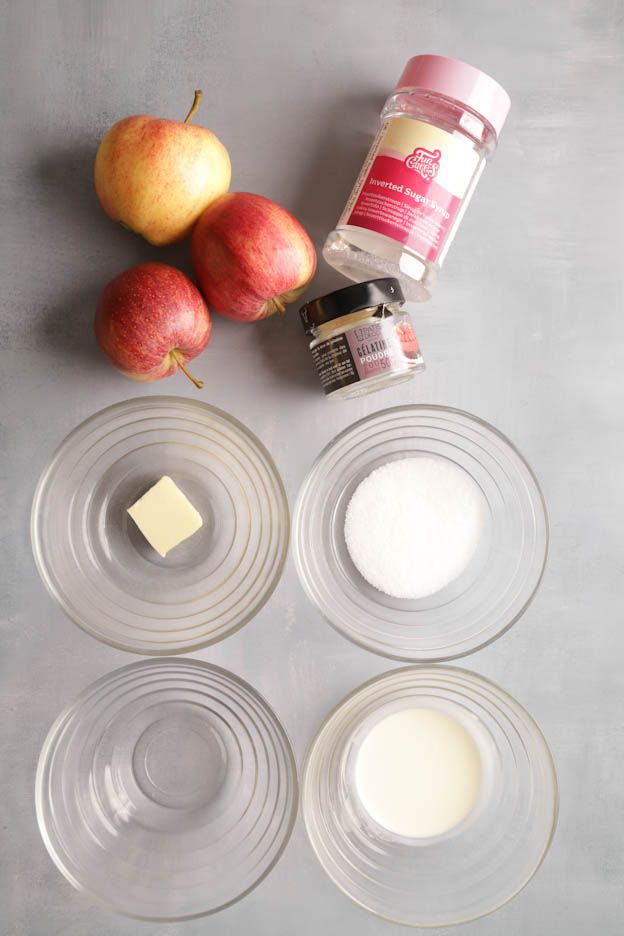
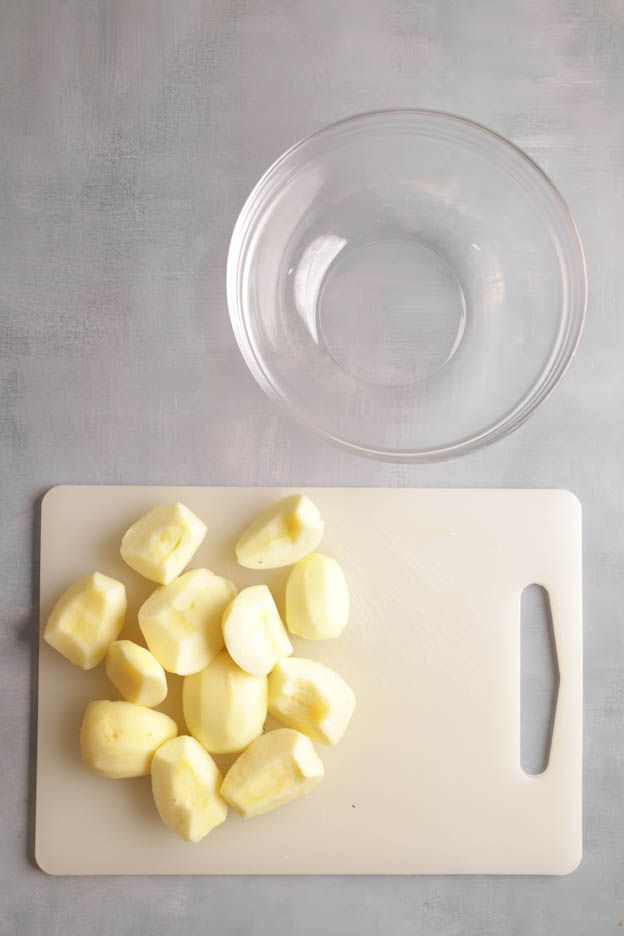
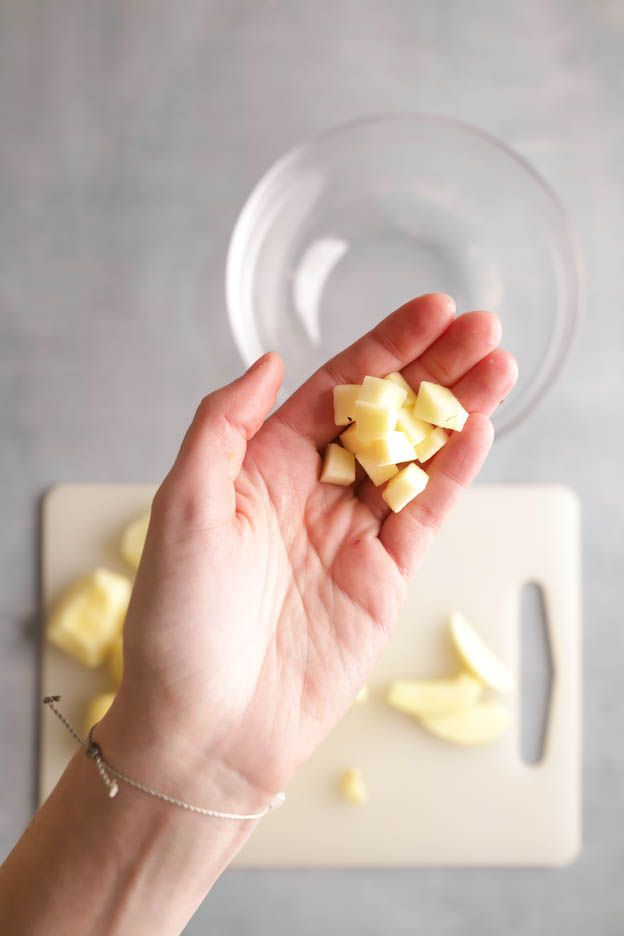
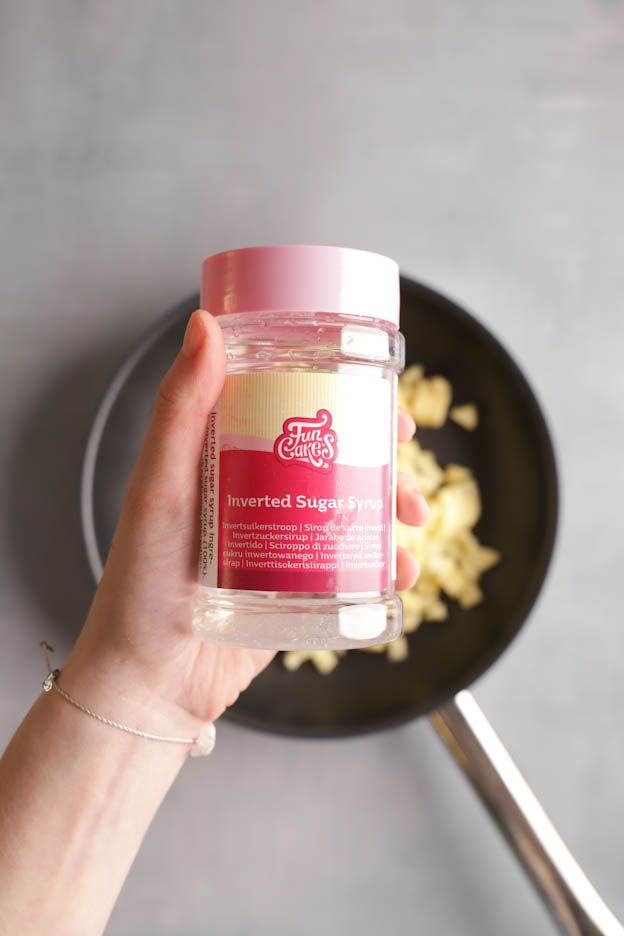
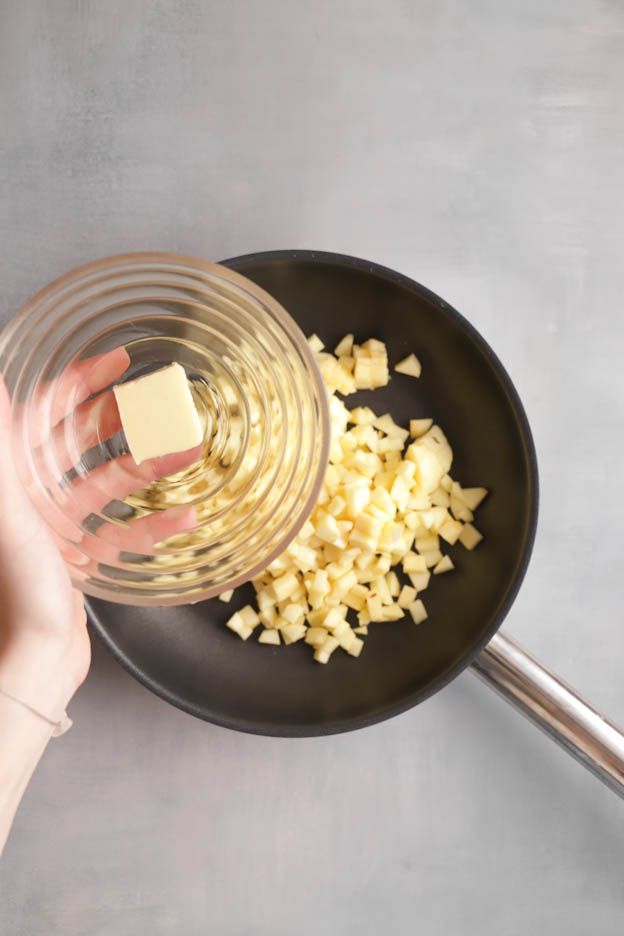
Pour your apples into a fairly deep pan and add 25gr of inverted sugar with 15gr of butter.
The inverted sugar is there to give a lovely texture to our apple tatin.
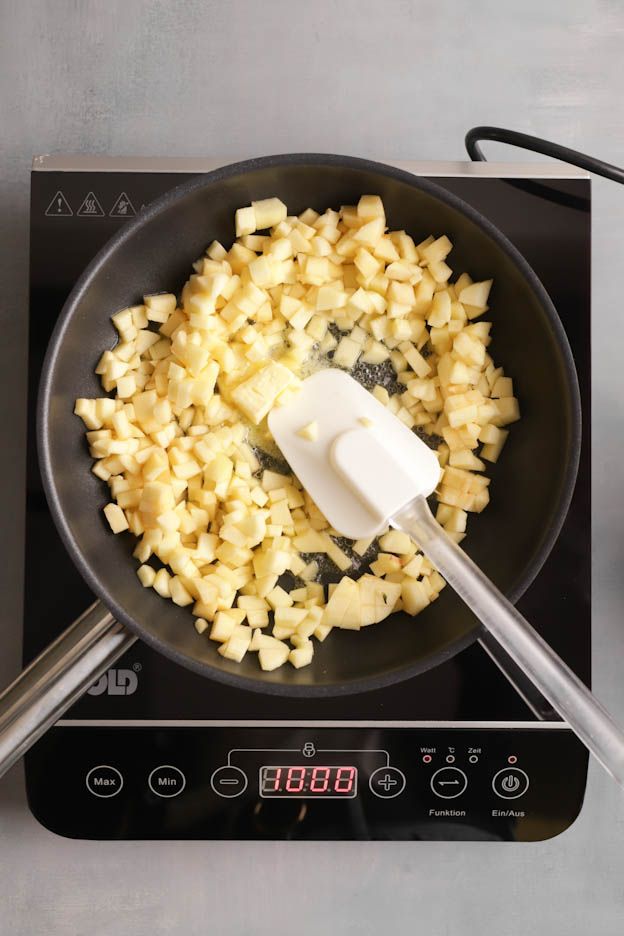
Let the mixture cook until your apples become translucent. This will take about 15 to 20 minutes.
Stir the apples with a spatula every 2 minutes or so to ensure even cooking.
Once the apples are well cooked, remove the pan from the heat and set the mixture aside.
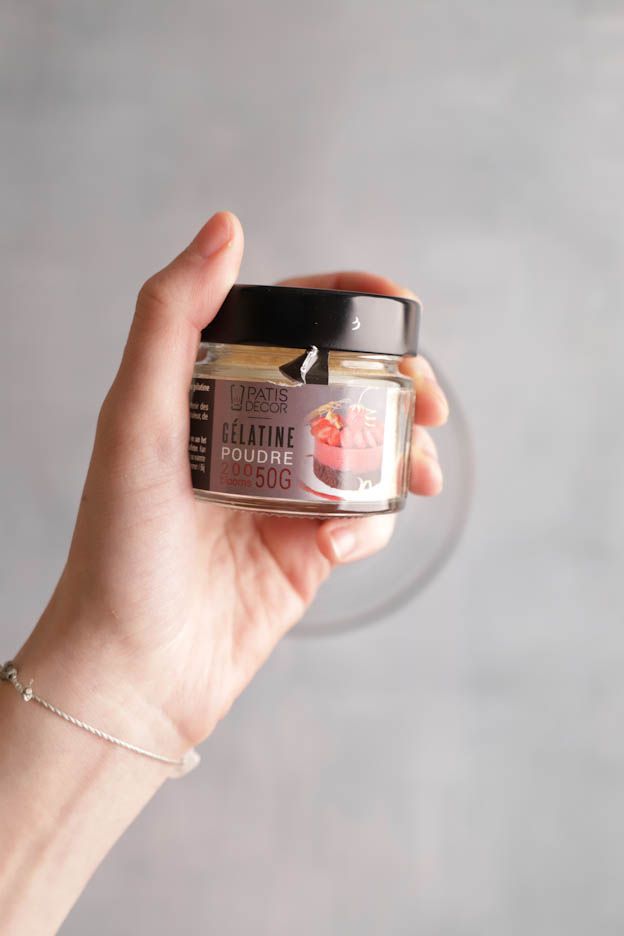
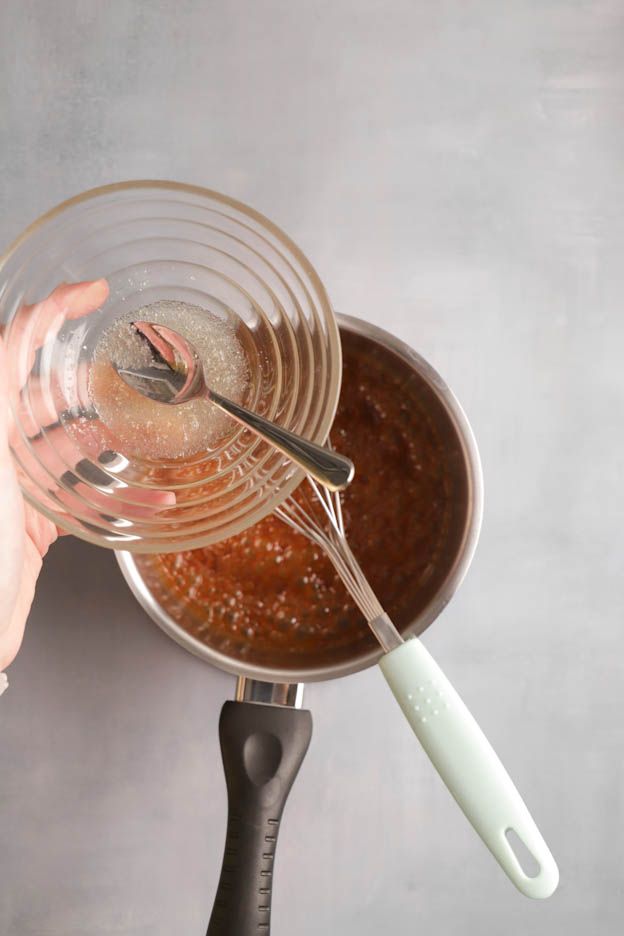
Using the precision spoon scale, weigh out 2gr of powdered gelatine. Pour the gelatine into a glass bowl, then add 10gr of cold water.
I'm a big fan of powdered gelatine for this kind of dessert! I find the final texture is much better, less elastic and more supple. You don't get the feeling of eating Jell-O, but rather proper apple tatin.
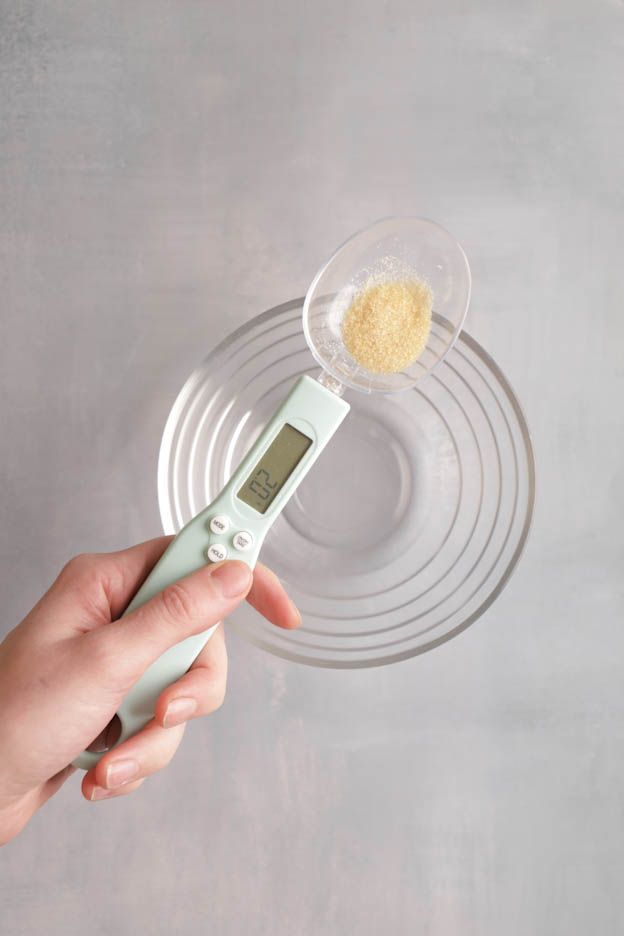
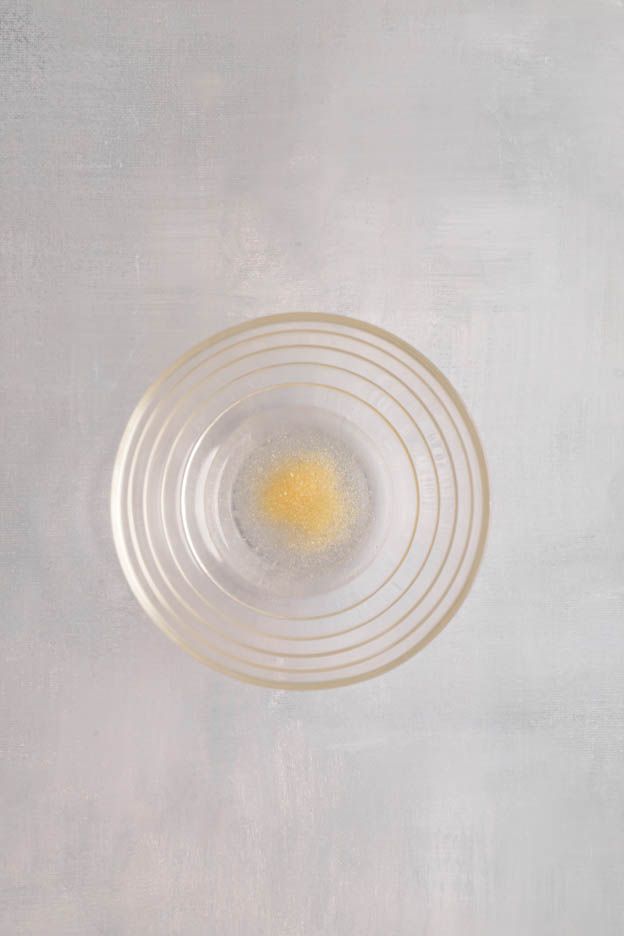
Then stir lightly with a spoon and set the mixture aside.
Now heat 20gr of heavy cream in the microwave at 600 Watt for 20 seconds.
Set the warm cream aside while we make our caramel.
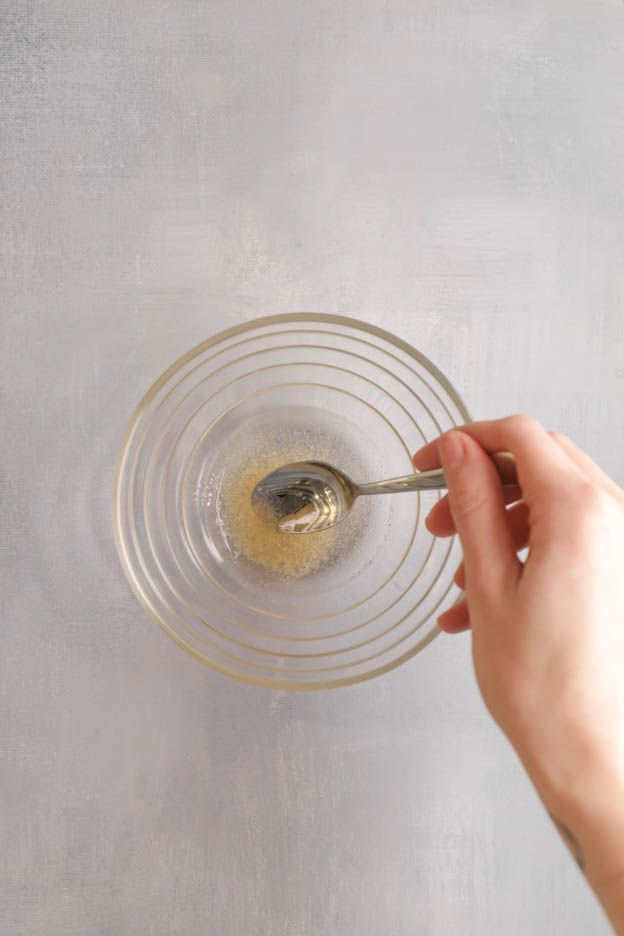
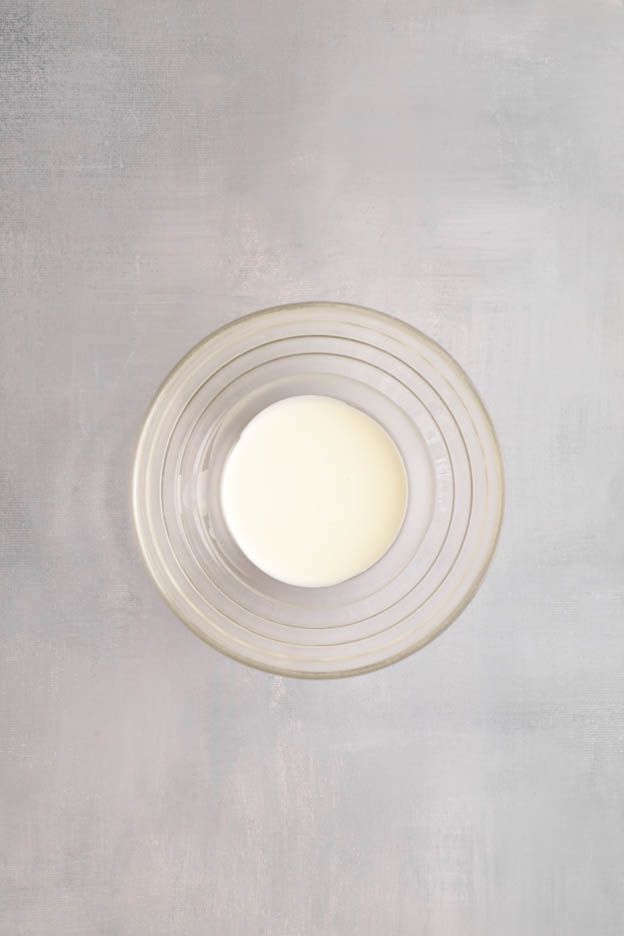
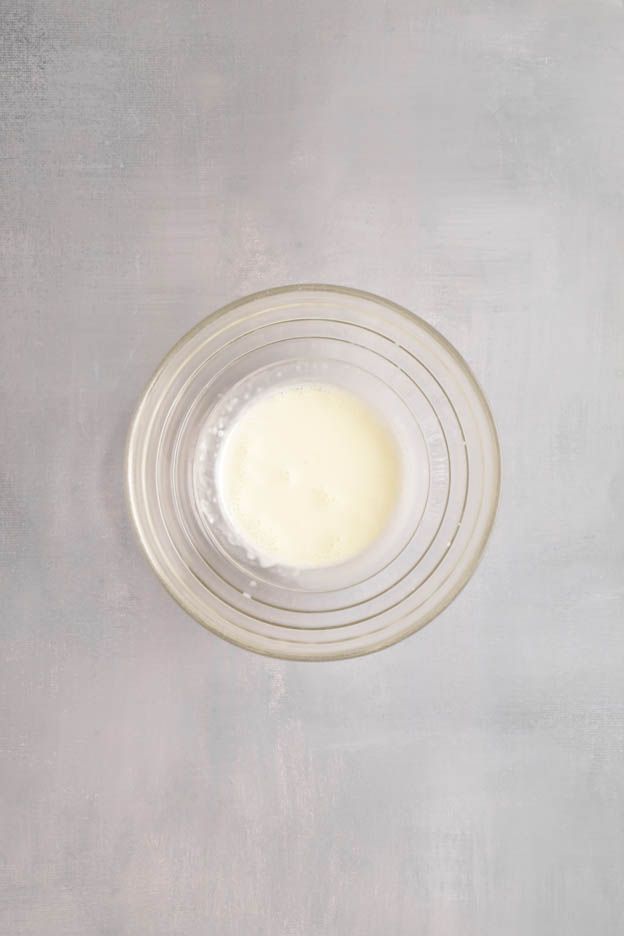
We're going to make our dry caramel. Don't panic! If you follow my instructions you'll nail it without any trouble. :o)
Get your 50gr of sugar.
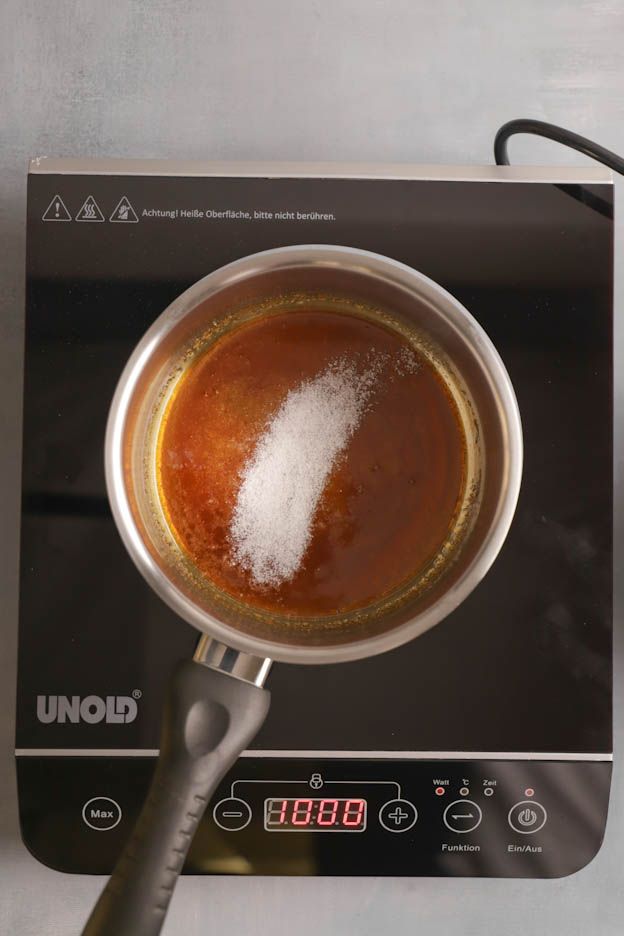
In a saucepan (large enough to hold your apples later), pour a thin layer of sugar. Just a thin layer, like in my second photo.
Turn the hob to maximum and let the sugar melt slightly. Without stirring!
As soon as the sugar has melted in some spots, add a little more. Just a tiny bit!
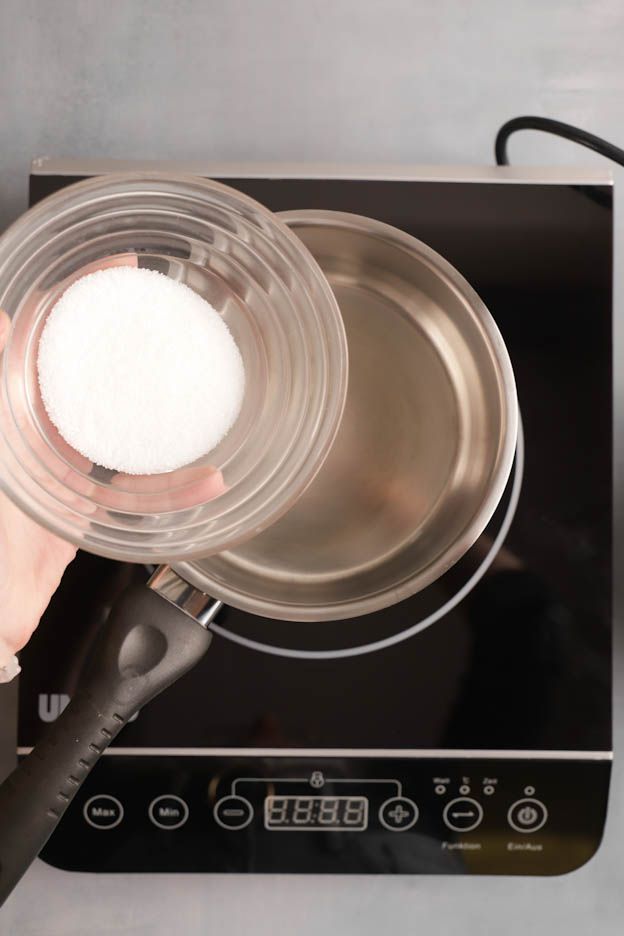
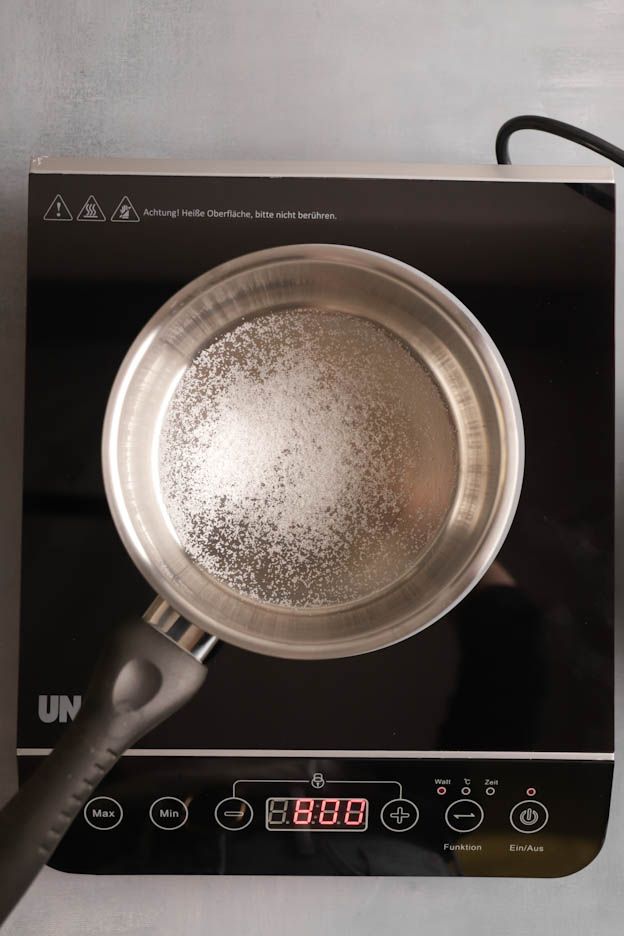
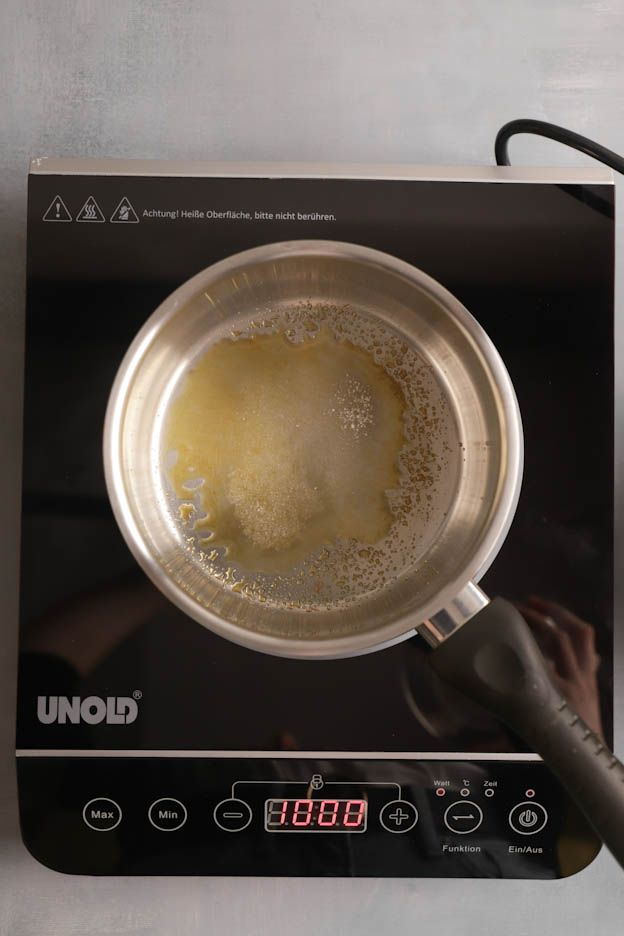
Continue like this. Let the sugar melt, then add a little unmelted sugar...etc...
Once the sugar starts to colour, lift the saucepan from time to time so the caramel doesn't burn and the sugar continues to melt.
Keep going until all the sugar has melted.
And don't hesitate to lift your saucepan as many times as needed.
There's a beautiful golden caramel! Perfect! Remove it from the heat.

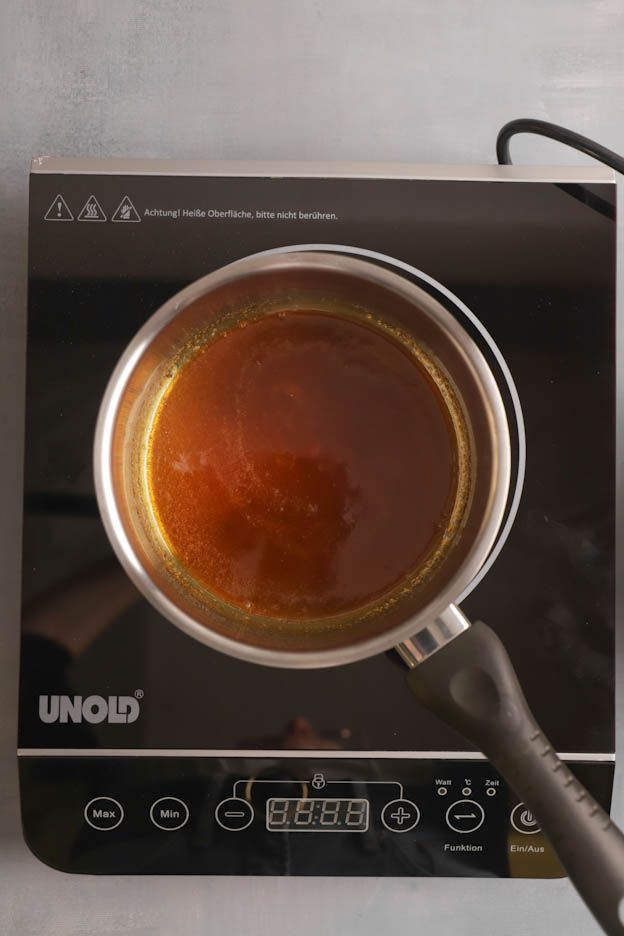
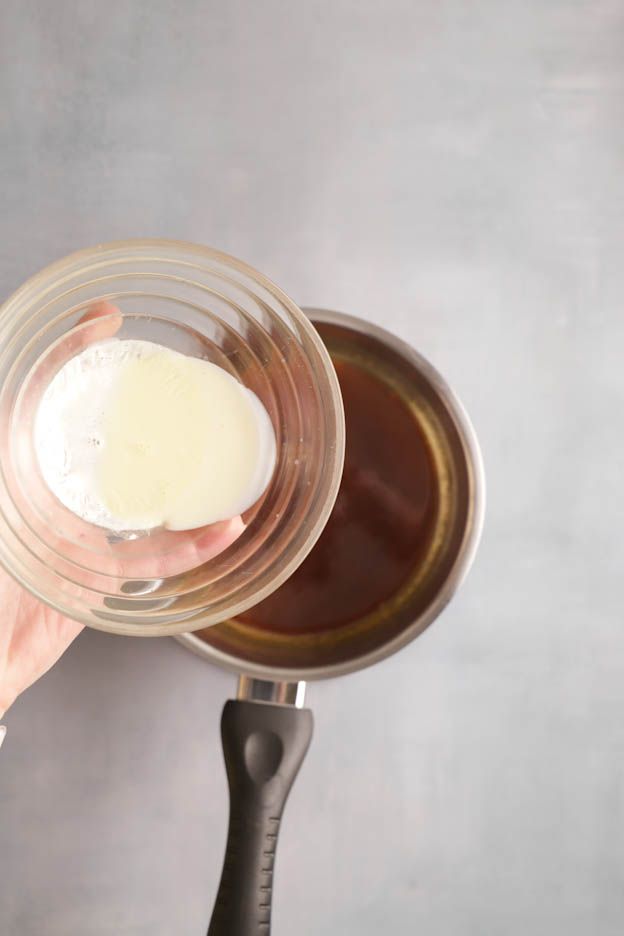
Then pour the warm cream over the caramel and whisk together.
Having heated the cream beforehand will prevent any splattering.
Add the gelatine and whisk again for a few seconds.
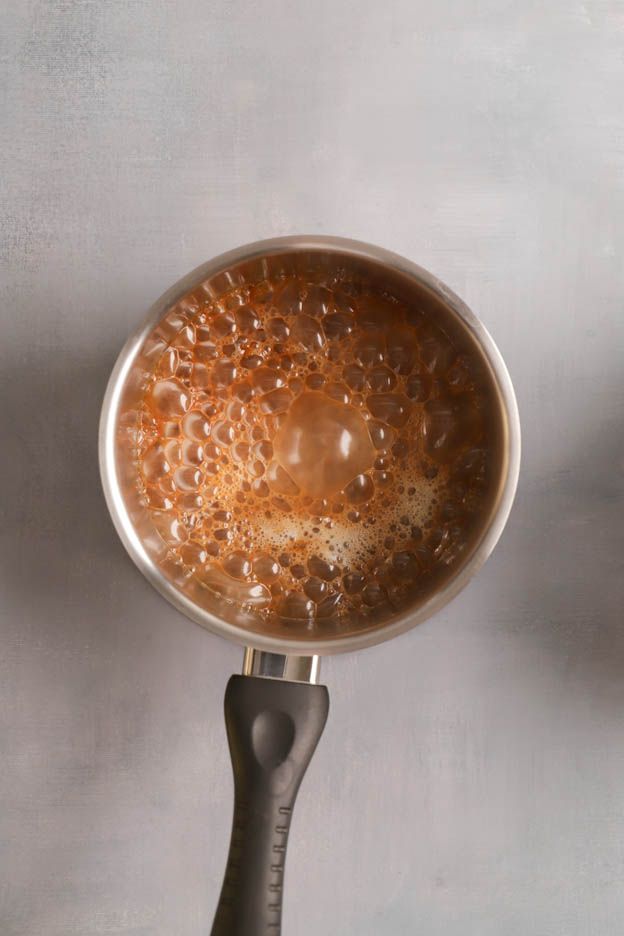
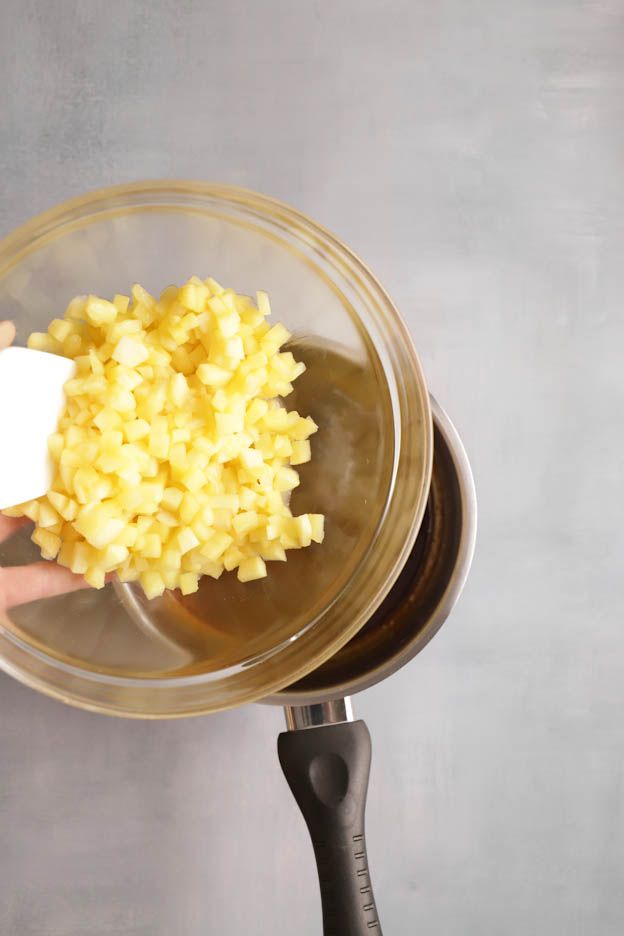
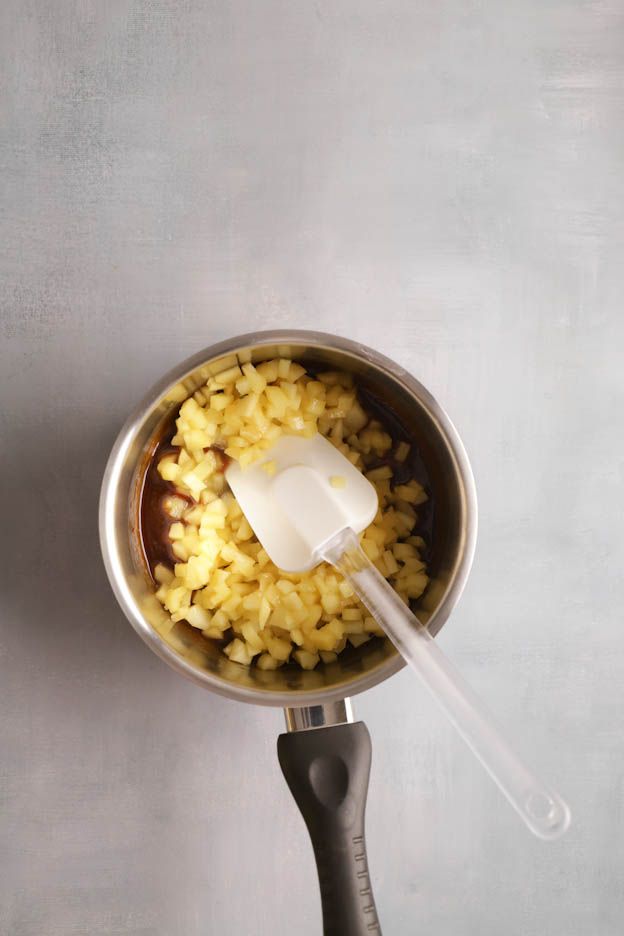
Finally, pour the apples into the caramel and fold everything together with a spatula.
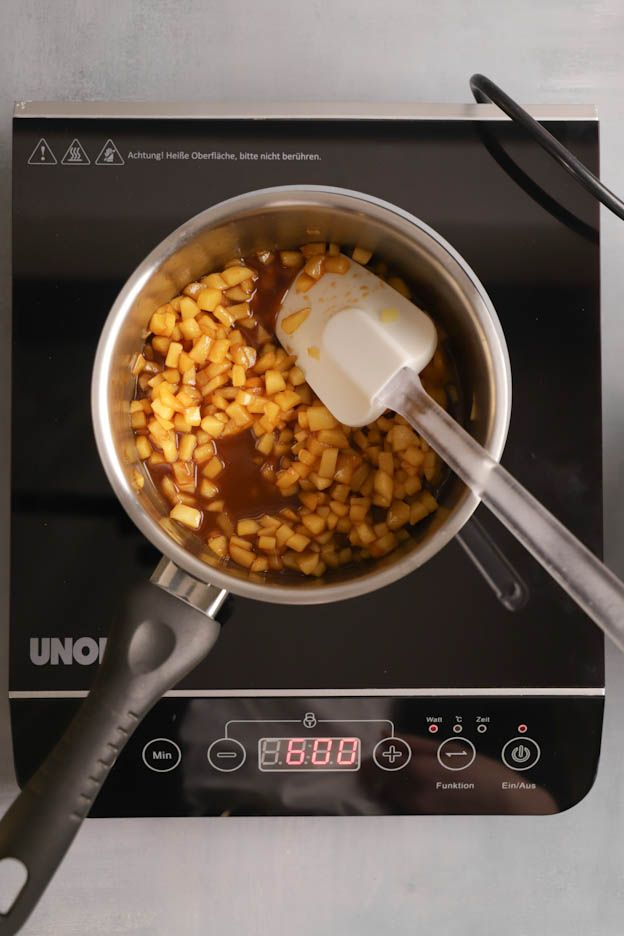
Place the saucepan over medium heat and let the apples soak up the caramel for about 5 to 10 minutes.
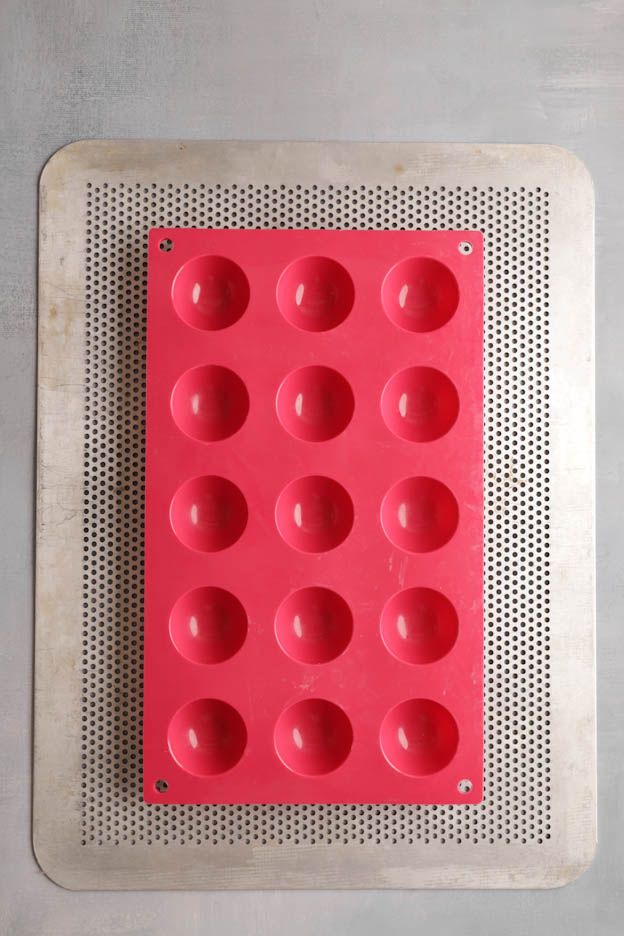
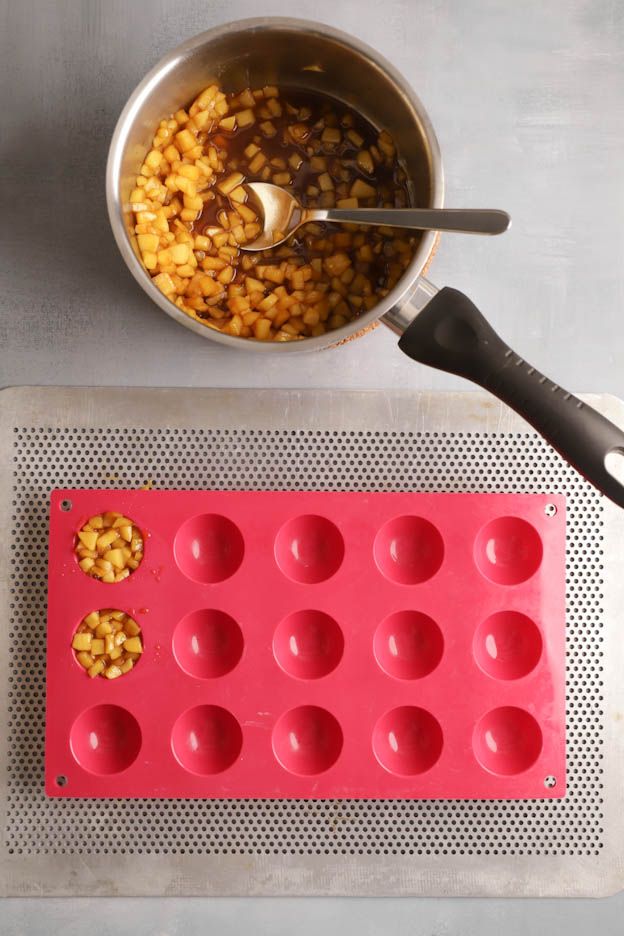
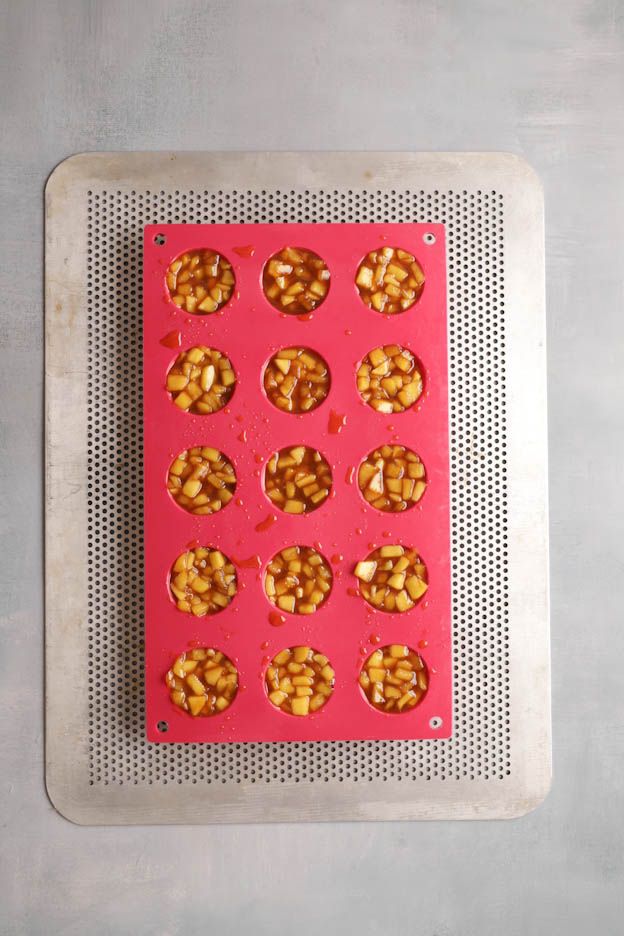
Take your 4 cm half-sphere mould and fill it with the apple tatin.
Then place the mould in the freezer for a minimum of 3 hours.
Vanilla Mousse
Let's keep going with our vanilla mousse now!
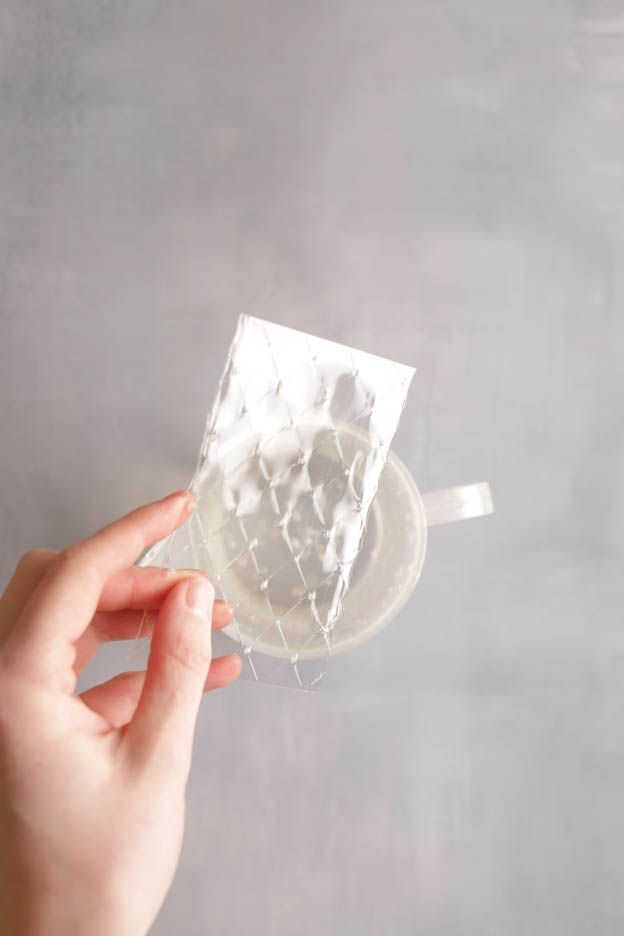
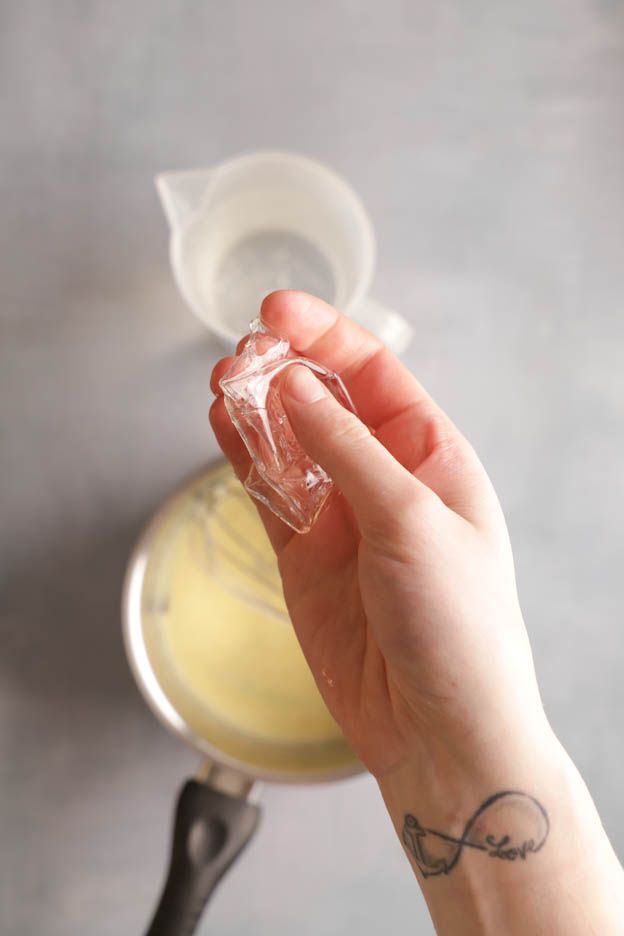
In a jug of cold water, soften 1 gelatine leaf.
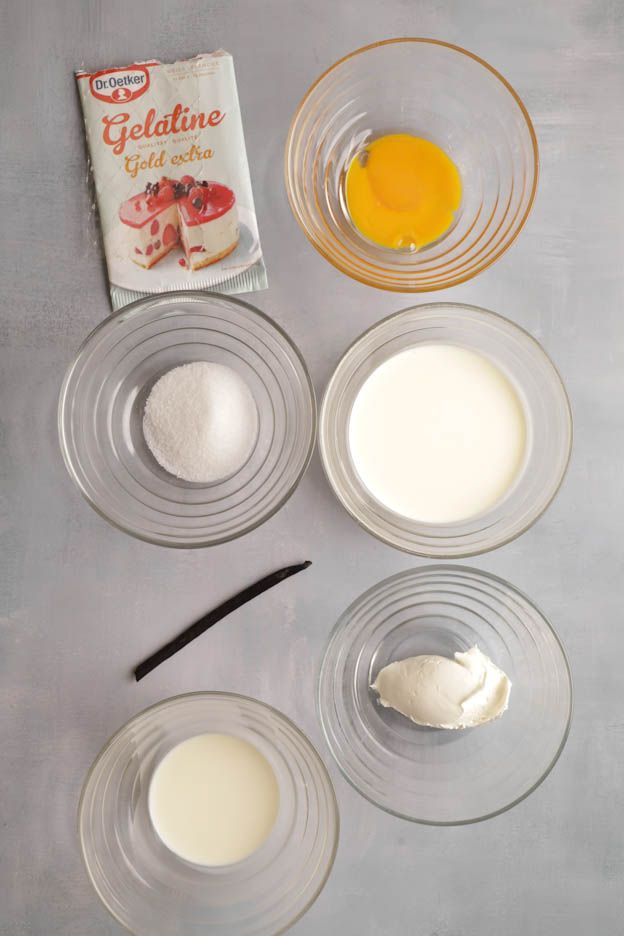
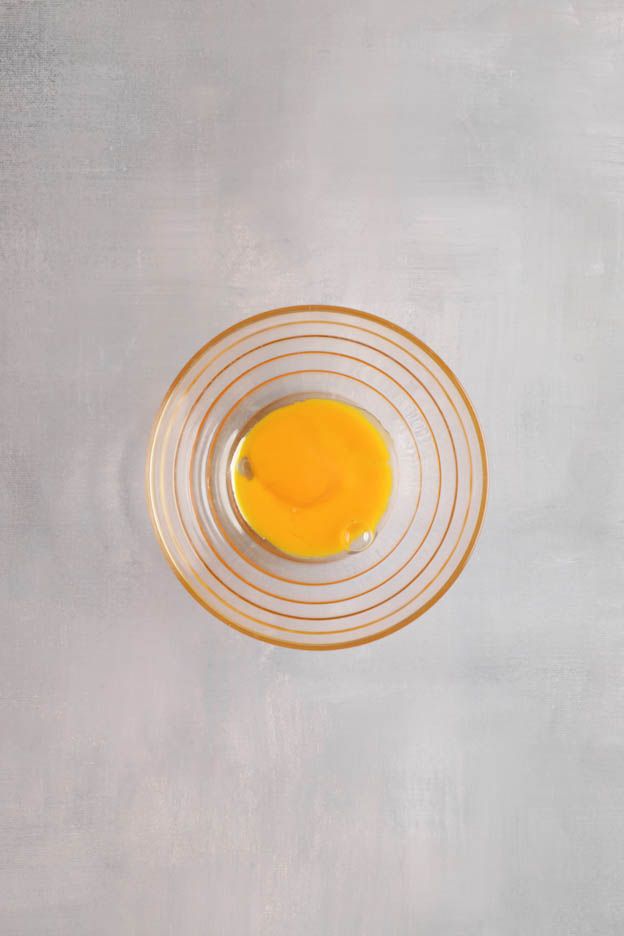
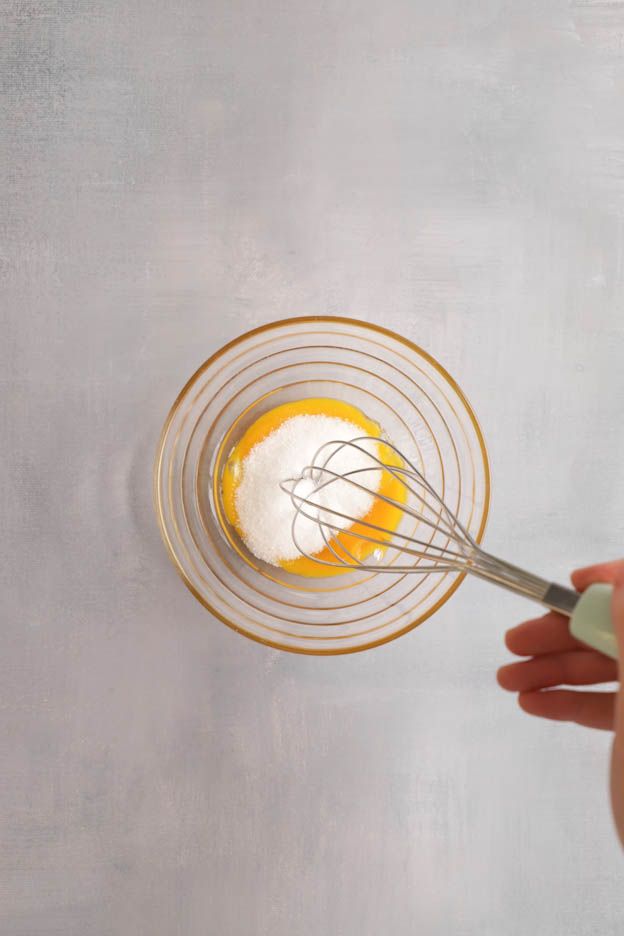
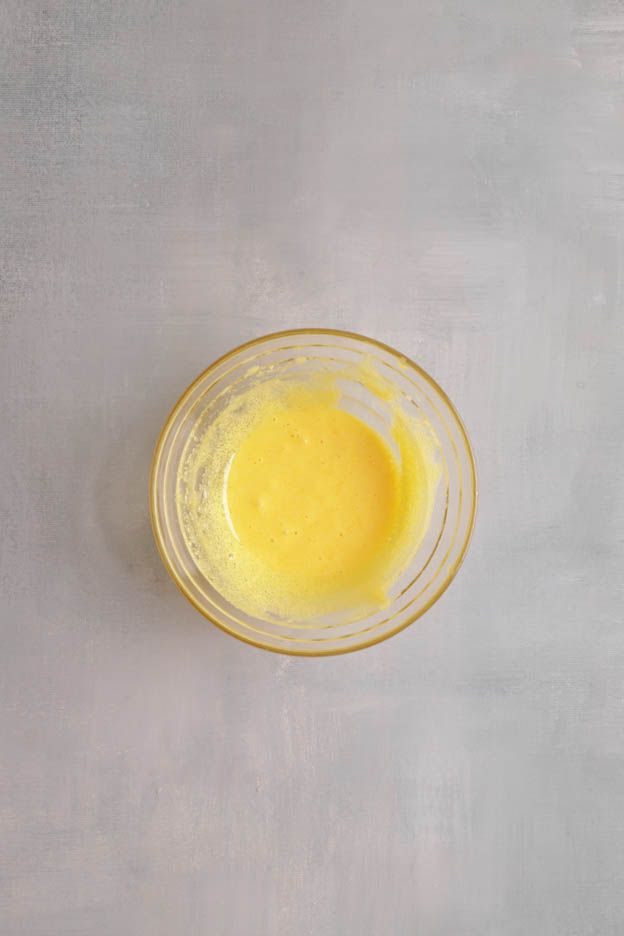
Then in a large bowl, whisk 1 egg yolk with 25gr of sugar until pale. Set the mixture aside.
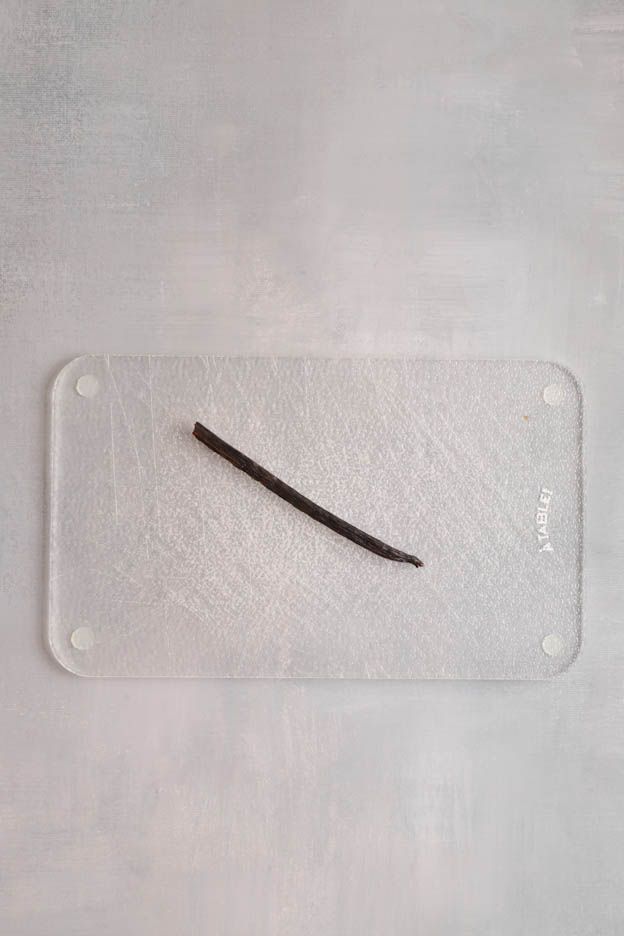
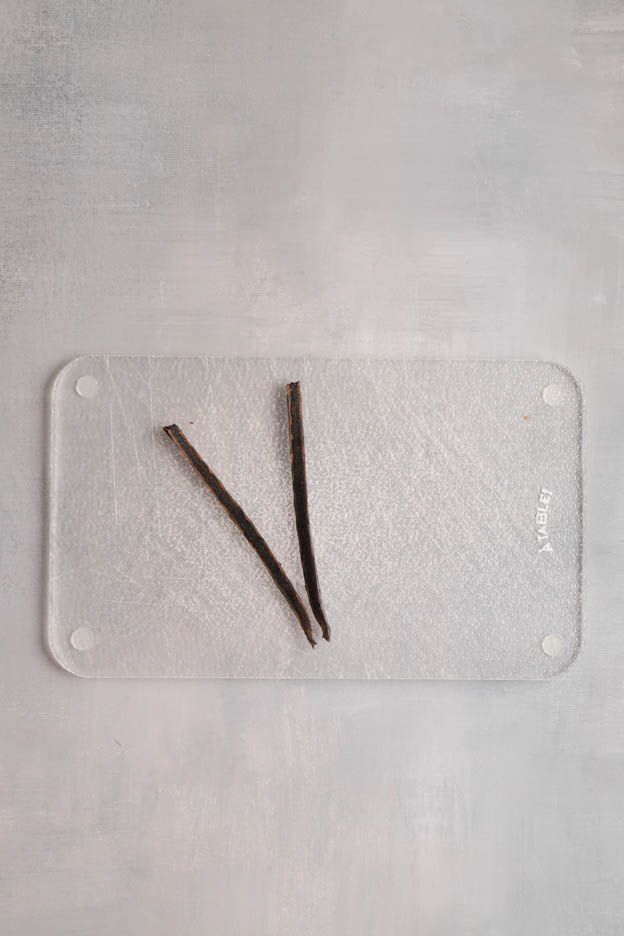
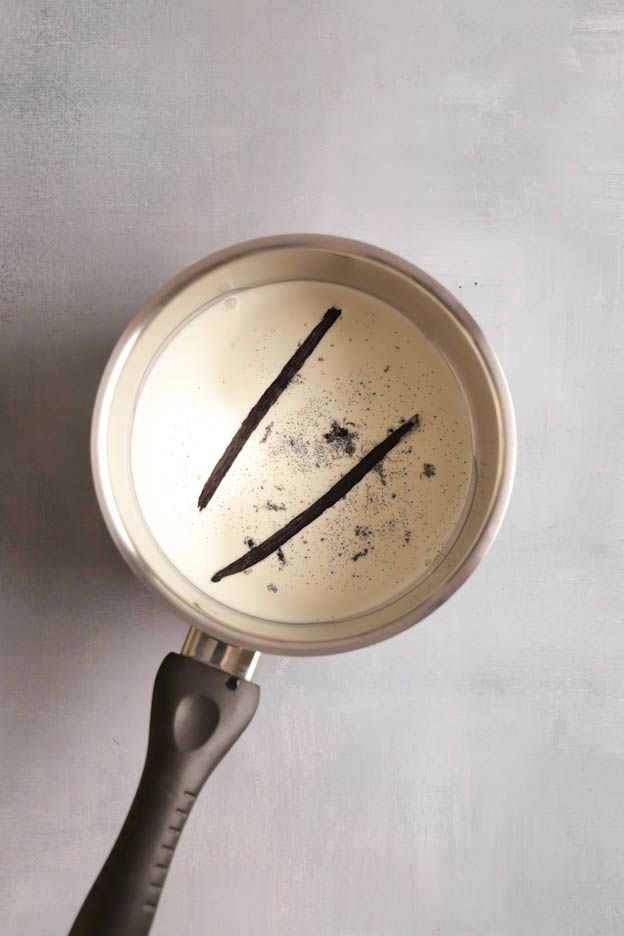
Split a vanilla pod with a knife and scrape the inside of the pod well to get as many vanilla seeds as possible.
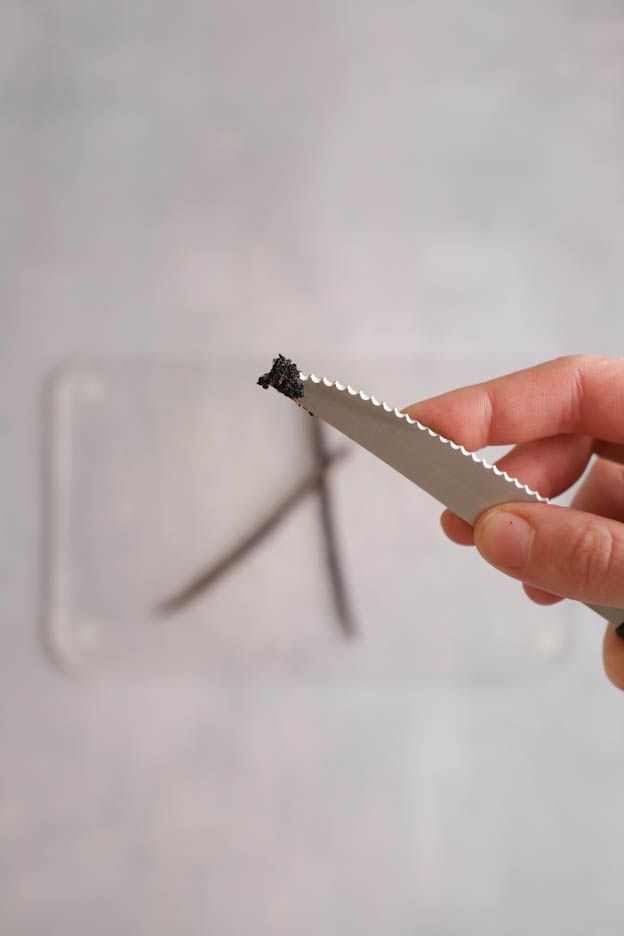
In a saucepan, pour 125gr of heavy cream and your vanilla seeds.
Also add the scraped vanilla pod to your cream so it can infuse during cooking.
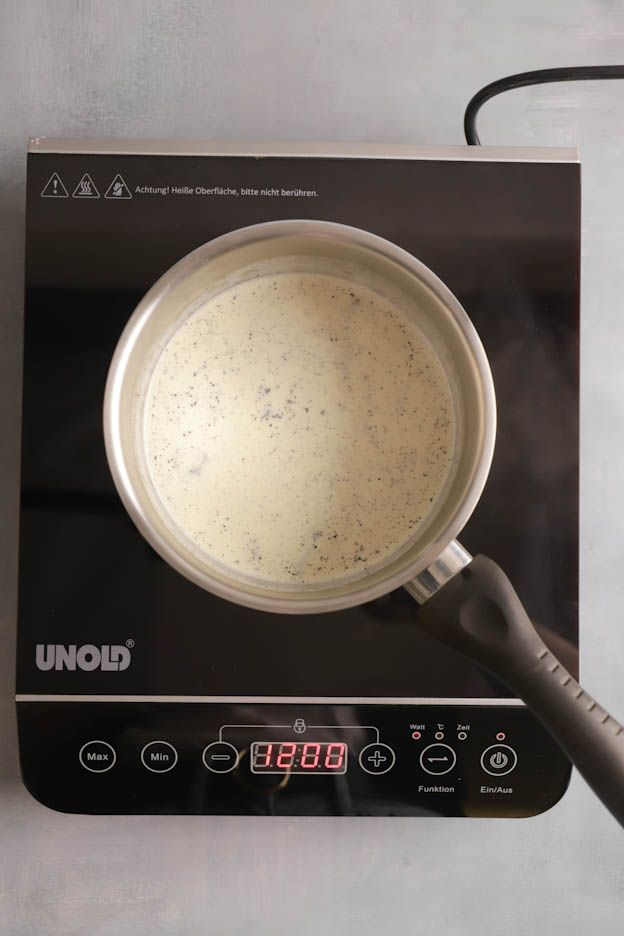
Then bring the cream to a boil. Once it boils, immediately remove the saucepan from the heat.

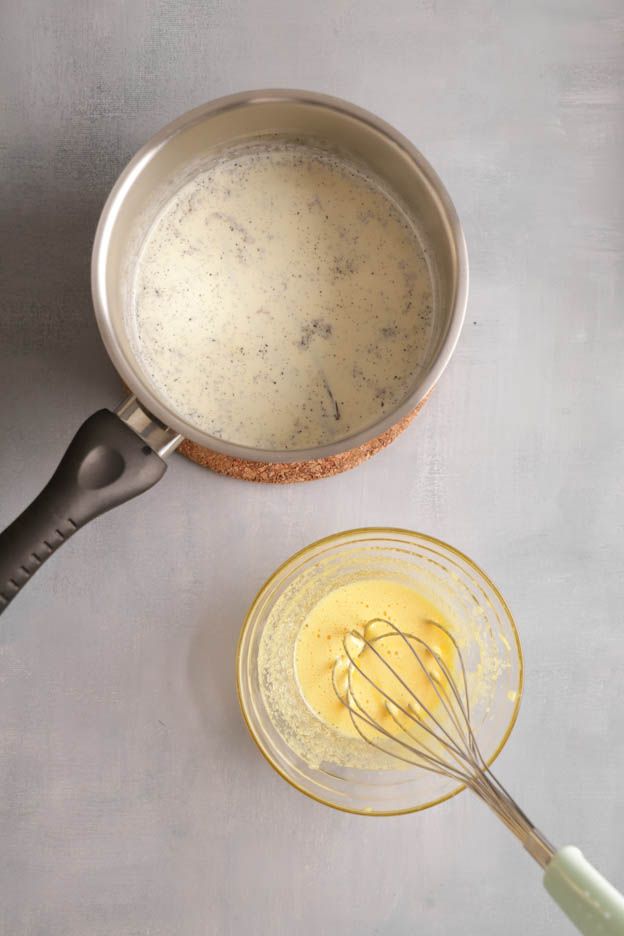
Pour your hot cream over your egg/sugar mixture and whisk to obtain a smooth liquid.
Then pour everything back (including the vanilla pod) into your saucepan and bring the mixture to a boil. At the first PLOP, remove the saucepan from the heat and continue stirring for a moment.
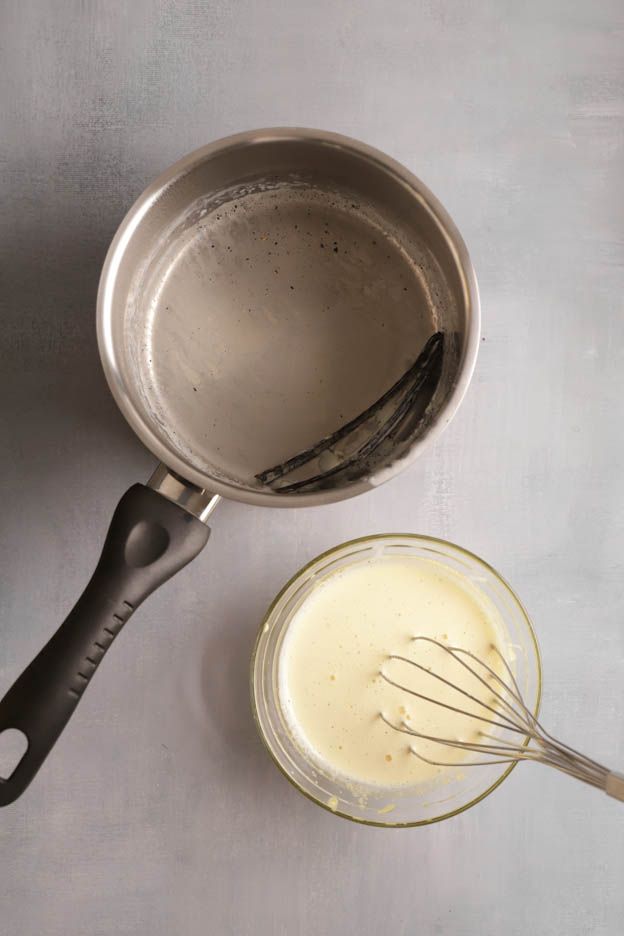
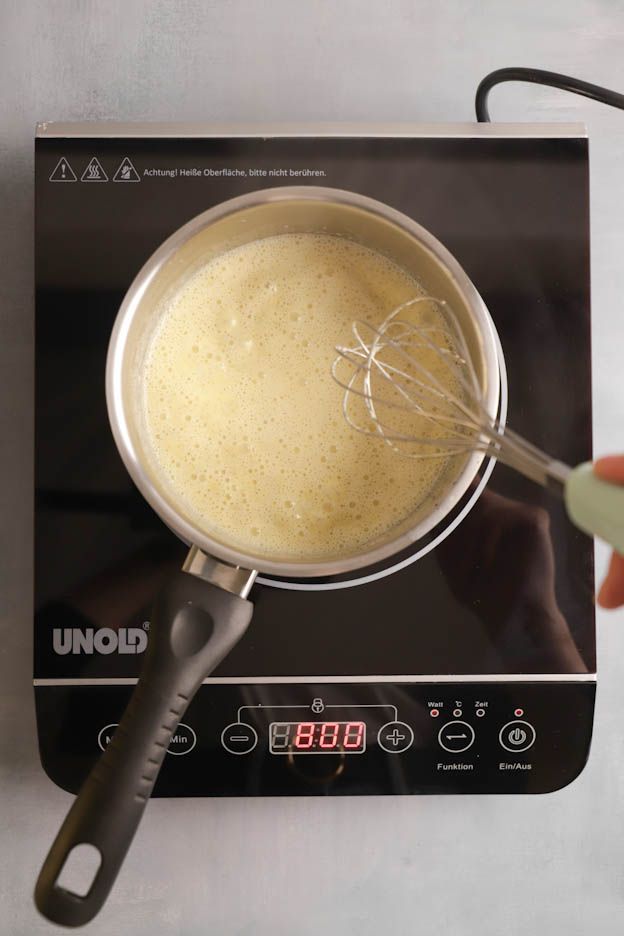
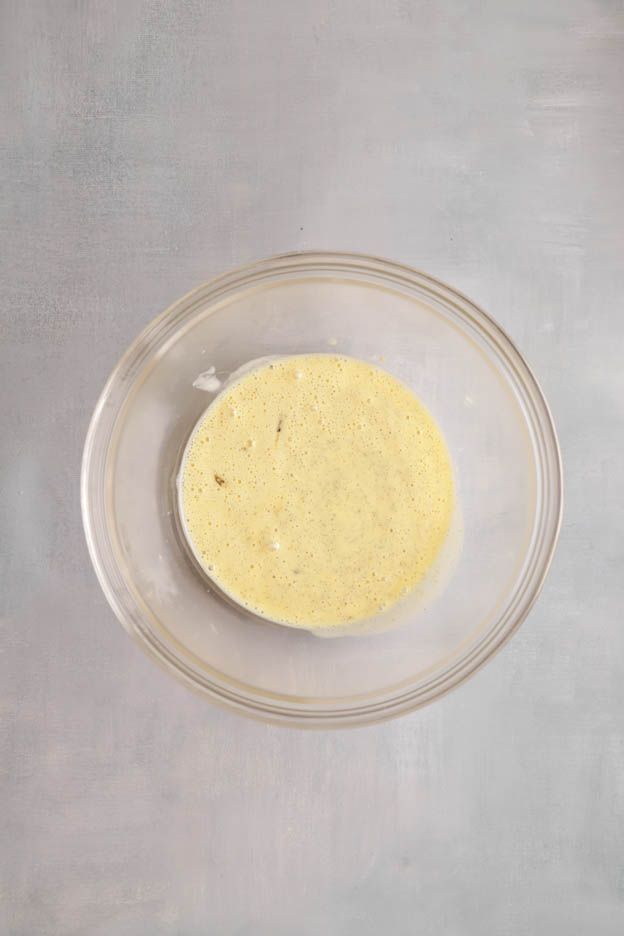
Squeeze out your gelatine leaf, then add it to your custard. Mix everything well and pour your custard into a bowl.
Remove your vanilla pod. If you want to give it a second life, rinse it under water to remove any cream residue, then dry it in the oven at 100°C for 20-30 minutes. Let it cool, then blend it. This way you can use it to add a vanilla flavour to your future desserts. ;o)
Let the custard cool. It should be between 25 and 29°C maximum before the next step.
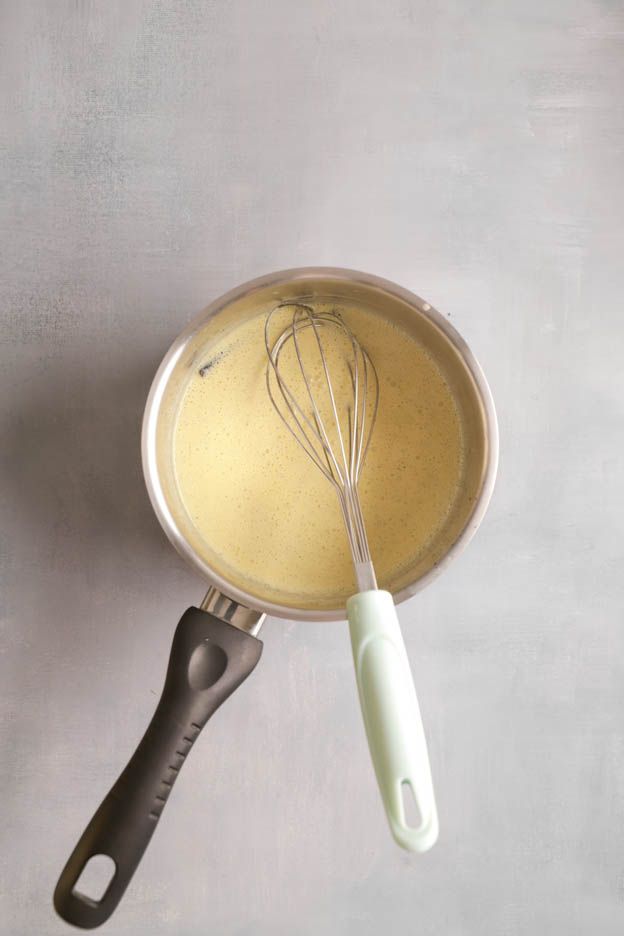
Once your mixture is at 29°C, whip 50gr of mascarpone with 25gr of heavy cream.
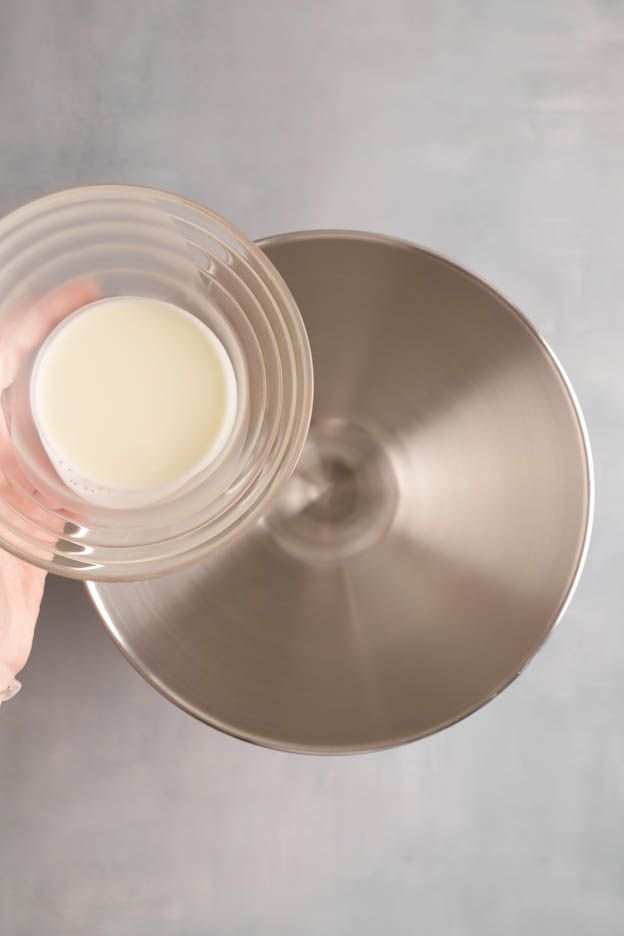
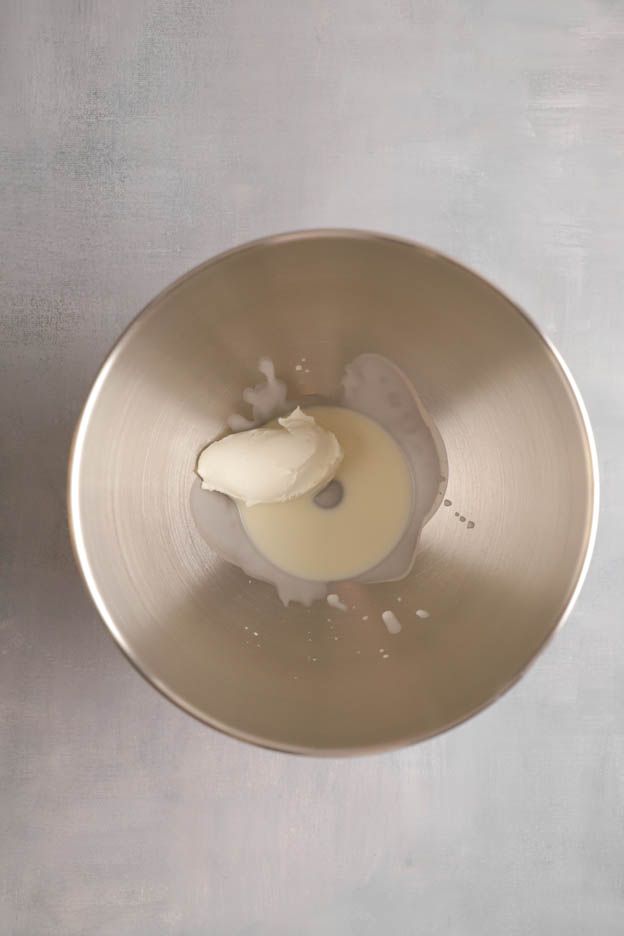
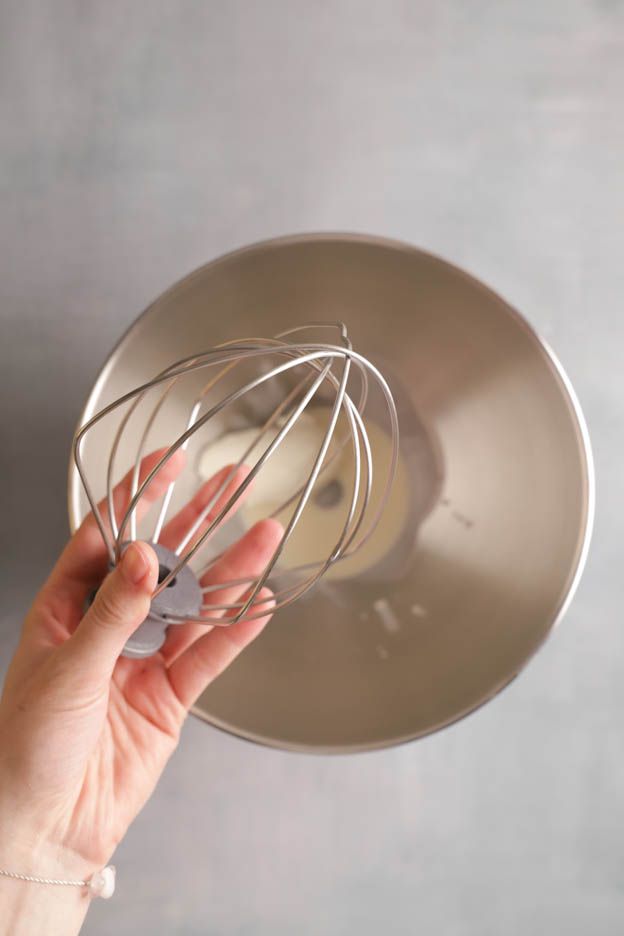
Add 145gr of custard in 2 additions. Be careful not to pour in all the custard, but only 145gr. ;o)
You will have a little too much custard, but it's not possible to make a smaller quantity. You can enjoy the rest ;o)
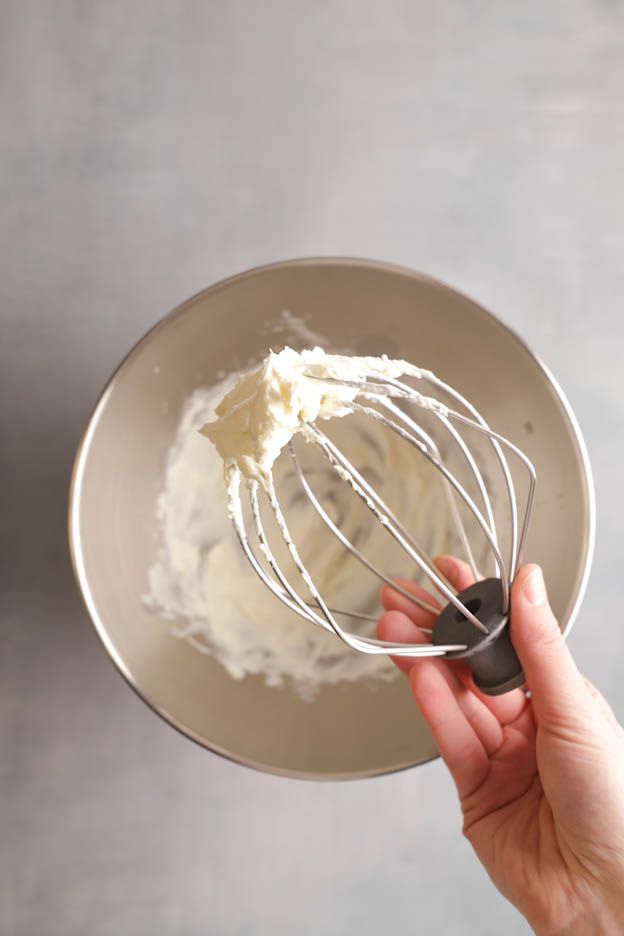
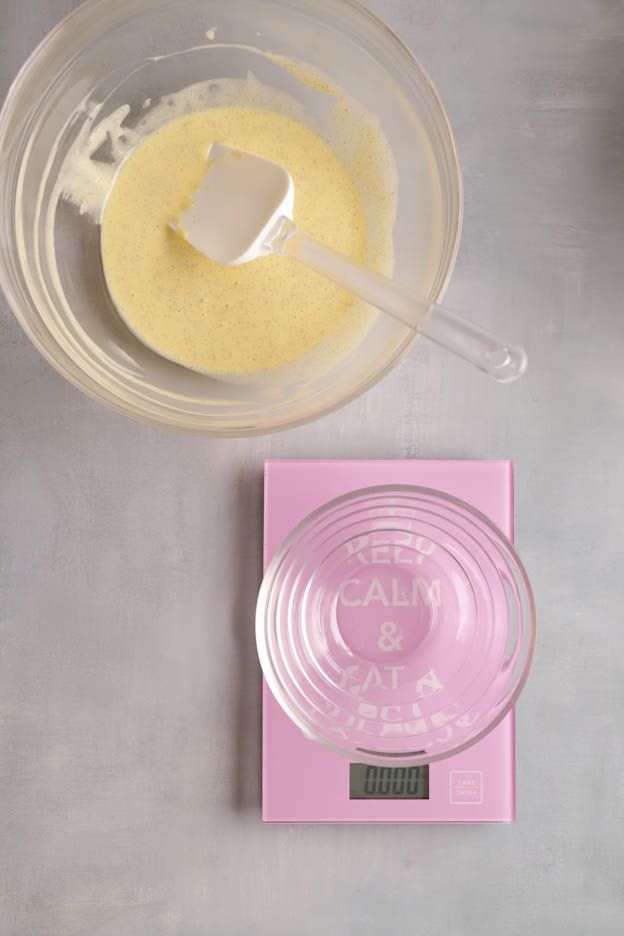
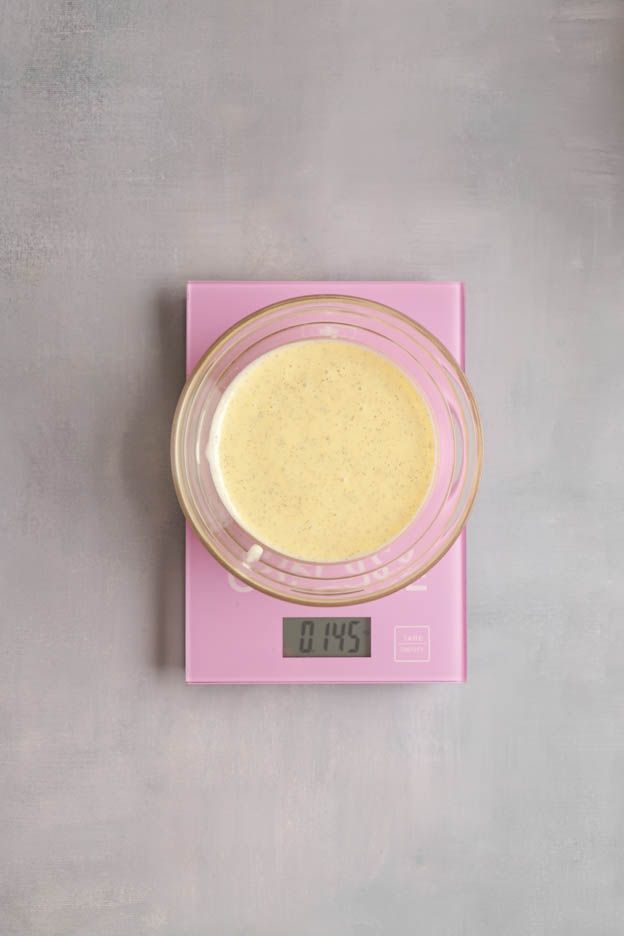
Gently fold the mixture to avoid splitting the cream.
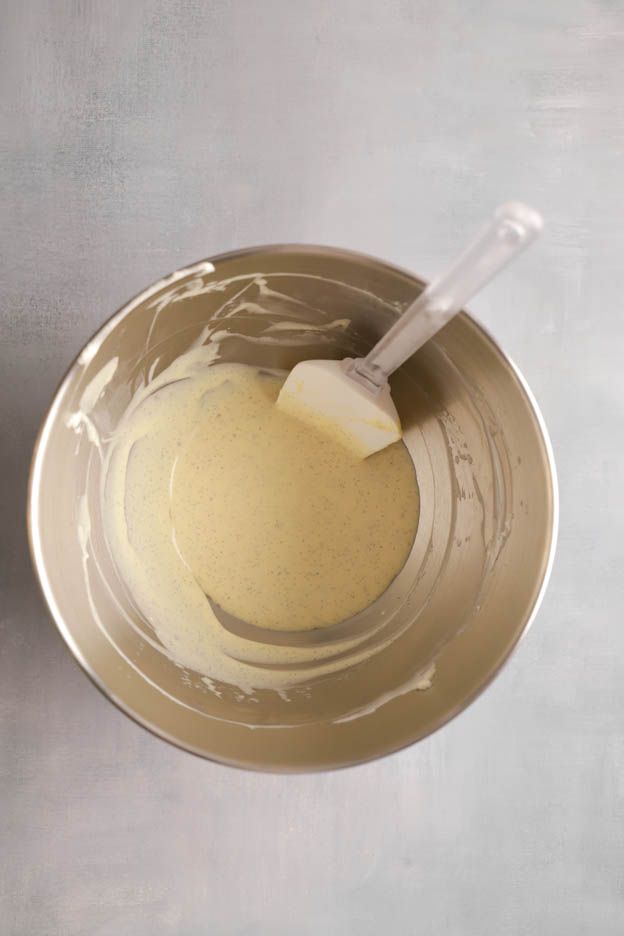
And finish with a spatula to get a nice smooth and even result.
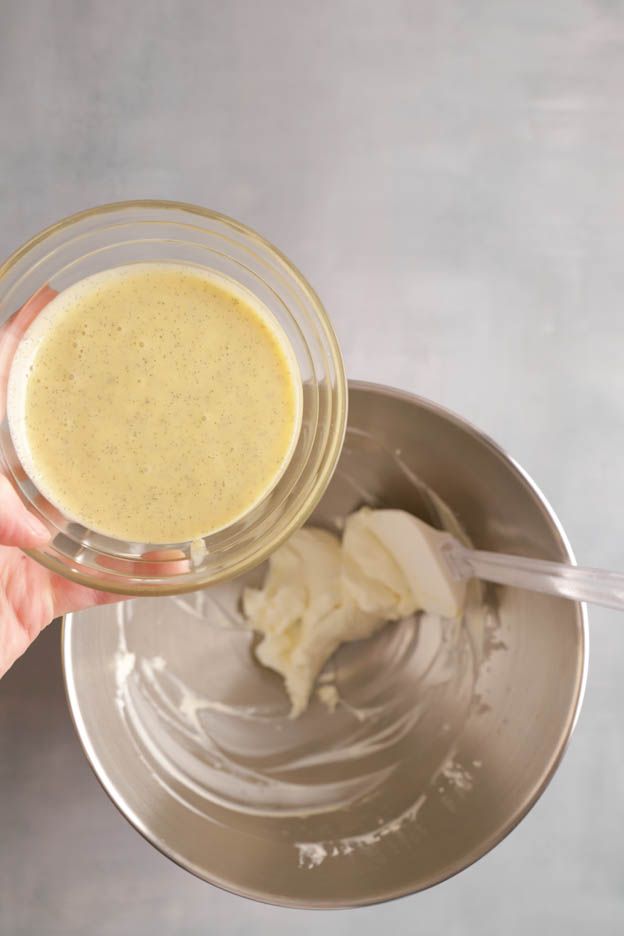

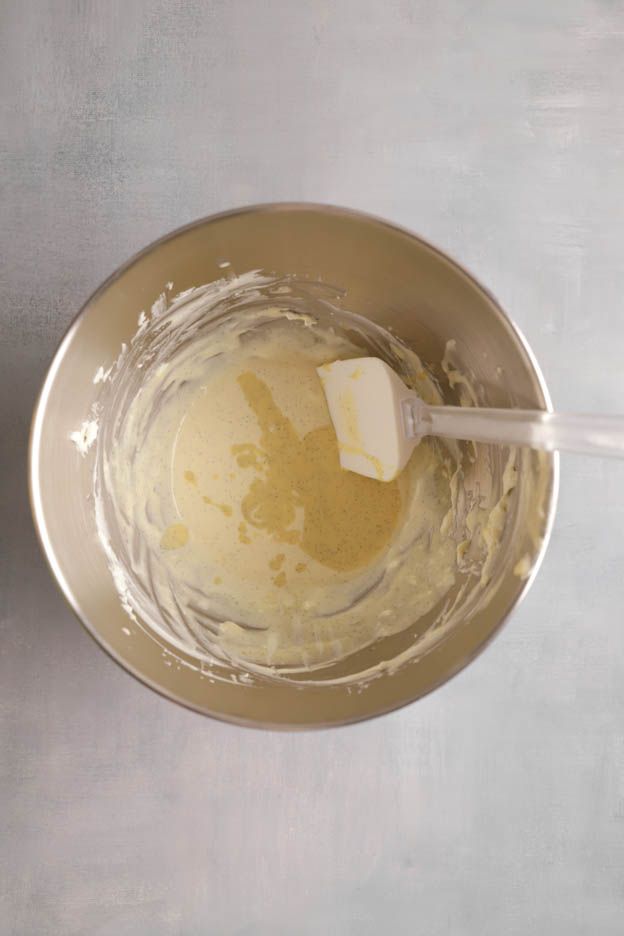
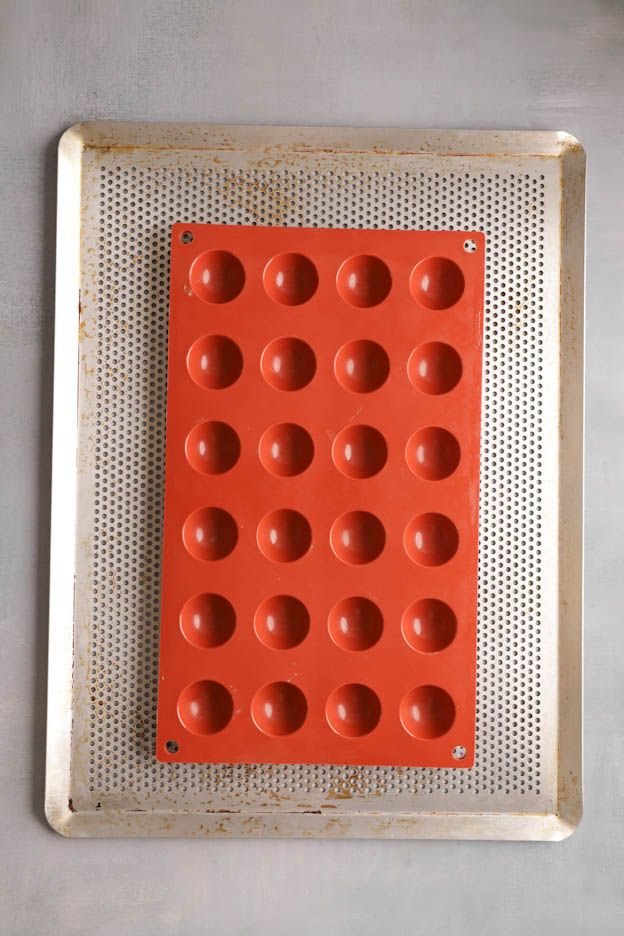
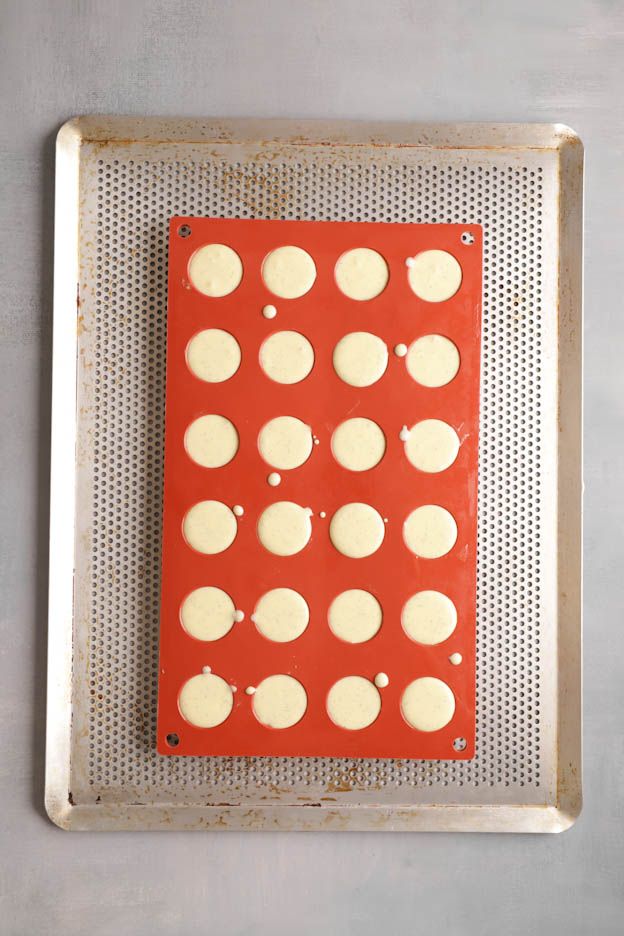
Pour your vanilla mousse into your 3 cm half-sphere mould.
Place it in the freezer for a minimum of 2 hours.
Praline Ganache
Let's continue with the praline ganache.
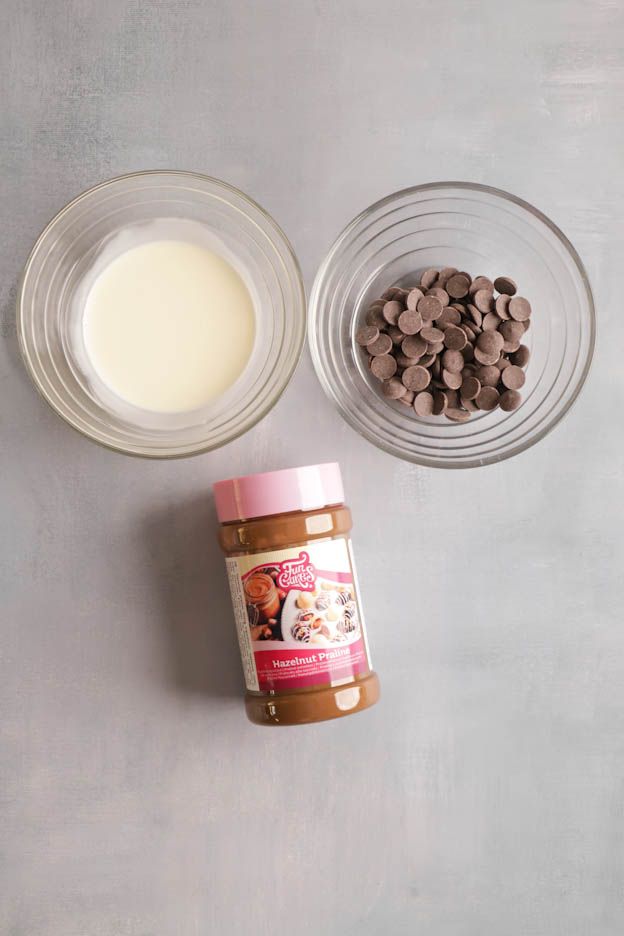
In a saucepan, pour 25gr of hazelnut praline with 60gr of heavy cream.
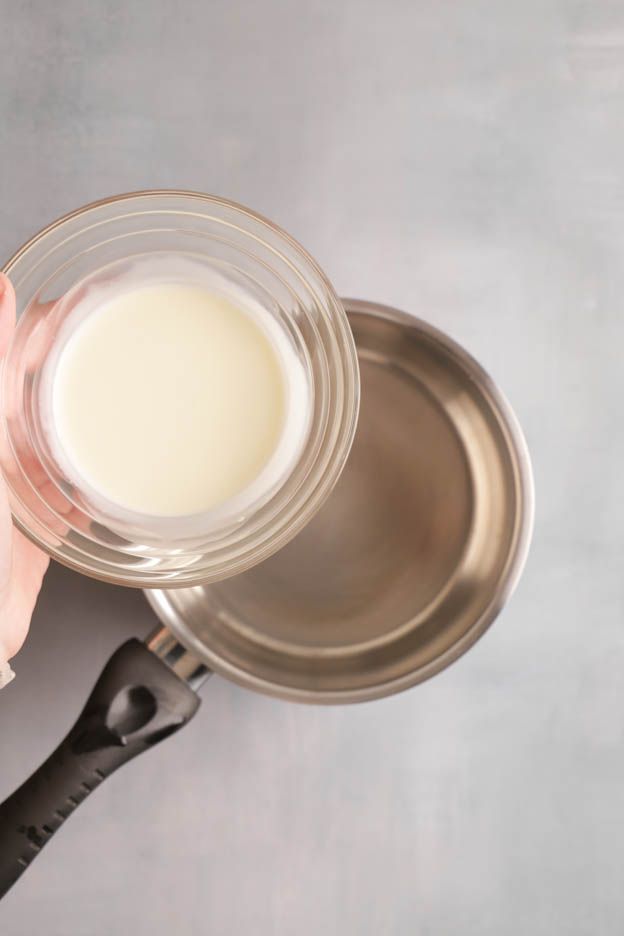
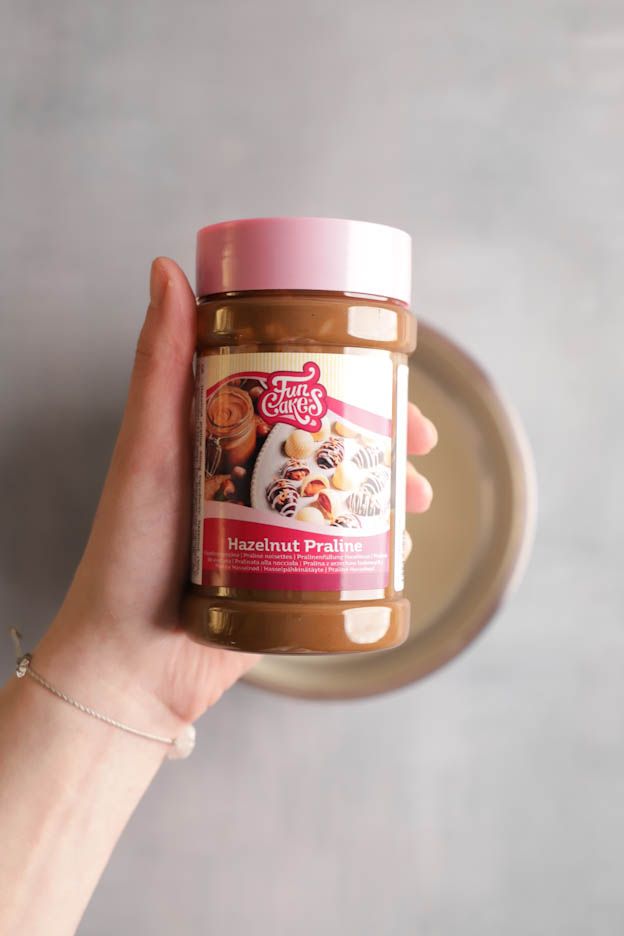
Whisk and bring the mixture to a boil.
Place 60gr of dark chocolate pistoles in a large glass bowl. Set aside.
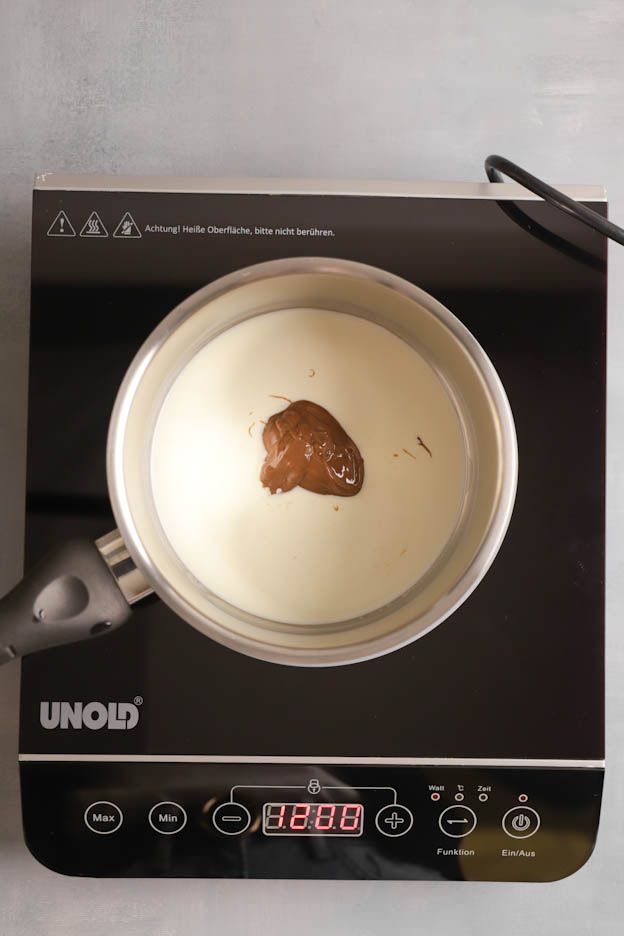
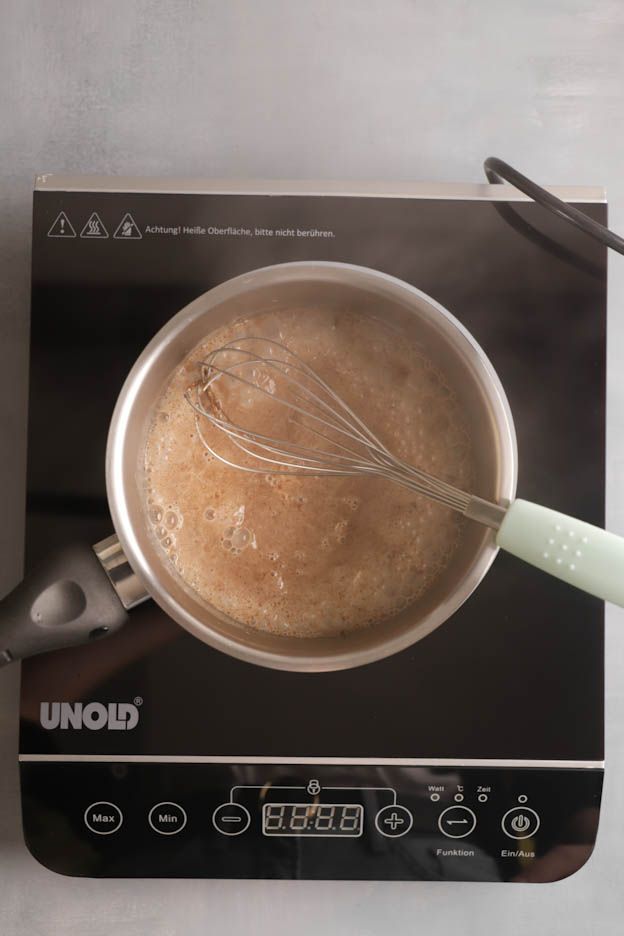

Once the praline cream boils, immediately remove it from the heat and pour it in 3 additions over your chocolate.
Stir gently with a whisk or spatula.
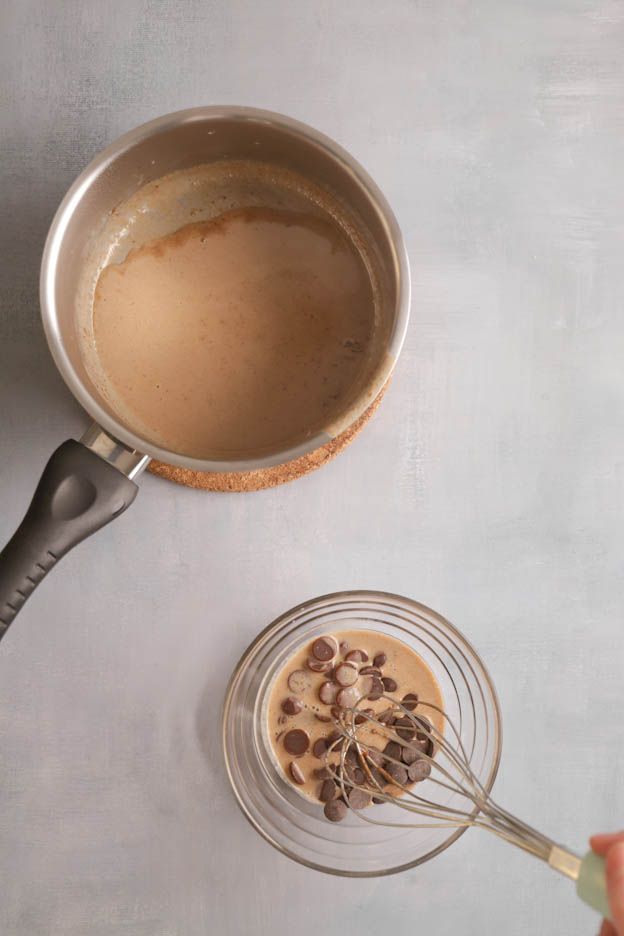
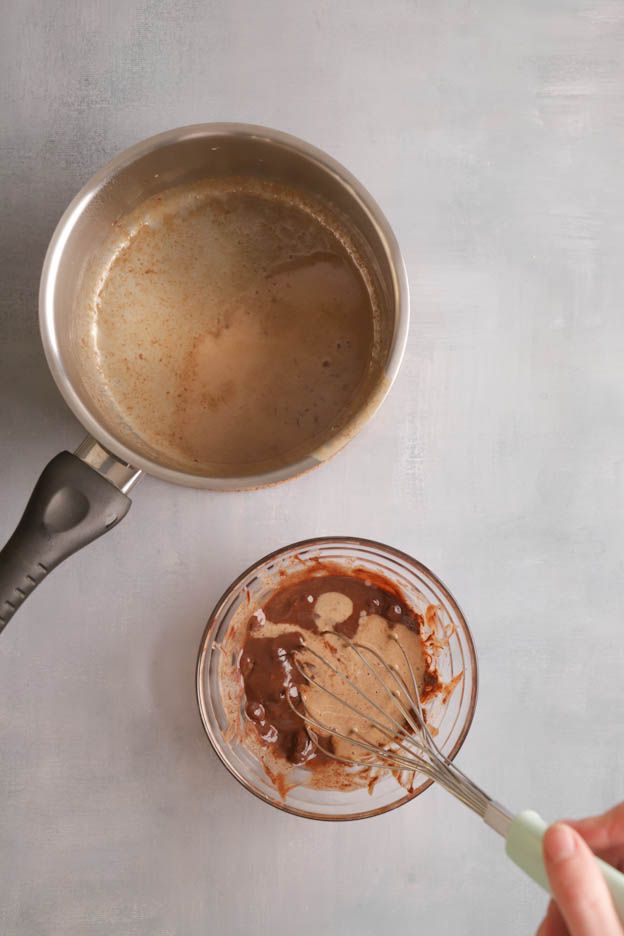
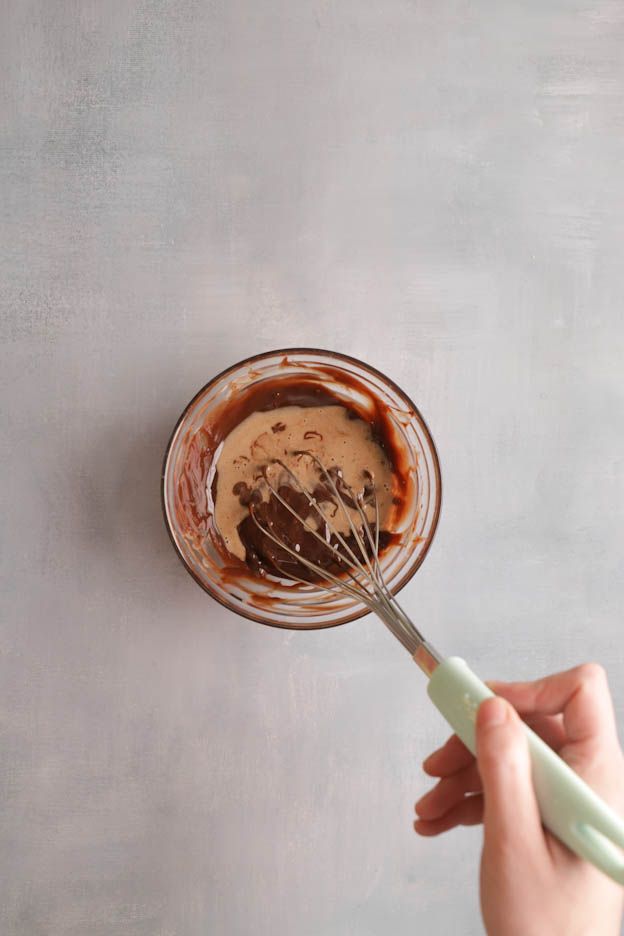
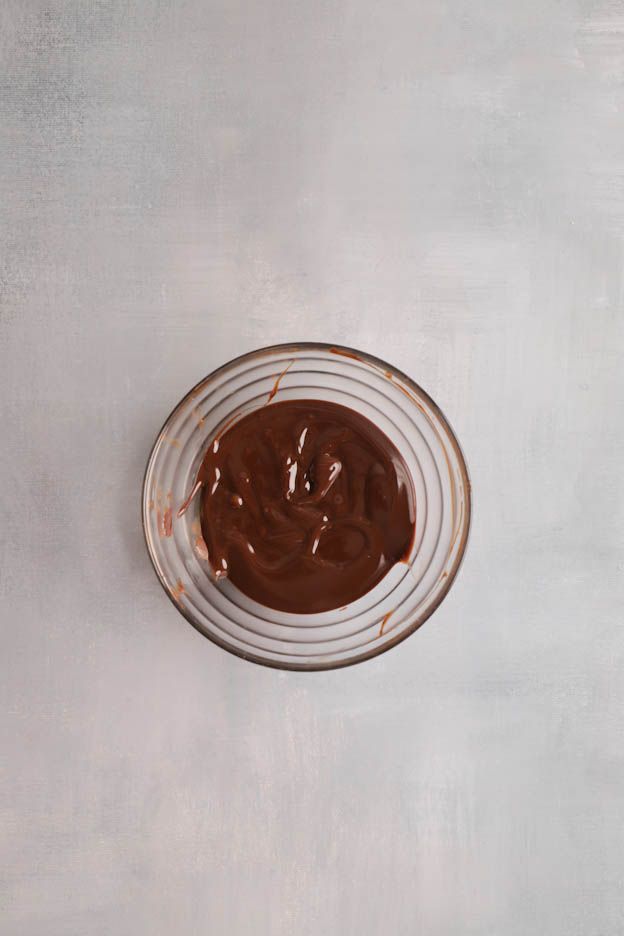
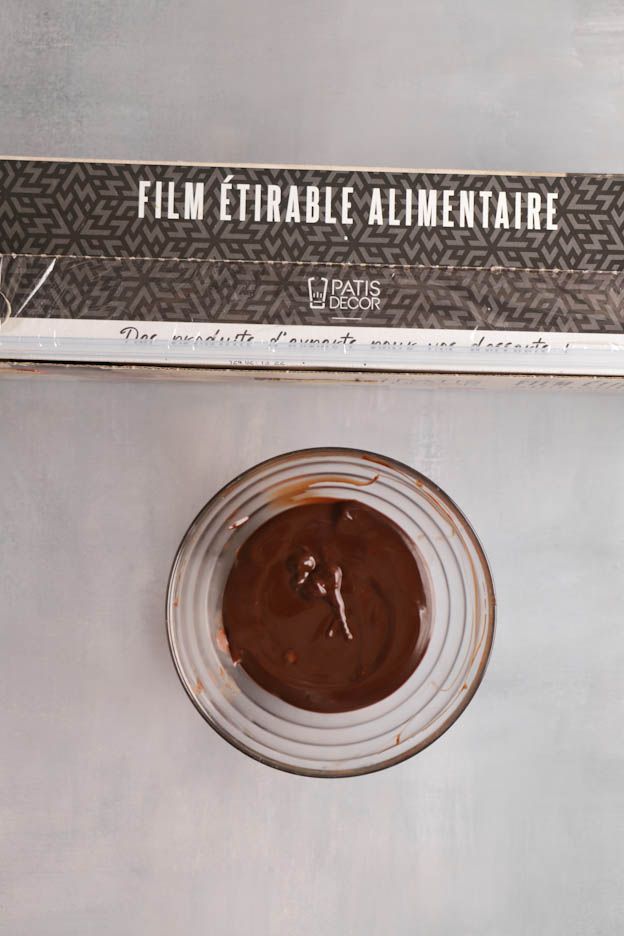
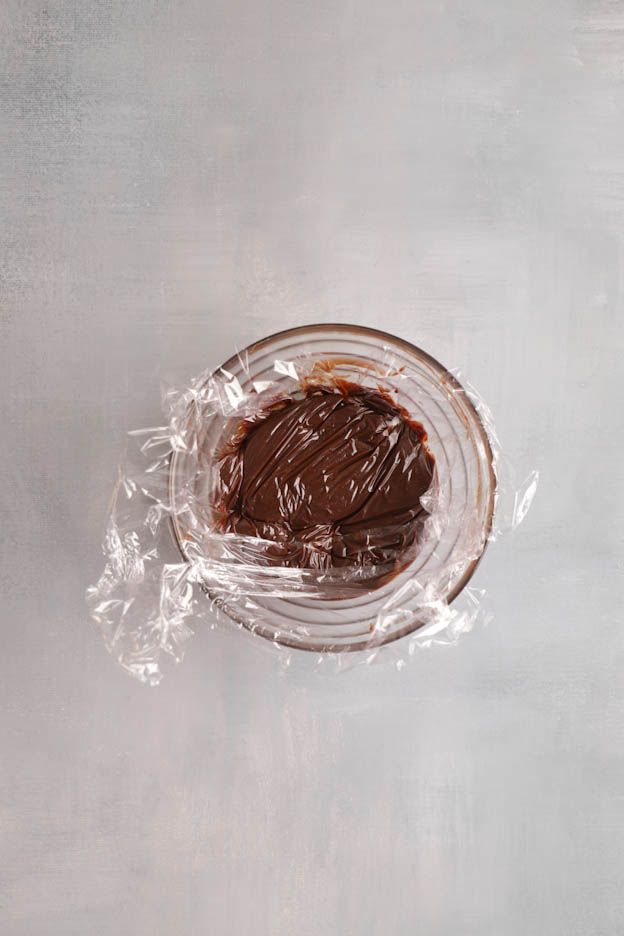
Once the ganache is nice and smooth, as in the first photo, place cling film directly on the surface. Right against the ganache so it doesn't form a skin.
Place this ganache in the fridge for a minimum of 2h or even overnight. You can even prepare it 1-2 days in advance without any problem. ;o)
Breton Shortbread
Last step, the Breton shortbread.
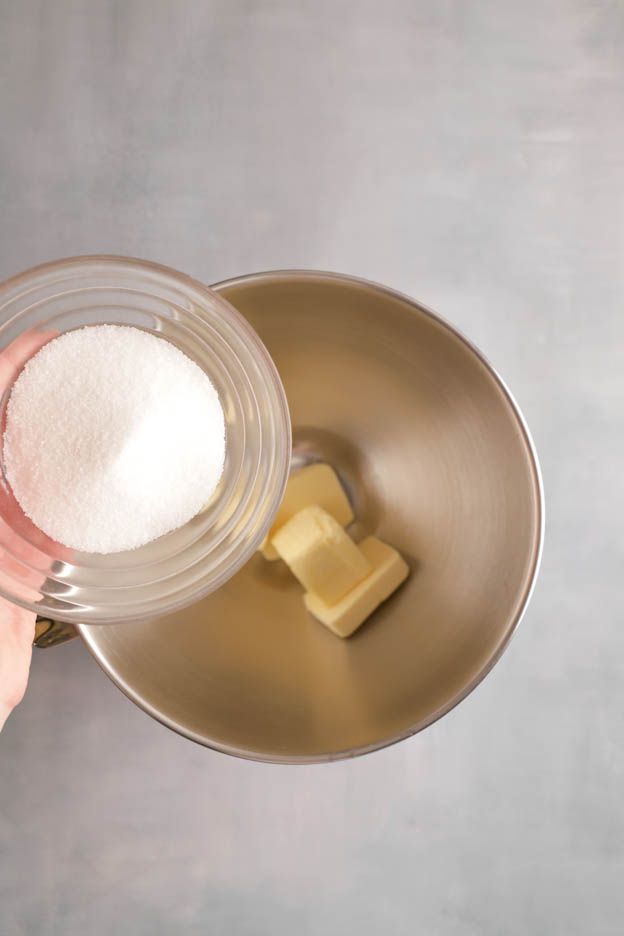
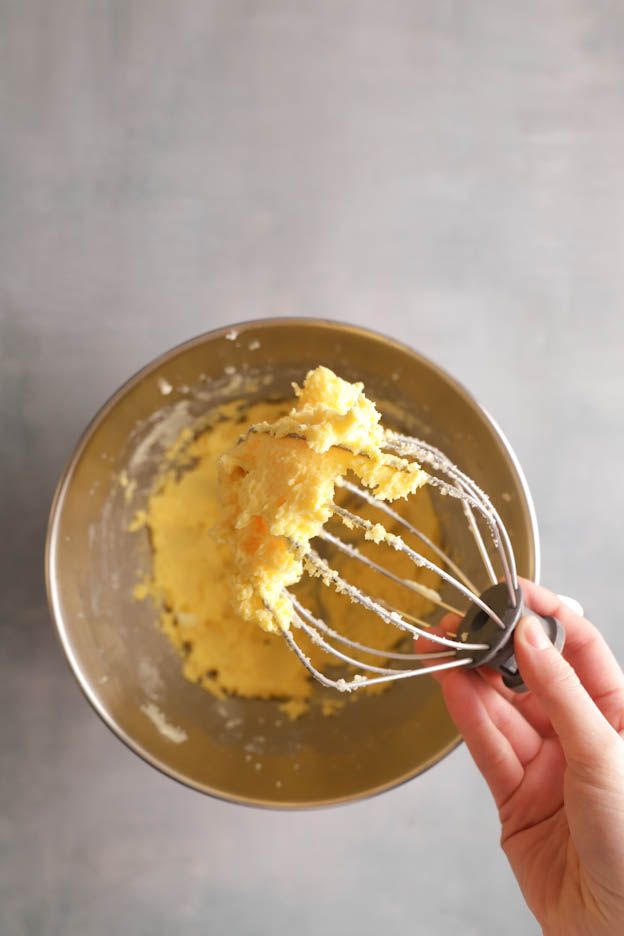
In a large bowl, pour 110gr of butter with 105gr of sugar and whisk together.
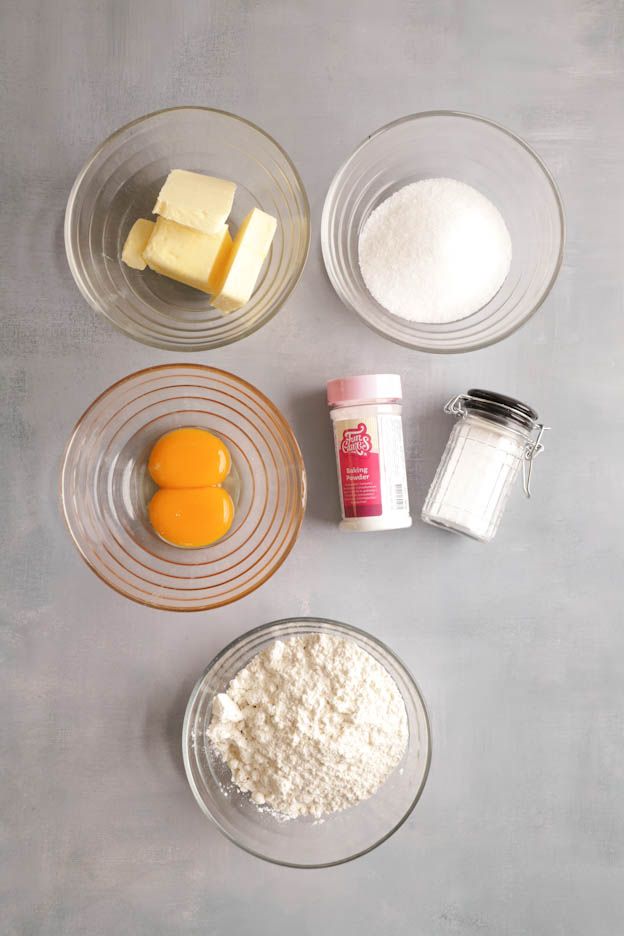
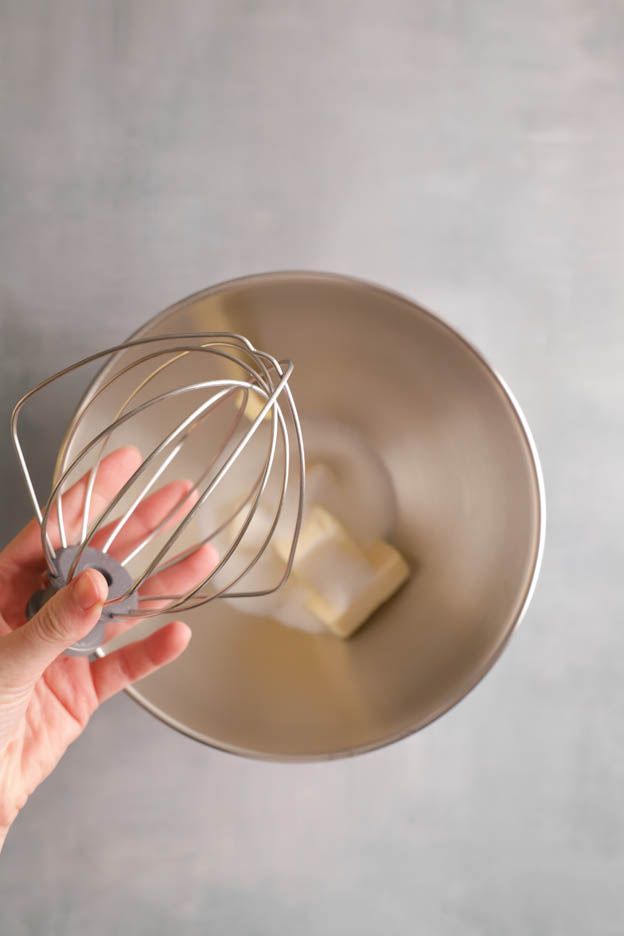
Then add 2 egg yolks, 2gr of salt and 4gr of baking powder.
To be precise, use the precision spoon scale to weigh the salt and baking powder. ;o)
Whisk everything together again.
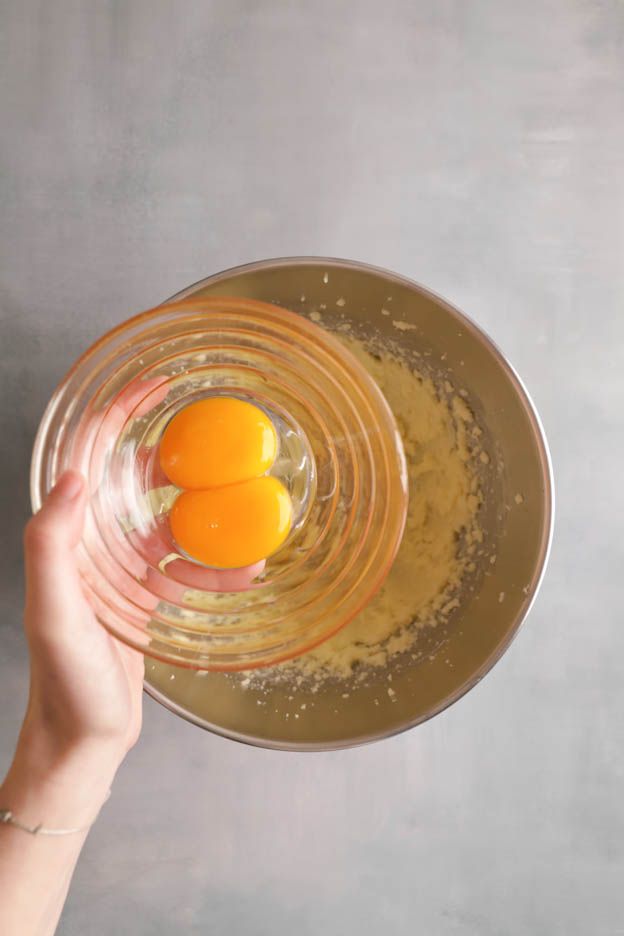
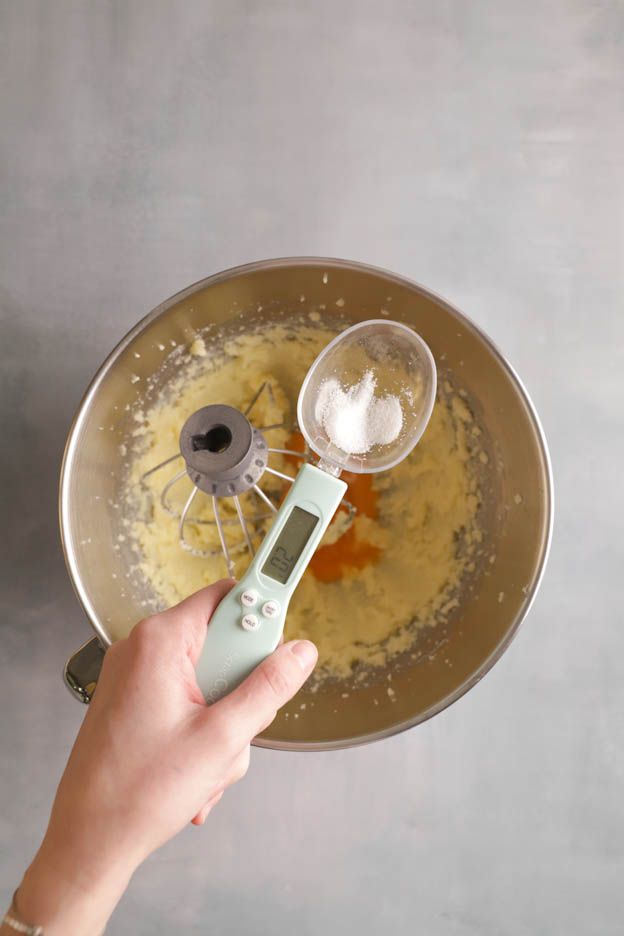
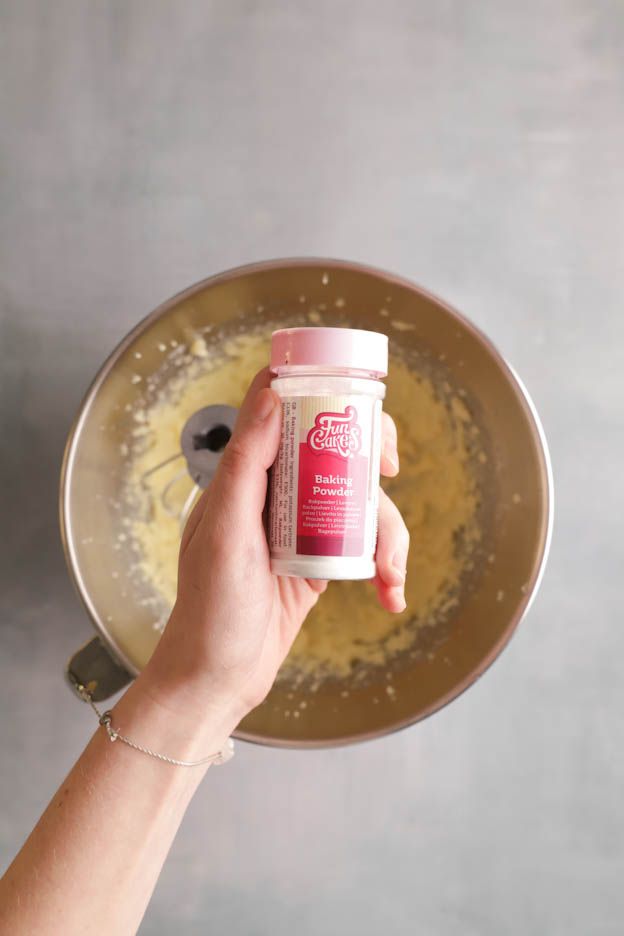
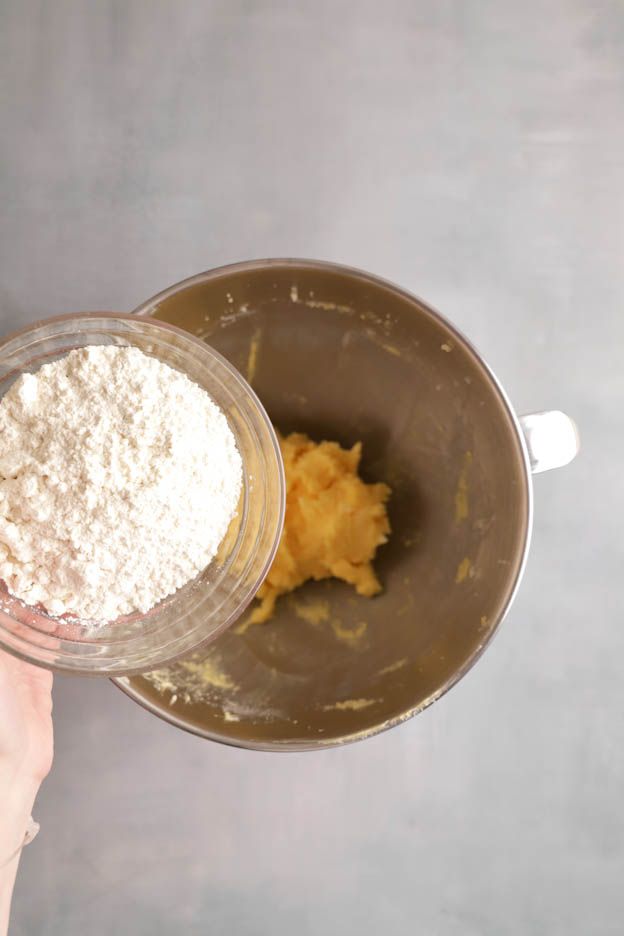
Once the texture is smooth, remove the whisk from your bowl and add 150gr of flour.
Then attach the flat beater (or K beater) and mix for 10-20 seconds maximum at speed 1.
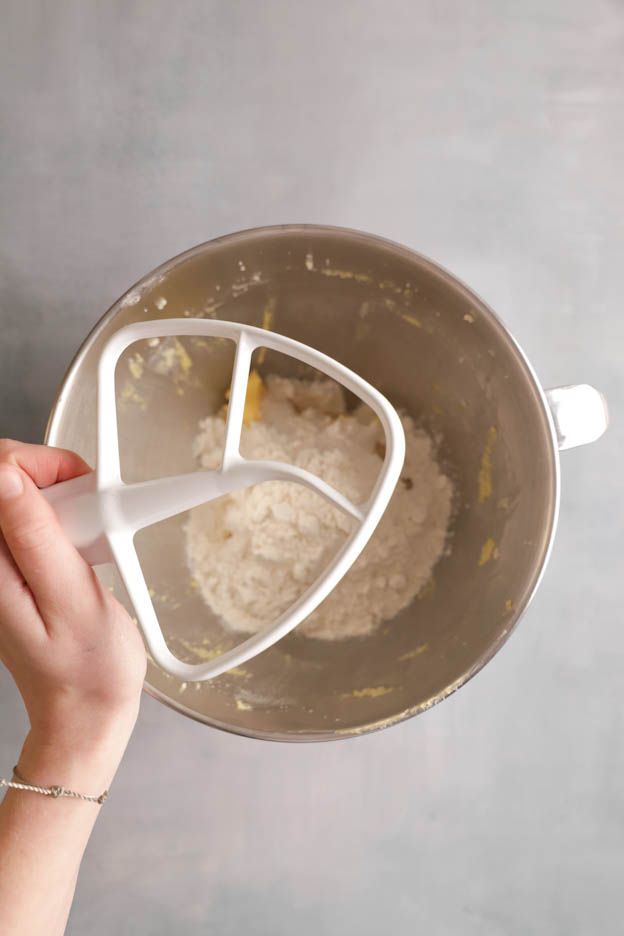
After a few seconds, stop your mixer and pour your dough onto a sheet of baking paper.
Place your 25 cm ring on your sheet.
Here I used my perforated ring from Silikomart! I'm a huge fan!
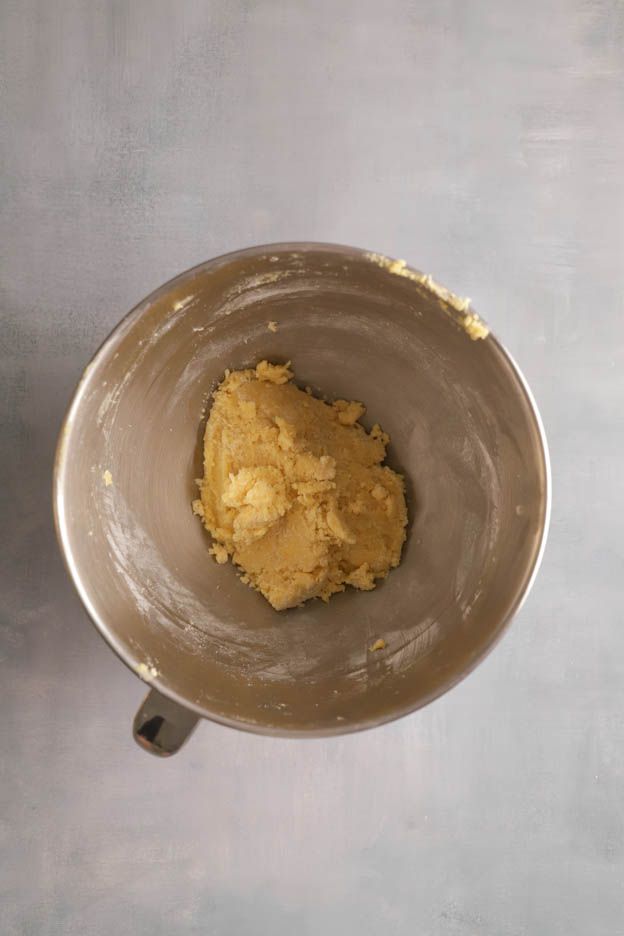
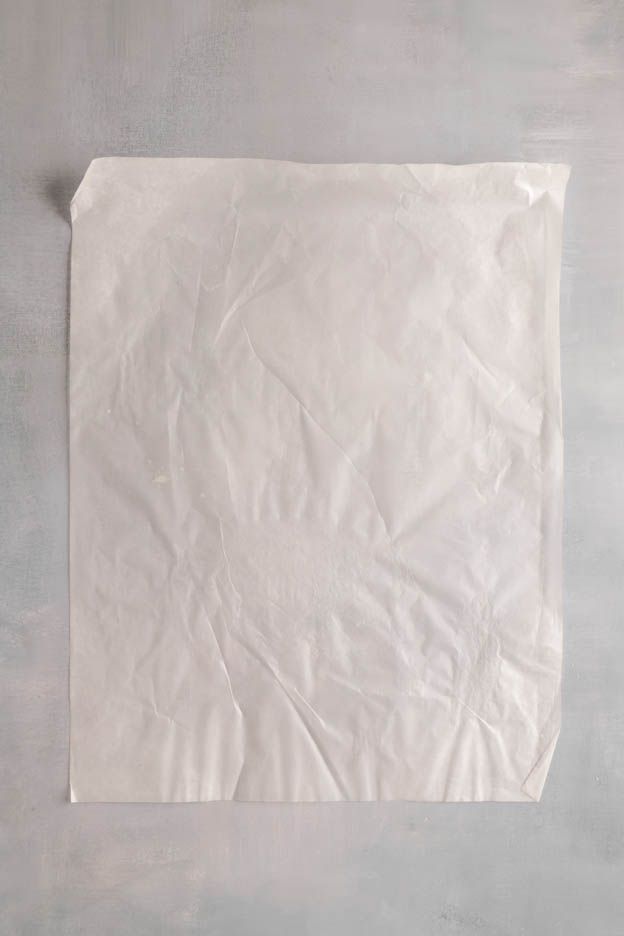
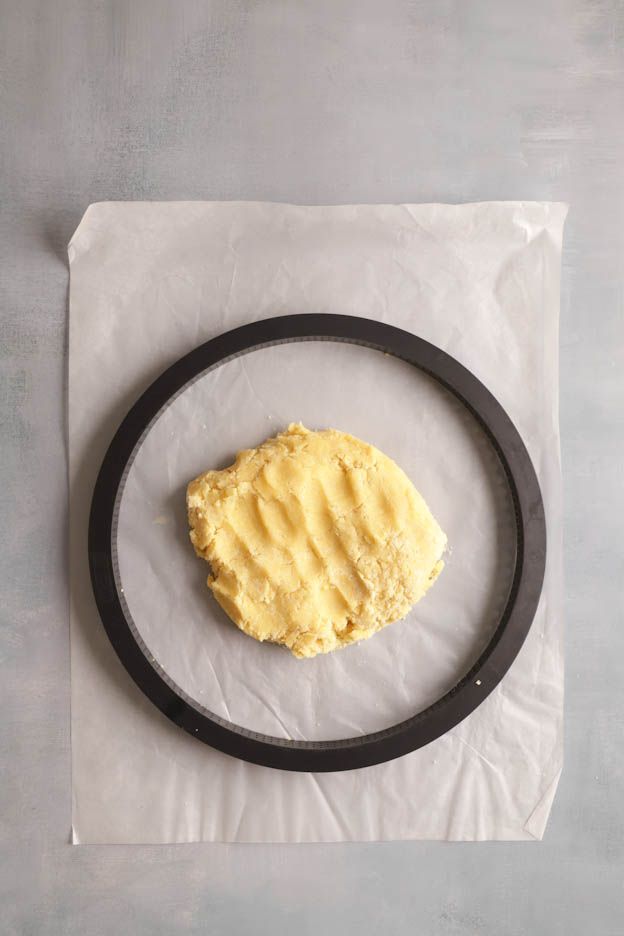
Add a second sheet of baking paper on top of your ring and dough.
Then, using a small rolling pin, roll out the dough inside your ring. This way you won't have any leftover dough. ;o)
Make sure to spread it as evenly as possible. Ideally it should be the same thickness all the way around.
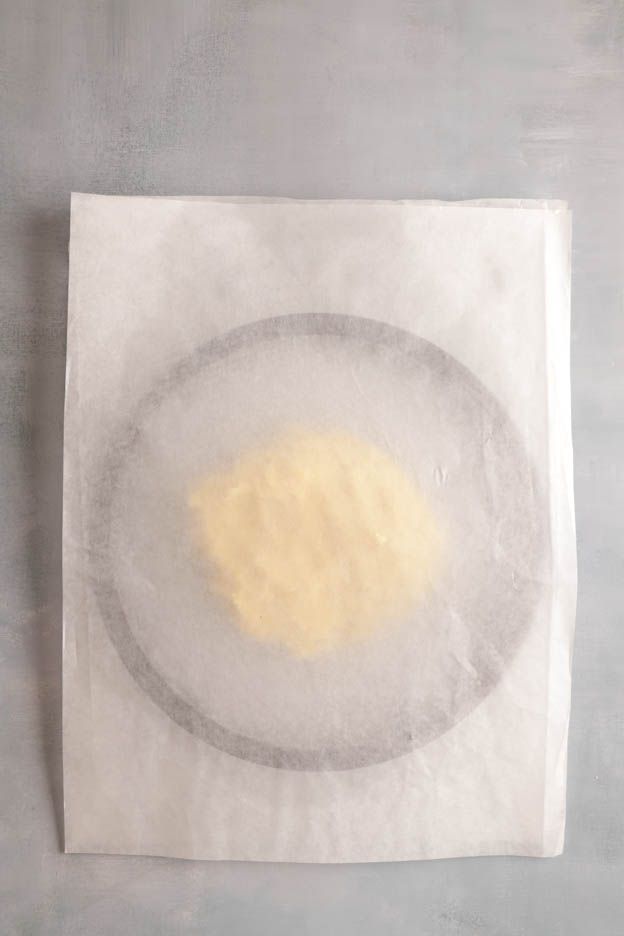
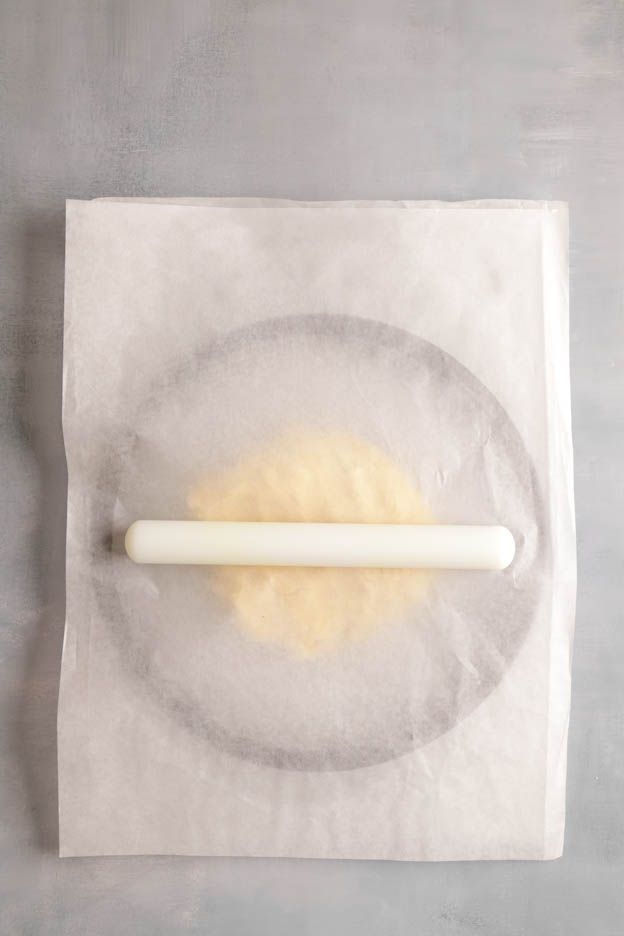
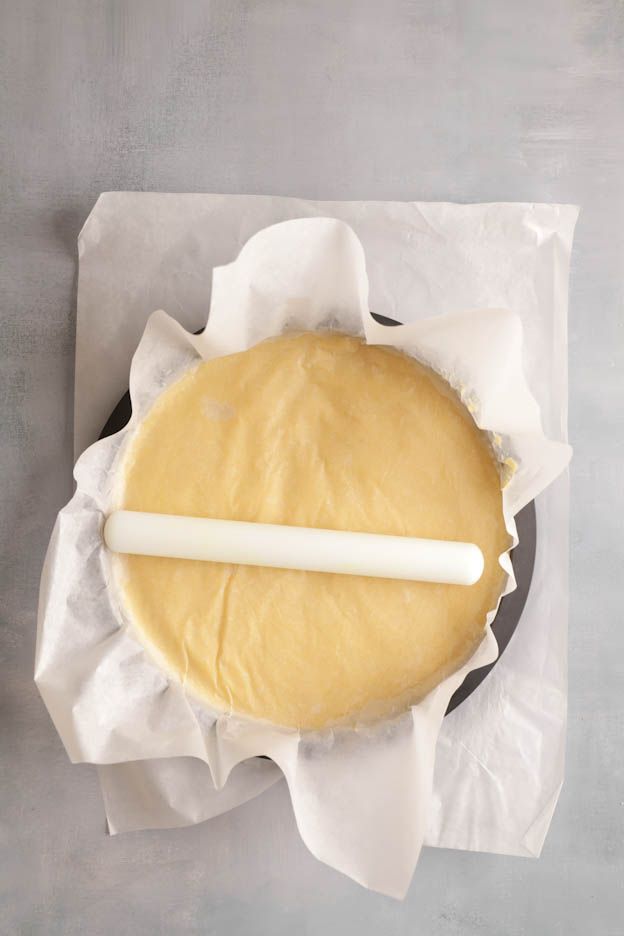
Remove the top sheet of baking paper and place your dough (with the ring) in the freezer for 1 hour.
Preheat your oven to 170°C, fan-assisted.
Once your dough is well chilled, place it on a perforated baking tray and bake it for 20-25 minutes in your oven preheated to 170°C, fan-assisted.
Once baked, remove the perforated ring and let your Breton shortbread cool on its tray.
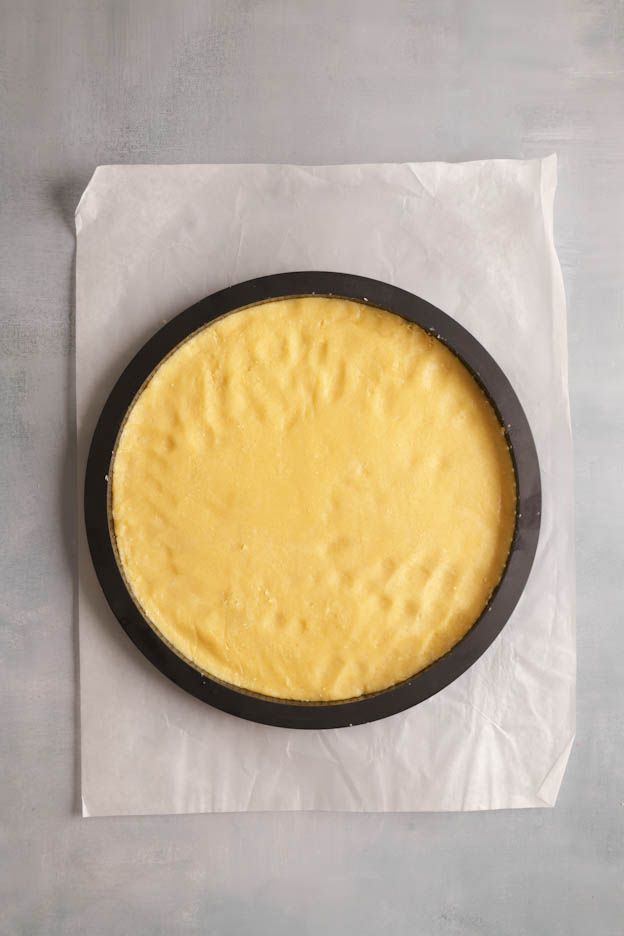
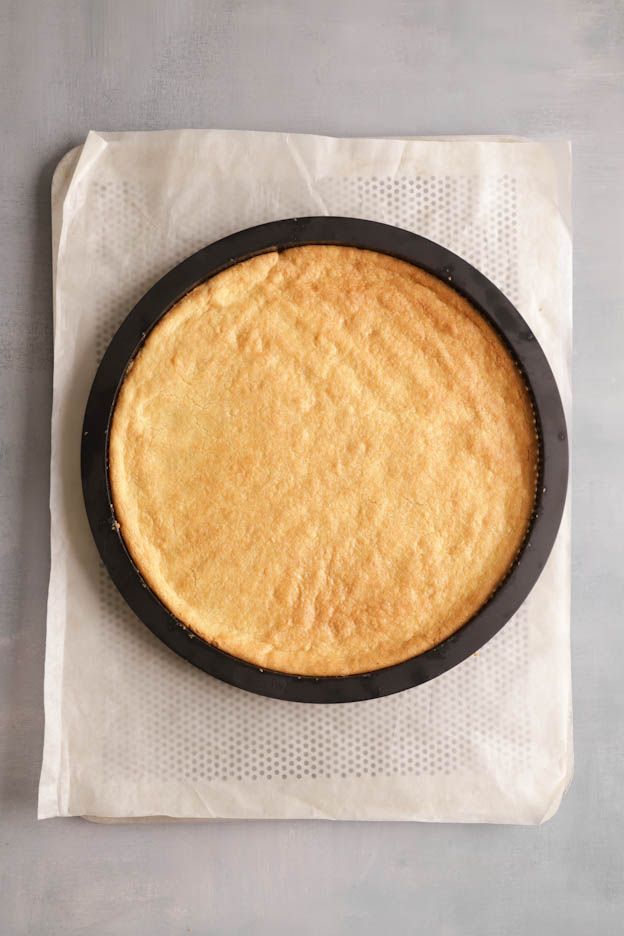
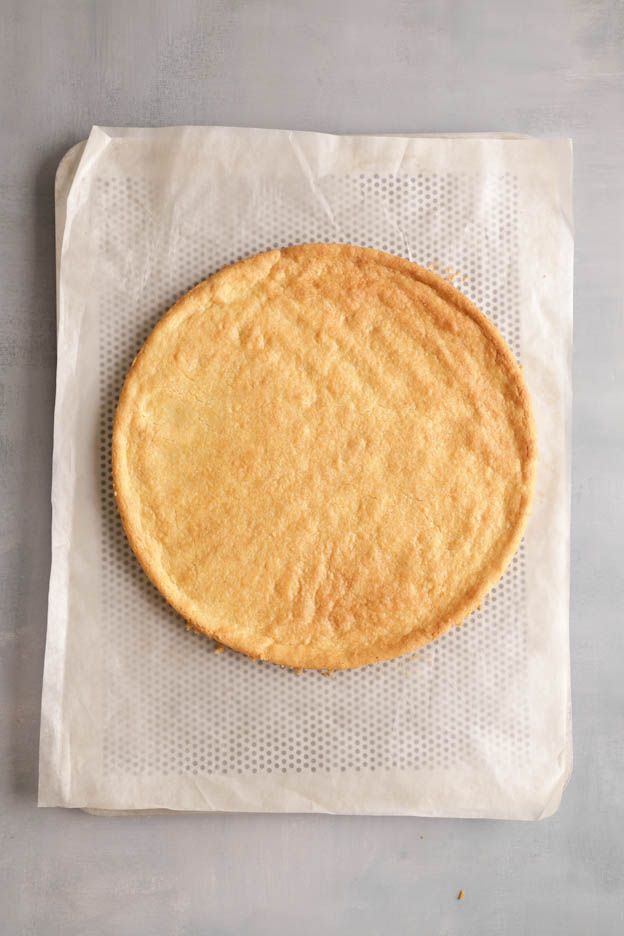
It's time to assemble! ;o) My favourite part.
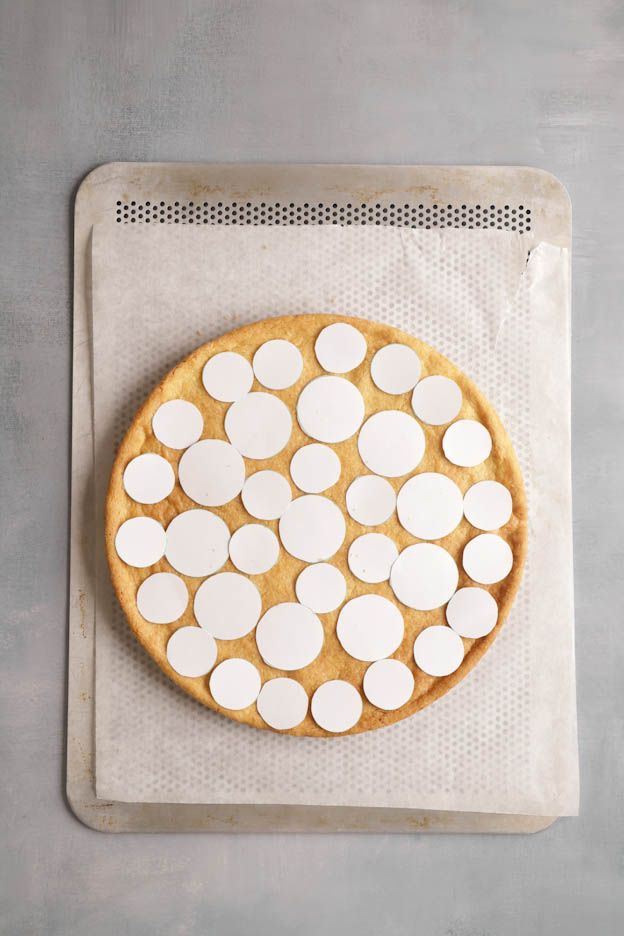
To get a nice arrangement, I cut out small paper circles to plan where I would place my domes. Once I'd decided, I started assembling.
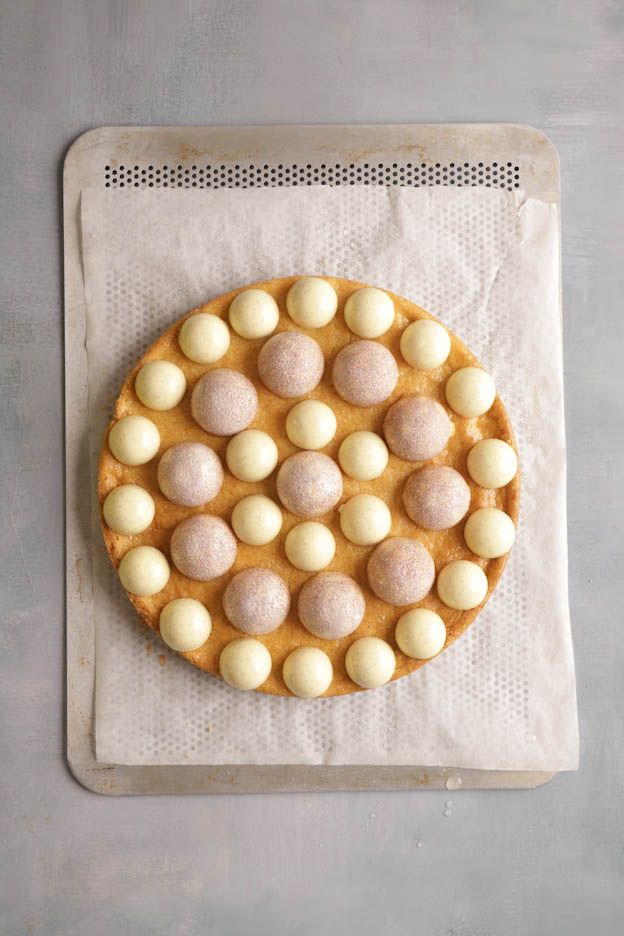
So I placed a full row of small vanilla domes along the edge, then a row of apple tatin, then another row of vanilla domes and a final row of apple tatin. ;o) Feel free to arrange it however you like.
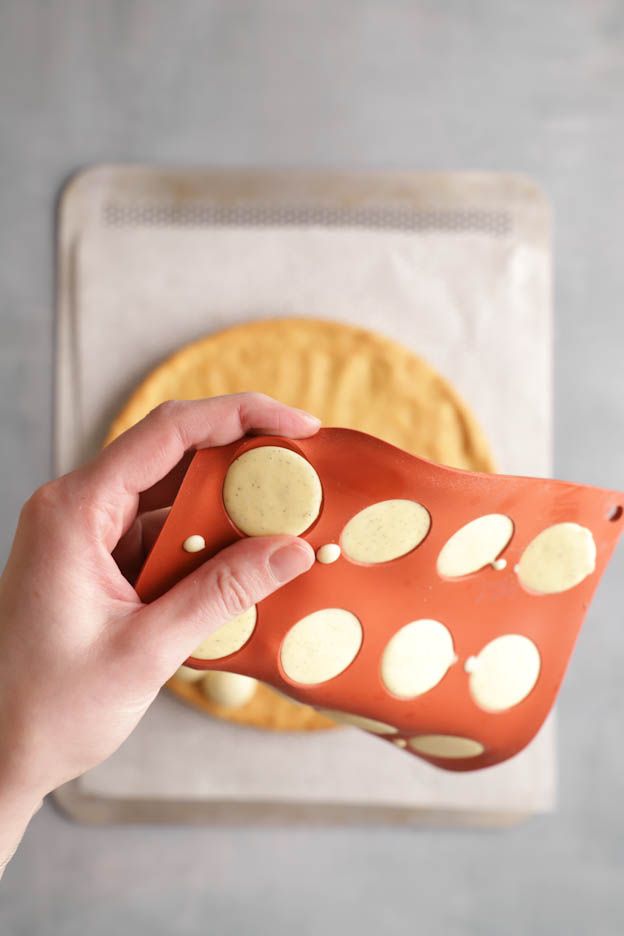
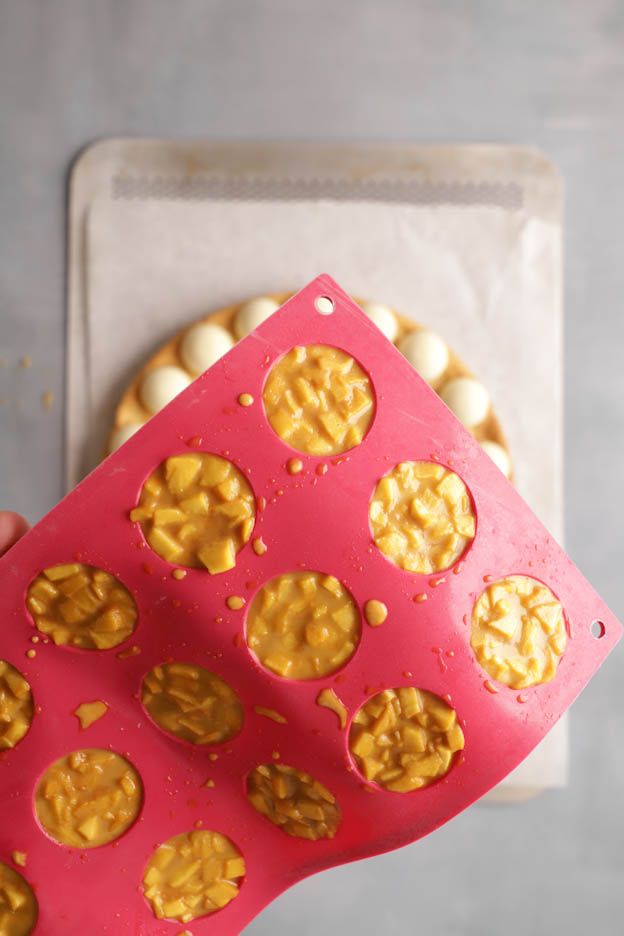
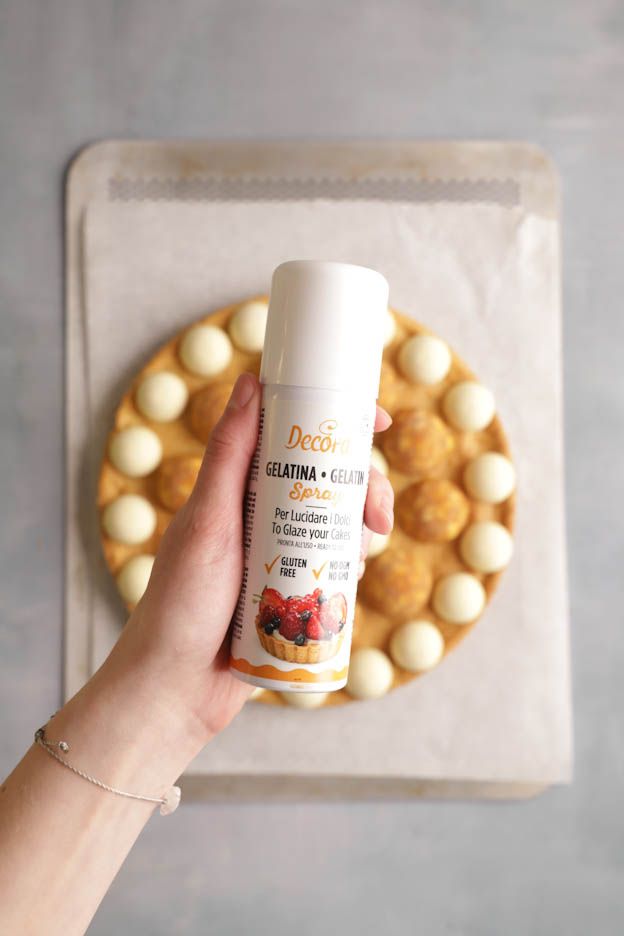
To make my domes nice and shiny once defrosted, I used gelatine spray.
It's a great method that gives a beautifully shiny result. Don't worry, when you spray your frozen domes, they will turn white as the gelatine freezes. But once defrosted, you'll get a lovely transparent shine.
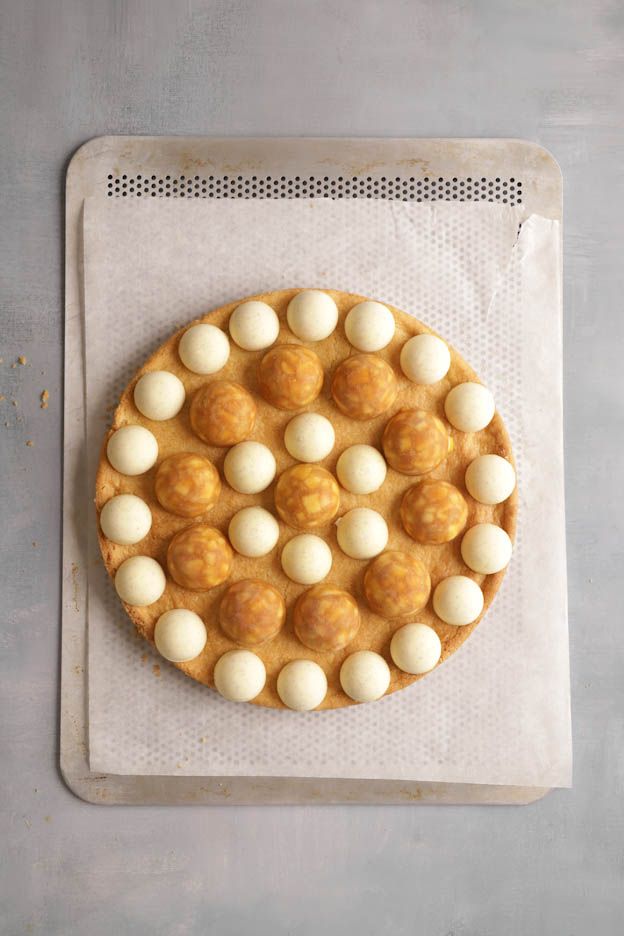
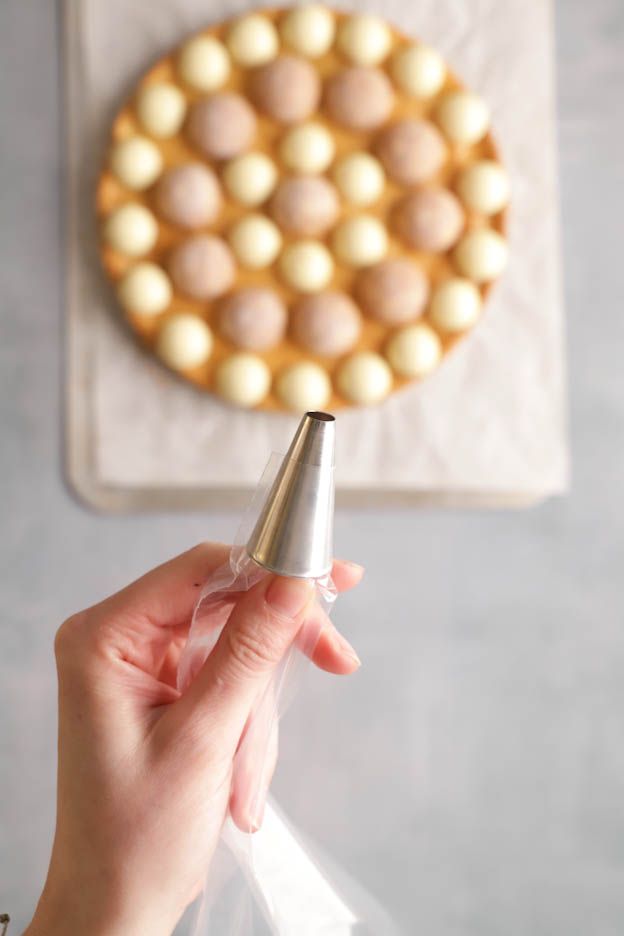
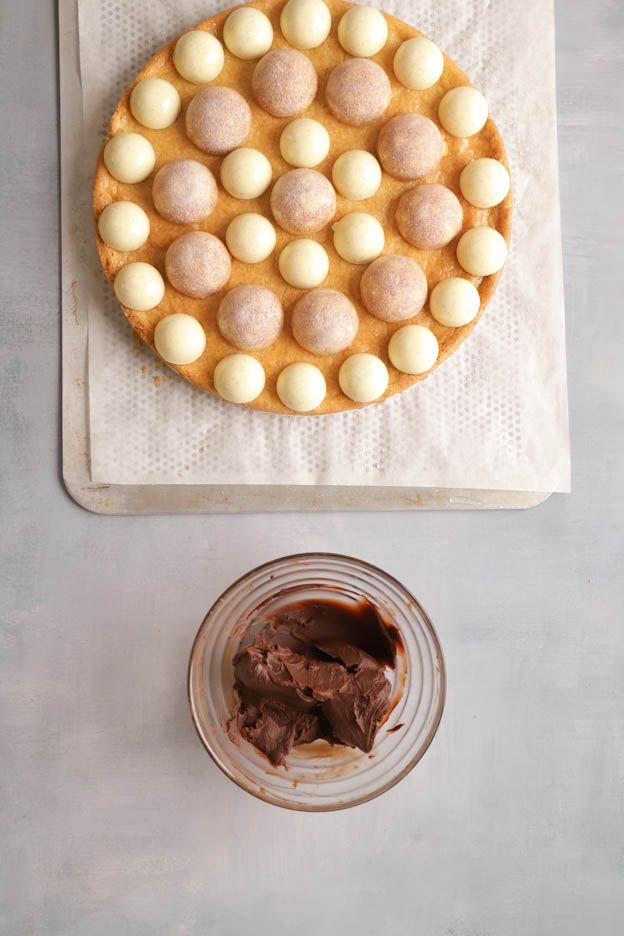
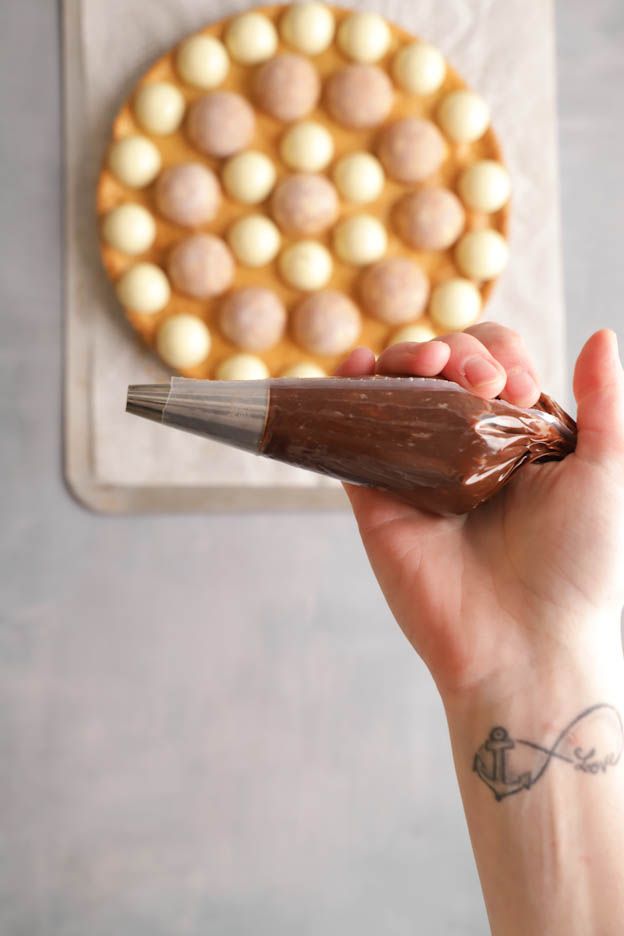
Take your ganache out of the fridge and place it in a piping bag fitted with an 8 mm round nozzle.
It will be a little firm for the first few minutes, that's normal! It will soften if you leave it for a good 5 minutes at room temperature.
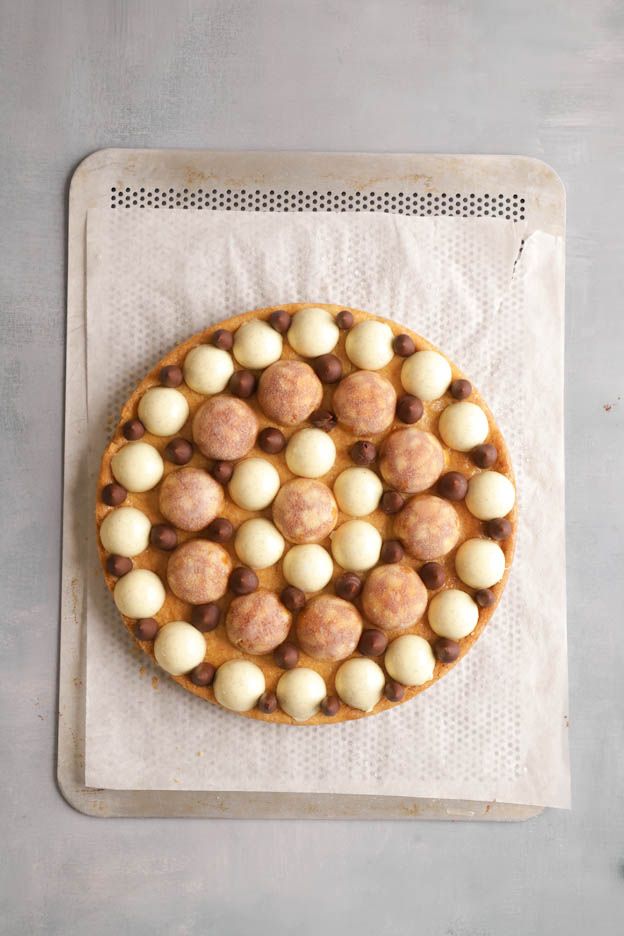
Once it has the right texture, pipe pretty pearls onto your tart.
Then let your tart defrost in the fridge for about 2 hours.
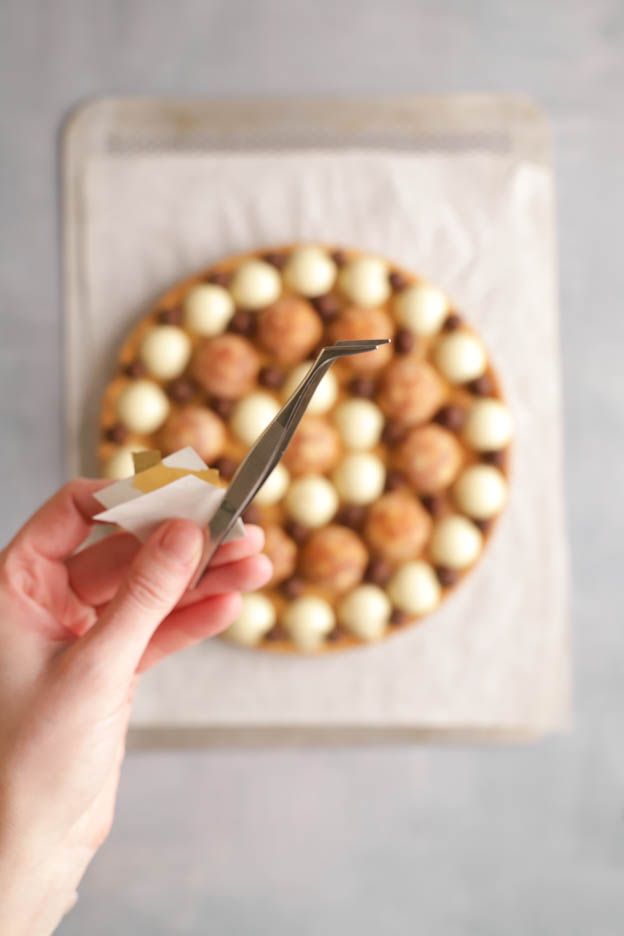
For the decoration, I simply placed a few small pieces of gold leaf for an even more elegant finish. ;o)
Use precision tweezers to place the gold leaf on the half-spheres.

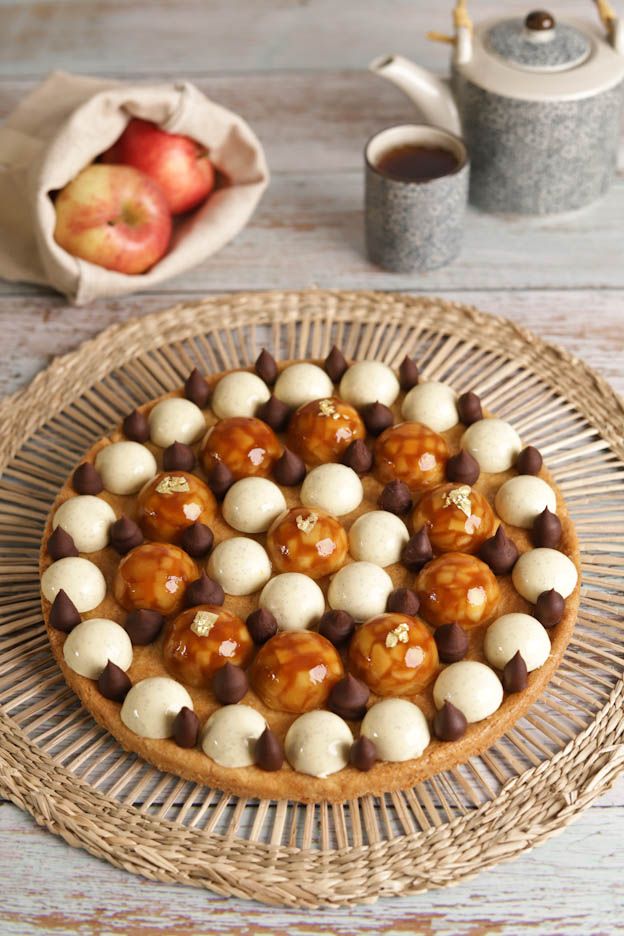
And here's the result!
An original tart that will delight your taste buds with every bite.
I hope you'll try the recipe.
Happy Sunday foodies!
Karin
P.S.: All the equipment used can be found at the bottom of the recipe.

Related posts
 Juicy Matcha Muffins with Pecan Nuts & White Chocolate
Matcha Iced Latte & Coconut Variant
Pull-apart bread with fresh wild garlic pesto
Mini Banana Bread with Chocolate Chips
Juicy Matcha Muffins with Pecan Nuts & White Chocolate
Matcha Iced Latte & Coconut Variant
Pull-apart bread with fresh wild garlic pesto
Mini Banana Bread with Chocolate Chips
Leave a comment
Comments
Question de Antoinette
By: Antoinette C. On 2025-01-25Bonjour,
Est-il possible de remplacer le sucre inverti par le sirop de glucoe ou autre sucre . J'ai oublié de le mettre dans ma commande
Replied by: Karin On 2025-01-27
Question de Lydie
By: Lydie G. On 2023-12-18Bonjour, peut on conserver au congélateur plus longtemps que 1 à 2 jours les préparations ?
Merci
Replied by: Karin On 2023-12-18
Replied by: Lydie G. On 2023-12-19
Replied by: Karin On 2023-12-19
Question de Florence
By: Florence C. On 2023-04-04Bonjour,
Peut-on remplacer le sucre inverti par le glucose déshydraté, que l'on réhydraterait? Plus le temps de vous en commander ou d'aller en acheter avant les fêtes :-) ou alors le remplacer par autre chose?
Merci!
Replied by: Laura On 2023-04-05
Replied by: Florence C. On 2023-04-05
Question de Cindy
By: Cindy M. On 2023-01-06Bonjour,
Une fois les dômes sortis du congélateur, combien de temps avant de déguster le gâteau ?
Merci :)
Replied by: Laura On 2023-01-09
Question de Elise
By: Elise R. On 2022-10-17Bonjour! Je cherche un dessert dans l’esprit « poire belle Hélène » pensez vous qu’on puisse utiliser des poires à la place des pommes? Merci
Replied by: Laura On 2022-10-18
Question de Josephine
By: Josephine R. On 2022-03-09Bonjour
Est-il possible de cuire le biscuit à l’avance et le congeler également? Et si oui comment procéder pour le montage? Tout monter congelé et laisser ensuite au frigo ou dégeler le biscuit avant le montage? Merci de votre réponse
Josephine
Replied by: Karin On 2022-03-09
Question de Anne-Christine
By: Anne-Christine G. On 2022-01-03Bonjour, une question sur le spray gélatine. Vous sprayez les sphères avant de les mettre sur la tarte ou une feuille la tarte montée ? Merci pour toutes ces délicieuses recettes !
Replied by: Laura On 2022-01-04
Réponse à Merci
By: Karin On 2021-12-09pour votre message :) Oups nous avons fait une faute de frappe. C'est effectivement des morceaux de pommes de 5mm :-)
Belle journée et bonne pâtisserie.
Question de Gwendoline
By: Gwendoline N. On 2021-12-07Merci pour cette super recette! ? Un délice!
Par contre, je pense que la taille des morceaux de pomme est de 0.5 cm et pas mm, parce que ça fait vraiment petit! ?
Question de Emeline
By: Emeline Q. On 2021-11-09Bonjour!
Faut il vraiment utiliser de la gélatine en feuille pour la mousse vanille, ou si on peut remplacer par de la gélatine en poudre ?
Merci!
Replied by: Karin On 2021-11-10
Replied by: Karin On 2021-11-11
Question de Joelle
By: Joelle A. On 2021-03-10Est-ce qu'il est possible de préparer 1 ou 2 jours à l avance la mousse vanille et la pomme tatin?
Replied by: Karin On 2021-03-11
Question de Coralie
By: Coralie H. On 2021-02-09Bonjour Karin,
Alors j'ai testé ce weekend. Très bonne mais par contre, chez moi les sphères de pommes tatin avaient pas une texture super agréable. Trop de gélatine. Ma cuillière de précision ne fonctionnait pas (je vous ferai un mail à ce sujet), alors c'est peut-être pour ça. Mais j'aurais tendance à retester avec la moitié de gélatine. Le biscuit était assez dur à couper. L'aurais-je laisser trop longtemps au four à votre avis ? Merci pour ces belles recettes et vos conseils !
Replied by: Karin On 2021-02-09