
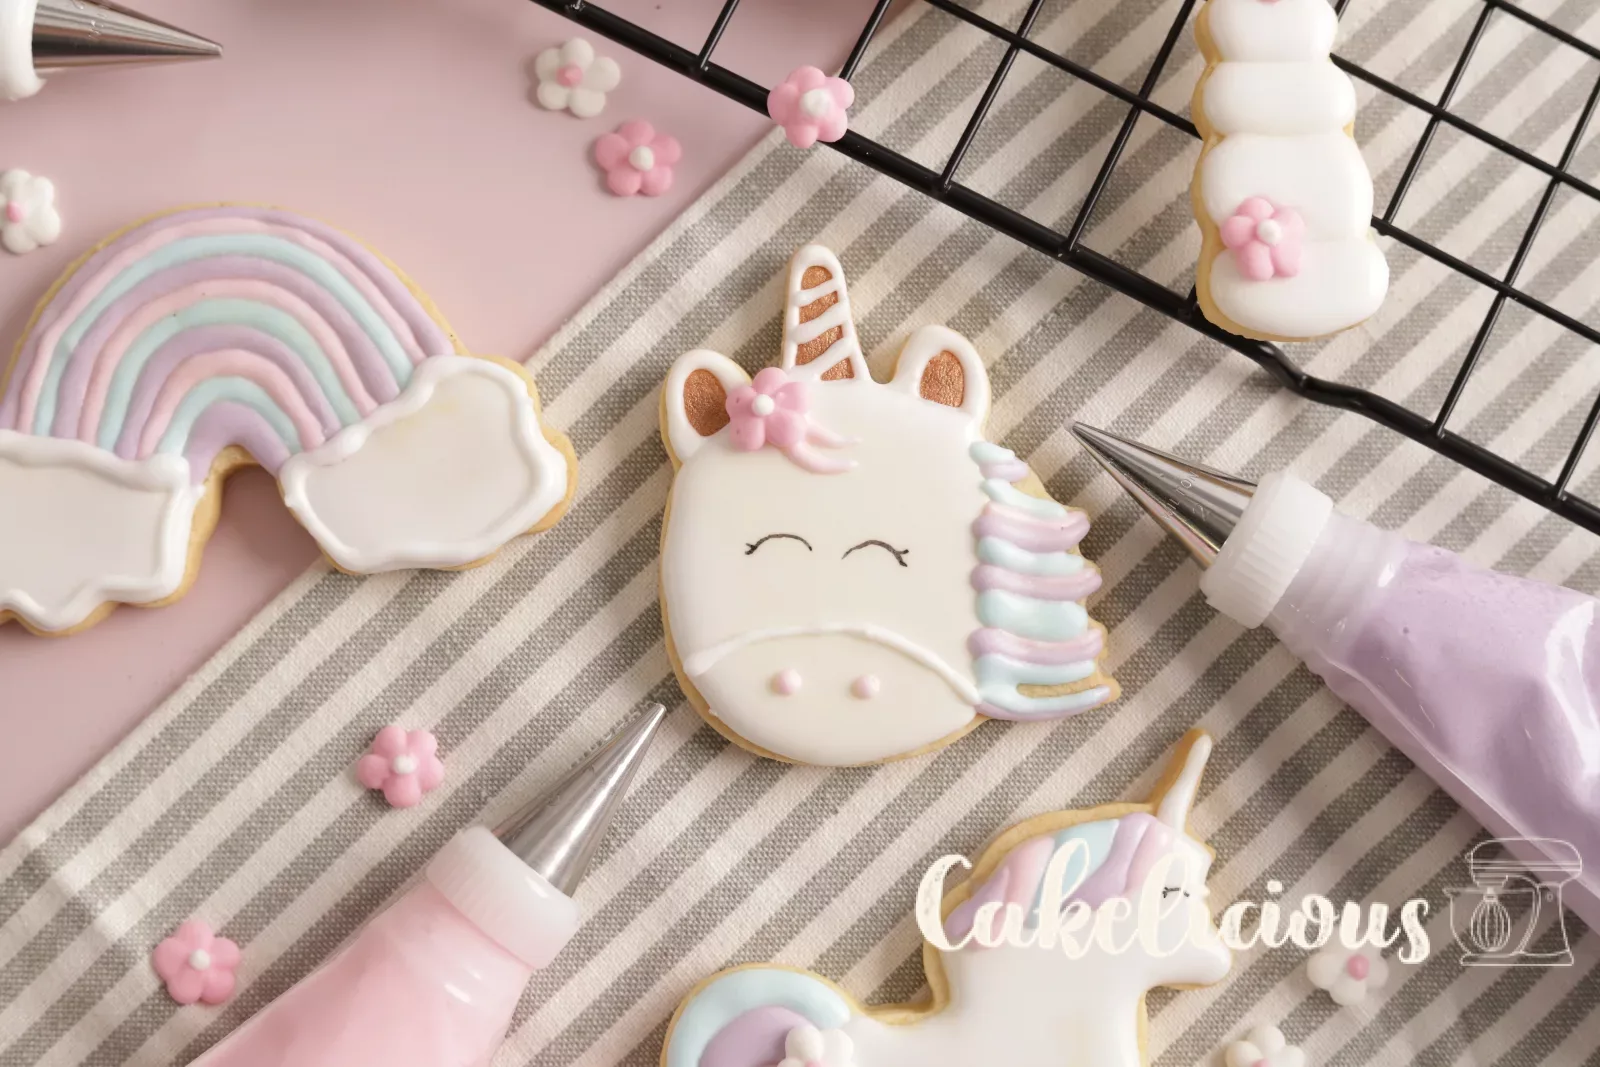
Egg white icing
Royal icing with meringue powder and smooth shortcrust pastry cookies for decorating
Hello foodies,
today we'll show you how to decorate cookies with royal icing. This egg white icing dries hard and glossy and is perfect for shortcrust pastry cookies or even cinnamon stars.
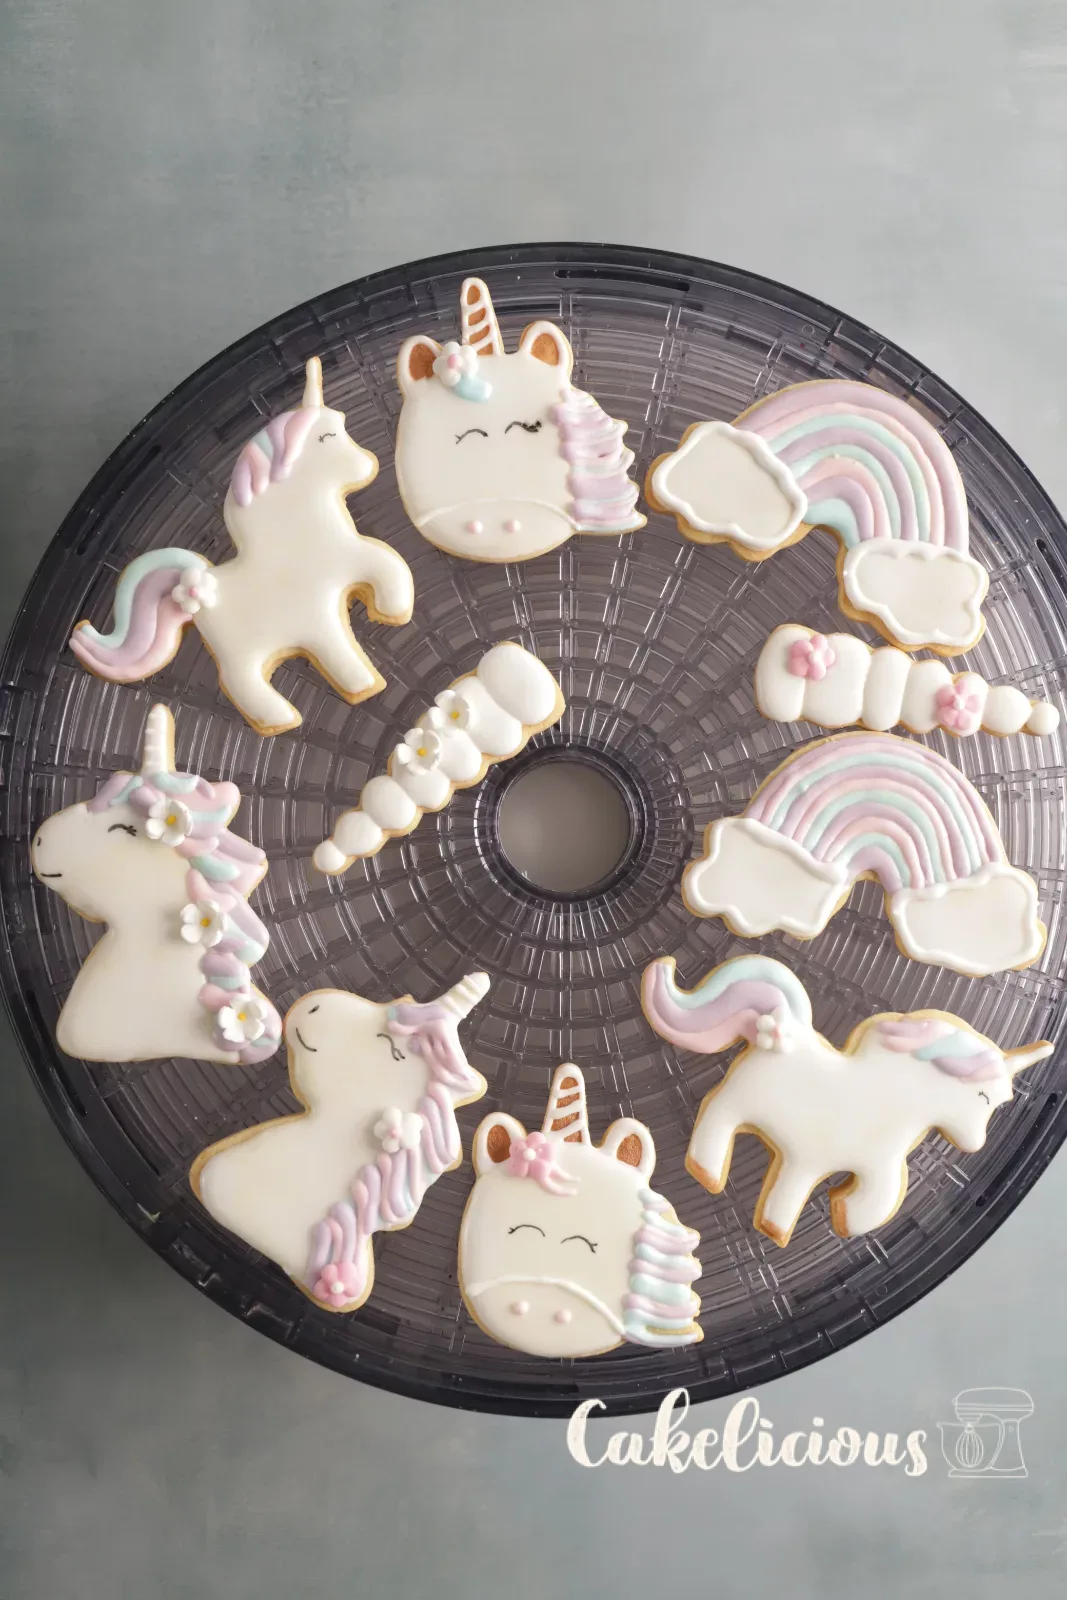
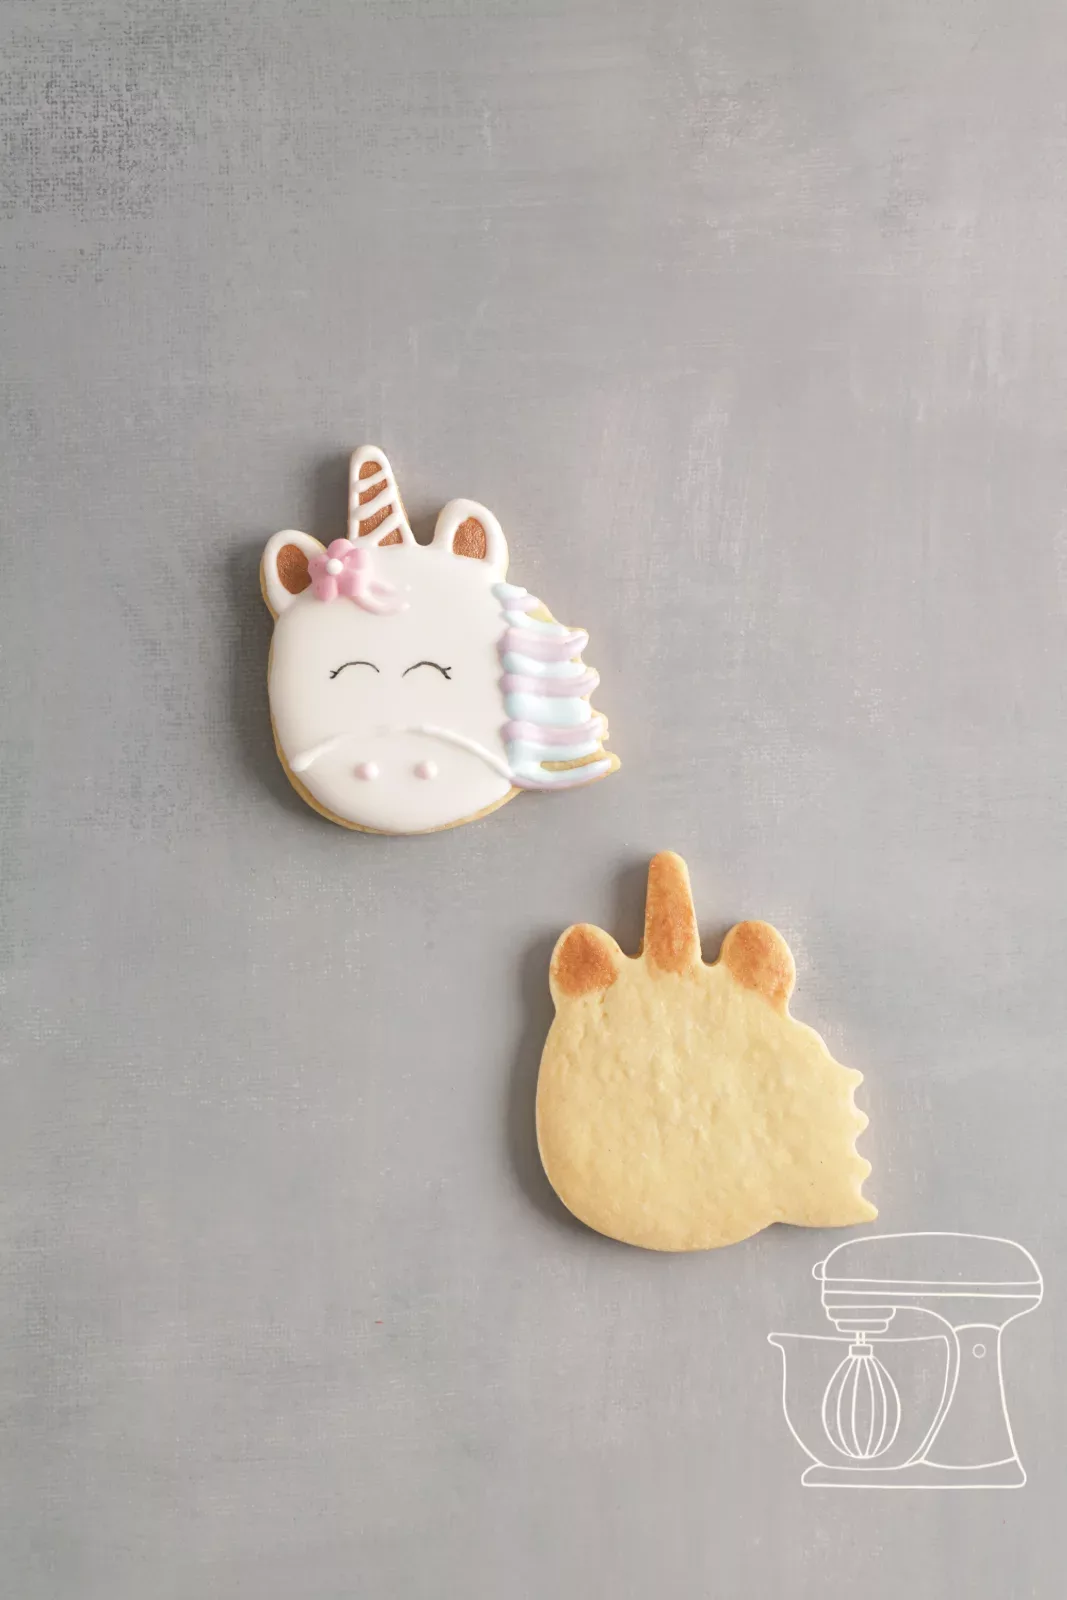
We decorated our vanilla shortcrust cookies in a unicorn look, with rainbows and unicorn heads in soft pastel colours. Of course, any other theme works just as well: simply browse our cookie cutters until you find the right one. Once you've understood the technique, you can design your cookies however you like.
The secret lies in two things: a smooth cookie that keeps its shape while baking, and an icing with exactly the right consistency. We'll explain both to you step by step here.


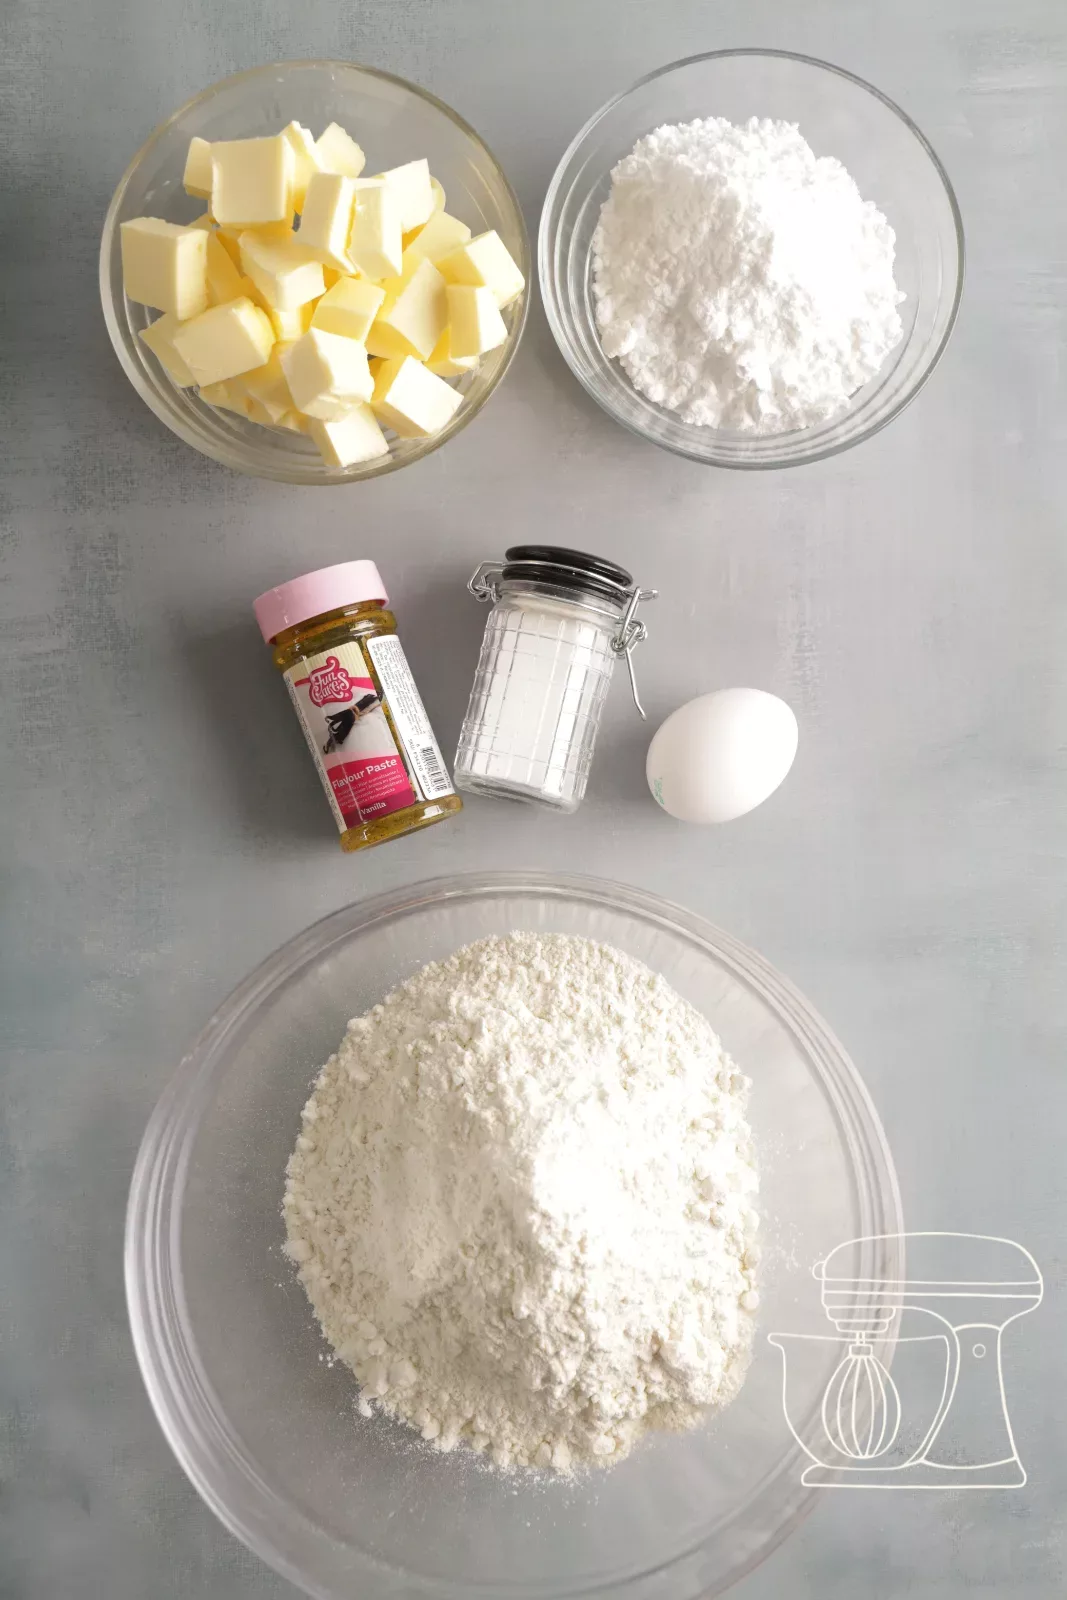
Ingredients
Shortcrust pastry (approx. 40 cookies à 7 cm)
Royal icing (for approx. 20 cookies)
Step by Step
Shortcrust pastry
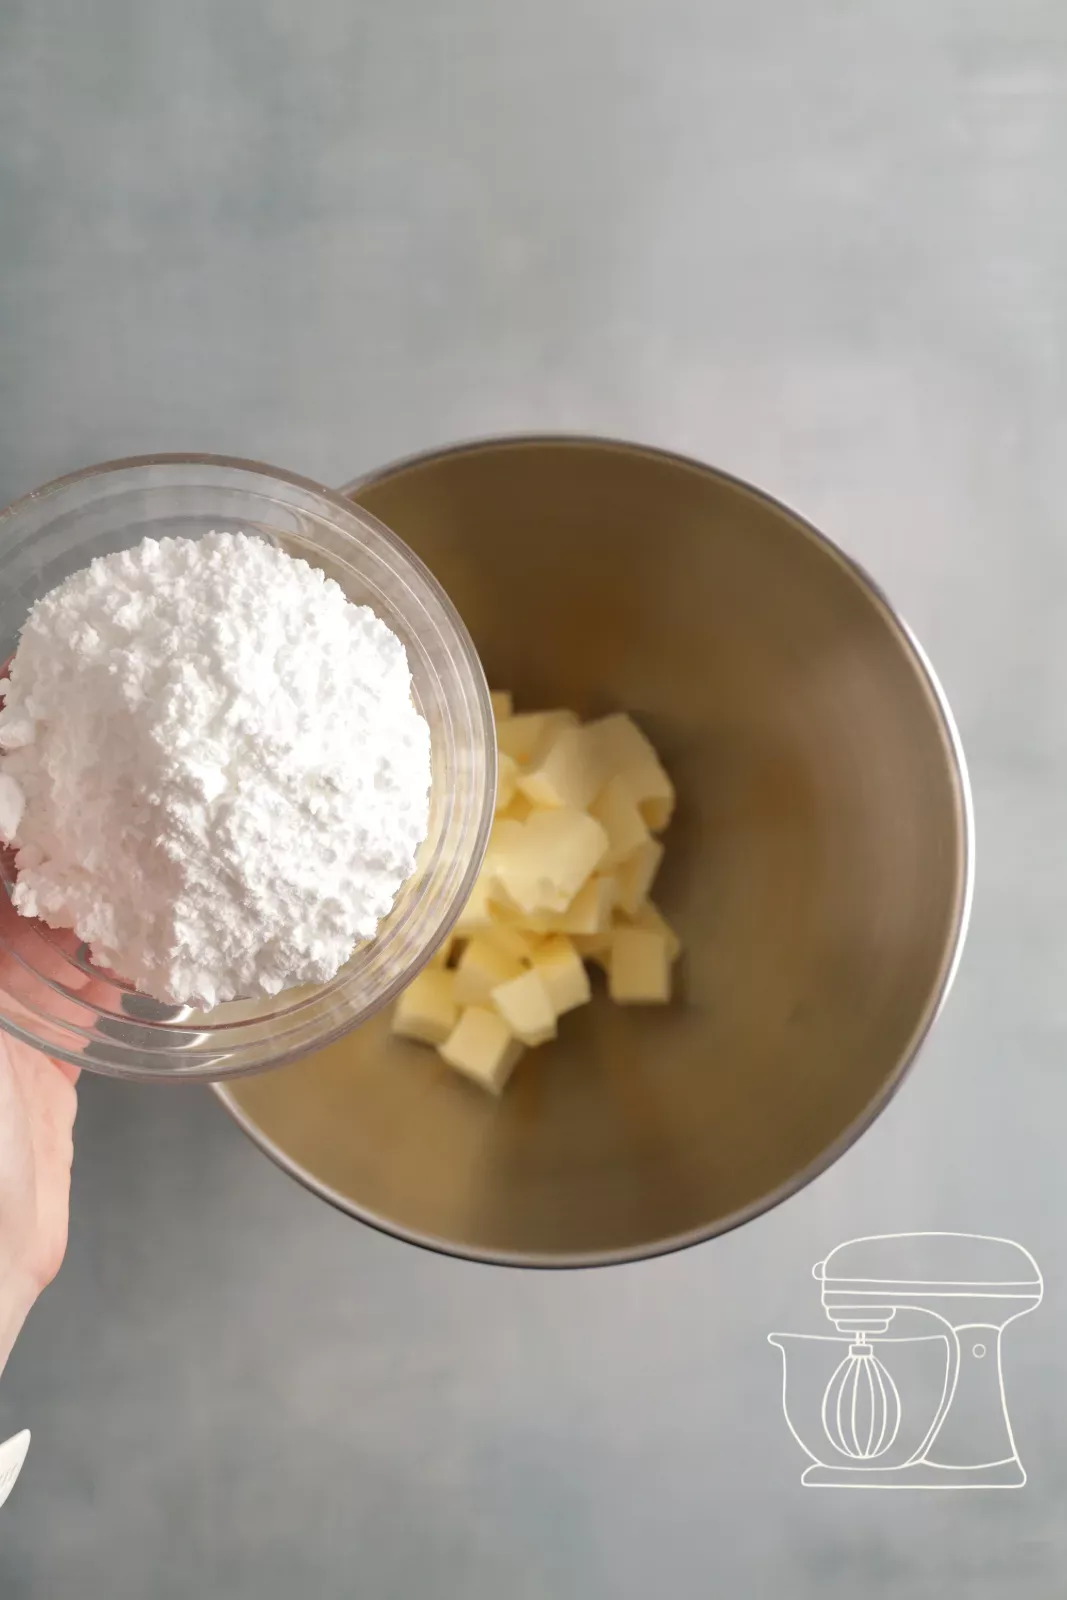
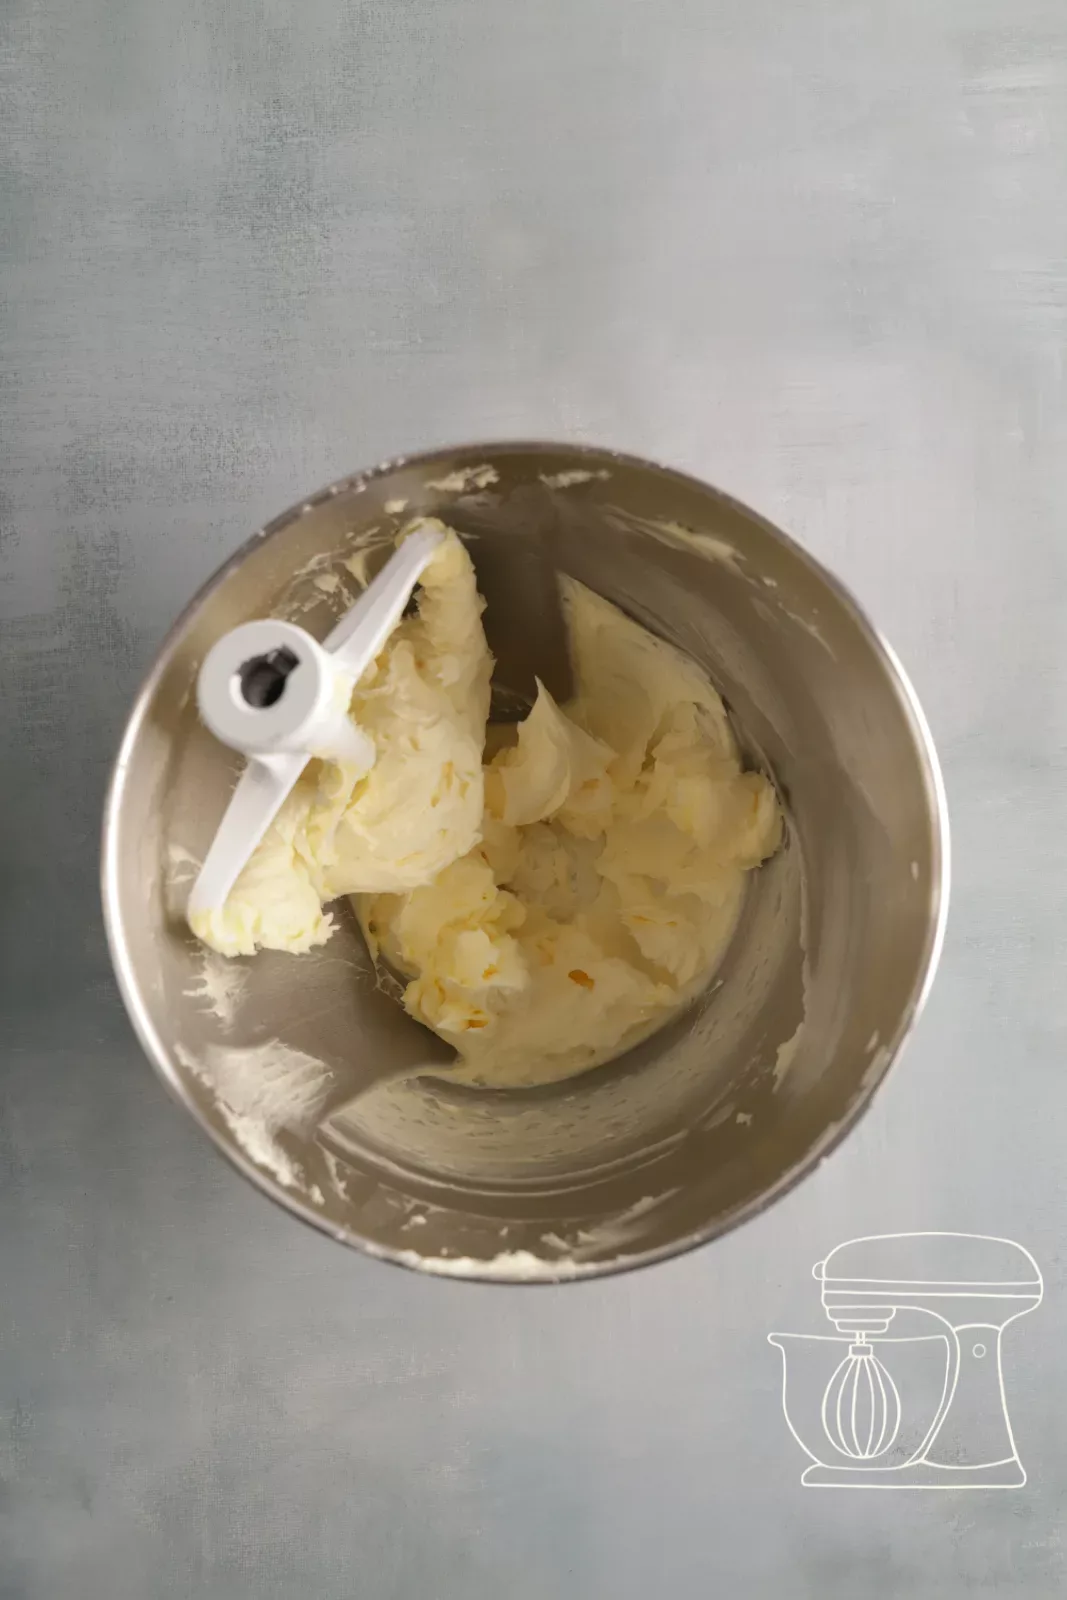
Beat butter and icing sugar until creamy
For royal icing you need a cookie that is as smooth as possible. This shortcrust pastry barely rises during baking and keeps its shape nicely.
Put 250 g soft butter and 150 g icing sugar into the mixing bowl and beat everything with the flat beater to a creamy mass. Be sure to use icing sugar and not granulated sugar, only then will your cookies be really smooth.
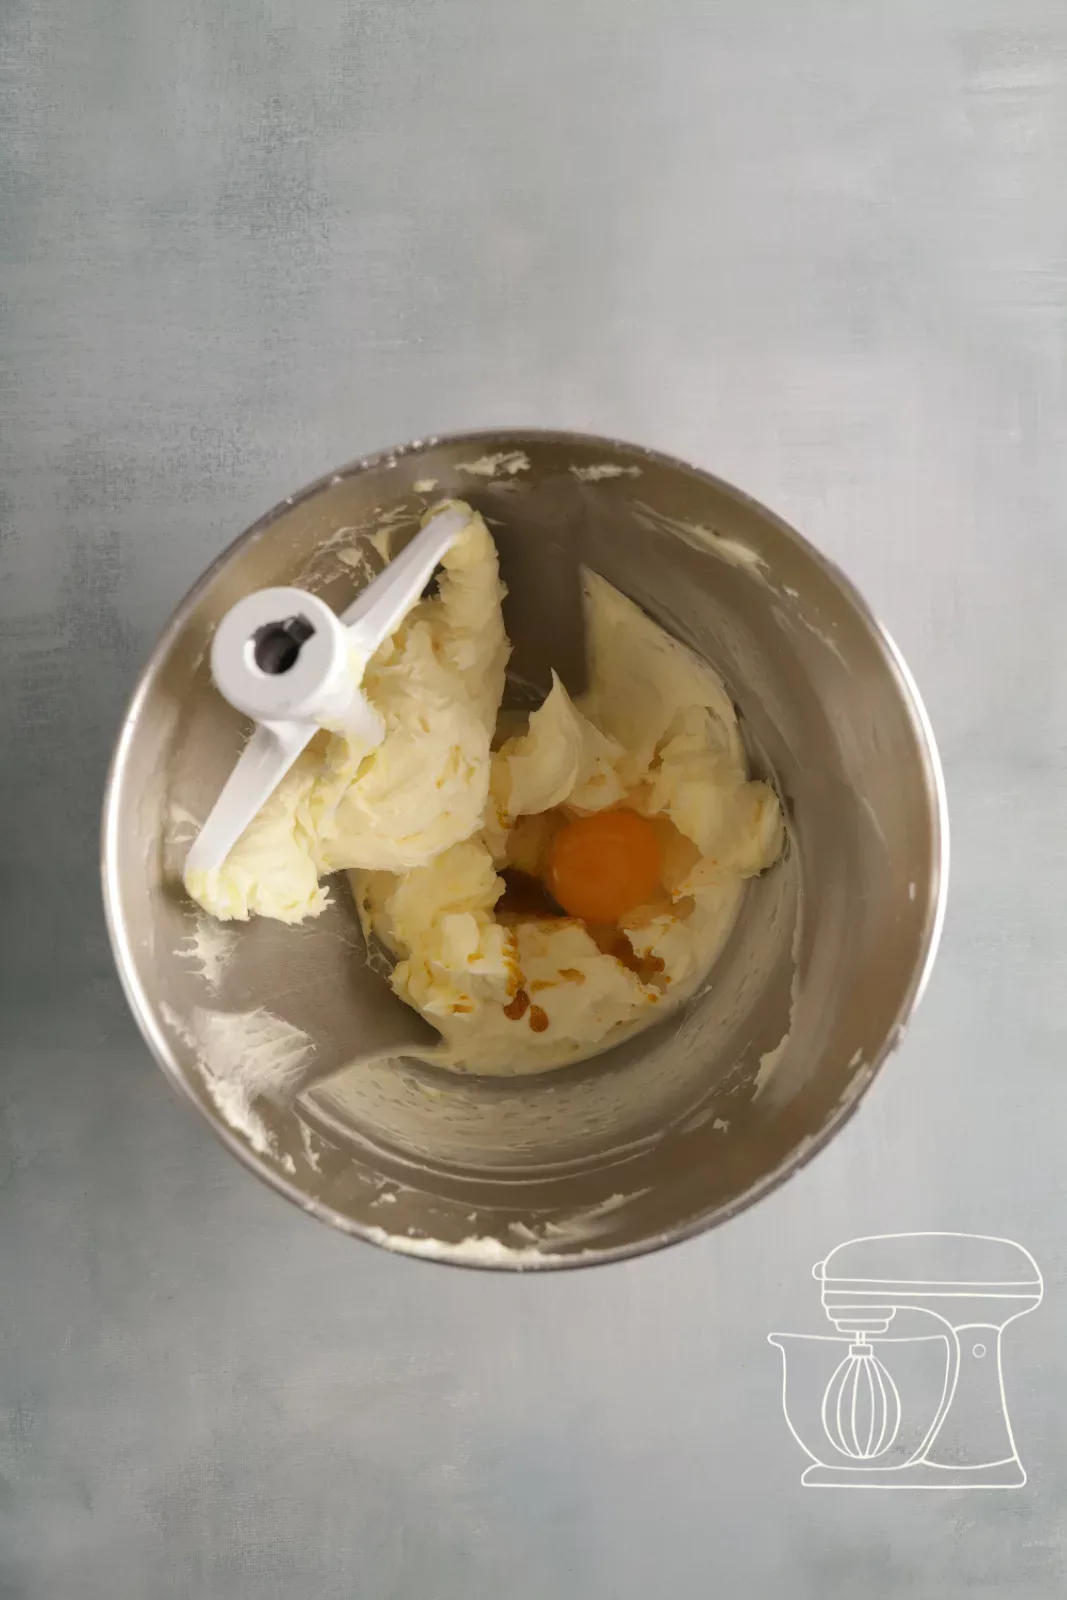
Add egg and aroma
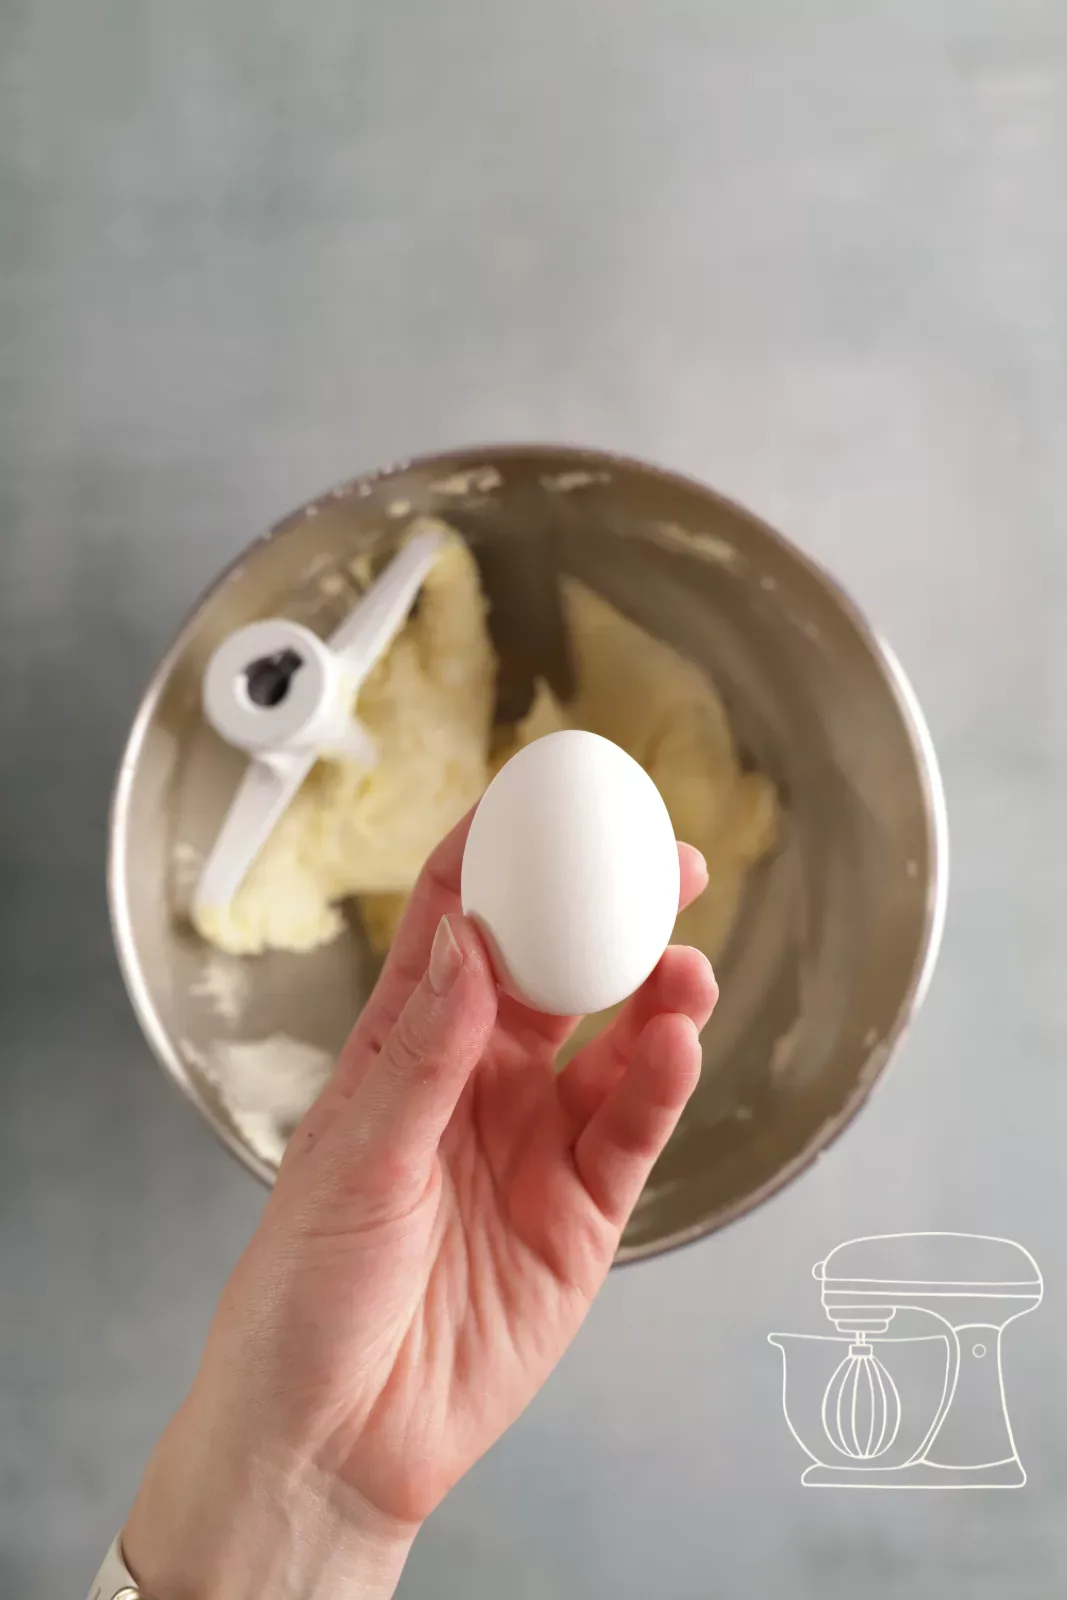
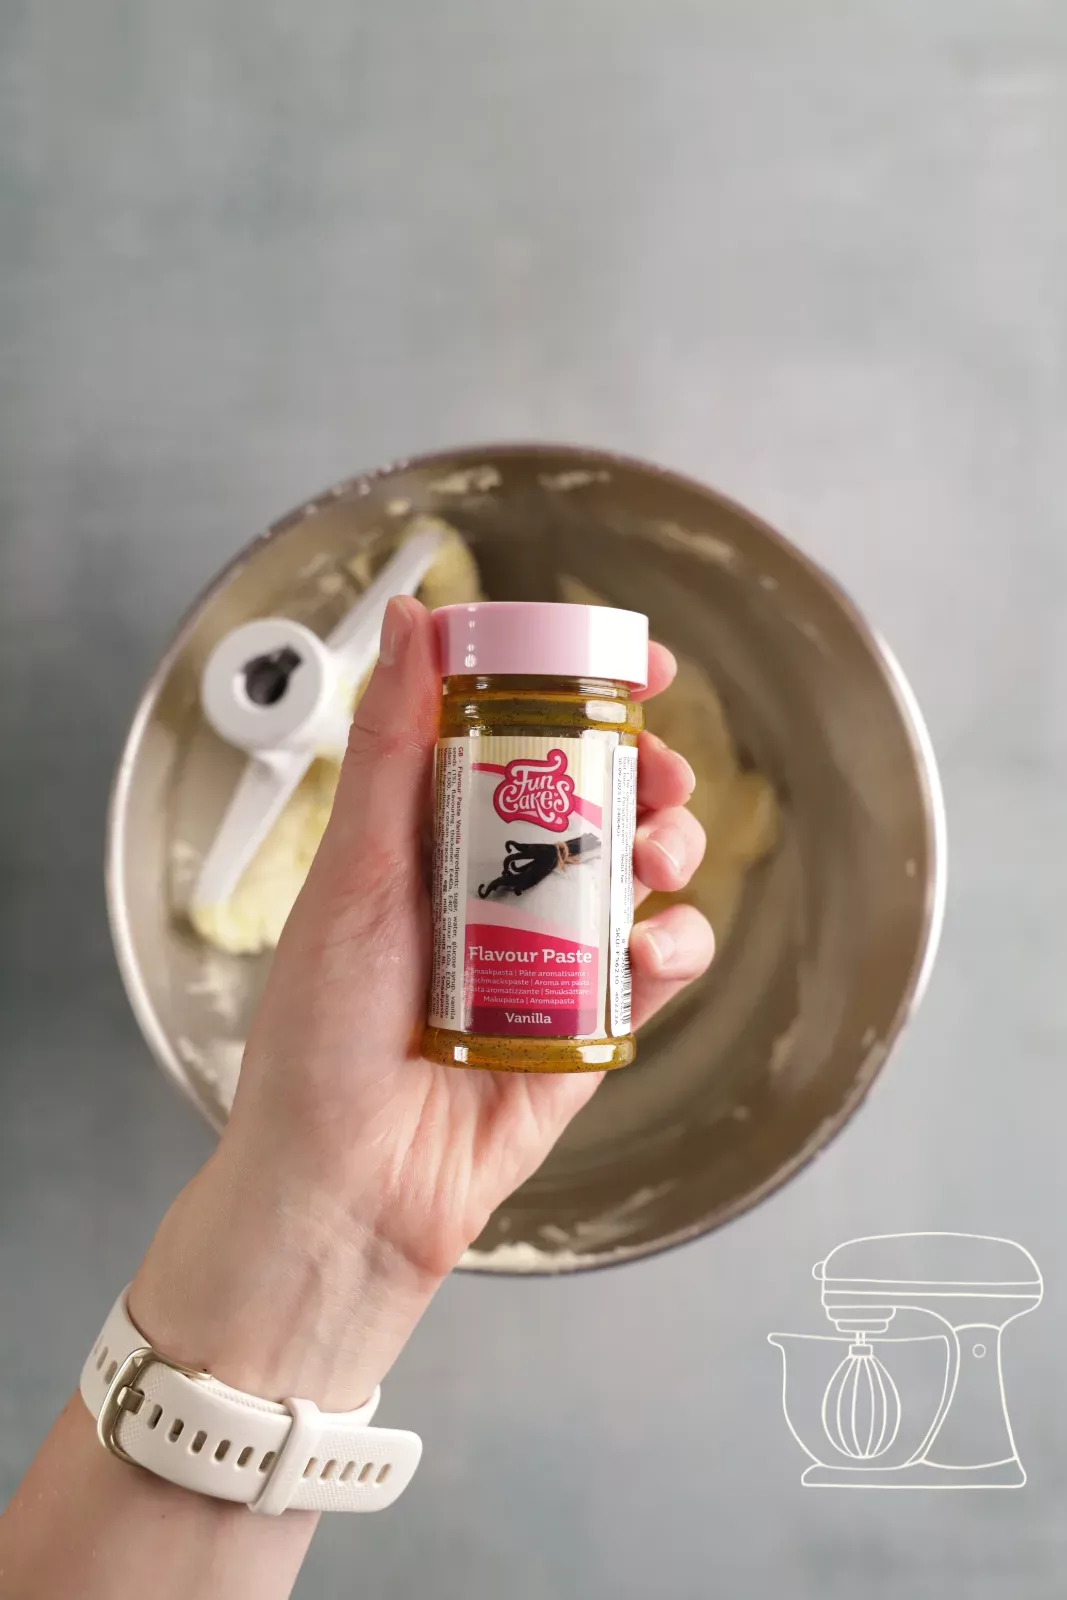
Add 1 egg and 1 tsp vanilla liquid aroma and beat everything once more. Instead of vanilla, grated lime or orange zest, or cinnamon or cappuccino aroma, work wonderfully too.
Vanilla aroma
Stir in flour and salt
Add 450 g flour and 0.5 tsp salt and mix on the lowest setting for no more than 1 minute. Coarse sprinkles will form, and that is exactly how it should be.
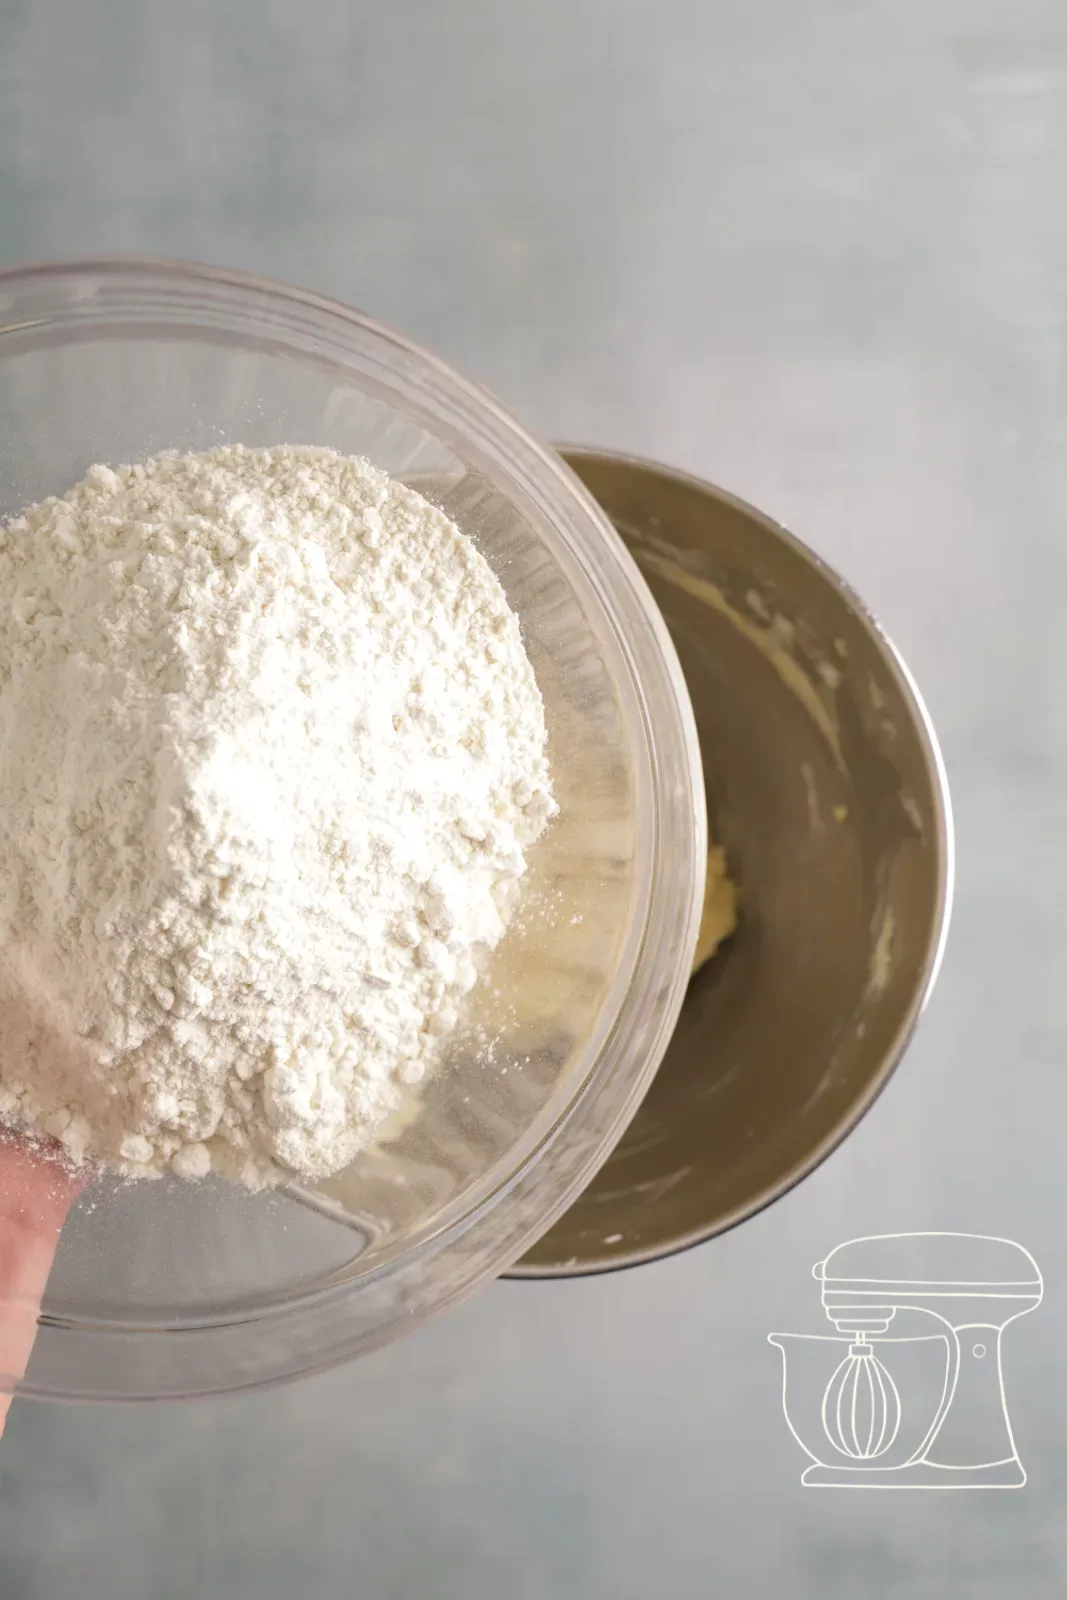
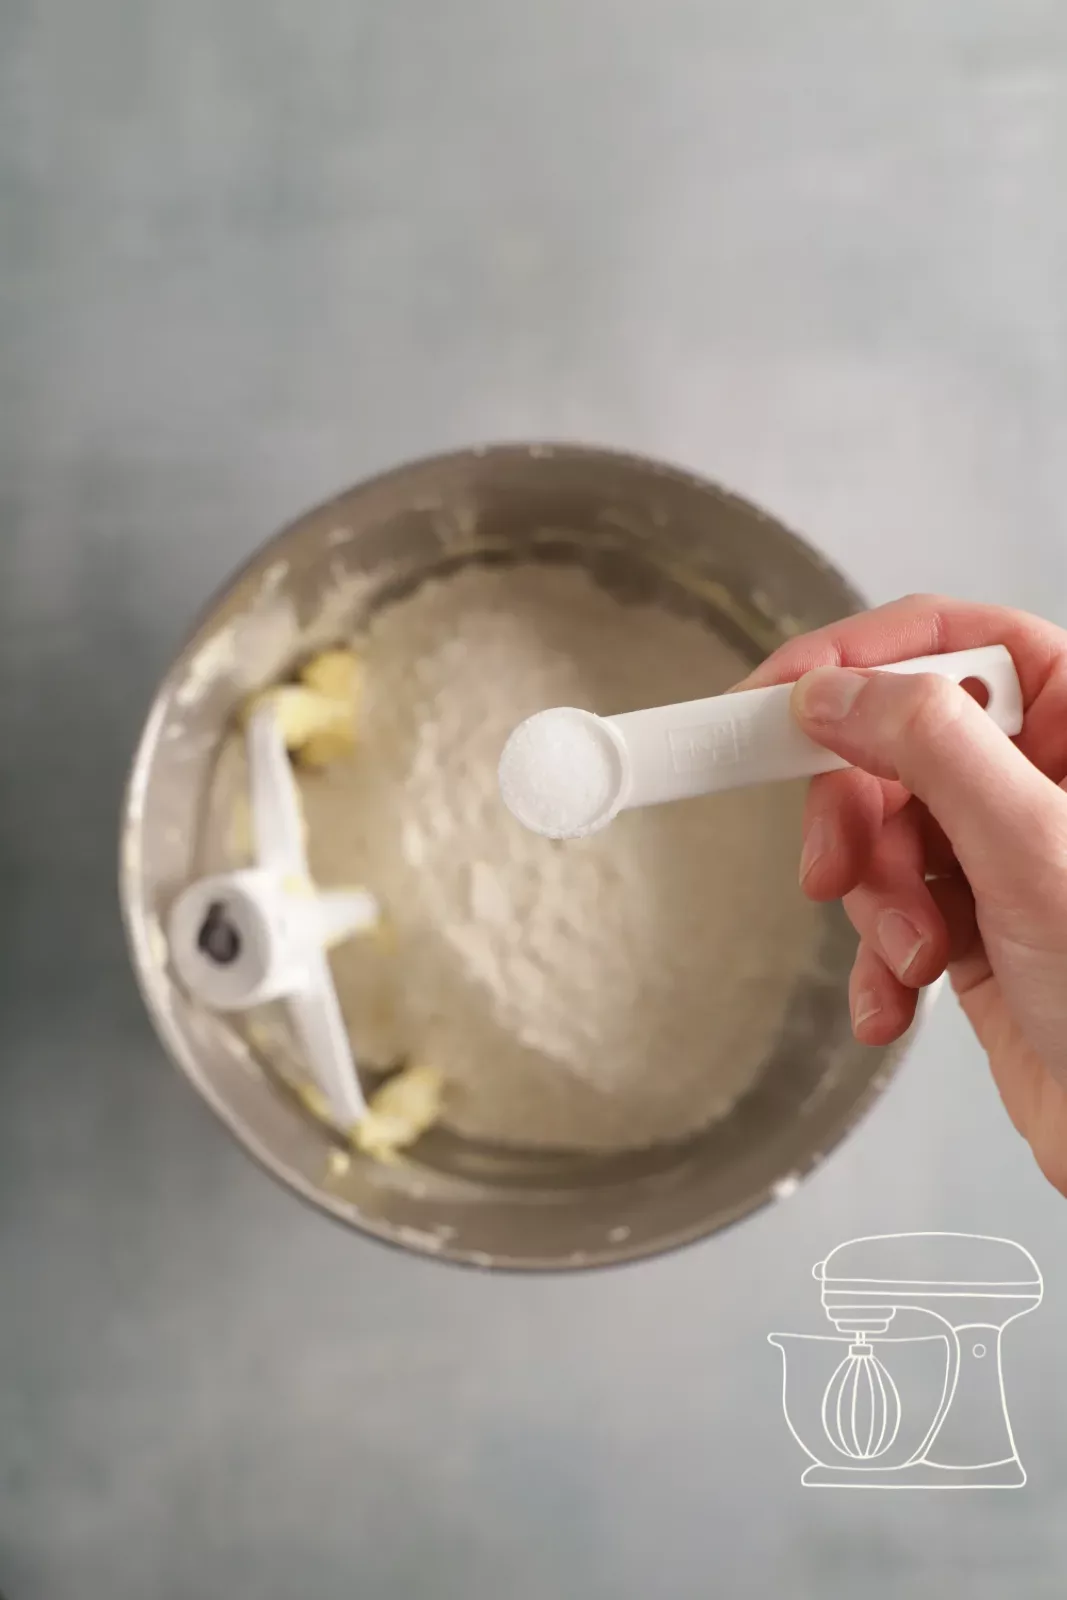
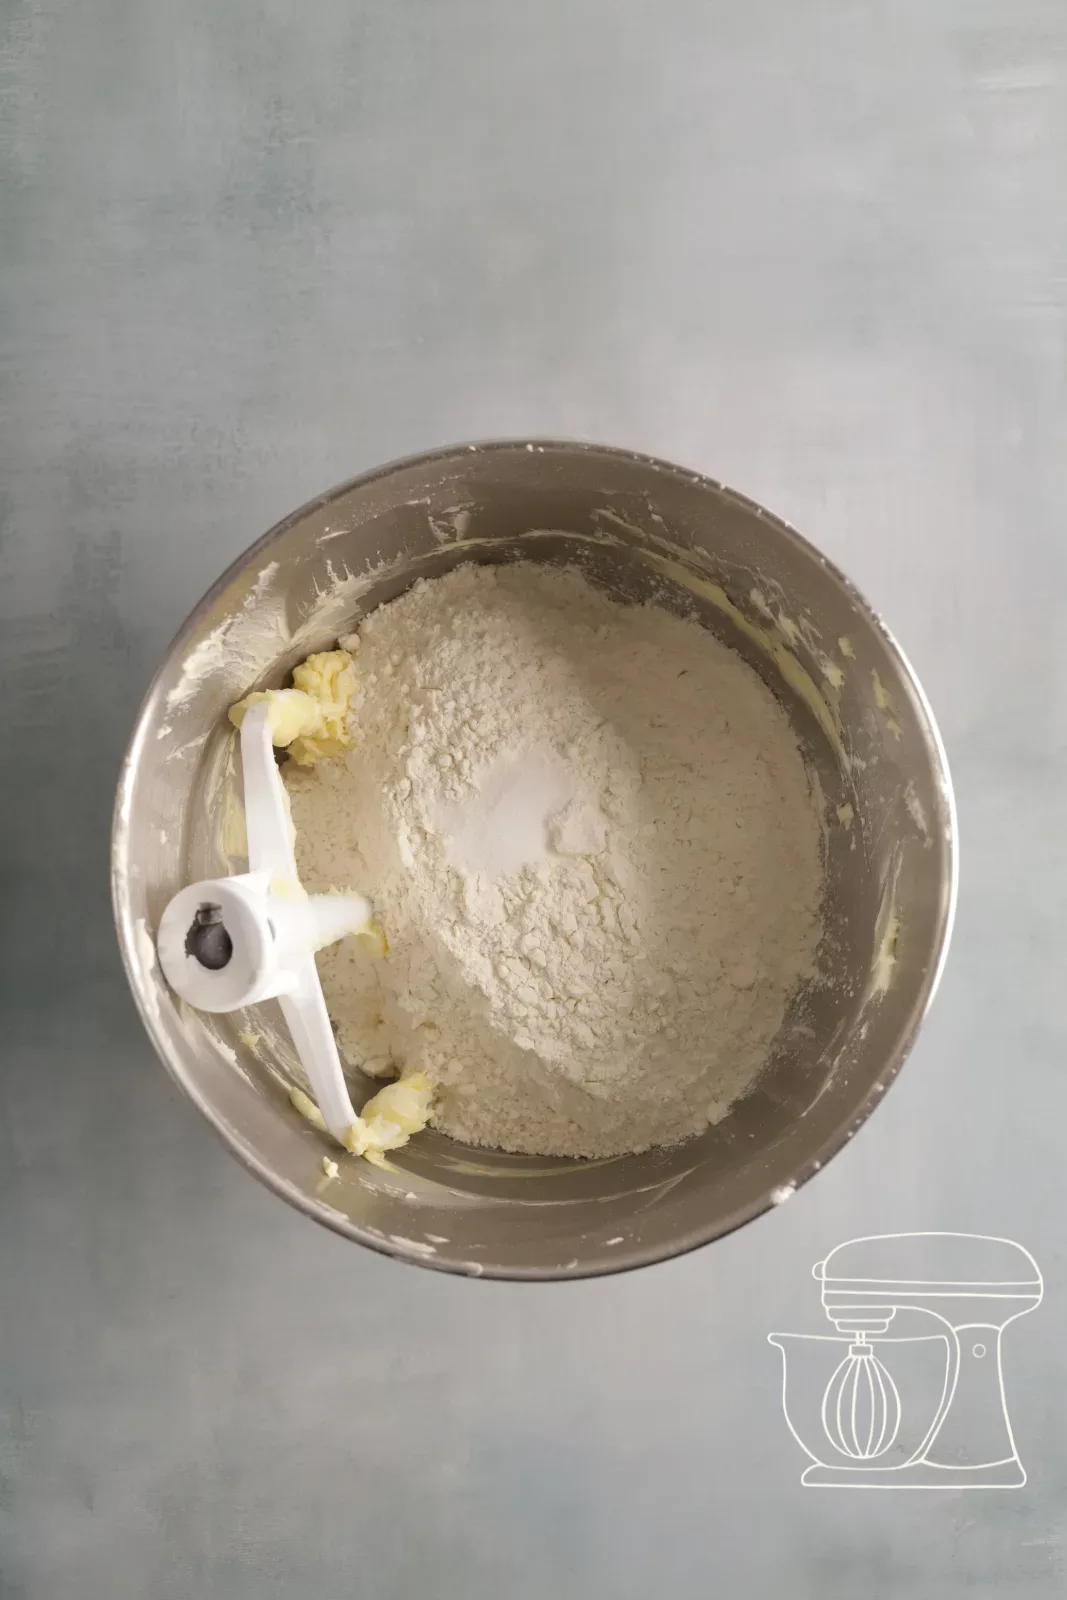
Finish kneading by hand
Do the rest by hand and knead the dough as little as possible, just until it can be formed into a ball. The machine would develop the gluten too much, and then bubbles would form on the cookies during baking.
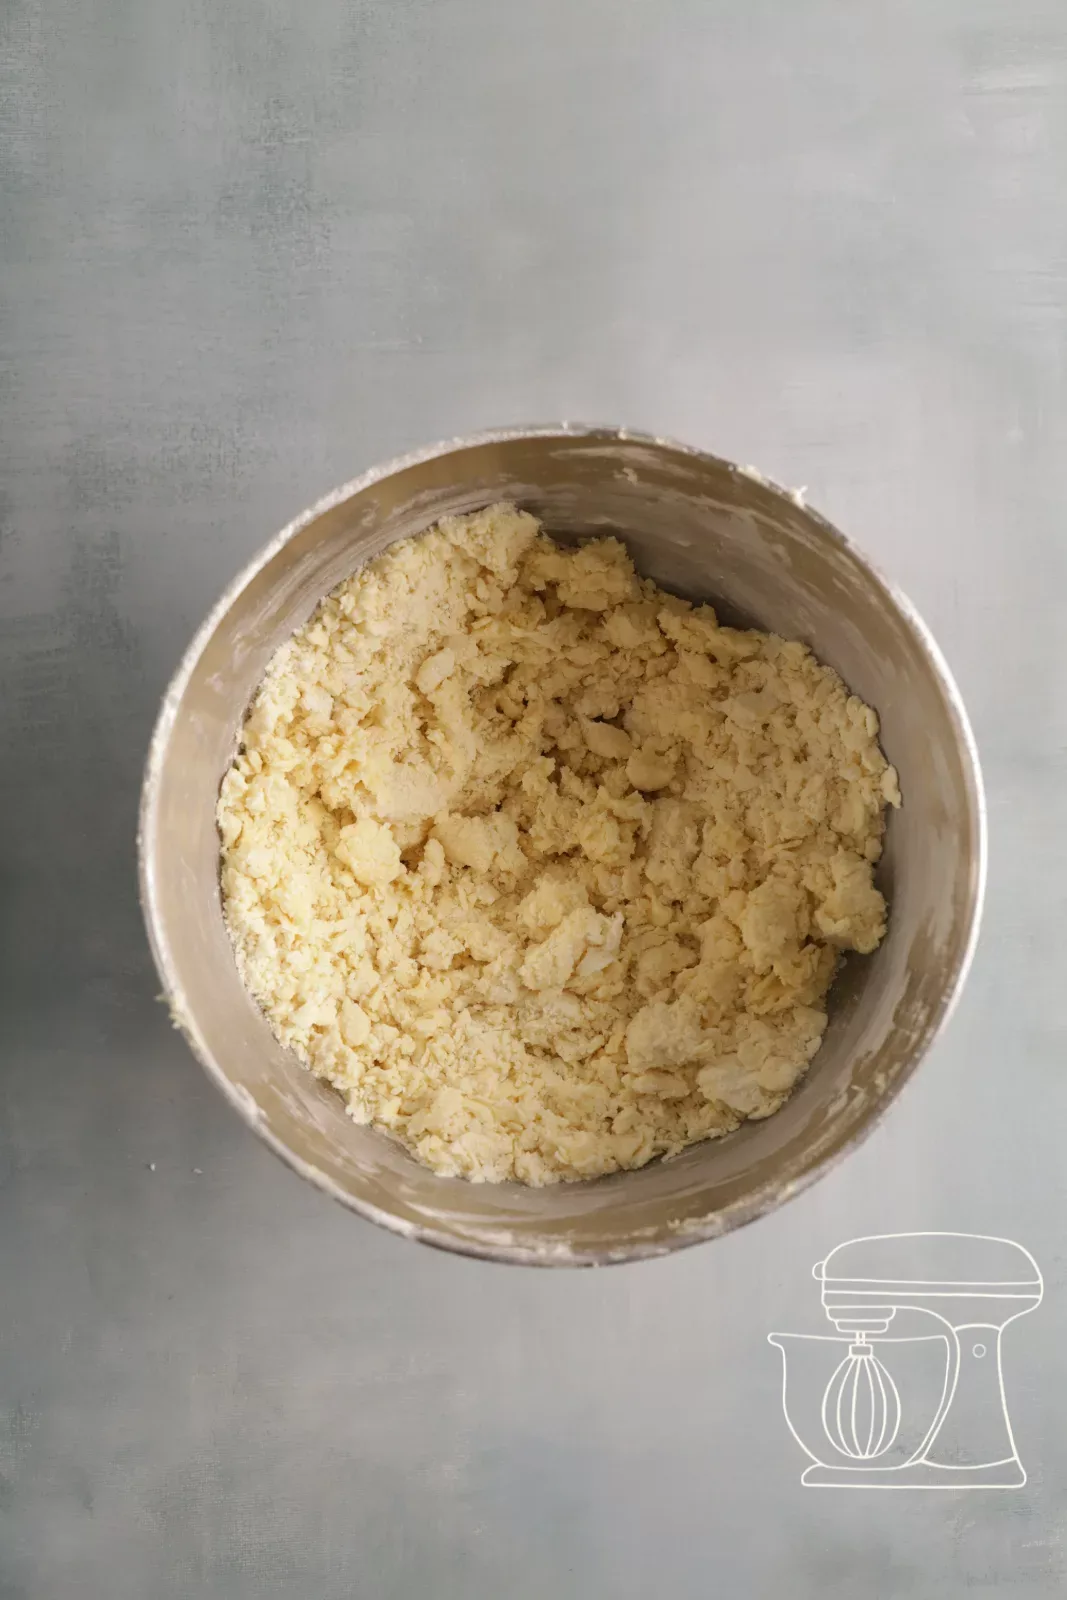
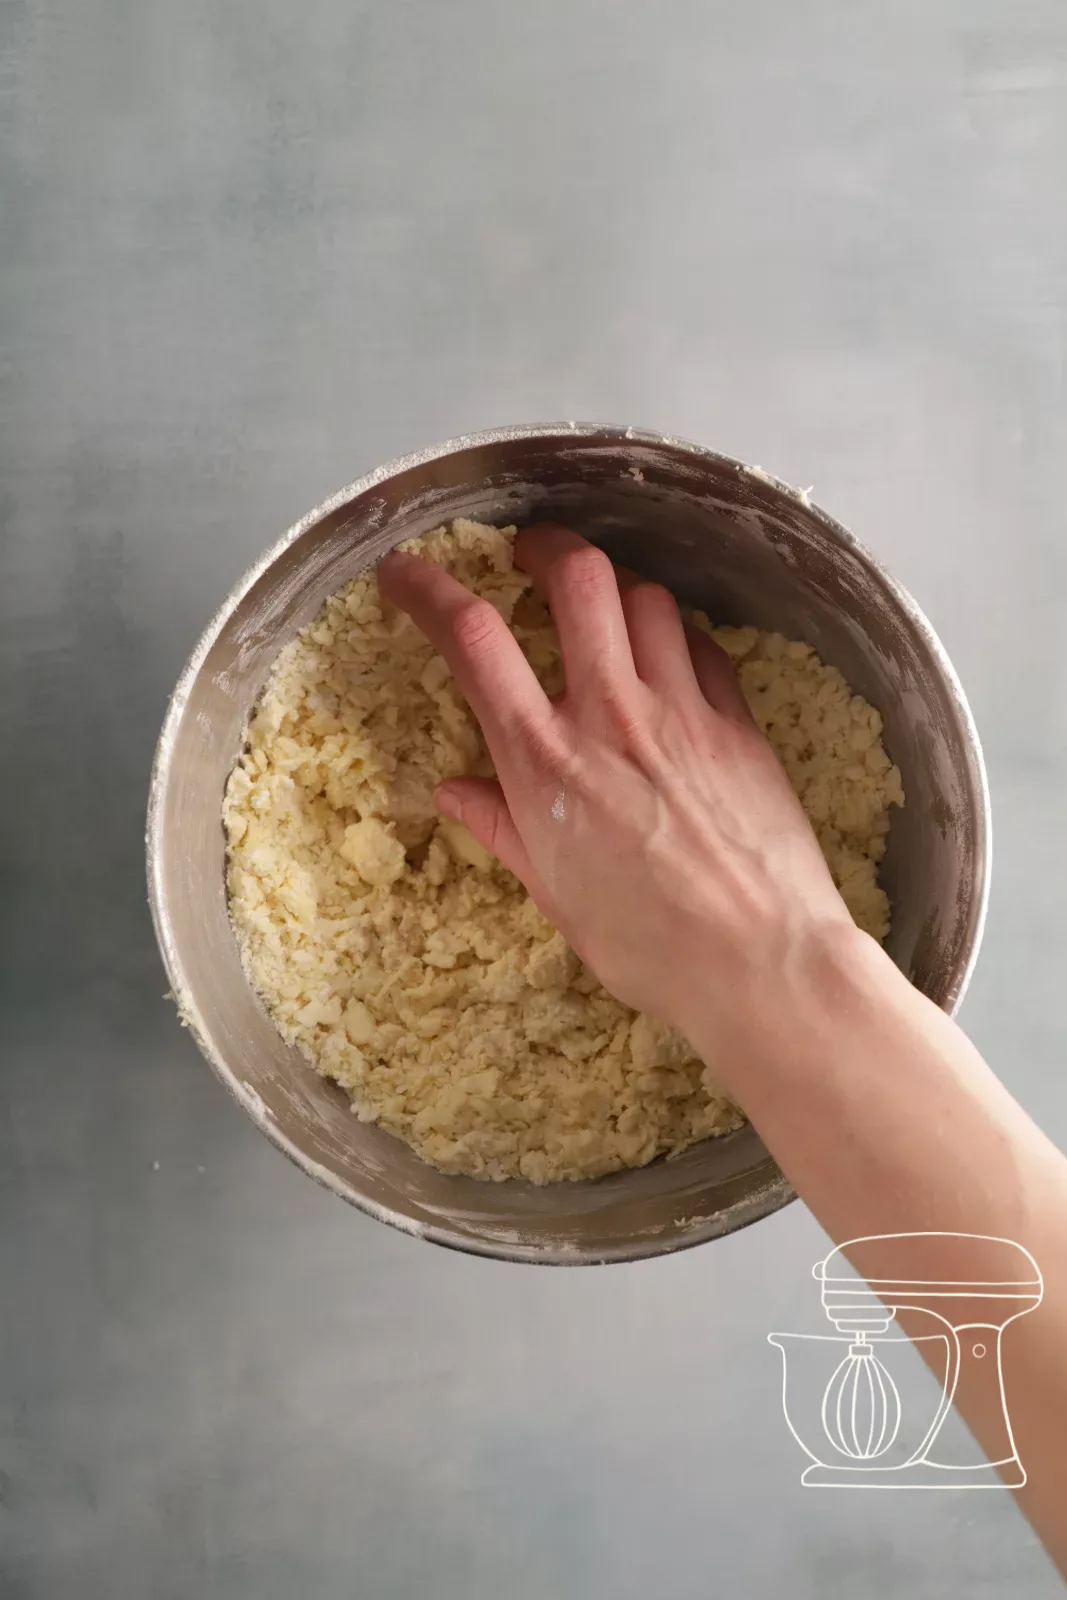
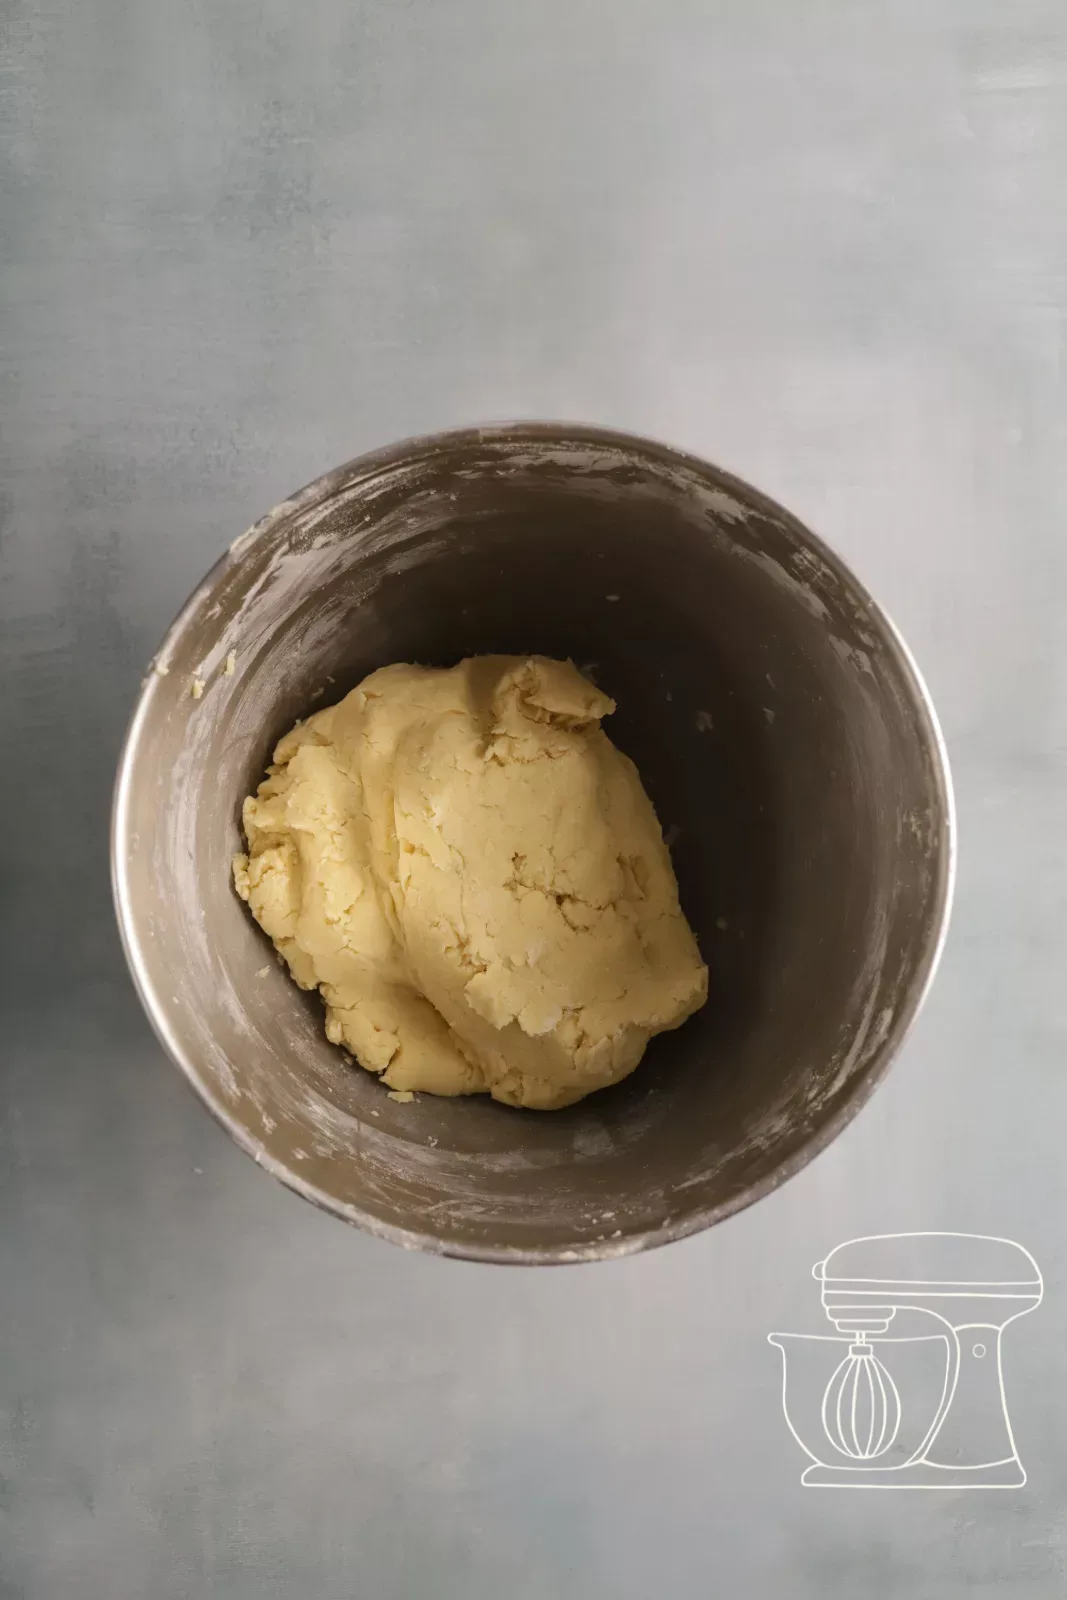
Roll out and chill
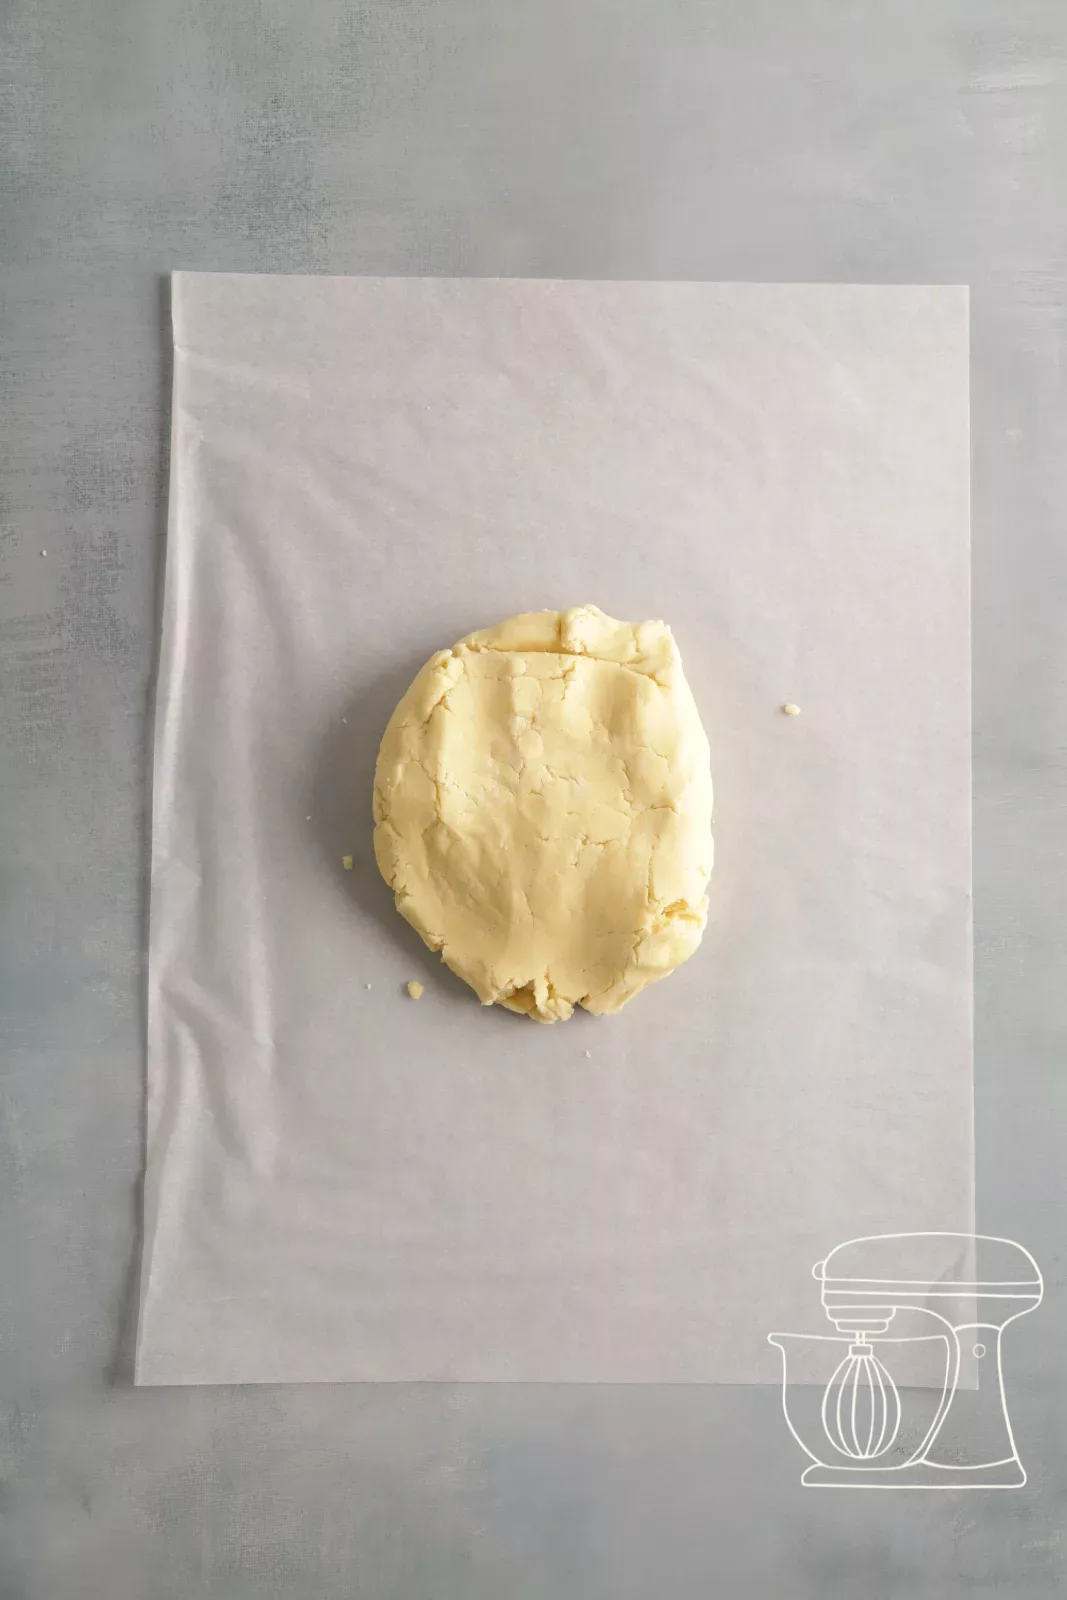
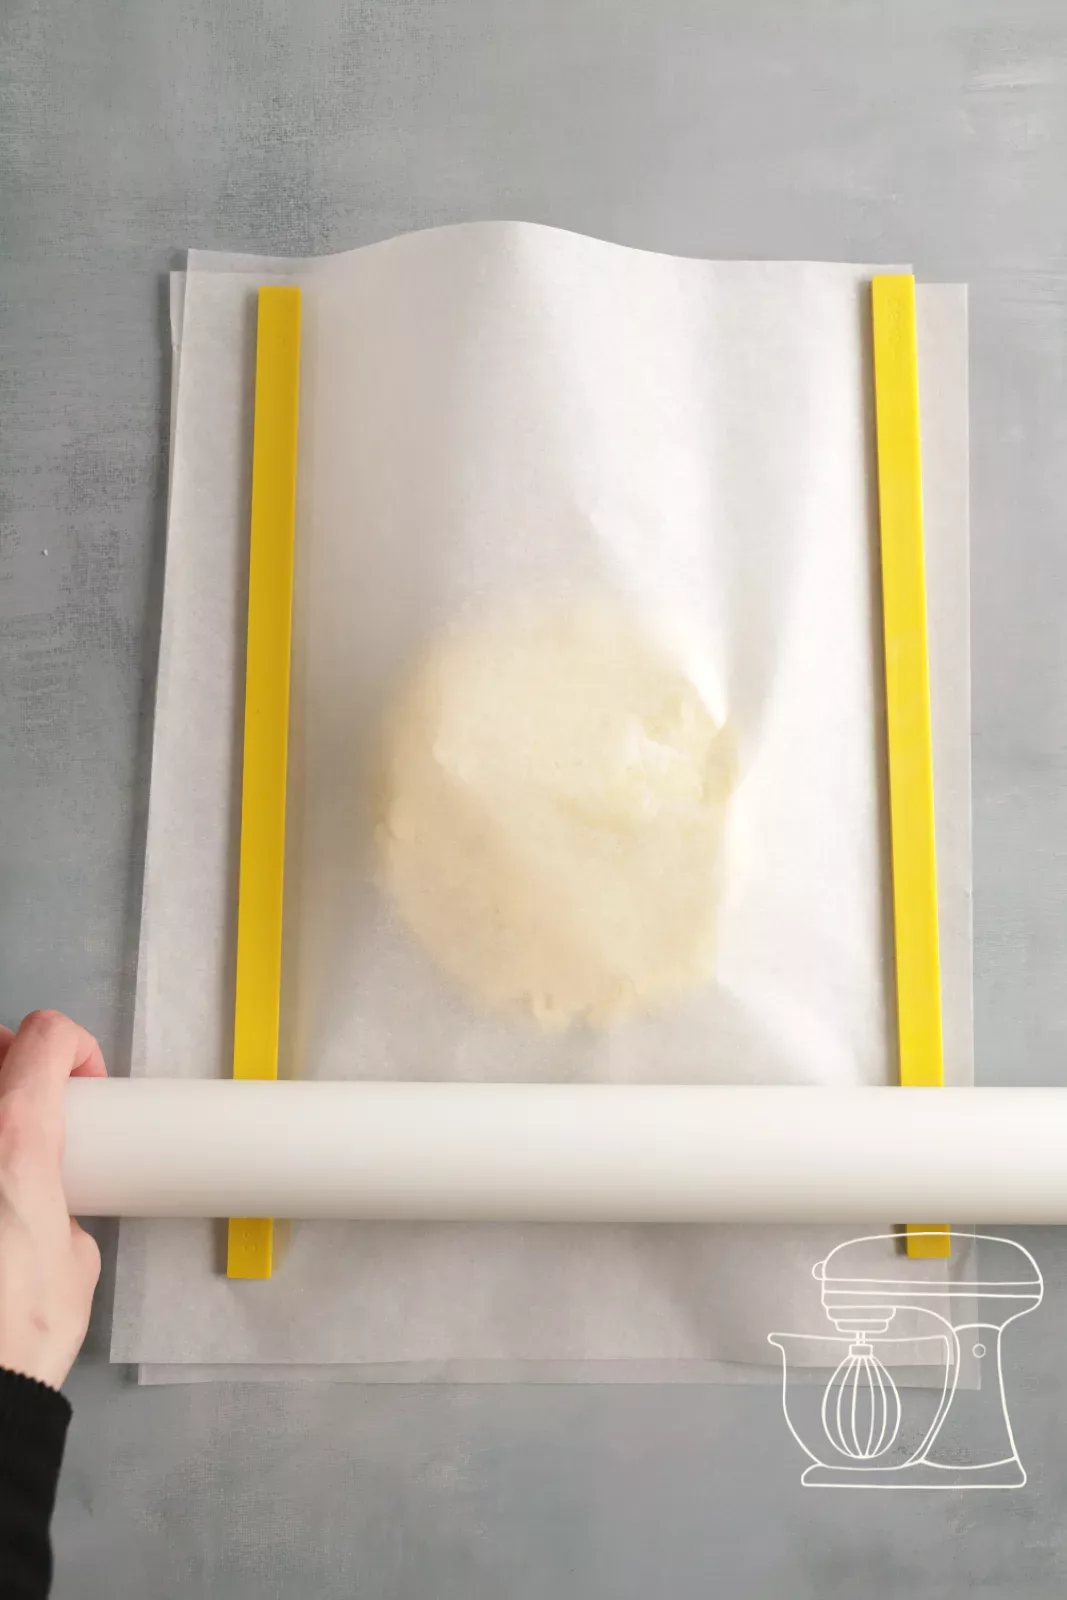
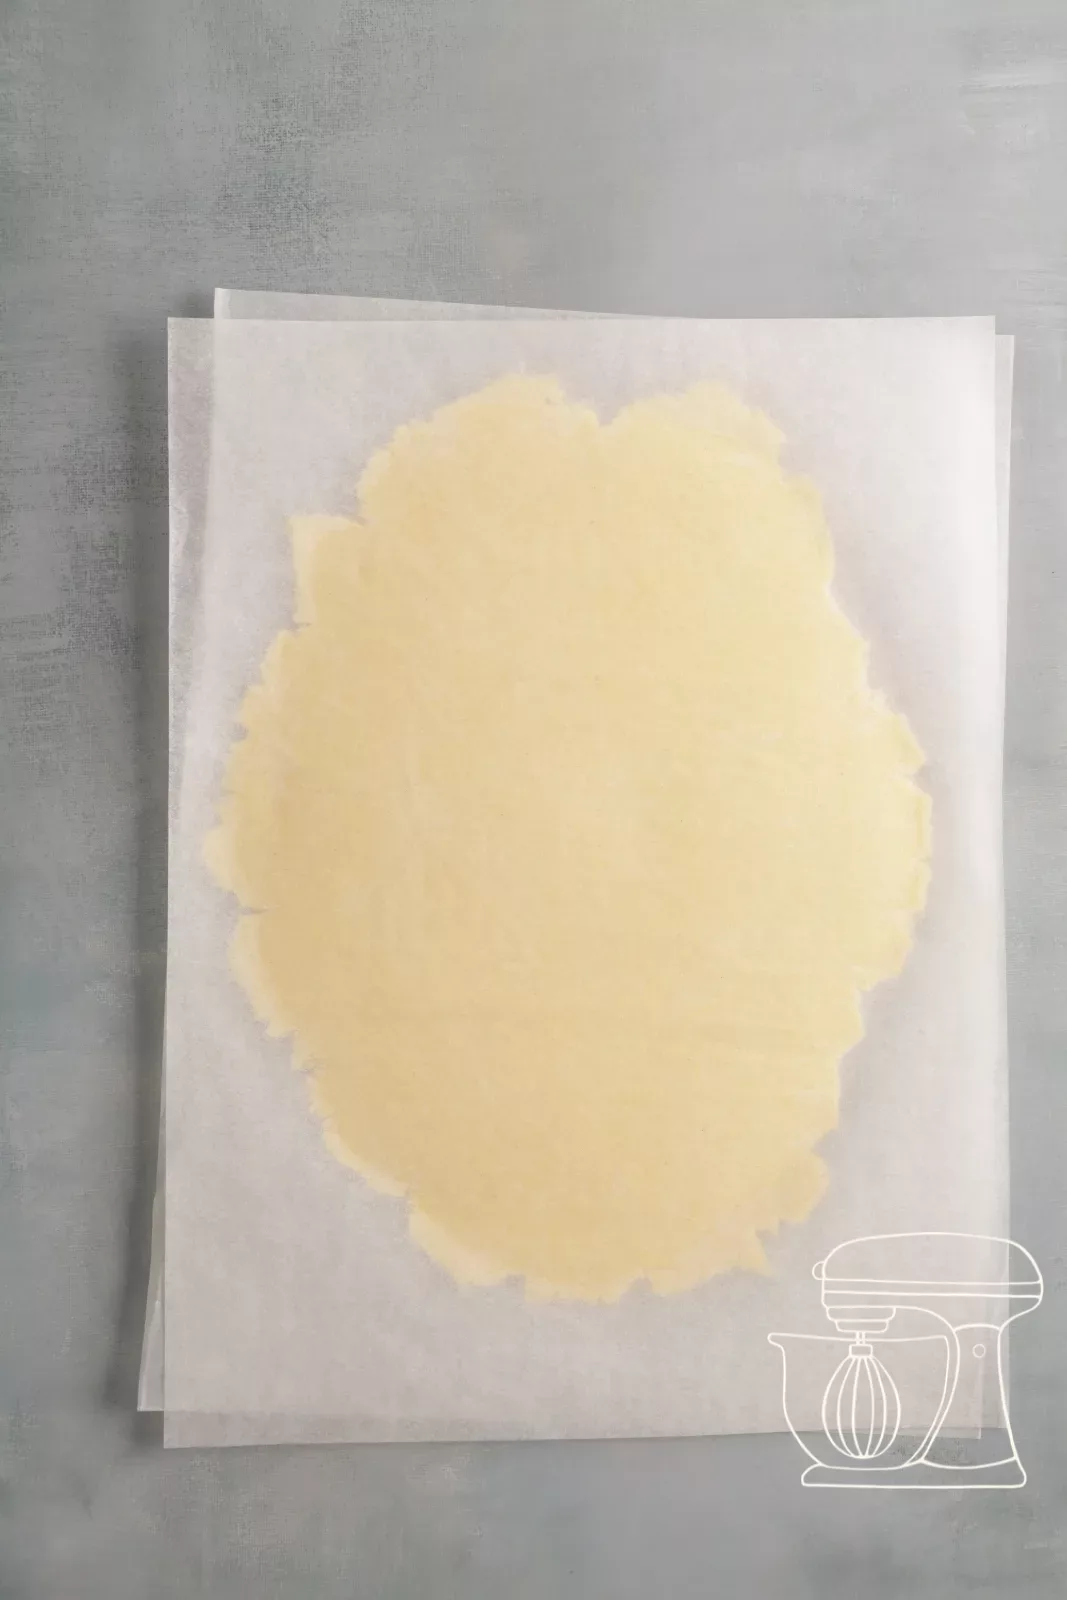
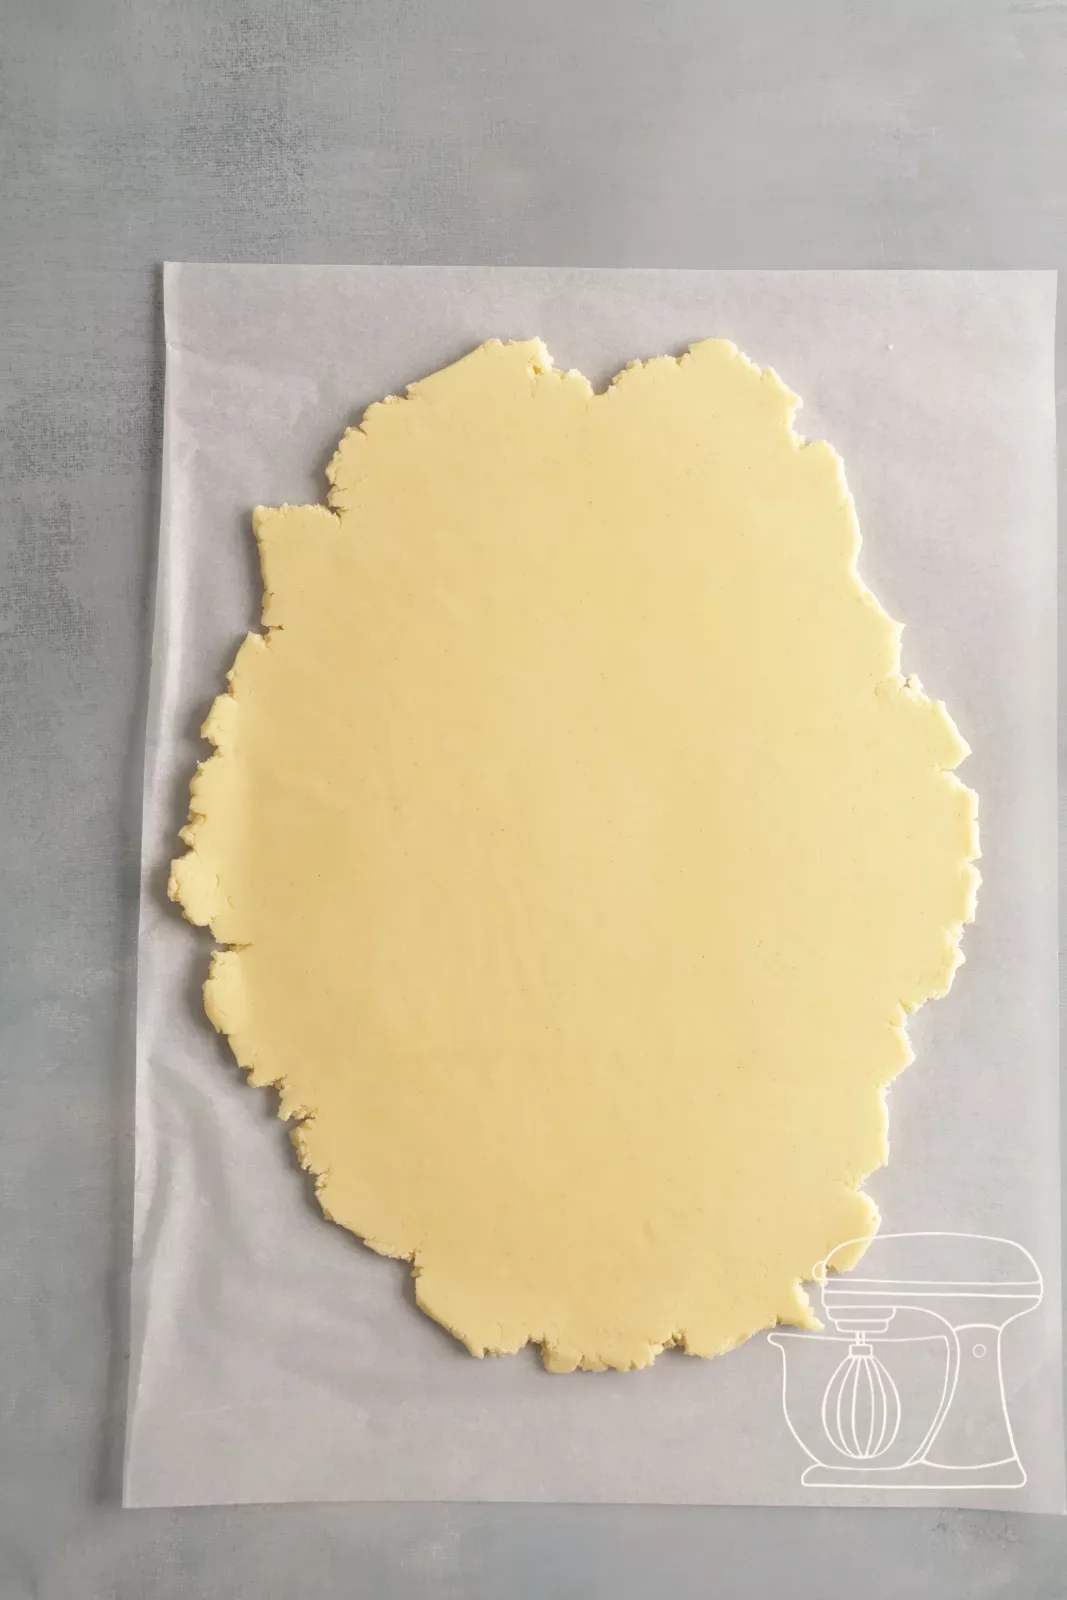
Place the dough ball on baking paper, lay a second sheet of baking paper on top and roll the dough evenly to 5 mm thickness between two 5 mm guide sticks. That way nothing sticks to the rolling pin and all cookies end up the same thickness.
Place the rolled-out dough in the freezer for 5 to 10 minutes. When cold it is much easier to cut out, especially filigree parts such as a unicorn's horn. This trick also helps when baking with children: the dough does not melt as quickly in their warm hands.
Dough sticks
Cut out cookies
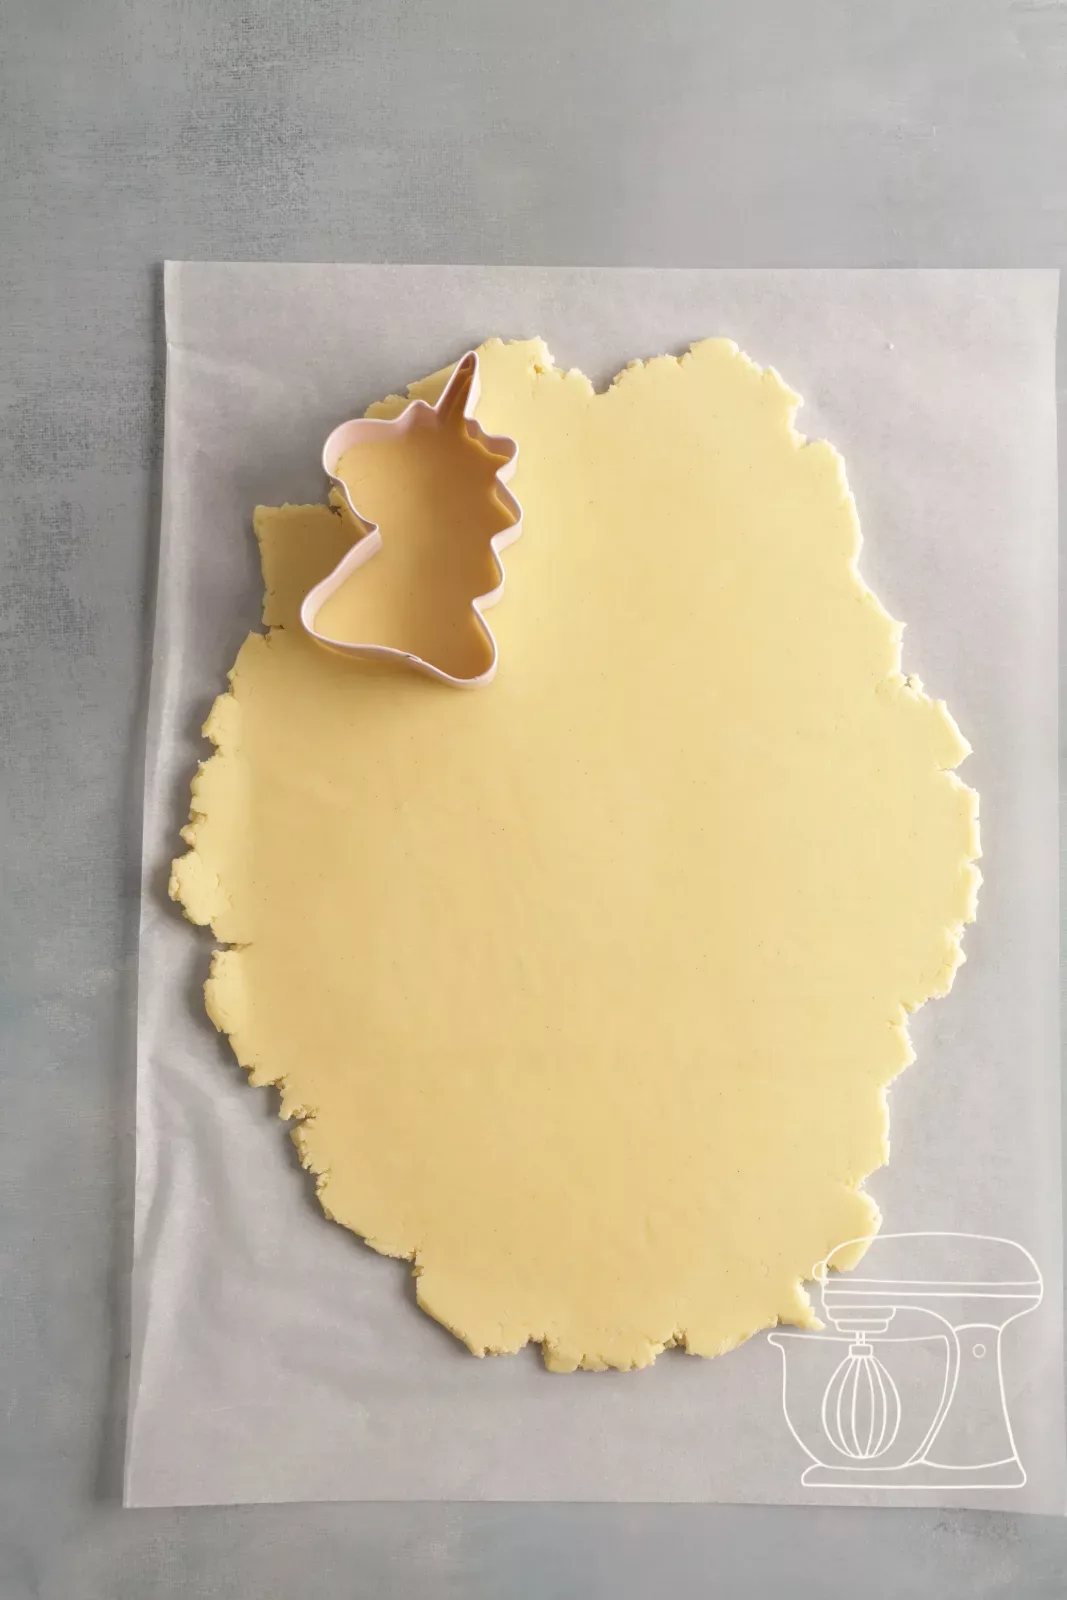
Preheat the oven to 135 °C fan. Cut out the cookies with the unicorn and rainbow cookie cutters.
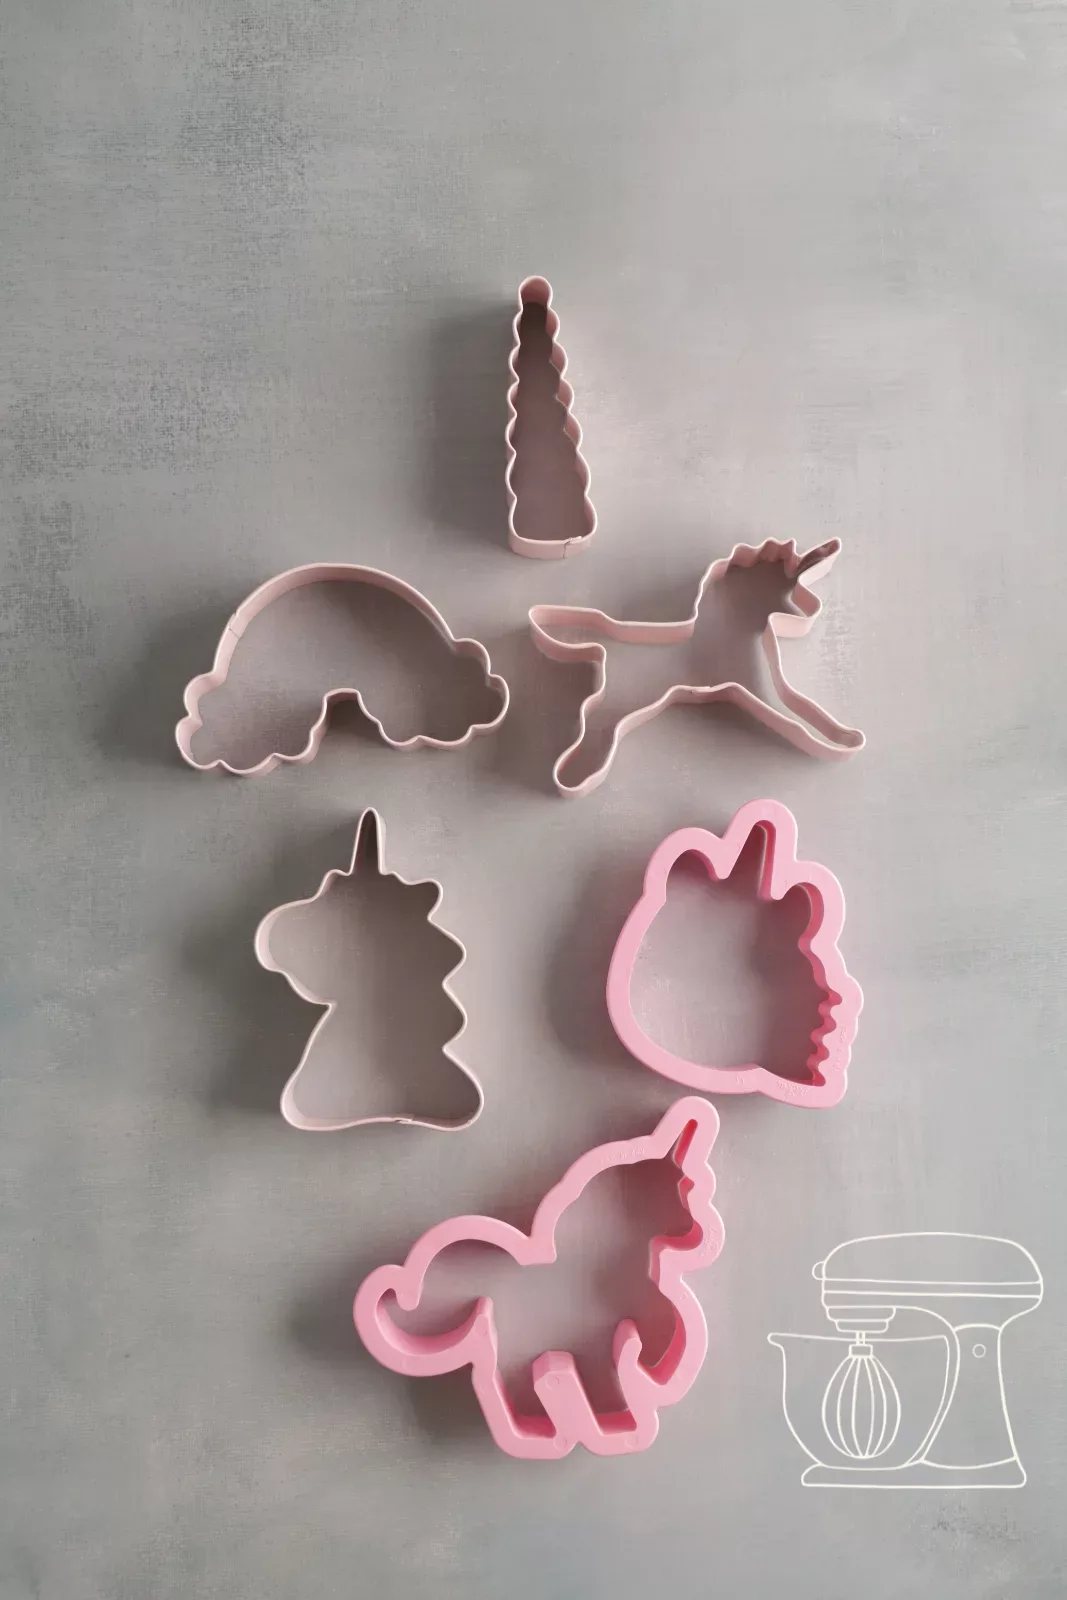
4 unicorn cookie cutters
Unicorn cookie cutters, set of 2
Baking
Place the cookies on a perforated baking tray lined with a baking mat. Since they barely rise, they can sit close together. Bake for 35 minutes at 135 °C fan.
The low temperature and long baking time make the cookies nicely dry. This is important: if the cookie contains too much fat, the royal icing can turn yellowish after a few hours. They are done when the edges and underside have taken on a little colour. Let them cool completely before decorating.
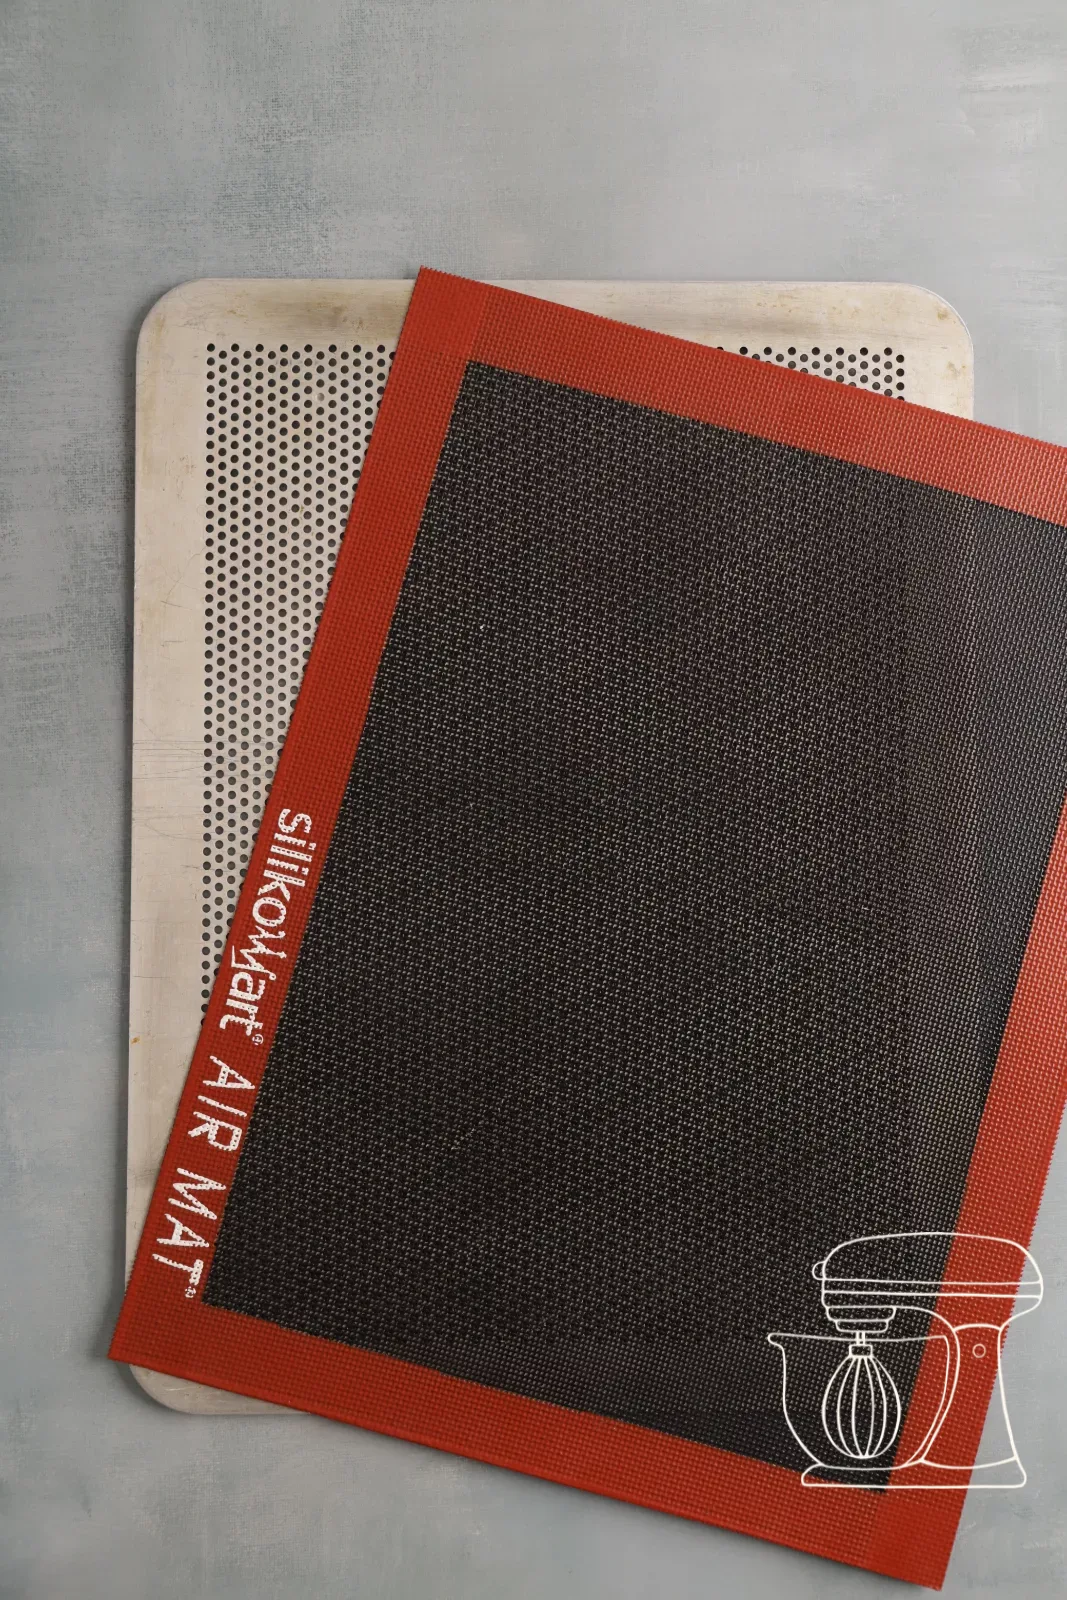
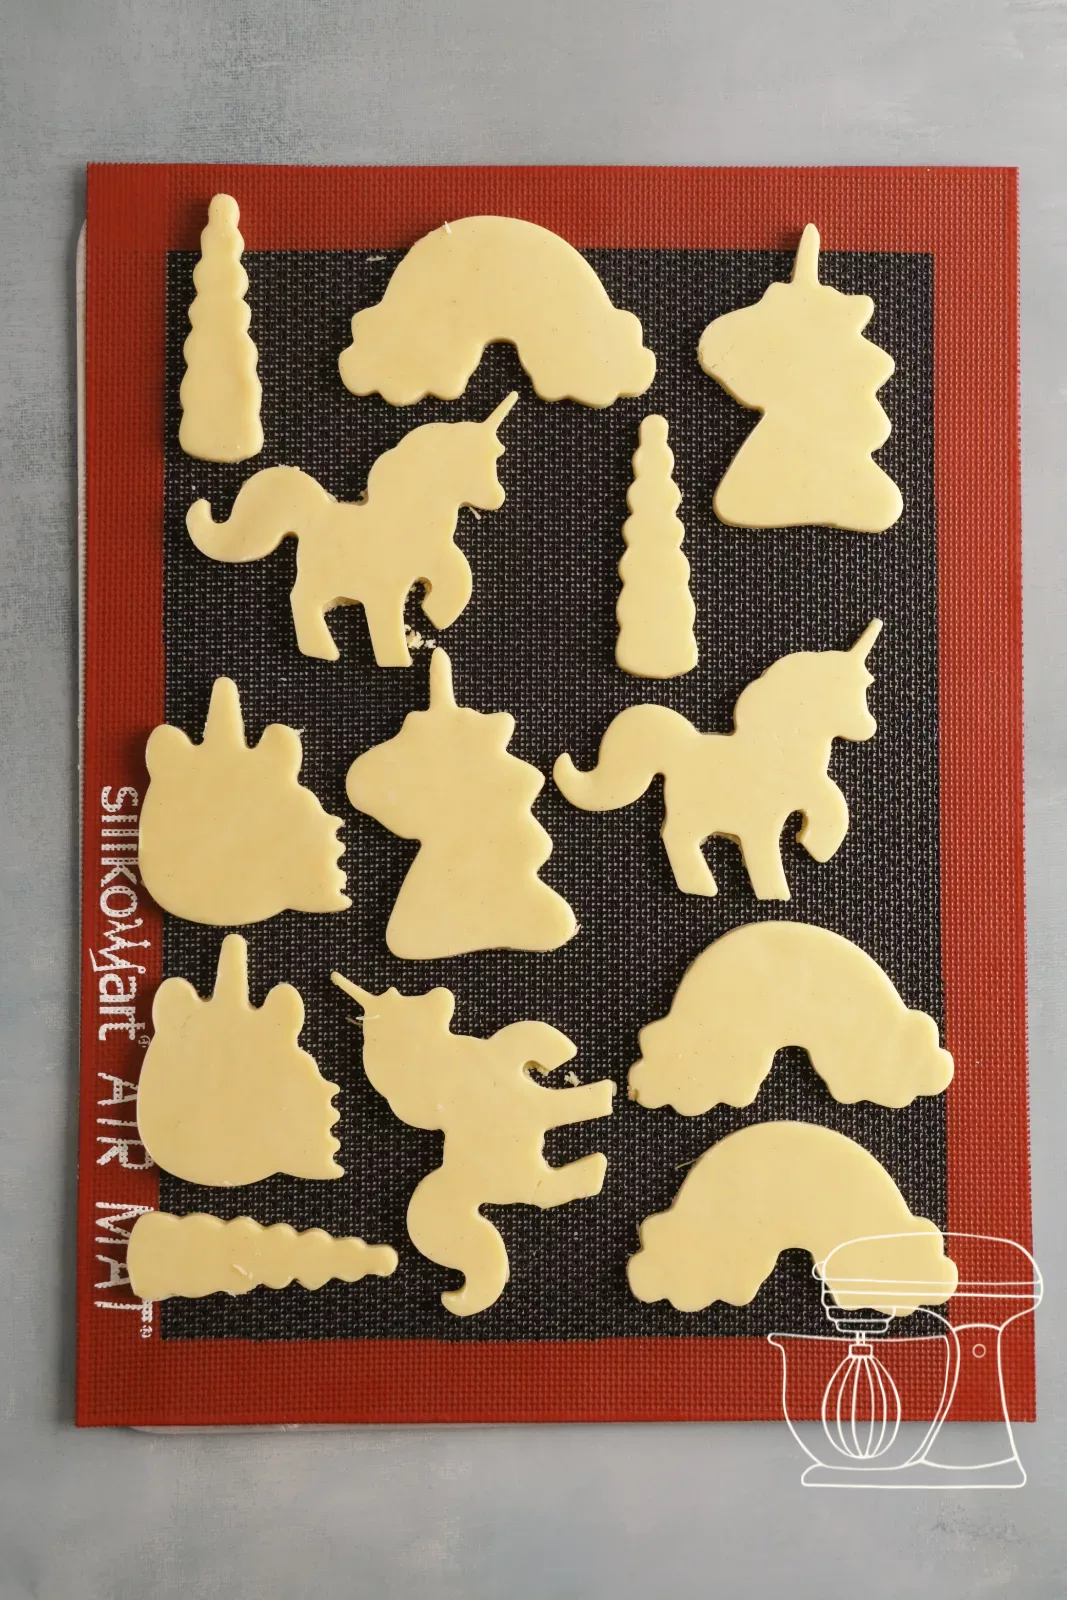
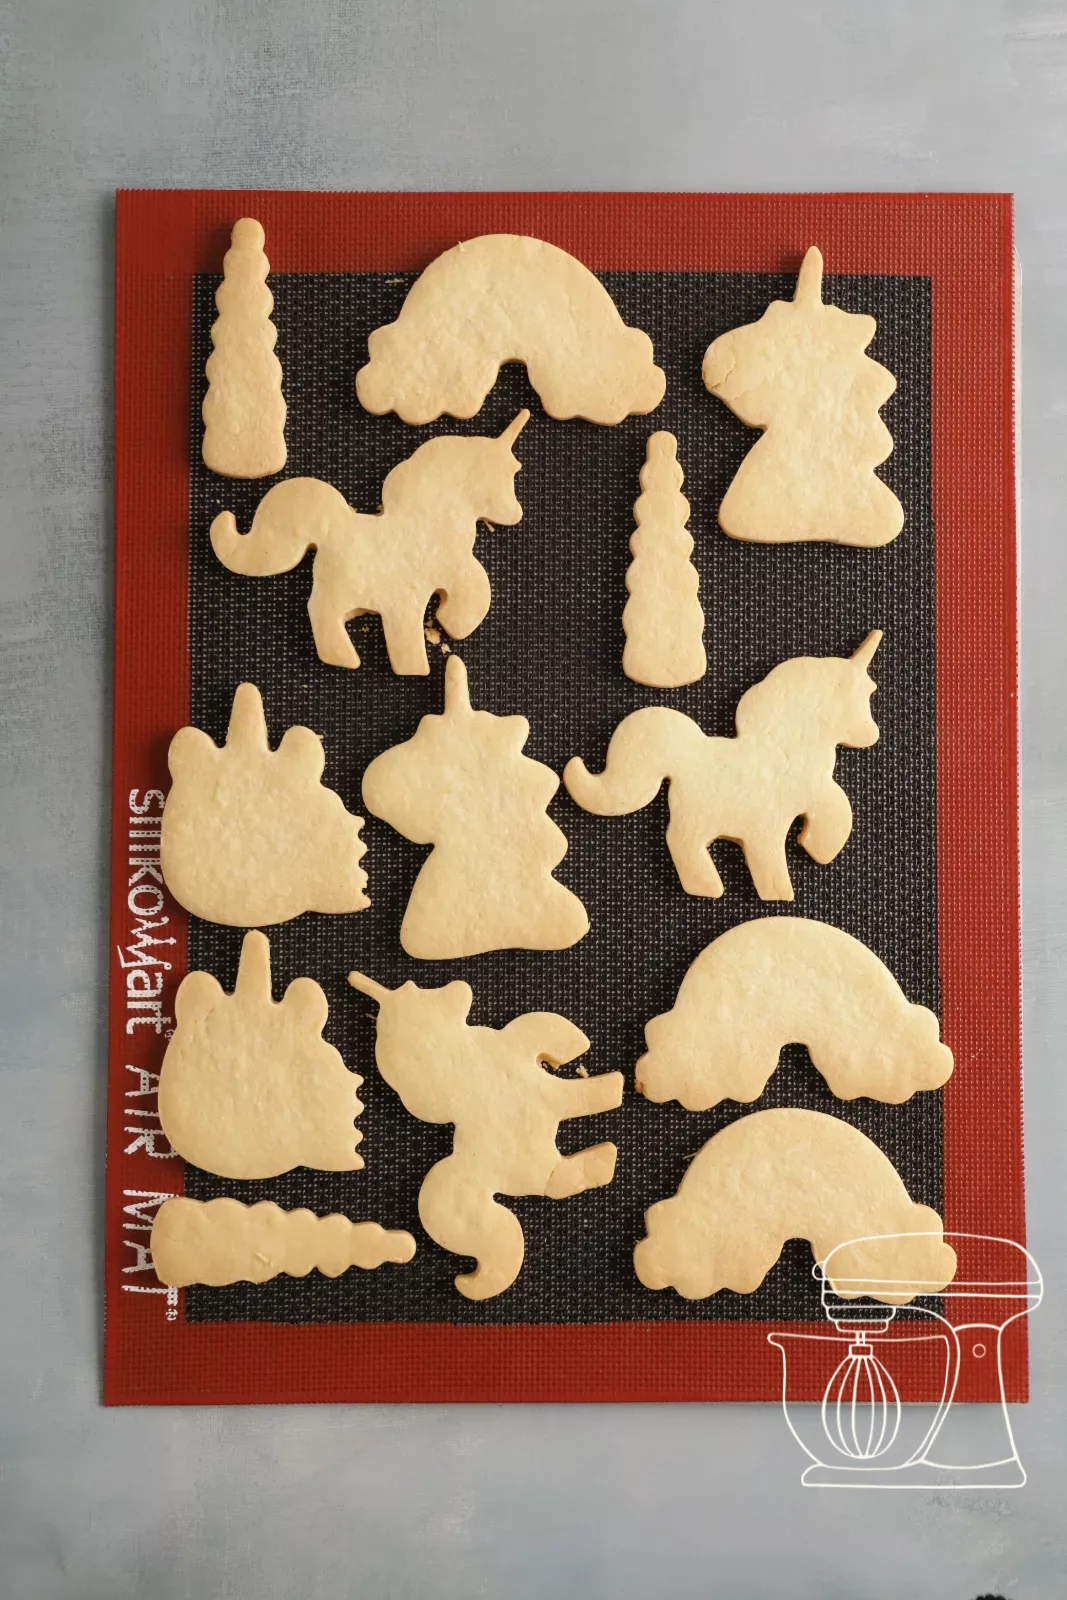
Silicone mat with micro-perforation, 30 x 40 cm
Perforated aluminium baking sheet, 40 x 30 cm
Royal icing
Measure the dry ingredients
A icing made from raw egg white and water doesn't hold up well and is hygienically tricky. We therefore use meringue powder, which replaces the egg white, and tartar cream, which stabilises the Royal icing and keeps it fresh.
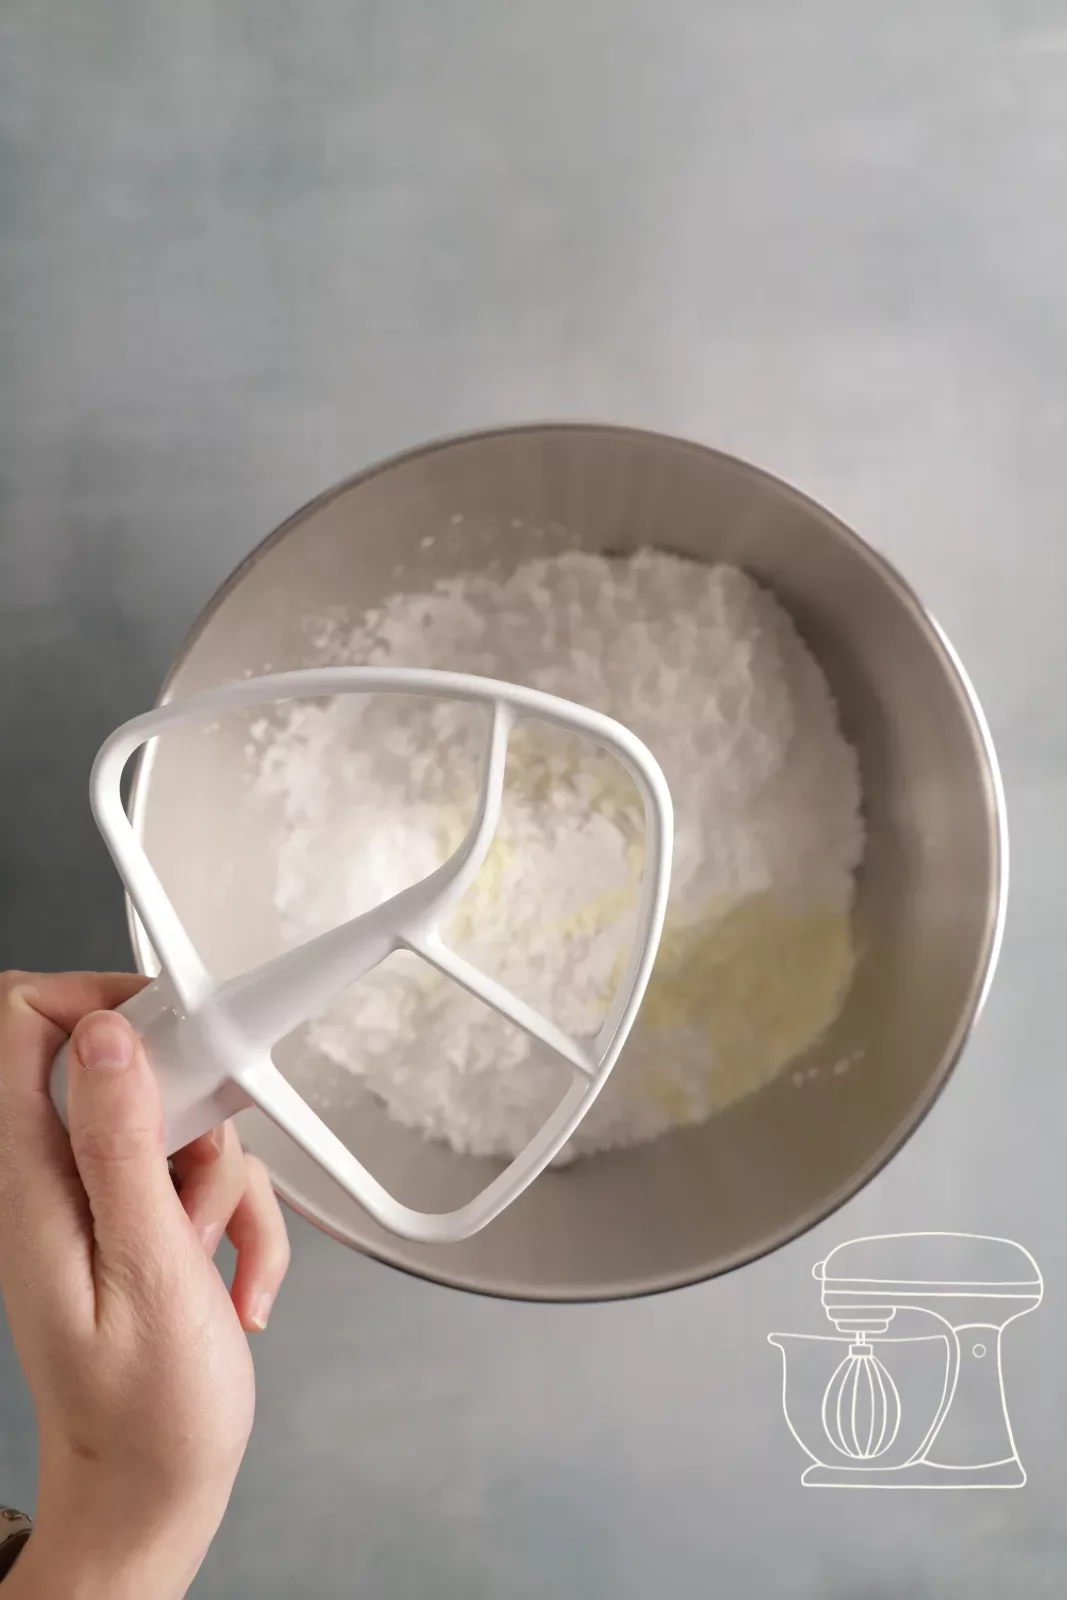
Put 750 g icing sugar, 4 tbsp meringue powder and 1 tsp tartar cream into the mixing bowl. Use a measuring spoon for this, so the amounts are exact.
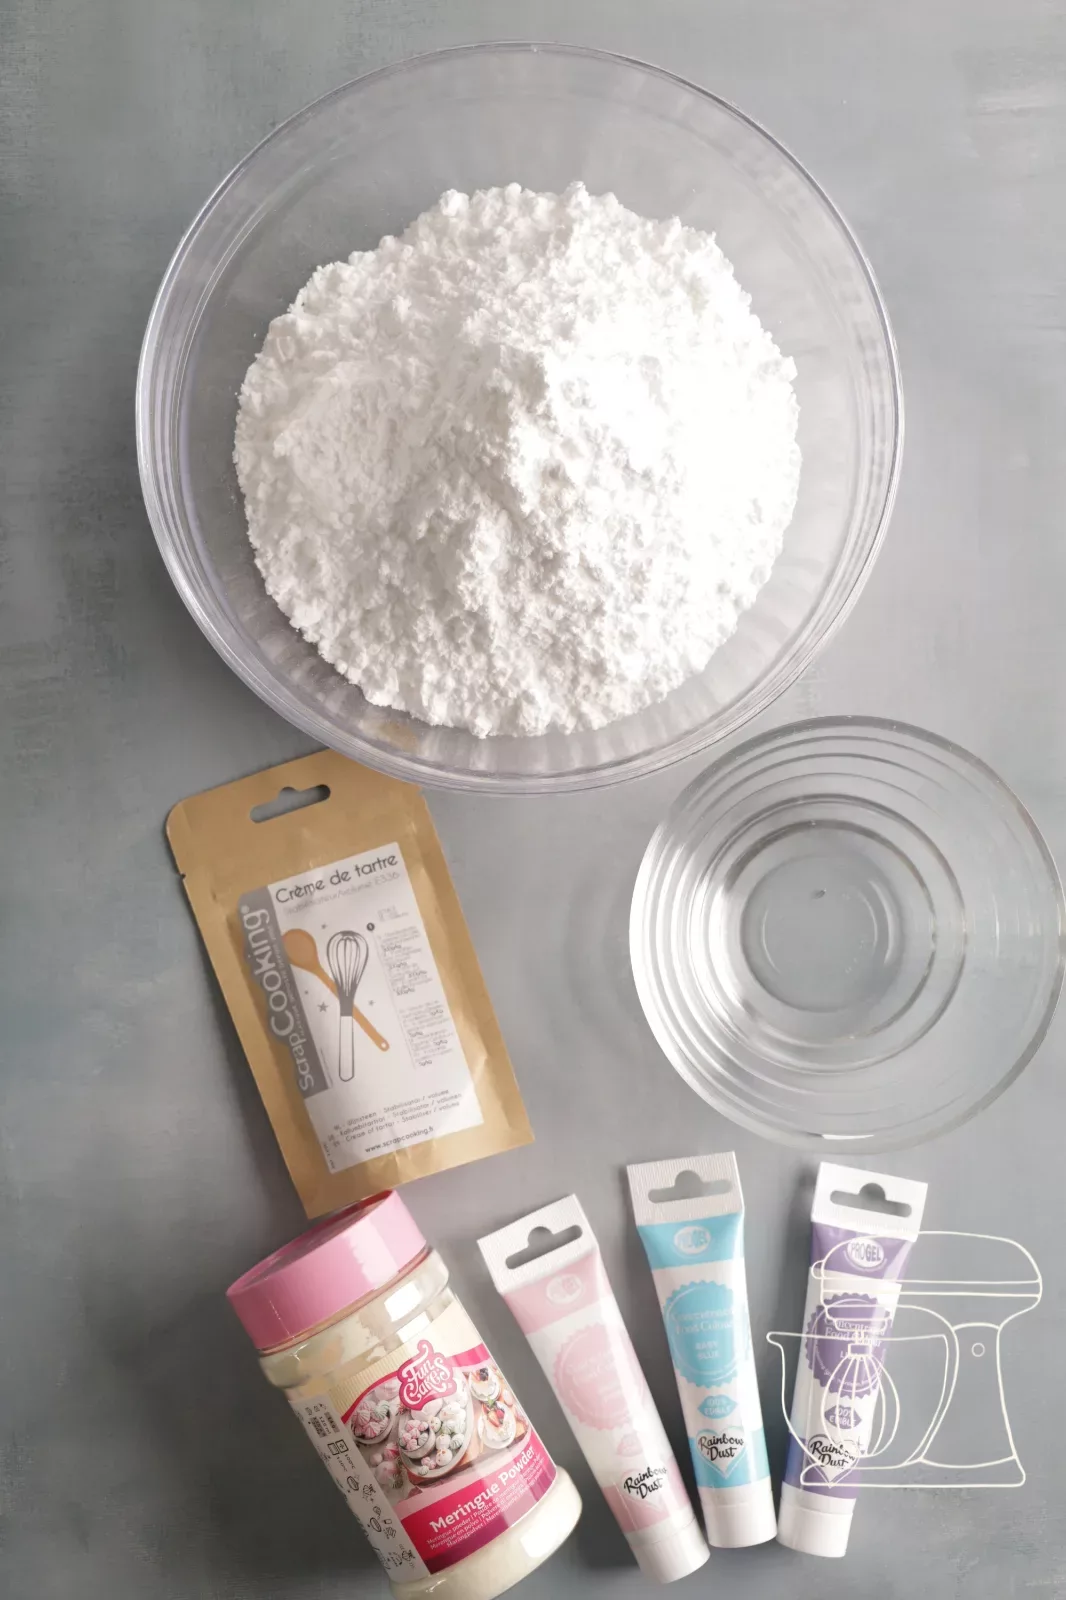
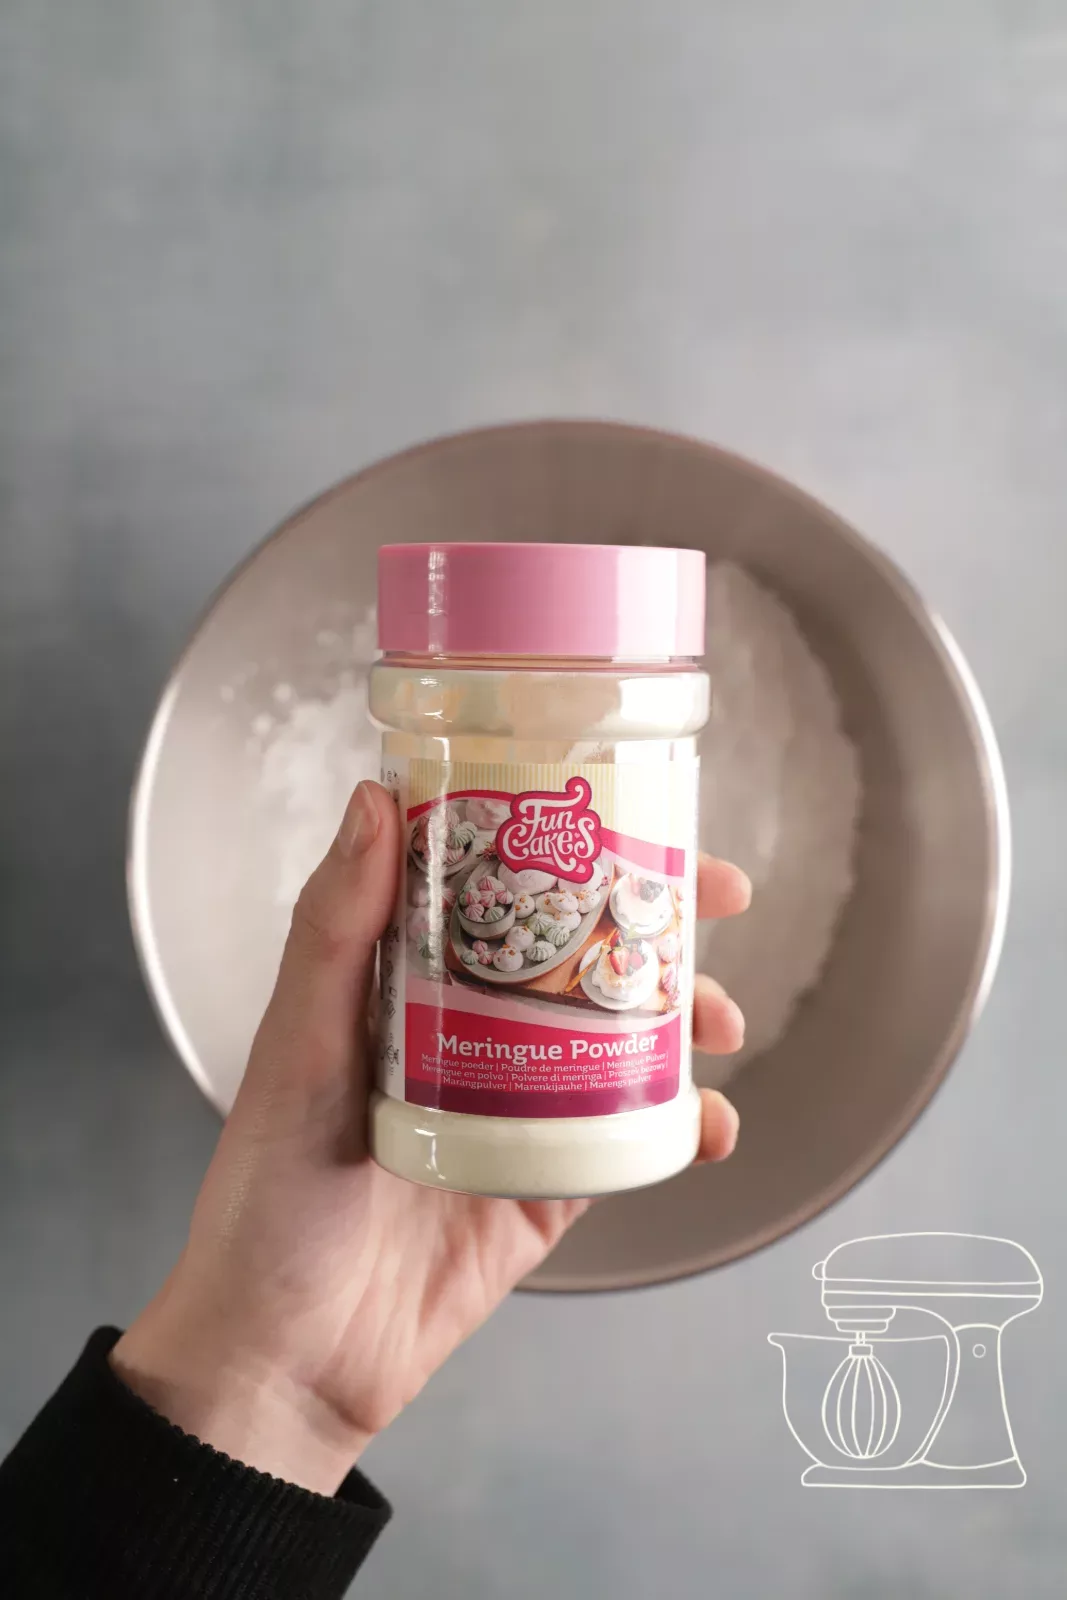
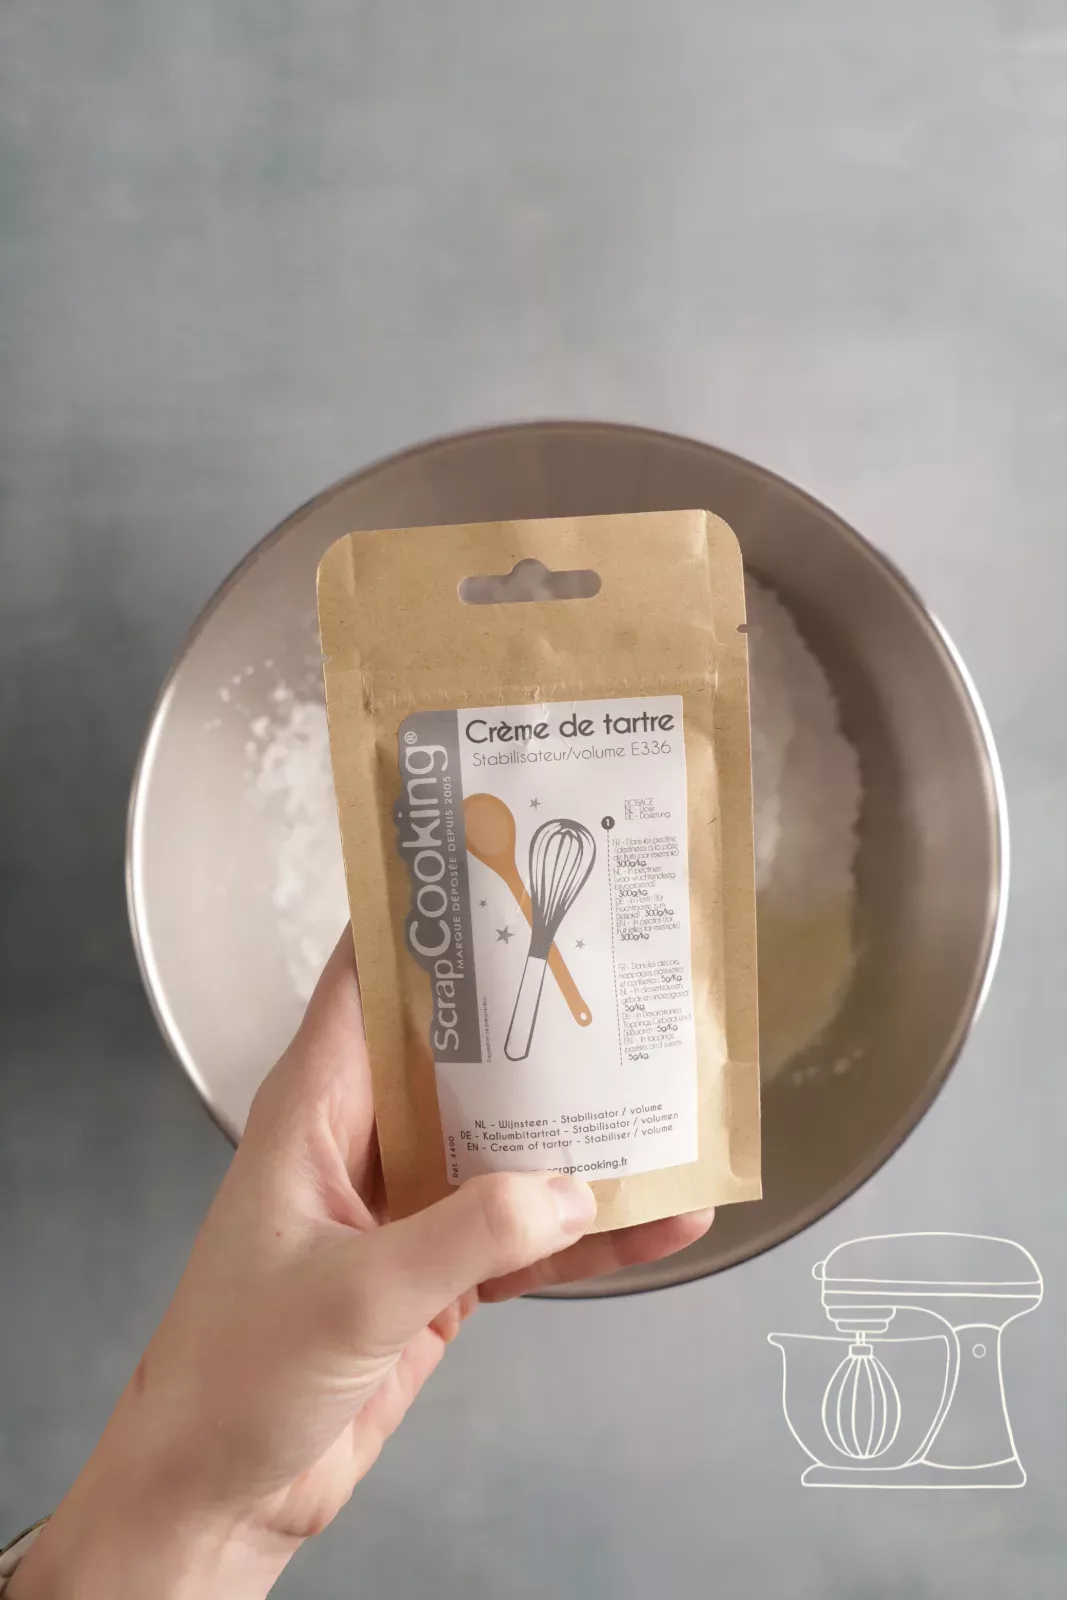
Meringue powder
Cream of tartar - 80g
Plastic measuring spoon
Mix with water
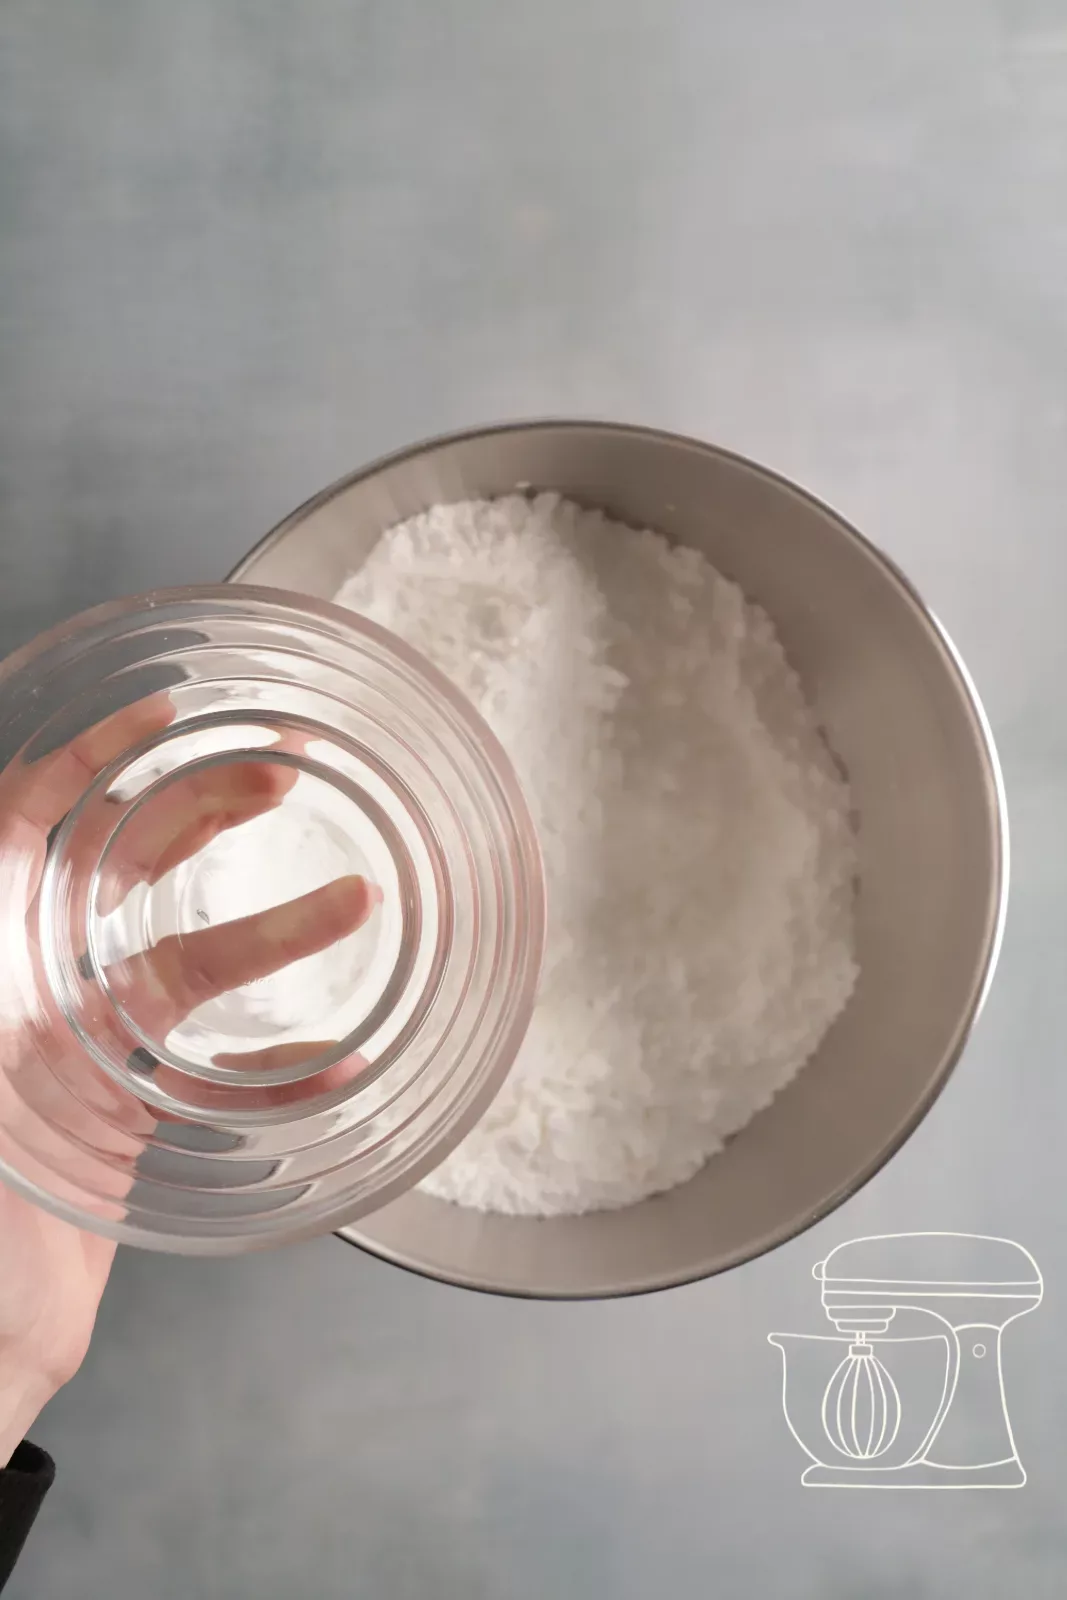
First mix the dry ingredients with the flat beater on the lowest setting, otherwise the powder will go everywhere. Then add 100 g cold water and beat everything on the lowest setting for about 2 minutes.
The icing is now smooth and very thick. That's completely normal! Stored in a tub with cling film placed directly on the surface, it keeps in the fridge for up to 7 days.
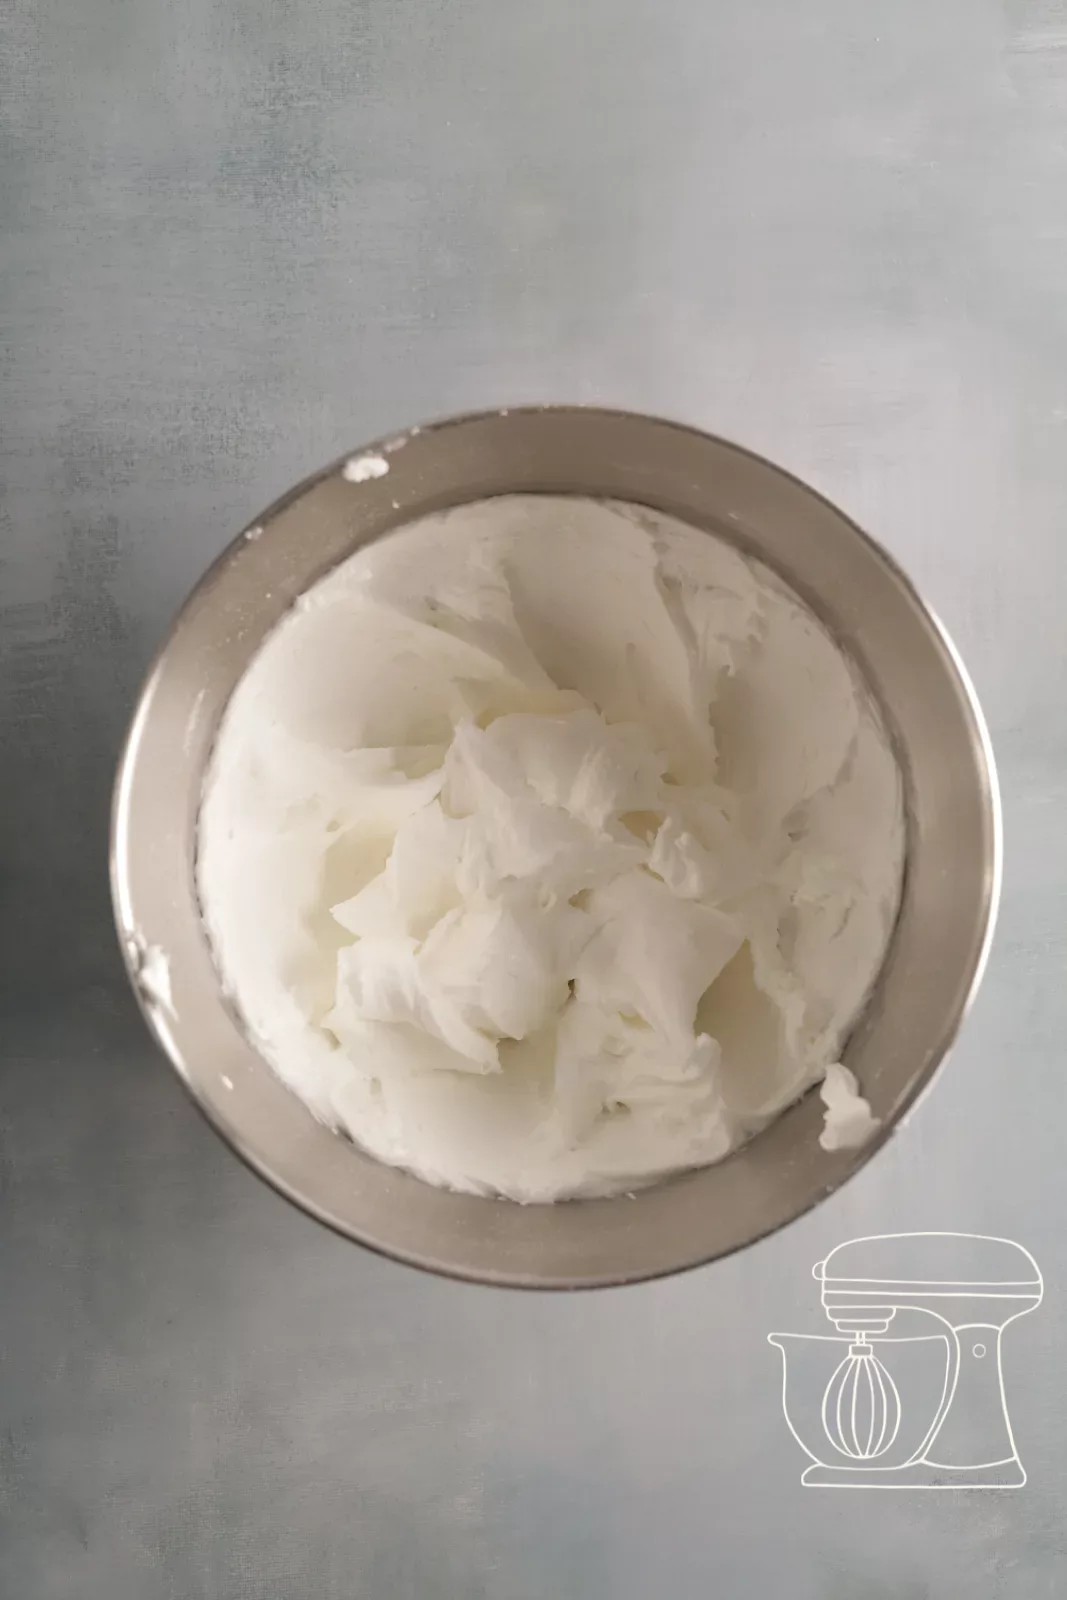
Divide and colour
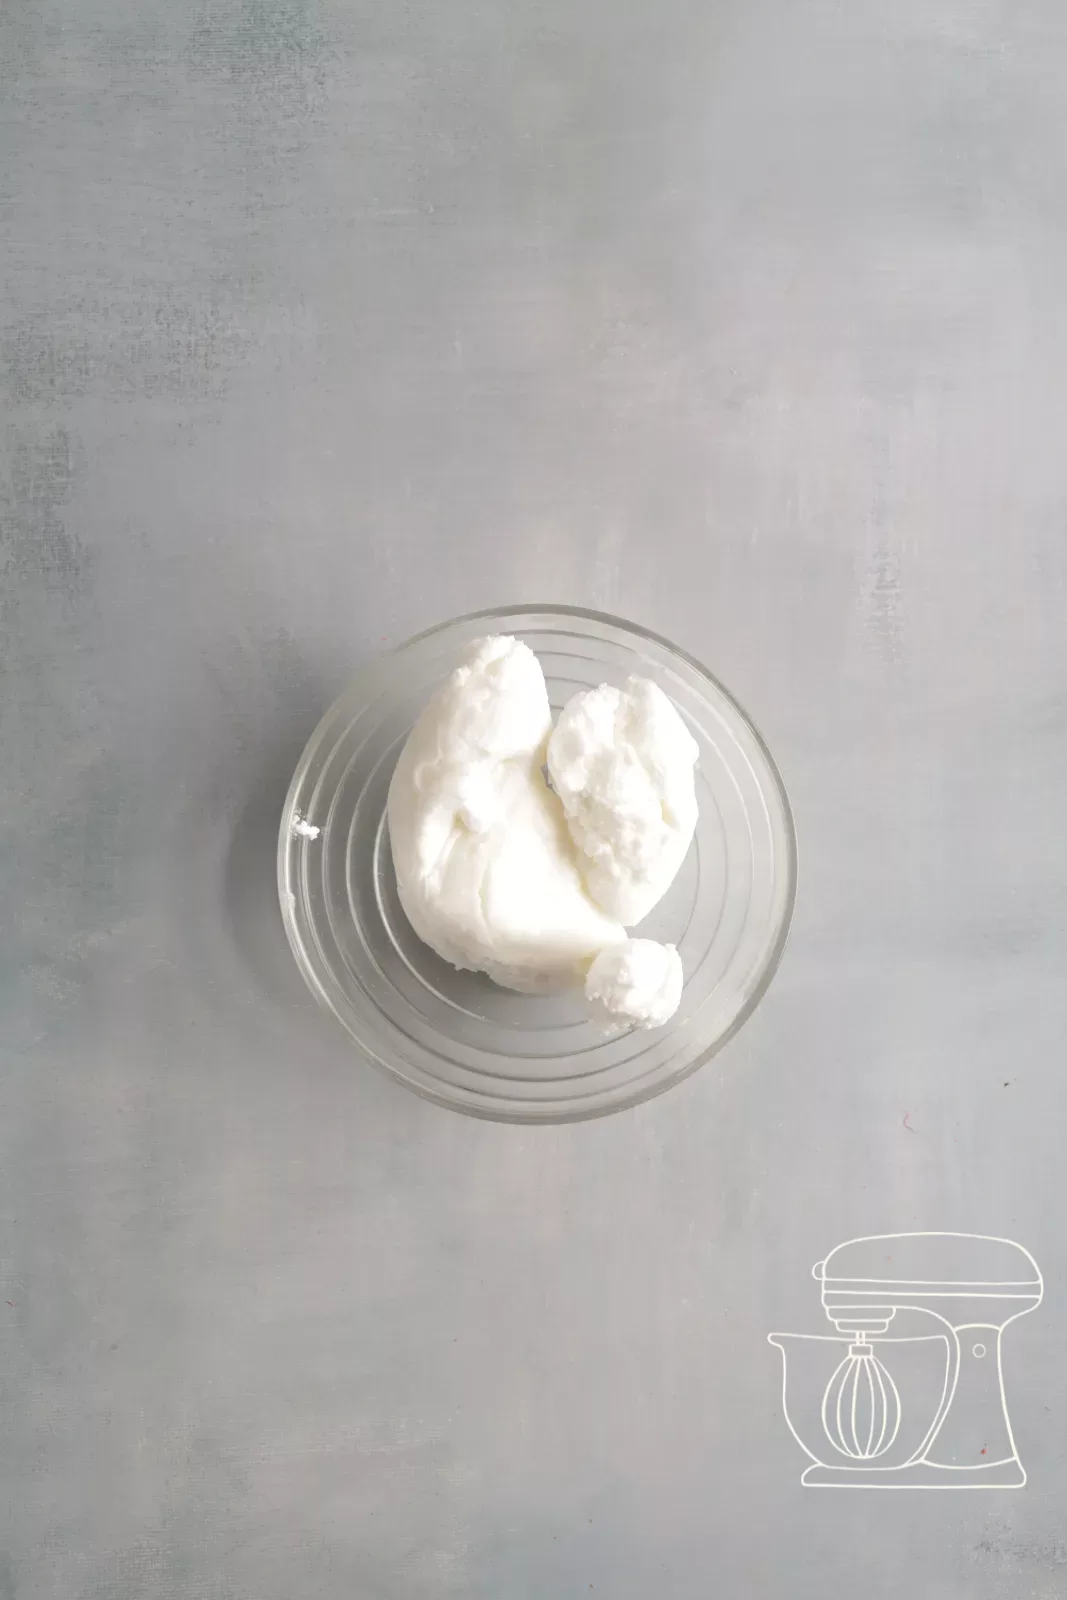
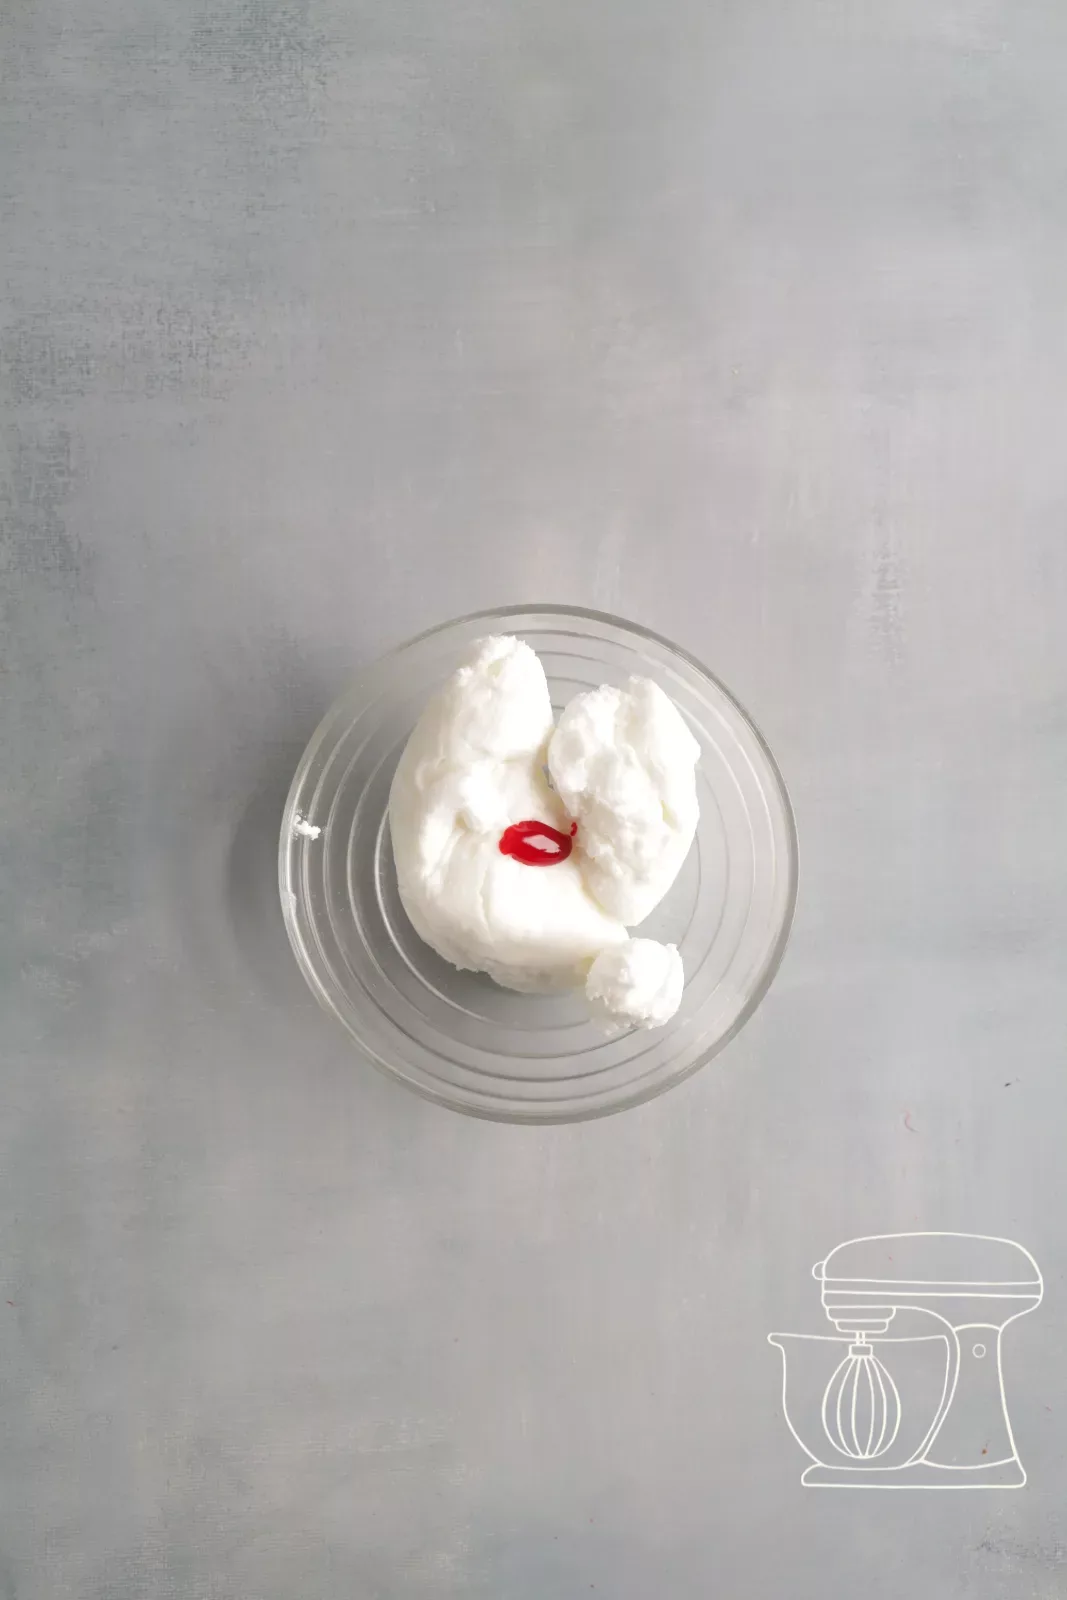
Divide the icing among several bowls, 150 to 200 g each, which is enough for four to five colours. For colouring we recommend Progel gel colours: they achieve pastel shades and intense colours with very little colouring. Natural powder colours also work, but you need a large amount for delicate shades.
For our unicorn biscuits we chose pastel colours.
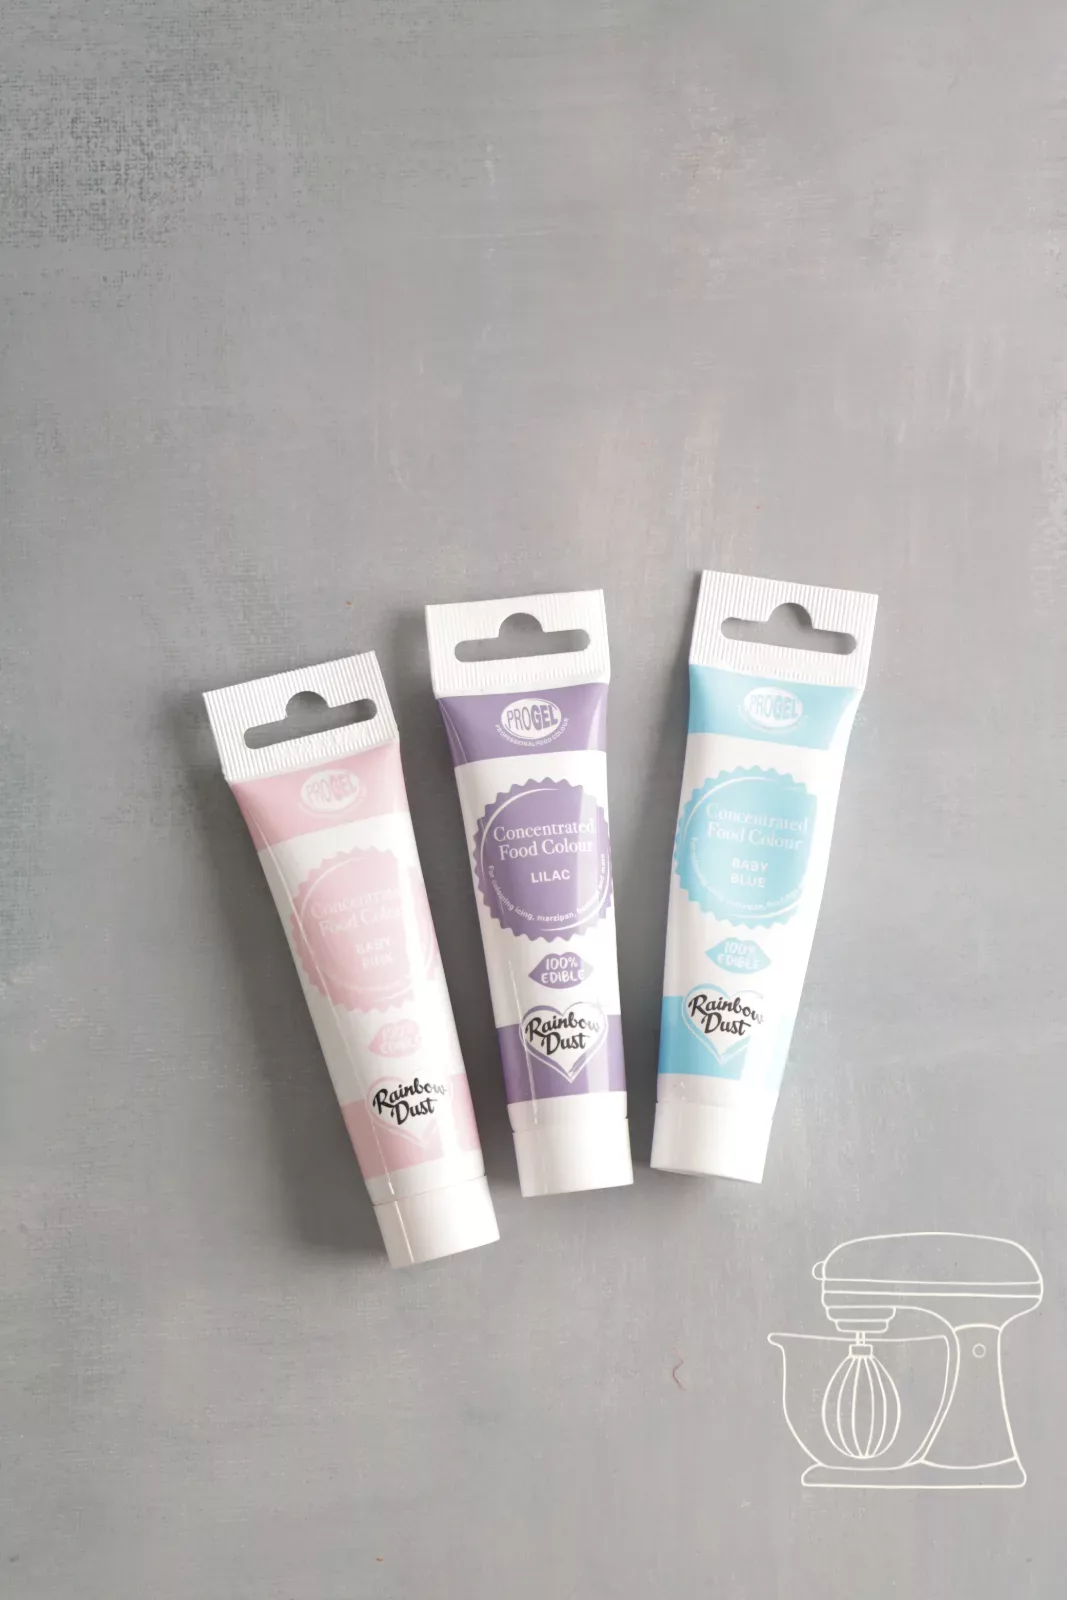
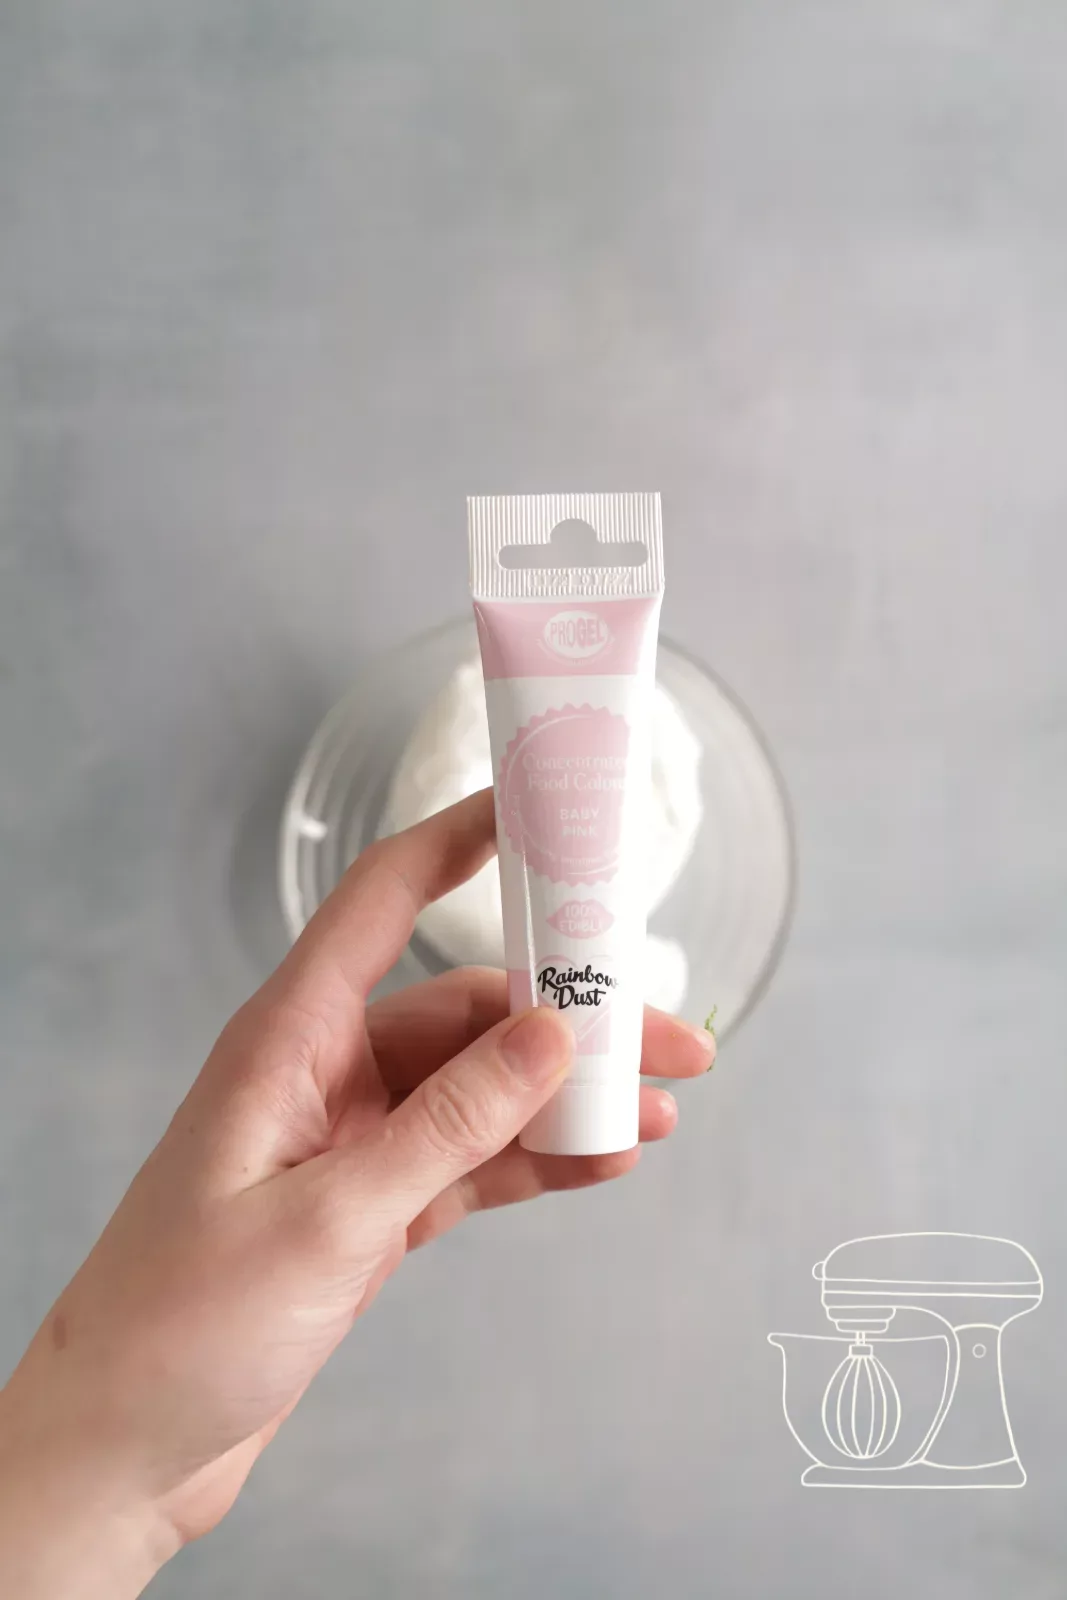
Gel color "Progel" set Pastel
The right consistency
Now add water little by little, ideally with a dosing bottle, so you never pour in too much at once. Stir the icing with a spoon as you go.
It should flow like a ribbon: smooth, but not too runny. The more water you add, the glossier it becomes. Here's how to check: if you gently shake the bowl, the surface should be smooth again within about 10 seconds. And the ribbon that falls from a spoon lifted above the bowl should smooth itself out within 10 to 15 seconds.
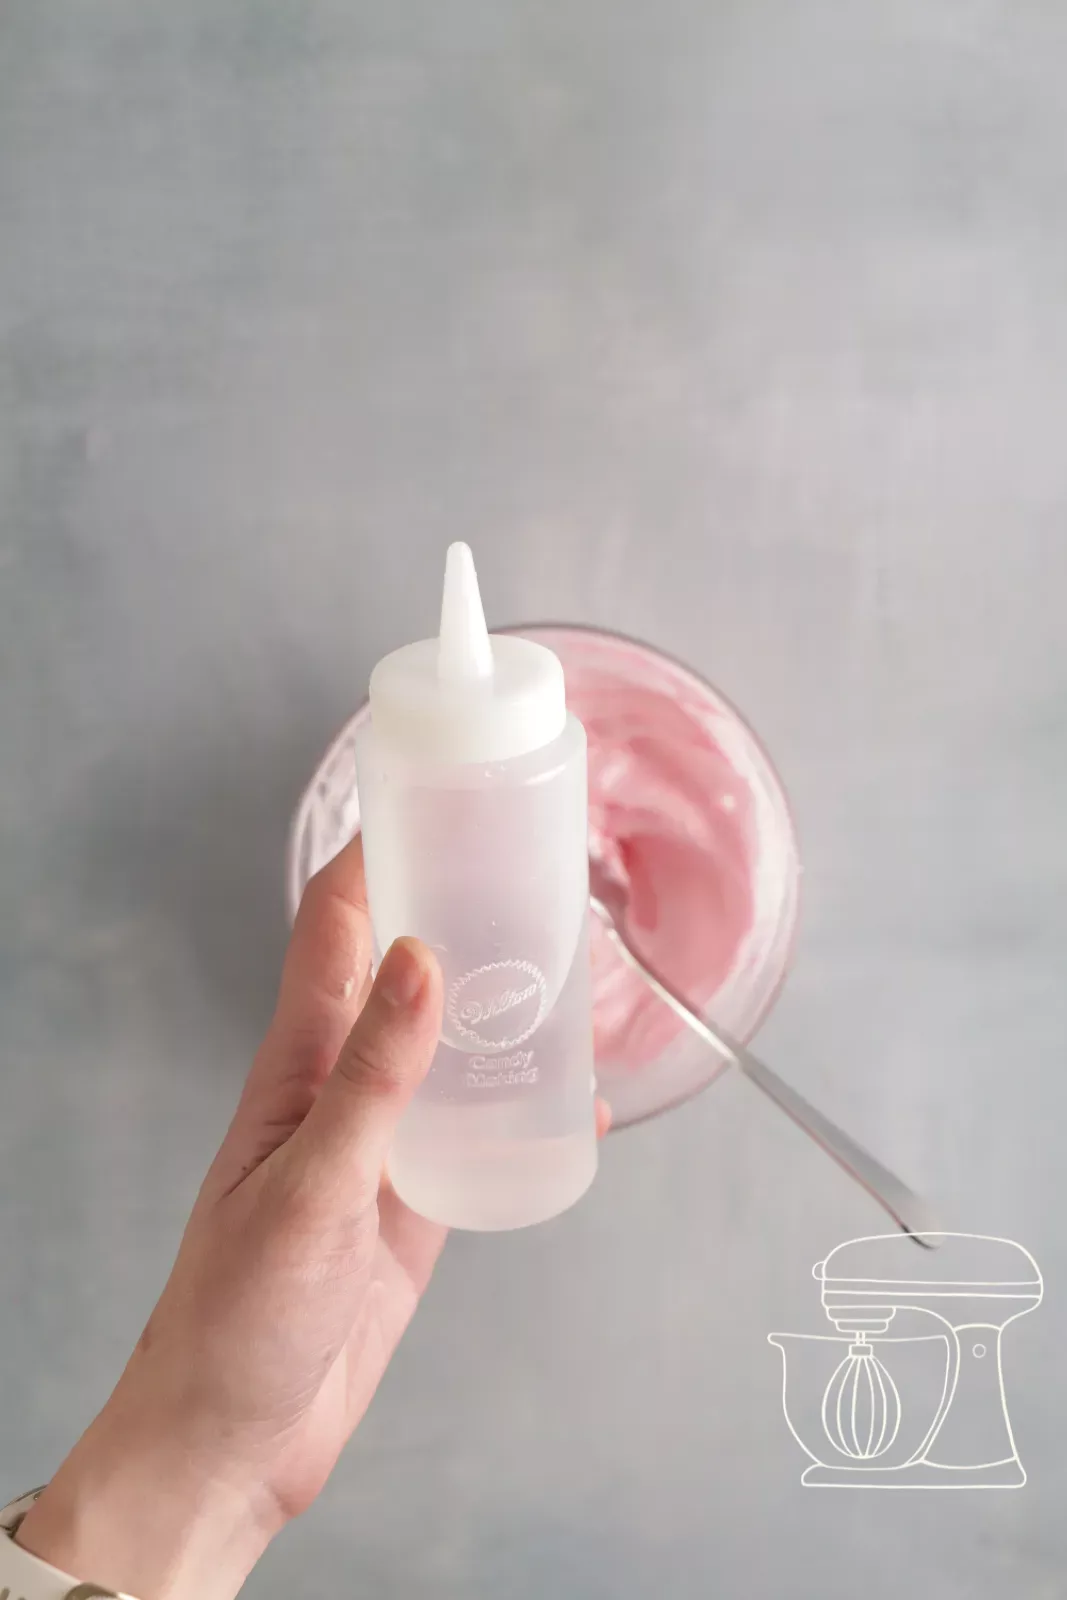
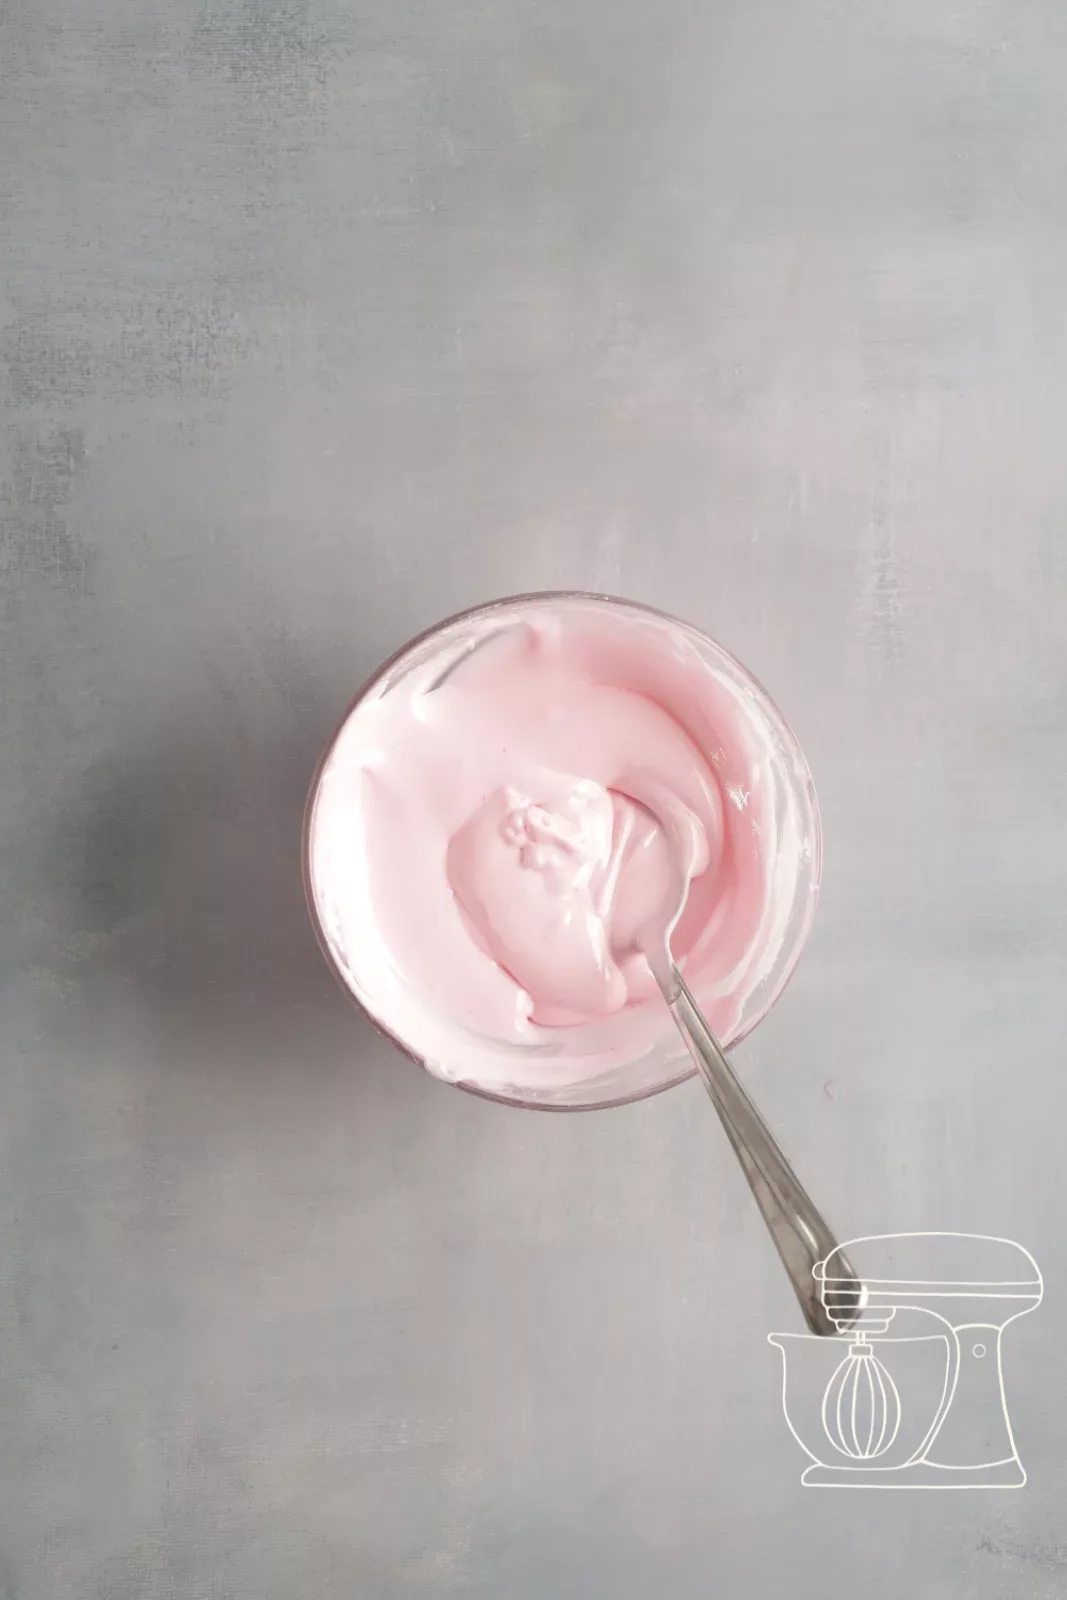
Dosing bottle, set of 2
Prepare the piping bag
Take a small 30 cm piping bag, as a large one just gets in the way when decorating. An adapter is very handy: it lets you change the piping nozzle during the work, and it won't slip into the icing.
Push the large part of the adapter into the bag, cut off the tip and fit the piping nozzle. For Royal icing we use a 1 mm and a 1.5 mm piping nozzle. Finally, screw the ring over the piping nozzle.
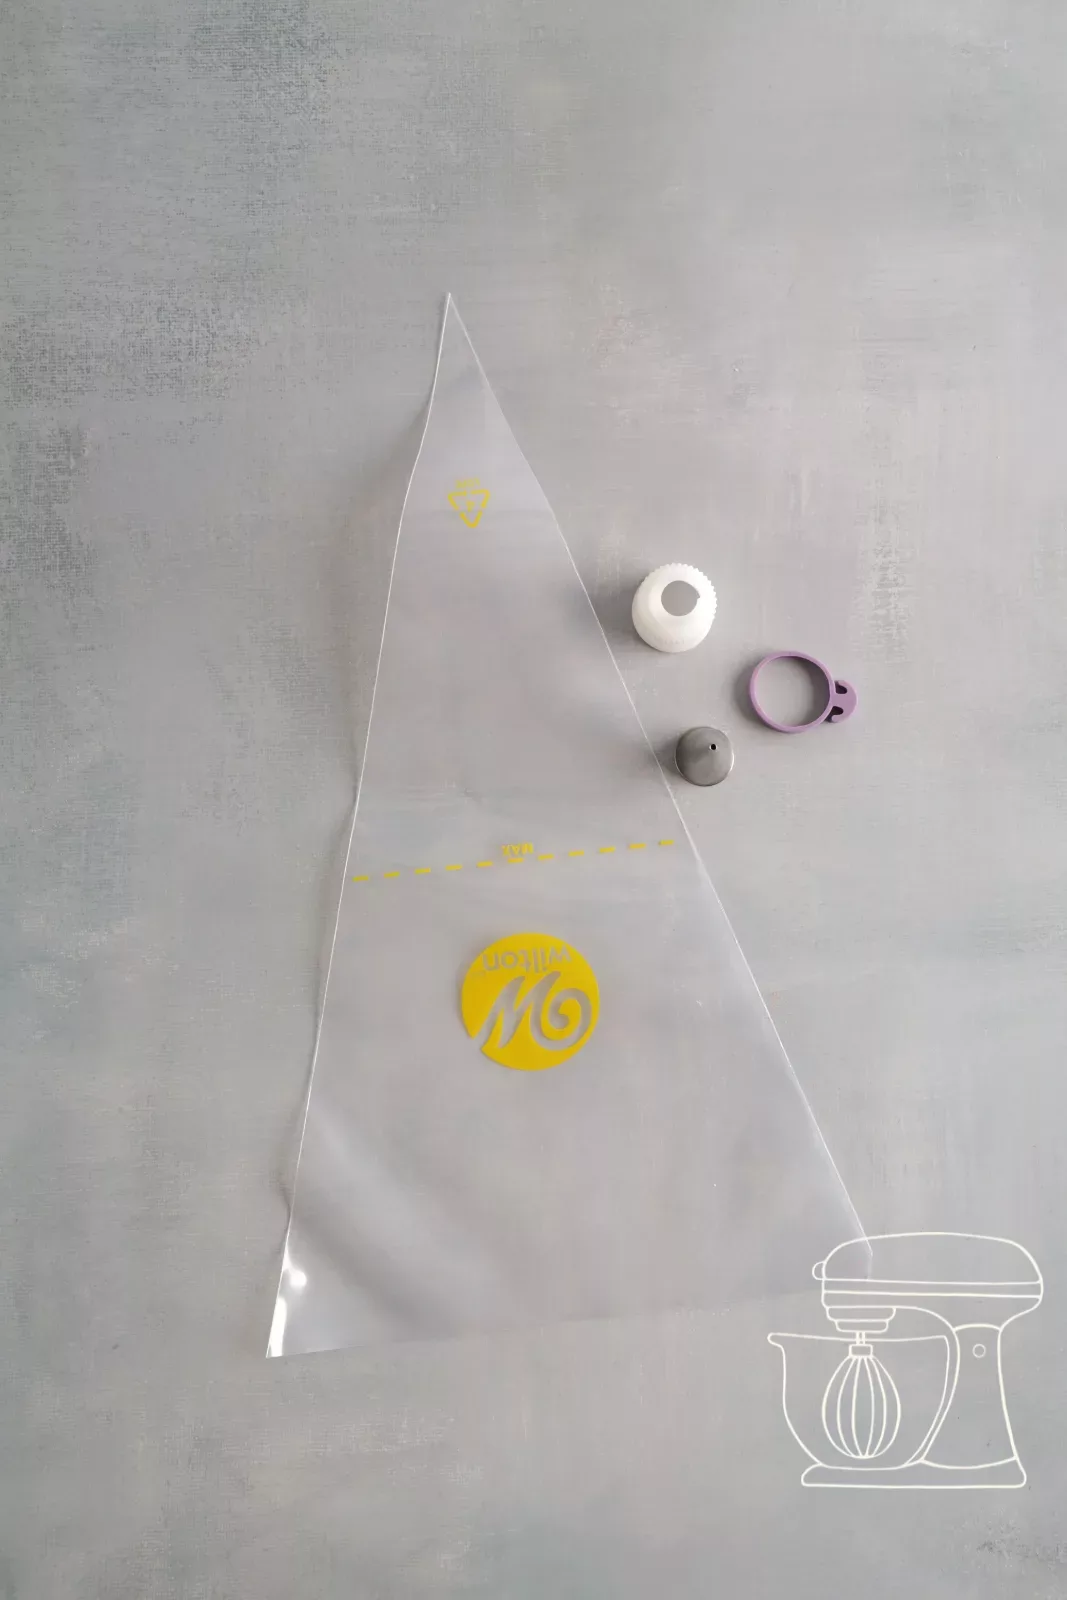
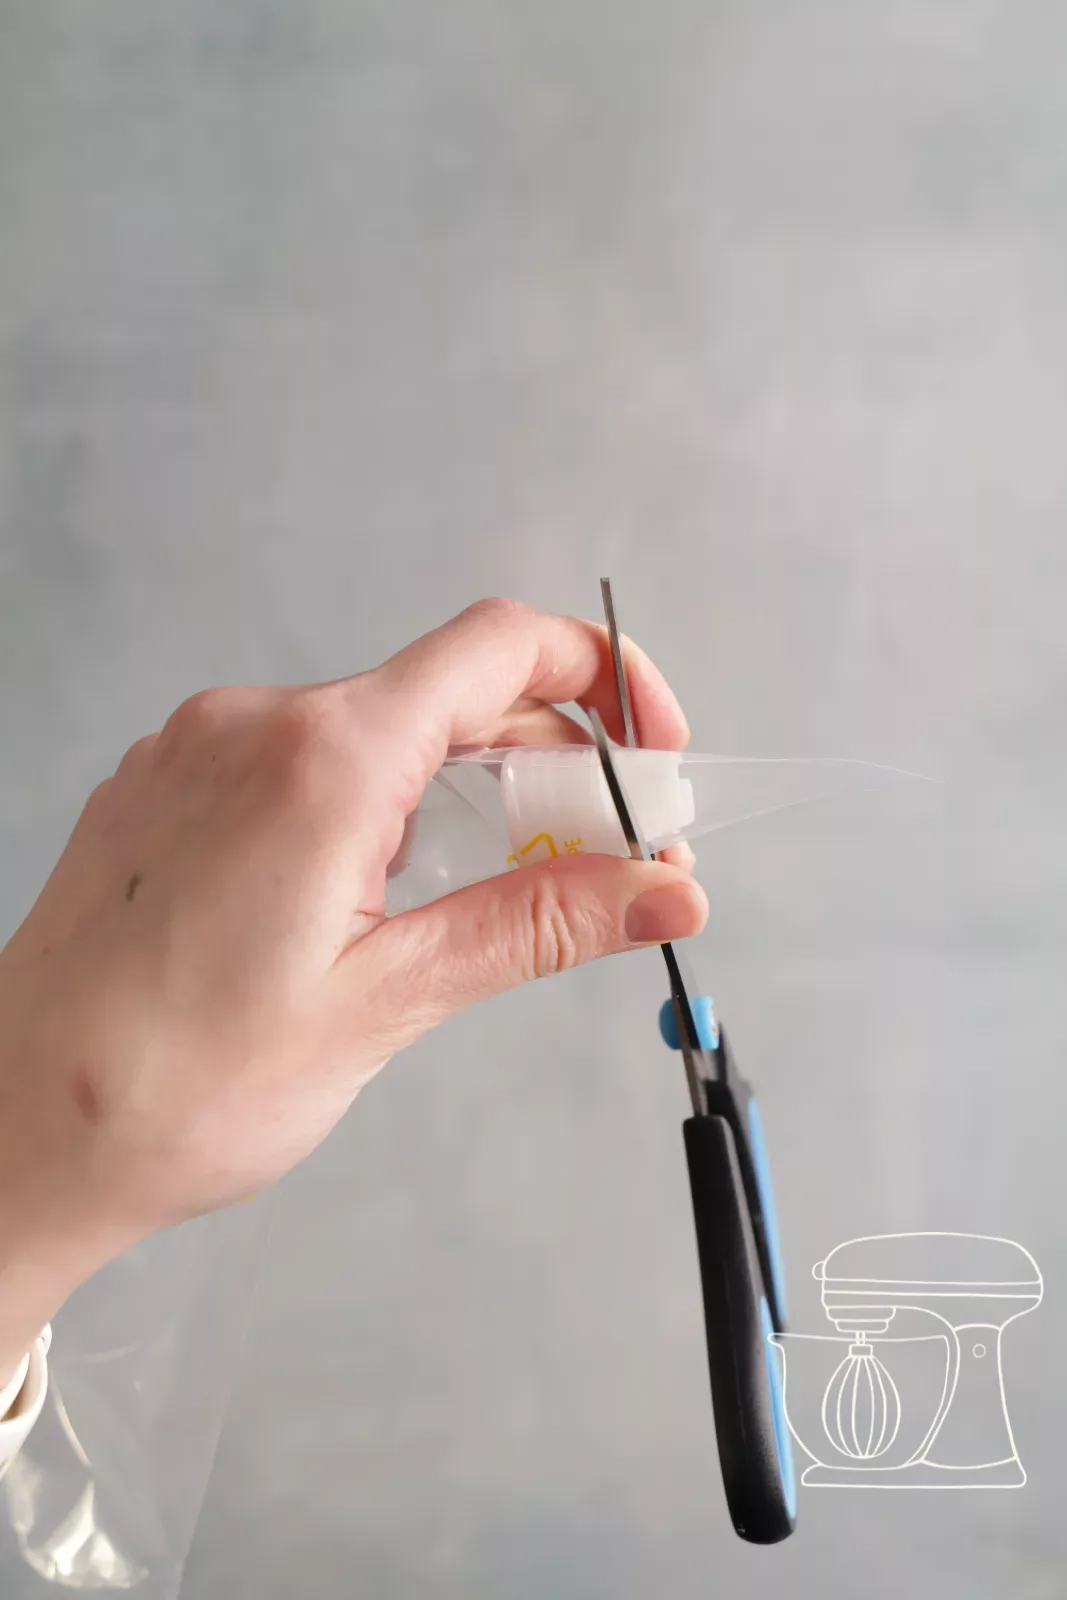
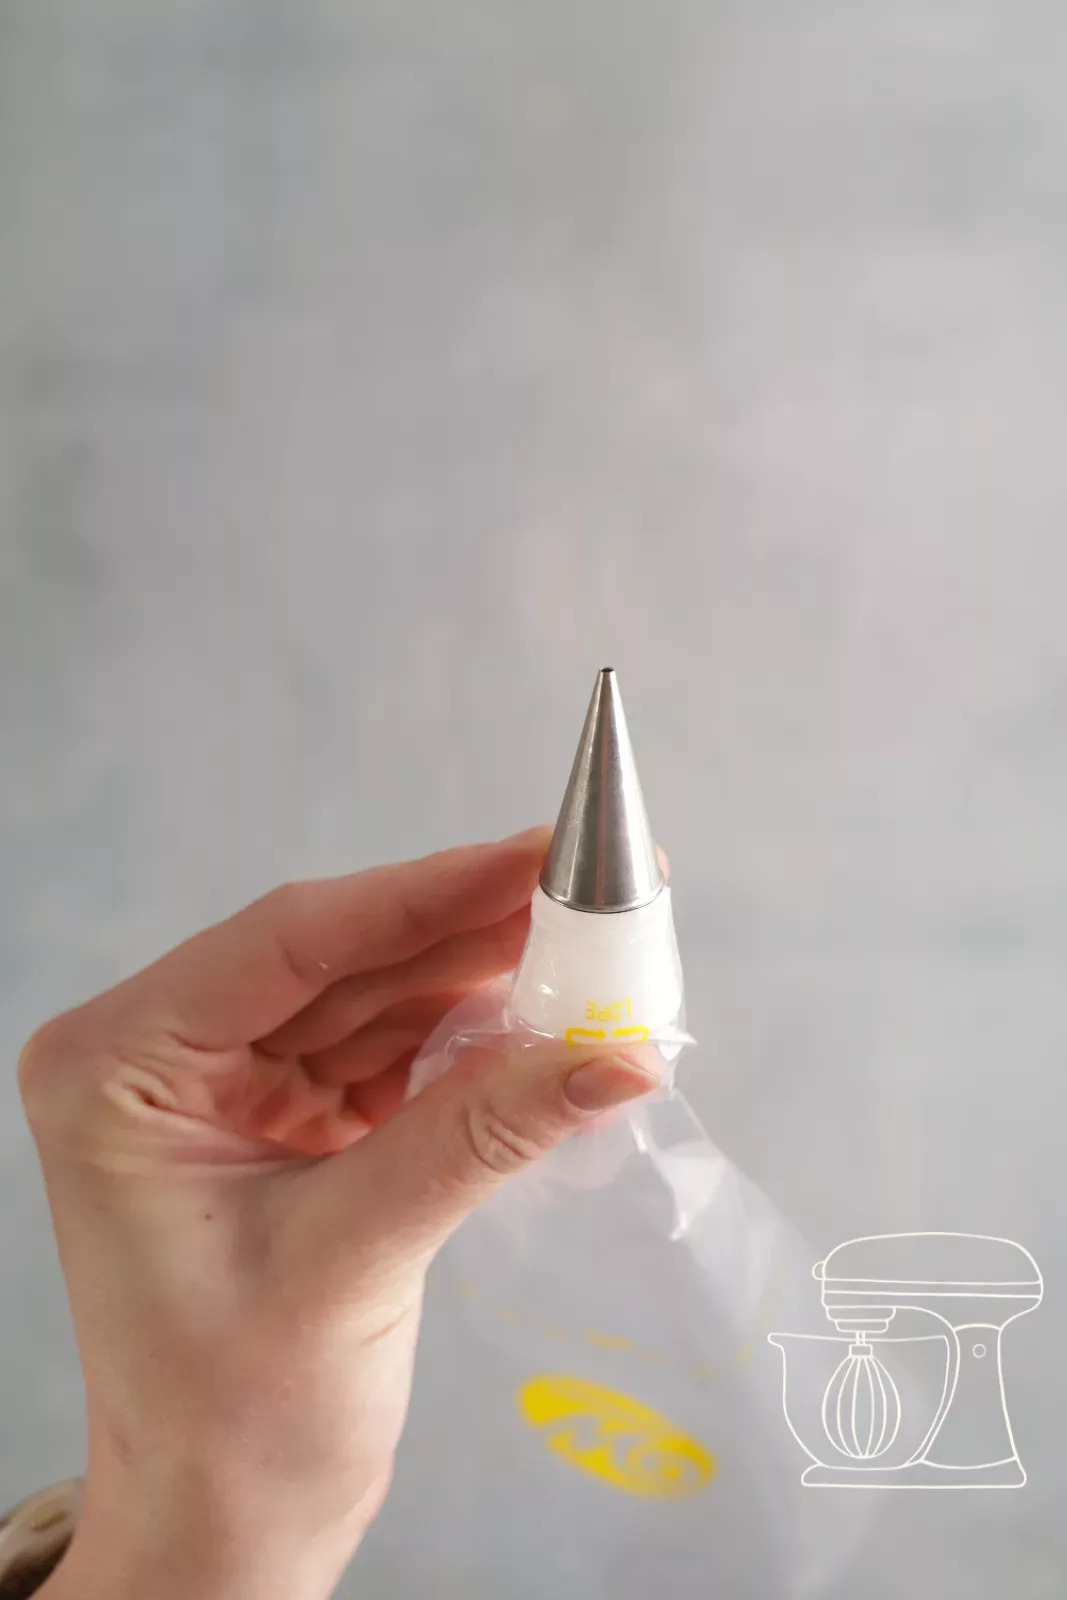
Disposable piping bag S, 30 cm, 10 pcs
Adapter with cap for small piping nozzles
Wilton round piping nozzle, opening: 1.5 mm
Filling the icing
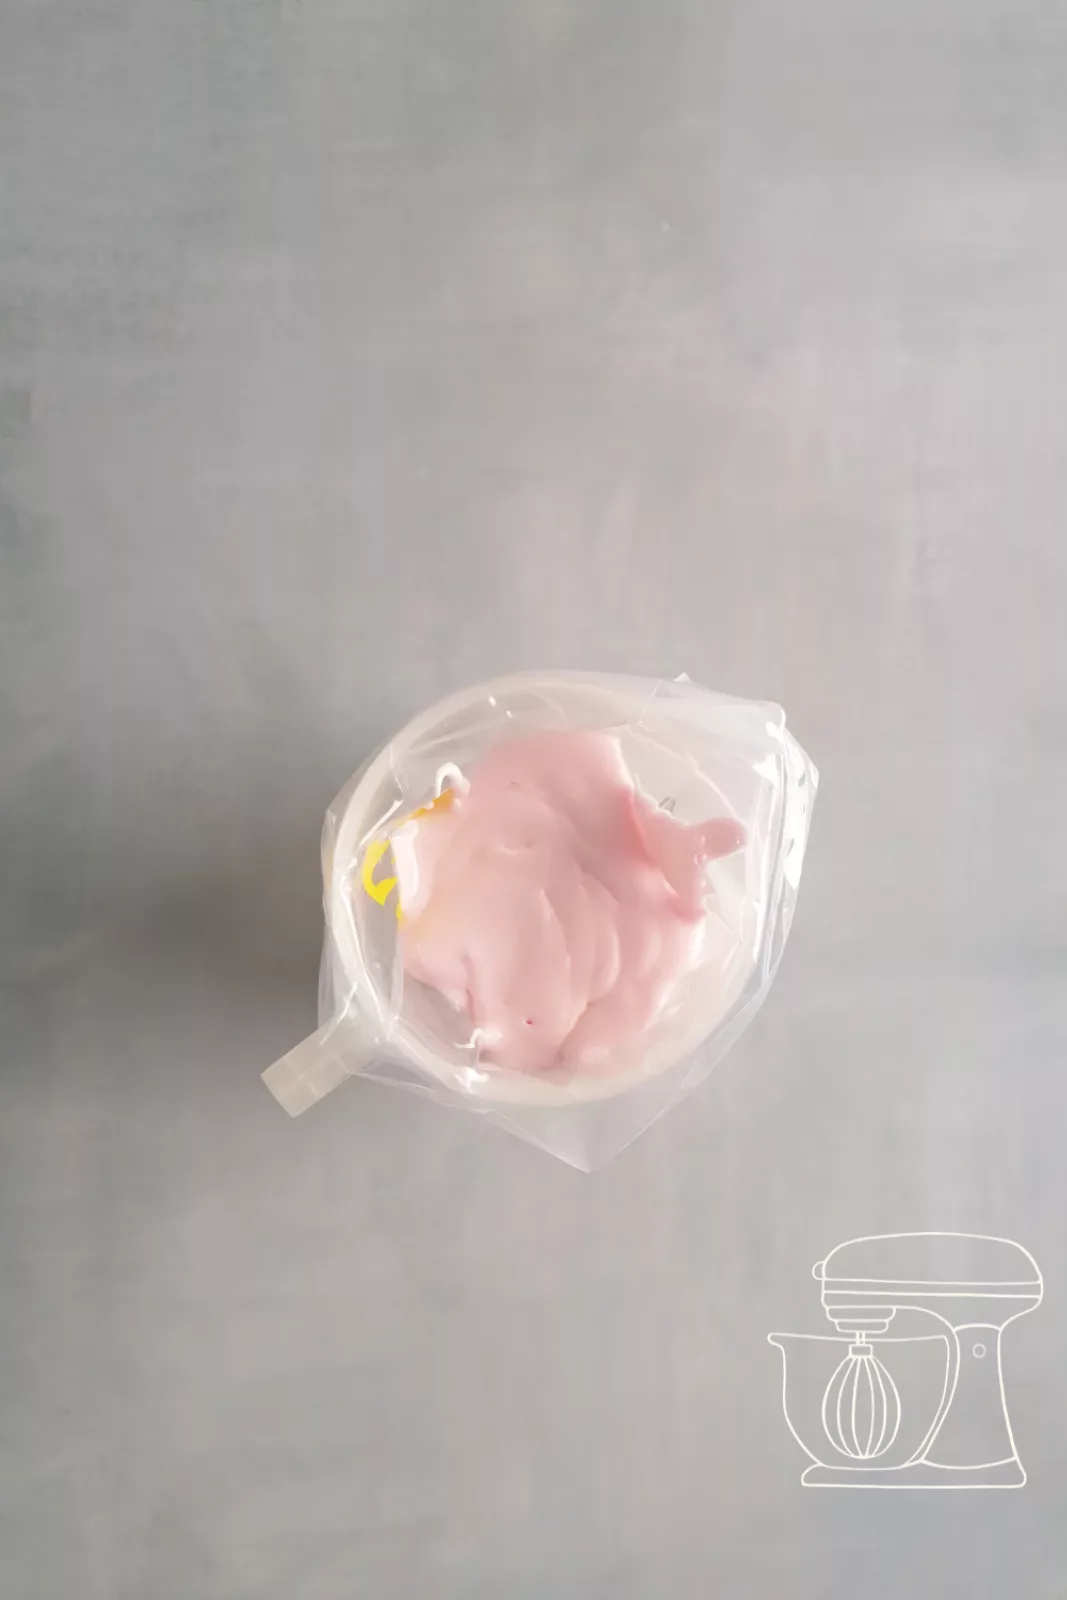
Stand the piping bag in a measuring cup, which makes it easier to fill cleanly. Fill in the royal icing and press it down well with a dough scraper so that no air bubbles remain.
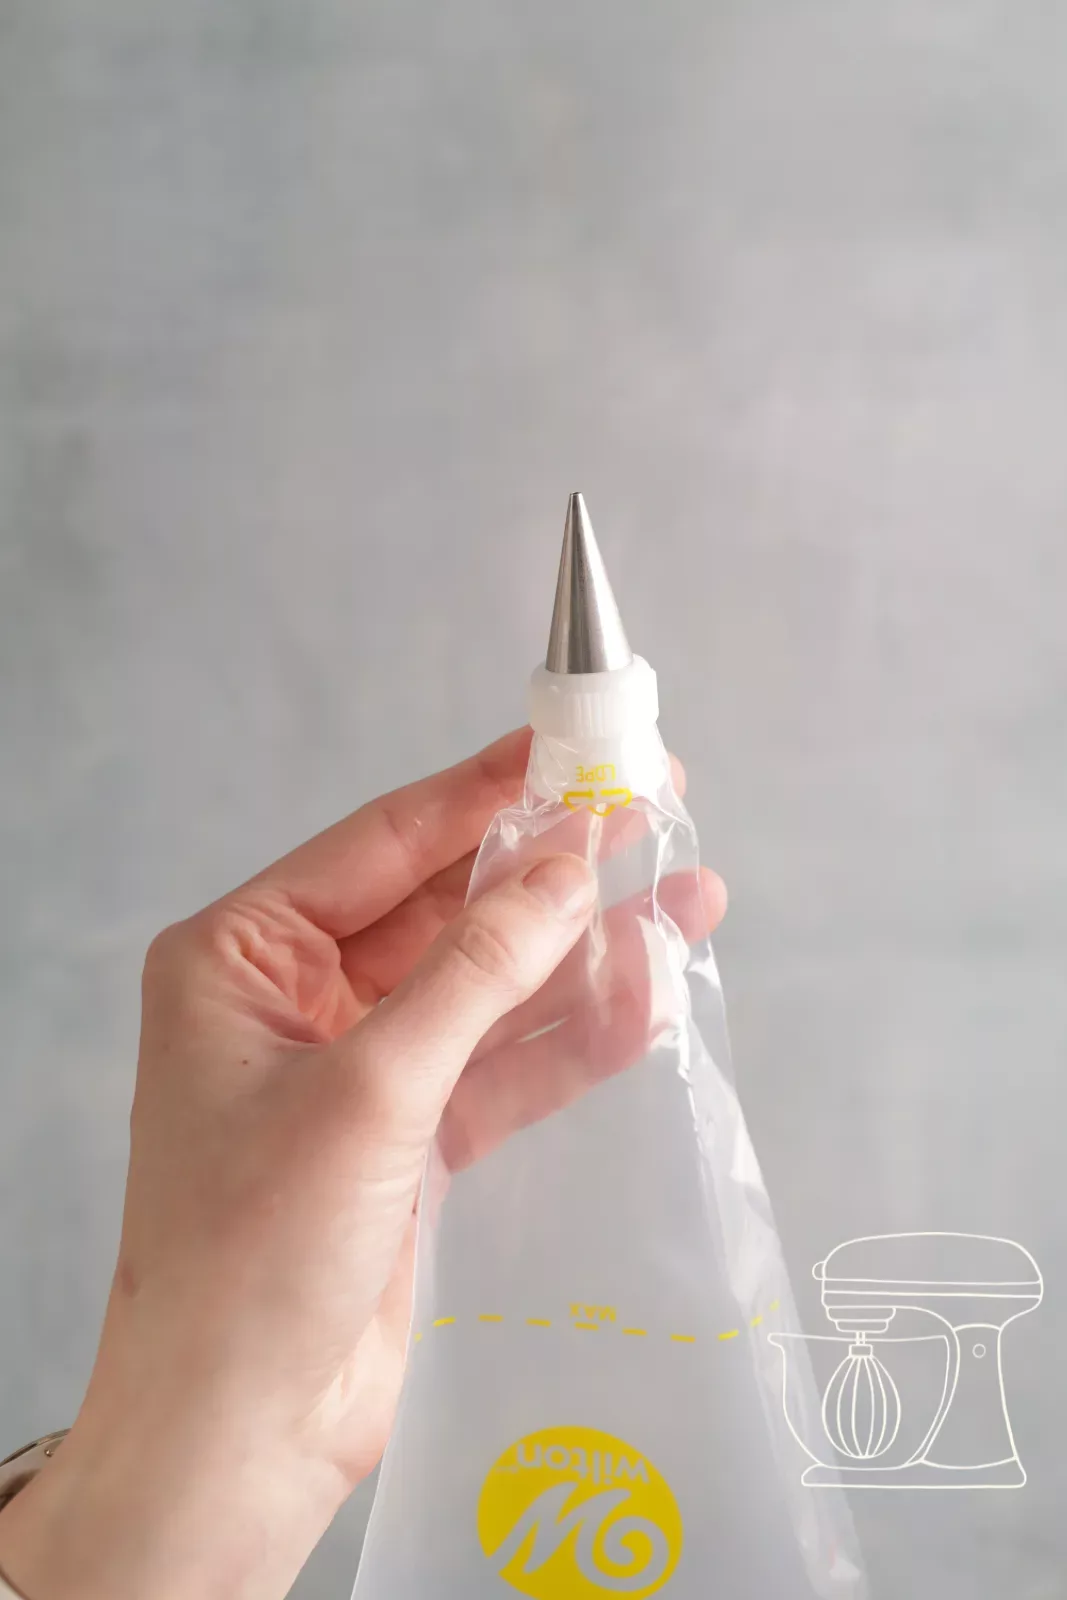
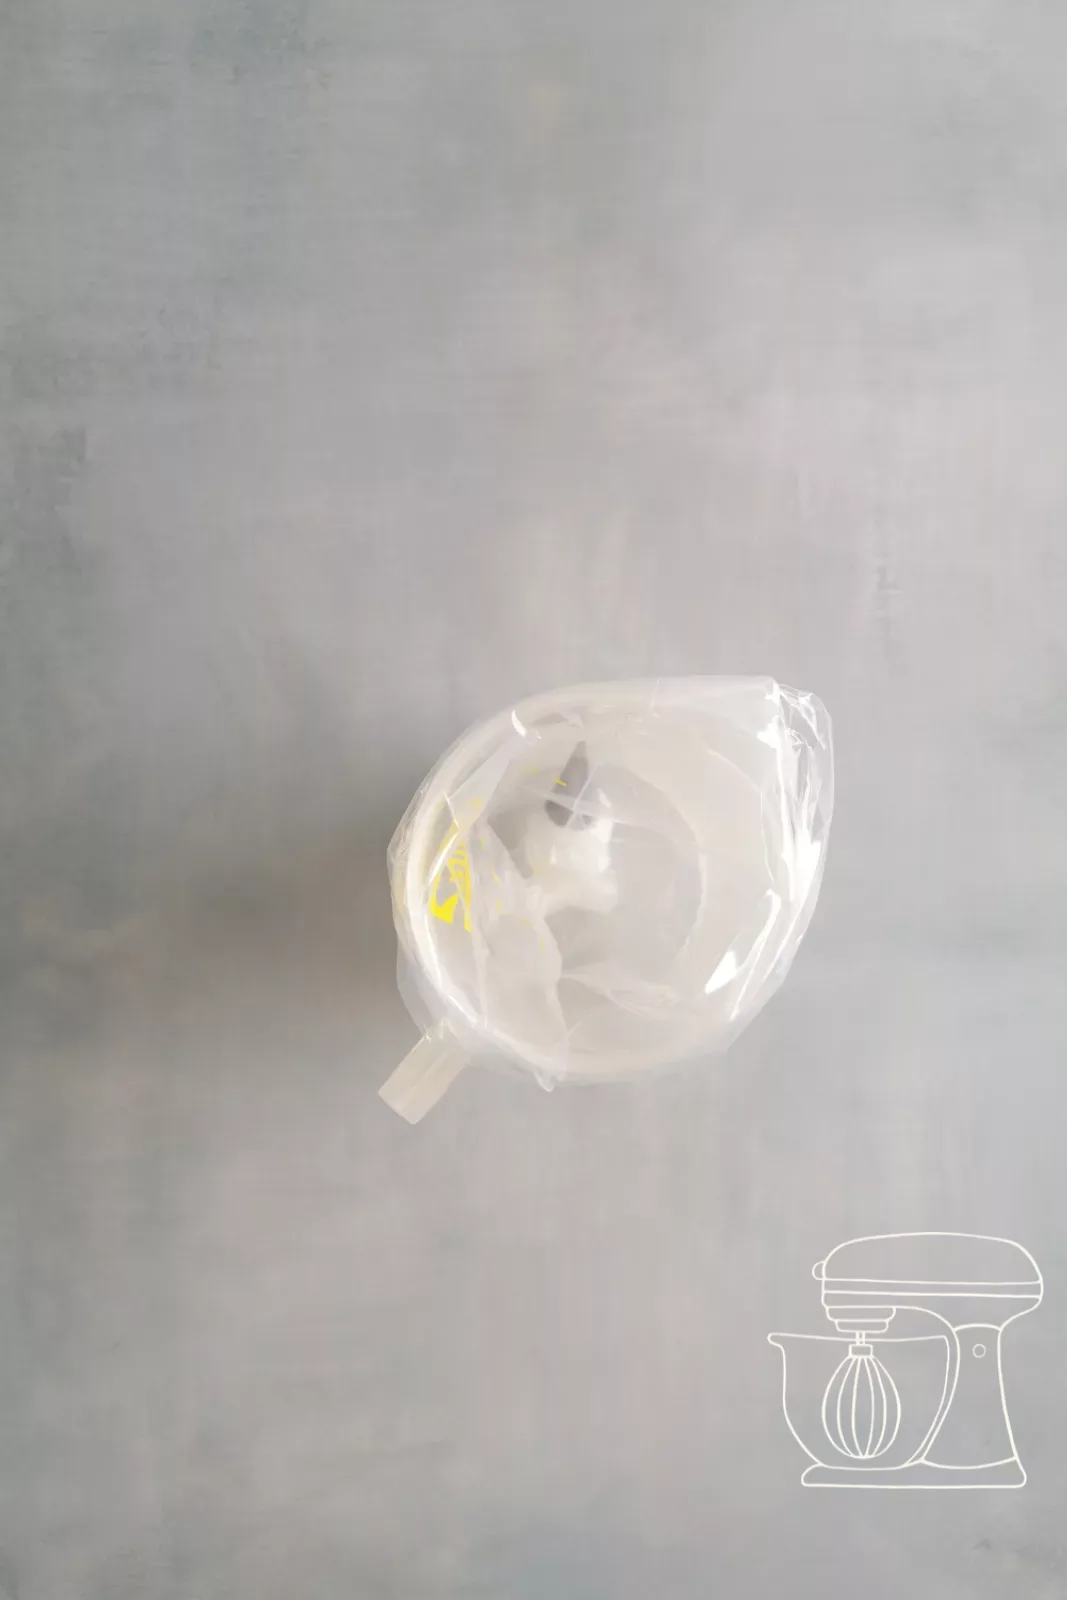
Closing and covering
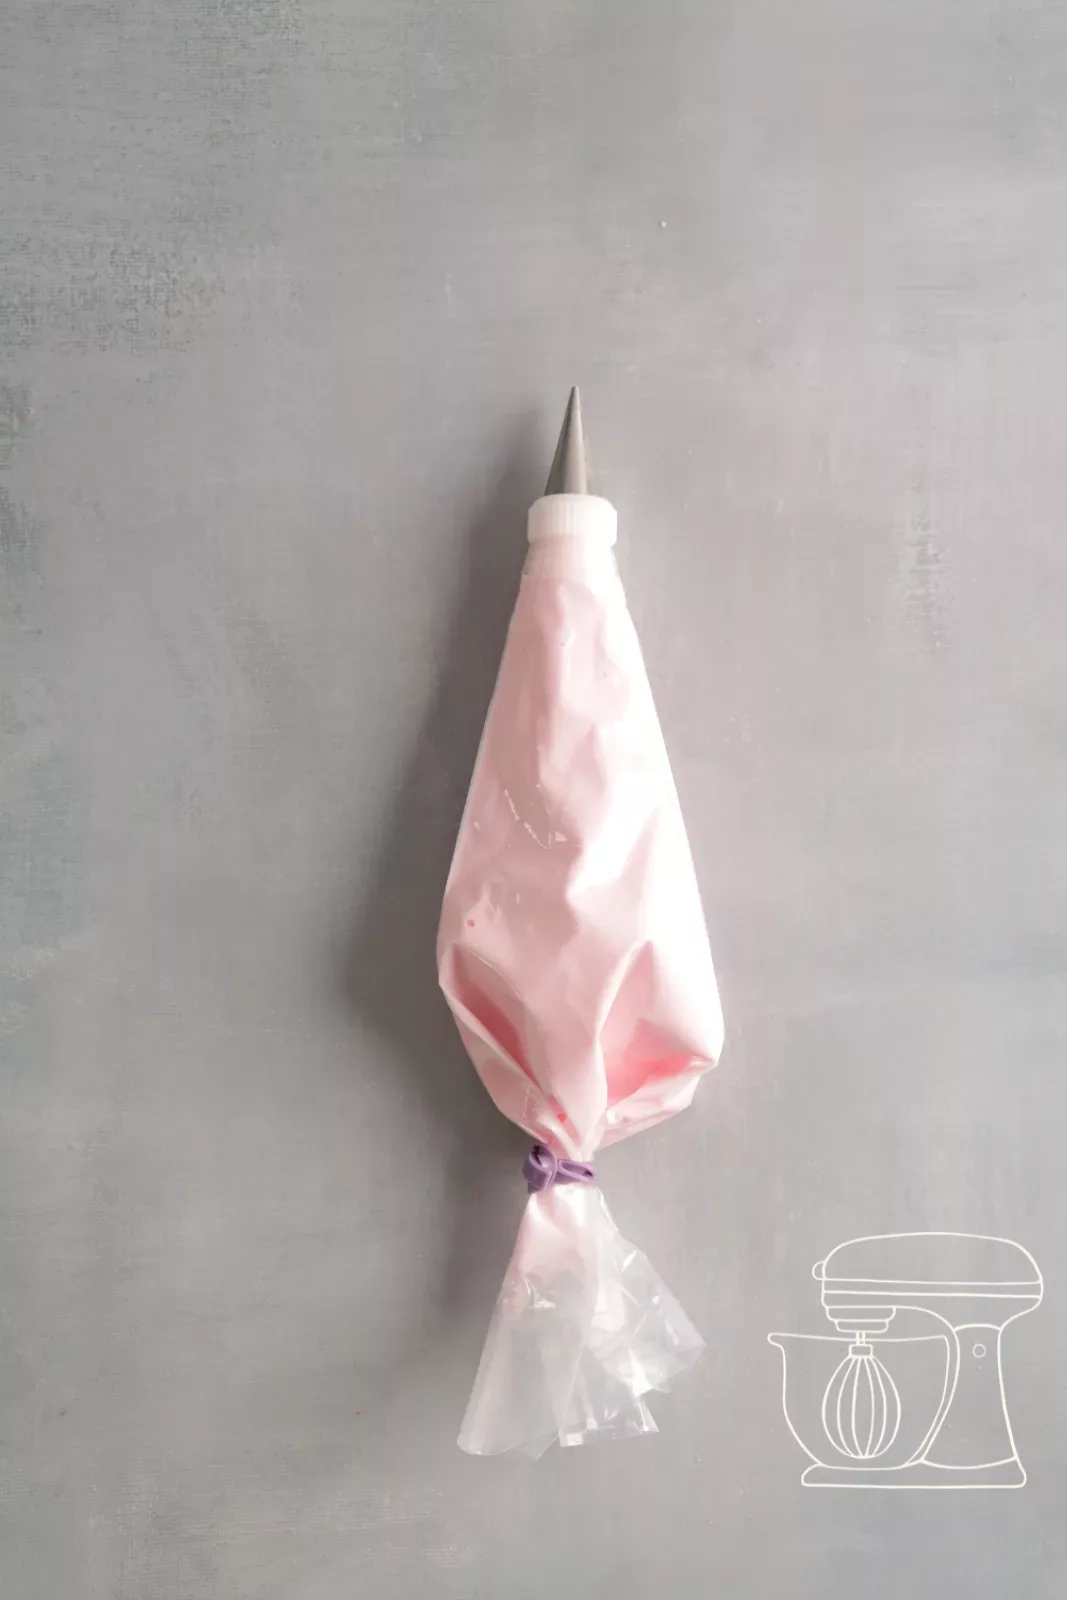
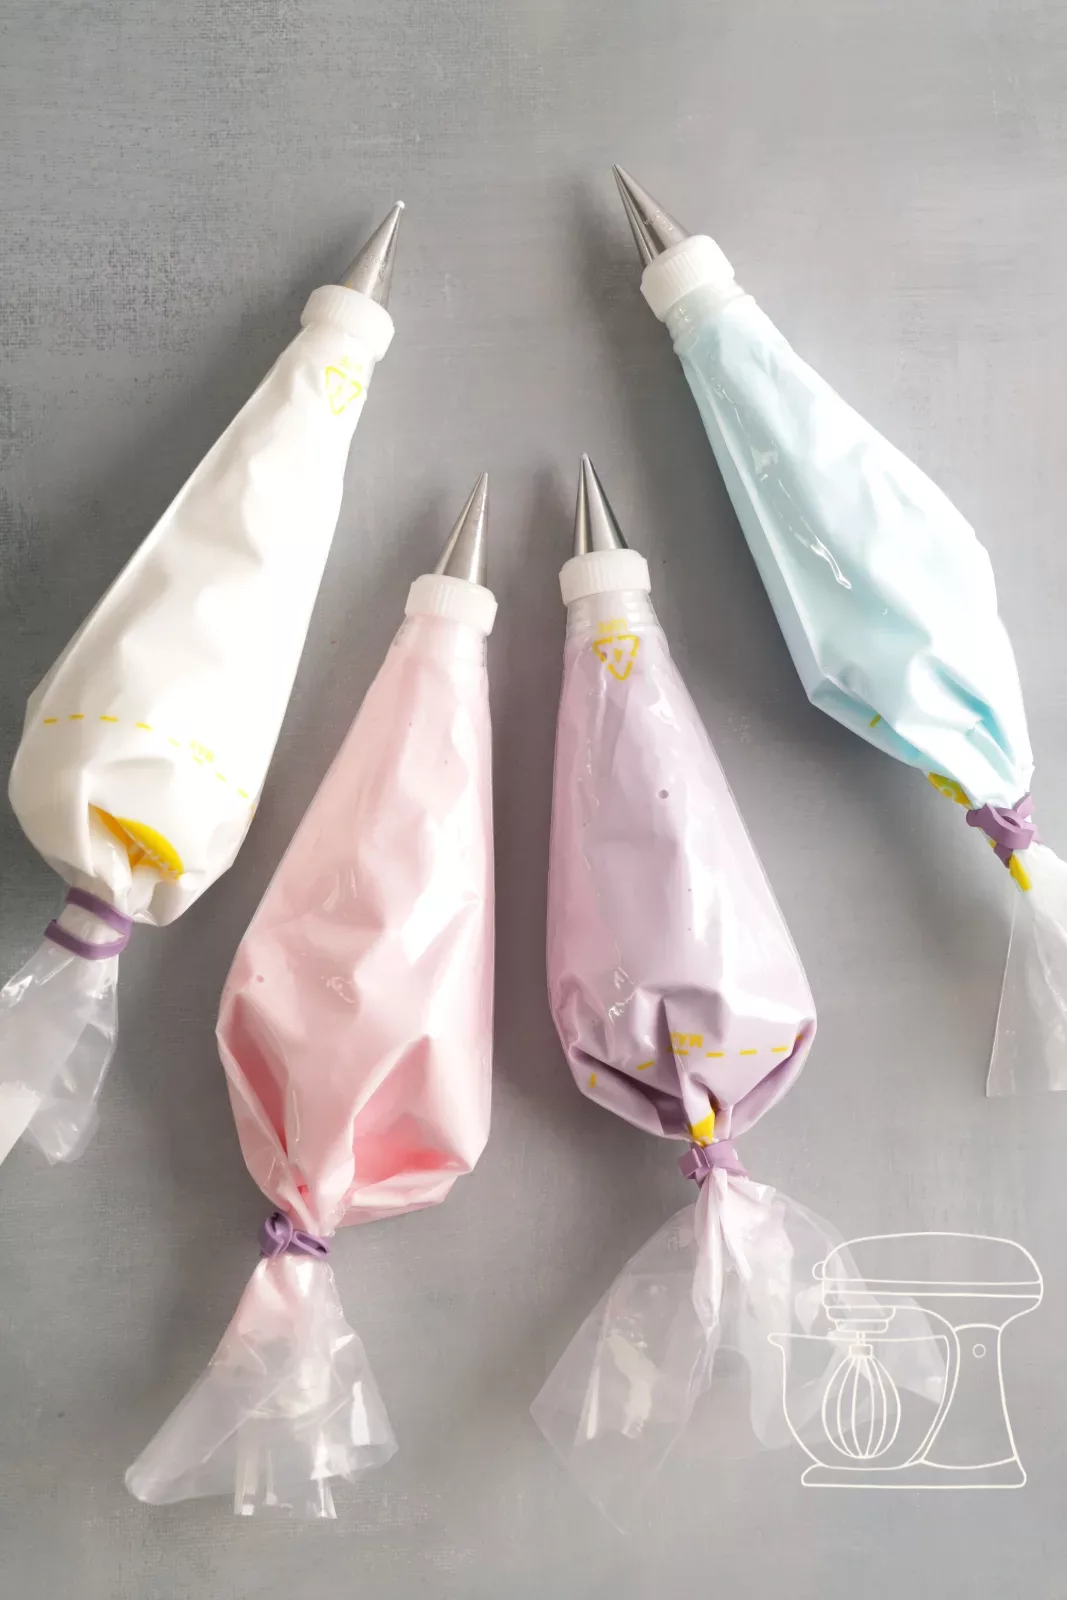
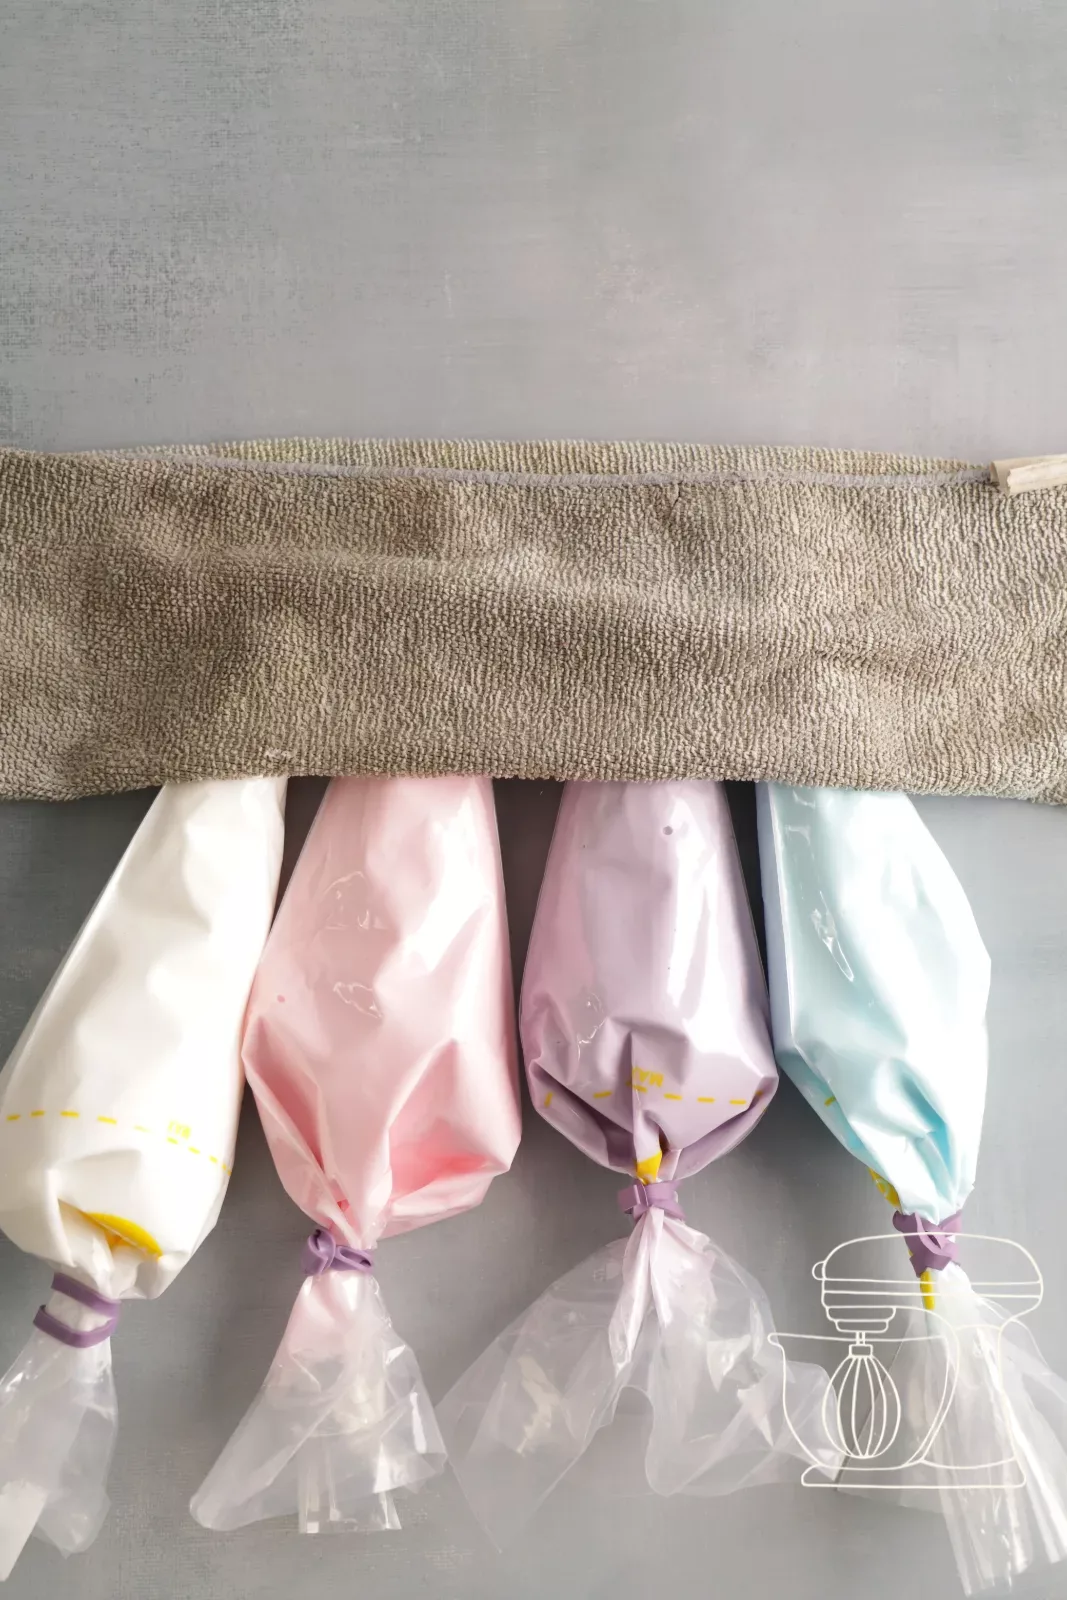
Close the bag with a rubber band for piping bags. It takes up little space but keeps the bag airtight, so the icing does not dry out.
Then place the tips of the bags under a damp cloth. This step really matters, otherwise you will constantly have to clear blocked nozzles.
Rubber band for piping bags
Decorate the rainbow
Outline and fill the clouds
A food dehydrator set to 40 °C is ideal for drying. If you don't have one, preheat the oven to 40 °C top and bottom heat, which works just as well.
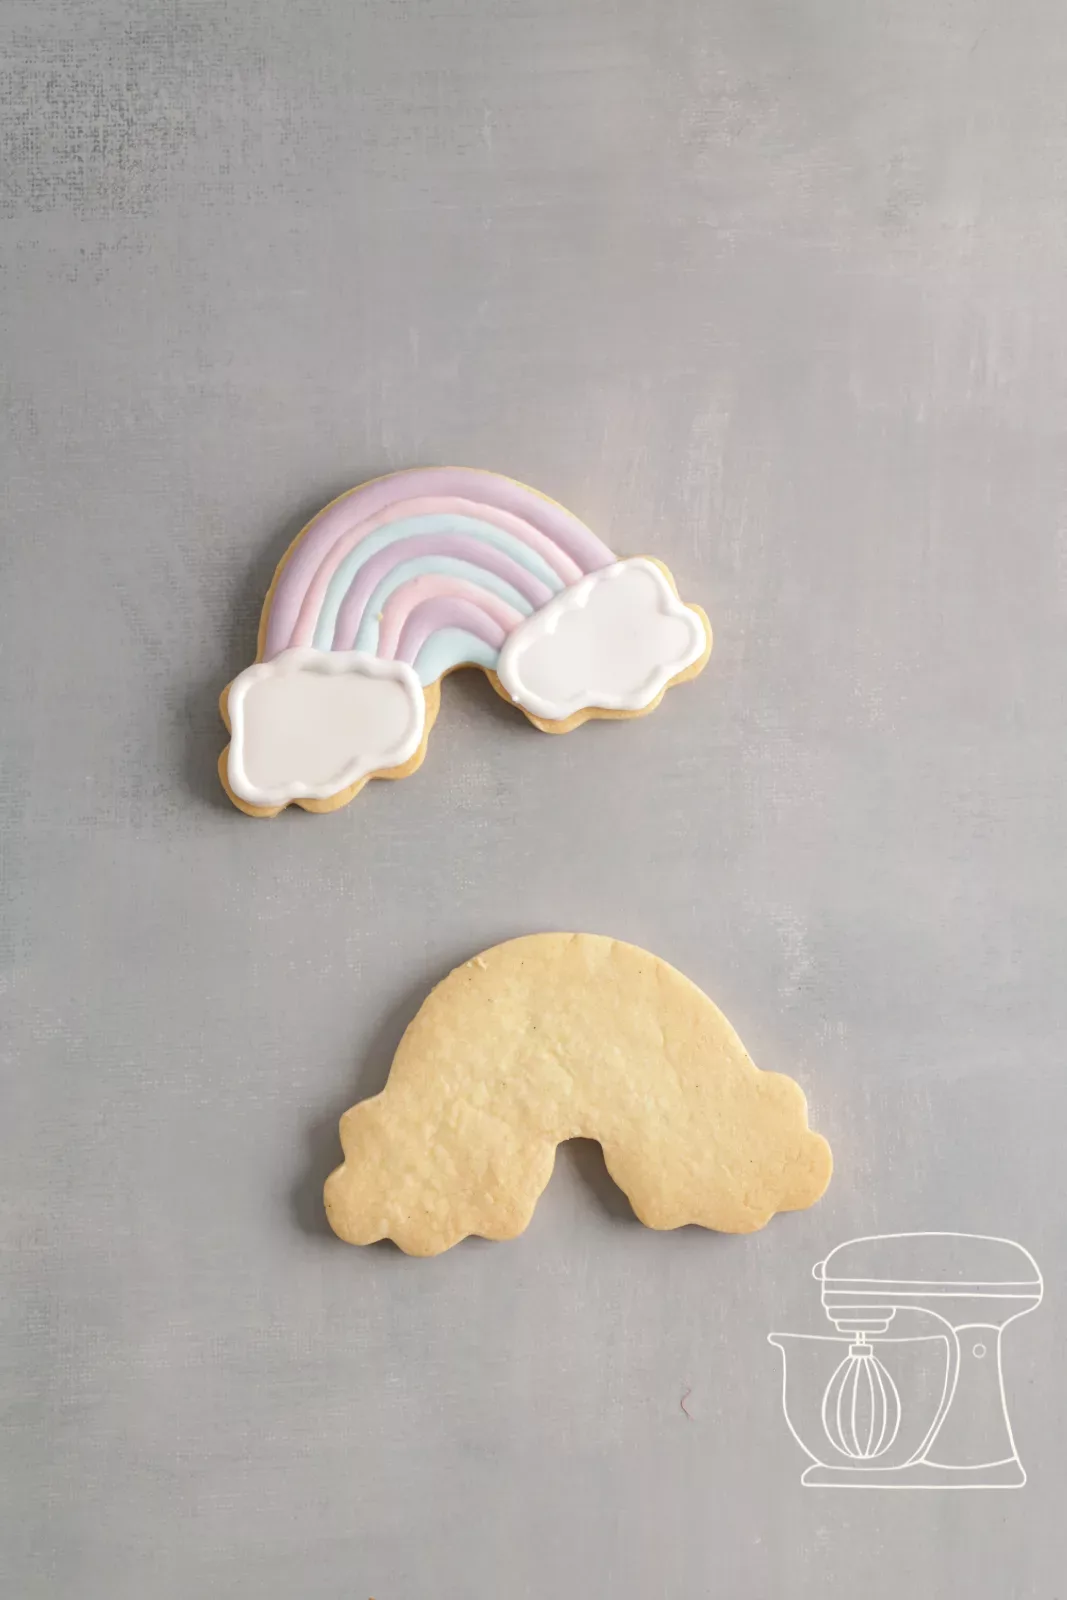
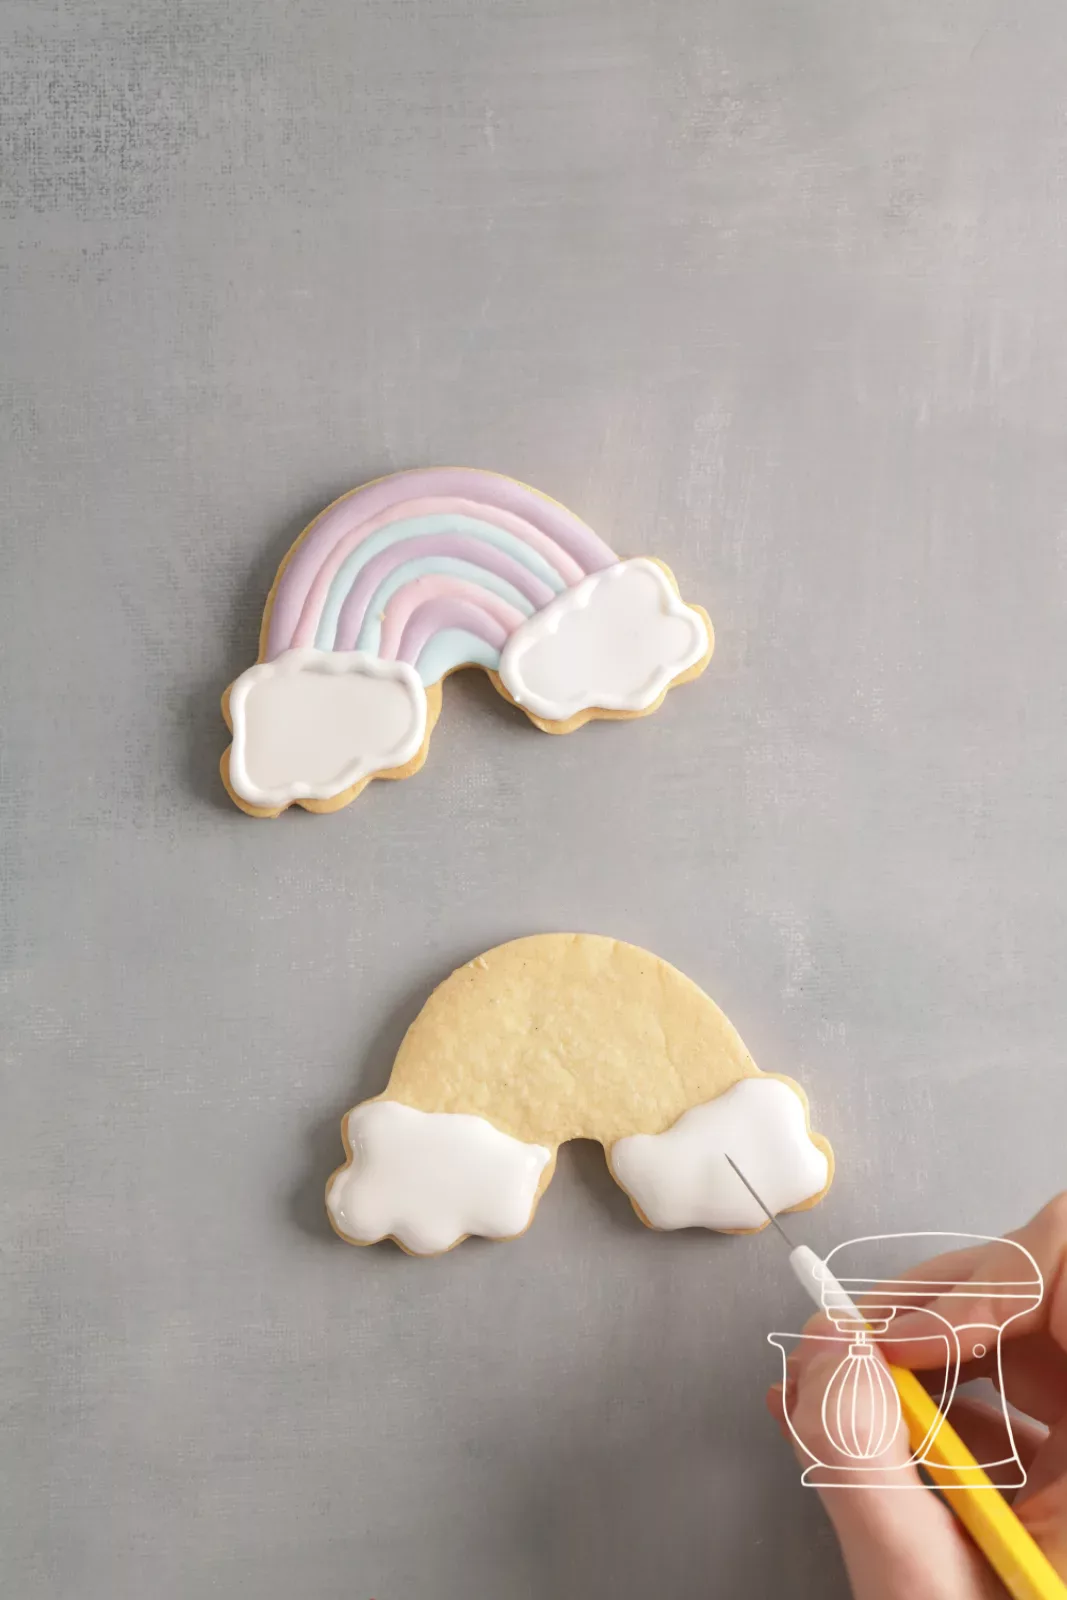
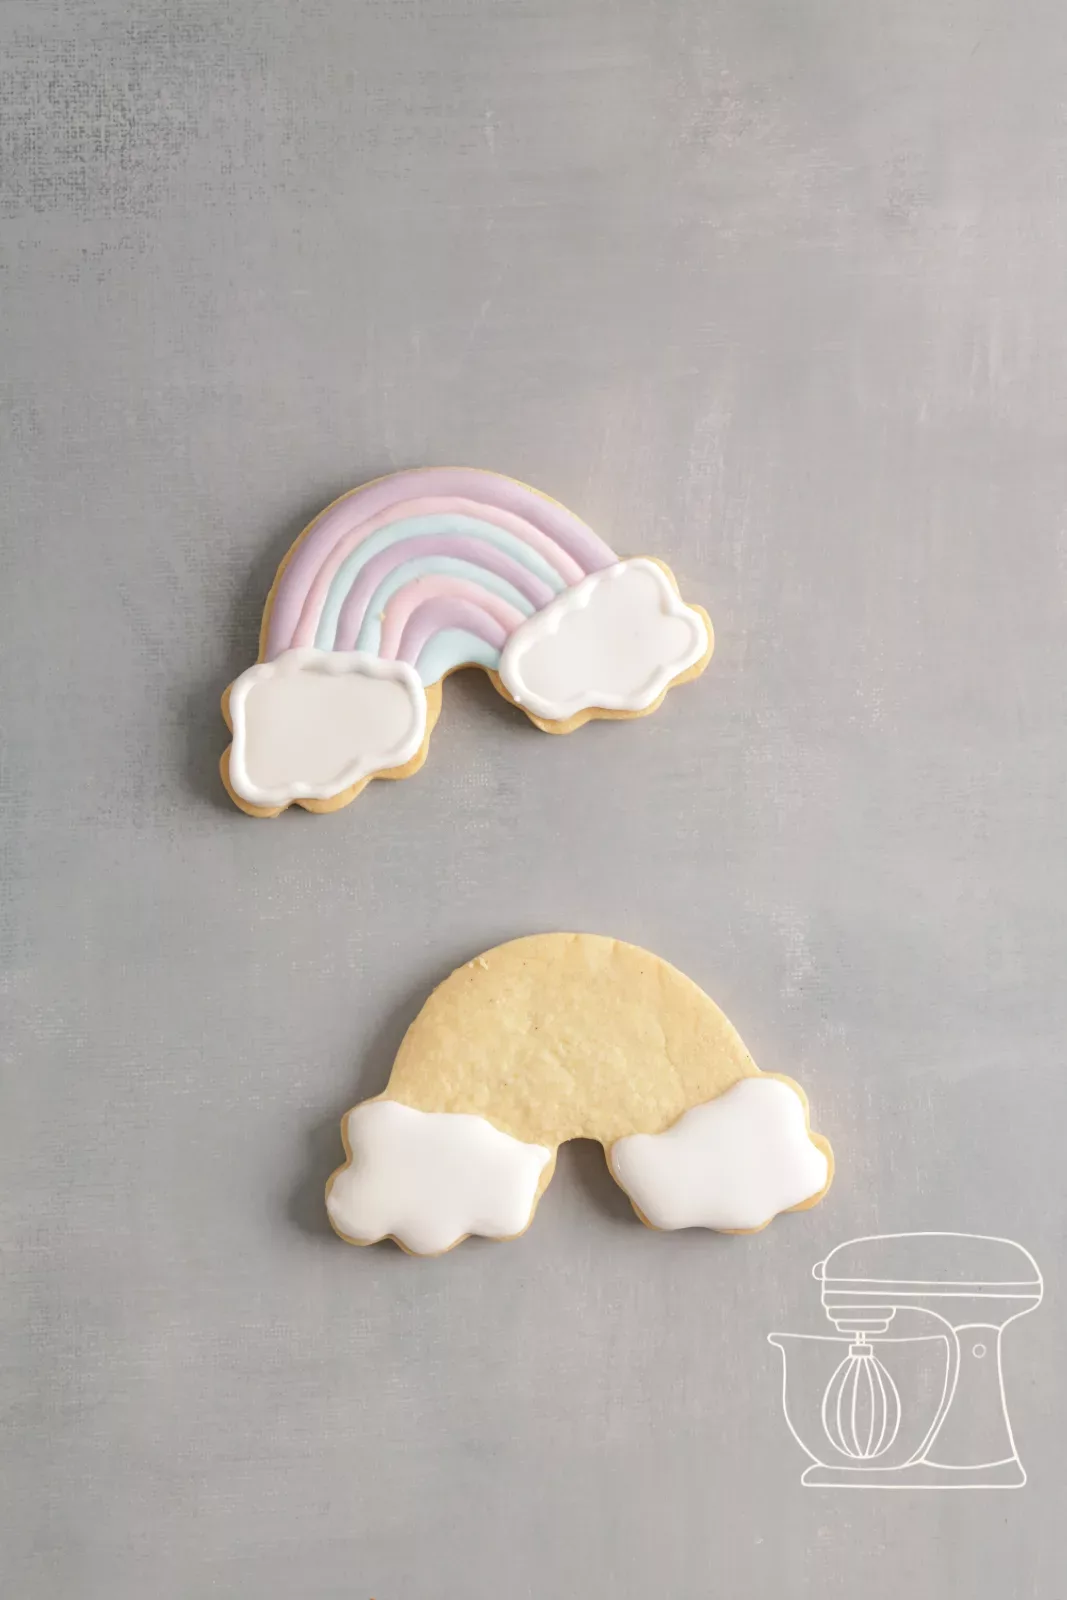
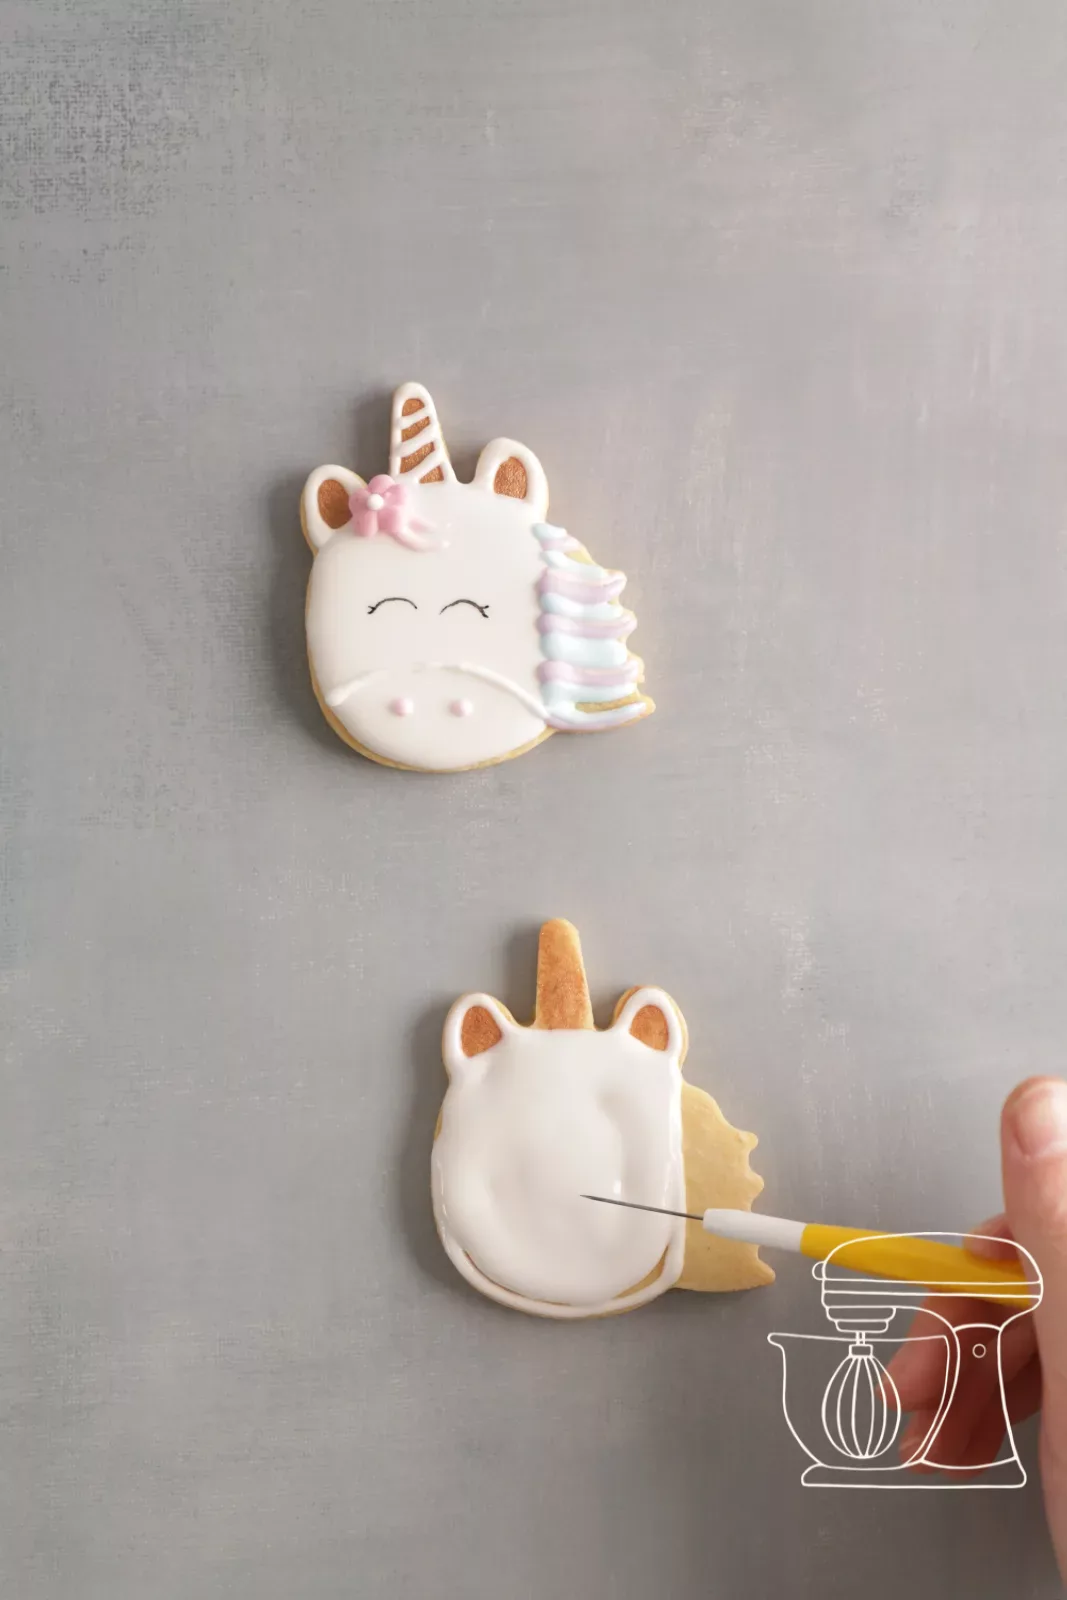
Start with a simple shape for practice, such as a rainbow. Trace the edge of the clouds with the 1.5 mm piping nozzle and fill them with the same nozzle. Apply enough icing, otherwise the surface will be wavy instead of smooth. Use a fine needle to spread the icing in small circles right into the corners. Then gently shake the cookie flat between your hands so the icing becomes nice and smooth.
Then place the cookie in the dehydrator for 10 minutes.
Pipe the rainbow colours
Now draw thin lines, alternating the colours. Between each colour, put the cookie briefly into the dehydrator. If it doesn't dry enough, the colours will run into each other.
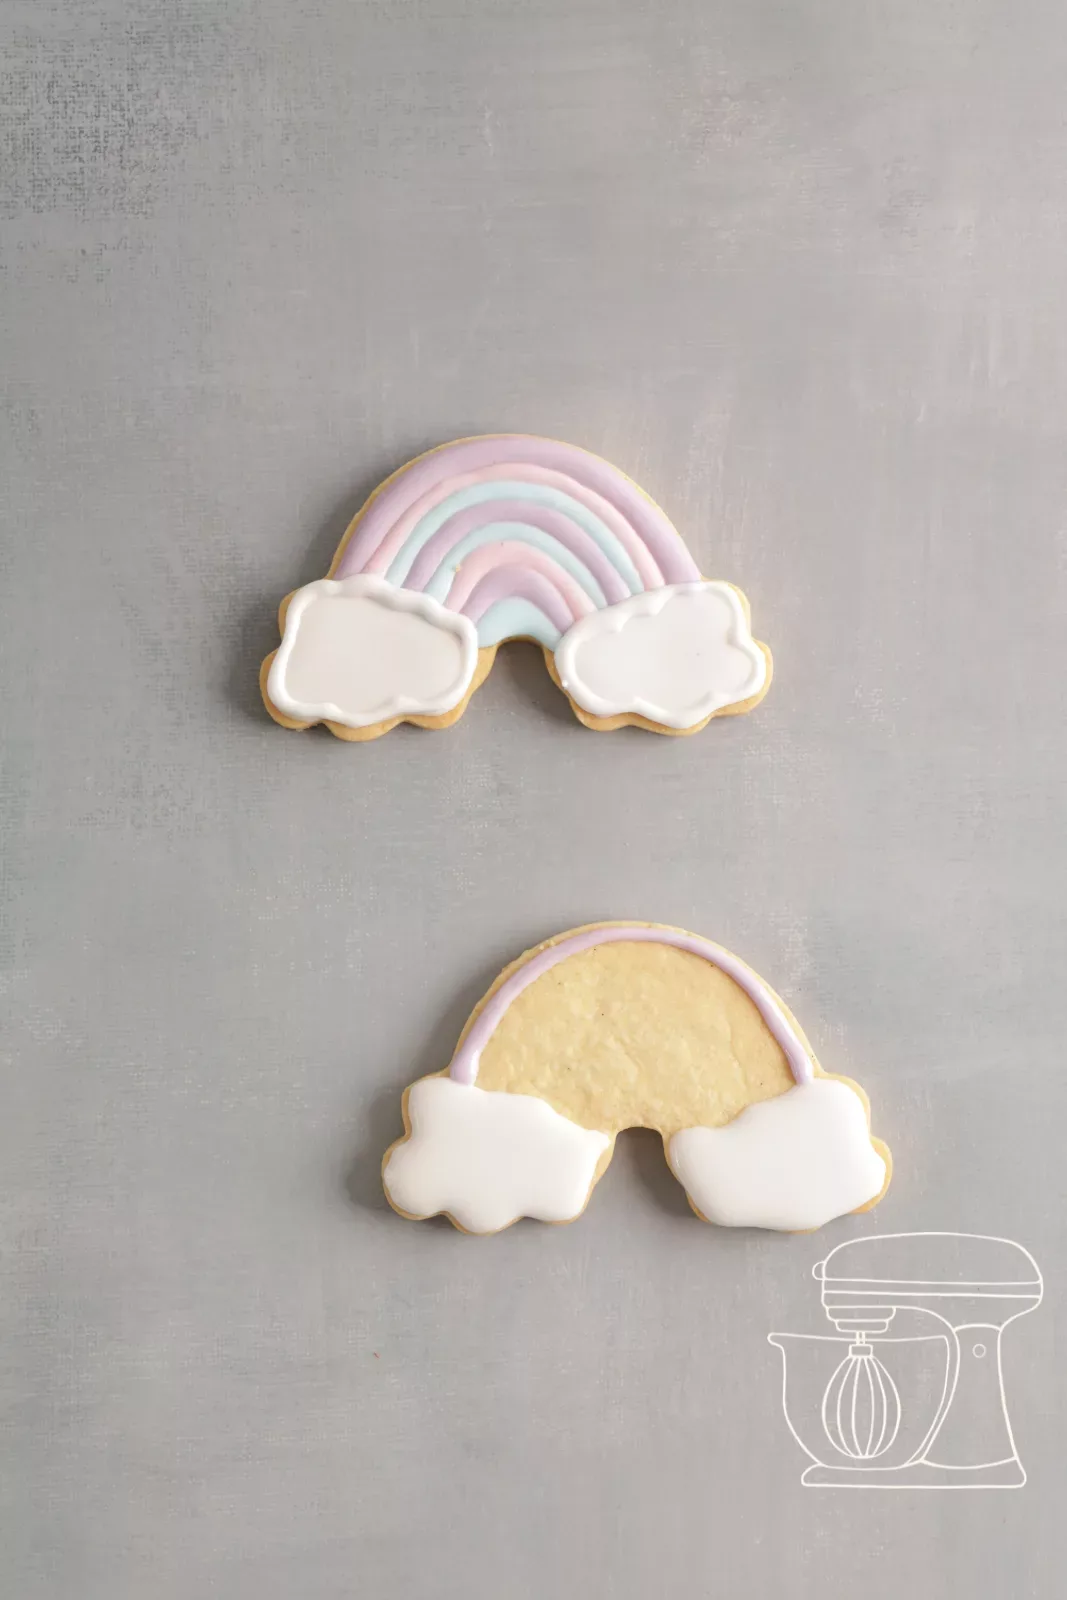
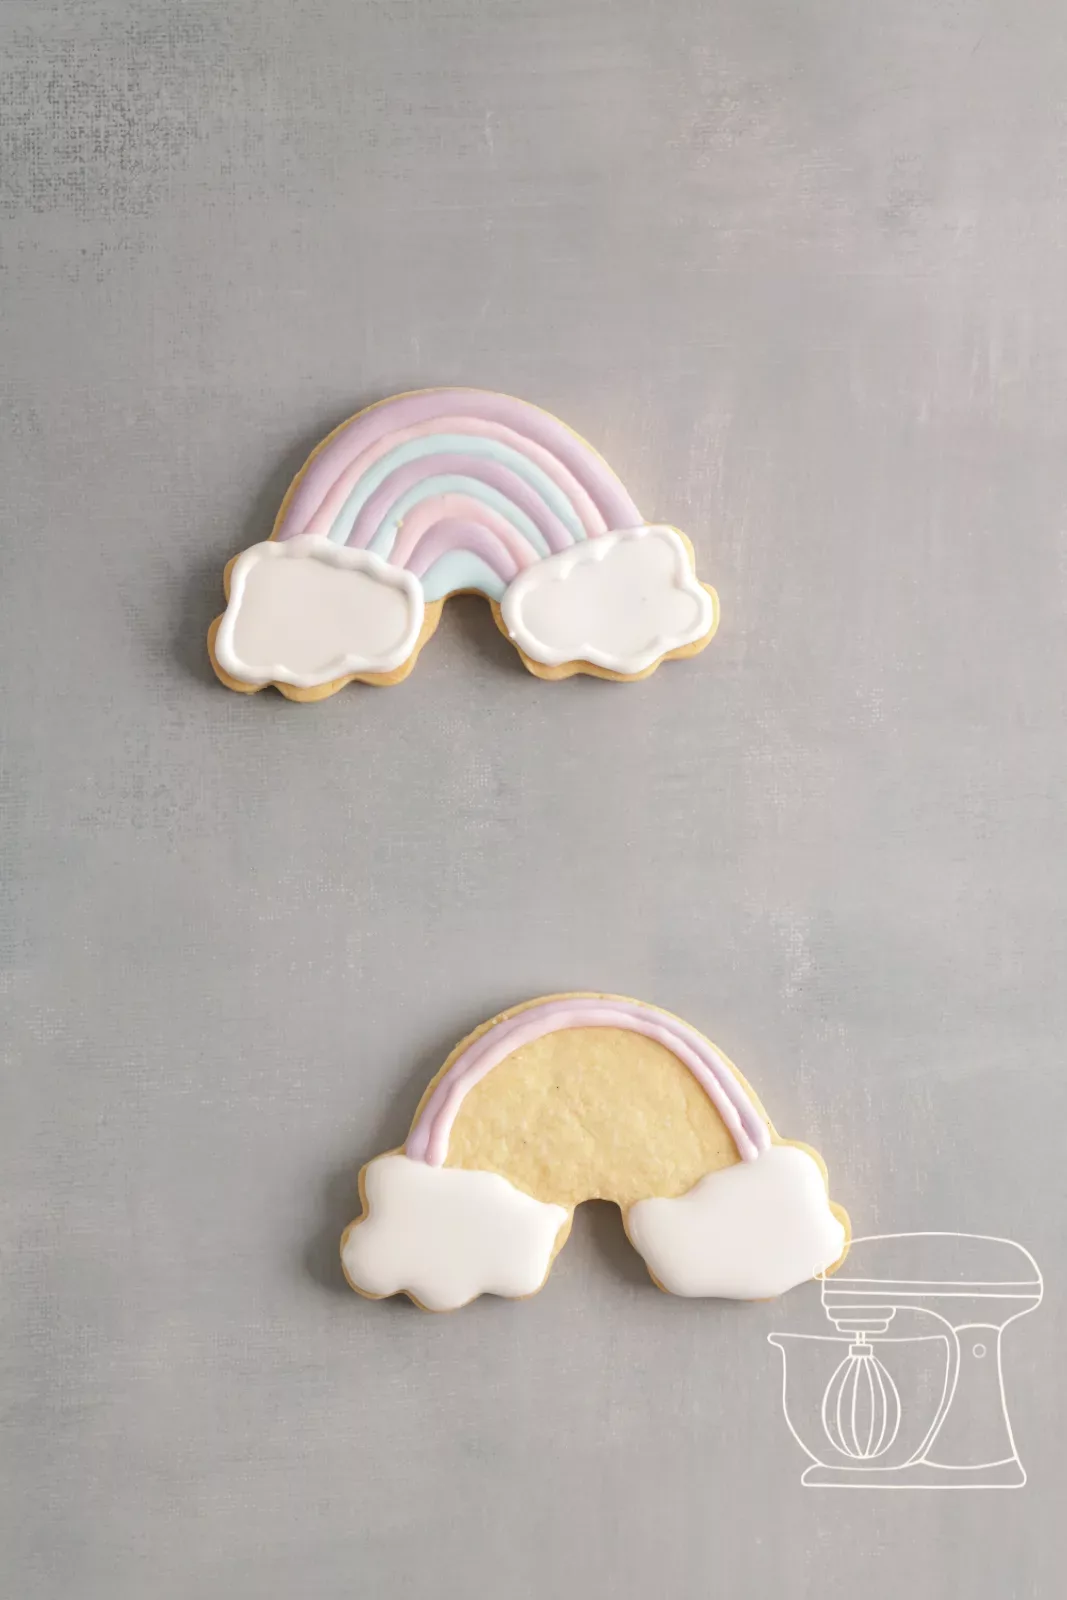
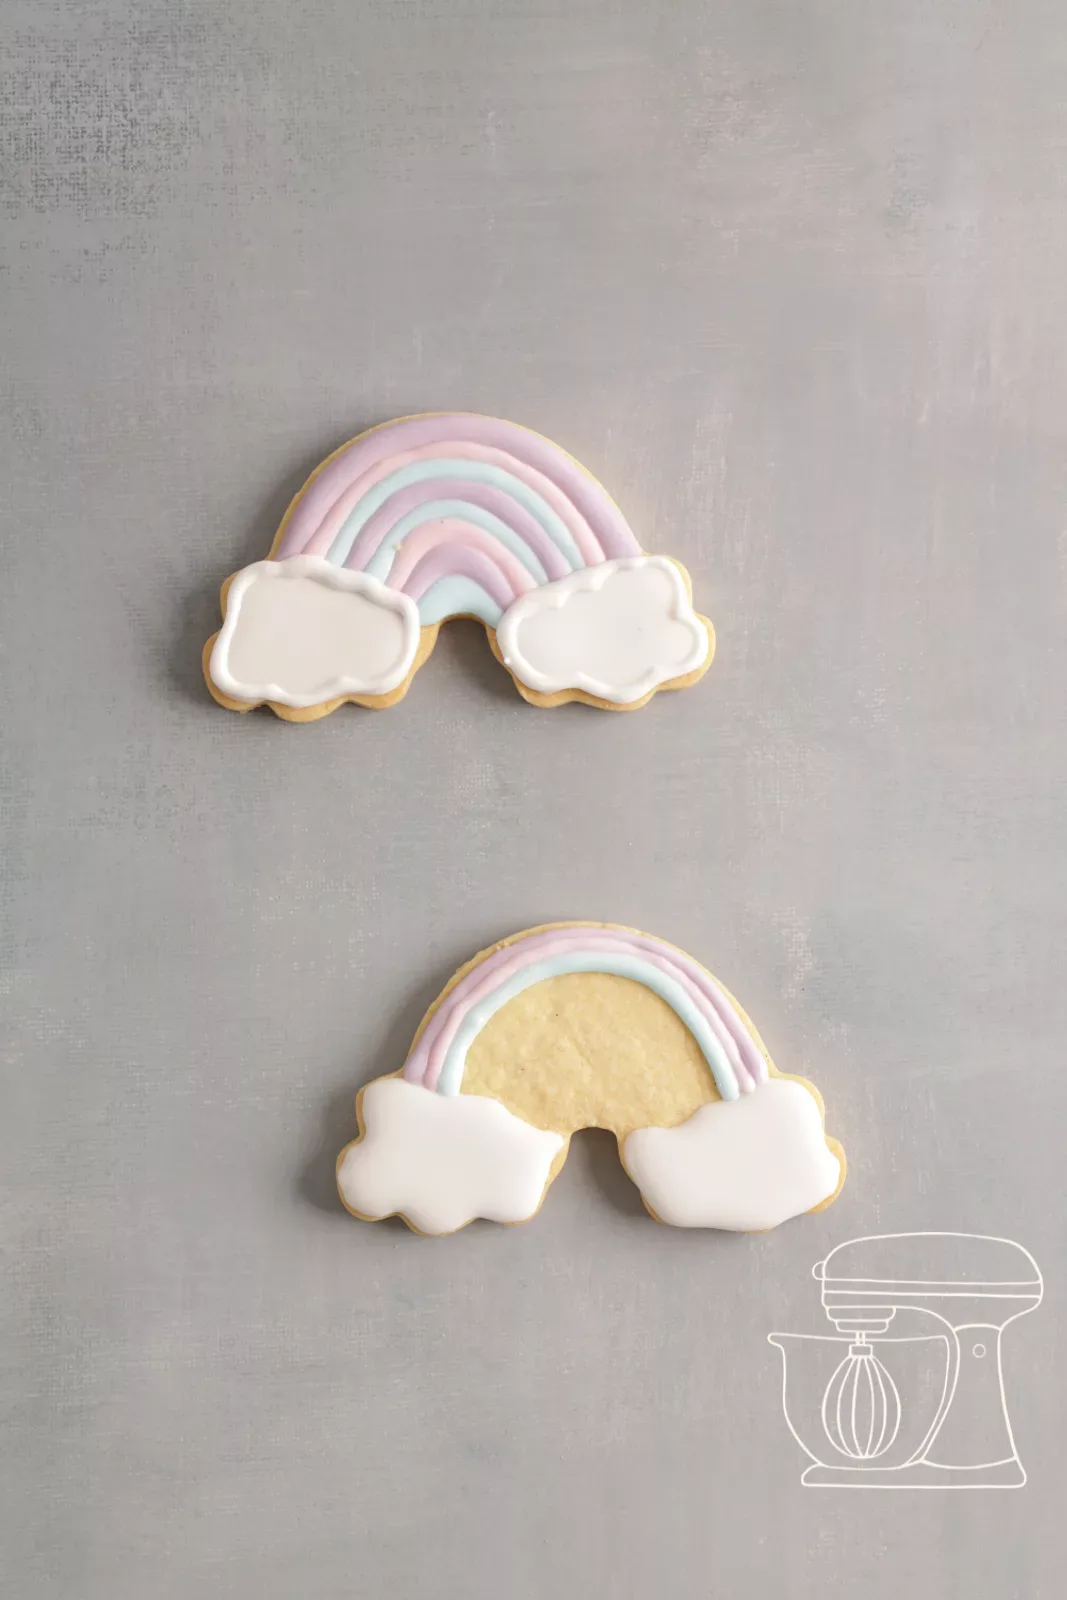
Draw the cloud edges and dry
Once the rainbow is completely filled and dry, trace the edges of the clouds. Then place the cookie in the dehydrator for at least 40 minutes.


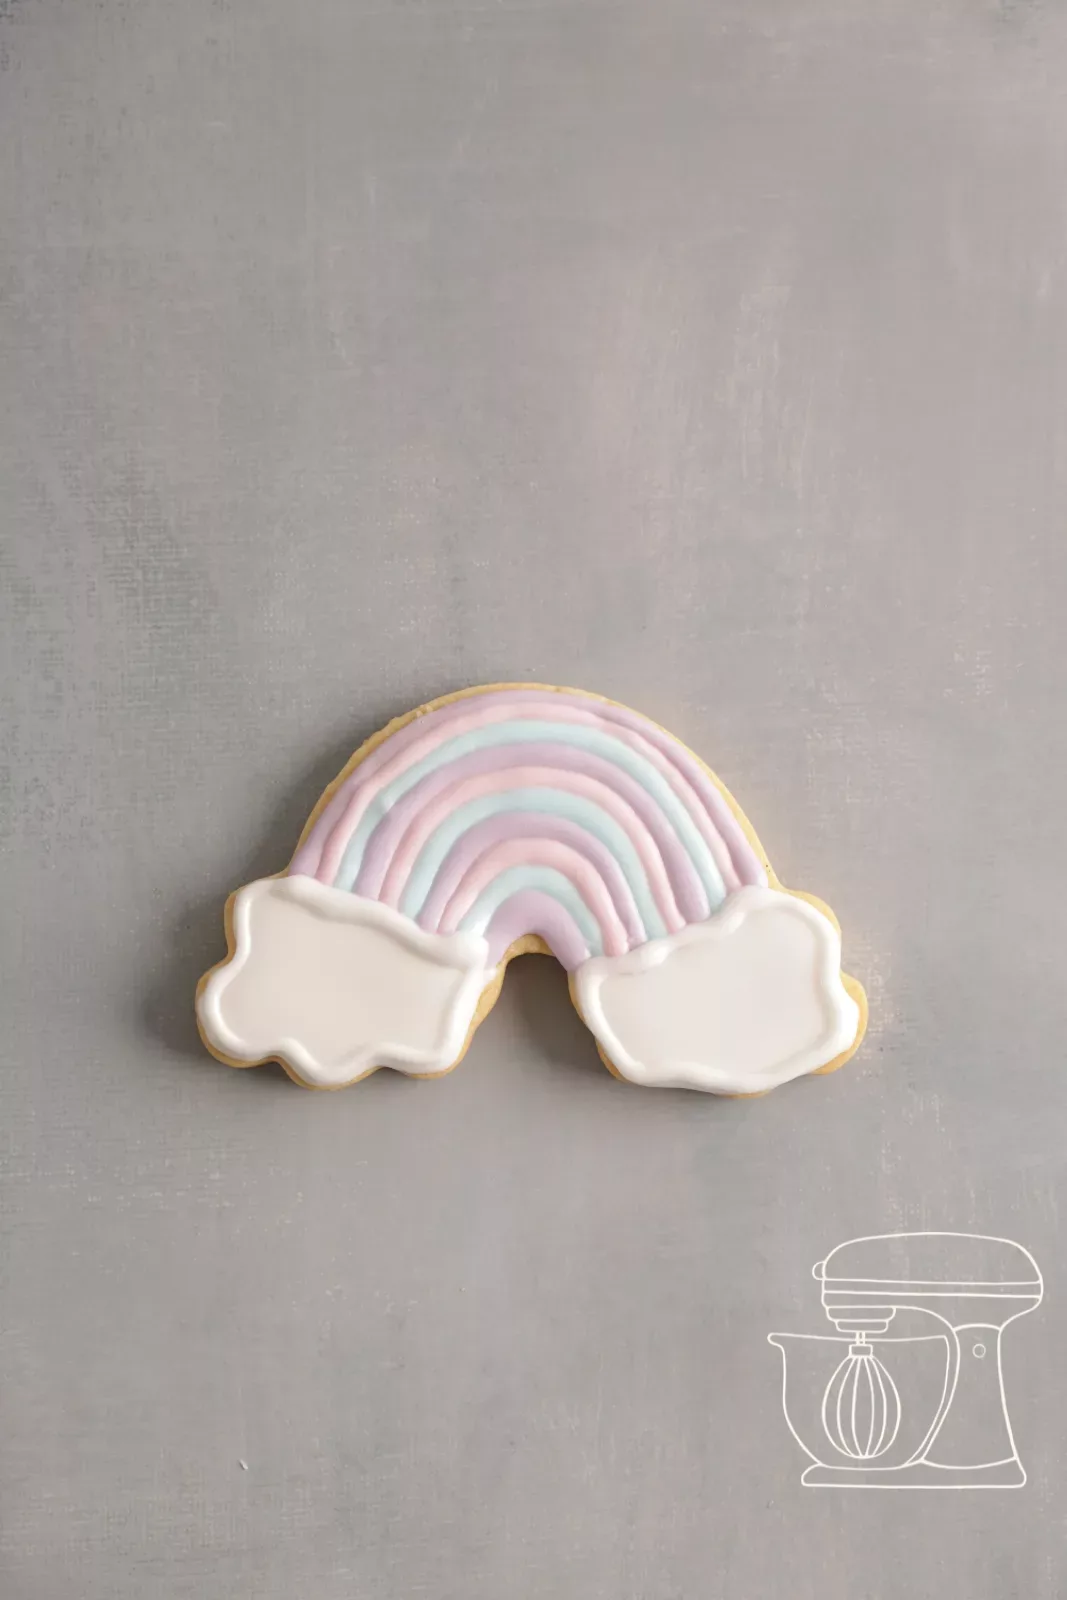
Decorate the unicorn
Gild the ears and horn, fill the head
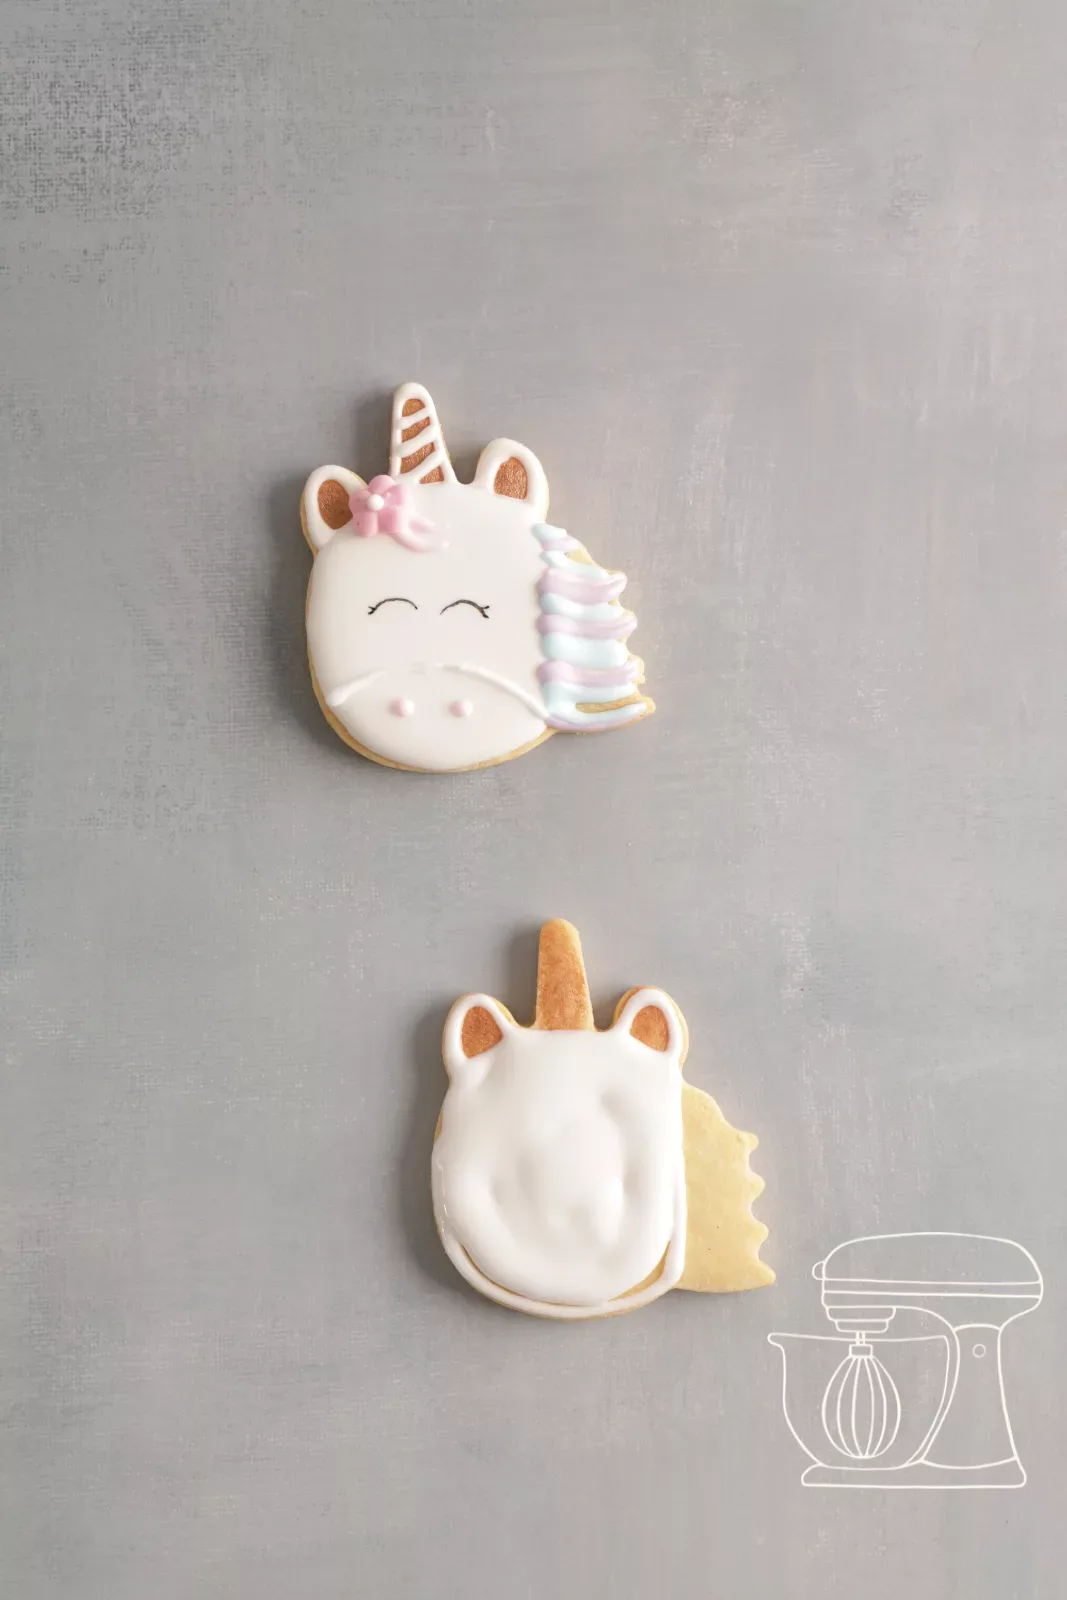
First paint the ears and horn with the gold Food pen. This gives the unicorn a shiny 3D effect later on.
Then trace the edges with the 1.5 mm piping nozzle and fill the head as you did for the rainbow, using the needle to help spread the icing. Only outline the ears and don't fill them, so the gold stays visible. Then place it in the dehydrator for 10 minutes.
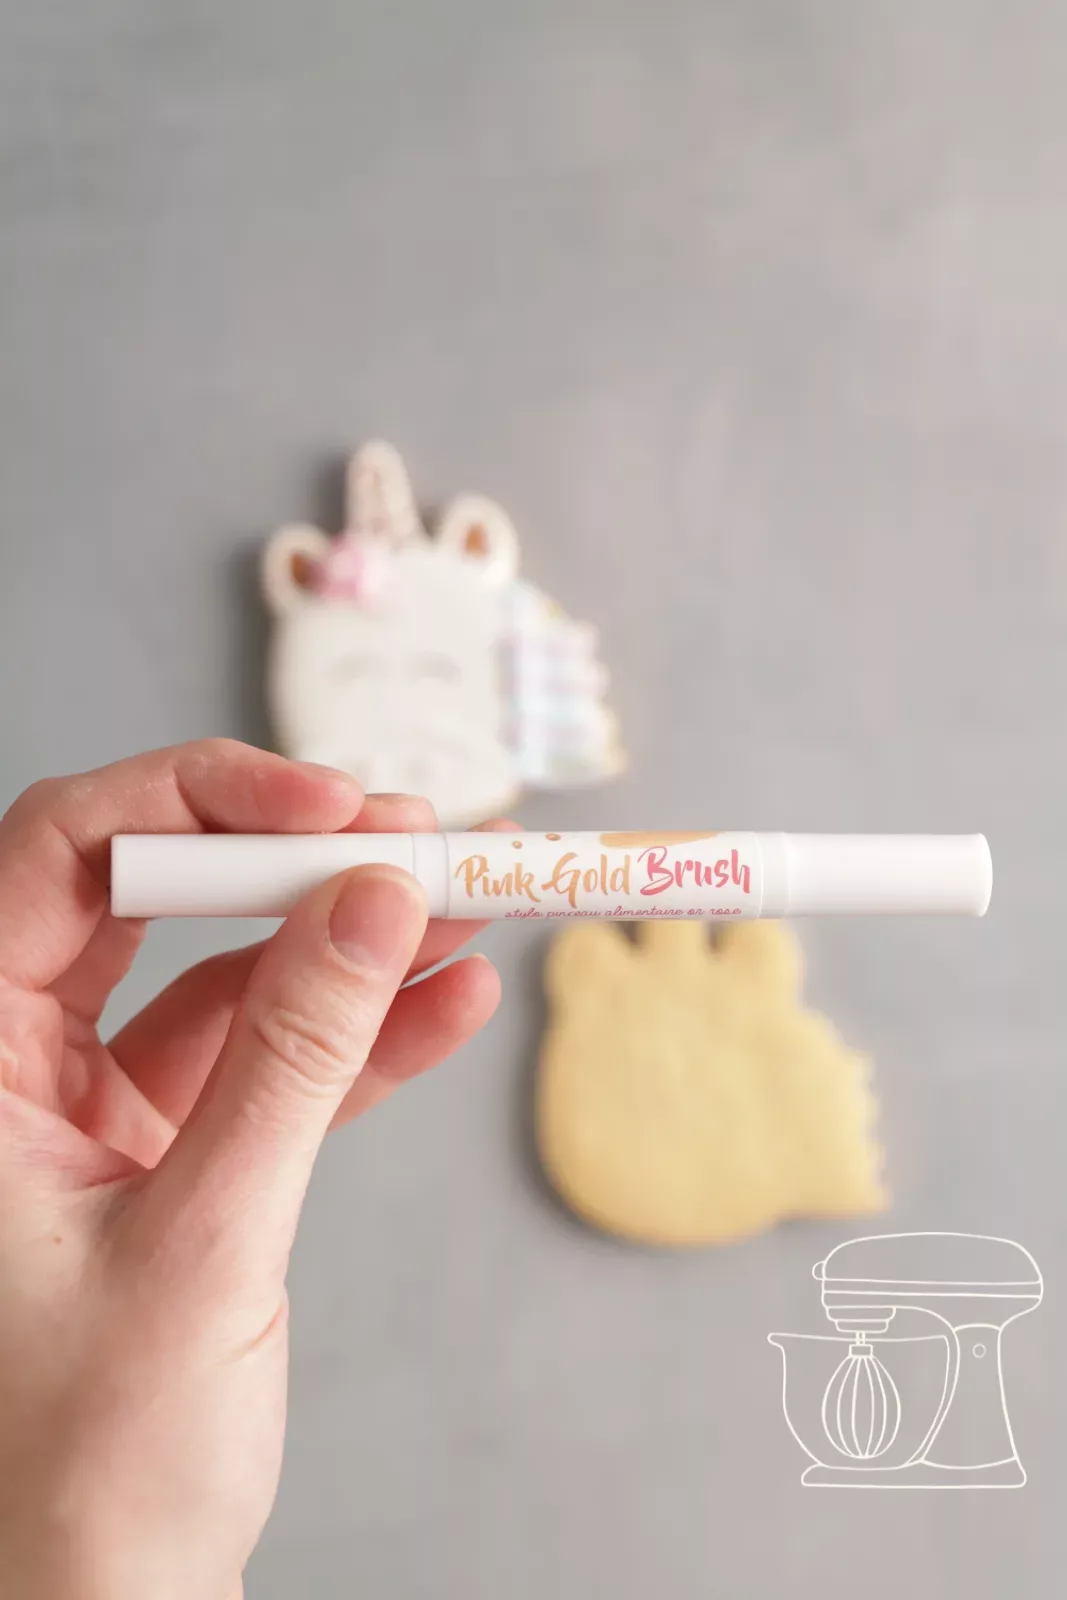
Gold Food pen
Pipe the horn and mane
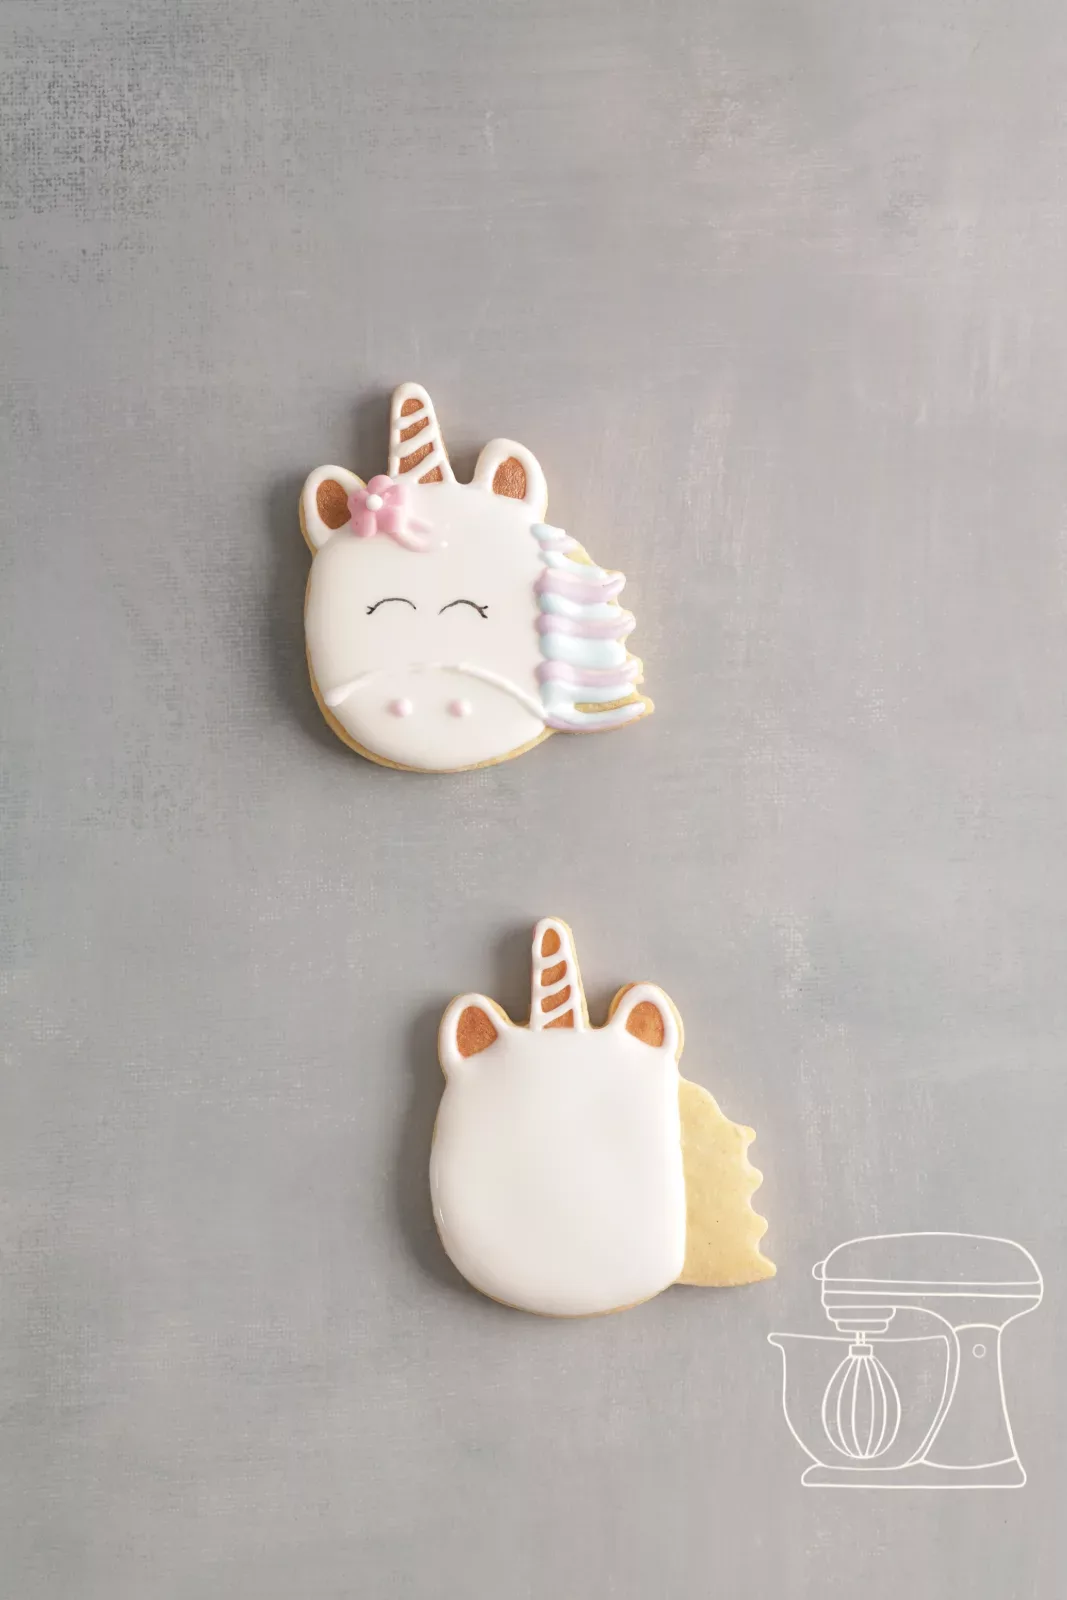
For fine details we use the thinner 1 mm piping nozzle, and the 1.5 mm nozzle for filling. Trace the edge of the horn and draw three small lines inside it so the gold shows through, just as with the ears.
Then pipe the mane in different colours. Let each colour dry in the dehydrator for about 5 minutes before placing the next one beside it.

Flower and muzzle
Continue piping the mane until it is completely filled. Place a small flower at the base of the horn and draw the muzzle.
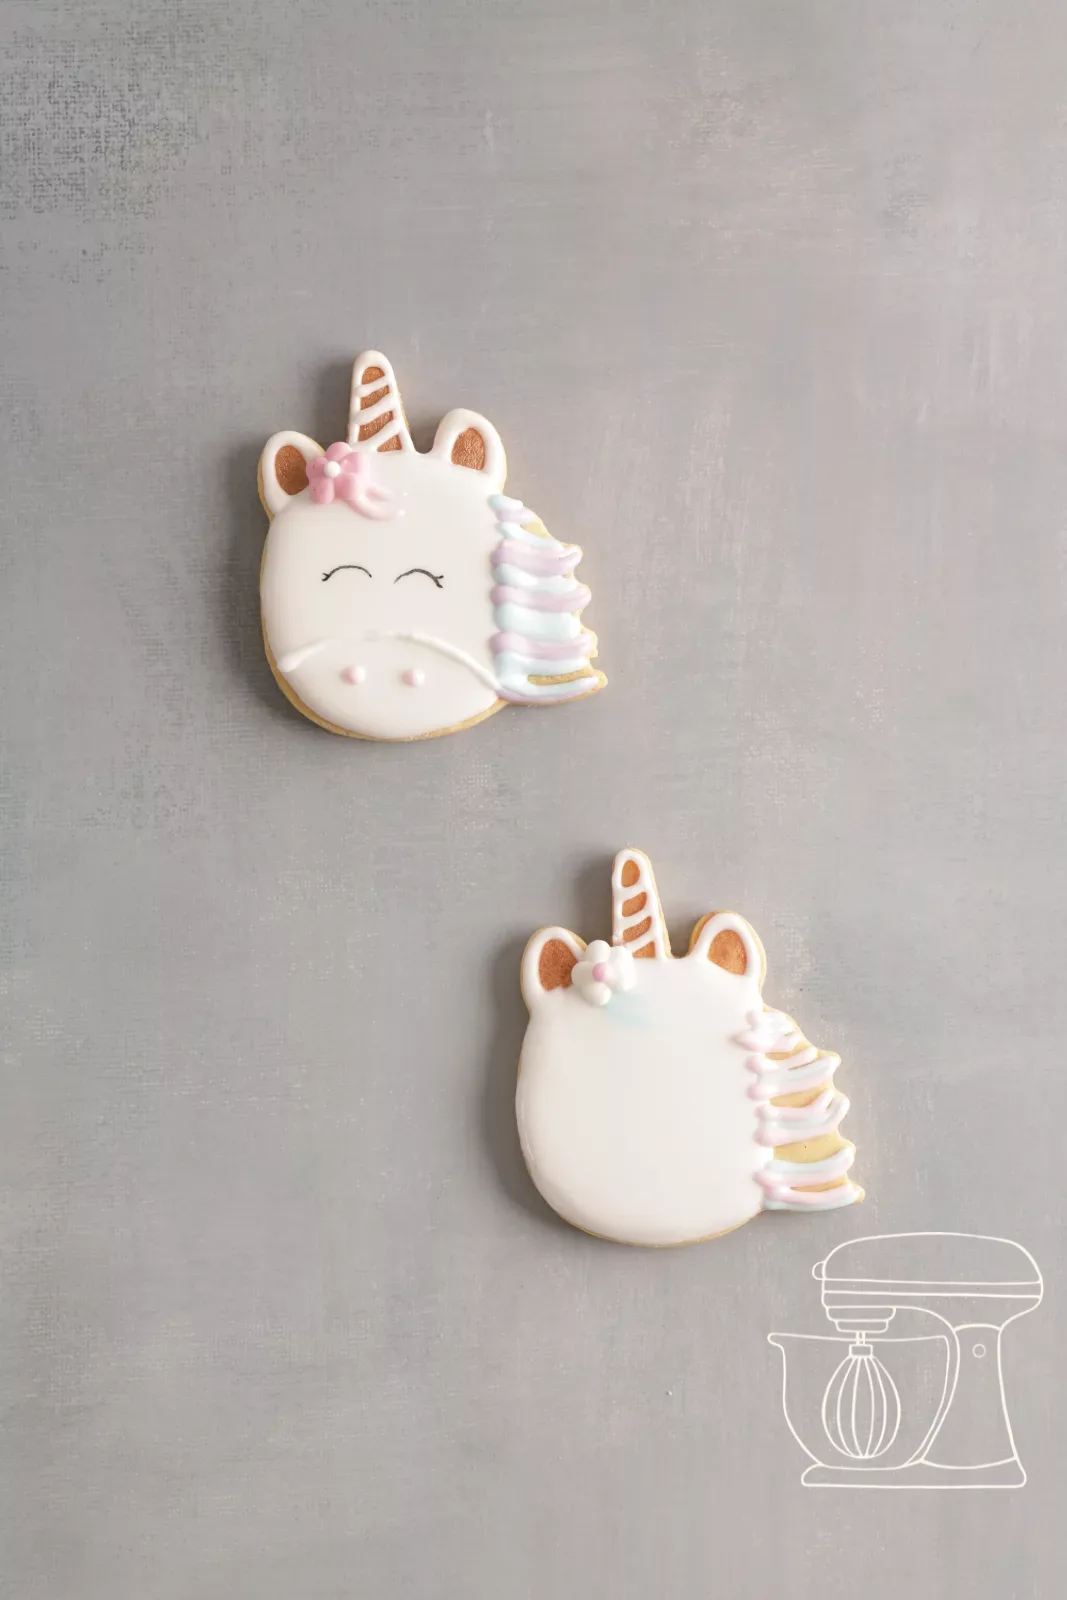
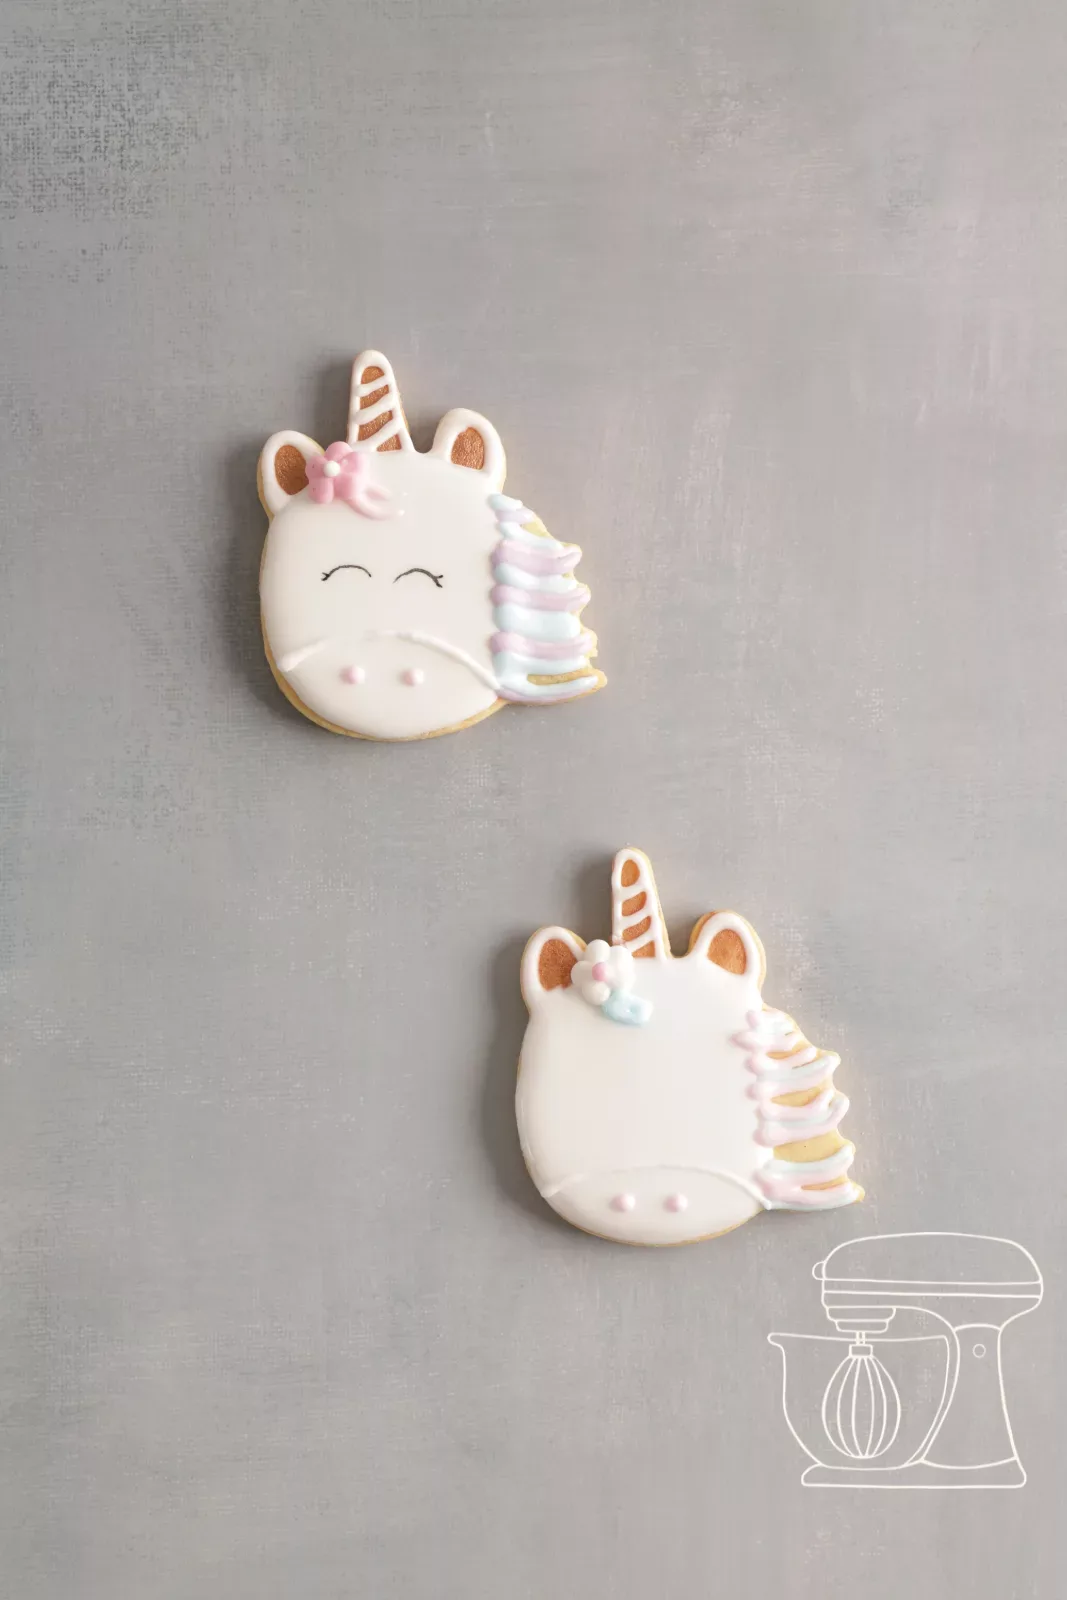

Paint the eyes and dry
Finally, paint the eyes with the black Food pen. Then place the cookie in the dehydrator for at least 40 minutes so it dries completely through. Your unicorn is finished!
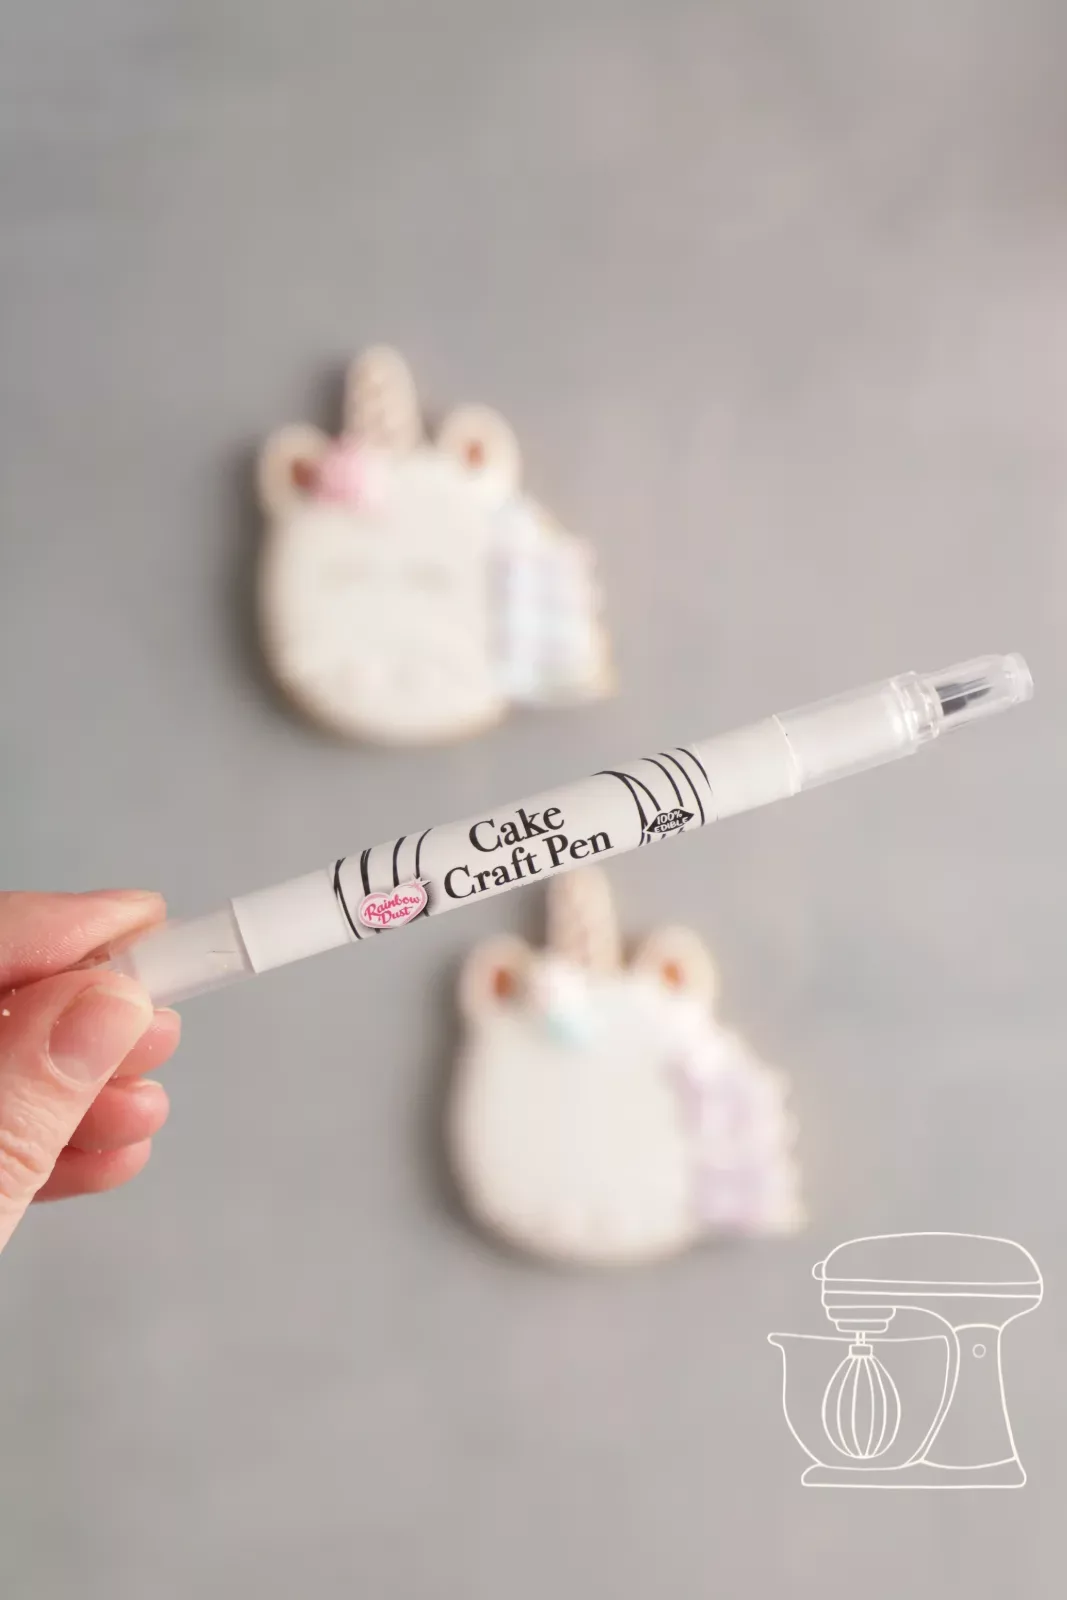


Black Food pen with two tips "Jet black"

Egg white icing cinnamon stars
Ingredients
Shortcrust pastry (approx. 40 cookies, 7 cm)
Royal icing (for approx. 20 cookies)
Decoration
Preparation
- Shortcrust pastry: Beat butter and icing sugar until creamy, add egg and vanilla aroma, then flour and salt for max. 1 min. on the lowest setting, and knead by hand until smooth.
- Cookies: Roll out 5 mm thick, freeze for 5 to 10 min., cut out, bake for 35 min. at 135 °C convection, and let cool.
- Royal icing: Mix icing sugar, meringue powder and cream of tartar, add 100 g cold water, and beat for 2 min. on the lowest setting.
- Color and consistency: Colour in portions of 150 to 200 g, add water drop by drop until the icing smooths out in 10 to 15 sec.
- Decorating: Outline and fill with a 1.5 mm piping nozzle, use a 1 mm nozzle for details, dry in the food dehydrator (40 °C) after each colour, and finally dry for at least 40 min.
Nutritional values per 100 g
Storage & shelf life
Everything for this recipe
Recommended by our bakery team, in exactly the sizes this recipe was tested with.
Ingredients
Meringue powder
Cream of tartar - 80g
Gel color "Progel"- Set Pastel
Liquid aroma "Vanille"
Gold Food pen
Black Food pen with two tips "Jet black"
Accessories
4 Cookie cutters unicorn
Unicorn cookie cutters, set of 2
Dough sticks
Silicone mat with micro perforation - 30 x 40 cm
Perforated aluminium sheet 40 x 30 cm
Plastic measuring spoon
Dosing bottle, set of 2
Disposable piping bag S - 30cm - 10 pcs
Adapter with cap for small piping nozzles
Wilton round piping nozzle - opening: 1.5 mm
Rubber band for piping bags
Delivery in 1 to 2 working days · Free shipping from CHF 100

So gelingt es garantiert
Pipe the border not quite up to the edge of the cookie, but leave 2 to 3 mm free. That way the icing won't run over the edge.
Choose just 2 to 3 motifs. That way you decorate the cookies one after another, you progress faster and get a little better with every cookie.
Let your imagination run free, but stick to the drying times. Only when each layer is properly dry will the colours stay neatly separated and the icing shine. By the way, children love decorating cookies!
Frequently asked questions
Better not: as long as the icing is still liquid, the air can shift it. Use 40 °C top and bottom heat and let the cookies dry for about 10 minutes after each layer.
Usually the icing between the colours wasn't dried enough, in the dehydrator or in the oven at 40 °C. The second common reason: the icing was too liquid.
No, the dehydrator only dries the icing so you can build up the layers cleanly. At the end the cookies go back in and can then be stored in a well-sealed tin.
Print recipe
Choose what should appear on the printout.
Related posts
 Juicy Matcha Muffins with Pecan Nuts & White Chocolate
Matcha Iced Latte & Coconut Variant
Pull-apart bread with fresh wild garlic pesto
Mini Banana Bread with Chocolate Chips
Leave a comment
Comments
Question de Mireille
By: Mireille Z. On 2022-04-28Bonjour,
Pour un mariage, je vais faire un glaçage royal pour un peu moins de 200 biscuits (votre recette ci-dessus et même taille). Je prévois de vous commander 600gr de poudre de meringue (j'ai compté 60 gr pour 4 cs) et 100 gr de crème de tarte (j'ai compté 7gr par cc). Est-ce que ces proportions vous paraissent ok et est-ce suffisant 2 gel colorant pour cette quantité ? Merci pour votre aide.
Replied by: Karin On 2022-04-28
Question de Valérie
By: Valérie M. On 2021-12-06Bonsoir, d'abord merci beaucoup pour votre aide précieuse pour cette recette, cela fait longtemps que je voulais savoir comment faire secher le glaçage royal. Question bête la poudre de meringue et la poudre à meringue, c'est la même chose ? ?. Merci
Replied by: Laura On 2021-12-07
Réponse à Merci
By: Karin On 2021-11-25pour votre message.
J'ai la marque Primotecp de chez Fust :-), il va super bien pour mes biscuits.
Belle journée
Réponse à C'est
By: Karin On 2021-11-25mieux d'utiliser la chaleur en haut et en bas car avec la chaleur tournante si votre glaçage est encore liquide la ventilation risque de le faire bouger. Comme mentionné dans la recette, il est important de faire sécher le glaçage à chaque fois pour avoir résultat brillant :)
Belle journée ! :-)
Question de Djouher
By: Djouher K. On 2021-11-25Bonjour ?est ce que c'est possible de les faire sécher dans un four a chaleur tournante svp,faut il les remettre à chaque fois ??pour les sécher entre chaque décoration ??je vous remercie par avance
Replied by: Djouher K. On 2021-11-25
Question de Marie
By: Marie N. On 2021-11-15bonsoir, à quelle température faut-il mettre le déshydrateur s'il vous plaît ?
Replied by: Laura On 2021-11-16
Question de Floriane
By: Floriane C. On 2021-10-19Bonjour, le fait de mettre plusieurs fois le biscuit dans le déshydrater, est ce que ça sèche aussi le biscuit et il deviendra dur ? Et encore une question, une fois le glaçage terminé, on le remet une dernière fois 10 min au deshidrateur? Merci et belle soirée.
Replied by: Karin On 2021-10-20
Question de Bernadette
By: Bernadette R. On 2021-02-17Bonsoir, je ne possède pas de dėshydrateur mais pensez-vous que je puisse utiliser mon appareil pour faire sėcher le vernis que l'on applique sur les ongles ?
Replied by: Karin On 2021-02-17
Question de Laura-Lore
By: Laura-Lore P. On 2021-01-10Bonjour,
Pouvez-vous me donner votre avis... j'adore la décoration de biscuits à la glace royale et je respecte chacune des étapes. Par contre, j'utilise le colorant en gel Wilton. Je laisse bien sécher la glace ( du moins, je crois ) avant d'appliquer une autre couleur. Par contre, après 2-3 jours, les couleurs se mélangent sur les bords... savez-vous pourquoi?
Replied by: Karin On 2021-01-12
Réponse
By: Karin On 2020-11-11Ils se conservent 1-2 semaines sans soucis voir même plus. ;o)
Belle journée. Karin
Question de A
By: A K. On 2020-11-10Bonjour !
Combien de temps se conservent-ils avec le glaçage ? Dans une boîte en métal ?
Merci d’avance
Replied by: A K. On 2021-03-20
Réponse
By: Karin On 2019-11-13Merci pour votre message. Une fois les biscuits glacés, vous pouvez les conserver sans soucis jusqu'à 2 semaines. :o) Donc aucun problème, vous pouvez les préparer dès à présent pour dimanche. Belle journée. Karin
Question de Thérèse
By: Thérèse D. On 2019-11-08Merciiii Karin pour ces informations! Il ne me reste plus qu'a tester la poudre de meringue Funcakes... ou trouver quelqu'un qui fait un saut aux Etats-Unis!!! ; )
Je te souhaite un tout bel après-midi et un excellent week-end.
A très bientôt.
Thérèse