
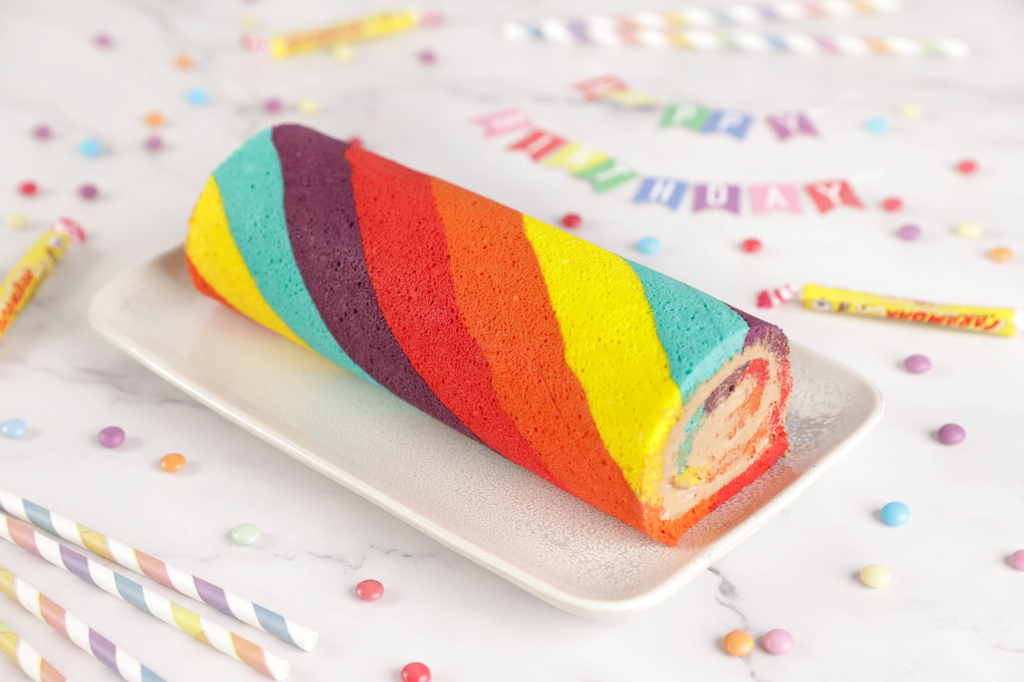
Rainbow Roll Cake with Carambar
Hey there, sweet tooths!
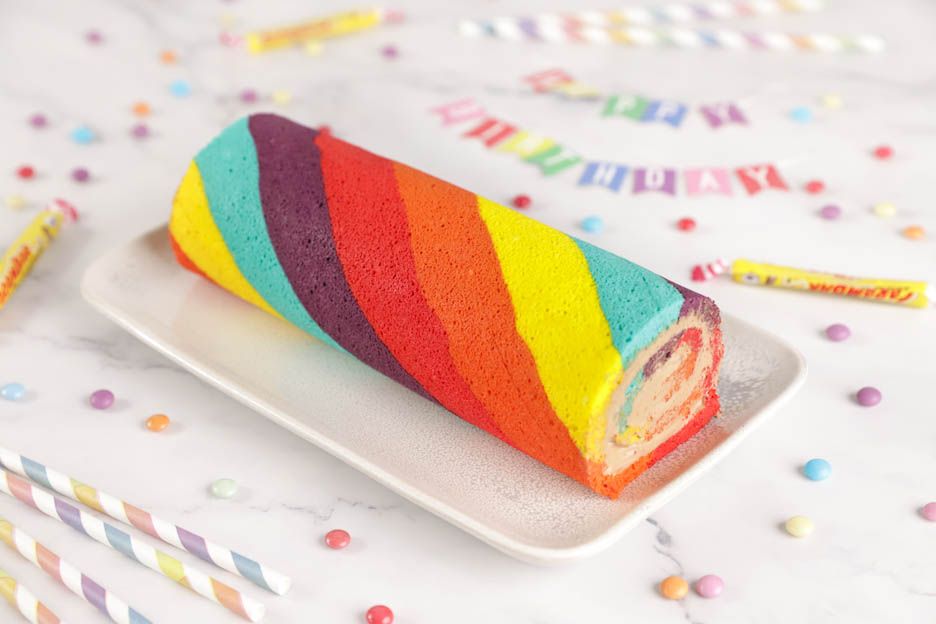
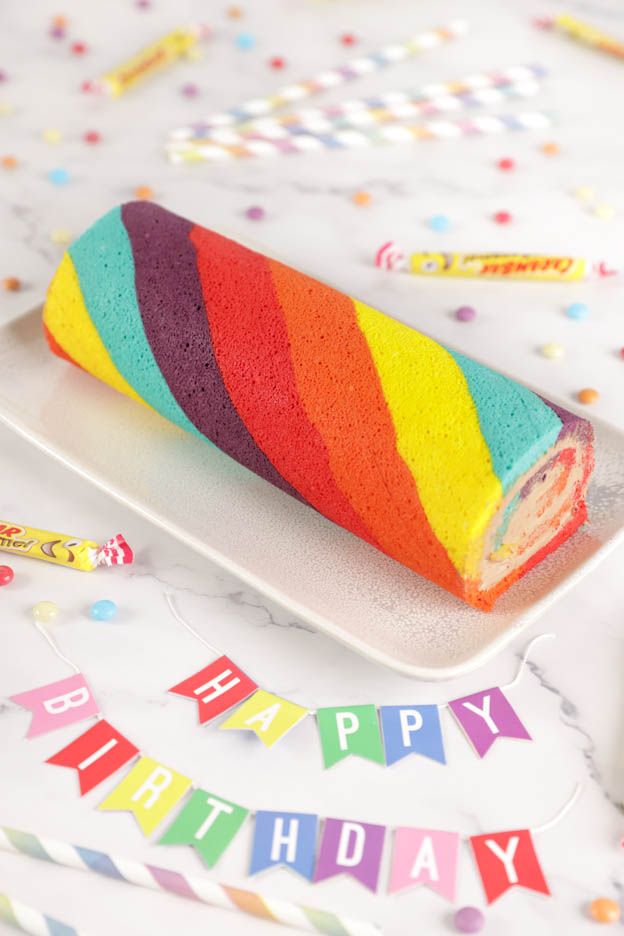
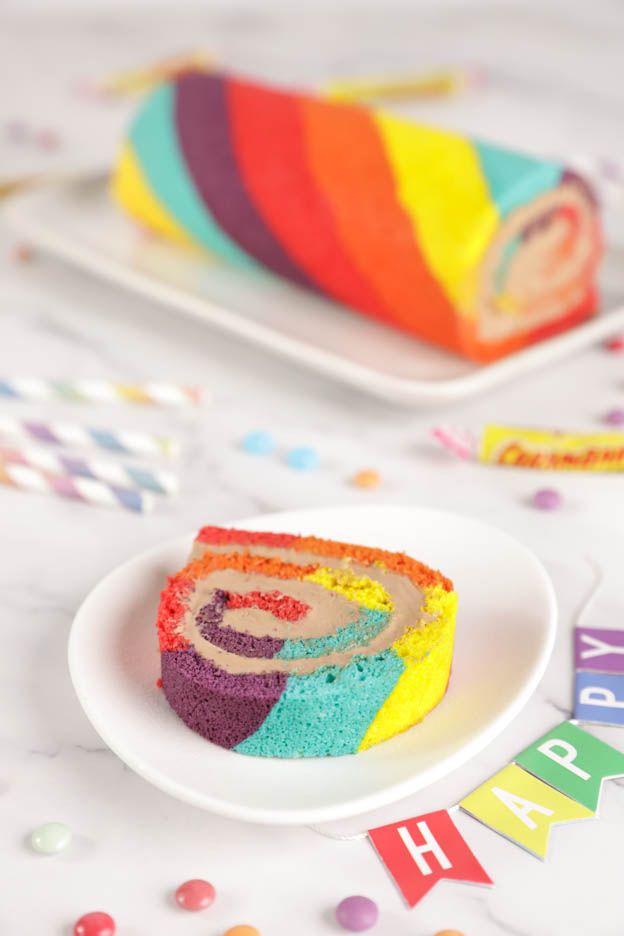
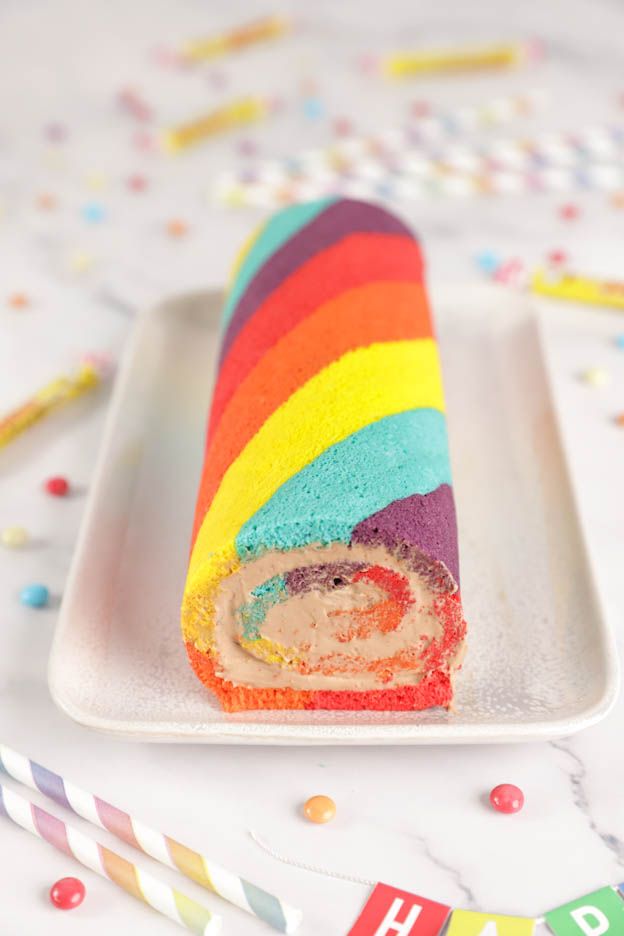
Bring a touch of magic and indulgence to your table with this rainbow roll cake filled with a delicious Carambar whipped ganache.
Perfect for a birthday, a fun snack time or just to brighten up a grey day, this roll cake with its comforting flavour will bring back childhood sweet memories.
So, ready to impress and put stars in your guests' eyes? :-)
Let's get started with the recipe!
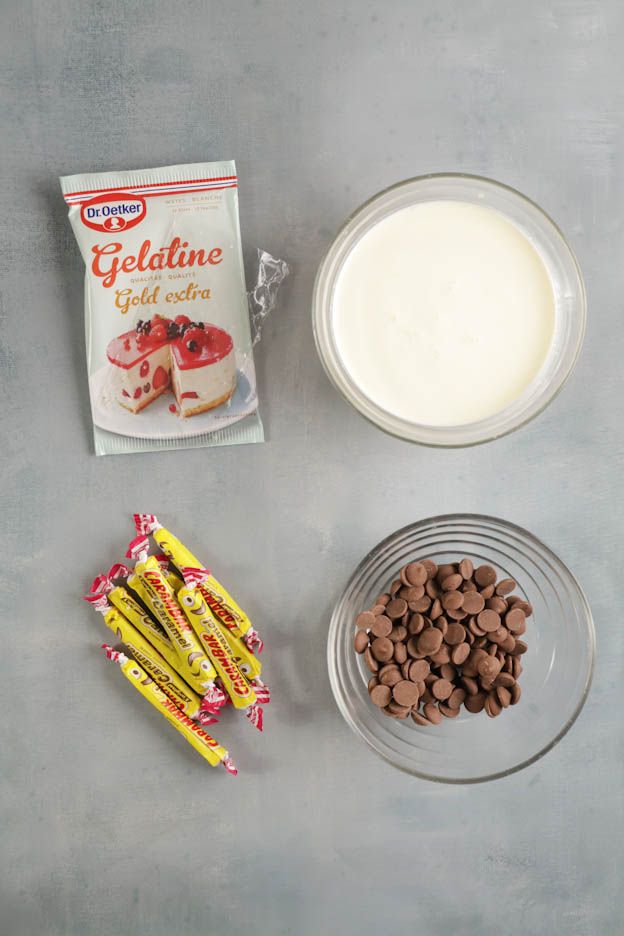
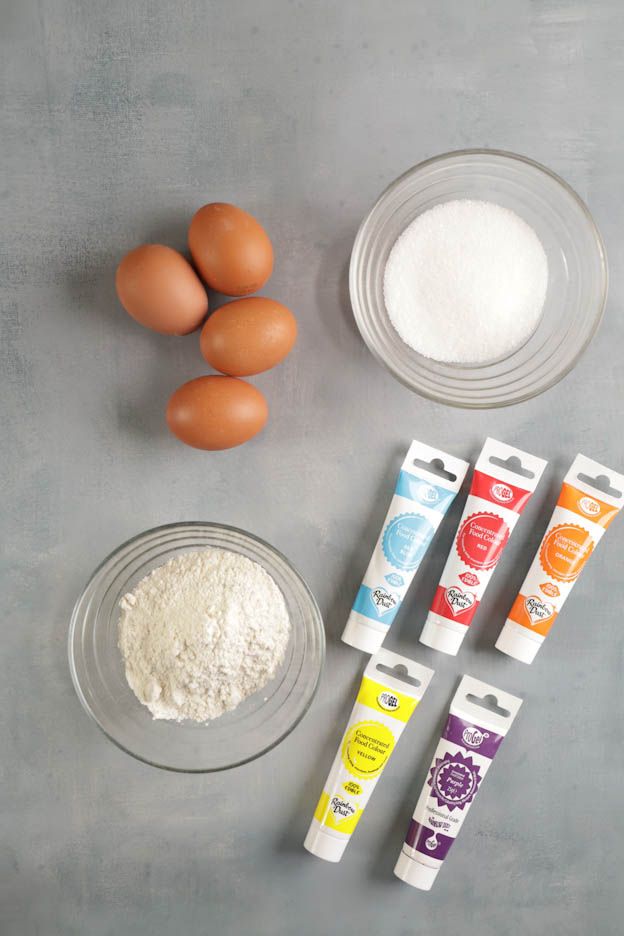
To make a roll cake for 6-8 people, you will need:
- 1 gelatine sheet
- 240gr of cream
- 50gr of Carambar
- 100gr of milk chocolate
- 4 eggs
- 100gr of sugar
- 100gr of flour
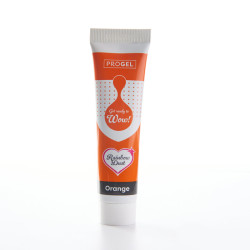
- Progel orange food colouring
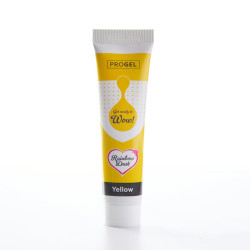
- Progel yellow food colouring
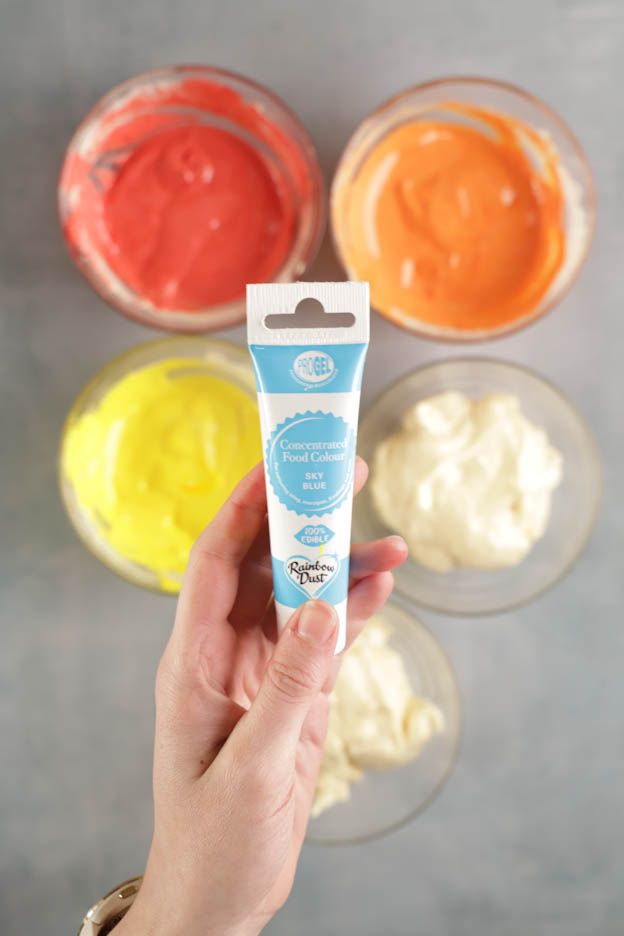
- Progel sky blue food colouring
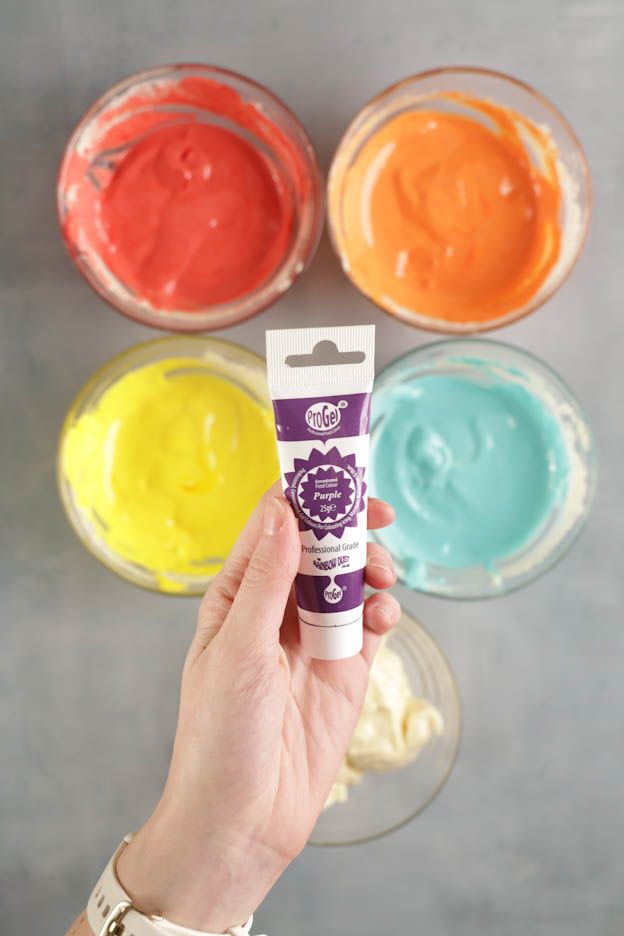
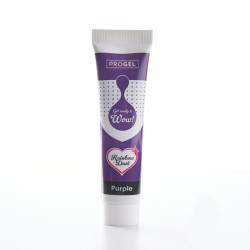
- Progel purple food colouring
First of all, we will make the Carambar ganache, as it will need to cool down before it can be whipped.
Carambar Ganache
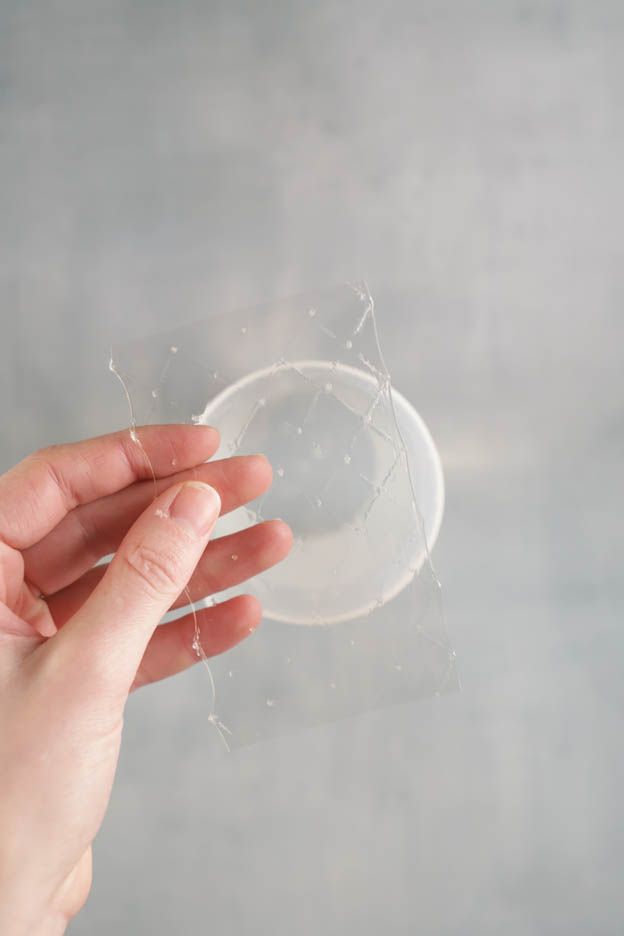
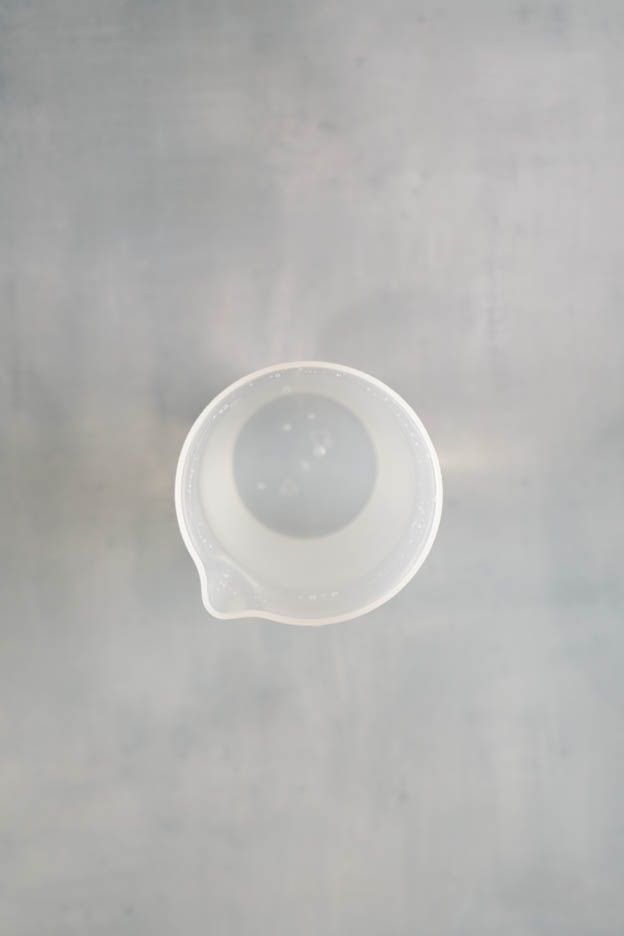
Start by soaking one gelatine sheet in a jug of very cold water.
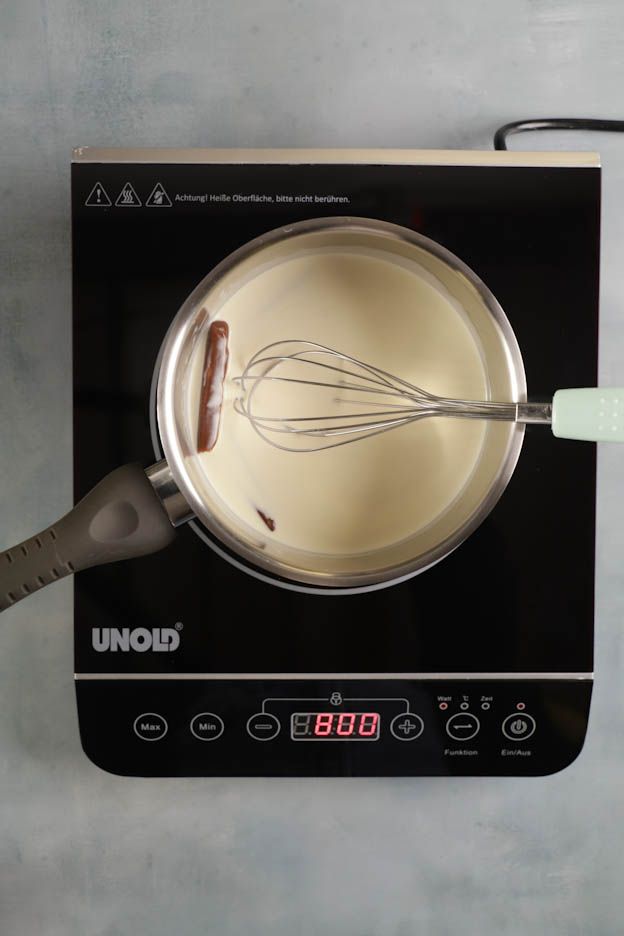
In a saucepan, pour 240gr of full-fat cream and add 50gr of Carambar.
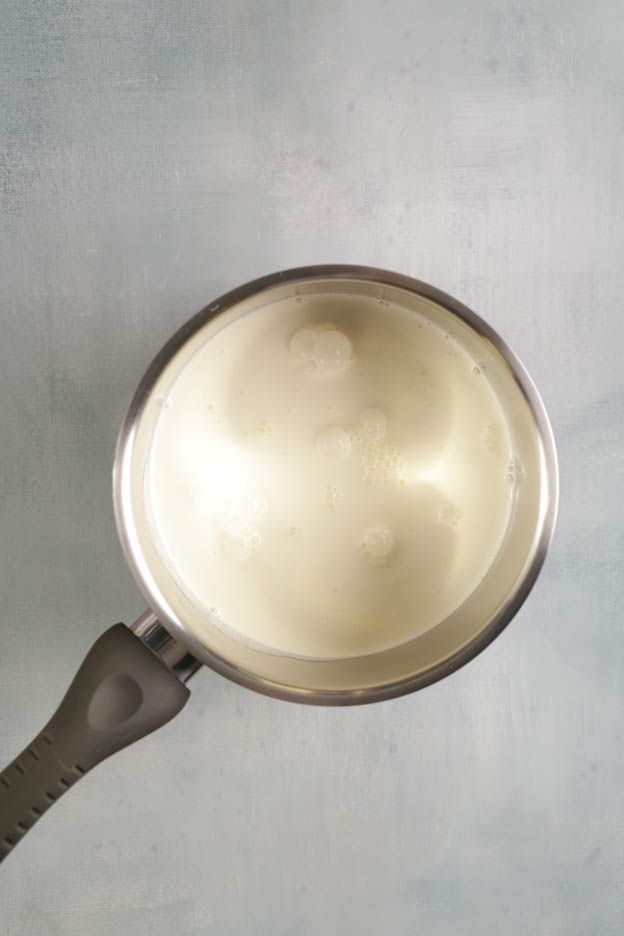
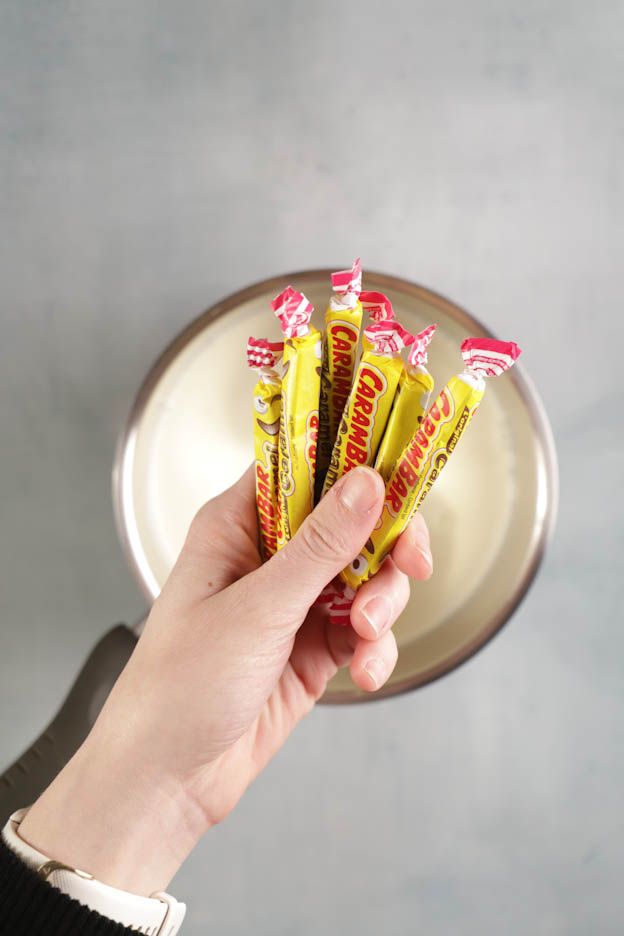
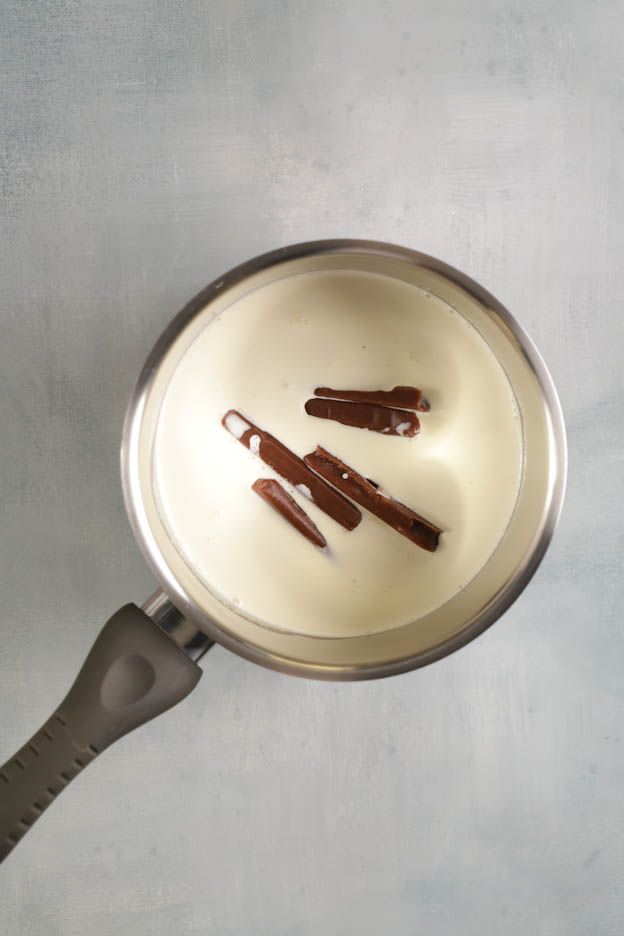
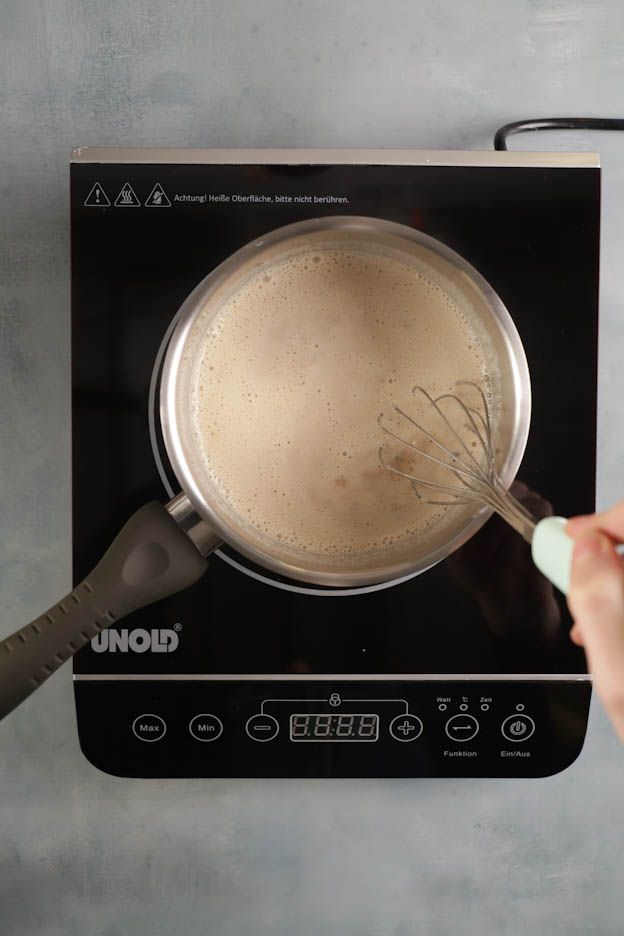
Heat the cream over medium heat and stir regularly so that the Carambar melts and blends into the cream.
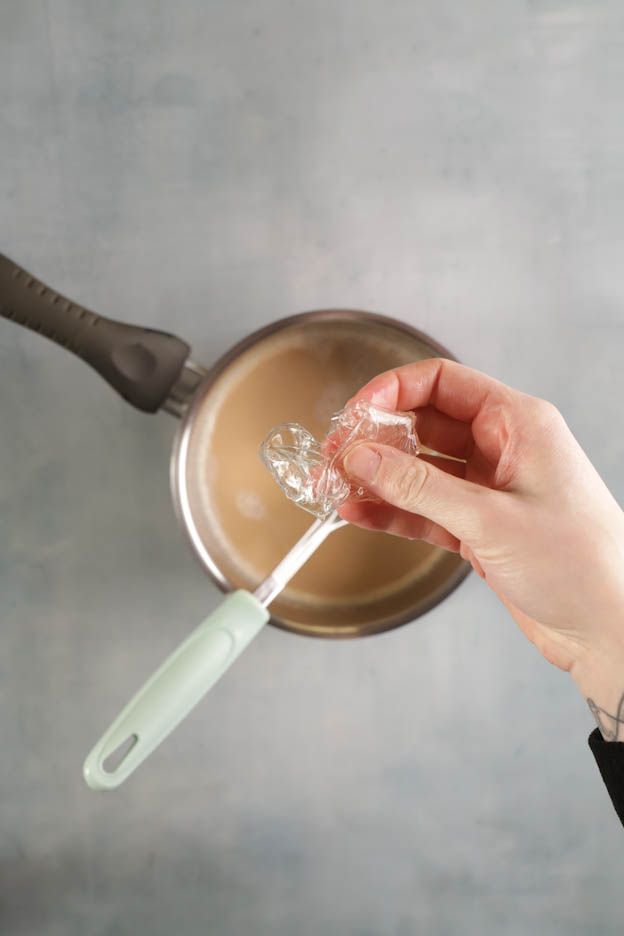
Once the cream has come to a boil, remove it from the heat and add the squeezed gelatine sheet. Mix well until it melts.
In a large bowl, pour 100gr of milk chocolate.
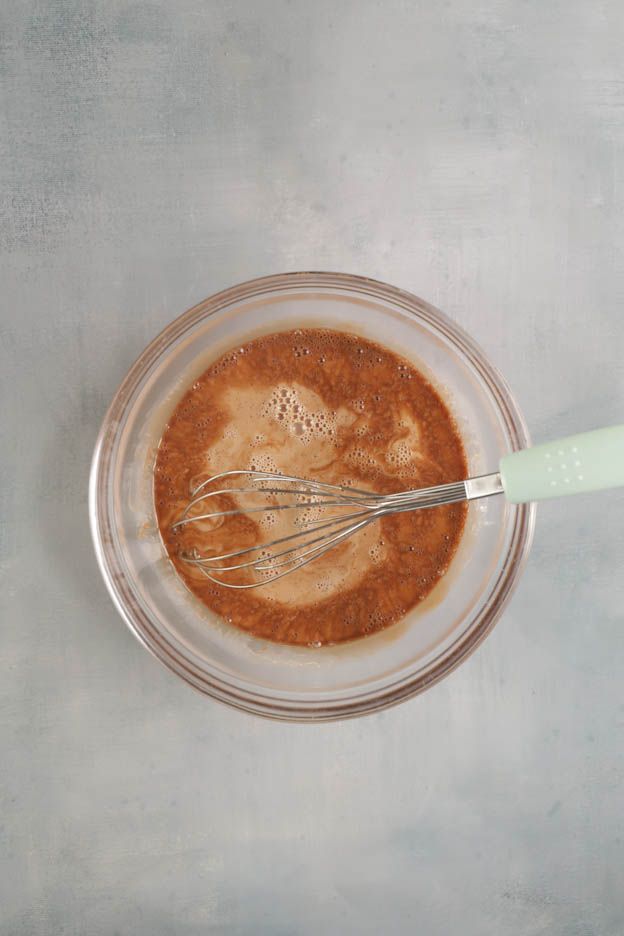
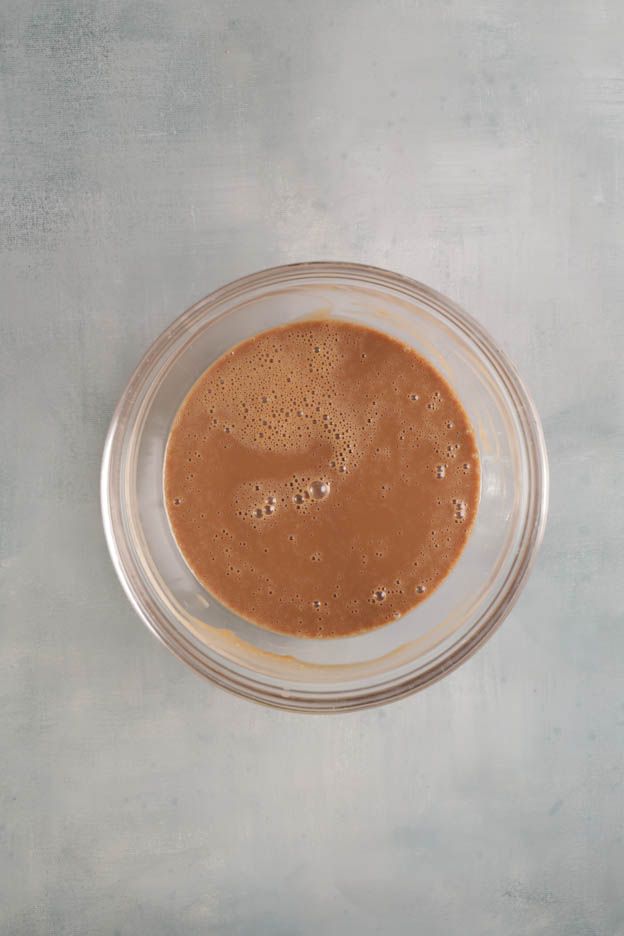
Add 1/3 of the cream/Carambar mixture to the chocolate and mix well, then add another 1/3 and so on until it is fully incorporated into the chocolate.
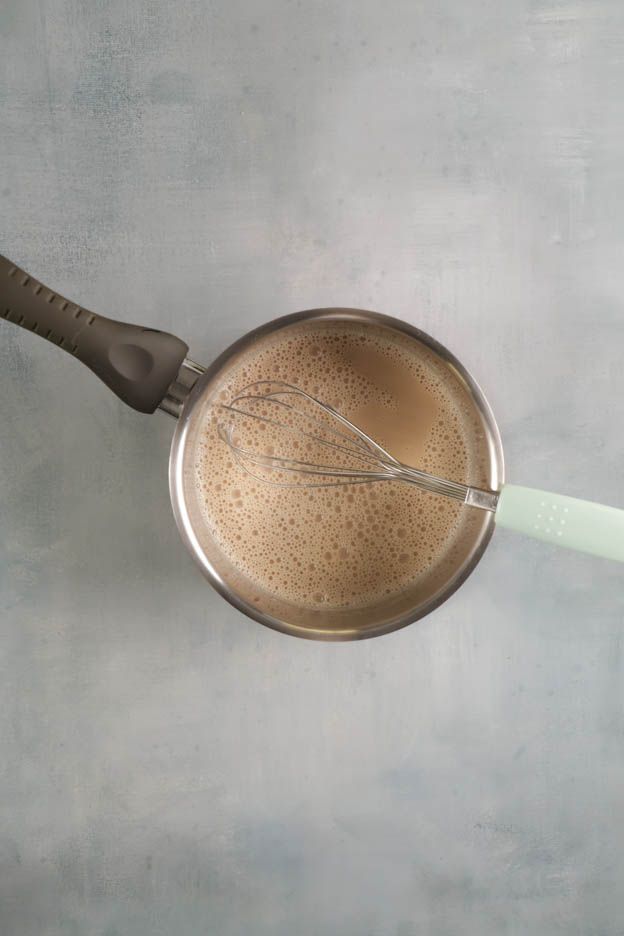
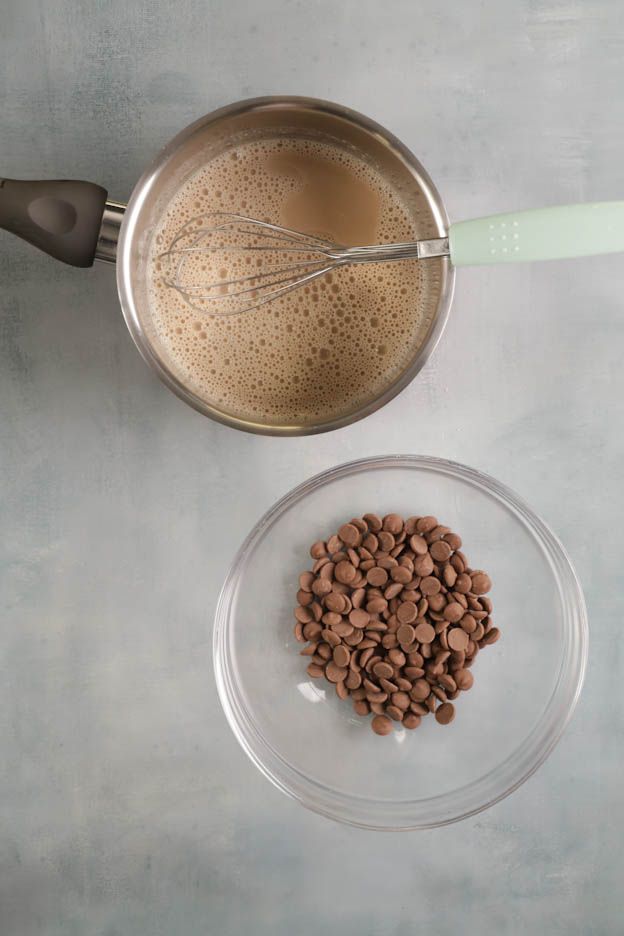
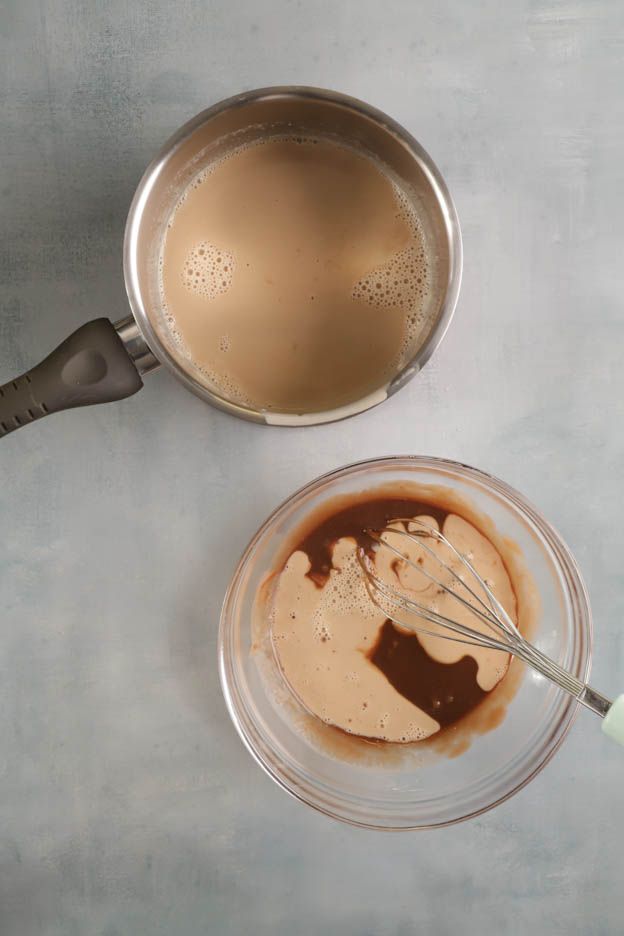
It is very important to pour the cream over the chocolate in 3 additions in order to achieve a smooth and homogeneous ganache.
Cover the ganache with cling film touching the surface, meaning the cling film must touch the ganache directly to prevent a skin from forming on top.
Now, the ganache needs to cool down ideally overnight in the fridge, but if like me you want to speed up the cooling process, place it in the freezer for 2 hours, then in the fridge for 30 minutes.
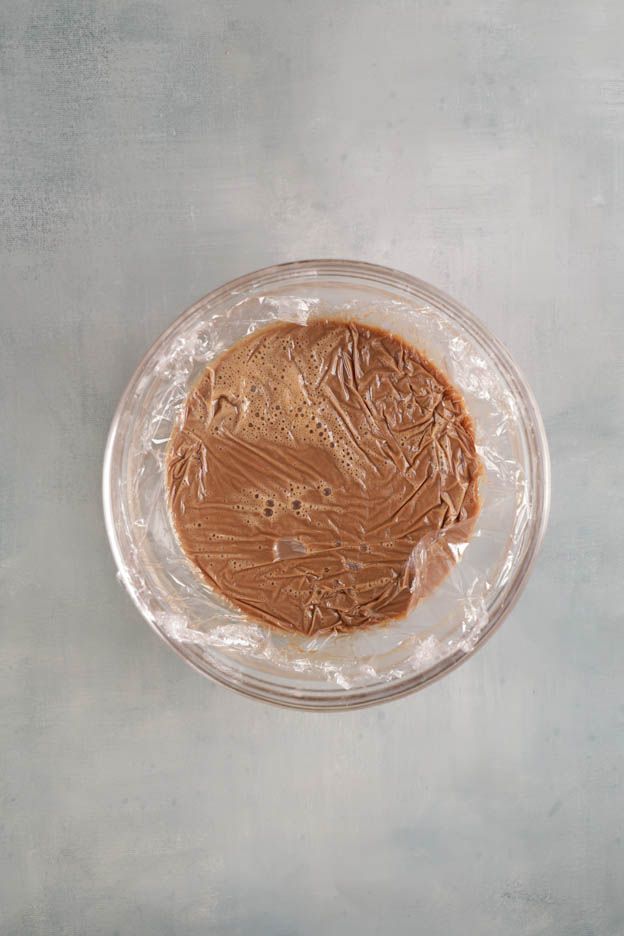
In the meantime, we can go ahead and make the rainbow sponge cake. :-)
Rainbow Sponge Cake
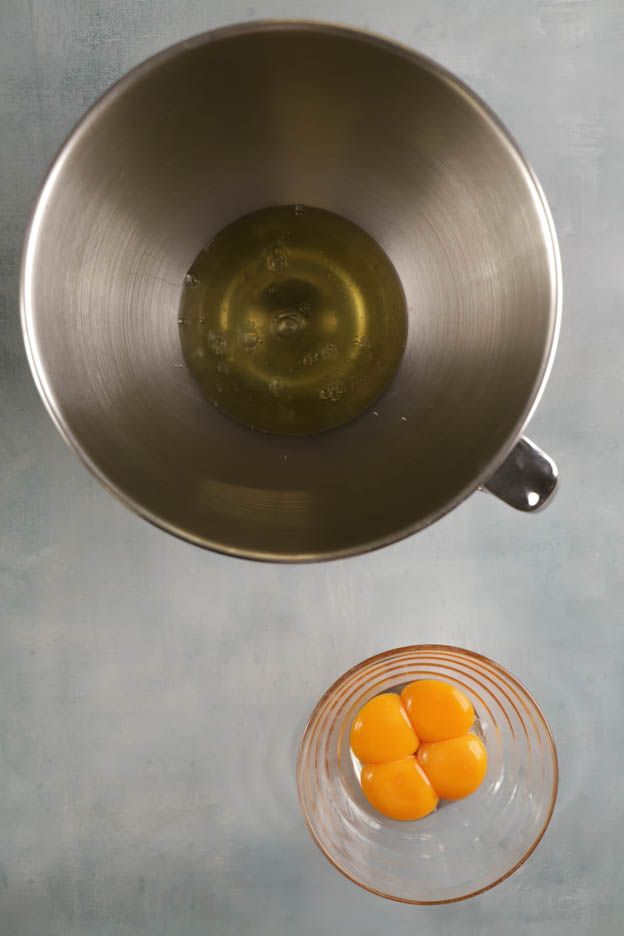
Start by separating 4 eggs, placing the yolks and whites in two separate bowls.
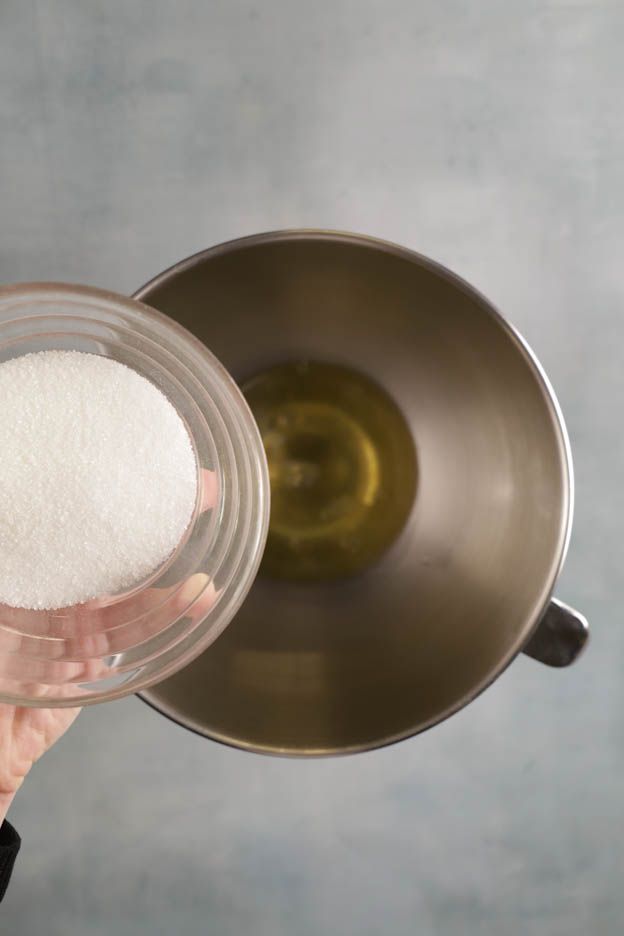
Add 100gr of sugar to the egg whites.
Set the yolks aside for now.
Preheat your oven to 180°C, fan setting.
Whisk the egg whites and sugar at medium speed until you get a nice firm meringue.
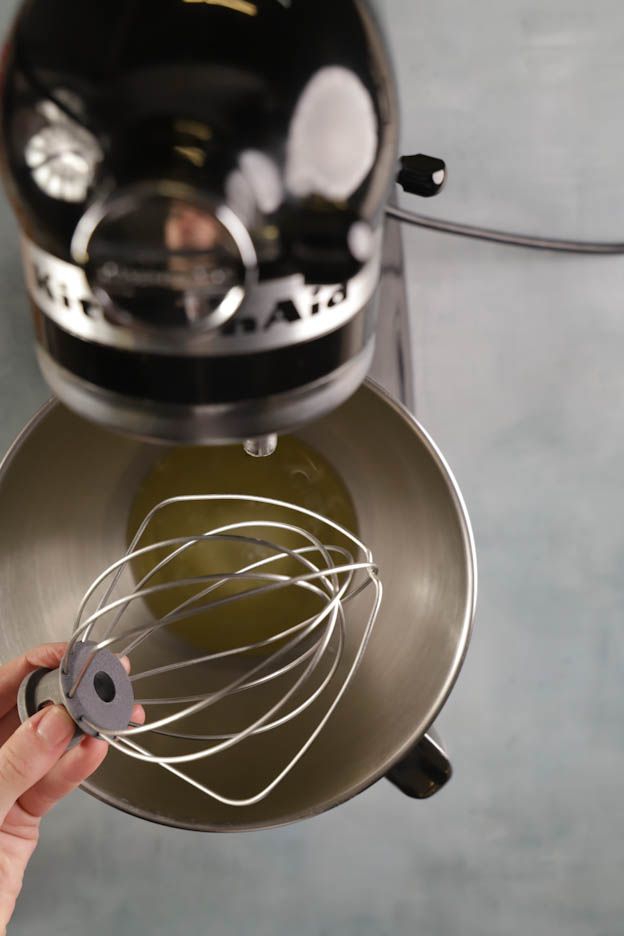
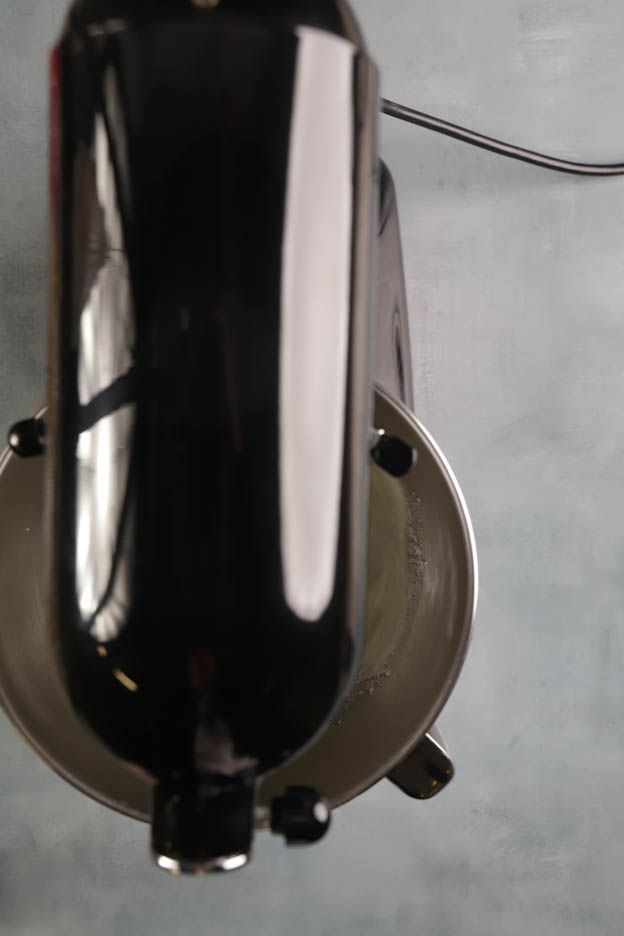
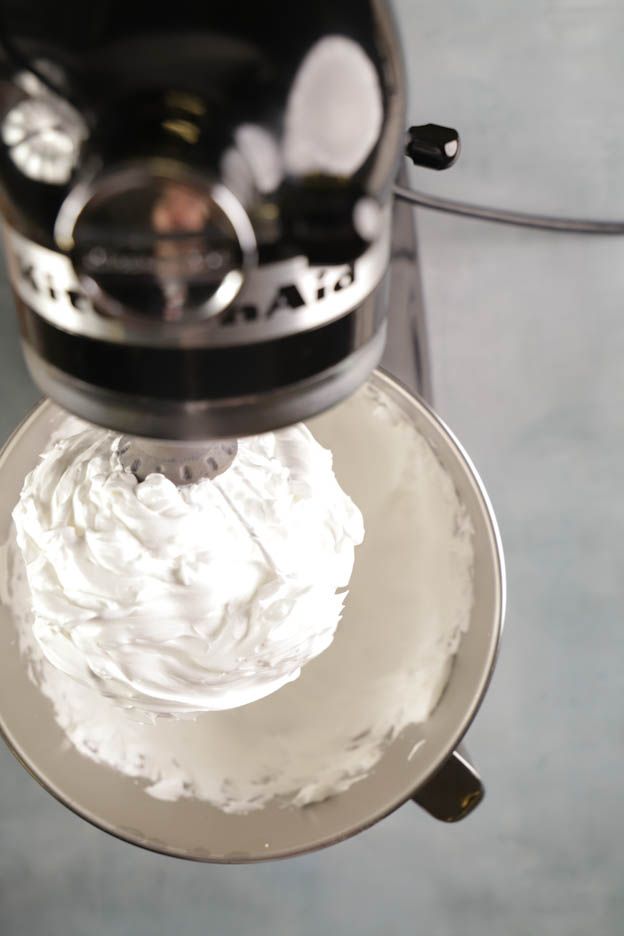
Then add the egg yolks while continuing to whisk, but this time at low speed so as not to deflate the meringue.
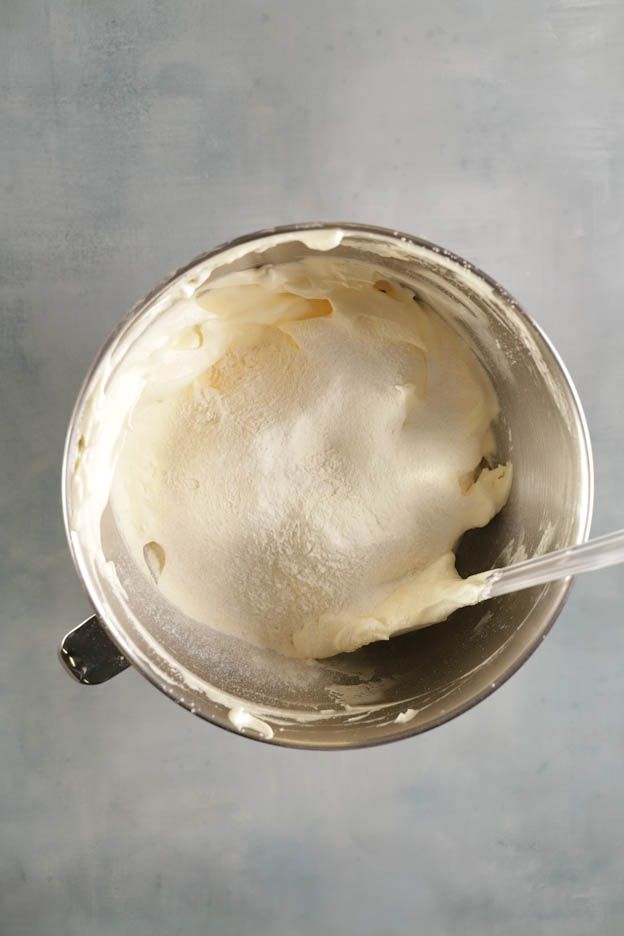
Once the mixture is well combined, add 100gr of flour using a sieve.
It is important to sift the flour to avoid lumps in your batter.
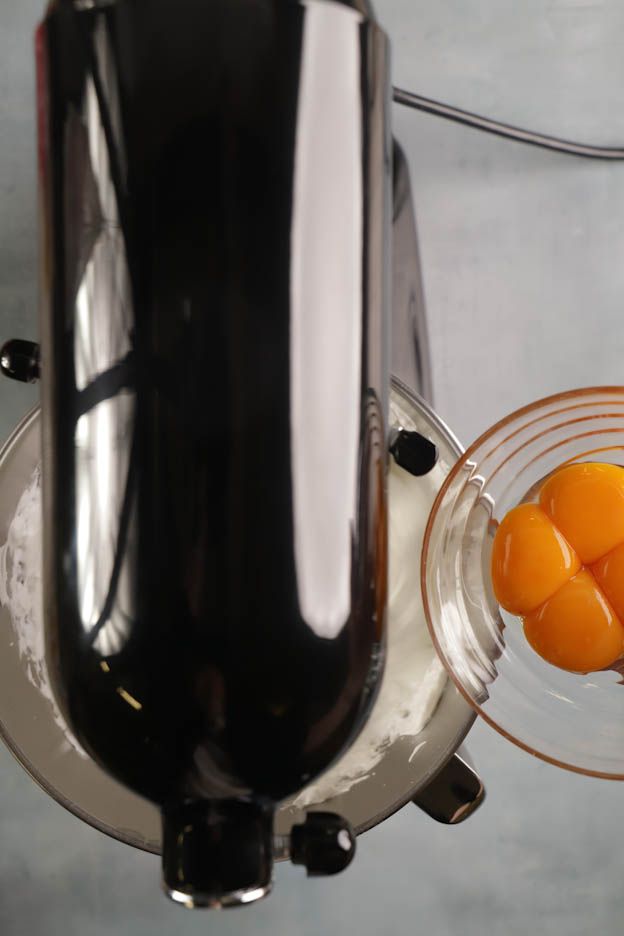
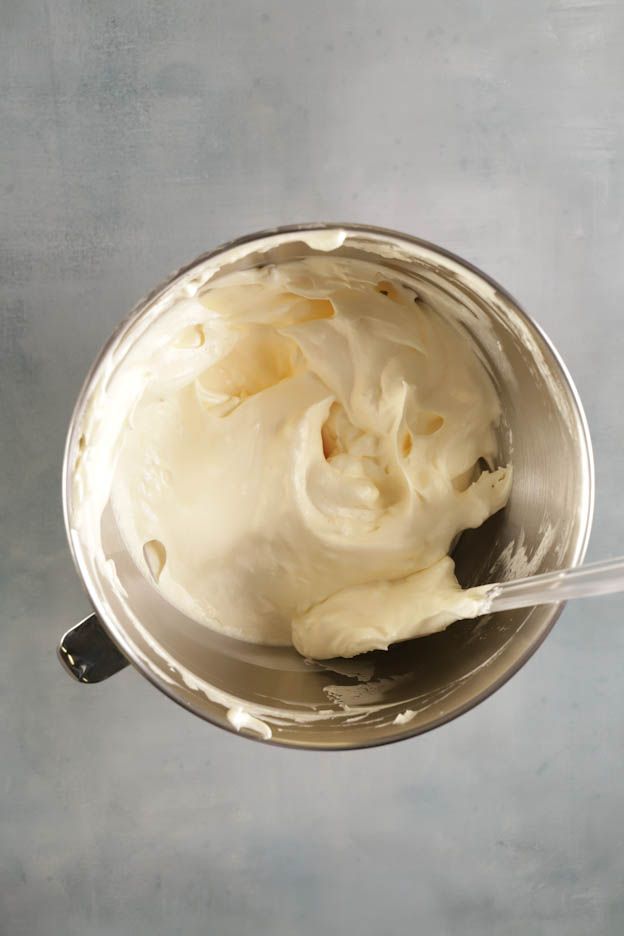
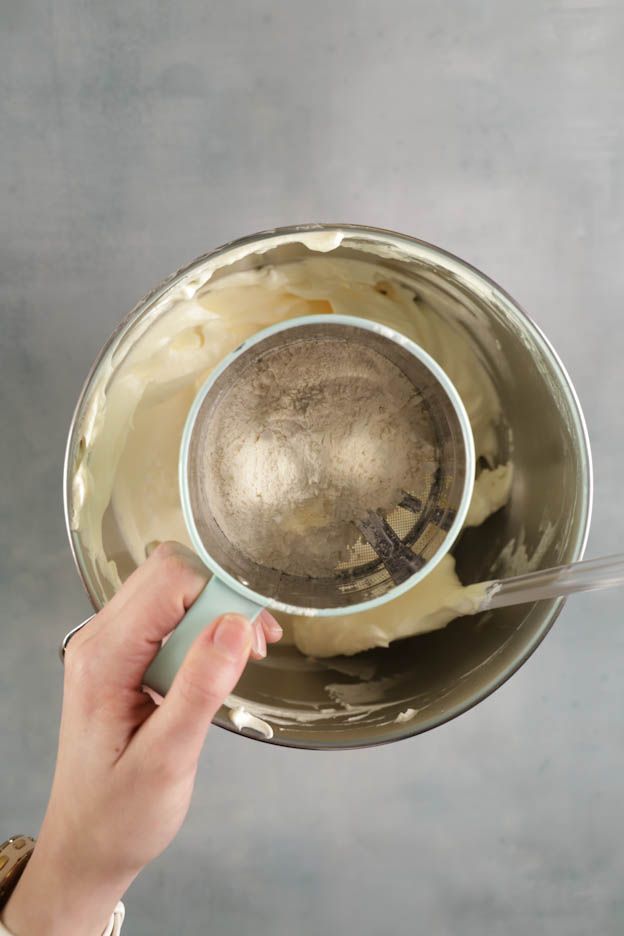
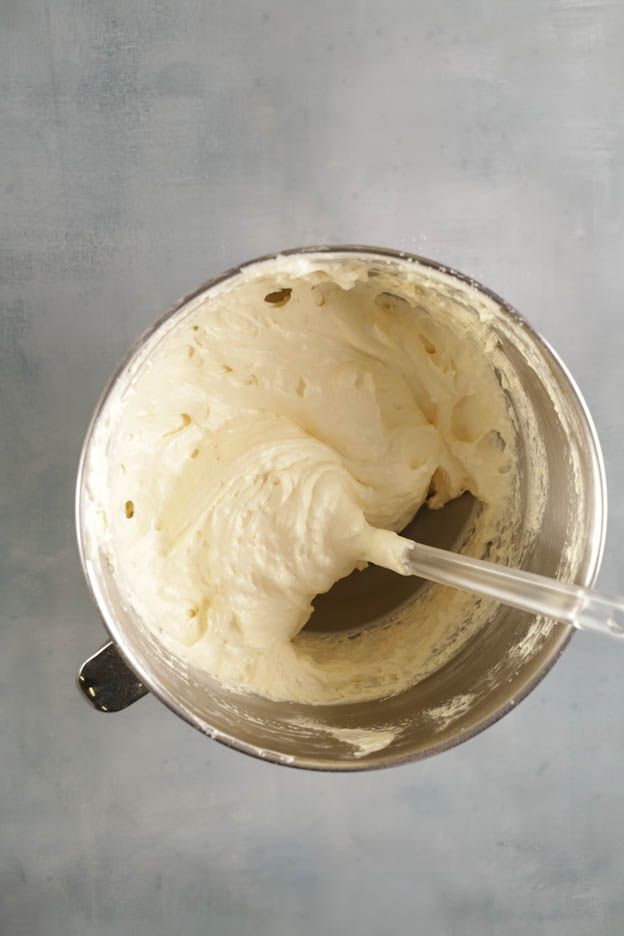
Gently fold in the flour using a spatula to achieve a lovely light and airy sponge.
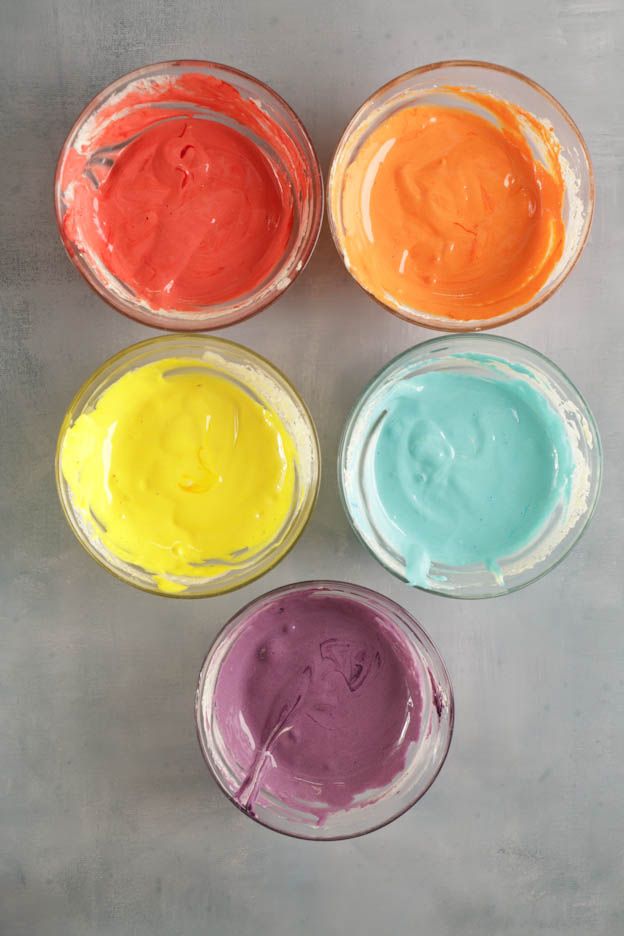
Divide the sponge batter into 5 bowls of approximately 75gr each. These bowls will be used to create the different colours.
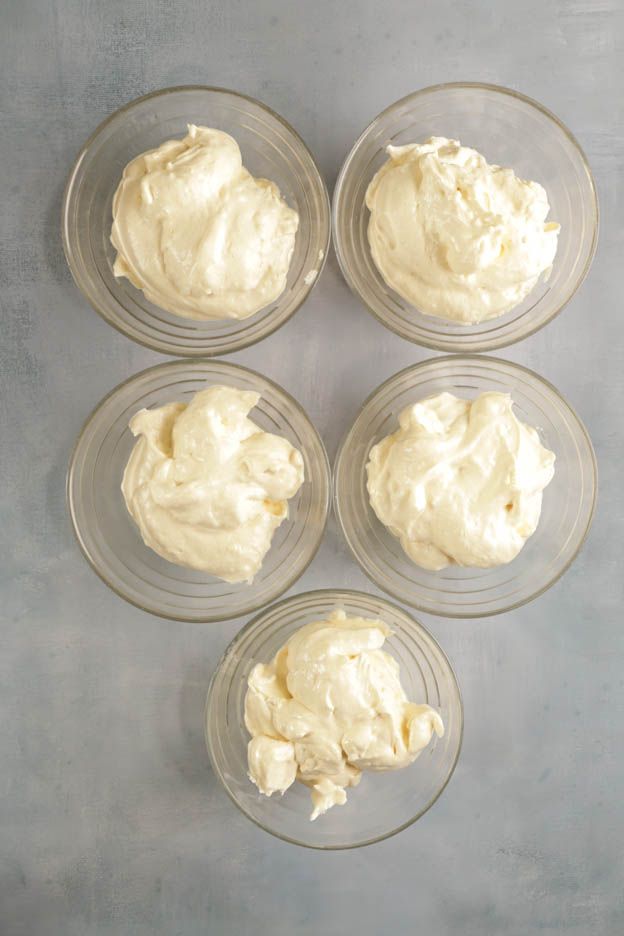
To create a beautiful rainbow, I recommend using gel food colourings. They won't change colour during baking and just one drop will be enough to achieve bright, vivid shades.
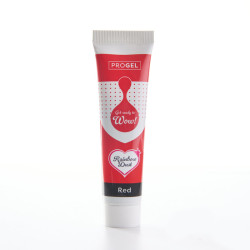
For this recipe, we used Progel red, orange, yellow, sky blue and purple food colourings.
Add one drop of colouring to start and mix gently. Adjust the colours to your liking.
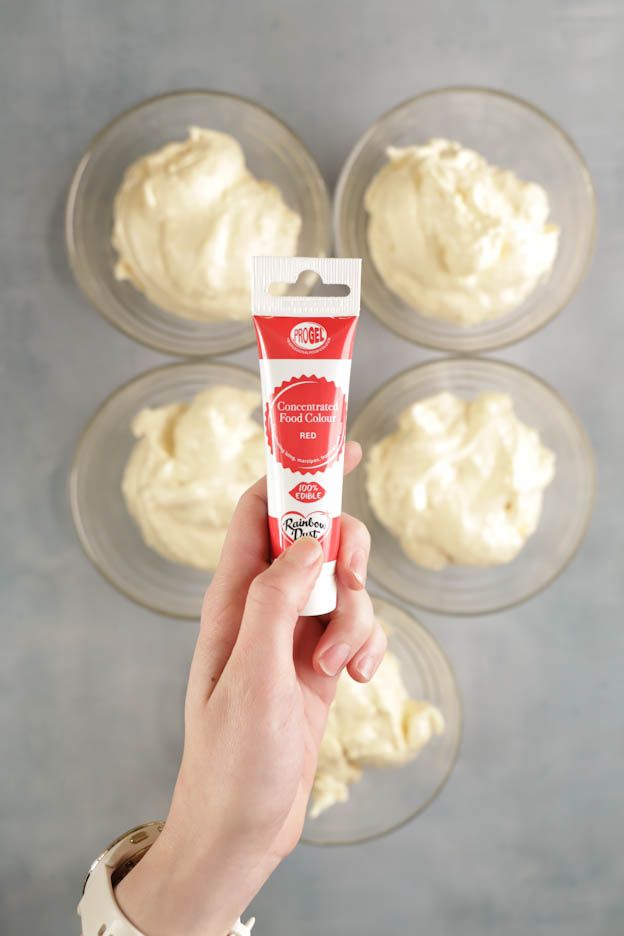
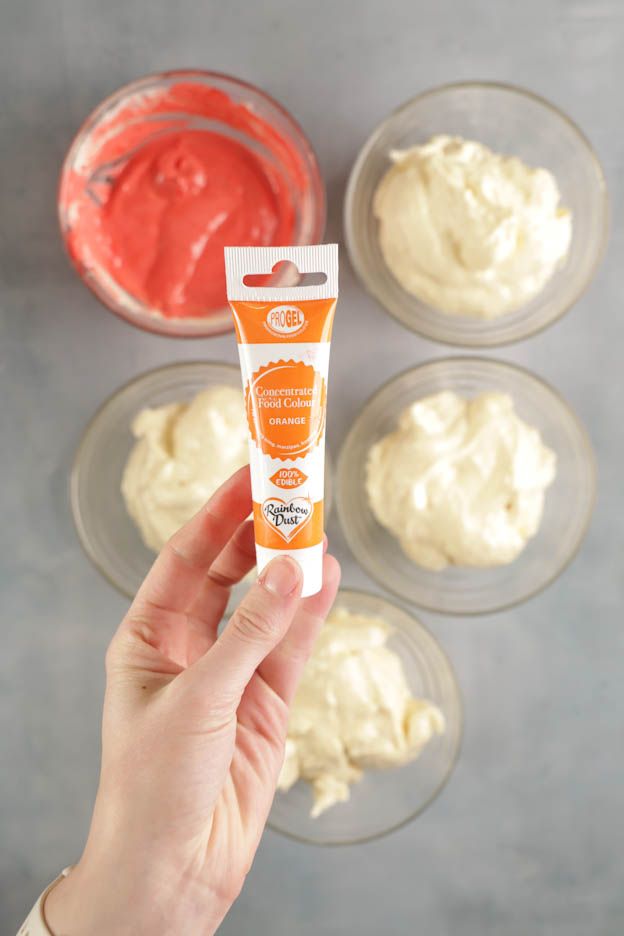
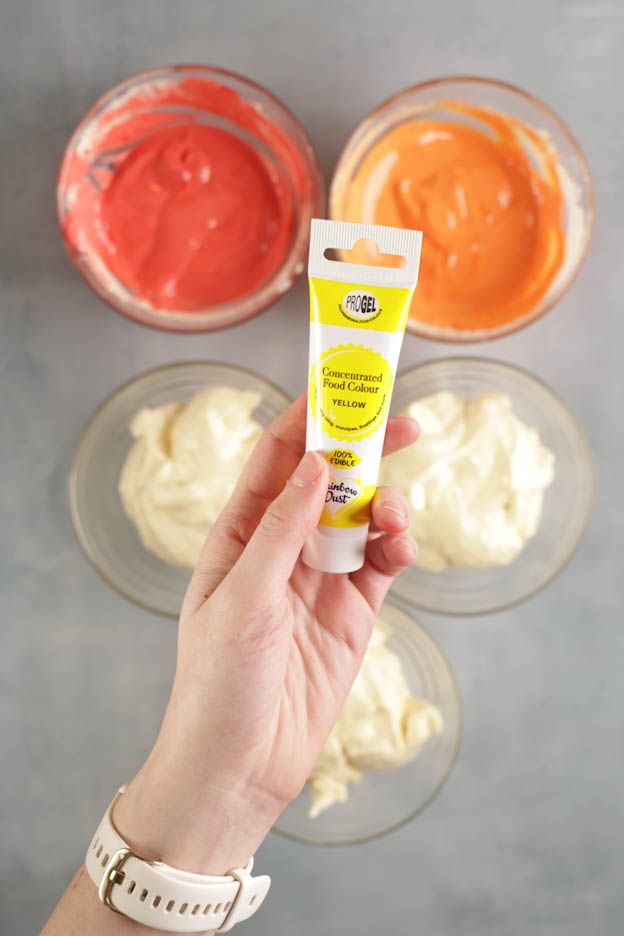
We now have all the colours of our rainbow together. It's time to pipe this magical sponge! :-)
Transfer each colour into a piping bag. Use a jug to fill your piping bags neatly.
On a perforated baking tray, place a sponge cake mat to get an even roll cake.
Spray the mat with release spray so nothing sticks when unmoulding.

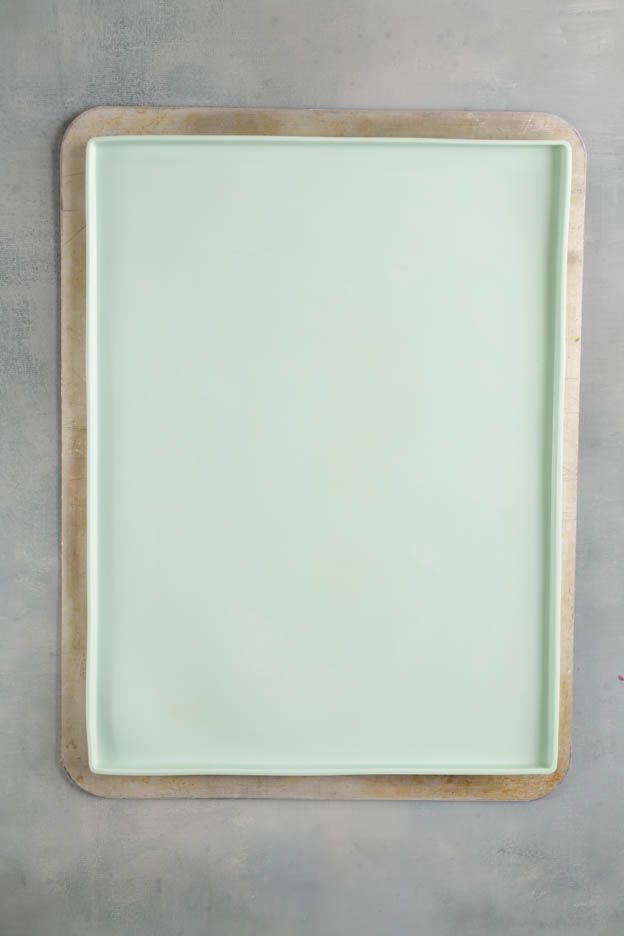
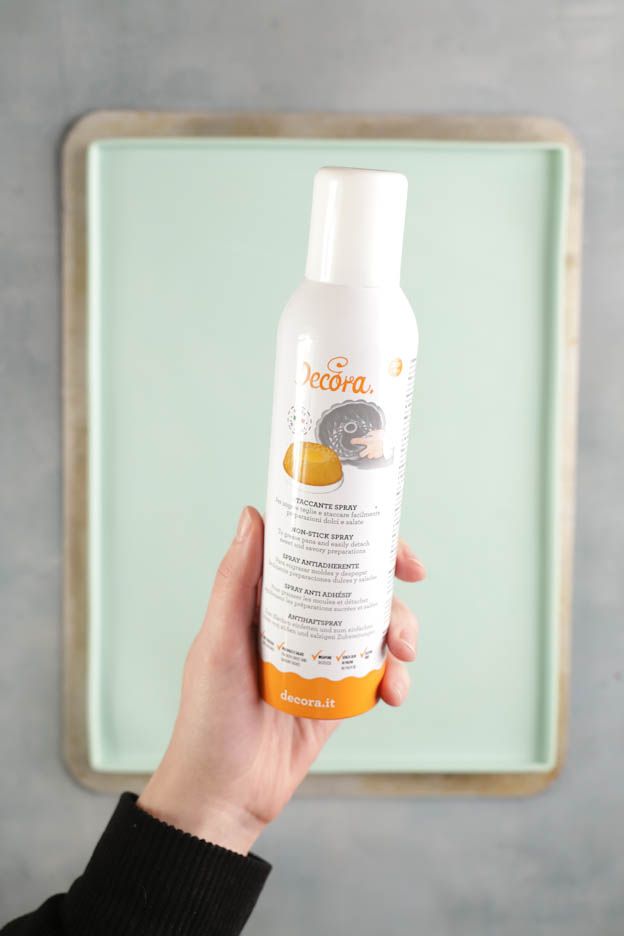
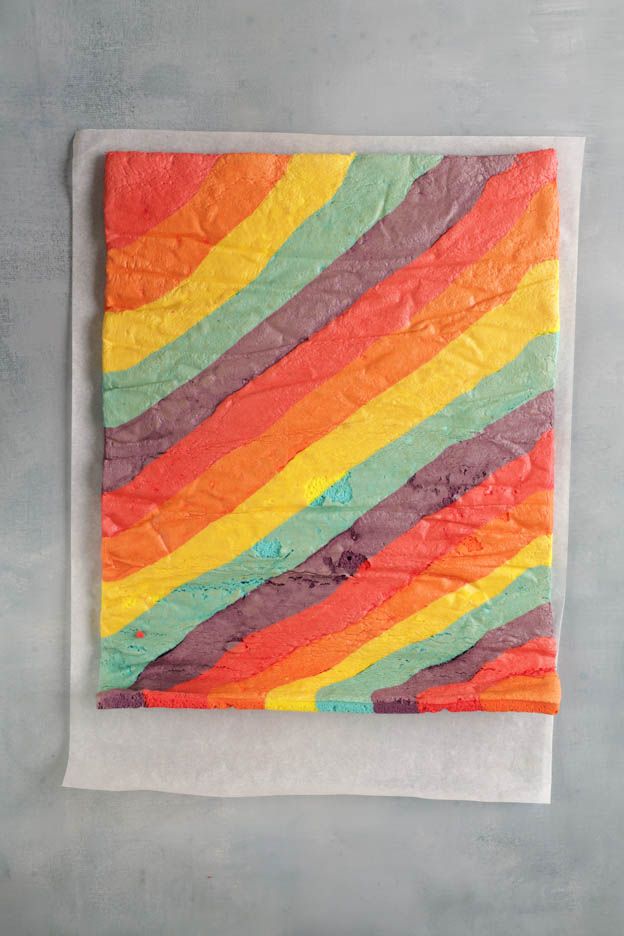
Pipe each colour alternating them evenly.
As you can see in the photos below, I piped the different colours diagonally.
Bake the sponge in the middle of the preheated oven at 180°C for 10 minutes.
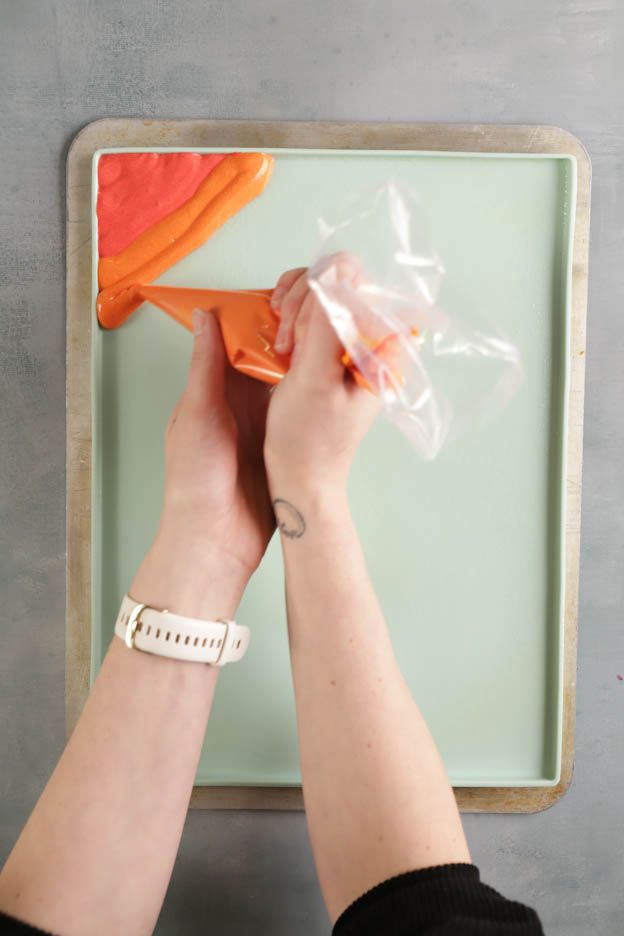
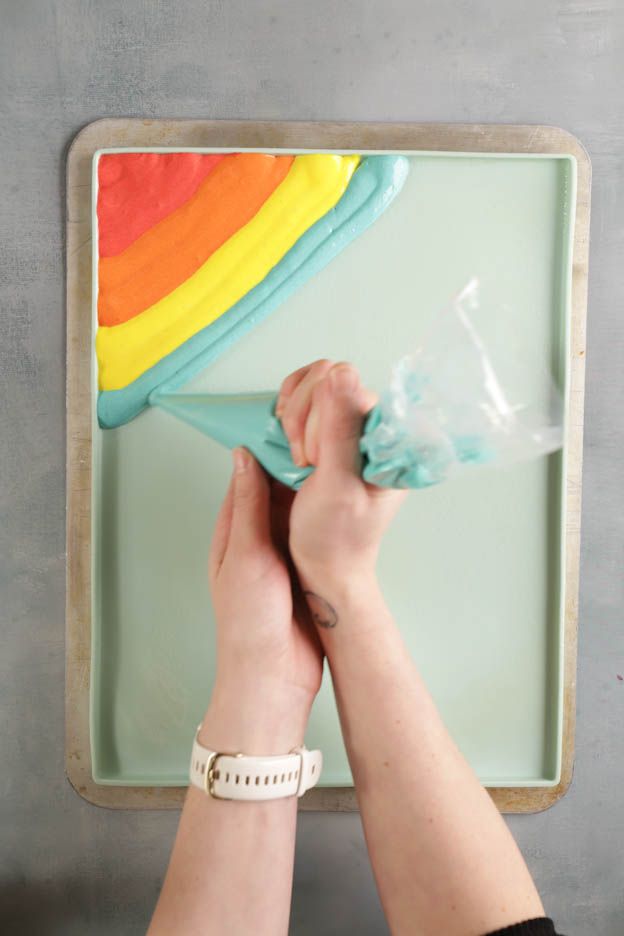
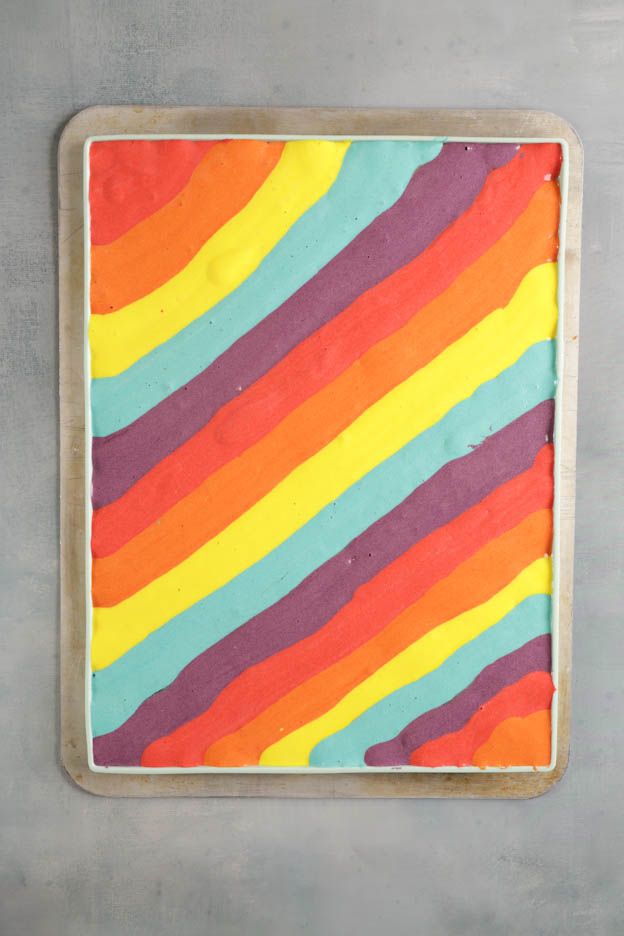
There we go, our sponge is baked.
Straight out of the oven, turn it over onto a sheet of baking paper and carefully remove the mat.
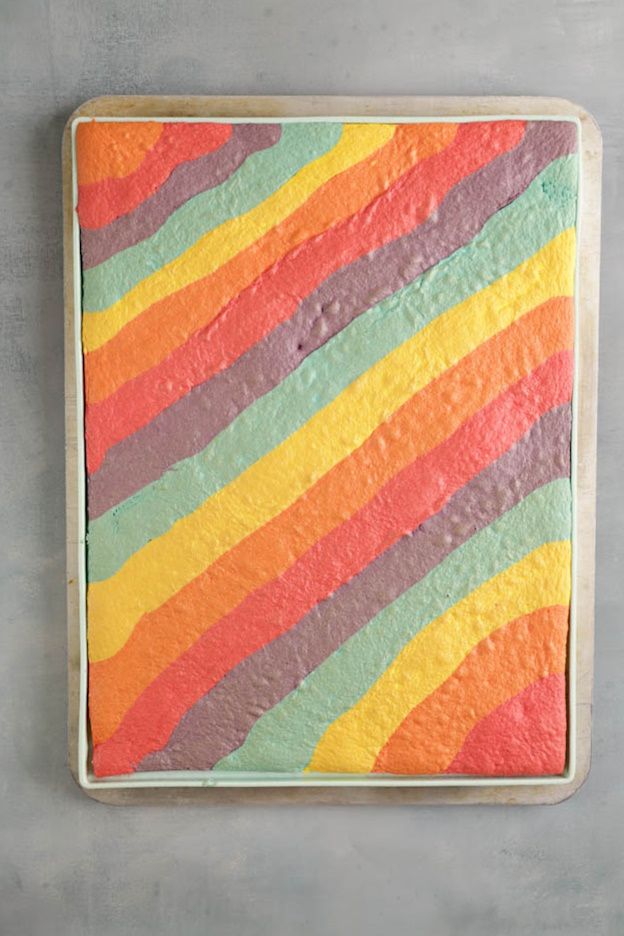
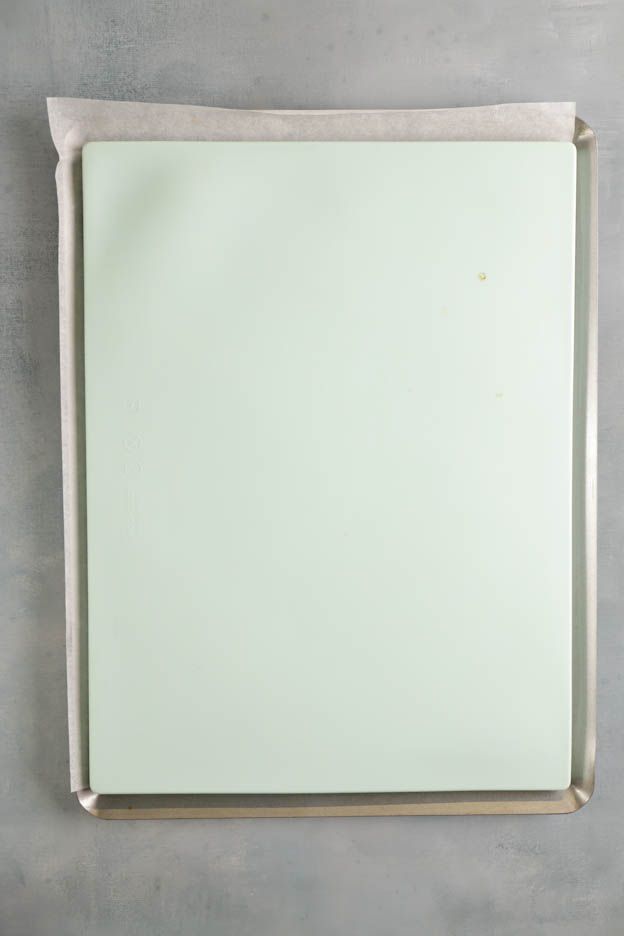
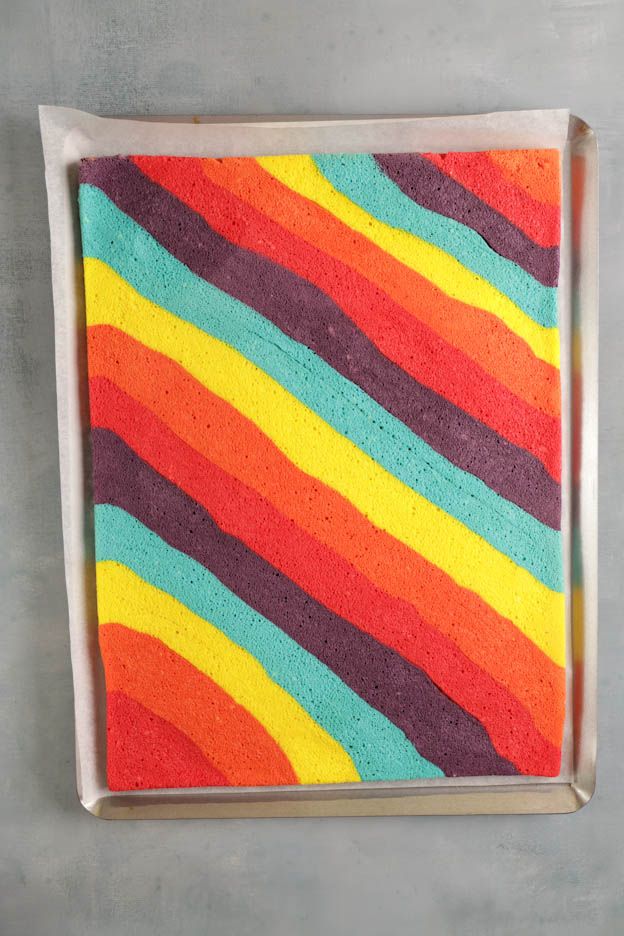
Turn the sponge over onto another sheet of baking paper. The side that was against the mat will be the visible side.
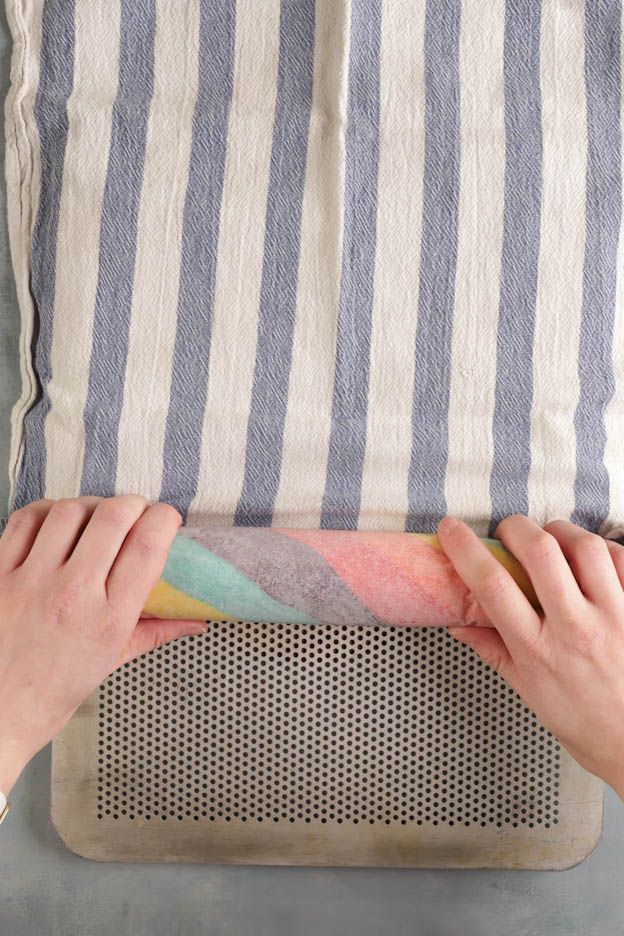
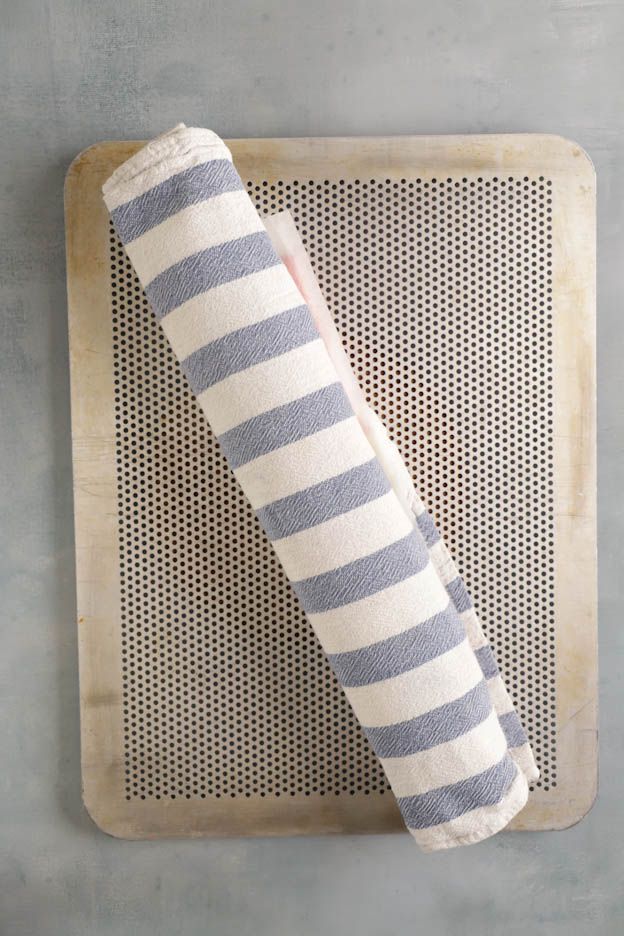
Place a tea towel on top of your sponge: you will therefore have a sheet of baking paper, the sponge, another sheet of baking paper and the tea towel.
Roll everything up as neatly as possible and leave your sponge to cool like this for about 1 hour.
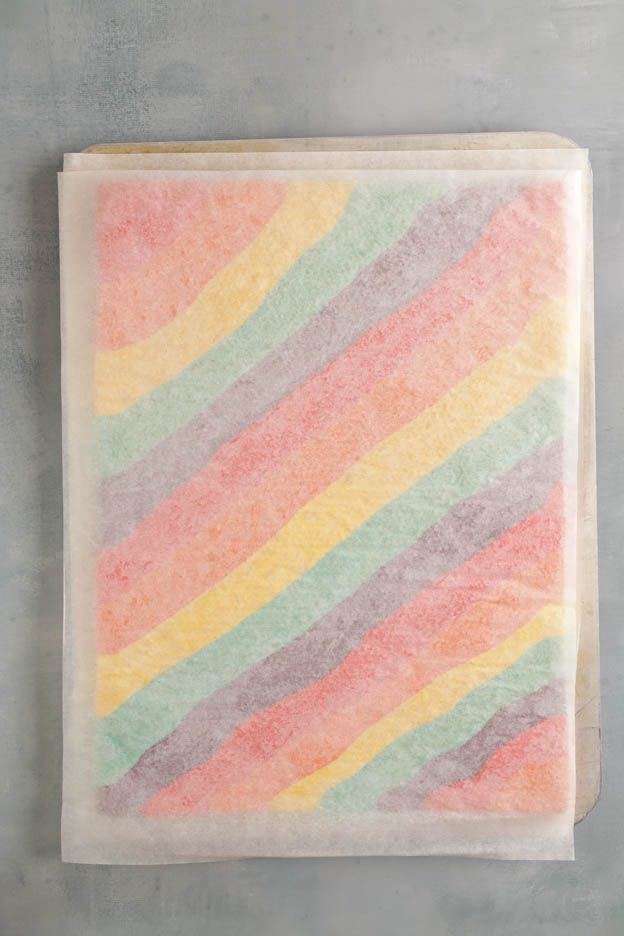
Once both the sponge and the Carambar ganache have cooled, we can move on to the filling.
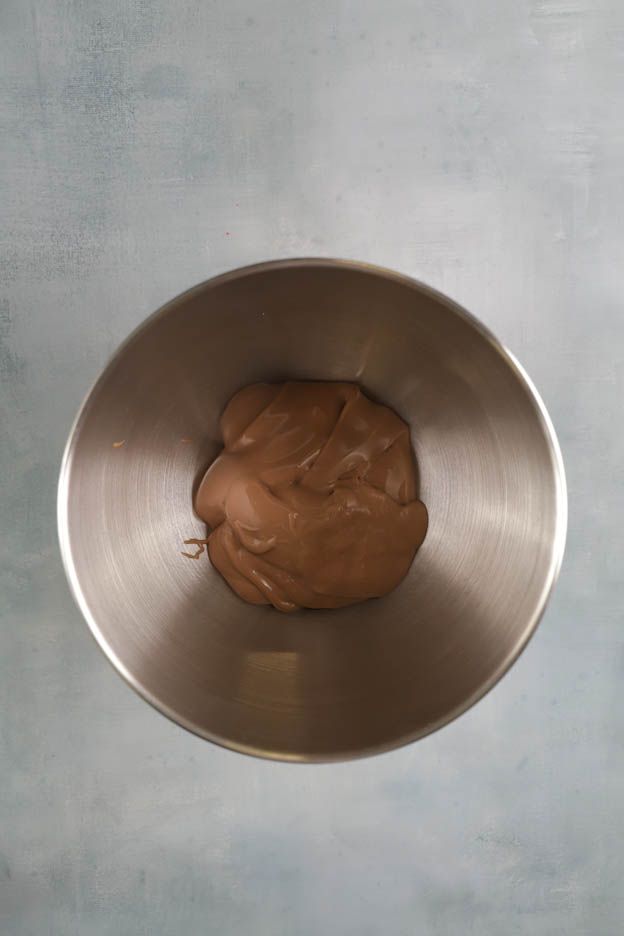
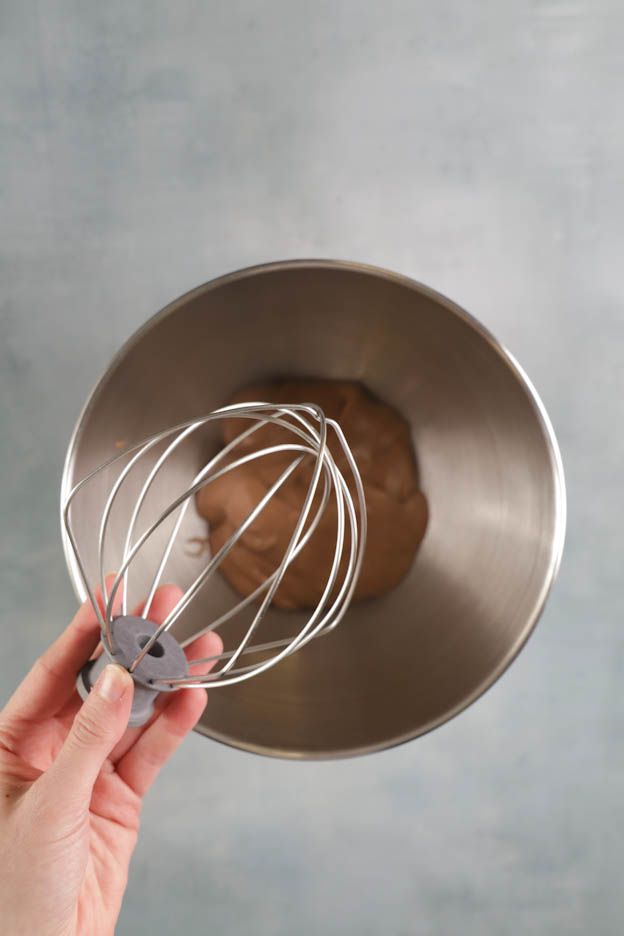
Pour the ganache into a large bowl and whip it to obtain a beautiful whipped ganache.
Be careful, keep a close eye on it while it whips, as it happens very quickly. An over-whipped ganache that splits cannot be rescued. :-(
So pay close attention.
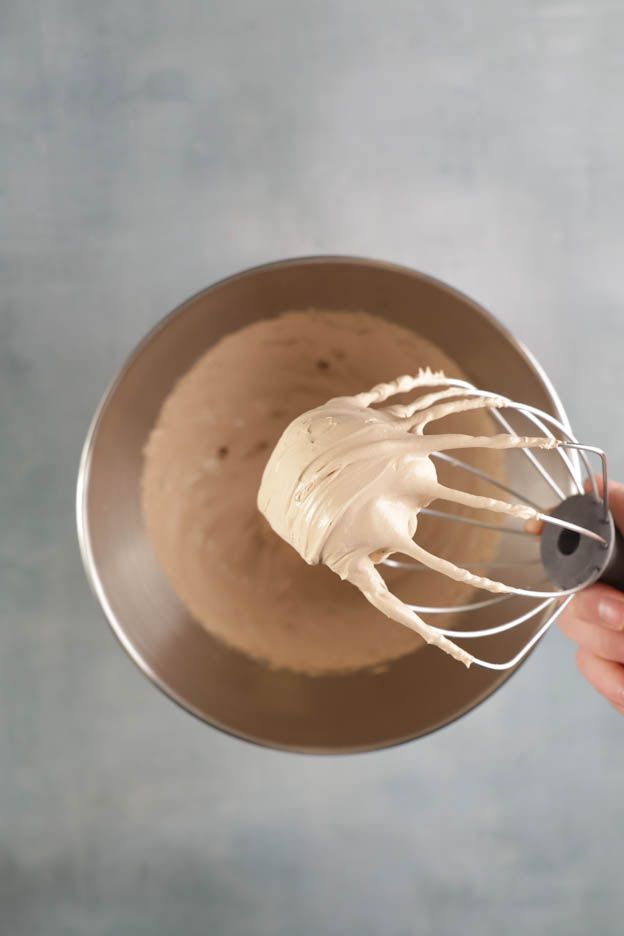
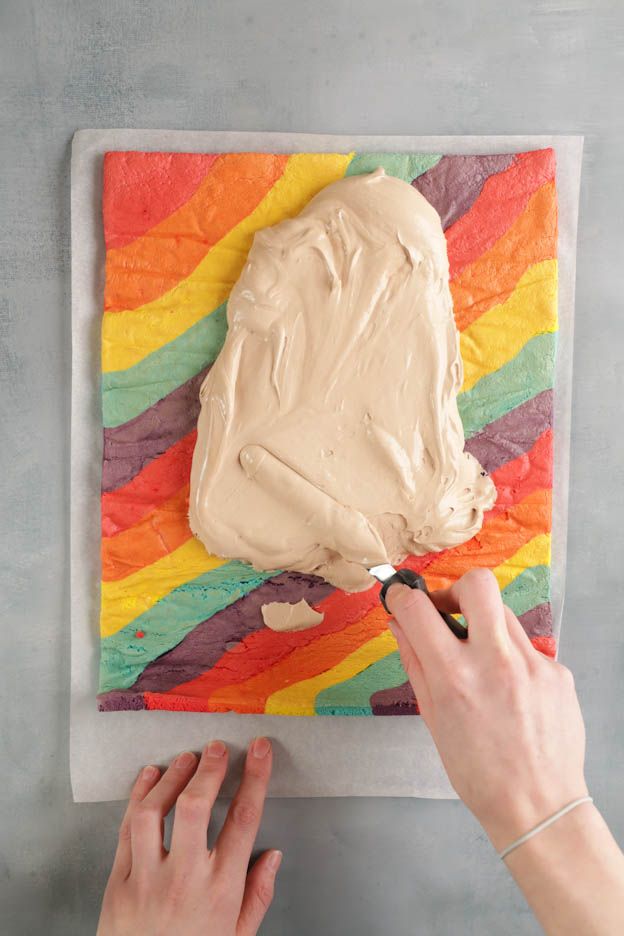
Unroll the cooled sponge and spread the whipped ganache over it.
Spread it evenly using a small angled spatula.
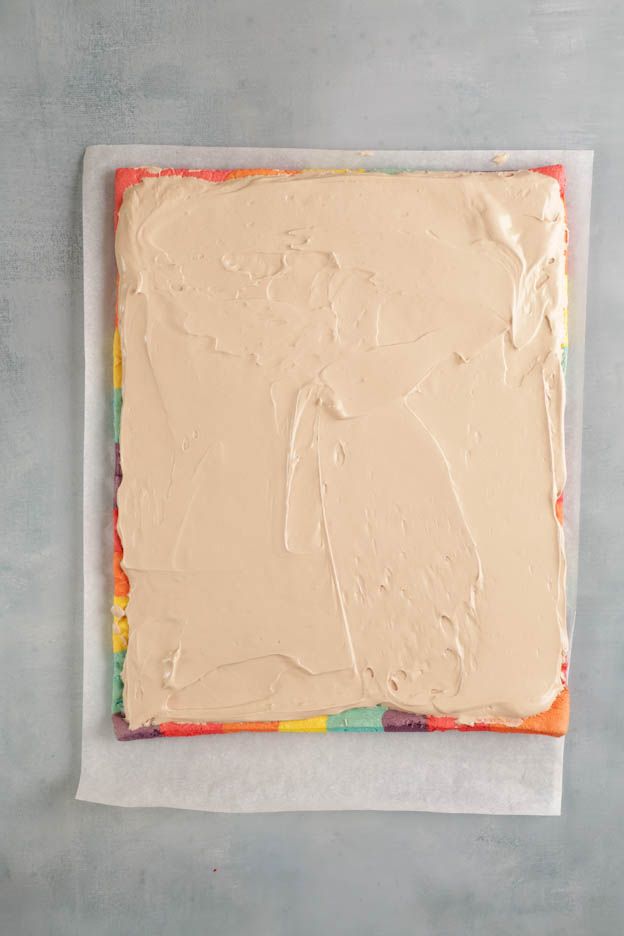
Then roll up your sponge as evenly as possible.
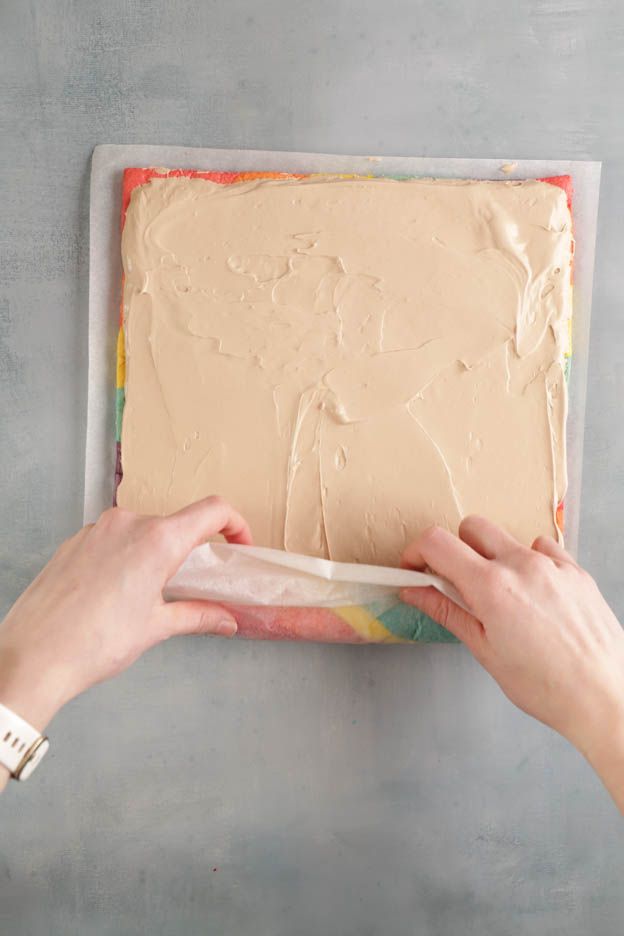
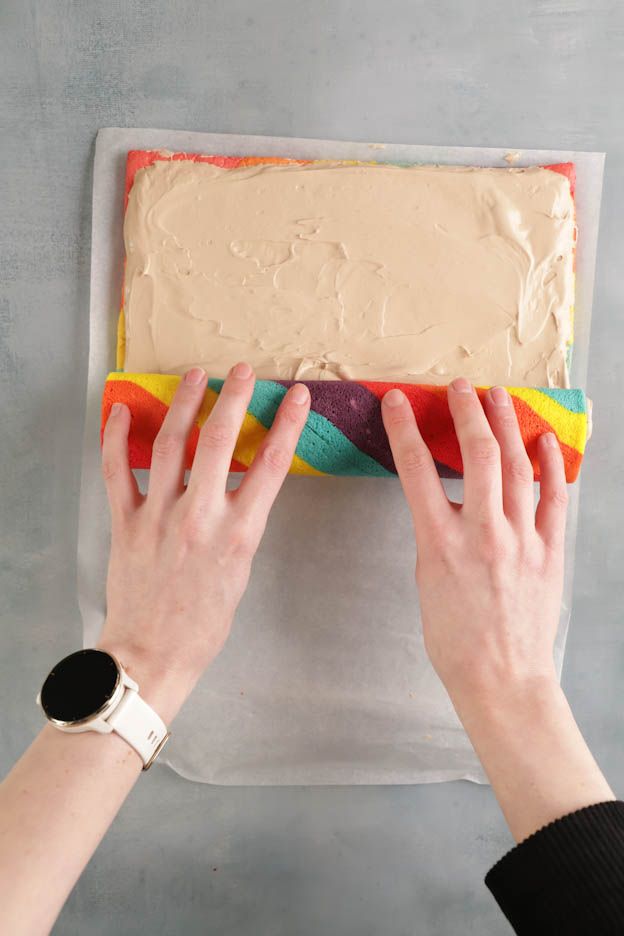
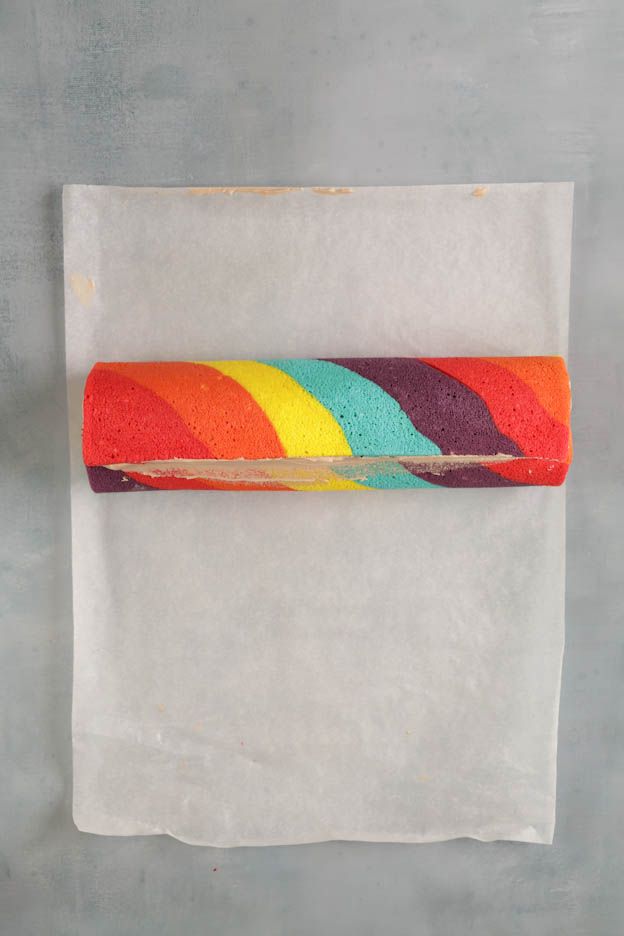
To make the roll cake nice and tight, you can use a perforated tray to help you.
To do this, fold the baking paper over the roll cake, hold it with one hand, then with the other hand, push your roll cake using the tray.
Place the roll cake on a plate and put it in the fridge until ready to serve.
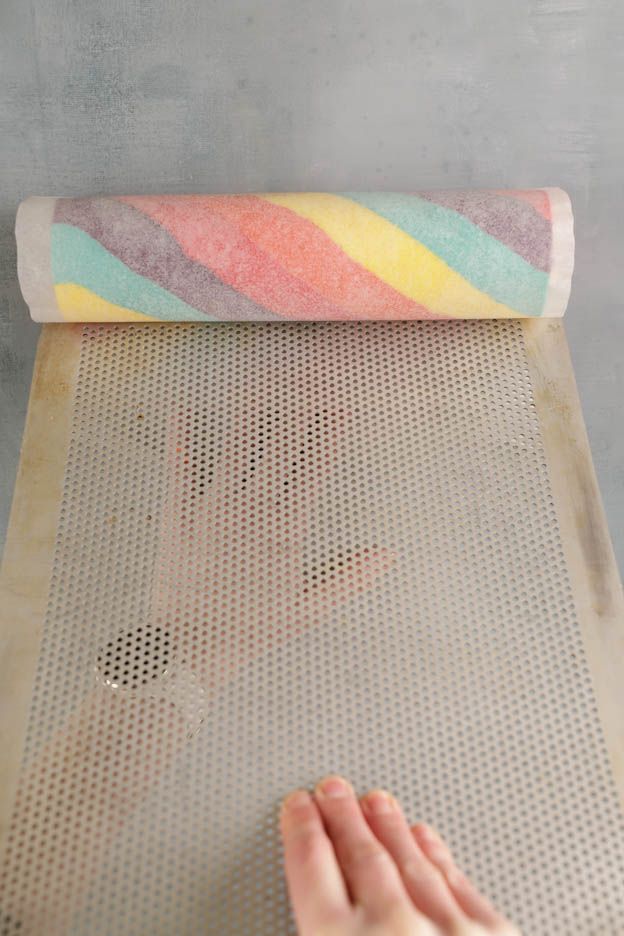
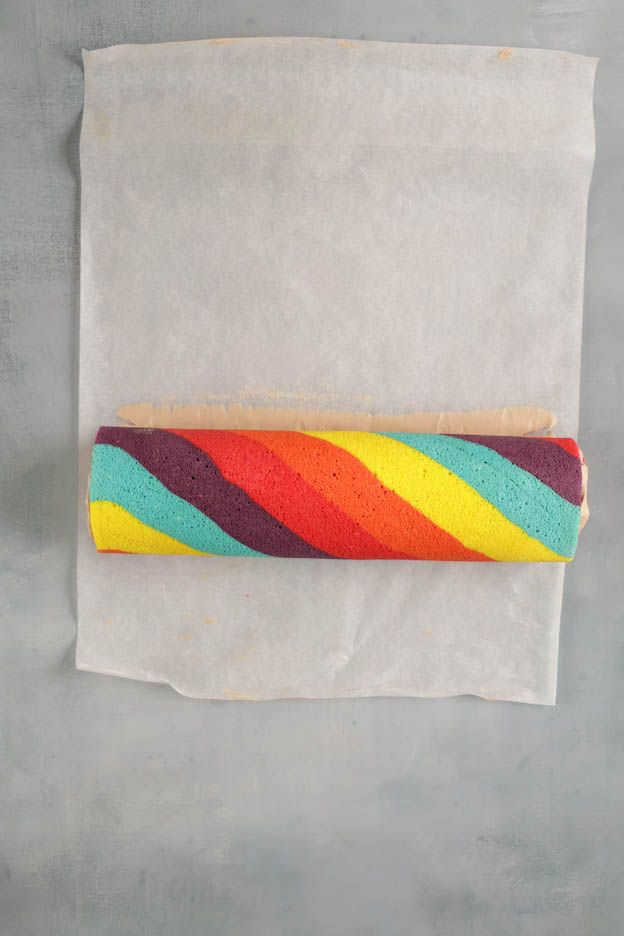
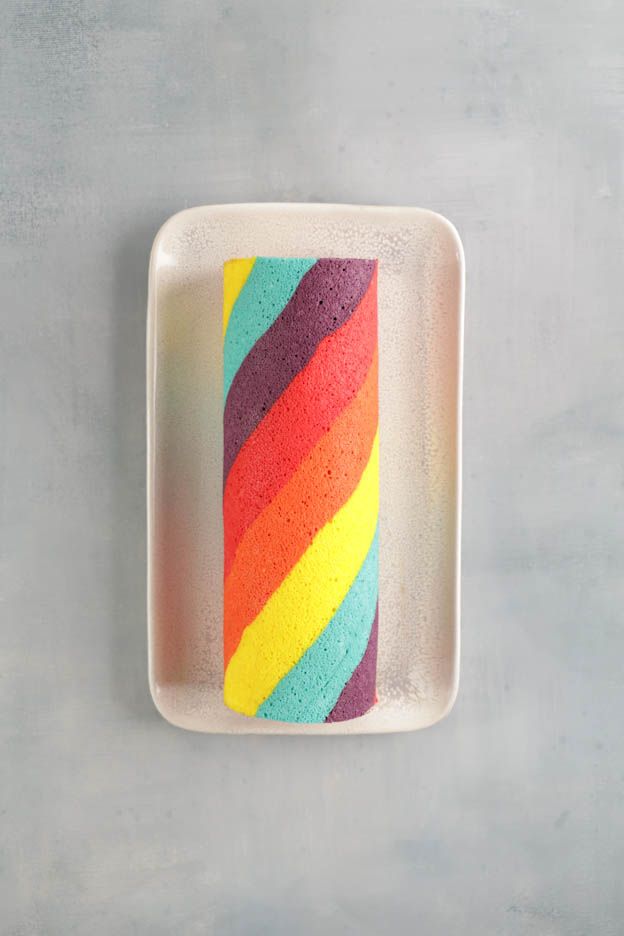
And there you have it, a beautiful colourful roll cake.
It will keep for 3 days in the fridge, well wrapped.
I hope this recipe will inspire you for your next celebrations! :-)
Wishing you a lovely Sunday, sweet tooths!
P.S.: All the equipment used can be found at the bottom of the recipe.
Related products
250ml Non-stick Spray
RUF Leaf Gelatine, 12 Sheets
Silicone sponge cake mat
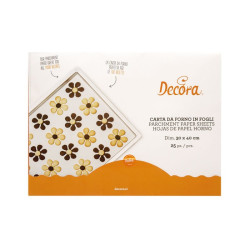
Parchment paper sheets
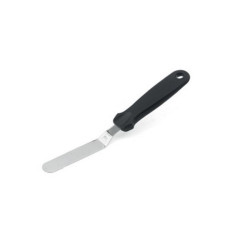
Angled spatula in steel
Spatulas set in silicone
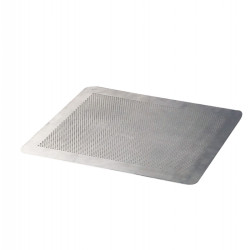
Flat perforated aluminium plate 40 x 30 cm
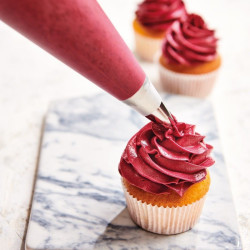
Disposable Piping Bags S - 30cm - 10pc
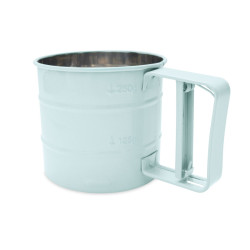
Sprinkler and sifter
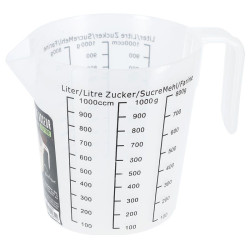
Graduated measuring cup 1 liter

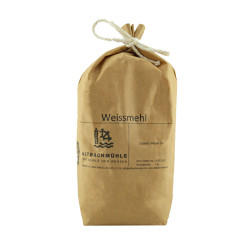
Swiss white flour, 1 kg
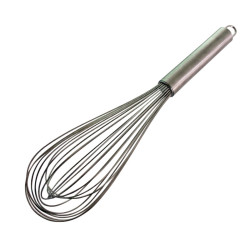
Whisk, 35 cm

Related posts
 Juicy Matcha Muffins with Pecan Nuts & White Chocolate
Matcha Iced Latte & Coconut Variant
Pull-apart bread with fresh wild garlic pesto
Mini Banana Bread with Chocolate Chips
Juicy Matcha Muffins with Pecan Nuts & White Chocolate
Matcha Iced Latte & Coconut Variant
Pull-apart bread with fresh wild garlic pesto
Mini Banana Bread with Chocolate Chips
Leave a comment