
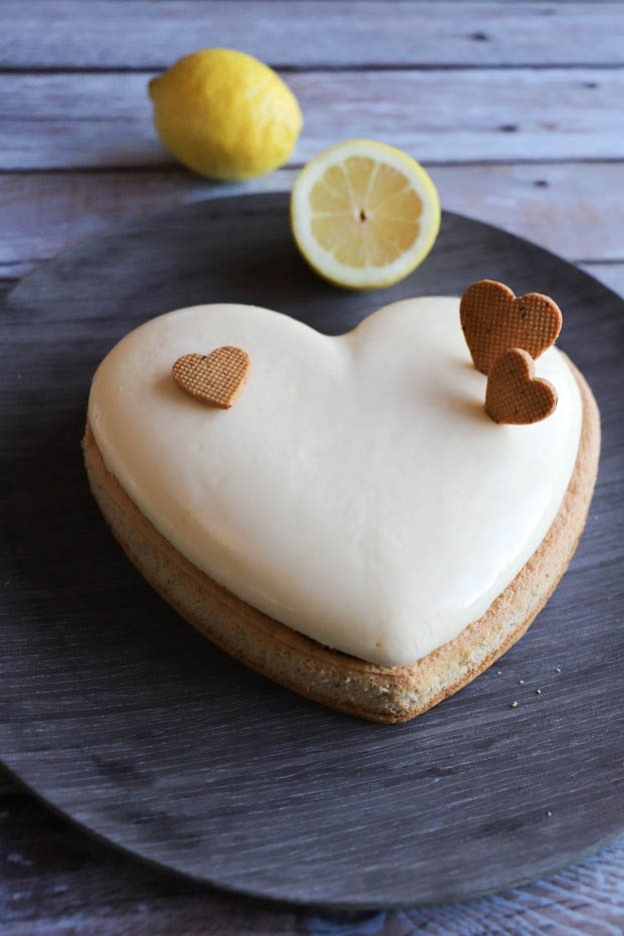
Lemon-Praline Heart Entremet
Hey foodies!
This week, I have a recipe full of love for you! :o) A lovely heart that will be perfect for Valentine's Day, Mother's Day or just to treat your loved ones.
Here is my lemon-praline entremet:


For this recipe you will need the following ingredients:
Praline:
- 60gr sugar
- 60gr hazelnuts
- 2 pinches of salt
Lemon Bavarian cream:
- 2 lemons (93gr juice + zest)
- 30gr egg yolks
- 70gr sugar
- 1.5 gelatin sheets
- 190gr heavy cream
Hazelnut sweet pastry:
- 58gr butter
- 35gr icing sugar
- 23gr egg
- 1 pinch of salt
- 70gr flour
- 25gr hazelnut powder
Hazelnut sponge:
- 40gr hazelnut powder
- 40gr icing sugar
- 36gr flour
- 20gr egg yolk
- 36gr egg
- 60gr egg whites
- 28gr sugar
I recommend making this recipe over two days so that your lemon mousse and praline have enough time to set in the freezer.
The preparation time for this recipe is approximately 4-5 hours, not counting the freezing and baking time.
Homemade hazelnut praline
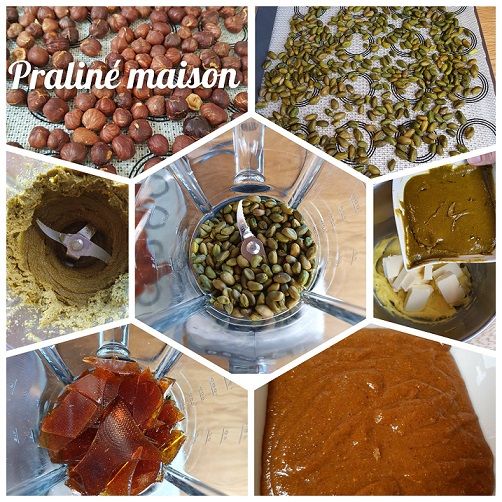
Let's get started on the praline!
You will need 60gr sugar, 60gr hazelnuts and 2 pinches of salt.
Follow my recipe here: PRALINE RECIPE
If you like to have extra or make reserves for other recipes, you can easily make more and follow my full recipe which uses 180gr sugar and 180gr hazelnuts. But if you only want to make what's needed for this recipe, follow the quantities indicated in bold above.
Quick tip: I used my small food processor rather than my blender, as the quantity was too small to be properly blended and processed.
(And if you'd like to skip the homemade praline, you can always buy Funcakes praline which is also good).
Once your praline has the right texture, you will get approximately 90-100gr of praline.
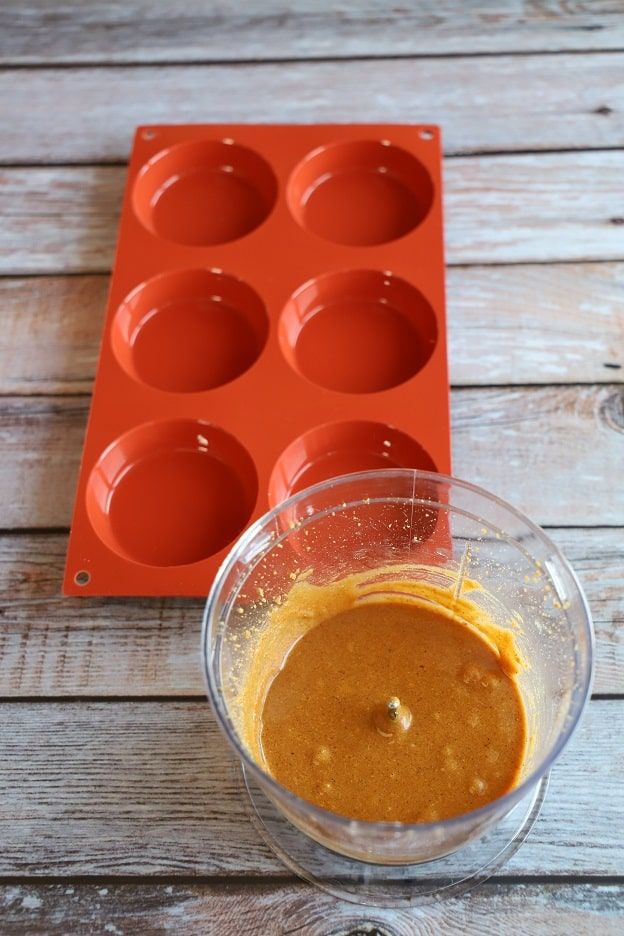
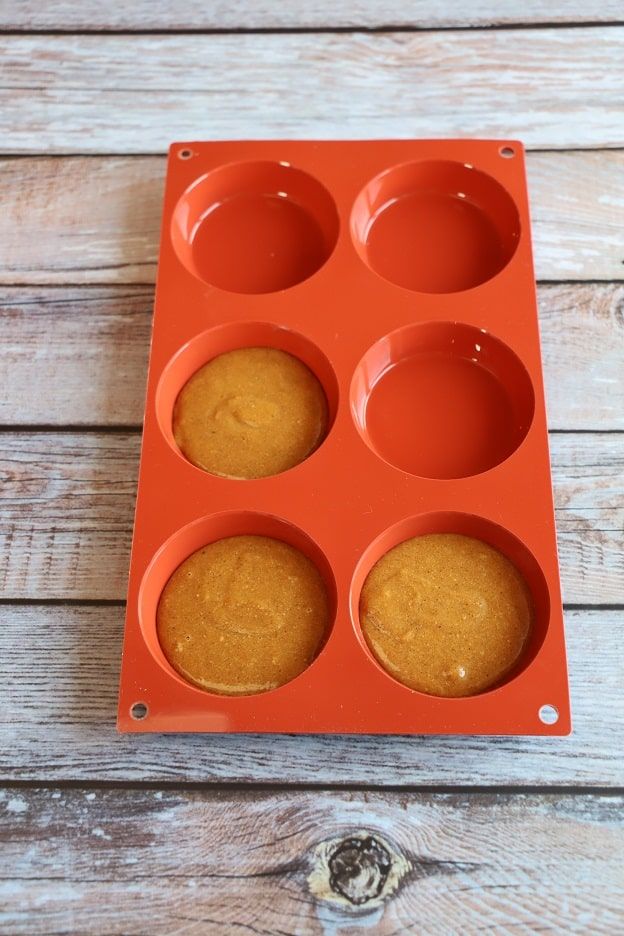
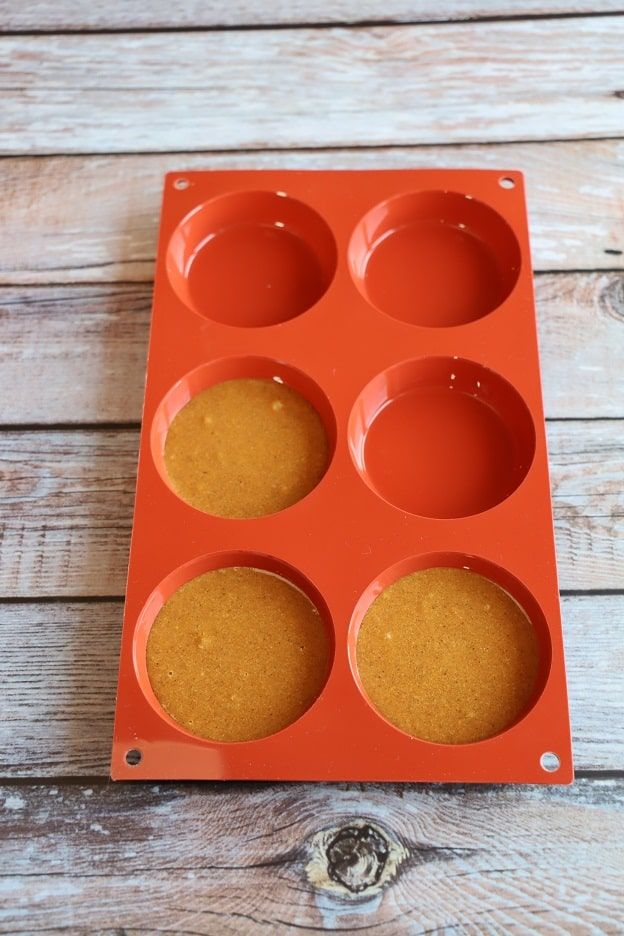
Pour it into 3 round 8 cm cavities. Here I used the universo mould. Tap your mould firmly on your work surface so the praline spreads evenly.
Then place your mould in the freezer for at least 4 hours.
Lemon mousse
Now let's tackle the lemon mousse!
I went with a Bavarian cream to get a very light and airy mousse.
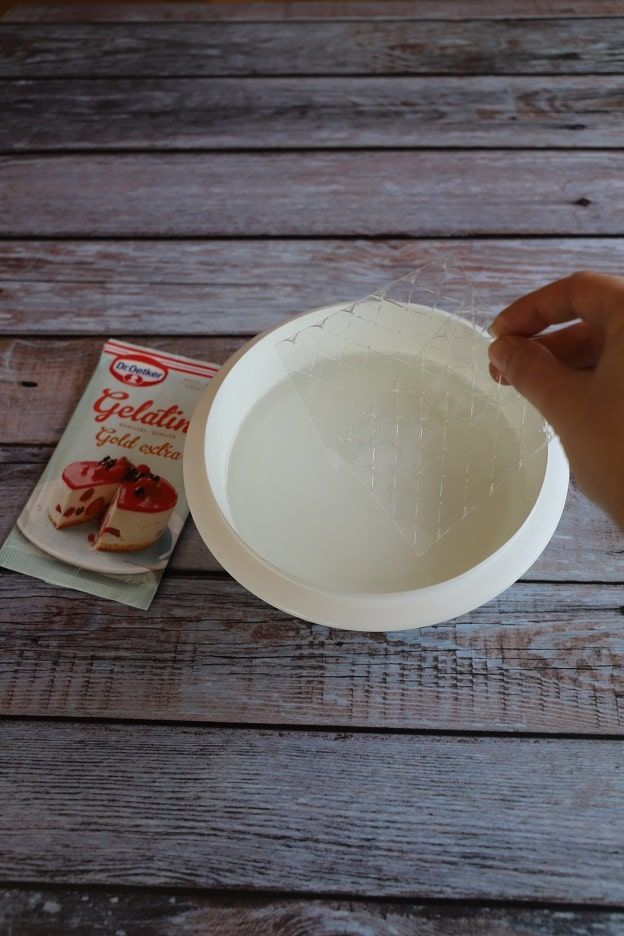
Start by softening 1.5 gelatin sheets in very cold water.
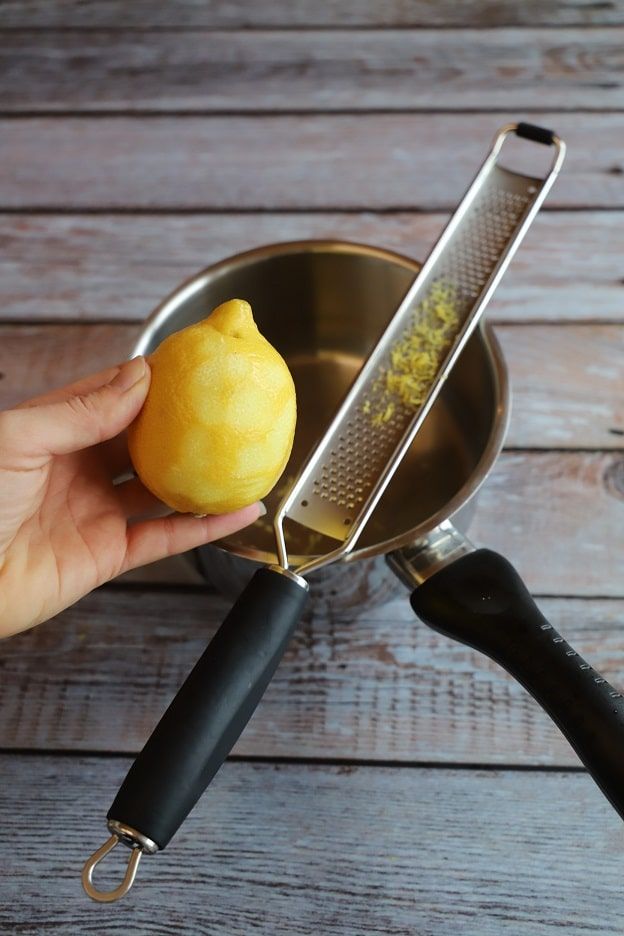
Then in a saucepan, zest 2 lemons using a microplane grater.
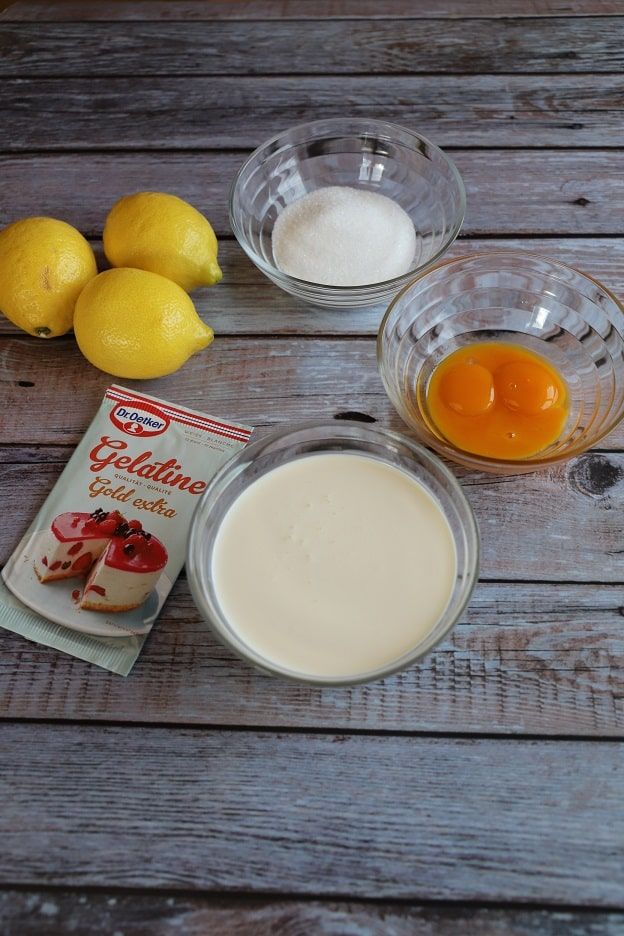
Then squeeze your two lemons to get 93gr of lemon juice. Be careful to remove the seeds.
In another large bowl, pour 30gr of egg yolks (1.5 eggs) with 67gr of sugar and whisk the mixture well until it lightens in colour. Then set it aside.
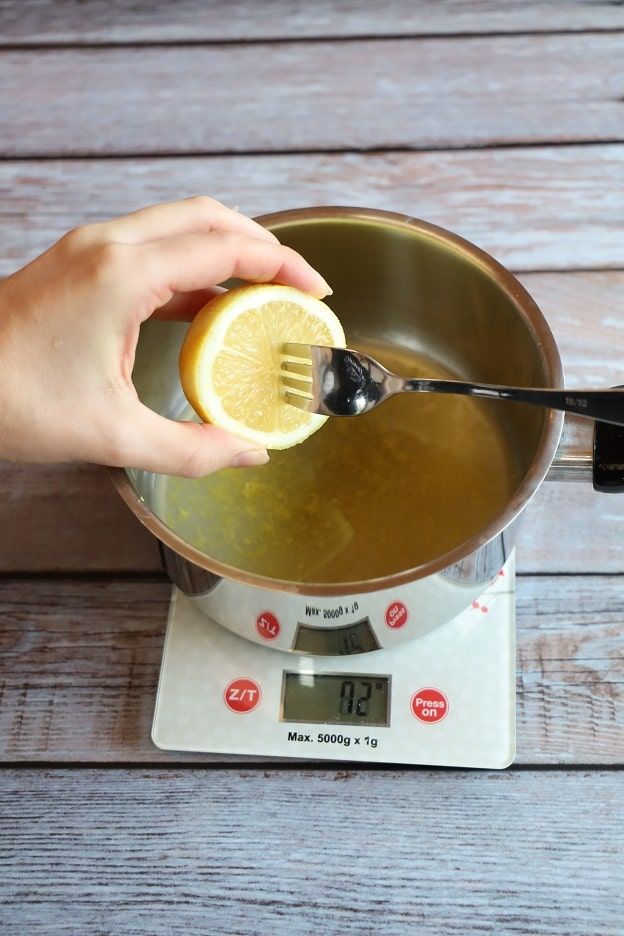
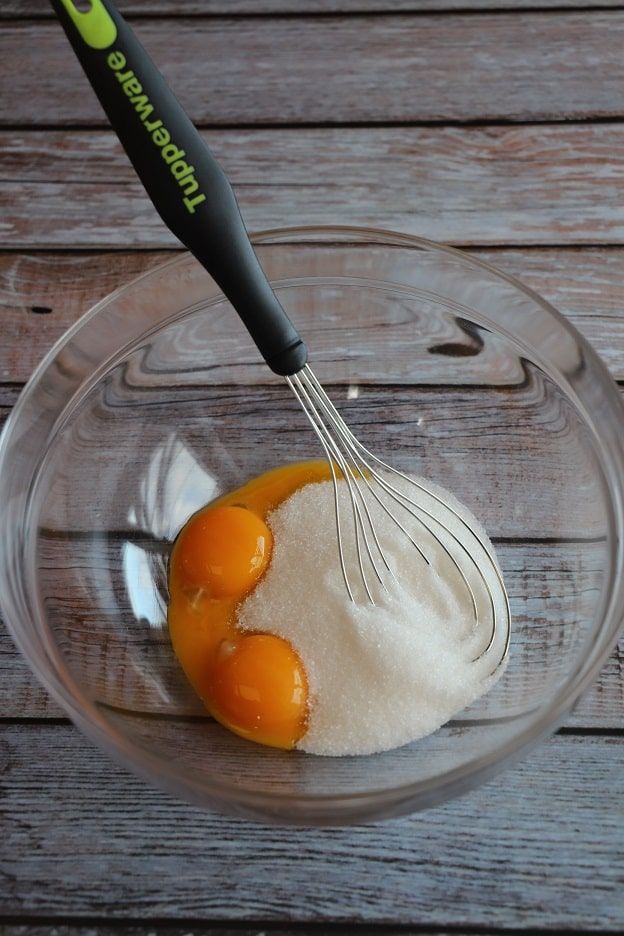
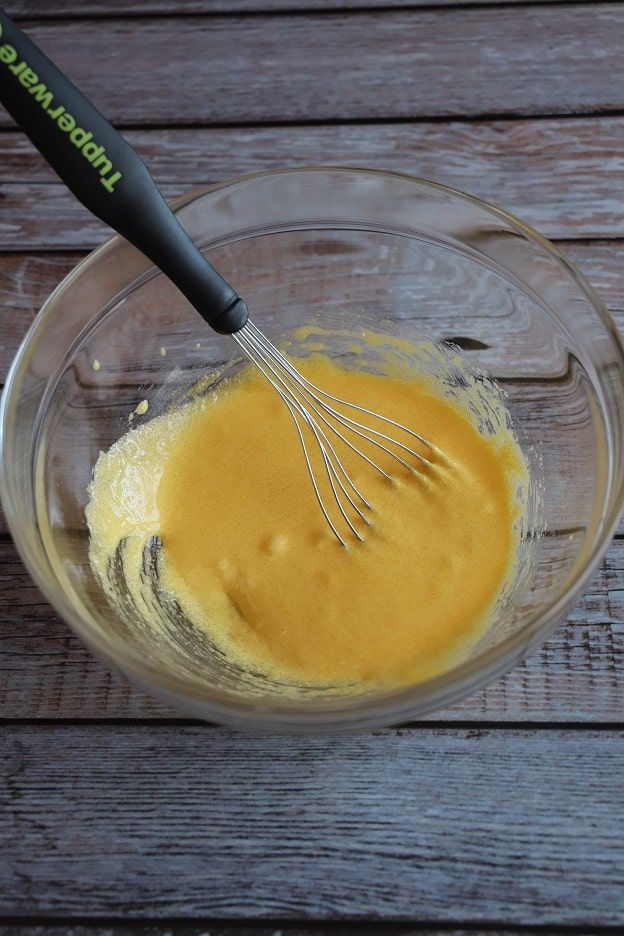
Bring your lemon juice with its zest to a boil.
Then pour the juice in 3 additions over your egg yolks and sugar. Whisk the mixture well between each addition before pouring more.
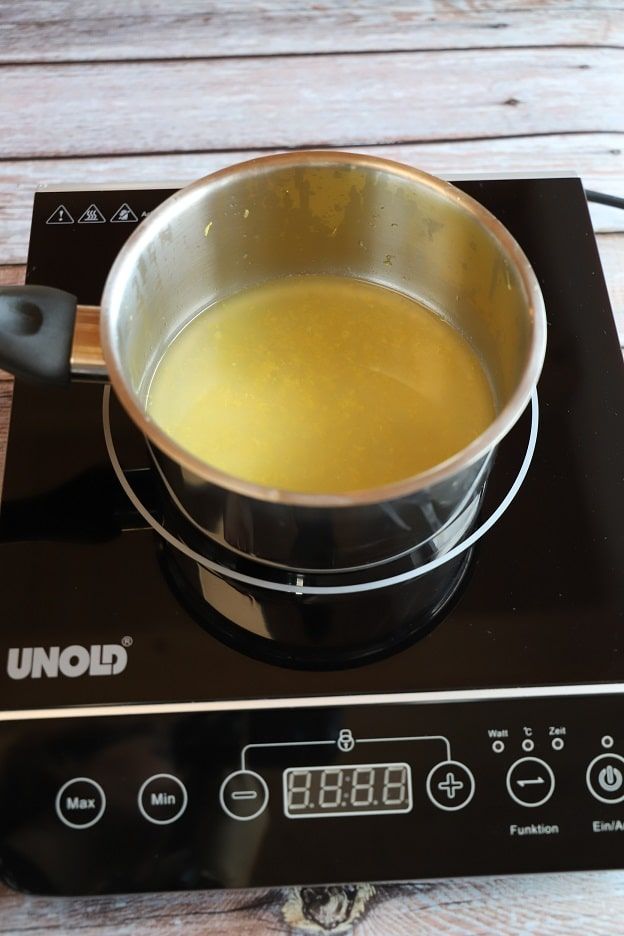
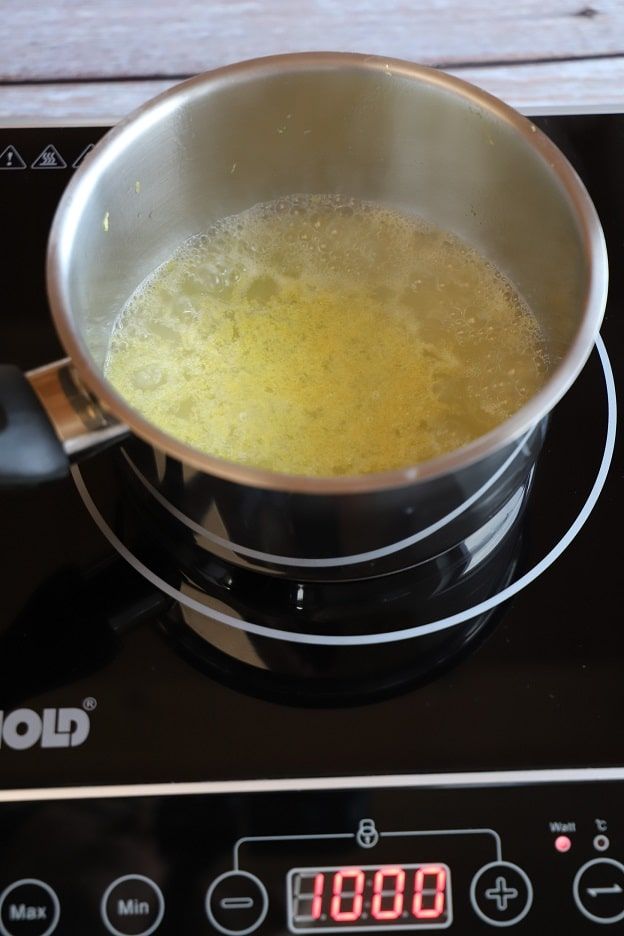
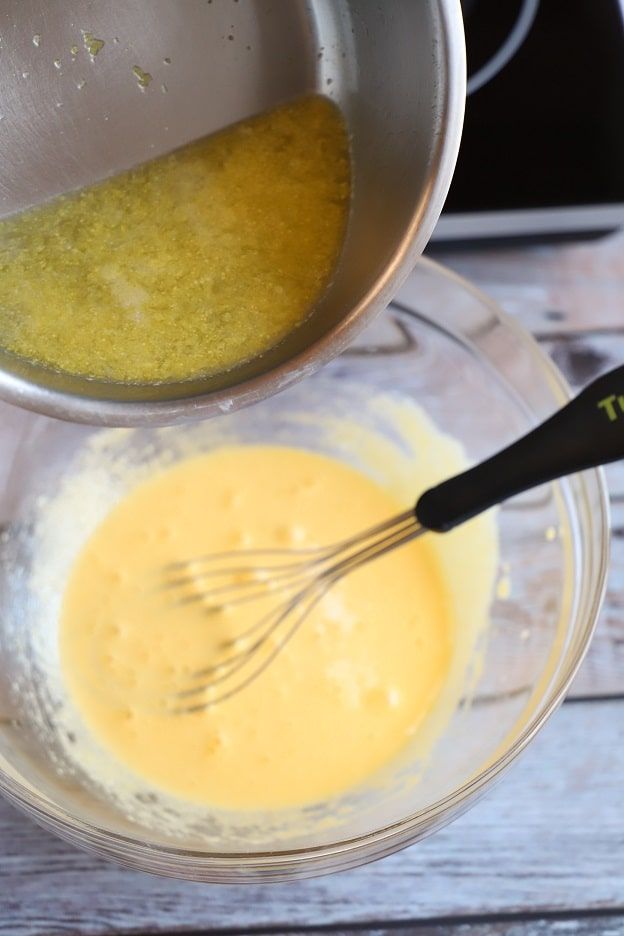
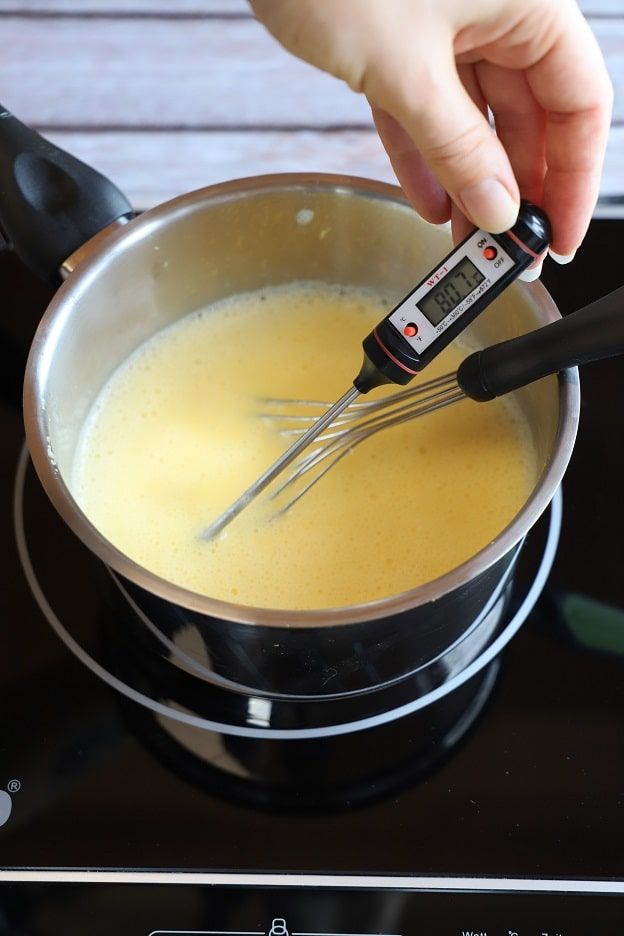
Once everything is well combined, pour the mixture back into the saucepan and heat it over medium heat until it reaches 82°C.
It is very important not to let it exceed 82°C if you don't want to end up with scrambled eggs... :o)
So once 82°C is reached, immediately remove the saucepan from the heat and continue stirring for a good minute.
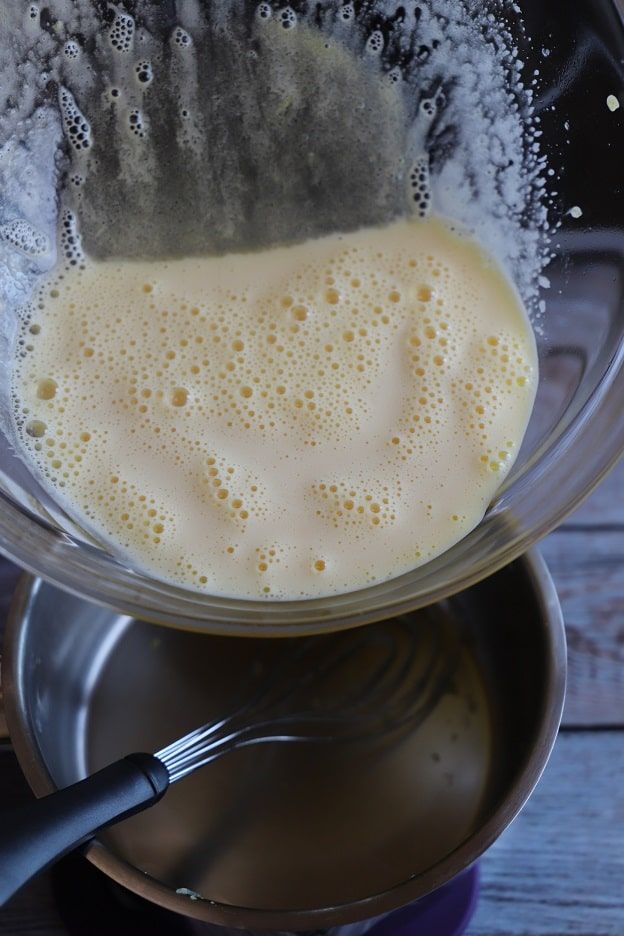
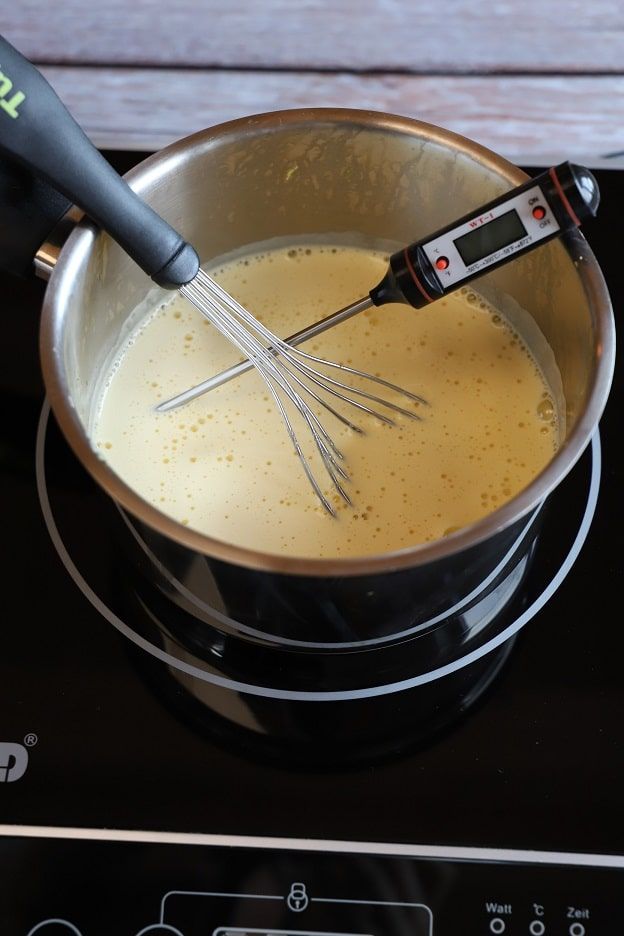
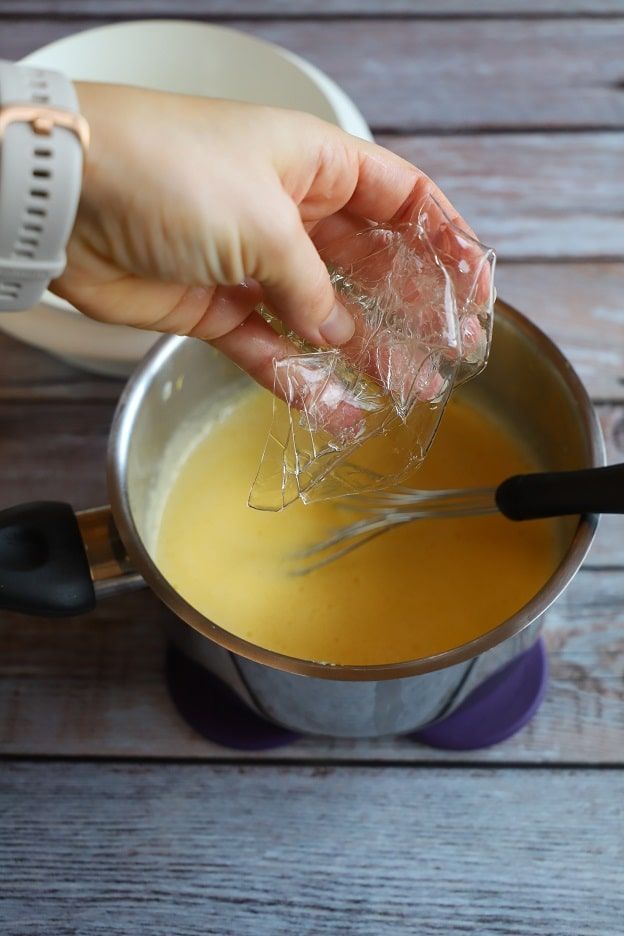
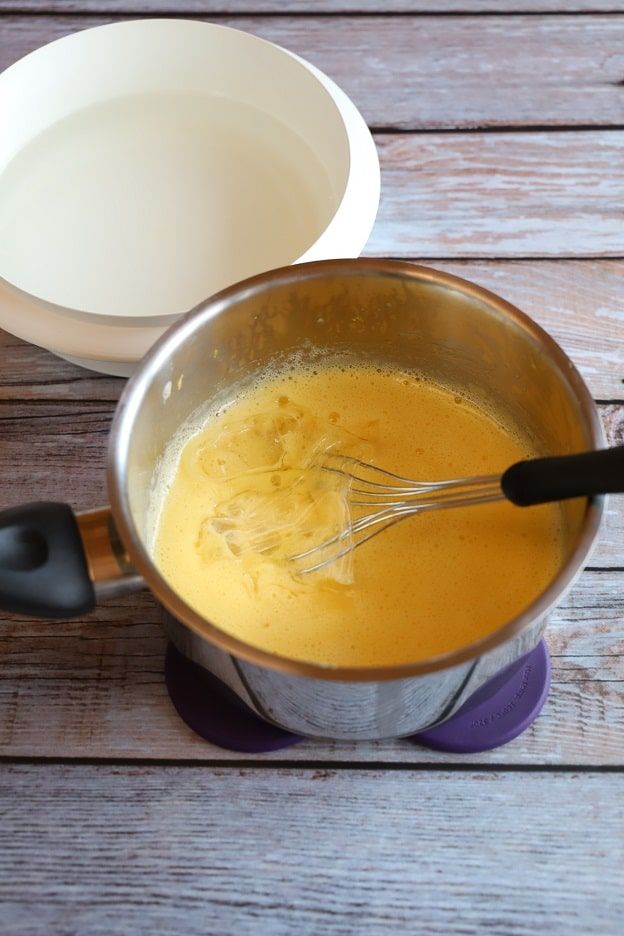
Squeeze out and add your softened gelatin. Whisk the mixture well so it melts throughout the mass.
Then place your thermometer in your saucepan and wait for the mixture to cool down to 29-30°C.
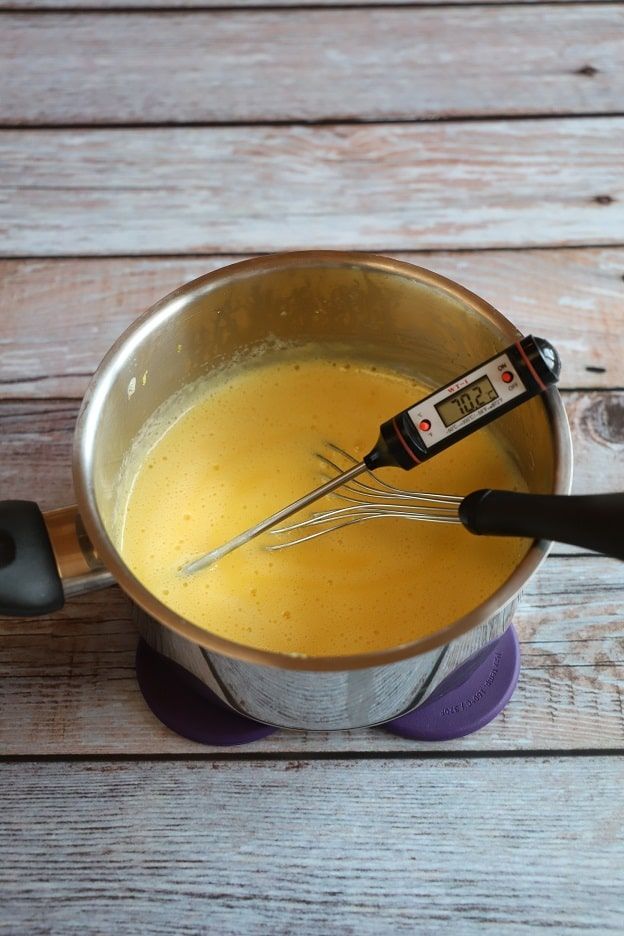
Once the temperature of 30°C is reached, whip 190gr of heavy cream at medium speed.
Note that the cream should be only lightly whipped to get a nice airy mousse. So don't over-whip your cream. If you whip it too much, your mousse will be denser.
Then pour your lemon mixture in 3 additions into your whipped cream and fold gently with a spatula so the lemon cream incorporates with the cream.
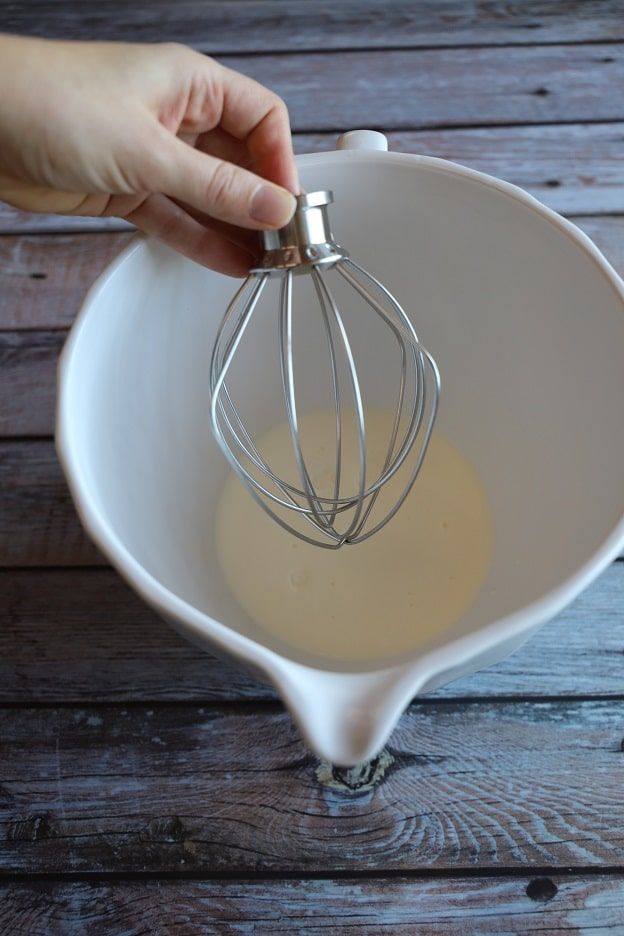
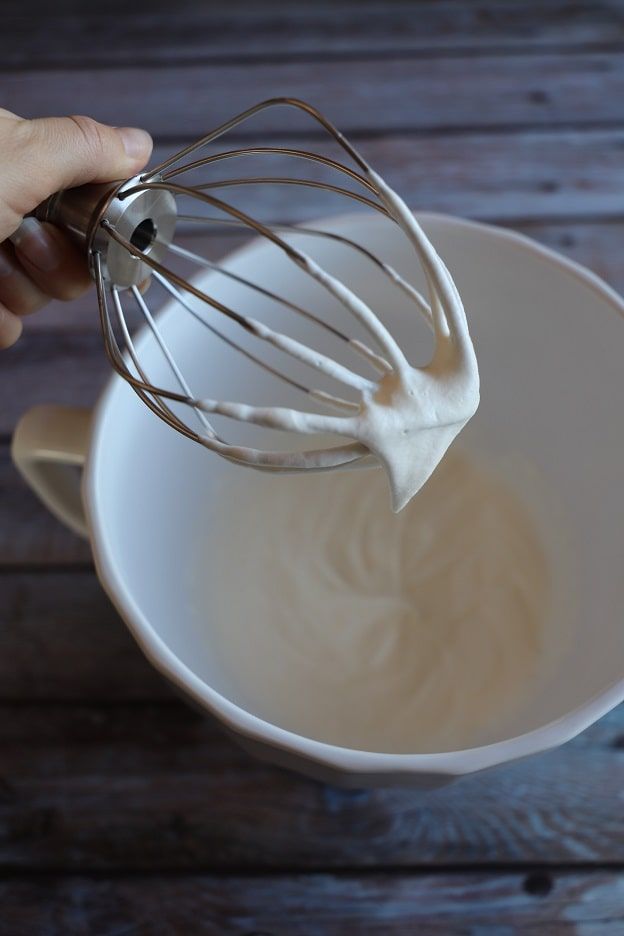
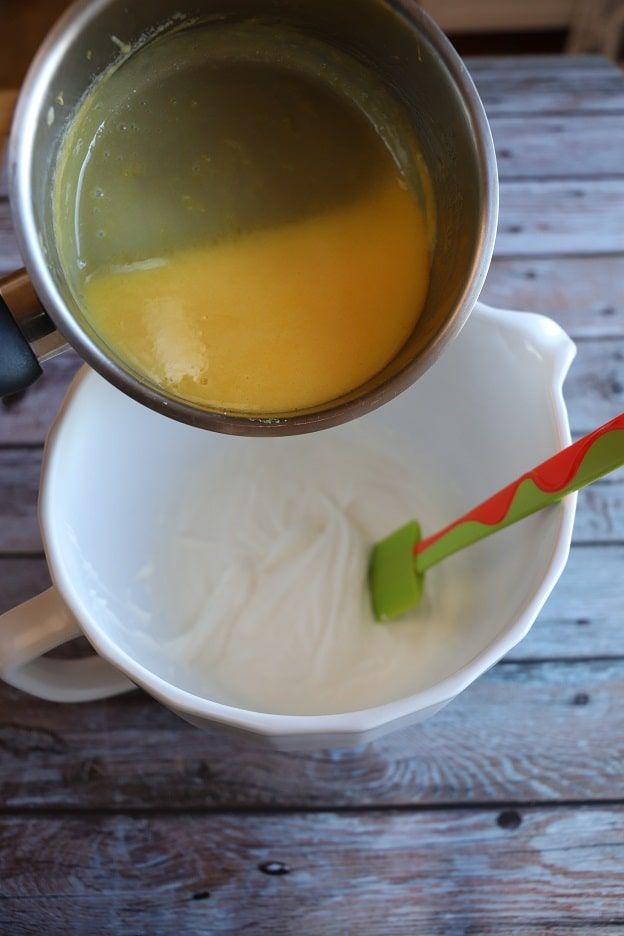
So a bit of lemon cream, fold with the spatula. Then more lemon cream and fold again. ;o)
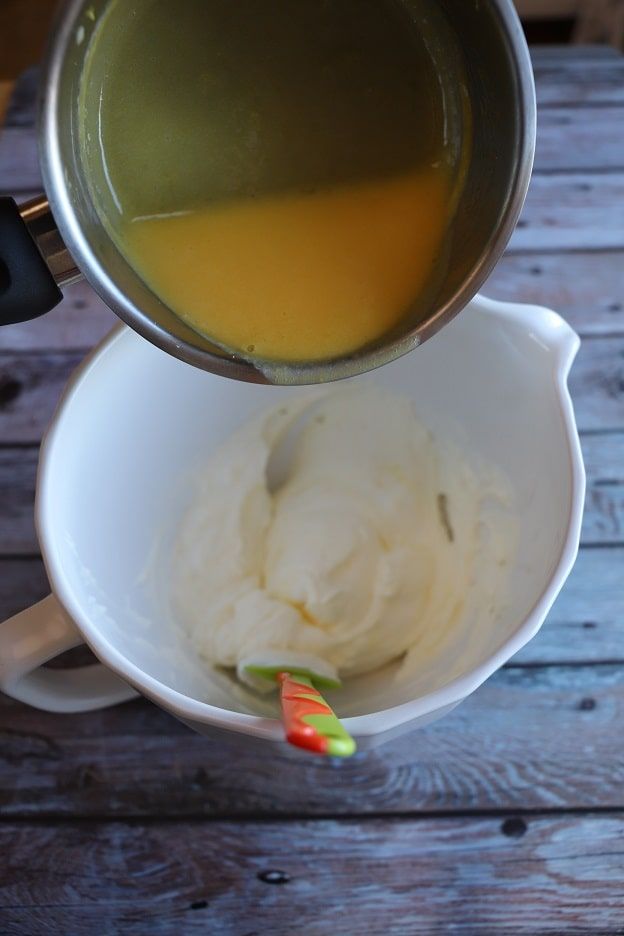
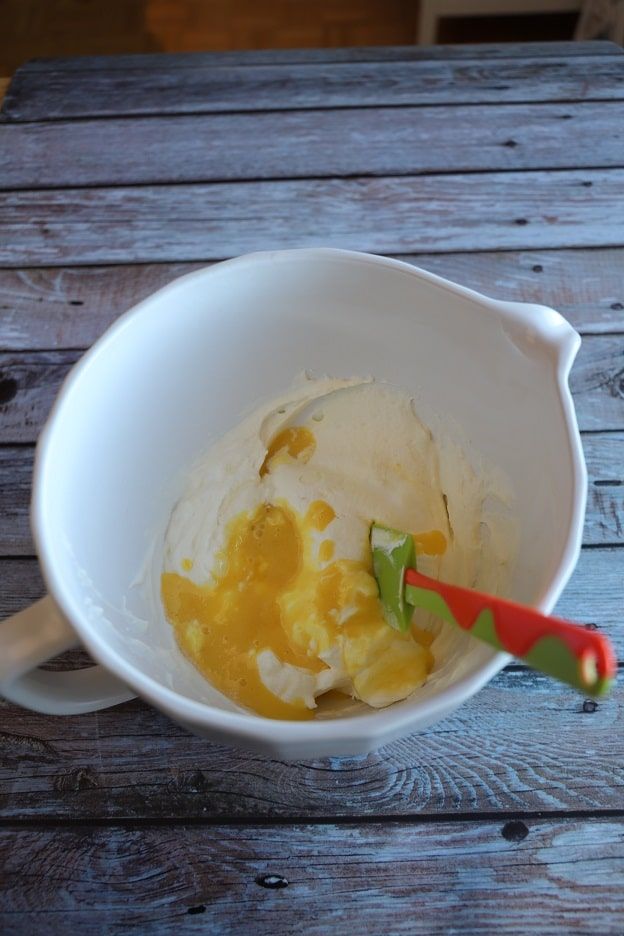
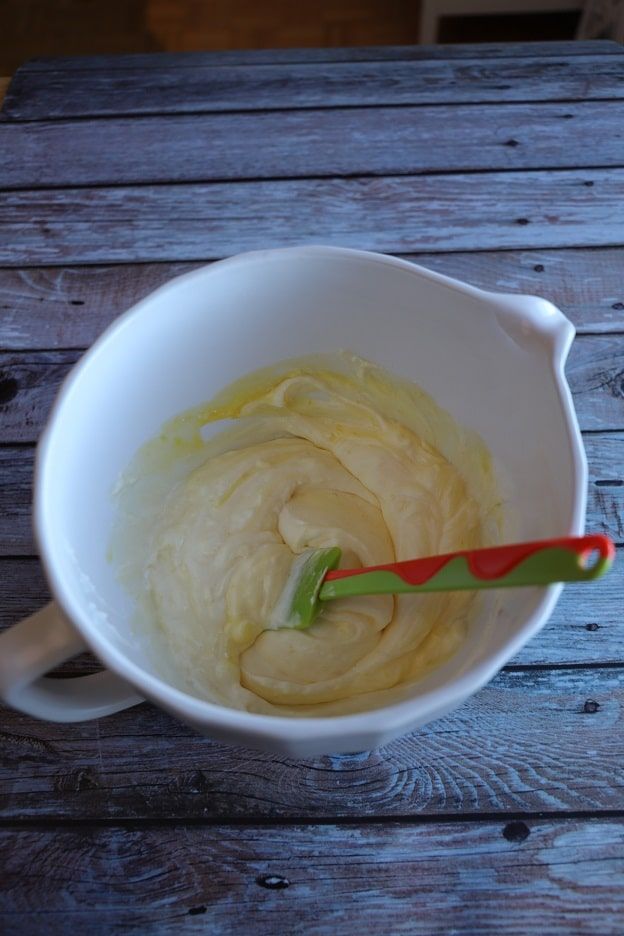
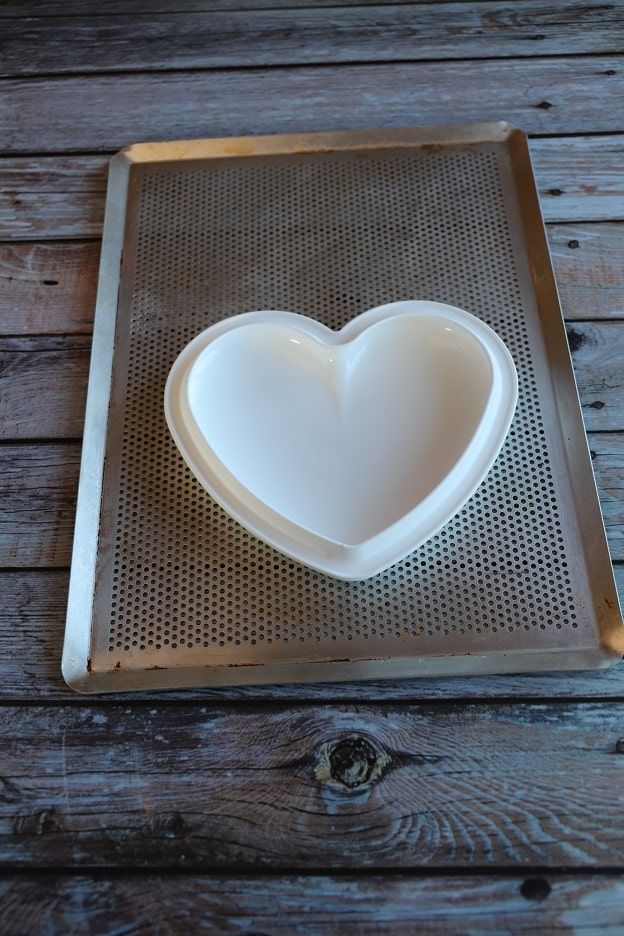
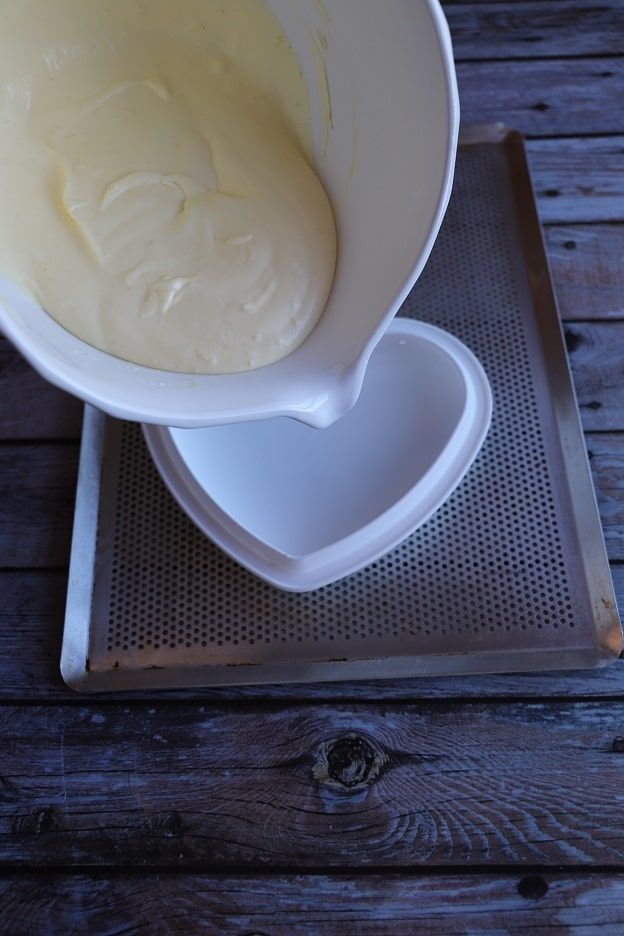
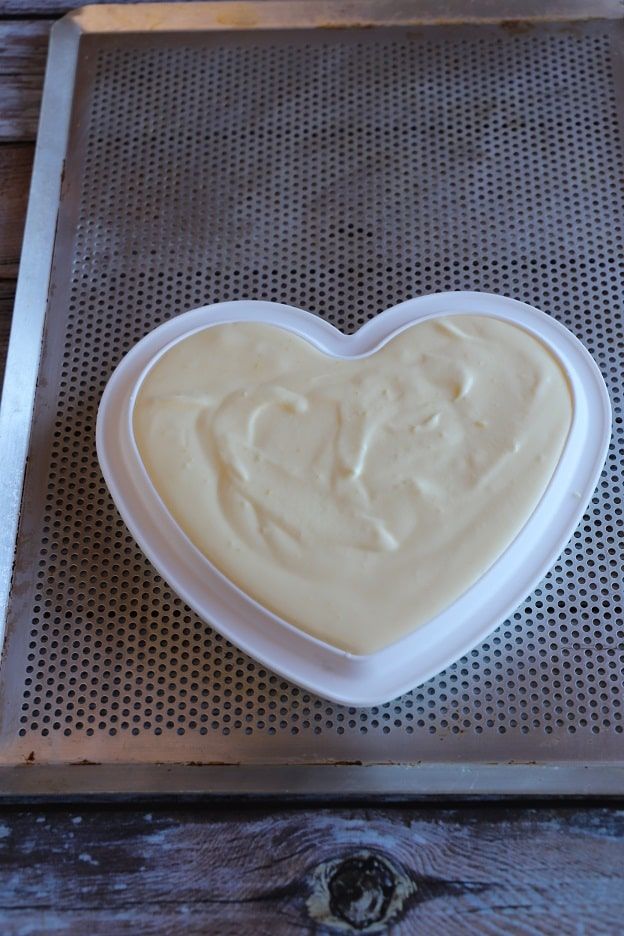
Once your mousse is smooth and homogeneous, pour it into the Silikomart heart mould.
Remember to place a board or tray under your mould so you can move it once filled. ;o)
You should be able to fit about 300gr of mousse.
Then place this mould in the freezer for a minimum of 3-4 hours.
Hazelnut sweet pastry
Let's go!
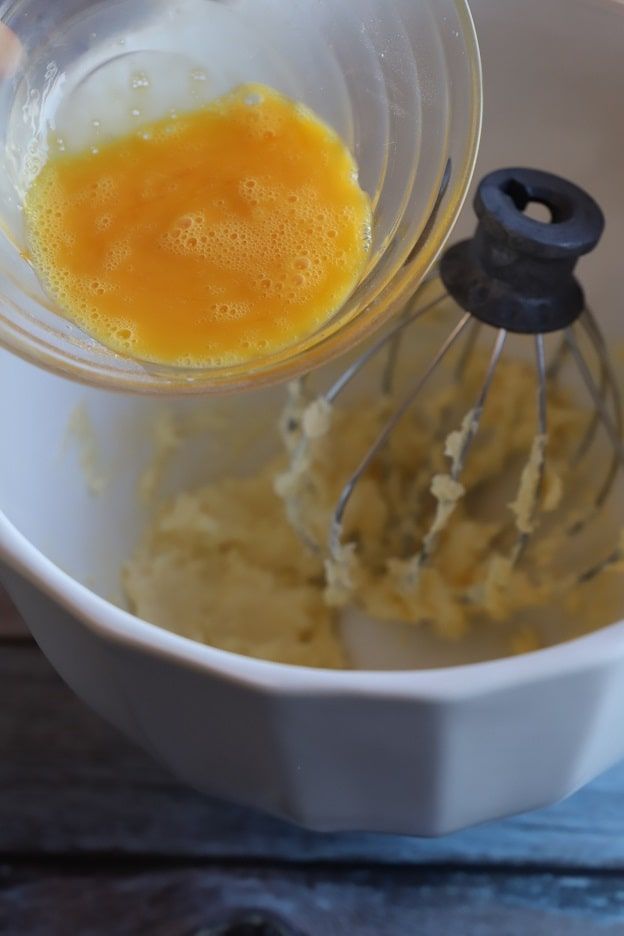
Start by mixing 58gr of butter with 35gr of icing sugar using a whisk for 1-2 minutes.
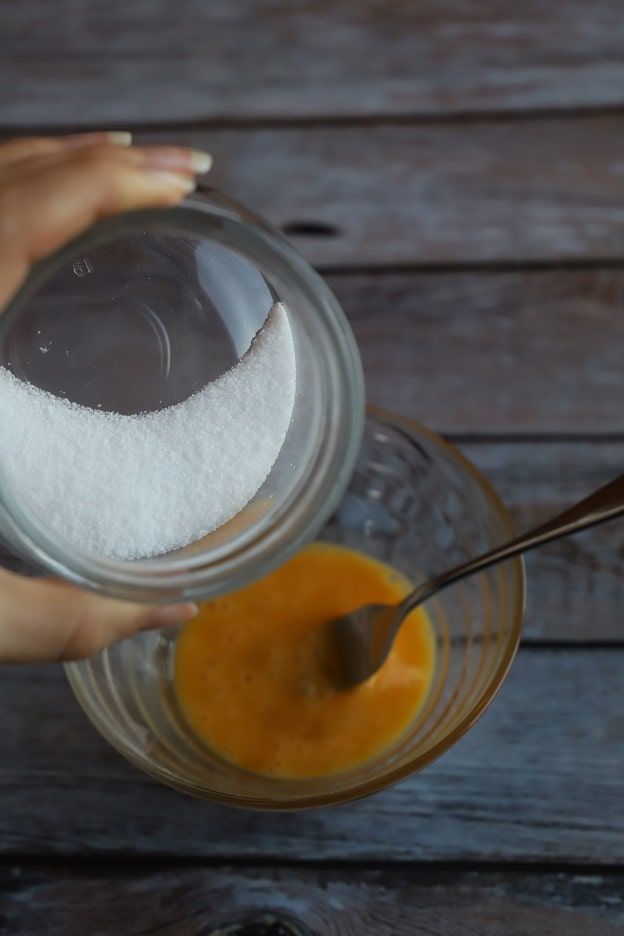
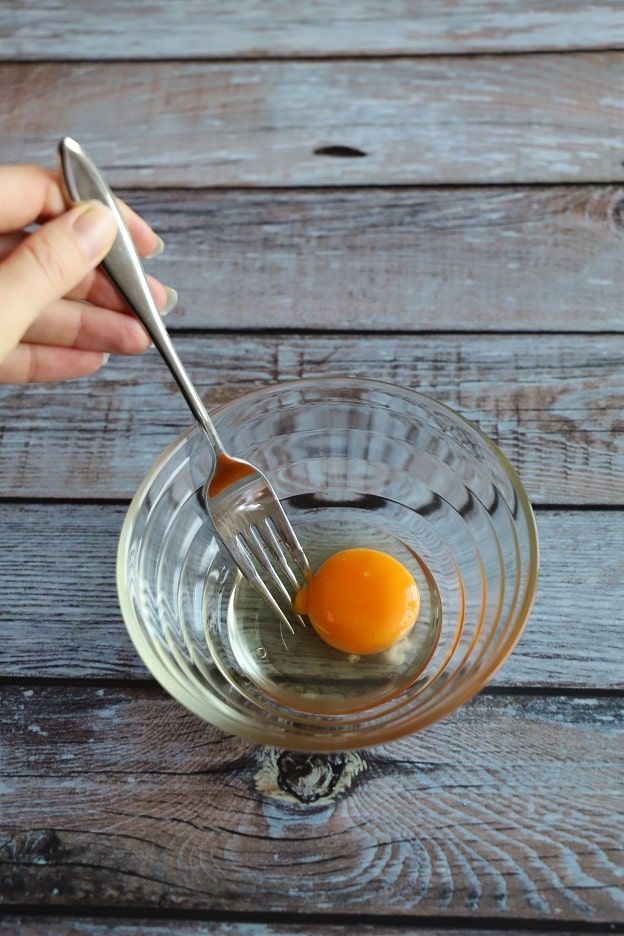
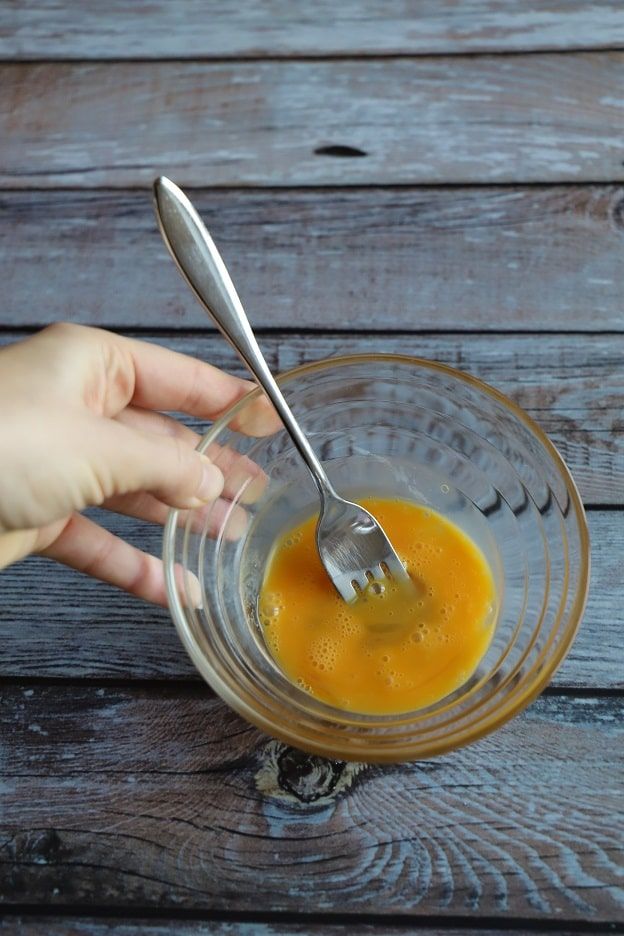
In a small bowl, beat one whole egg with a fork.
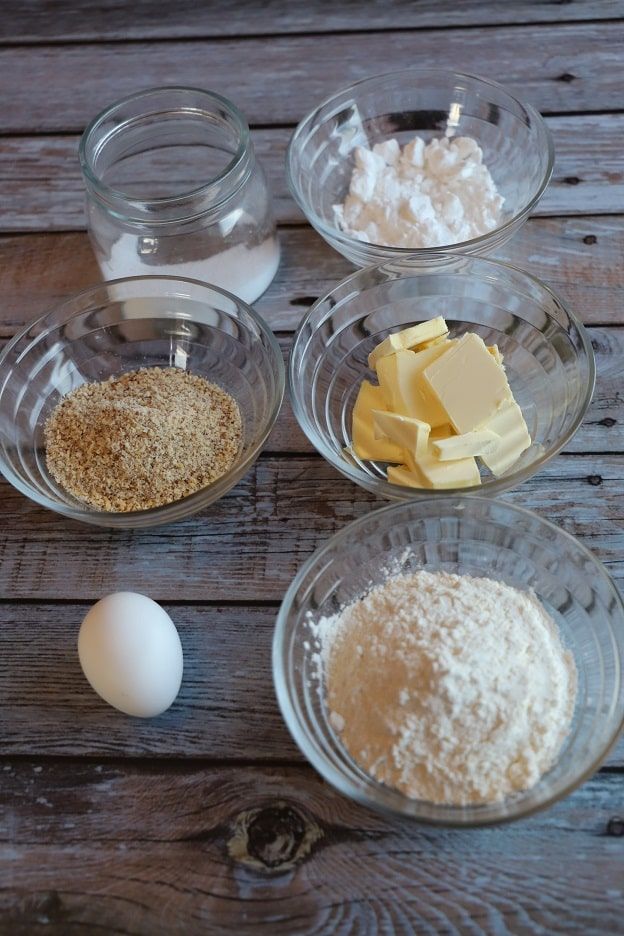
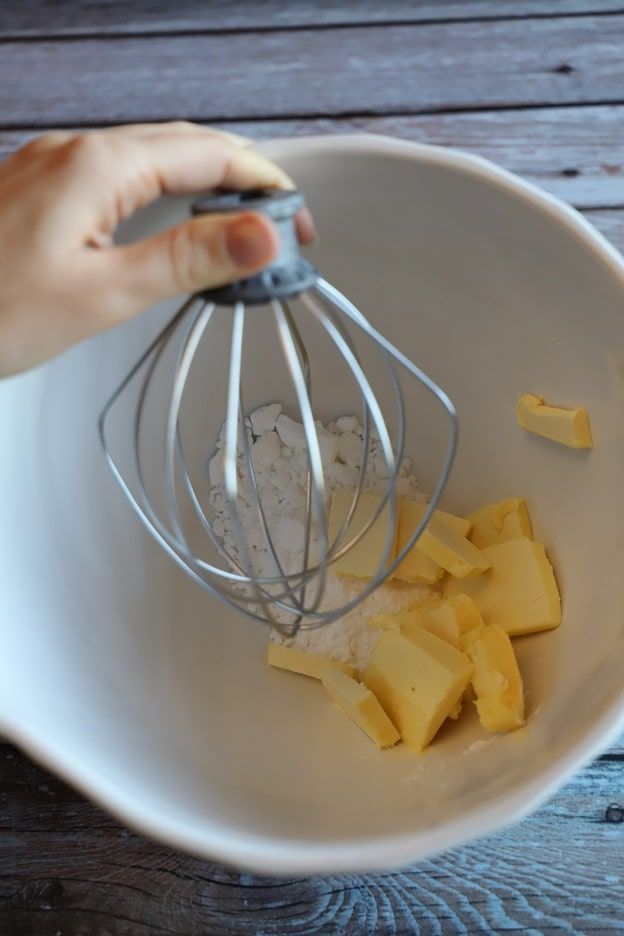
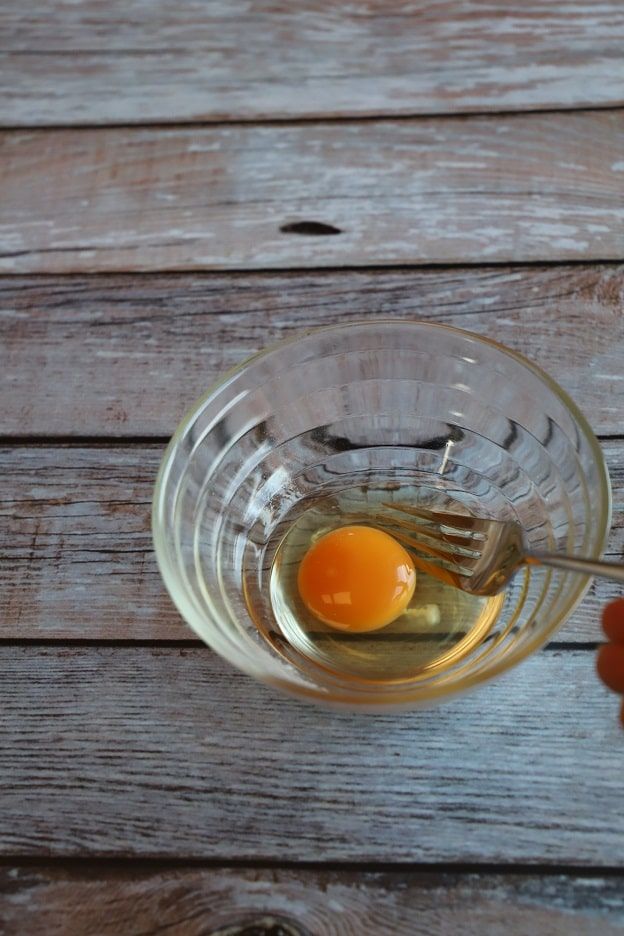
Once the egg is beaten, weigh out 23gr (keep the rest for the hazelnut sponge recipe), then add a pinch of salt and pour both ingredients into the butter/icing sugar mixture.
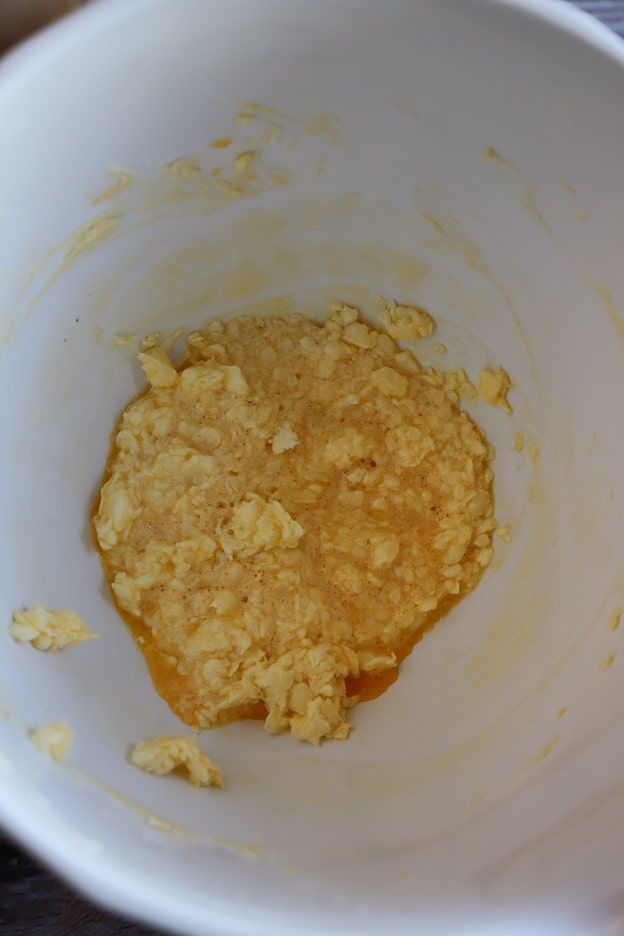
Whisk the mixture for 1-2 minutes. You will get a grainy mixture... That's normal. ;o)
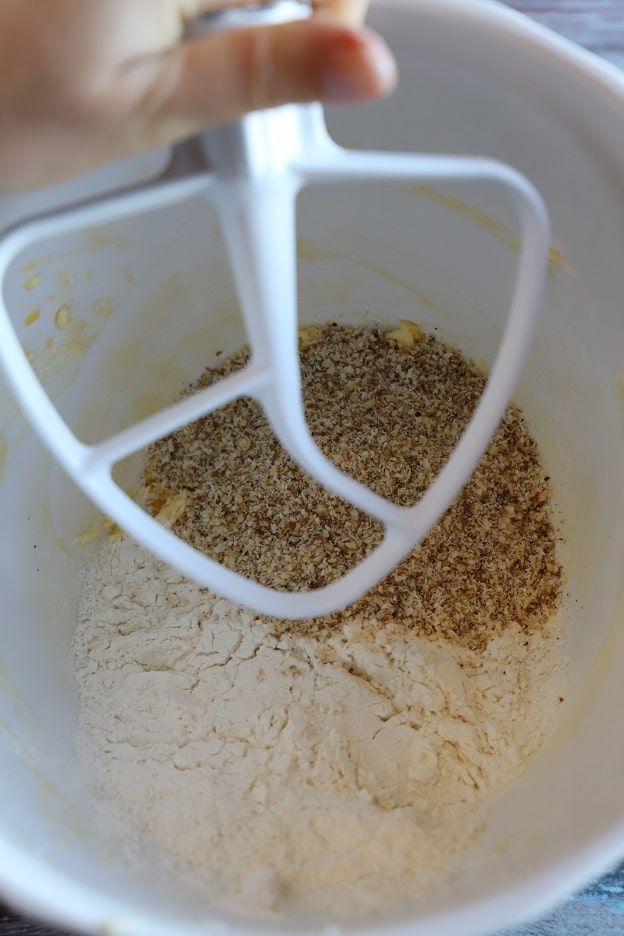
Finally, add 70gr of flour and 25gr of hazelnut powder to the mixture.
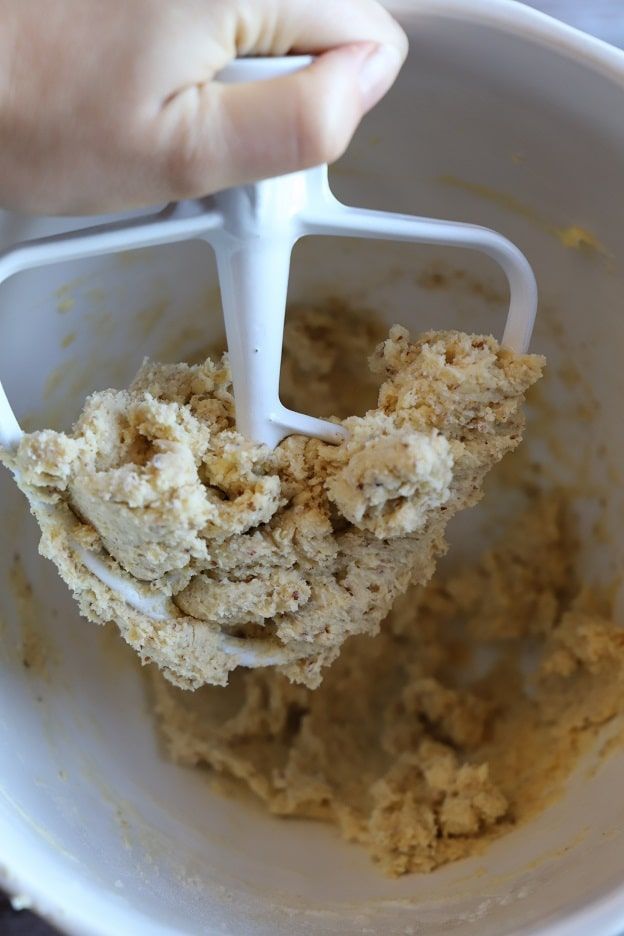
Mix everything with the paddle attachment (K beater) for a maximum of 1 minute.
Be careful not to over-mix the dough! Otherwise it will bubble during baking. Stop mixing as soon as a ball forms.
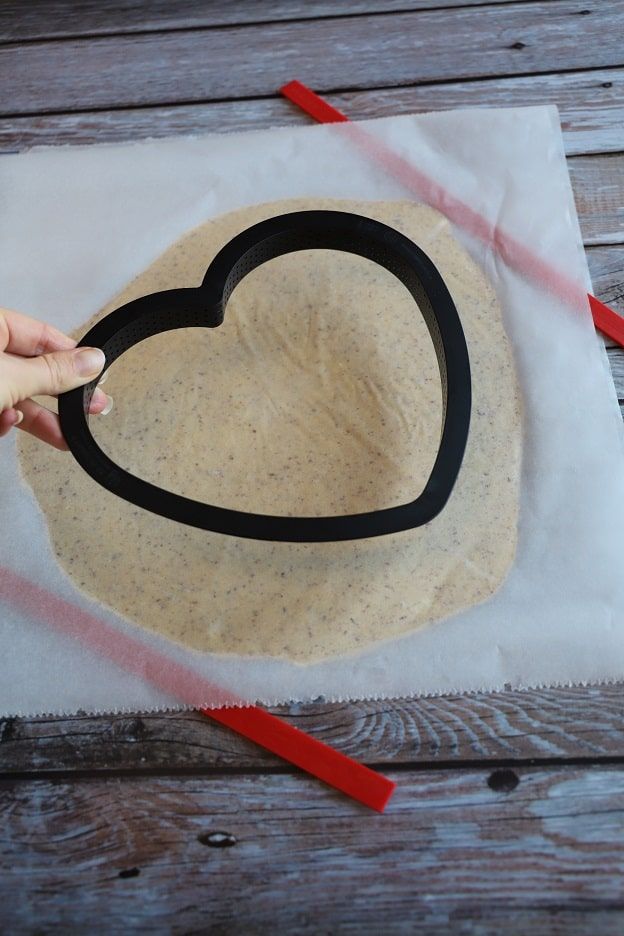
Get two sheets of baking paper, a large rolling pin and 3mm guide sticks.
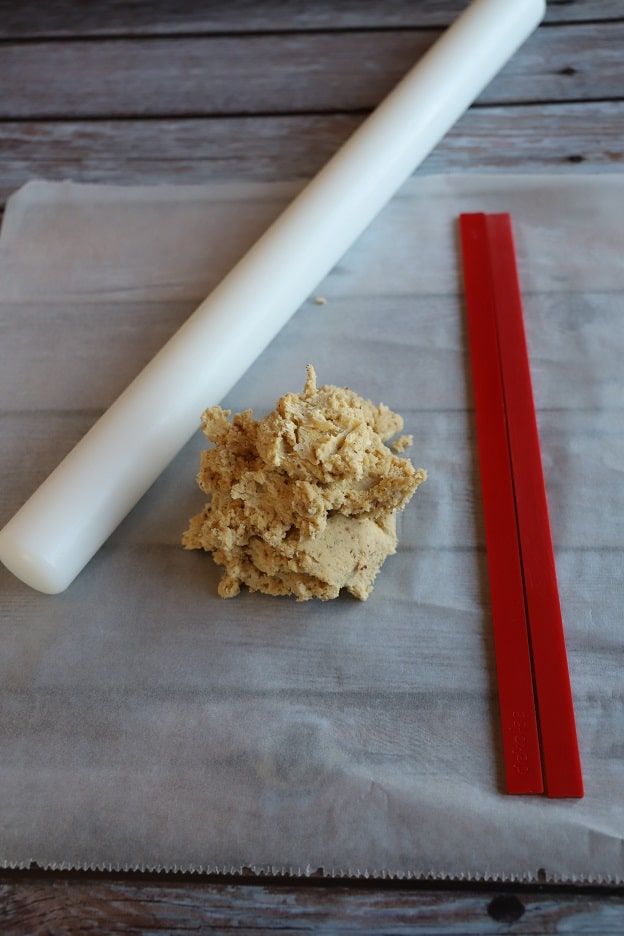
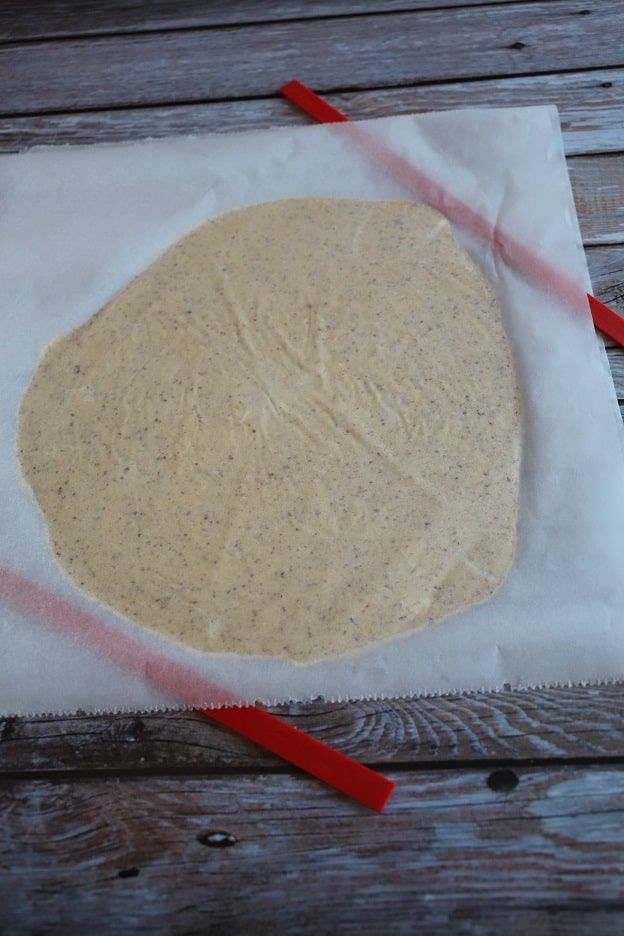
Roll out your dough between the 2 sheets of baking paper using the 3mm guide stick.
Make sure your heart cutter fits over your dough (but don't cut it out yet).
Place the dough in the freezer for 1 hour. Keep it flat.
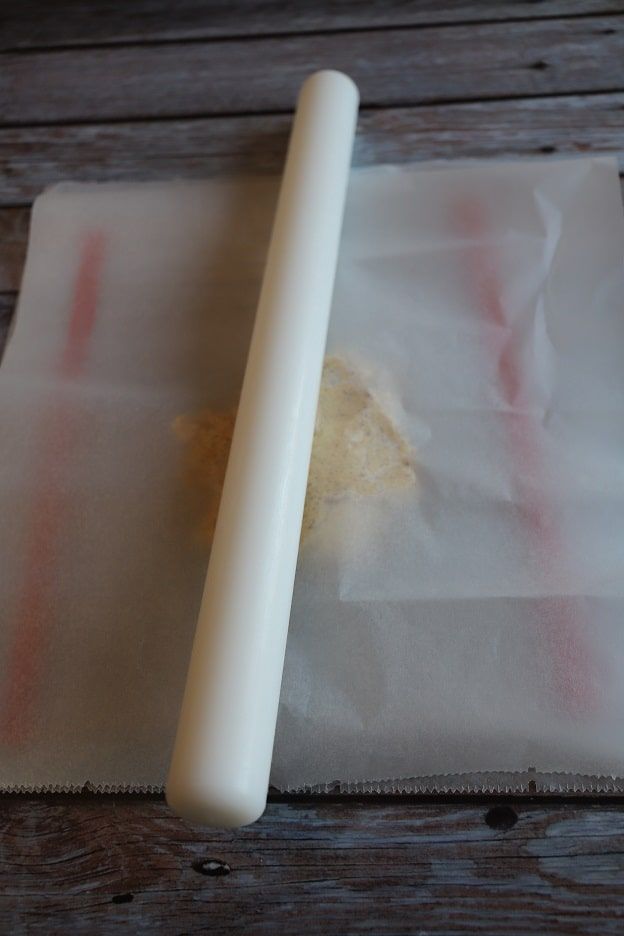
Hazelnut sponge
Let's go, last preparation!
In a large bowl, mix with a spoon 40gr of hazelnut powder, 40gr of icing sugar and 36gr of flour.
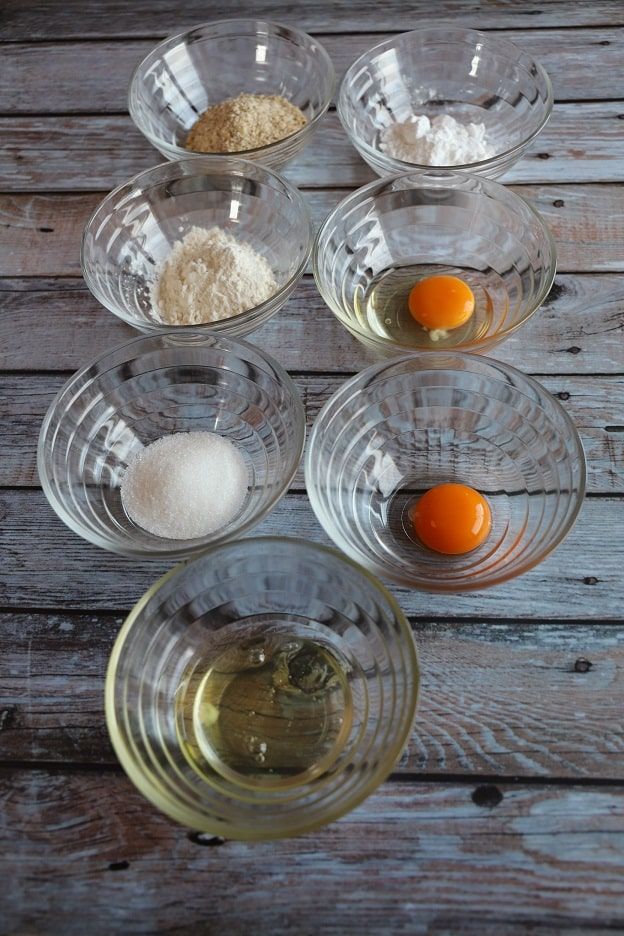
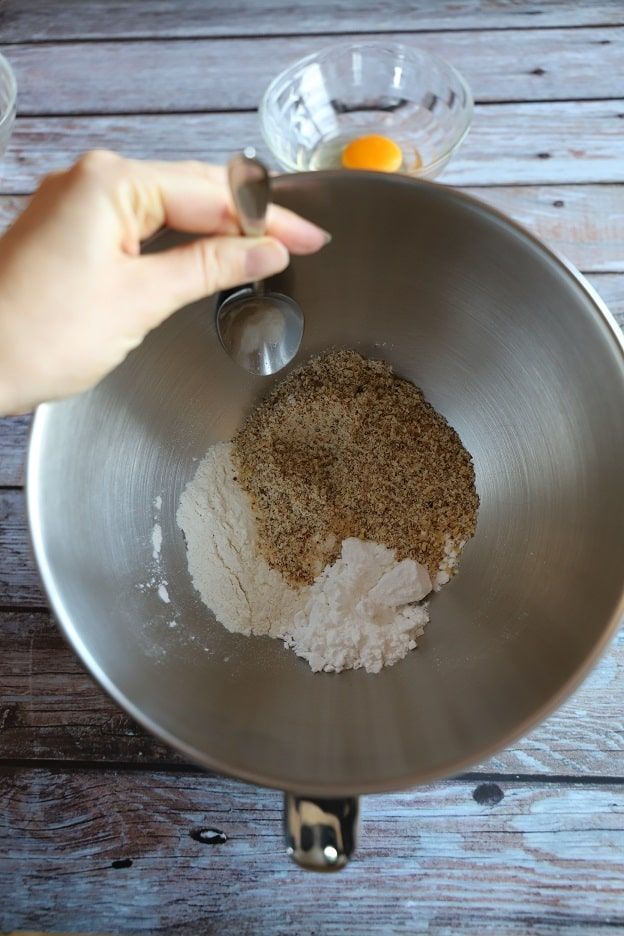
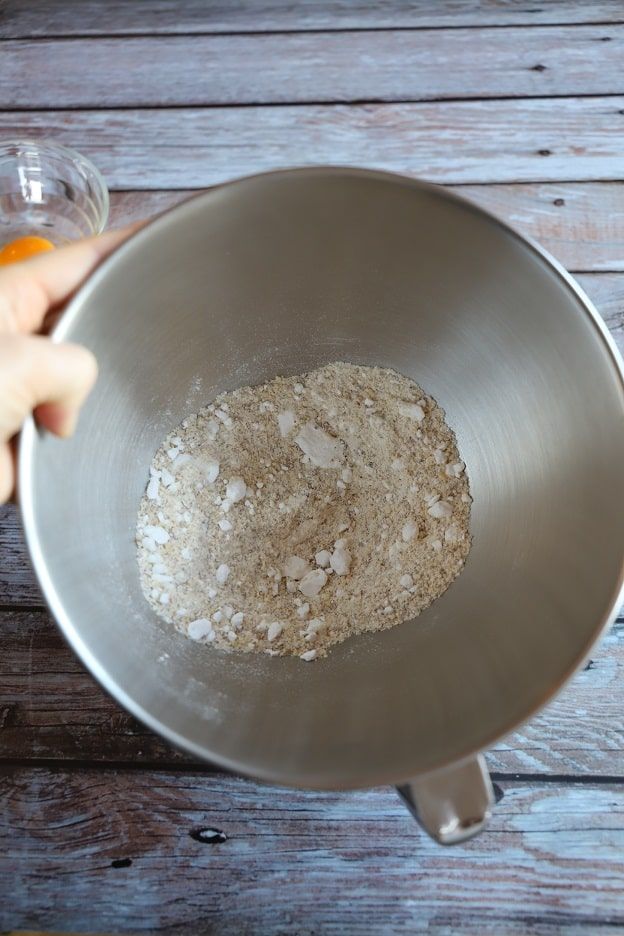
Then add 20gr of egg yolk (keep the white for later) and 36gr of beaten egg. So one egg yolk and the rest of the egg used for your sweet pastry.
Whisk the mixture for a few minutes to get a smooth and airy batter.
Set the mixture aside for a few minutes.
Preheat your oven to 180°C, fan setting.
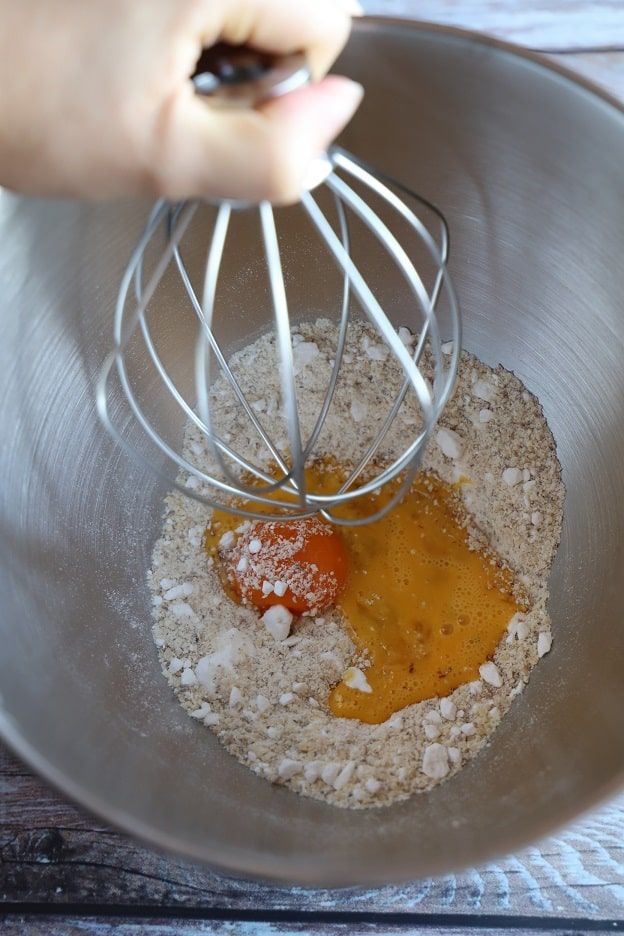
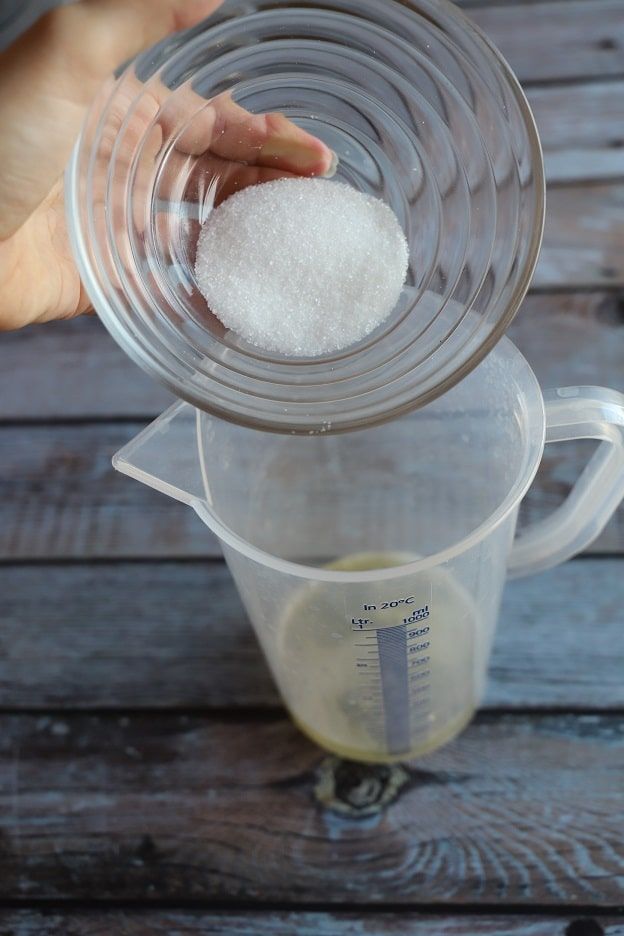
In a jug, weigh 60gr of egg whites (2 egg whites).
Whisk the egg whites until foamy. Once foamy, gradually add 28gr of sugar.
So a little sugar, whisk, a little more sugar, whisk again...etc.
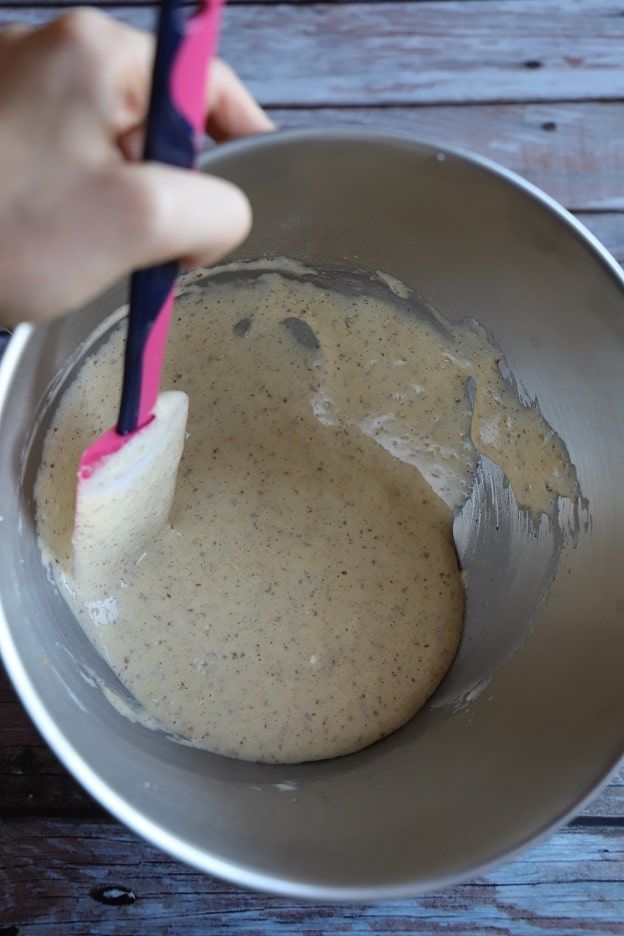
You will get a beautiful meringue with stiff peaks like in my 3rd photo.
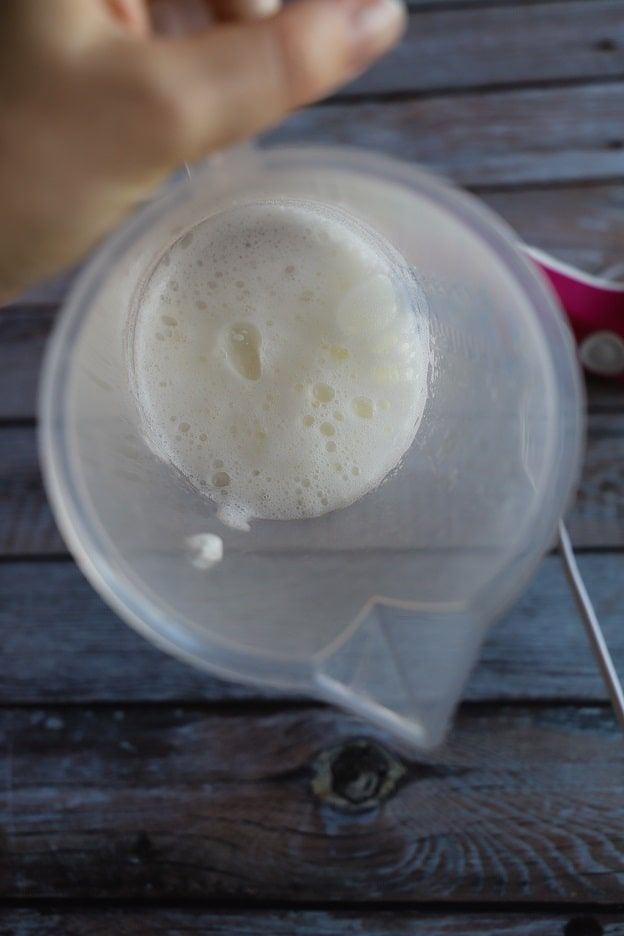
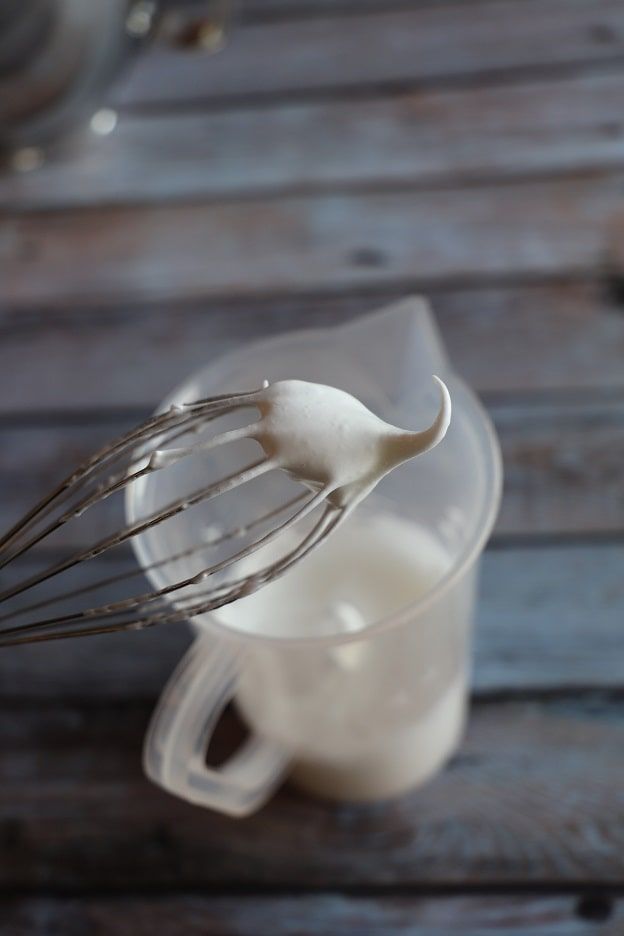
Then gradually fold the meringue into your hazelnut batter.
Mix at speed 1 with the K beater or with a spatula. Personally, I always start with the K beater and finish with the spatula.
You will get a beautiful, ultra-airy sponge batter.
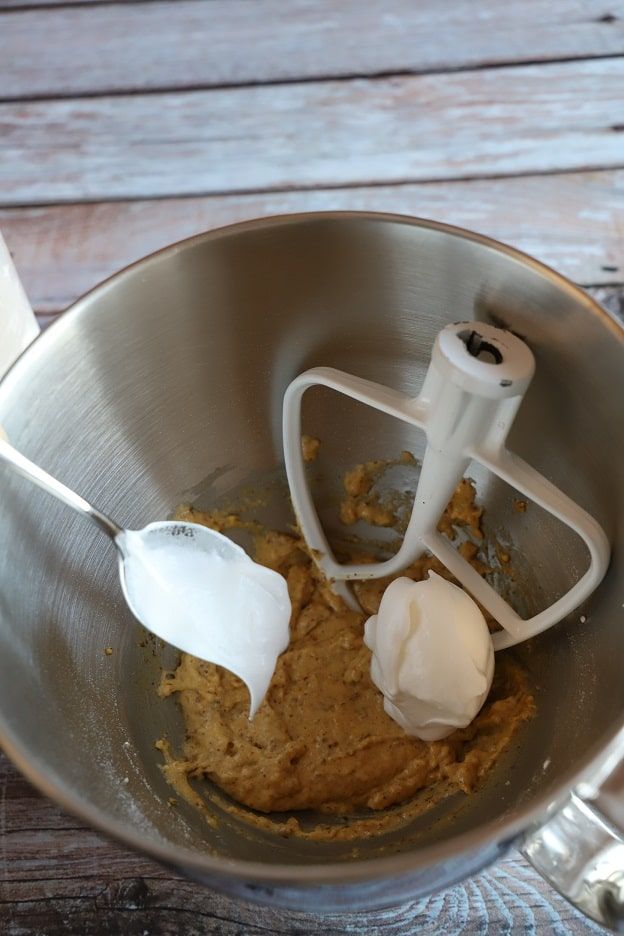
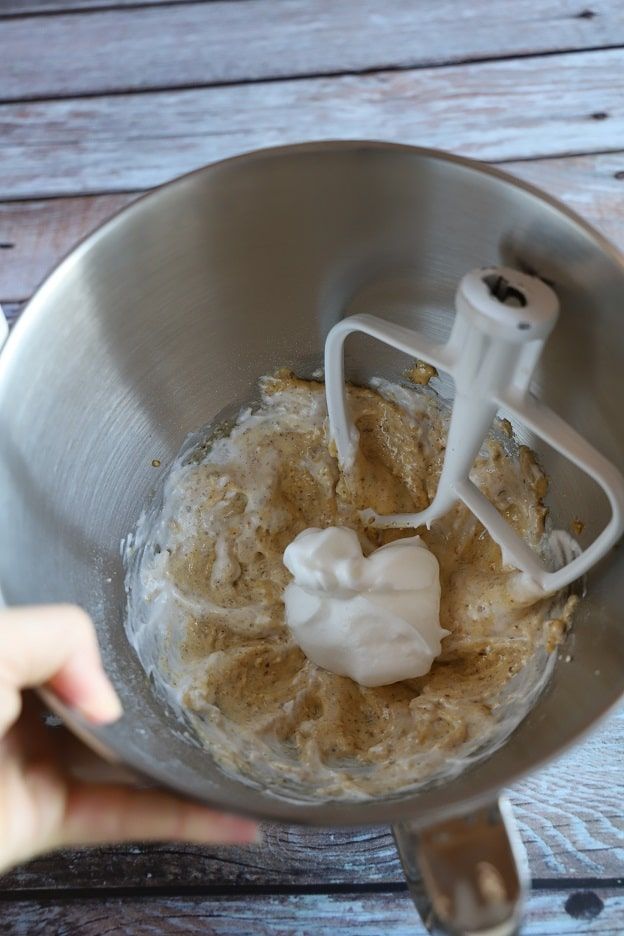
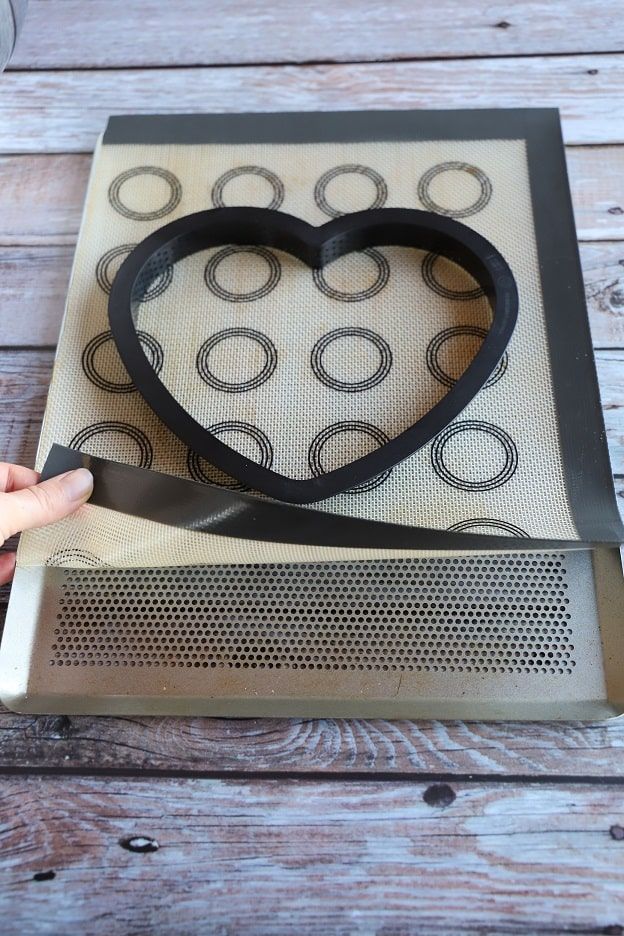
Get a perforated baking tray lined with a silicone mat.
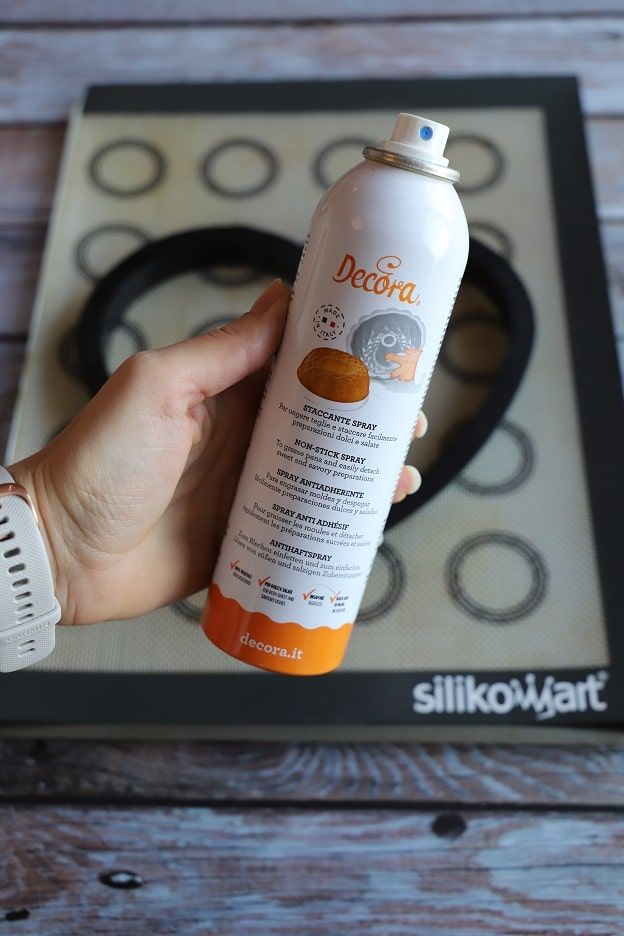
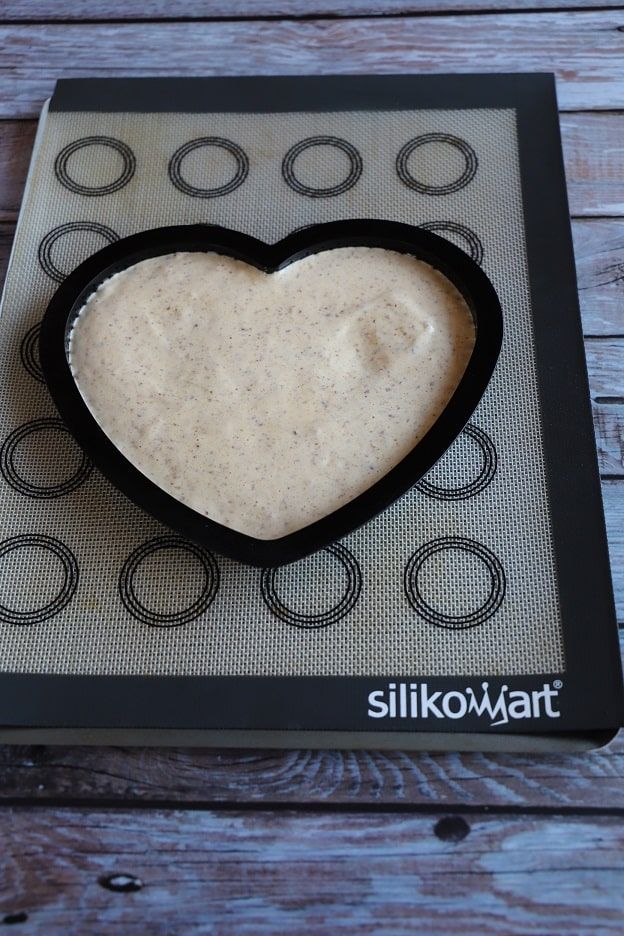
Place your perforated heart-shaped frame on your mat and spray it with release spray.
Then pour the sponge batter inside the heart.
Tap your tray 2-3 times on your work surface so the batter spreads evenly.
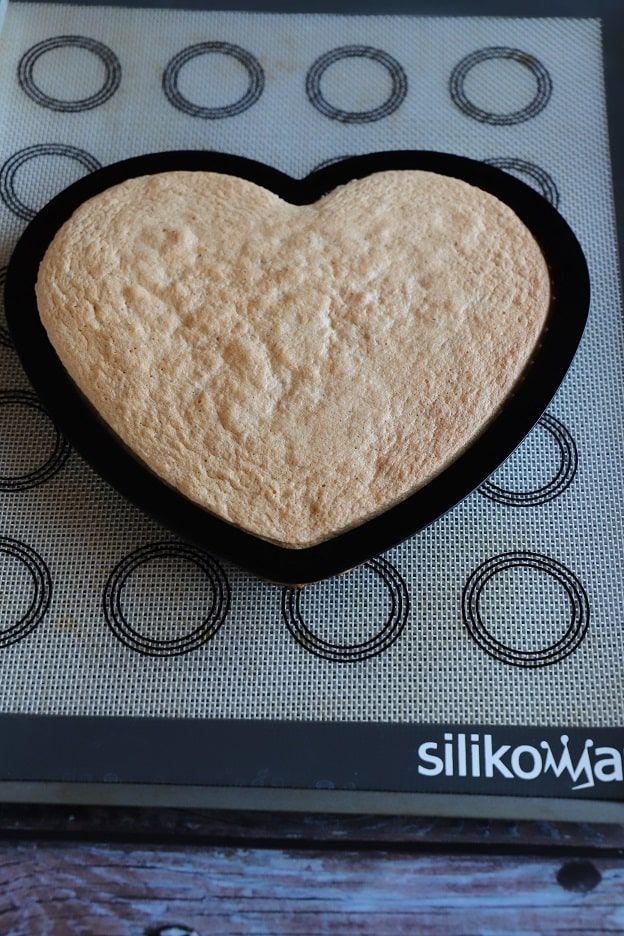
Bake your sponge in your preheated oven at 180°C, fan setting for 14 minutes.
And here's the result! It should be nicely golden all over the top.
Turn your heart out onto a cooling rack and let it cool for 10 minutes.
Then, using a knife, carefully detach the sponge from the frame.
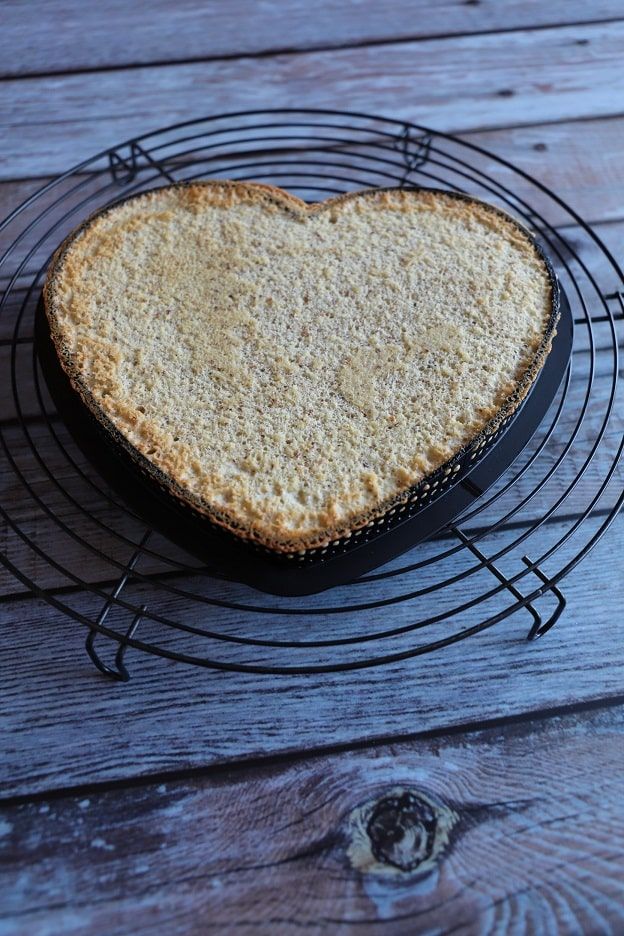
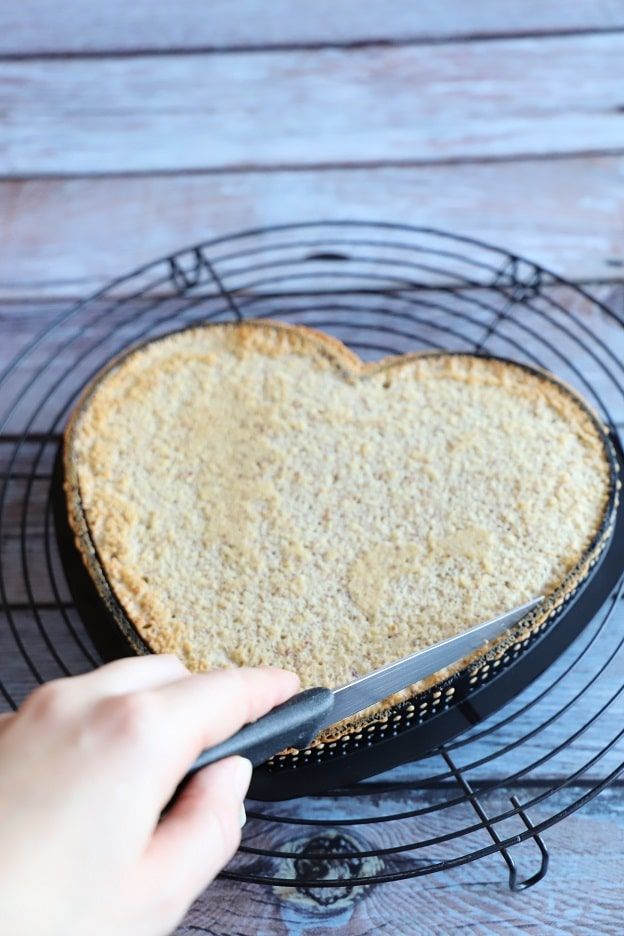
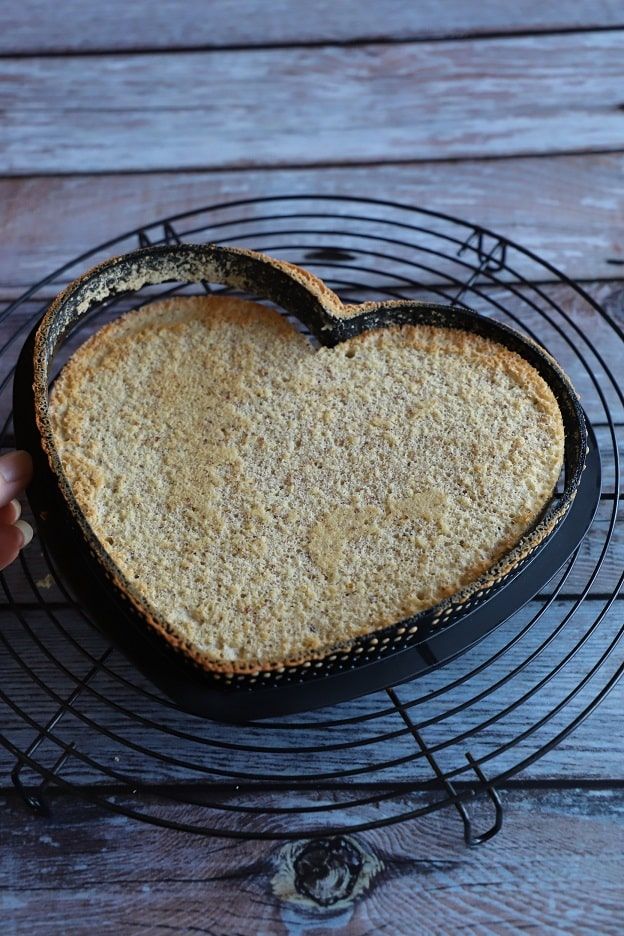
Remove the frame from your sponge and flip your heart over.
Then let it cool completely for 30 minutes. After 30 minutes, you can place a dry cloth on top to prevent it from drying out.
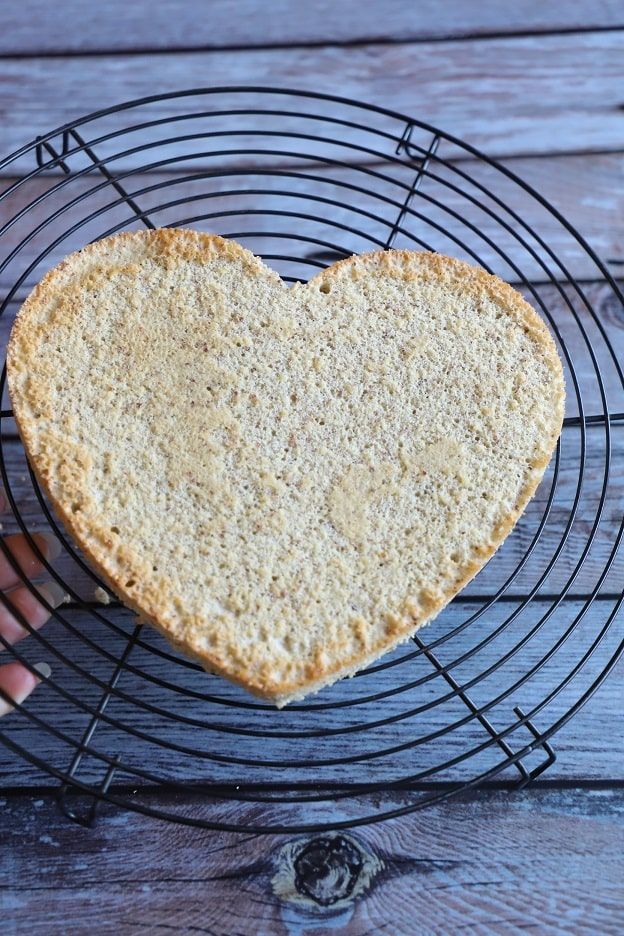
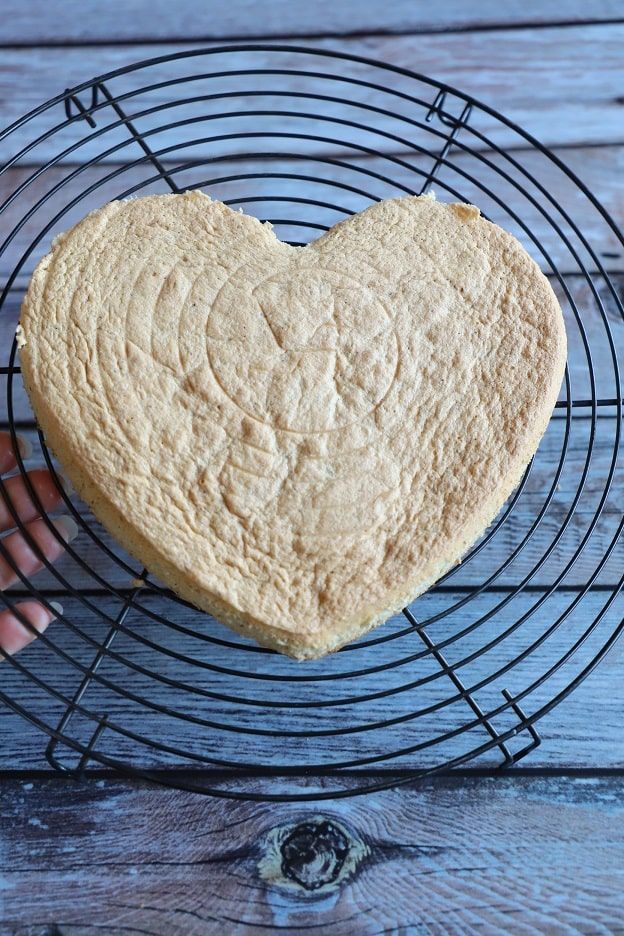
Preheat your oven to 160°C, fan setting.
Take your sweet pastry out of the freezer and cut out your heart shape with the cutter.
Place it on a perforated baking tray lined with a perforated mat.
Then make small hearts with the remaining dough for decoration.
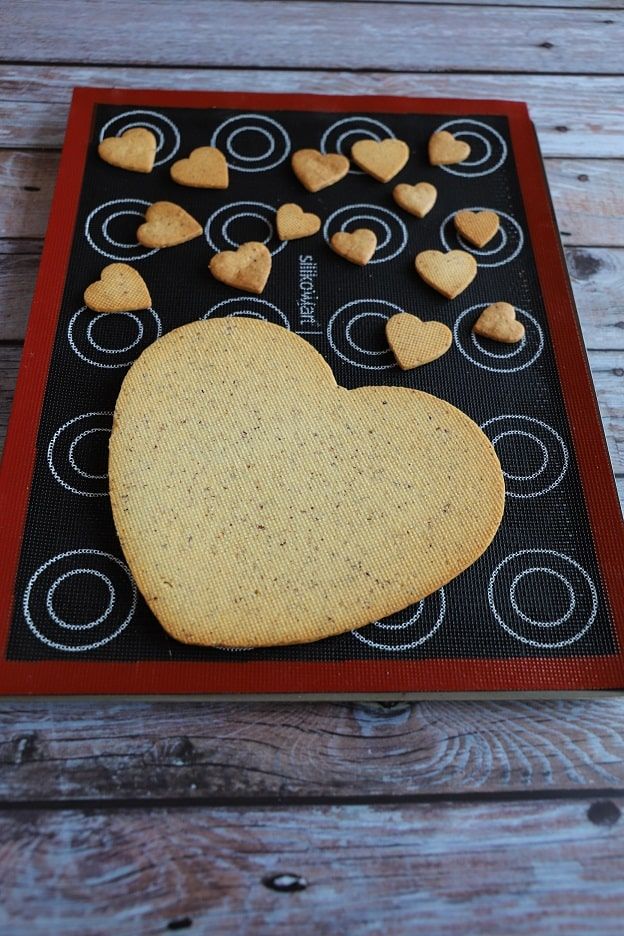
Bake your biscuits in your preheated oven at 160°C for 20-25 minutes.
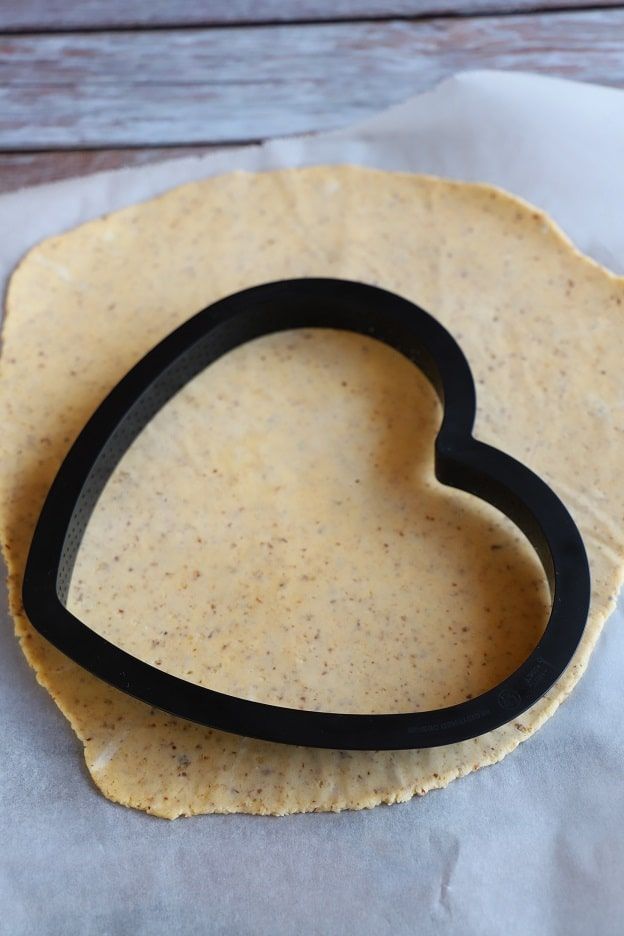
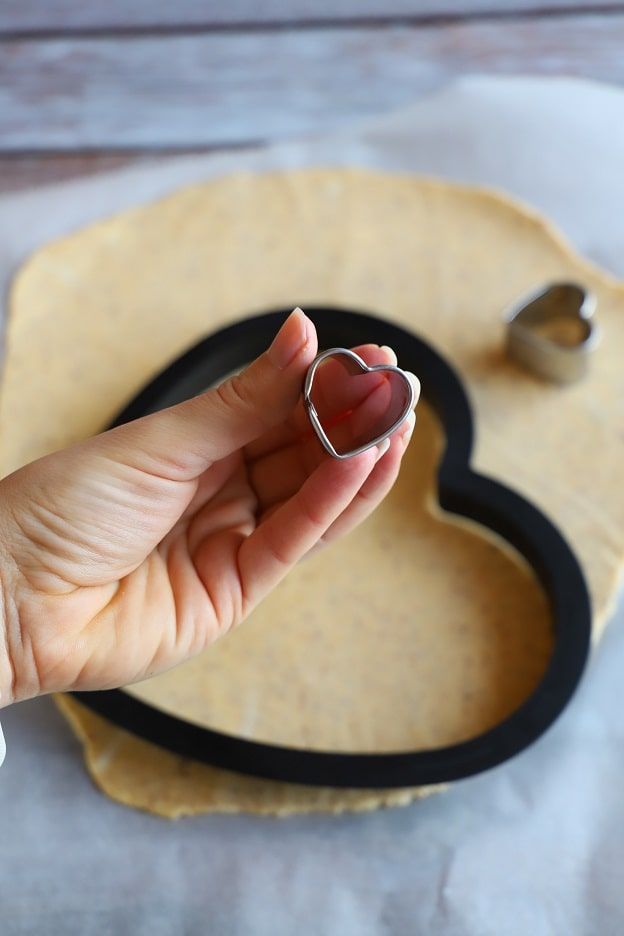
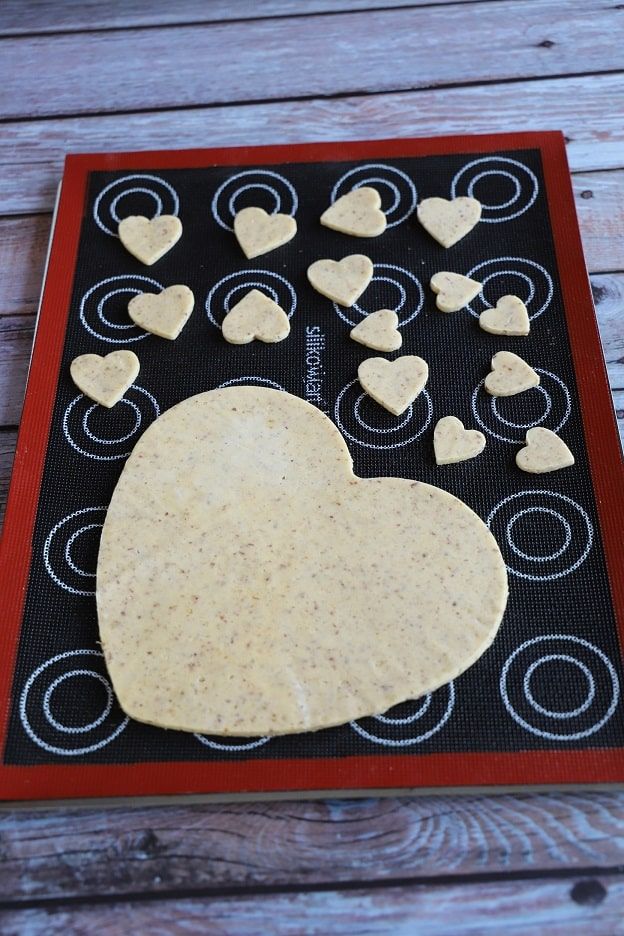
After 15-20 minutes, remove the small decorative hearts from the oven as they bake faster than the large heart.
Let the large heart bake for another 5-10 minutes. The heart should be golden on the edges.
Then let everything cool for about 30 minutes.

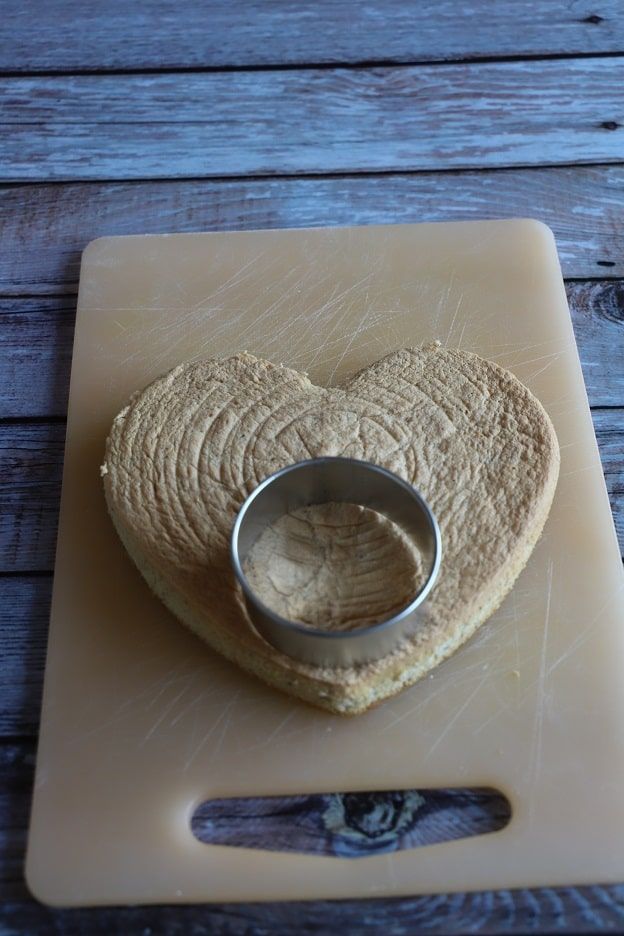
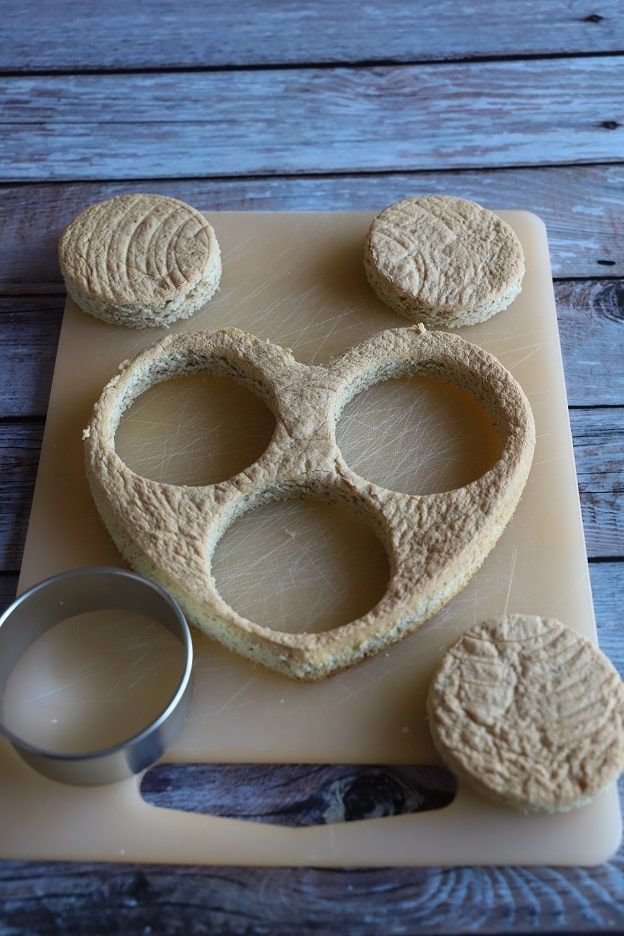
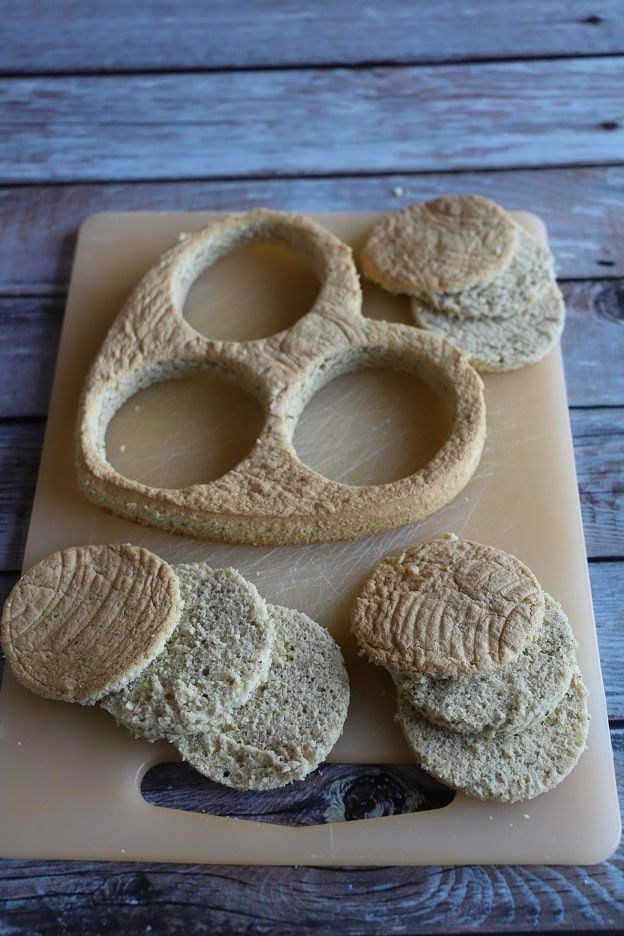
Place your hazelnut sponge on a cutting board and cut out 3 rounds of 8 cm using a round cutter.
Make sure to cut the rounds as centrally as possible so that they won't be visible later. In these photos, I wasn't central enough and the cuts were visible, even when the lemon heart was placed on top.
Once the rounds are cut, slice each one into 3. We will only keep the top and the bottom. The middle can be eaten. ;o)
Let's go! Time to assemble!
Start by placing your hazelnut sweet pastry on a plate.
Then add the hazelnut sponge on top. Align the sponge carefully so it sits flush with the sweet pastry.
Then place the bottom pieces of the cut rounds into the cavities.
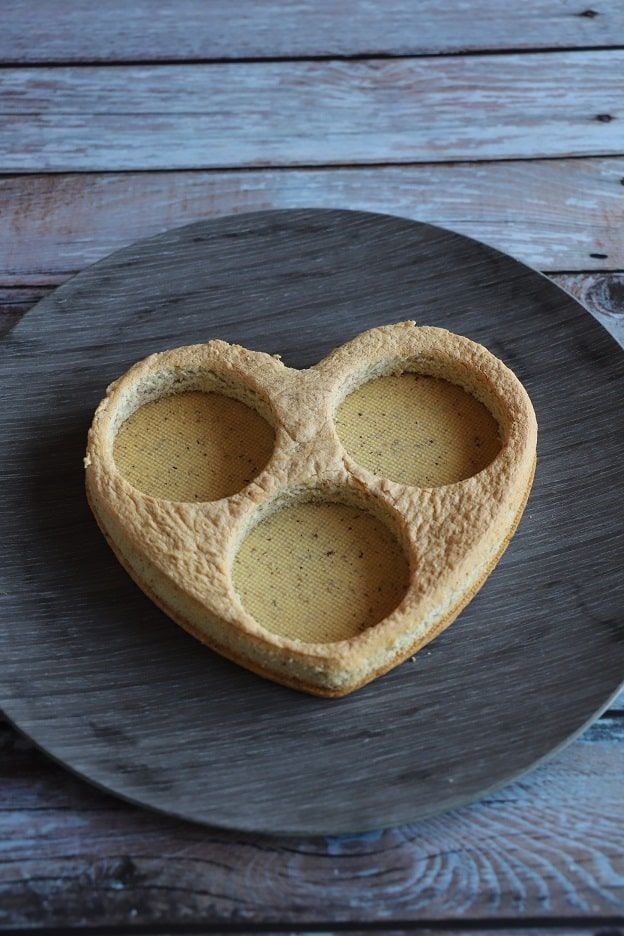
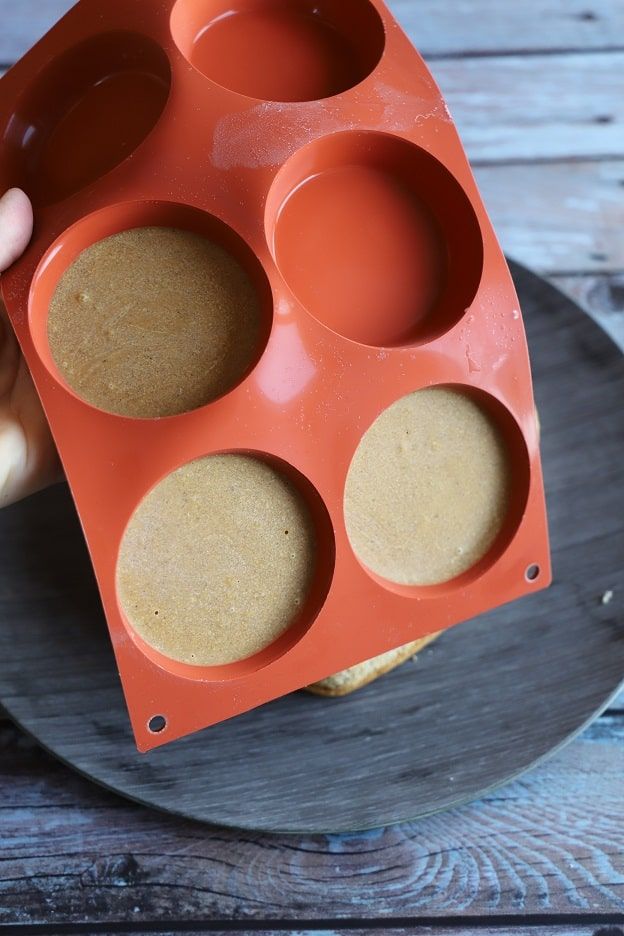
Unmould your 3 praline rounds and place them in the cavities.
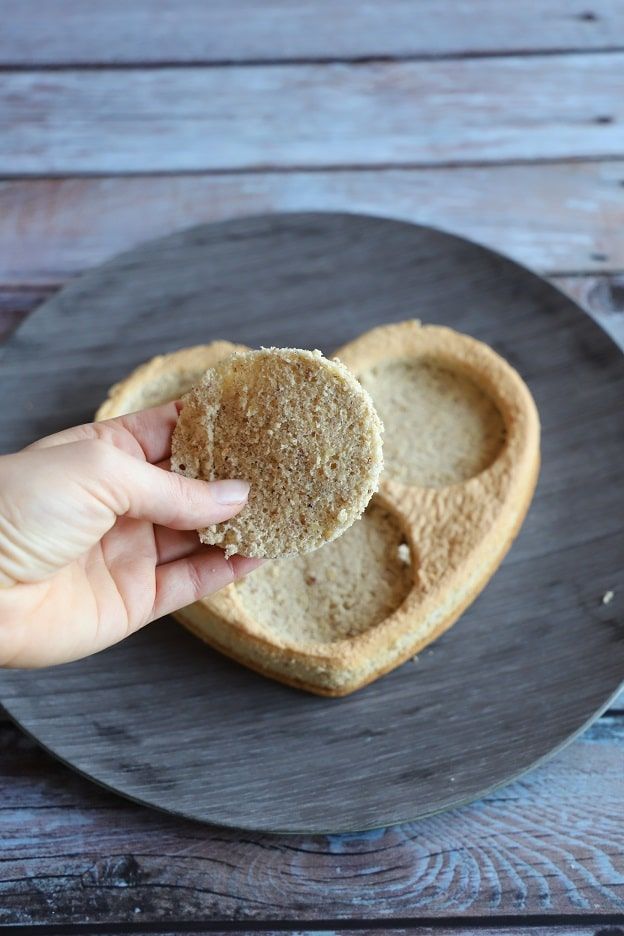
Then close your heart with the top pieces of the cut rounds. Nobody will notice. ;o)
So as mentioned above, the middles of the rounds are not needed. Enjoy snacking on them!
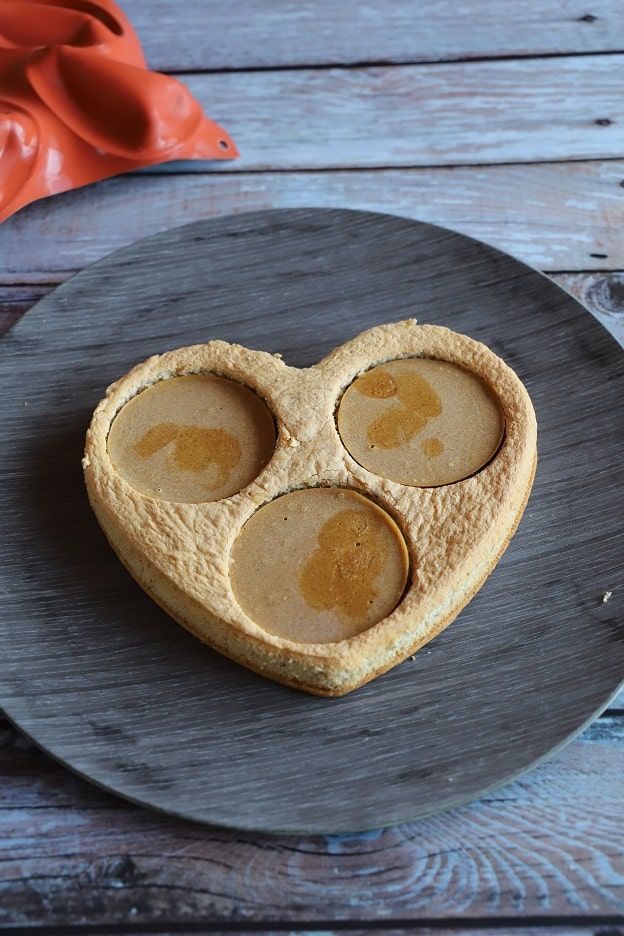
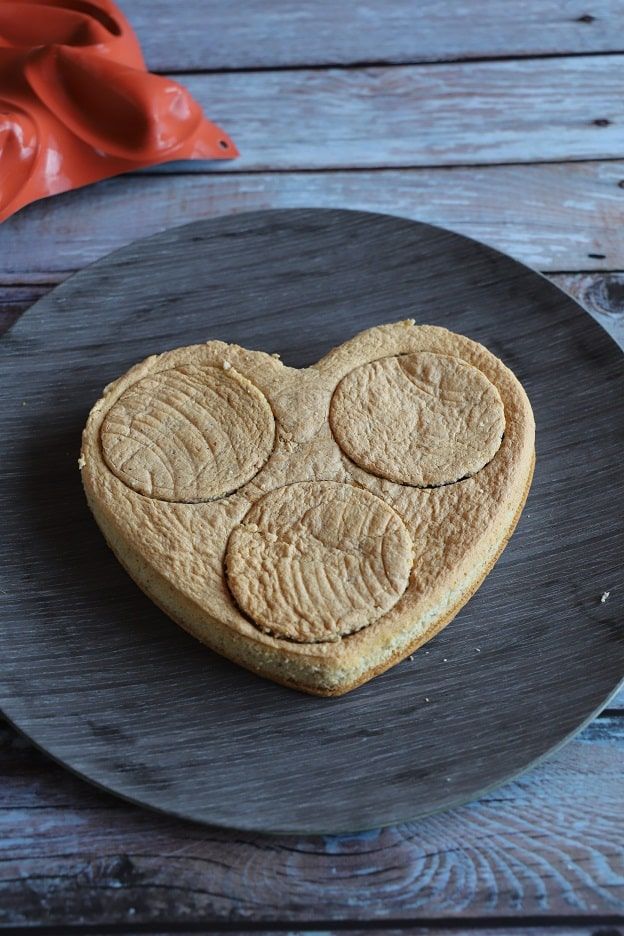
Last step!
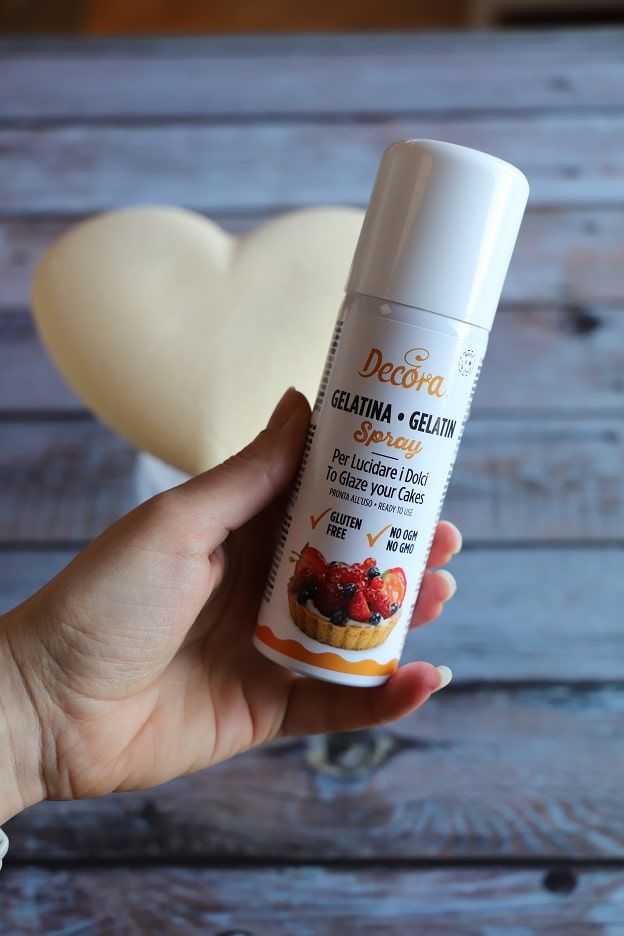
Unmould your lemon heart and spray it with gelatin spray. This will make it beautifully shiny and I find the result very nice and more natural than a mirror glaze.
To make spraying easier, I placed my heart on a large glass.
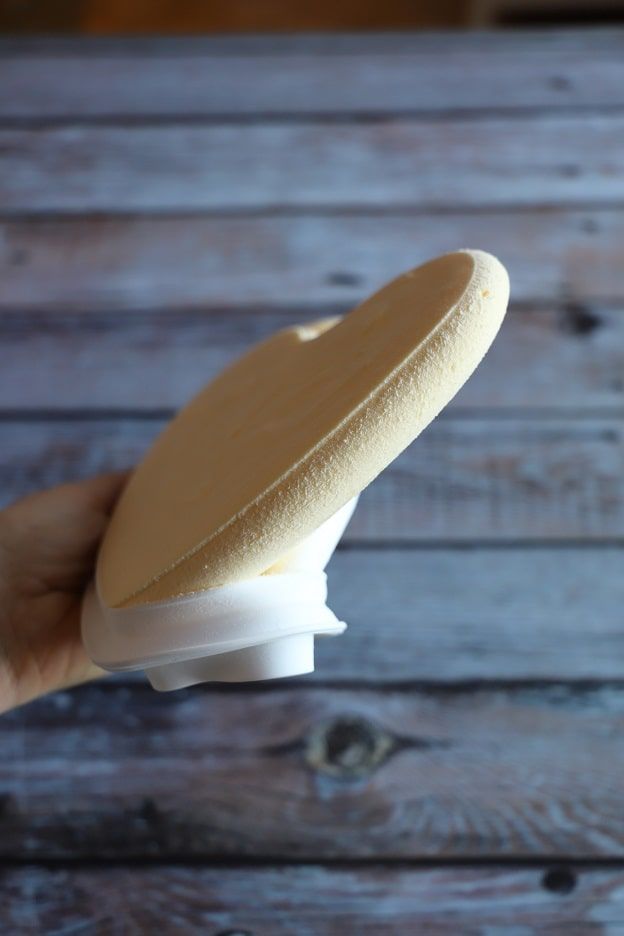
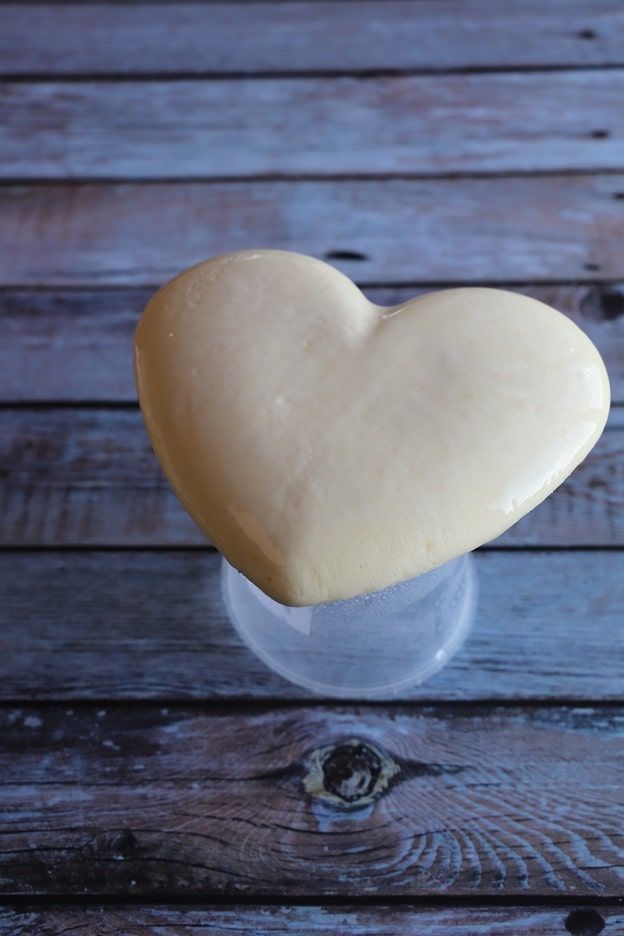
Place the lemon heart on your sponge using two offset spatulas.
Then decorate your heart however you like! Here I simply added 3 small biscuit hearts for a simple and natural decoration. No food colouring or flashy colours for this pretty tart. ;o) Sometimes it's best to keep it simple.
Let your tart thaw in the fridge for about 2 hours before serving. It can of course stay overnight in the fridge without any problem if you place it in a cardboard box.
There you go! I hope this recipe makes your mouth water! ;o) I really enjoyed making it and I think it's perfect for adding a little sweetness during this never-ending covid period.
Have a great Sunday, foodies!
Karin
P.S.: All the equipment used can be found at the bottom of the recipe.

Related posts
 Juicy Matcha Muffins with Pecan Nuts & White Chocolate
Matcha Iced Latte & Coconut Variant
Pull-apart bread with fresh wild garlic pesto
Mini Banana Bread with Chocolate Chips
Juicy Matcha Muffins with Pecan Nuts & White Chocolate
Matcha Iced Latte & Coconut Variant
Pull-apart bread with fresh wild garlic pesto
Mini Banana Bread with Chocolate Chips
Leave a comment
Comments
Question de Martine
By: Martine B. On 2024-05-06Bonjour,
Est-ce que je peux faire la pâte sucrée Noisette et le biscuit Noisette à l'avance ? Ou je dois faire le jour même ?
Merci
Replied by: Karin On 2024-05-06
Question de Isabel
By: Isabel C. On 2024-02-05J'ai les petits cercle en forme de cœur je ne sais pas quoi utiliser comme pâte pour pour faire des belles formes et pouvoir mettre le cœur comme dans la photo. Mer pour votre réponse
Replied by: Karin On 2024-02-05
Replied by: Isabel C. On 2024-02-05
Question de Sylviane
By: Sylviane P. On 2021-08-17Bonjour,
Lorsque vous indiquez dans la recette poudre de noisettes c'est des noisettes moulues ou cela doit être plus fin ?
Merci beaucoup pour votre retour
Belle journée
Sylviane
PS. J'ai fait le gâteau myrtilles-fruits de la passion : Un régal !
Replied by: Karin On 2021-08-17
Question de Isabelle
By: Isabelle M. On 2021-02-25Bonsoir,
J’ai le moule pour 6 petits cœurs! Est-ce que ça joue pour les quantités?
Merci d’avance & meilleures salutations
Isa
Replied by: Karin On 2021-02-26