
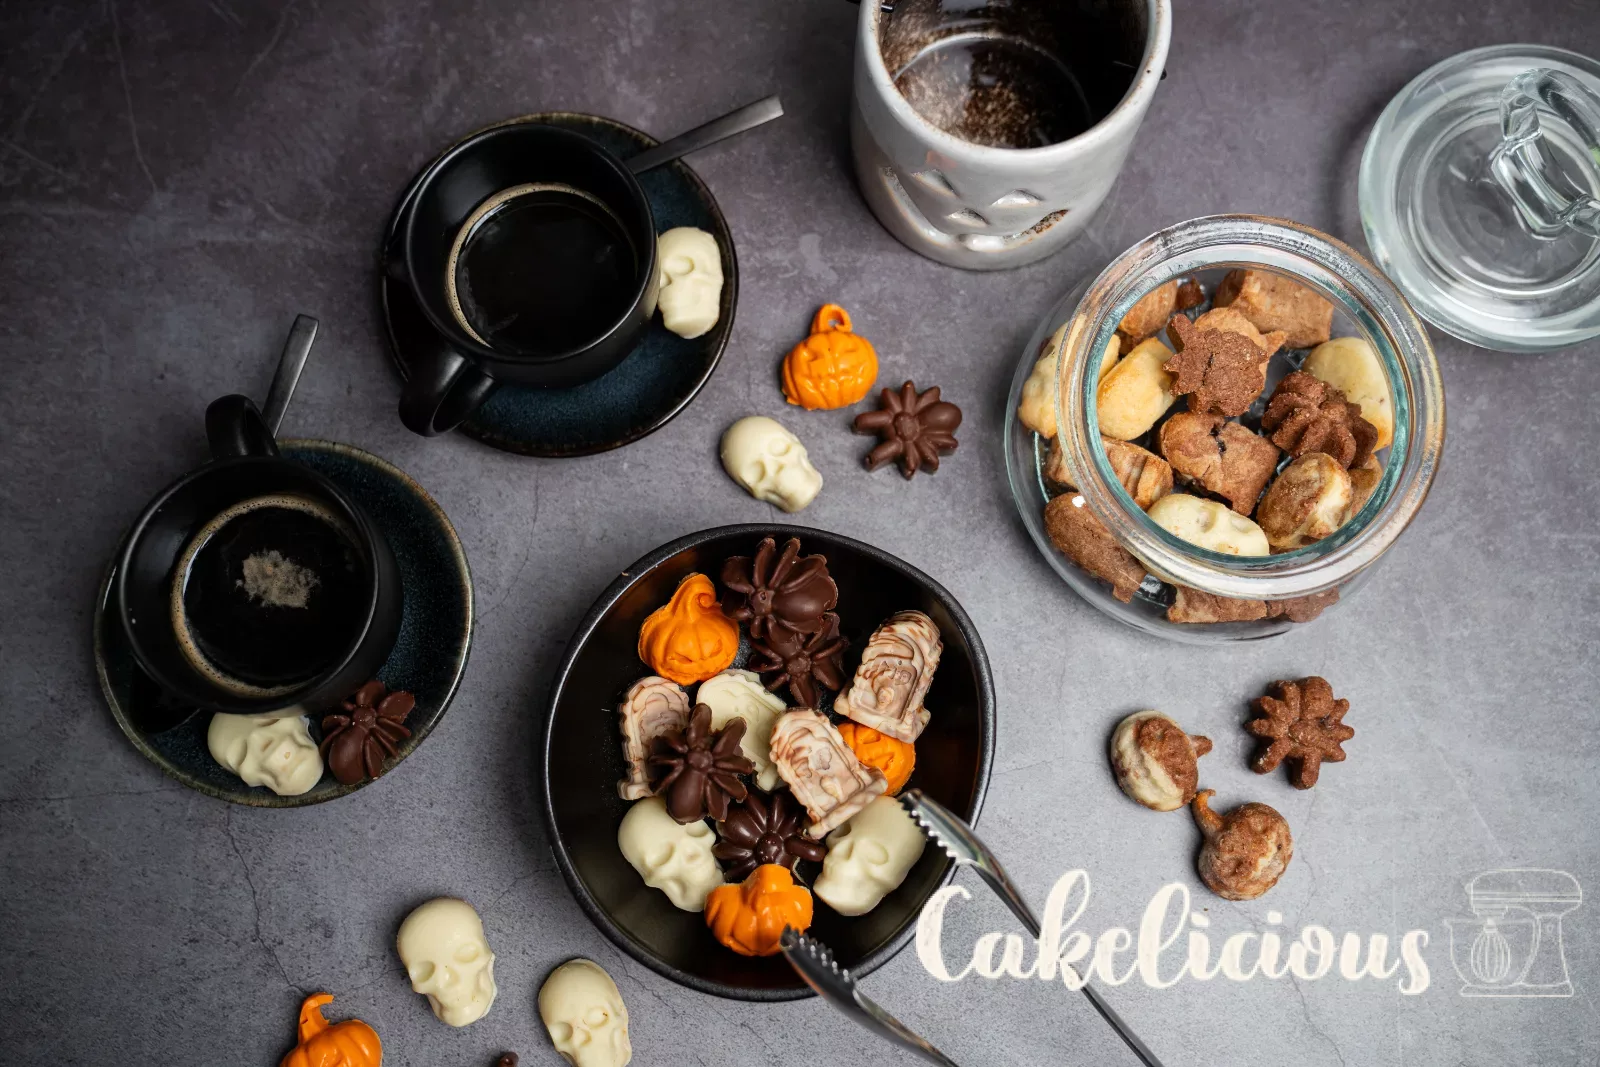
Halloween cookies with chocolate coating
Leftover dough becomes little monsters with a glossy chocolate coating
Hello foodies,
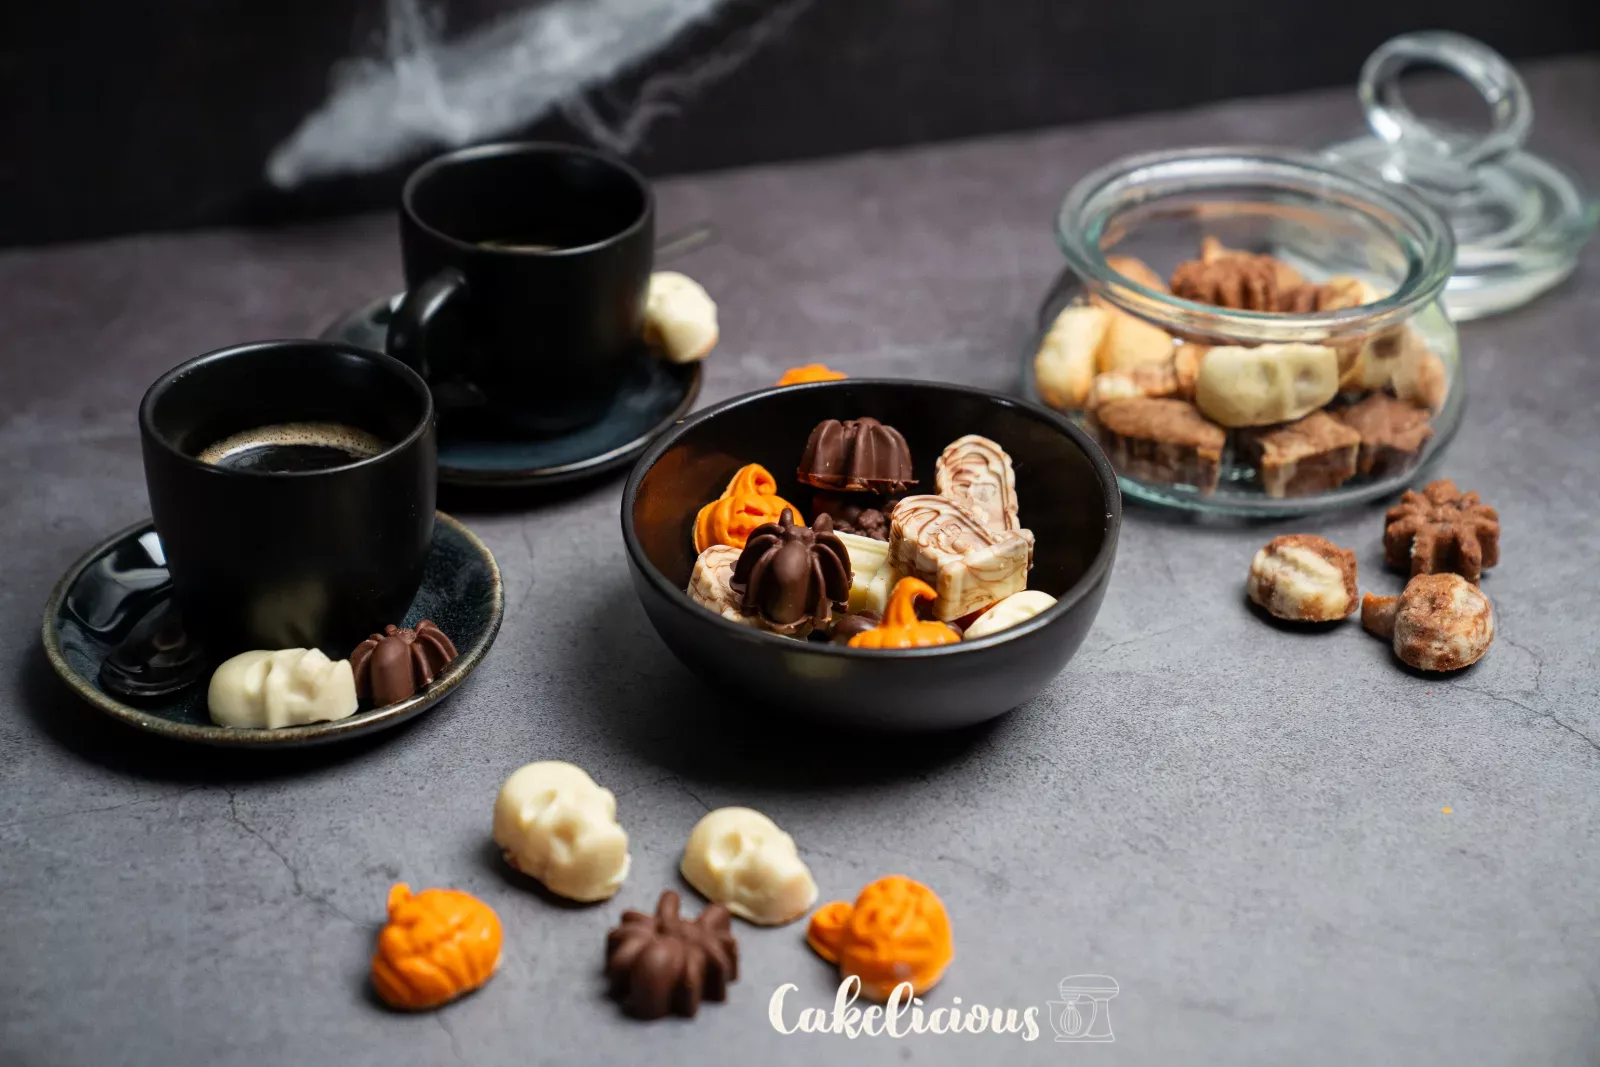
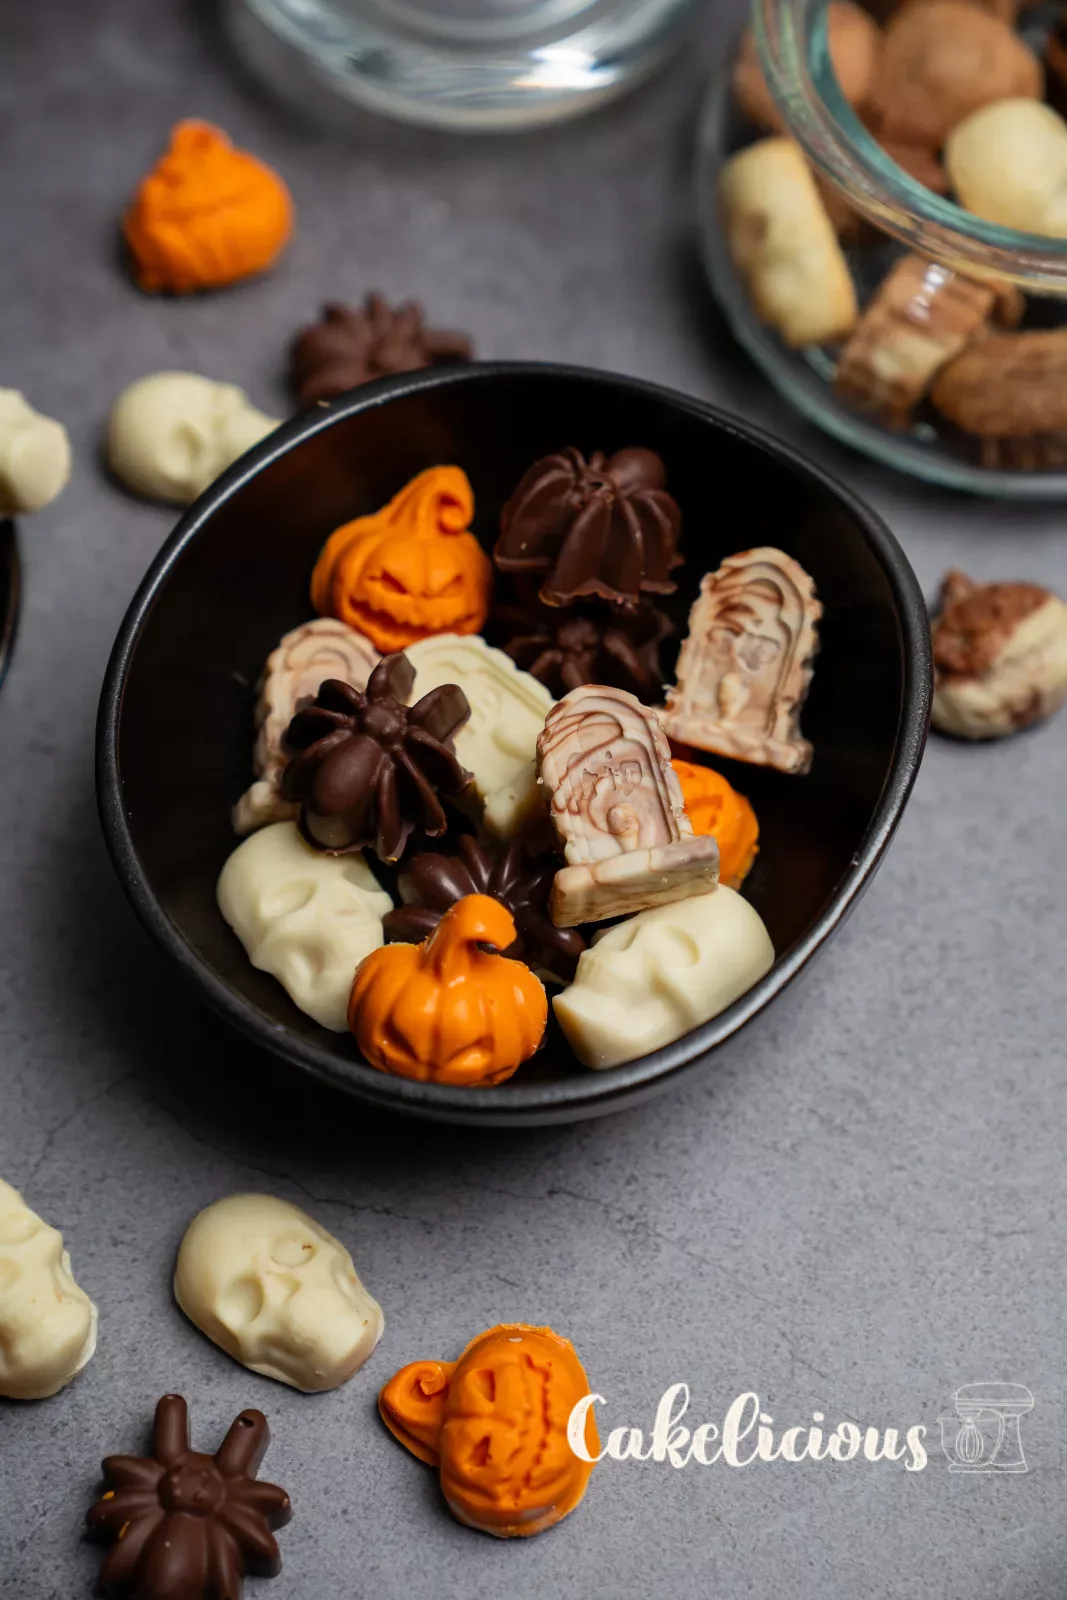
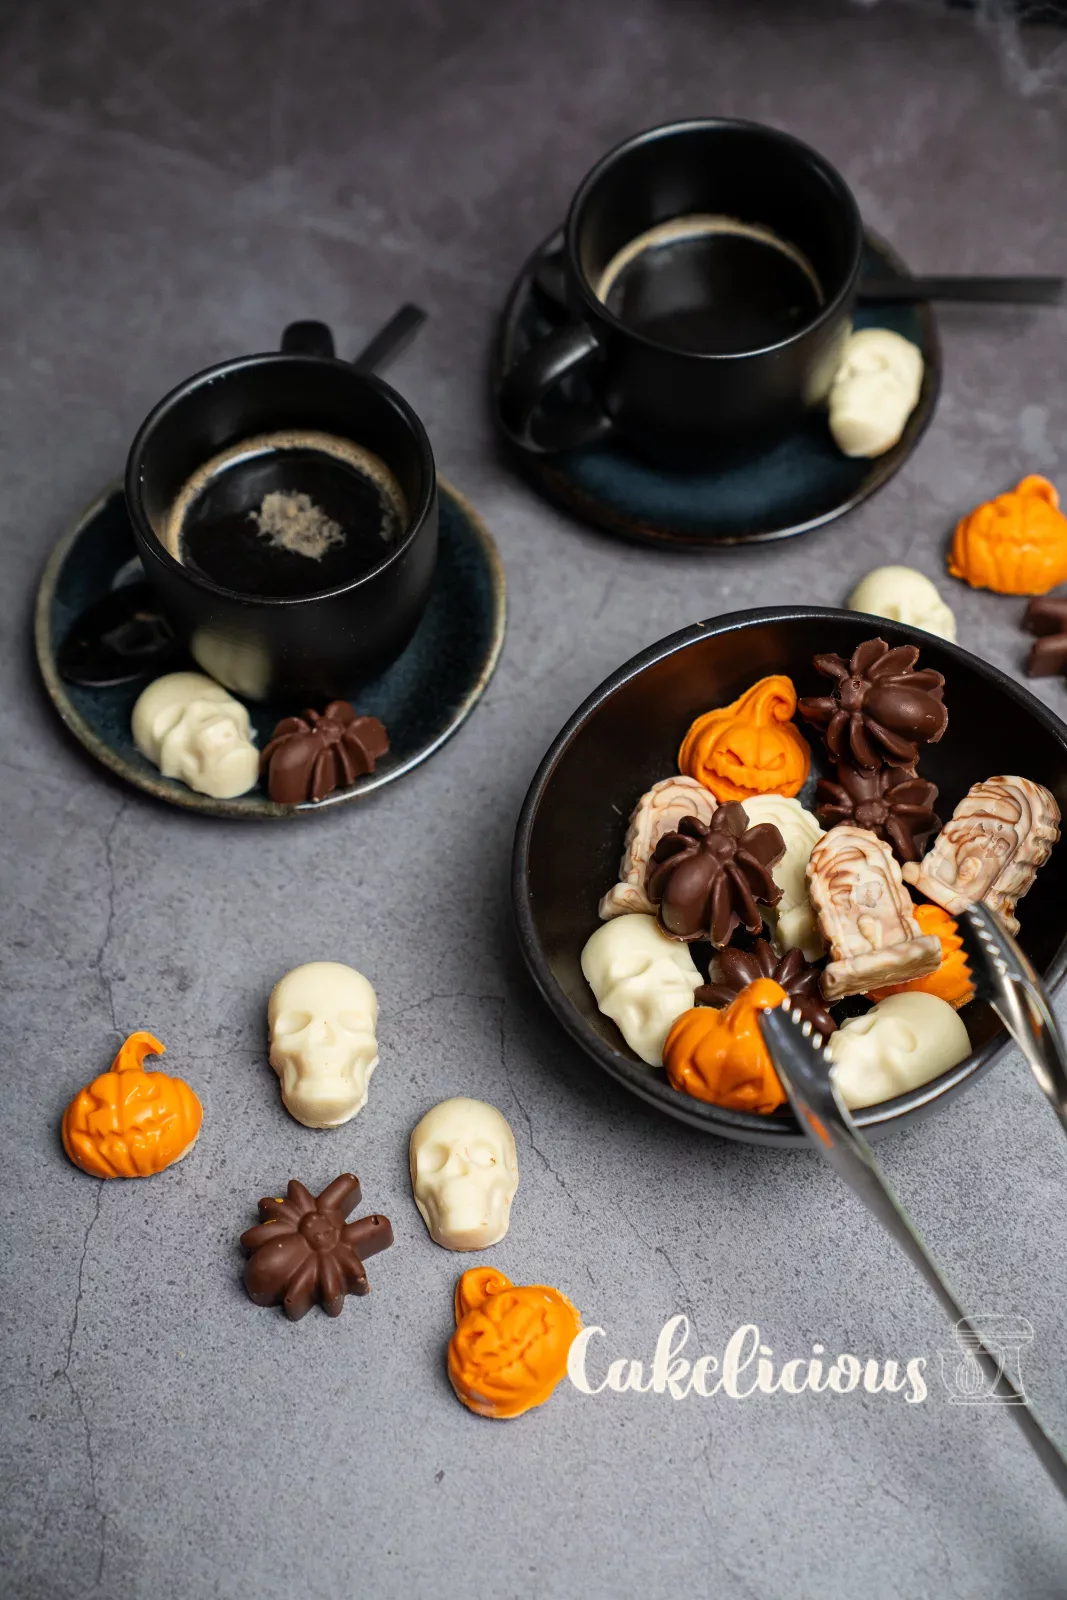
do you also always have a piece of shortcrust pastry left over after baking cookies? We certainly do! And that is exactly why we invented these little Halloween cookies. The dough is simply pressed into the Silicone mold and baked, then each cookie gets a glossy coat of chocolate: white for the skulls, orange for the pumpkins, dark or marbled for spiders and tombstones.
The best part: you don't have to roll out or cut anything, and 95 g of dough scraps is enough for twelve cookies. If you have no leftovers, you'll find our shortcrust pastry recipe for 24 cookies here.
By the way: this works with any Silicone mold. Hearts for Valentine's Day, stars for Christmas, eggs for Easter … let yourself be inspired!
Ingredients
Shortcrust pastry (approx. 190 g, or leftover dough)
For the dark dough
Chocolate coating (approx. 48 g, 2 g per cookie)
Step by step
Shortcrust pastry (if you have no leftovers)
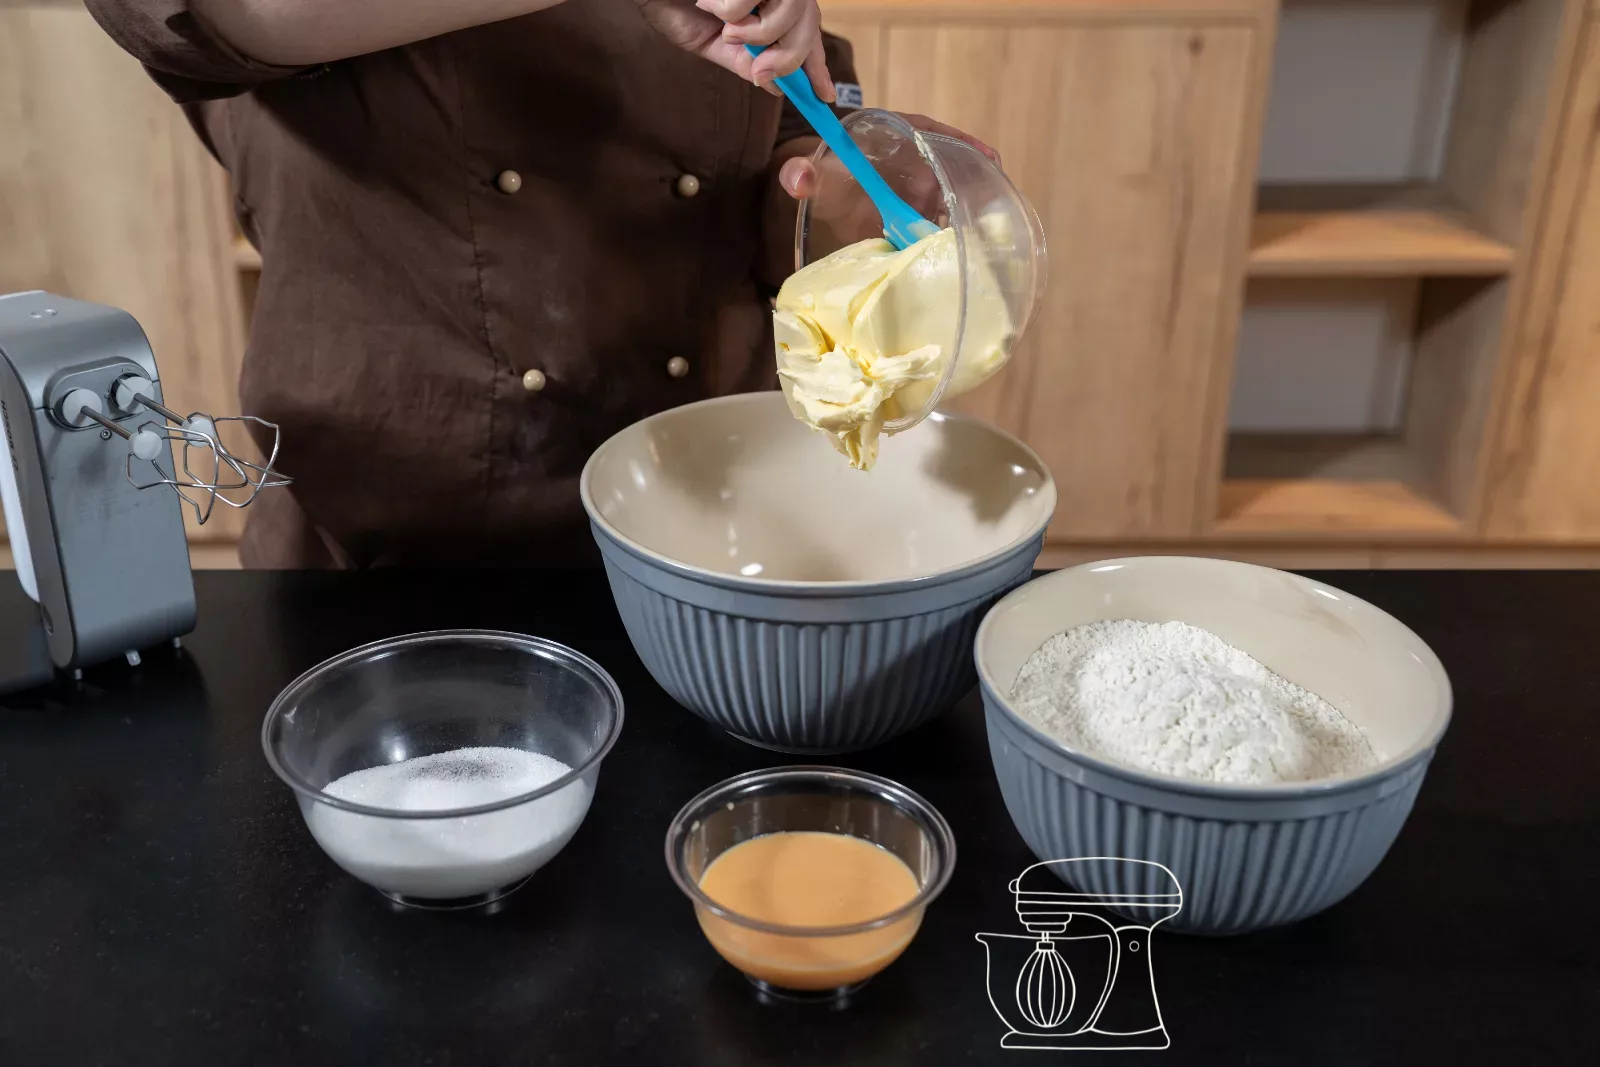
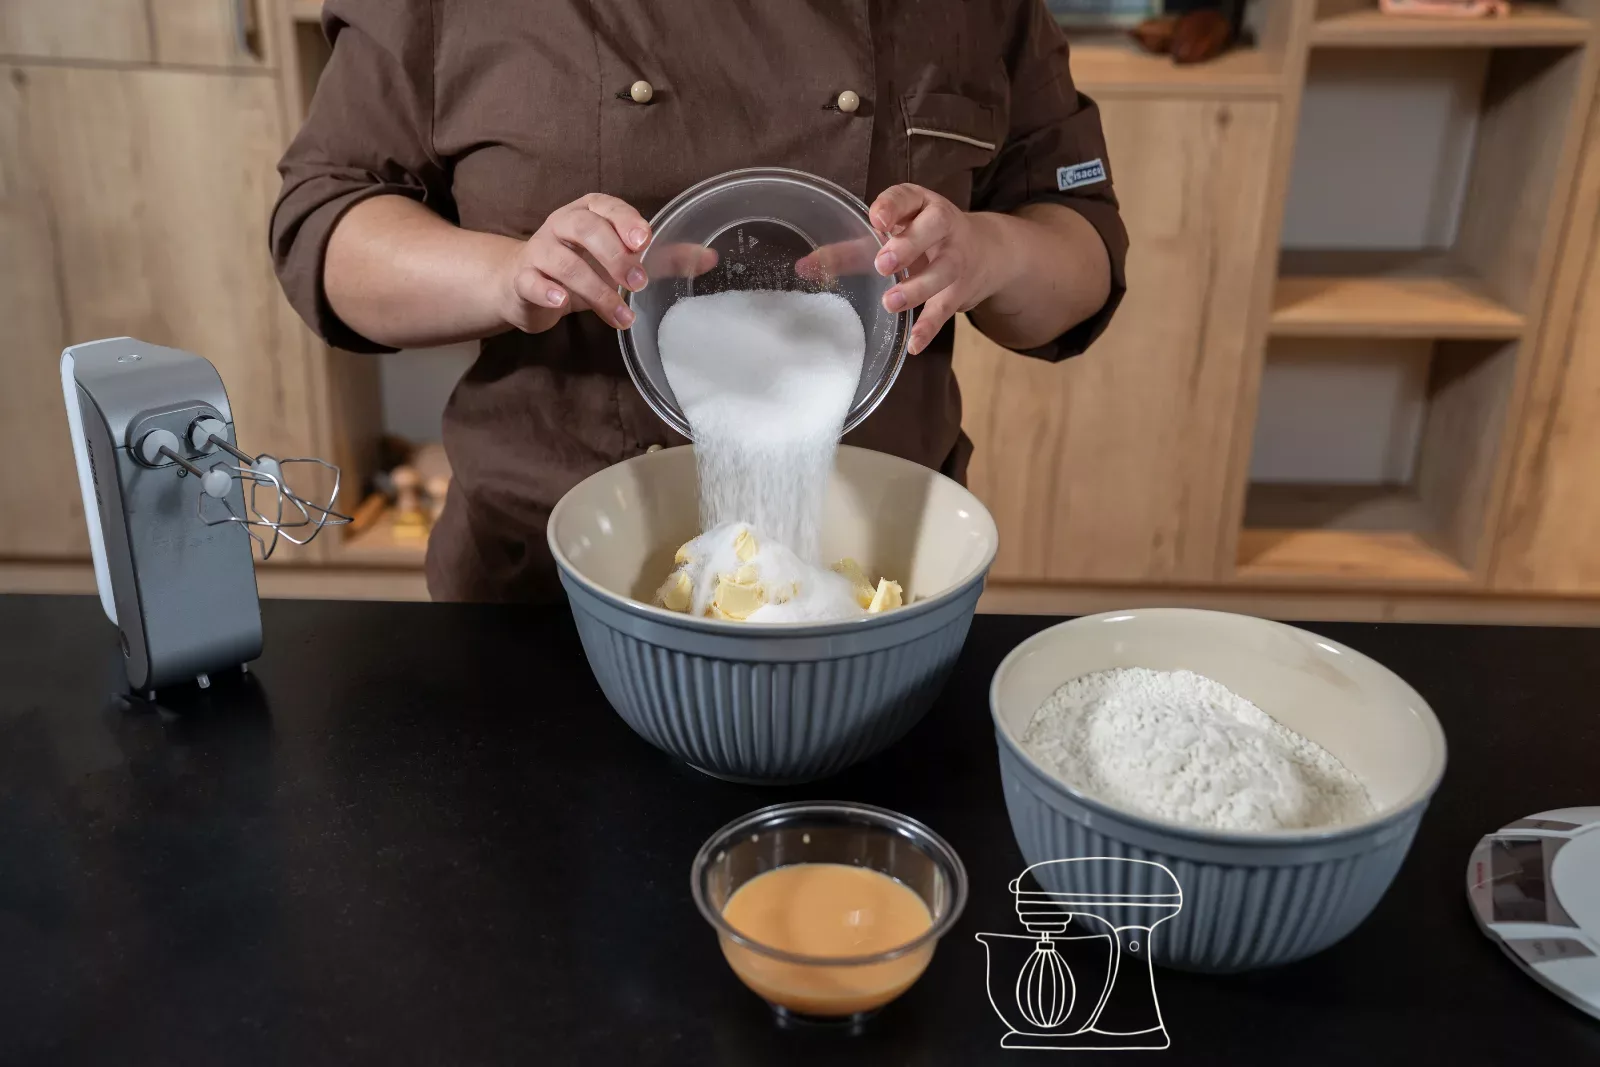
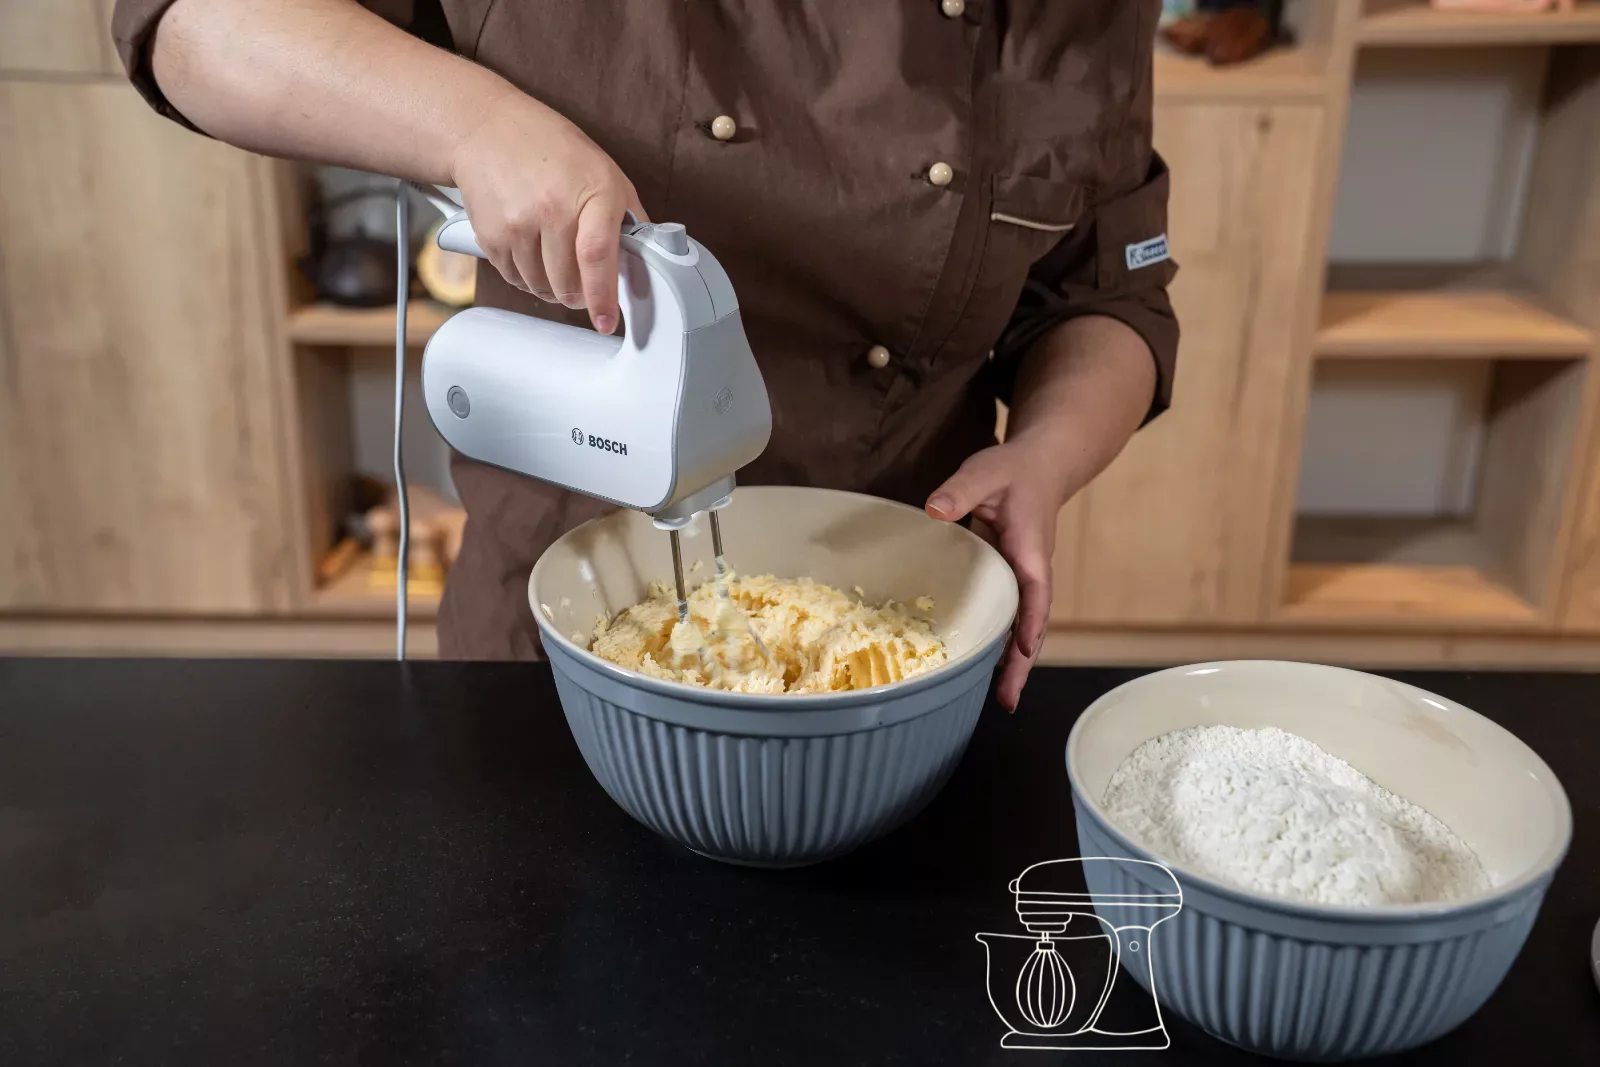
Beat butter, sugar and salt until fluffy
Cut the room-temperature butter into cubes. It's ready when you can press a finger into it with very little resistance. Add sugar, salt and vanilla and beat everything with a hand mixer for two to three minutes, until the mixture is light and airy.
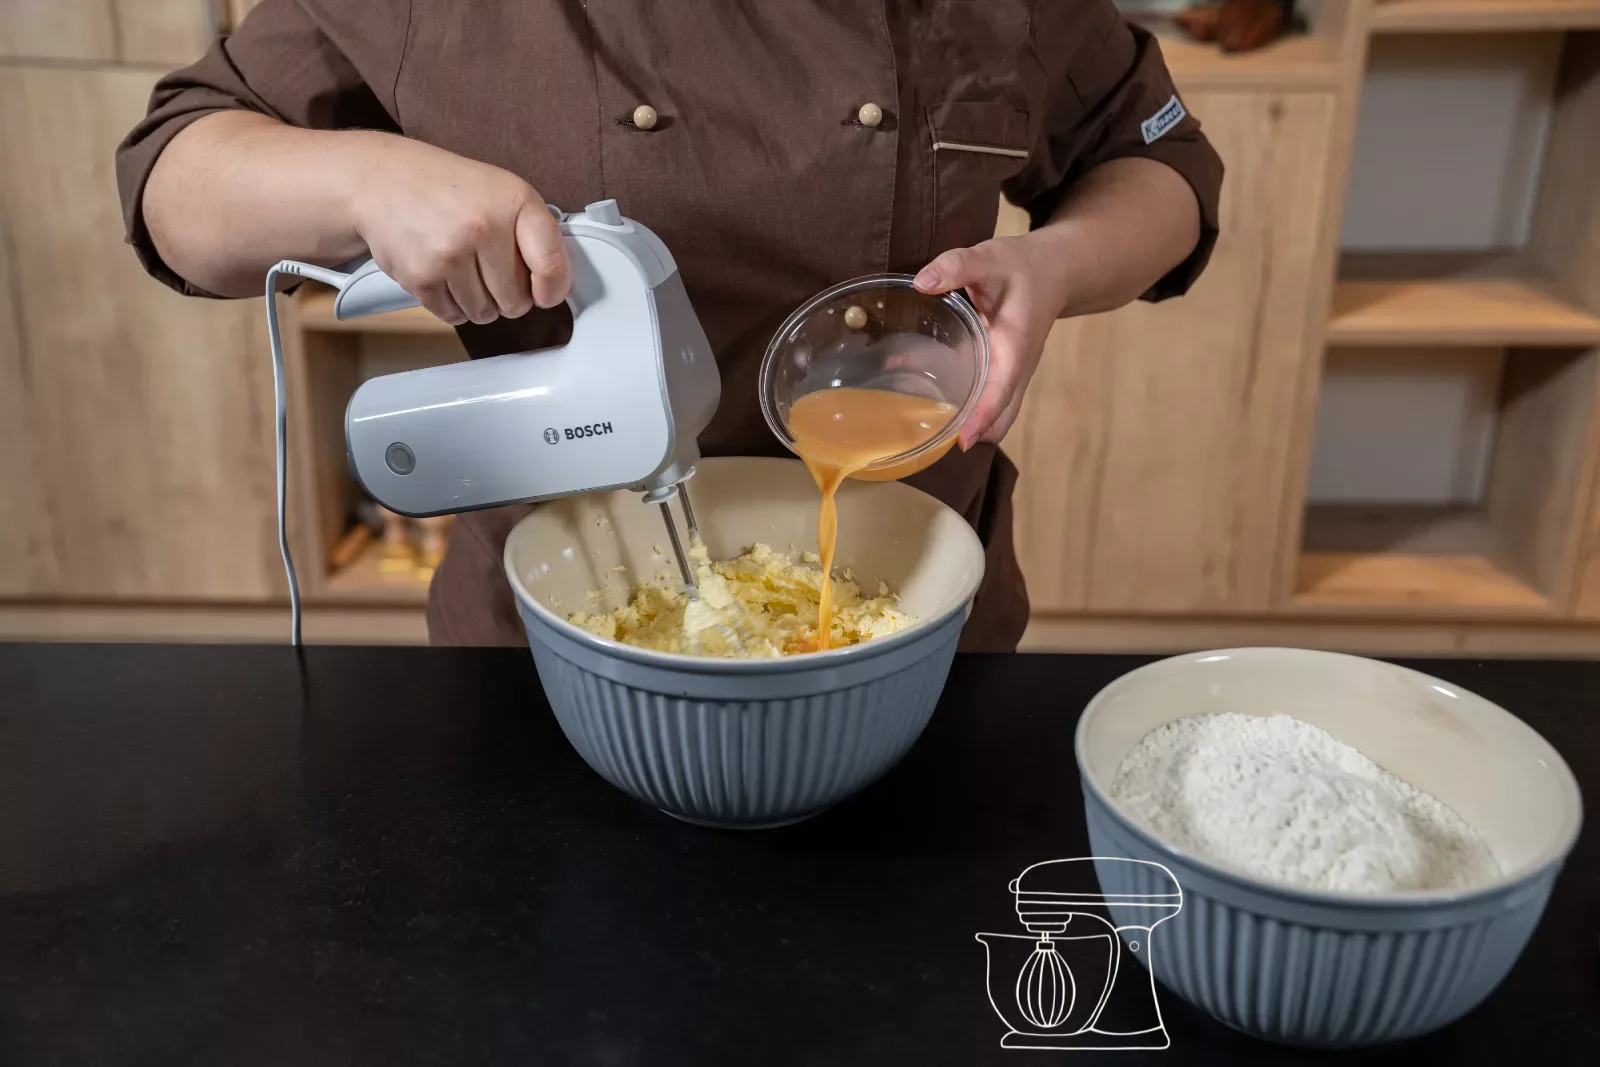
Add the egg and flour
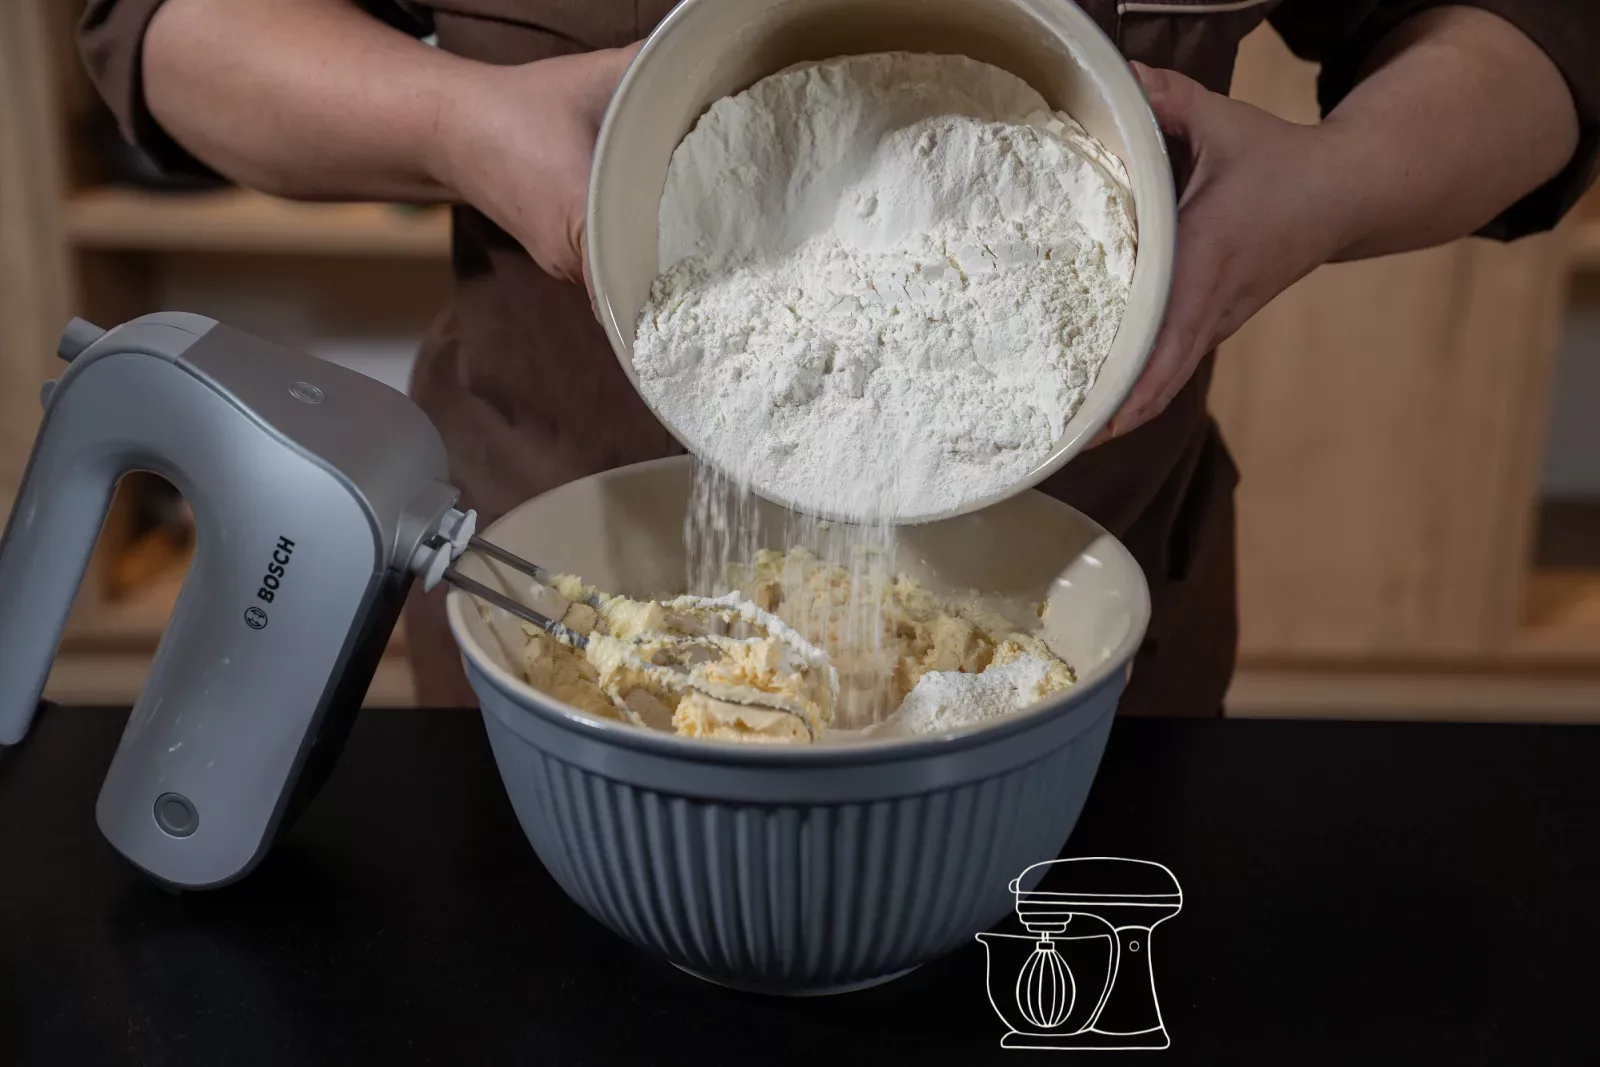
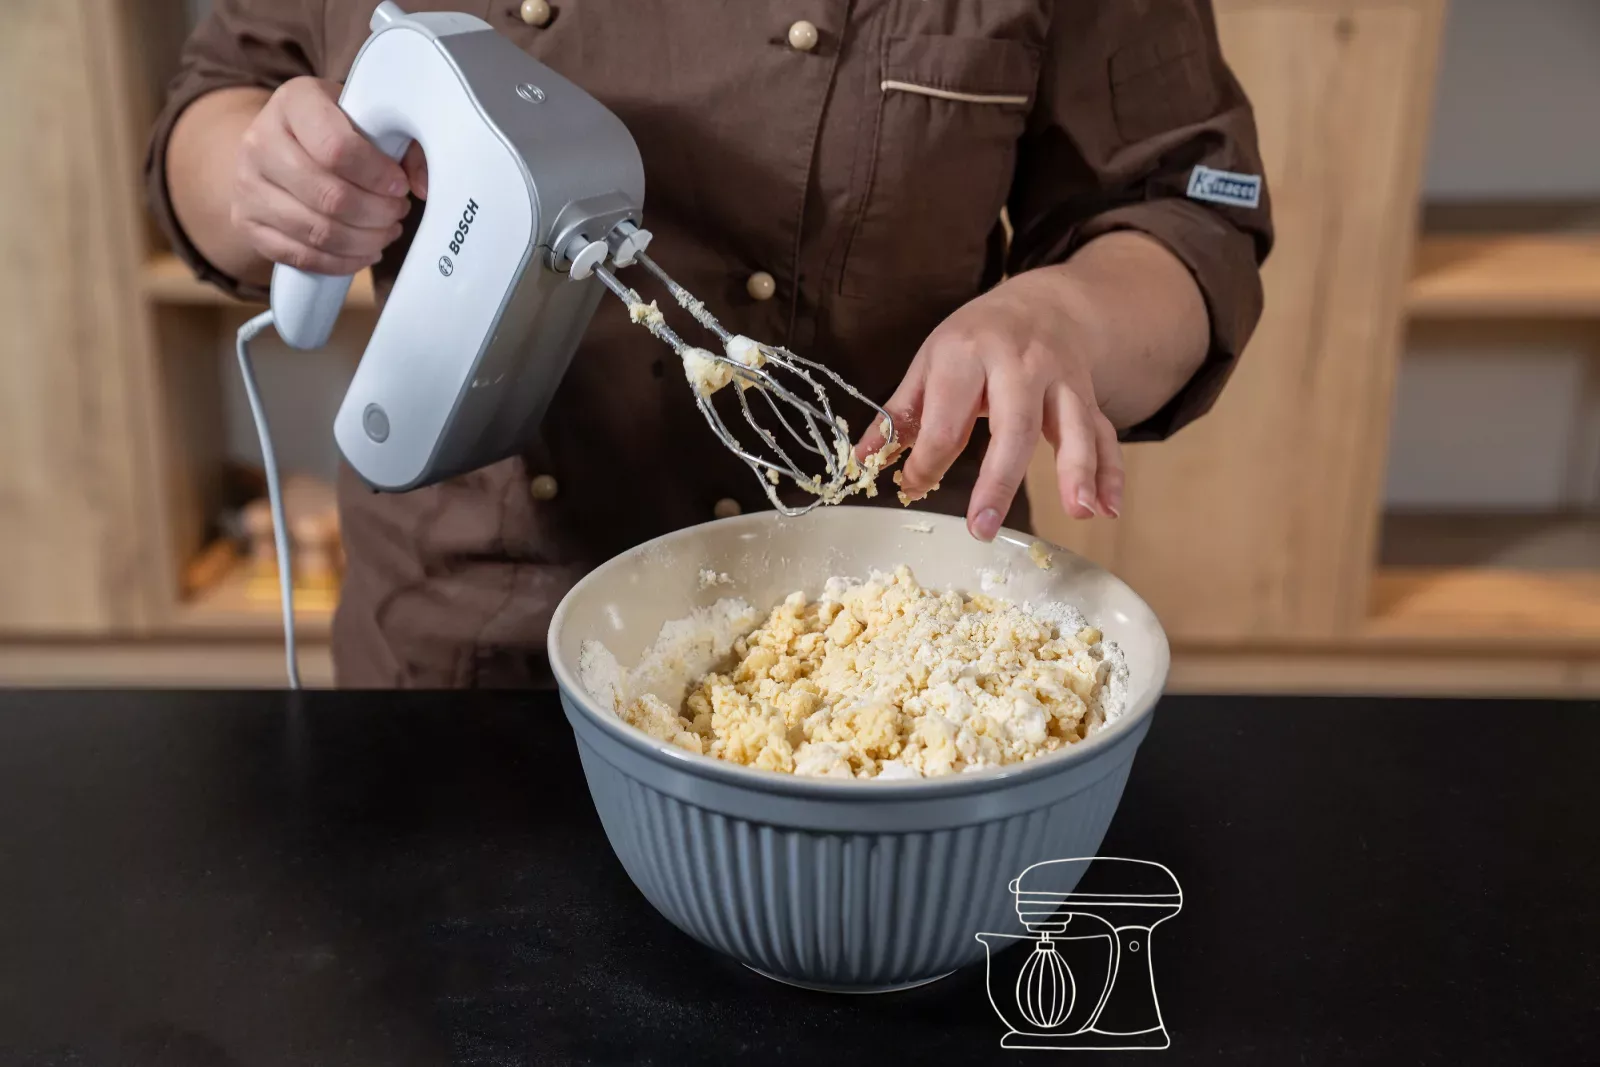
Let the beaten egg run in a thin stream while the mixer is running. Then add the flour: mix only until no dry flour is visible. The less you stir, the more tender your cookies will be.
Halloween candy silicone mold
Swiss white flour, 1 kg
Cocoa powder, 1 kg
Bourbon vanilla seeds, 5 g
Divide the dough, work in the cocoa and chill
Press the mixture briefly into a dough and divide it into two halves. Knead the cocoa into one half. Flatten both doughs, wrap them in cling film and refrigerate for about an hour. When cold, the dough is much easier to press cleanly into the mold.
Bake the cookies
Press the dough into the mold
Preheat the oven to 190 °C convection heat. Press the dough into the cavities of the silicone mold until they are completely filled, and smooth it off with the angled spatula. Remove the excess dough at the same time. You need about 95 g of dough for twelve cookies.
You don't need to grease the mold, the butter in the dough is enough.
Halloween candy silicone mold
Angled spatula made of stainless steel
Bake and remove from the mold
Place the mold on a baking tray and bake the cookies for 12 minutes at 190 °C convection heat. Let them cool completely in the mold, as they are still soft when warm and break easily. Then carefully press them out of the mold from underneath.
Chocolate coating
Wash and thoroughly dry the mould
Now the mould gets used once more. Wash it thoroughly and dry it really well, including all the grooves. Even a small drop of water will leave the chocolate blotchy.
Pipe in the chocolate
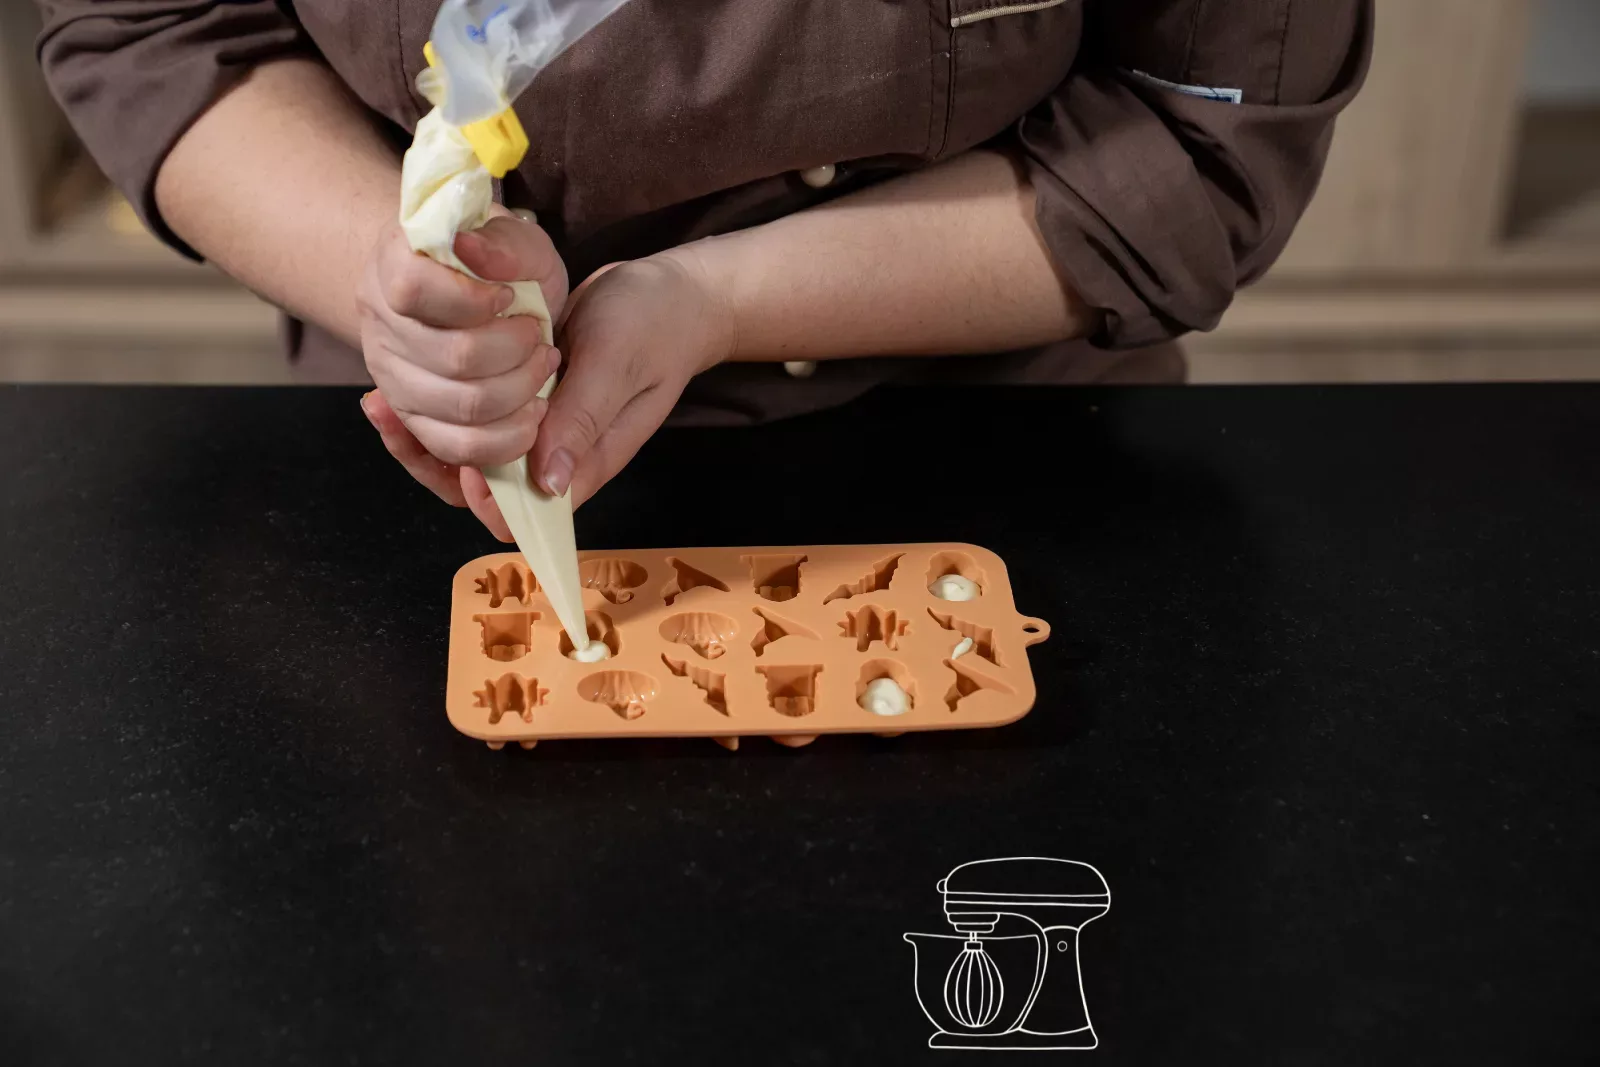
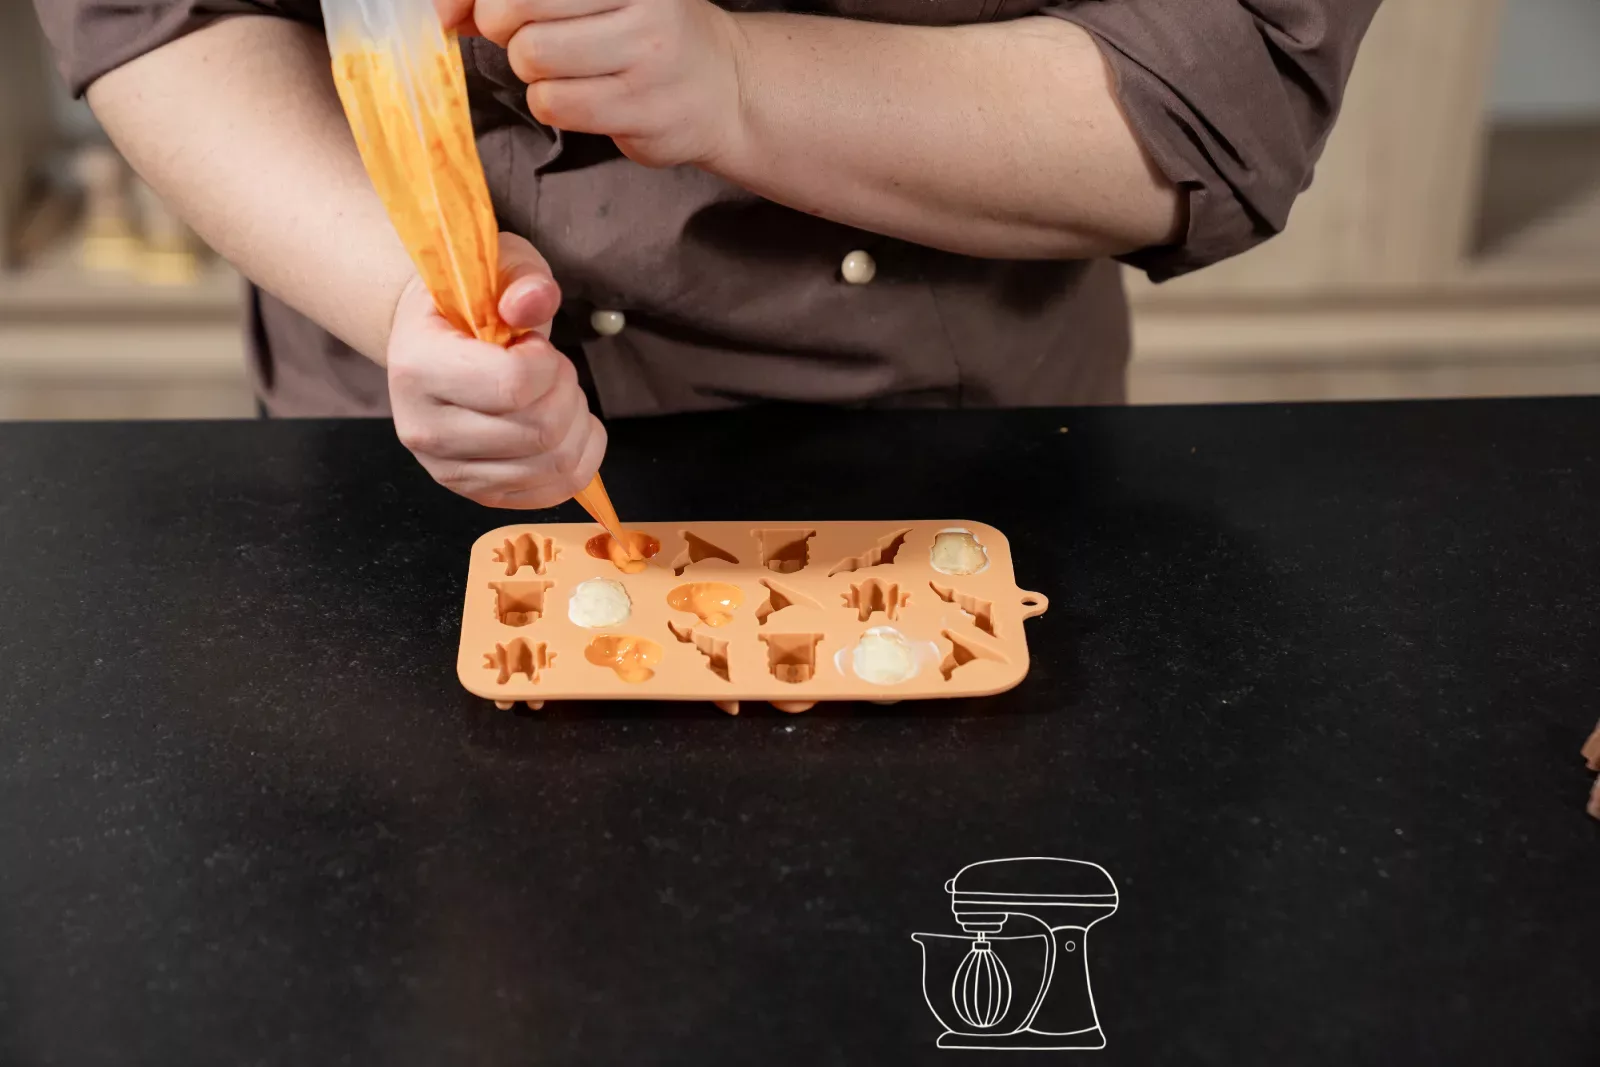
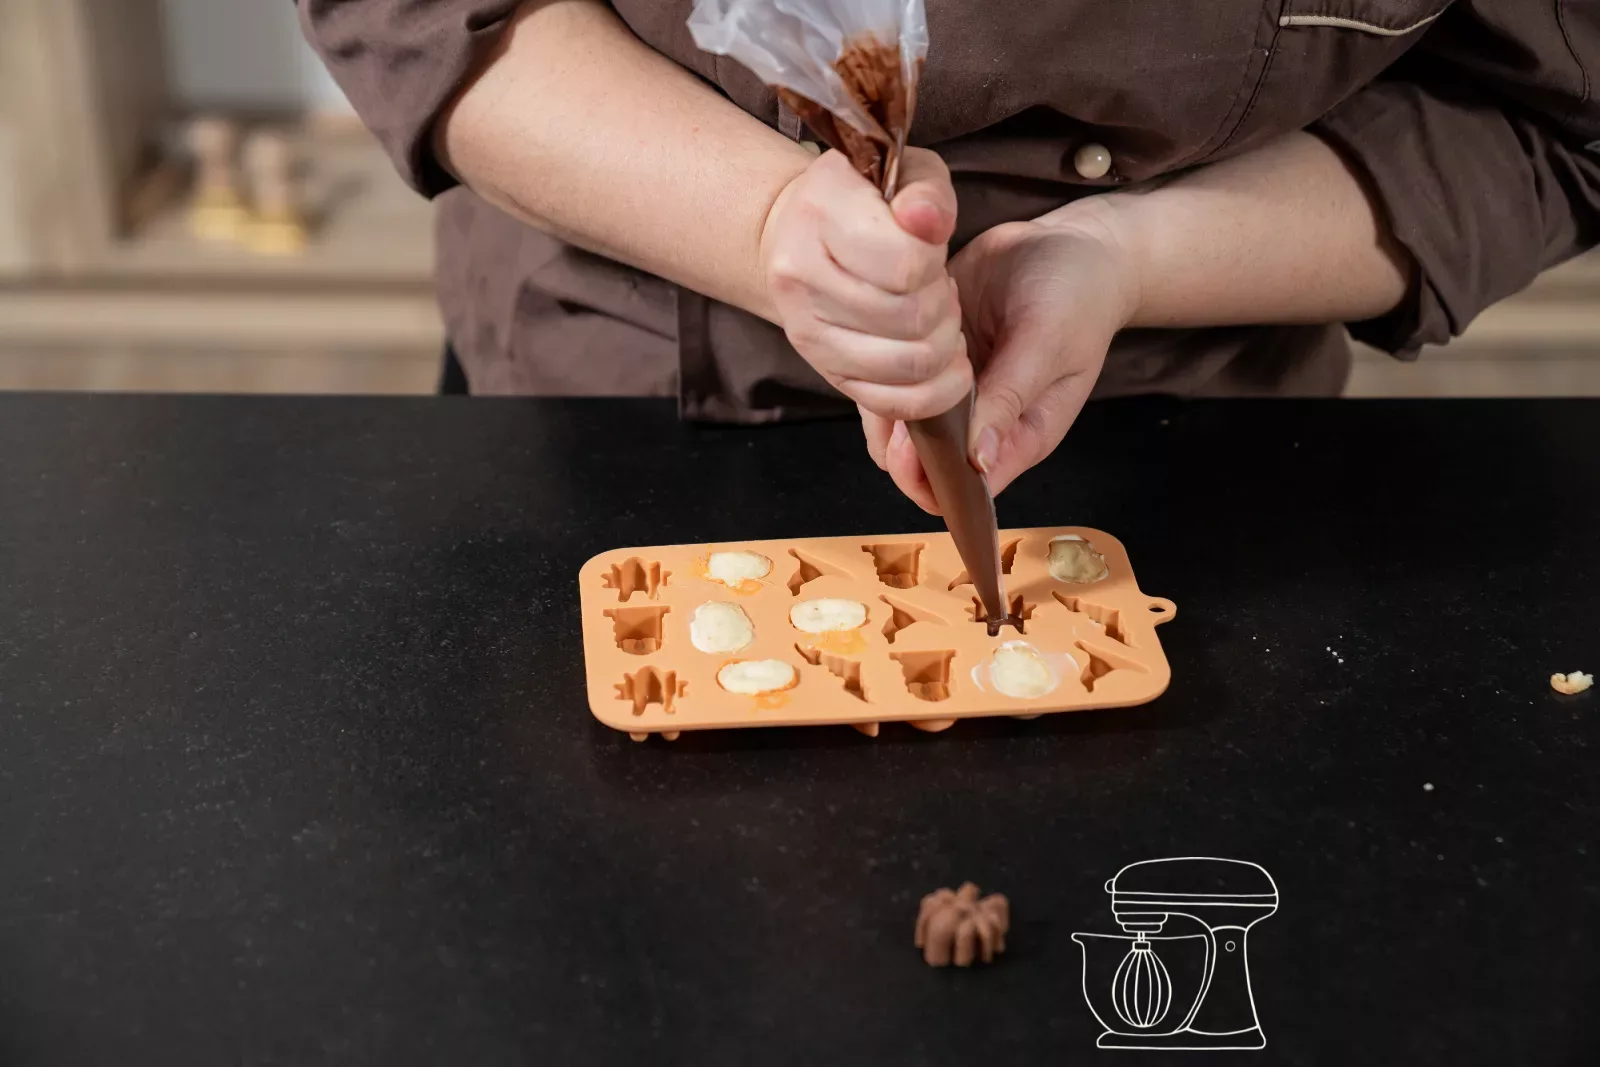
Fill the tempered couverture and the melted orange cake icing into piping bags, and pipe about 2 g into each cavity, so only a thin layer. No more, otherwise the chocolate will overflow the edge when you press the cookies in.
We made the skulls white, the pumpkins orange and the spiders dark. For a marbled coating, simply pipe white and dark or milk couverture together into the same cavity.
White couverture drops 500 g
Milk couverture drops 500 g
Deco melts: Orange
Disposable piping bag - 41cm - 24 pcs
Press in the cookies
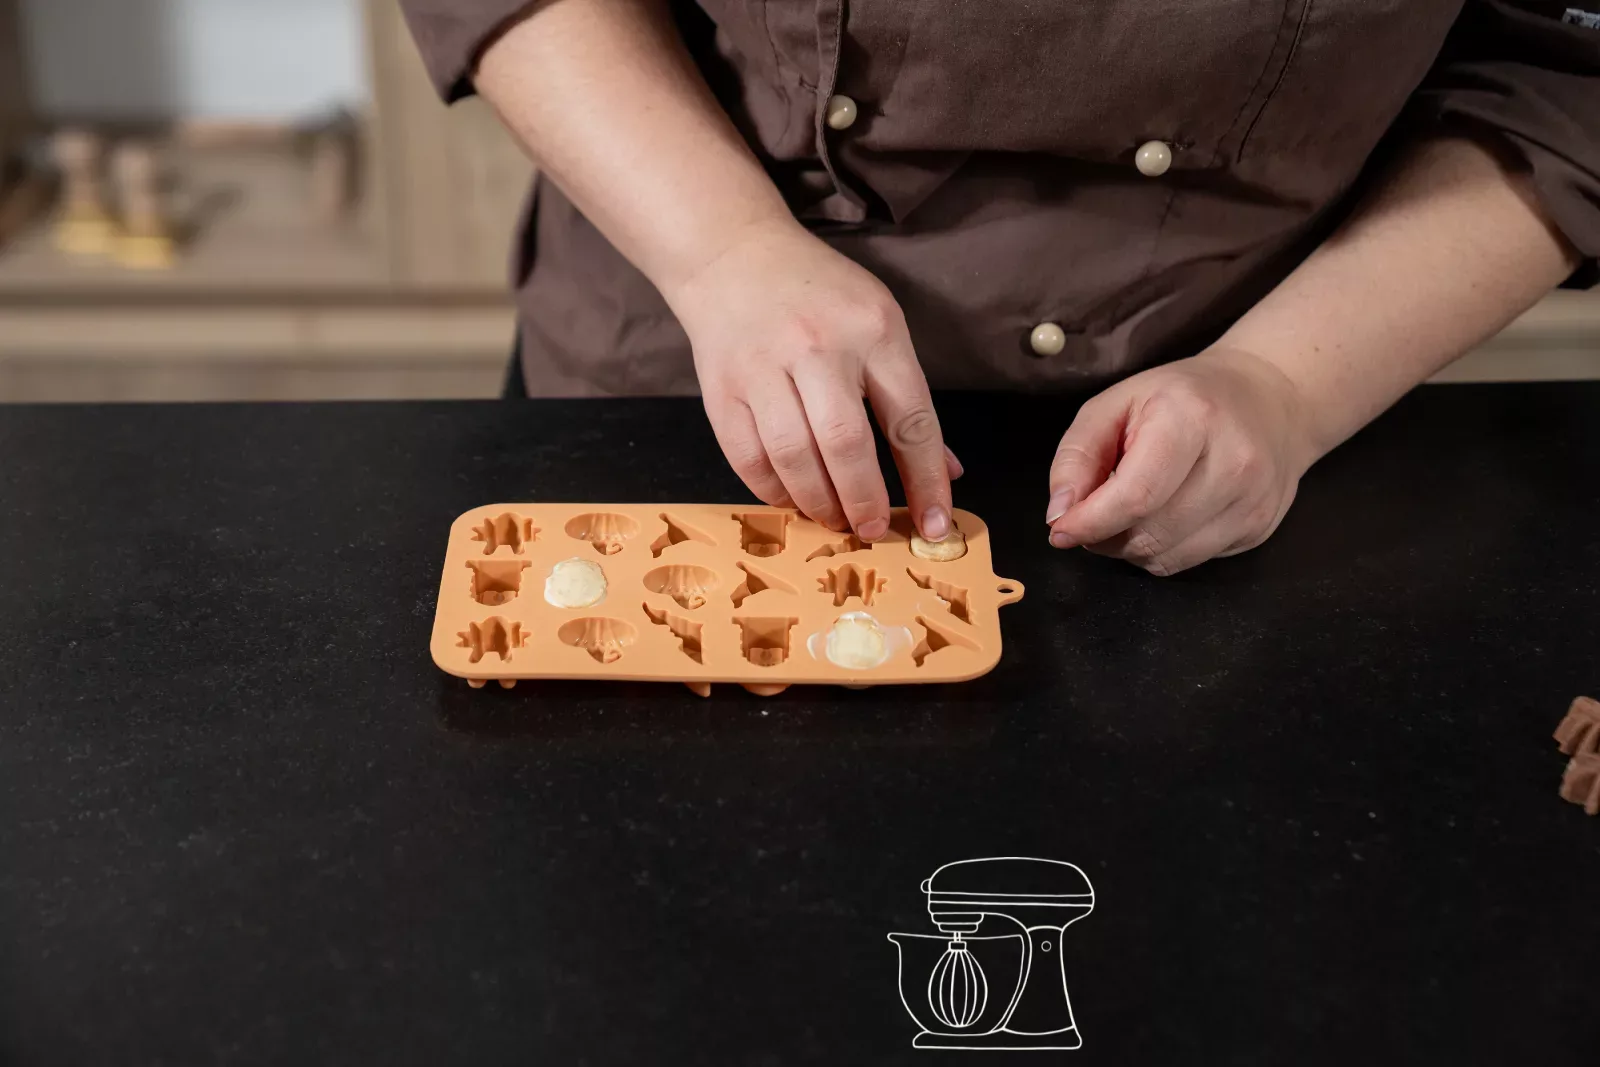
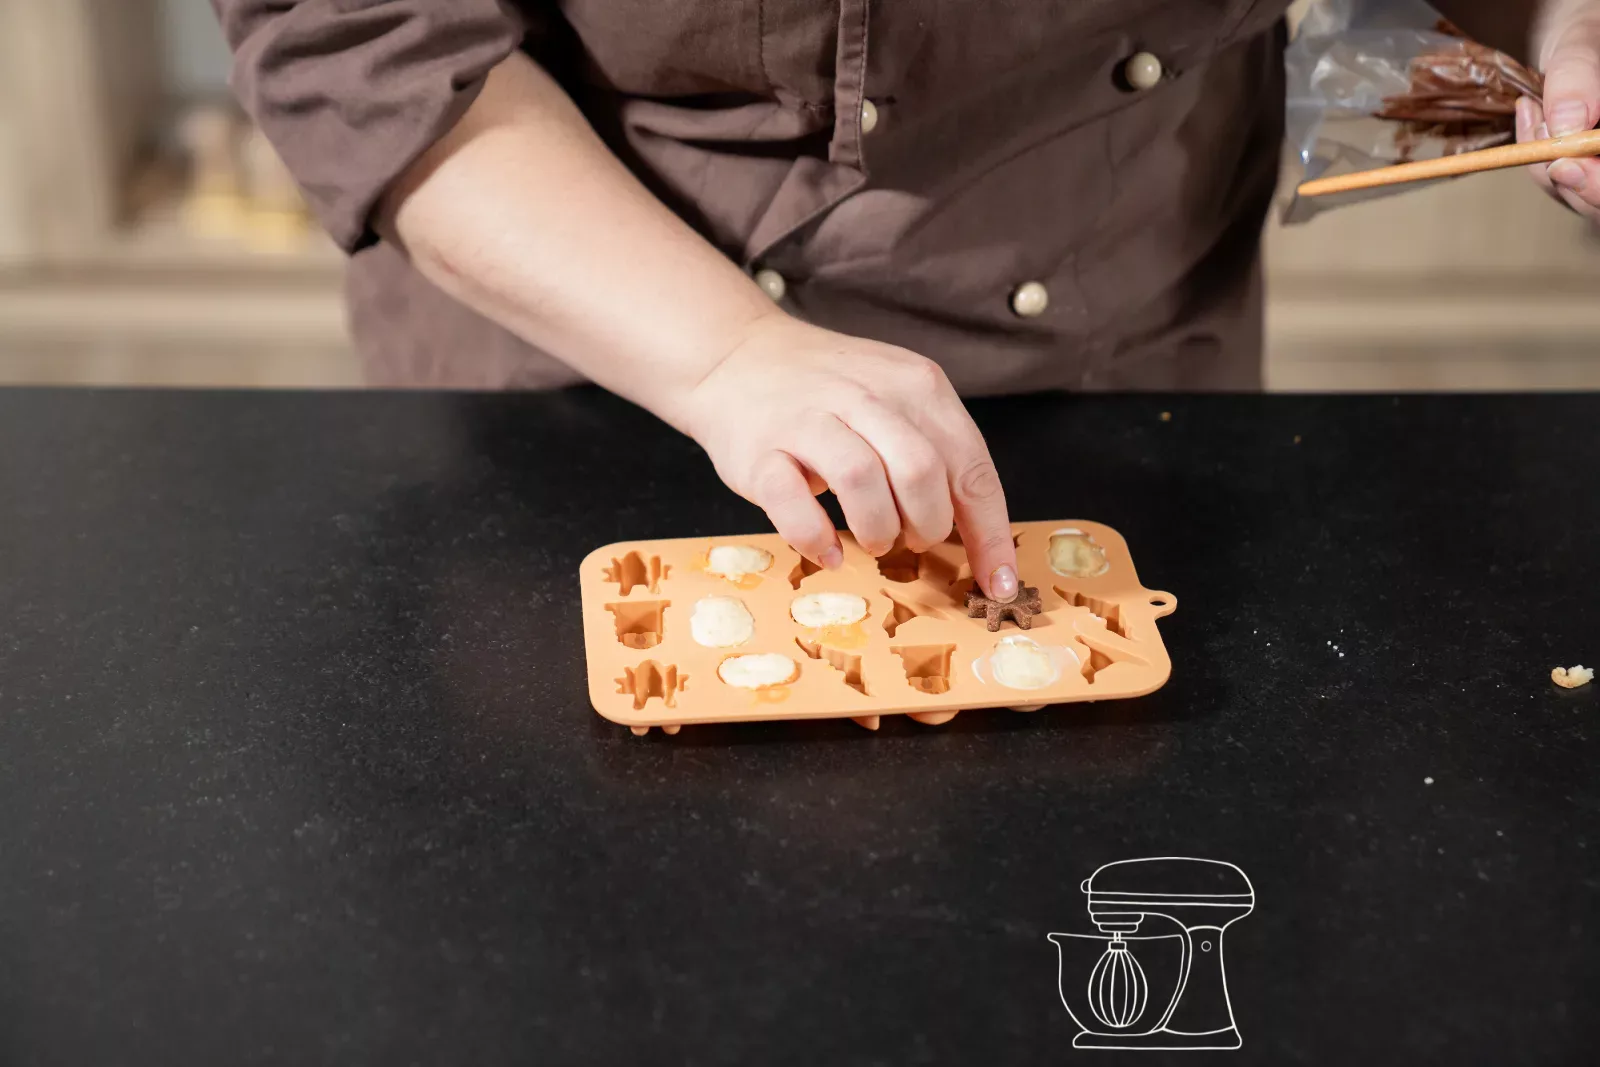
Place the baked cookies back into their cavities and gently press them onto the chocolate. This way the chocolate settles as a thin, glossy coating around the motif.
Let set and unmold
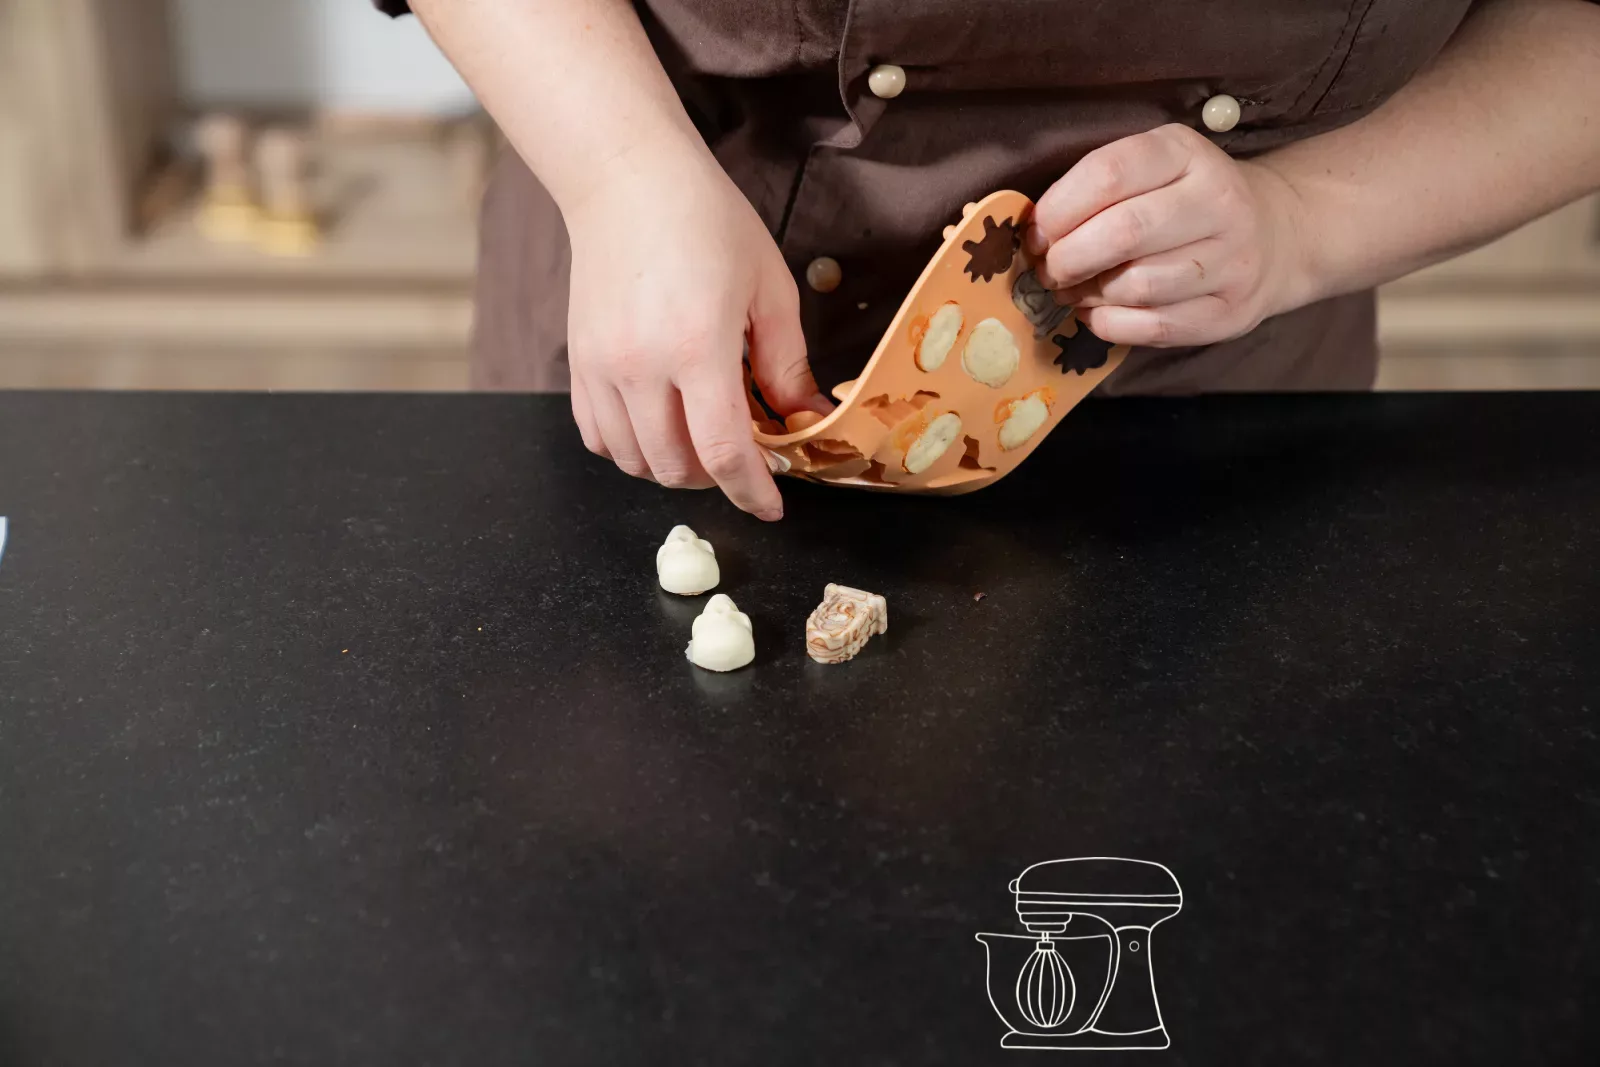
Let the chocolate set, in the fridge this takes just a few minutes. Then gently bend the mold apart and release the cookies. Et voilà: your halloween cookies are ready!
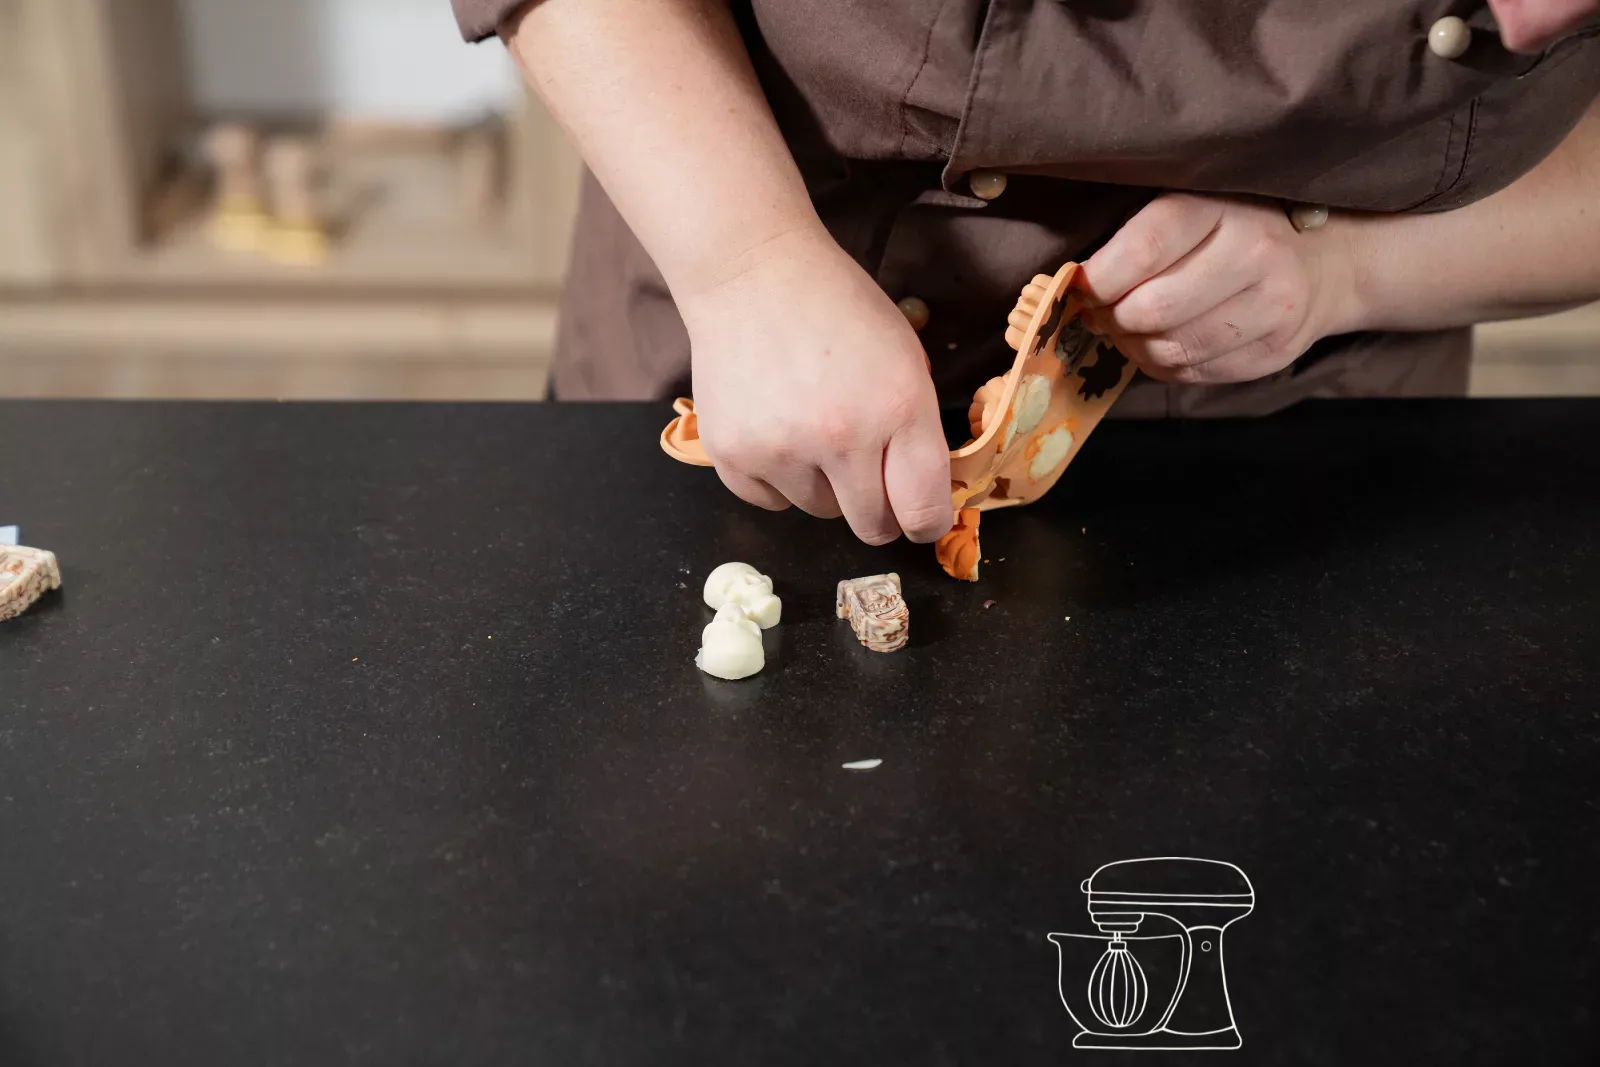
Halloween cookies with chocolate coating
Ingredients
Shortcrust pastry (approx. 190 g, or dough scraps)
For the dark dough
Chocolate coating (approx. 48 g, 2 g per cookie)
Method
- Dough: Beat butter, sugar, salt and vanilla until creamy, let the egg run in, briefly work in the flour (or 95 g of dough scraps for 12 cookies).
- Cocoa: Halve the dough, work the cocoa into one half, chill for 1 hr.
- Shaping: Press the dough into the moulds, smooth off with the angled spatula.
- Baking: 12 min. at 190 °C fan-assisted, let cool in the mould, then remove.
- Coating: Wash and dry the mould, pipe approx. 2 g of chocolate into each cavity, press the cookies in.
- Setting: Leave in the fridge for a few minutes to set, then remove from the mould.
Nutrition per 100 g
Storage & shelf life
Everything for this recipe
Recommended from our bakery, in exactly the sizes this recipe was tested with.
Ingredients
Swiss white flour, 1 kg
Cocoa powder, 1 kg
Bourbon vanilla seeds, 5 g
White couverture drops 500 g
Milk couverture drops 500 g
Deco melts: Orange
Dark couverture drops 500 g
Deco melts: Violet
Deco melts: Dark blue
Deco melts: Black
Deco melts natural white 1 kg
Deco melts: Brown with caramel flavour
Accessories
Halloween sweets silicone mold
Stainless steel angled spatula
Disposable piping bag - 41cm - 24 pcs
Silicone dough scraper, black
Delivery in 1 to 2 working days · Free shipping from CHF 100
To make sure they turn out perfectly
For twelve cookies you only need 95 g shortcrust pastry and 24 g chocolate. Simply collect your dough scraps in the freezer until there is enough for one mold.
About 2 g chocolate per cavity is enough. With more, it will spill over the edge when you press, and the cookies will get a thick collar.
This works with any silicone mold: hearts for Valentine's Day, bunnies for Easter, stars for Christmas. Simply adjust the chocolate colour to the occasion.
Frequently asked questions
For a nice shine and a crisp coating, yes. If you prefer not to temper, use cake icing: it sets firm and glossy even without tempering.
Water and chocolate do not get along. Even a small drop makes the surface blotchy, and the chocolate releases from the mold less easily.
Pipe white and dark or milk couverture together into the same cavity, then press the cookie into it. The colours blend as you press, and every cookie becomes one of a kind.
Print recipe
Choose what should appear on the printout.
Related posts
 Juicy Matcha Muffins with Pecan Nuts & White Chocolate
Matcha Iced Latte & Coconut Variant
Pull-apart bread with fresh wild garlic pesto
Mini Banana Bread with Chocolate Chips
Leave a comment