
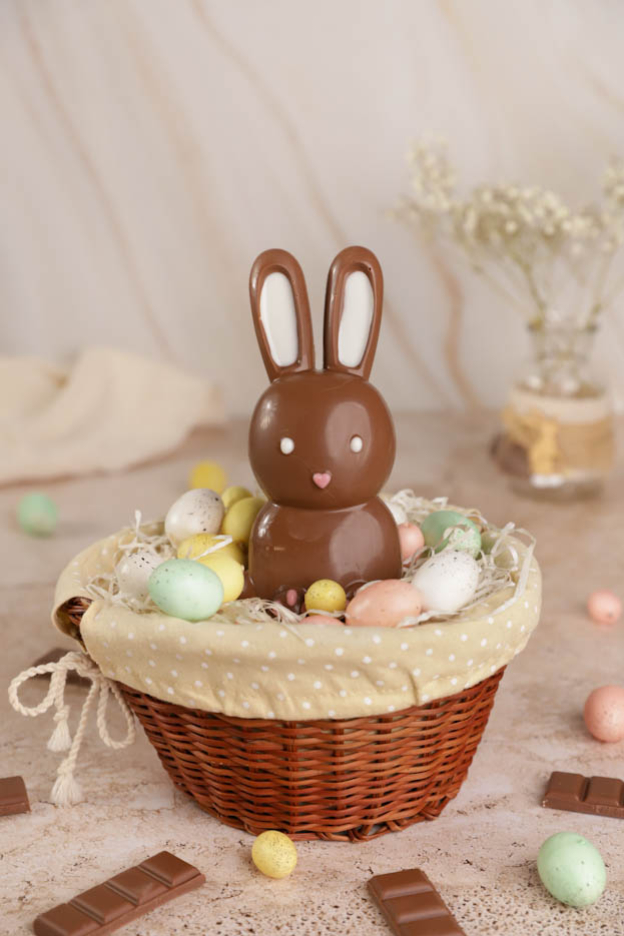
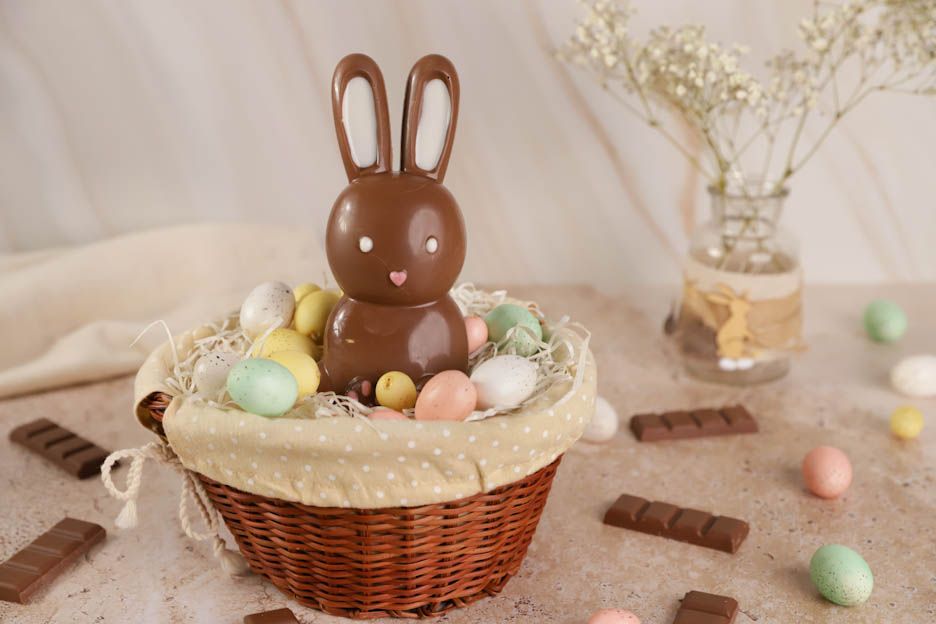
Easter Bunny
Hello sweet lovers!
What could be better than creating your own chocolate bunny? Made with love and good chocolate, it will be perfect for treating young and old sweet lovers alike. :-)
Follow our step-by-step recipe to get a beautifully shiny chocolate bunny.
A fun and delicious activity to share with the family!
Watch the recipe in video:
To make a large bunny using the "3D choco bunny" chocolate mold, follow our chocolate bunnies recipe.
To add a touch of color to your creation, you will need:
- A pastel pink chocolate-flavored pen
- A white chocolate-flavored pen
Let's get decorating!
First, grab the "3D choco bunny" chocolate mold.
Clean your mold with a cotton pad. This is very important — even if your mold looks clean, there may be small water marks, limescale deposits, or chocolate residue. The cotton pad will help clean it and ensure a shiny, mark-free bunny.
We will start by creating the bunny's details using the chocolate-flavored pens.
To do this, dip apastel pink chocolate-flavored pen and a white chocolate-flavored pen into a jug of hot water to melt them.
Draw the bunny's paws and nose using the pastel pink pen. The eyes and the inside of the ears will be done with the white pen. Once this step is complete, let them set at room temperature while you temper the chocolate.
Tempering
For tempering the chocolate, follow our recipe: "Chocolate Bunnies".
The quantities will be the same. This time, we used milk chocolate, but the process is identical to that of white chocolate.
It is very important to carefully follow each tempering step — this is what will give your creation a beautiful shine.
Once your chocolate is at the right temperature, pour it (all of it) into one half of the mold, then close it with the other half.
Secure the two halves together using the clips provided with the mold.
Once the mold is properly closed, turn it and spread the chocolate evenly.
Don't hesitate to tap your mold against your work surface on each side to ensure an even distribution of the chocolate.
Then place your mold in the fridge, turning it every 30 seconds for 3-4 minutes so that the chocolate spreads evenly.
Next, place your mold in the freezer for 20 minutes. Then remove your mold from the freezer and take off the clips.
Gently separate the two halves of the mold. If your chocolate has been properly tempered, they will come apart on their own.
All that's left is to remove your bunny from the mold and you'll have a beautiful homemade chocolate bunny! ;-P
We hope this recipe inspires you to make your own Easter bunny.
Sophie and Laura
P.S.: All the materials used can be found at the bottom of the recipe.
Related products
Graduated measuring cup 1 liter
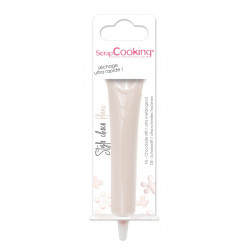
Chocolate flavour pen - Available colors: White
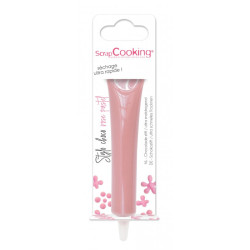
Chocolate flavour pen - Available colors: Pastel pink

Related posts
 Juicy Matcha Muffins with Pecan Nuts & White Chocolate
Matcha Iced Latte & Coconut Variant
Pull-apart bread with fresh wild garlic pesto
Mini Banana Bread with Chocolate Chips
Juicy Matcha Muffins with Pecan Nuts & White Chocolate
Matcha Iced Latte & Coconut Variant
Pull-apart bread with fresh wild garlic pesto
Mini Banana Bread with Chocolate Chips
Leave a comment