

Christmas cookies
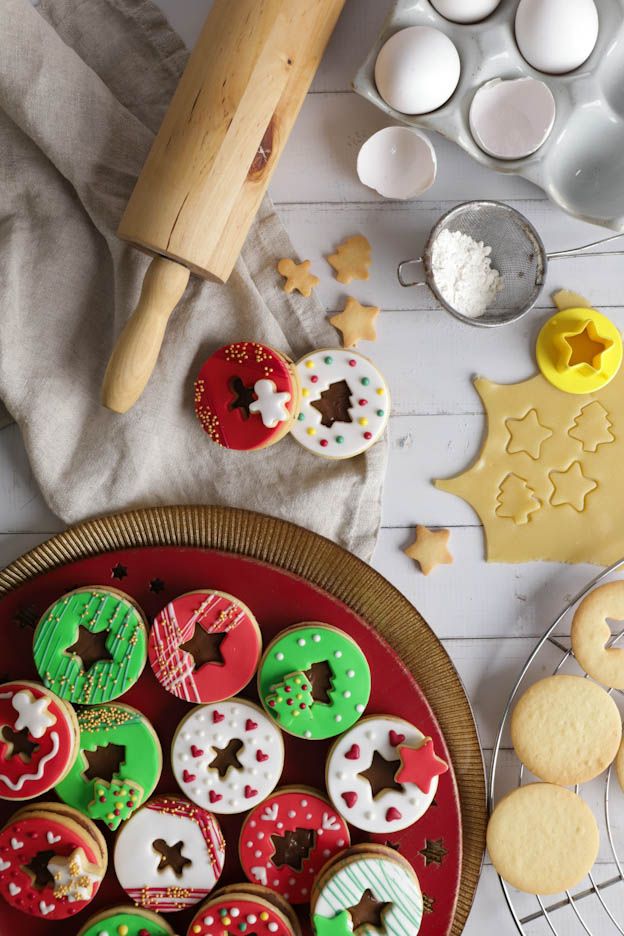
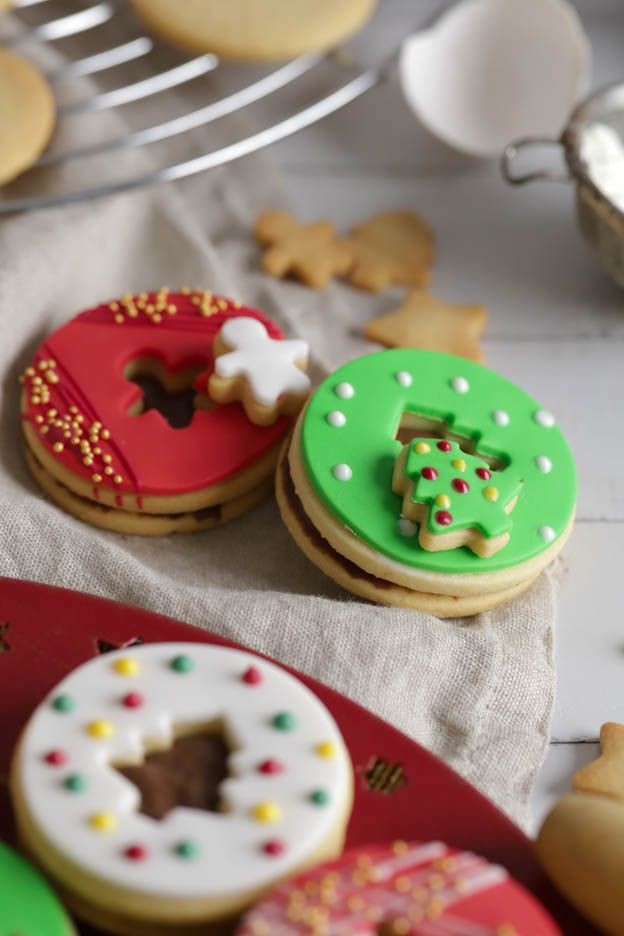
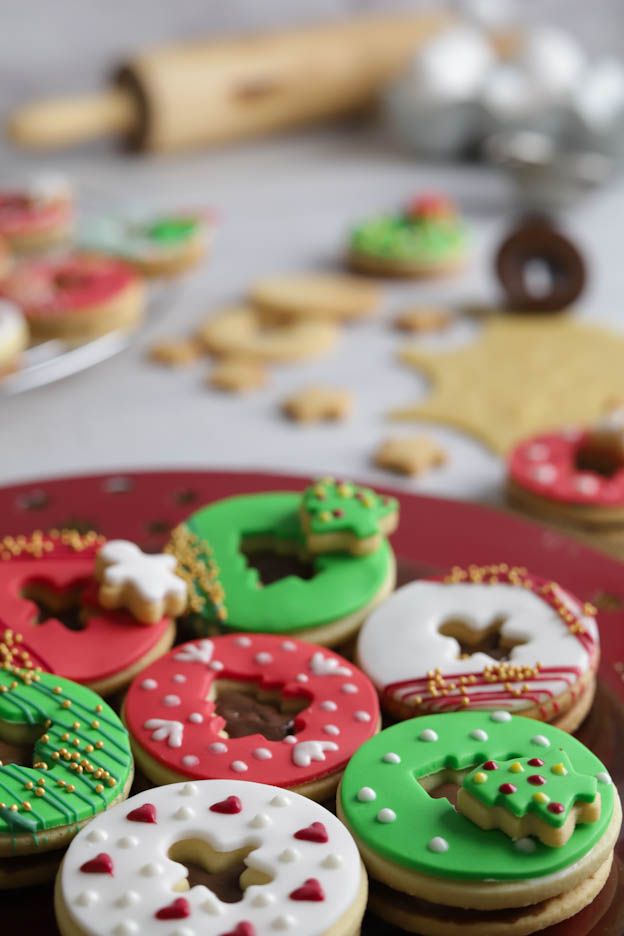
Filled Spitzbuben, decorated with Fondant and chocolate flavour pens, for the whole family
Hello foodies,
Christmas time is cookie time. And home-baked ones simply taste different from store-bought ones.
Here comes a Spitzbuben recipe, filled with Nutella and decorated with Fondant and chocolate flavour pens. The decorating is the part the whole family can join in with, and the part where nobody can go wrong.
Ingredients
Dough
Filling and decoration
Step by step
Dough
Butter and icing sugar
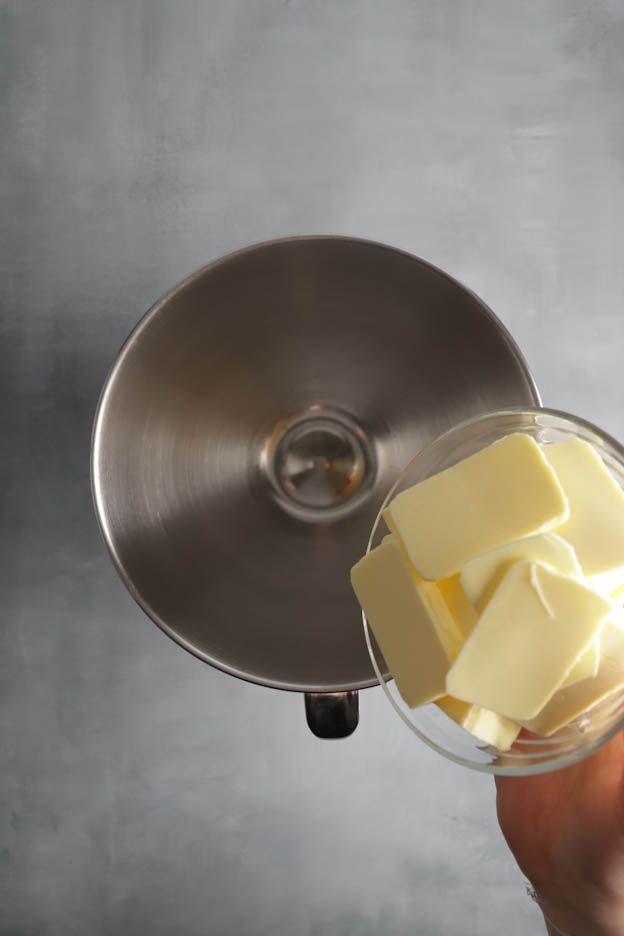
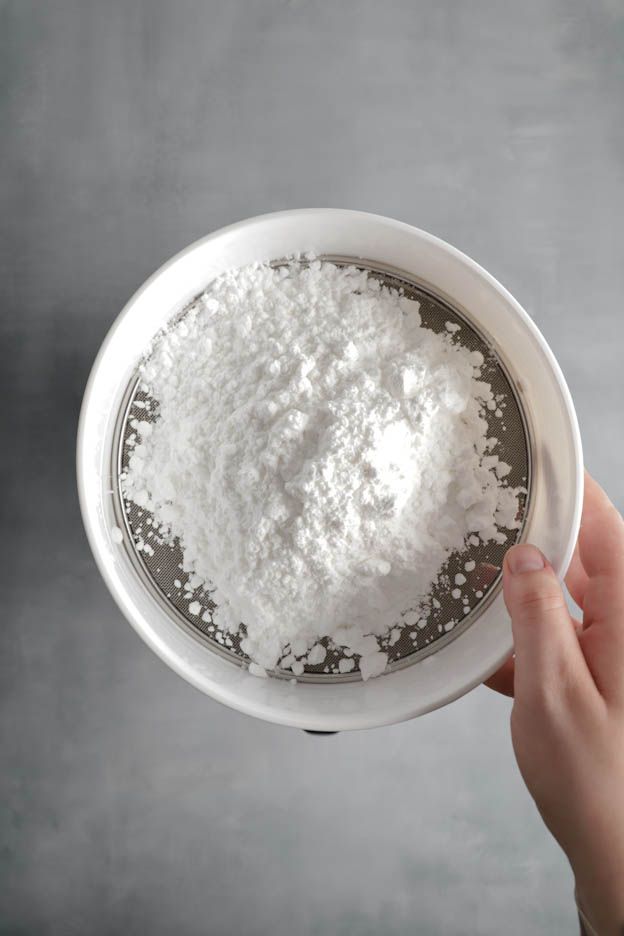
Put 150 g of soft butter into a Mixing bowl and sift 100 g of icing sugar over it.
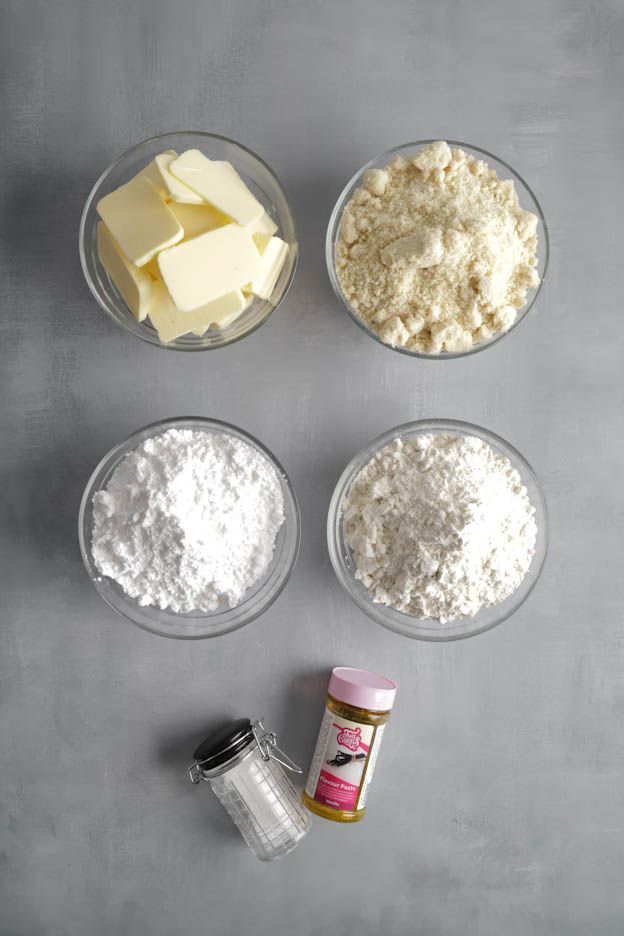
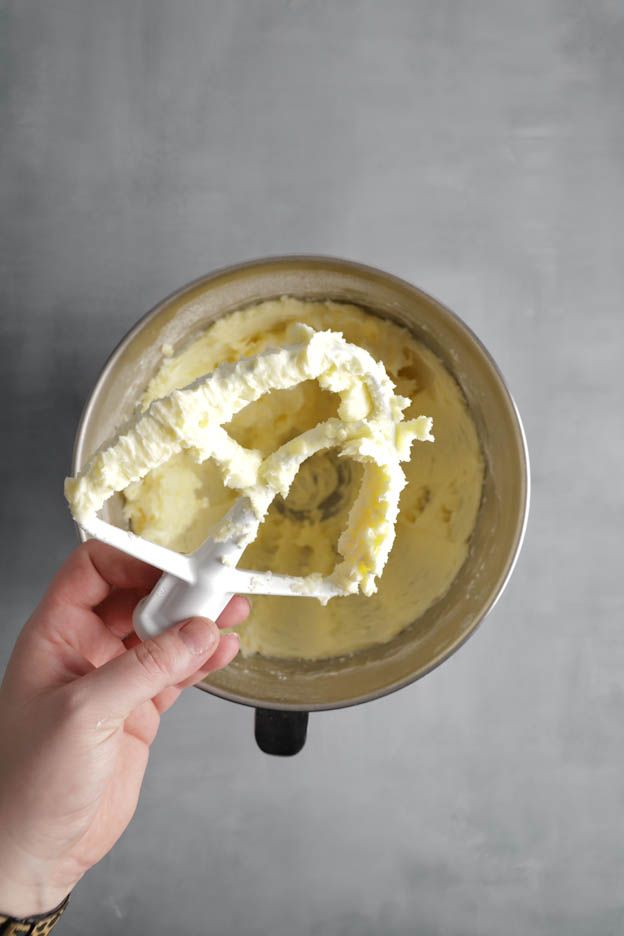
Beat until pale
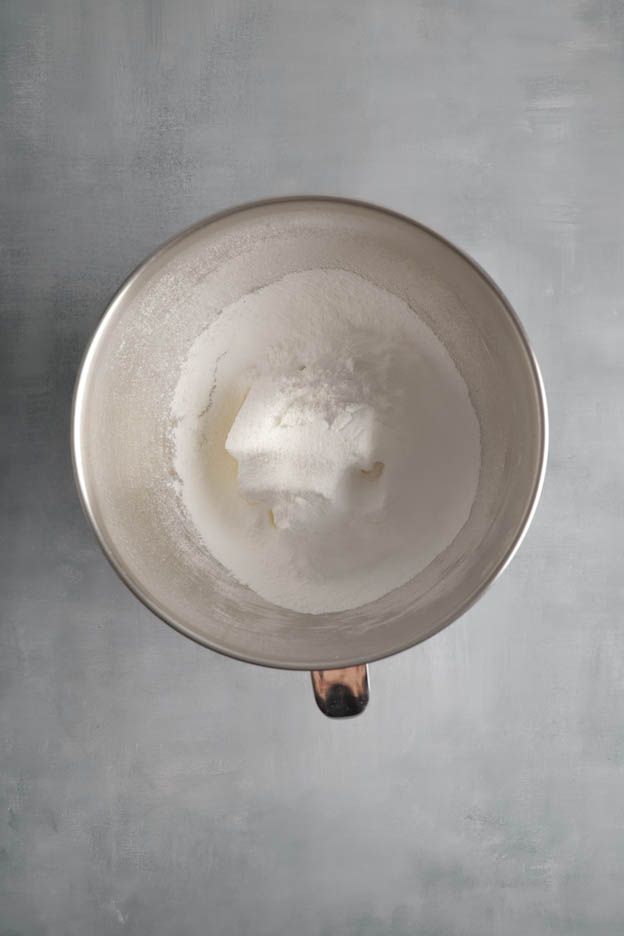
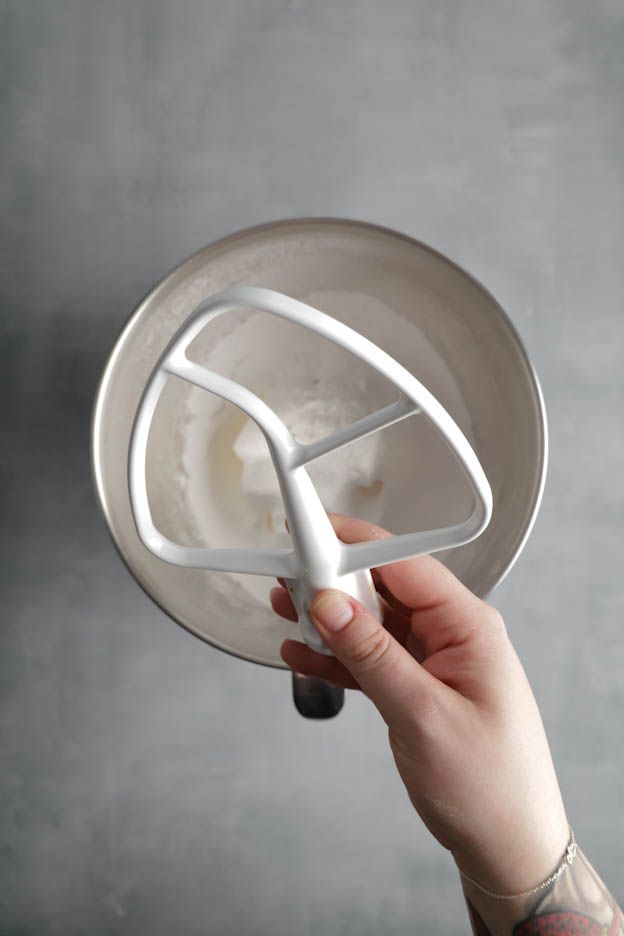
Beat both with the K-beater until the mixture turns pale.
Egg, salt and vanilla
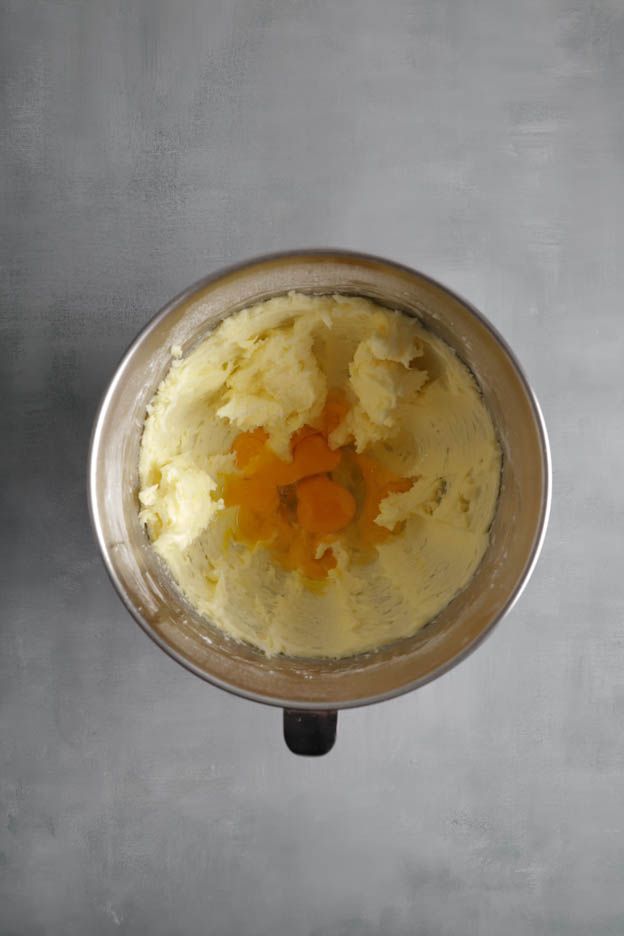
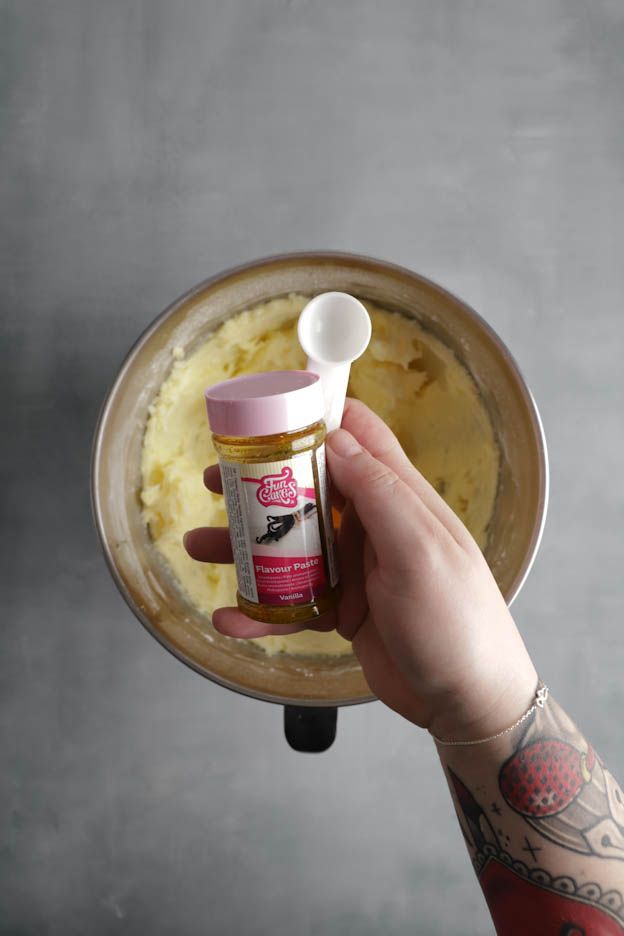
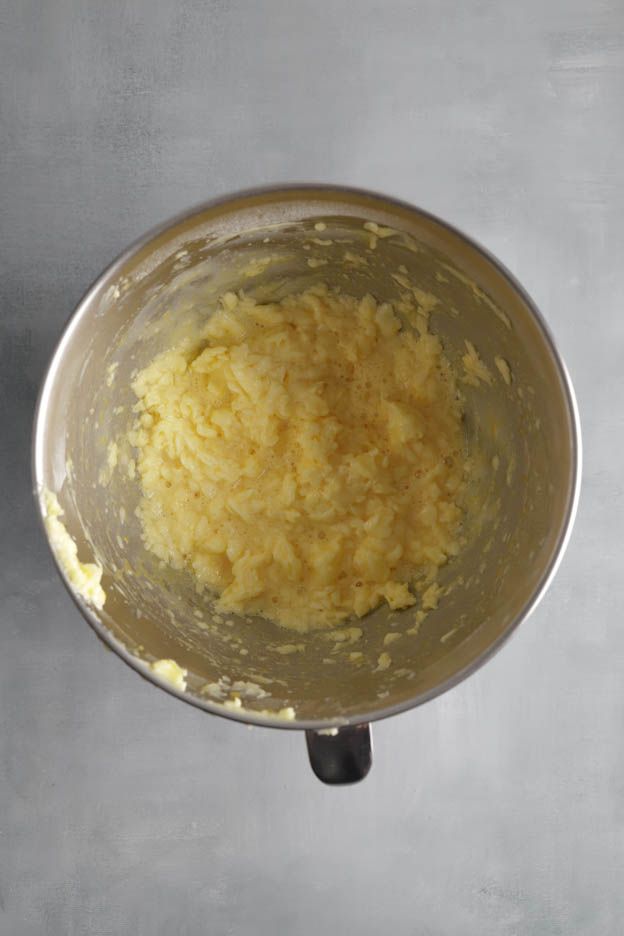
Crack 1.5 eggs into a small Bowl, whisk them lightly with a fork and add 80 g of this to the butter and icing sugar mixture. Add 1 pinch of salt and 1 tsp of vanilla Liquid aroma. Mix everything once more with the K-beater.
Almond flour for macarons
Liquid aroma "Vanilla"
Dough scraper light blue silicone, small
Swiss White flour, 1 kg
Flour and almonds
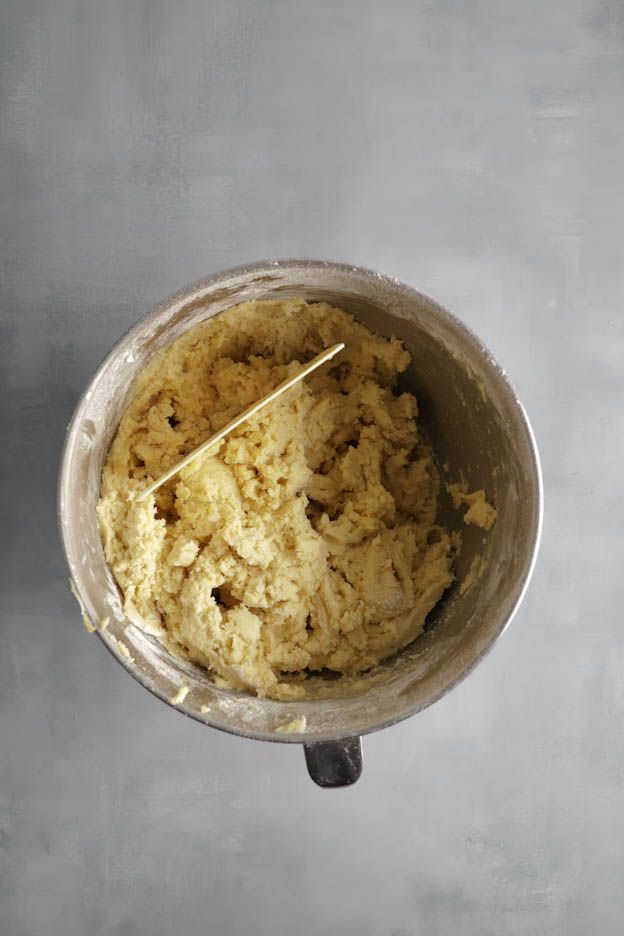
Sift in 250 g of flour and finally add 130 g of ground almonds.
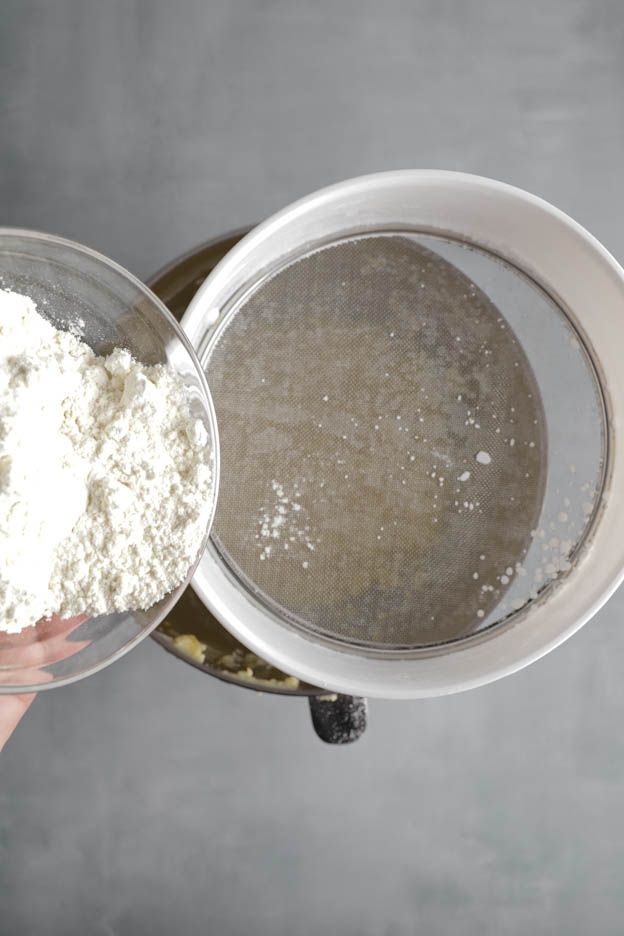
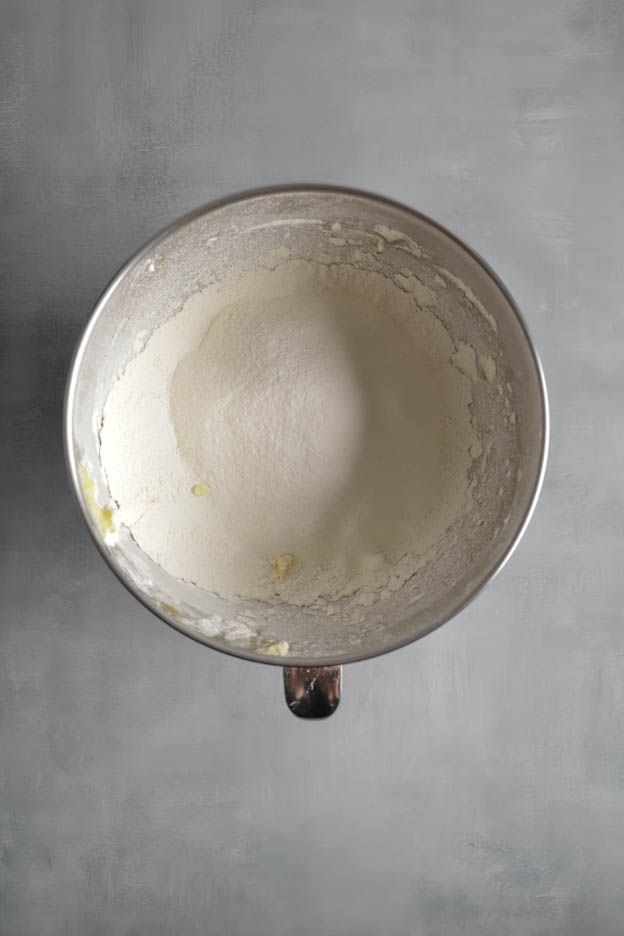
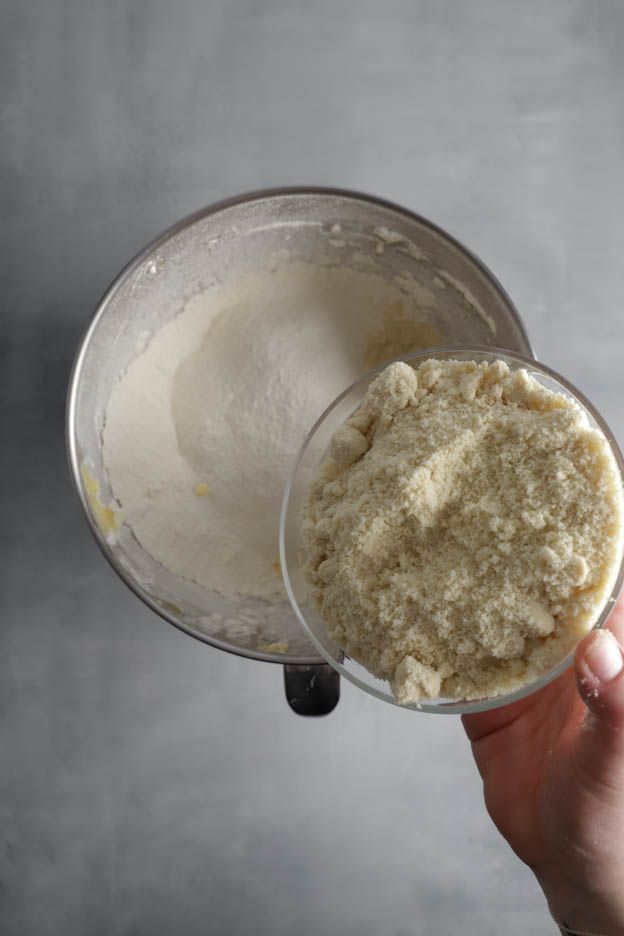
Mix only briefly
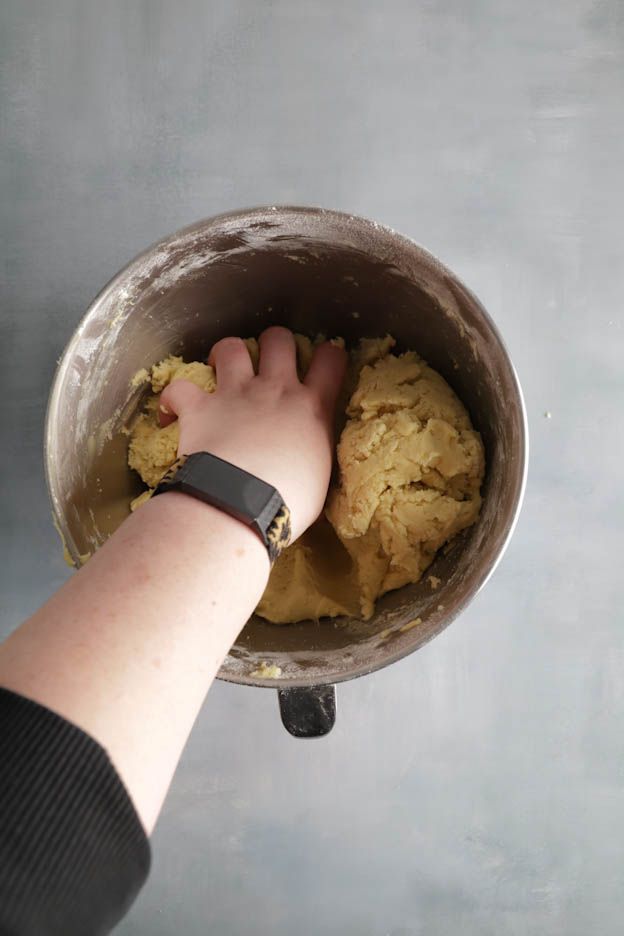
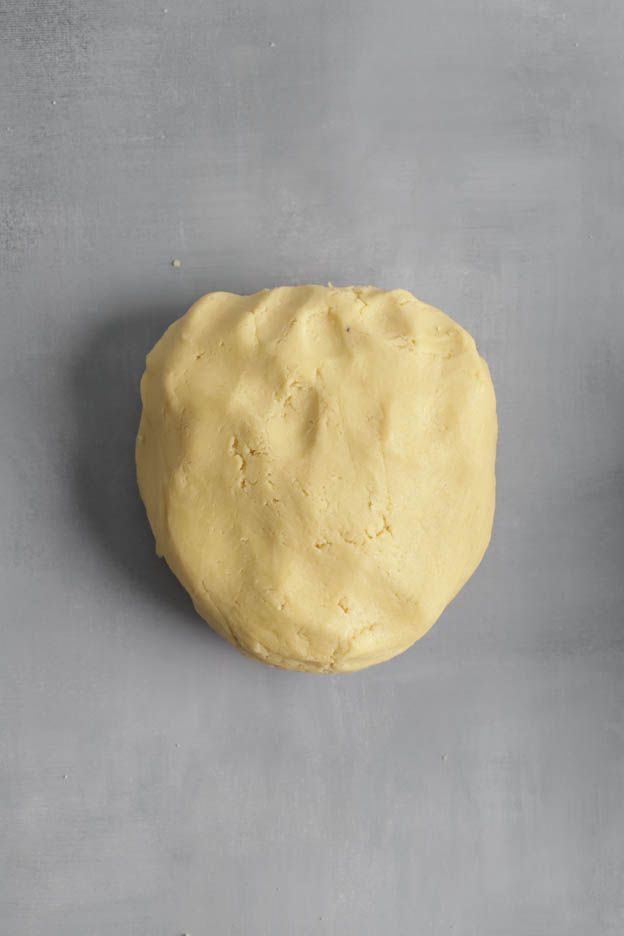
Mix everything for just a few seconds with the K-beater. If the dough is stirred too long in the machine, the gluten develops too strongly and the cookies get bulges instead of smooth surfaces. Then knead the dough into a ball by hand.
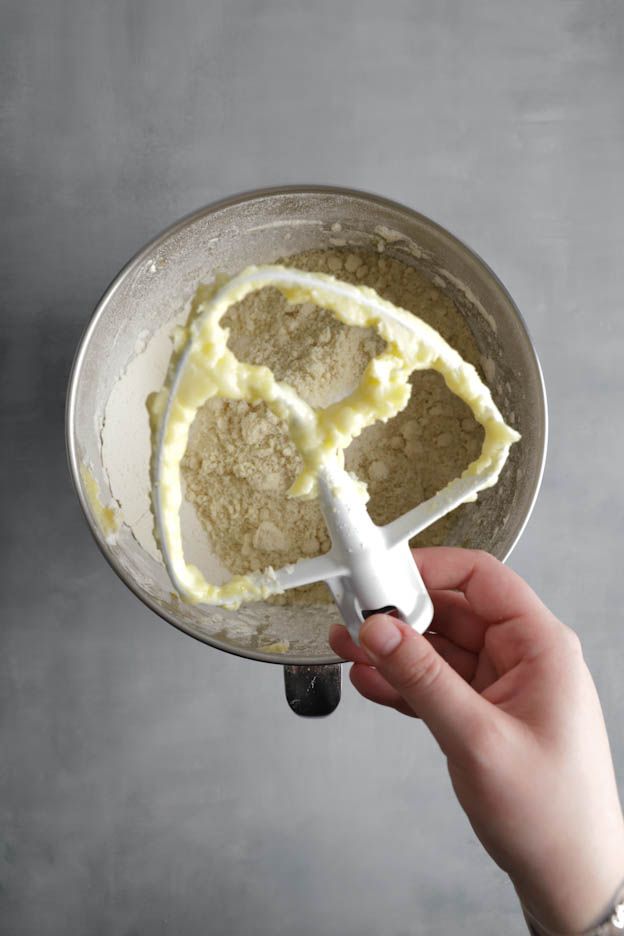
Rolling out and cutting
Divide and roll to 3 mm
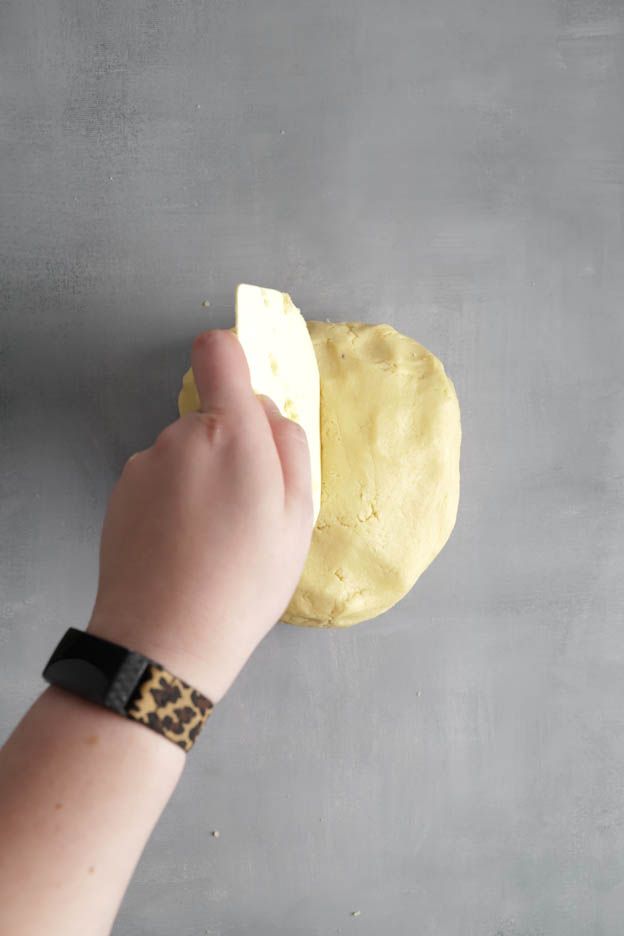
Divide the dough into two halves with a dough scraper and place one half on baking paper. For an even thickness I use 3-mm rolling guides. It must not be thicker: a finished cookie consists of two pieces of dough with the filling in between.
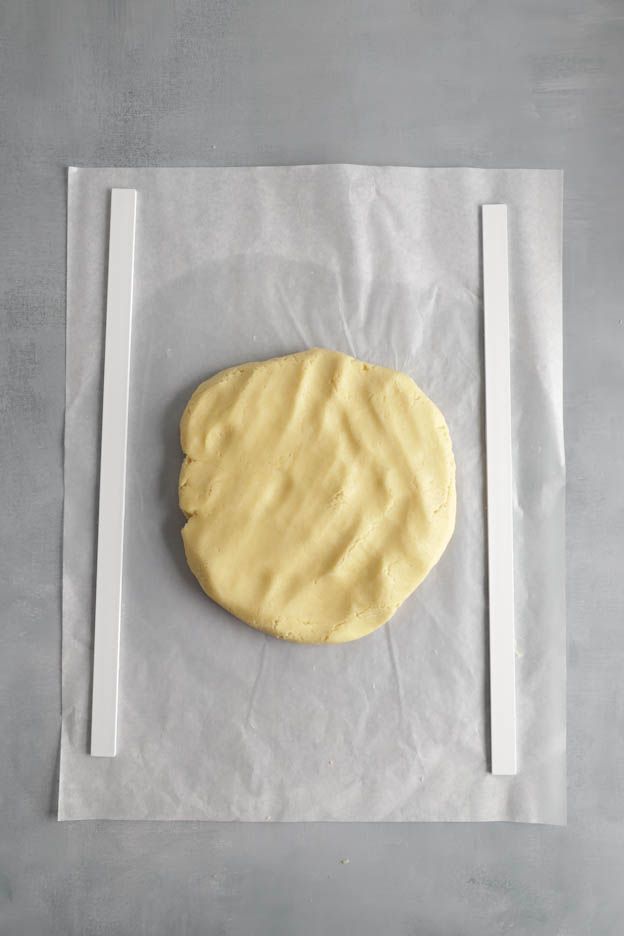
Dough sticks
Small rolling pin 22.8 cm
Baking paper XL 46 x 38 cm, 15 pieces
Perforated aluminium tray 40 x 30cm
Roll out and chill
Lay a second sheet of baking paper on top and roll out the dough with the large rolling pin. Peel off the top paper, lift the dough onto a perforated tray and place it in the freezer for 10 bis 15 minutes. Then roll out the second half.
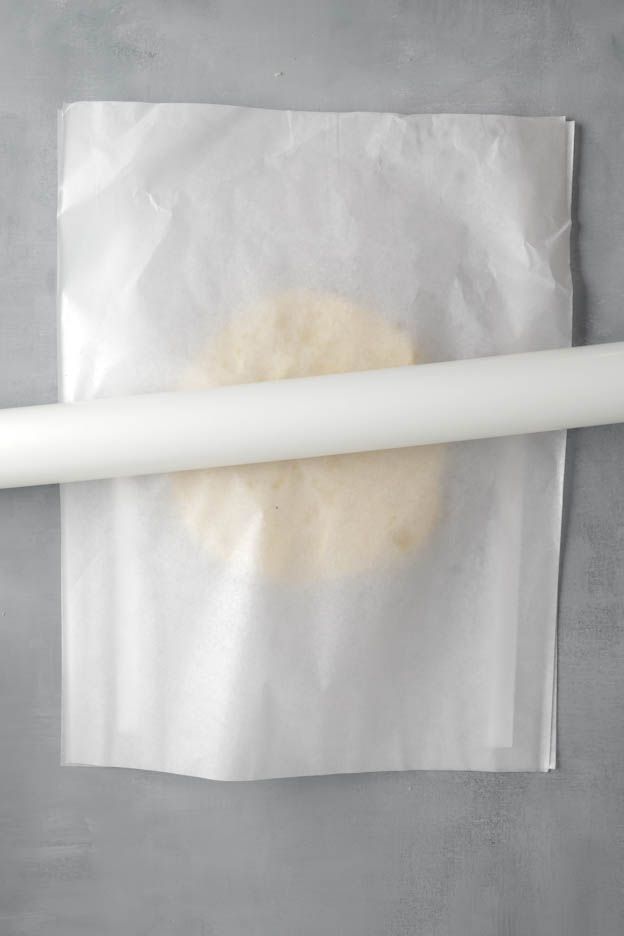
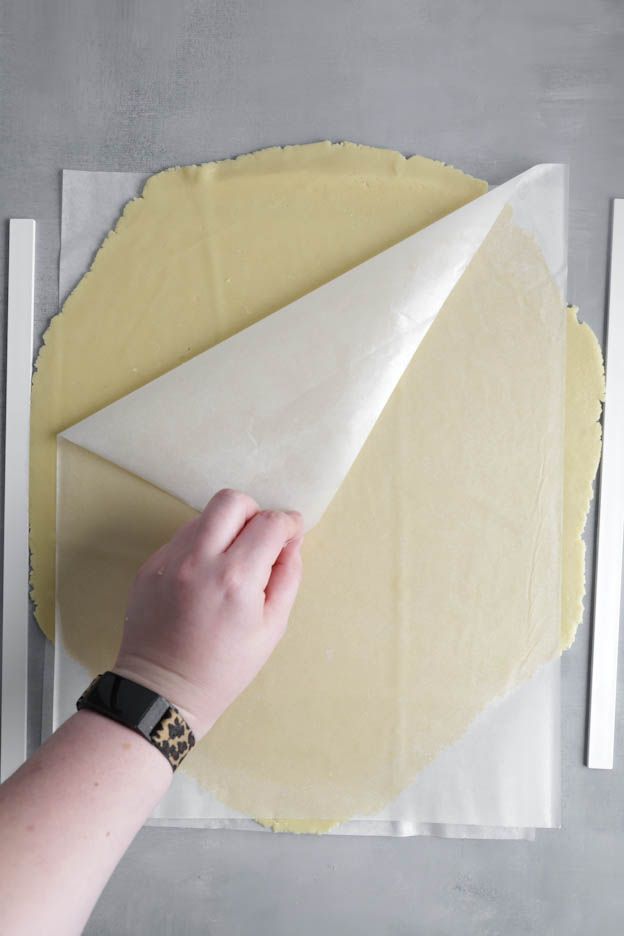
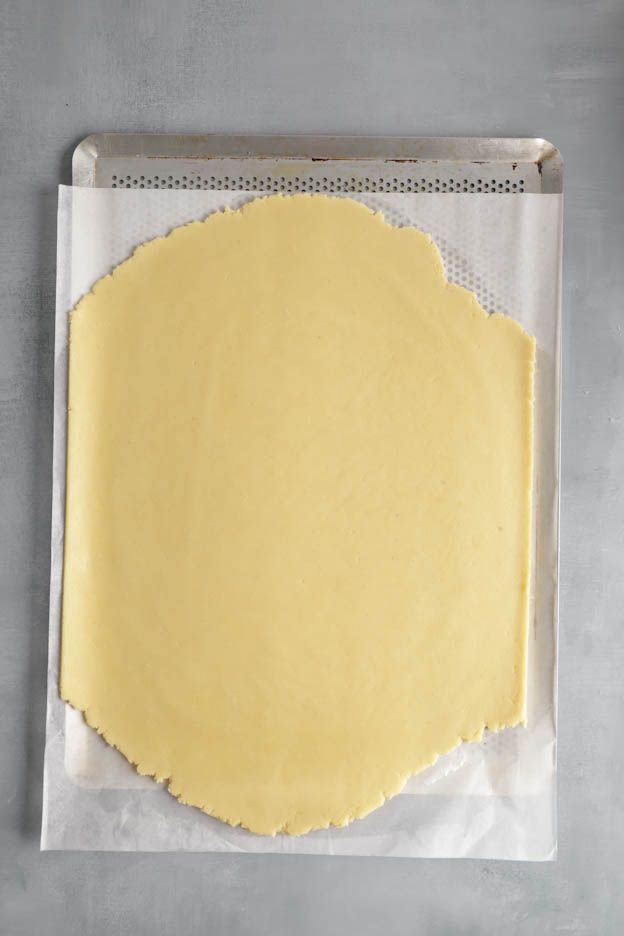
The Mix & Match cutters
I used the Mix & Match cutters from Decora. They come not only with Christmas motifs, but also for Halloween and Easter as well as the classic heart and flower, and if you have several sets you can mix the motifs with one another.
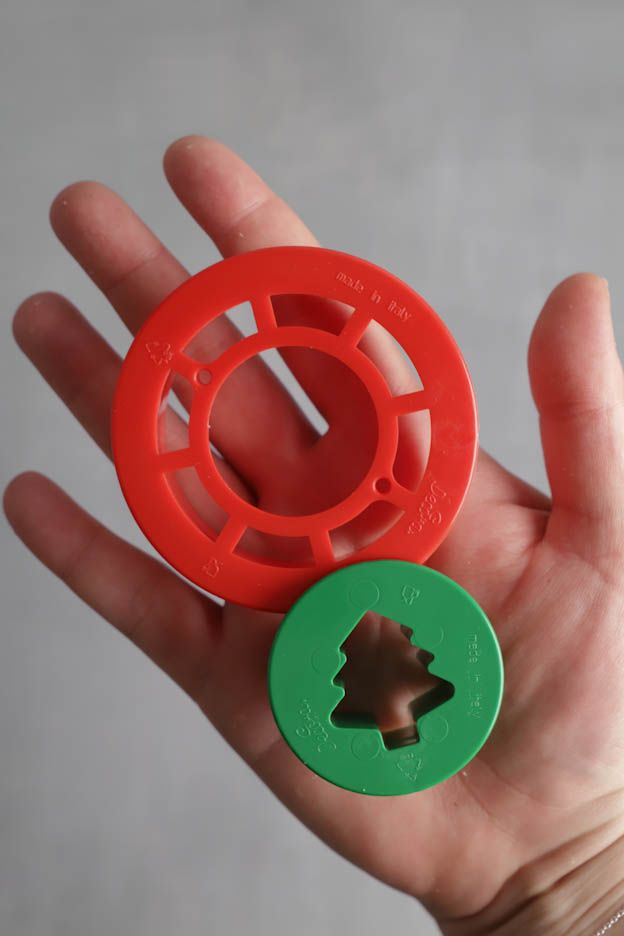
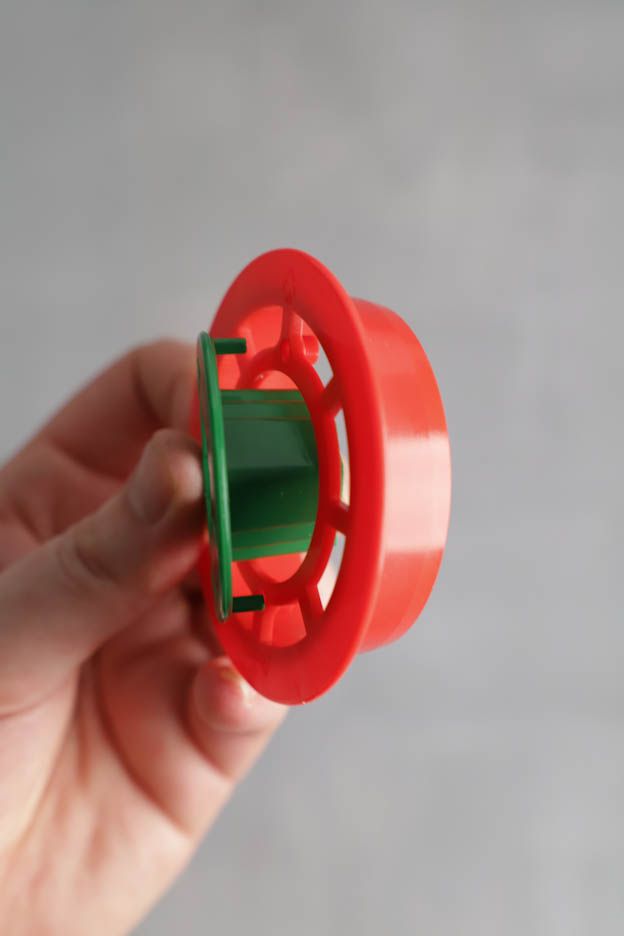
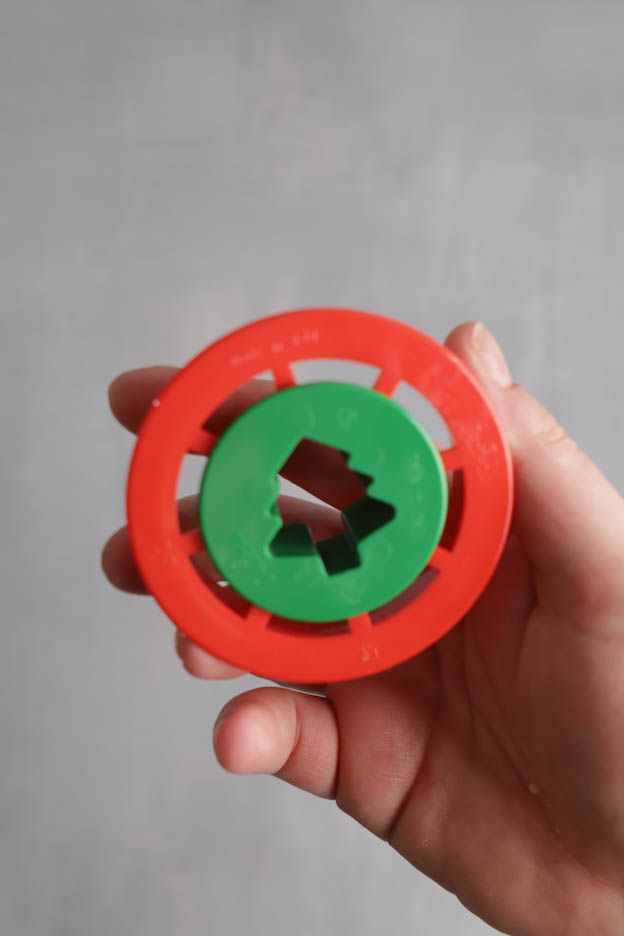
Cutting out
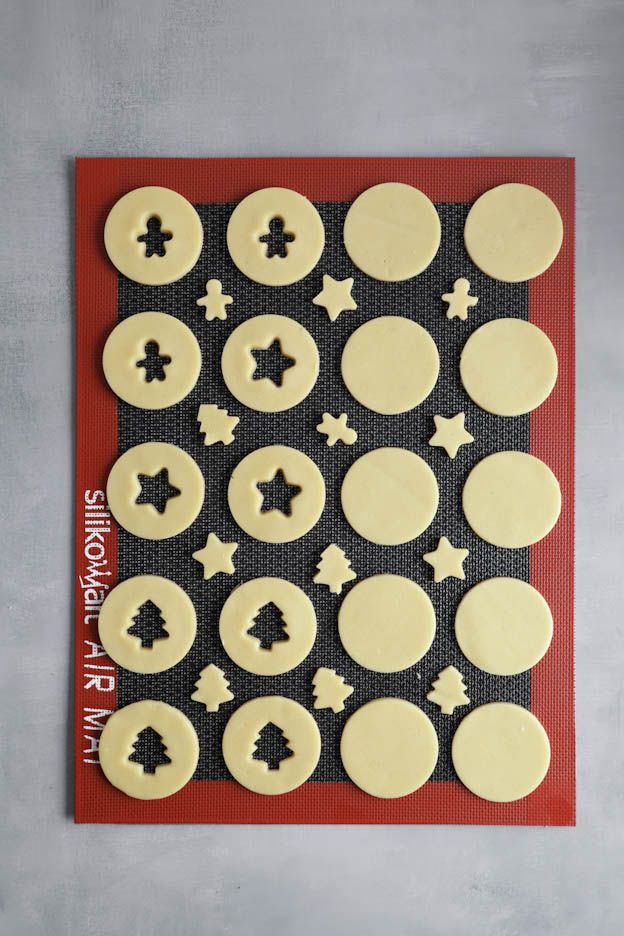
Preheat the oven to 180 °C fan. Once the dough is cold enough, take it out of the freezer and cut out the cookies. Place them on a perforated tray with a perforated mat.
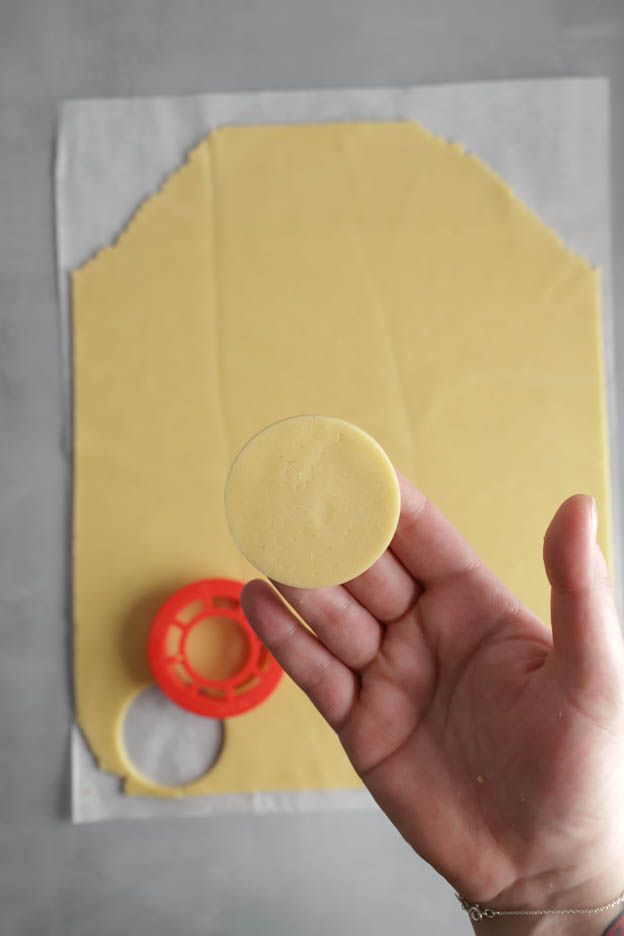
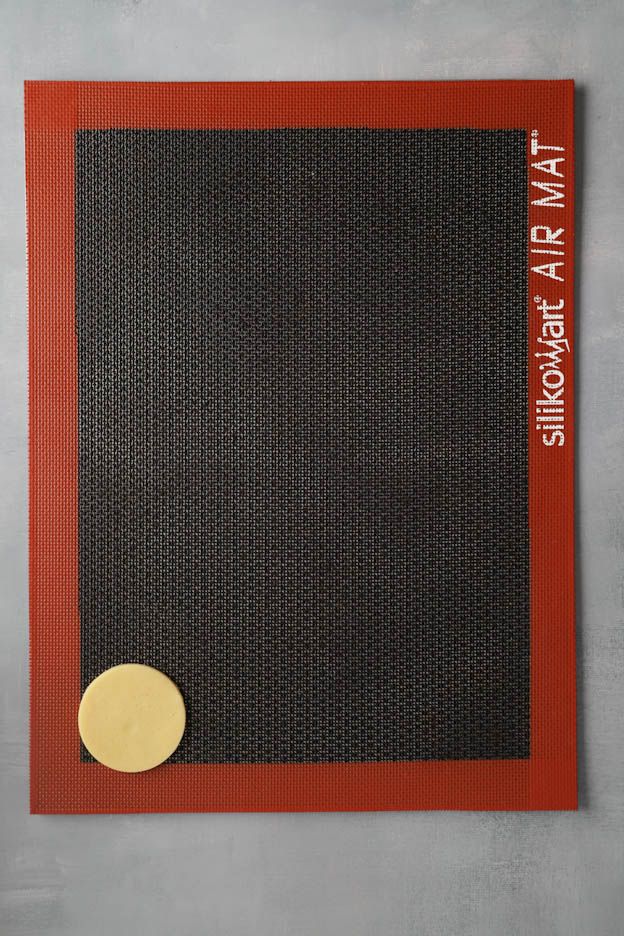

Christmas cutter Mix and Match
Baking paper XL 46 x 38 cm, 15 pieces
Perforated aluminium tray 40 x 30cm
Silicone mat SILPAT 40x30cm
Baking
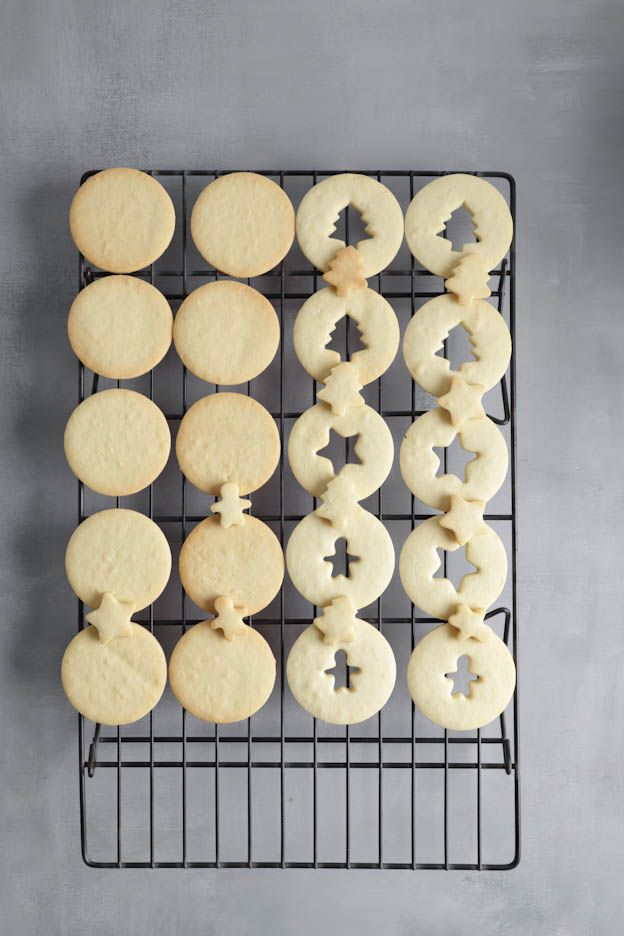
One tray holds 10 bases and 10 lids with a hole, and don't forget the small centre pieces that come off during cutting: they are good for the decoration later. From all the dough I got 3.5 trays, so 35 cookies. Bake them for 8 bis 10 minutes at 180 °C; they should not get too brown. Then transfer them to a cooling rack so they cool faster.

Decoration
Warm up the chocolate flavour pens
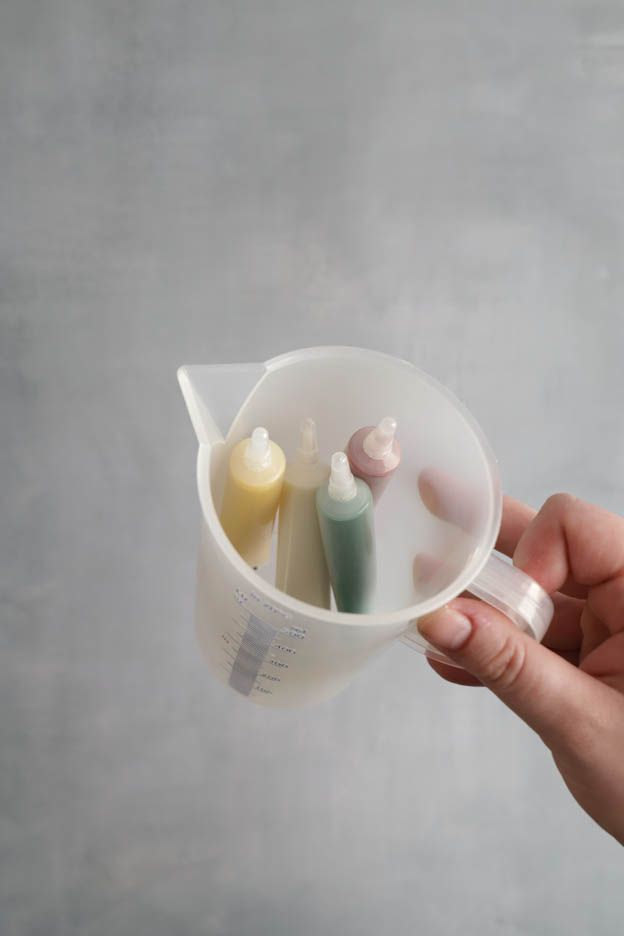
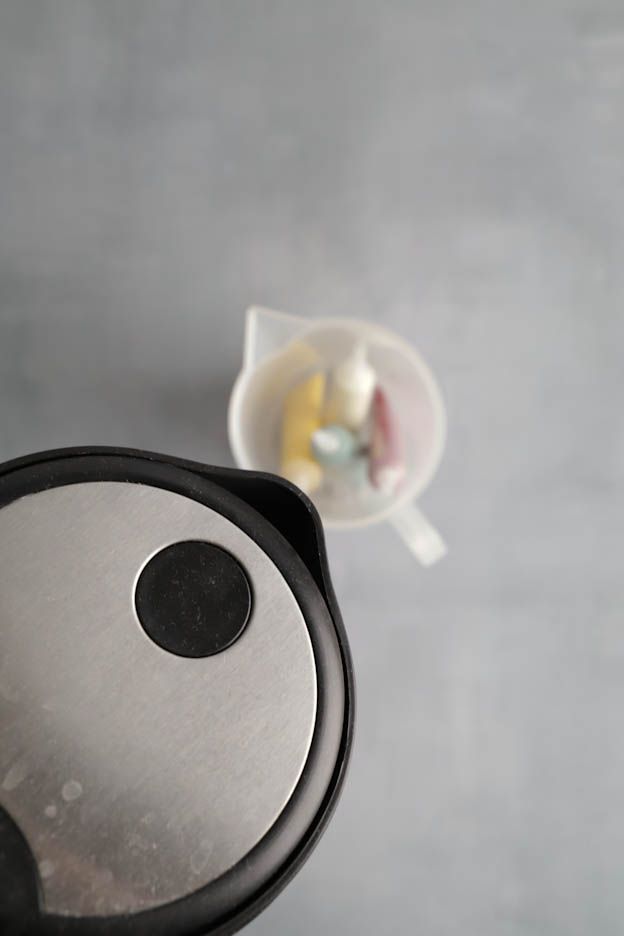
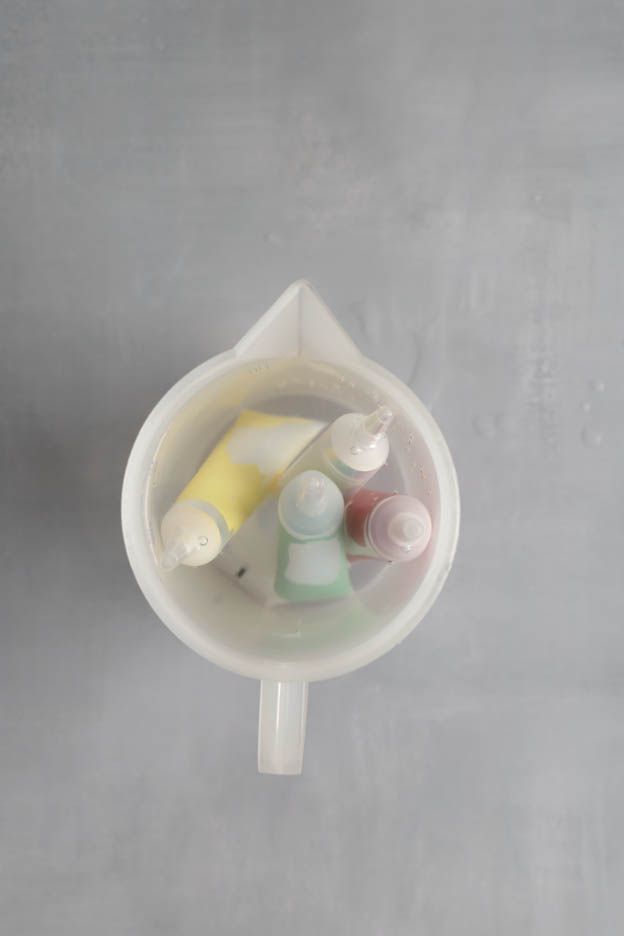
Put the Chocolate flavour pens in a Measuring cup and pour hot water over them. Careful: check beforehand that the lid is properly closed. After about 2 minutes the chocolate has melted and is ready to use.
Roll out the Fondant
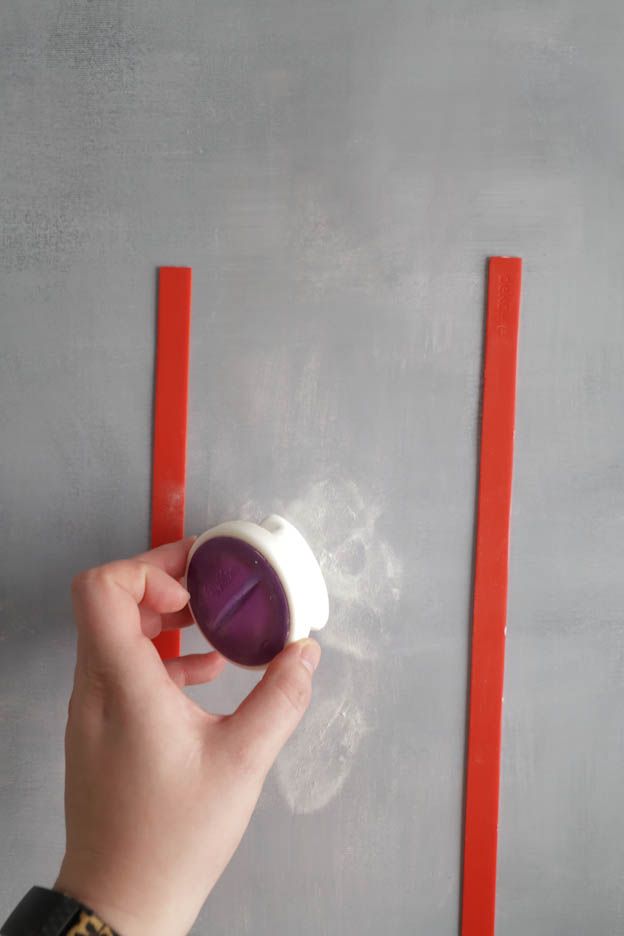
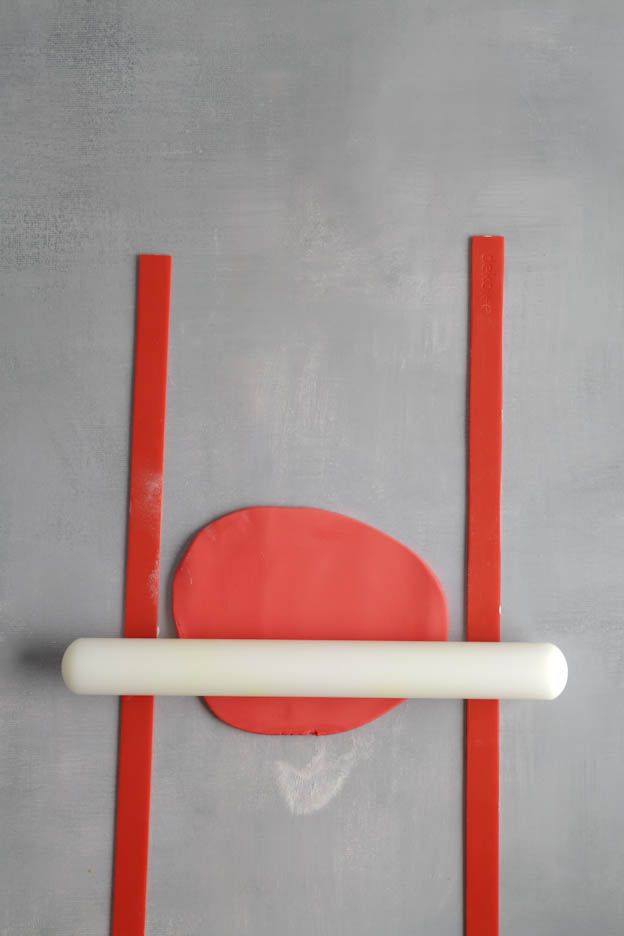
For the colours I chose white, red and green, and marzipan works just as well. Dust the work surface with Magic roll-out powder so nothing sticks, and use 1.5 mm rolling guides. Roll the Fondant out thinly with a small rolling pin, which is far handier for small decorations than the large one. Cut out the shapes and set the inner pieces aside.
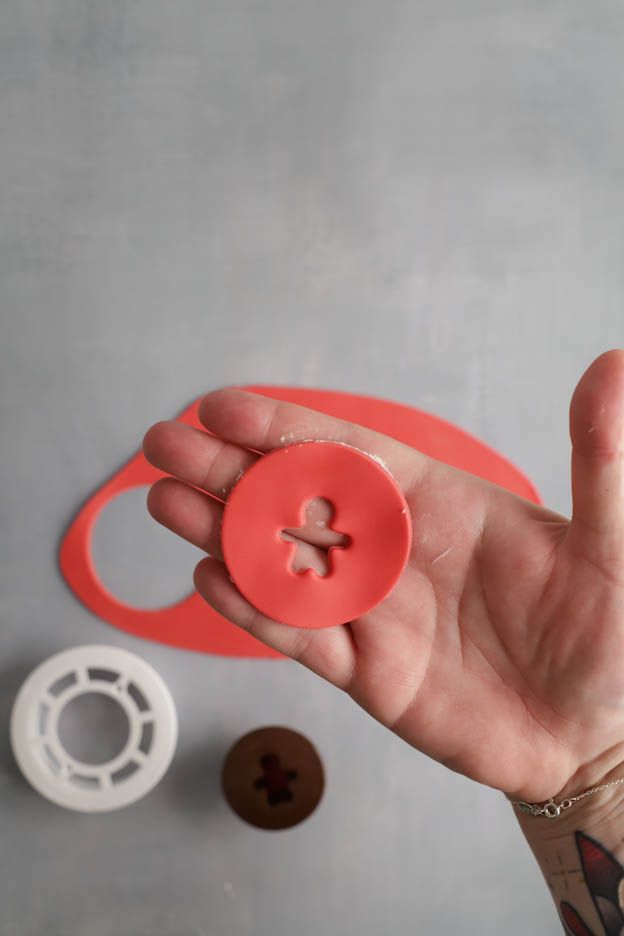
Fondant Spring Green 250 gr
1 kg Fondant Marshmallow White
Fondant Fire Red 250 gr
Set of 10 Chocolate flavour pens
Stick on the Fondant
Using the Chocolate flavour pen, put a little chocolate on the cookie, place the Fondant on top and press it down gently so it sticks.

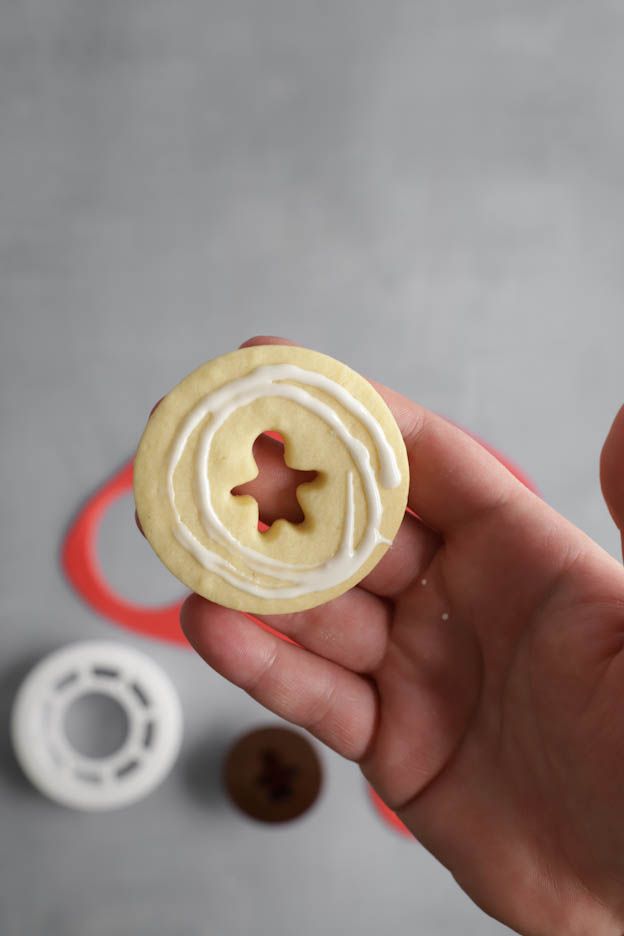
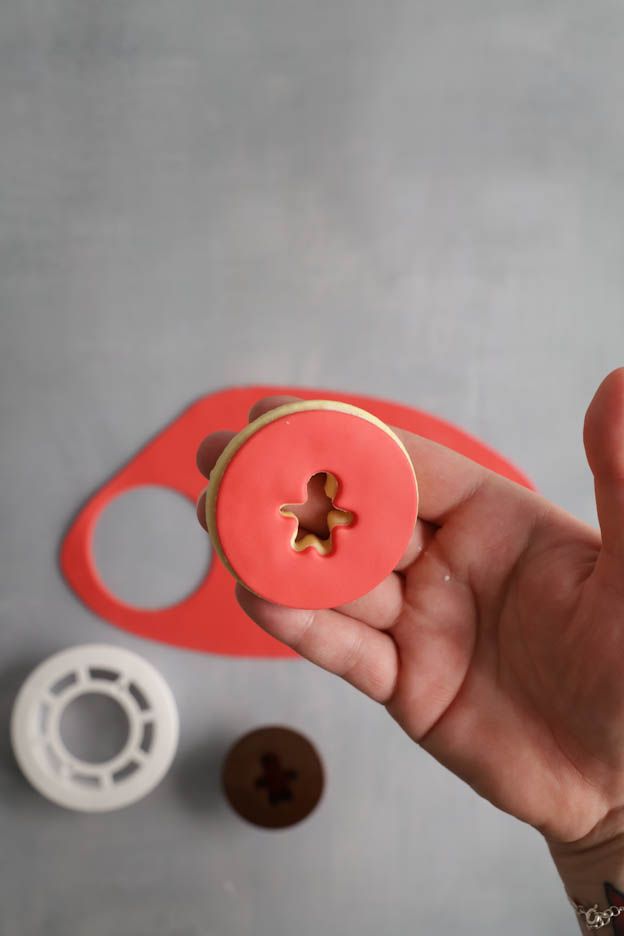
Chocolate and nonpareils
Quick and pretty: let the chocolate run over the cookie in back-and-forth movements and immediately scatter golden nonpareils on top.
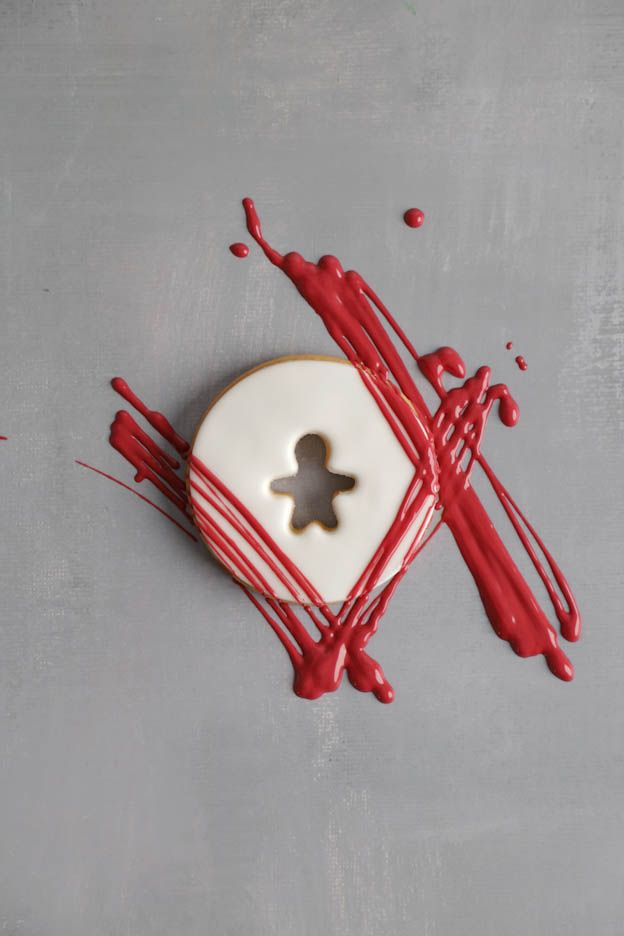
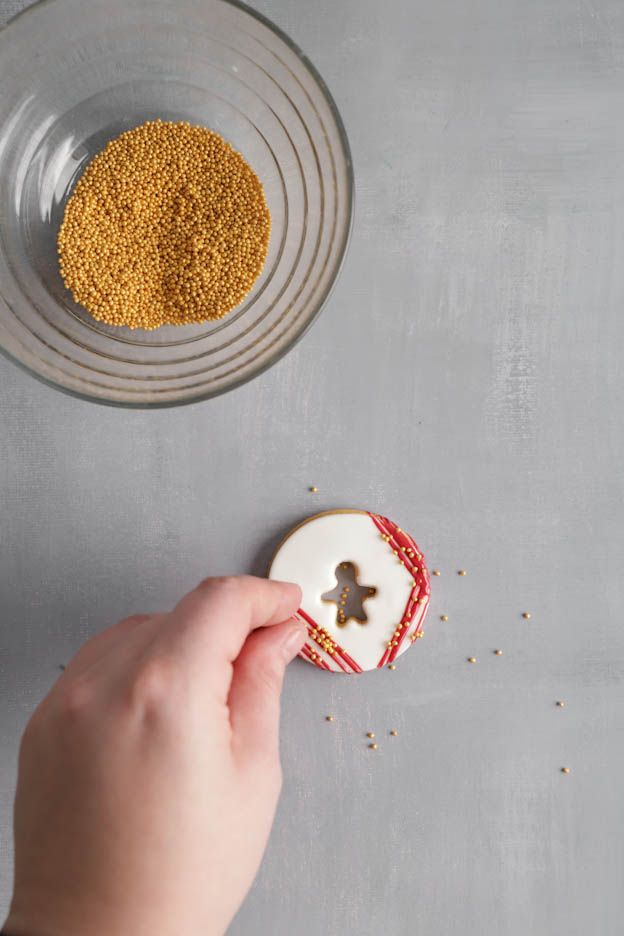

Use the cut-out pieces
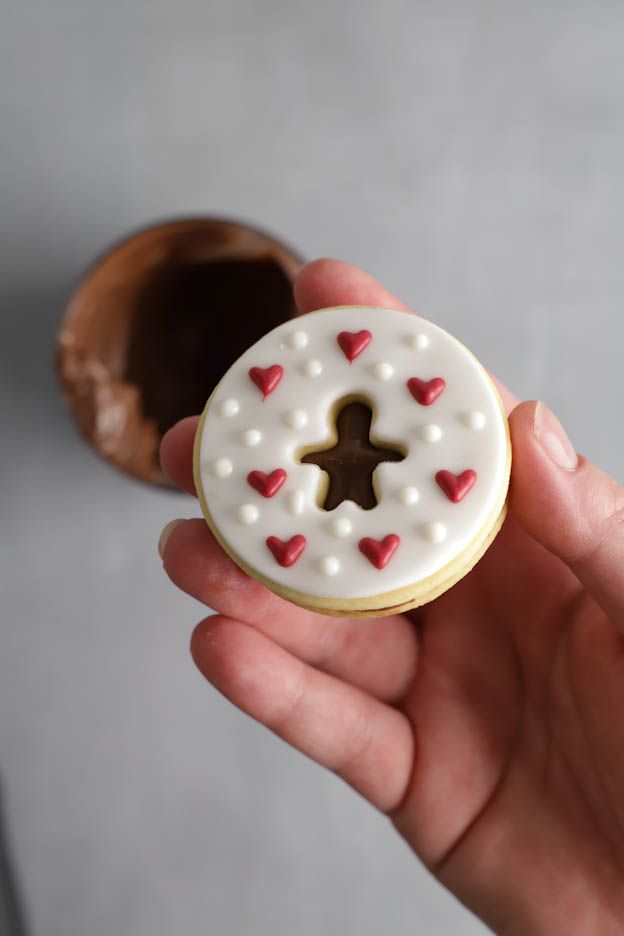
Dots, hearts, lines: anything goes here. For a lovely finish, take the small cut-outs from earlier, both the ones from the cookies and the ones from the Fondant, and stick them on with the pen.
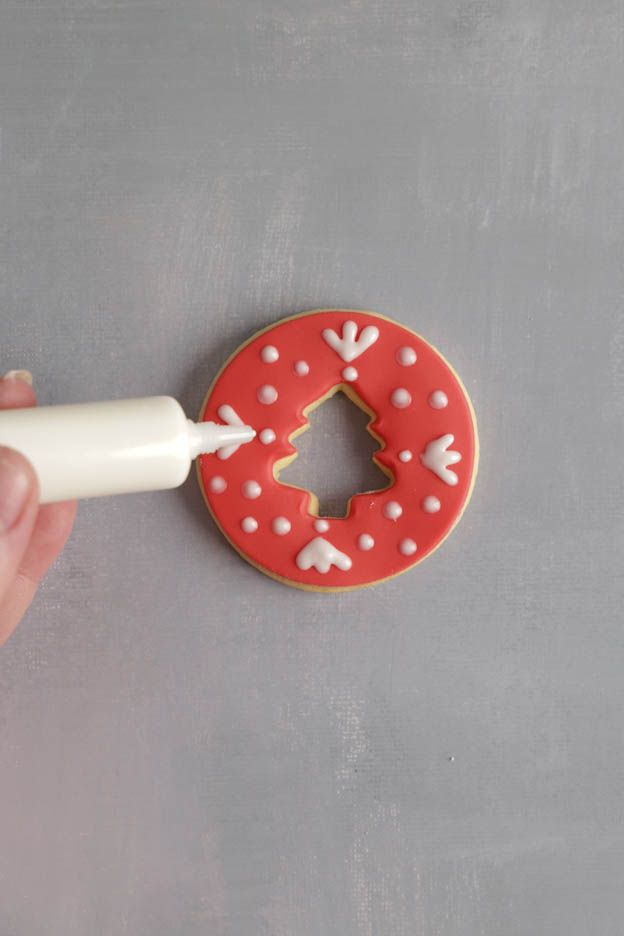
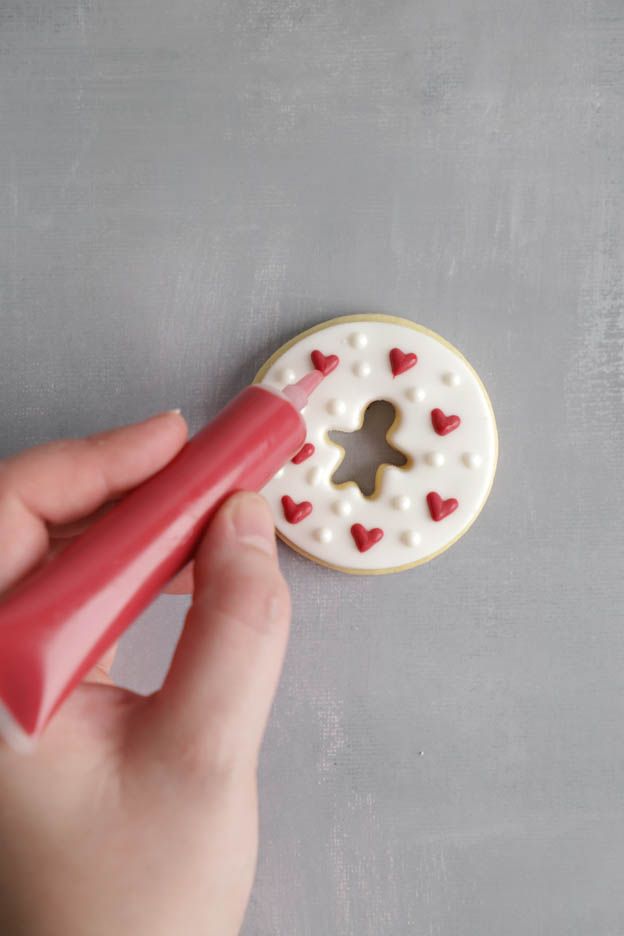
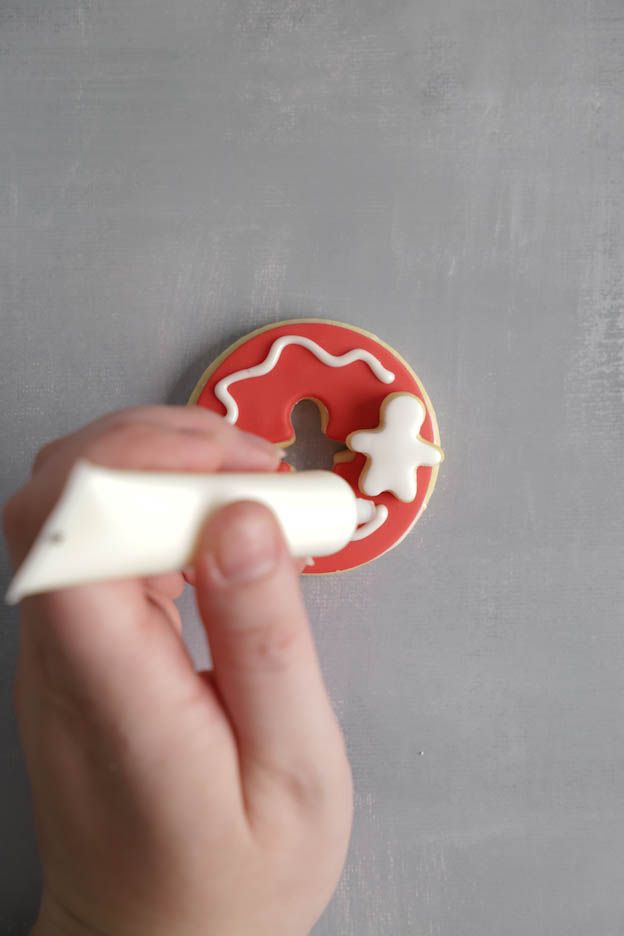
Fill and assemble
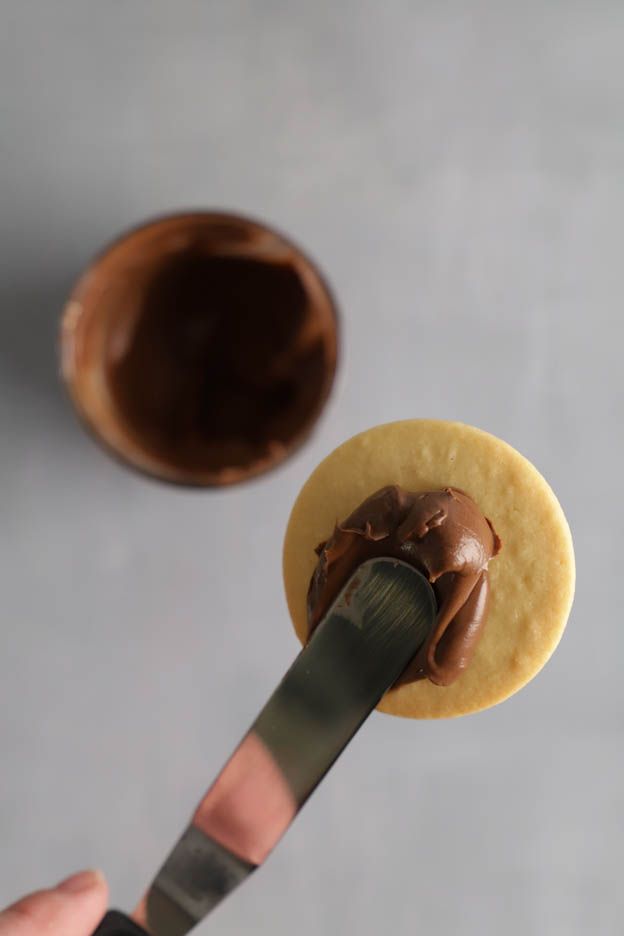
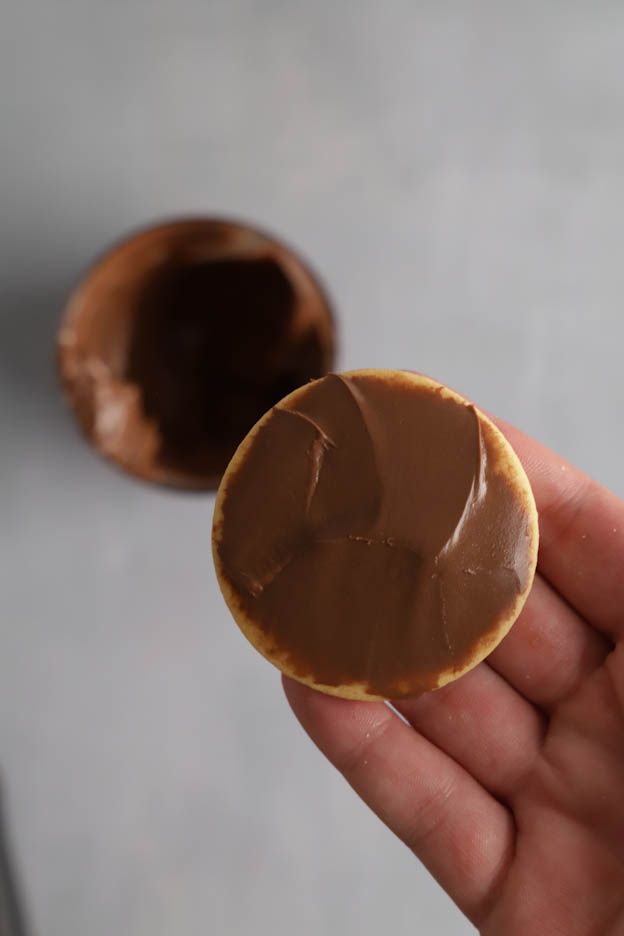
Using a small Angled spatula, spread Nutella onto the base, less at the edge than in the middle, so nothing oozes out when you put the pieces together. Any other filling works just as well, for example jam.
Christmas Cookies
Ingredients
Dough
Filling and decoration
Preparation
- Mixture: Beat 150 g soft butter with 100 g sieved icing sugar until pale and fluffy.
- Dough: Stir in 80 g egg, salt and vanilla, then briefly mix in 250 g flour and 130 g ground almonds.
- Rolling out: Halve the dough, roll out to 3 mm between baking paper, place in the freezer for 10 bis 15 min.
- Cutting out: Cut out bases and lids with a hole, keep the centre pieces for decoration.
- Baking: Bake for 8 bis 10 min at 180 °C fan, do not let them get too brown, cool on the Cake rack.
- Decorating: Melt the chocolate pens in hot water, roll out the Fondant to 1.5 mm, cut out shapes and stick them on.
- Filling: Spread Nutella or jam onto the base, more in the middle than at the edges, then put together.
Nutritional values per 100 g
Storage & shelf life
Everything for this recipe
Recommended from our bakery: exactly the sizes the recipe was tested with.
Ingredients
Fondant Spring Green 250 gr
1 kg Fondant Marshmallow White
Fondant Fire Red 250 gr
Set of 10 Chocolate flavour pens
Chocolate flavour pen - Red
Chocolate flavour pen - Green
Chocolate flavour pen - Pastel yellow
Mini crispy balls GoldGlanz, 160 g
Fine Magic roll-out powder 200 g
Almond flour for Macarons
Liquid aroma "Vanilla"
Swiss White flour, 1 kg
Accessories
Christmas cookie cutter Mix and Match
Dough sticks
Stainless steel angled spatula
Small rolling pin 22.8 cm
Baking paper XL 46 x 38 cm, 15 pieces
Perforated aluminium baking tray 40 x 30cm
Silicone mat SILPAT 40x30cm
Light blue silicone dough scraper, small
Small flexible dough scraper
Rectangular cooling cake rack
Delivery in 1 to 2 working days · Free shipping from CHF 100
So gelingen sie garantiert
A finished cookie consists of two pieces of dough and the filling. Rolled out thicker, it becomes a chunk that is hard to eat.
Apply less Nutella at the edge than in the middle. Otherwise everything squeezes out sideways when you press them together and the cookies stick to each other.
The small bits that come off when you cut out the lid are not waste: stuck on with the chocolate pen, they become decoration.
Frequently asked questions
Because the dough was mixed too long in the machine. After adding the flour you should only mix for a few seconds, the rest is done by hand. Otherwise the gluten develops too strongly and the surface becomes uneven.
With any jam or any spread that is not too runny. The classics are raspberry or apricot jam; the only important thing is that the filling is spreadable and does not run out.
In a tin for 1 to 2 weeks. They draw moisture from the filling and become a little softer over time, which is part of the charm of filled cookies.
Print recipe
Choose what should appear on the printout.
Related posts
 Juicy Matcha Muffins with Pecan Nuts & White Chocolate
Matcha Iced Latte & Coconut Variant
Pull-apart bread with fresh wild garlic pesto
Mini Banana Bread with Chocolate Chips
Juicy Matcha Muffins with Pecan Nuts & White Chocolate
Matcha Iced Latte & Coconut Variant
Pull-apart bread with fresh wild garlic pesto
Mini Banana Bread with Chocolate Chips
Leave a comment
Comments
Réponse
By: Karin On 2022-12-16Merci pour votre message :-)
Vous pouvez faire la décoration maximum une semaine avant sinon la pâte à sucre va devenir dure. Conservez bien vos biscuits dans une boîte hermétique et fourrez-les bien au dernier moment. ;-)
Belle journée et bonne pâtisserie !
Question de Aurélie
By: Aurélie G. On 2022-12-16Bonjour et merci pour cette super recette. Deja faite 2x avec mon fils. On adore.
J'ai fait mes biscuits Aujourd'hui pour le 25. Est ce que je peux déjà les décorer aujourdhui et les conserver comme cela jusqu'a Noël? (Et les fourer au dernier moment .)
Belle journée
Aurélie