
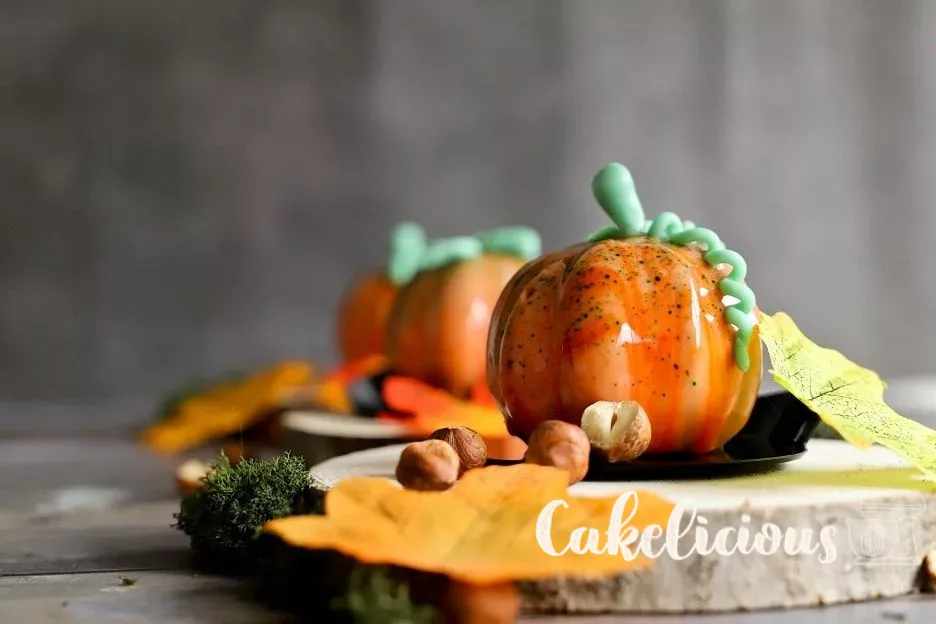
Pumpkin mousse tartlets with chocolate and hazelnut sponge
Chocolate, pumpkin and hazelnut: an autumnal trompe-l'œil to fall in love with
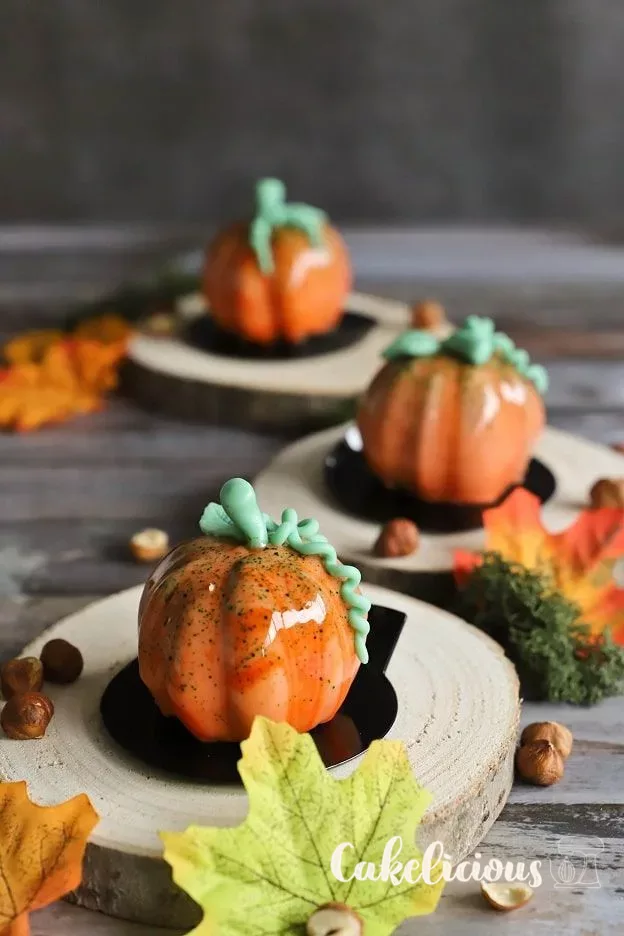
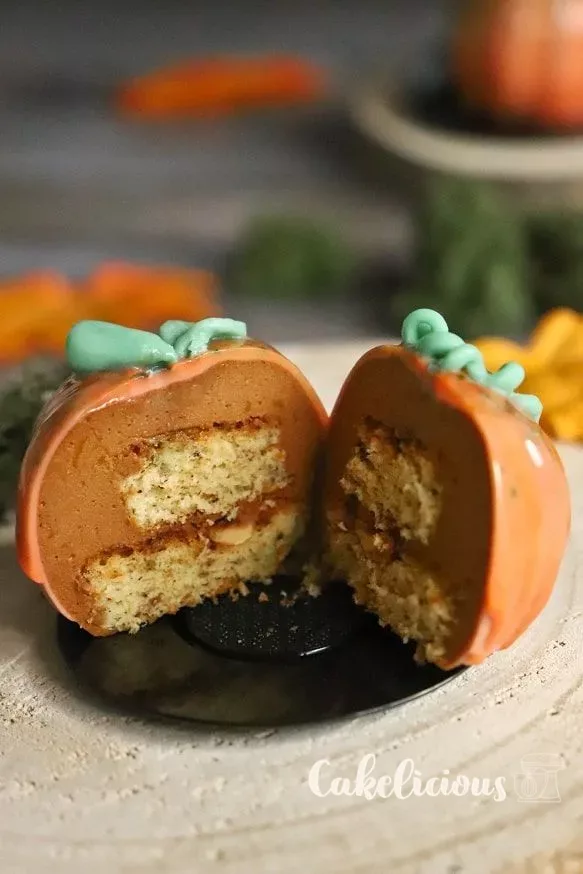
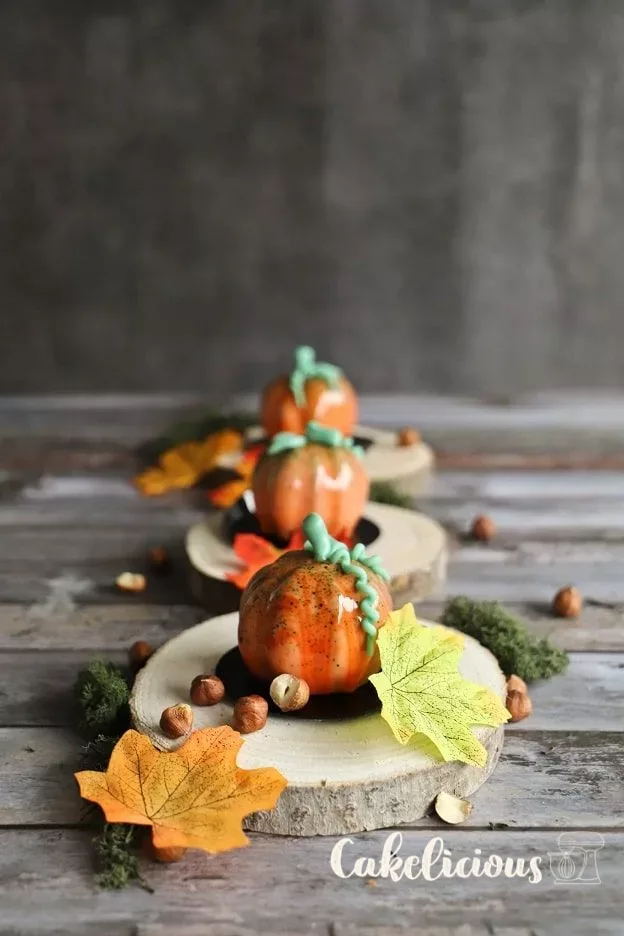
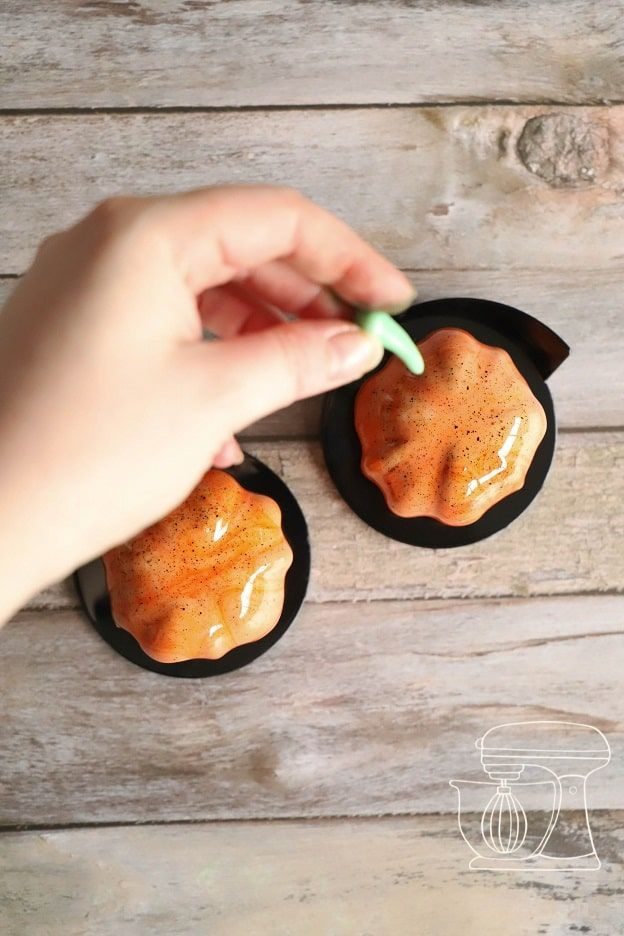
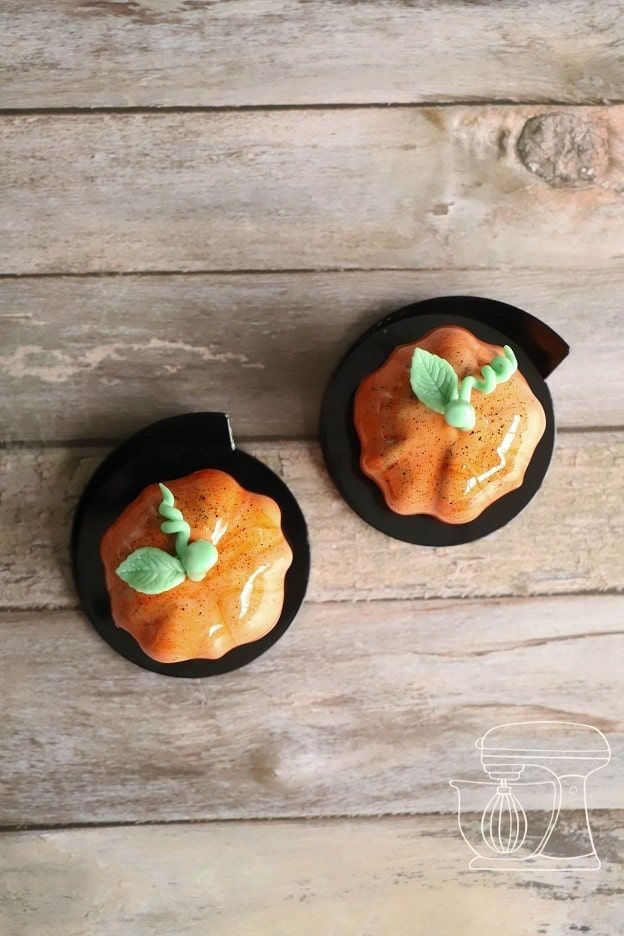
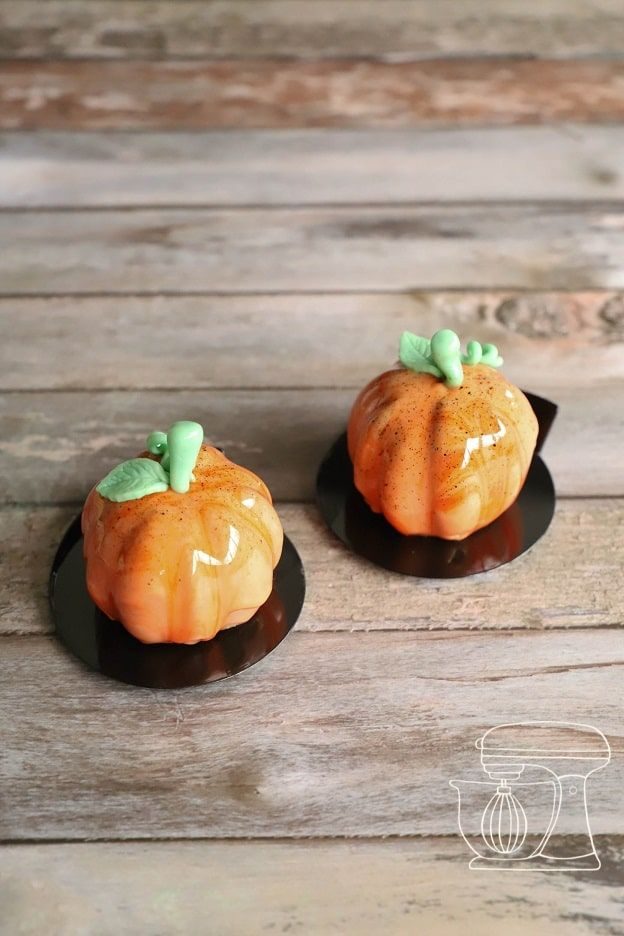
Hello you gourmets! This week there is something for the eye and for the palate. With the Delica pumpkin Silicone mold from Silikomart we create little pumpkins that look so real you have to look twice. Inside hides a delicate pumpkin mousse with dark chocolate on a crunchy hazelnut sponge, wrapped in a glossy Mirror glaze. Whether for Halloween, Thanksgiving or a cosy autumn dinner: your guests will be delighted.
Ingredients
Modeling chocolate (optional)
Hazelnut sponge
Chocolate pumpkin mousse
Icing & decoration
Step by step
Modeling chocolate (optional)
Make the modeling chocolate
Slowly melt 250 g of white couverture in a bain-marie or in the microwave. Stir in 90 g of Glucose syrup with a dough scraper until a dough-like mass forms, and color it with Powder color. Wrap it flat in cling film and let it rest for at least 24 hours so the fat crystals can crystallise.
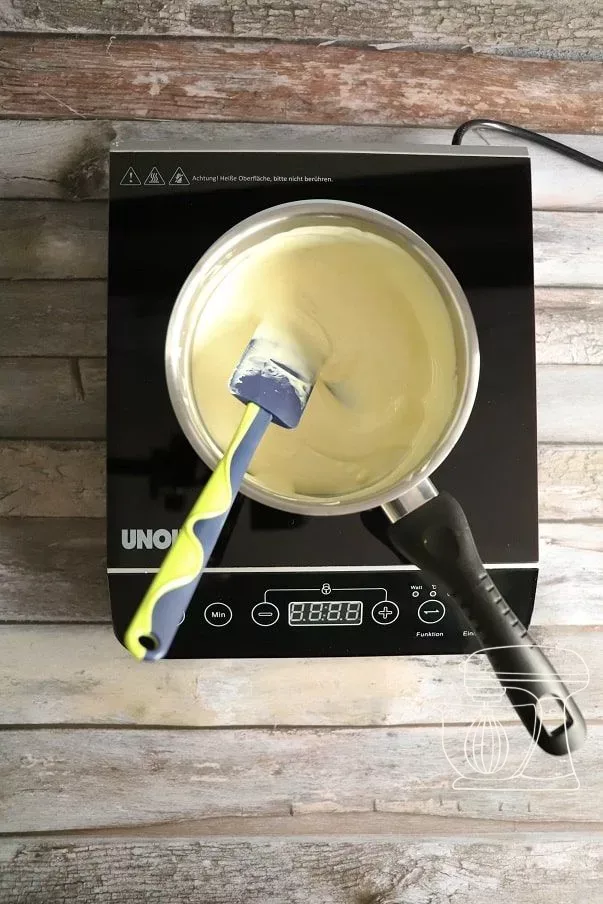
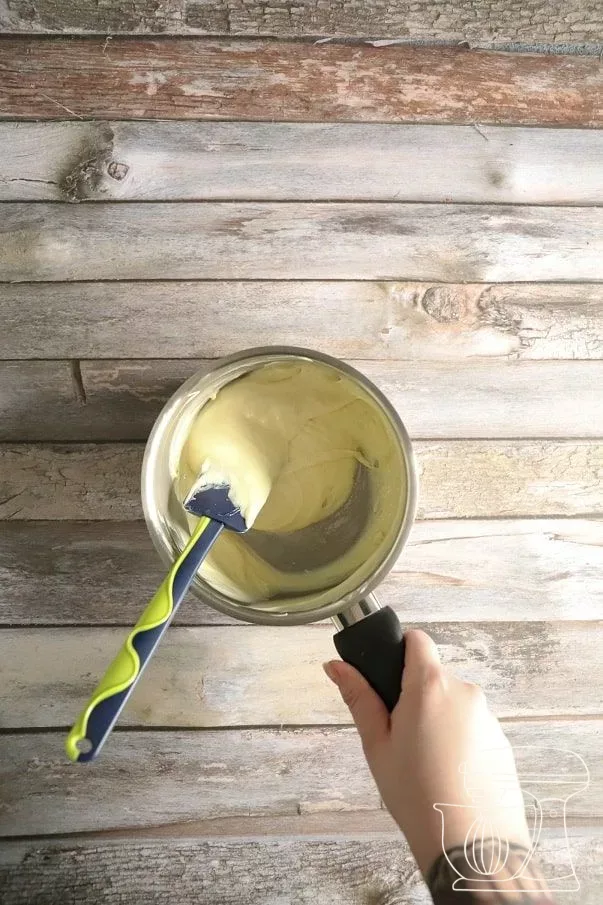
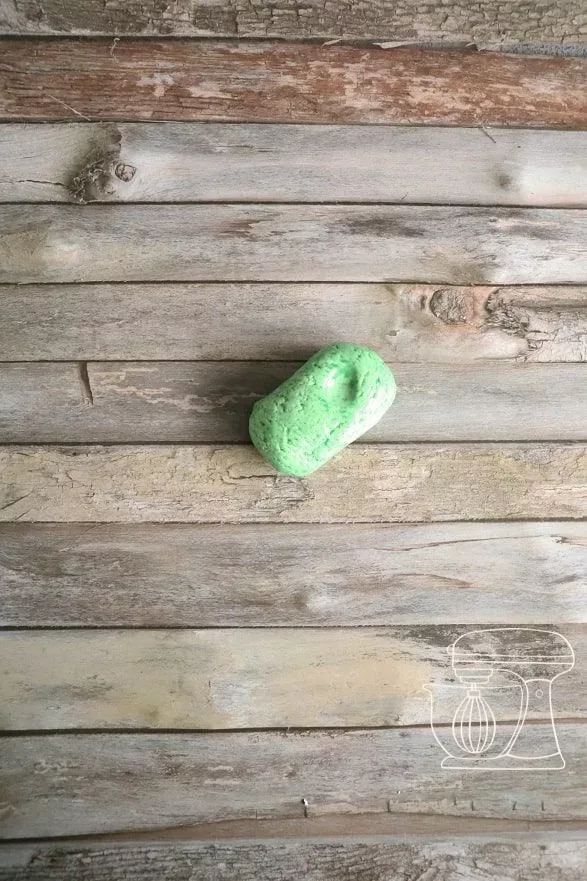
White chocolate 28% 400g - Callebaut
Glucose syrup, 350 g
Pastel powder colors
Progel gel colors: light green
Bake the hazelnut sponge
Roast the hazelnuts
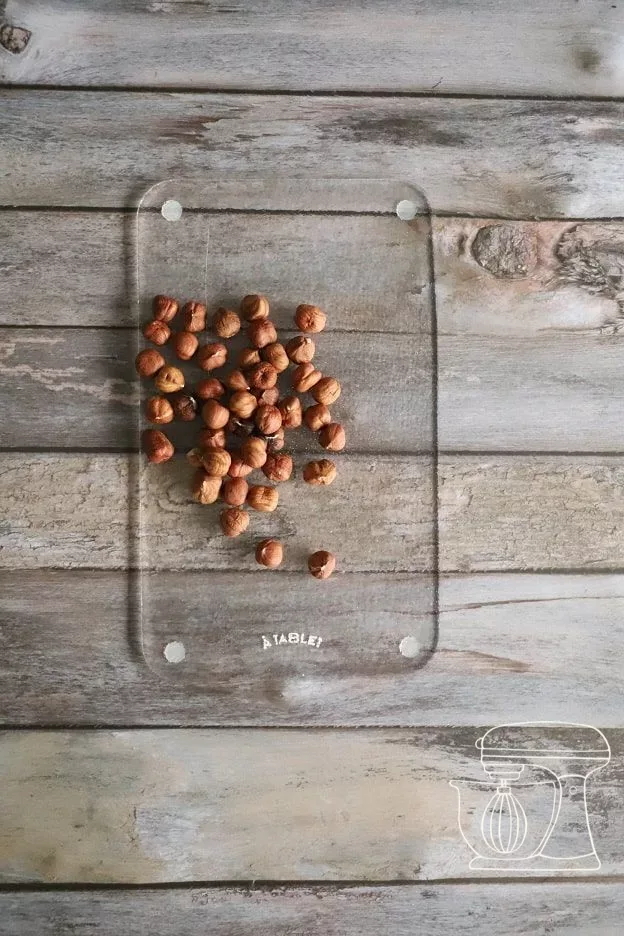
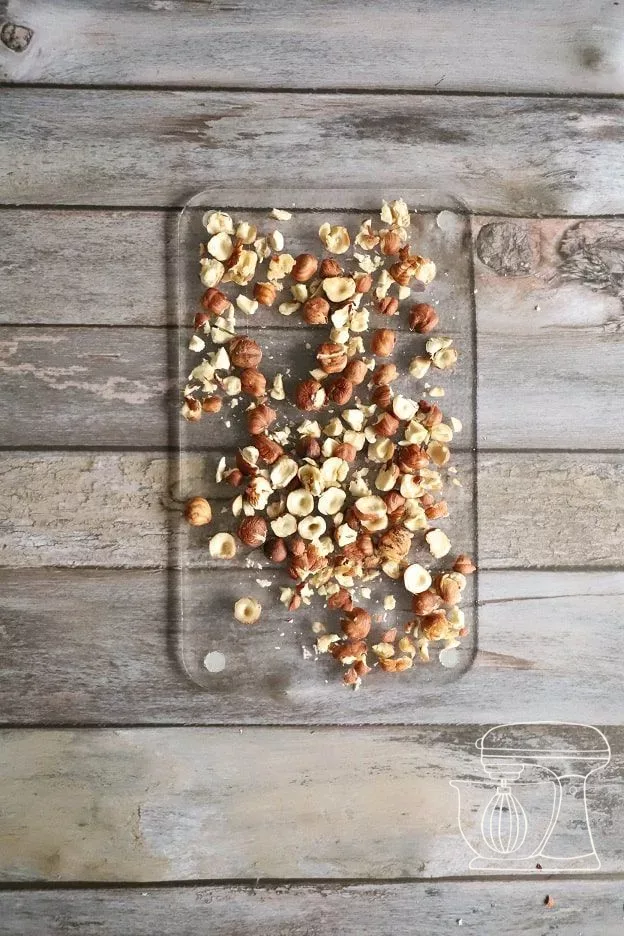
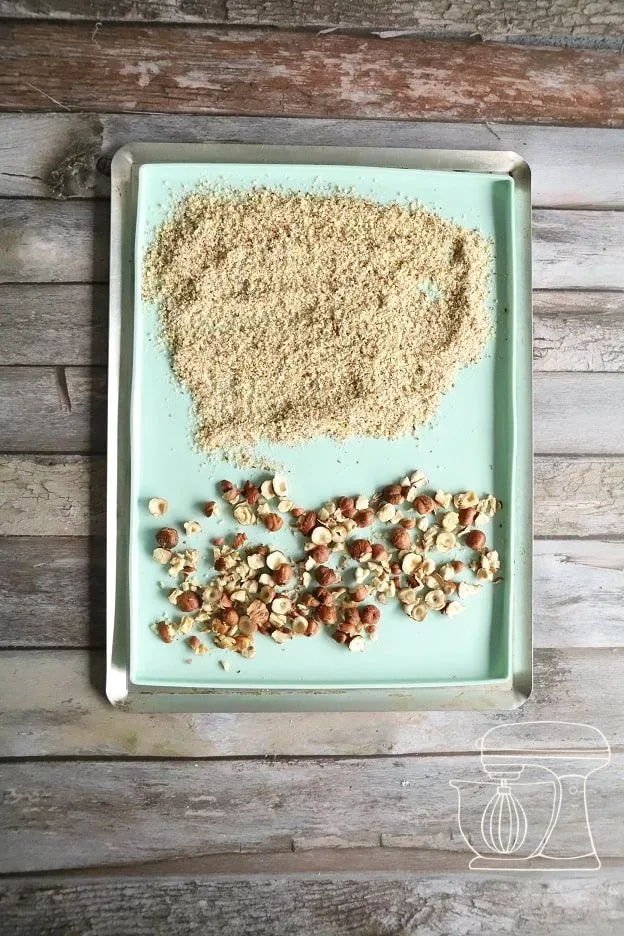
Preheat the oven to 180 °C top/bottom heat. Spread 50 g ground and 100 g coarsely chopped hazelnuts separately on a Roulade mat and roast them for 10 bis 15 minutes. Leave the oven switched on afterwards.
Whip the egg mixture
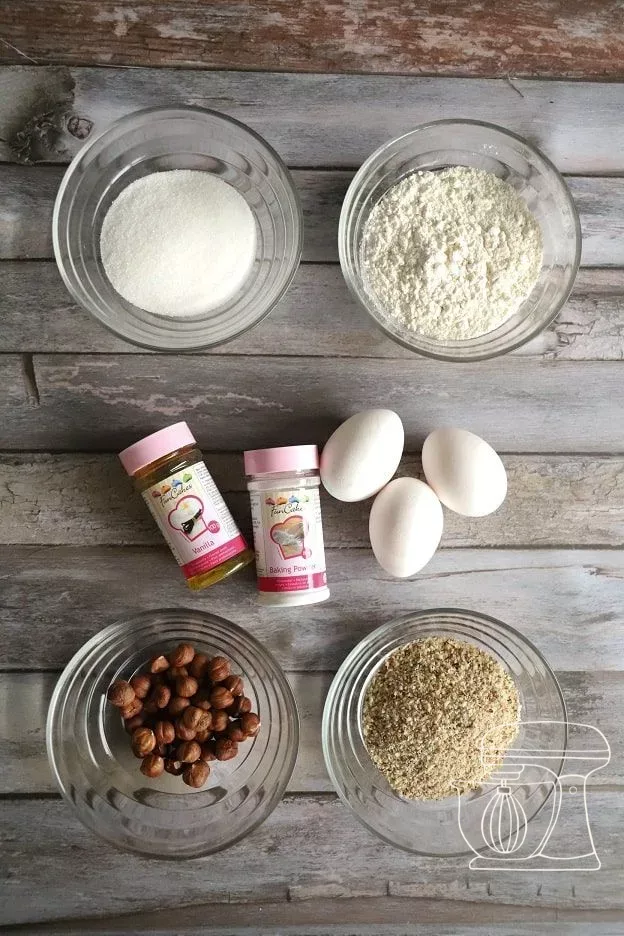
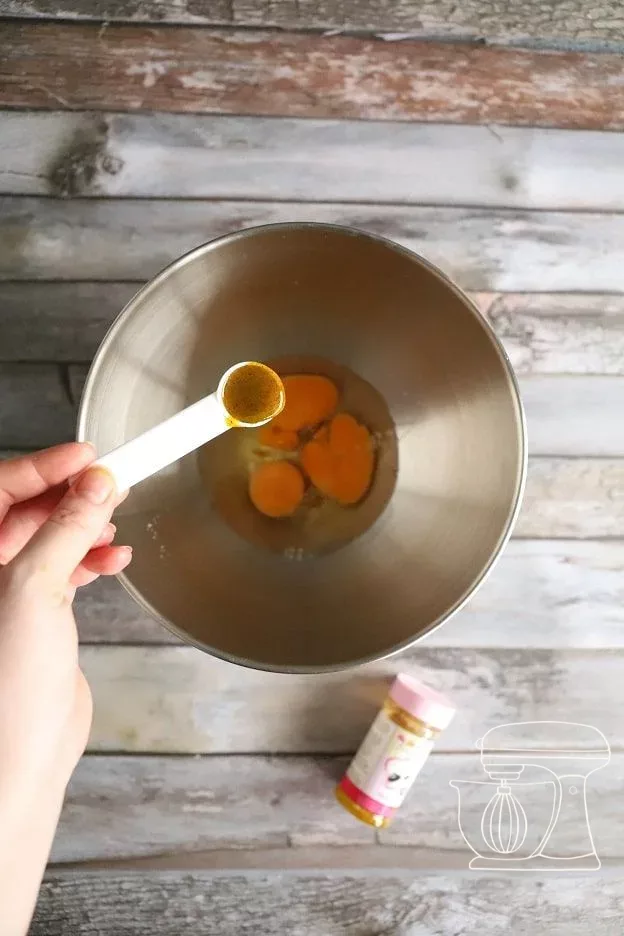
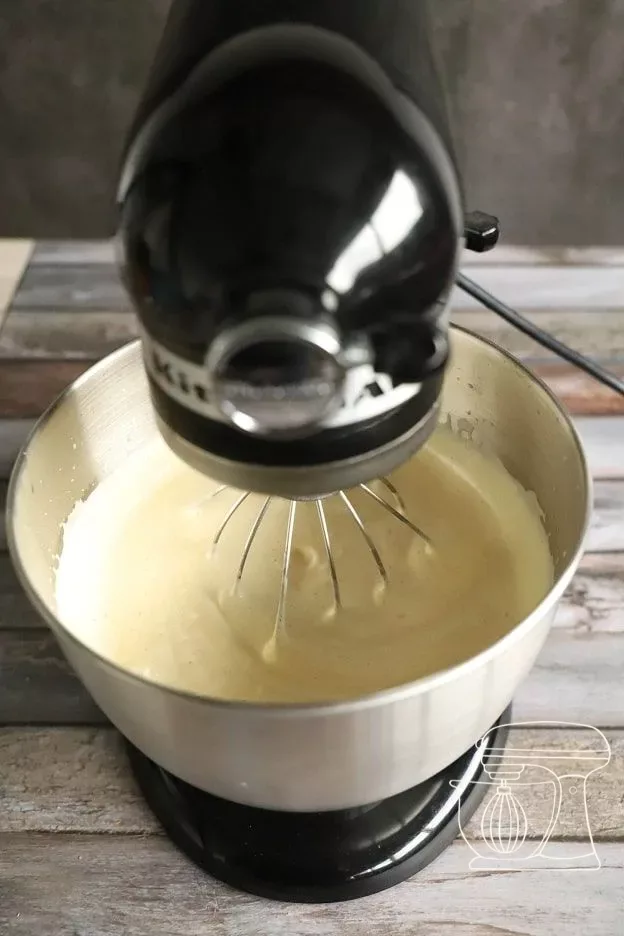
Whip 3 eggs, 2 tbsp water and 1 tsp vanilla aroma on the highest setting for about 1 minute until foamy. Sprinkle in 100 g sugar while stirring over 1 minute and whip the mixture for a further 2 minutes.
Stainless steel Angled spatula
Liquid aroma "Vanilla"
Swiss White flour, 1 kg
Baking powder 80g
Fold in flour and hazelnuts
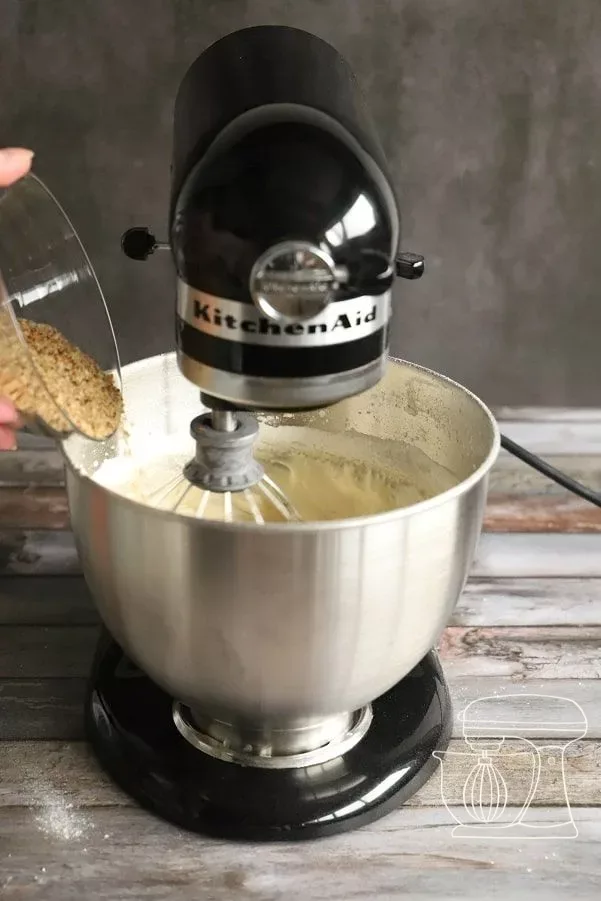
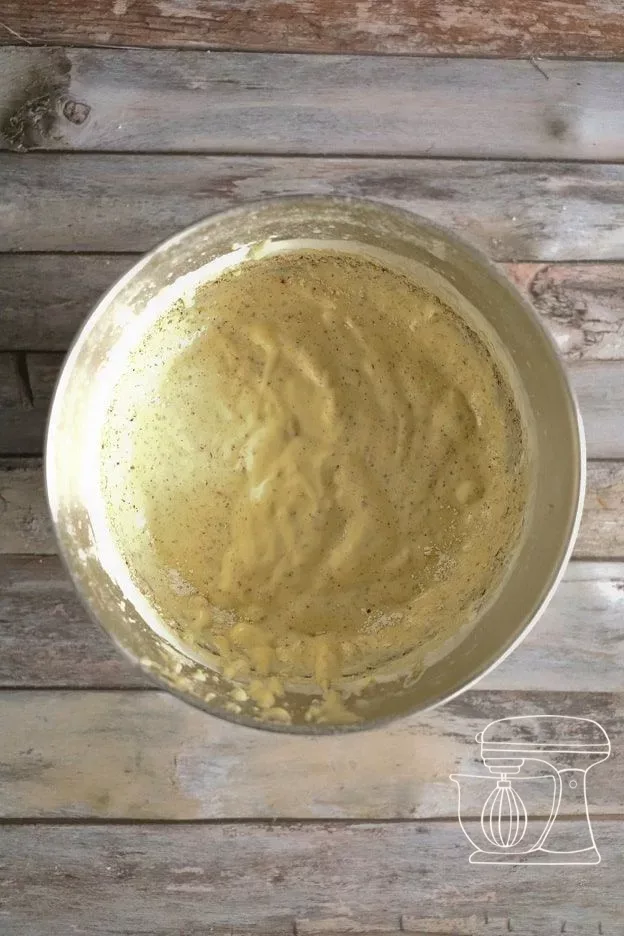
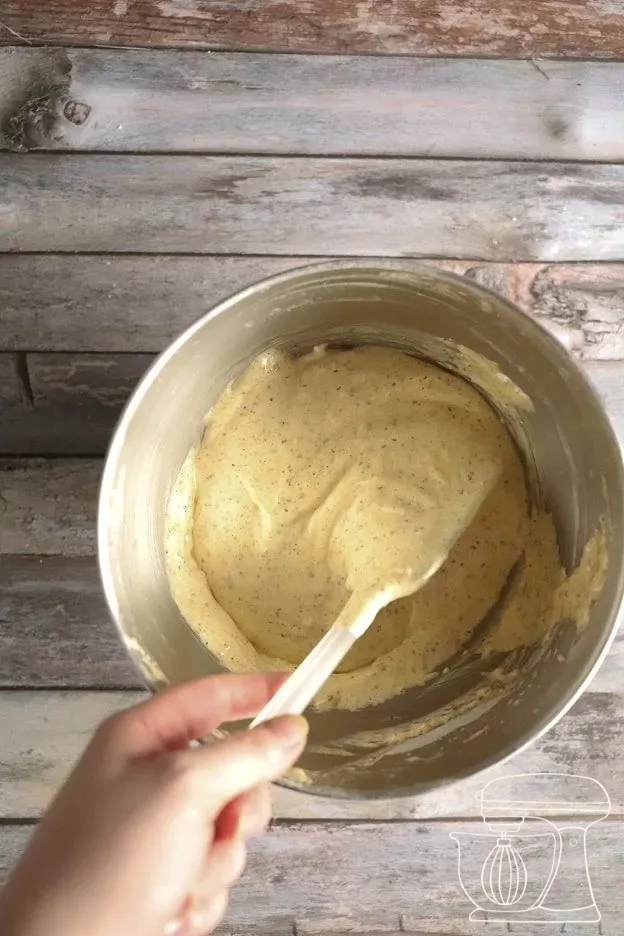
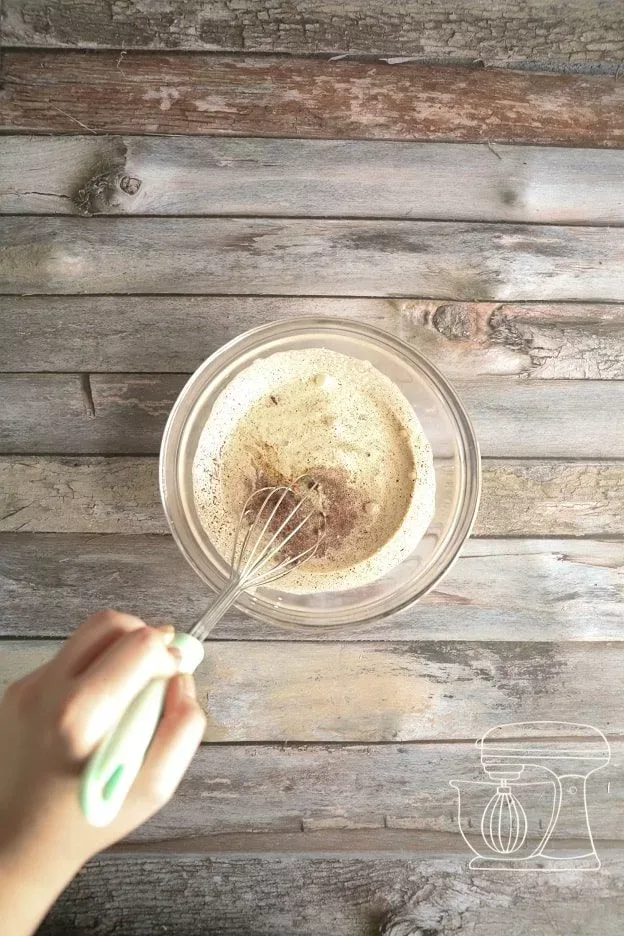
Mix 100 g flour with 1 tsp Baking powder and the roasted ground hazelnuts. Stir everything in briefly on the lowest setting and finish folding the mixture gently with the Dough scraper so it does not collapse.
Bake and cool
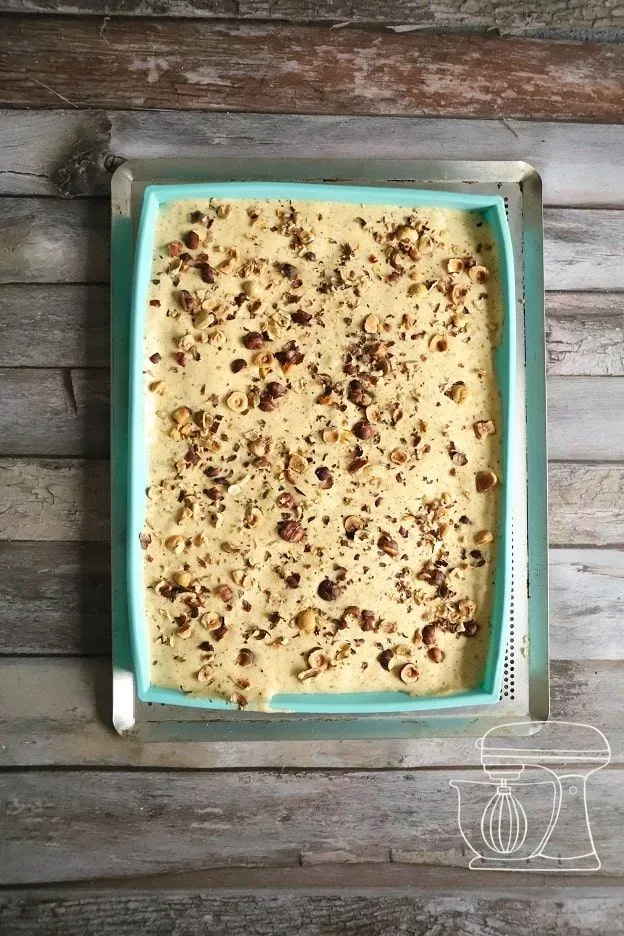
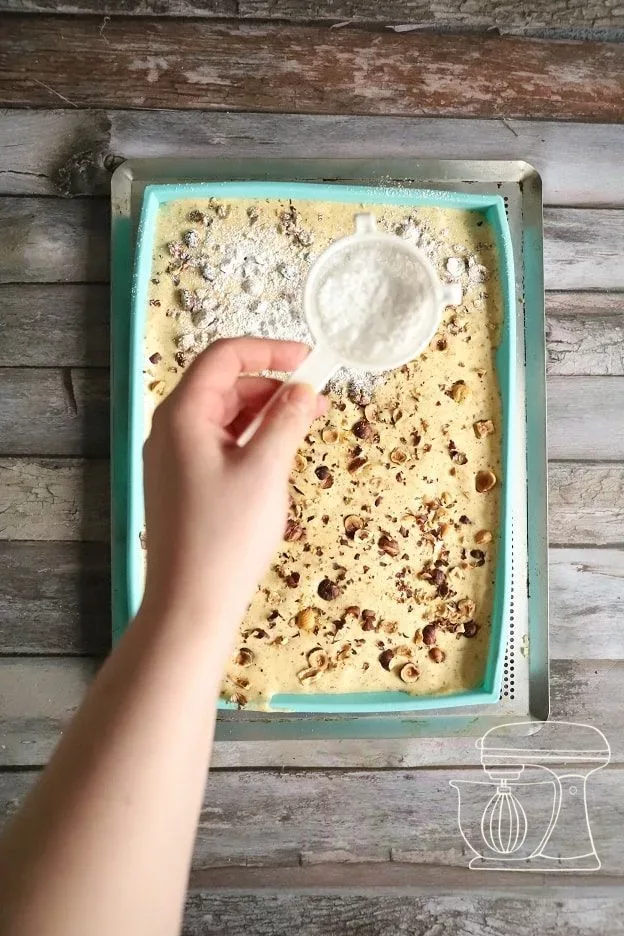
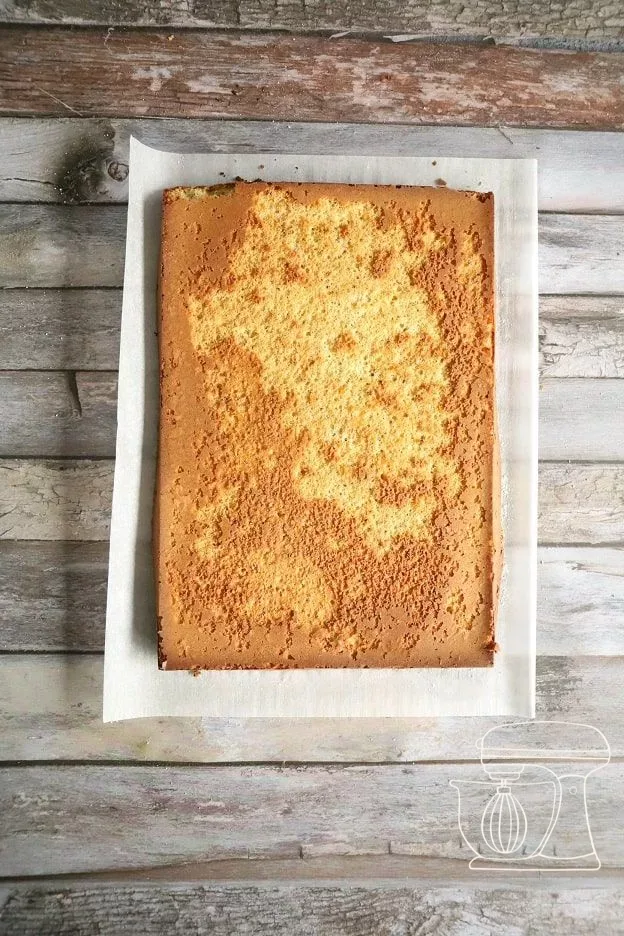
Smooth the batter onto the mat with an Angled spatula and spread the chopped hazelnuts over it. If you like, sprinkle everything with 20 bis 30 g icing sugar for a fine caramel note. Bake the sponge on a perforated tray in the lower third of the oven for 20 bis 25 minutes, turn it out onto baking paper and let it cool on a Cake rack.
Preparing the pumpkin mousse
Make the pumpkin purée
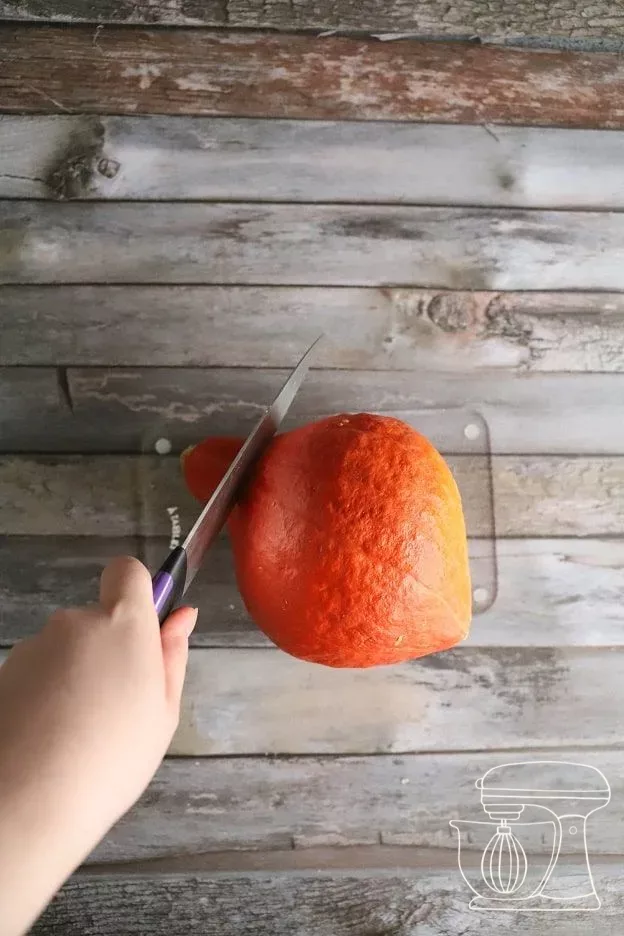
Peel a Hokkaido or butternut squash (approx. 1300 g), cut it into small pieces and cook it in a large pot with a little water for about 20 minutes until soft. Drain off the water, purée everything with a hand blender and let the purée cool. You will need 250 g of it.
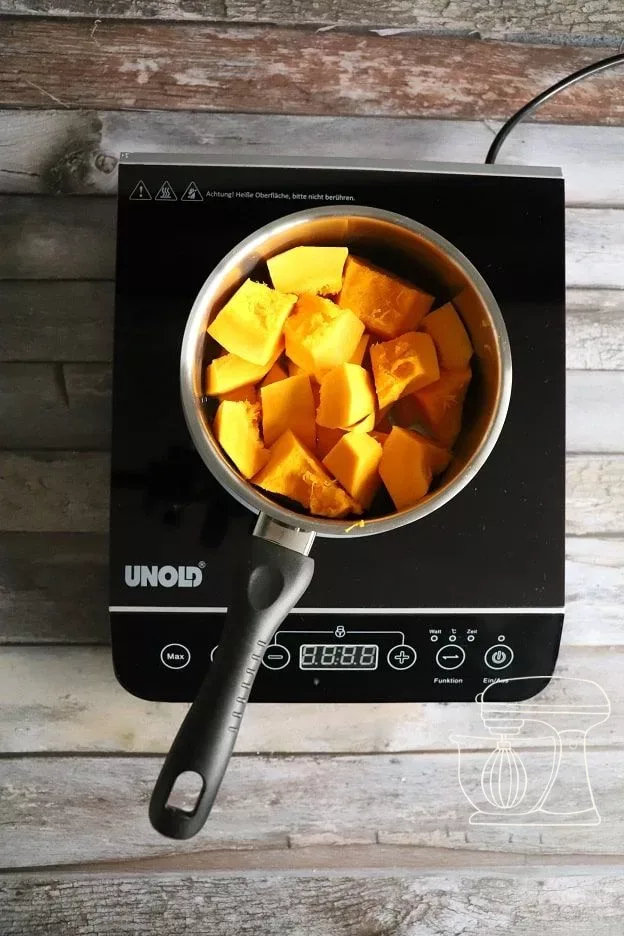
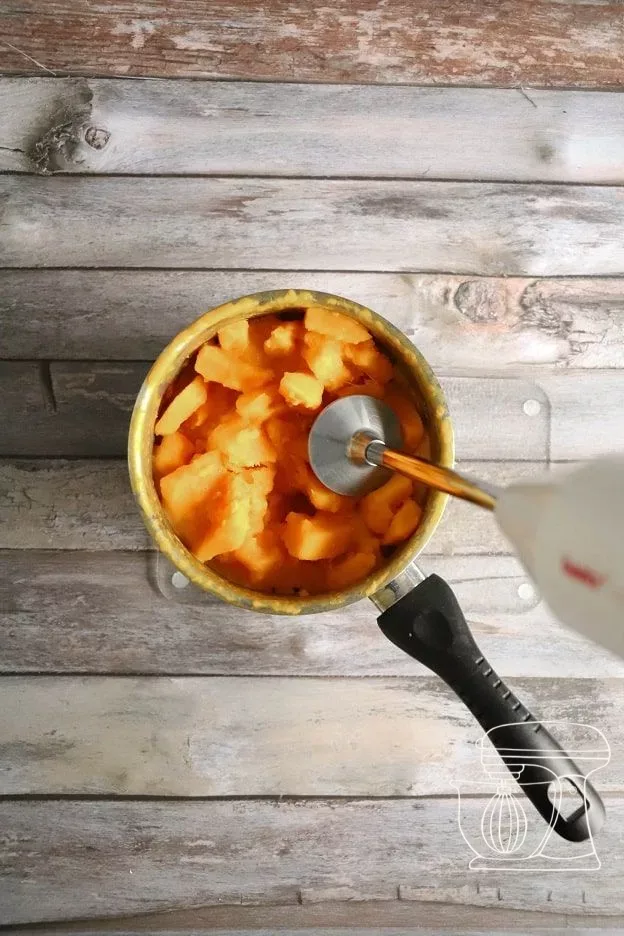
Chocolate ganache
Soak 2.5 sheets of Gelatine in cold water. Bring 100 g of full cream to the boil, take it off the heat and dissolve the squeezed-out Gelatine in it. Pour the hot cream over 100 g of dark couverture in 3 portions and stir everything with the Whisk, so the Ganache does not separate. Let it cool at room temperature.
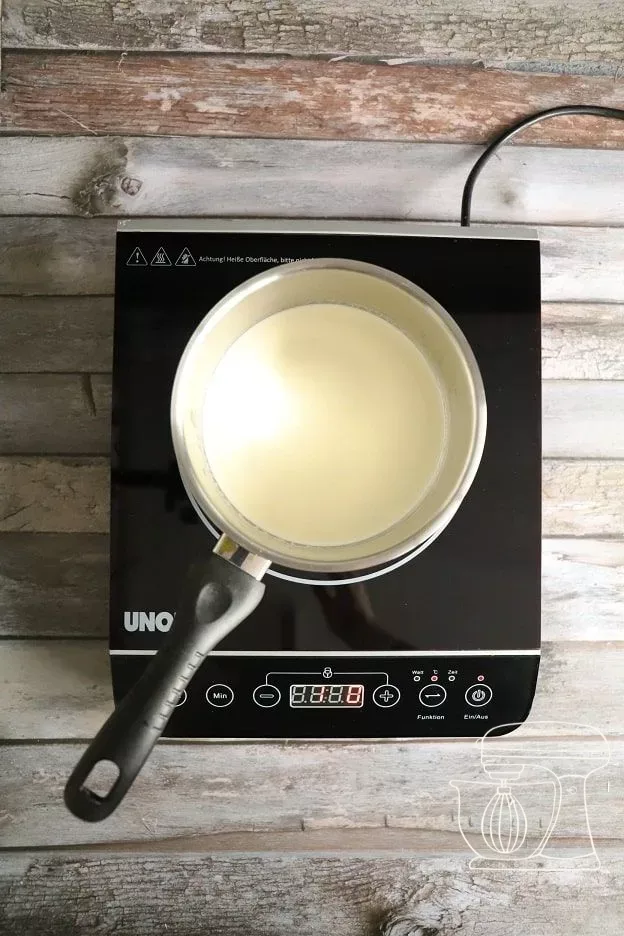
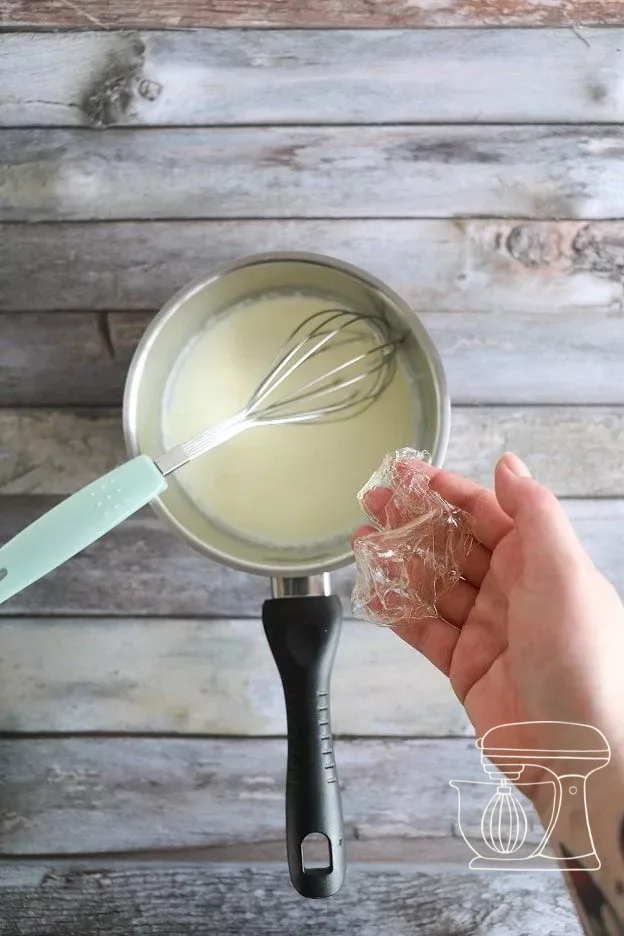
Delica Silicone mold - Silikomart
Disposable piping bag 40 cm
Dark couverture 54.5% 2.5kg - Callebaut
RUF Gelatine sheets, 12 pieces
Fold in the whipped cream
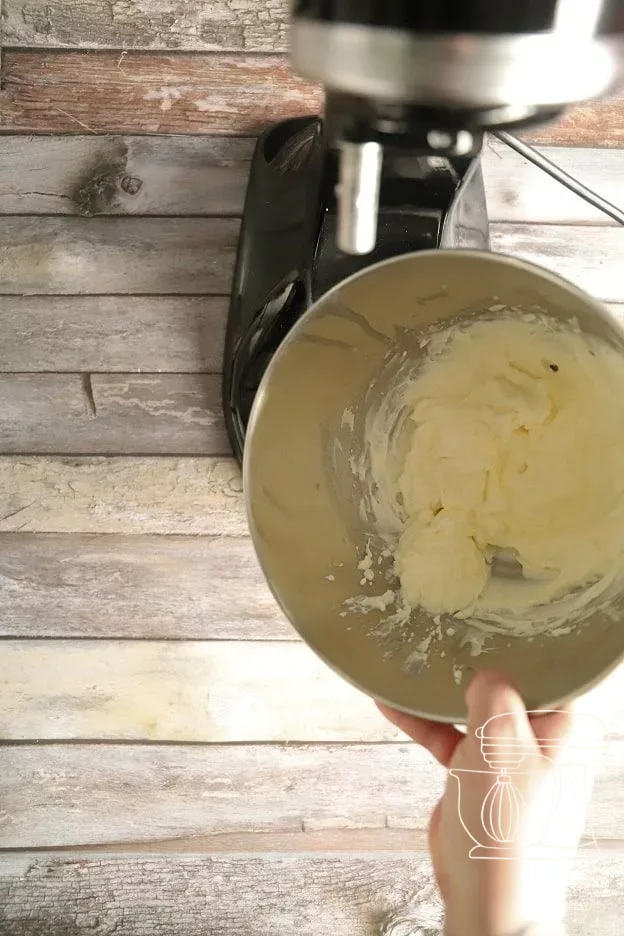
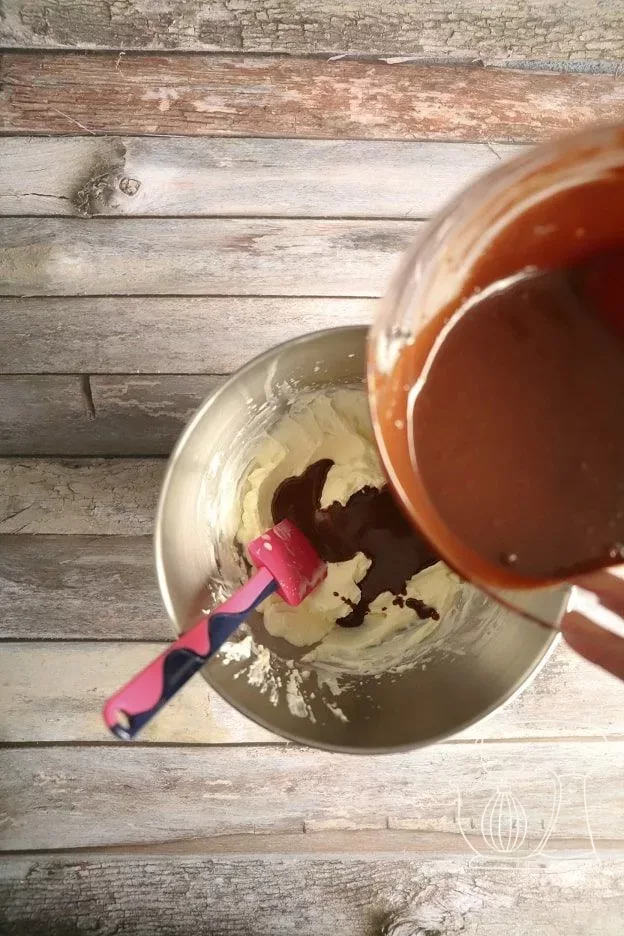
Whip the remaining 200 g of full cream with 80 g of icing sugar until creamy and carefully fold it into the cooled Ganache.
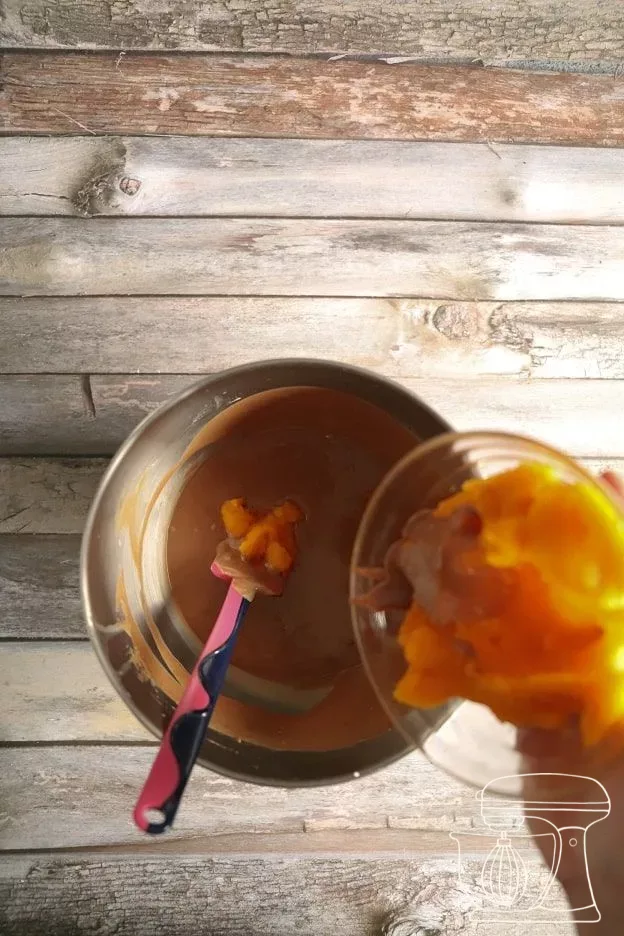
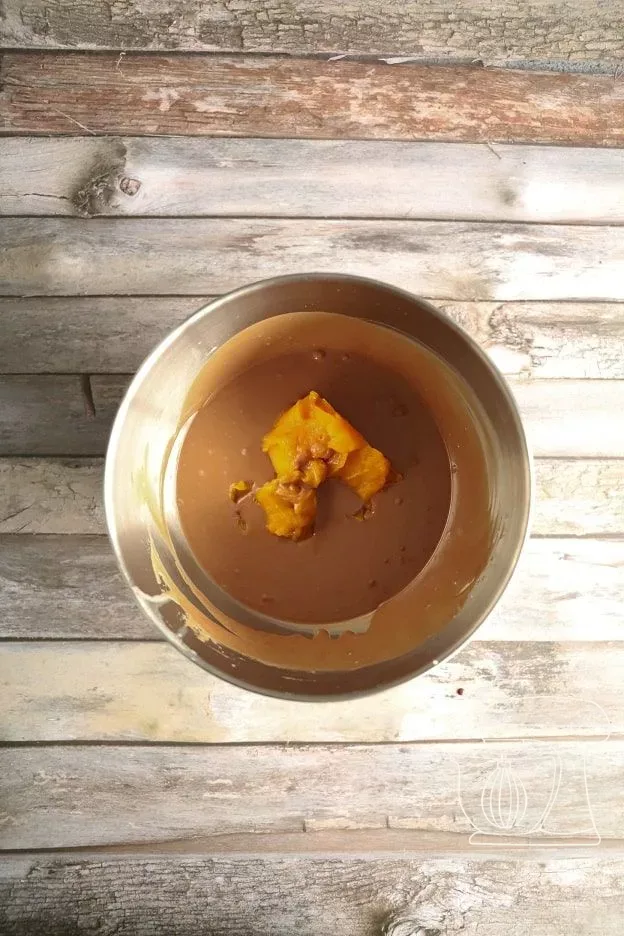
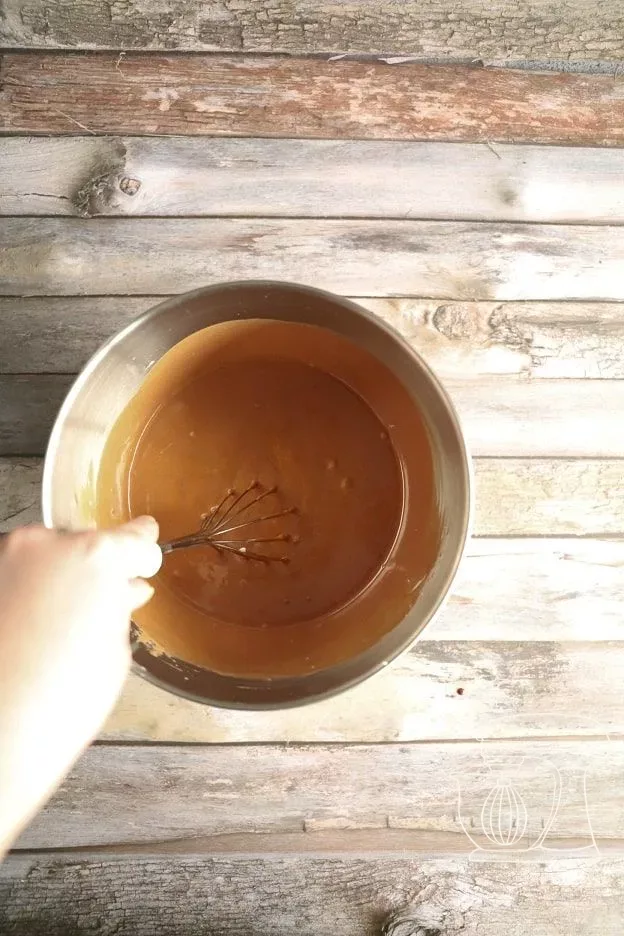
Stir in the pumpkin purée
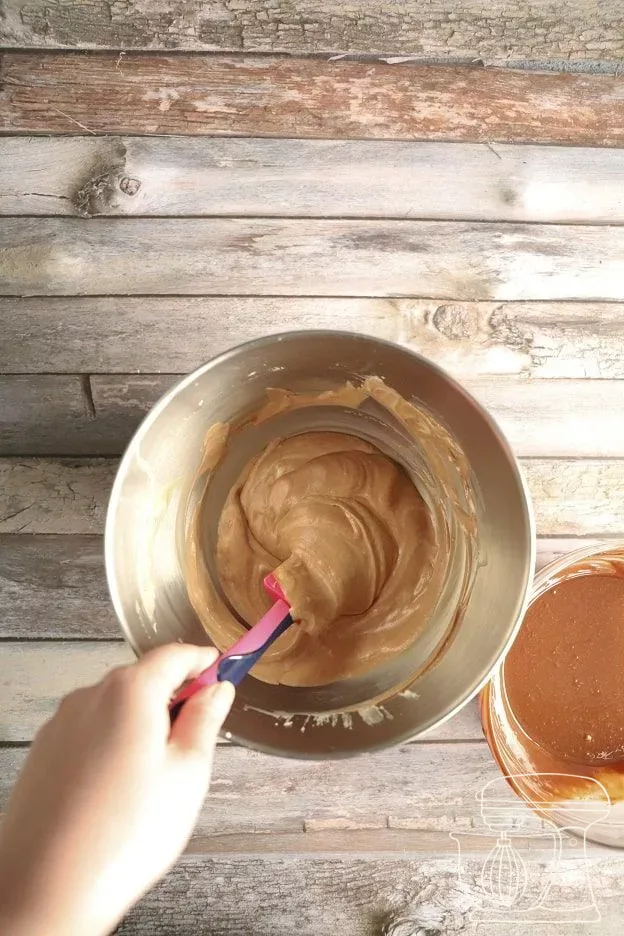
Finally, stir in 250 g of firm pumpkin purée with the Whisk until the pumpkin mousse is even and smooth.
Fill the pumpkins and freeze
Cut out the sponge
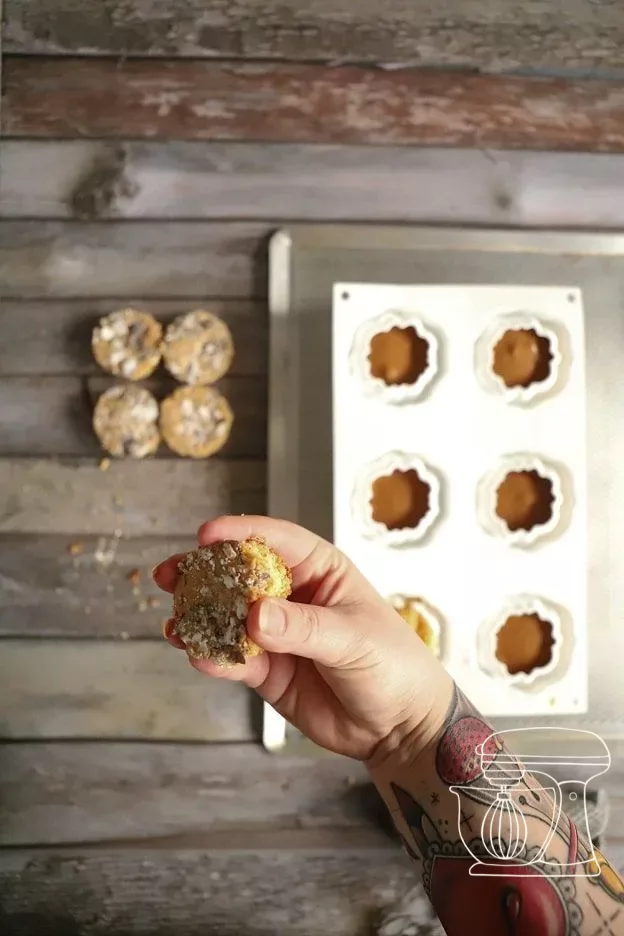
Using round cookie cutters, cut 6 small and 6 large discs each from the hazelnut sponge. Choose the sizes to match your mold: the large disc should be slightly smaller than the opening of the cavity, and the small one about 1.5 cm smaller than the large one. The sponge offcuts make a wonderful snack for in between.
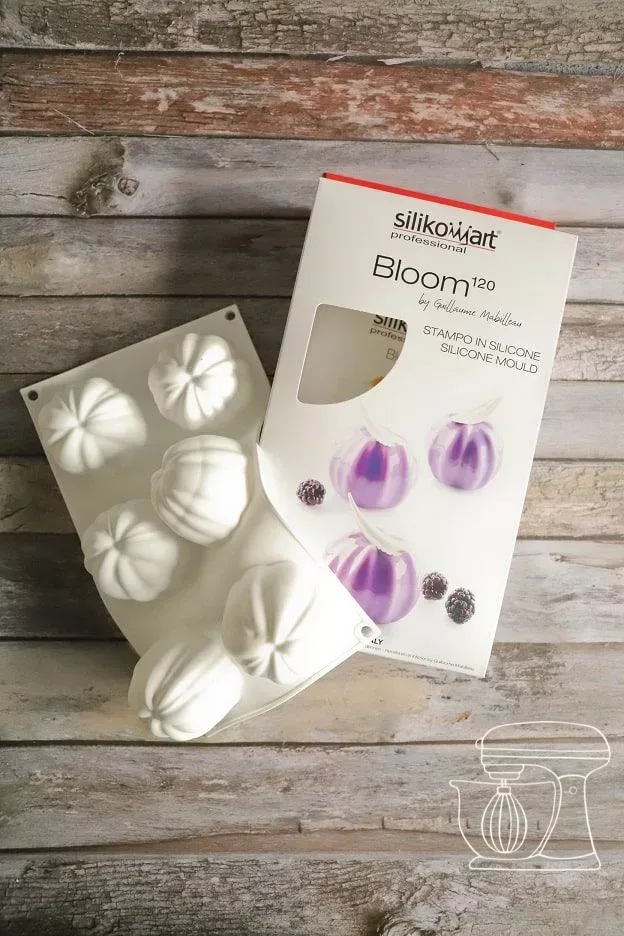
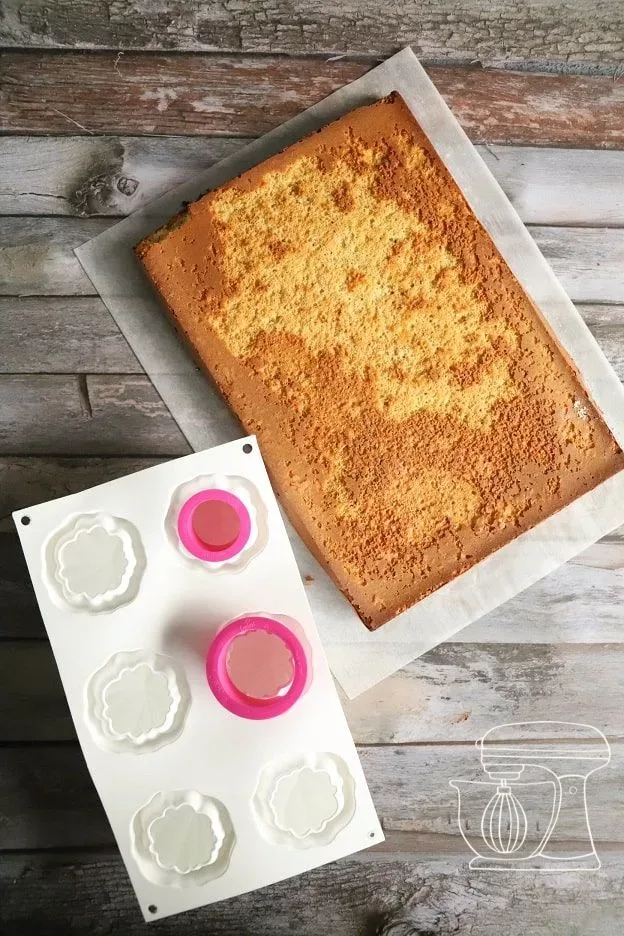
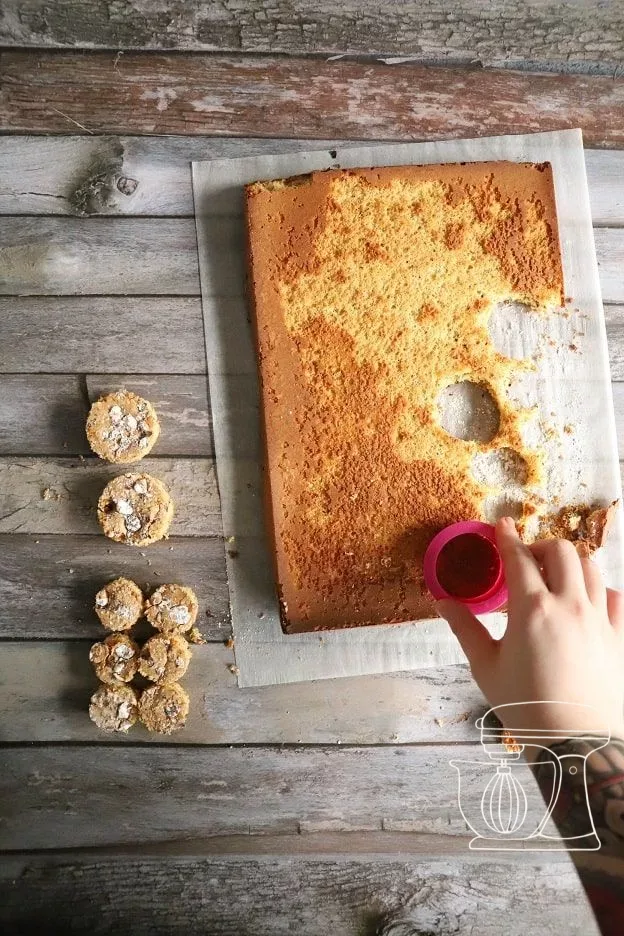
Delica Silicone mold - Silikomart
Round Cookie cutter set, 11 pieces
Perforated aluminium tray 40 x 30cm
Stainless steel Angled spatula
Pipe in the mousse
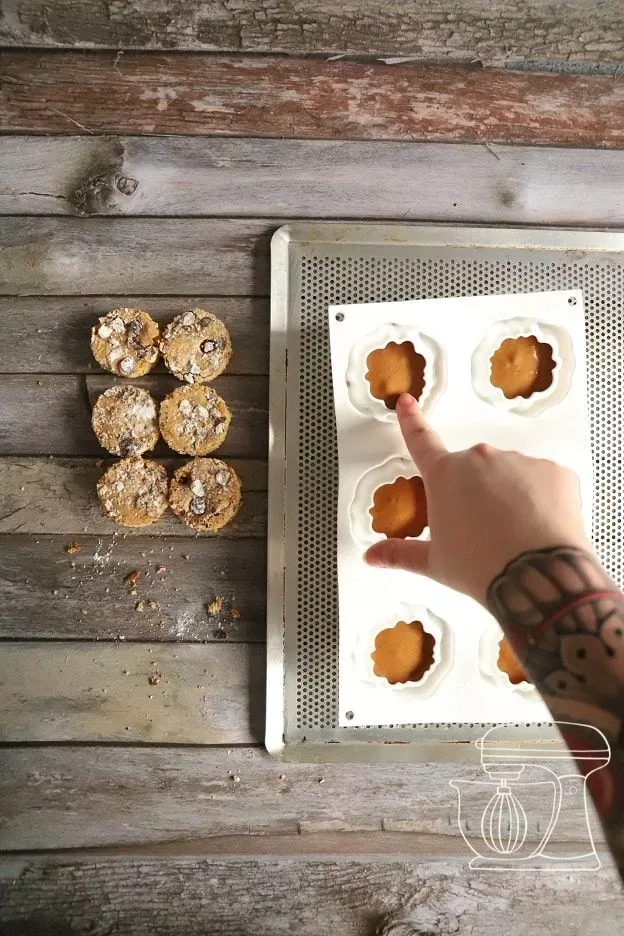
Fill the mousse into a 40 cm Piping bag and pipe it halfway into the 6 cavities of the Delica pumpkin Silicone mold. Place the small sponges inside and press them in gently.
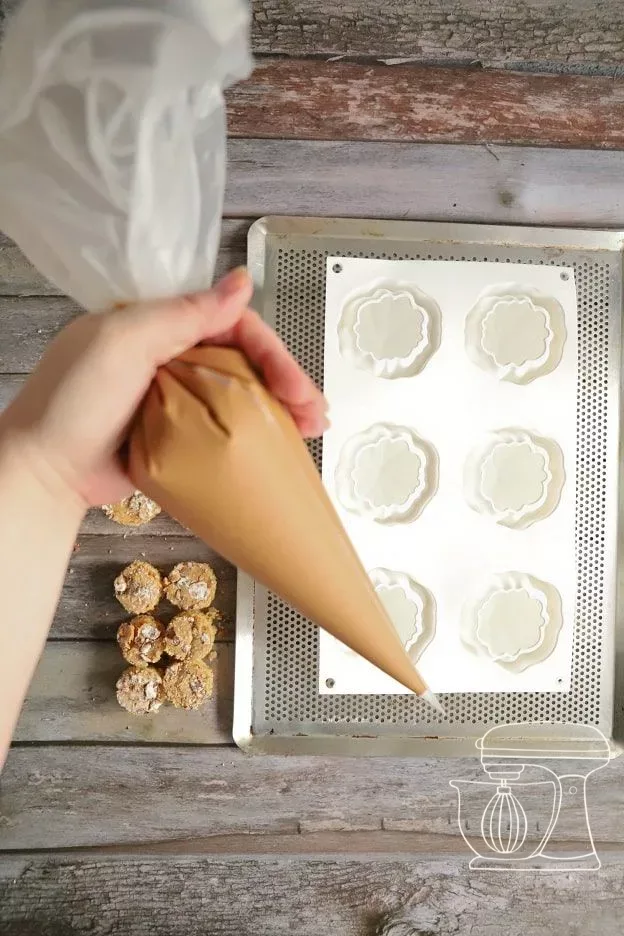
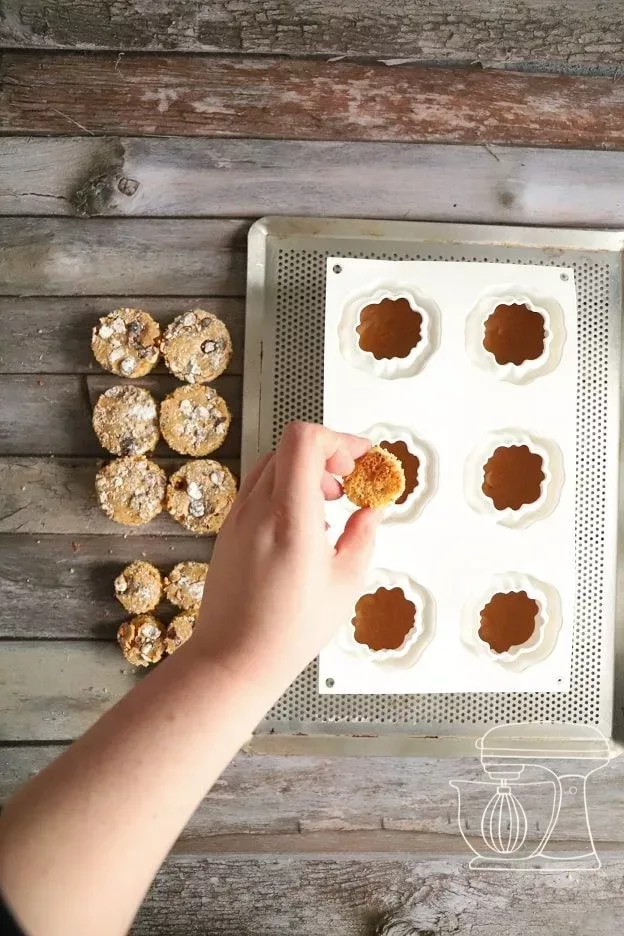
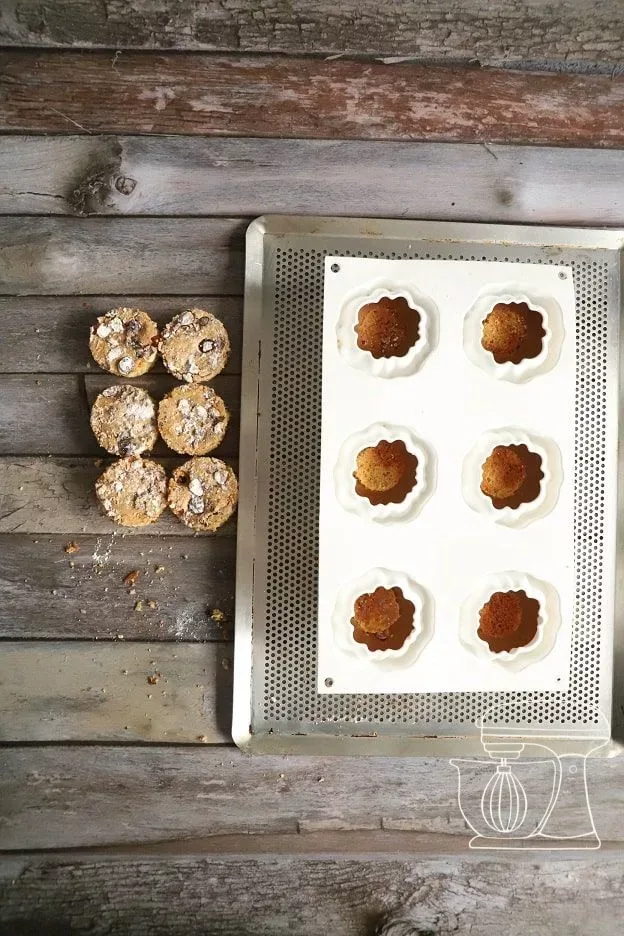
Close and freeze
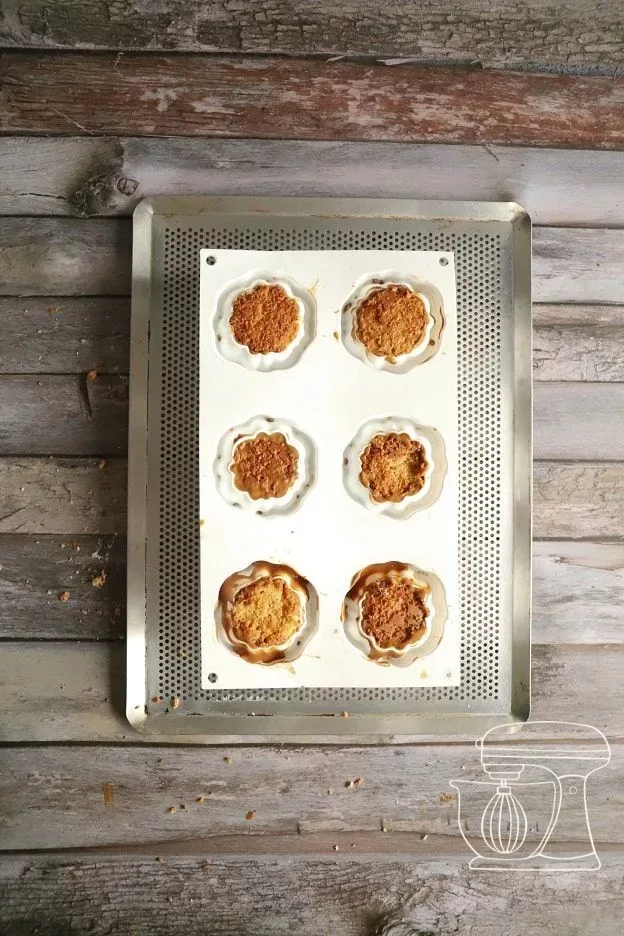
Fill the molds about ⅔ full with mousse, tap the tray gently on the work surface so that air bubbles escape, and place the large sponges on top. Any leftover mousse tastes wonderful in small dessert glasses. Put the mold in the freezer for at least 6 hours, or better still overnight.
Glazing and decorating
Prepare the mirror glaze
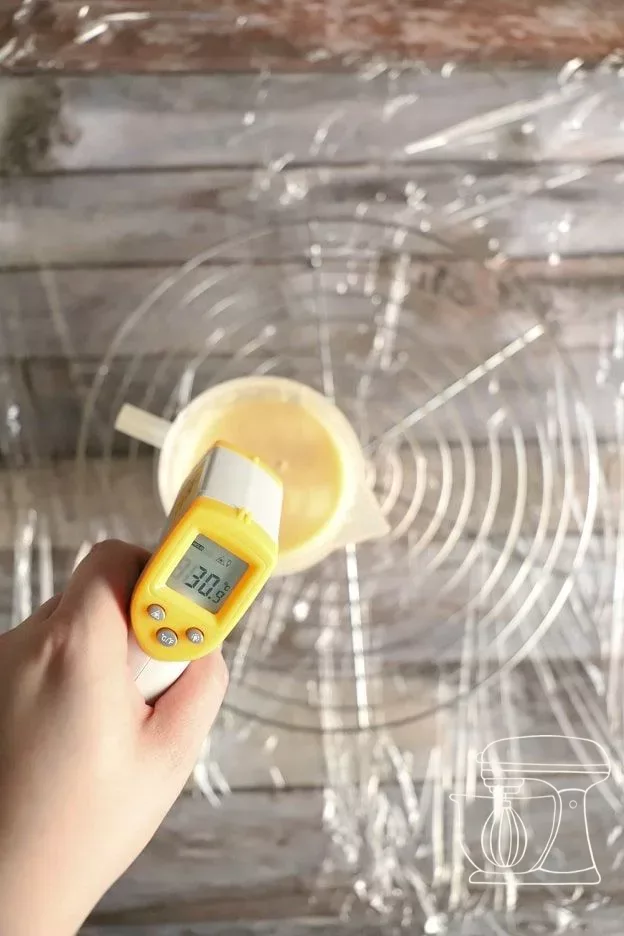
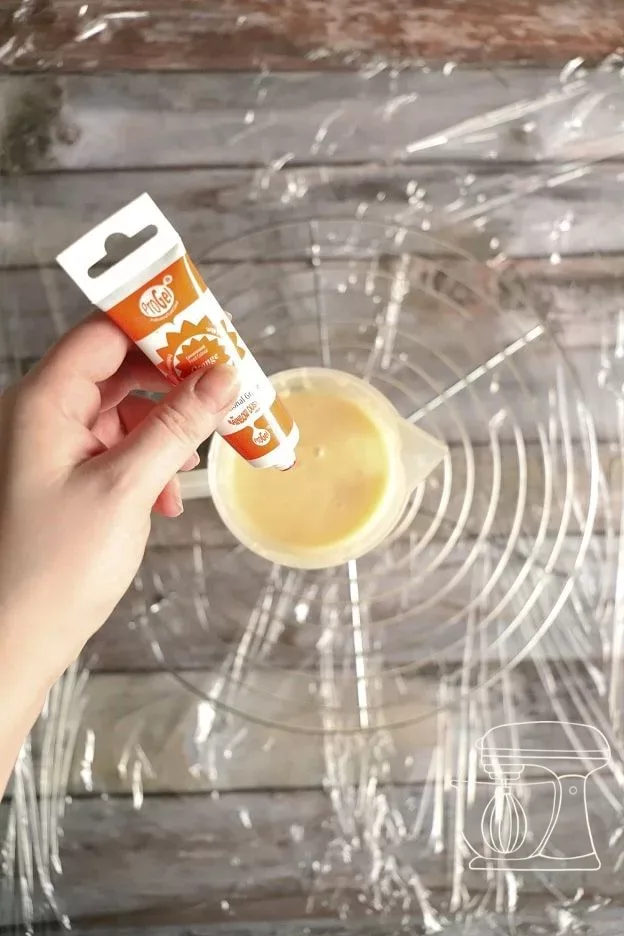
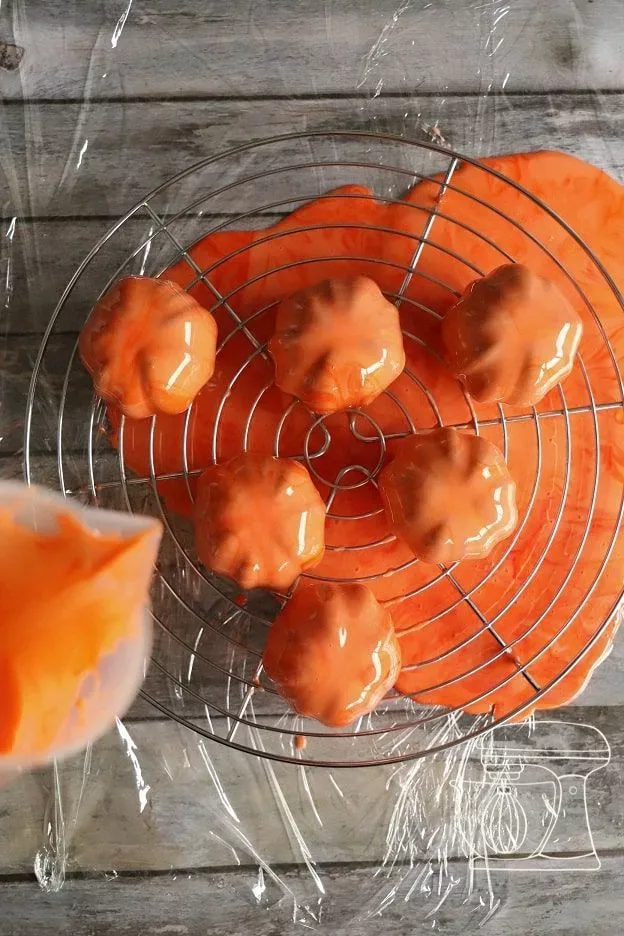
Colour the Mirror glaze Ivoire with orange gel color and warm it in 30-second steps to approx. 30 °C. For glazing it should be between 28 and 32 °C: if it is colder, the layer becomes too thick, if it is hotter, it does not adhere properly.
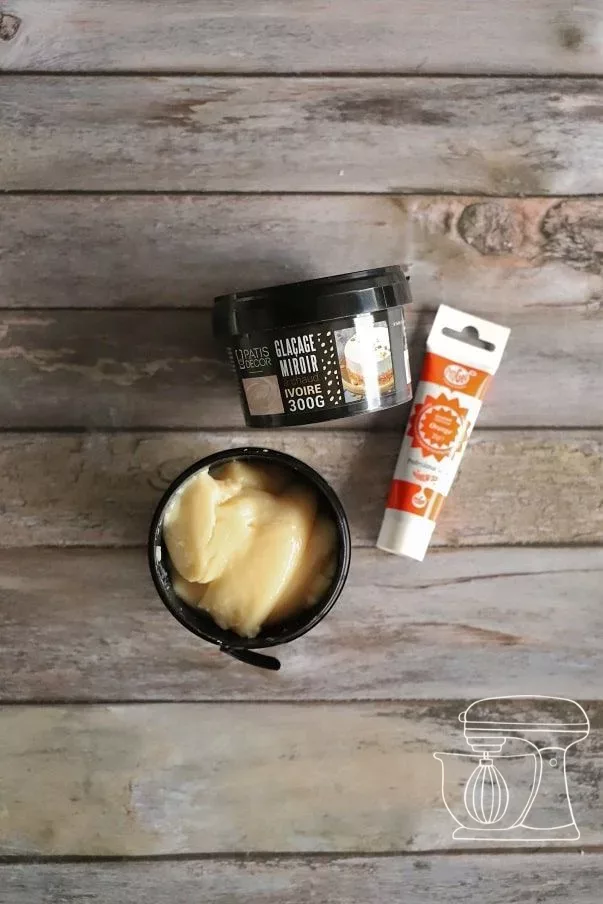
Chocolate Mirror Glaze 1 kg
Progel gel colors: Orange
Round Cooling rack
Infrared thermometer
Glazing
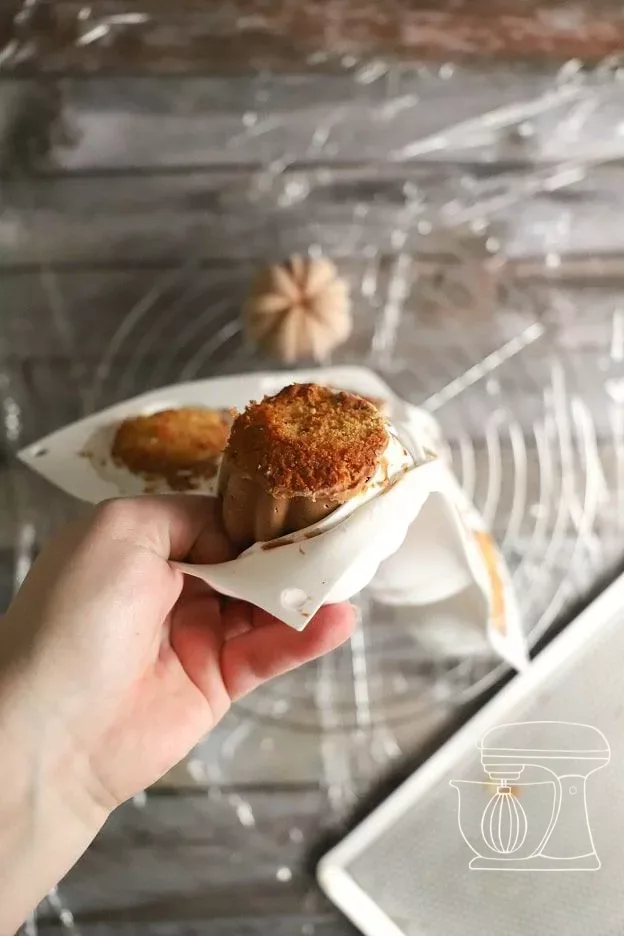
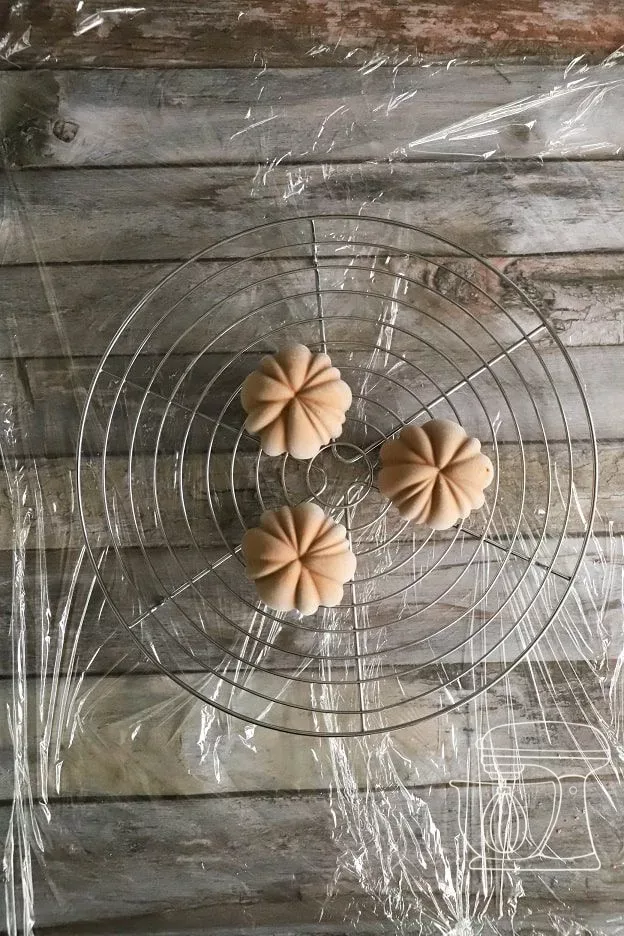
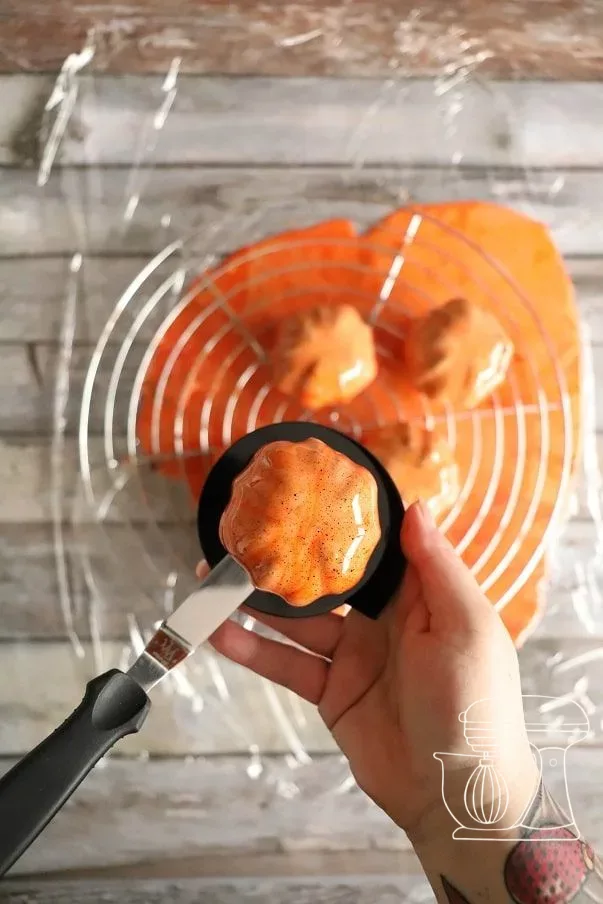
Lay cling film on the table and place a cake rack on top, this way you can catch the excess icing. Release the frozen pumpkins from the mould, set them on the rack and glaze them individually with circular movements.
Speckling and plating
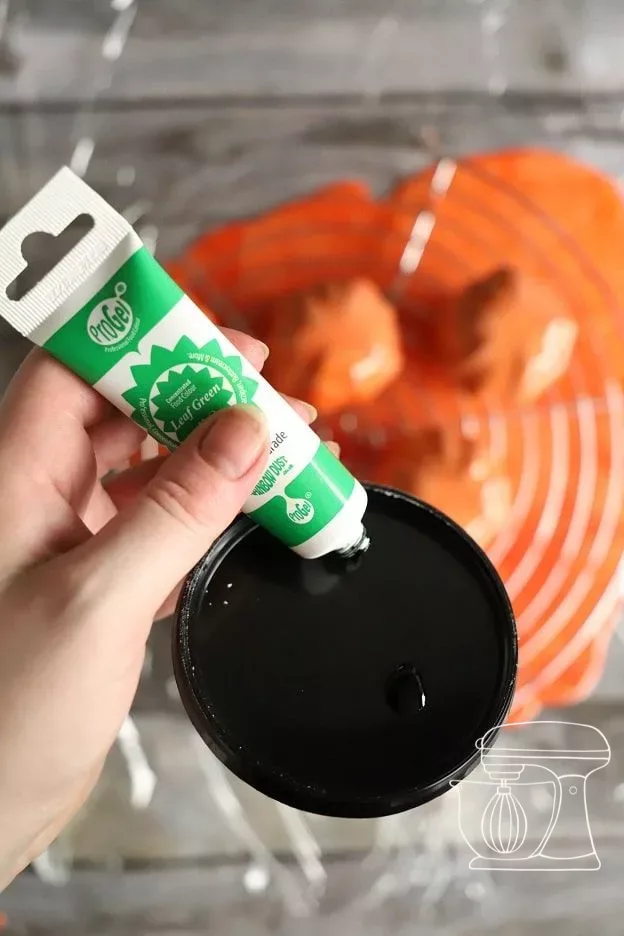
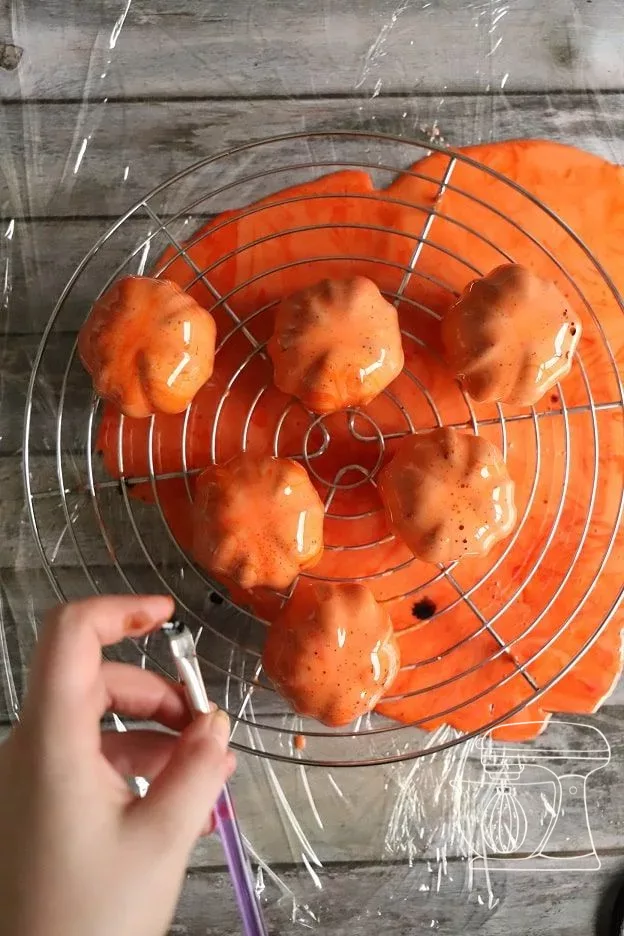
Put green and brown gel color on a small plate, dip a firm brush in and flick it with your finger over the pumpkins, this creates the natural speckled look. Lift the tartlets onto small cake boards with a small Angled spatula.
Progel gel colors: Light green
Progel gel colors: Brown
Stainless steel Angled spatula
Small round cake boards in gold/black
Shaping stems, leaves and tendrils
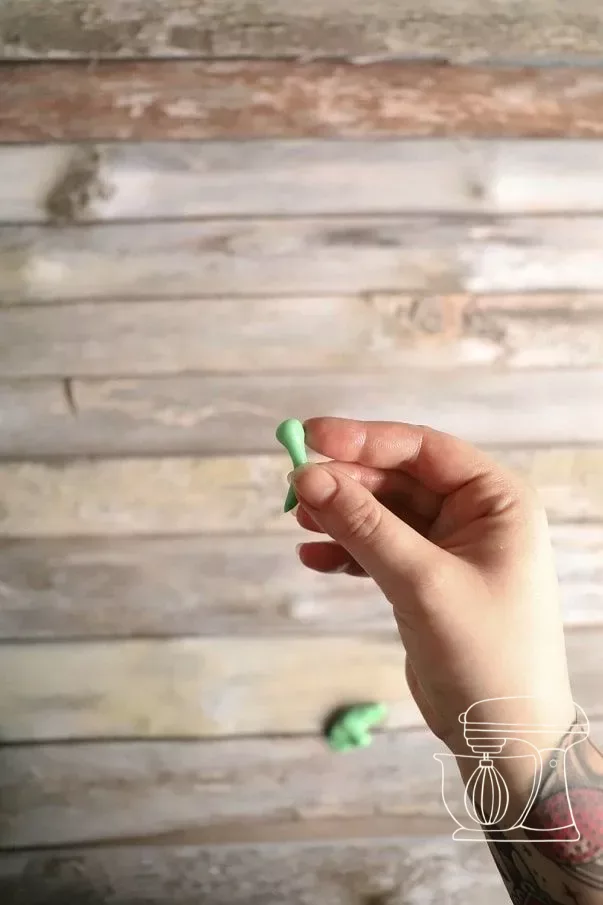
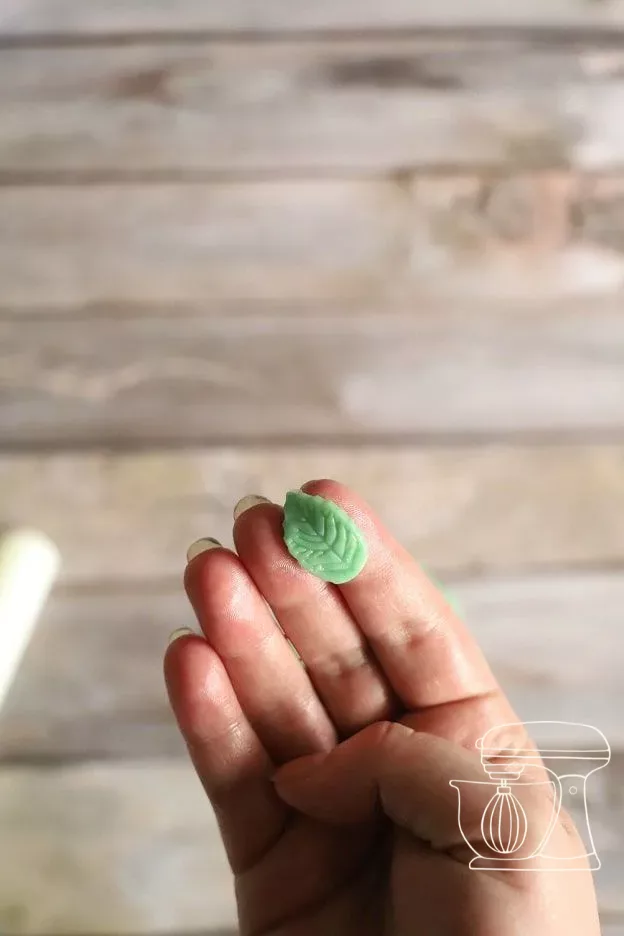
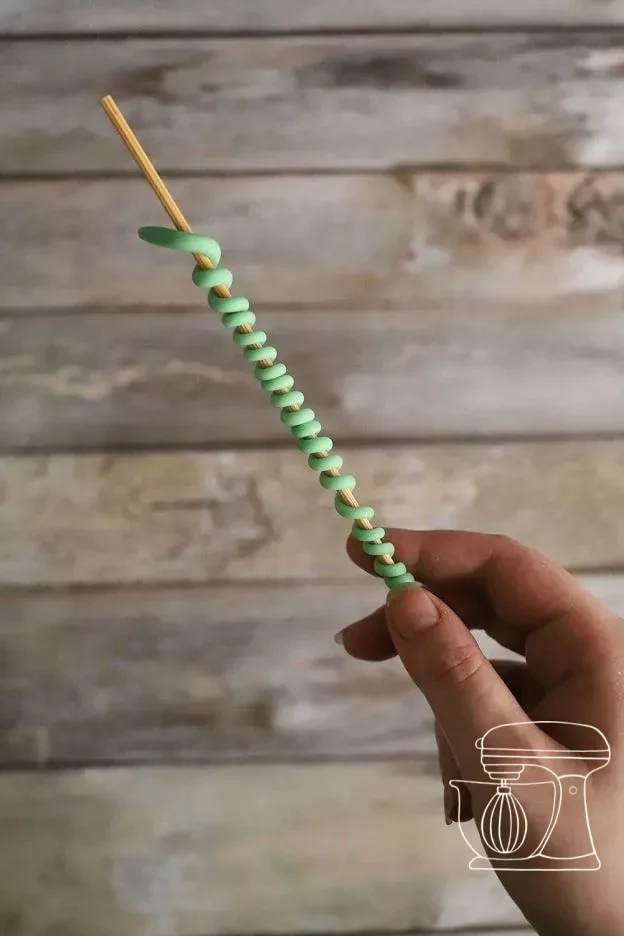
Knead the Modeling chocolate in your hand until smooth and form a ball into a cone for the stem. Roll out a portion and cut out leaves with the smallest leaf Cookie cutter; if needed, a little Magic roll-out powder helps. For the tendrils, roll a long strand around a wooden stick and pull it out again.
Pastel powder colors
Progel gel colors: Light green
Leaf cookie cutter set, 40 pieces
Silicone Roulade mat
Decorate the pumpkins
Place stems, leaves and tendrils on the pumpkins: the Mirror glaze holds everything by itself. Your little works of art are done!
Pumpkin mousse tartlets
Ingredients
Modeling chocolate (optional)
Hazelnut sponge
Chocolate pumpkin mousse
Icing & decoration
Preparation
- Modeling chocolate: Melt the couverture, stir in the Glucose syrup, color it and let it rest for 24 hrs.
- Roasting: Roast the hazelnuts for 10 bis 15 min at 180 °C.
- Egg mixture: Whisk the eggs, water and vanilla until foamy, then sprinkle in the sugar.
- Fold in: Fold in the flour, baking powder and ground hazelnuts.
- Baking: Spread smooth, sprinkle with nuts and bake for 20 bis 25 min.
- Puree: Cook the pumpkin until soft and puree it.
- Ganache: Dissolve the Gelatine in the hot cream and pour over the couverture in 3 portions.
- Cream: Whip the remaining cream with icing sugar and fold in.
- Pumpkin: Stir in 250 g of puree.
- Cutting out: Cut out 6 small and 6 large sponges to fit the mould.
- Filling: Fill the moulds halfway, press in the small sponges.
- Freezing: Fill up to ⅔, place the large sponge on top and freeze for at least 6 hrs.
- Icing: Color the mirror glaze and warm it to 28 bis 32 °C.
- Glazing: Coat the pumpkins on the cake rack.
- Speckling: Speckle with a brush and gel color, then arrange.
- Shaping: Make stems, leaves and tendrils from modeling chocolate.
- Decorating: Place them on the pumpkins.
Nutritional values per 100 g
Storage & shelf life
Everything for this recipe
Recommended from our bakery: exactly the sizes the recipe was tested with.
Ingredients
Chocolate Mirror glaze 1 kg
Dark couverture 54.5% 2.5kg - Callebaut
White chocolate 28% 400g - Callebaut
Glucose syrup, 350 g
Pastel Powder colors
Progel gel colors: Orange
Progel gel colors: Light green
Progel gel colors: Brown
RUF Gelatine sheets, 12 pieces
Fine Magic roll-out powder 200 g
Liquid aroma "Vanilla"
Swiss White flour, 1 kg
Baking powder 80g
Accessories
Delica Silicone mold - Silikomart
Disposable piping bag 40 cm
Jelly sponge Silicone mat
Round Cookie cutter set, 11 pieces
Leaf Cookie cutter set, 40 pieces
Silicone Roulade mat
Perforated aluminium tray 40 x 30cm
Stainless steel Angled spatula
Small round Cake boards in gold/black
Round Cooling rack
Infrared thermometer
Disposable piping bag - 41cm - 24 pcs
Delivery in 1–2 working days · Free shipping from CHF 100
To make sure it turns out perfectly
Temperature is everything: be sure to keep the icing between 28 and 32 °C. Only then will mirror glaze tartlets get a thin, evenly shiny layer.
Sprinkle the sponge with a little icing sugar before baking. It caramelises lightly in the oven and gives the roasted hazelnuts a fine, sweet finish.
Do not knead the freshly made mixture too much, otherwise the fat separates out. Only after 24 hours of resting will it become nicely smooth in your warm hand.
Frequently asked questions
Yes, that saves you 24 hours of waiting. We chose Modeling chocolate because it is less sensitive to moisture than Fondant and does not melt on the mirror glaze.
Very much so. The purée can be made a few days ahead and frozen in an airtight box for up to 6 months. With the rest you can conjure up a fine pumpkin soup.
Of course! We show you how to make a mirror glaze step by step in our recipe «How to make a mirror glaze». But the ready-made icing is a big time saver with such an elaborate dessert.
→ Link: https://cakelicious.ch/de/blog/so-gelingt-das-mirror-glaze-n167
Print recipe
Choose what should appear on the printout.
Related posts
 Juicy Matcha Muffins with Pecan Nuts & White Chocolate
Matcha Iced Latte & Coconut Variant
Pull-apart bread with fresh wild garlic pesto
Mini Banana Bread with Chocolate Chips
Juicy Matcha Muffins with Pecan Nuts & White Chocolate
Matcha Iced Latte & Coconut Variant
Pull-apart bread with fresh wild garlic pesto
Mini Banana Bread with Chocolate Chips
Leave a comment
Comments
Question de Noémie
By: Noémie D. On 2022-10-08Bonjour,
Petite info: En faisant la recette, j'ai remarqué qu'il manque une partie du texte dans la version PDF alors que c'est noté dans la version internet. Il manque les ajouts de la farine, de la poudre de noisette torréfiée et la levure chimique pour la génoise aux noisettes.
Je vous remercie pour toutes ces recettes, j'aime les faire¨!
Je vous souhaite un beau week end!
Noémie
Replied by: Karin On 2022-10-10