
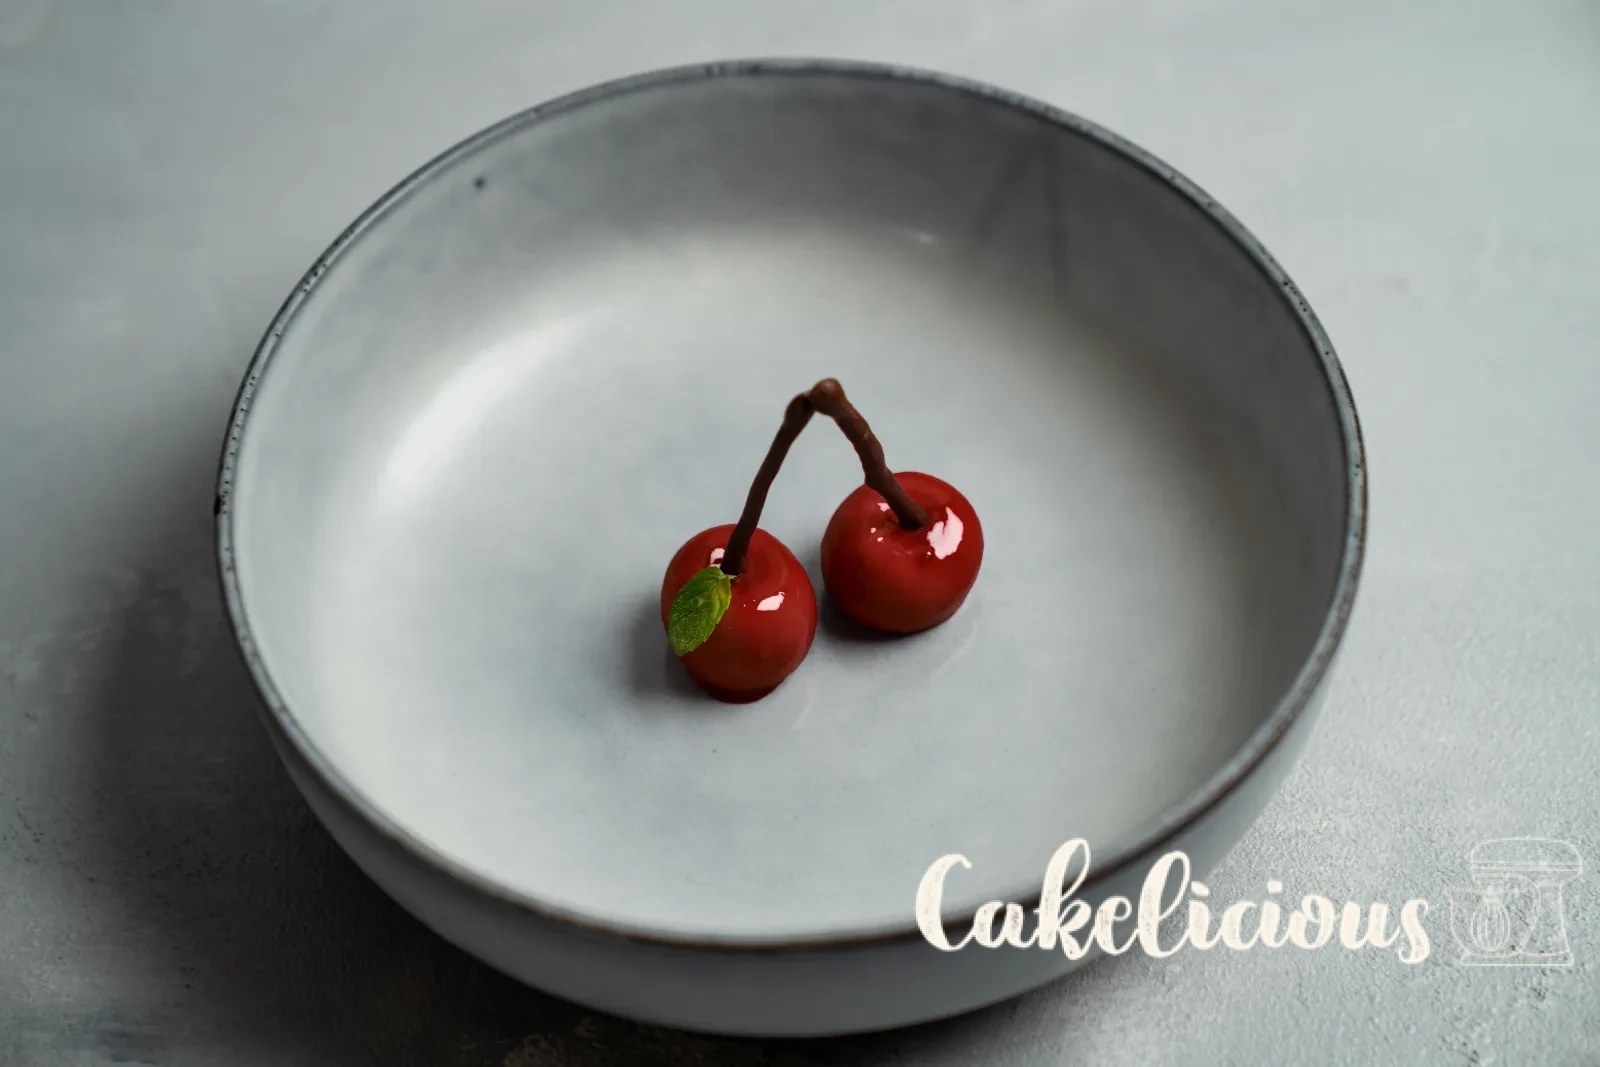
Cherry Patisserie – Sour Cherry Mousse with Mirror Glaze
Deceptively real, wonderfully creamy – a dessert straight from the patisserie counter
Hello dear ones
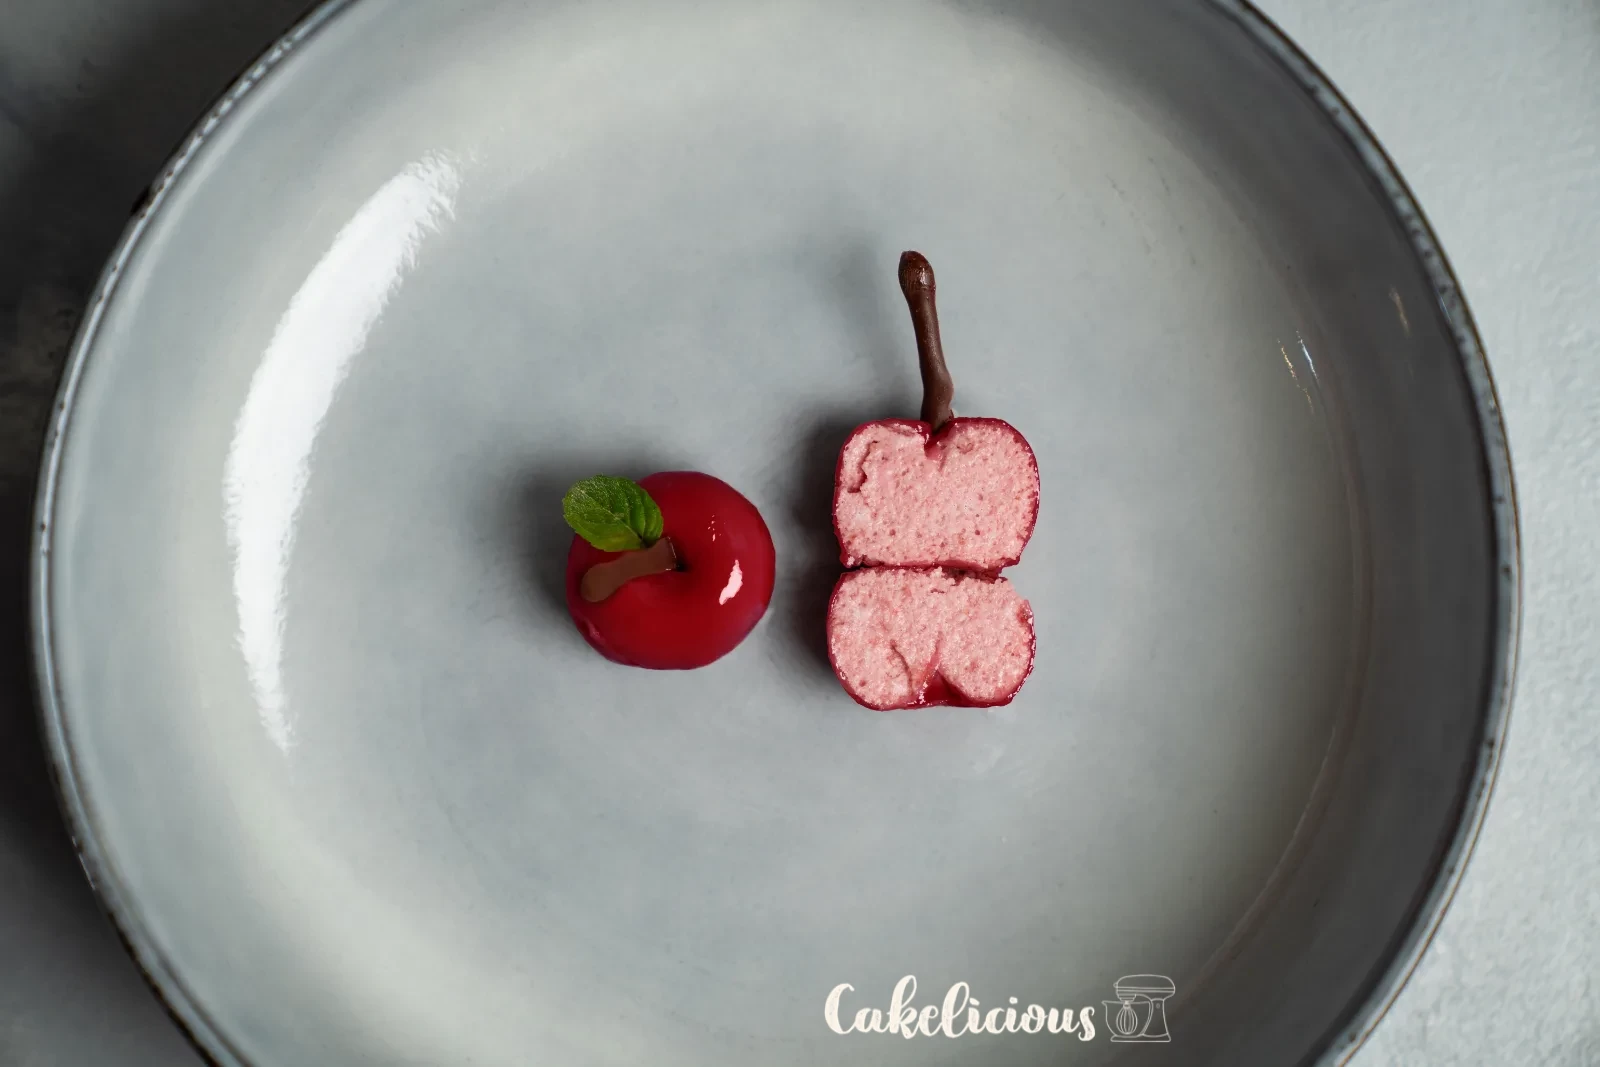
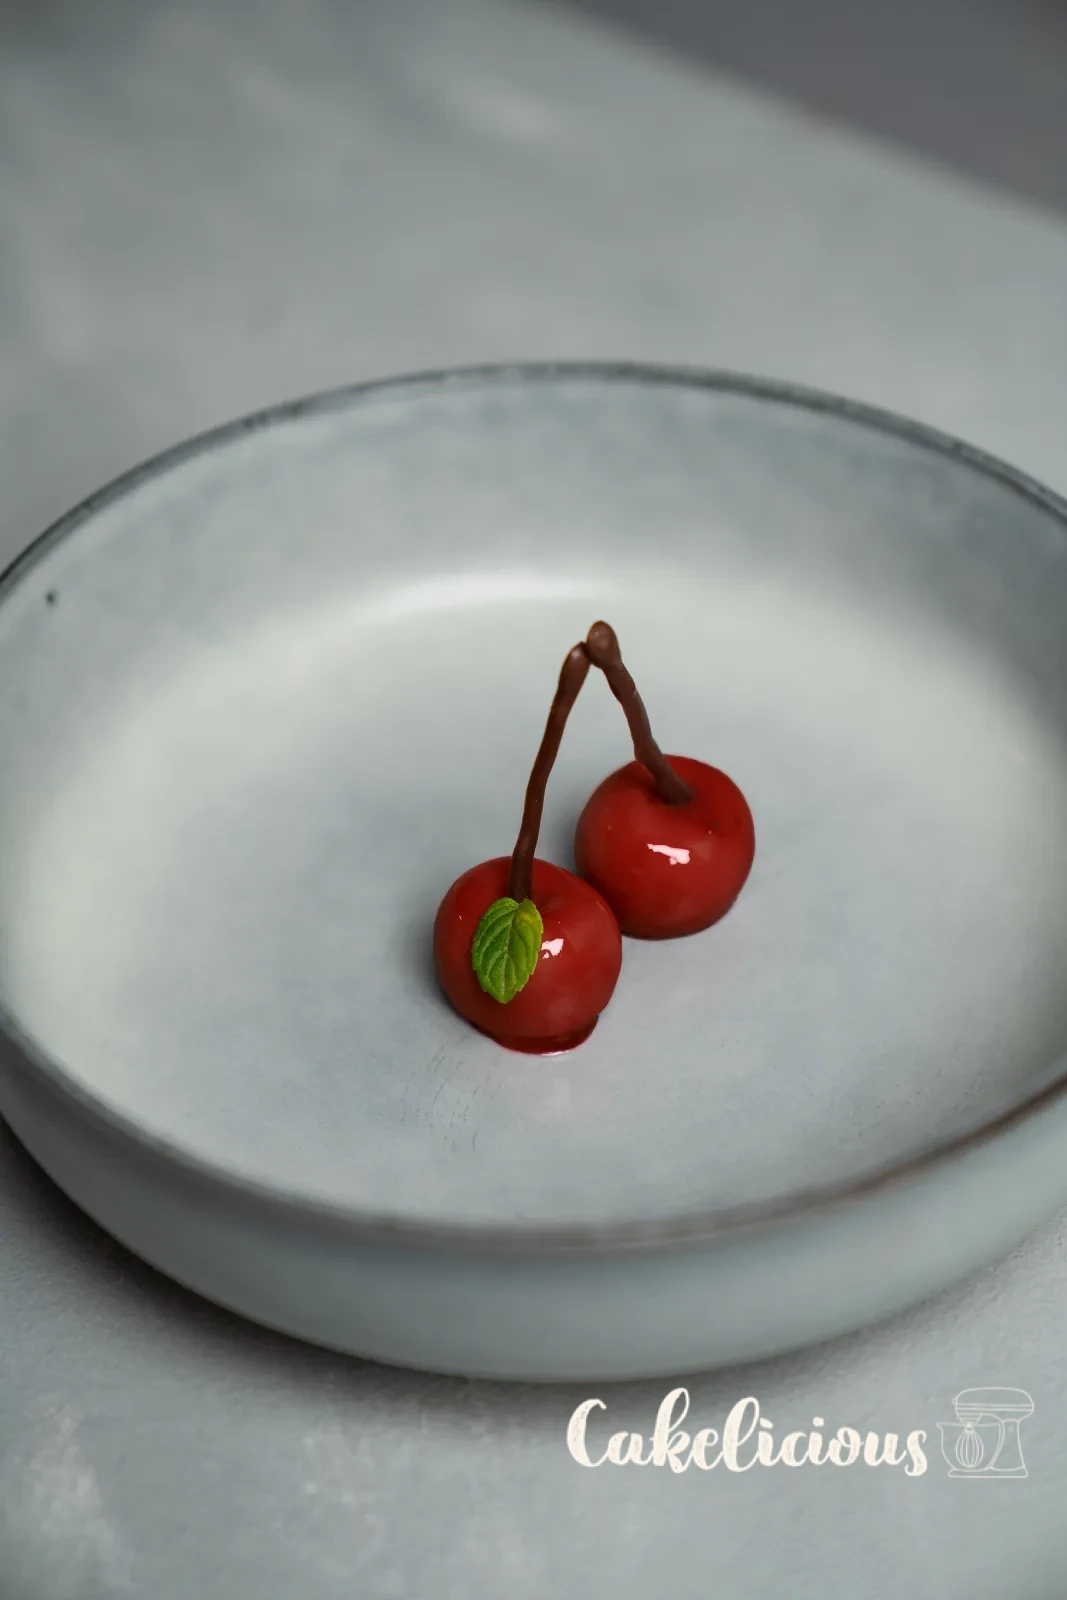
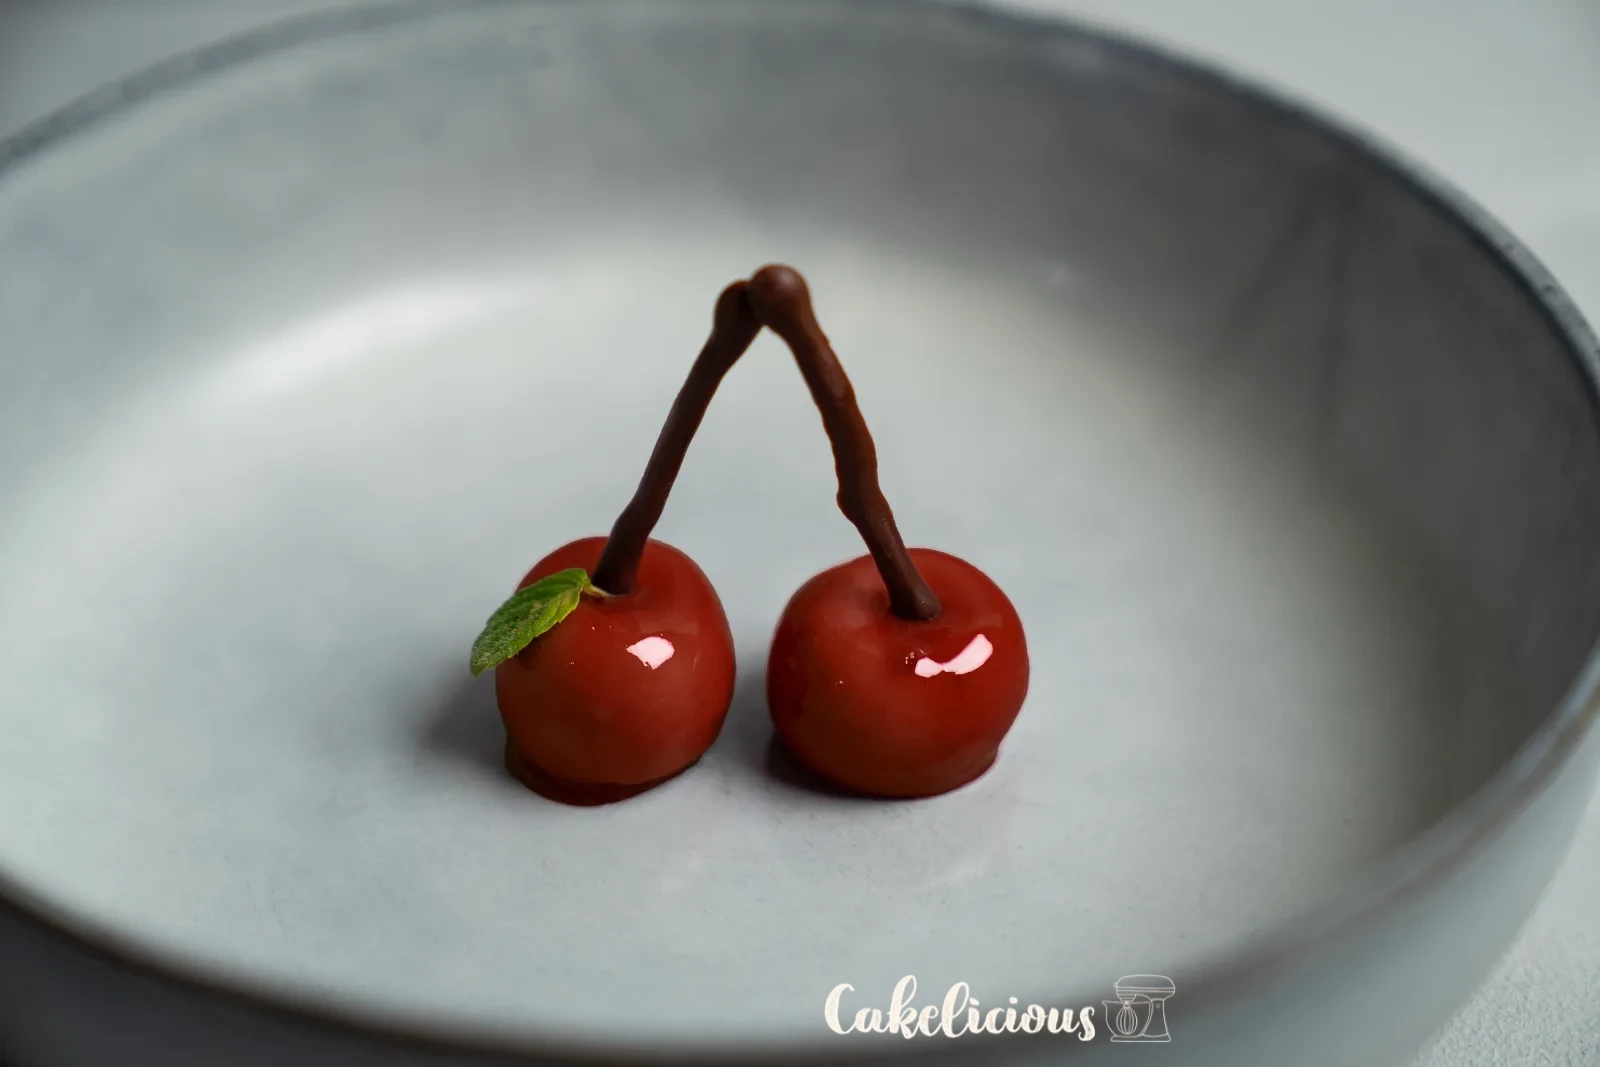
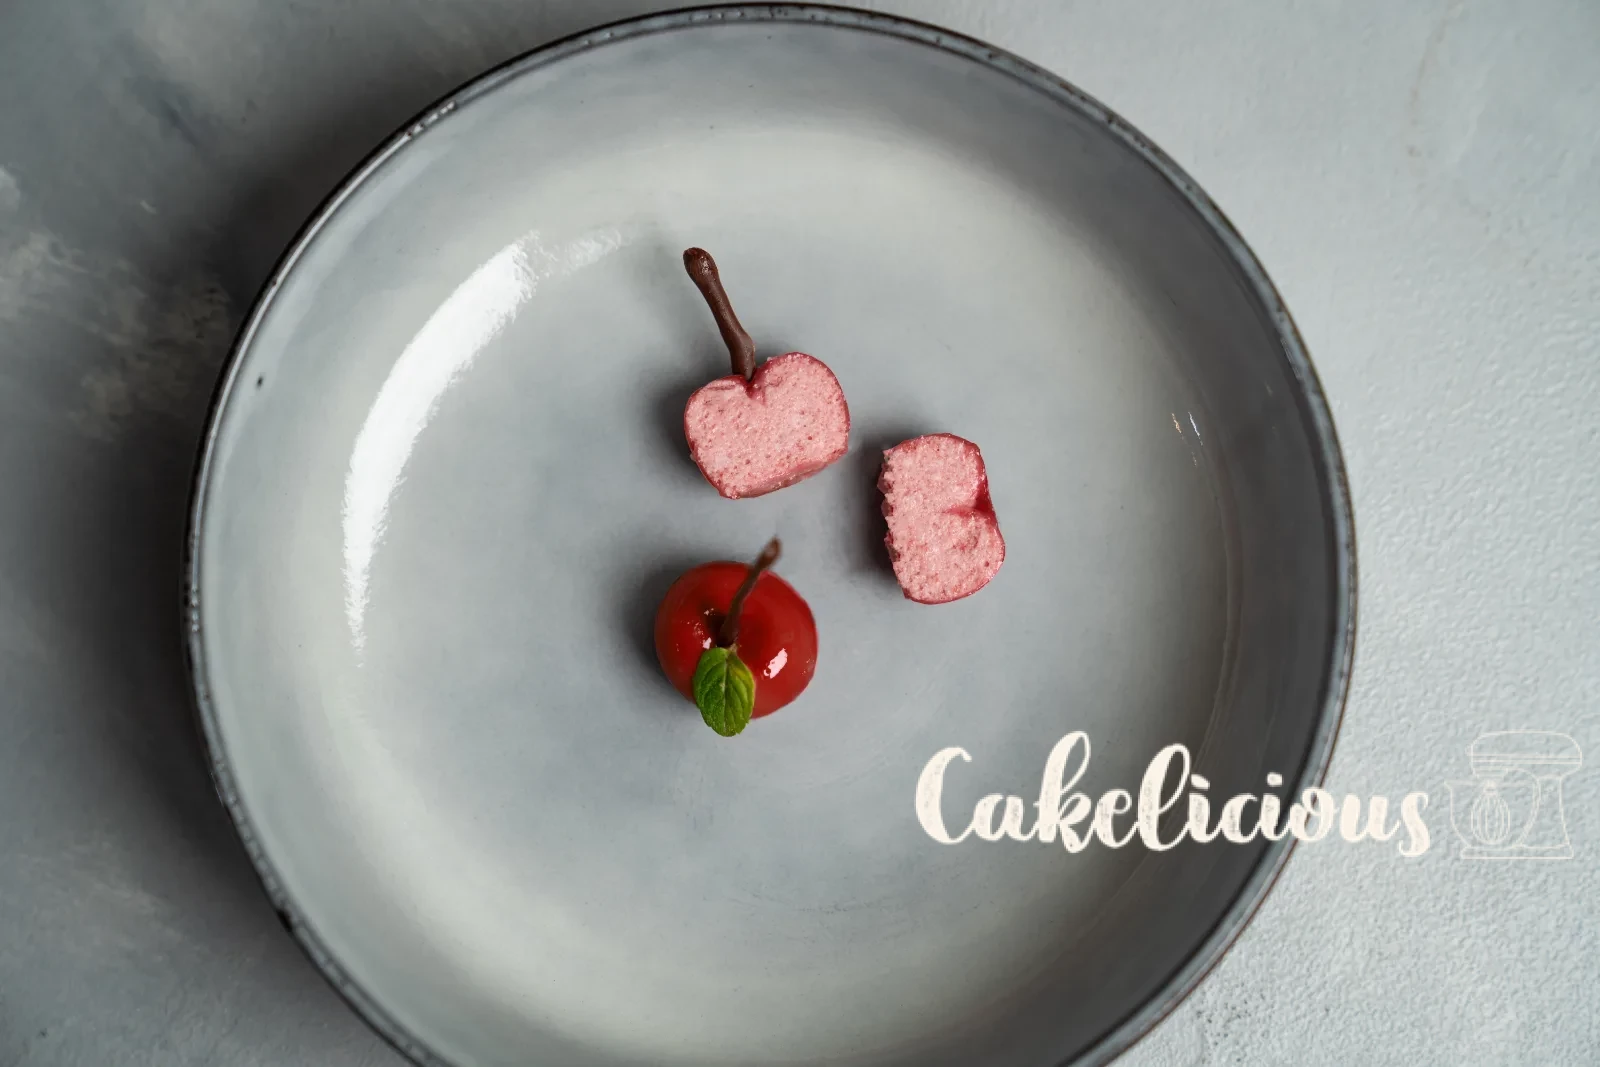
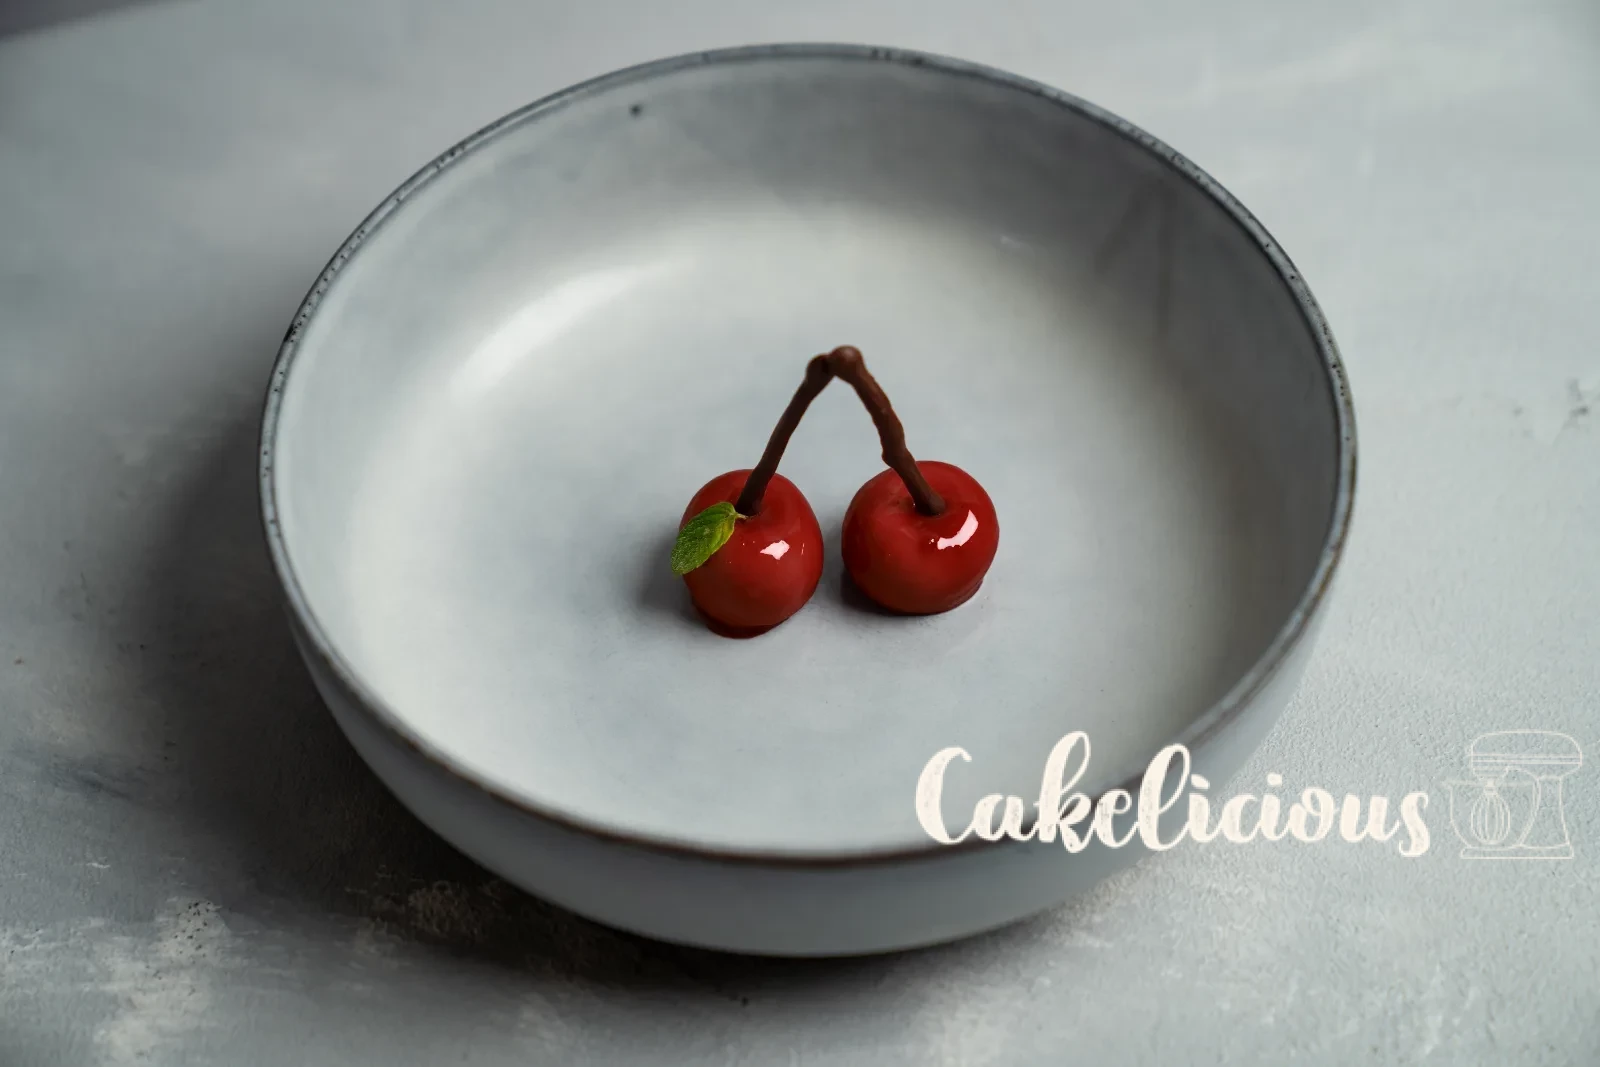
Have you ever served a dessert where guests have to look twice because they can't believe these aren't real cherries? That's exactly what happens with this cherry patisserie! An airy sour cherry mousse is frozen in a little cherry mold and then dipped into a glossy mirror glaze – the result is astonishingly real and so delicate in flavour. It's a dessert that would feel right at home among the finest boulangeries near me, yet it comes together with just a few simple steps. Perfect for anyone who wants to surprise their guests with a real wow effect. A little patience and the right temperature are the keys to success here. We'll show you step by step how to make it!
Ingredients
Sour Cherry Mousse
Mirror glaze
Step by step
The Sour Cherry Mousse
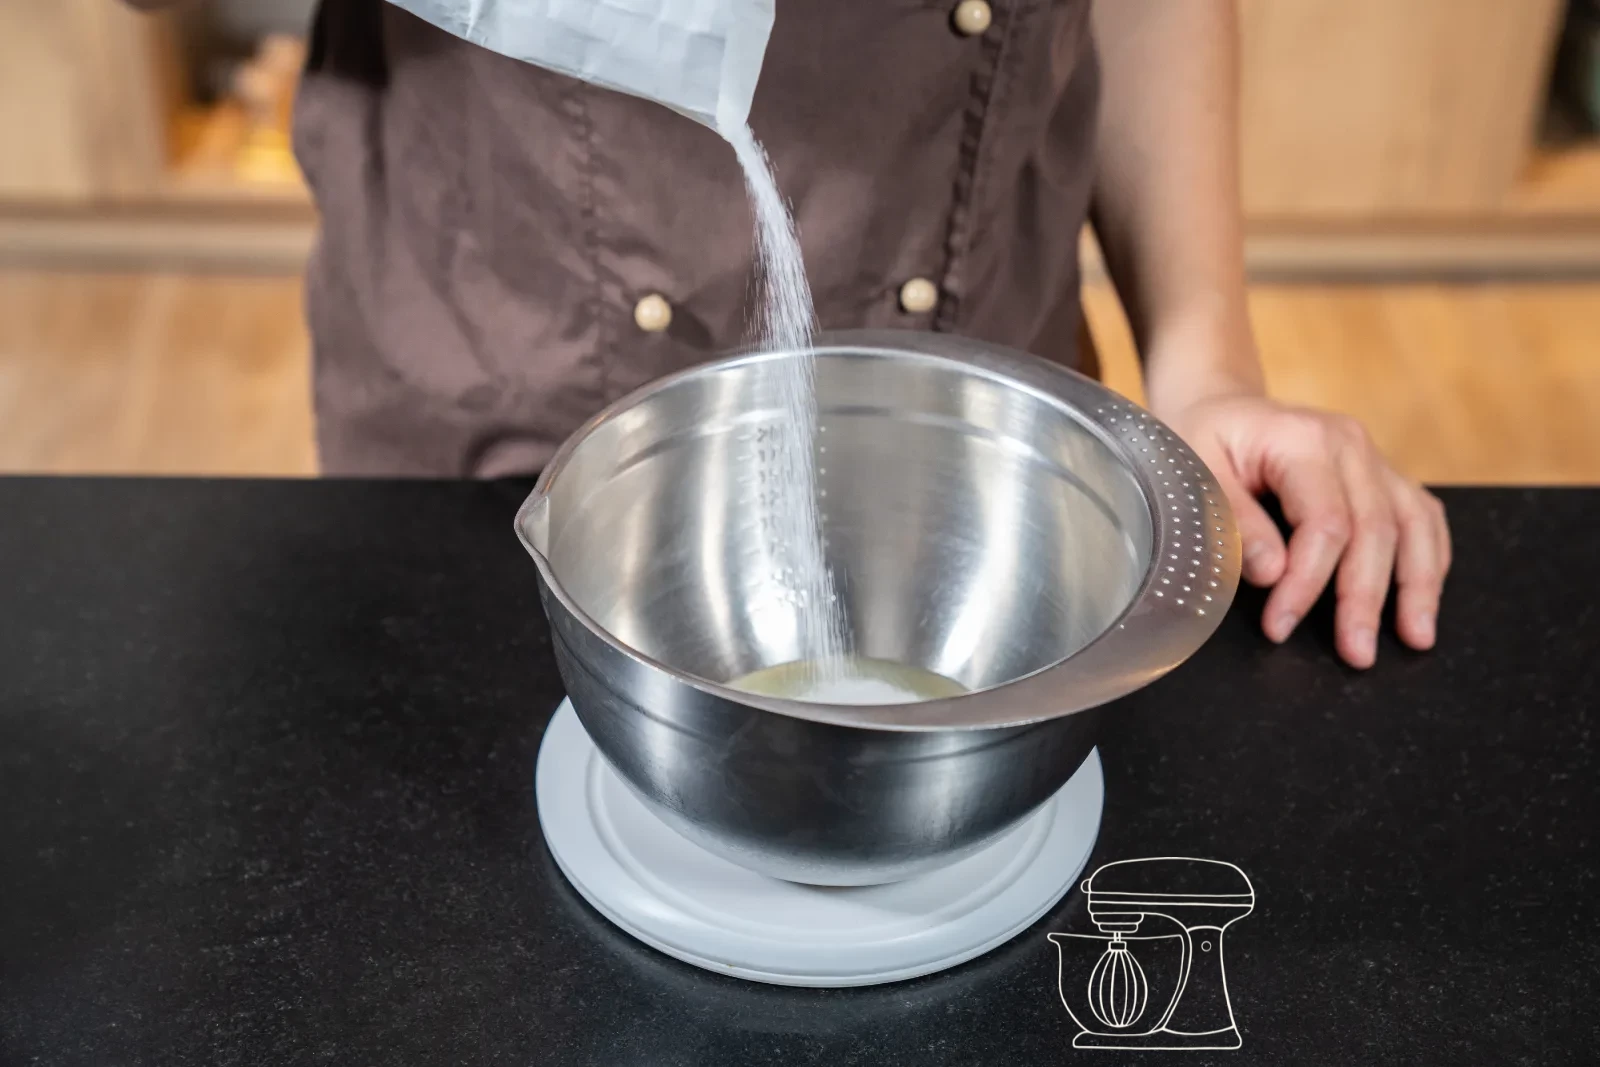
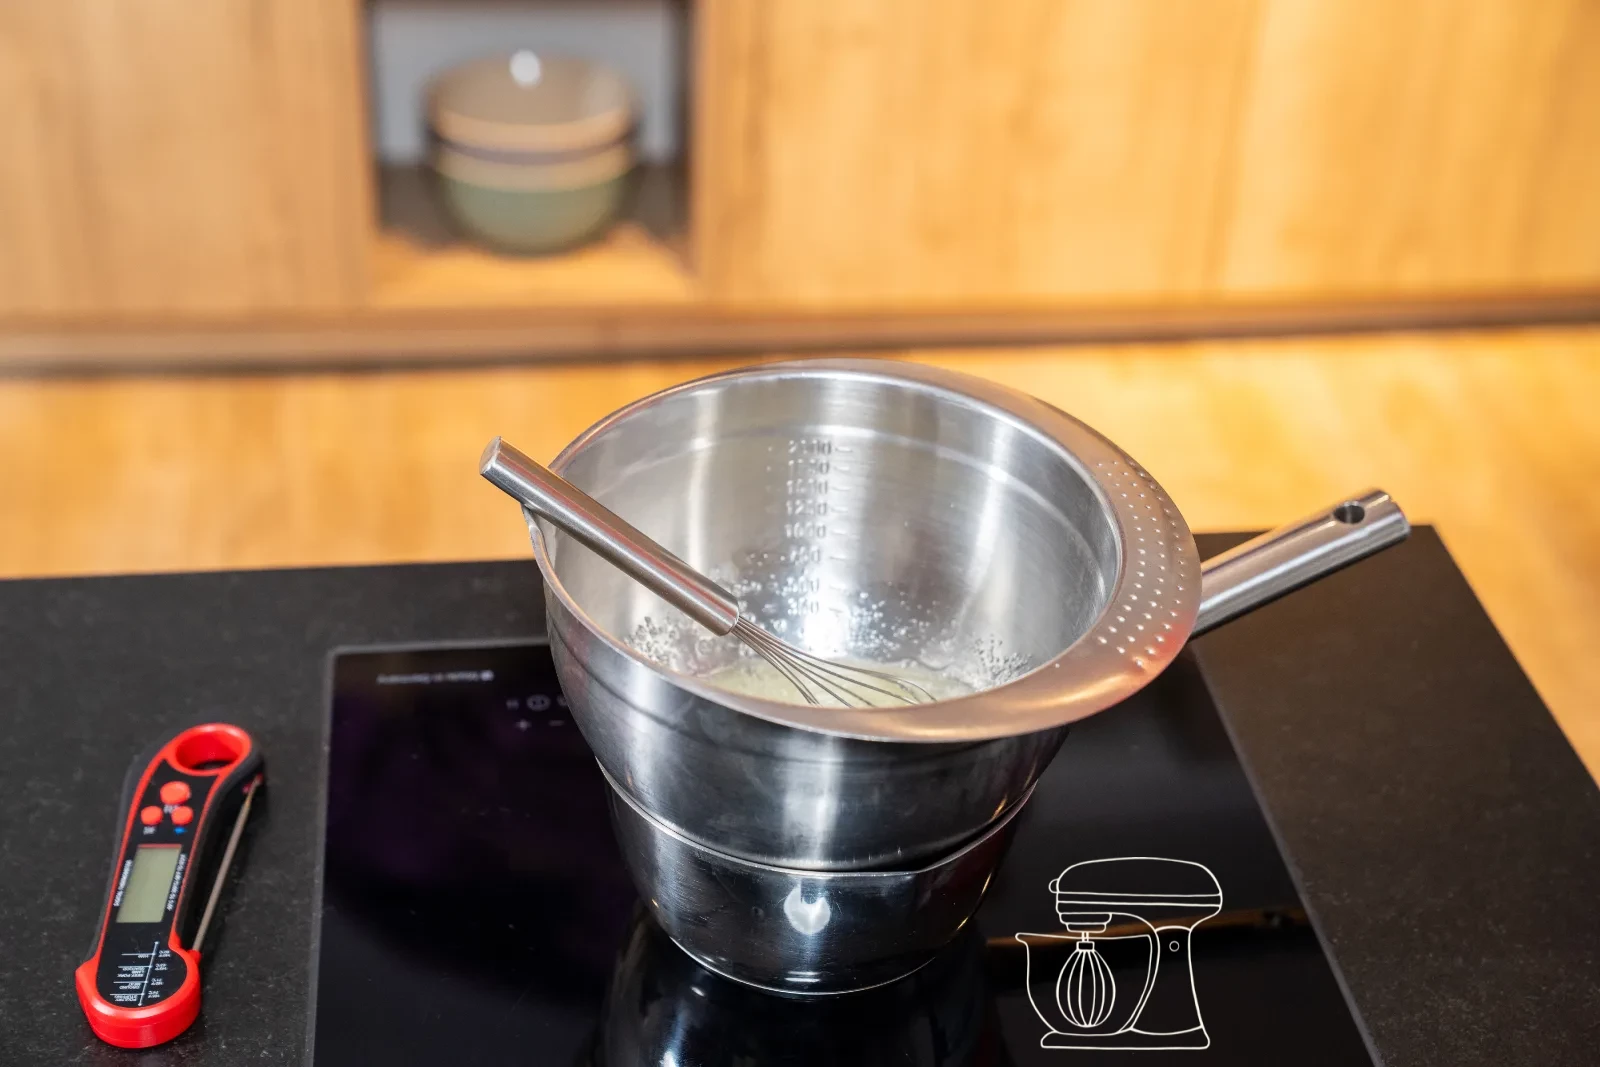
Warm the sugar, egg white and gelatine
Warm the granulated sugar, liquid egg white and the soaked, well-squeezed Gelatine in a Bowl over a water bath. Stir regularly until the gelatine has completely dissolved and the mixture reaches a temperature of about 35 °C – it's best to check this with a Thermometer so the gelatine sets properly later.
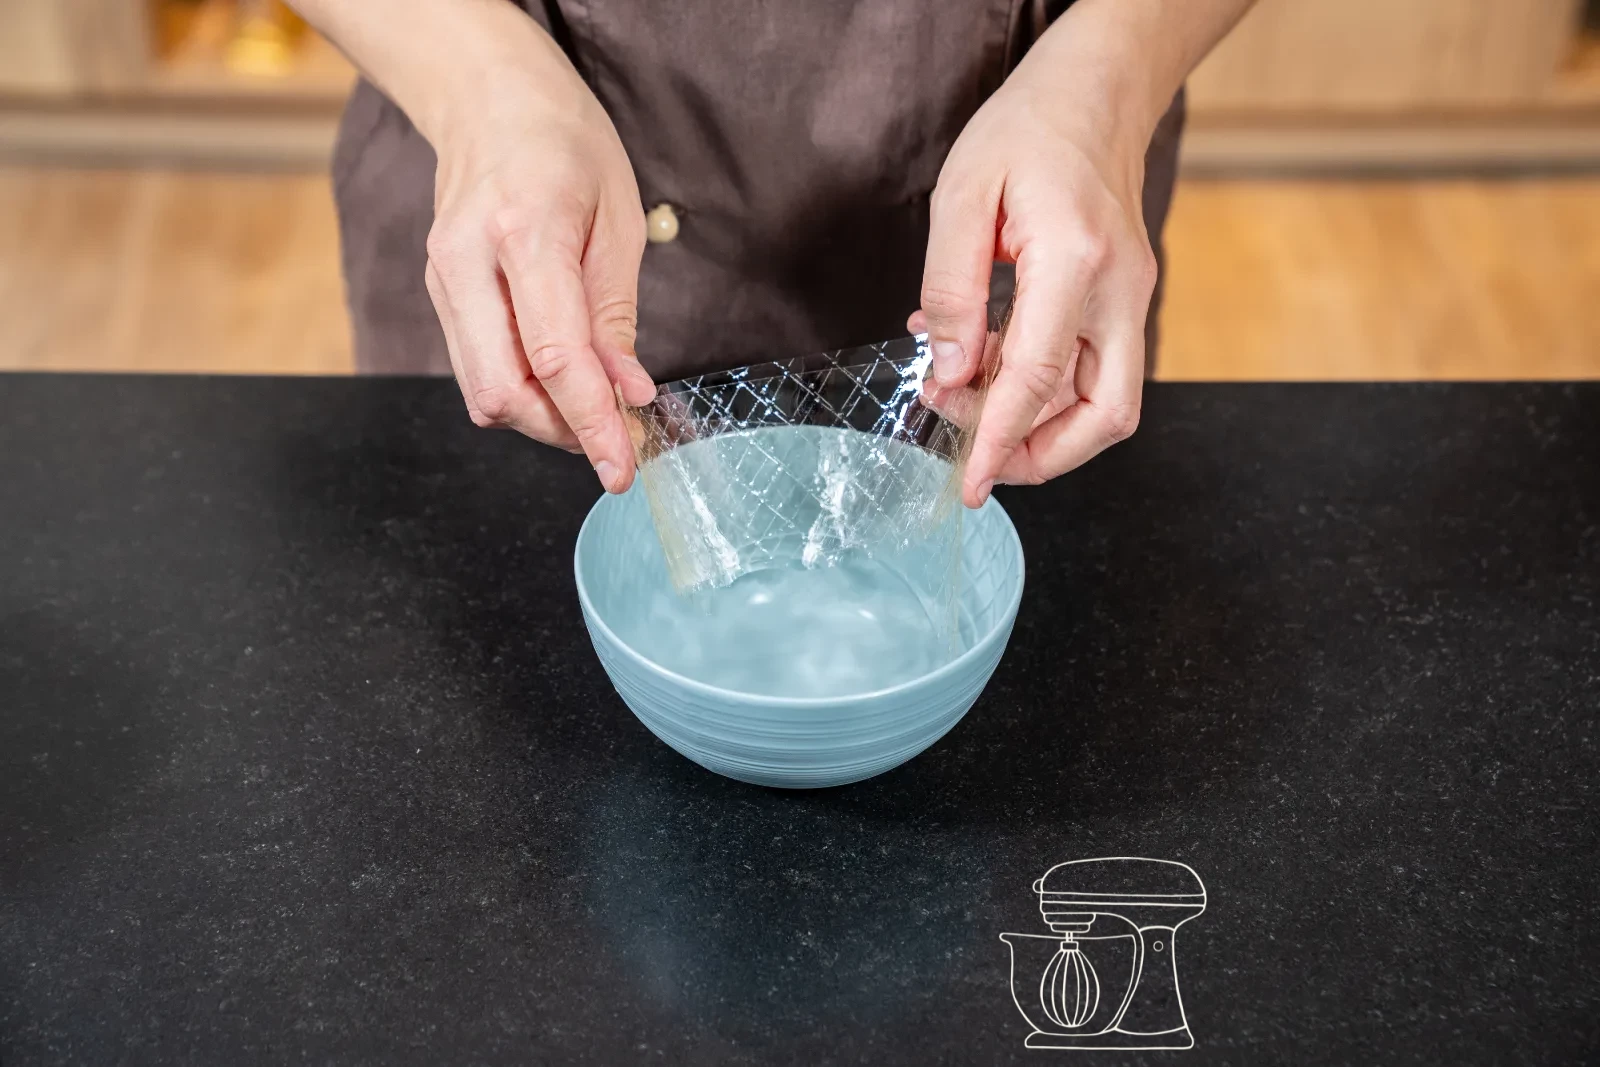
Professional leaf gelatine, 150 pieces
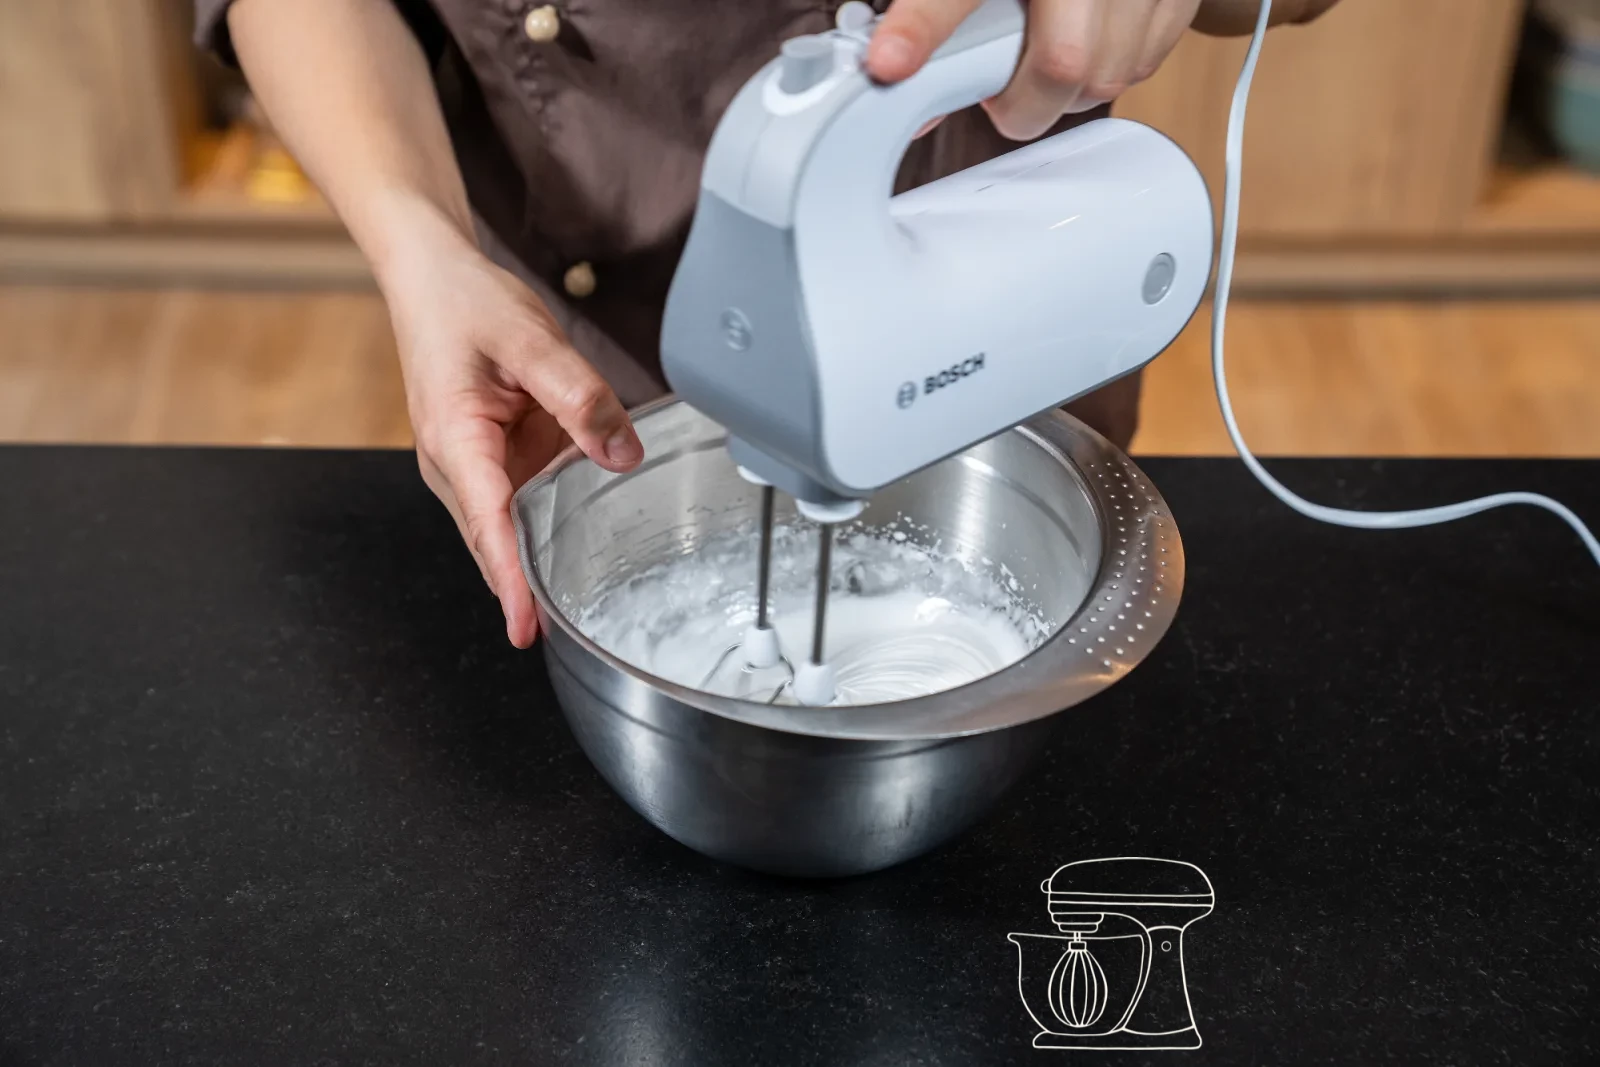
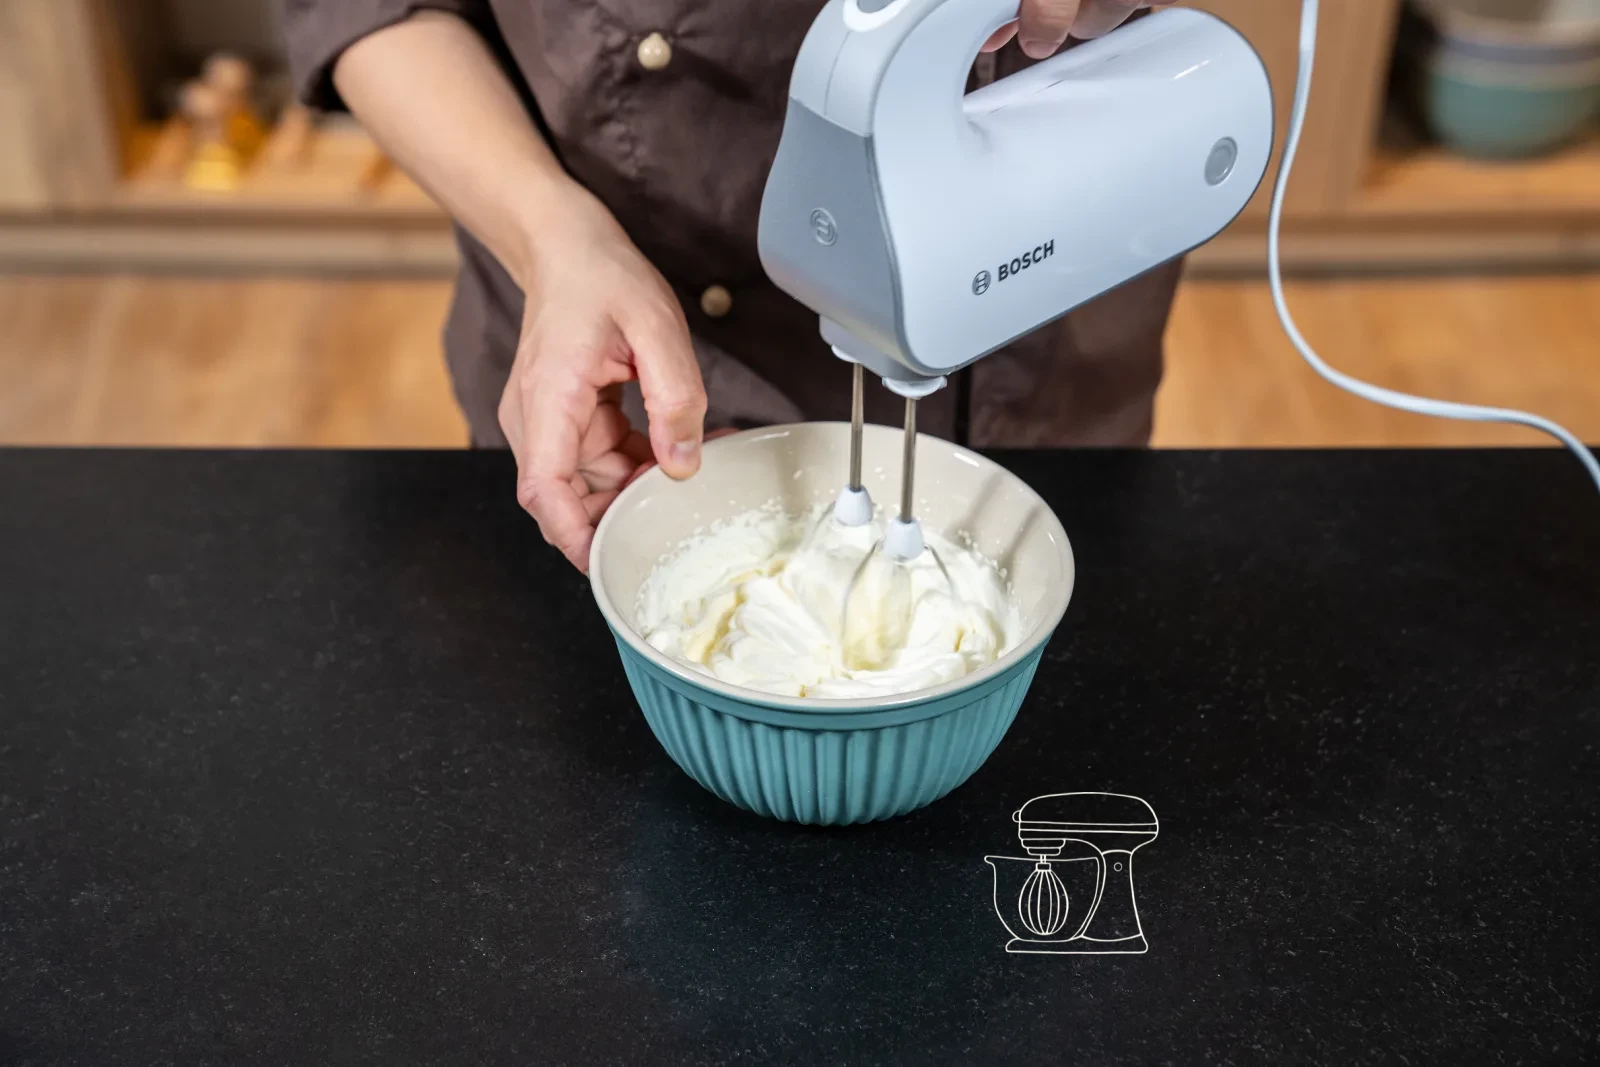
Whip to a meringue
Stir the tempered white couverture (40°C) smooth with the Sour cherry puree until no lumps remain and the mixture has a homogeneous, creamy consistency. Now first gently fold in the whipped meringue — work with a Dough scraper in gentle, circular movements from bottom to top (folding), so the air in the meringue is preserved. Then fold in the whipped full cream in the same way. The finished mixture should feel airy and light and have a soft pink colour, without streaks or uneven spots.
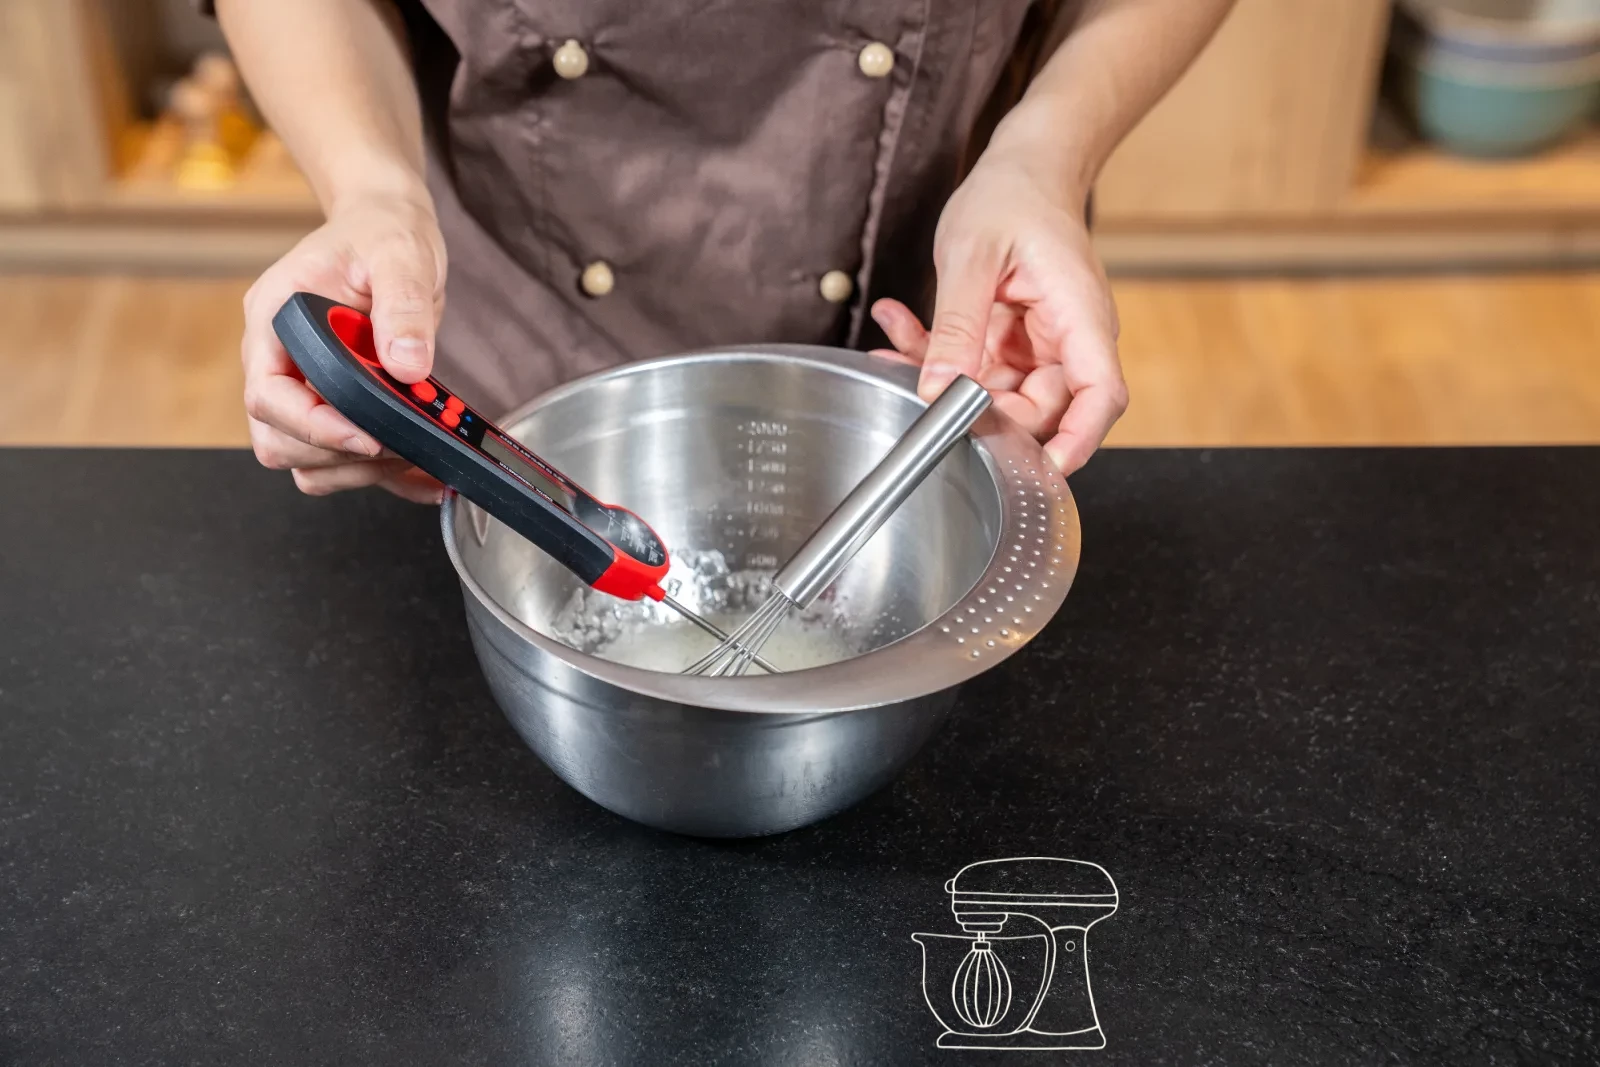
Digital thermometer, waterproof and foldable
Combine couverture and cherry puree
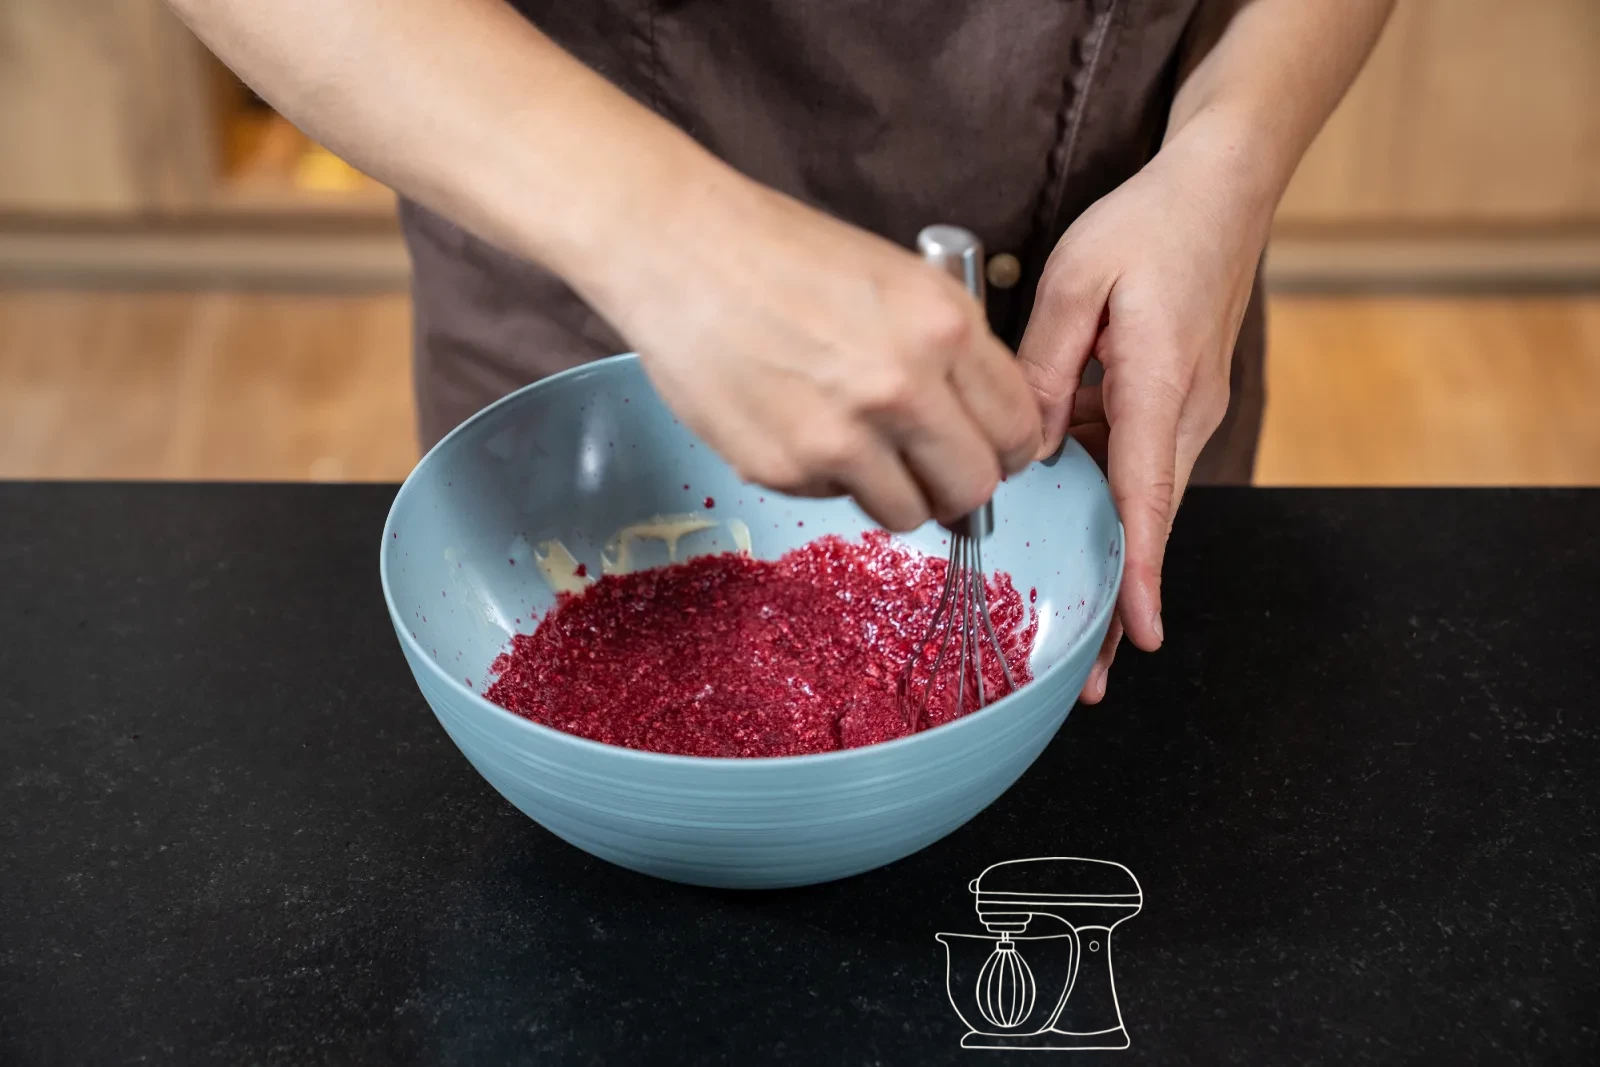
Stir the tempered white couverture (40 °C) smooth with the Sour cherry puree until no lumps remain and the mixture has a homogeneous, creamy consistency.
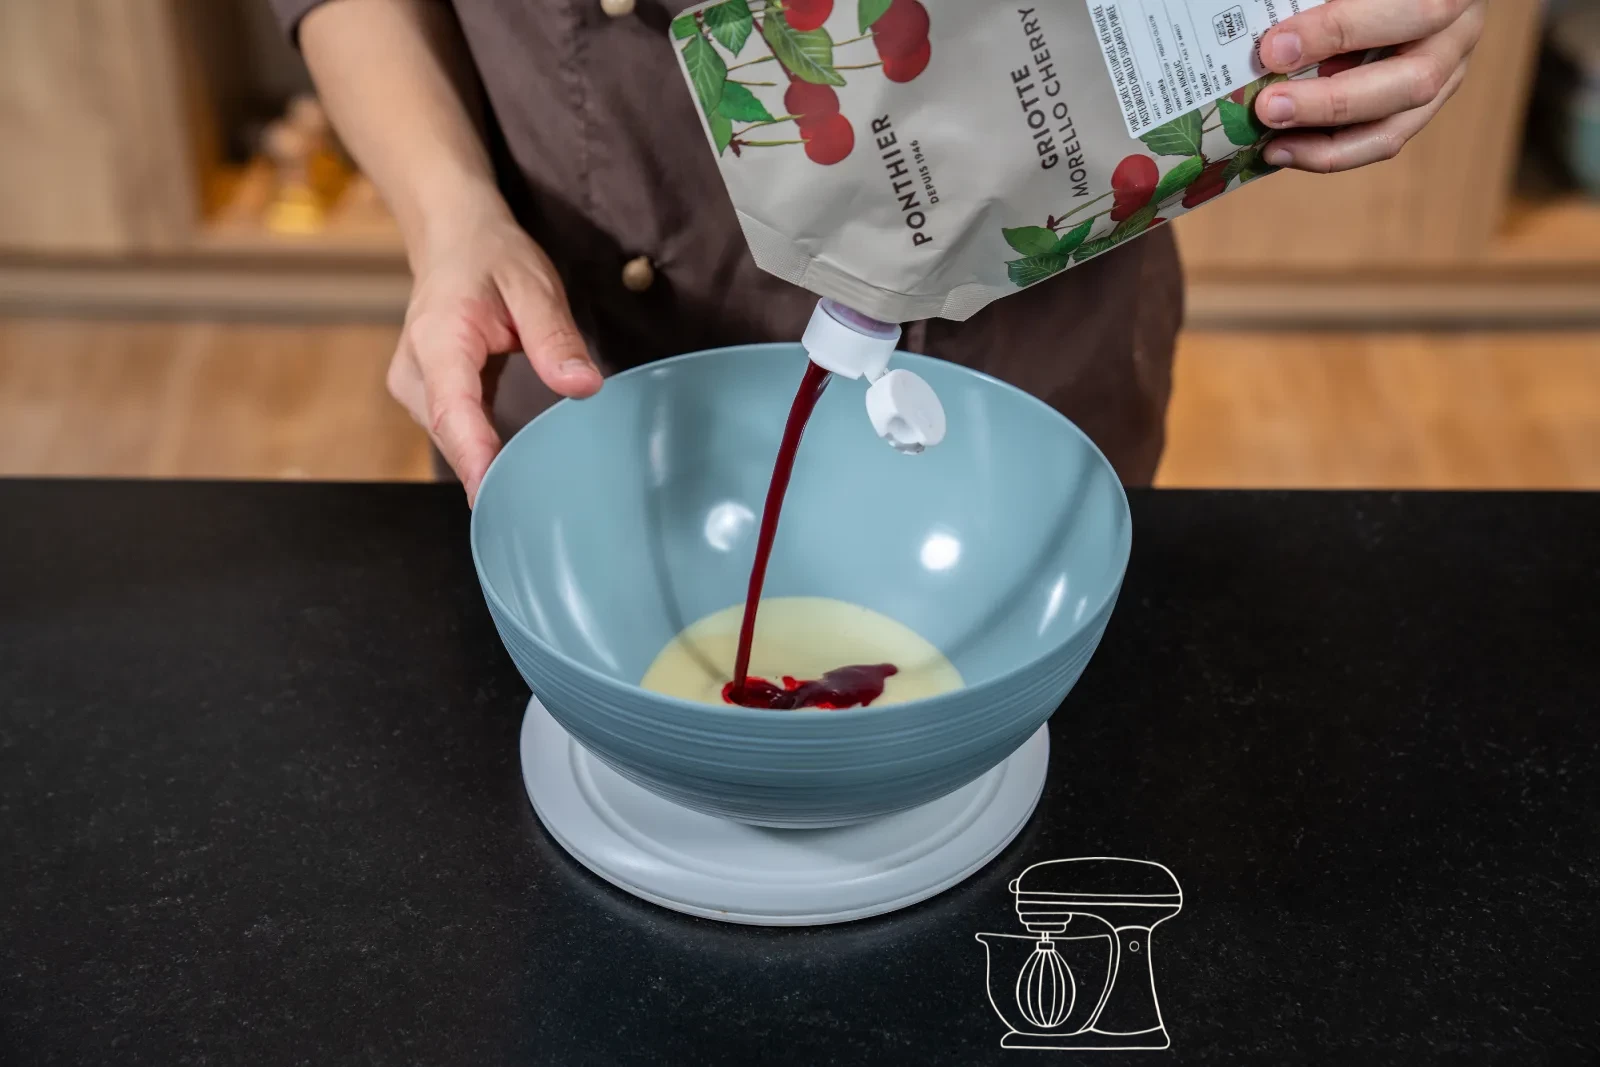
Sour cherry fruit puree 1 kg
White couverture drops 500 g
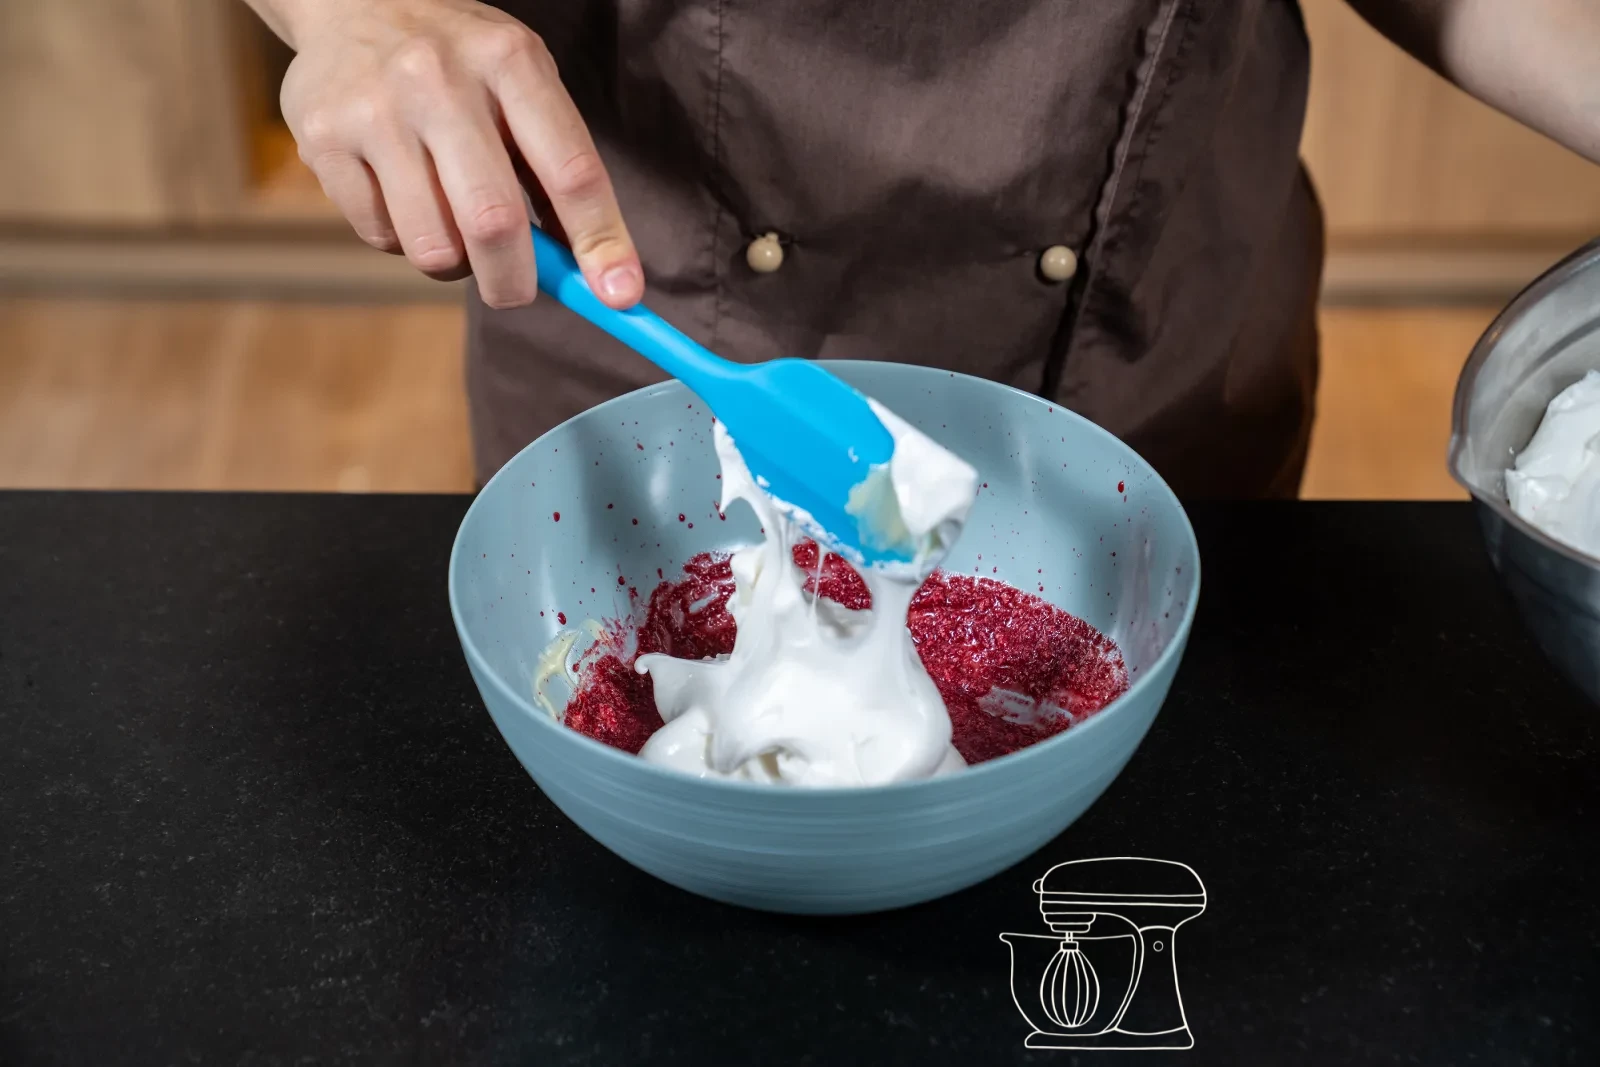
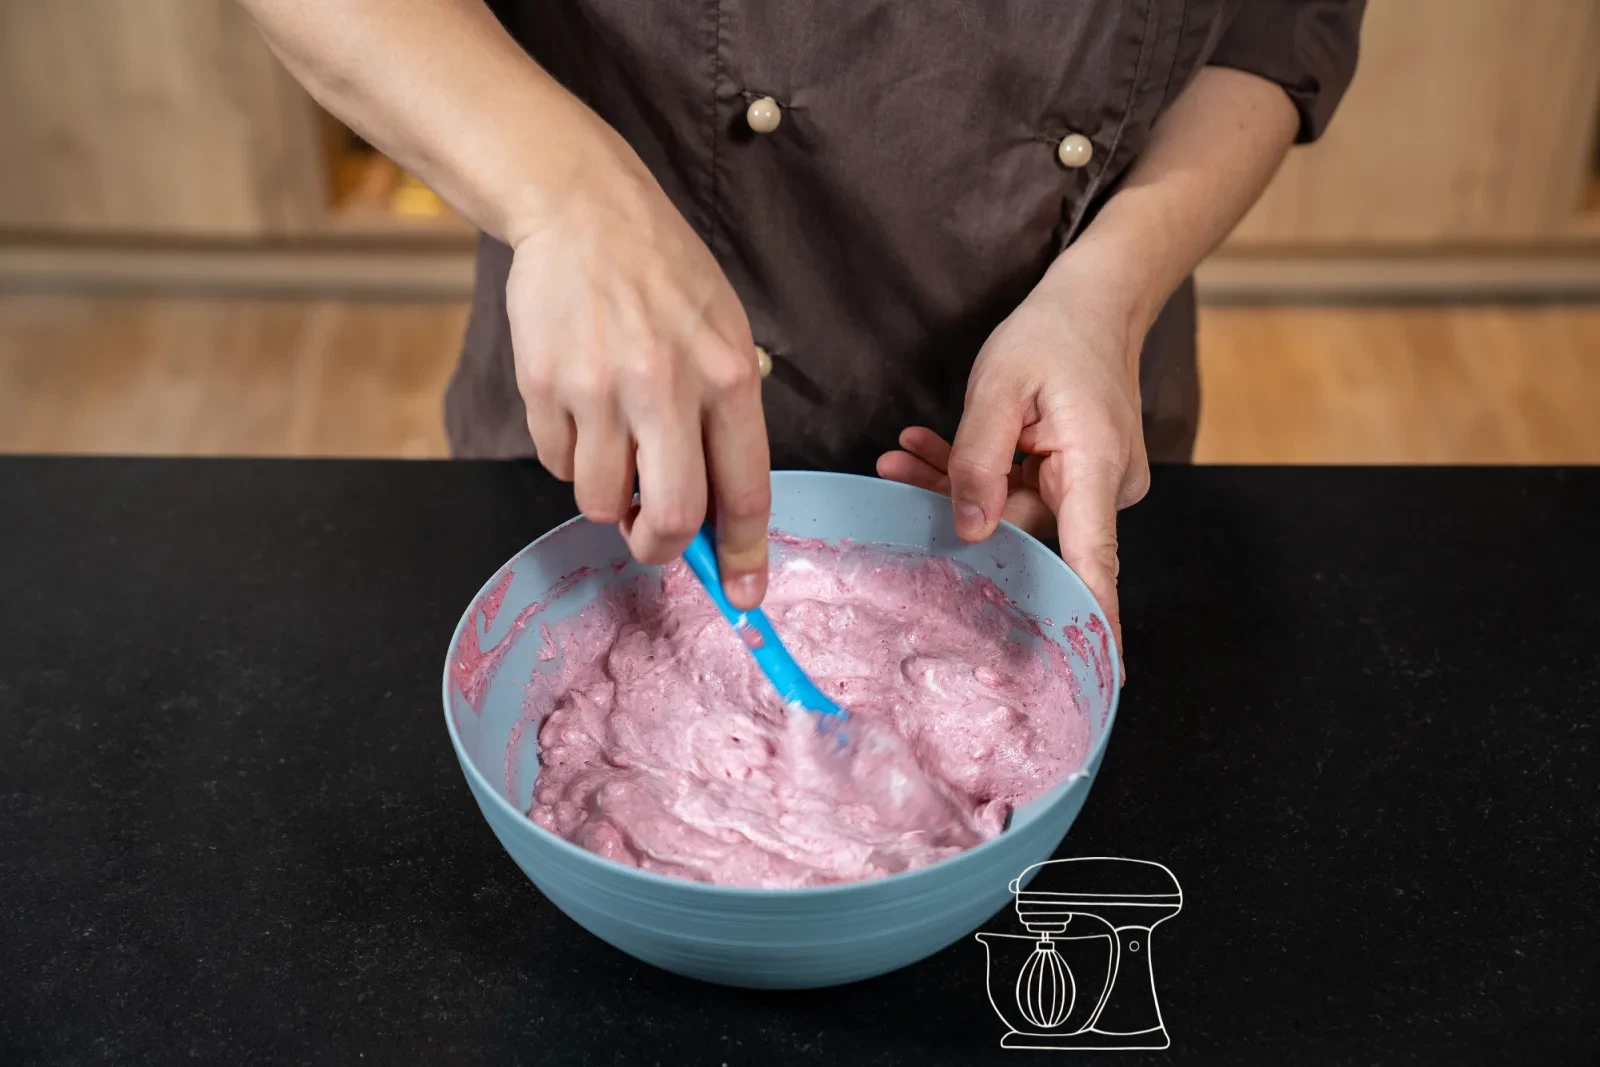
Fold in the meringue and cream
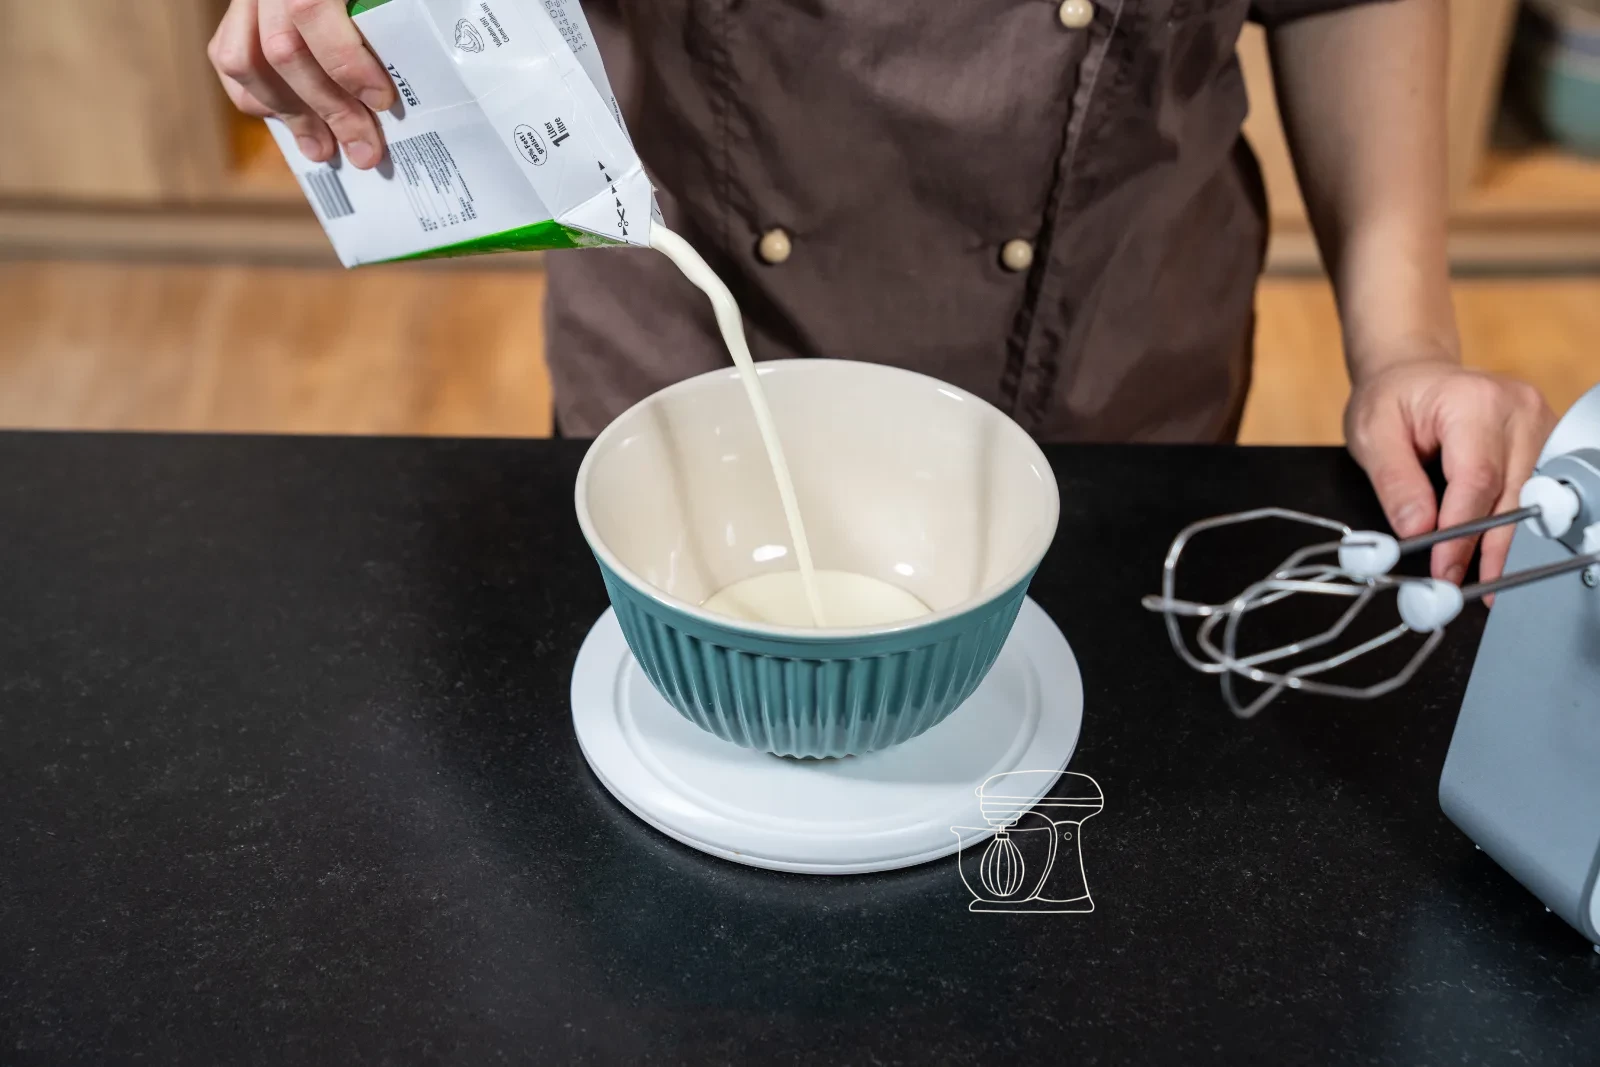
First gently fold in the whipped meringue – work with a Dough scraper in gentle, circular movements from bottom to top (folding), so the air in the meringue is preserved. Then fold in the whipped full cream in the same way. The finished mixture should feel airy and light and have a soft pink colour, without streaks or uneven spots.
Fill the mousse into the mold
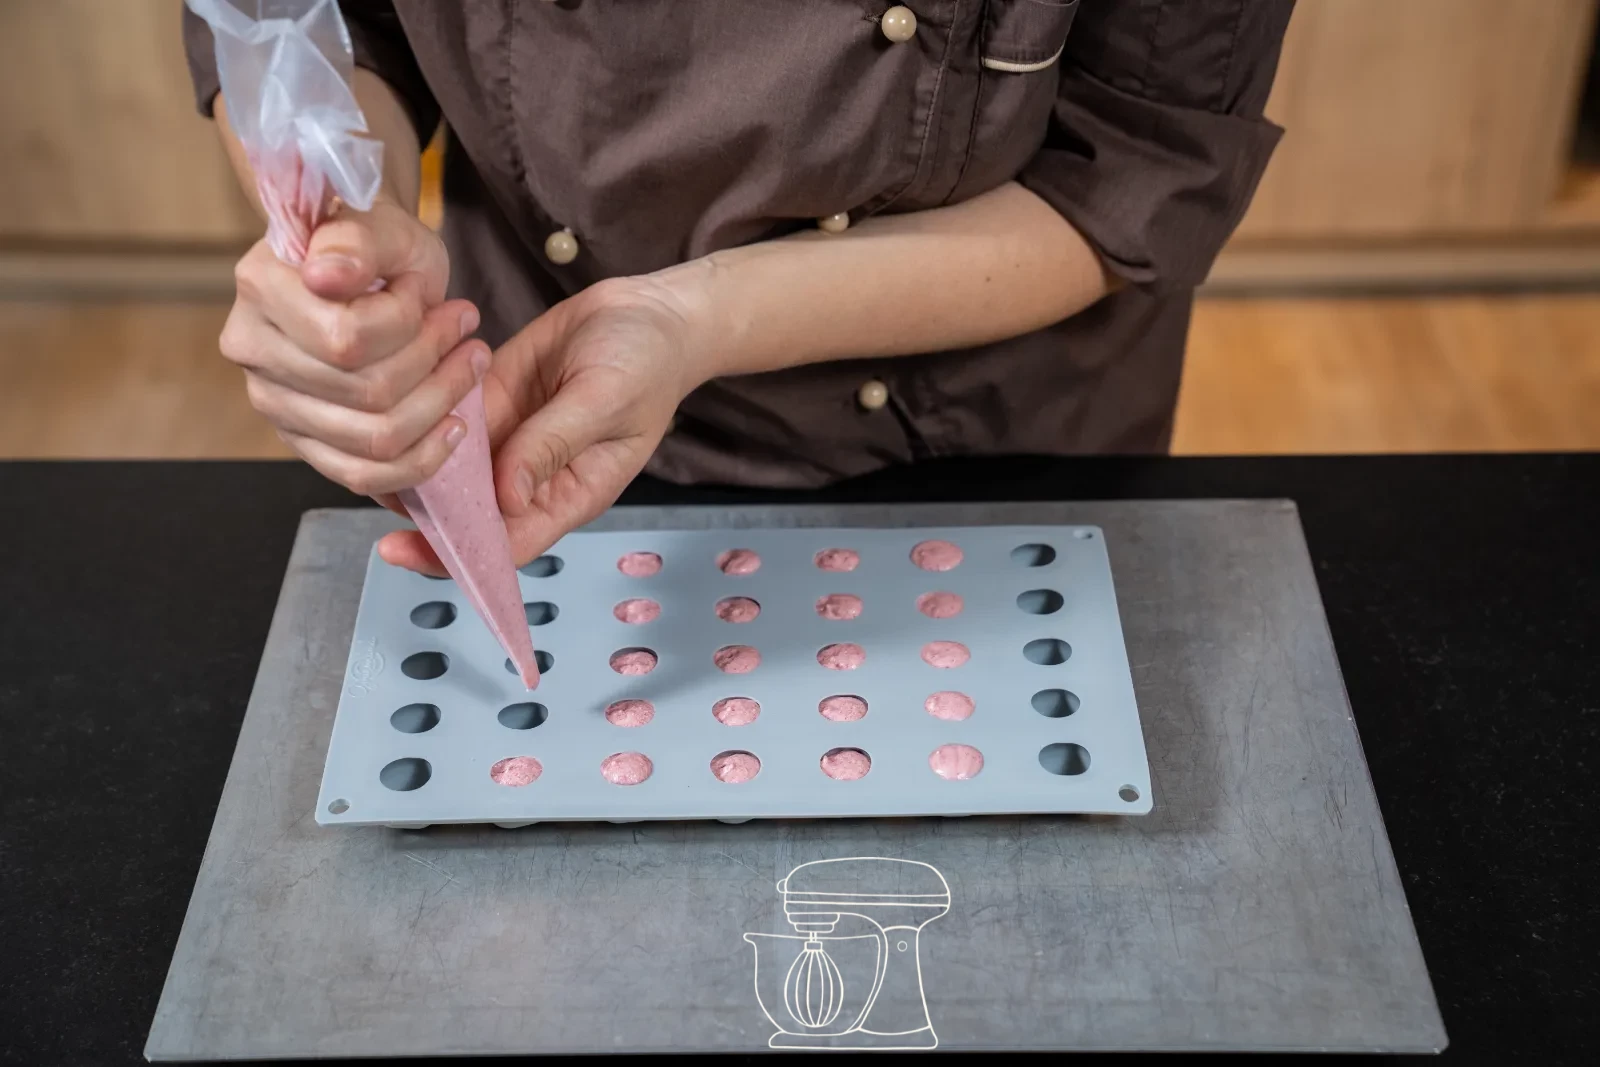
Fill the mousse evenly into the silicone cherry mold using a Piping bag (or spoon) – about 7 g per cavity. Smooth off the surface with a Spreading palette or a Scraper, so a nice, level underside forms later.
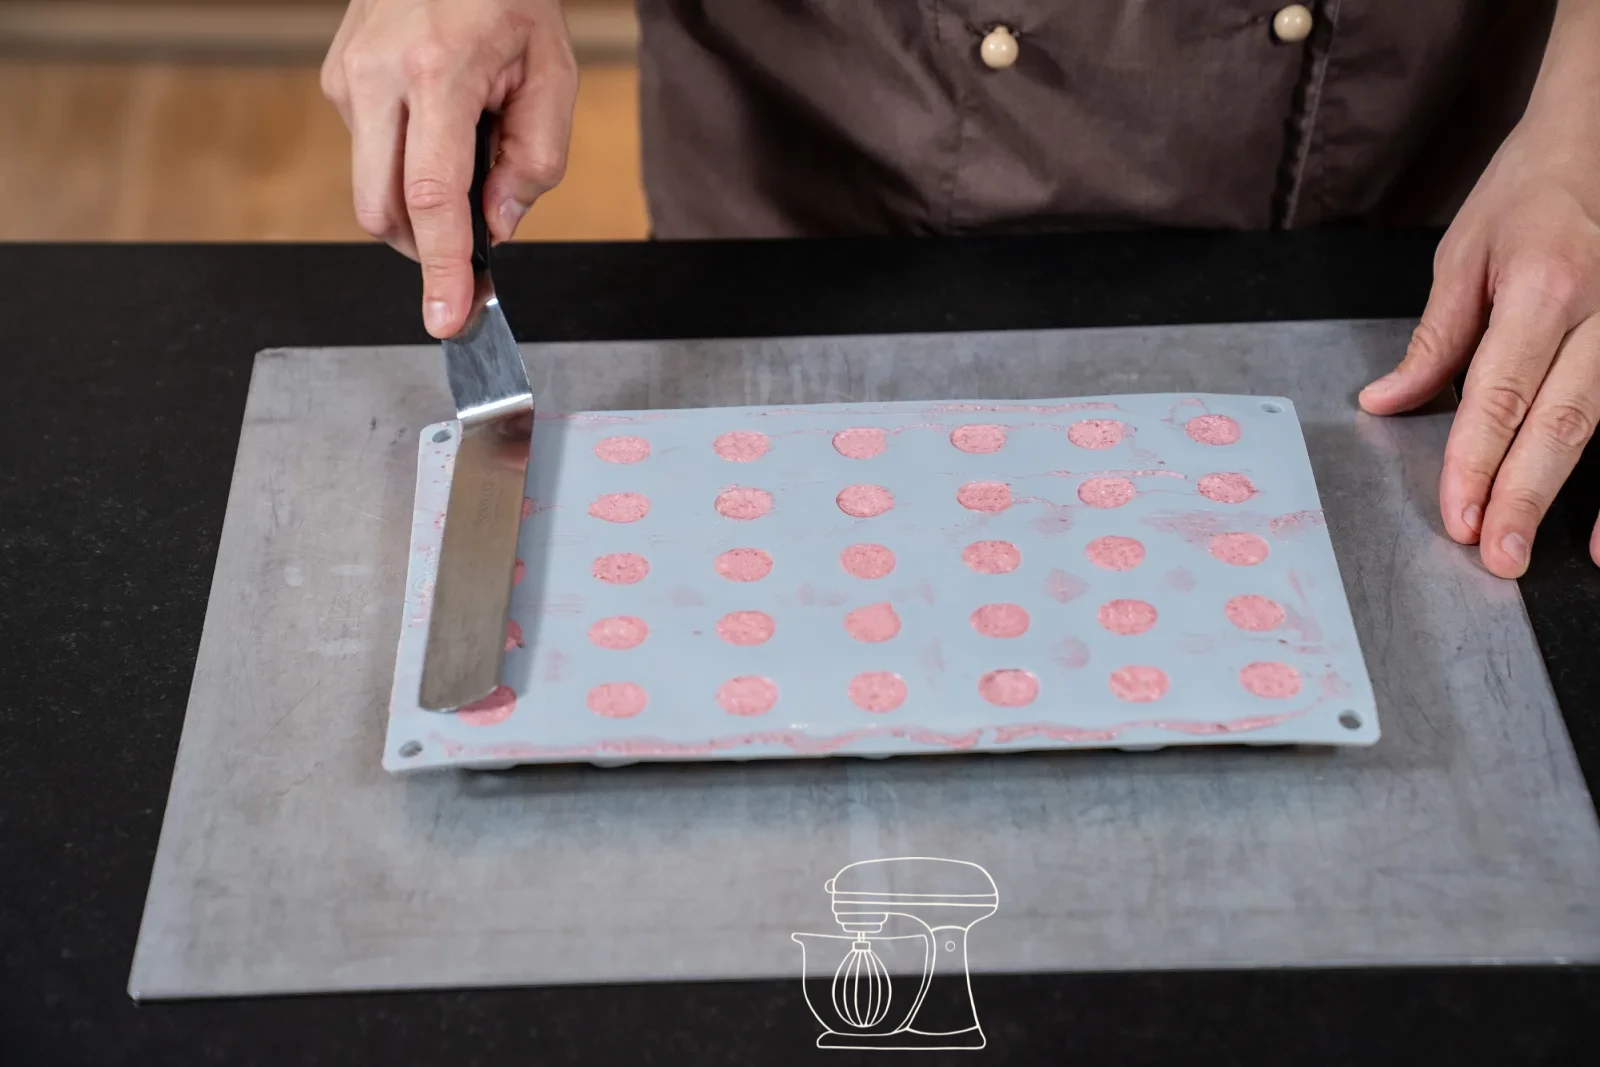
Silicone mold cherry motifs, 35 pieces
Freeze
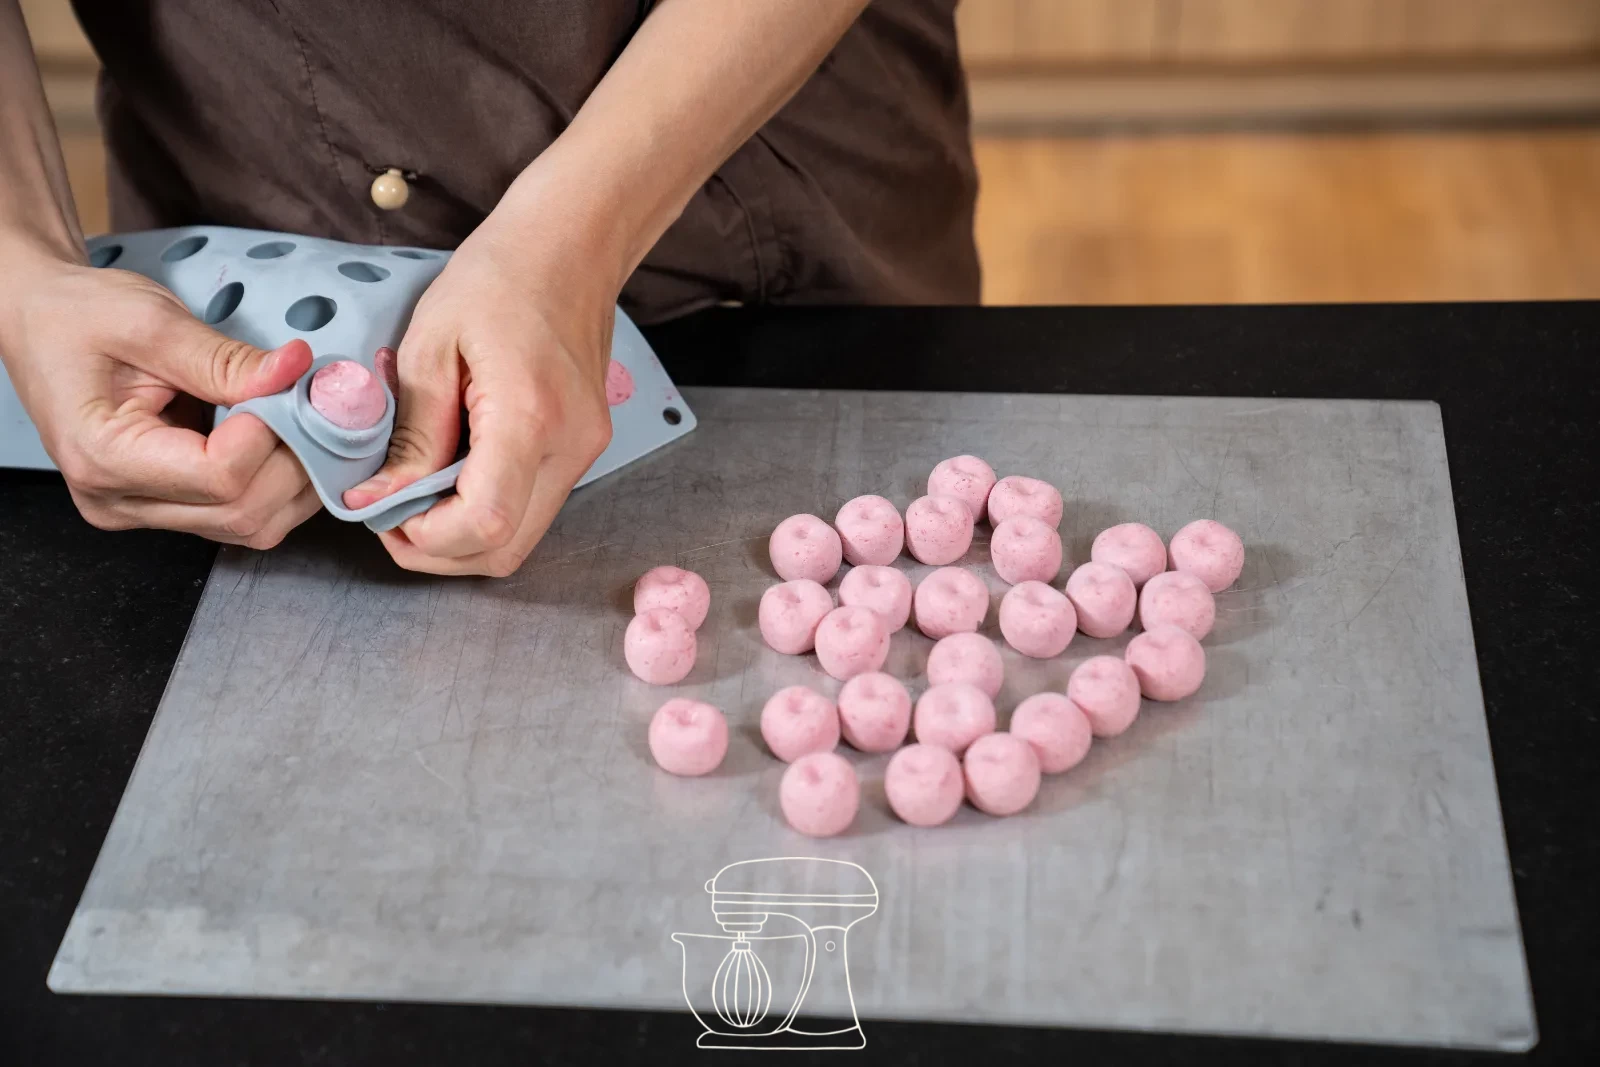
Place the mold in the freezer overnight, until the cherries are completely frozen through and firm – they should feel hard when tapped and no longer give under pressure. Only then can they be cleanly unmolded and glazed.
Mirror glaze
Boil the mirror glaze
Soak the Gelatine in cold water. Put full cream, Sour cherry puree, granulated sugar and Glucose syrup together in a pan and bring it all to a boil, stirring occasionally. Take the pan off the heat, add the squeezed gelatine and stir briefly until it has completely dissolved.
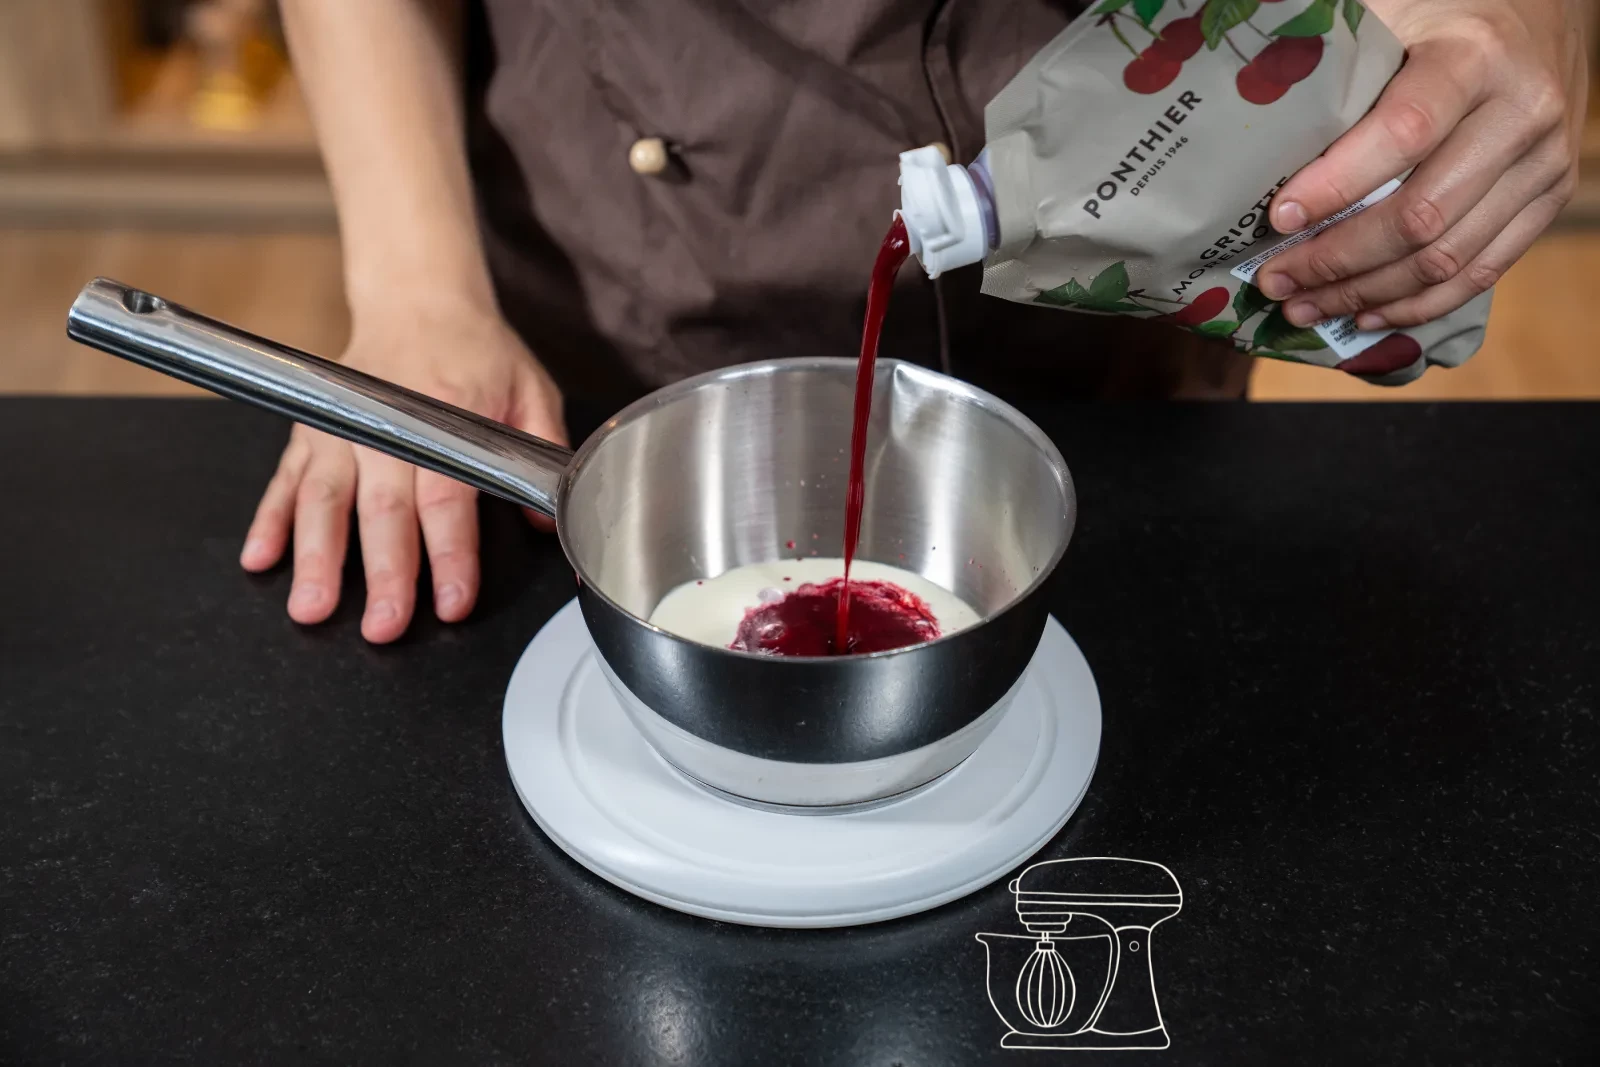
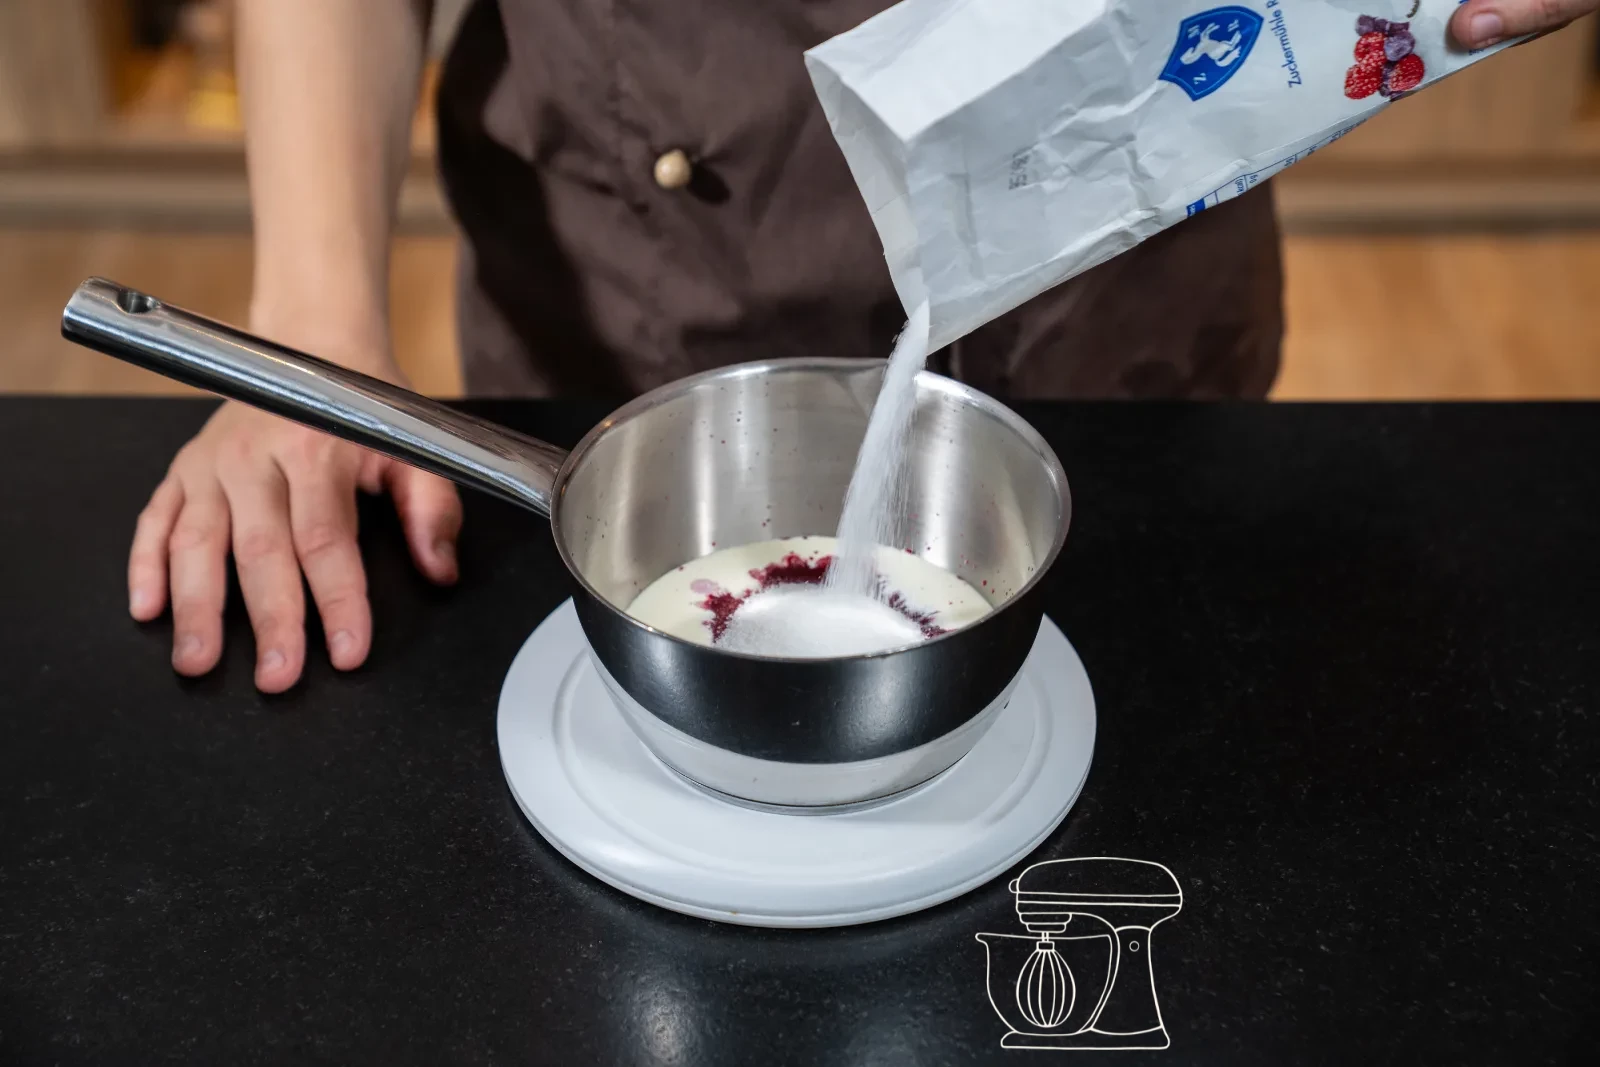
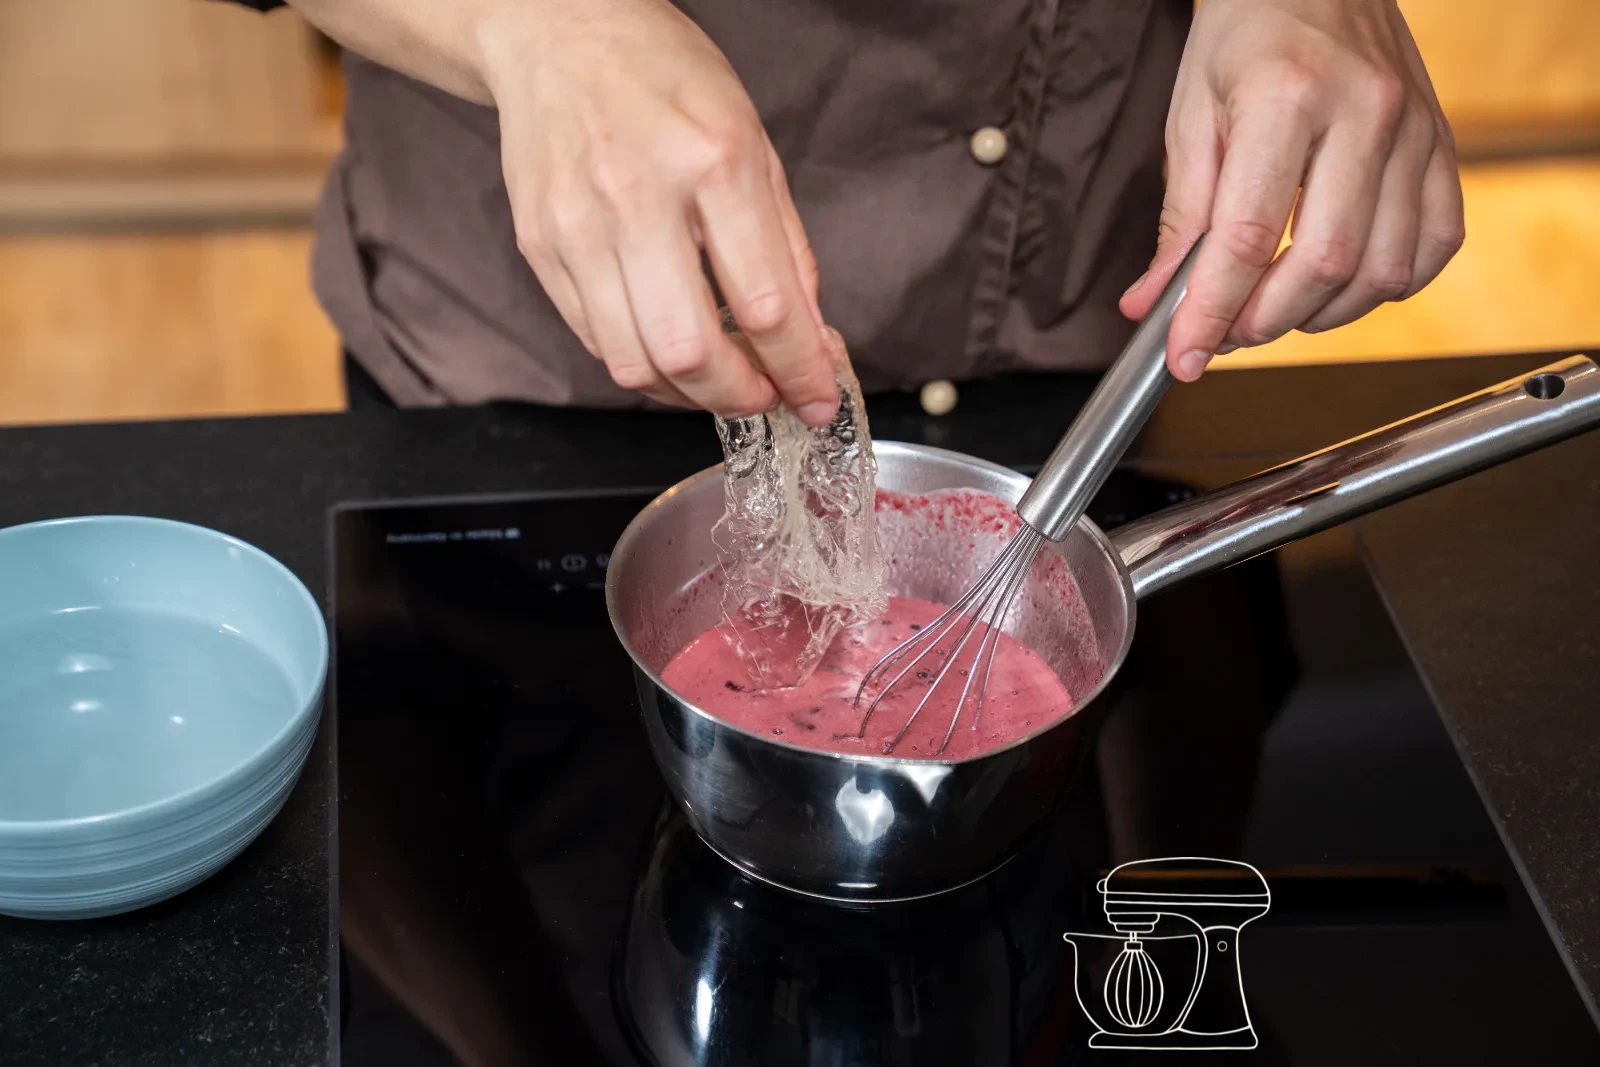
Glucose syrup - 300g
Professional leaf gelatine, 150 pieces
Sour cherry fruit puree 1 kg
Blend the glaze smooth and colour it
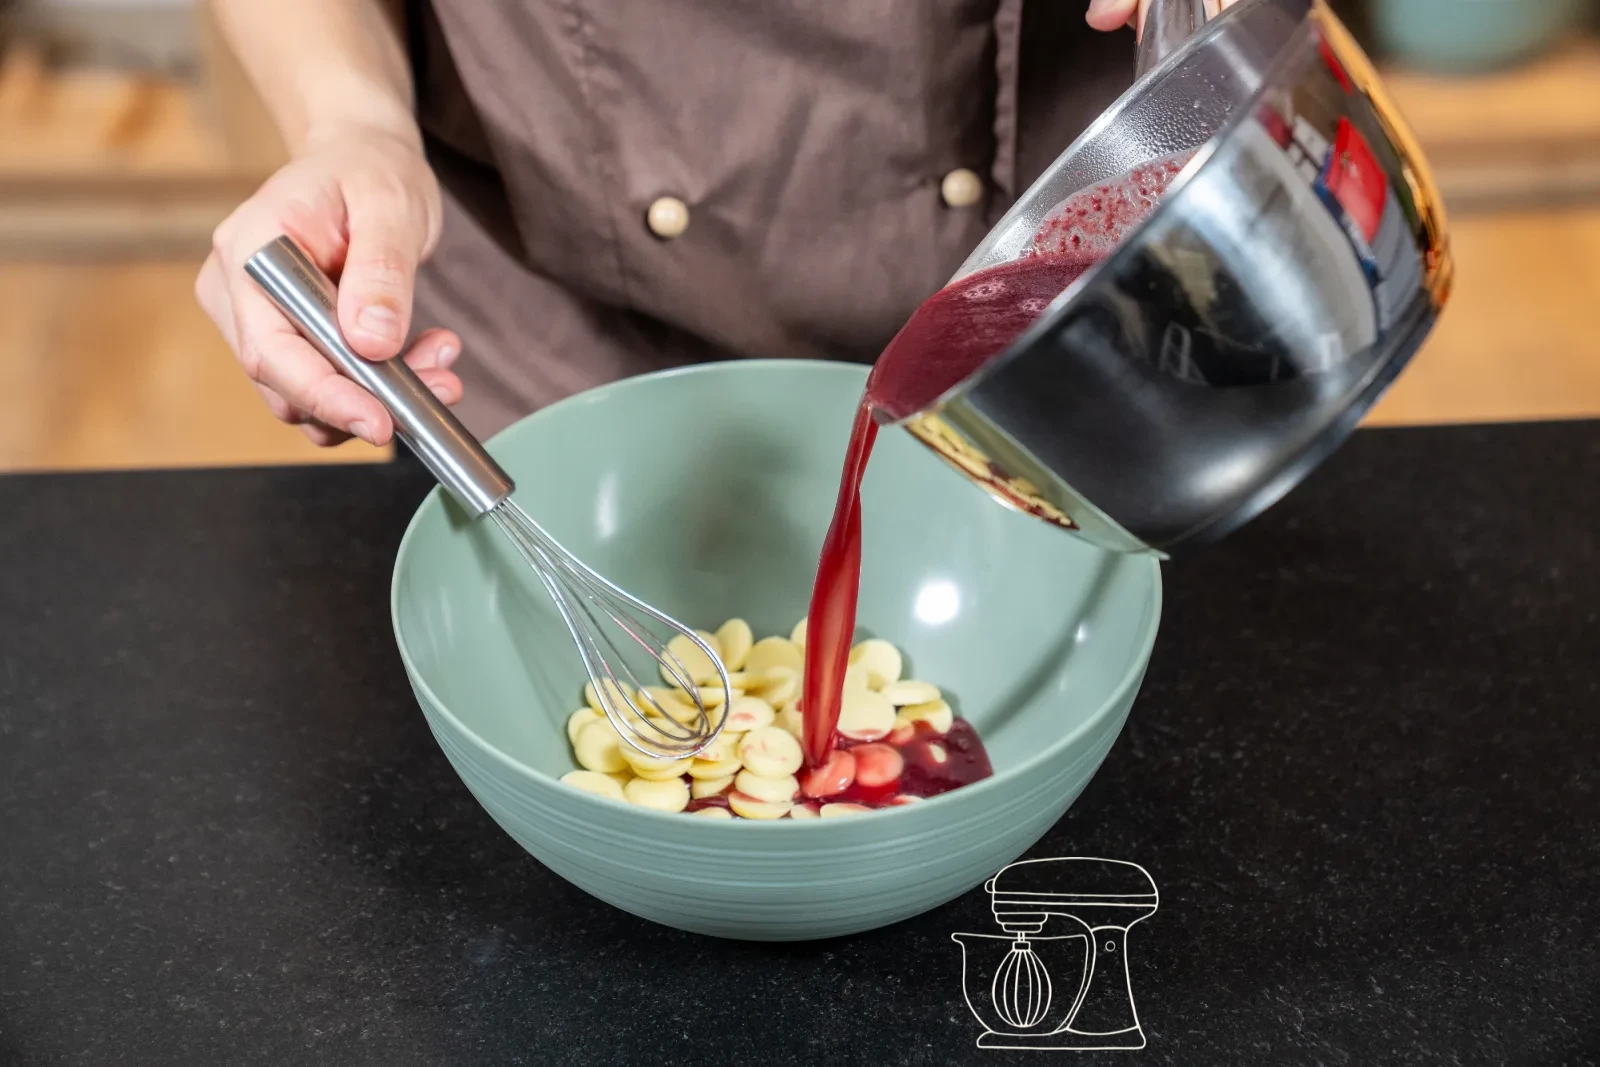
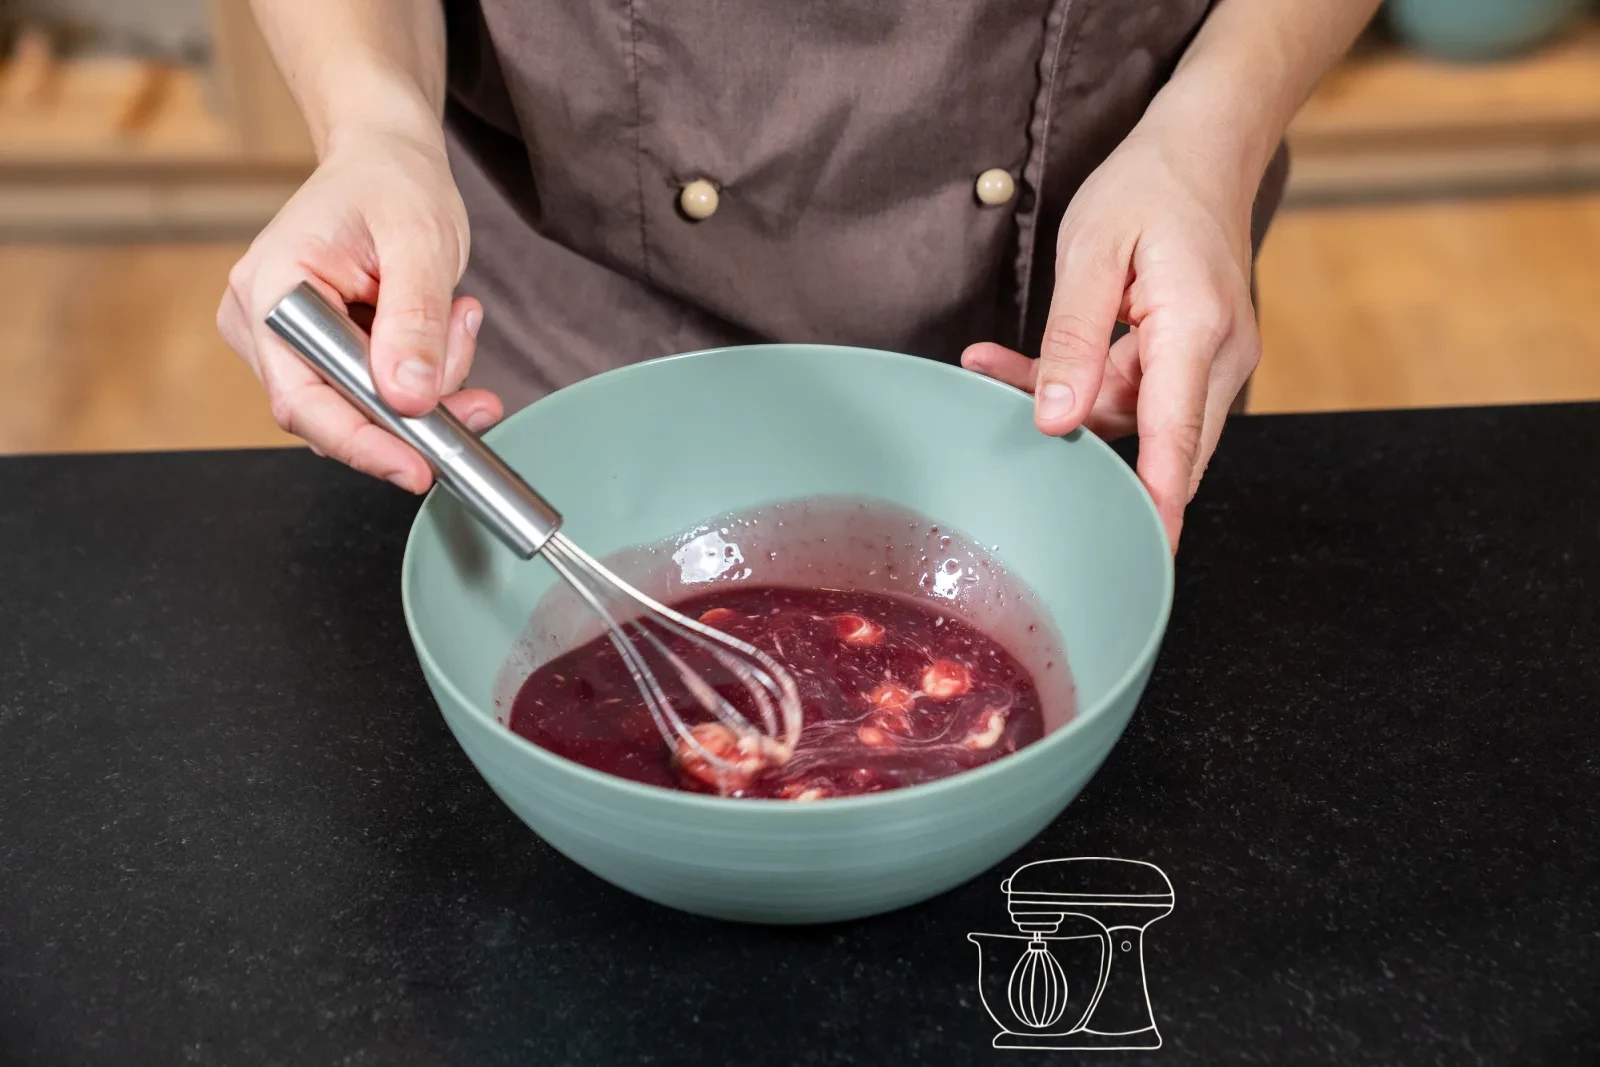
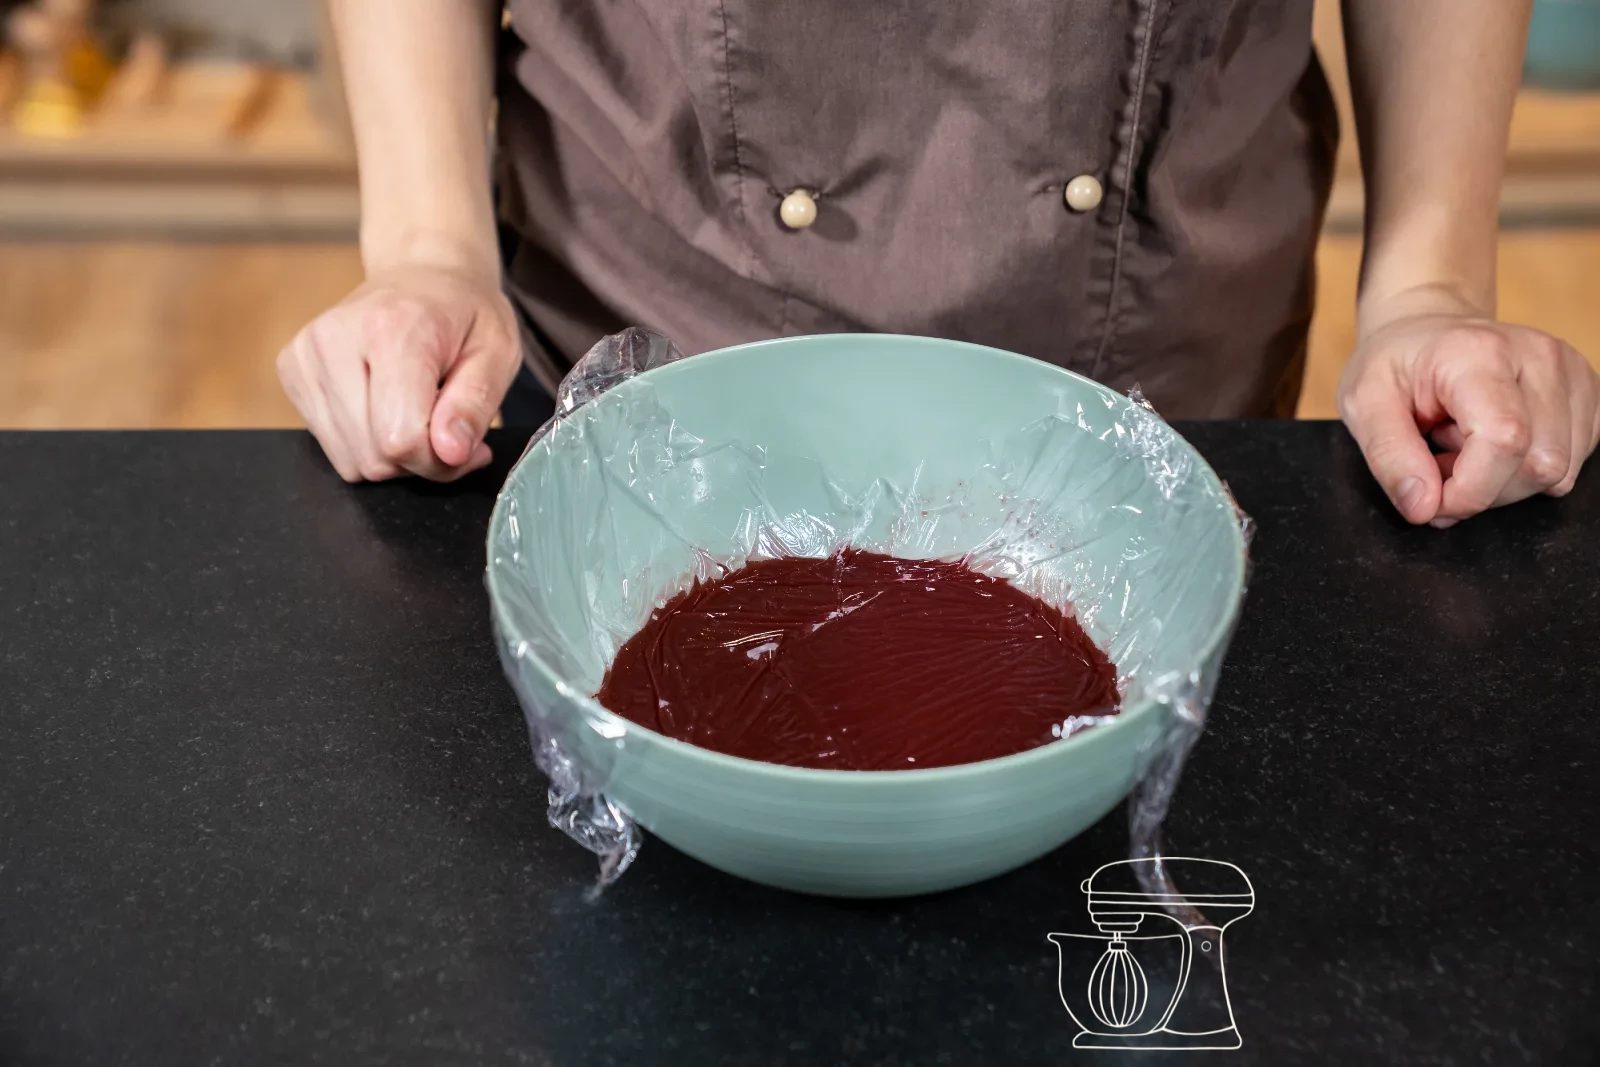
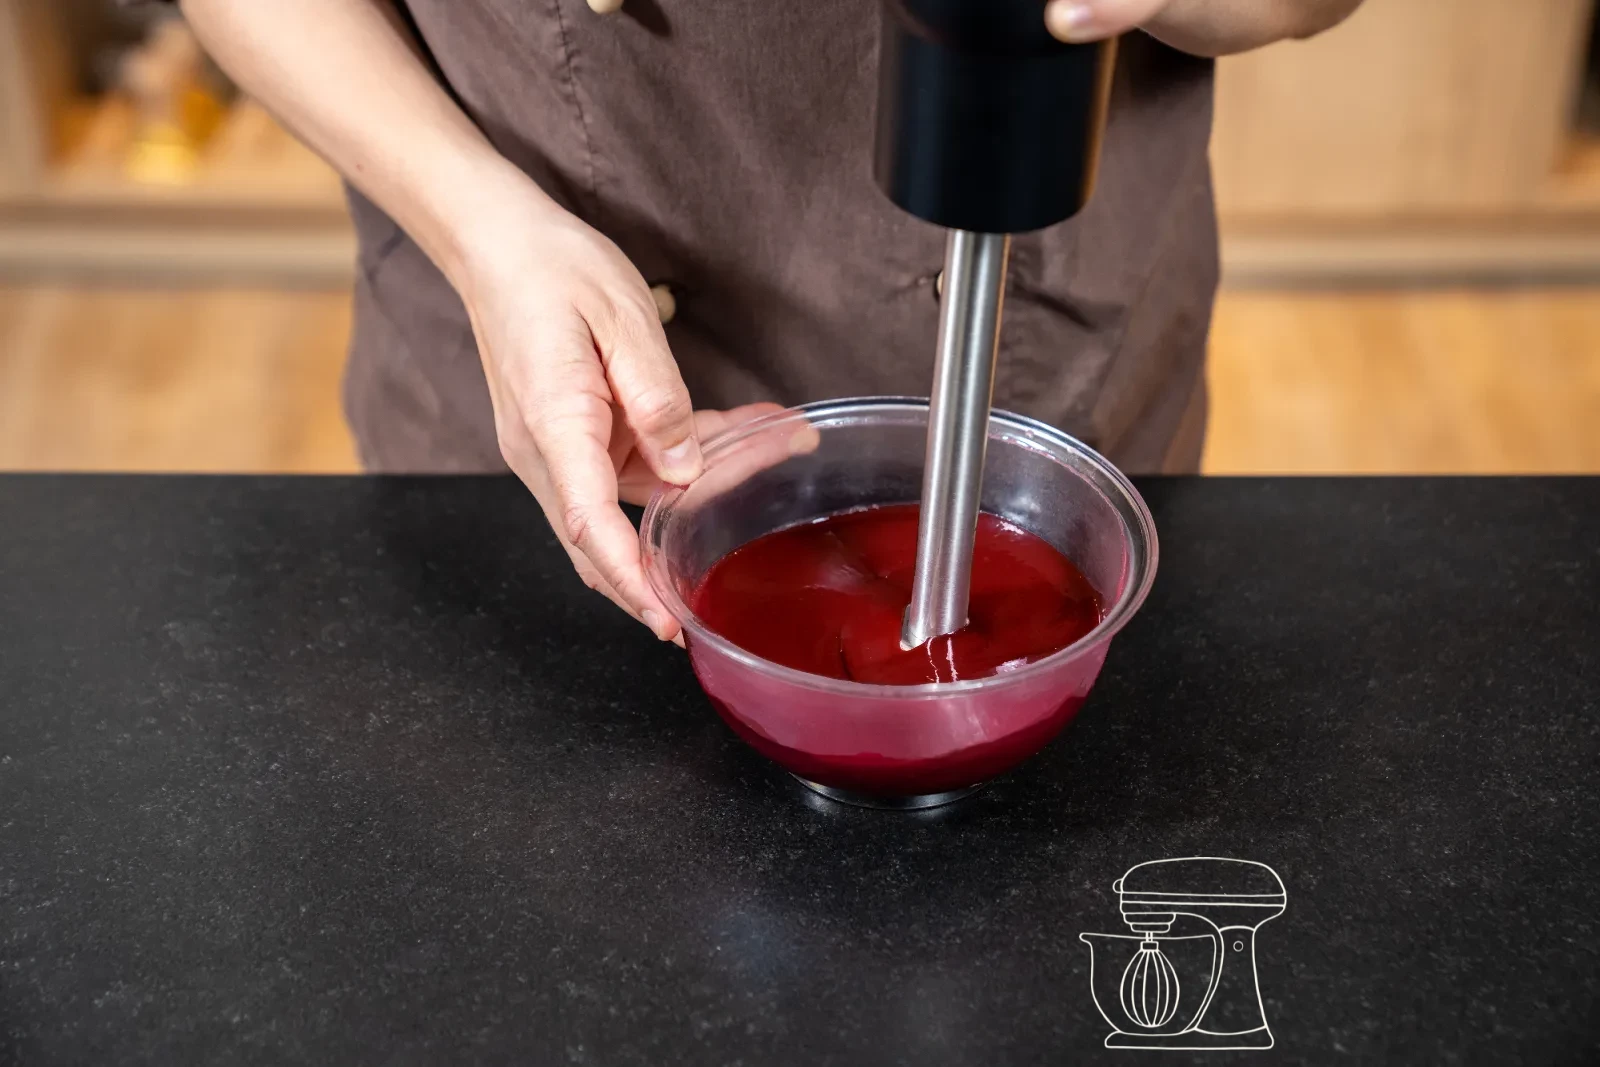
Pour the hot mixture over the white couverture and let it sit for a moment so the chocolate can melt. Blend everything smooth with an immersion blender – keep the blender at an angle and slightly below the surface, so as few air bubbles as possible form. Colour the glaze with Mulberry, red and black in portions, until you reach the desired rich cherry tone.
Glaze the cherries
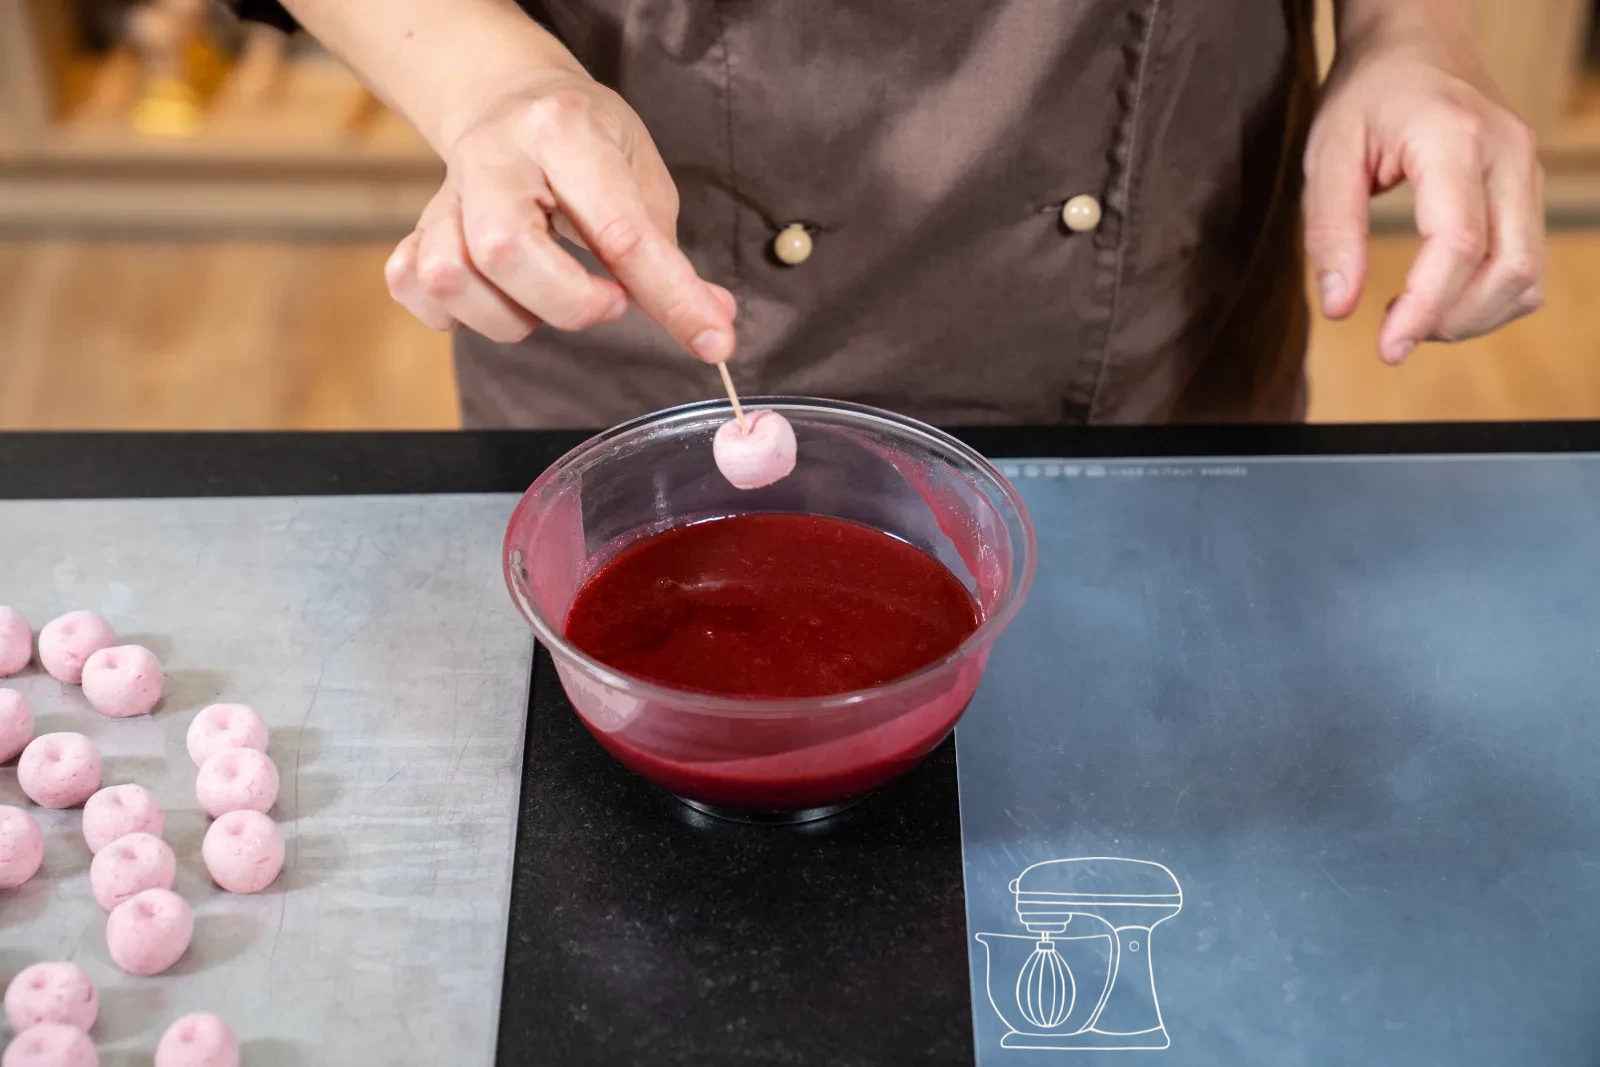
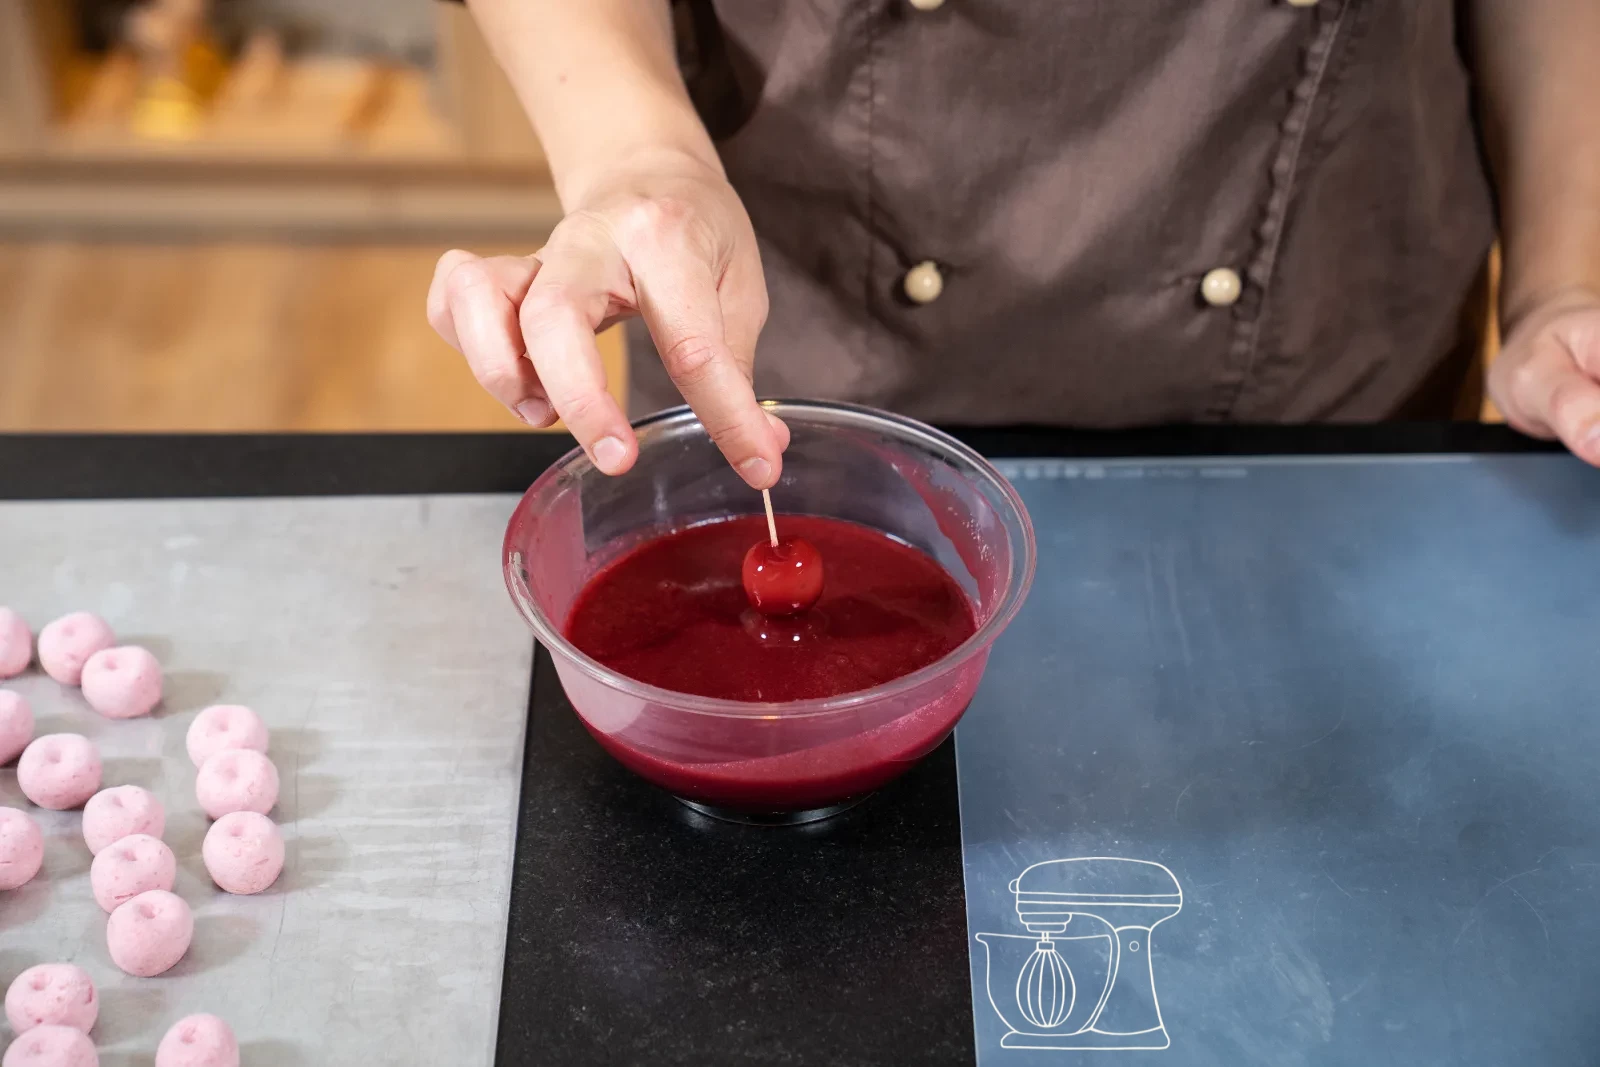
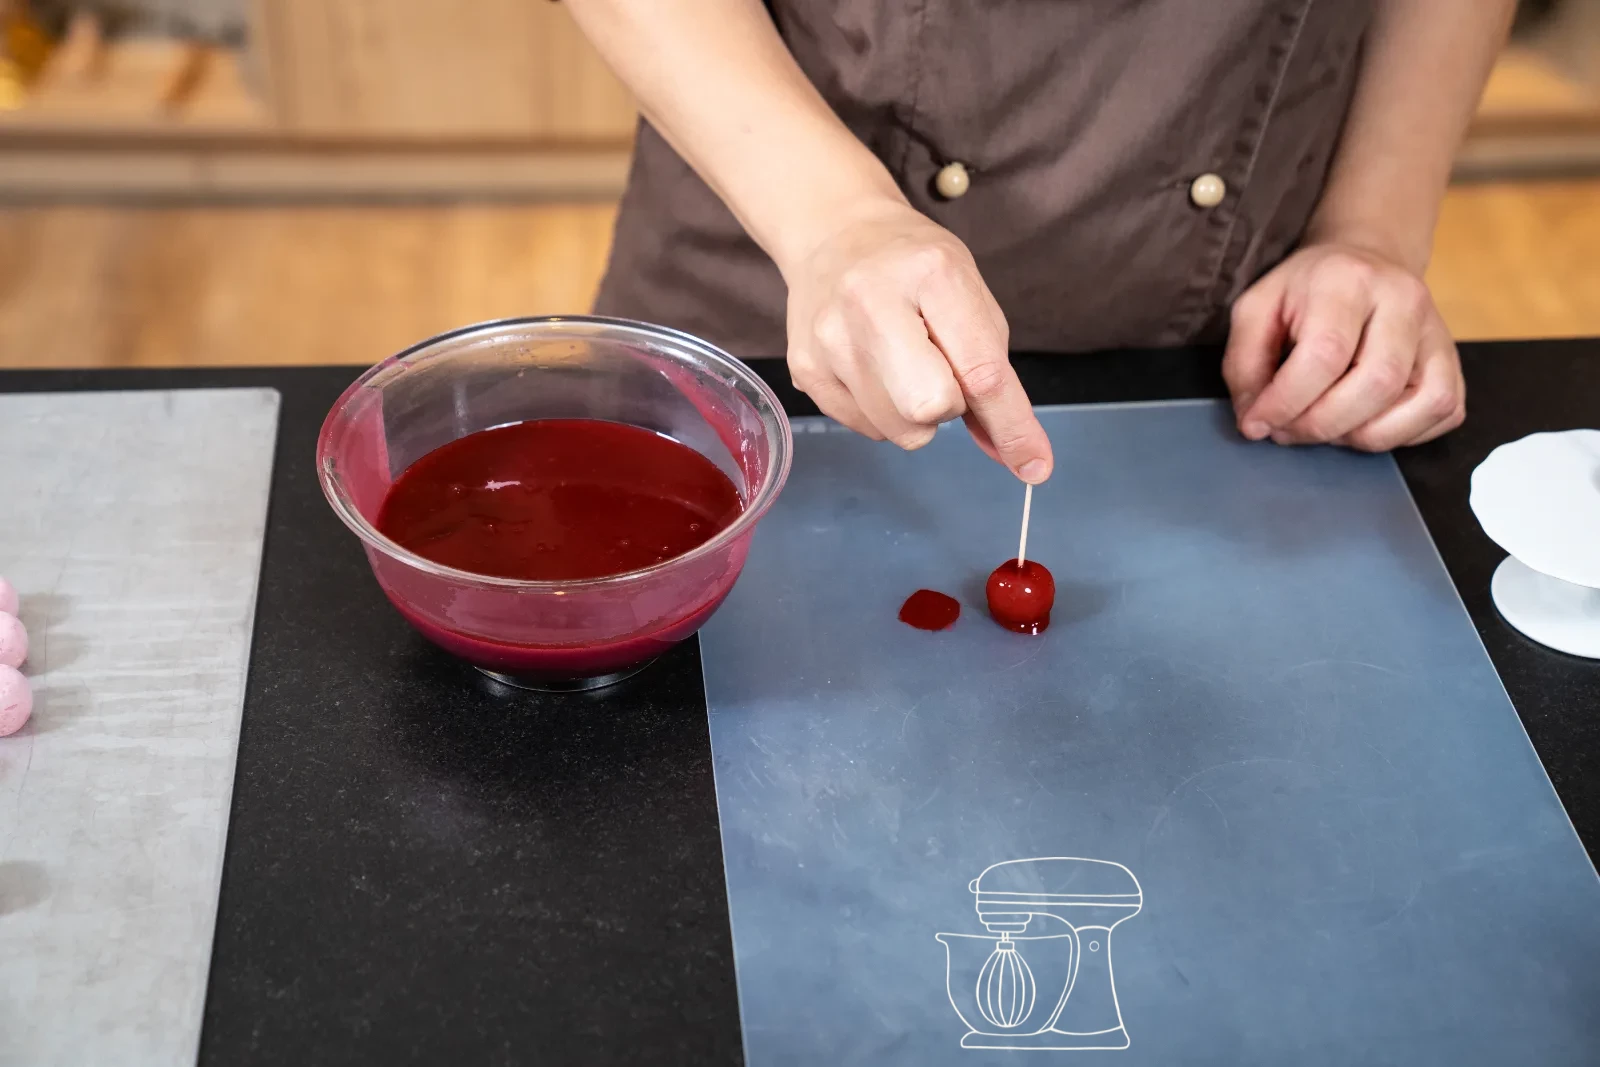
Let the glaze cool to 26–28 °C. Carefully remove the frozen sour cherry patisseries from the Silicone mold (best straight from the freezer, so they keep their shape) and dip each one completely into the glaze.
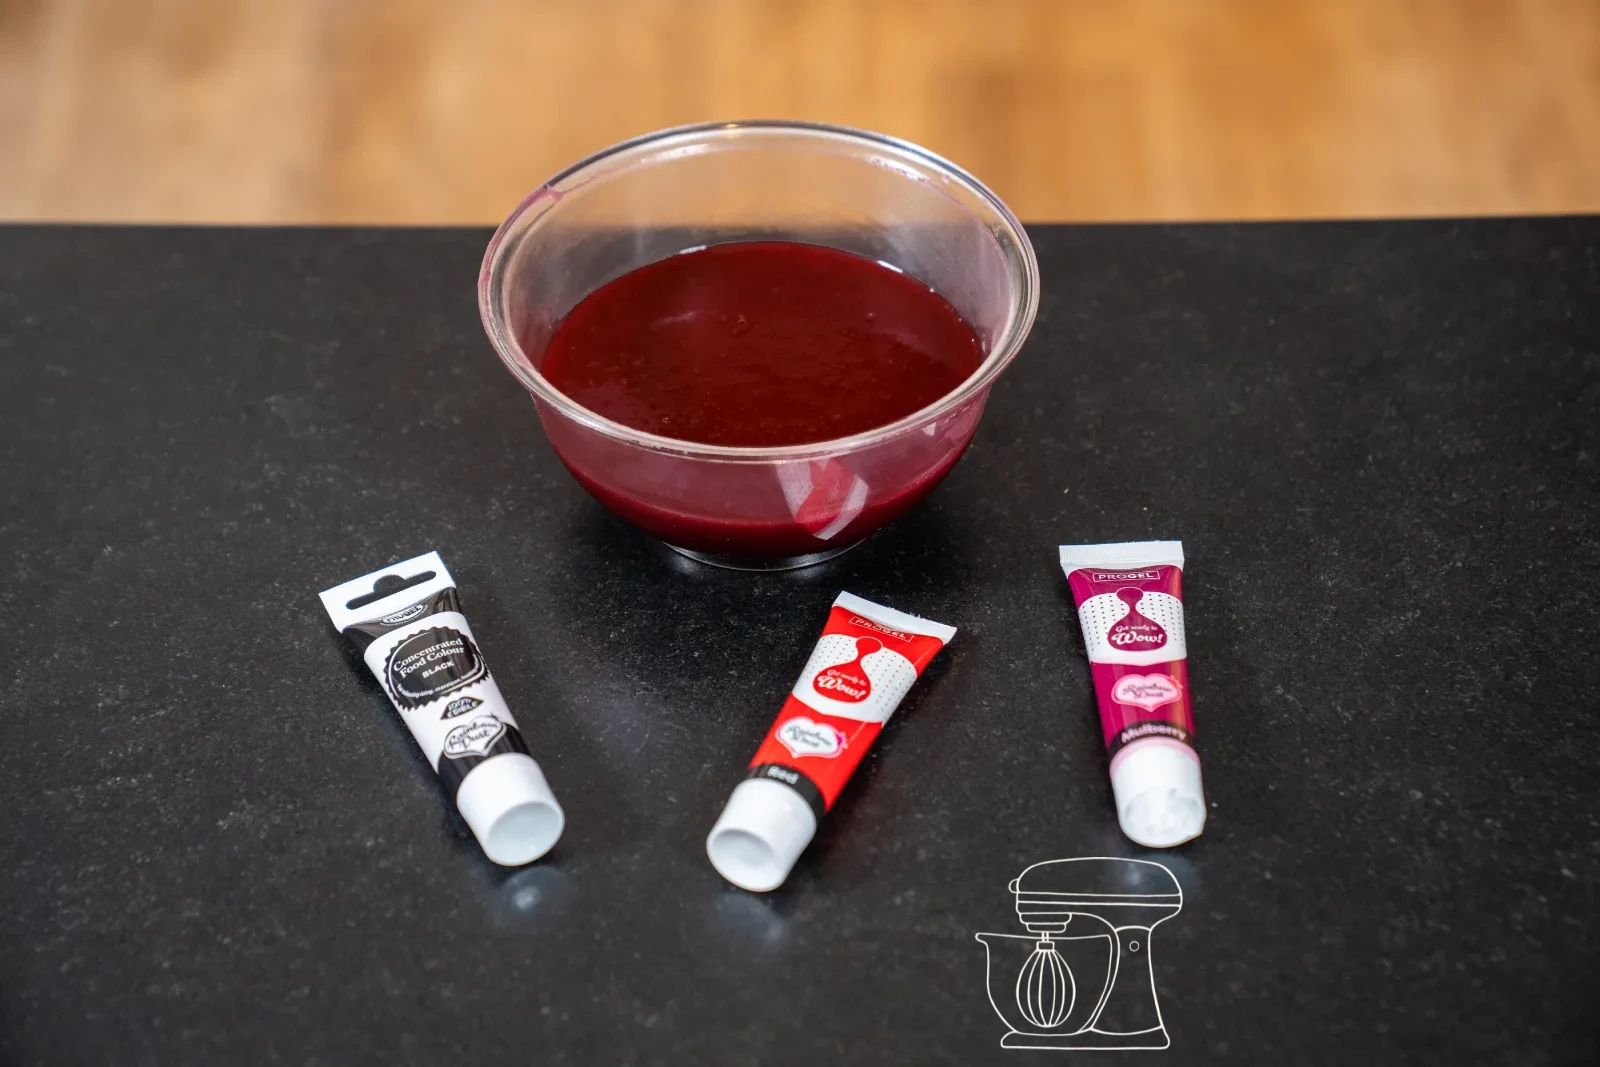
Gel food color - Red
Silicone mold cherry motifs, 35 pieces
Progel gel colors: Mulberry
Progel gel colors: Black
Let drip and set
Lift the cherries out with a fork or a dessert skewer, let them drip briefly over the Bowl and then set them on a wire rack or a plate. Let the glaze set at room temperature before you continue working with the patisseries or serve them.
Prepare the stems
Prepare, attach and decorate the stems
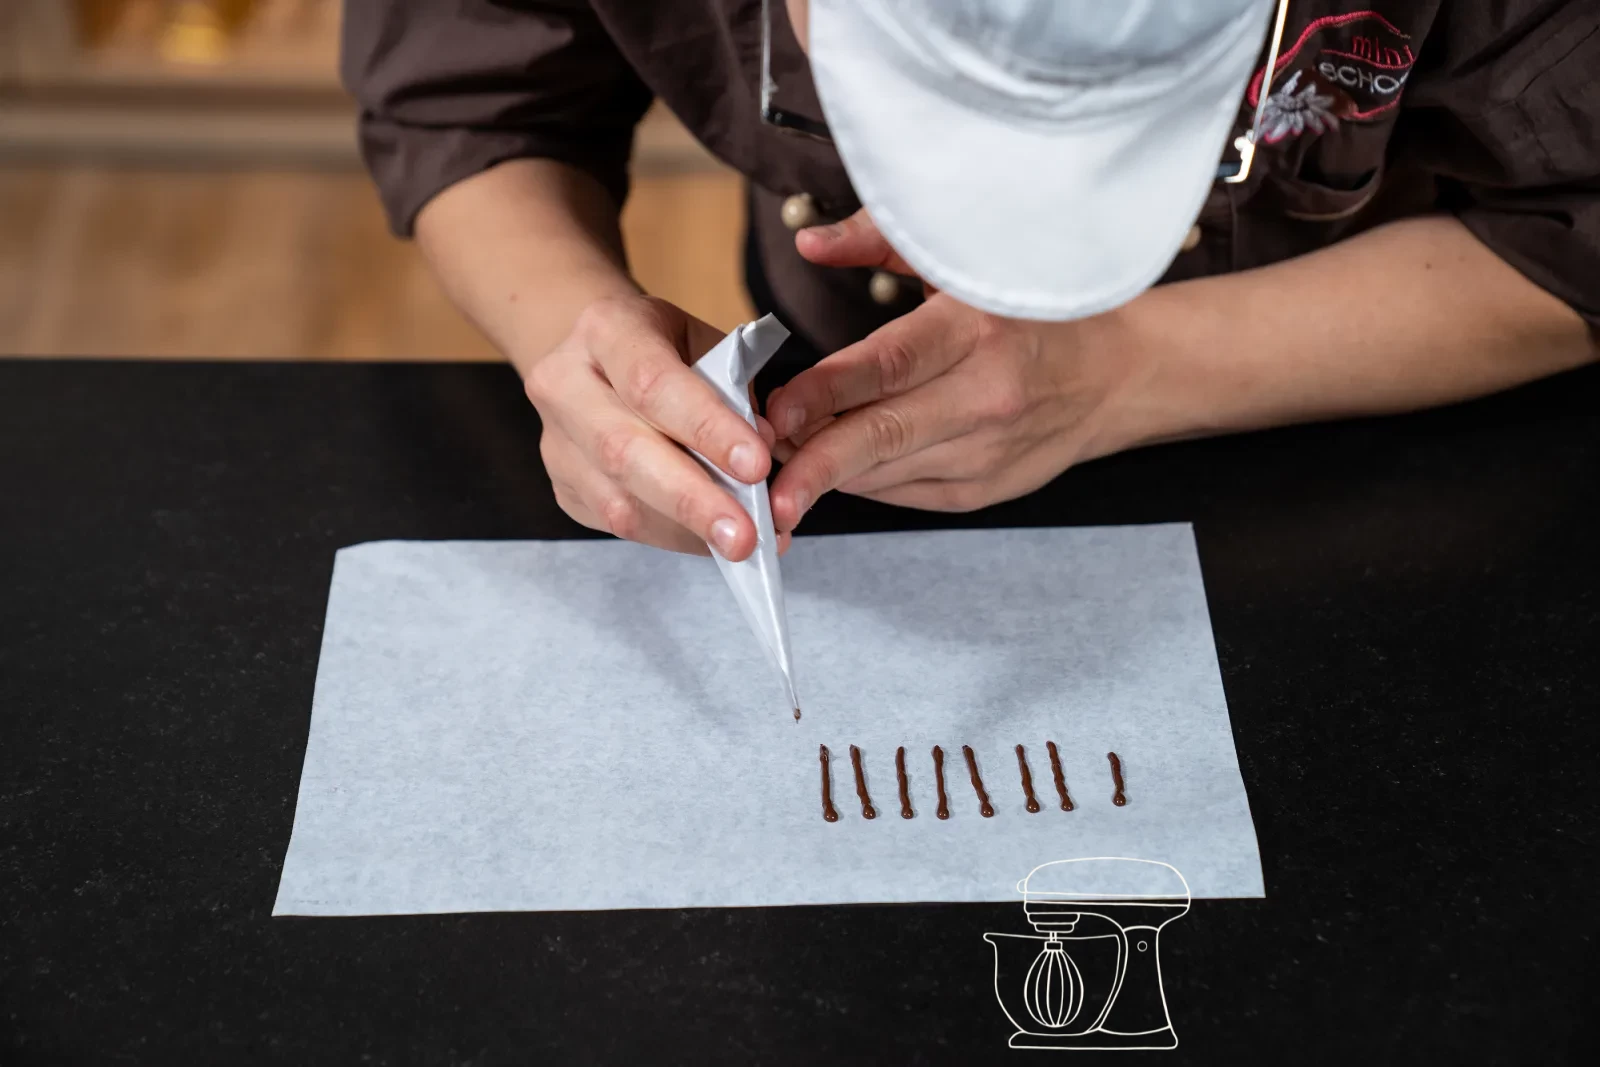
Temper the Dark couverture and fill it into a small paper Piping bag (cornet). Snip the tip only very slightly, so as little chocolate as possible comes out – this lets you make fine strips about 3 mm thick. Draw 35 strips about 3 cm long each on a sheet of baking paper, one for each cherry. Put the baking paper in the freezer for a few minutes, until the chocolate has completely set.
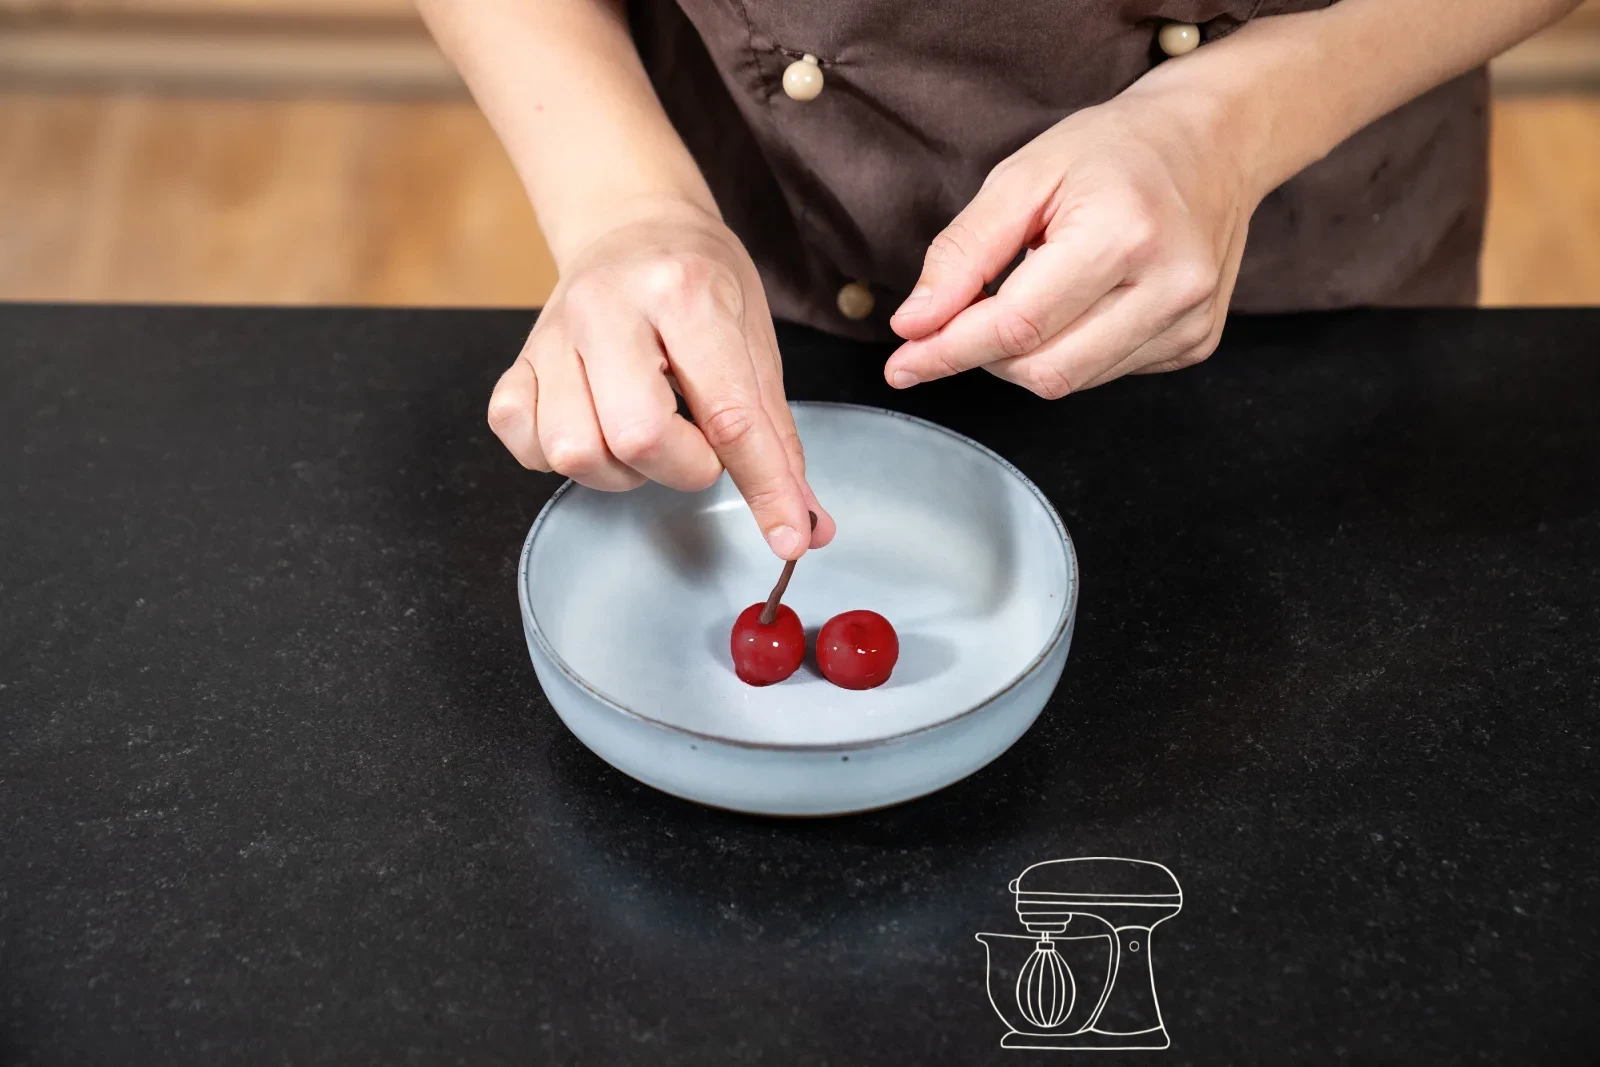
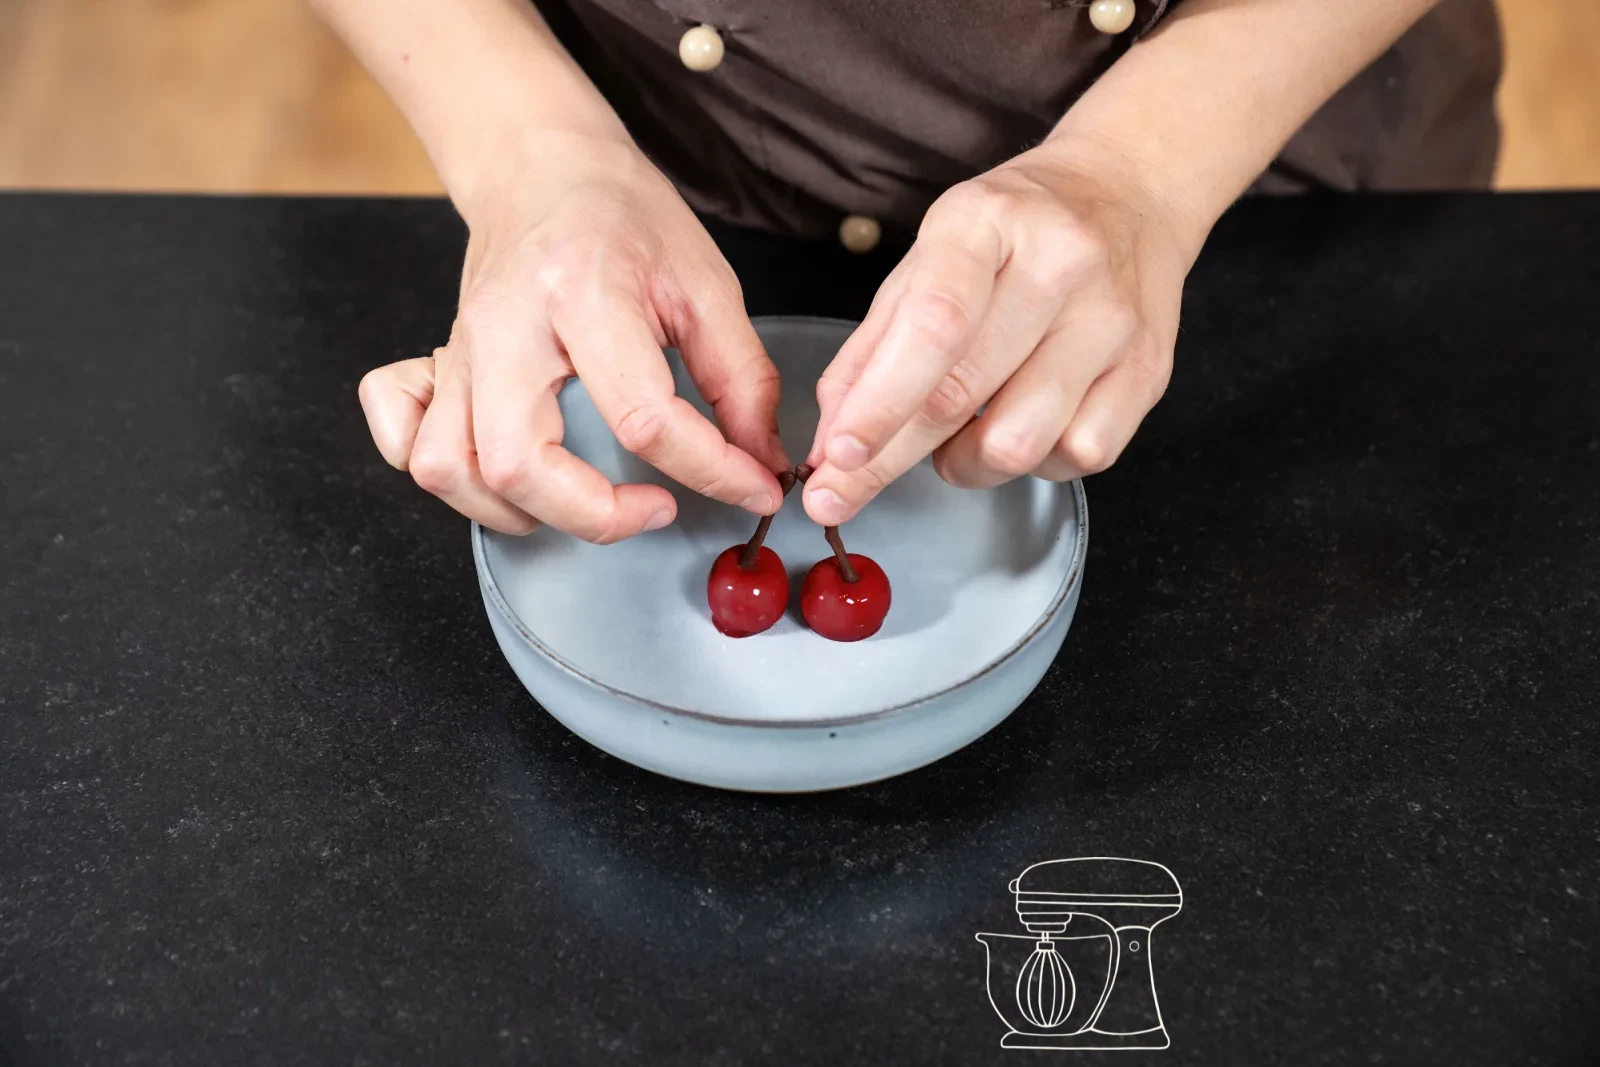
Once the stems are hard, you can carefully peel them off and set them into the small indentation on top of each cherry. Either set a single stem per cherry, or combine two stems slightly crossed for the typical double cherry. Finally, add a small mint leaf, for a particularly realistic and fresh look.
Dark cake icing for cakes & biscuits, 250 g
Dark couverture drops 500 g
Cherry Patisserie
Ingredients
Sour Cherry Mousse
Mirror glaze
Decoration
Preparation
- Mousse: Warm sugar, egg white and soaked gelatine over a water bath to about 35°C, then whip to a firm meringue. Stir the white couverture (40°C) smooth with the sour cherry puree, first fold in the meringue, then the whipped full cream.
- Filling: Fill into the silicone mold (about 7 g per cavity), freeze overnight.
- Mirror glaze: Boil full cream, sour cherry puree, sugar and glucose syrup, stir in the soaked gelatine. Pour over the white couverture, blend smooth with an immersion blender and colour with Mulberry, red and black.
- Glazing: Let the glaze cool to 26–28°C. Unmold the frozen cherries, dip them completely, let them drip and set at room temperature.
- Stems: Temper the Dark couverture and, using the cornet, draw 35 strips of about 3 cm each on baking paper. Freeze briefly, peel off and set into the indentation of the cherries. Garnish with a mint leaf.
Nutritional values per 100 g
Storage & shelf life
Everything for this recipe
Recommended from our bakery — exactly the sizes the recipe was tested with.
Ingredients
Gel food color - Red
Glucose syrup - 300g
Professional leaf gelatine, 150 pieces
Sour cherry fruit puree 1 kg
Dark cake icing for cakes & biscuits, 250 g
Dark couverture drops 500 g
White couverture drops 500 g
Progel gel colors: Mulberry
Progel gel colors: Black
Equipment
Silicone mold cherry motifs, 35 pieces
Digital thermometer, waterproof and foldable
Delivery in 1–2 working days · Free shipping from CHF 100
To make sure it succeeds every time
Pass the finished, blended glaze through a fine sieve before you let it cool. This gets rid of the last air bubbles that formed while blending – and it's exactly those that later show up as little craters on the glossy surface.
Take the mousse cherries out of the freezer in batches and leave the rest in until the last moment. As soon as they start to thaw, condensation forms on the surface – and the glaze no longer adheres properly to it, running off in streaks.
Before filling, place the Silicone mold on a firm tray or a cutting board. The mold is soft and warps when carried – the mousse then spreads unevenly in the cavities and the underside comes out crooked.
Frequently asked questions
Then the glaze was too warm or too runny and ran off too much. Let it cool one or two degrees further and dip the cherry a second time – but it must still be frozen for that.
Yes. Collect the dripped-off glaze, pass it through a sieve and store it airtight in the fridge. Before the next use, gently warm it up and bring it back to 26–28 °C.
No, a normal freezer is enough. Just allow more time: instead of 2 hours, you should freeze the cherries through overnight, so they are really hard when glazing.
Print recipe
Choose what should appear on the printout.
Related posts
 Juicy Matcha Muffins with Pecan Nuts & White Chocolate
Matcha Iced Latte & Coconut Variant
Pull-apart bread with fresh wild garlic pesto
Mini Banana Bread with Chocolate Chips
Juicy Matcha Muffins with Pecan Nuts & White Chocolate
Matcha Iced Latte & Coconut Variant
Pull-apart bread with fresh wild garlic pesto
Mini Banana Bread with Chocolate Chips
Leave a comment