

Gingerbread
The dough rests in the fridge for two to three days, which makes it soft and aromatic
Hello gourmets,
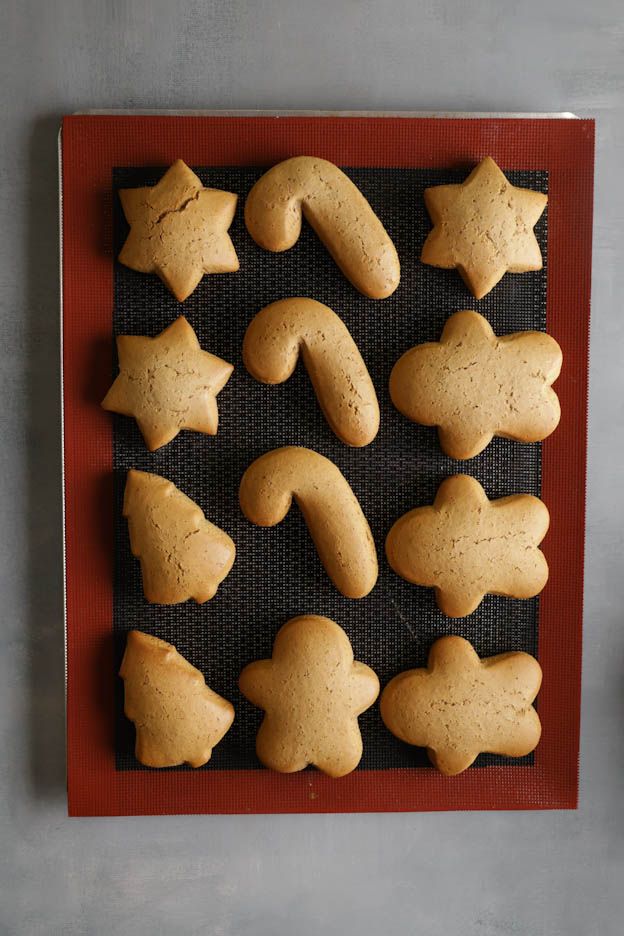
Today a recipe for especially soft ginger donuts, shaped as a fir tree, a figure or a star, depending on which Cookie cutter you have.
The recipe itself is easy. The only thing it really needs is patience: the dough has to rest with the spices for two to three days. Only then does it develop its flavour, and that is exactly how you recognise a good Gingerbread in the end.
The recipe on video
0:29 min


Ingredients
Dough
Decoration
Step by step
Dough
Dry ingredients
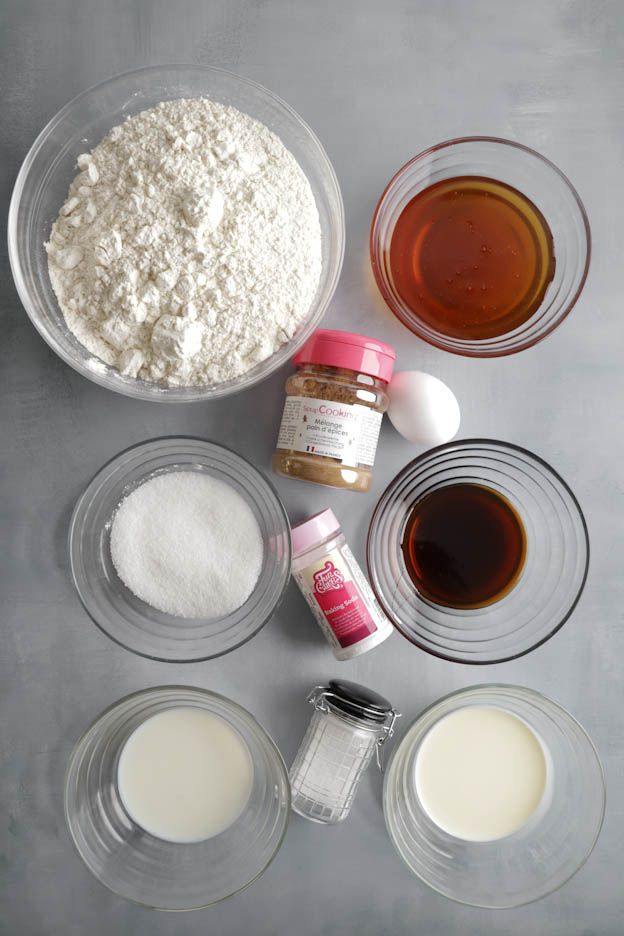
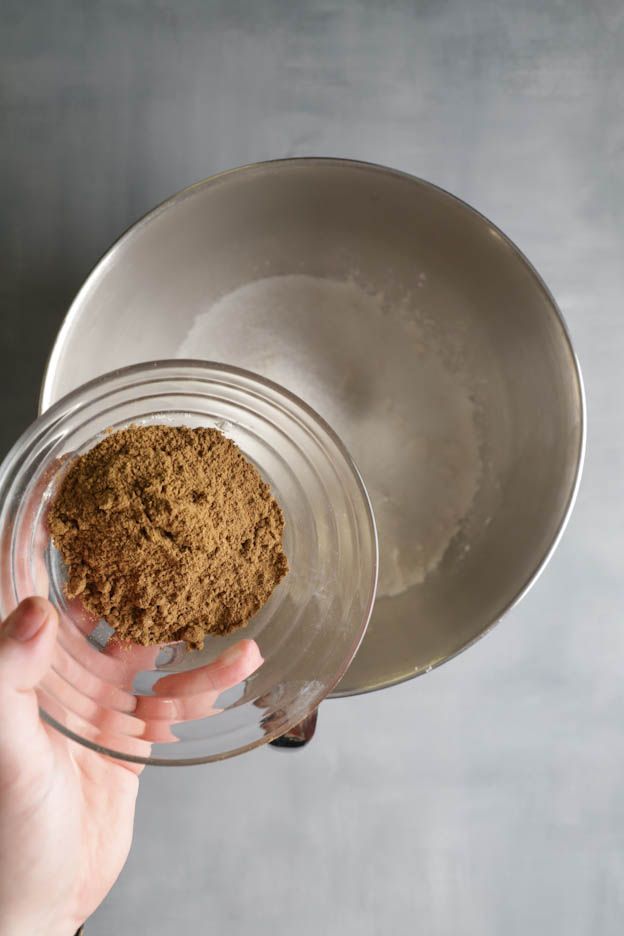
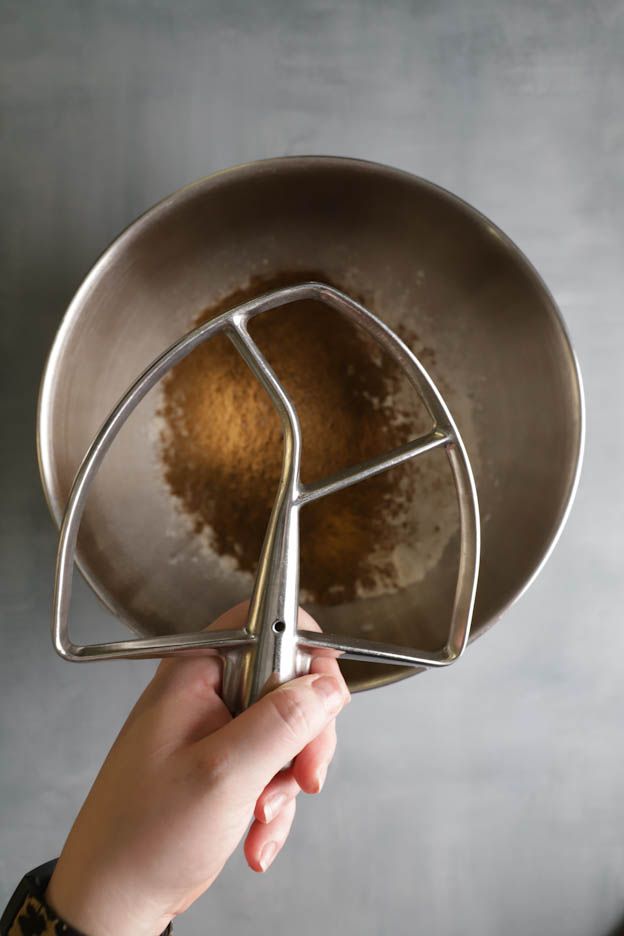
Mix 580 g flour, 12 g baking soda, 35 g Gingerbread spice, 100 g sugar and 1 pinch of salt, for me about 1 minute with the paddle attachment. Then set aside.
Swiss White flour, 1 kg
Baking soda 100g
Gingerbread spice, 60 g
Gum arabic, 20 g
Liquid ingredients
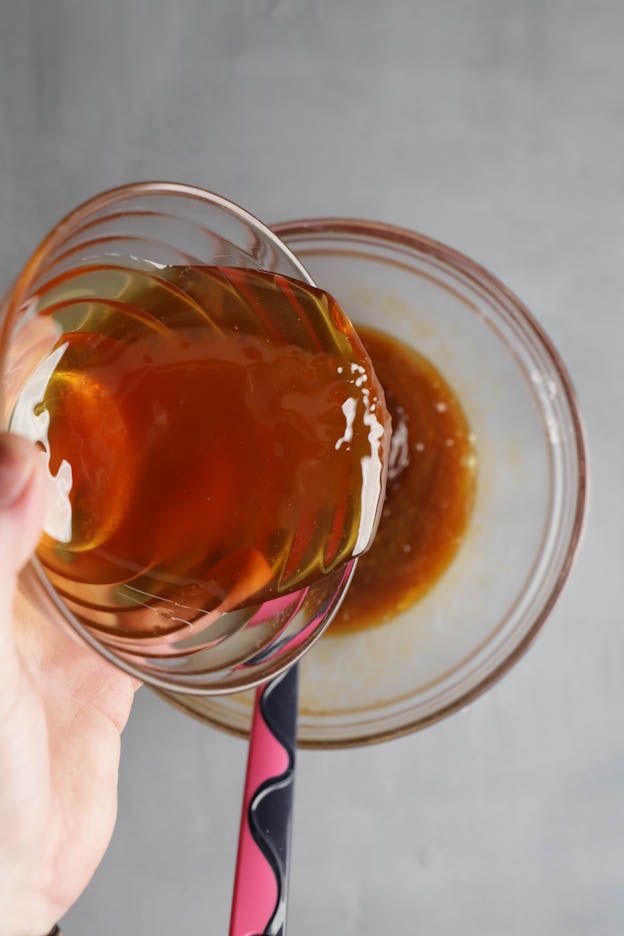
Put 50 g milk and 60 g full cream into a second Bowl and warm them for 20 to 30 seconds at 600 watts in the microwave. Stir in 250 g liquid honey with the Dough scraper, I use nectar honey, any other liquid honey works too. Then add 80 g molasses and 1 egg and mix again.
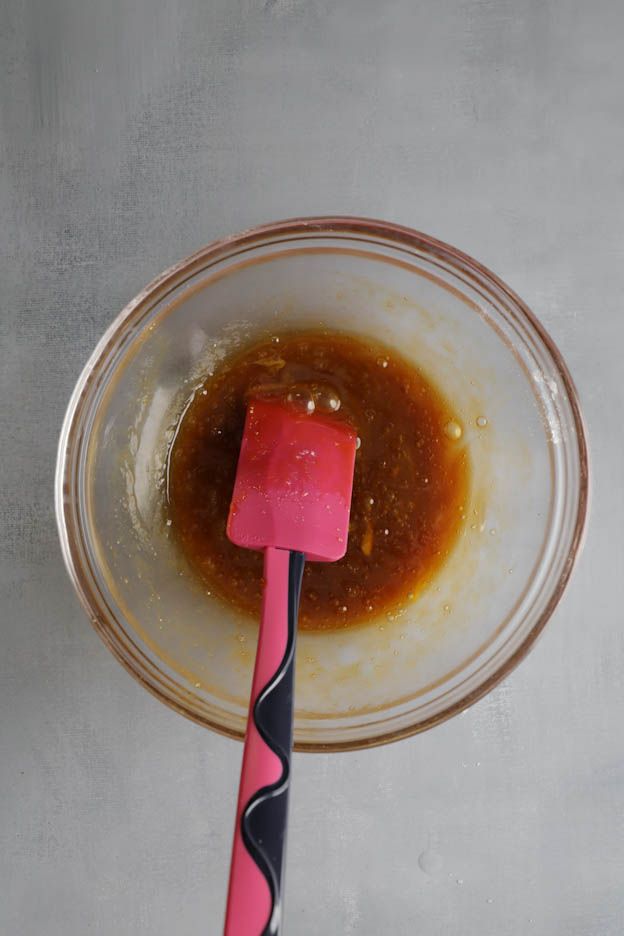
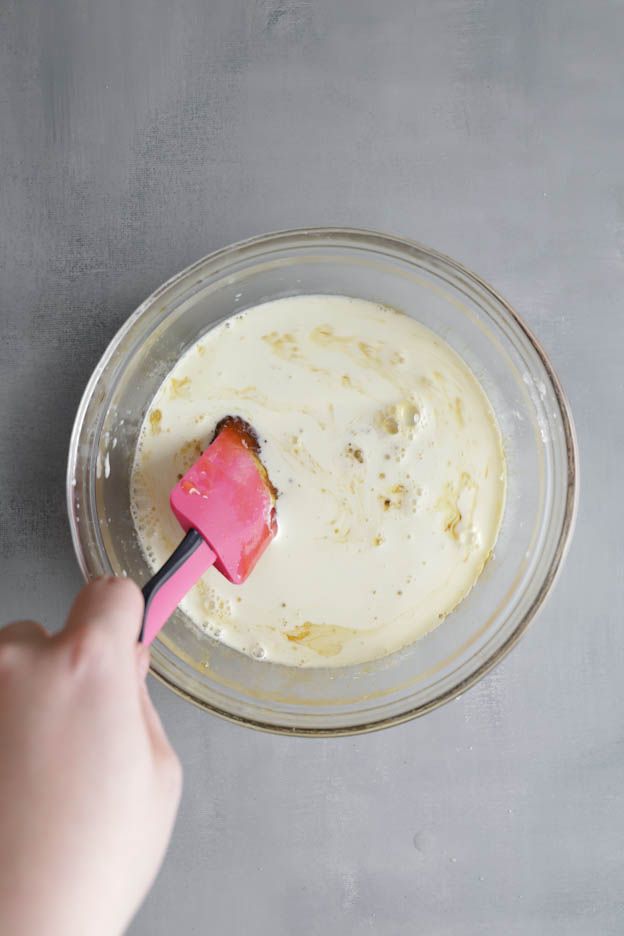
Knead and rest for two to three days
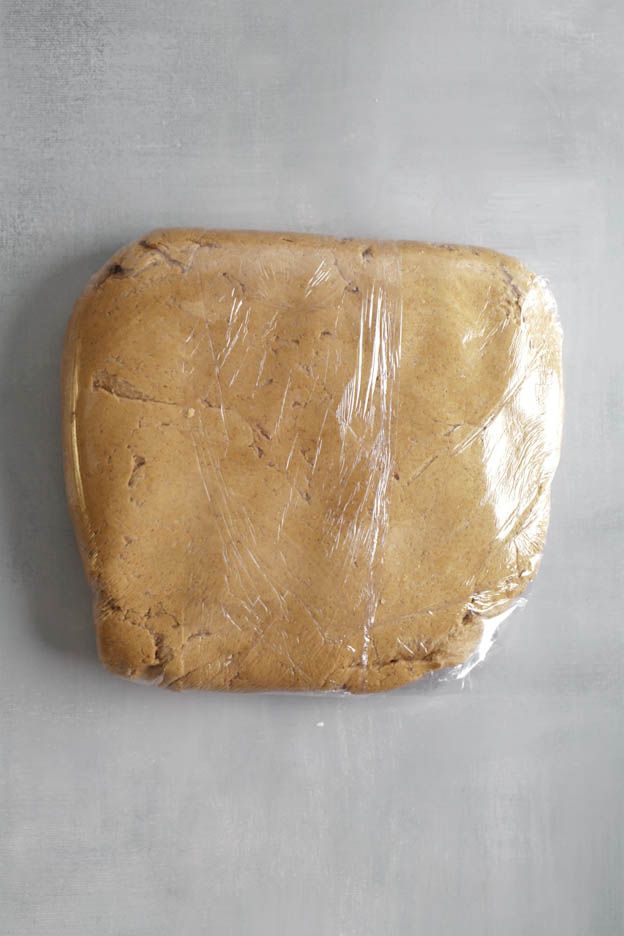
Pour the liquid mixture onto the dry ingredients and knead for 3 to 4 minutes with the paddle attachment. The dough comes away from the side but stays sticky, which is just how Gingerbread dough should be. Wrap it in cling film and put it in the fridge for 2 to 3 days: only there does it develop its flavour together with the spices.
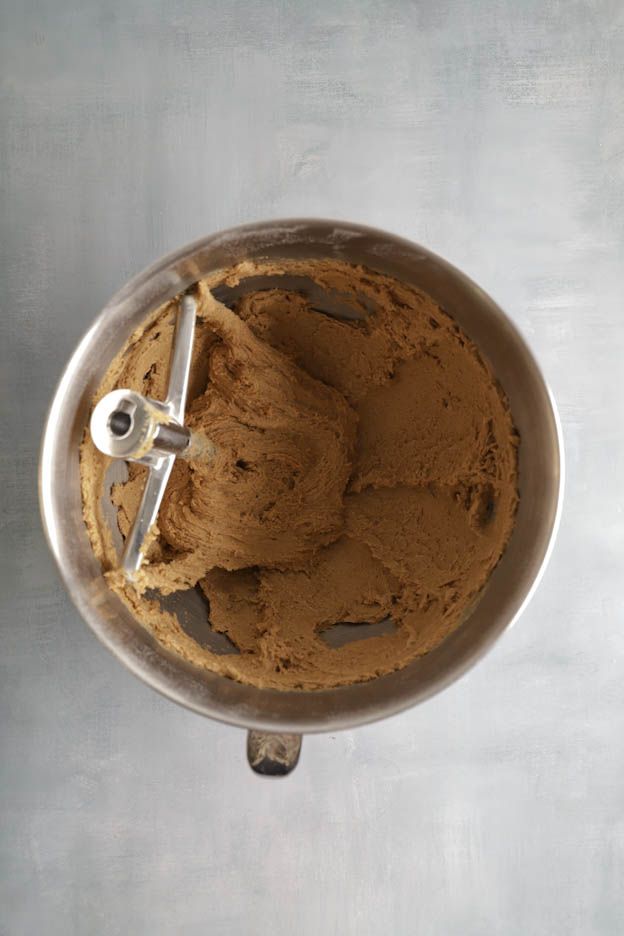
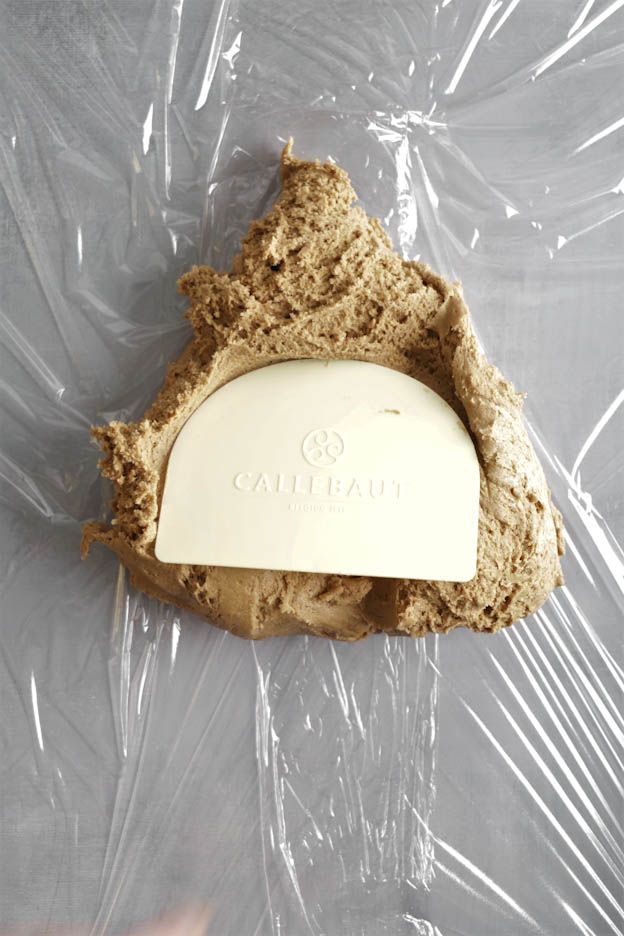
Cutting out and baking
Get your tools ready
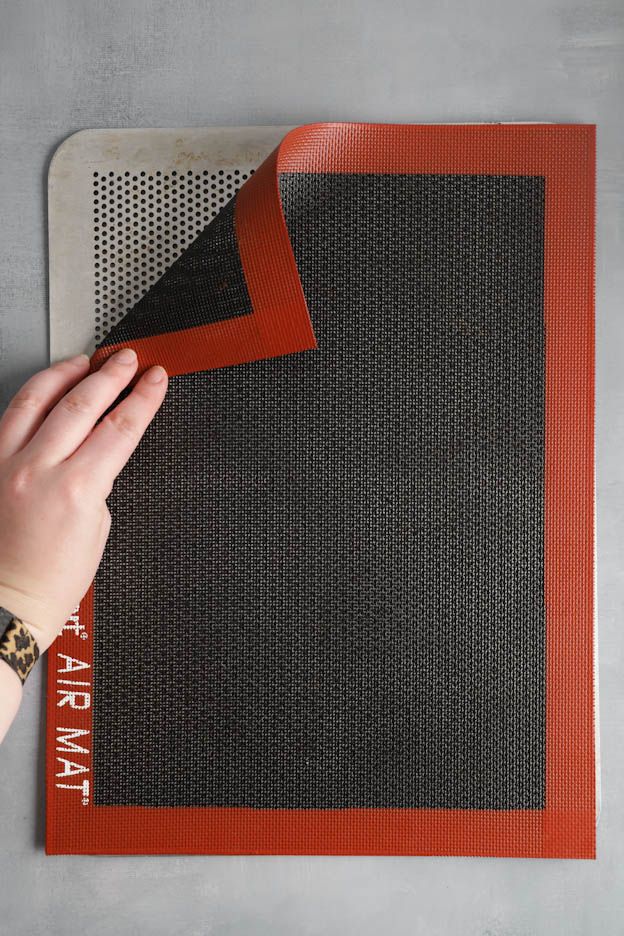
After the 2 to 3 days, get your rolling pin, Cookie cutter, dough scraper, perforated tray and perforated mat ready. Important: use a Cookie cutter without embossing. With a dough thickness of 1 cm, an embossed cutter won't release cleanly.

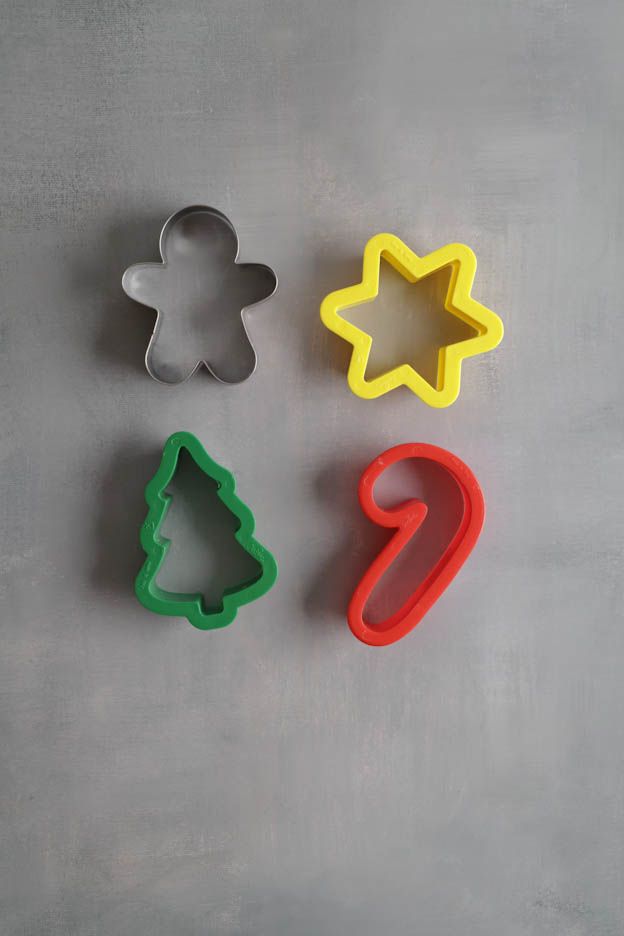
Cookie cutter "House & Gingerbread man"
Dough bars
Rolling pin 25 cm
Perforated aluminium tray 40 x 30cm
Roll out and cut out
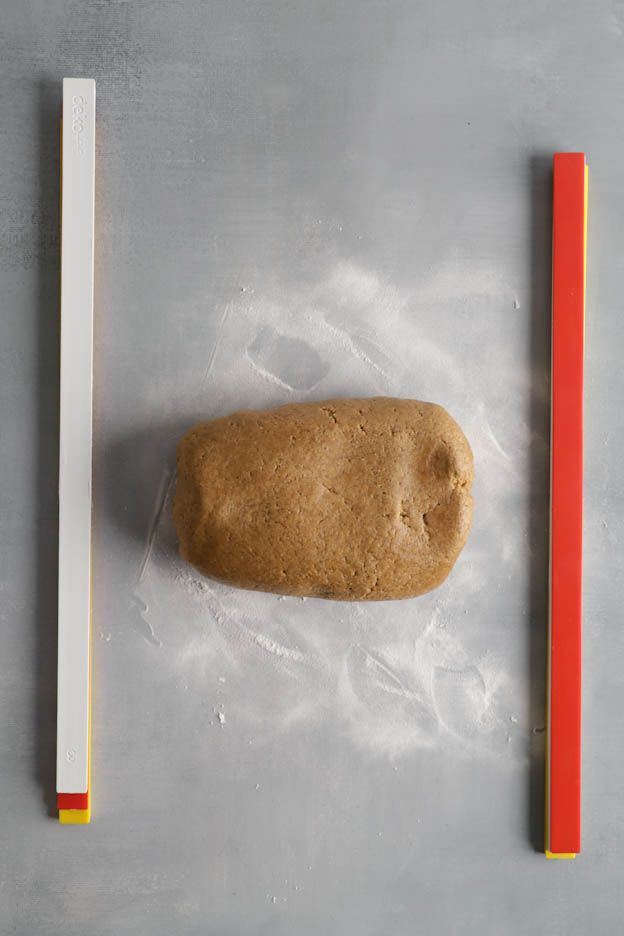
Preheat the oven to 180 °C fan. Dust the work surface. I use Magic roll-out powder instead of flour, it is finer and leaves no white marks. Stack all the dough bars of the set so that you get a height of 1 cm, roll out the dough and cut out the shapes.
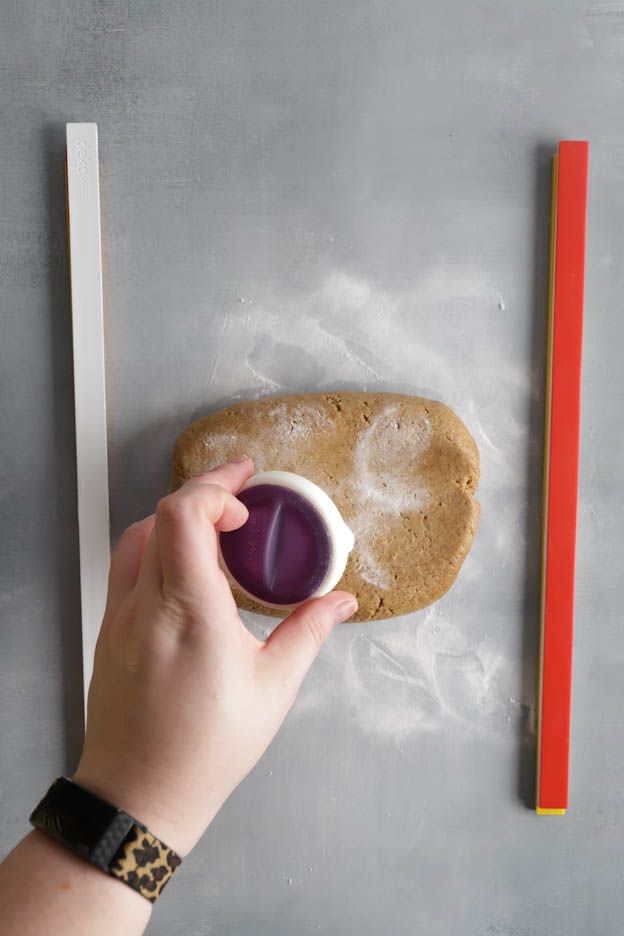

Brush with milk
Place the cut-out Gingerbread on the perforated tray with the perforated mat, so they bake evenly, and brush them thinly with milk using the brush.


Bake and prepare gum arabic
Bake the Gingerbread for 8 to 10 minutes at 180 °C fan, depending on the size. During this time, prepare the gum arabic: put 100 g water in a pot, add 50 g gum arabic and heat while stirring constantly. This step is optional, but it gives the Gingerbread shine and protects it from drying out.
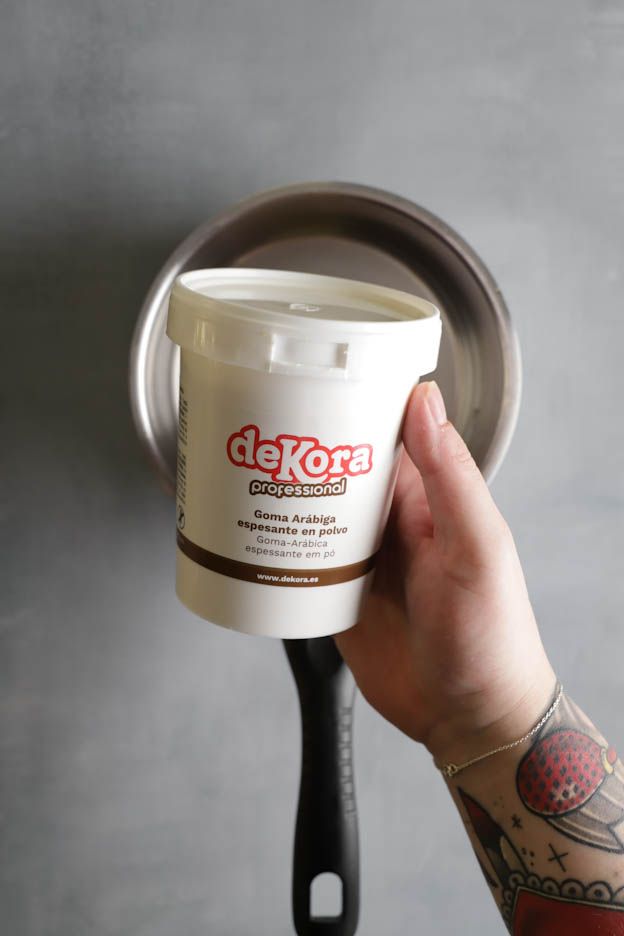
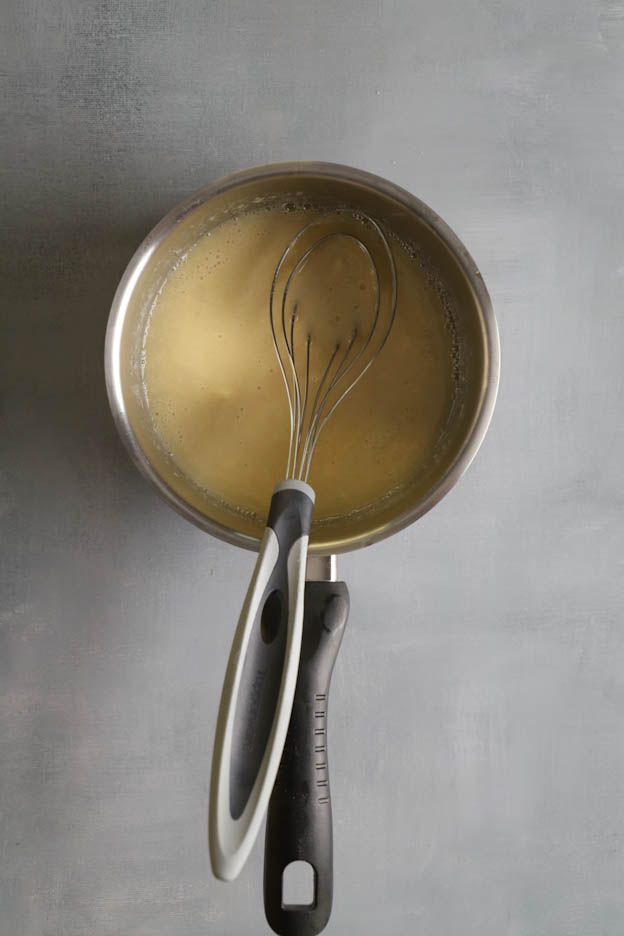
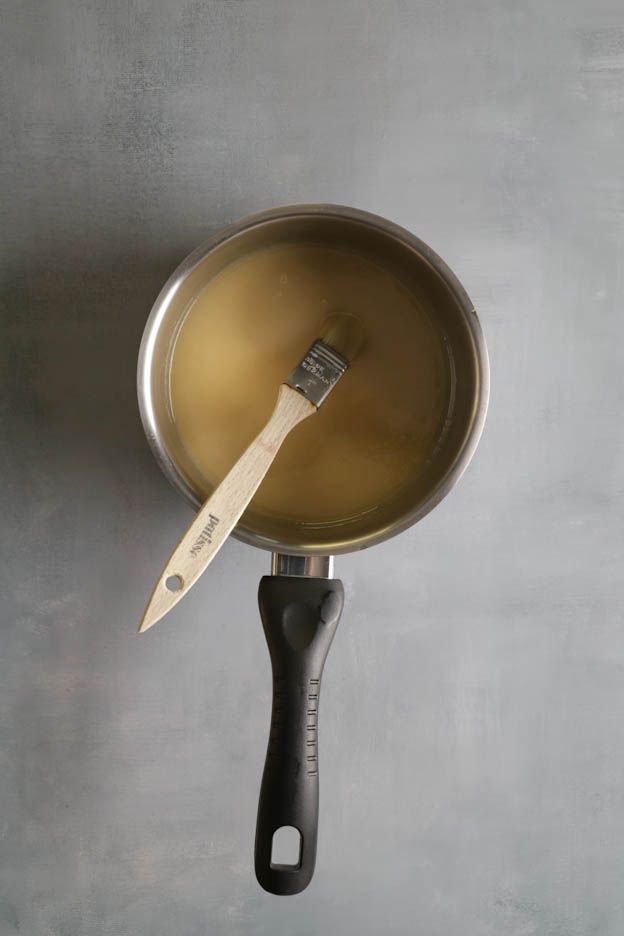
Brush while hot
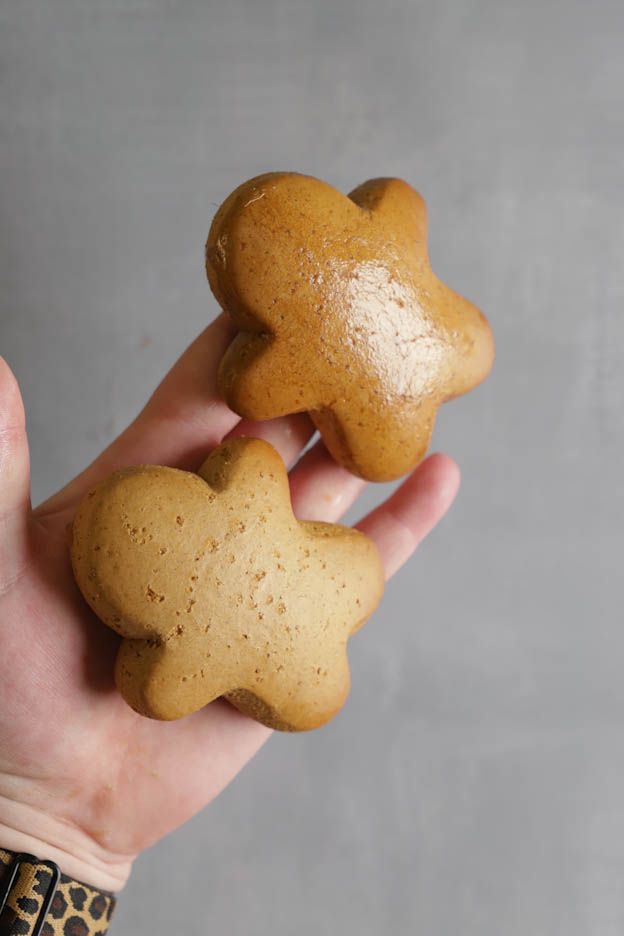
After baking, place the Gingerbread on a Cake rack. They should have risen nicely and turned golden brown. Brush them while still hot with the warm gum arabic. The photo shows the difference clearly.

Decorating
Prepare the royal icing
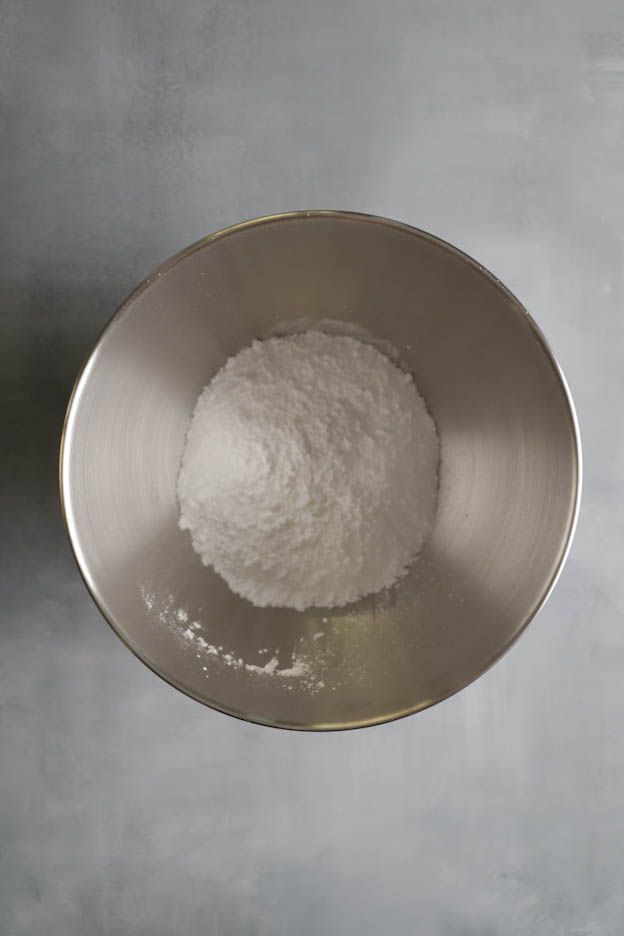
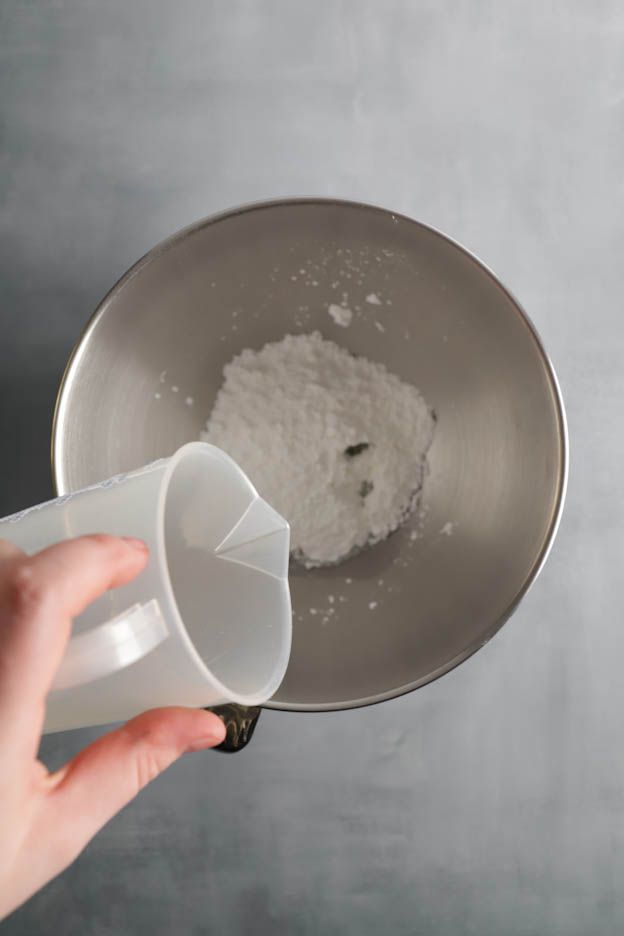
Put 225 g of Royal icing powder into a grease-free Mixing bowl and add 30 g of cold water.
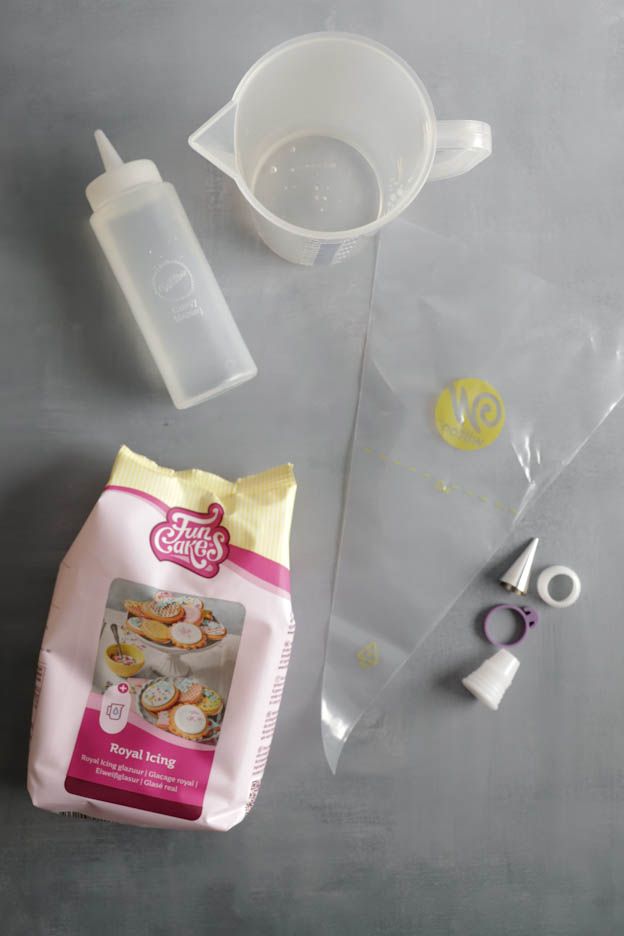
Egg white icing 450g
Disposable piping bag - 41cm - 24pcs
Round piping nozzle, 1 mm
Icing bottles small opening Ø2.8mm - 500 ml
Mix on low speed
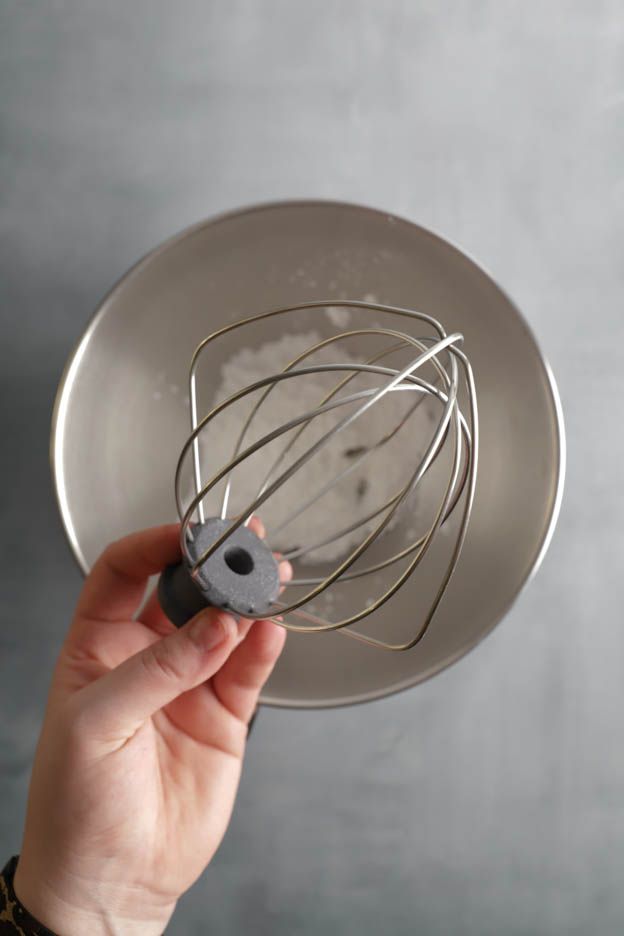
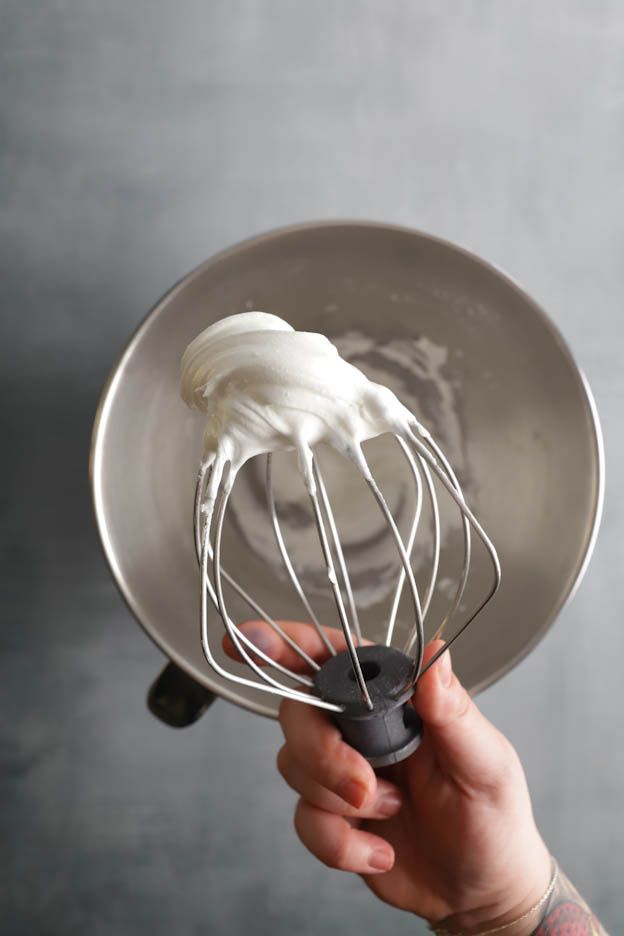
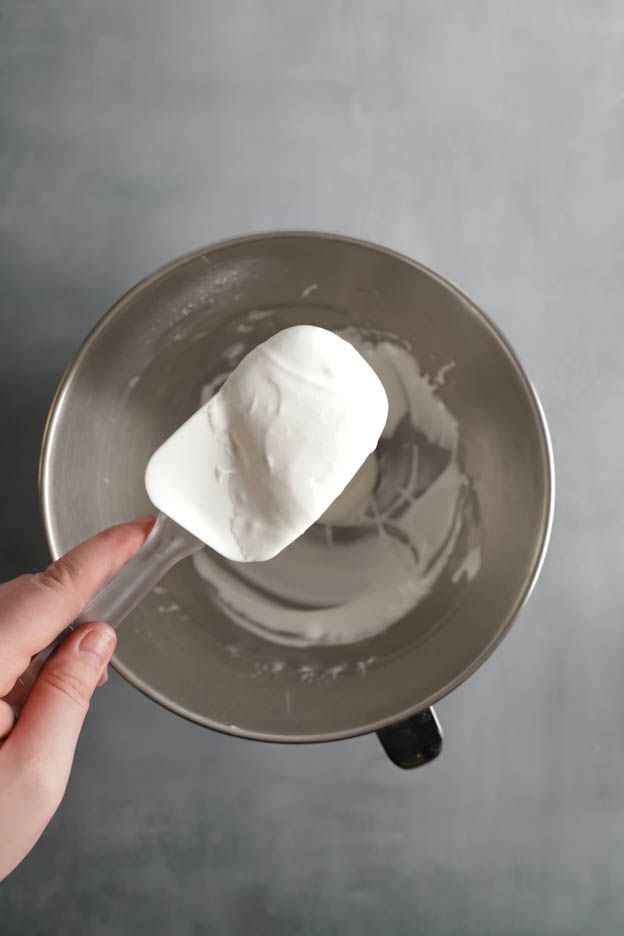
Mix with the Whisk on low speed, this is very important. Beaten too fast, the mixture becomes fluffy and can no longer be piped. You will get a thick consistency; that is the base.
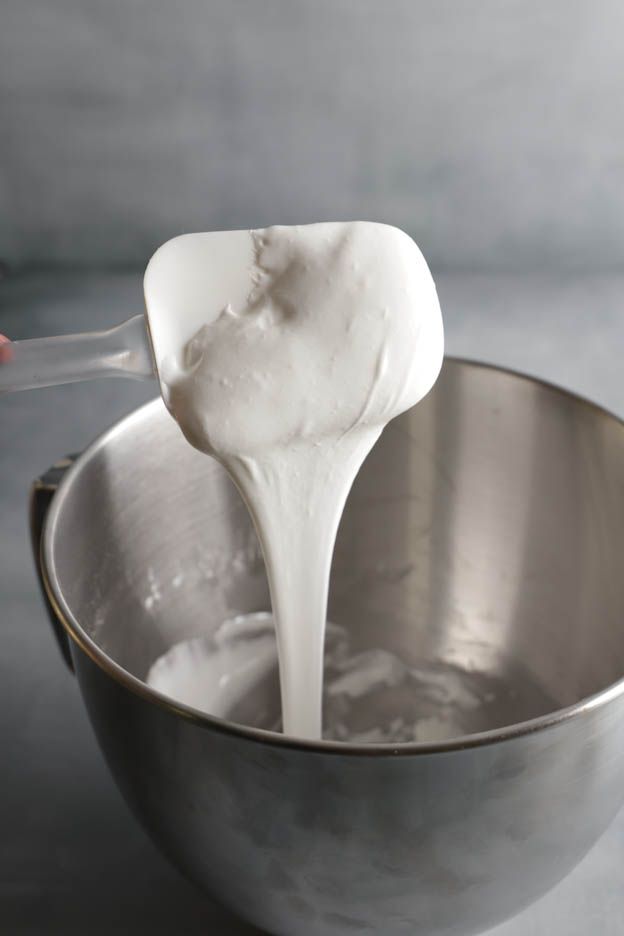
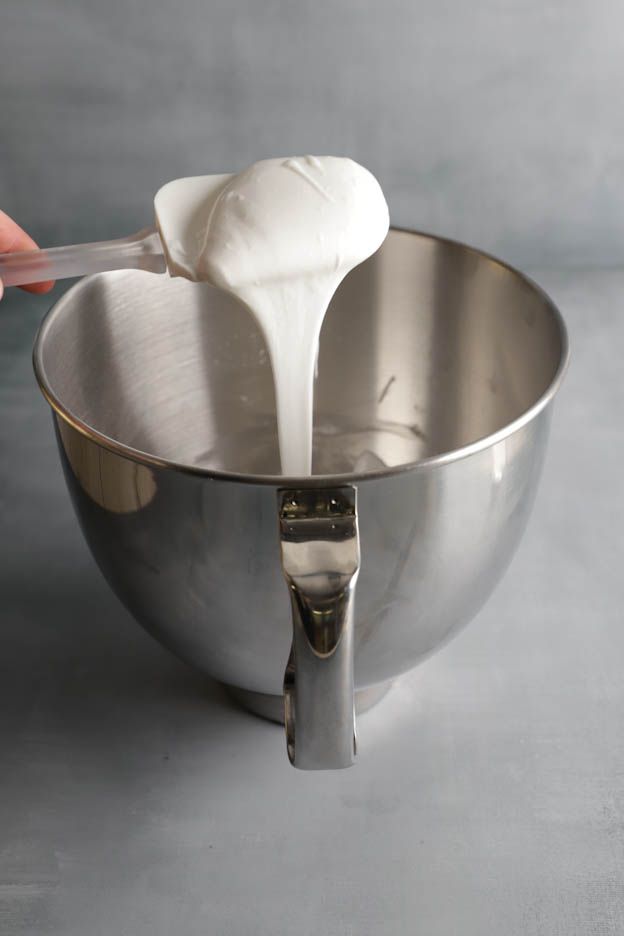
Bring to a flowing consistency
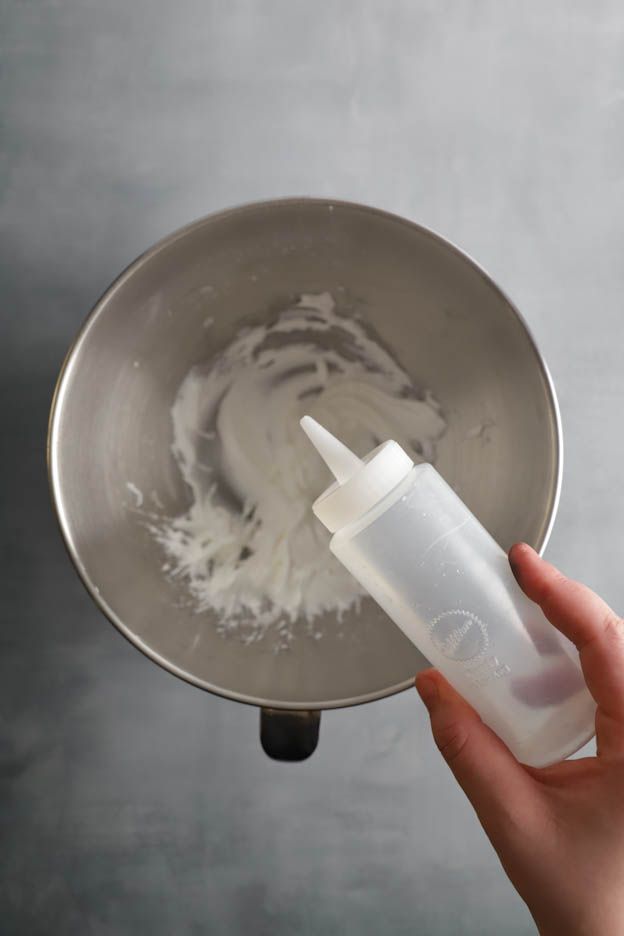
For piping, the icing has to flow in a thread, and that takes only very little water. If you want to colour it, add the Gel color before the water; I leave mine white for Gingerbread. Use an icing bottle to add it drop by drop. It is right when the icing flows smoothly off the spoon raised 10 cm, without being watery.
Prepare the piping bag
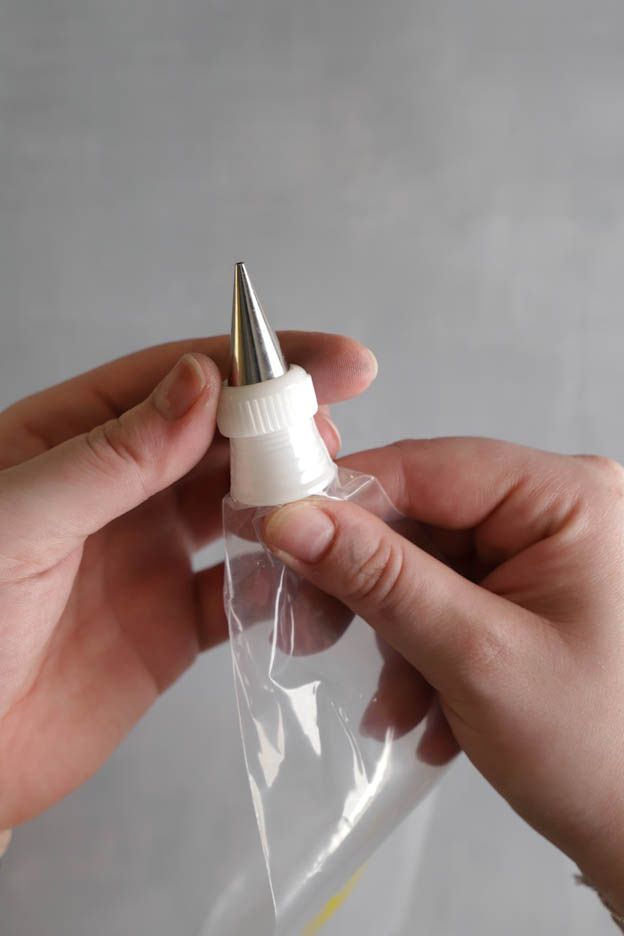
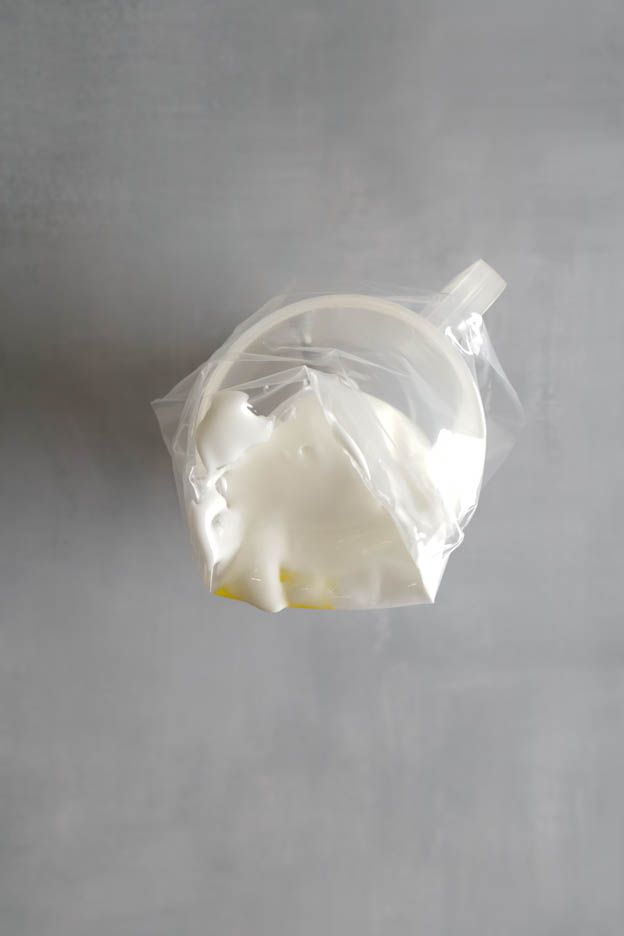
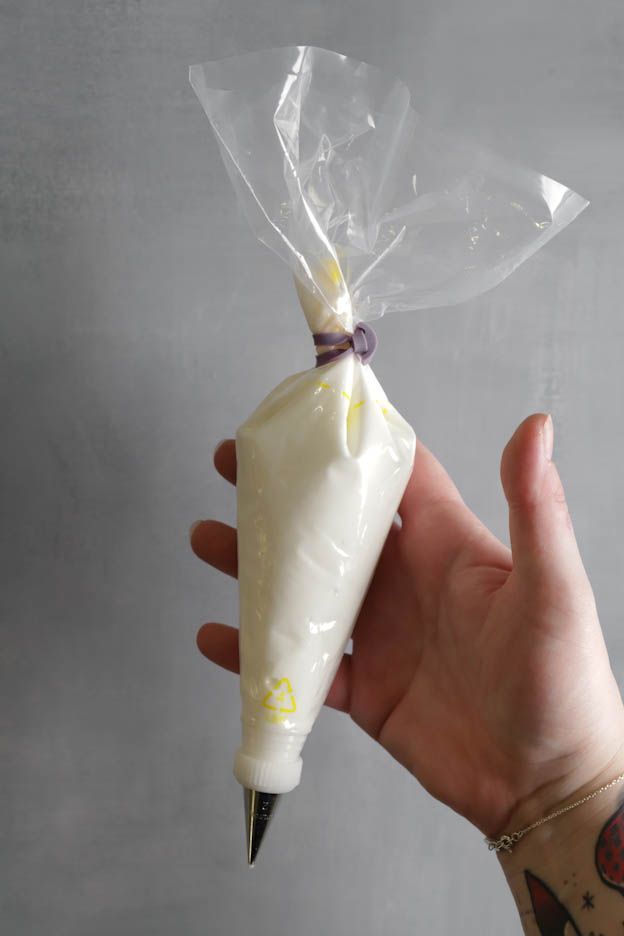
Fit a 1 mm Round piping nozzle into the Piping bag, with an adapter you can easily swap the nozzle size later. To fill it, stand the bag in a Measuring cup so you have both hands free, then close it with a clip or elastic band.
Decorate
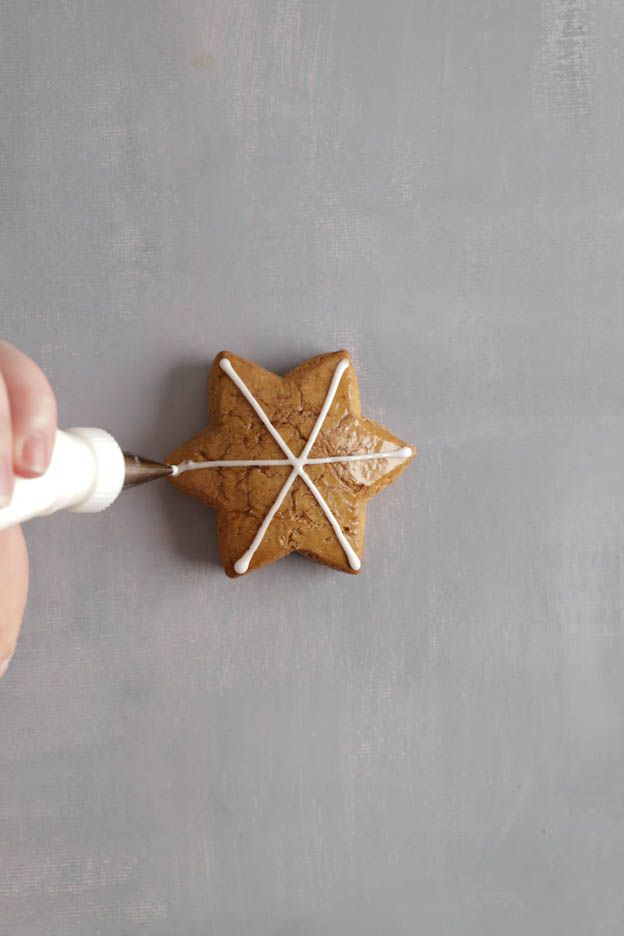
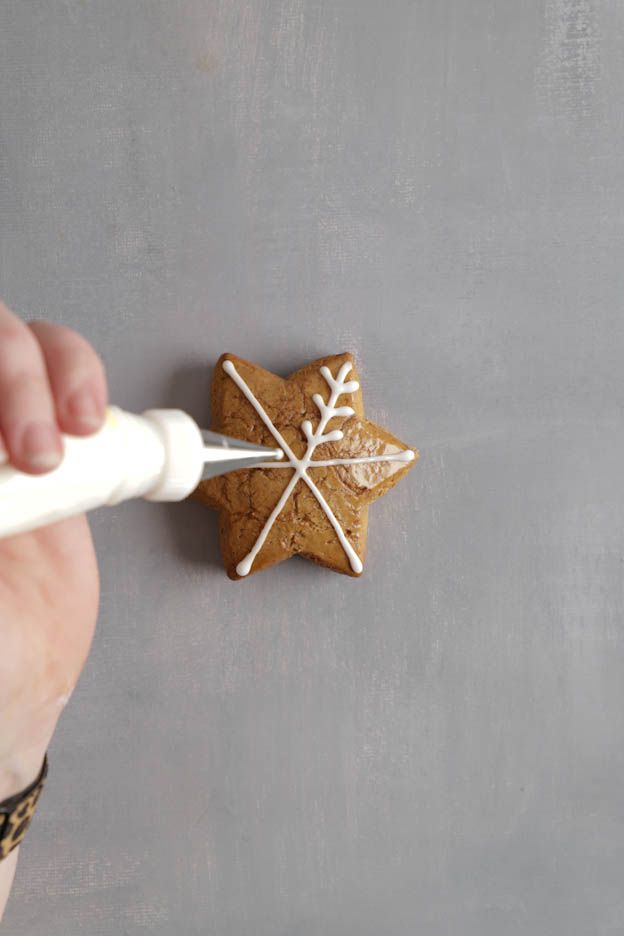
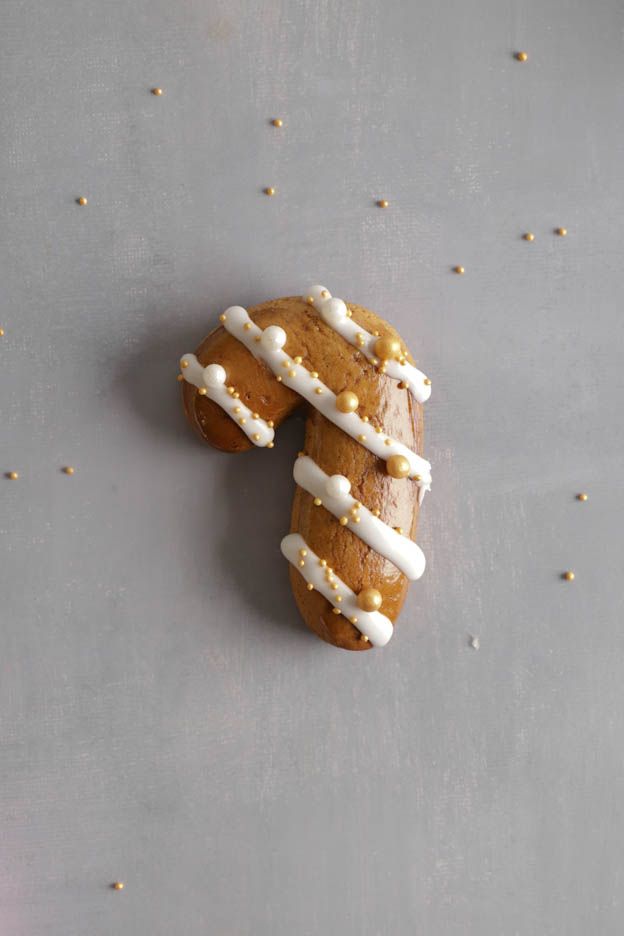
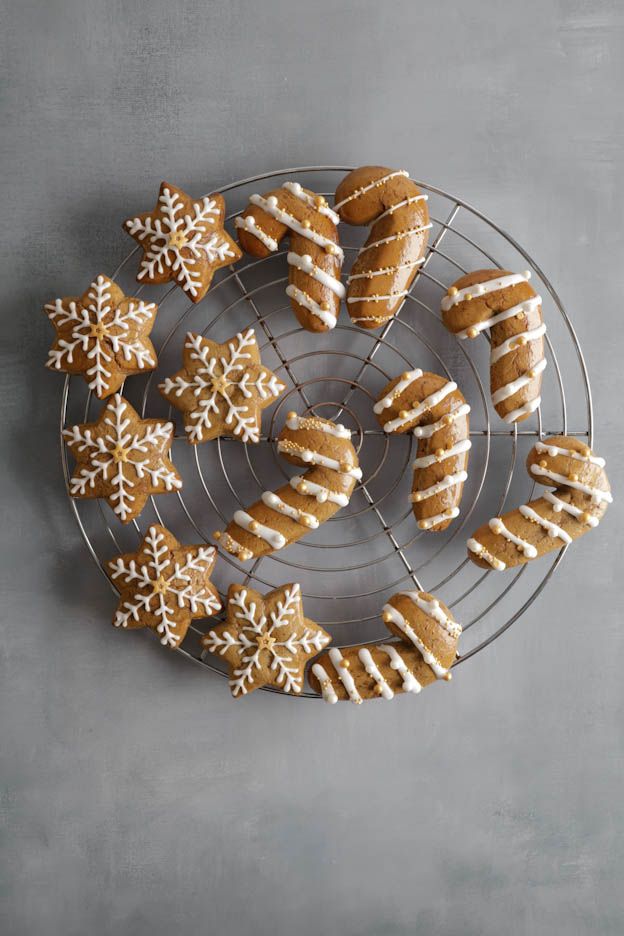
Now you can do whatever you like. As long as the royal icing has not fully dried, Sugar pearls will stick too, or you can spray the Gingerbread with Glitter. I used the Sprinkle decor mix in gold and white.
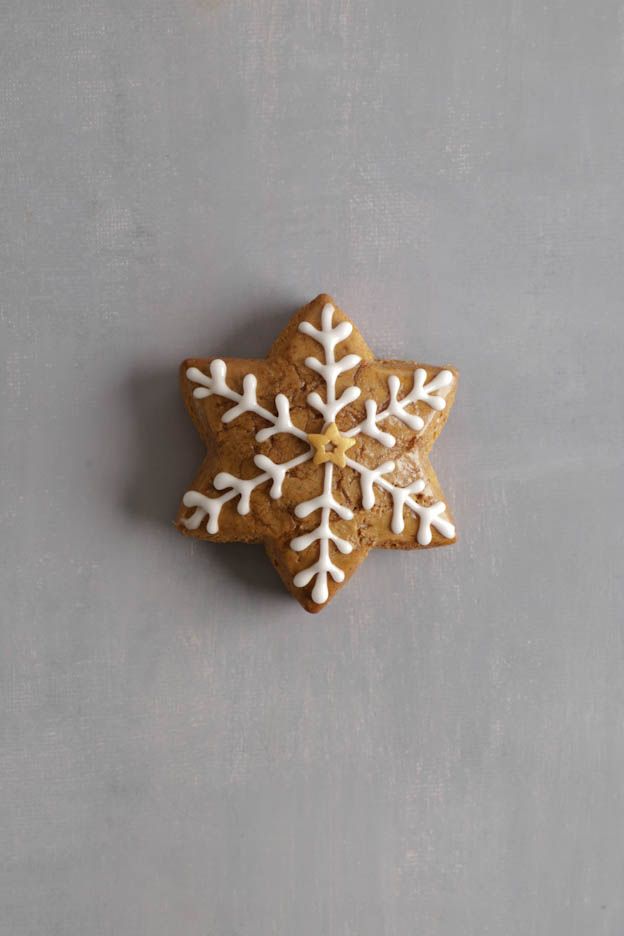
Done
These are my Gingerbread men, the others were decorated by the kids and eaten right away. They love glitter and icing, and it is a lovely family moment in the run-up to Christmas.

Gingerbread
Ingredients
Dough
Shine (optional)
Decoration
Preparation
- Dry ingredients: Mix 580 g flour, 12 g baking soda, 35 g Gingerbread spice, 100 g sugar and salt.
- Liquid ingredients: Warm 50 g milk with 60 g cream, stir in 250 g honey, 80 g molasses and 1 egg.
- Dough: Knead both for 3 bis 4 min. The dough stays sticky.
- Resting: Wrap in cling film and place in the fridge for 2 bis 3 days. This is the actual step.
- Cutting out: Roll out to 1 cm (dough bars), cut out with Cookie cutters without embossing, brush with milk.
- Baking: 8 bis 10 min. at 180 °C fan, brush with warm gum arabic while still hot.
- Icing: Mix 225 g Royal icing powder with 30 g cold water on LOW speed, bring to thread consistency.
- Decorating: Pipe on with a 1 mm Round piping nozzle, add Sugar pearls and Sprinkle decor while the icing is still moist.
Nutritional values per 100 g
Storage & shelf life
Everything for this recipe
Recommended from our baking kitchen: exactly the sizes the recipe was tested with.
Ingredients
Swiss White flour, 1 kg
Baking soda 100g
Gingerbread spice, 60 g
Gum arabic, 20 g
Royal icing 450g
Gel colors "Progel"- Set Rainbow
Sugar pearls soft "white medium" 80g
Sugar pearls Metallic Silver
Golden Sugar pearls small, 65 g
Sugar pearls Gold Large, 60 g
Sugar pearls Mother-of-pearl Maxi, 60 g
Sprinkle decor "Christmas" - 60g
Sprinkle decor Christmas Magic, 65 g
Sprinkle decor Christmas Magic, 50 g
Glitter spray - dark gold
Glitter spray - silver
Sugar decoration "Gingerbread men"
Accessories
Cookie cutter "House & Gingerbread man"
Cookie cutter Gingerbread man
Dough rods
Rolling pin 25 cm
Small Rubber scraper pink
Small flexible Dough scraper
Perforated aluminium tray 40 x 30cm
Rectangular cooling Cake rack
Silicone Baking brush
Disposable piping bag - 41cm - 24pcs
Round Piping nozzle, 1 mm
Icing bottles small opening Ø2.8mm - 500 ml
Fine Magic roll-out powder 200 g
Delivery in 1–2 working days · Free shipping from CHF 100
Nice to go with it
Not needed for the recipe, but it fits.
Cookie cutter Gingerbread man small
Cookie cutter Gingerbread man, 21 cm
Cookie cutter Gingerbread man, 13,5 cm
Cookie cutter with ejector Gingerbread man
Cookie cutter Gingerbread man 10 cm
Mini cookie cutter Gingerbread man
Cookie tin Gingerbread house, 180 x 120 x 58 mm
So they turn out perfectly
Two to three days in the fridge make the difference between a gingerbread and a spiced biscuit. The spices need this time to work their way into the dough.
At 1 cm dough thickness, an embossed cookie cutter gets stuck and tears the gingerbread apart. Smooth shapes release cleanly.
It is optional, but it does two things: the gingerbread gets a shine, and it dries out noticeably more slowly. Apply it to warm gingerbread so it soaks in.
Frequently asked questions
Yes. The Gingerbread spice needs this time to work its way into the dough. Freshly baked, it tastes flat and one-sidedly of honey. The resting time is the real difference from quick spiced biscuits.
A plant resin that is boiled with water and brushed onto the hot gingerbread. It is optional, but it gives them a shine and keeps them soft for longer.
Because that is correct. Gingerbread dough is sticky. It firms up enough in the fridge to roll it out. More flour would make the gingerbread dry.
Print recipe
Choose what should appear on the printout.
Related posts
 Juicy Matcha Muffins with Pecan Nuts & White Chocolate
Matcha Iced Latte & Coconut Variant
Pull-apart bread with fresh wild garlic pesto
Mini Banana Bread with Chocolate Chips
Juicy Matcha Muffins with Pecan Nuts & White Chocolate
Matcha Iced Latte & Coconut Variant
Pull-apart bread with fresh wild garlic pesto
Mini Banana Bread with Chocolate Chips
Leave a comment
Comments
Question de Marie-france
By: Marie-france F. On 2023-12-18Bonjour, j’ai fait cette recette l’autre jour et ai tout suivi comme il faut. Cependant, certains biscomes gardaient un arrière goût désagréable d’ammoniaque, à cause du carbonate d’ammonium. Comment ça se fait?
Merci
Replied by: Karin On 2023-12-19
Question de Elodie
By: Elodie P. On 2023-12-10Bonjour,
Super recette elle est excellente merci. Petite question ils étaient bien gonflés dans le four et une fois la cuisson terminée a la sortie du four ils sont retombés sur le milieu ? pensez-vous qu’ils étaient pas assez cuits? Merci pour votre aide
Replied by: Laura On 2023-12-11
Question de Stéphane
By: Stéphane G. On 2023-12-07Bonjour,
J'ai fait la pâte il y a 2 jours. Mais je souhaiterais les cuirs la semaine prochaine. Pour éviter qu'il soit trop sec lorsque je vais les offrir. Ma question est combien de temps peut-on garder la pâte au frigo ? Merci d'avance pour votre réponse.
Replied by: Karin On 2023-12-07
Replied by: Stéphane G. On 2023-12-08
Question de Marie
By: Marie C. On 2023-11-28Bonjour,
Savez-vous où je peux trouver de la mélasse?
Merci ?
Replied by: Karin On 2023-11-28
Question de Christine
By: Christine M. On 2023-11-27Christine M.
Bonjour
Est-ce possible de remplacer le carbonate d'ammonium par du bicarbonate , en quelle quantité et Est-ce que le temps passé au frigo sera différent ? Merci
Replied by: Karin On 2023-11-28
Question de Nathalie
By: Nathalie P. On 2022-11-22Bonjour,
Puis-je faire une maison avec cette recette?
Replied by: Laura On 2022-11-24
Question de Christelle
By: Christelle B. On 2020-12-21Bonjour,
Le dosage du carbonate d'ammonium est il juste? Sur l'emballage acheté en pharmacie, il est marqué 2g pour 500g de farine. Dans votre recette, vous en mettez 12g dons beaucoup plus que ce qui est indiqué sur l'emballage!
Je vous remercie d'avance pour votre réponse.
Replied by: Karin On 2020-12-21
Replied by: Christelle B. On 2020-12-21
Question de Charline
By: Charline D. On 2020-11-24Bonjour, savez-vous combien de temps on peut les conserver? Est-ce trop tôt de les faire maintenant pour Noël?
Bonne journée.
Replied by: Karin On 2020-11-24
Question de Géraldine
By: Géraldine D. On 2020-11-06Bonjour, est ce que je peux utiliser la même recette pour des biscômes fourrés?
Replied by: Karin On 2020-11-08
Réponse
By: Karin On 2019-12-07Alors si votre douille n°1 se bouche systématiquement c'est que soit votre glaçage n'est pas assez liquide. Car oui le trou de la douille 1 est vraiment petit. Soit vous avez laissé la douille à l'air libre pendant 5-10 minutes.... Il faut toujours placer votre poche à douille et douille sous une pâte bien humide pour que le trou ne se bouche pas. :o)
J'espère avoir pu aider.
Belle journée.
Karin