

Royal icing
Hello foodies!
This morning I'm sharing a tutorial on decorating cookies with royal icing!
A fantastic icing that will let you decorate shortbread cookies or even your cinnamon stars. :o)
Discover my vanilla cookies, decorated with a unicorn theme using royal icing.
Of course, all themes are possible! Browse our "cookie cutters" category to find what you're looking for. Once you've mastered the technique, you can decorate any cookies you like.

To make approximately 40 cookies of 7 cm you will need:
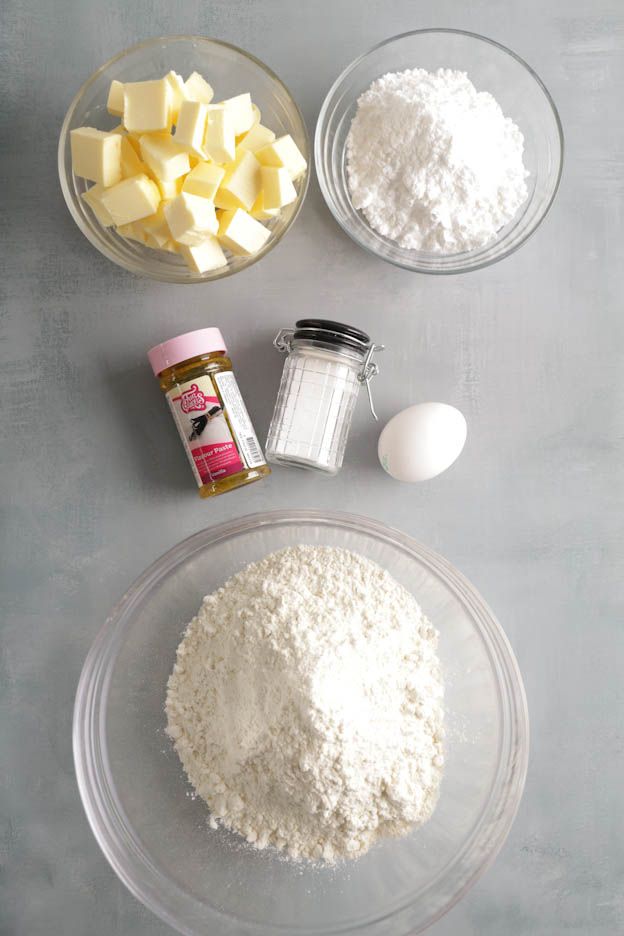
- 250gr of softened butter
- 150gr of icing sugar
- 1 egg
- 1 tsp of vanilla flavouring
- 450gr of flour
- 1/2 tsp of salt
To decorate approximately 20 cookies, you will need:
- 750gr of icing sugar
- 4 tbsp of meringue powder
- 1 tsp of cream of tartar
- 100gr of water
- Gel food colouring
We'll start by making our cookies.
To be able to decorate with royal icing, you absolutely need a very smooth cookie. That's why I'm sharing a shortbread recipe that will barely rise during baking and will keep its original shape.
Shortbread cookies
Start by pouring 250gr of softened butter into your bowl with 150gr of icing sugar and mix with the flat beater attachment.
It is essential to use icing sugar so that your cookies are as smooth as possible. No granulated sugar!
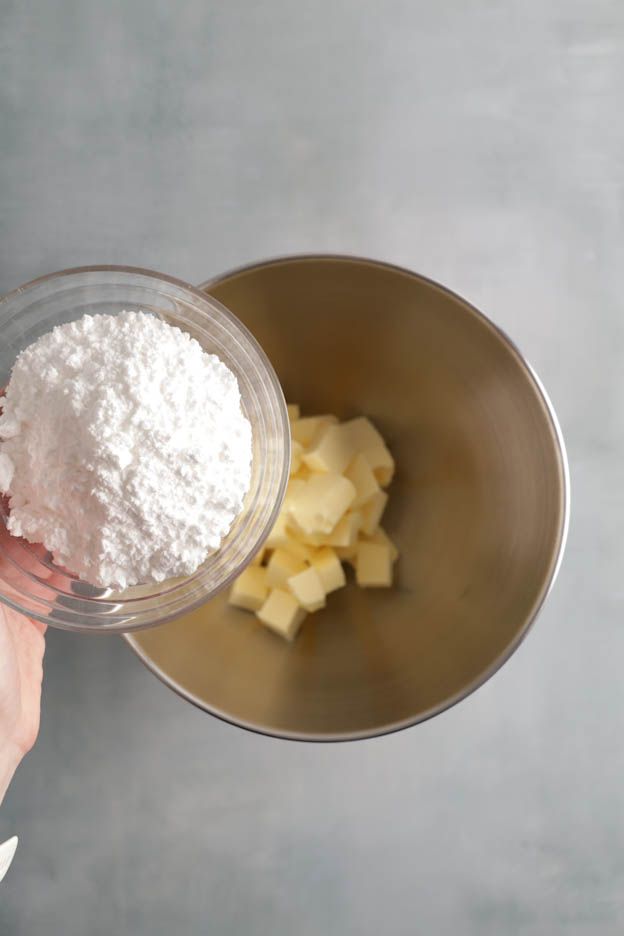
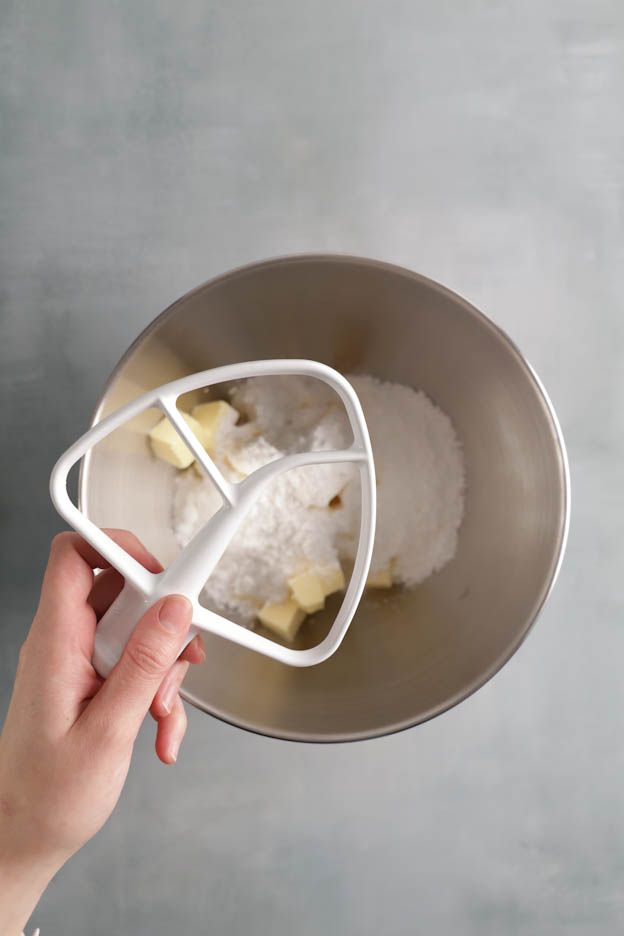
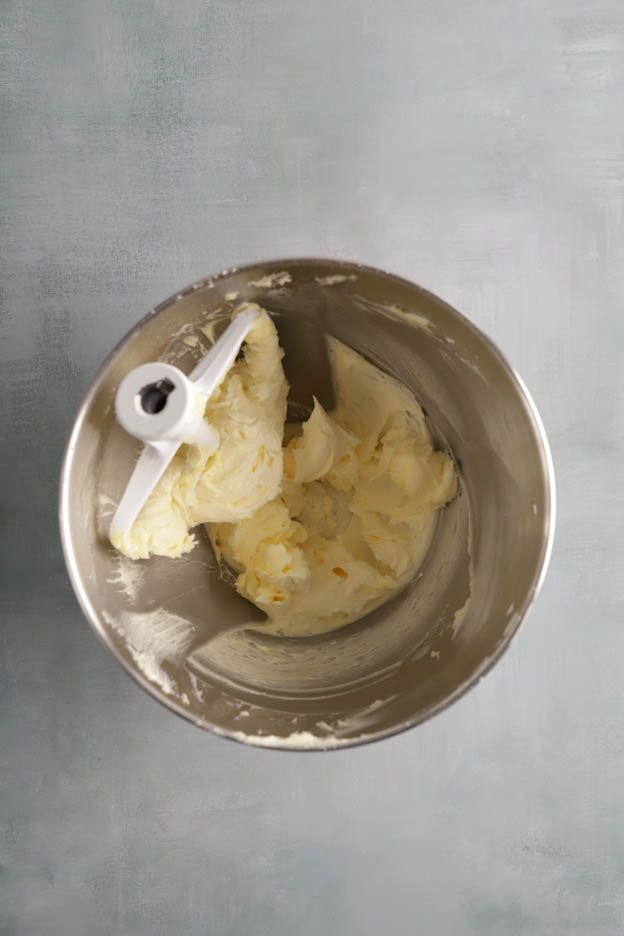
You will get a creamy texture. Perfect!
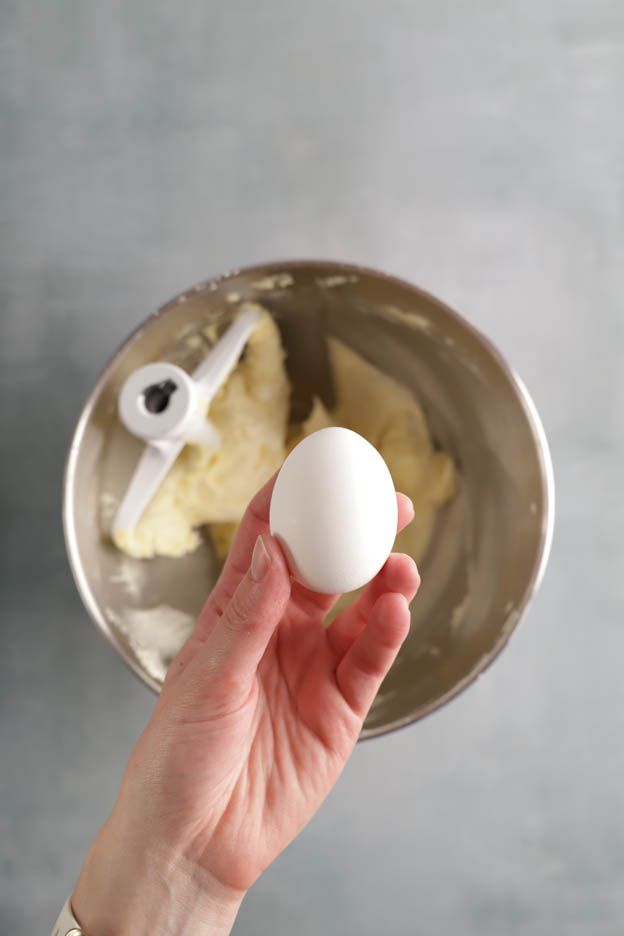
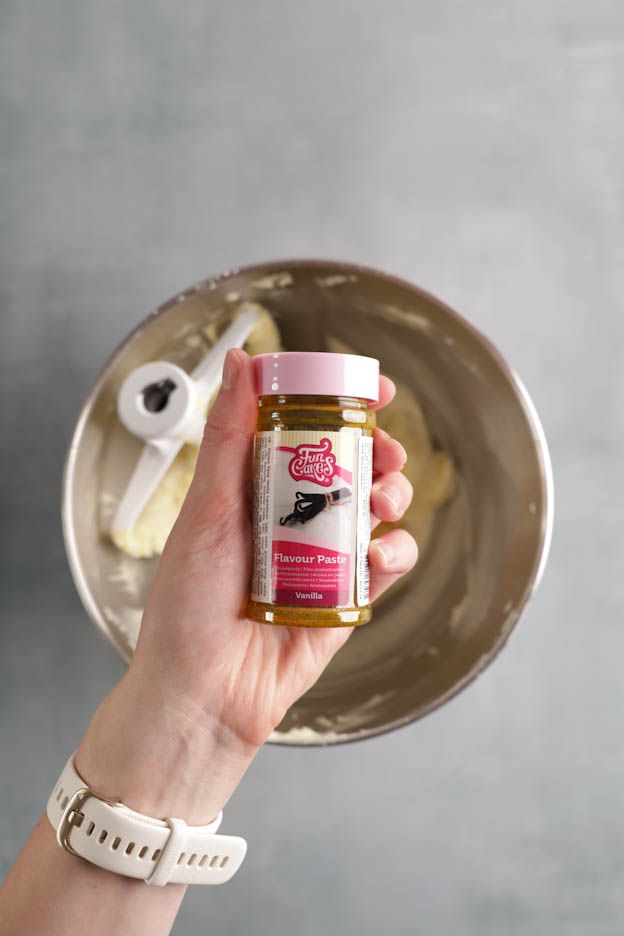
Then add 1 egg and 1 tsp of vanilla flavouring and mix again.
I chose vanilla flavouring this time, but sometimes I grate lime or orange zest. Cinnamon flavouring and cappuccino flavouring are great too. :o)
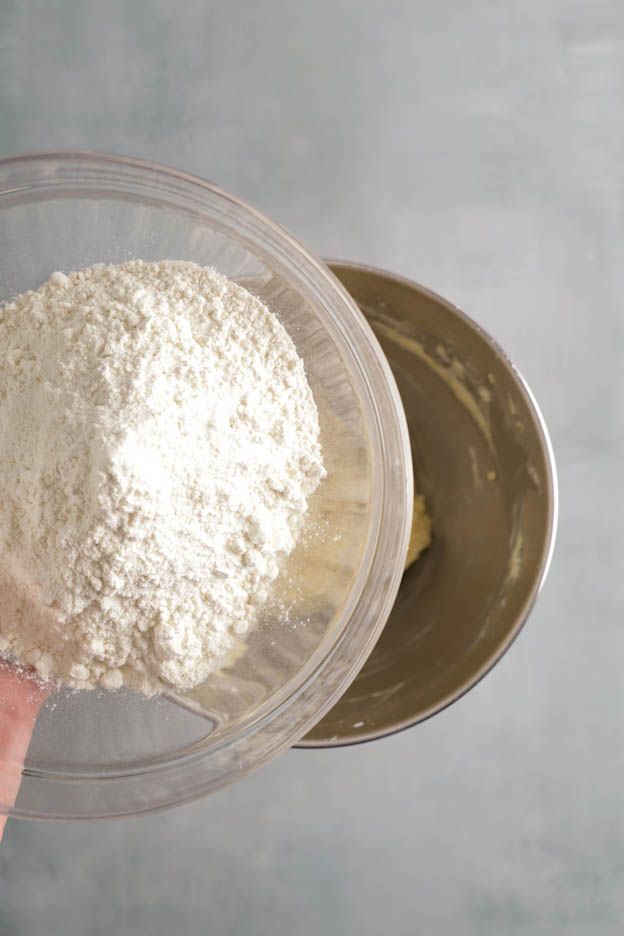
Finally add 450gr of flour and 1/2 tsp of salt and mix at minimum speed.
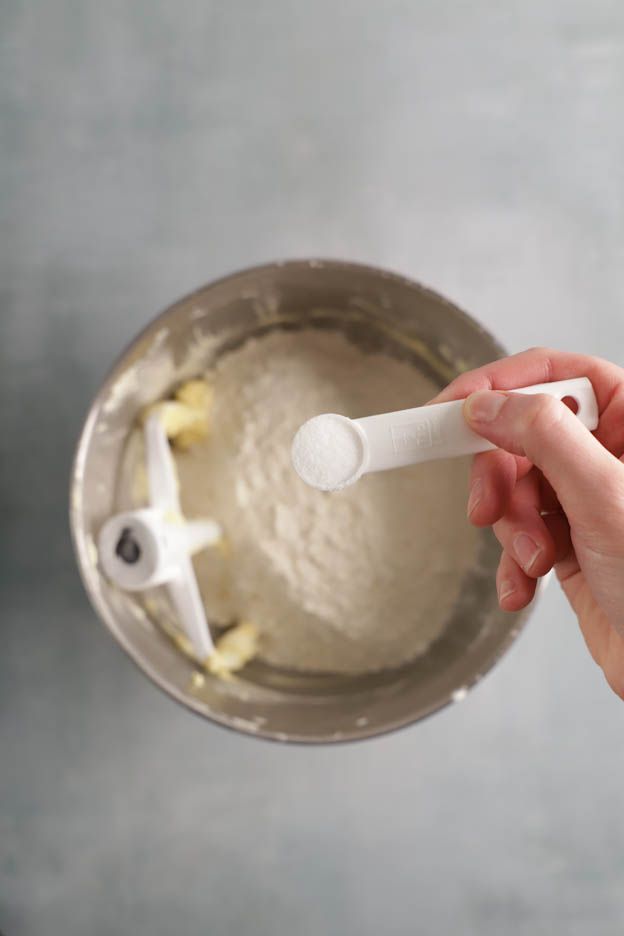
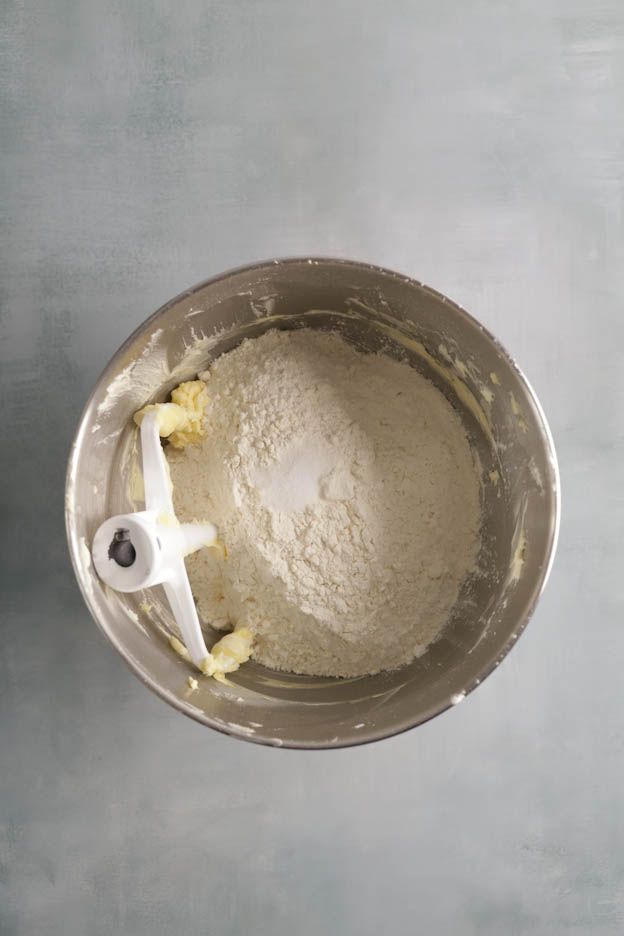
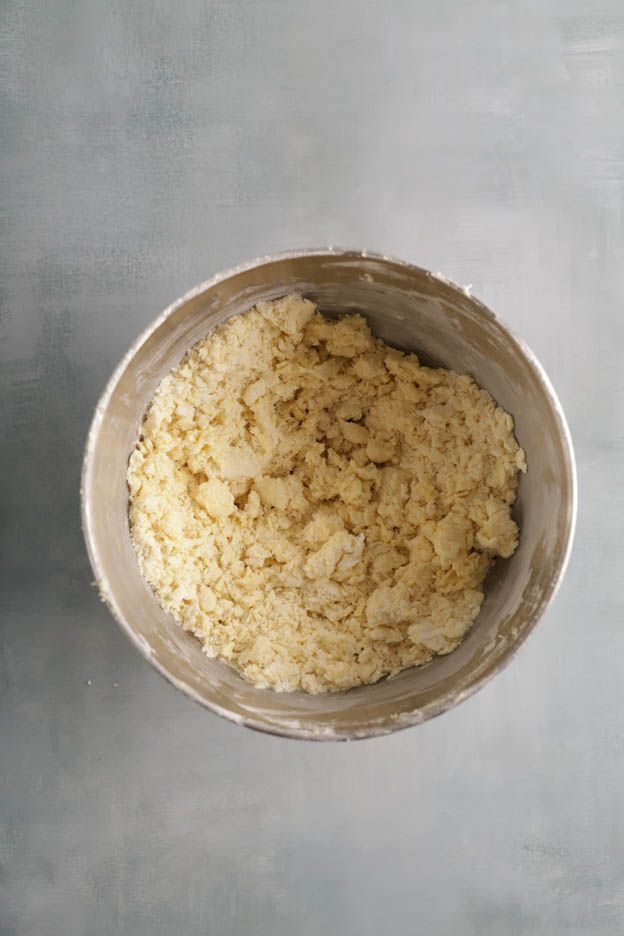
Mix for 1 minute maximum! You will get a crumble-like texture as shown in the first photo below.
Finish by mixing the dough by hand! The electric mixer would overdevelop the gluten. If you mix your shortbread dough for too long, there will be bubbles on the surface of your cookies.
That's why it's important to finish the dough by hand and mix it as little as possible.
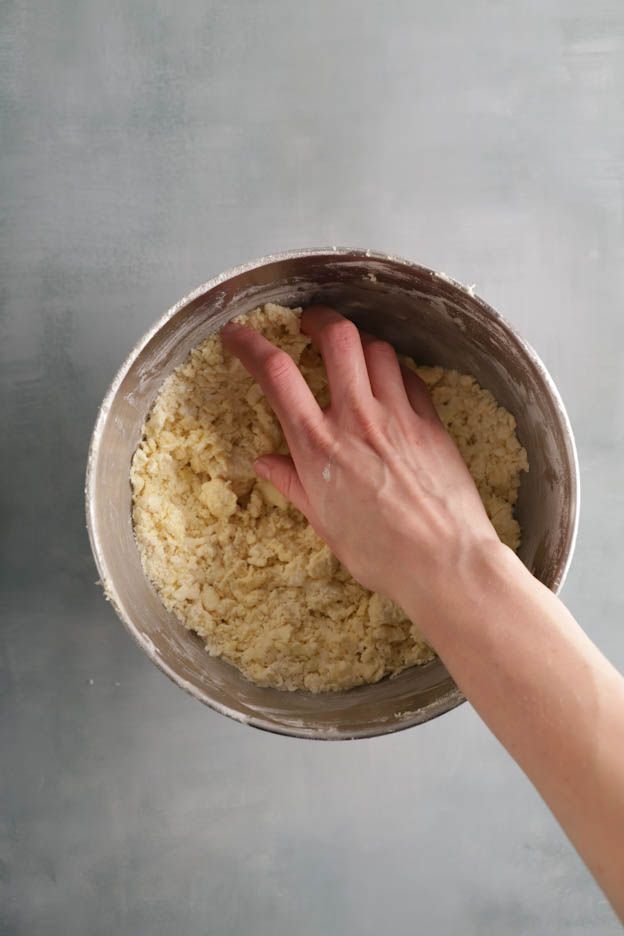
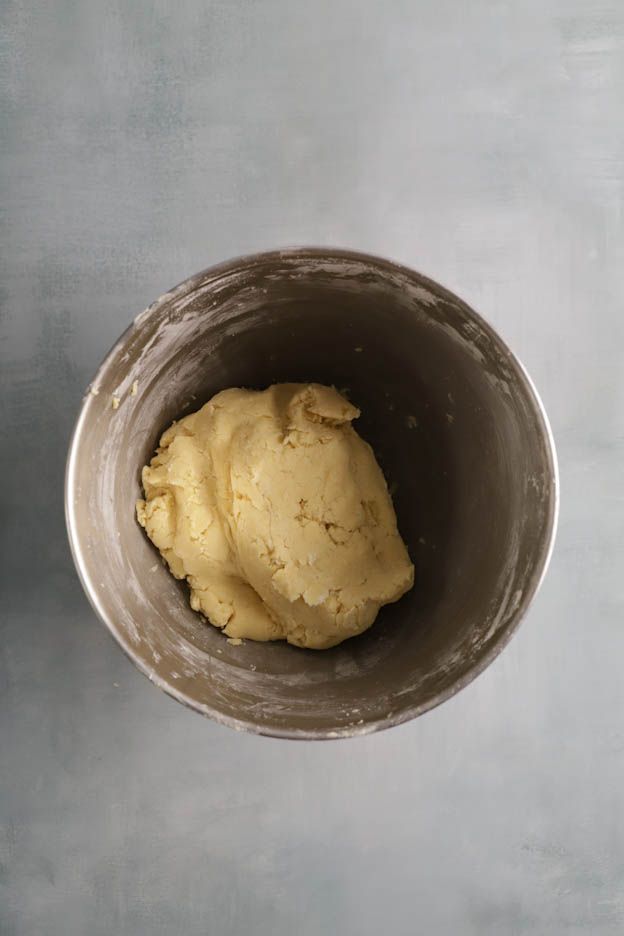
Once you can form a ball, place it on a sheet of baking paper.
Use 5 mm thickness guides and a large rolling pin.
Then add a second sheet of baking paper so the rolling pin doesn't stick to the dough.
Roll out the dough to 5 mm thickness, making sure it is the same thickness throughout.
Once evenly rolled out, place it in the freezer for 5-10 minutes.
This way, the dough will be much easier to cut. Especially the small fine parts like a unicorn's horn.
I always do this with my cookie doughs, tart doughs or puff pastries.
It also allows you to do workshops with children, without the dough melting in their warm little hands...
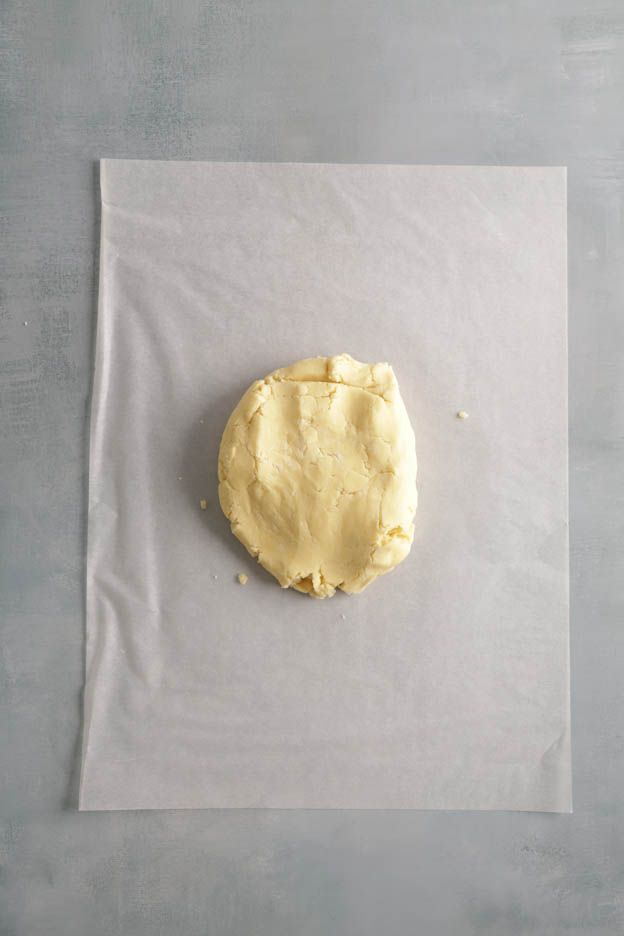
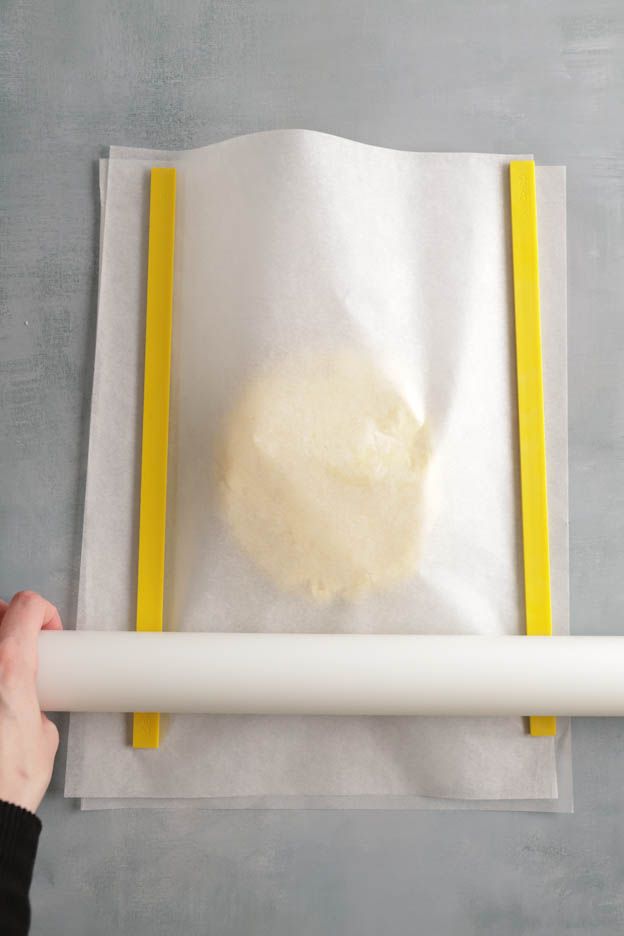
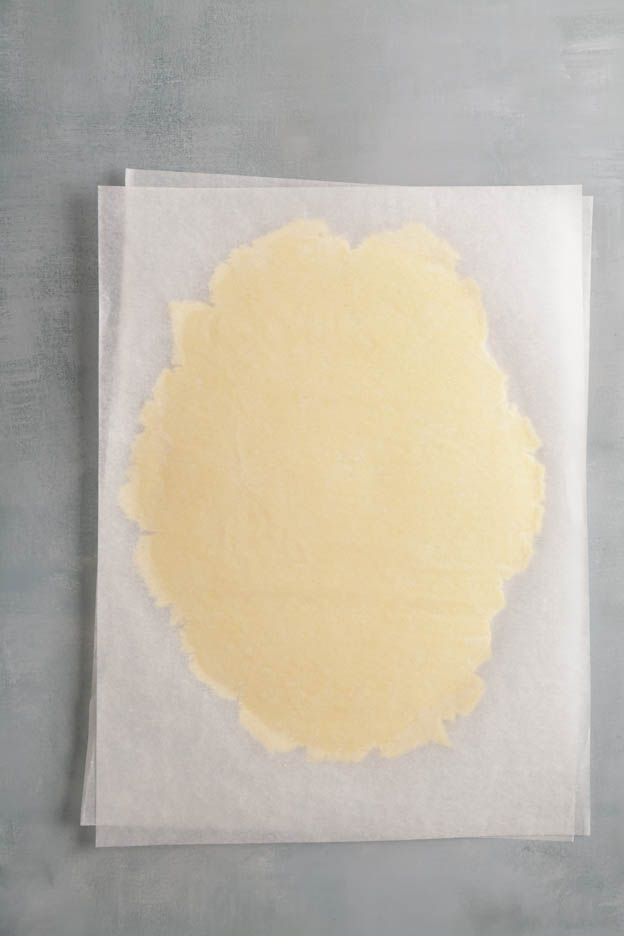
The dough is now nice and cold. It's time to preheat your oven to 135°C fan-assisted.
We'll bake the cookies at a very low temperature but for longer to dry them out and especially to make them as dry as possible. Don't worry, they'll be delicious!
It's simply that if the cookies contain too much fat, the royal icing could turn yellowish after a few hours. That would be a shame!
Cut out your cookies using the unicorn cookie cutters. In our range you will find various cookie cutters depending on the theme you choose. Check out the "cookie cutters" category.
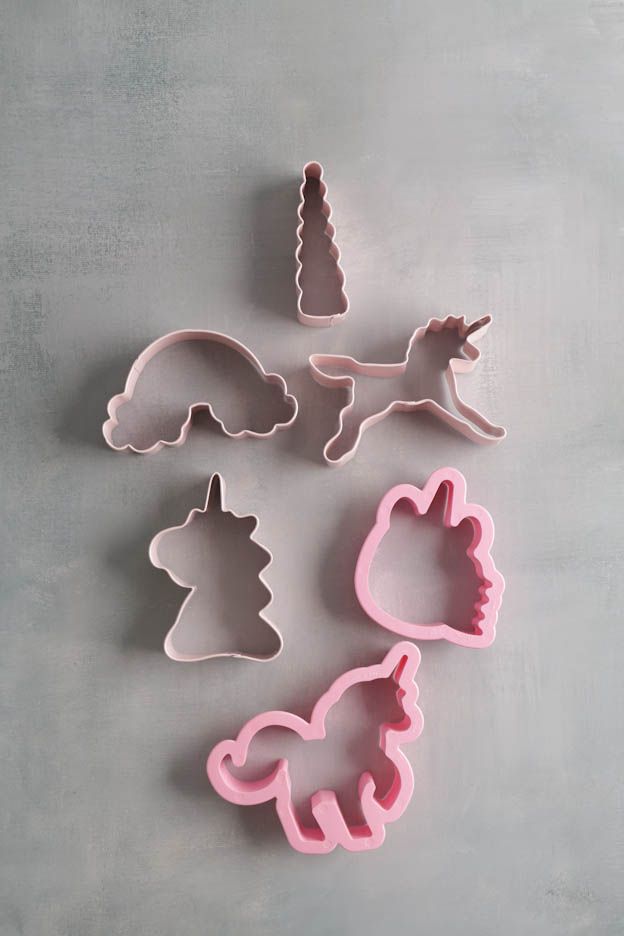
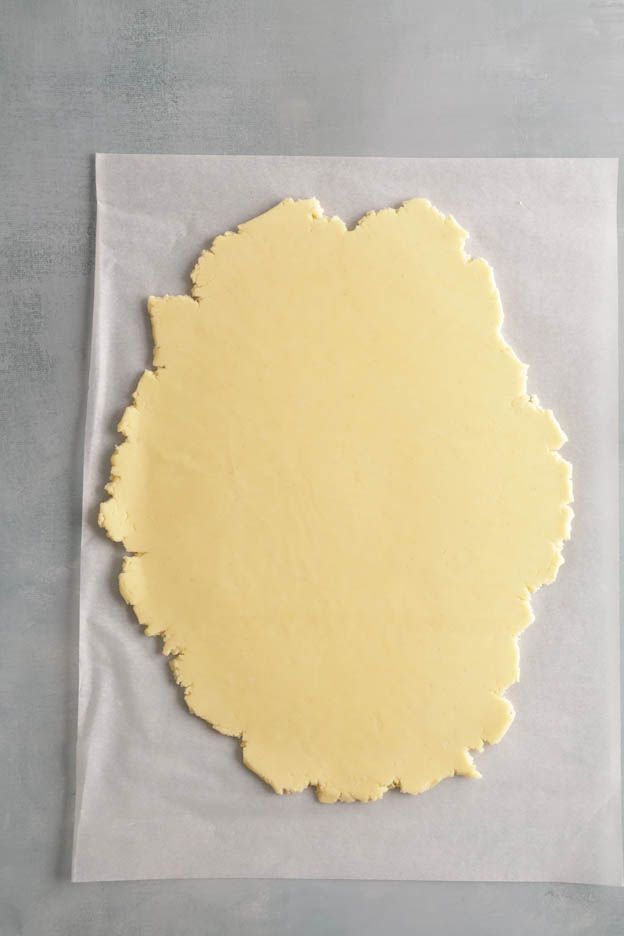
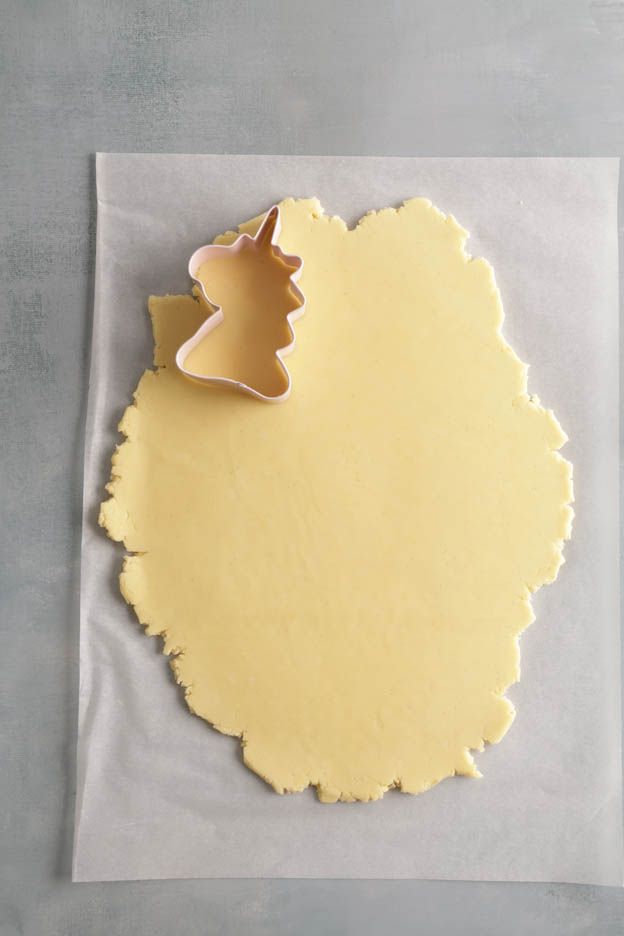
Place the cookies on a perforated baking tray lined with a perforated mat. This way the baking will be optimal.
You can place your cookies fairly close together as they will barely rise during baking. :o)
Once the cookies are cut out, bake them for 35 minutes at 135°C fan-assisted.
Your cookies will be ready when they are golden on the edges and on the bottom as shown in the third photo below.
These cookies keep for several weeks in a metal tin. You can also freeze them as they are by placing them in a cardboard box (like a cupcake box, for example).
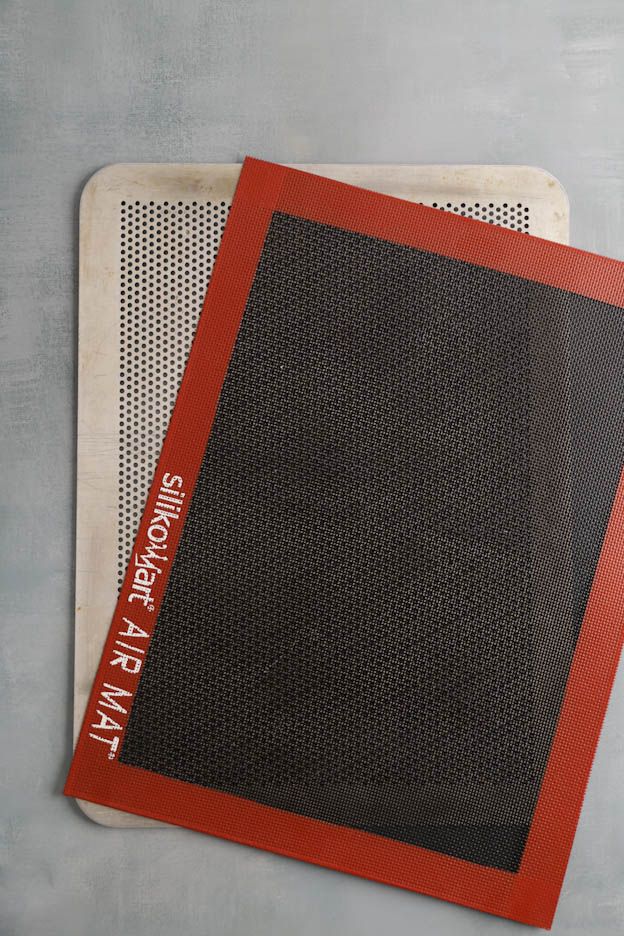
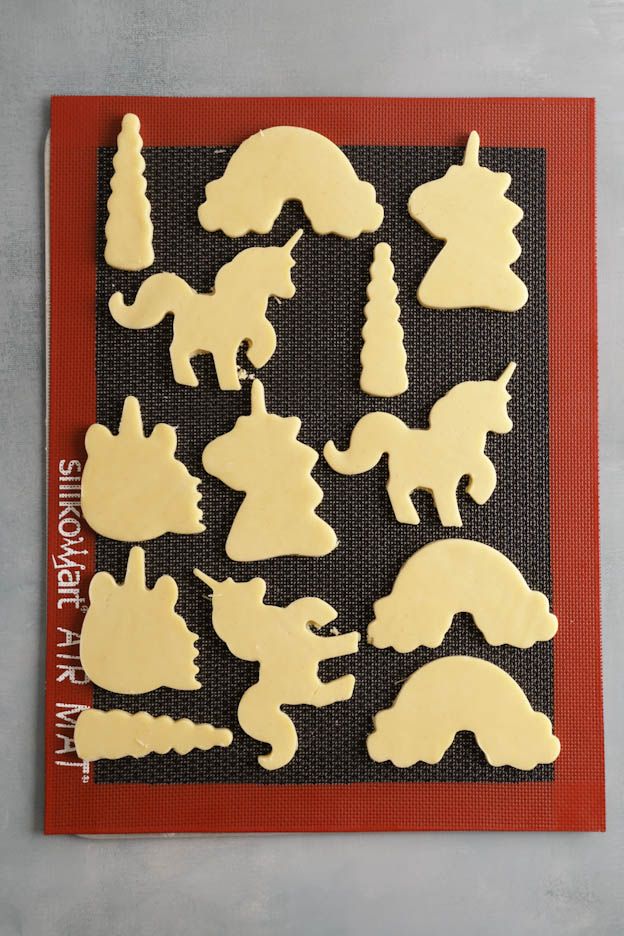
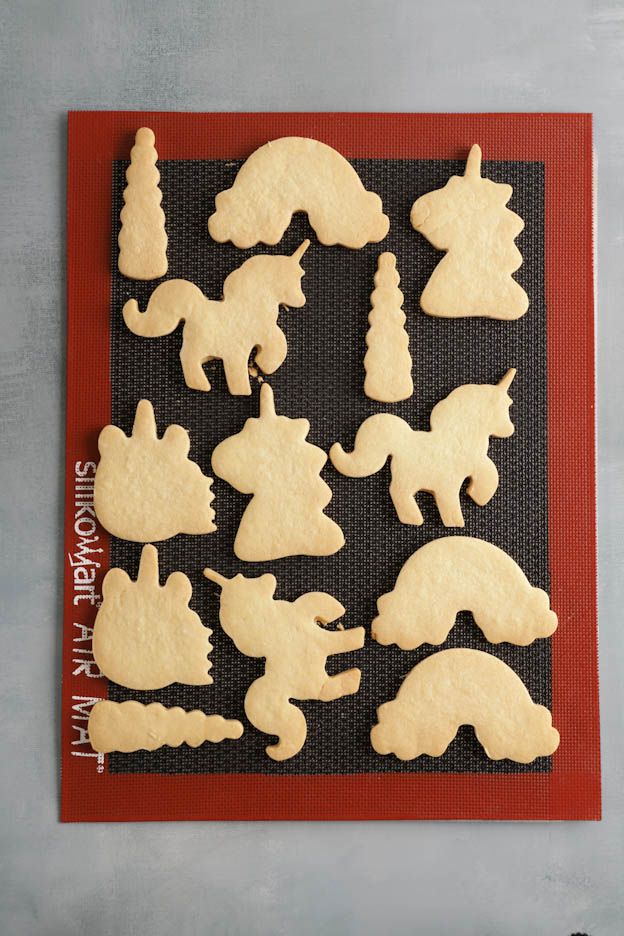
Shall we start decorating? Let's go!
Preparing the royal icing
First of all, you should know that if you make an icing with water and egg white, it really won't have the same effect... Also the egg white remains raw, which is not recommended from a hygiene and preservation standpoint.
Here, we'll be working with two products you may not know. Meringue powder which will replace our egg white and cream of tartar which will stabilise our royal icing and preserve it.
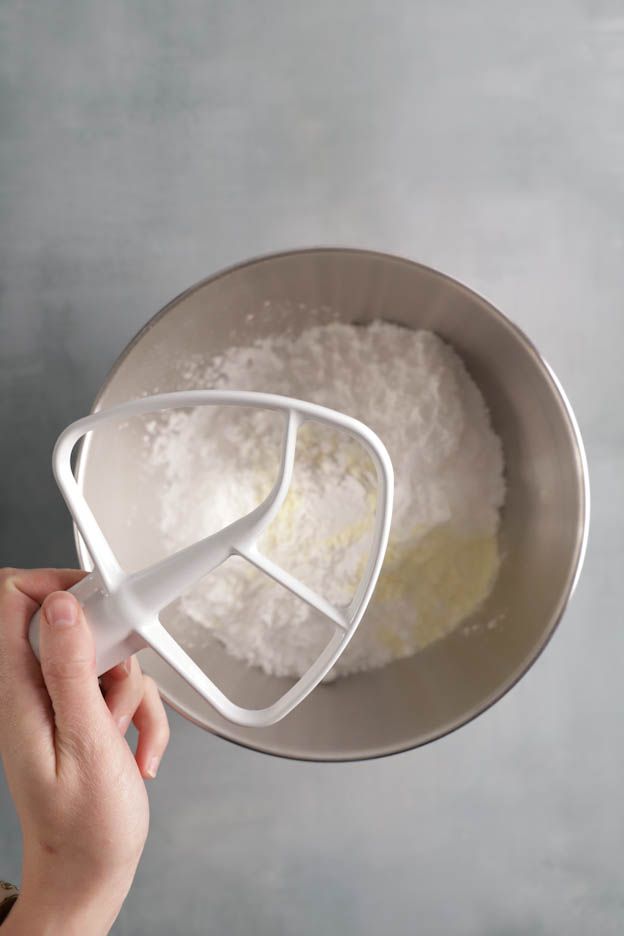
Start by pouring the dry ingredients into your bowl. So 750gr of icing sugar, 4 tbsp of meringue powder and 1 tsp of cream of tartar. Use measuring spoons to get a precise measurement.
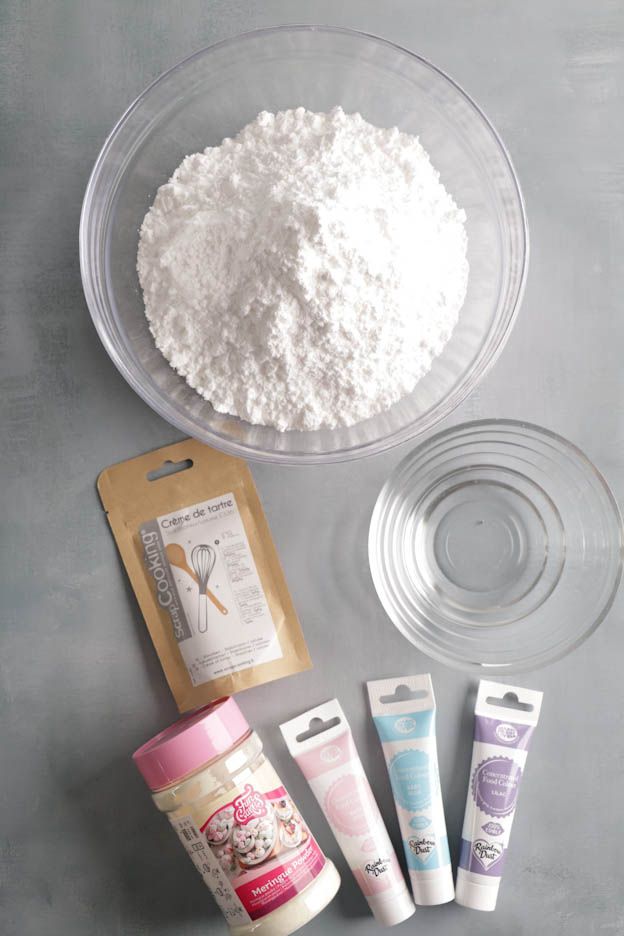
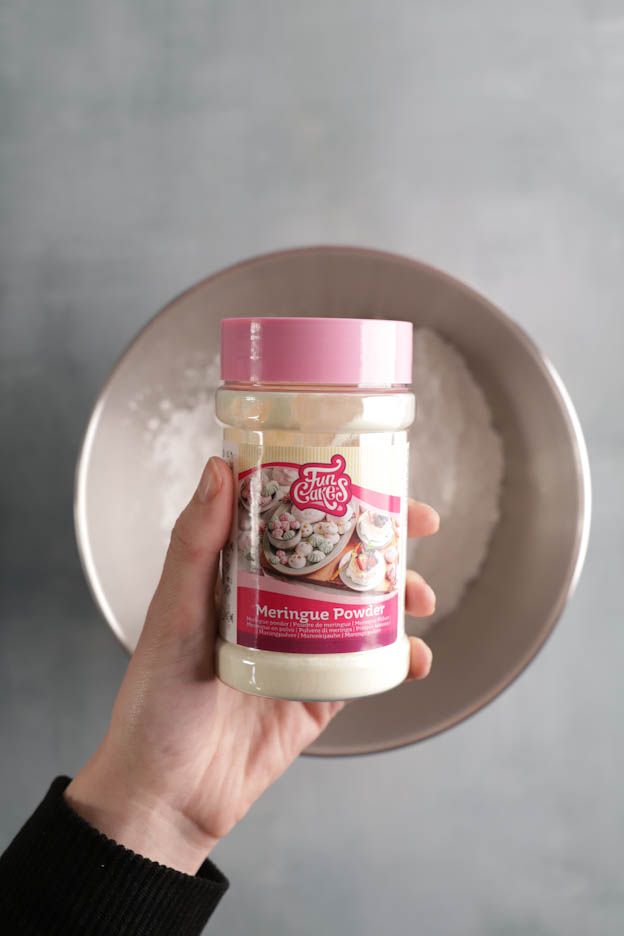
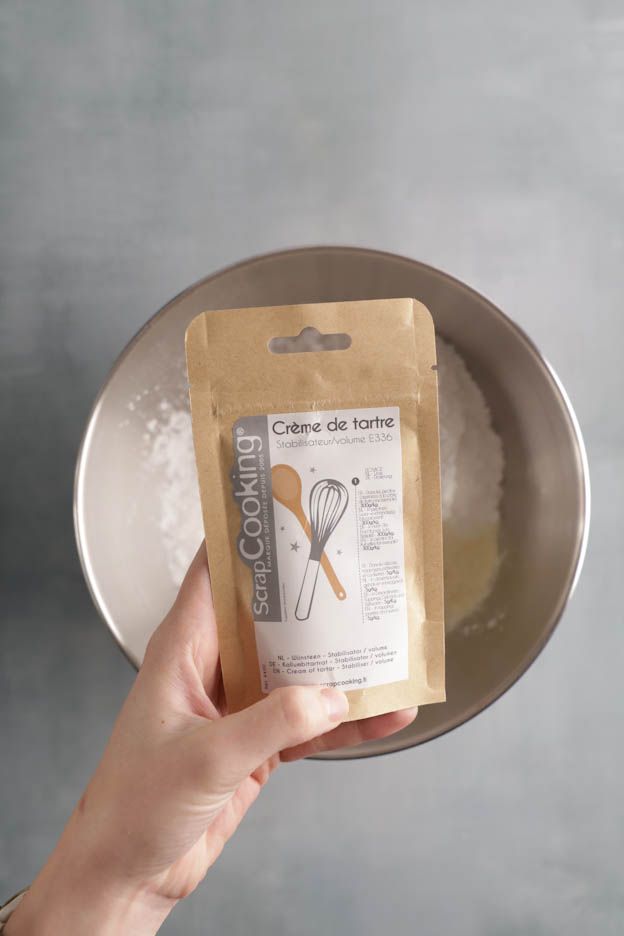
Then mix the 3 ingredients with the flat beater attachment at minimum speed, otherwise you'll have dust everywhere!
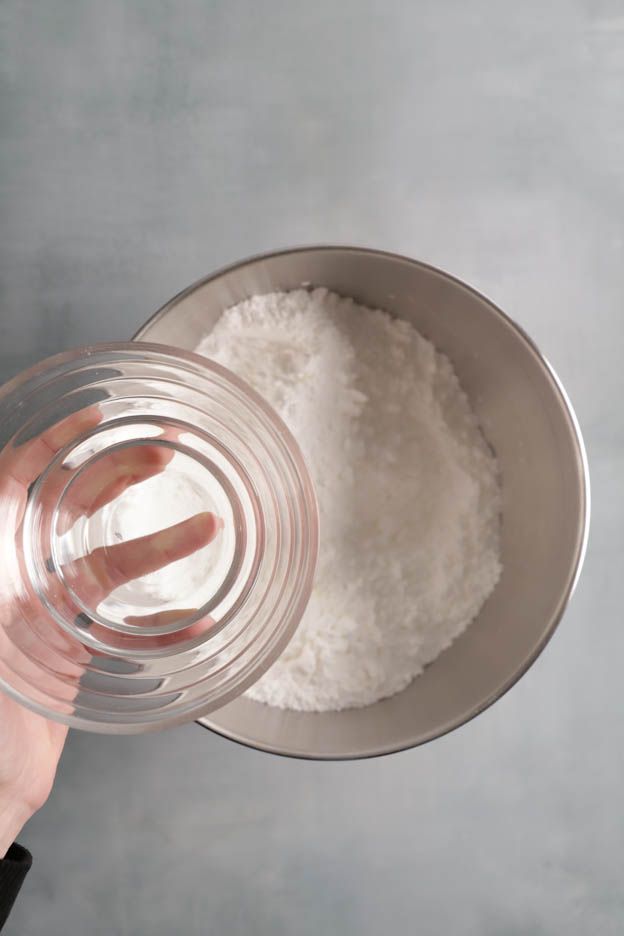
Add 100gr of cold water and mix, still with the flat beater and still at minimum speed for approximately 2 minutes.
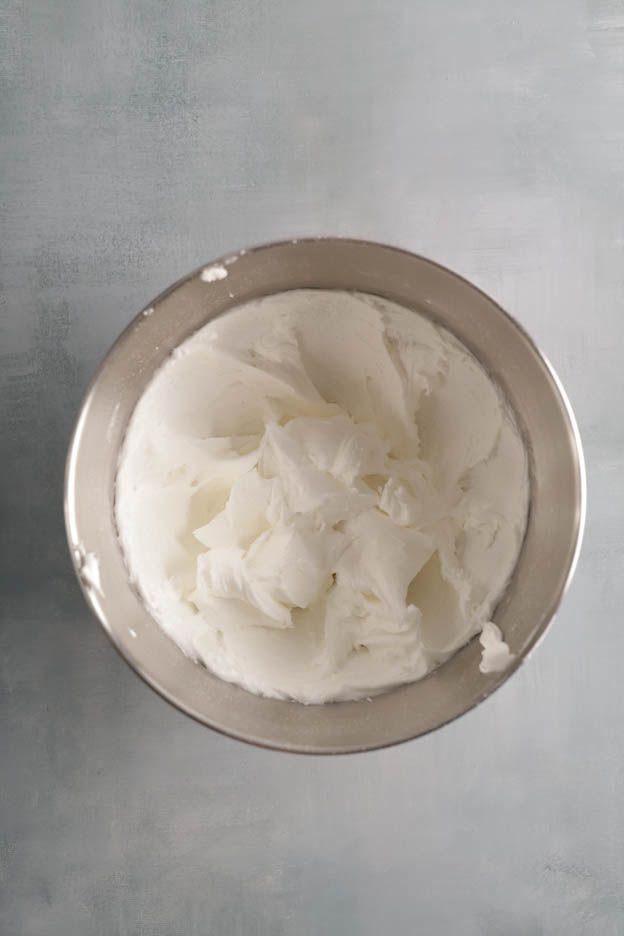
After about 2 minutes, the texture will be nicely smooth. You'll have a very thick icing. That's normal!
You can store this icing as is in the fridge for 7 days. Simply place it in a container and cover it with cling film touching the surface.
Now, divide your icing into several bowls of approximately 150-200gr. This will give about 4 to 5 colours.
We are going to colour them and achieve the right icing consistency.
I'm a fan of Progel gel food colourings. I think it's the best brand currently available. You can make pastel or vivid colours without needing to use a huge amount of colouring... If you wish, you can use our natural powder colourings. That works too but you'll need to use a large quantity of colouring to achieve relatively pastel colours... Your choice.
Since I'm decorating my cookies with a "unicorn" theme, I used the pastel colourings.

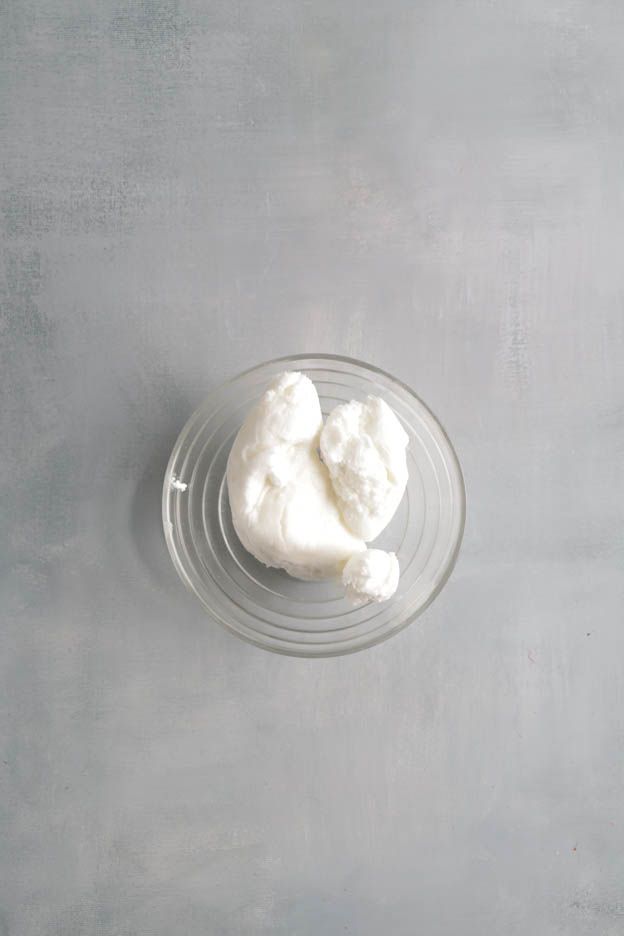
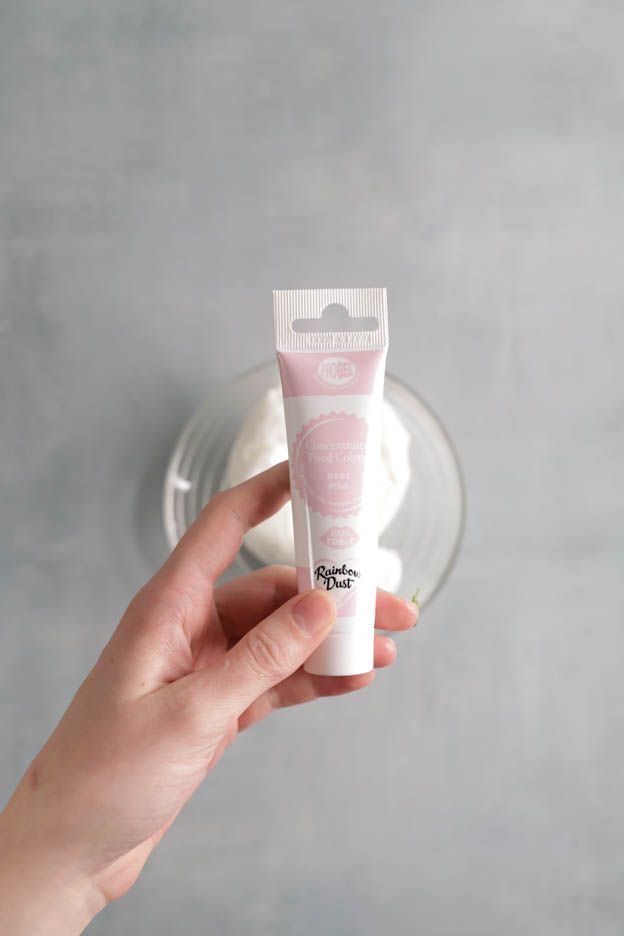
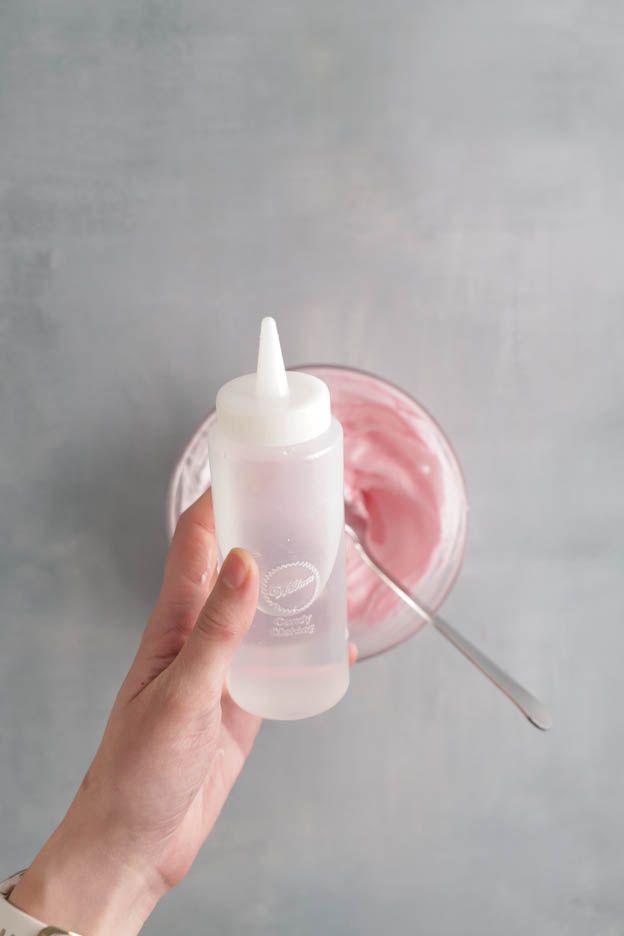
Then I added water, little by little using my Wilton bottle. I always use it to measure the water as otherwise you risk adding too much at once.
So add a little water, little by little, mixing the icing with a spoon until you get the right consistency.
The icing should flow in a ribbon, meaning it should flow smoothly and continuously, without being too runny.
I know, it's not easy to understand but I can give you a second tip. :o)
Your icing will become shiny as you add water. The more liquid it is, the shinier it will be. When you shake your bowl, the icing should smooth out in 10 seconds.
The same principle applies to the ribbon: Lift your spoon up nice and high. The icing should flow in a ribbon and smooth itself out in 10 to 15 seconds.
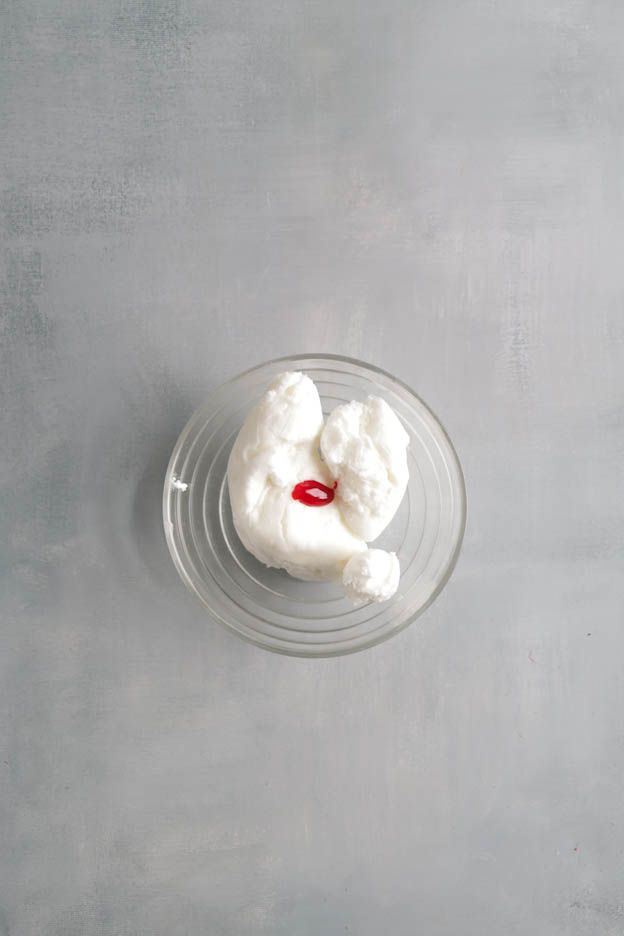
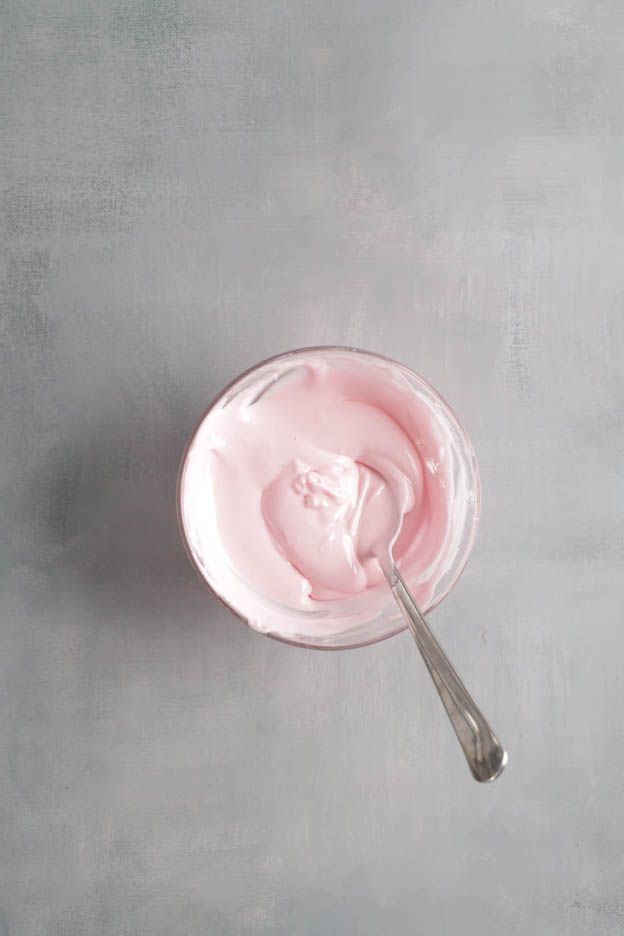
Once your icing is the right consistency, pour it into a piping bag. Use a 30 cm piping bag (small piping bag). If you use a piping bag that's too large, it will get in the way when decorating your cookies.
I strongly recommend using a coupler which will allow you to change piping tips during decoration. It will also prevent your tip from sliding off into the middle of your icing! ;-)
Simply place the large part of the coupler inside the piping bag, cut the tip with scissors and insert a piping tip.
For royal icing, I use the 1 mm tip and the 1.5 mm tip.
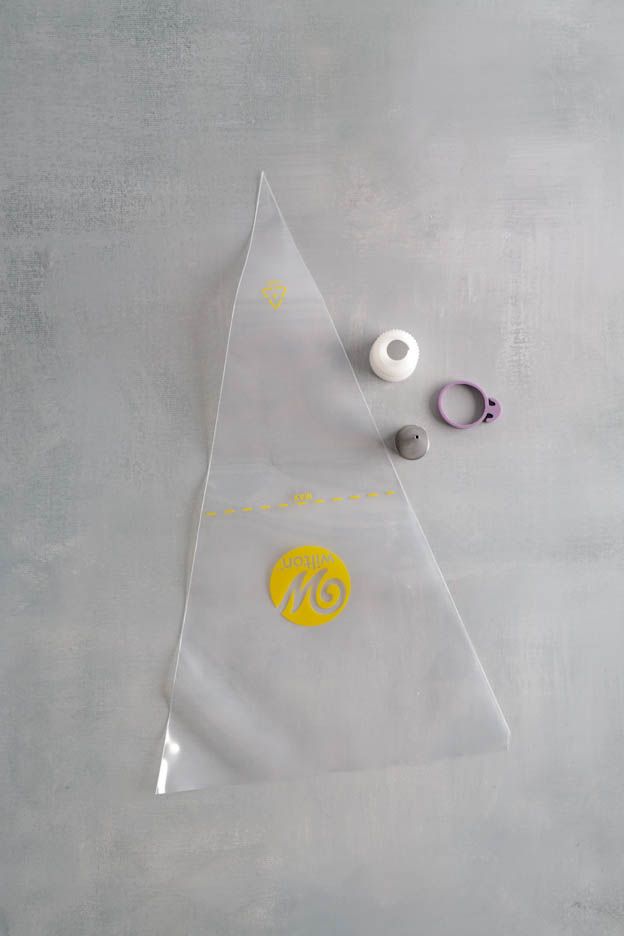
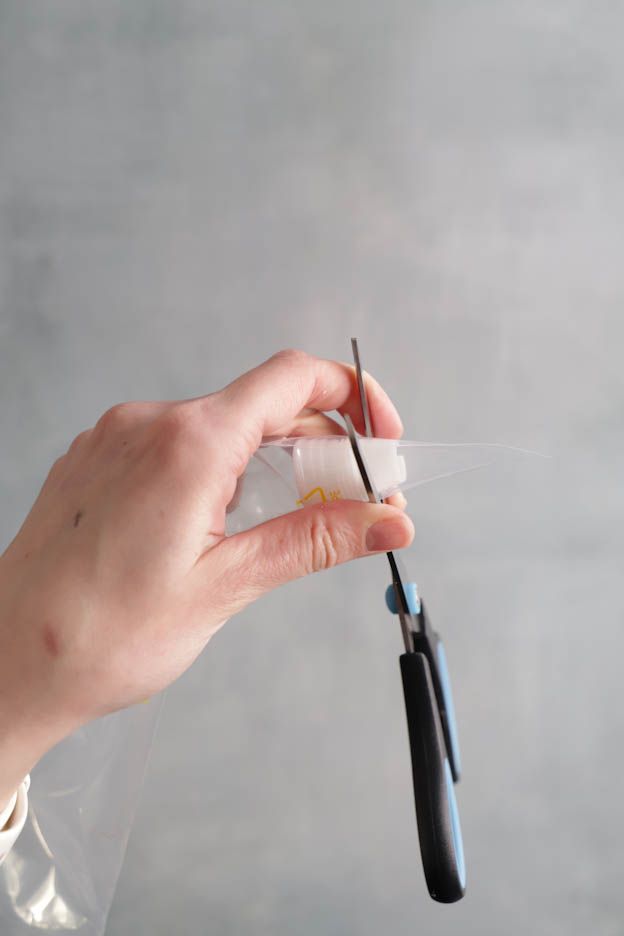
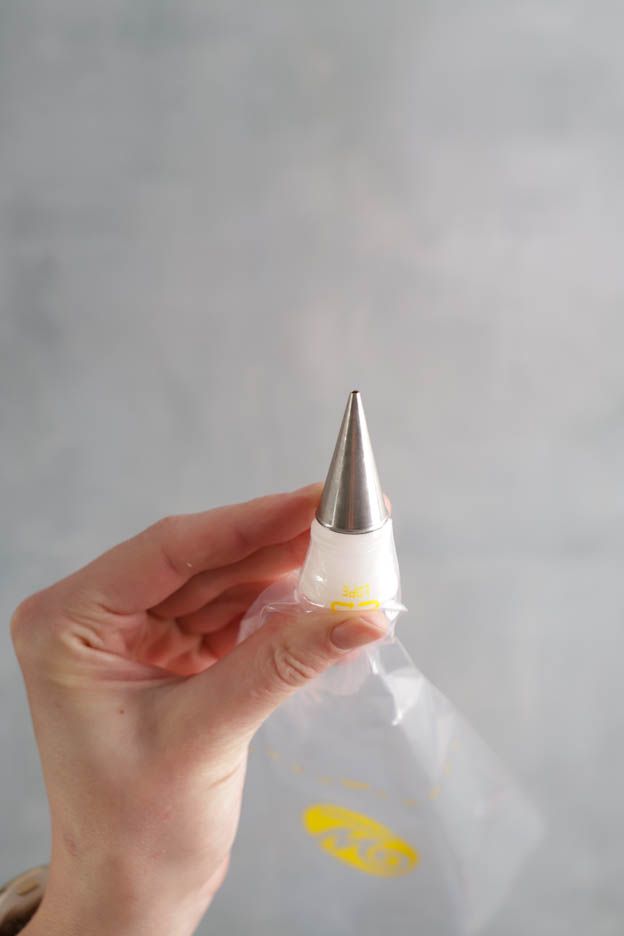
Finally, screw the last part of the coupler over the piping tip. Super simple and super handy!
Once your piping bag is ready, pour the royal icing into the piping bag.
Place the piping bag in a jug to fill it neatly with icing.

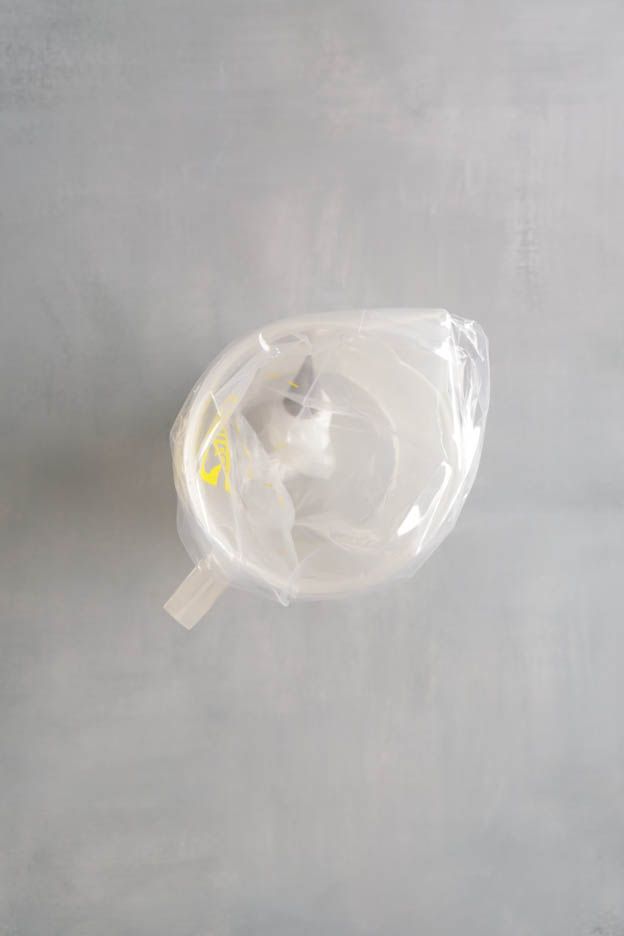
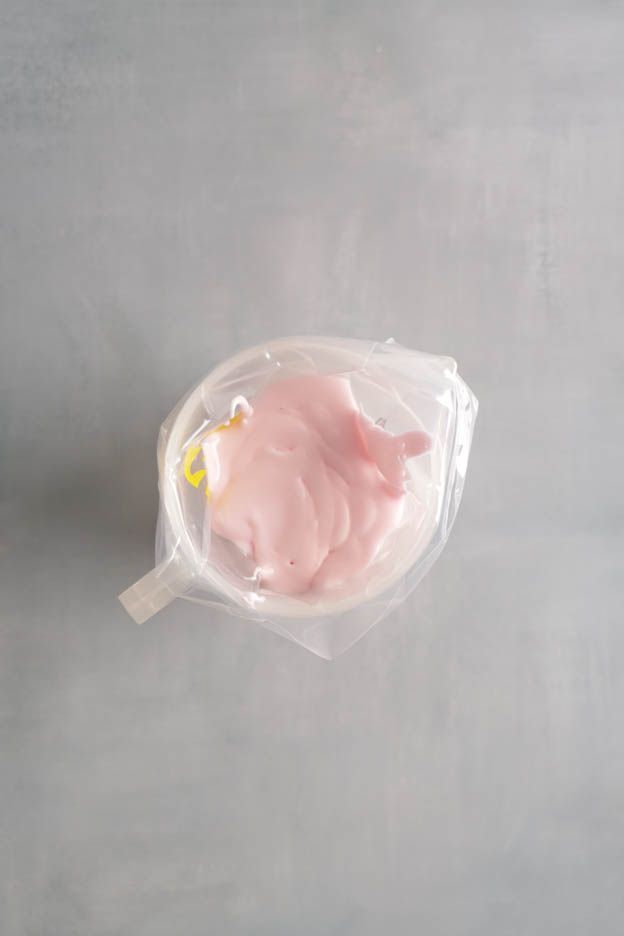
Using a scraper, press the icing down firmly to avoid air bubbles.
Attach a piping bag elastic to close the top of your piping bag. This elastic is really handy as it doesn't take up space but holds the bag firmly so the icing stays in place and doesn't dry out.
Then place the tip of your piping bag under a very damp cloth so the icing doesn't dry out. This step is very important, otherwise you'll constantly have to unblock your tip. Royal icing dries very quickly!
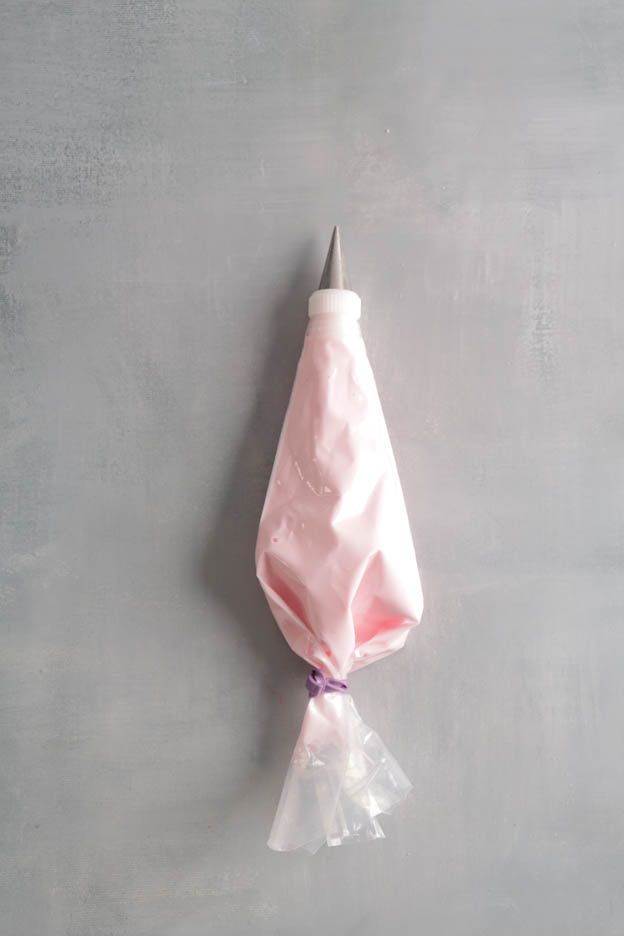

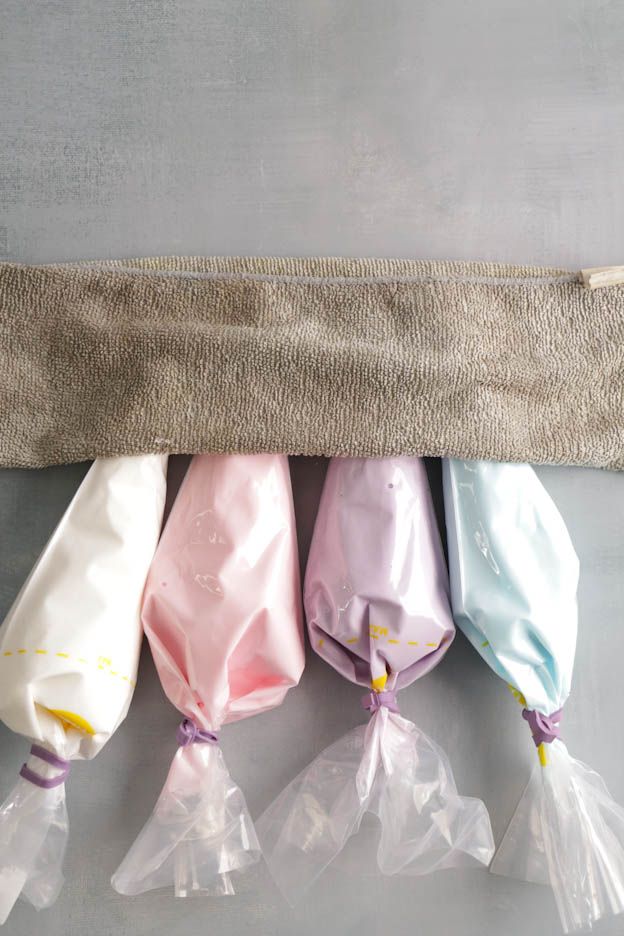
Now we can move on to decorating the cookies!
The ideal way to dry royal icing on your cookies is to have a dehydrator. That's the absolute best... However if you don't have one, you can heat your oven to 40°C top/bottom heat, that works too.
Start with a fairly simple cookie shape to practice a little. :o)
Here, I've taken a rainbow that we're going to customise into an adorable pastel rainbow!
To begin, use a 1.5 mm tip and outline the clouds. Then fill them in, still with the same 1.5 mm tip.
Add enough icing, this is important! If you don't add enough, your icing will have bumps and won't be nicely smooth.
To help me spread the icing evenly, I use a scribe needle. Much finer than a toothpick and longer, so easier to work with.
Make small circular movements with your needle so the icing spreads out evenly.
Once the clouds are filled with icing, gently shake your cookie between your fingers (keeping it flat). The icing will smooth out perfectly.
A tip: When you outline your cookie, don't go too close to the edge. Leave a 2-3 mm gap. This will prevent the icing from running over the sides.
Place your cookie in your dehydrator for 10 minutes.
It's important to dry your cookies in the dehydrator so they dry properly and stay nice and shiny.



Once the 10 minutes are up, you can create the rainbow colours.
Pipe thin lines alternating the different colours.
Between each colour, place the cookie in the dehydrator. If you don't let it dry enough, the colours will blend together.



Once the rainbow is completely filled in and fully dry, draw the outline of the clouds and place it in the dehydrator for a minimum of 40 minutes.



Let me show you a second design now. A unicorn this time. :o)
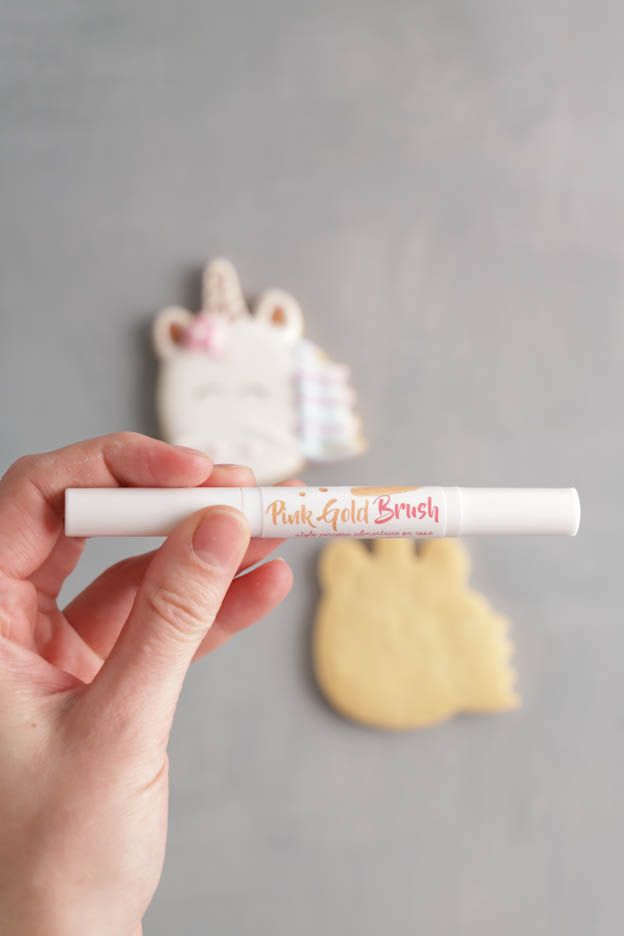
Start by painting the ears and horn with the gold brush. This will give a 3D bling-bling effect to your unicorn afterwards. You'll see!
Draw the outline then fill in the unicorn's head just like the rainbow. Always with the 1.5 mm tip.
Also outline the ears but don't fill them in! Let the gold show through. :o)


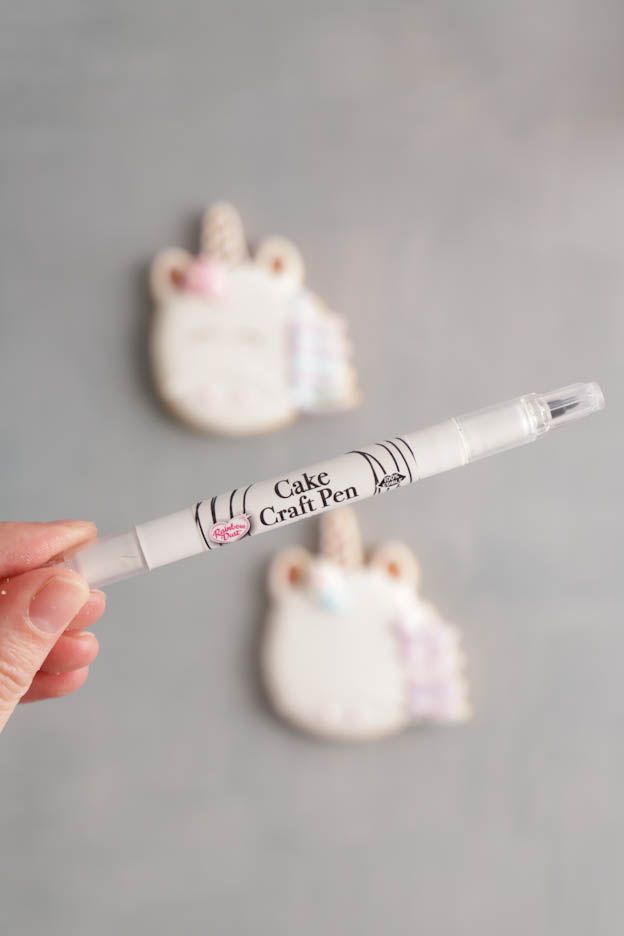
To help me spread the icing evenly, I use food-safe pens. Much finer than a toothpick and longer, so easier to work with.
Place your unicorn in the dehydrator for 10 minutes.
For details, I very often use the 1 mm tip as it's finer. For filling, I do everything with the 1.5 mm tip.
Draw the outline of the horn and trace 3 small lines inside it to let the gold show through, just like the ears.
Pipe the unicorn's mane with different colours, letting each colour dry properly in the dehydrator for about 5 minutes between each application.



Continue piping the mane until it is completely filled in.
Add a pretty little flower at the base of the horn and also draw the snout.



Finish by drawing the eyes using a black food-safe pen.
Place the cookie in the dehydrator for at least 40 minutes so it dries completely.

I hope this tutorial is clear in its explanations. :o) Feel free to ask questions in the comments if needed.
Let your imagination run wild, but do respect the drying times.
And most importantly....Have fun! Children love decorating cookies. We do it very often at home!
I recommend choosing 2 to 3 designs maximum. You can then work on them in a bit of an assembly line and avoid having too many different designs. It will go faster and you'll improve as you go through the decorated cookies. :o)
Decorated cookies will keep for 1 to 2 weeks in a well-sealed box.
Wishing you a sweet and indulgent Sunday! Enjoy plenty of treats!
Karin
P.S.: All the materials used can be found at the bottom of the recipe.




Related posts
 Juicy Matcha Muffins with Pecan Nuts & White Chocolate
Matcha Iced Latte & Coconut Variant
Pull-apart bread with fresh wild garlic pesto
Mini Banana Bread with Chocolate Chips
Juicy Matcha Muffins with Pecan Nuts & White Chocolate
Matcha Iced Latte & Coconut Variant
Pull-apart bread with fresh wild garlic pesto
Mini Banana Bread with Chocolate Chips
Leave a comment
Comments
Question de Mireille
By: Mireille Z. On 2022-04-28Bonjour,
Pour un mariage, je vais faire un glaçage royal pour un peu moins de 200 biscuits (votre recette ci-dessus et même taille). Je prévois de vous commander 600gr de poudre de meringue (j'ai compté 60 gr pour 4 cs) et 100 gr de crème de tarte (j'ai compté 7gr par cc). Est-ce que ces proportions vous paraissent ok et est-ce suffisant 2 gel colorant pour cette quantité ? Merci pour votre aide.
Replied by: Karin On 2022-04-28
Question de Valérie
By: Valérie M. On 2021-12-06Bonsoir, d'abord merci beaucoup pour votre aide précieuse pour cette recette, cela fait longtemps que je voulais savoir comment faire secher le glaçage royal. Question bête la poudre de meringue et la poudre à meringue, c'est la même chose ? ?. Merci
Replied by: Laura On 2021-12-07
Réponse à Merci
By: Karin On 2021-11-25pour votre message.
J'ai la marque Primotecp de chez Fust :-), il va super bien pour mes biscuits.
Belle journée
Réponse à C'est
By: Karin On 2021-11-25mieux d'utiliser la chaleur en haut et en bas car avec la chaleur tournante si votre glaçage est encore liquide la ventilation risque de le faire bouger. Comme mentionné dans la recette, il est important de faire sécher le glaçage à chaque fois pour avoir résultat brillant :)
Belle journée ! :-)
Question de Djouher
By: Djouher K. On 2021-11-25Bonjour ?est ce que c'est possible de les faire sécher dans un four a chaleur tournante svp,faut il les remettre à chaque fois ??pour les sécher entre chaque décoration ??je vous remercie par avance
Replied by: Djouher K. On 2021-11-25
Question de Marie
By: Marie N. On 2021-11-15bonsoir, à quelle température faut-il mettre le déshydrateur s'il vous plaît ?
Replied by: Laura On 2021-11-16
Question de Floriane
By: Floriane C. On 2021-10-19Bonjour, le fait de mettre plusieurs fois le biscuit dans le déshydrater, est ce que ça sèche aussi le biscuit et il deviendra dur ? Et encore une question, une fois le glaçage terminé, on le remet une dernière fois 10 min au deshidrateur? Merci et belle soirée.
Replied by: Karin On 2021-10-20
Question de Bernadette
By: Bernadette R. On 2021-02-17Bonsoir, je ne possède pas de dėshydrateur mais pensez-vous que je puisse utiliser mon appareil pour faire sėcher le vernis que l'on applique sur les ongles ?
Replied by: Karin On 2021-02-17
Question de Laura-Lore
By: Laura-Lore P. On 2021-01-10Bonjour,
Pouvez-vous me donner votre avis... j'adore la décoration de biscuits à la glace royale et je respecte chacune des étapes. Par contre, j'utilise le colorant en gel Wilton. Je laisse bien sécher la glace ( du moins, je crois ) avant d'appliquer une autre couleur. Par contre, après 2-3 jours, les couleurs se mélangent sur les bords... savez-vous pourquoi?
Replied by: Karin On 2021-01-12
Réponse
By: Karin On 2020-11-11Ils se conservent 1-2 semaines sans soucis voir même plus. ;o)
Belle journée. Karin
Question de A
By: A K. On 2020-11-10Bonjour !
Combien de temps se conservent-ils avec le glaçage ? Dans une boîte en métal ?
Merci d’avance
Replied by: A K. On 2021-03-20
Réponse
By: Karin On 2019-11-13Merci pour votre message. Une fois les biscuits glacés, vous pouvez les conserver sans soucis jusqu'à 2 semaines. :o) Donc aucun problème, vous pouvez les préparer dès à présent pour dimanche. Belle journée. Karin
Question de Thérèse
By: Thérèse D. On 2019-11-08Merciiii Karin pour ces informations! Il ne me reste plus qu'a tester la poudre de meringue Funcakes... ou trouver quelqu'un qui fait un saut aux Etats-Unis!!! ; )
Je te souhaite un tout bel après-midi et un excellent week-end.
A très bientôt.
Thérèse