
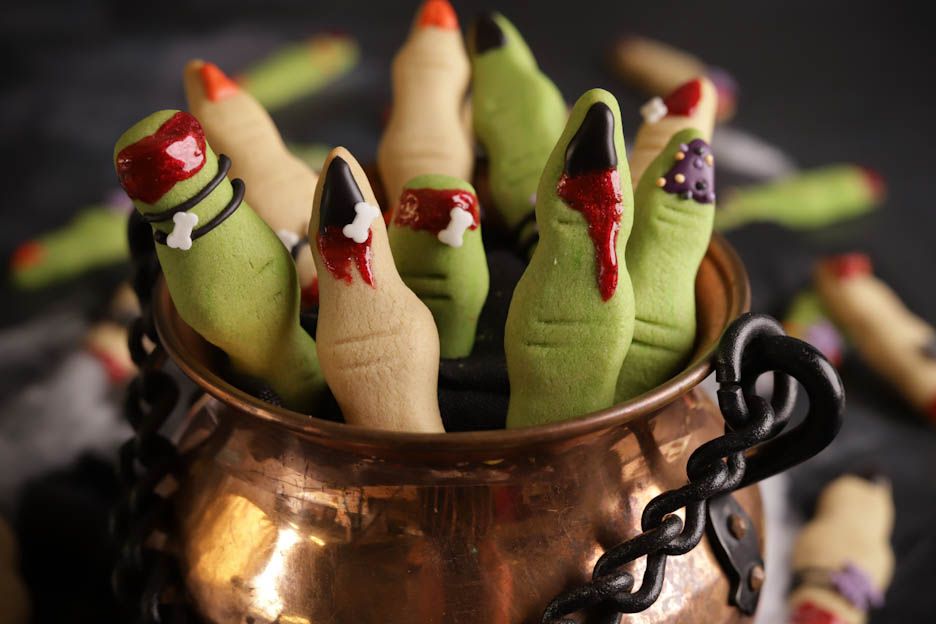
Halloween Fingers
Shaped by hand, with no special mould, and the kids take care of the decorating
Hello foodies!
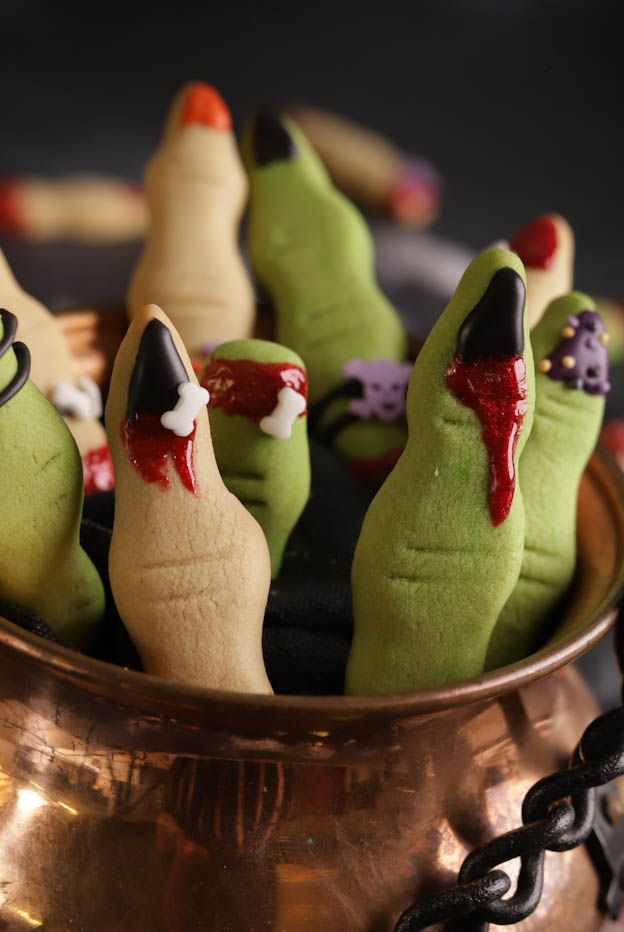
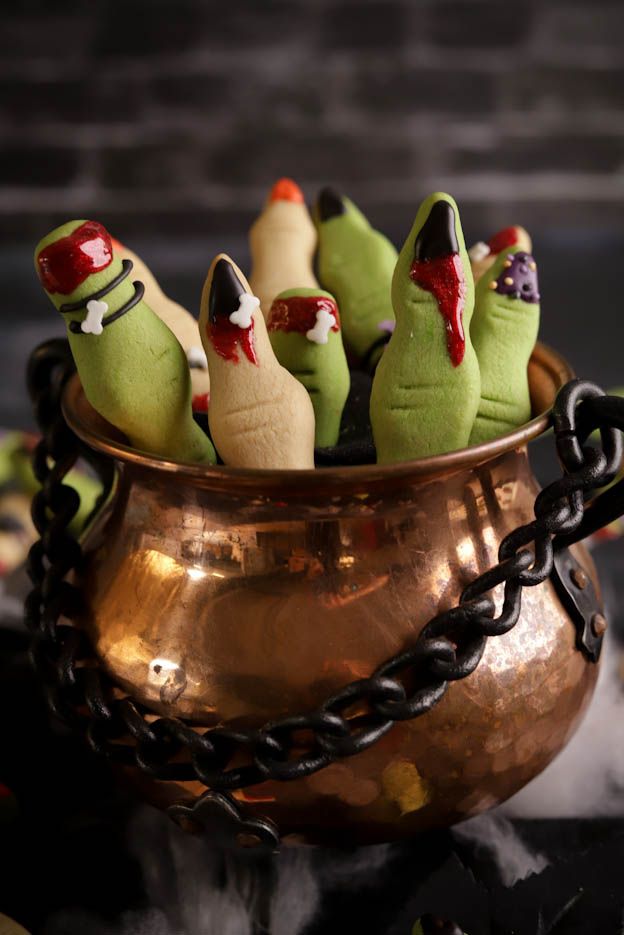
Today things get spooky: halloween fingers. Speculoos cookies in finger shape, with a pointed nail and knuckles, decorated with Royal icing in violet, black and orange, plus a splash of blood.
We no longer stock the special mould for them, our supplier discontinued it. Never mind: shaped by hand they even look more irregular, and that is exactly what makes them properly gross. Shaping and decorating are also the part that children love to take on most.
The recipe on video
0:38 min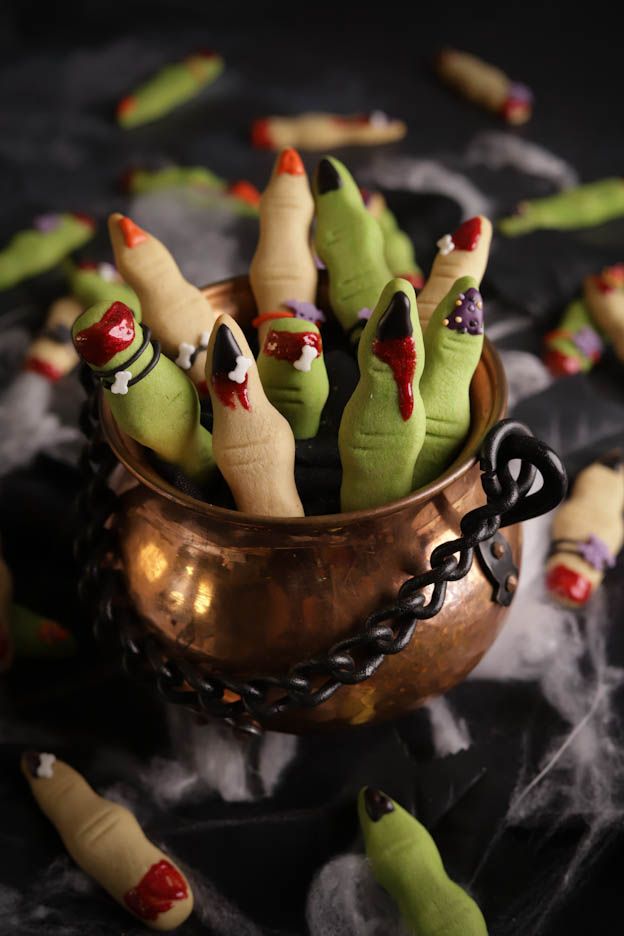
Ingredients
Cookie dough
Decoration
Step by step
Cookie dough
Butter and icing sugar
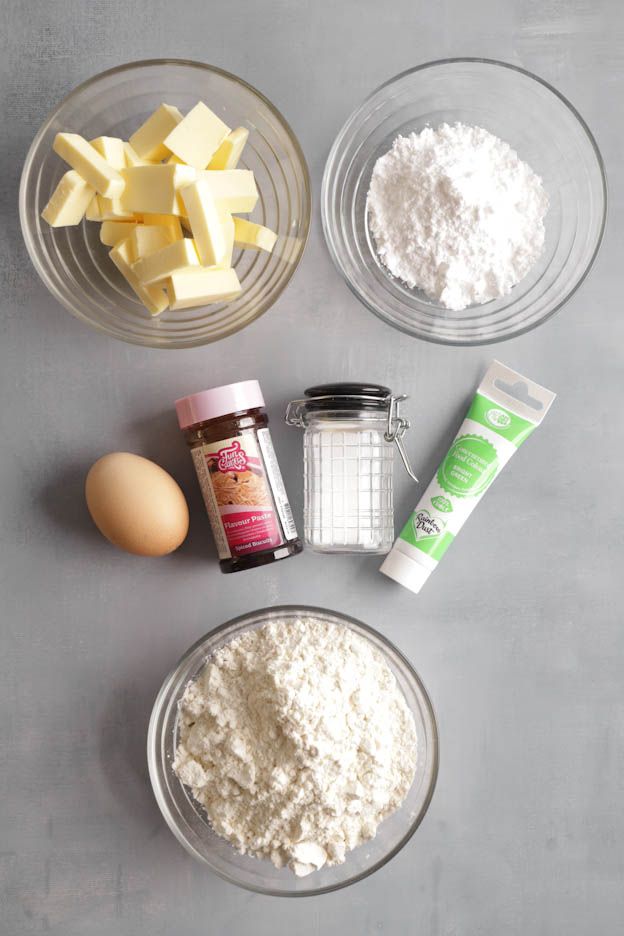
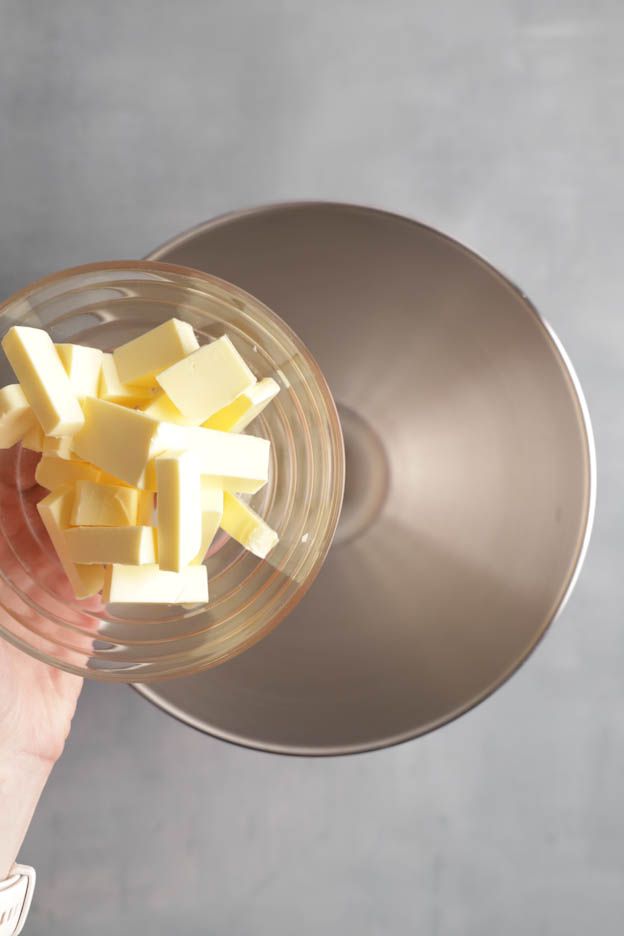
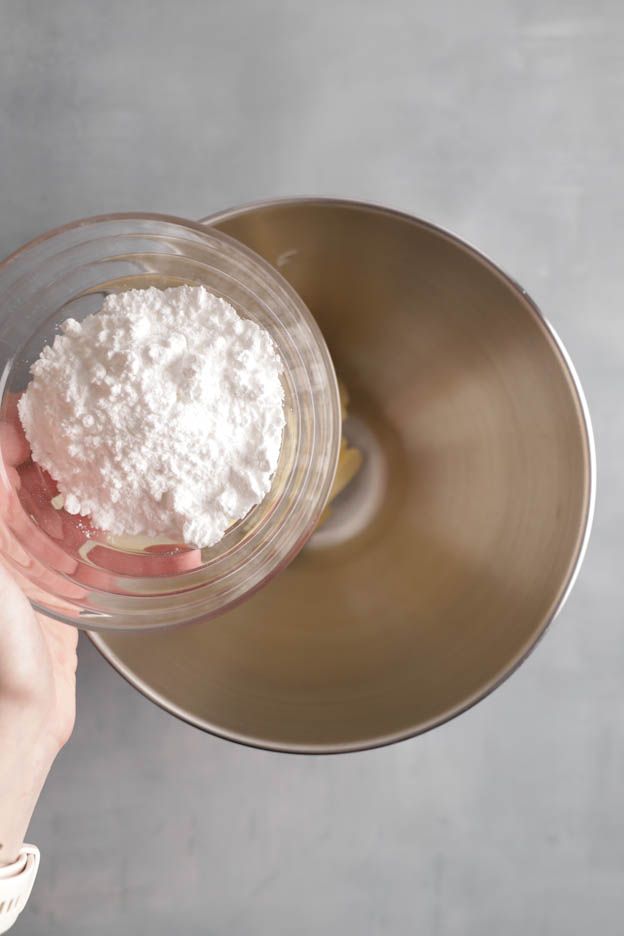
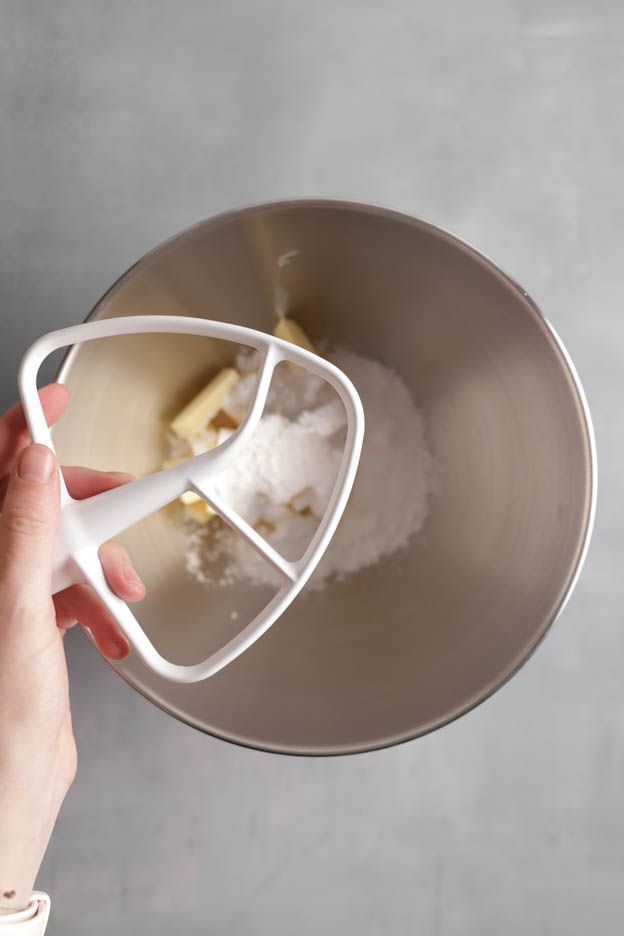
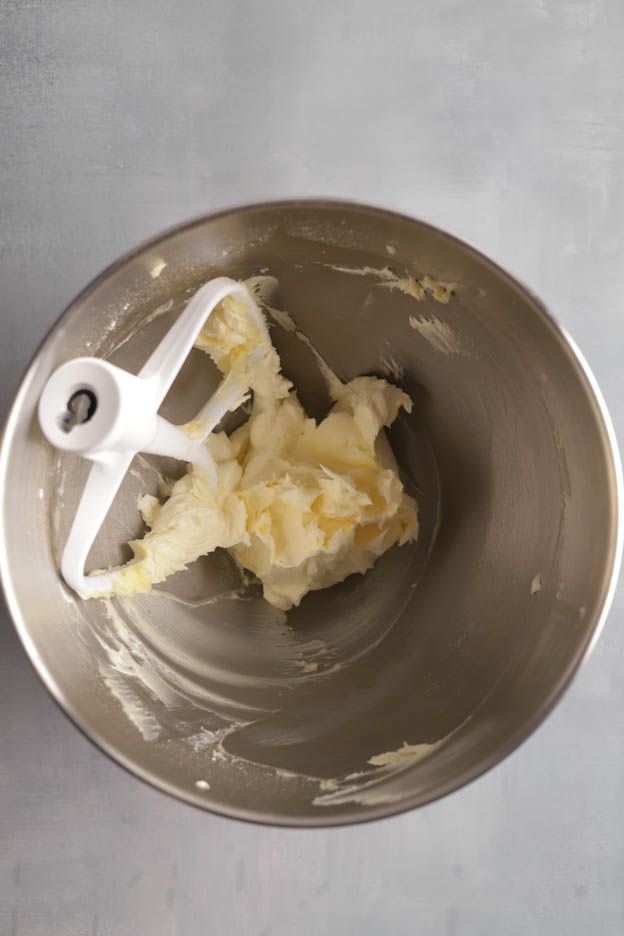
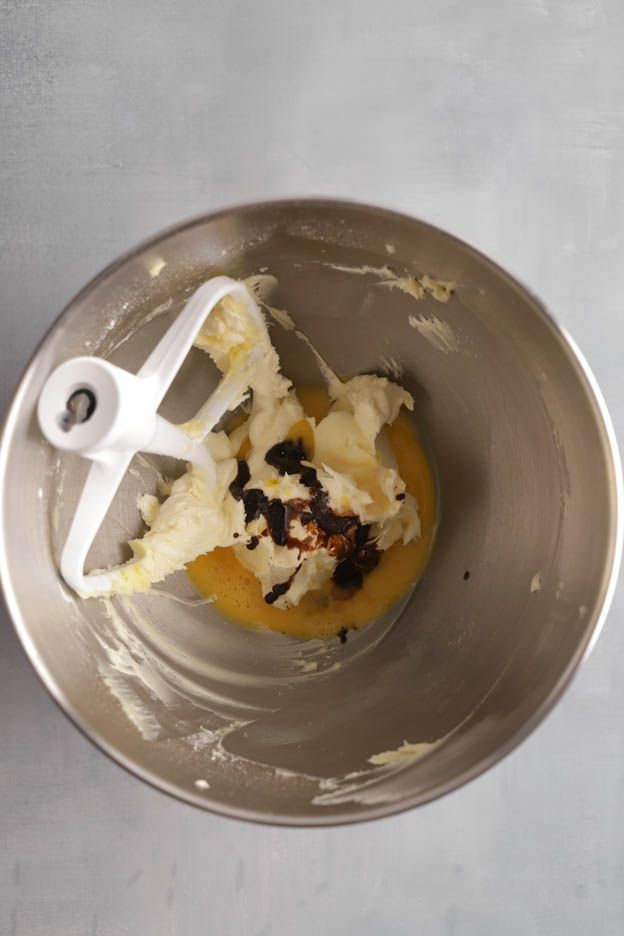
Put 125 g of soft butter and 75 g of icing sugar into a Mixing bowl and mix with the K beater until the mixture is creamy.
Egg, but only 30 g
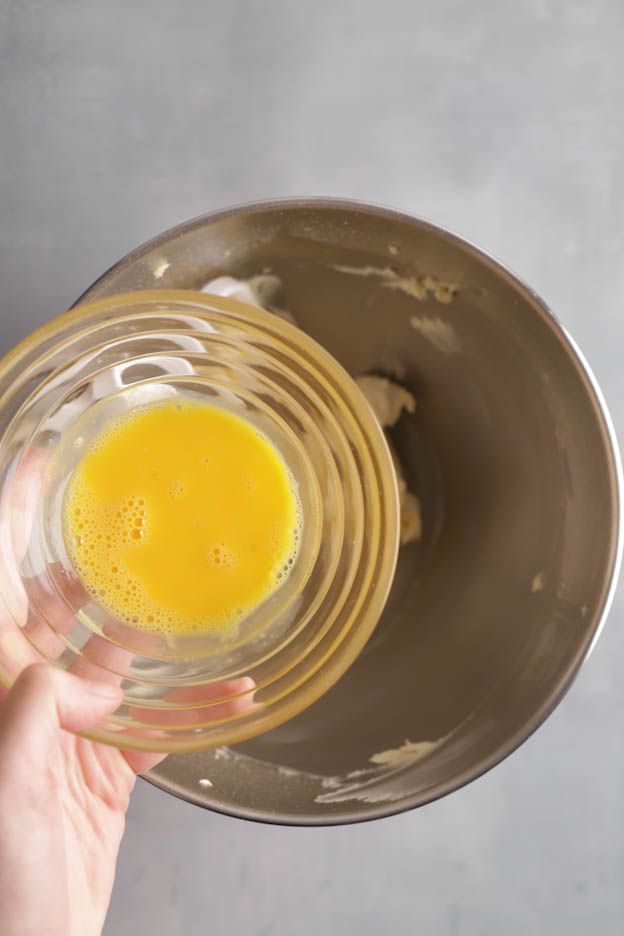
Add 30 g of egg. Crack an egg, whisk it lightly with a fork and weigh out 30 g of it. Do not use a whole egg: the cookies would rise too much while baking.
Liquid aroma and salt
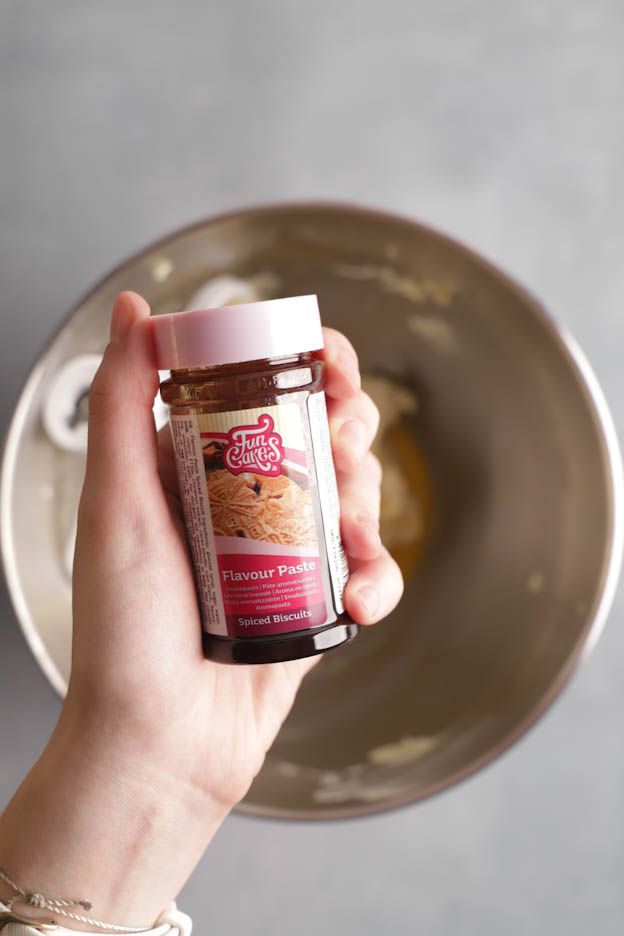
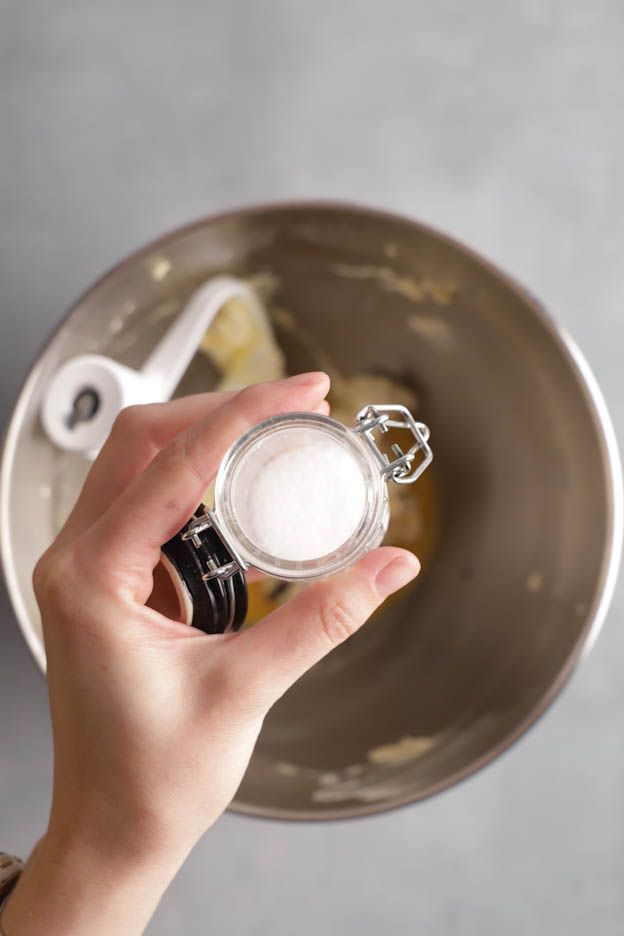
Add 2 tsp of speculoos aroma and 2 pinches of salt and stir for just a few seconds. Instead of speculoos you can also use vanilla or cappuccino.
Speculoos Aroma
Swiss White flour, 1 kg
Gel color Progel: Light green
Silicone mat SILPAT 40x30cm
Flour, stir as little as possible
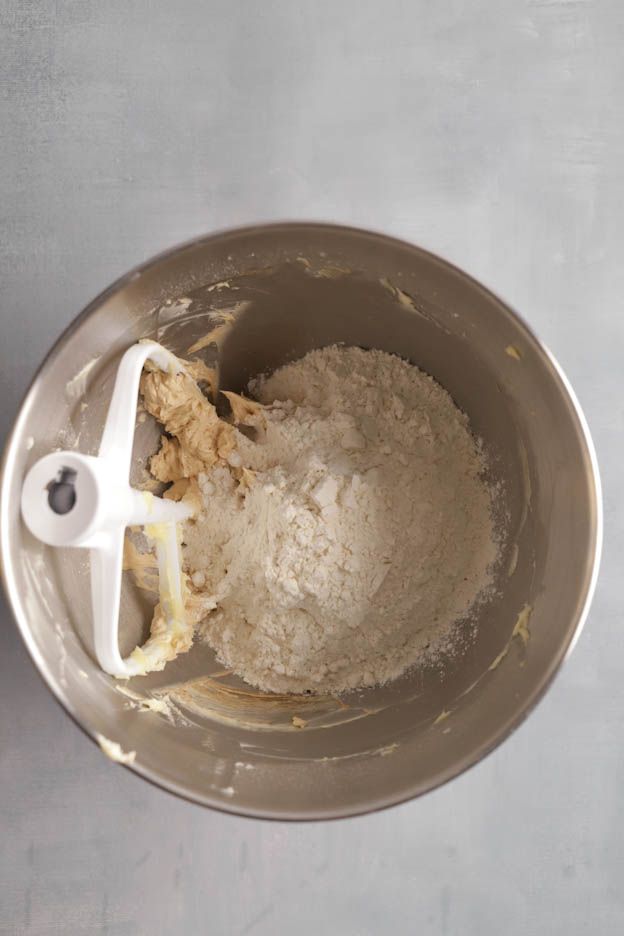
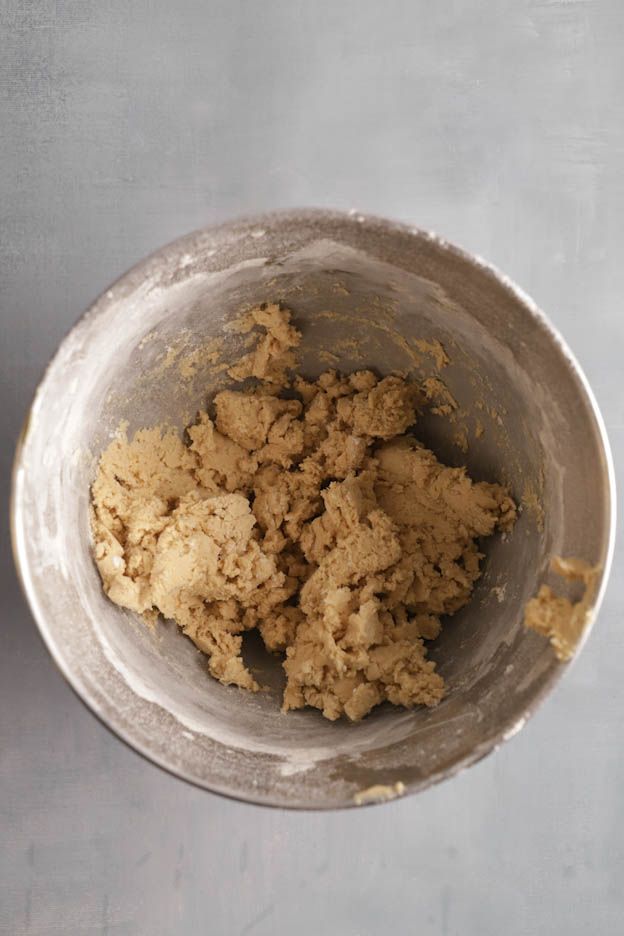
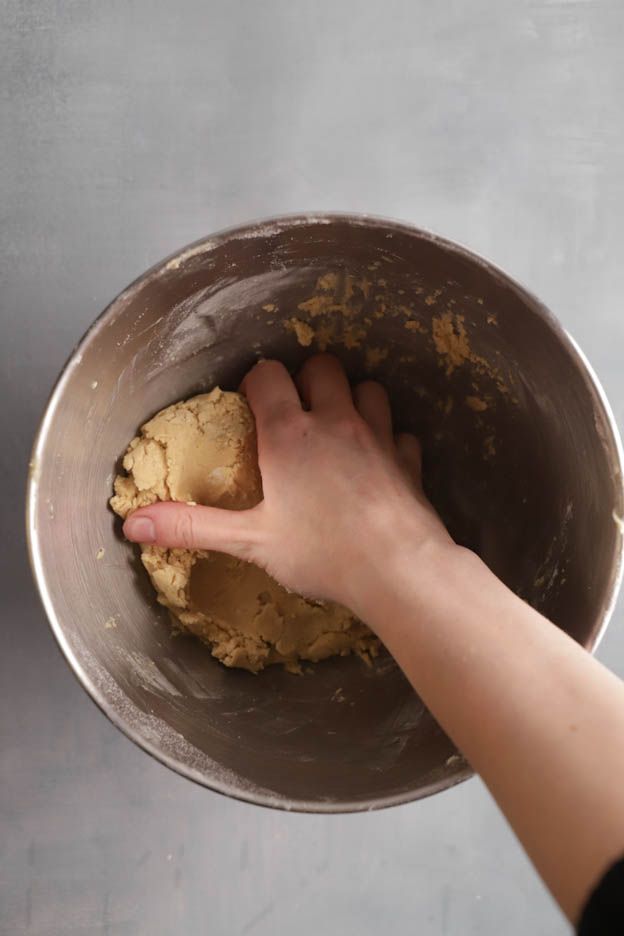
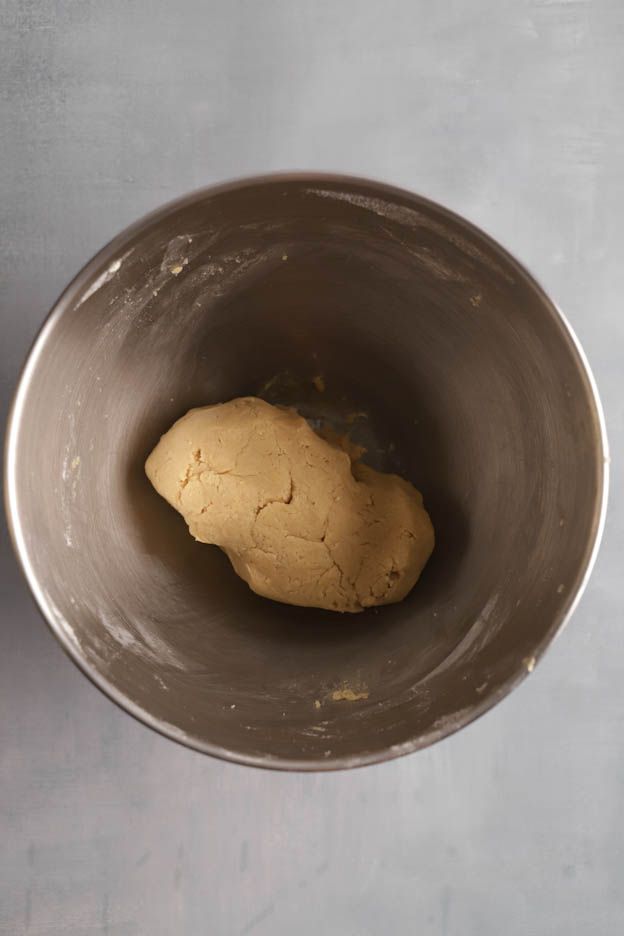
Add 225 g of flour and stir only as briefly as necessary: the longer you mix, the more the gluten develops and the more the cookies rise while baking. Finally, shape into a ball by hand.

Colour half of it green
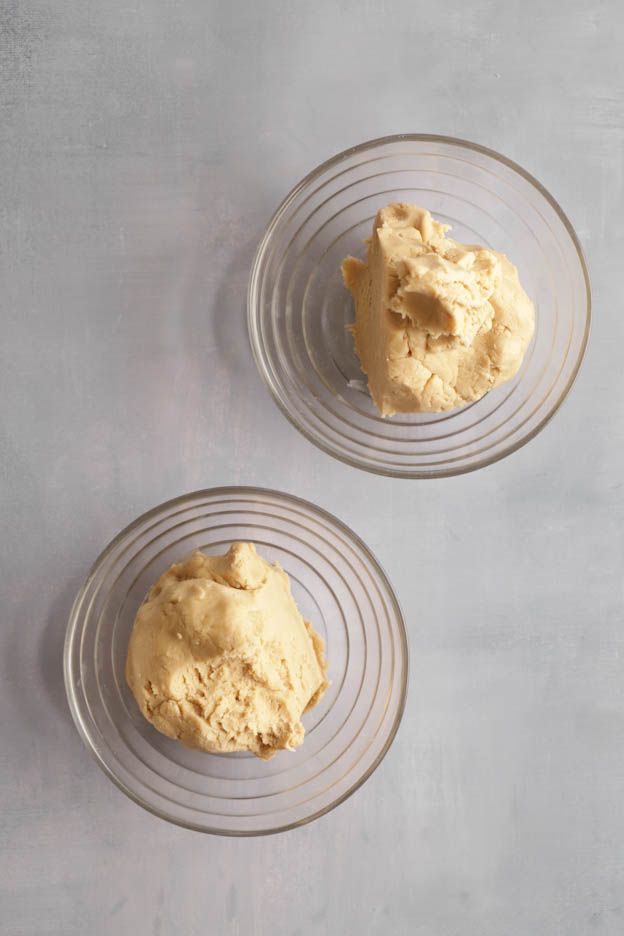
Divide the dough into two halves of about 220 g each and colour one of them with light green Gel color. This gives you pale and green fingers.
Shape the fingers
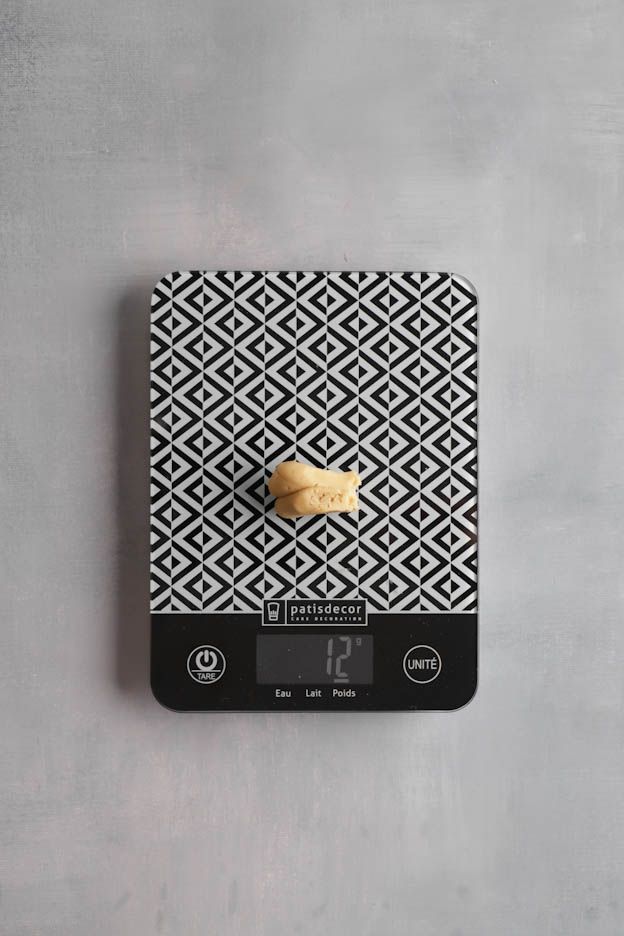
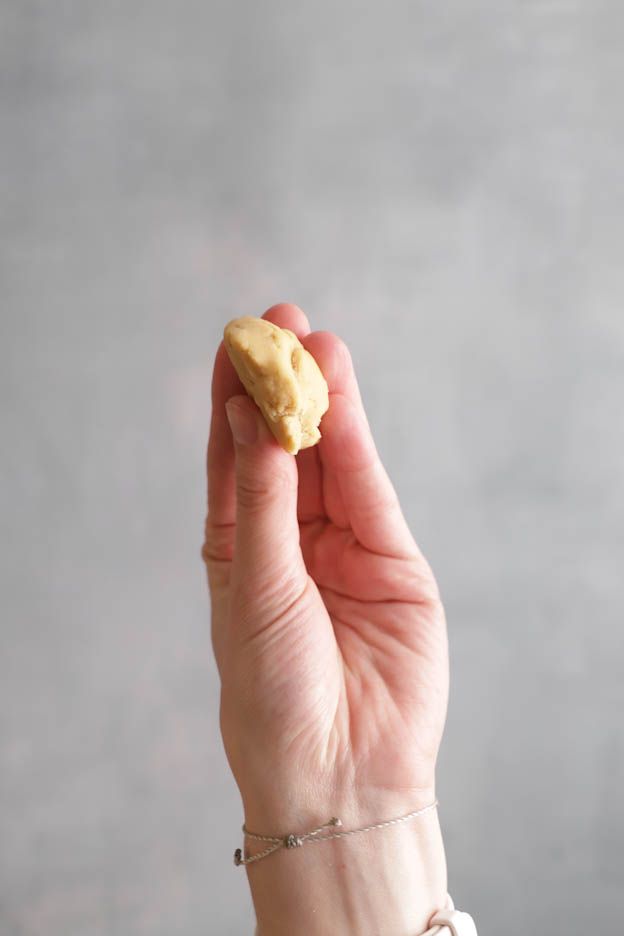
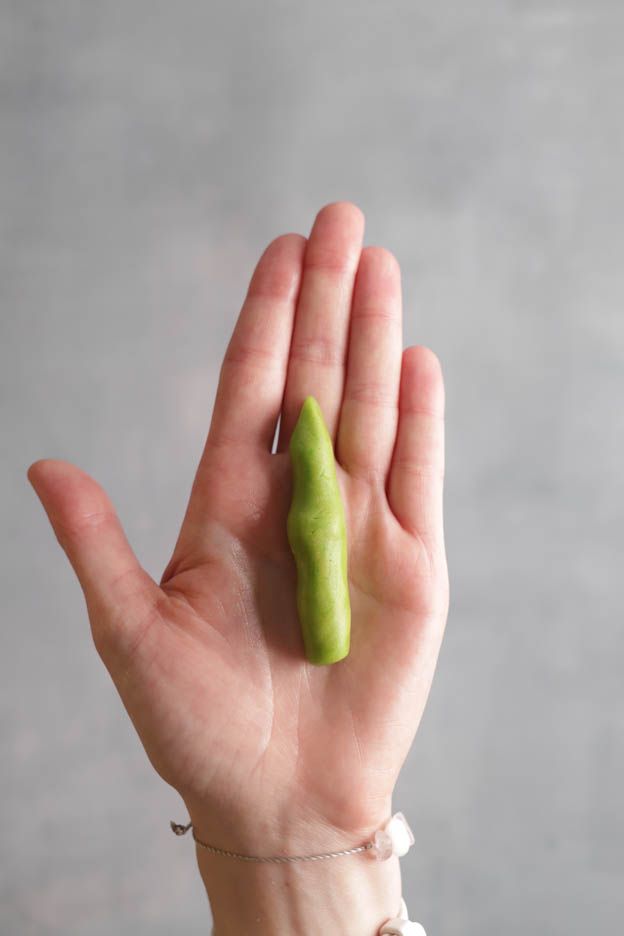
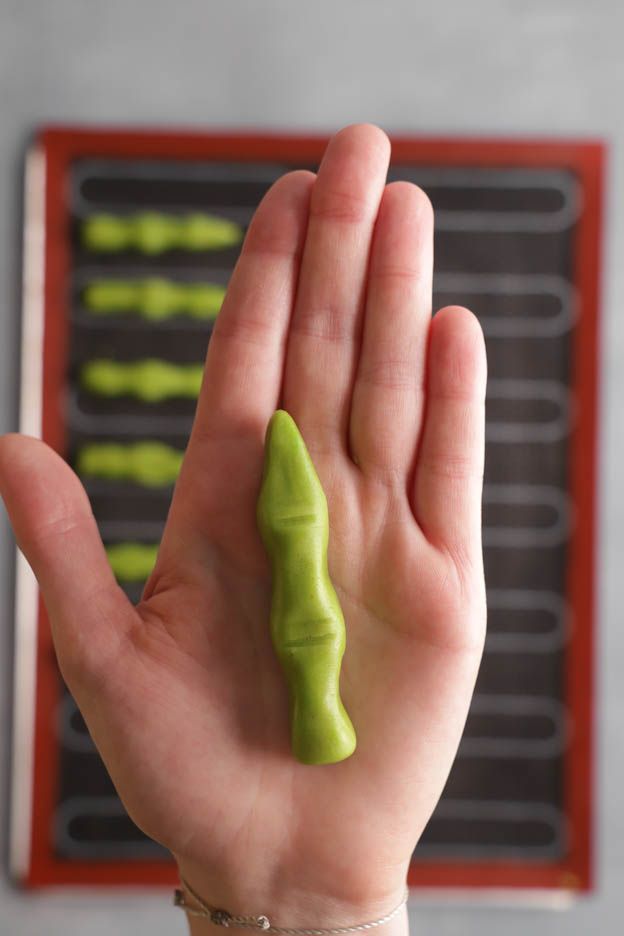
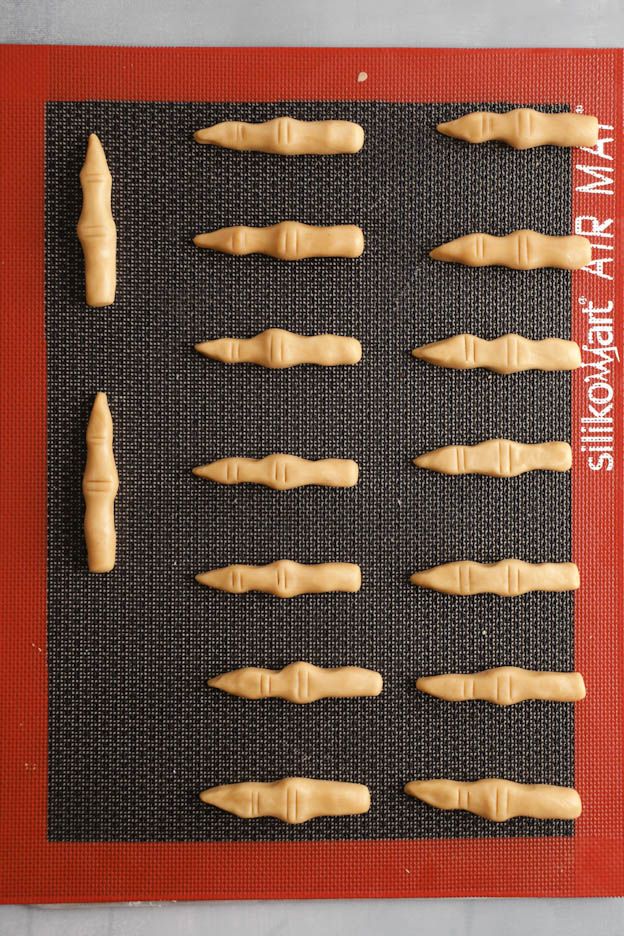
Weigh out 12 g portions and roll them into balls. Form each into a strand about 8 cm long, taper one end into a pointed witch finger nail and press the knuckles in with your fingers while you roll the strand in the middle of your hand.
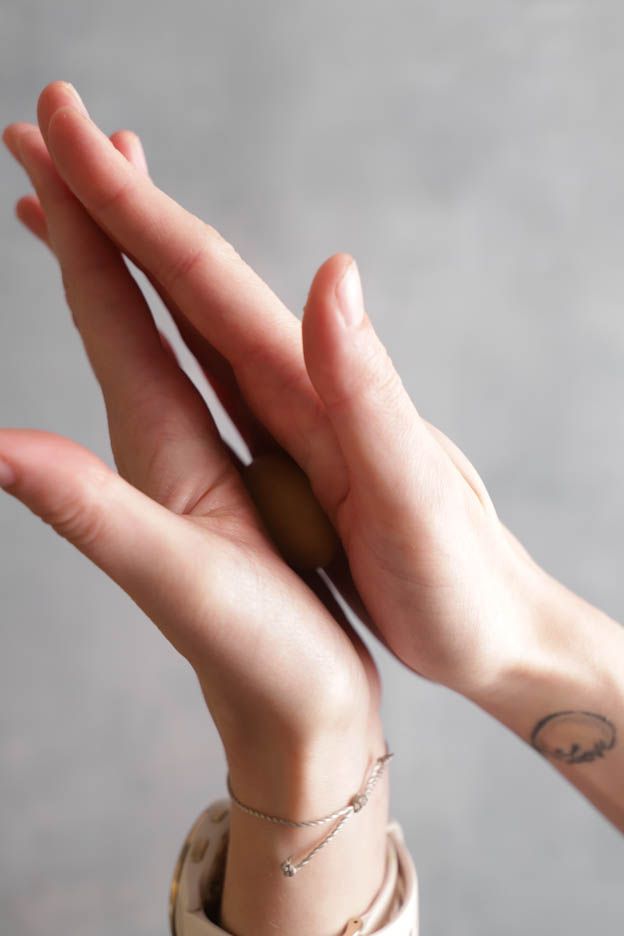
Mark the creases and freeze
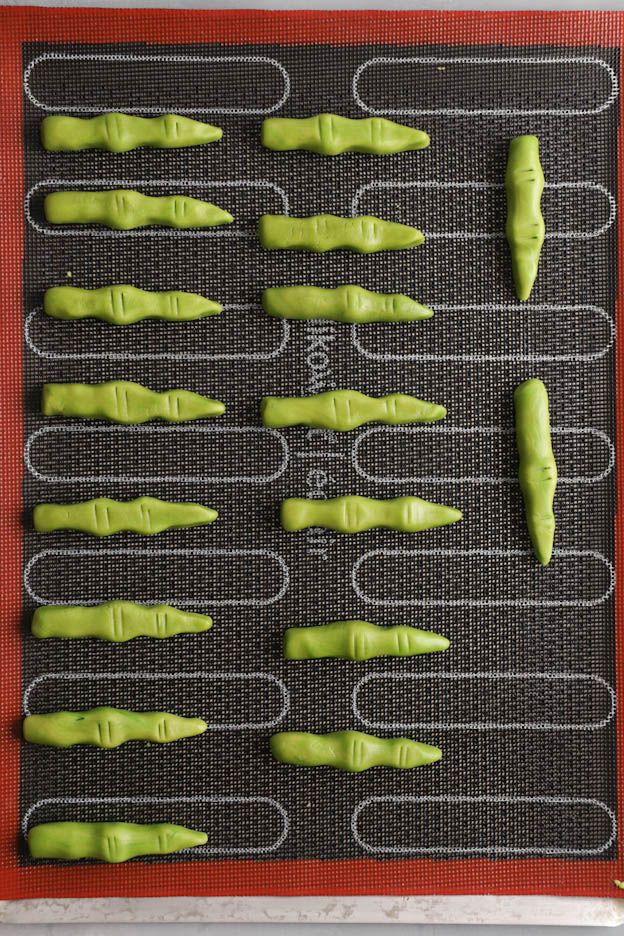
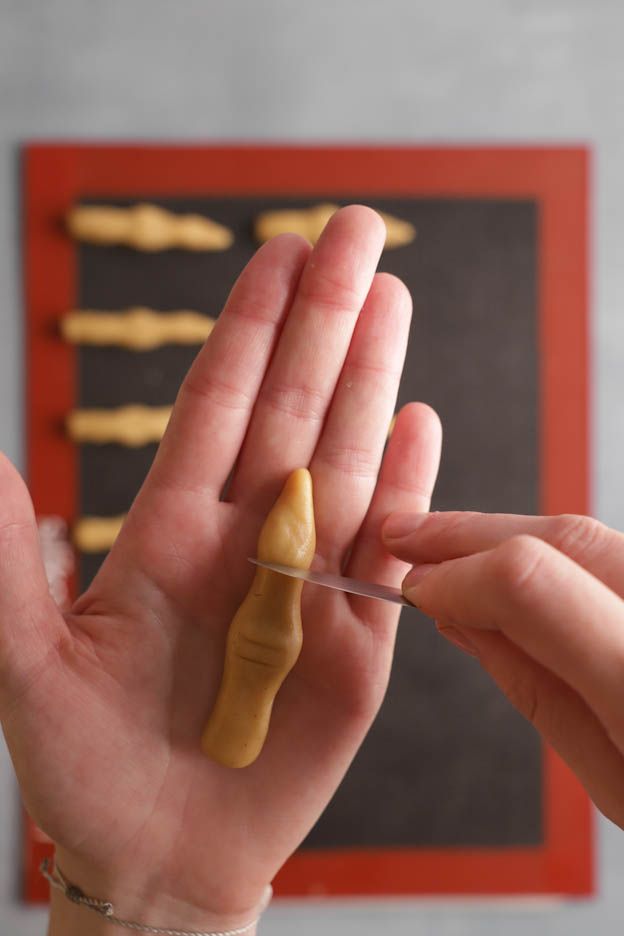
Mark the creases with a knife. Place the fingers on a perforated tray lined with a Silicone mat and put them in the freezer for 30 minutes, so they keep their shape while baking. Preheat the oven to 135 °C fan.
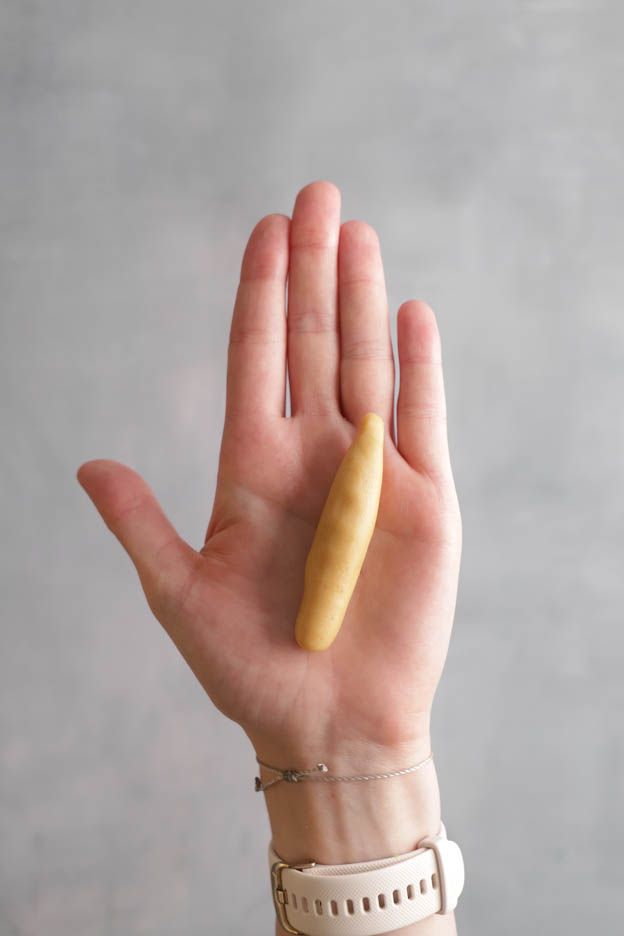
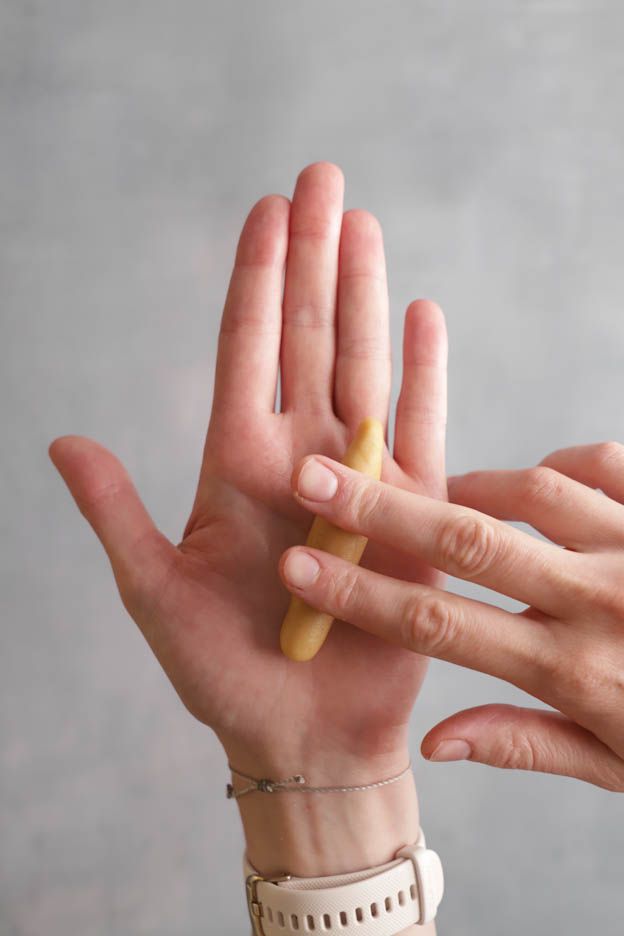
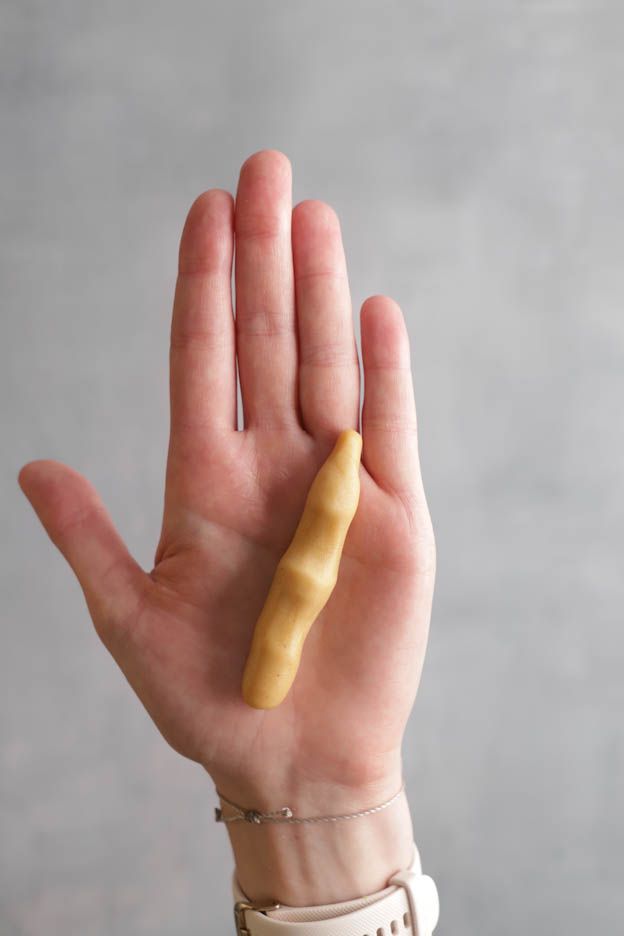
The same with the green dough
Do exactly the same with the green coloured dough: weigh out 12 g portions, shape into fingers, taper the nail and score the creases. Put the green fingers in the freezer for 30 minutes too, before they go into the oven.
Baking
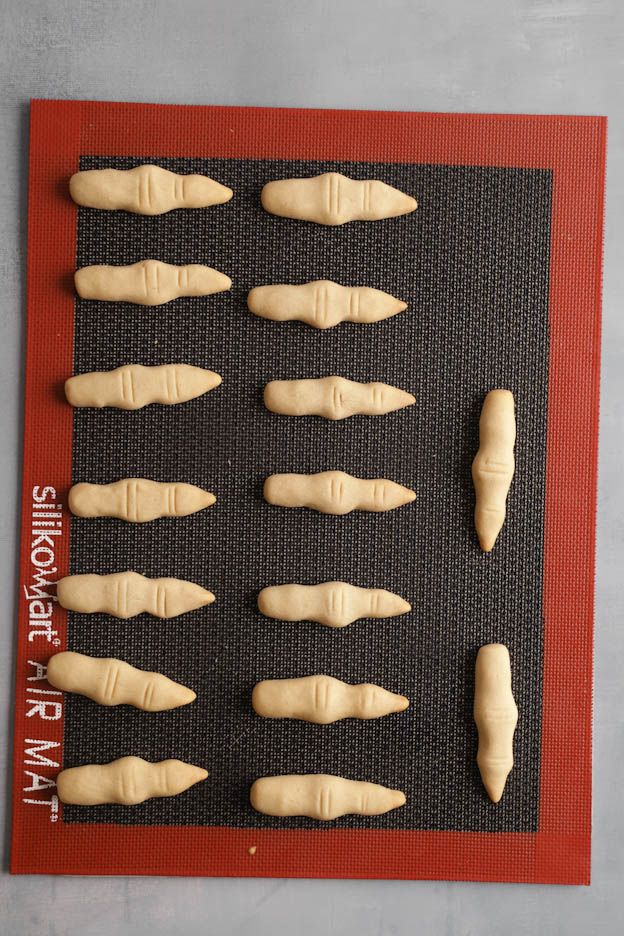
Bake the fingers for 20 minutes in the middle of the preheated oven at 135 °C fan and then let them cool to room temperature before you decorate them.
Decoration
Mix the Royal icing
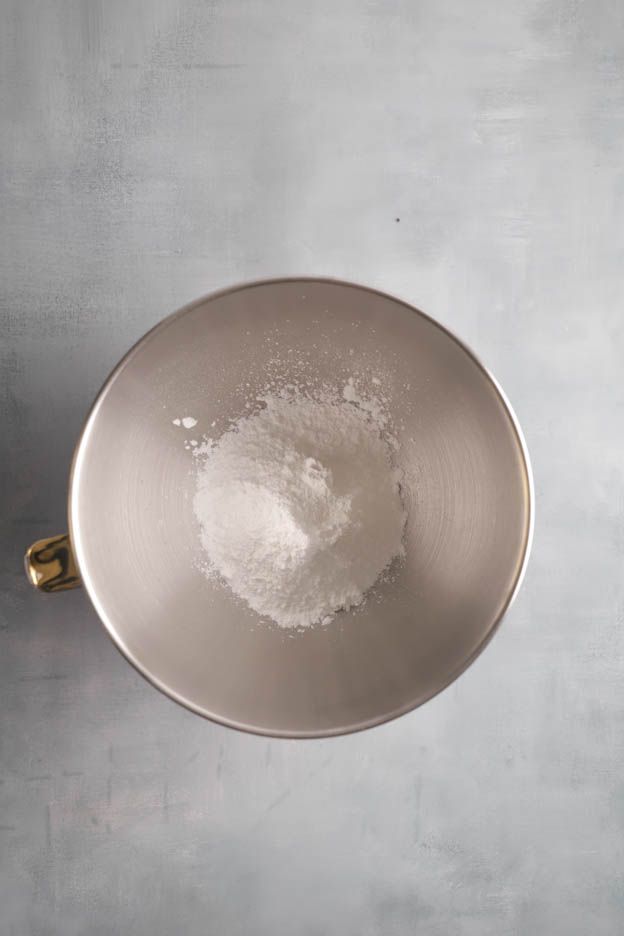
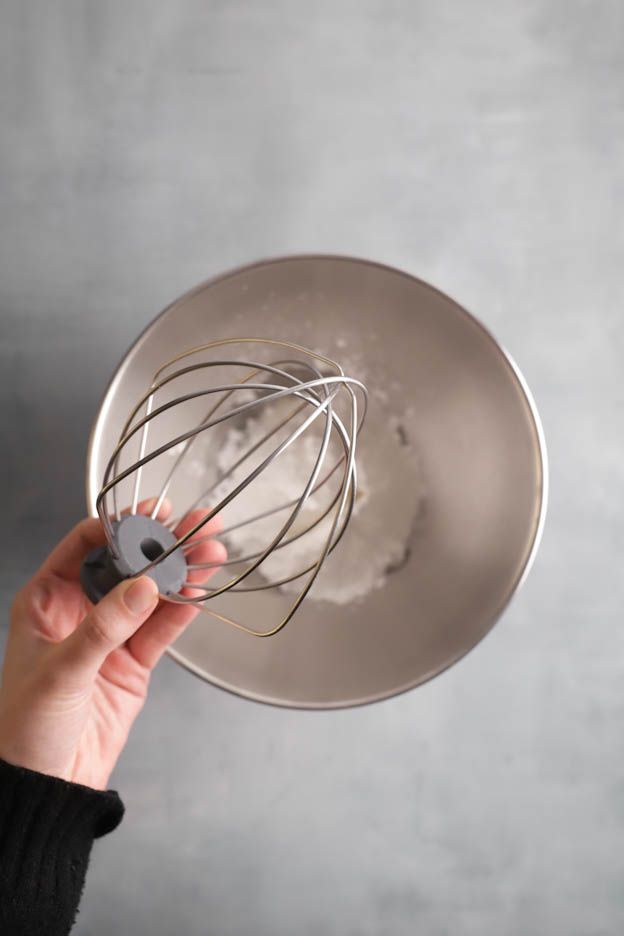
Mix 150 g egg-white icing powder with 19 g water on the lowest setting. No faster: we don't want a Meringue, but a firm egg-white icing, which is the base for the Royal icing.
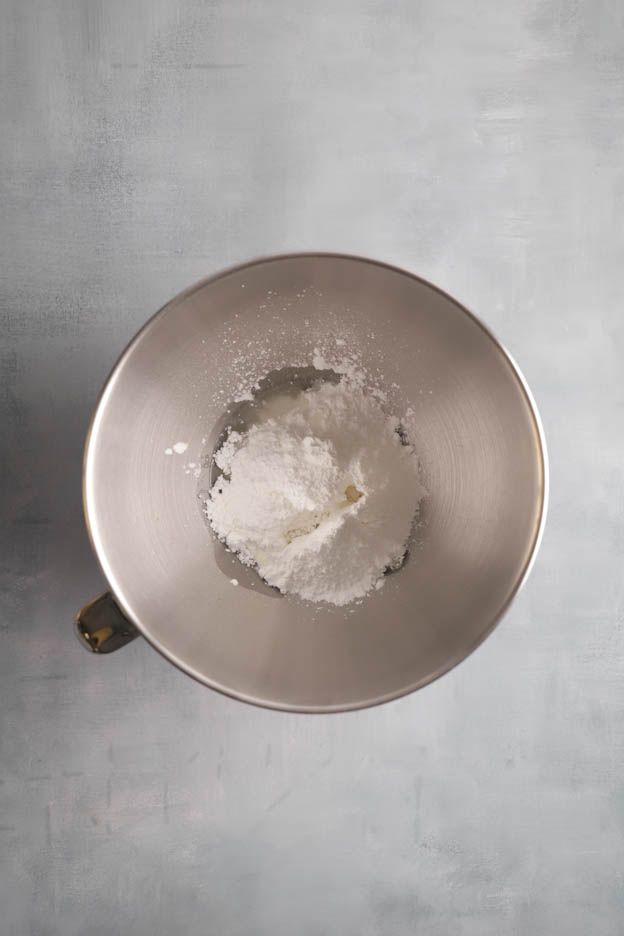
Egg-white icing 450g
Progel gel colors: Orange
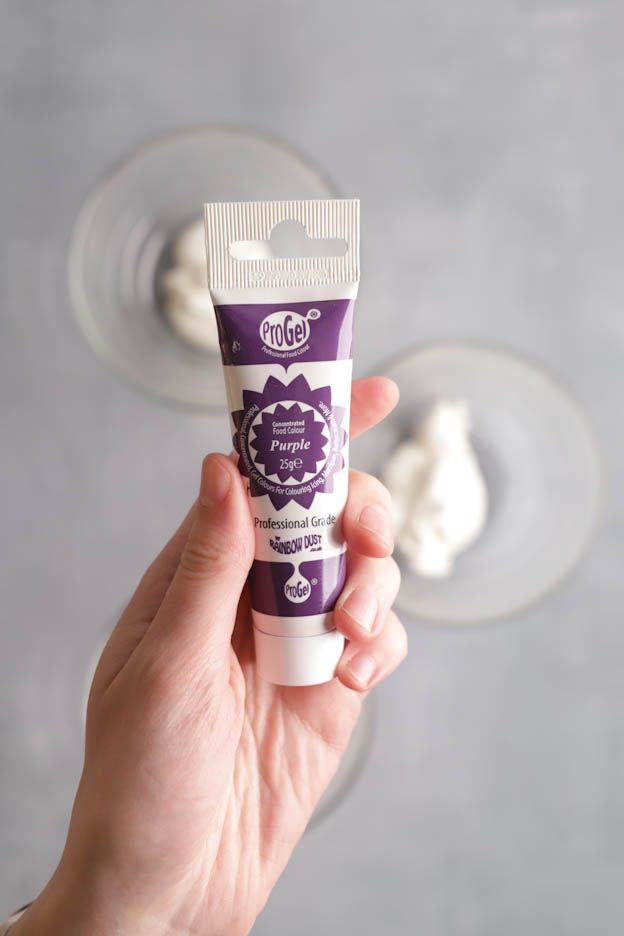
Progel gel colors: Violet
Progel gel colors: Black
Color it
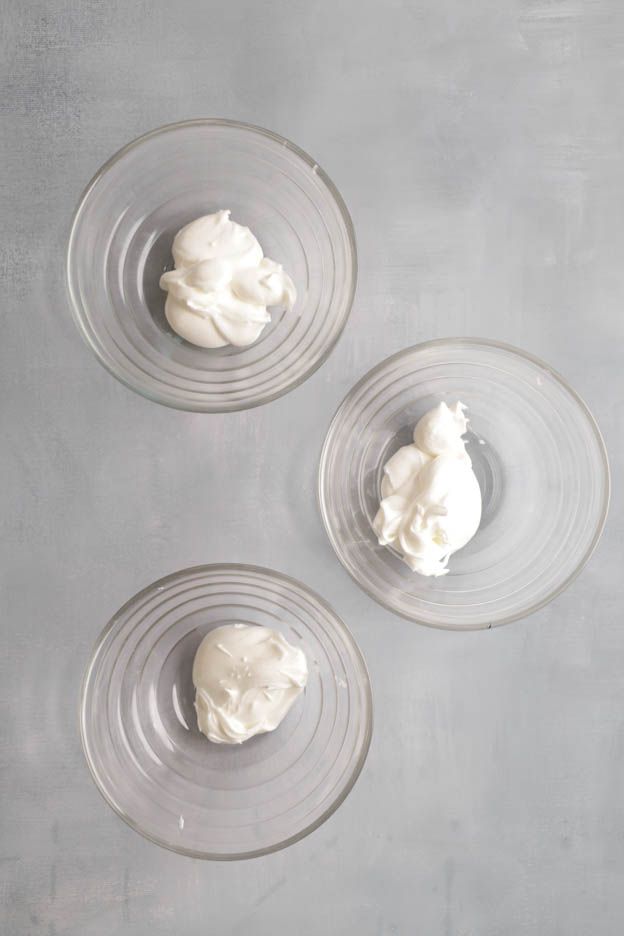
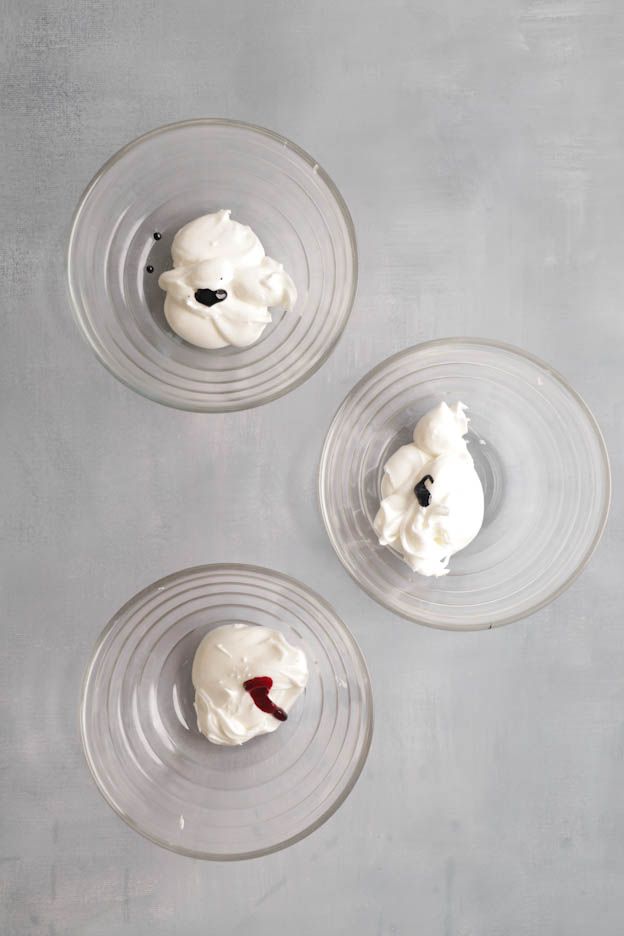
Divide the icing between three Bowls and color it violet, black and orange, the Halloween colors. Other colors work too, of course.
Thin to flooding consistency
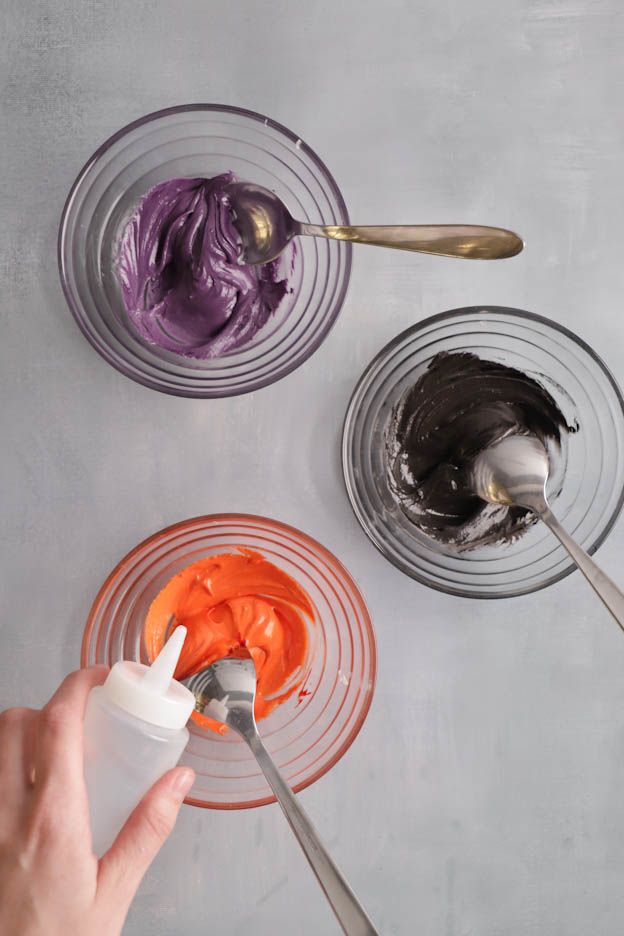
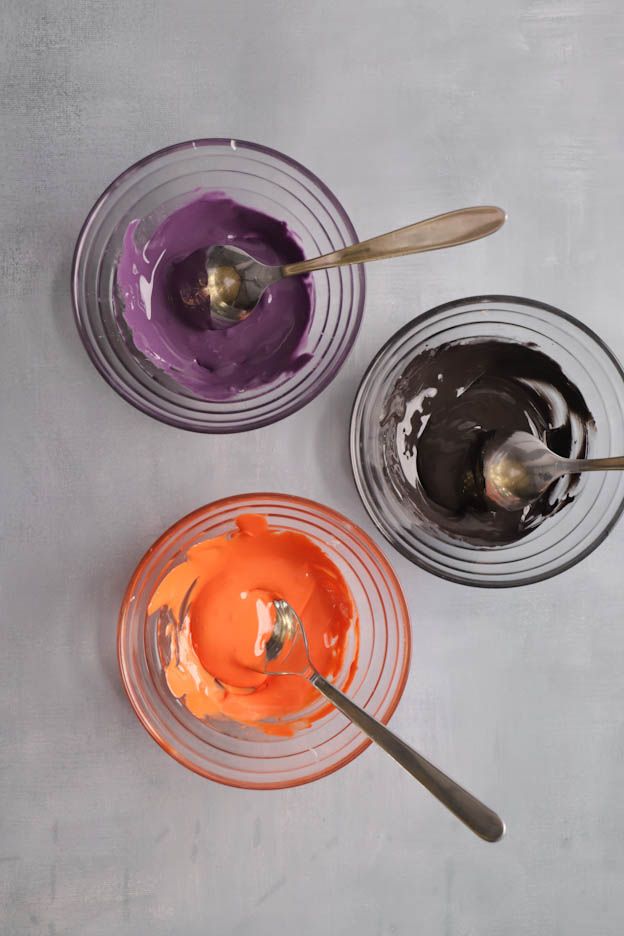
Add water drop by drop, ideally with an icing bottle. The icing should flow in a thread: glossy, running off evenly, but not watery. It leaves a trace when it drips onto the bottom of the Bowl. How much water you need depends on the color, the warmth and the humidity.
Prepare the Piping bag
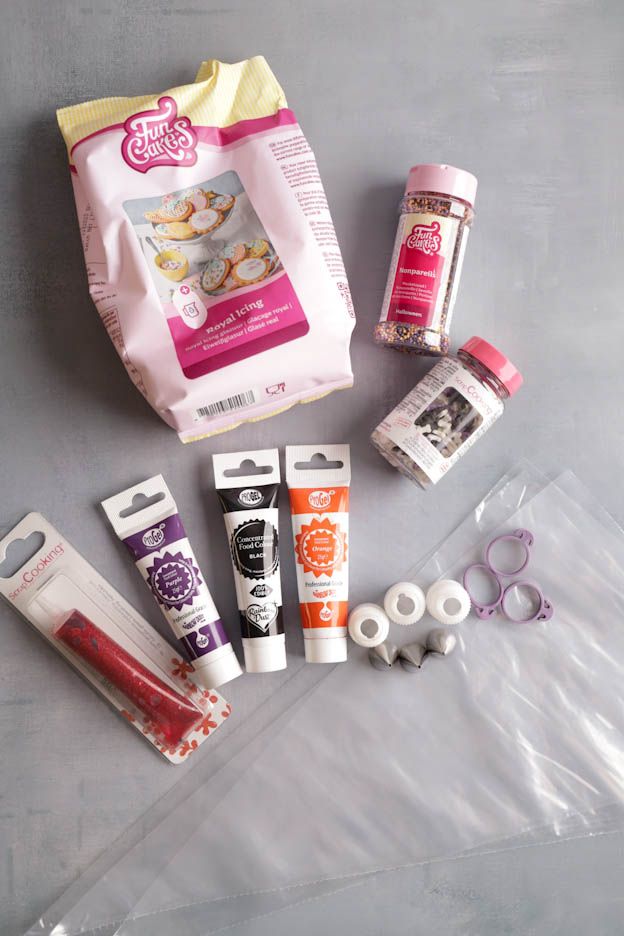
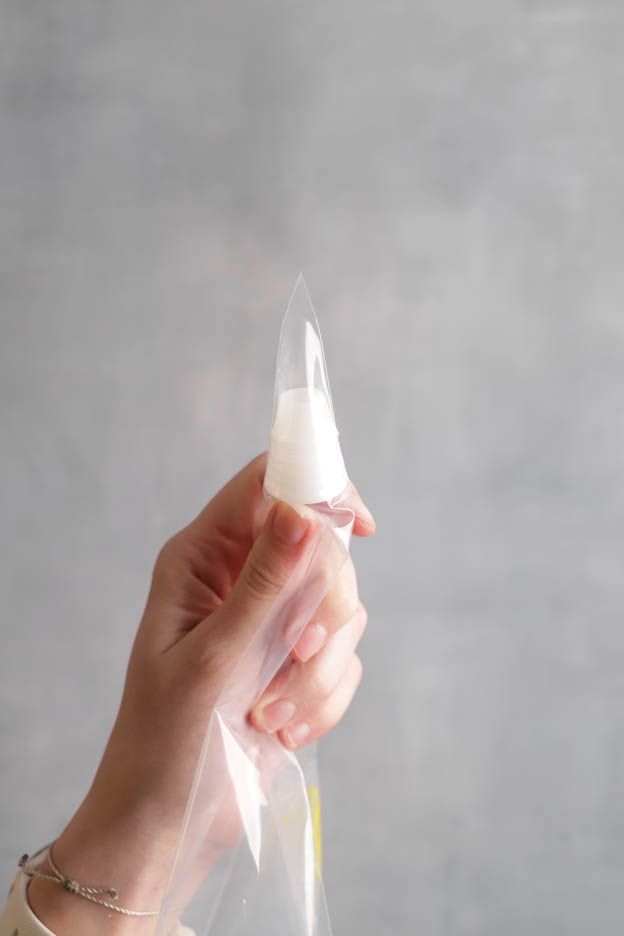
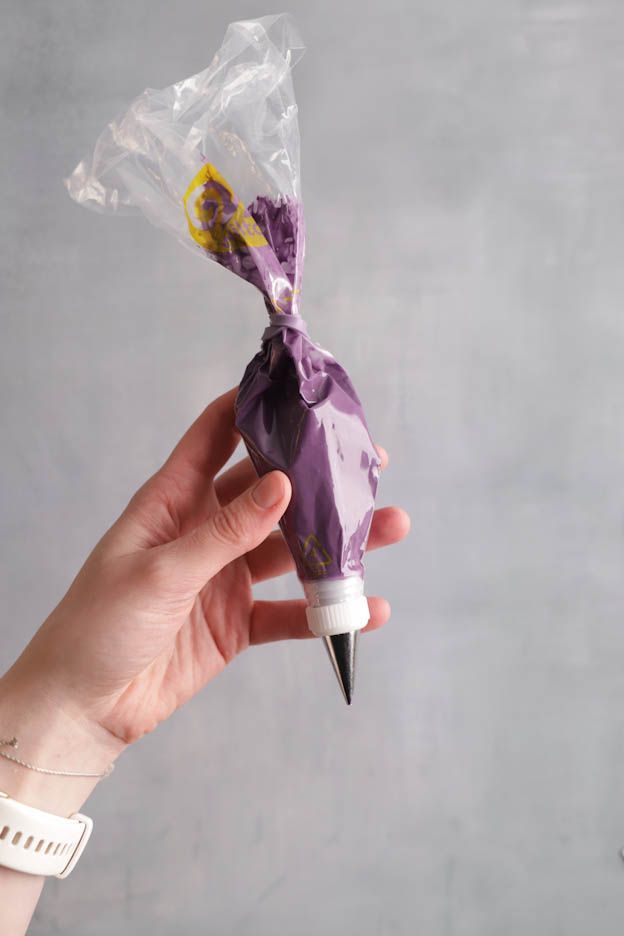
Insert the adapter into the Piping bag, cut off the tip and screw on a 1.5 mm Round piping nozzle. Fill one bag per color and close it with a rubber band. The 1.5 mm Round piping nozzle is the easiest for these decorations; at 1 mm the icing dries out inside too quickly.
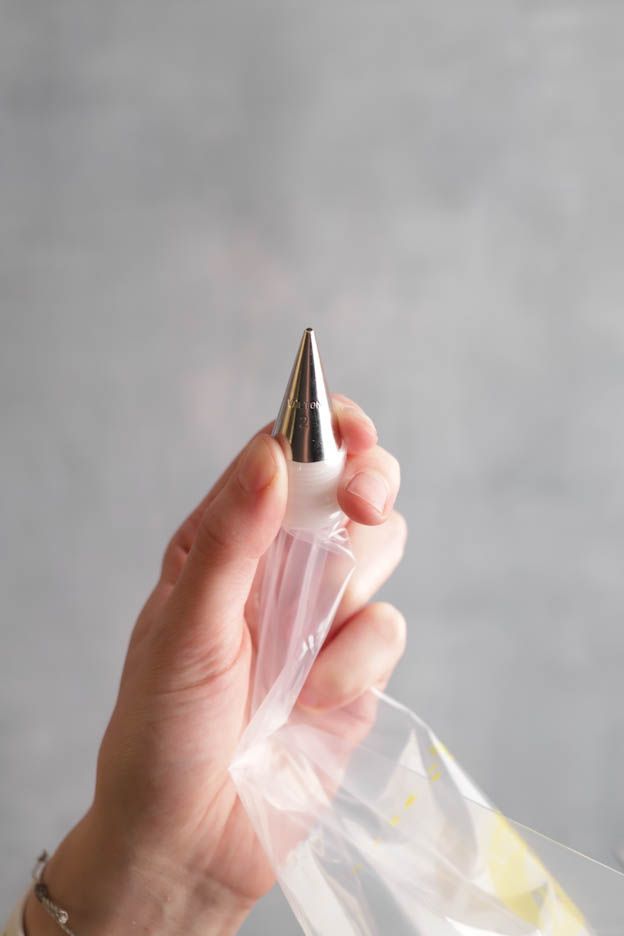

Piping bag - 100 pcs
Adapter for Piping nozzles
Round piping nozzles for Royal icing - opening: 1.5 mm
Rubber band for Piping bag
Decorate
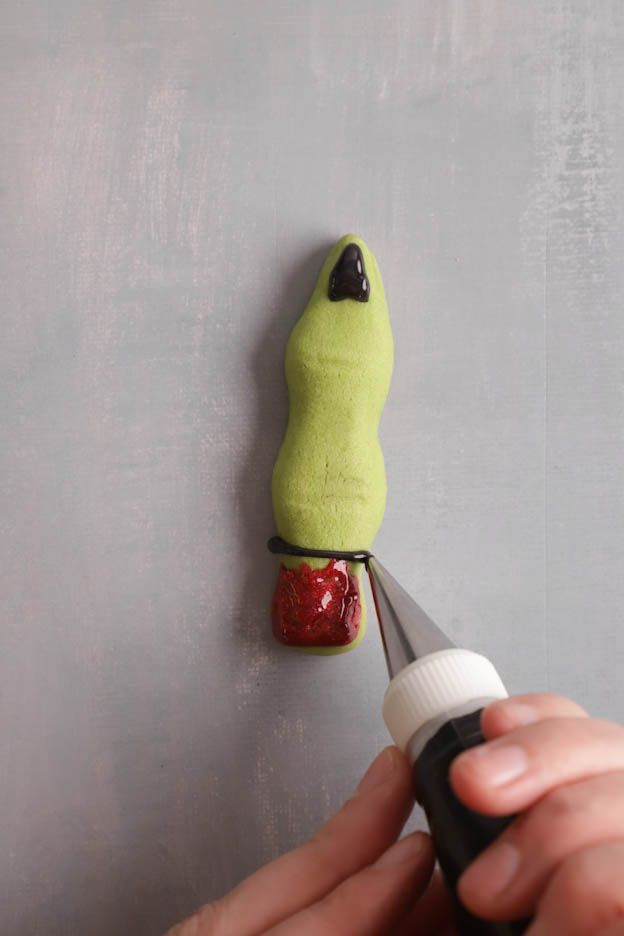
Draw nails, rings and details onto the cooled fingers. Cover the nozzle tips with a damp cloth in between so the icing doesn't dry out, so you don't have to keep poking them clear with a toothpick.
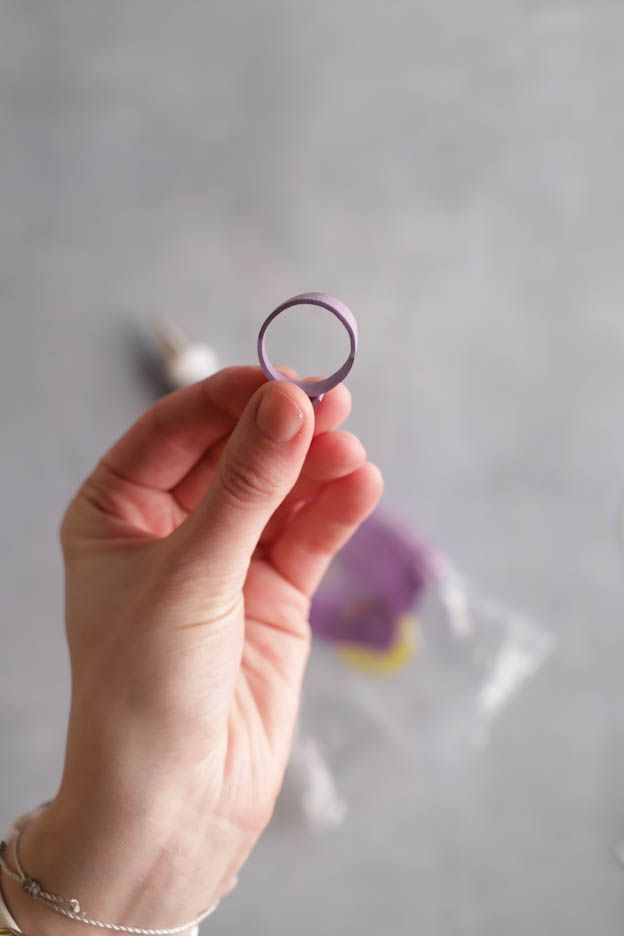
Blood and Sprinkle decor
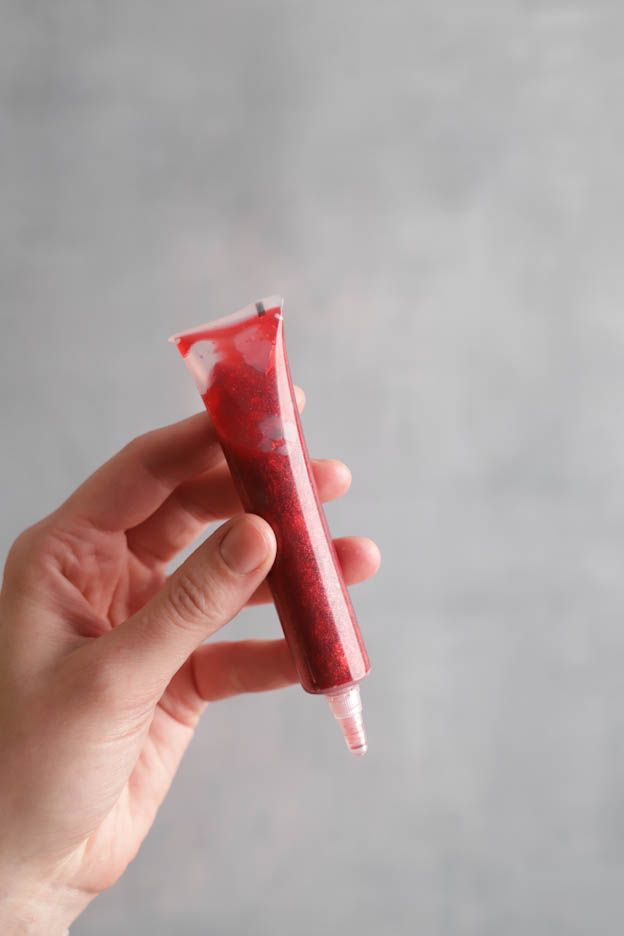
For the bloody effect, add red iridescent icing, then Sprinkle decor «Halloween» and nonpareils. Purple nails with Glitter, orange nails with sugar decorations, a ring of sugar bones: here you may go over the top.
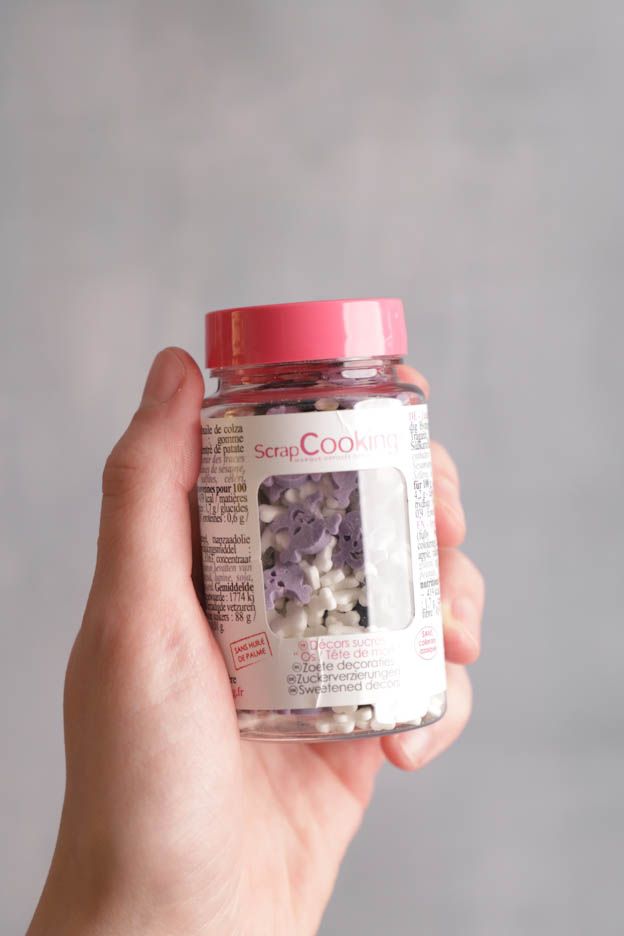

Sugar pen Glitter red
Nonpareilles - "Halloween" - 80gr
Medley - "Halloween" - 50g
Sugar sprinkles Colourful Halloween, 65 g
Halloween fingers
Ingredients
Cookie dough
Decoration
Preparation
- Dough: Cream the butter and icing sugar, briefly work in 30 g egg, liquid aroma and salt.
- Flour: Stir in 225 g flour only as briefly as needed, shape into a ball by hand.
- Coloring: Halve the dough and tint one half light green.
- Shaping: Roll 12 g portions into 8 cm long fingers, taper the nail, score the wrinkles.
- Chilling: Both doughs go into the freezer for 30 minutes, so the shape holds while baking.
- Baking: 20 min at 135 °C fan, let cool completely.
- Icing: Slowly mix 150 g egg-white icing powder with 19 g water, color it, thin to a thread consistency.
- Decorating: Pipe on the nails and details, finish with red icing and sprinkle decor.
Nutritional values per 100 g
Storage & shelf life
Everything for this recipe
Recommended from our bakery: exactly the sizes the recipe was tested with.
Ingredients
Egg white icing 450g
Speculoos Liquid aroma
Swiss White flour, 1 kg
Progel gel colours: Light green
Progel gel colours: Orange
Progel gel colours: Violet
Progel gel colours: Black
Sugar pen Glitter red
Nonpareils - "Halloween" - 80gr
Medley - "Halloween" - 50g
Sugar sprinkles Colourful Halloween, 65 g
Accessories
Piping bag - 100 pcs
Adapter for piping nozzles
Round piping nozzles for Royal icing - opening: 1.5 mm
Rubber band for piping bags
Icing bottles small opening Ø2.8mm - 500 ml
Silicone mat SILPAT 40x30cm
Perforated aluminium tray 40 x 30cm
Delivery in 1–2 working days · Free shipping from CHF 100
So are they guaranteed to succeed
The longer the dough is worked after the flour goes in, the more the fingers rise in the oven and lose their shape.
The 30 minutes in the freezer are the real trick: without them the finger joints spread while baking.
A damp cloth over the nozzle tip keeps the icing workable for hours.
Frequently asked questions
No. Our supplier has discontinued it, and shaped by hand the fingers turn out even more irregular, which only helps with witch fingers. If you still have the mould at home, you can of course use it.
A whole egg makes the dough too wet: the cookies rise while baking and the finger joints disappear. Crack an egg, whisk it and weigh out 30 g.
It should flow from the spoon in a thread and leave a trace for a moment when it drips. Too stiff and it cannot be piped, too runny and it runs off the finger. How much water is needed depends on colour, warmth and humidity, so add it drop by drop.
Print recipe
Choose what should appear on the printout.
Related posts
 Juicy Matcha Muffins with Pecan Nuts & White Chocolate
Matcha Iced Latte & Coconut Variant
Pull-apart bread with fresh wild garlic pesto
Mini Banana Bread with Chocolate Chips
Juicy Matcha Muffins with Pecan Nuts & White Chocolate
Matcha Iced Latte & Coconut Variant
Pull-apart bread with fresh wild garlic pesto
Mini Banana Bread with Chocolate Chips
Leave a comment