
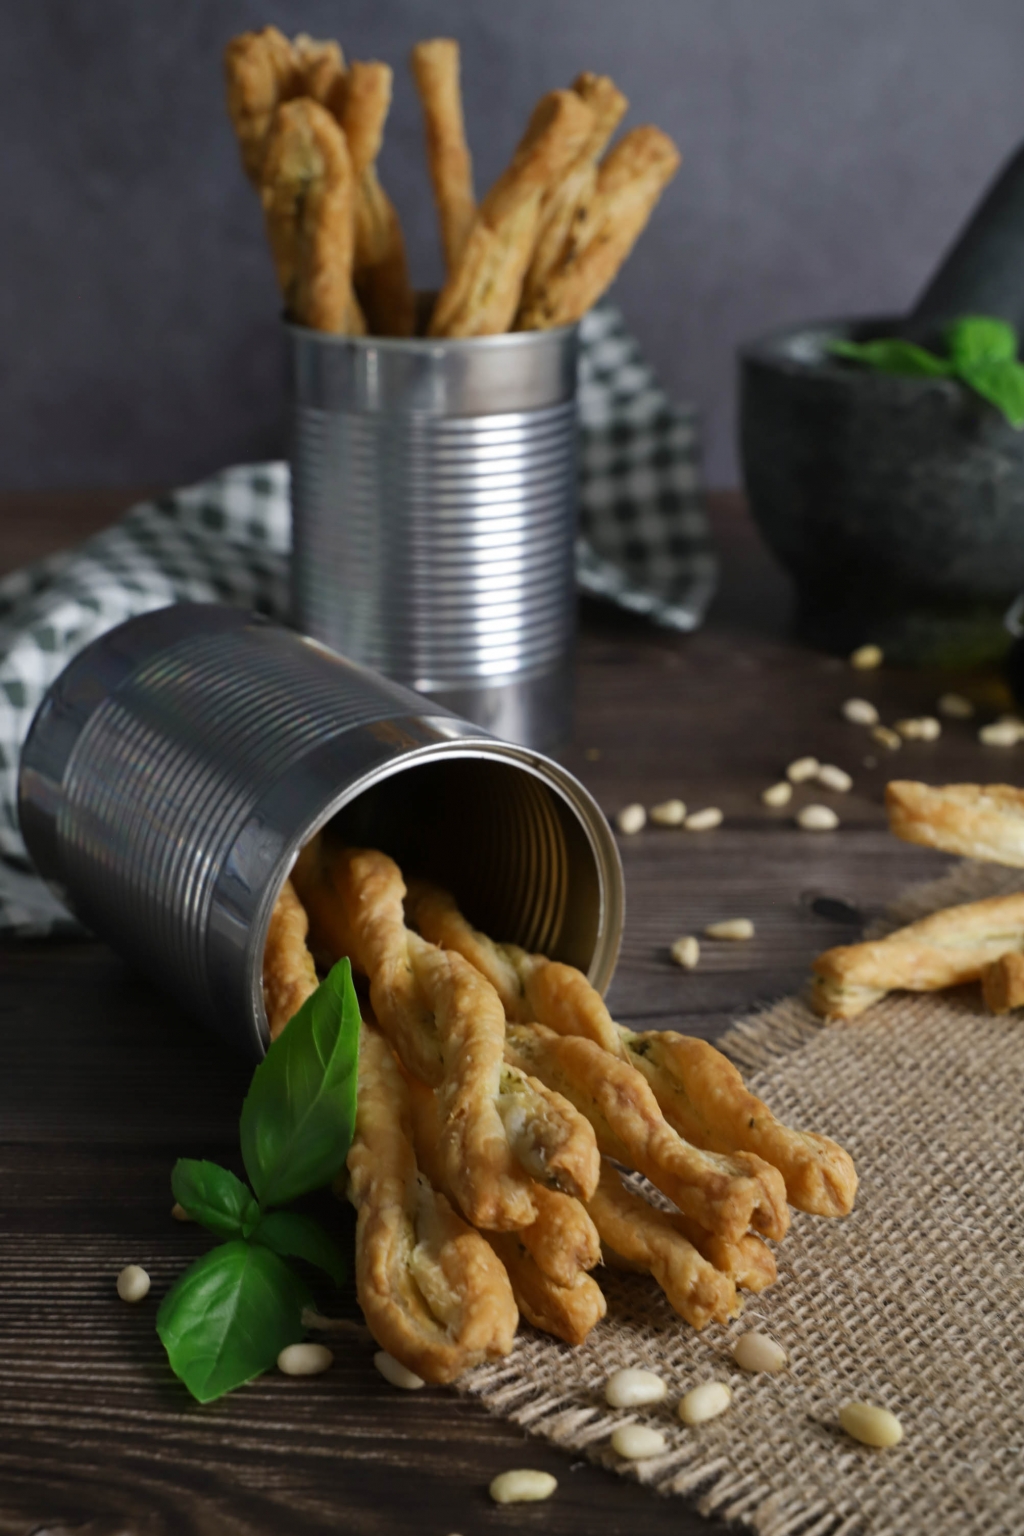
Pesto flutes
Hey foodies!
Today, I'm sharing a very simple recipe that requires very little equipment. You only need to buy two ingredients. :o)
I don't know about you, but personally when it's hot, I don't like spending hours in the kitchen.
I still wanted to make a little appetizer for my guests... When you're passionate, it's hard not to turn on your oven ;0)
So here are my pesto flutes. :o)

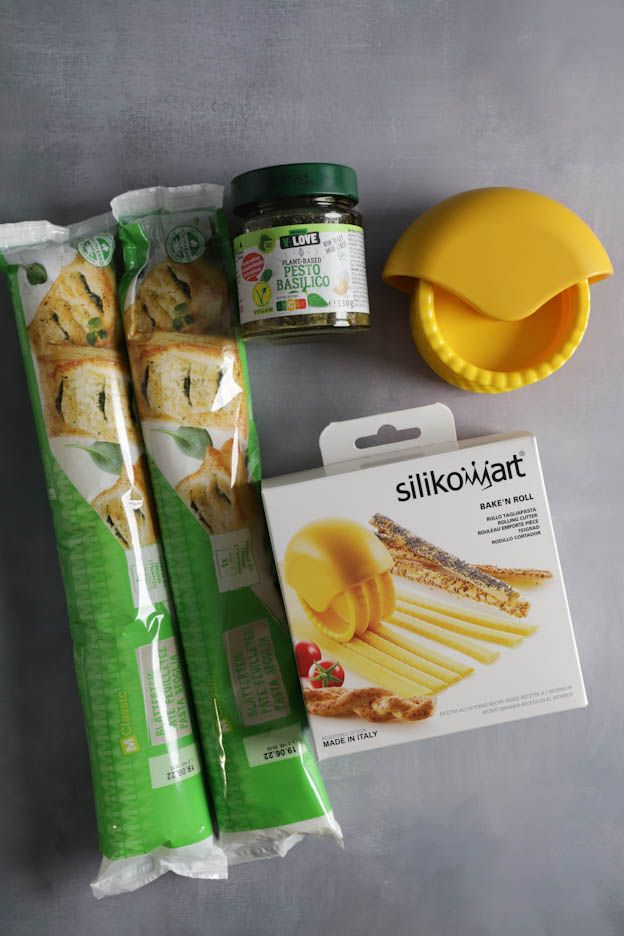
For about 50 pieces, you will need:
- 2 rectangular puff pastry sheets of 42 X 26 cm*
- 100gr of pesto*
- "Back'n roll" rolling cutter
*I used vegan pesto and vegan puff pastry (from Migros) for this recipe. But feel free to use the products of your choice.
Instructions
Start by unwrapping the puff pastry.
Dust it with a little "magic rolling powder" and flip it onto another piece of baking paper. (the baking paper provided with the puff pastry is always too small).
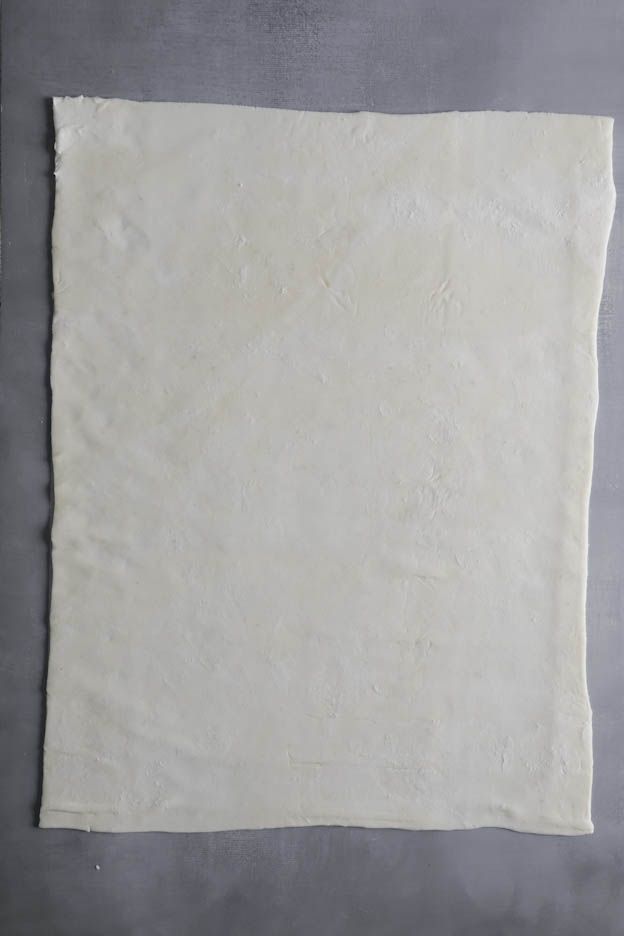
Since my flutes are made of two layers of puff pastry with pesto in the middle, I recommend rolling the pastry out slightly so it's thinner.
I rolled it out with a rolling pin so it measured about 45 x 30 cm.
Slide your puff pastry onto a perforated baking tray and place it in the fridge while you prepare the rest.
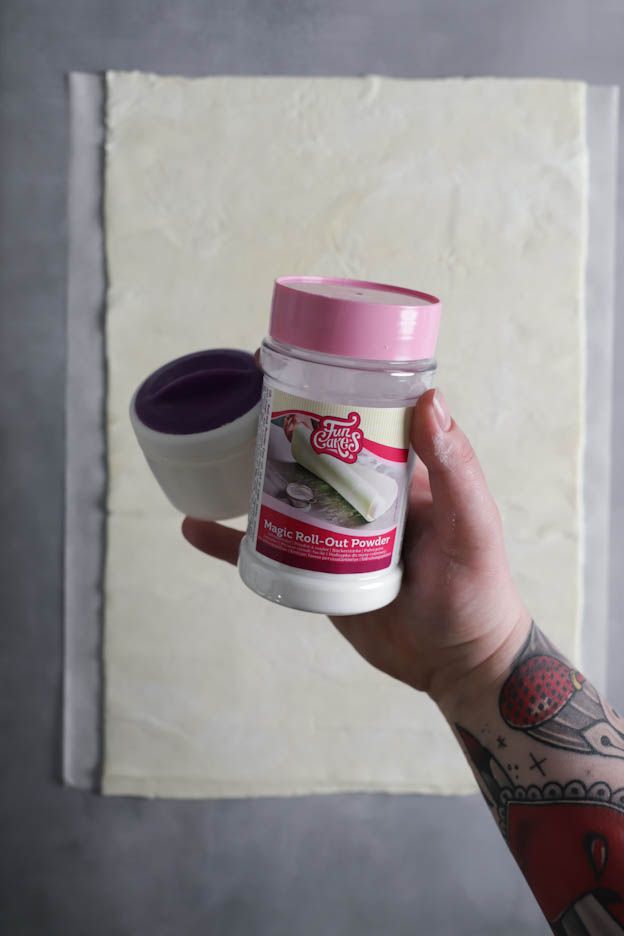
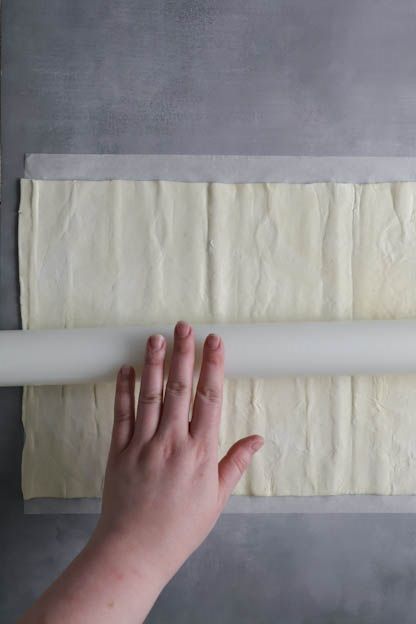
Roll out a second puff pastry sheet as well. It should be the same size as the previous one, i.e. 45 x 30 cm.
Don't forget to dust it with a little "magic rolling powder" and place it on a sheet of baking paper.
Once the puff pastry is rolled out, spread 100gr of pesto using an offset spatula.
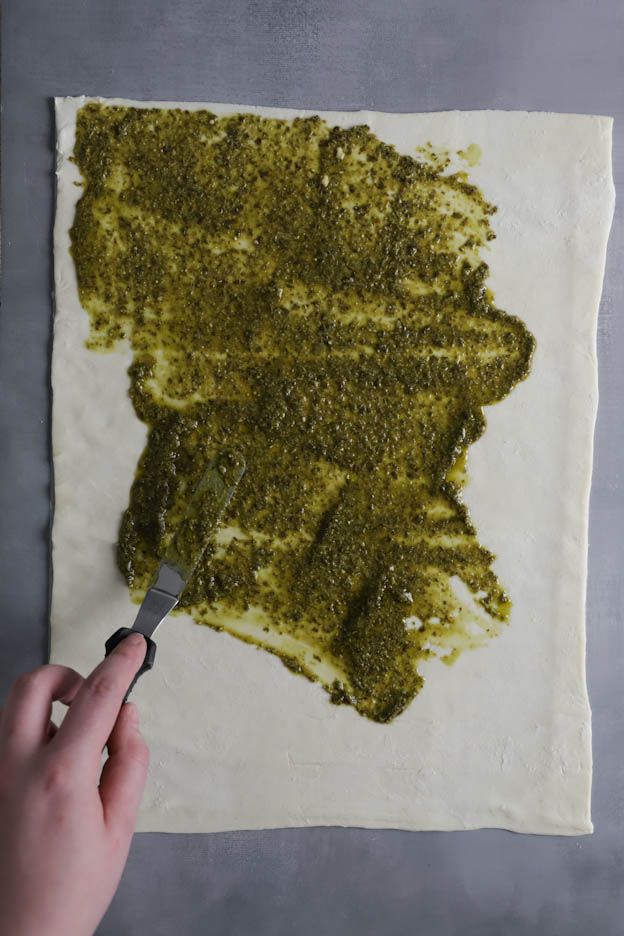
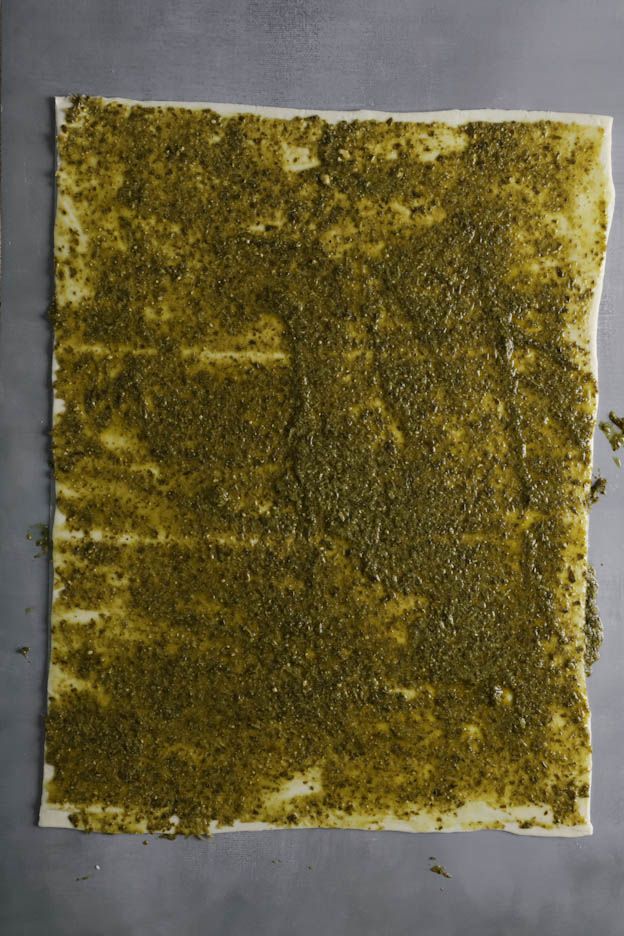
Then take the puff pastry out of the fridge and roll it around a large rolling pin.
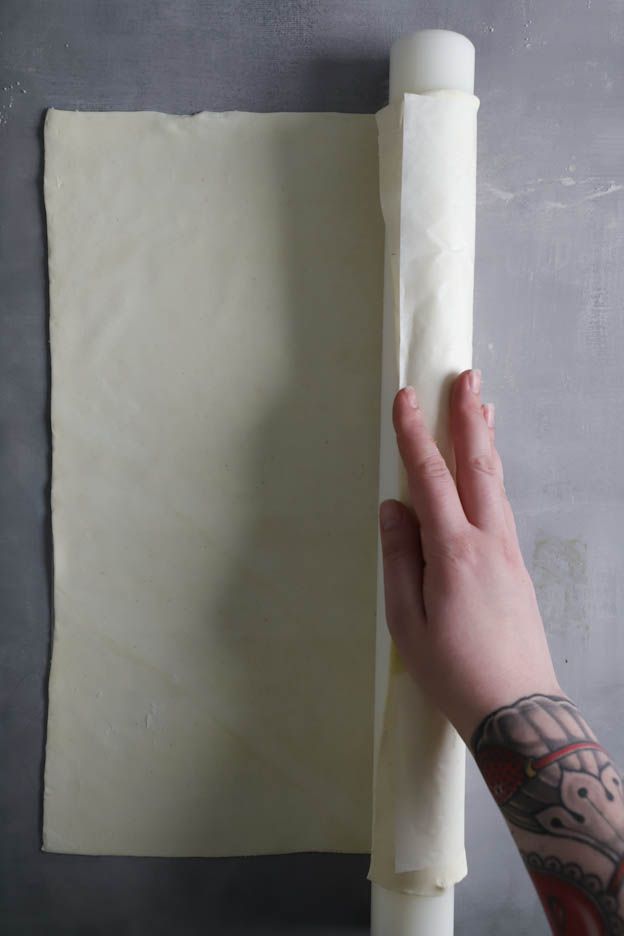
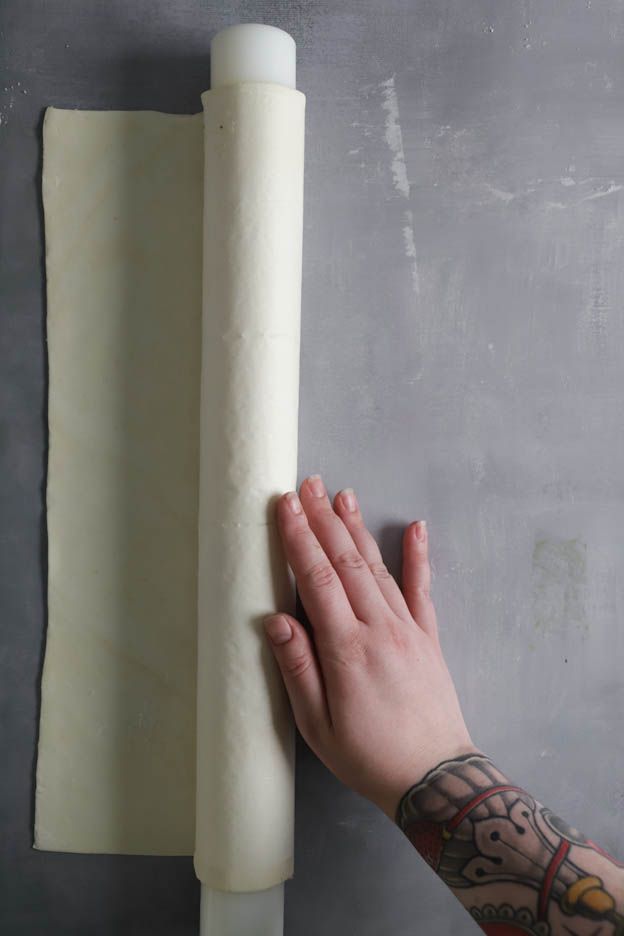
Then unroll the puff pastry over the pesto-covered pastry. This method allows you to position it perfectly on the first puff pastry sheet. :o)
Place everything on a perforated baking tray, then in the freezer for 10 to 15 minutes. Placing the puff pastry in the freezer will make it easier to cut the flutes afterwards.
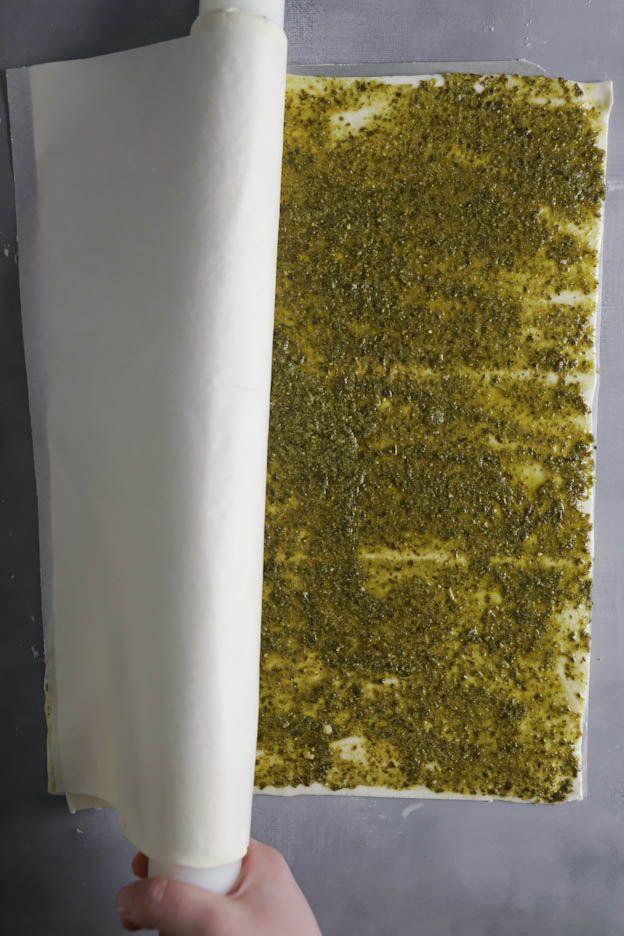
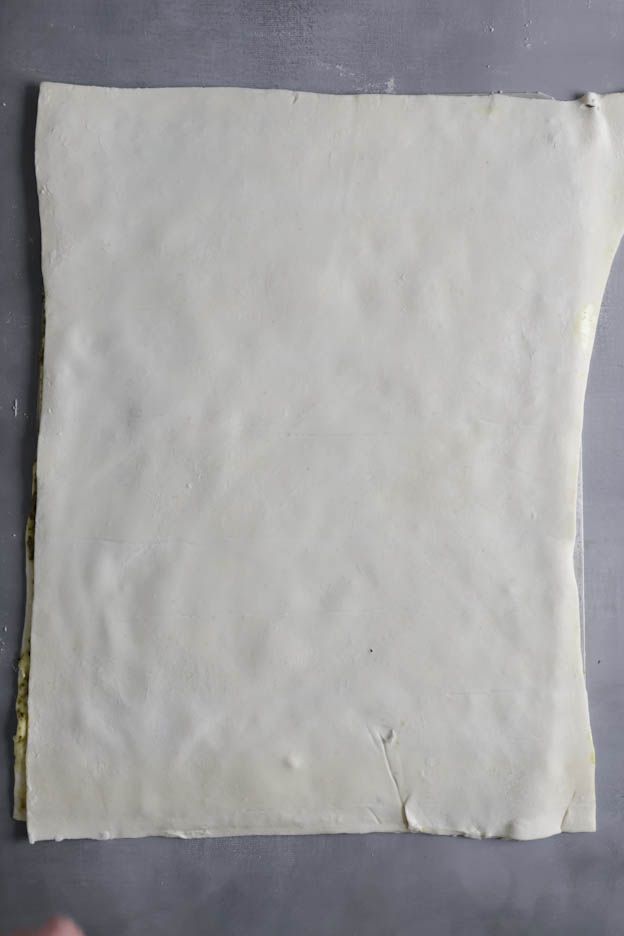
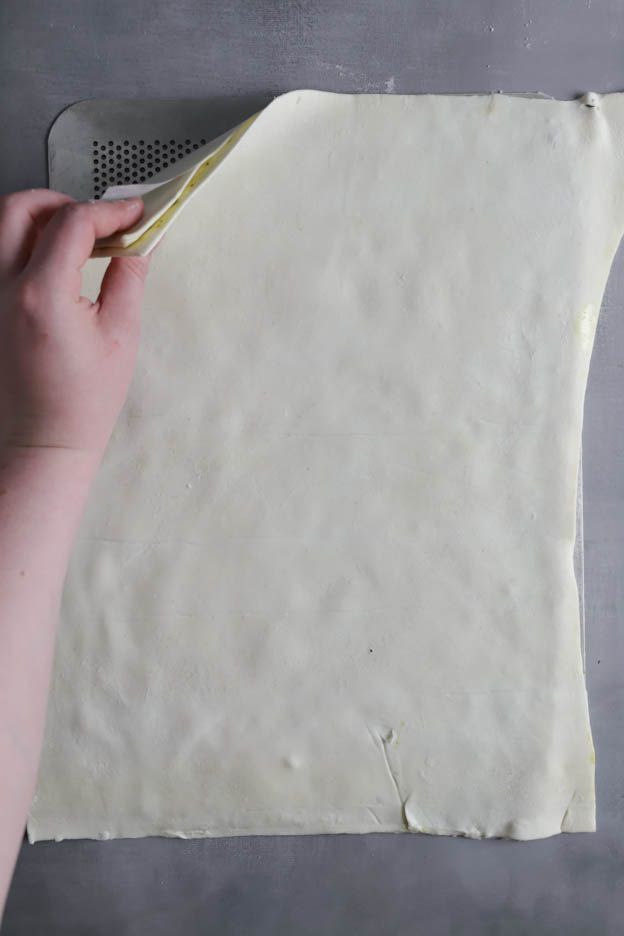
Once the 15 minutes are up, remove the tray from the freezer and preheat your oven to 180°C, fan-assisted.
To make these flutes, I used the "Back'n roll" roller from Silikomart.
With this roller, you can make beautiful flutes as well as grissini or homemade tagliatelle.
Roll the "Back'n roll" roller over the puff pastry applying firm pressure to cut even strips.
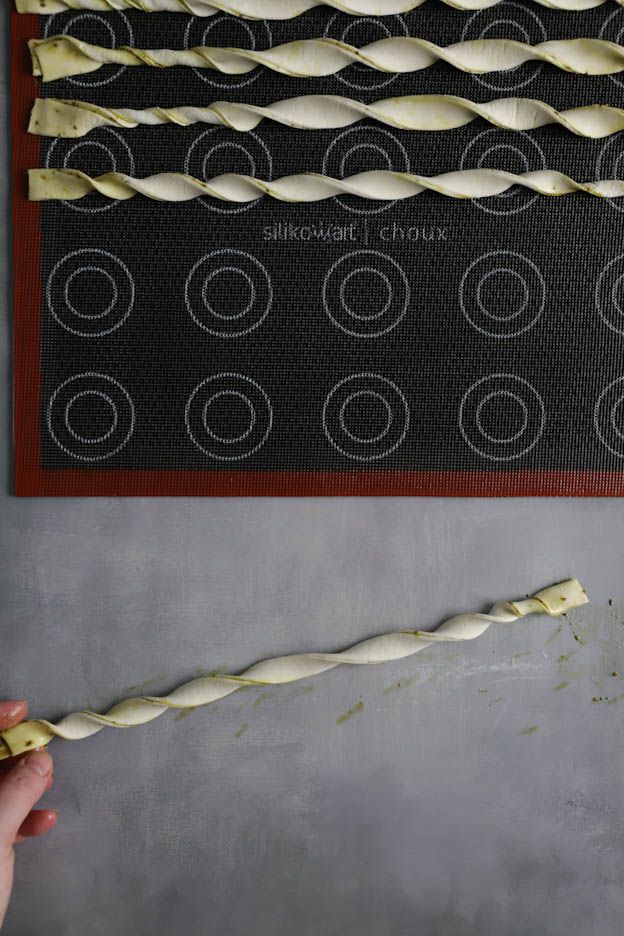
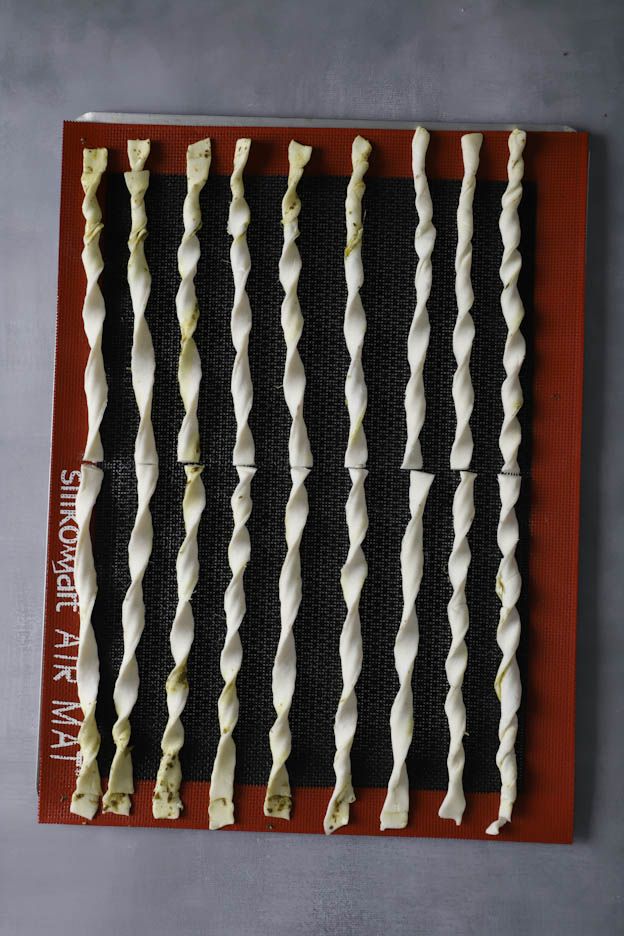
Then twist the flute by rolling both ends with your hands. One end rolls from bottom to top and the other from top to bottom. This will create a nice spiral.
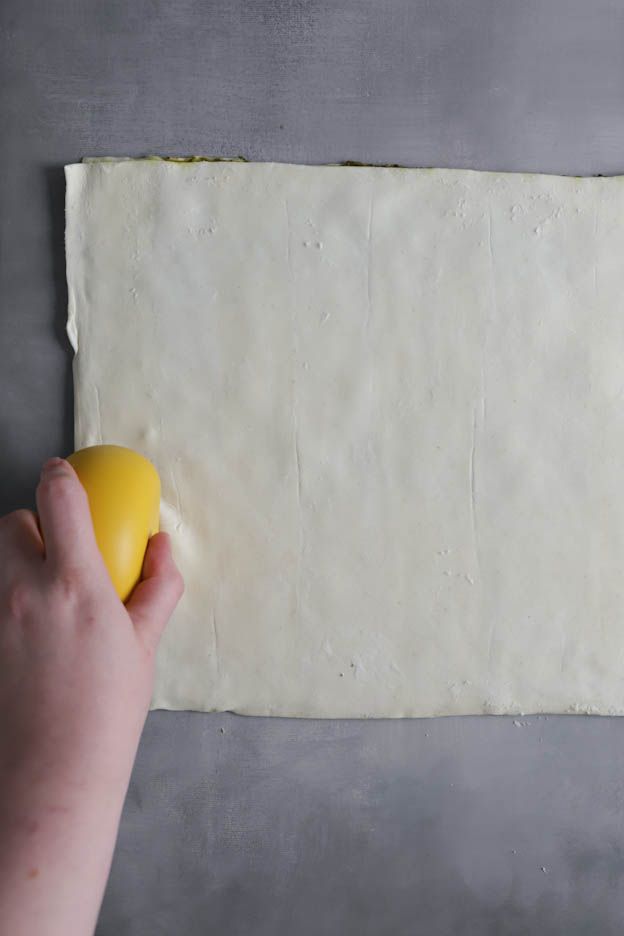
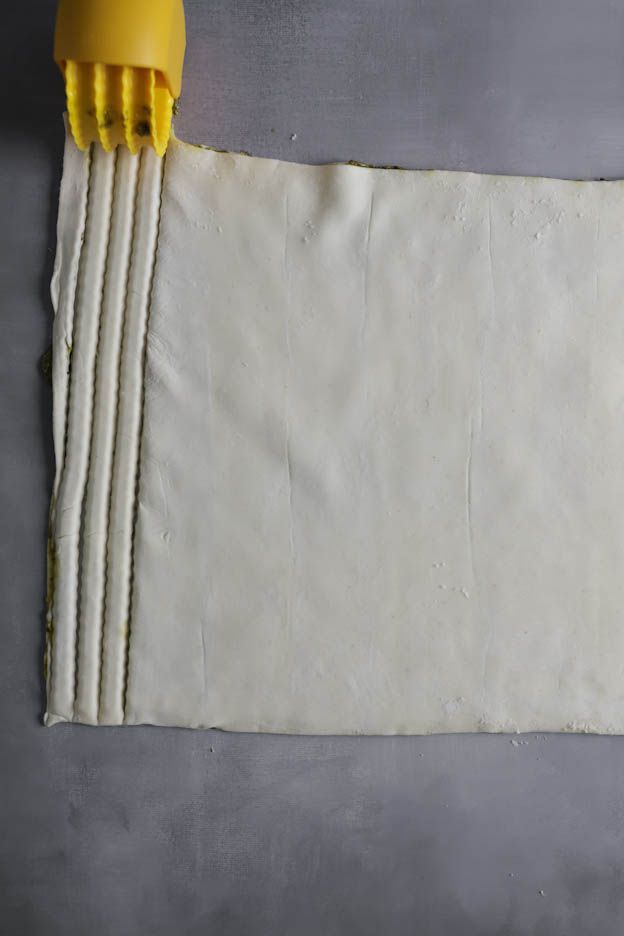
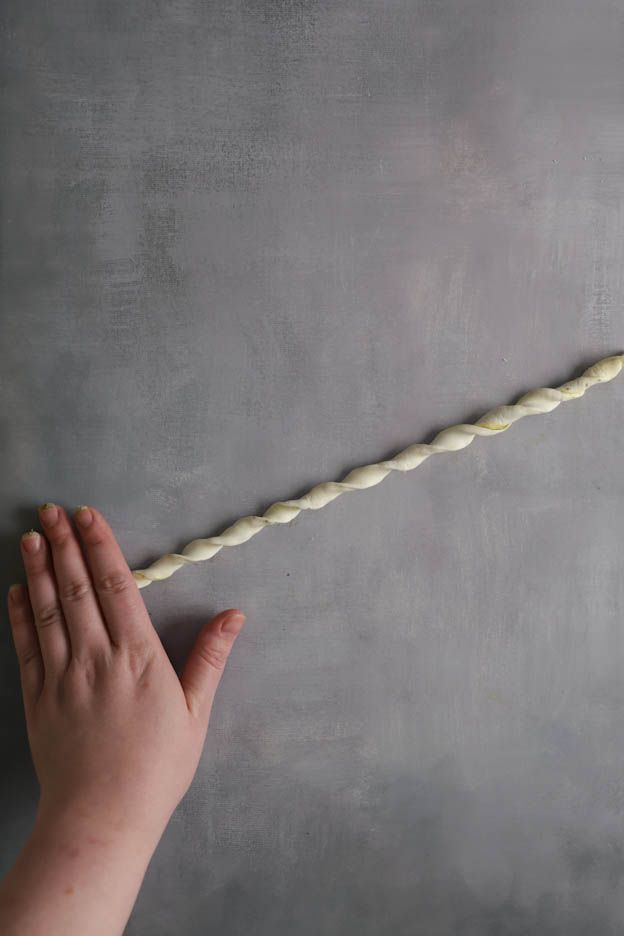
Place the twisted flute on a perforated baking tray lined with a perforated mat.
Repeat the process until all the dough is used up.
Here I was able to fill three trays.
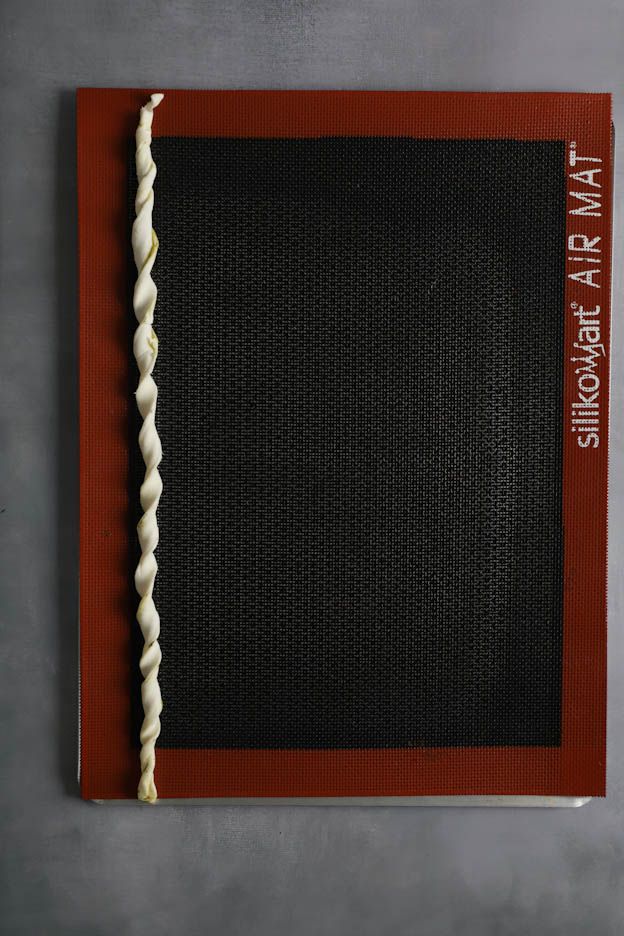
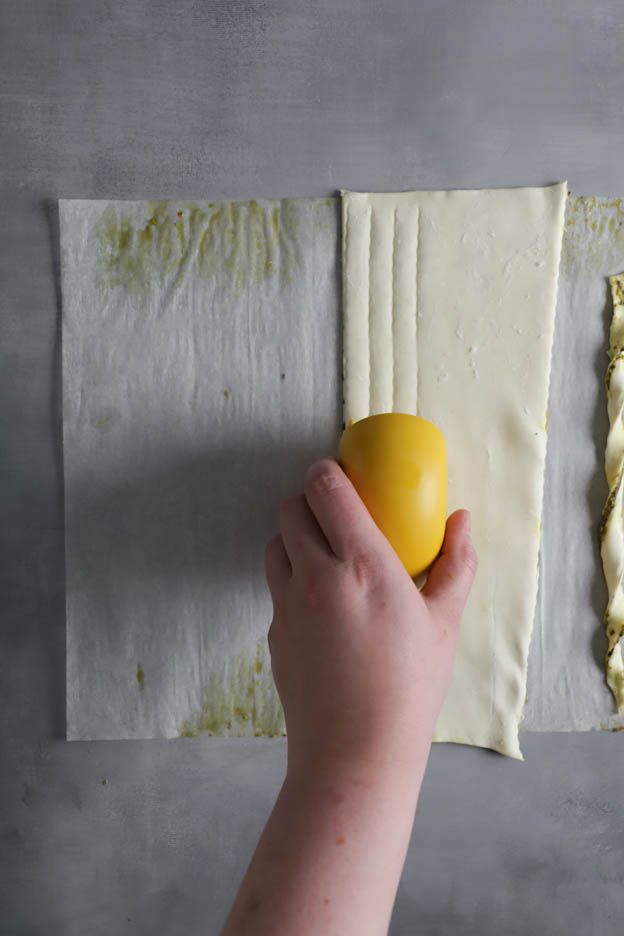
The "Back'n roll" roller is great if you make flutes from time to time. If, on the other hand, you are a professional and make a lot of flutes or other pastries, I recommend the divider roller.
It is admittedly more expensive, but it will allow you to make more flutes in less time. In bakeries it is a very popular tool.
The divider roller has 5 blades on each side. One side cuts straight and the other side is slightly wavy.
The distance between the blades can be adjusted quickly and easily. A distance of 1 to 12 cm is possible.
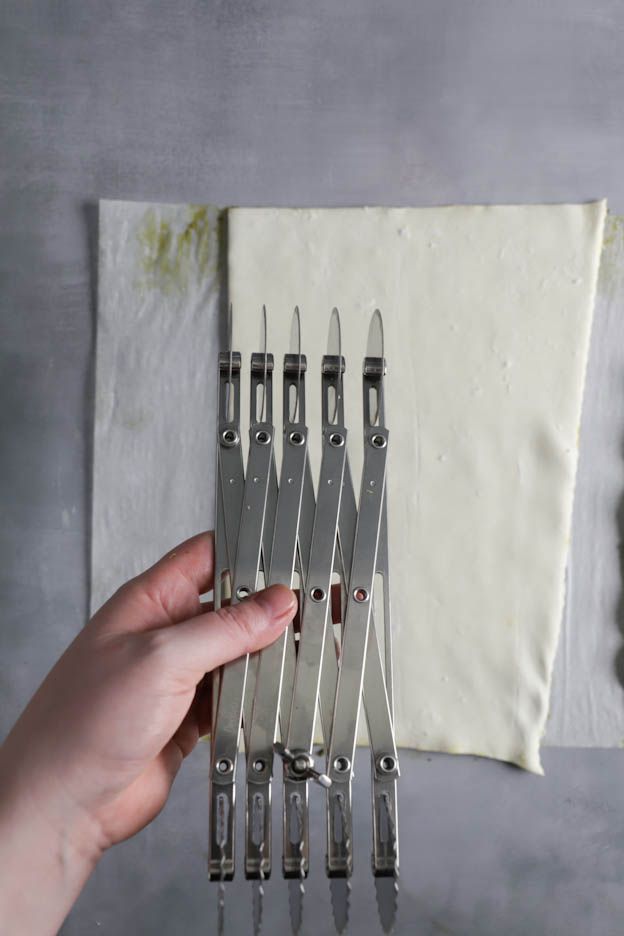
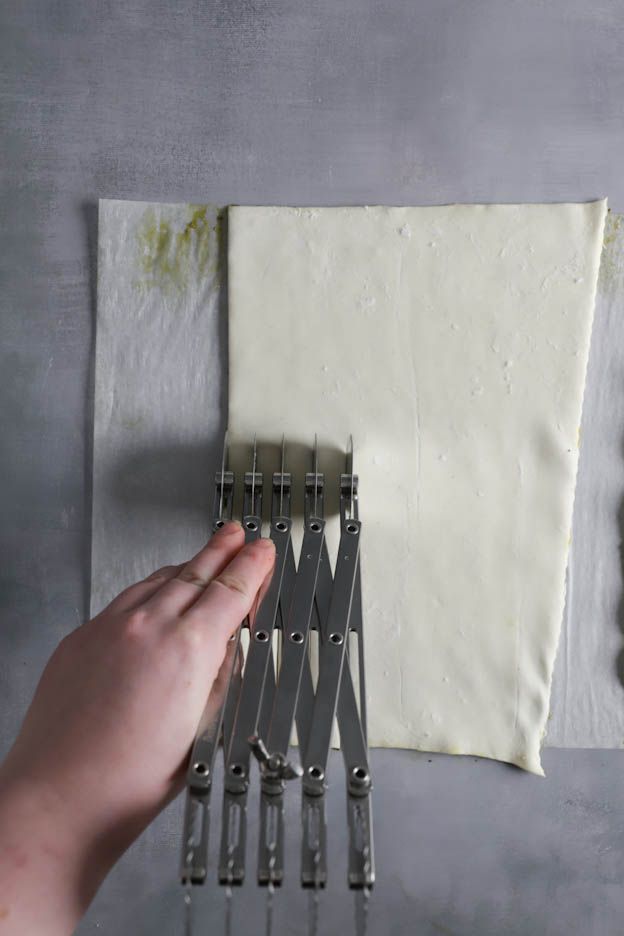
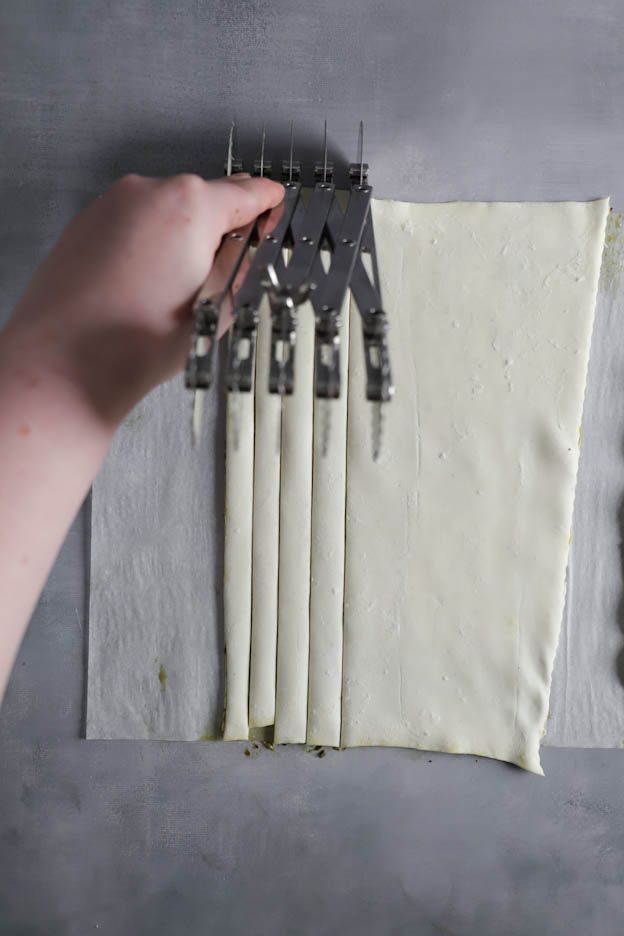
Once all your flutes are ready on the tray, cut them in half to get flutes of about 15-20 cm.
For an even result, we recommend baking each tray separately.
Allow 18 to 20 minutes per bake, in the oven preheated to 180°C. The flutes should be nicely golden.


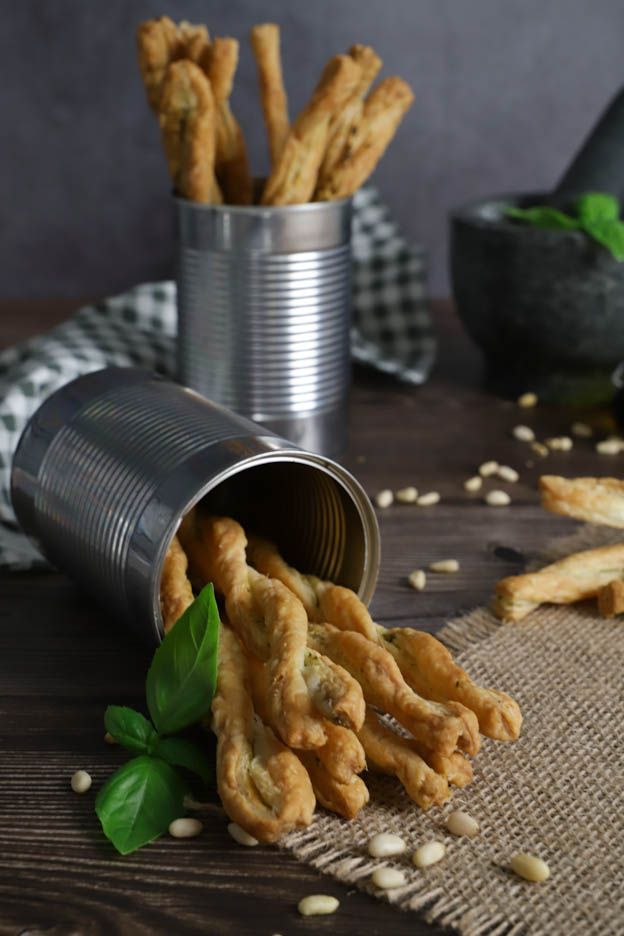
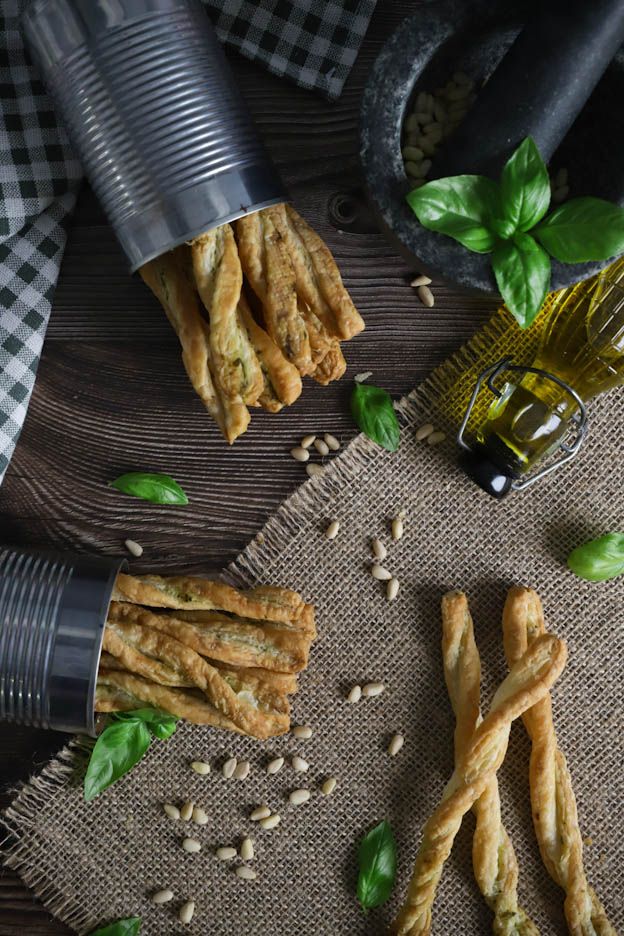
And here are some beautiful golden and crispy flutes for the aperitif. ;-)
Let them cool before enjoying.
To save time, you can prepare the flutes (unbaked) the day before and keep them in the fridge overnight. All you'll have to do is bake them on the day so they stay nice and crispy.
Once baked, they keep for 1 to 2 days in a metal tin.
You can also vary the flavours by following the same method but replacing the pesto with cheese, tapenade, or even a sweet version with chocolate spread.
I hope you enjoyed this recipe and I wish you a wonderful Sunday!
Jenny
P.S.: All the equipment used can be found at the bottom of the recipe.

Related products
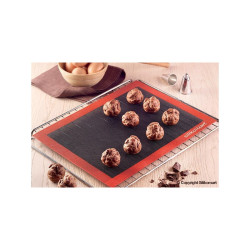
Microperforated silicone mats
Parchment paper sheets
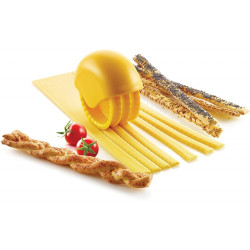
Rolling Cutter "Back'n roll"
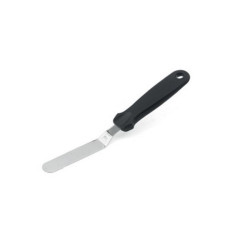
Angled spatula in steel
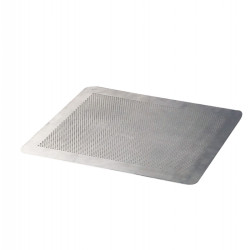
Flat perforated aluminium plate 40 x 30 cm
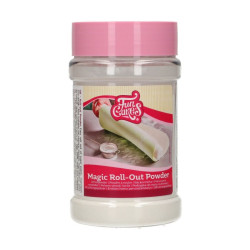
Magic Roll-Out Powder
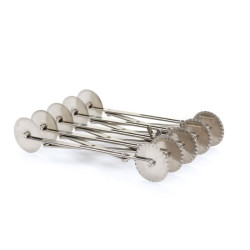
Adjustable divider with 5 double blades
Non-stick rolling pin 50 cm

Related posts
 Juicy Matcha Muffins with Pecan Nuts & White Chocolate
Matcha Iced Latte & Coconut Variant
Pull-apart bread with fresh wild garlic pesto
Mini Banana Bread with Chocolate Chips
Juicy Matcha Muffins with Pecan Nuts & White Chocolate
Matcha Iced Latte & Coconut Variant
Pull-apart bread with fresh wild garlic pesto
Mini Banana Bread with Chocolate Chips
Leave a comment