
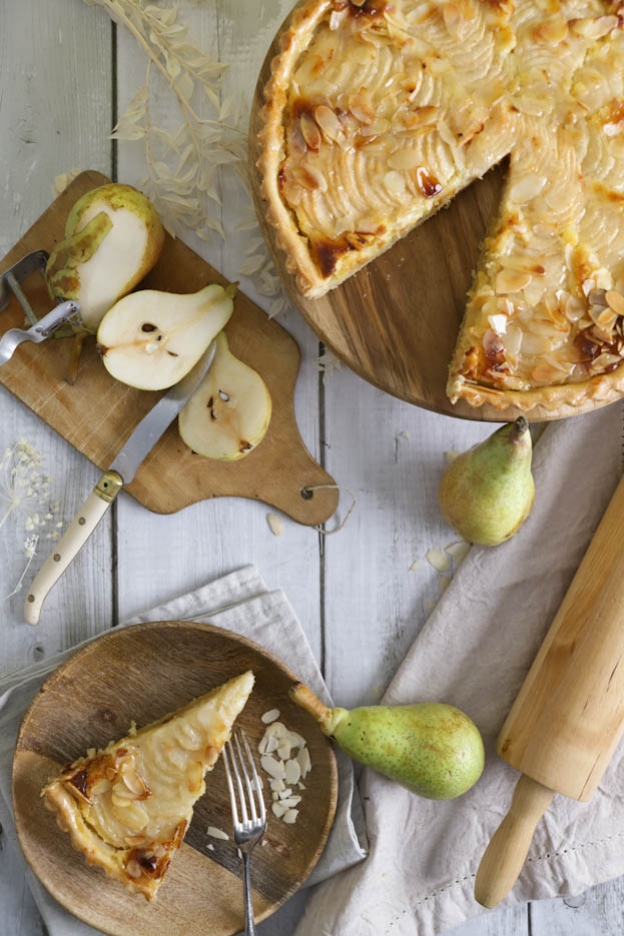
Pear tart
Hey food lovers!
I was craving fruit this week. And in autumn, it's pear season! I love pears (even if I'm the only one in the house).
So I'd like to share an almond tart recipe with you. An almond tart is a fruit tart with a deliciously rich almond cream! I made it with pears, but you can also make it with apples or berries.

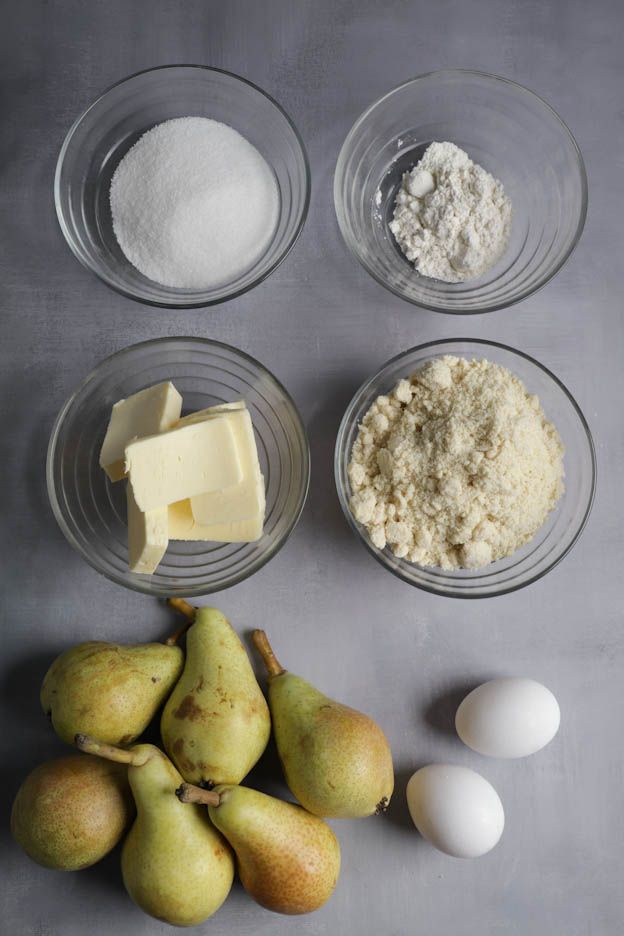
For a tart of 28 cm in diameter you will need:
Shortcrust pastry
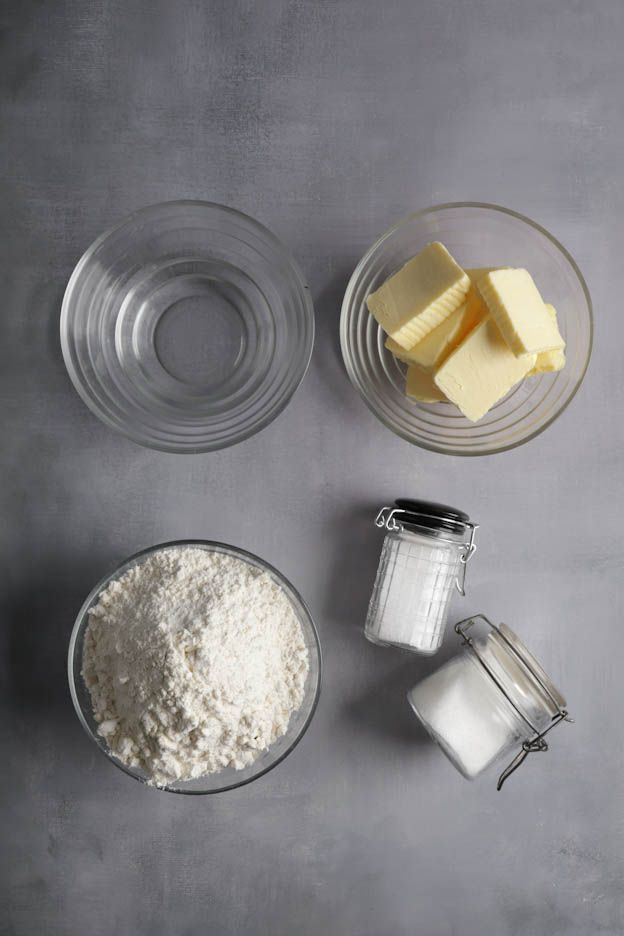
- 300gr of flour
- 8gr of sugar
- 4.5gr of salt
- 150gr of butter
- 112gr of water
Almond cream
- 160gr of butter
- 130gr of sugar
- 20gr of flour
- 150gr of ground almonds
- 2 eggs (100gr)
- 5 to 6 pears
Decoration
- Flaked almonds
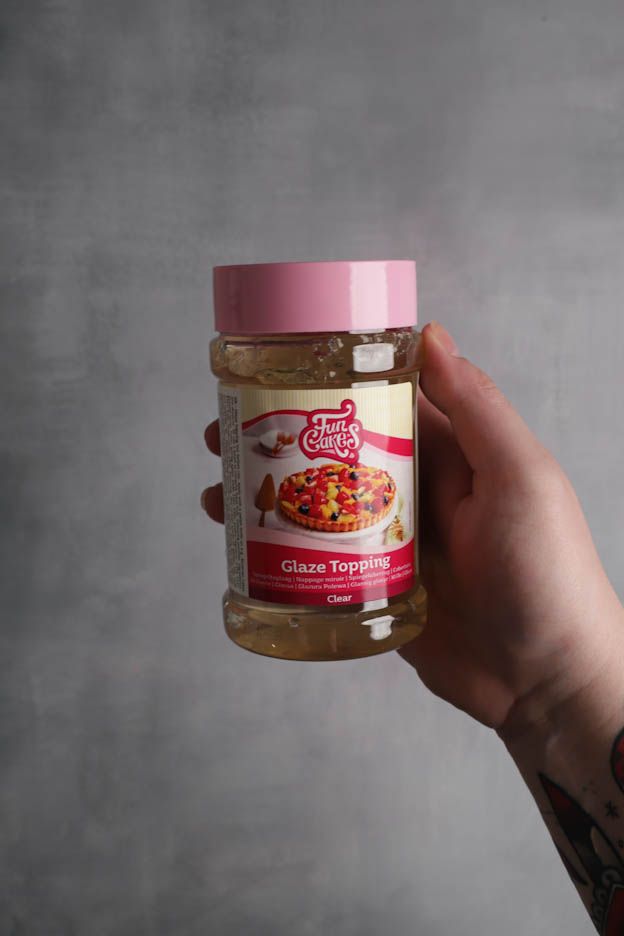
- 2 tbsp of neutral glaze
Preparation time: 30 min
Baking: 30 min
Shortcrust pastry
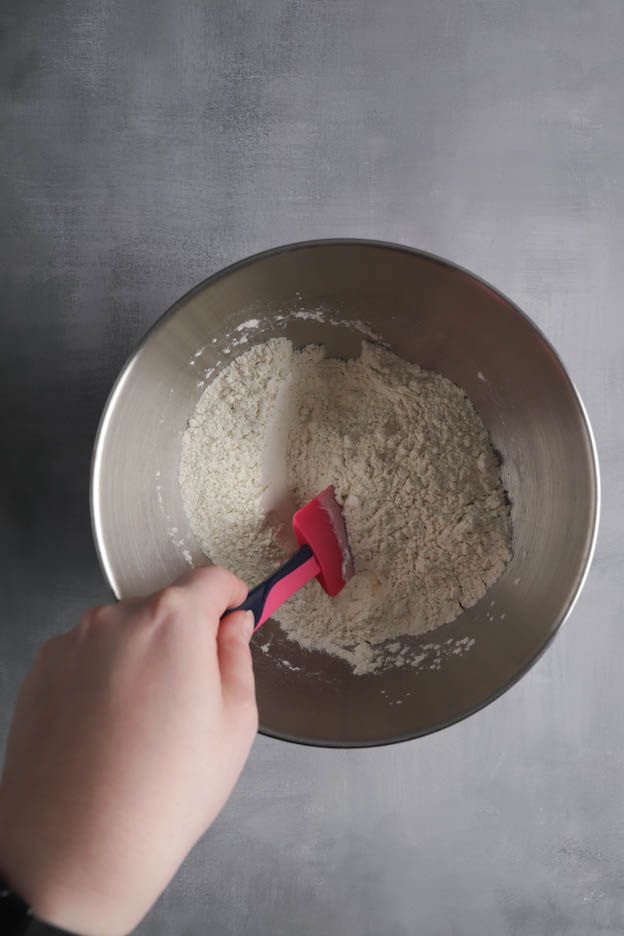
First, mix all the dry ingredients together with a spatula: 300gr of flour, 8gr of sugar and 4.5gr of salt.
Weigh your salt with a precision spoon scale to make sure you have the right amount.
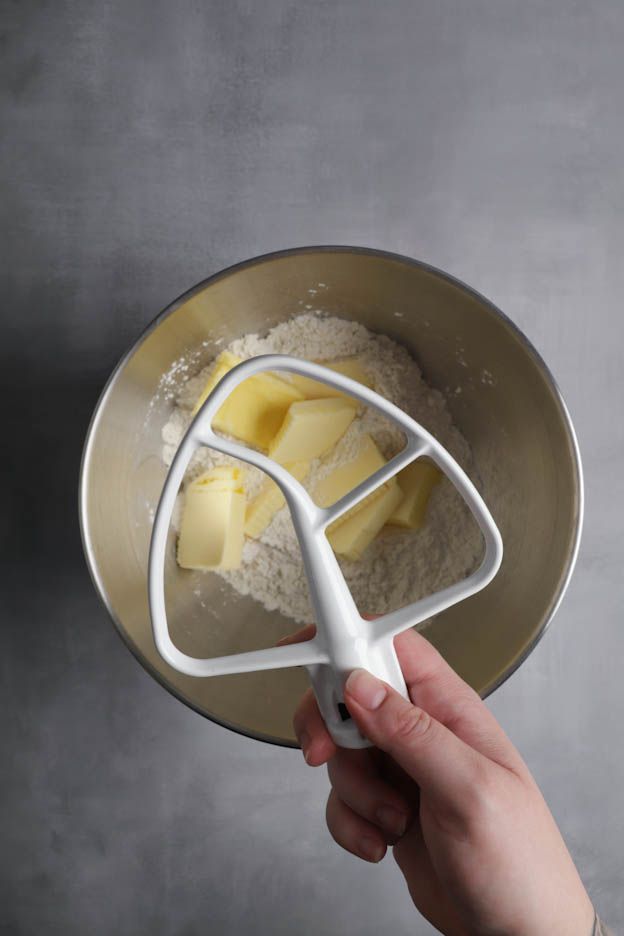
Then add 150gr of butter, cut into pieces.
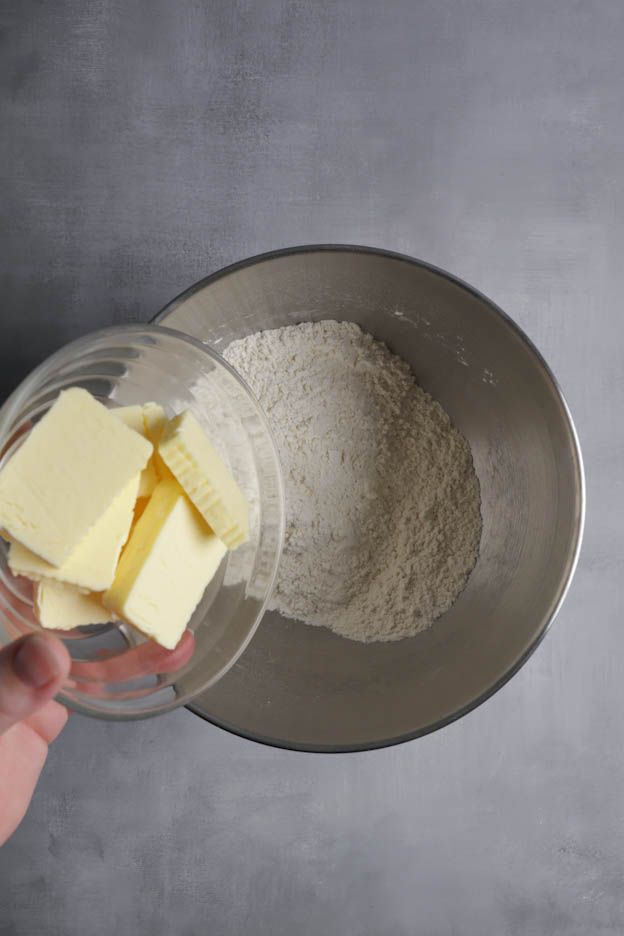
Then mix with the K beater (flat beater) for 2 minutes. You will get a texture similar to crumble.
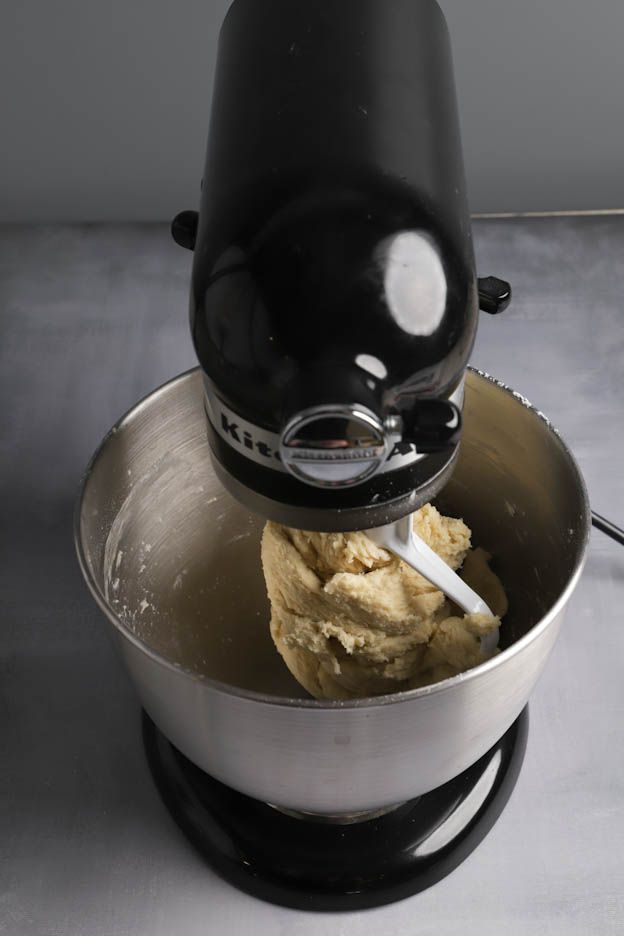
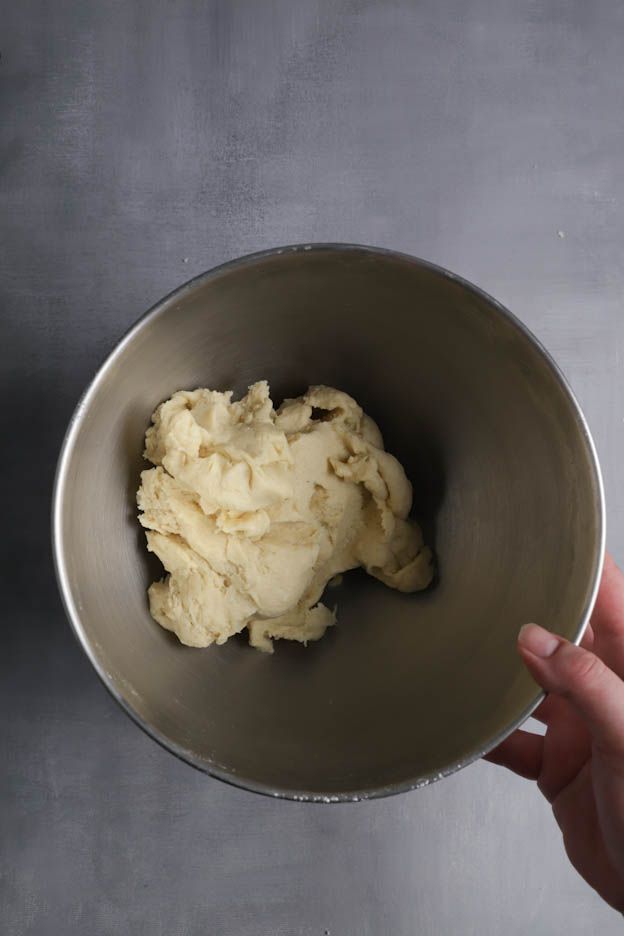
Finally, add 112gr of water and mix as little as possible — that is, 1-2 minutes maximum, just until a dough forms.
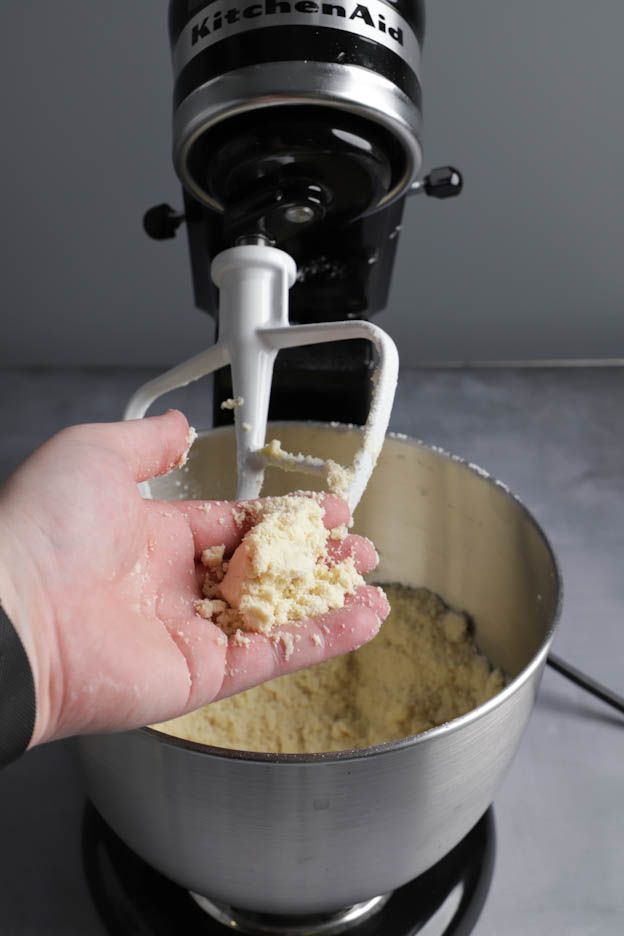
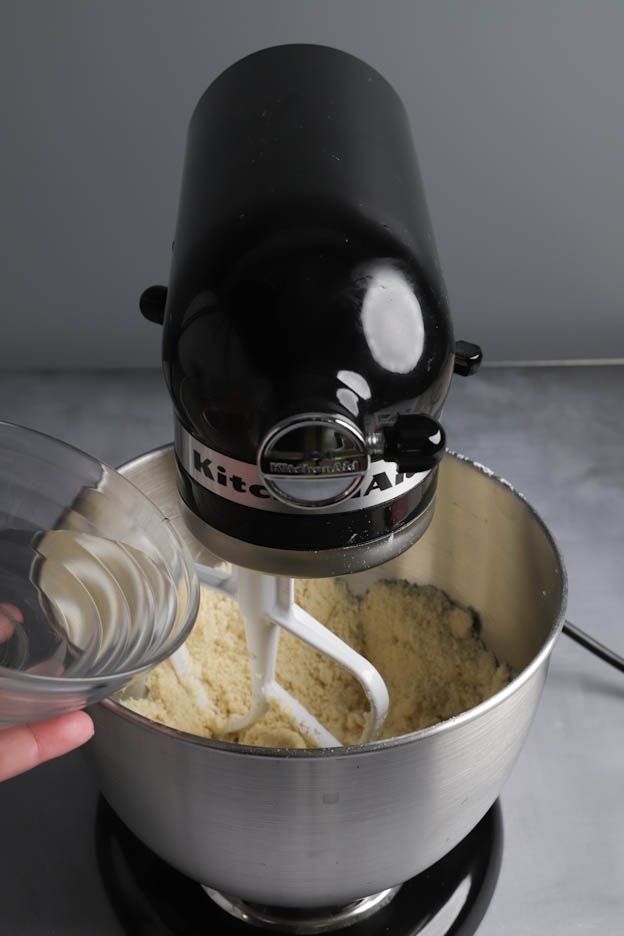
In the second photo, you can see that the dough is not 100% mixed. That is exactly the consistency we want.
Finish by kneading by hand. This way, the dough will be worked as little as possible but will be well combined.
If you mix it too much in the stand mixer, your dough will be very elastic, will shrink when you roll it out, and may create more bubbles during baking.
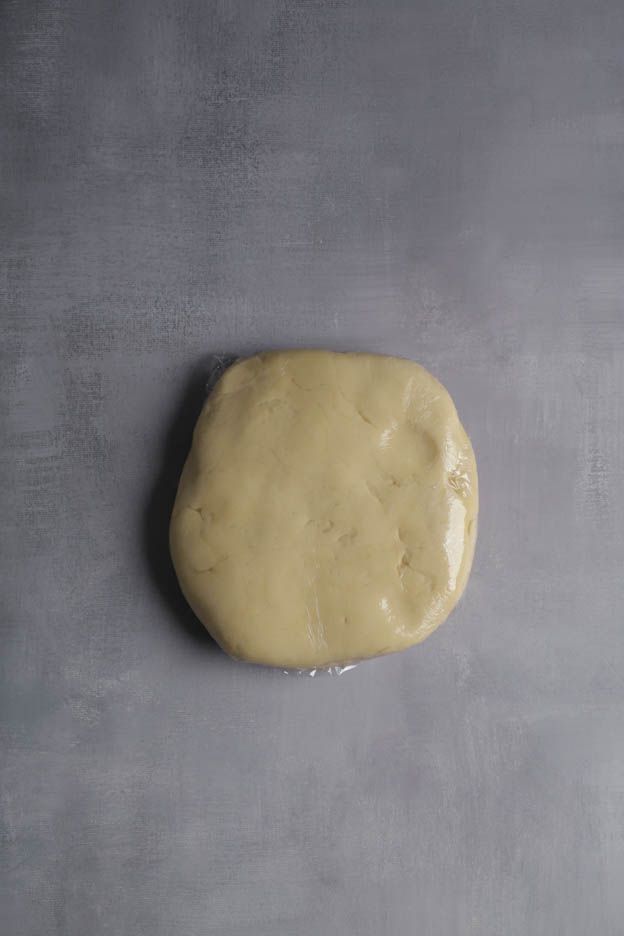
There we go, the dough is ready. Place cling film over your dough and put it in the fridge for 30 minutes to let the butter cool down.
Almond cream
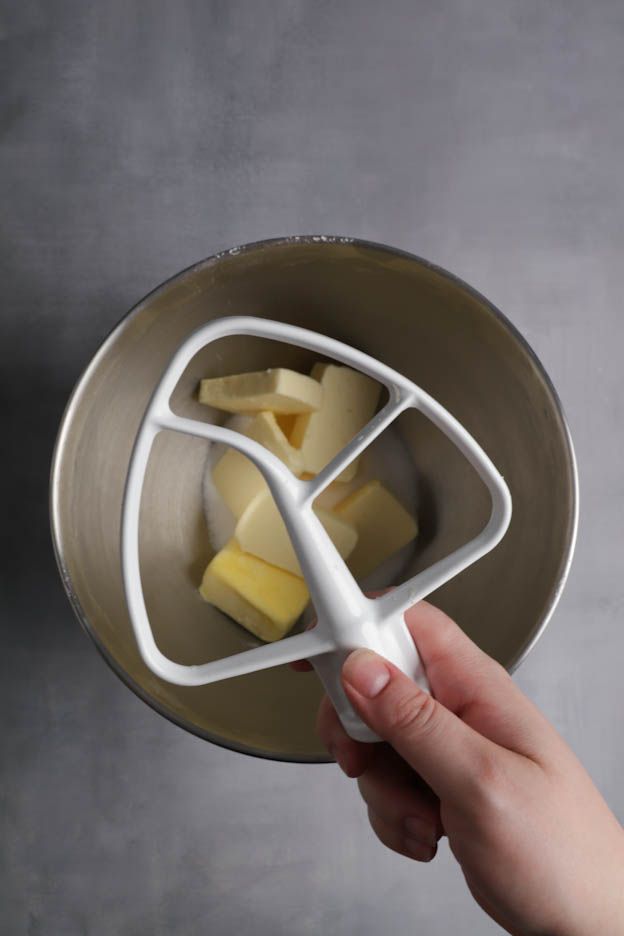
Start by mixing 160gr of butter at room temperature with 130gr of sugar using the K beater.
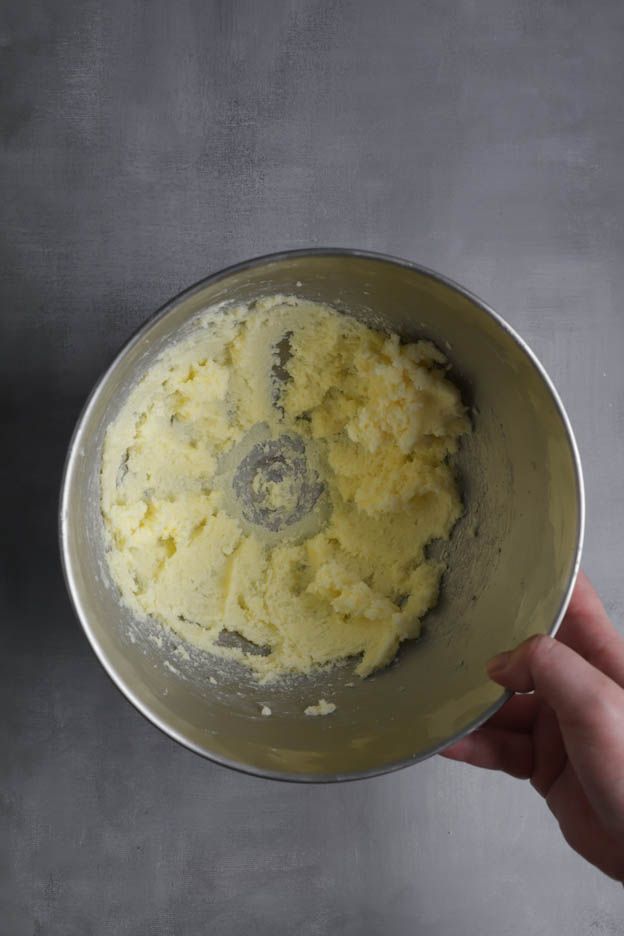
Once the two ingredients are well combined, add 2 eggs (100gr) and mix again for a few seconds.
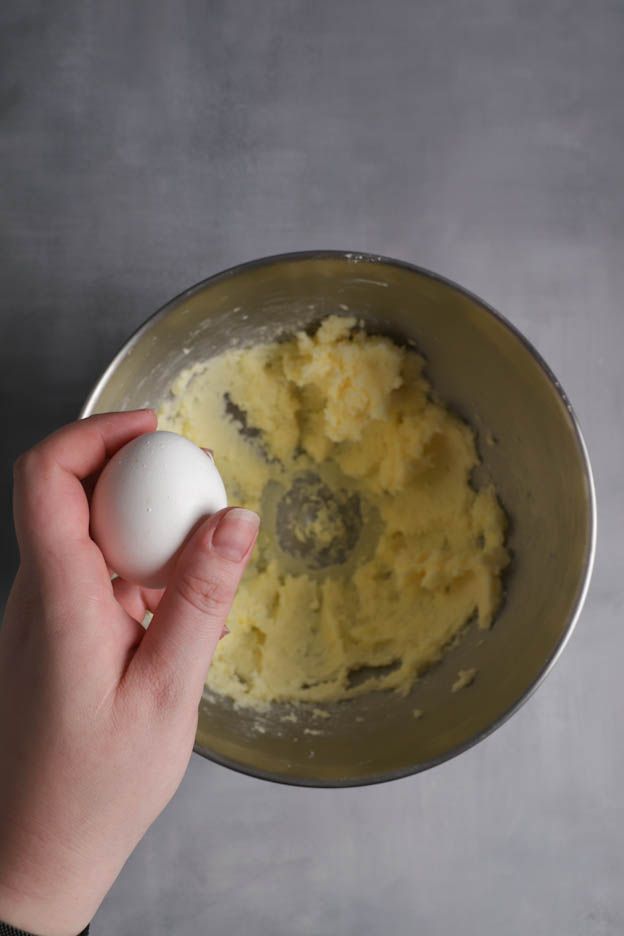
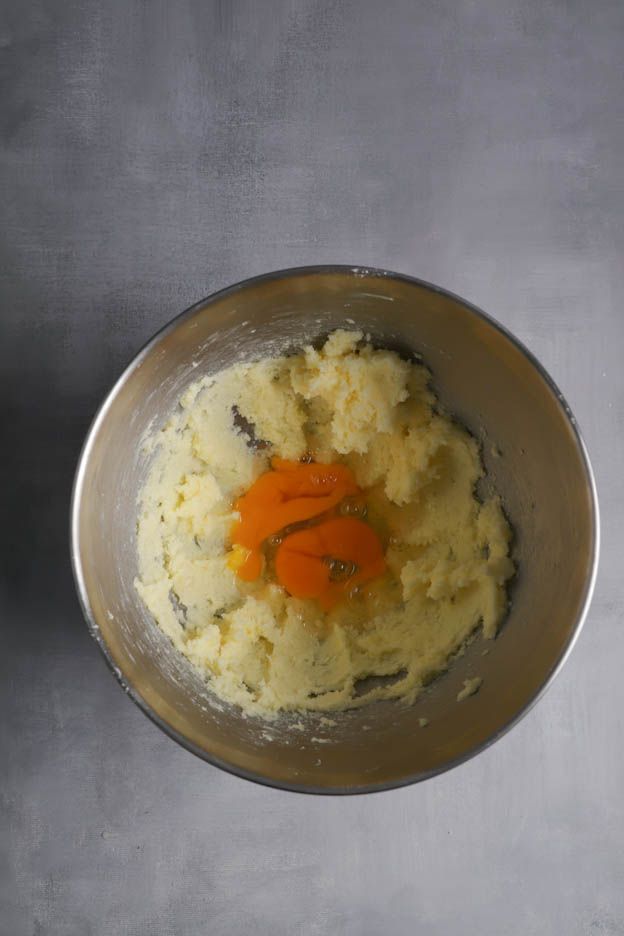
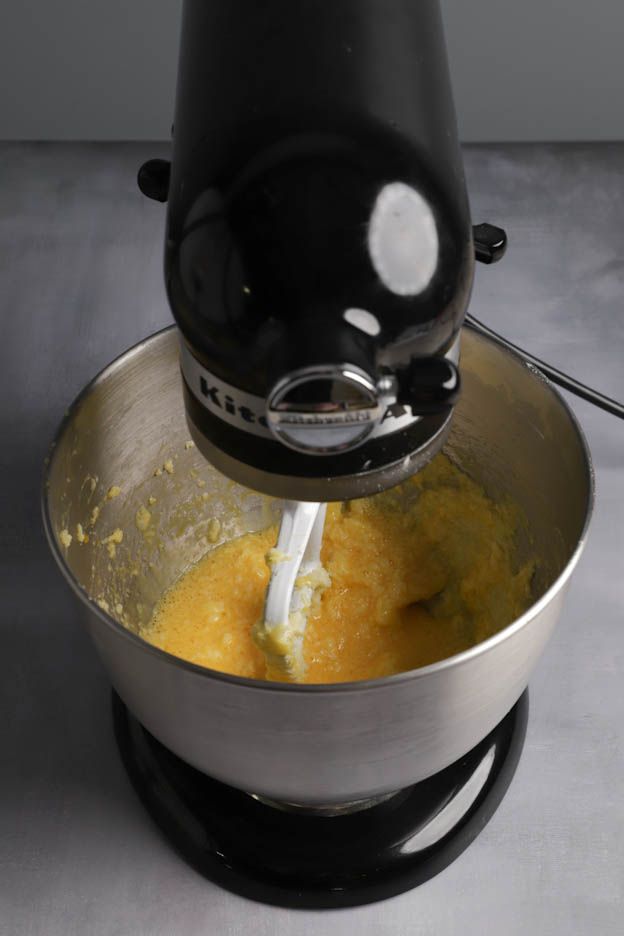
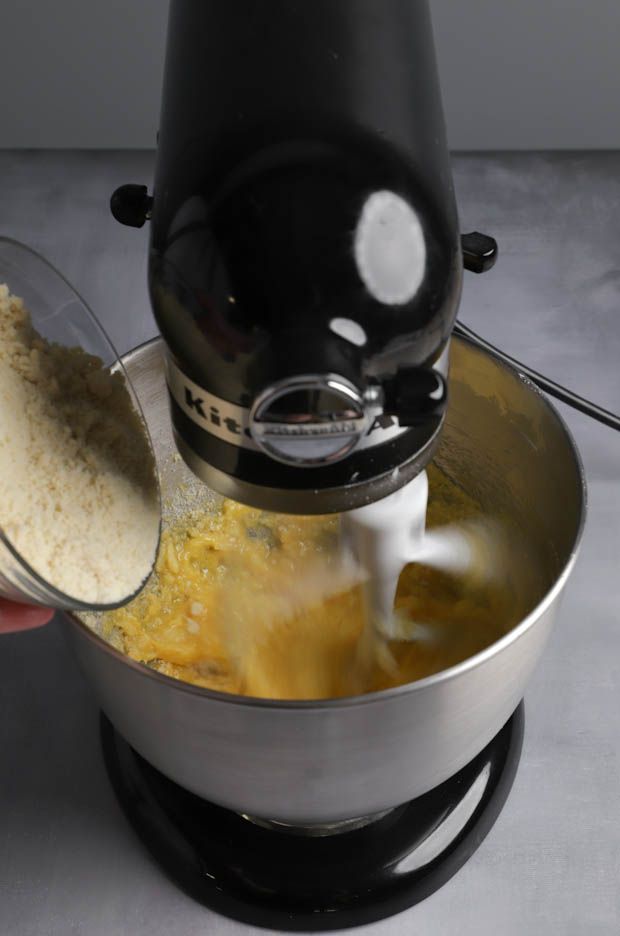
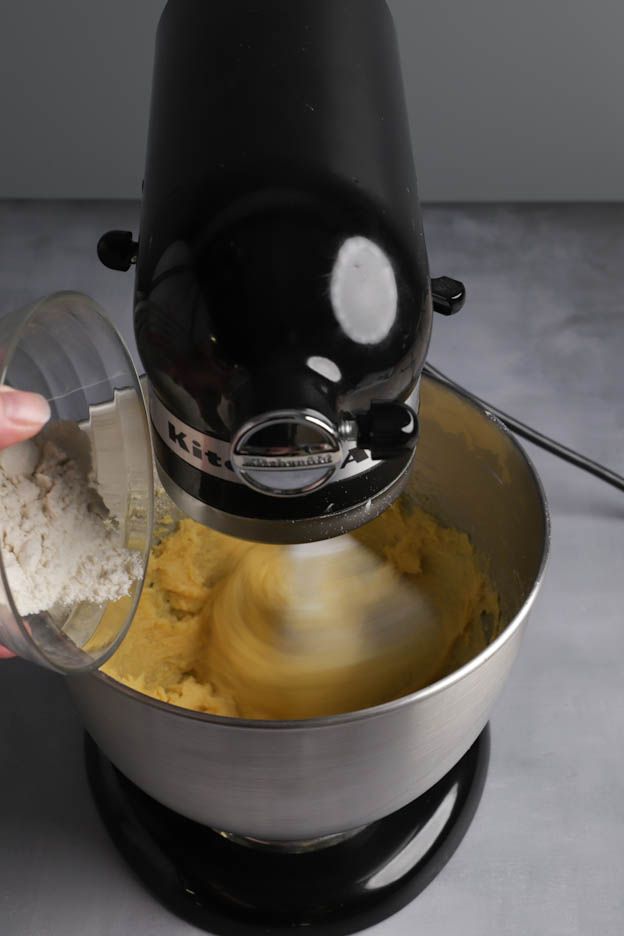
Now add 150gr of ground almonds and 20gr of flour to the mixture. Mix at medium speed for 1 to 2 minutes.
Be careful not to overmix, otherwise your almond cream may rise too much during baking.
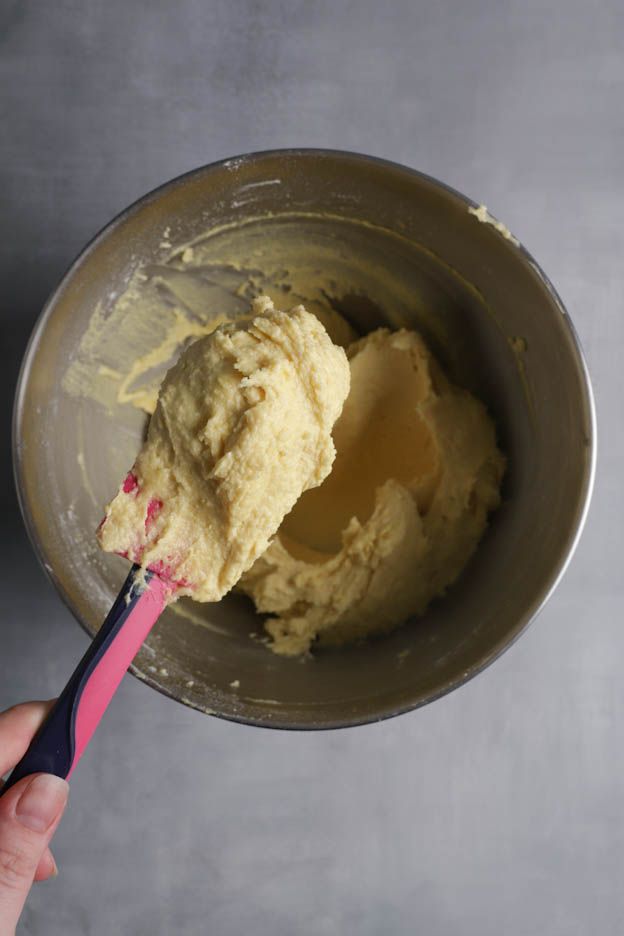
The right texture is a cream with no lumps of butter — it should be perfectly smooth.
Set it aside while you slice the pears and roll out the shortcrust pastry.
Now it's time to prepare the pears! :o)
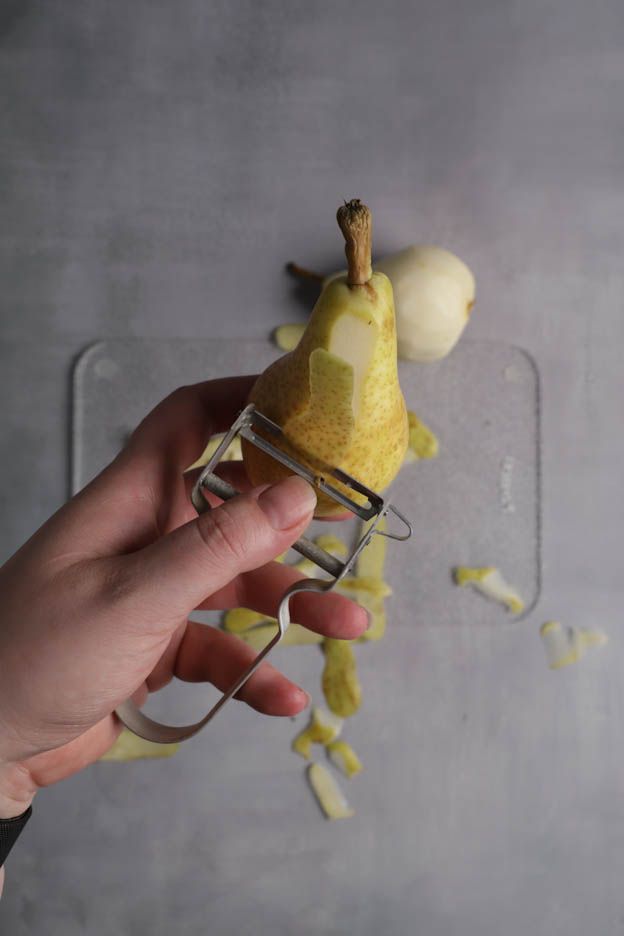
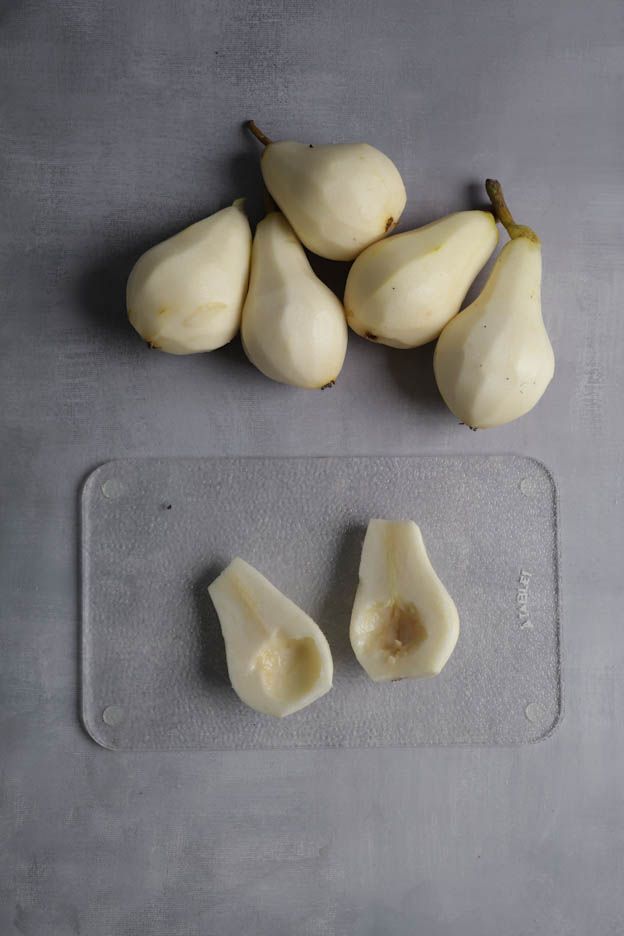
Start by peeling your pears and cutting off each end.
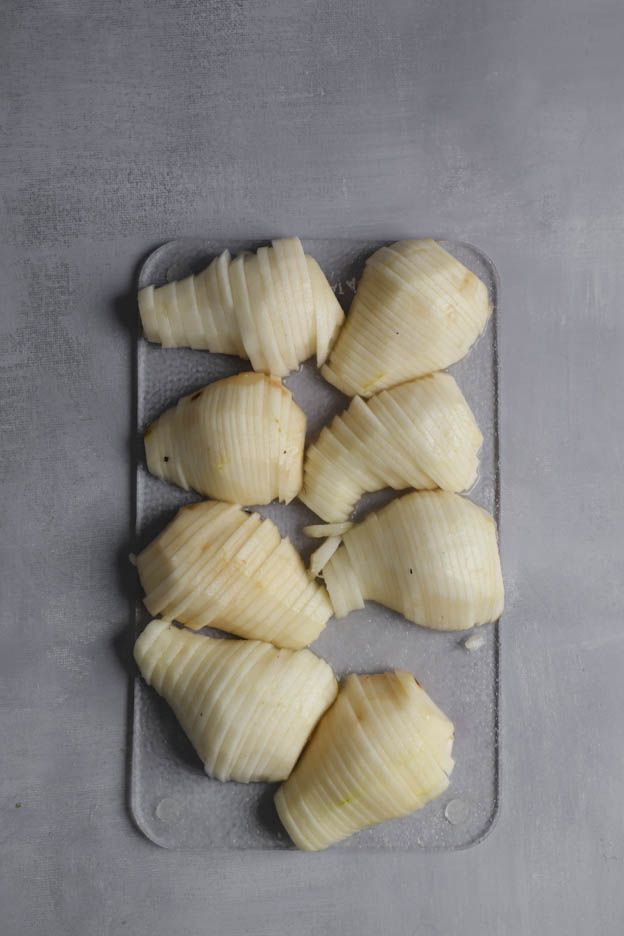
Remove the core and cut thin slices across the width of the pear half. Keep the shape of the pears as shown in the photo below.
Set your pears aside while you roll out the shortcrust pastry and preheat your oven to 180°C, fan setting.
The shortcrust pastry should now be cold enough to roll out.
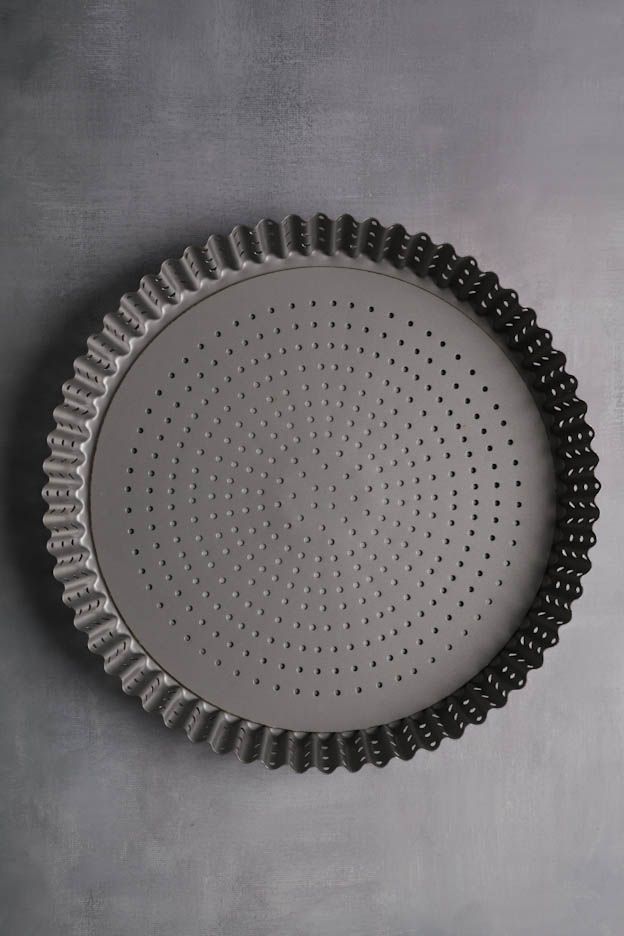
You will need a large rolling pin, cookie sticks and a 28 cm perforated tart tin.
I'm a huge fan of my perforated tart tin! I place my dough in it without baking paper and the result is amazing! You'll see! Nothing sticks, the baking is more even and above all the pastry is wonderfully crispy! I also use this tart tin for my quiches. I love it!
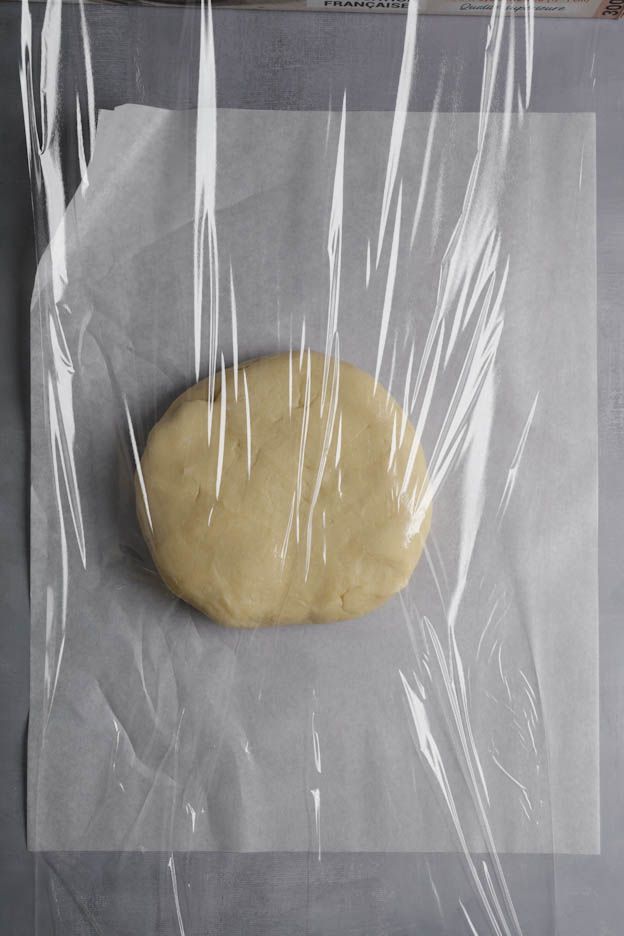
Place your shortcrust pastry on a sheet of baking paper, then cover the dough with cling film.
It's much easier to roll out dough this way than between two sheets of baking paper or with nothing at all.
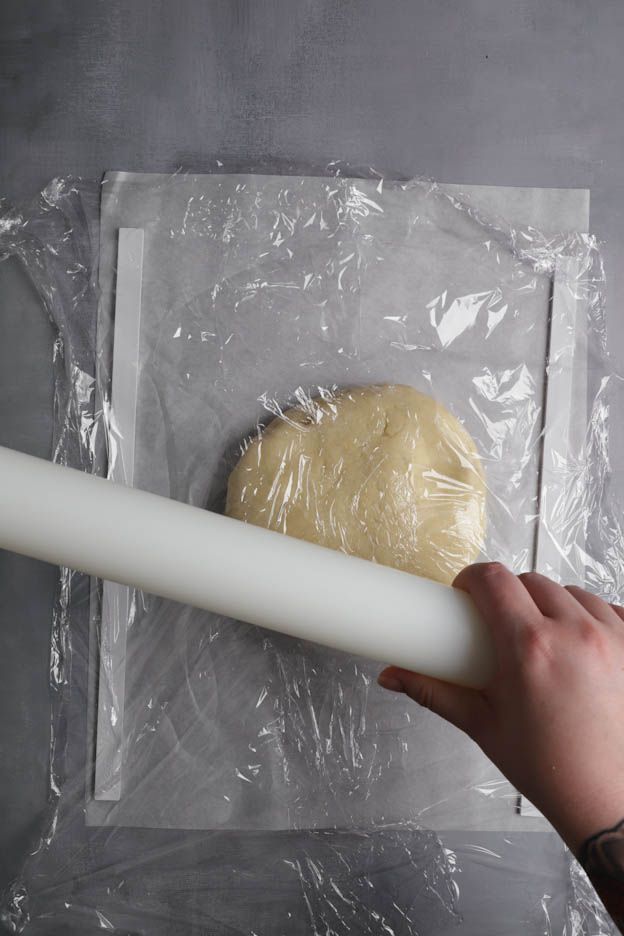
I use my cookie sticks to keep my dough an even thickness throughout. I started with 5 mm but after rolling out my dough, I found it was far too thick. So I went with 3 mm sticks instead.
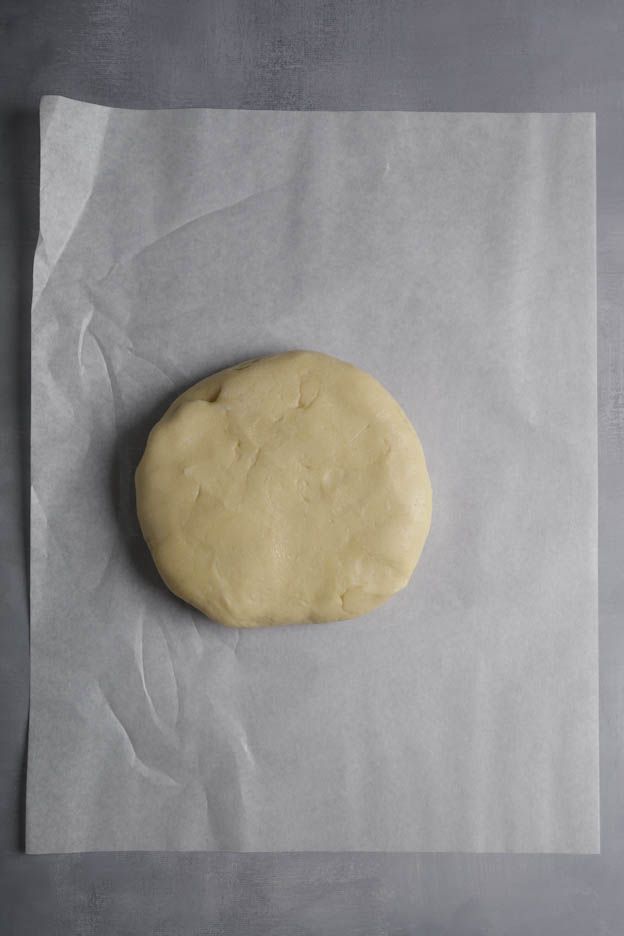
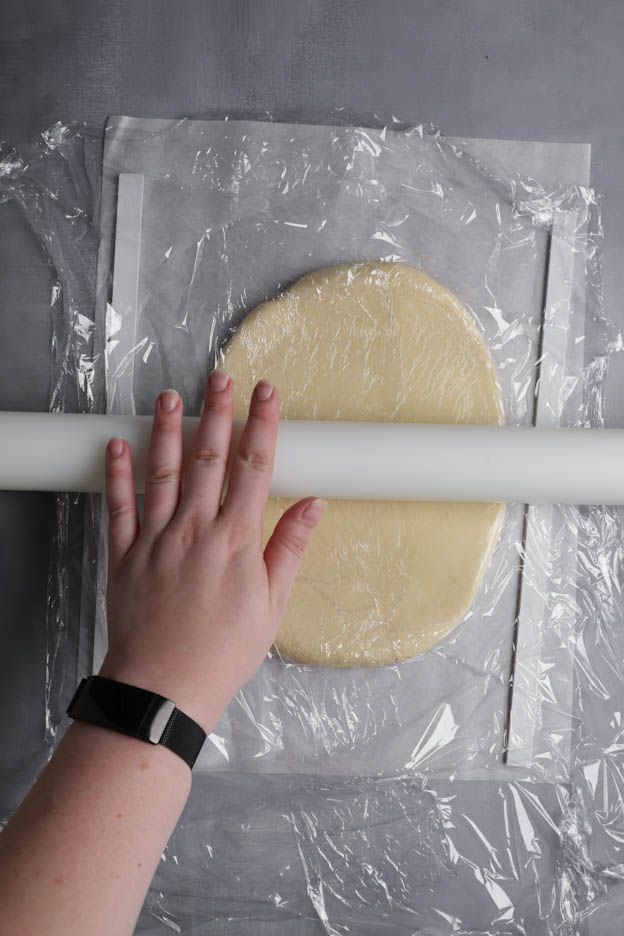
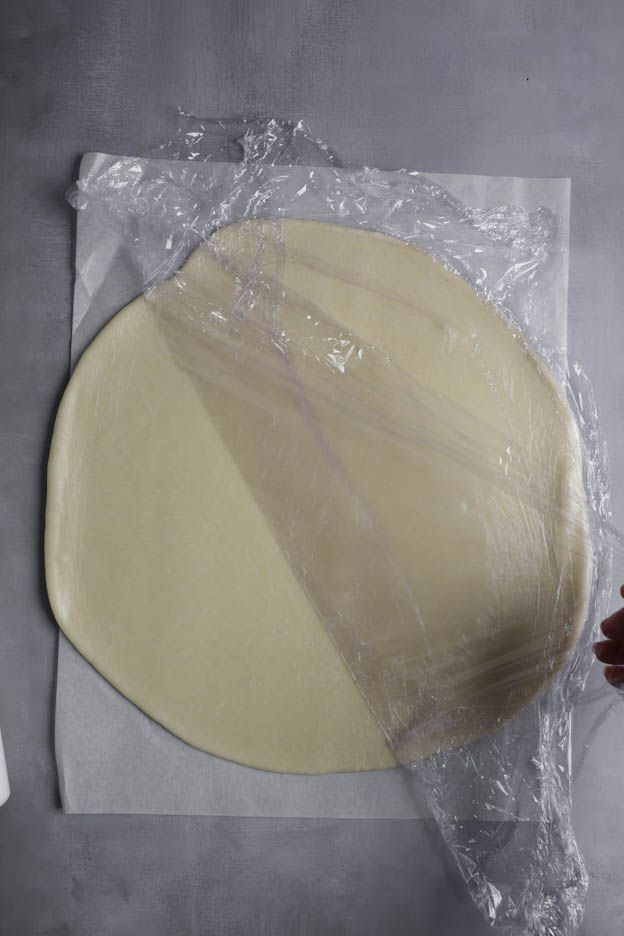
Place the cookie sticks on each side of your dough, then roll it out into a circle with your rolling pin.
To get a nice round shape, I rotate my baking paper frequently and roll the dough on each side.
This way, I get a nice round shape rather than a rectangle.
My dough is ready. But if I line the tin now, it might stick to my fingers and/or break in some places.
So I slide a plastic board under my dough and place it in the freezer for 10 minutes.
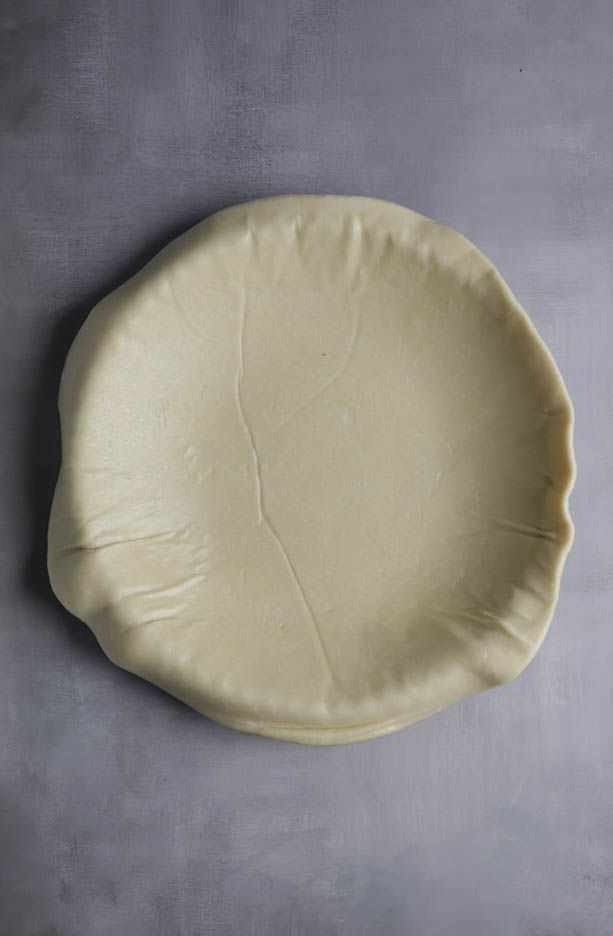
Once the 10 minutes are up, take out the shortcrust pastry and remove the cling film.
Then place your rolling pin on half of the dough and fold it over itself. This way you'll be able to carry your dough without it breaking.
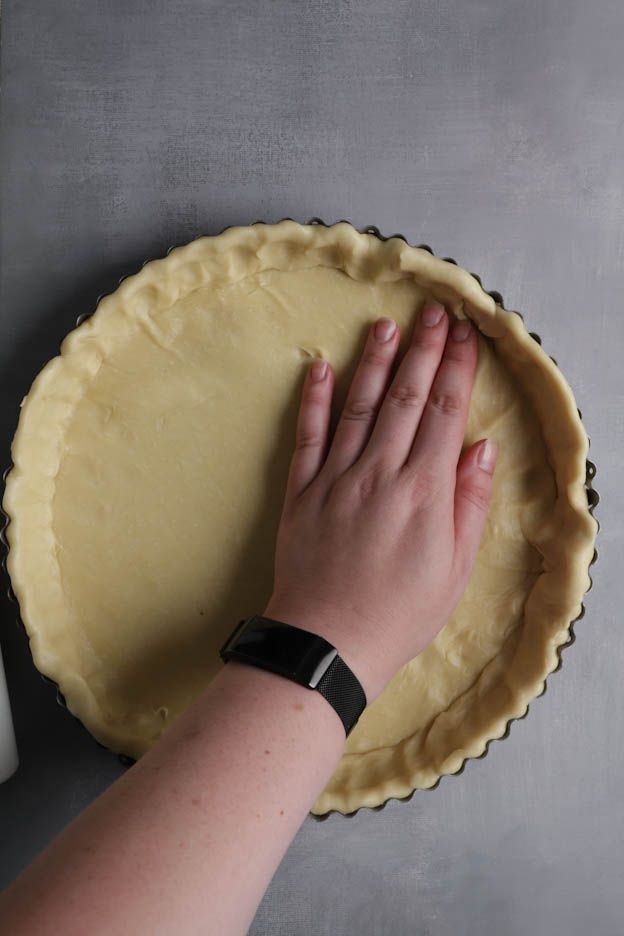
Place the dough in your perforated tin and press it in with your fingers.
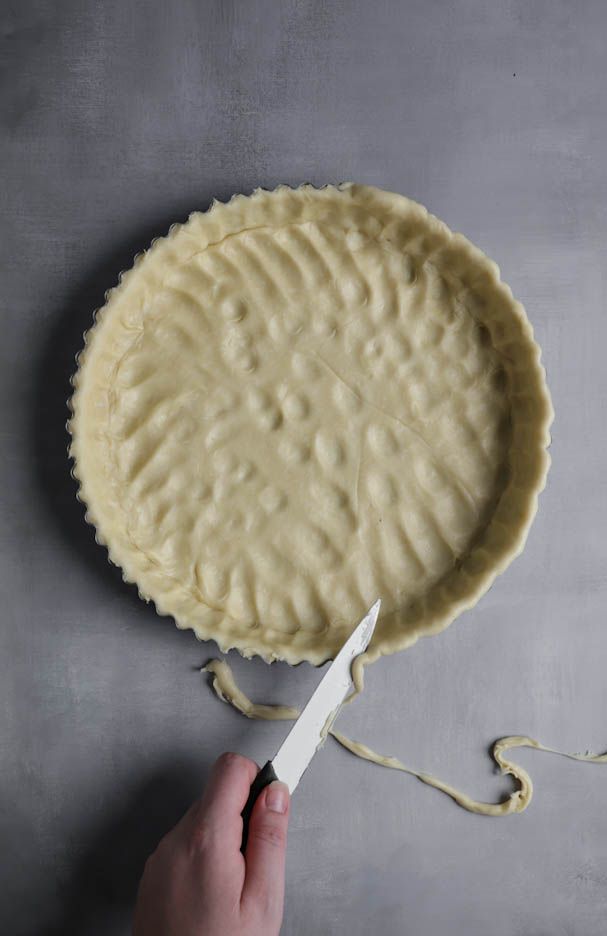
Once the dough is well fitted into the tin, carefully trim the excess with a knife.
This way your tart shell will look beautiful and very neat.
Next, generously dock the pastry with a pastry wheel docker so it doesn't form large bubbles during baking.
There we go! You now need to put your tart back in the freezer for 10 minutes. Why? The dough will be nice and firm so the sides of your tart won't collapse during baking. For a perfect result, freeze it for 10 minutes.
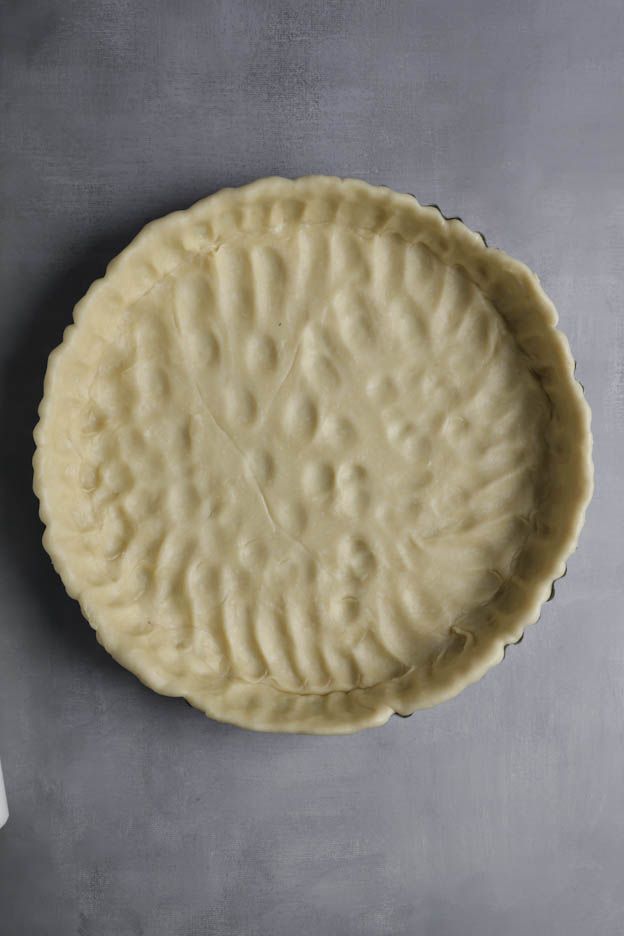
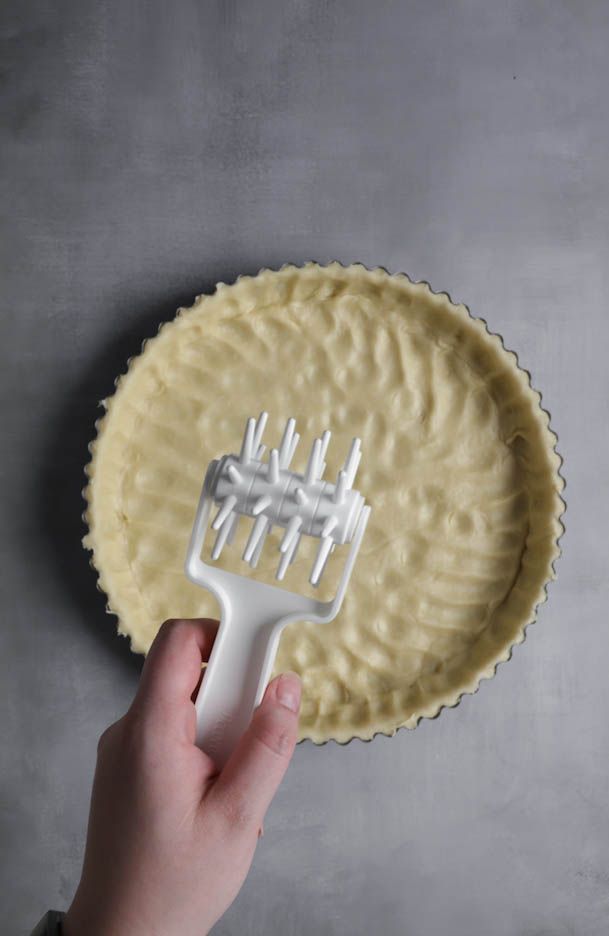
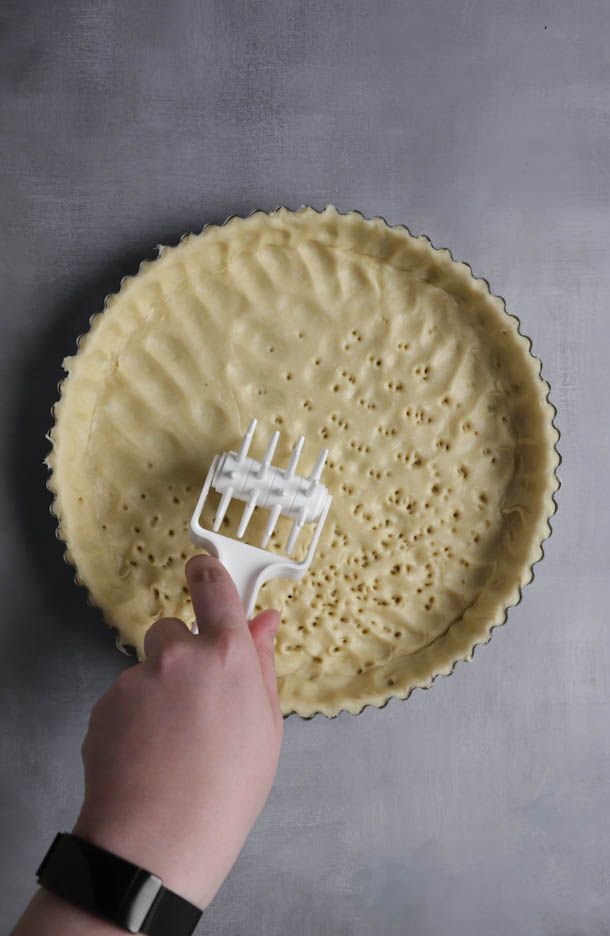
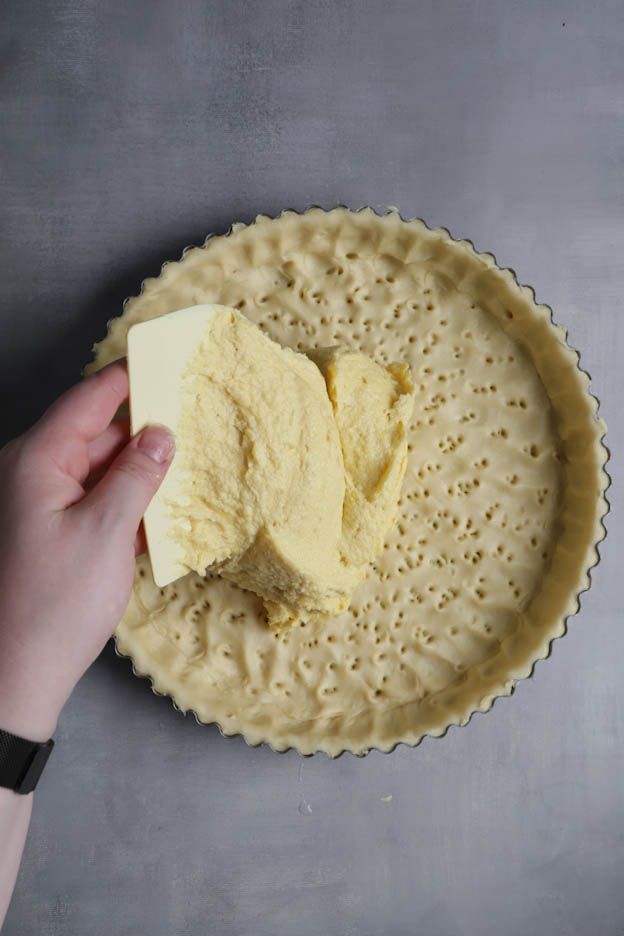
Once the 10 minutes are up, it's time to assemble our almond tart.
Pour the almond cream into the base of your tart and smooth it with an offset spatula.
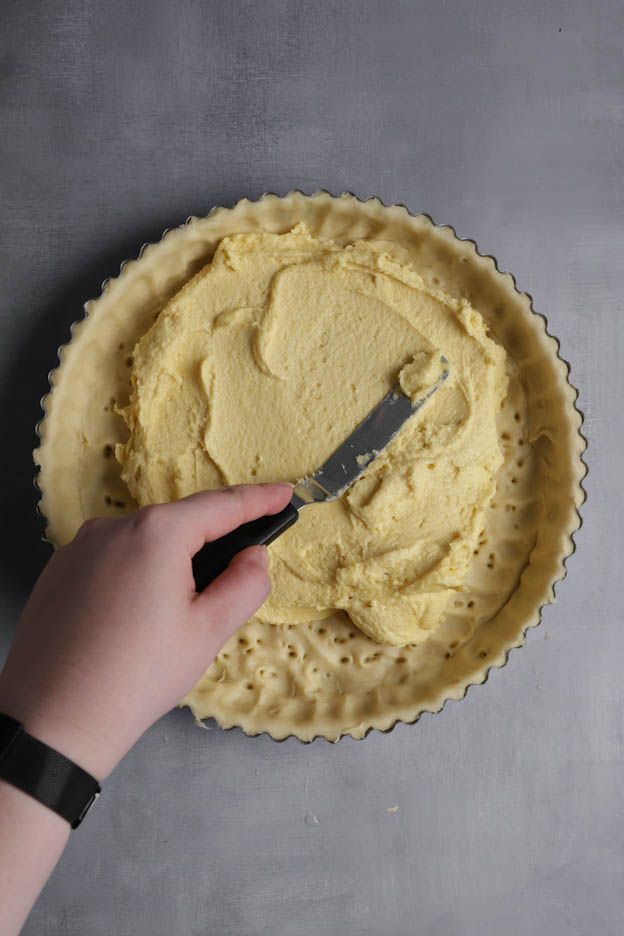
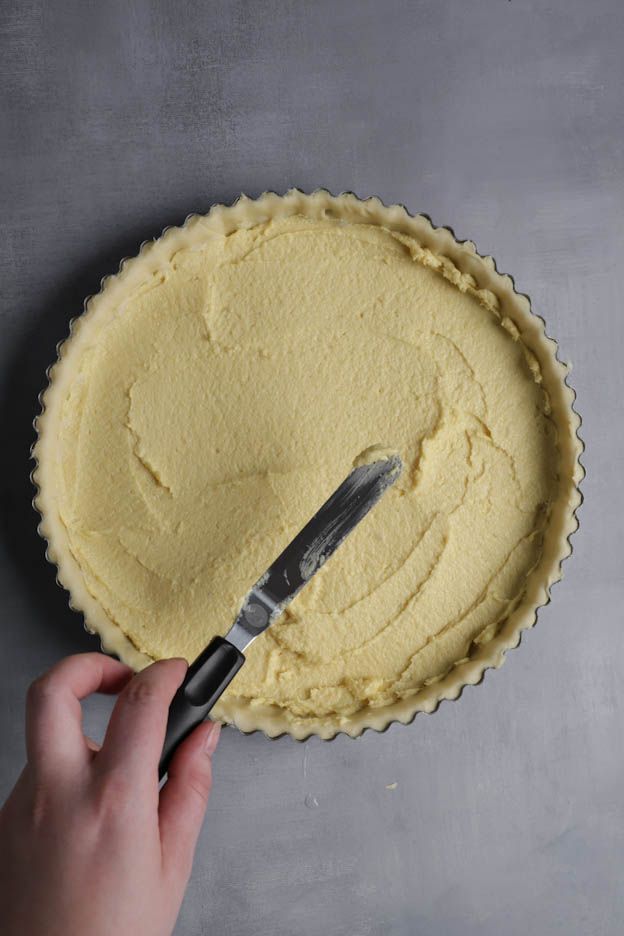
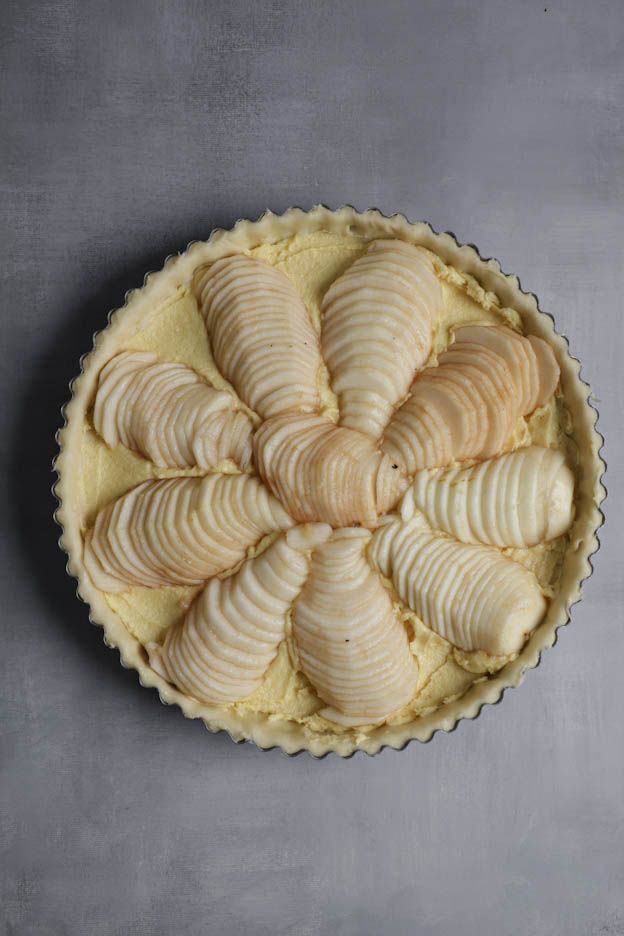
Once the almond cream is nicely smoothed, arrange the pears on top of the almond cream.
Top tip: Gently flatten your pears (fan them out like an accordion) before placing them on your tart. Use an offset spatula to move them onto your tart — it's much easier than using your hands. I used 5 fairly large pears here.
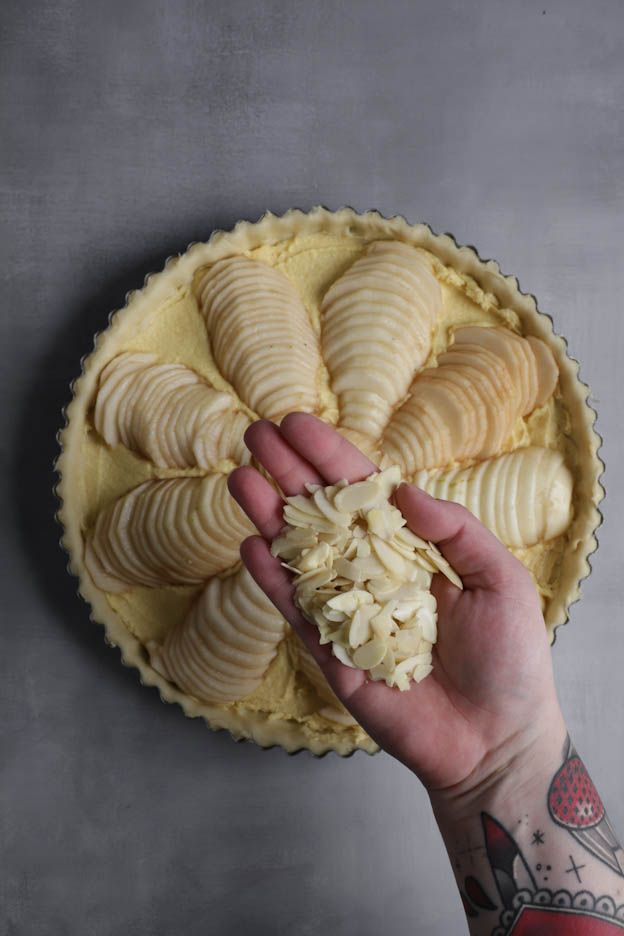
Finally, sprinkle flaked almonds over the top of the tart. I love the texture of these flaked almonds, I find they add a nice crunch since they will have toasted in the oven. (Unfortunately, this product is no longer available in our range but can easily be found in supermarkets.)
Bake your tart in your preheated oven at 180°C, fan setting for 40 to 45 minutes.
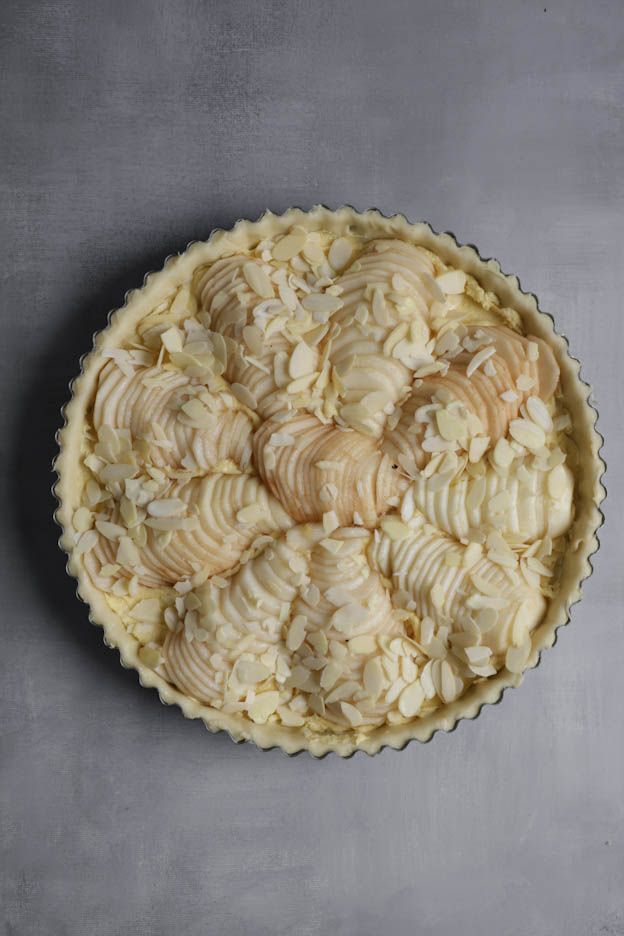
Your tart is done when the top and sides are nicely golden. Make sure to bake it for the full 40 to 45 minutes.
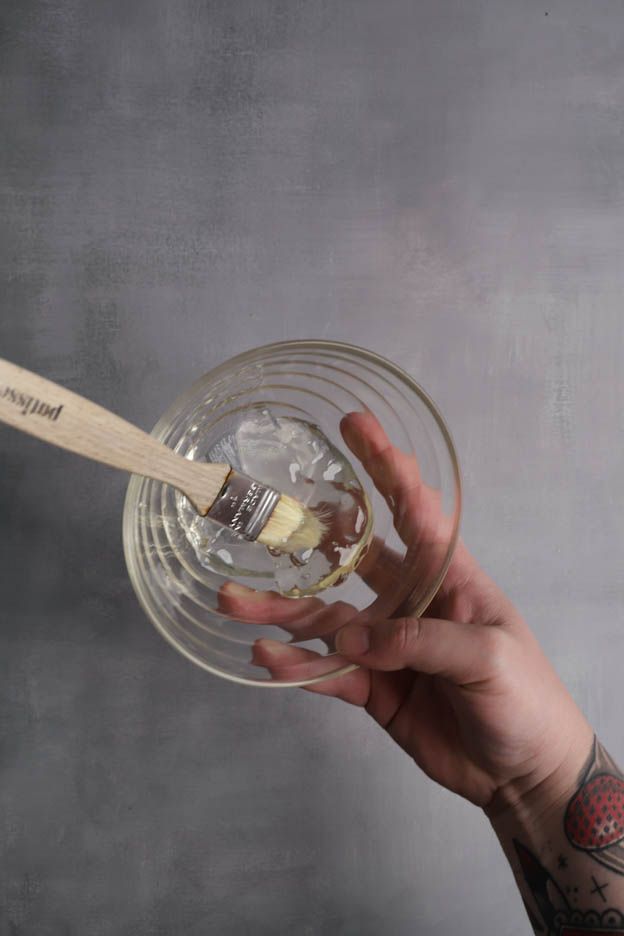
As soon as it comes out of the oven, apply a neutral glaze. This step is important for two reasons. The first is to protect the pears from oxidation and the second is to give it a beautiful shine! And you'll see, it makes all the difference! :o)
Take 2 tbsp of neutral glaze, stir it lightly and brush it over your tart while it is still nice and warm.
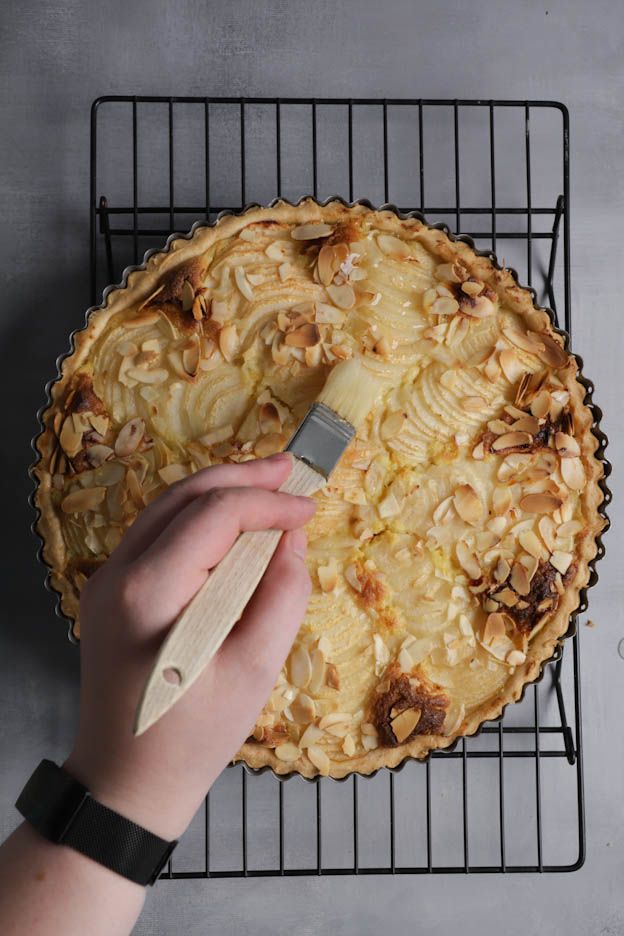
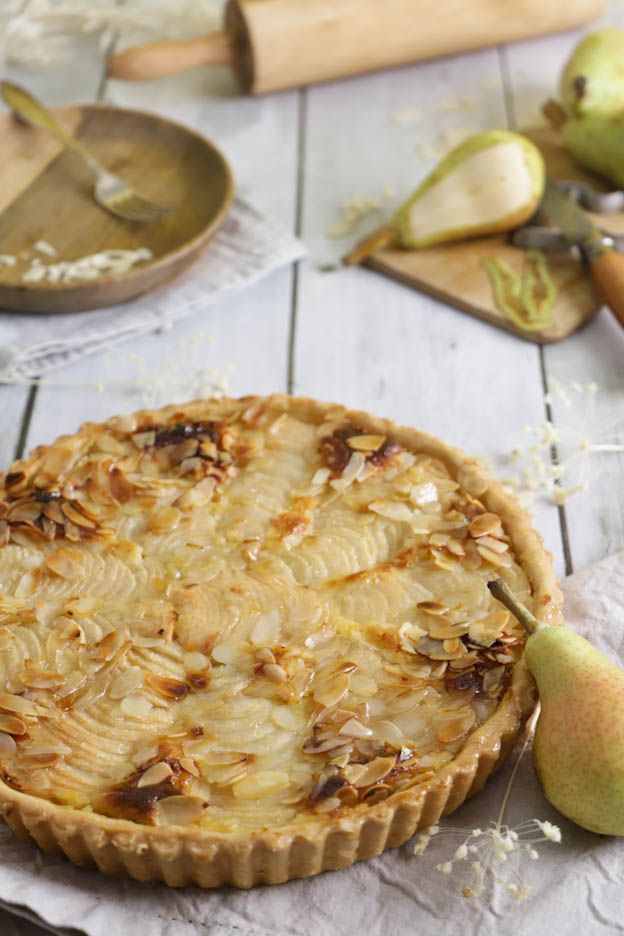
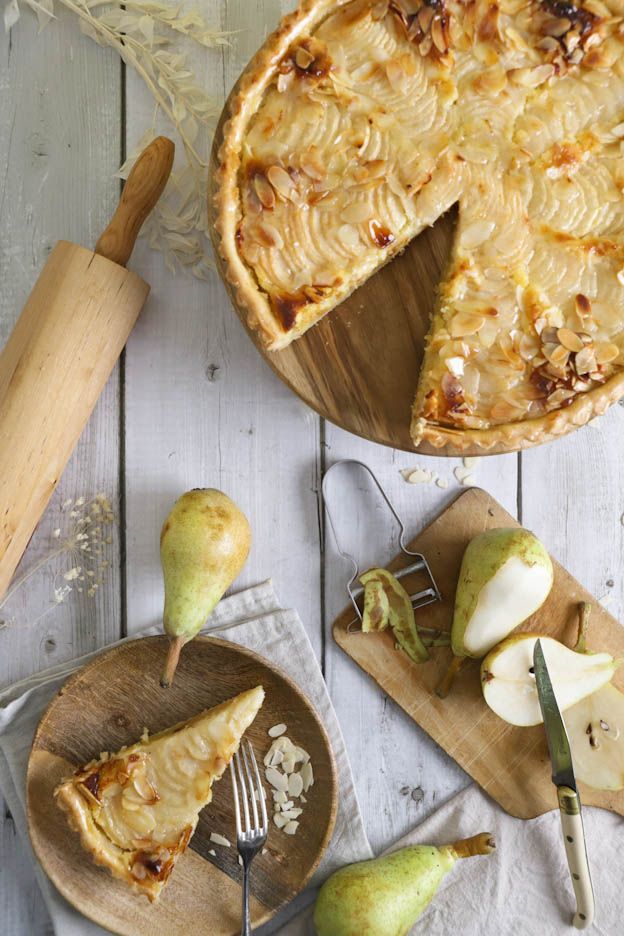
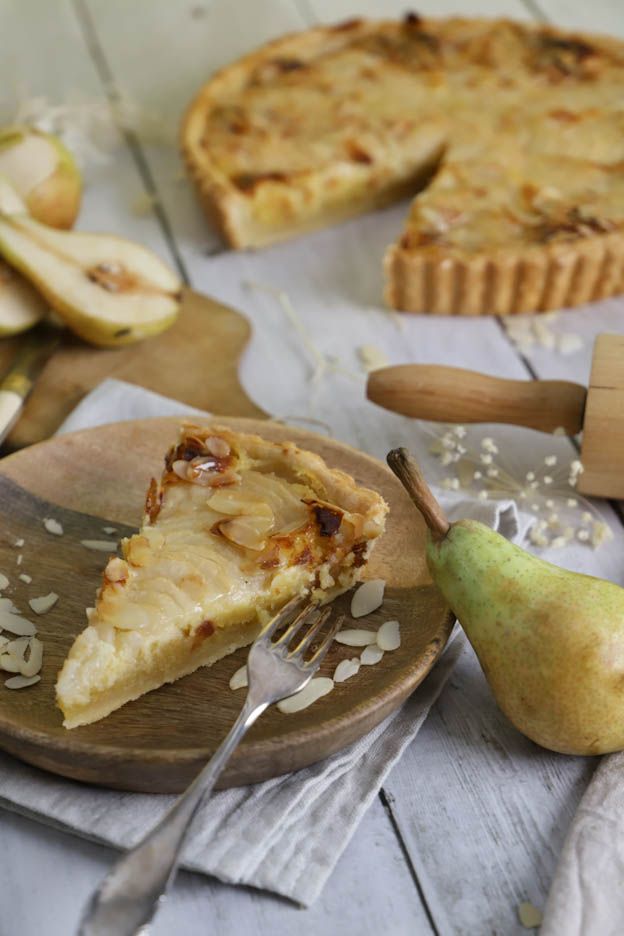
And there you have it, our almond pear tart is ready! :o) Let it cool before enjoying.
If you don't like pears, you can easily make this tart with apples instead.
Personally, next time I'll add a little lemon zest to my almond cream. And I'll squeeze a little lemon juice over my pears (just a little) to give it a bit more zing! :o)
Happy Sunday, food lovers!
Karin
P.S.: All the equipment used can be found at the bottom of the recipe.

Related posts
 Juicy Matcha Muffins with Pecan Nuts & White Chocolate
Matcha Iced Latte & Coconut Variant
Pull-apart bread with fresh wild garlic pesto
Mini Banana Bread with Chocolate Chips
Juicy Matcha Muffins with Pecan Nuts & White Chocolate
Matcha Iced Latte & Coconut Variant
Pull-apart bread with fresh wild garlic pesto
Mini Banana Bread with Chocolate Chips
Leave a comment