
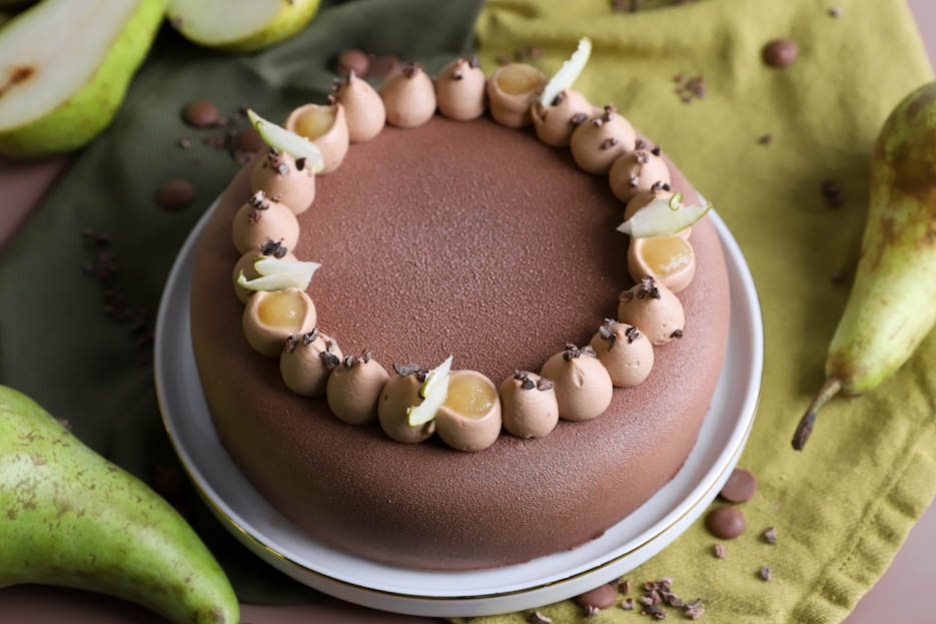
Pear-chocolate entremet
Hello food lovers,
Autumn is just around the corner and so is pear season.
Pear pairs very well with chocolate, a combination well known for being utterly indulgent! :-P
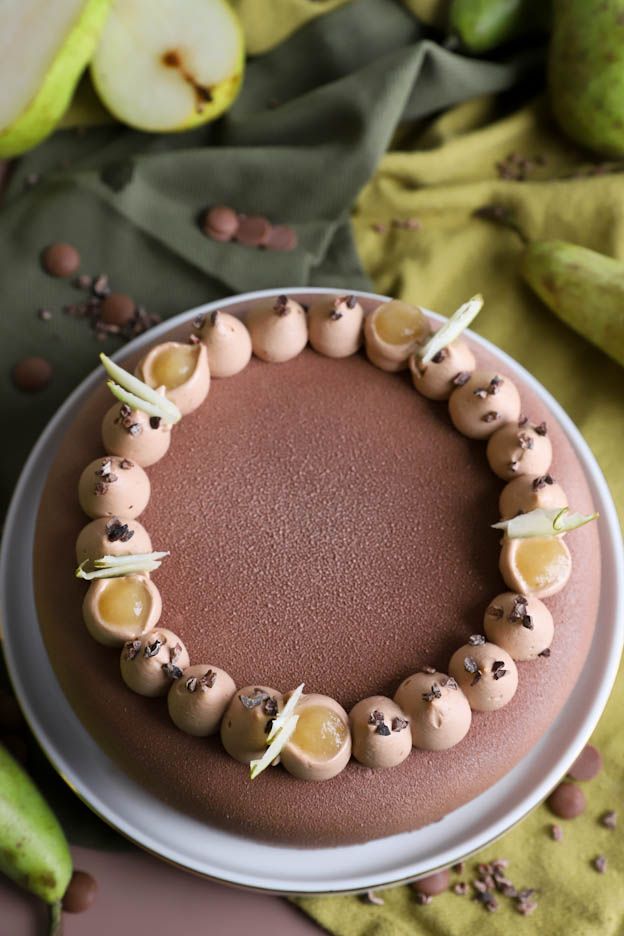
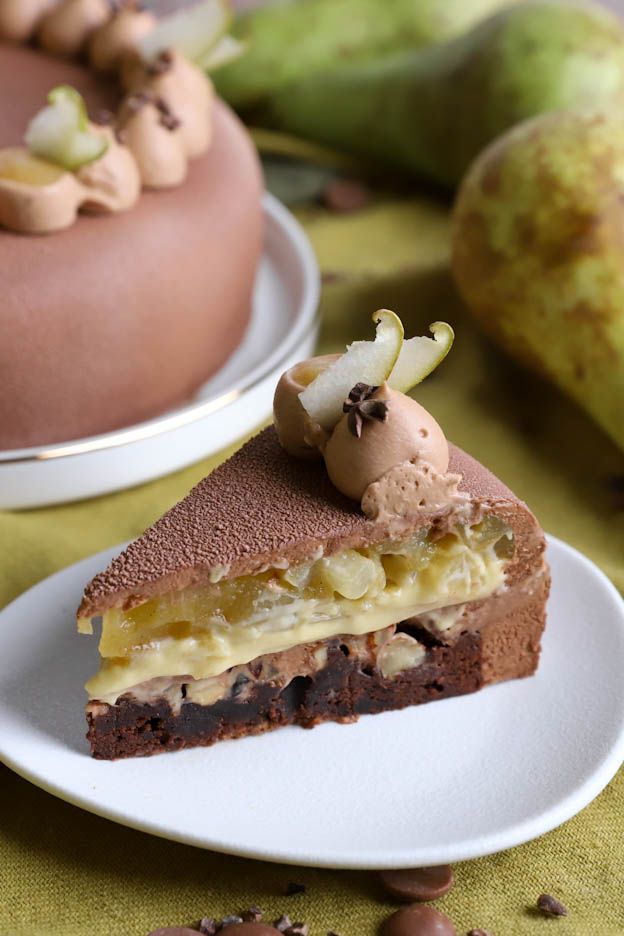
This week, I'm sharing an entremet recipe with you. A chocolate mousse, a pear insert with its pear cremeux and a crunchy chocolate financier biscuit, all decorated with a milk chocolate whipped ganache.
Let's go!

To make this pear-chocolate entremet for approximately 8 people, you will need:
Pear insert
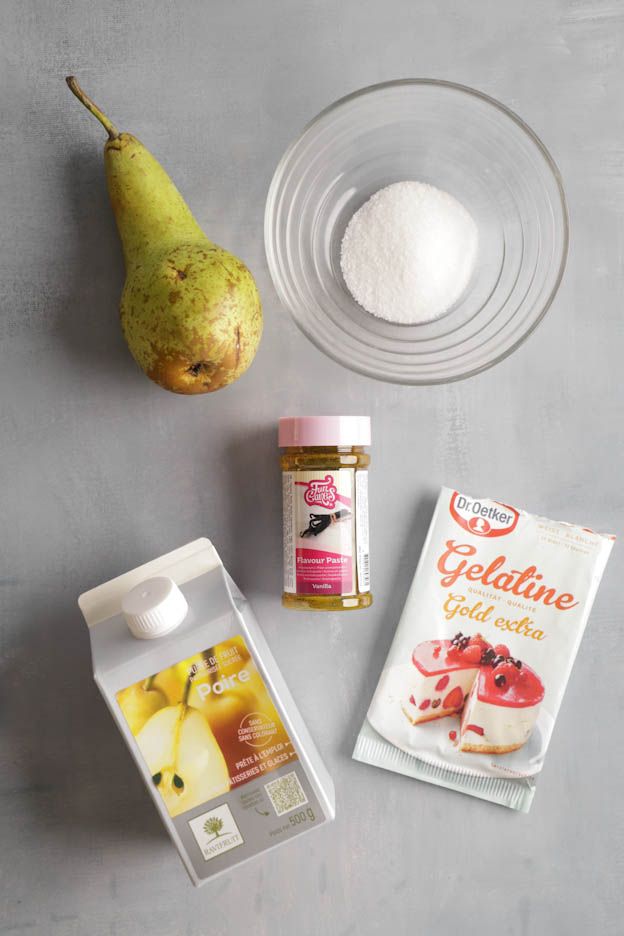
- 200gr of pears (peeled and chopped)
- 25gr of sugar
- 100gr of pear purée
- 1 tsp of vanilla extract
- 2 gelatine leaves
Milk chocolate whipped ganache
- 135gr of heavy cream
- 60gr of milk chocolate
- 1gr of powdered gelatine
- 5gr of water
Pear cremeux
- 1 egg
- 30gr of sugar
- 5gr of cornstarch
- 40gr of pear purée
- 25gr of butter
Chocolate financier biscuit
- 63gr of butter
- 63gr of almond flour
- 15gr of unsweetened cocoa powder
- 75gr of icing sugar
- 20gr of flour
- 63gr of egg whites
- 10gr of cacao nibs
- 20gr of whole almonds
- 20gr of whole hazelnuts
Chocolate mousse
- 60gr of dark chocolate
- 60gr of milk chocolate
- 2 gelatine leaves
- 90gr of whole milk
- 170gr of heavy cream
Decoration with velvet spray
- Cocoa-coloured velvet spray
- 5 tsp of pear purée
- 1 pear
- Cacao nibs
To start, we will make the pear insert, as it will need to set in the freezer for a minimum of 2 hours.
Pear insert
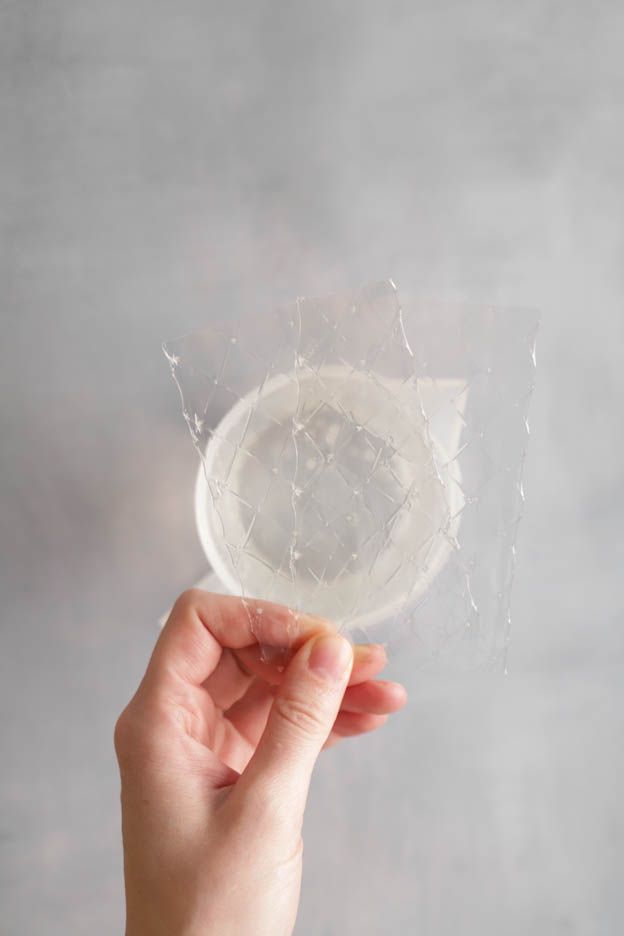
Start by soaking 2 gelatine leaves in a jug of cold water.
Then peel the pear(s). This will depend on the size of your pears — you may need several.
Once peeled and cored, you will need 200gr.
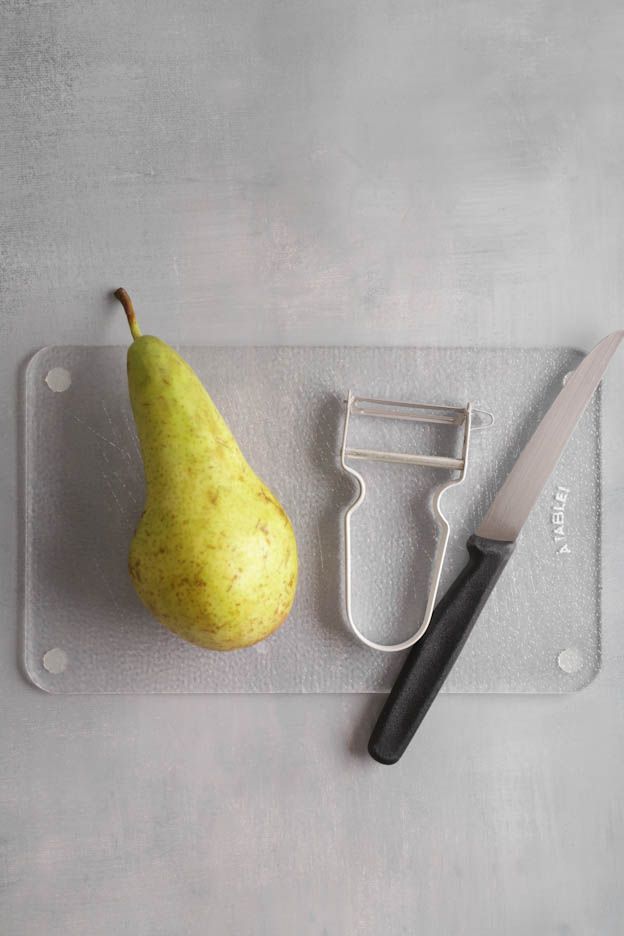
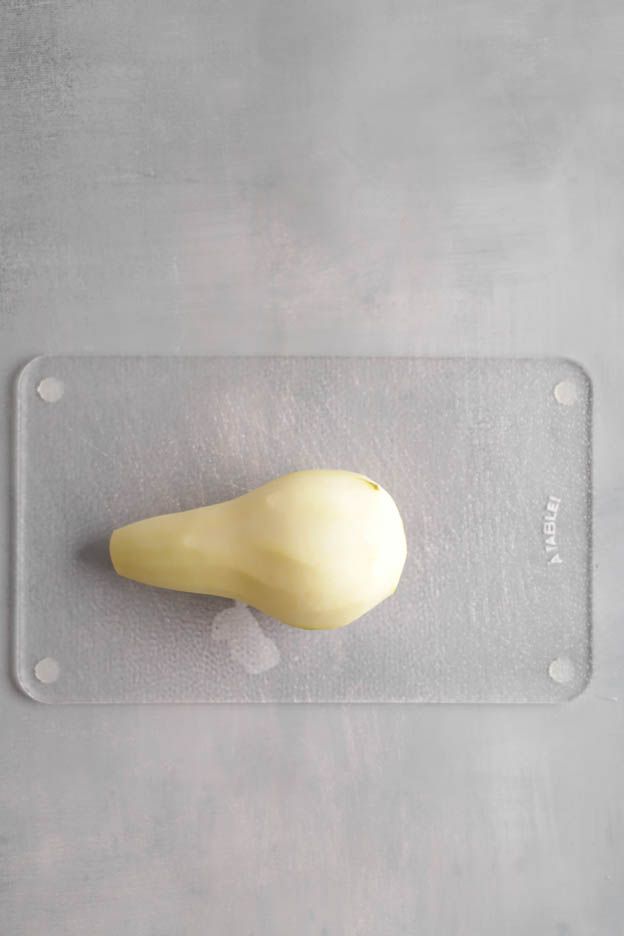
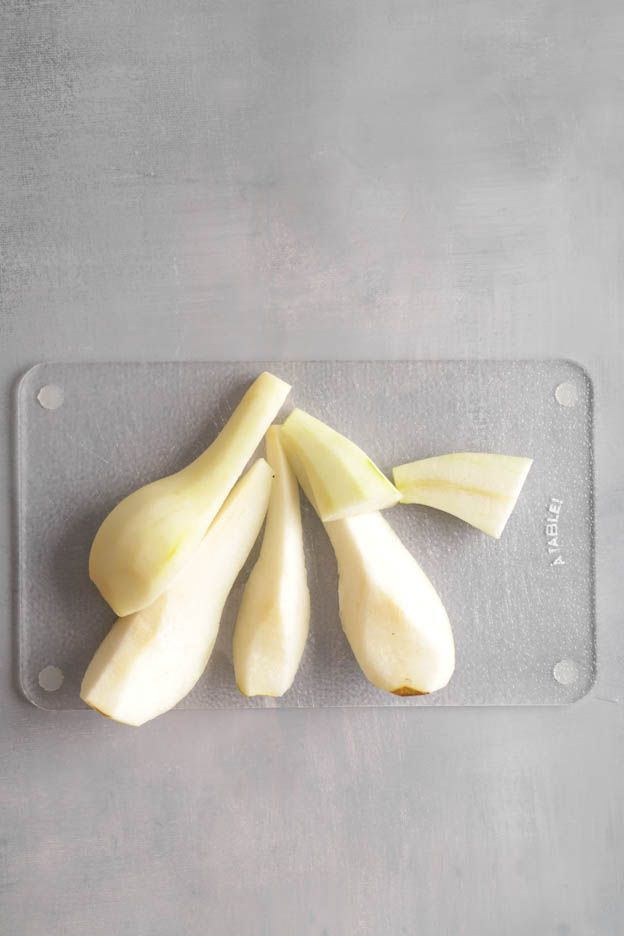
Cut the 200gr of pear into small cubes, then pour them into a pan.
Add 25gr of sugar.
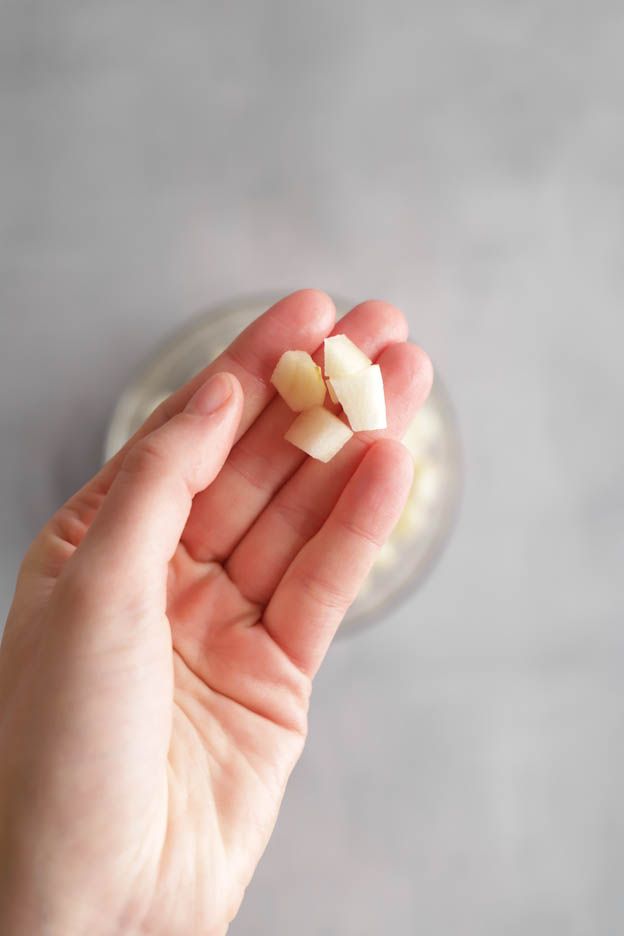
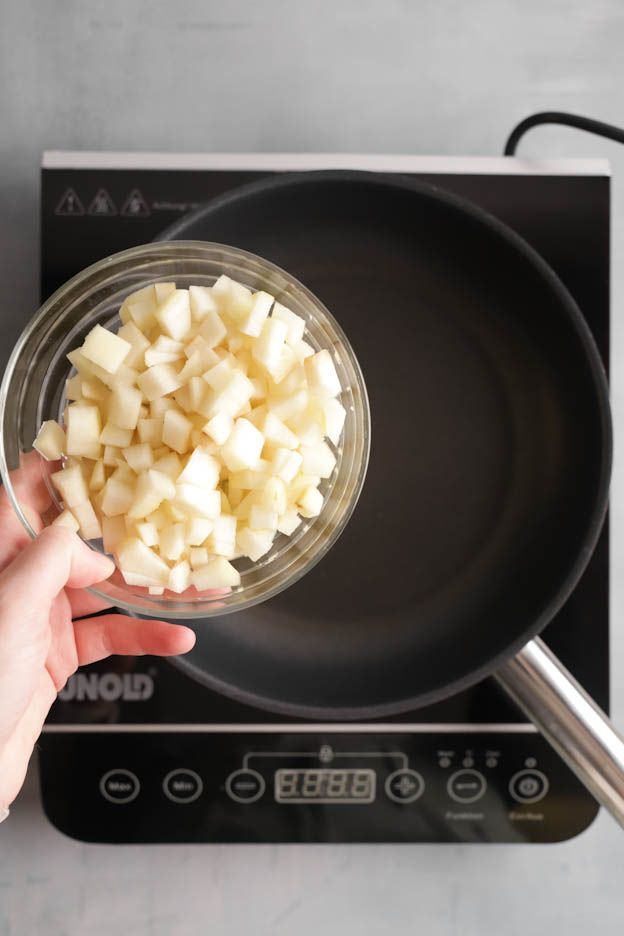
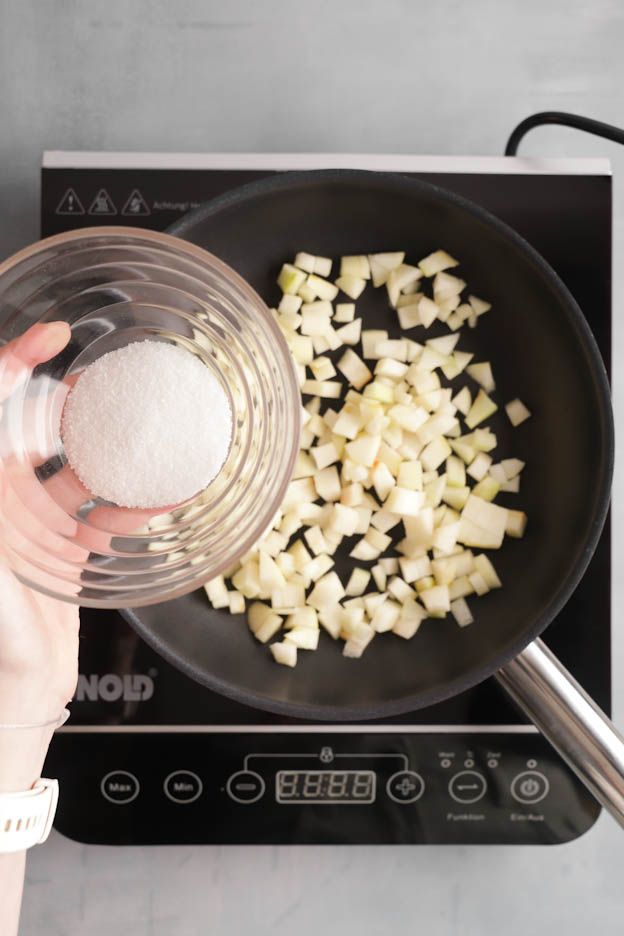
Pour in 100gr of pear purée and add 1 tsp of vanilla extract.
Use measuring spoons to measure the vanilla extract precisely.
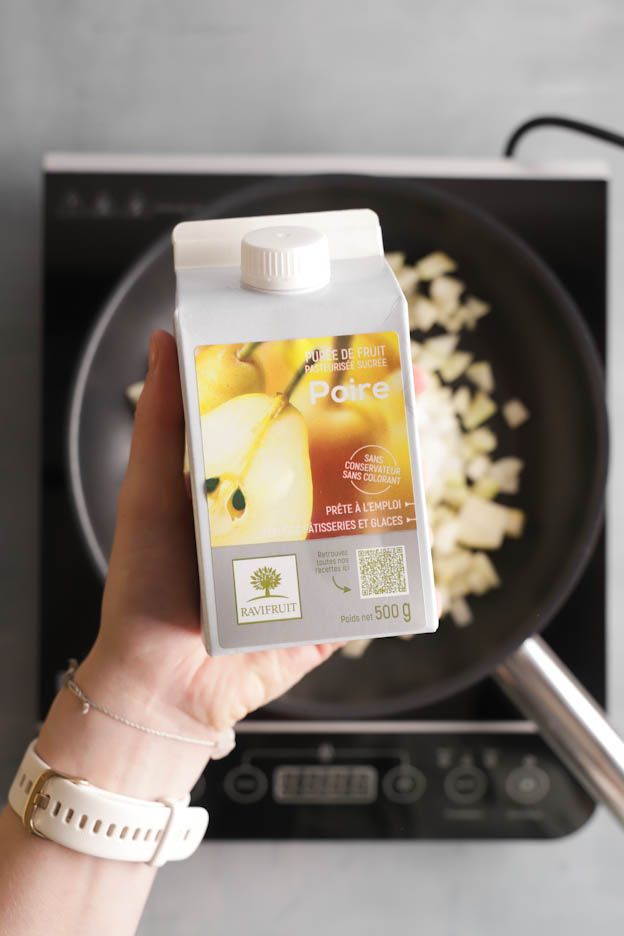
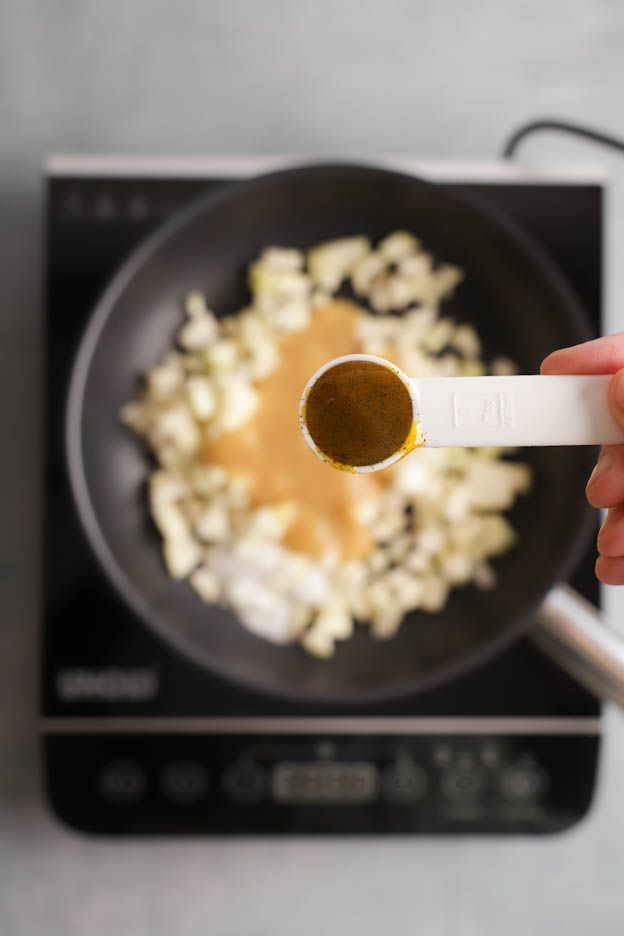
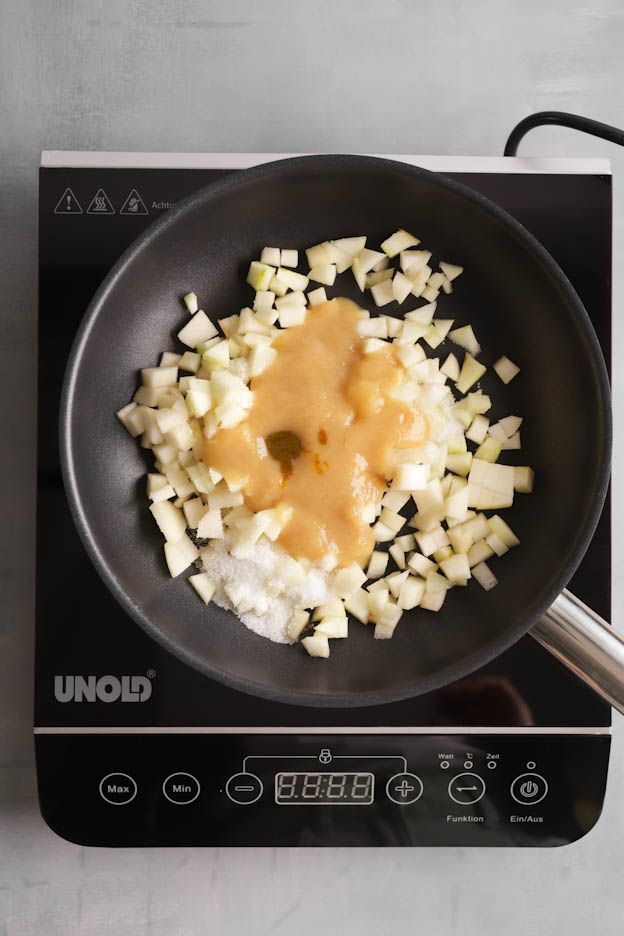
Heat everything over medium heat and cook for a moment. Keep some bite, we don't want a purée.
Squeeze out the 2 gelatine leaves and add them to the pears.
Mix well so that the gelatine melts.
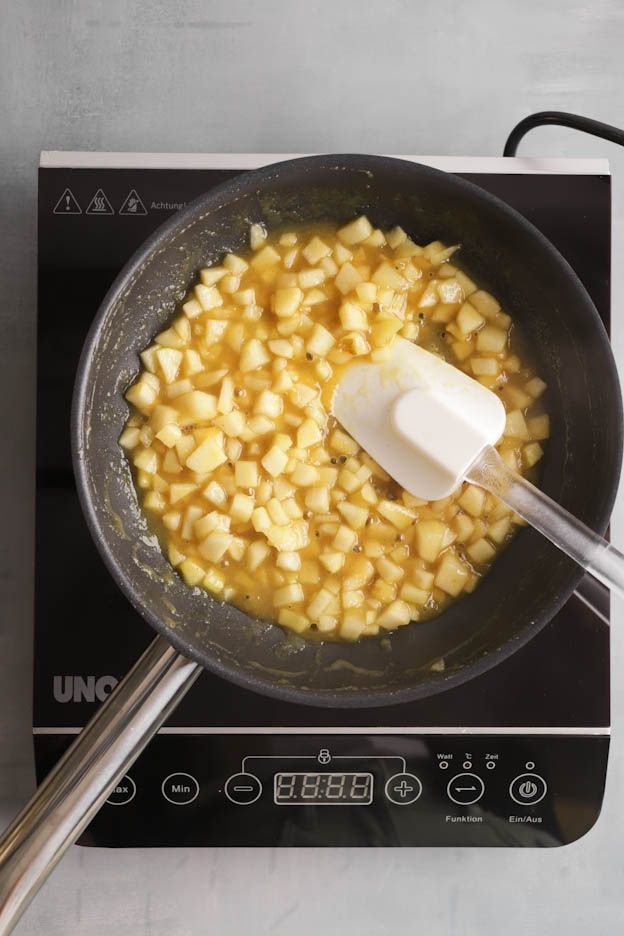
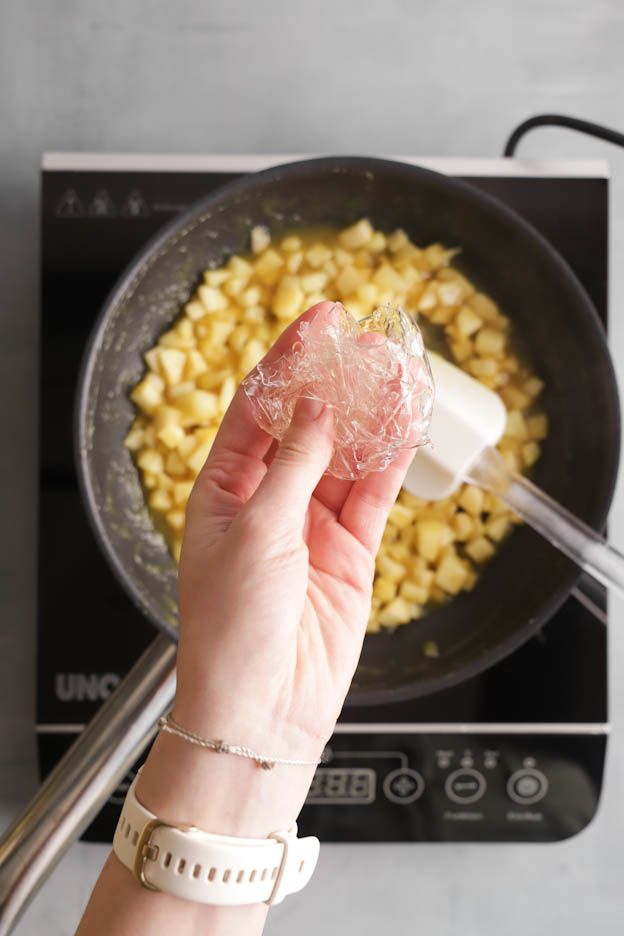

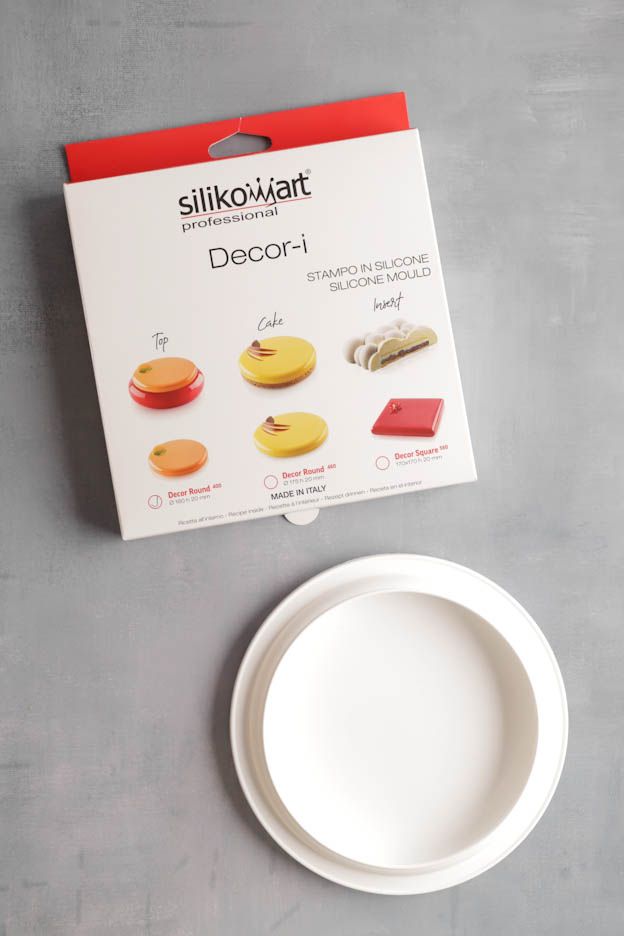
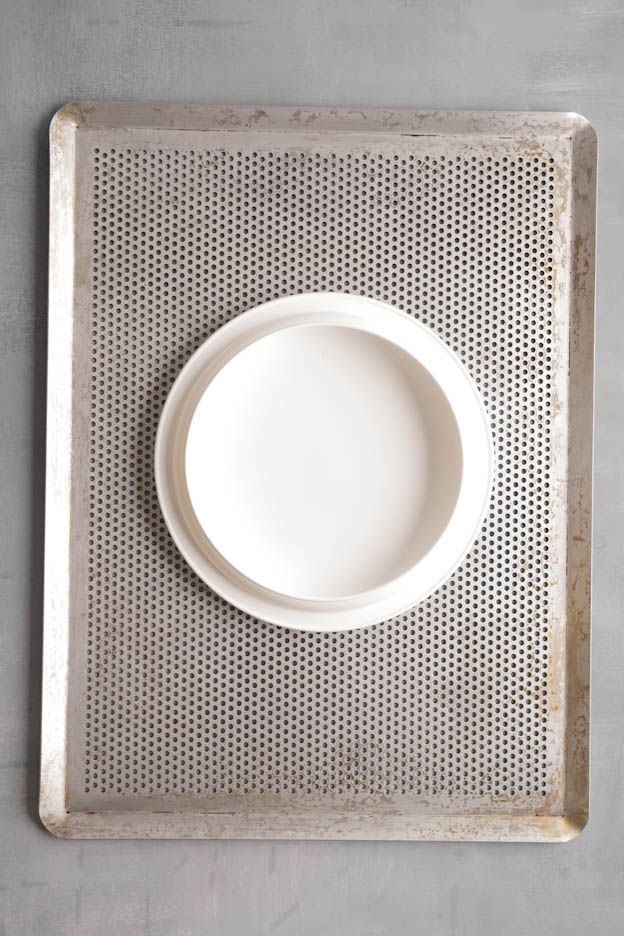
For this insert, I used the Decor-i 400 silicone mould from Silikomart.
Place the mould on a perforated tray to make it easier to move to the freezer.
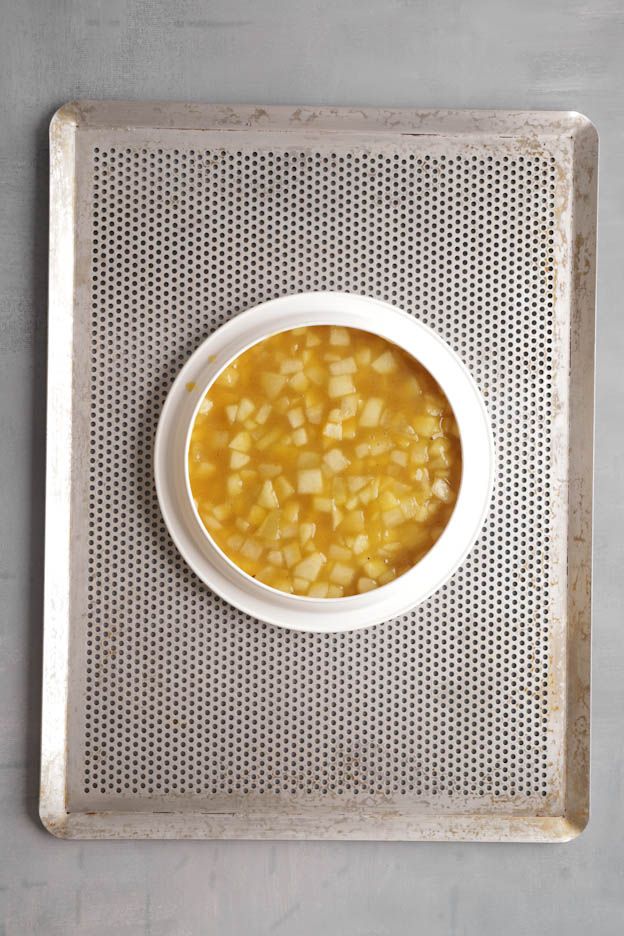
Pour the pears into the mould and place everything in the freezer for a minimum of 2 hours.
In the meantime, make the milk chocolate whipped ganache which we will use as decoration.
Milk chocolate whipped ganache
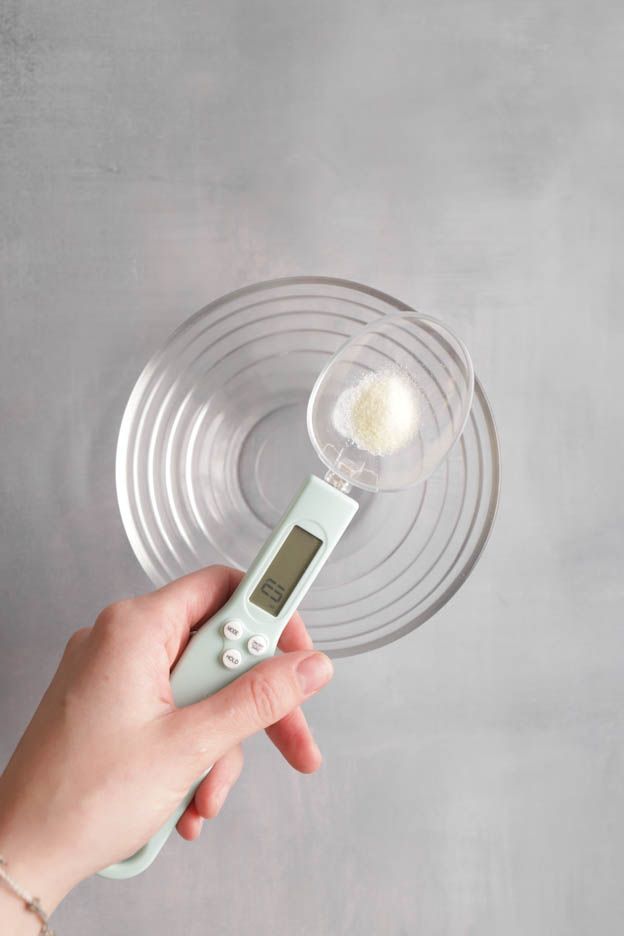
First, weigh 1gr of powdered gelatine using a scale spoon and pour it into 5gr of cold water.
The scale spoon is ideal for accurately weighing small quantities.
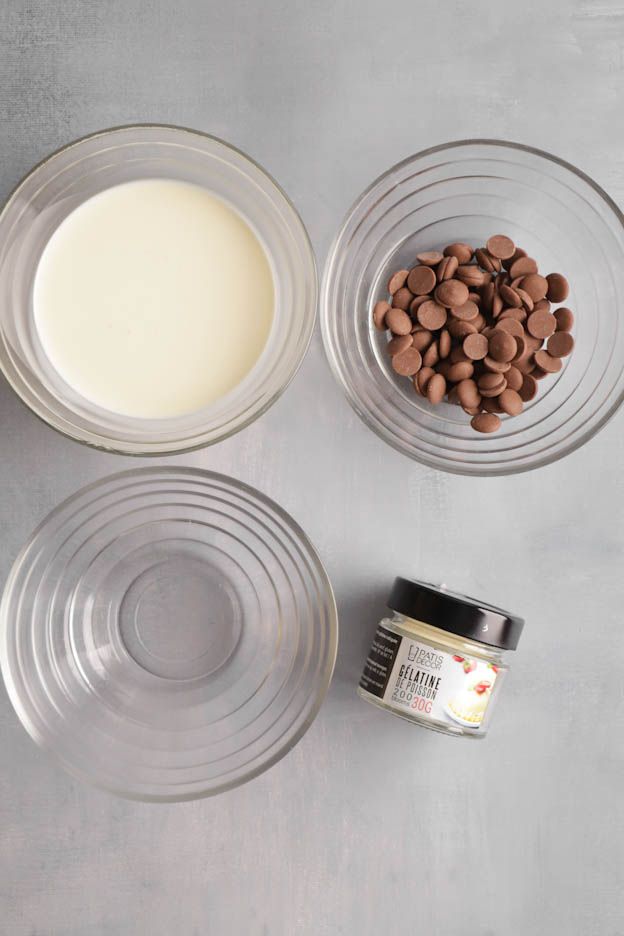
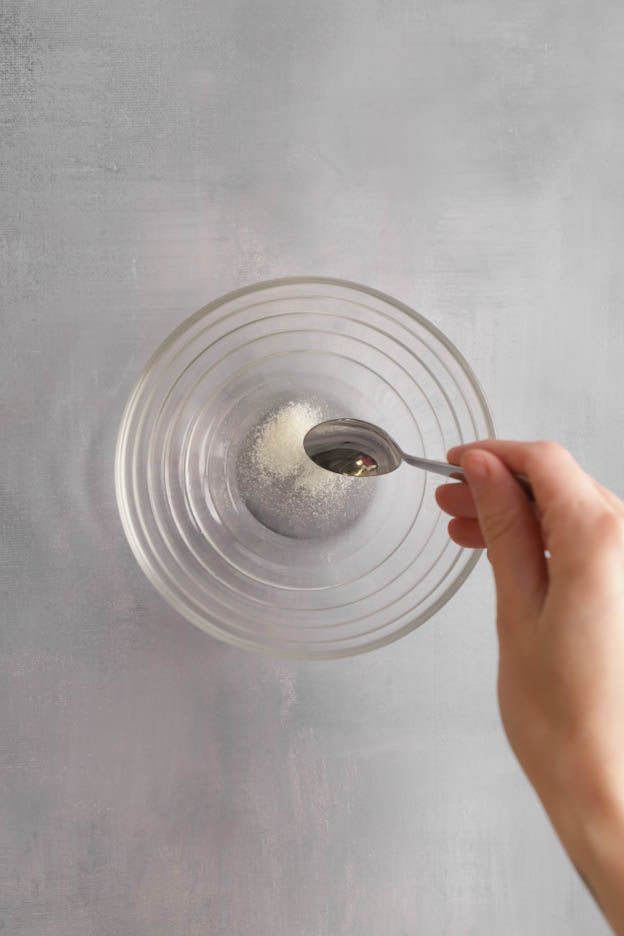
Mix the water and gelatine with a spoon and leave to bloom at room temperature while you prepare the rest.
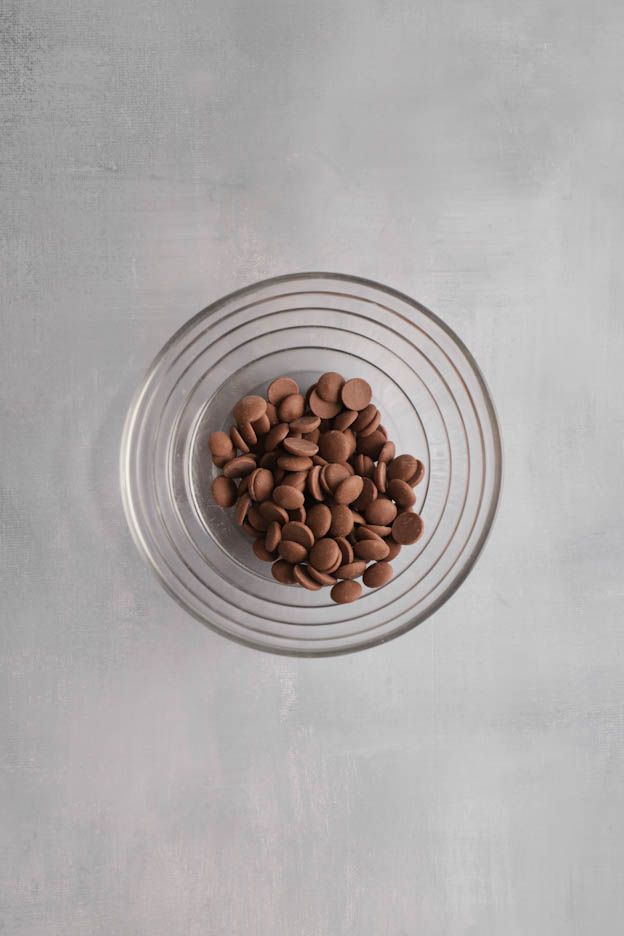
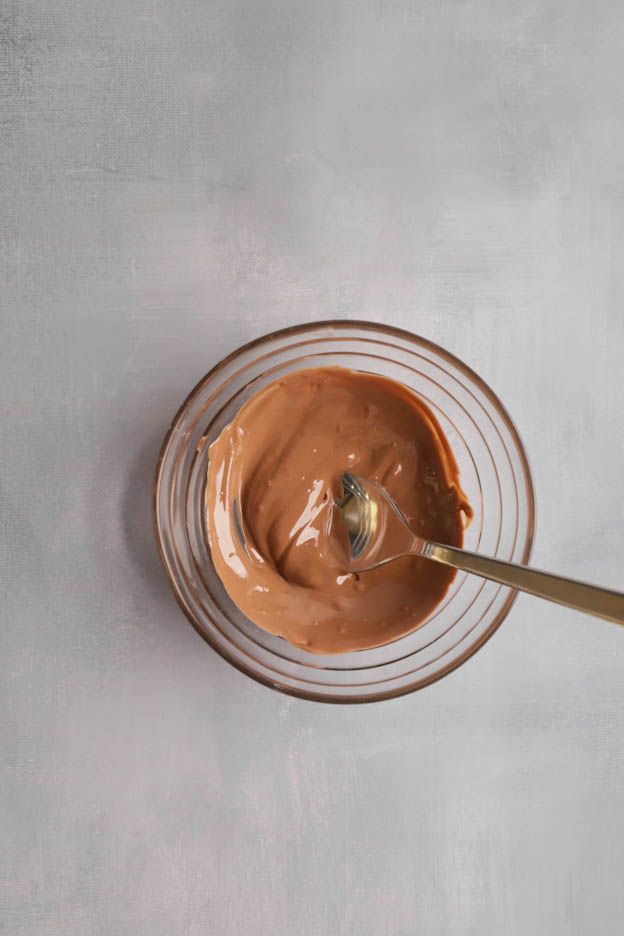
Melt 60gr of milk chocolate in the microwave for 30 seconds at 600W. It's fine if your chocolate is not completely melted. Stir it with a spoon.
In a saucepan, bring 135gr of heavy cream to the boil.
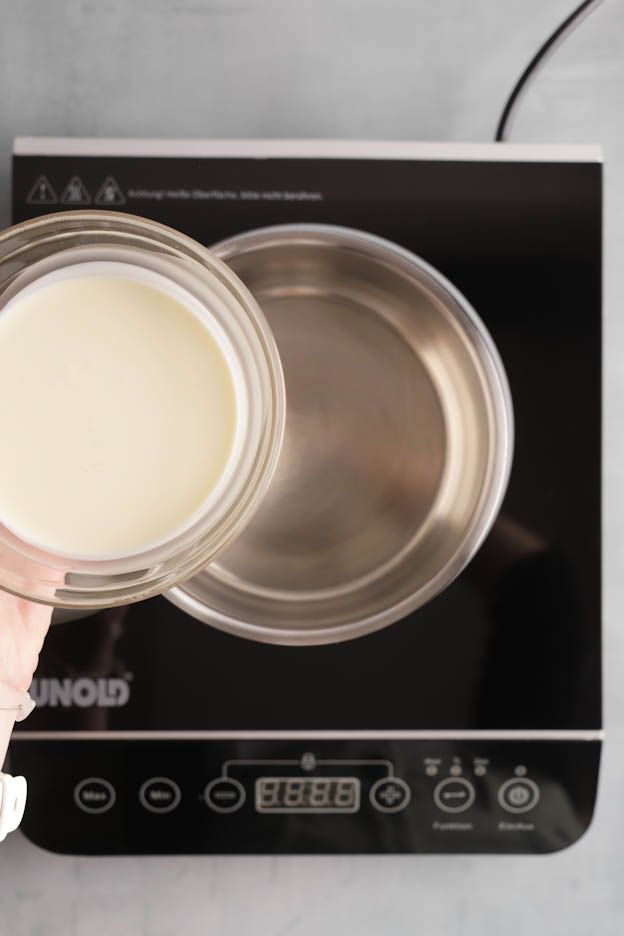
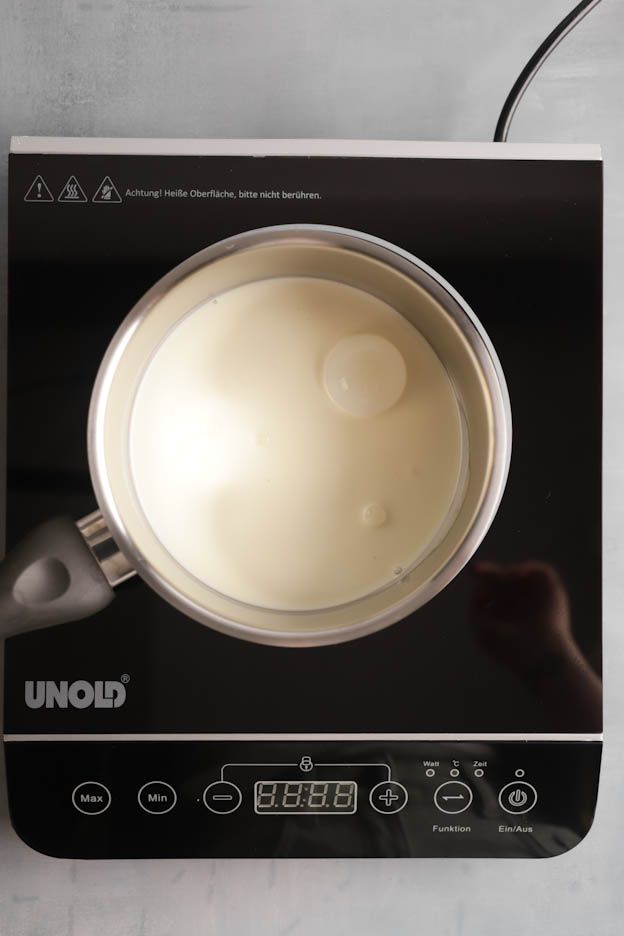
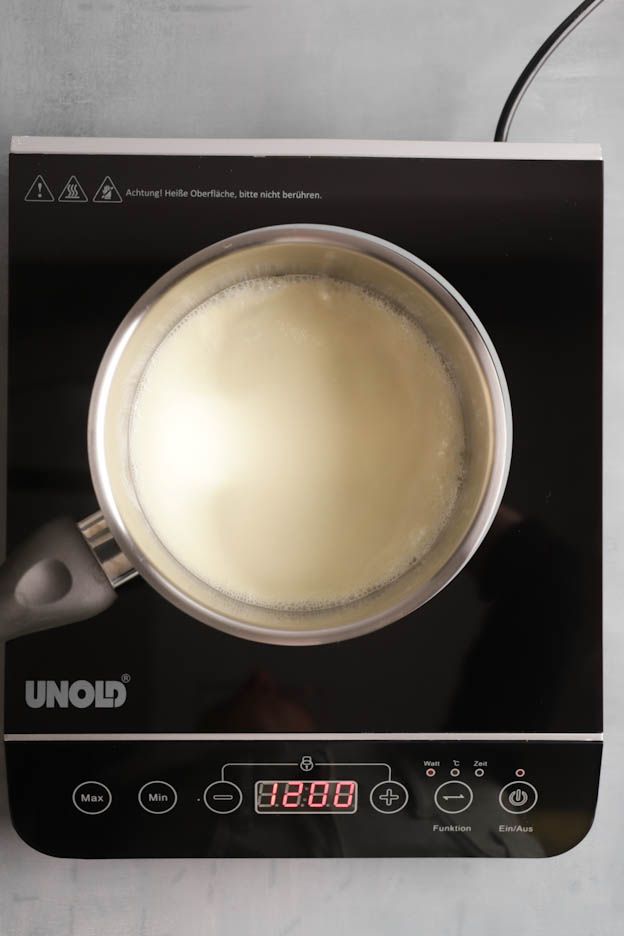
Once the cream is boiling, remove it from the heat and add the gelatine prepared just before.
Mix well with a whisk so that the gelatine melts completely and is fully incorporated into the cream.
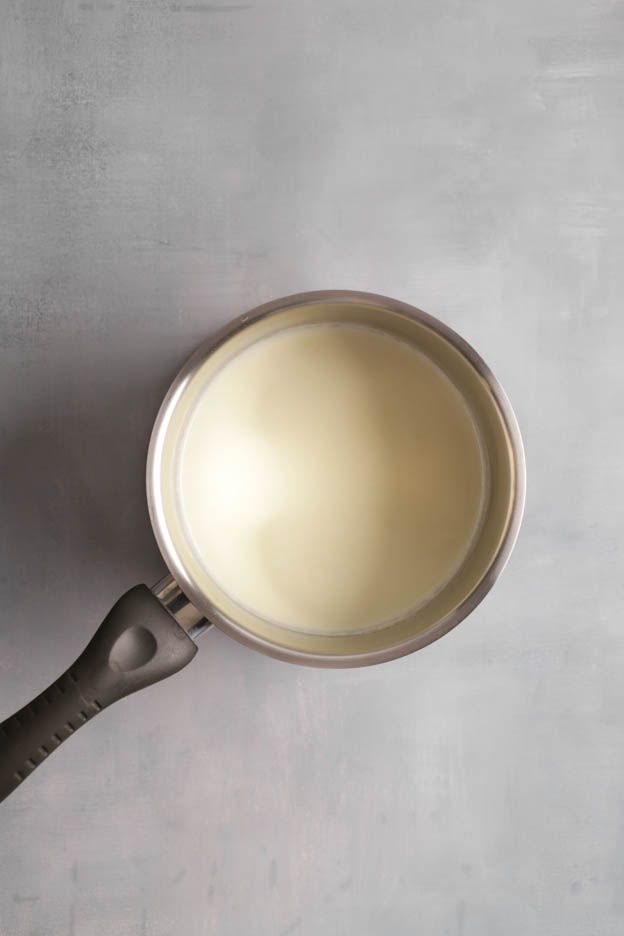
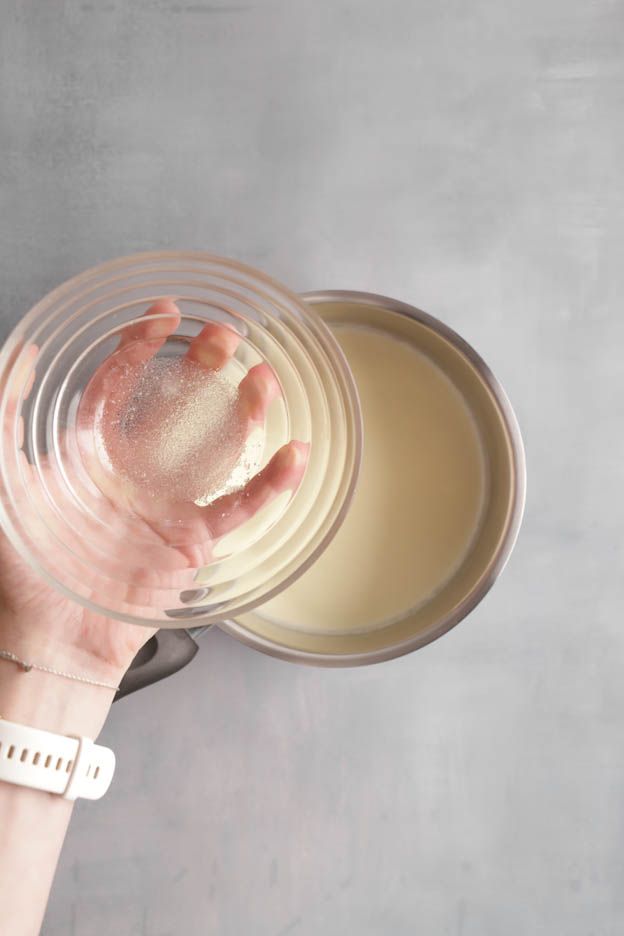
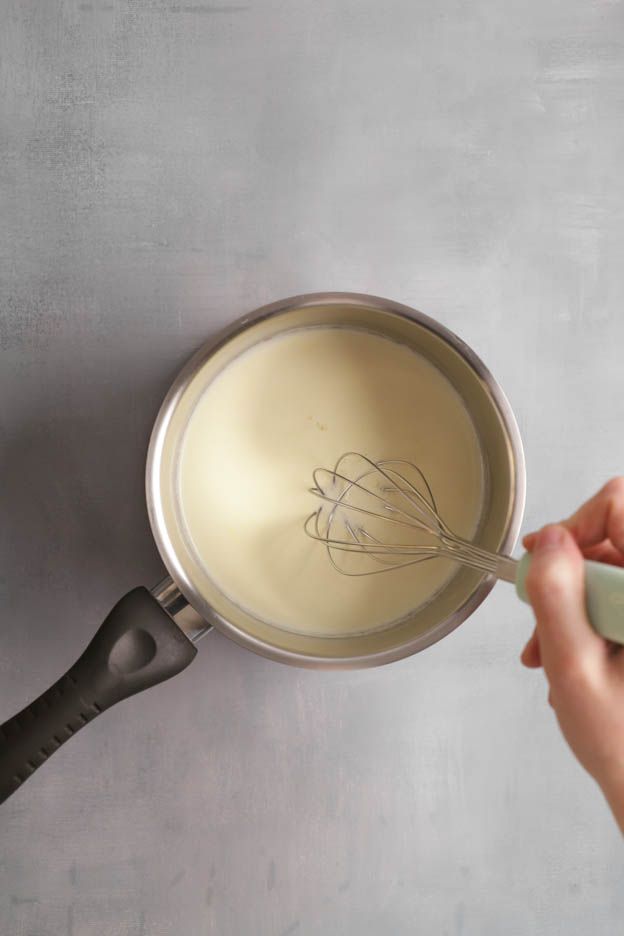
Pour the cream over the chocolate in 3 additions, mixing well between each addition.
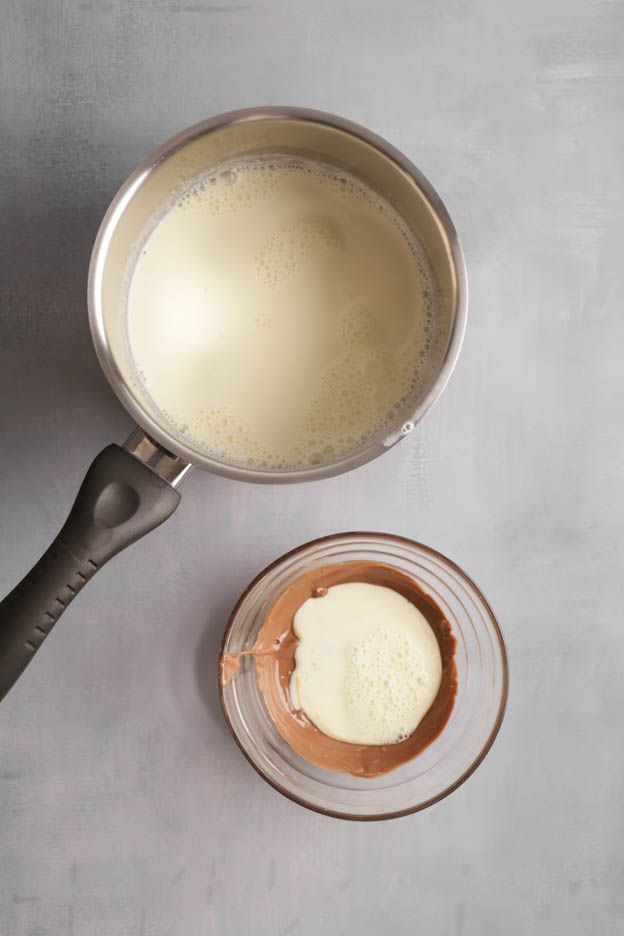
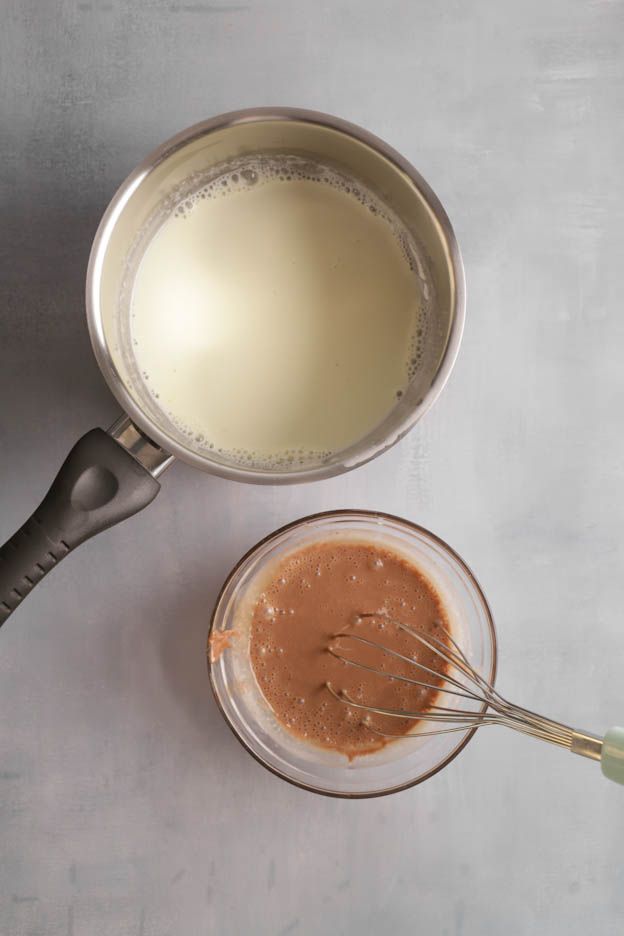
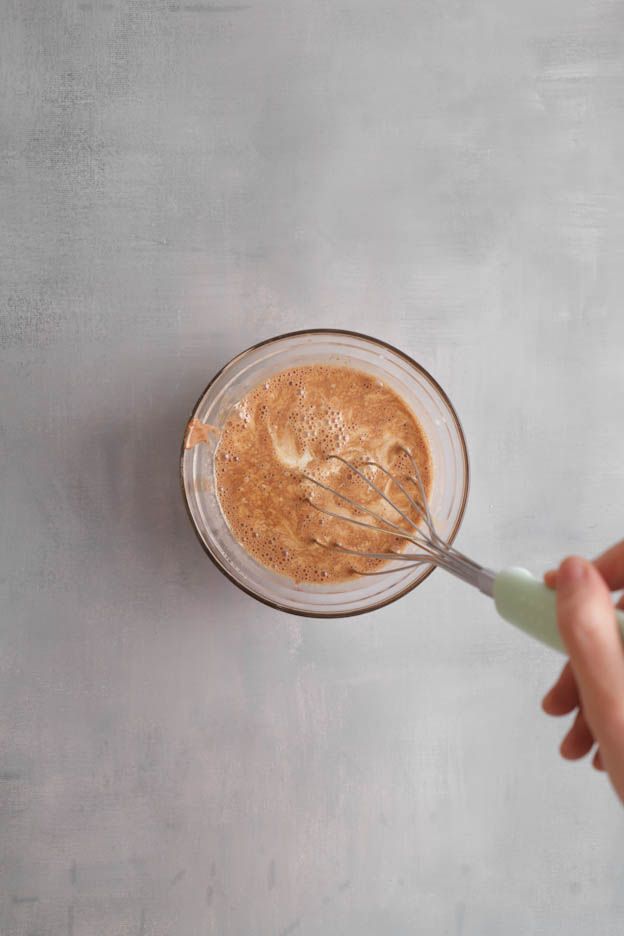
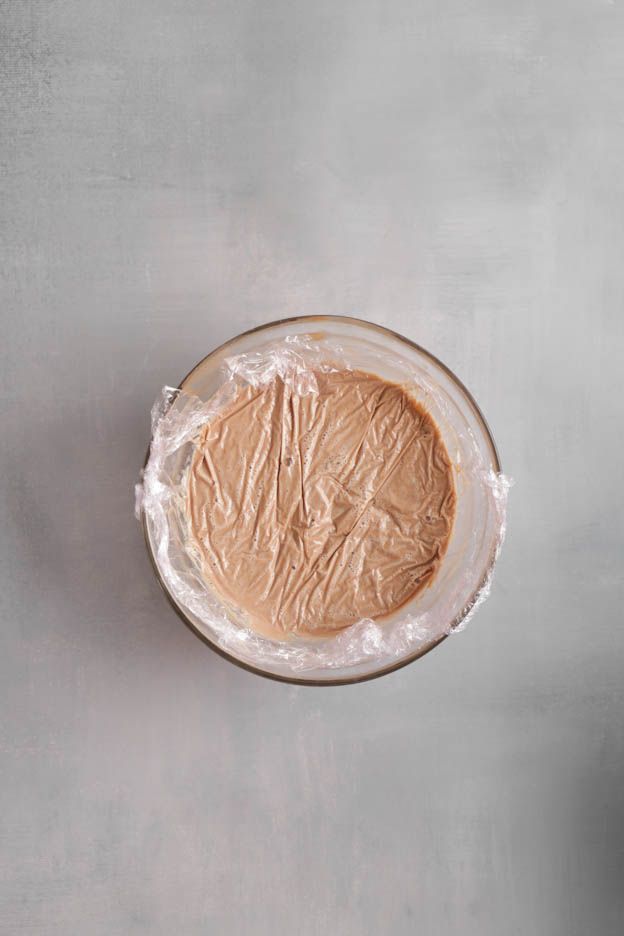
There we go, we have a lovely ganache. Cover it with cling film. Press the film directly against the ganache (i.e. the cling film touching the surface of the ganache) to prevent a skin from forming on top.
Place the ganache in the fridge for a minimum of 4 hours.
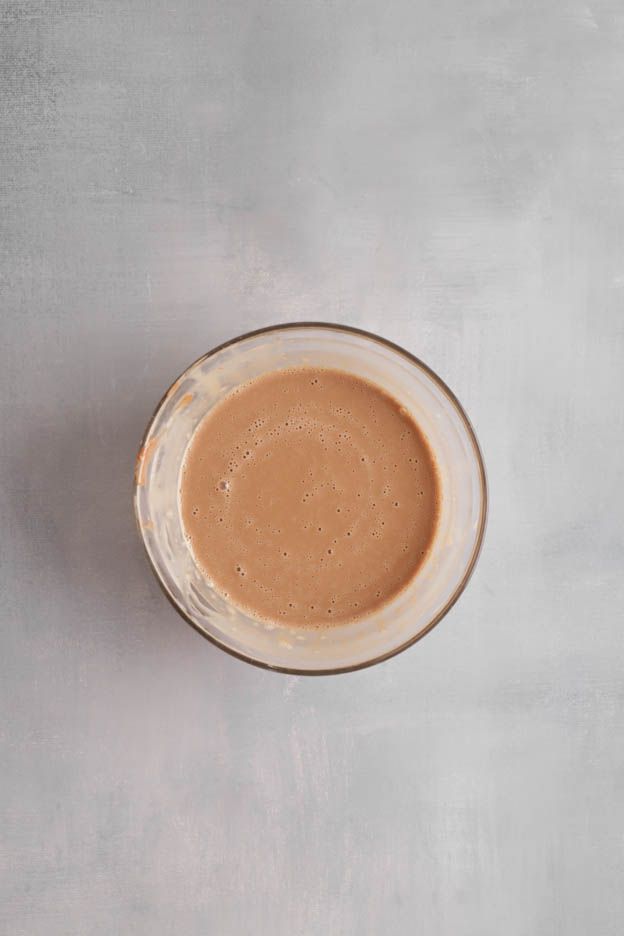
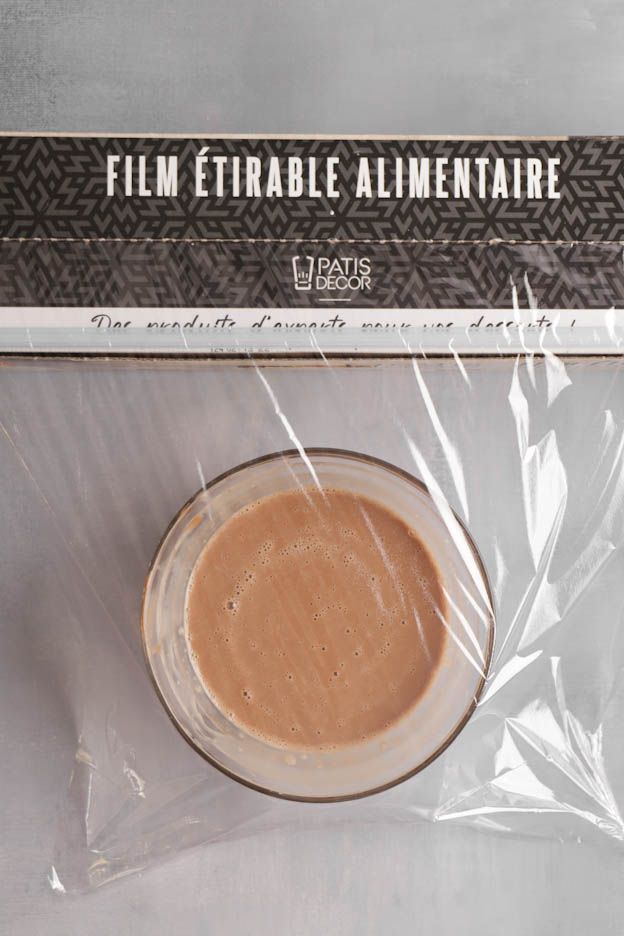
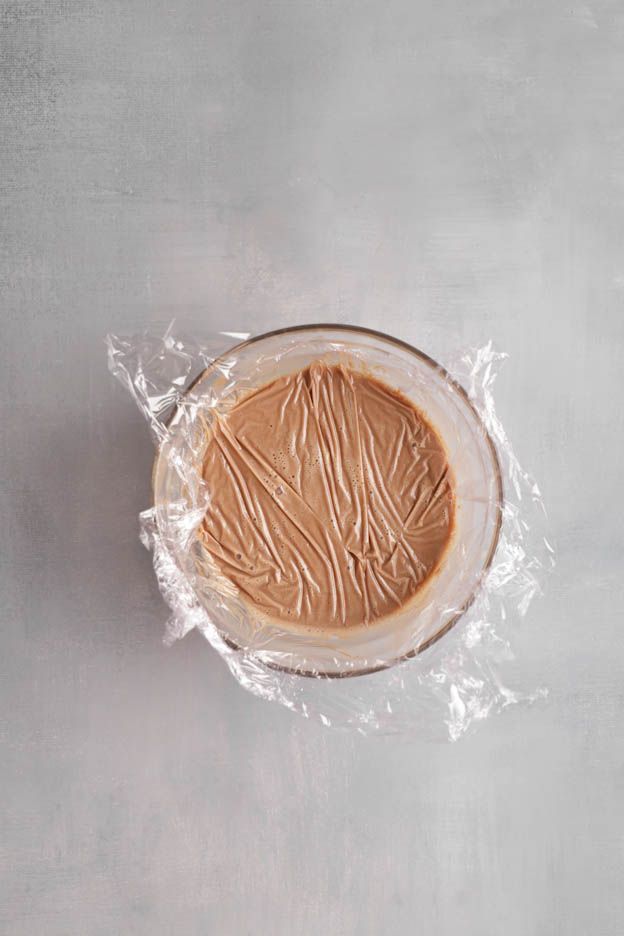
We will now move on to the next stage of the insert: the pear cremeux.
Pear cremeux
In a saucepan, crack 1 egg and add 30gr of sugar.
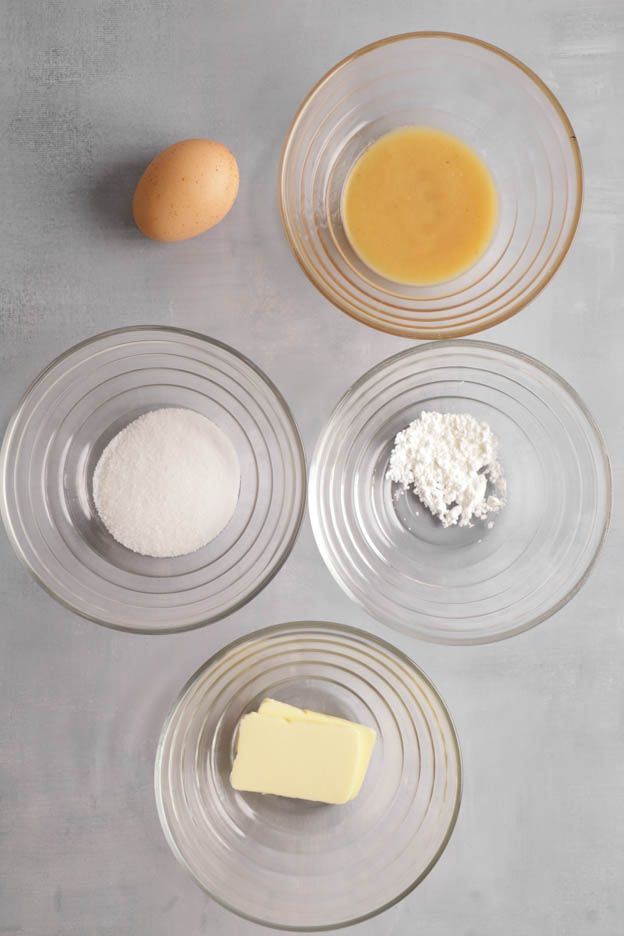

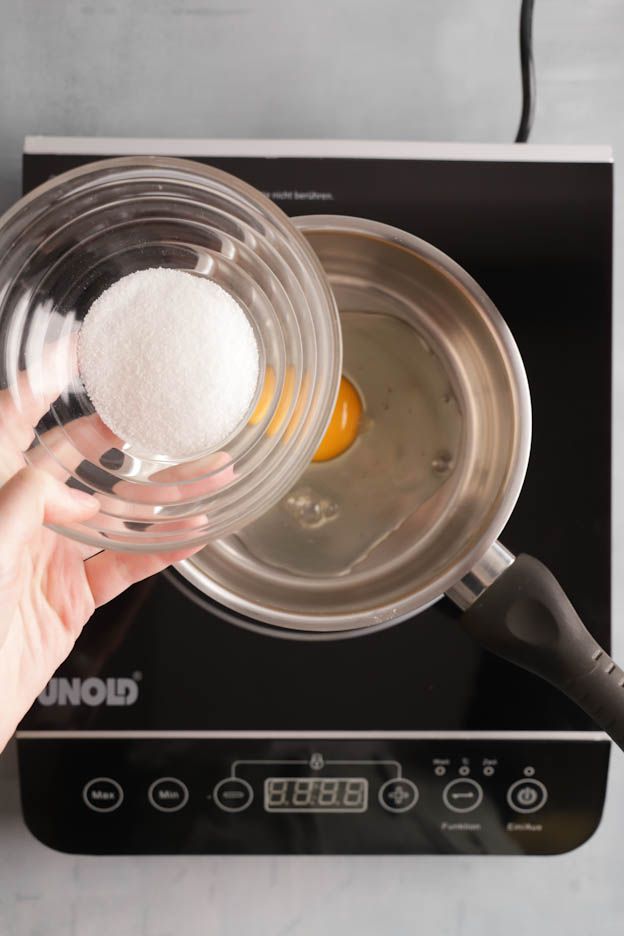
Then add 40gr of pear purée and 5gr of cornstarch.
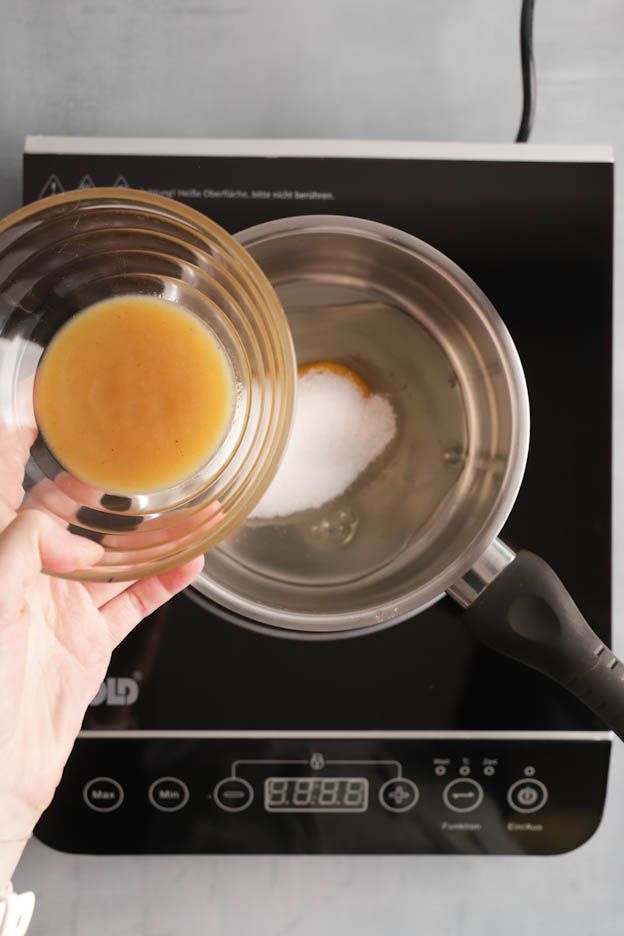
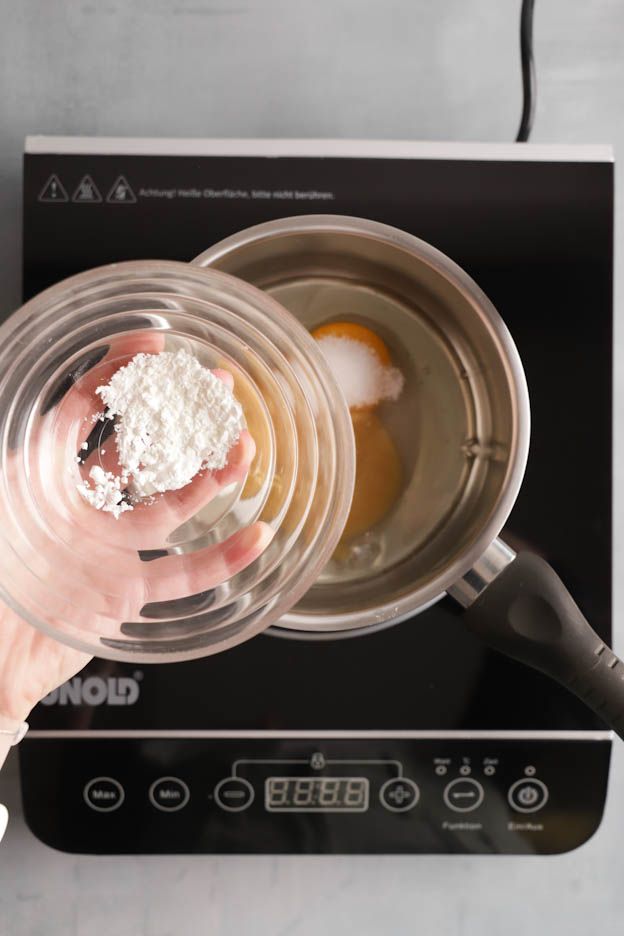
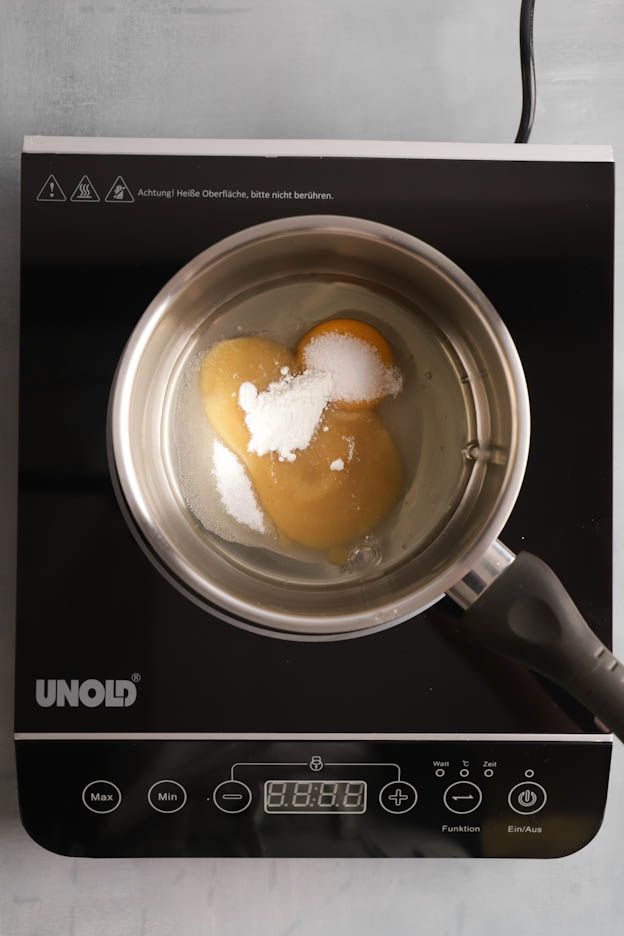
Mix well with a whisk.
Heat everything over medium heat until the first PLOP, stirring continuously so it doesn't stick to the bottom of the pan.

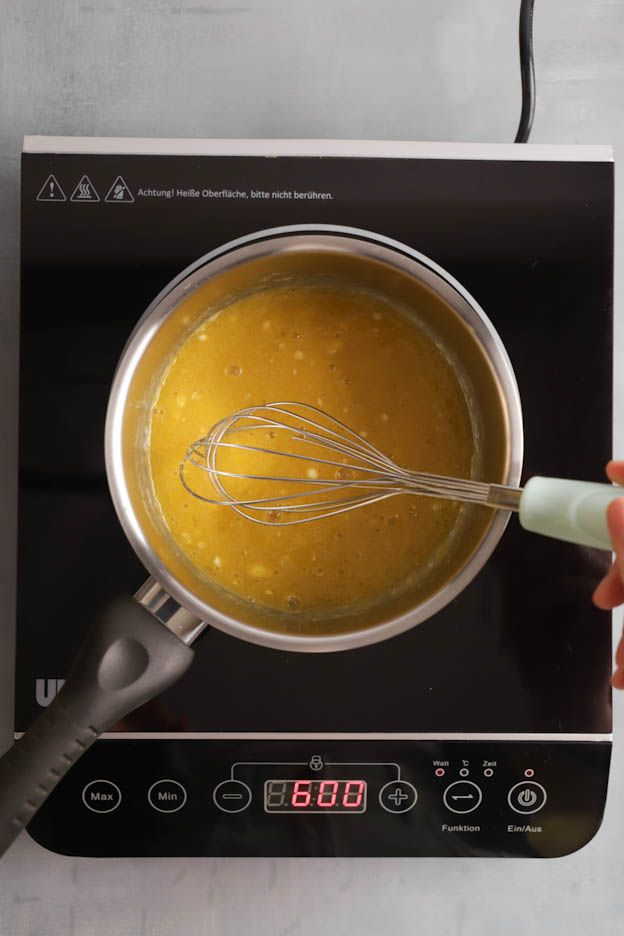
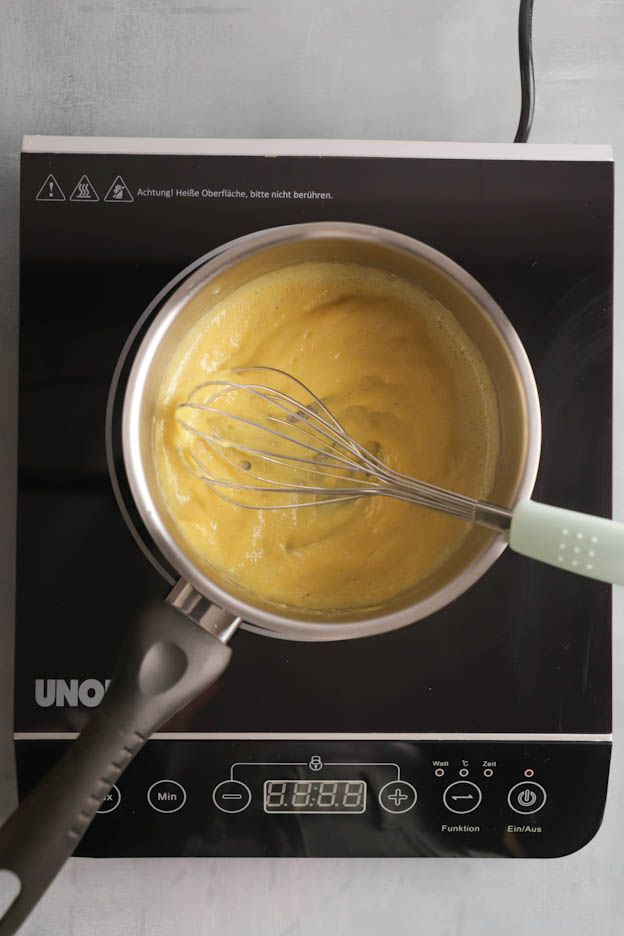
Pour everything into a bowl and add 25gr of butter. Mix well until the butter has melted.
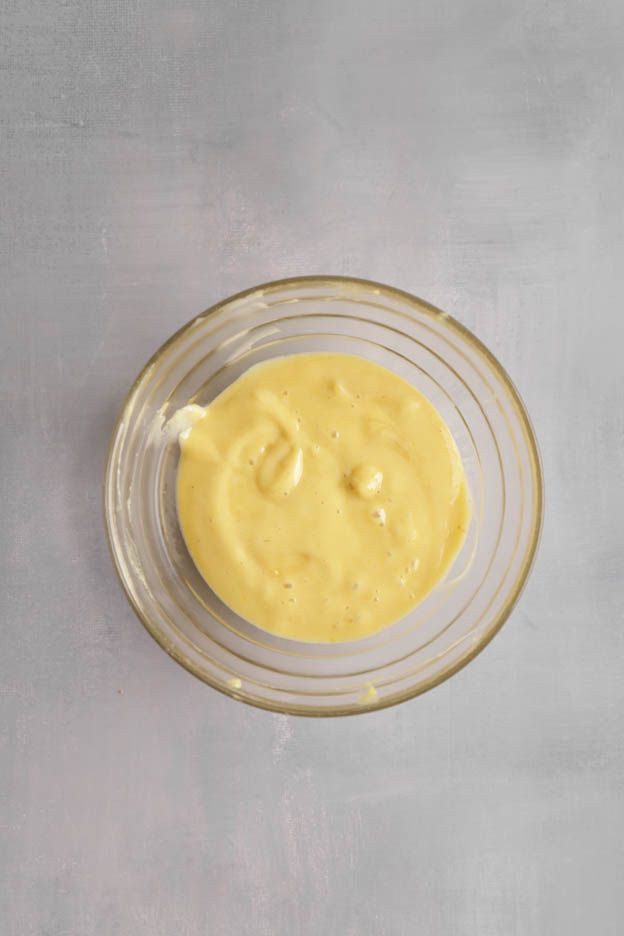
Then blend everything with a hand blender until you get a smooth cremeux.
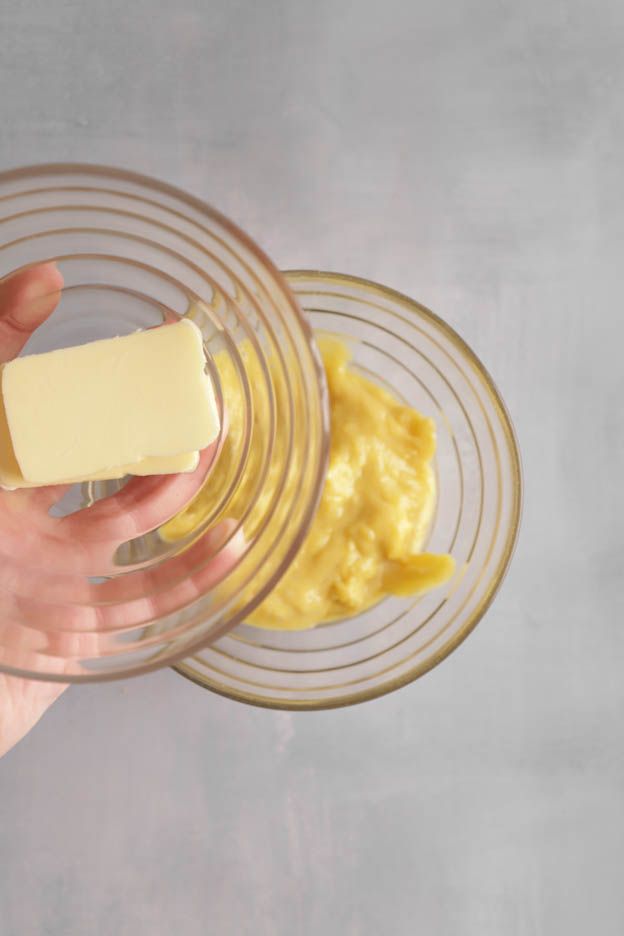
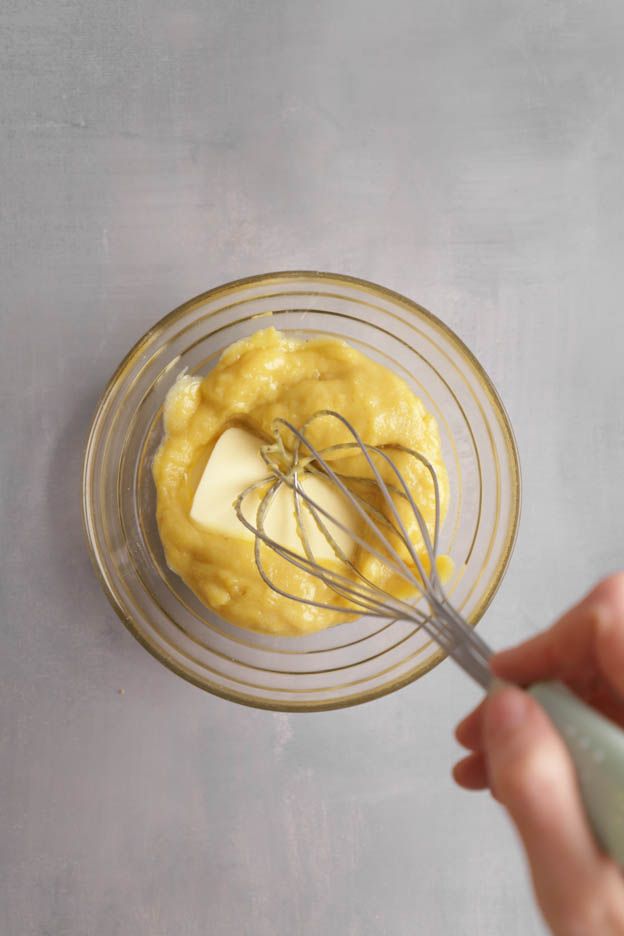
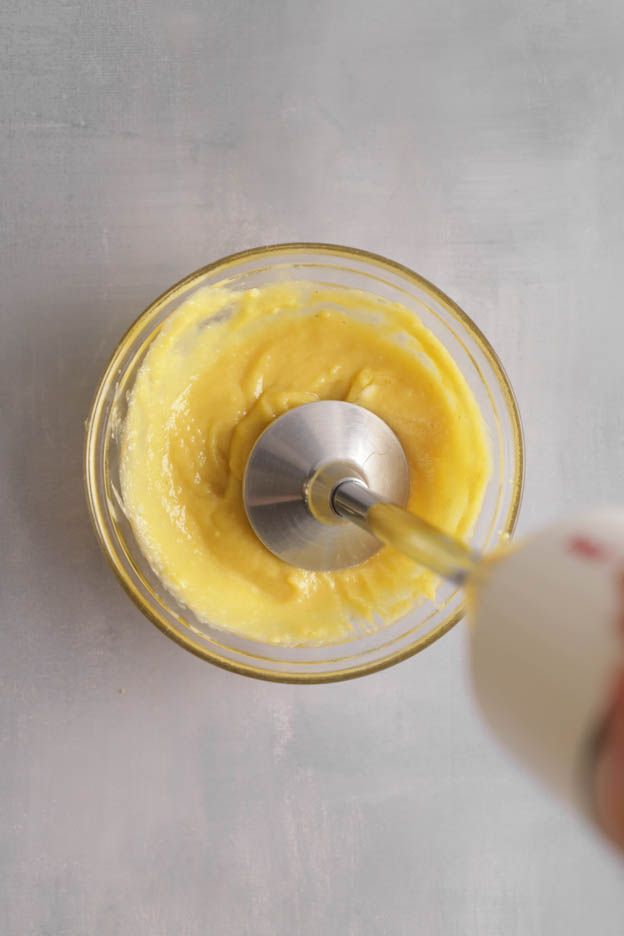
Our cremeux is ready!
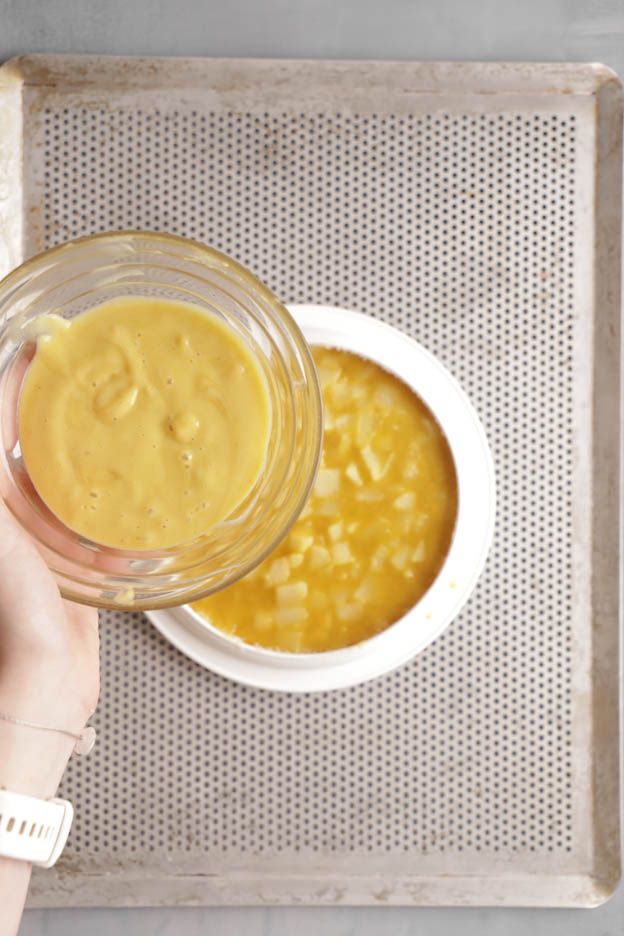
Take the pear insert out of the freezer and pour the cremeux over it. Place everything back in the freezer for a minimum of 2 hours.
Now we will move on to making the chocolate financier biscuit.
Chocolate financier biscuit
To start, we will make a brown butter (beurre noisette). To do this, pour 63gr of butter into a saucepan.
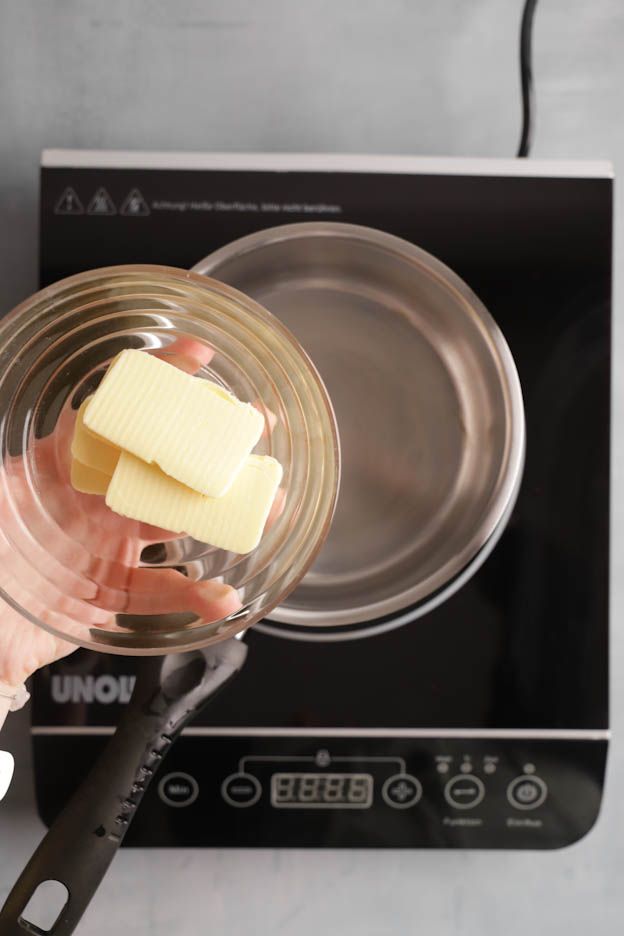
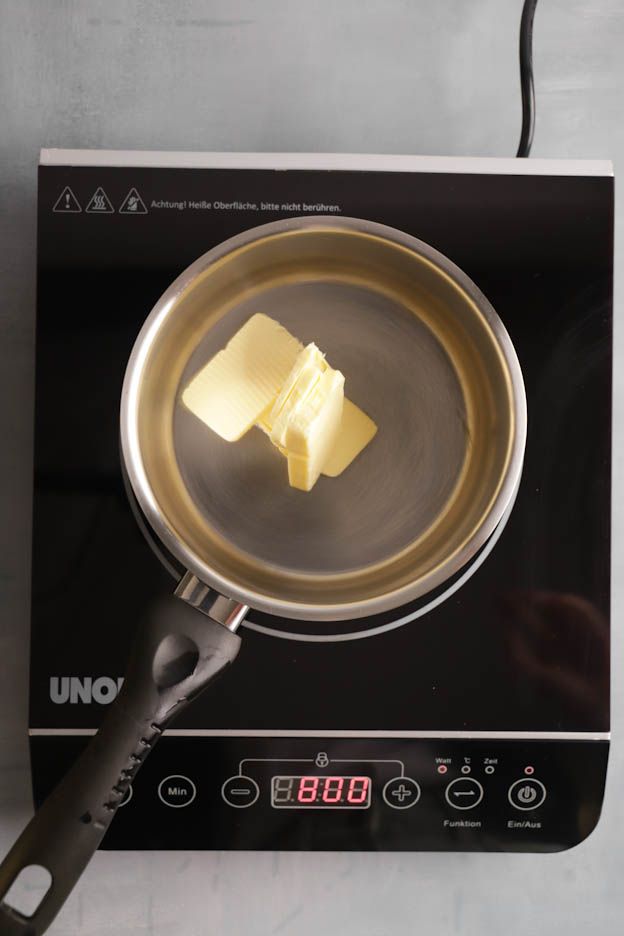
Melt the butter over medium heat until it turns a hazelnut colour. You'll notice a lovely nutty aroma when the butter is ready. :-)
Once the brown butter is done, strain it through a sieve and leave it to cool in a bowl at room temperature while you prepare the rest.

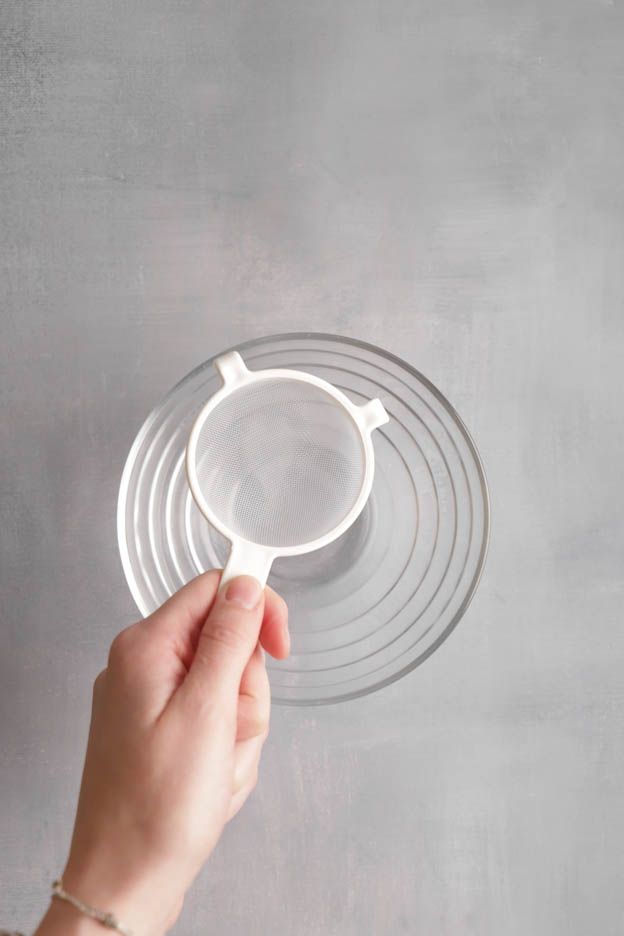
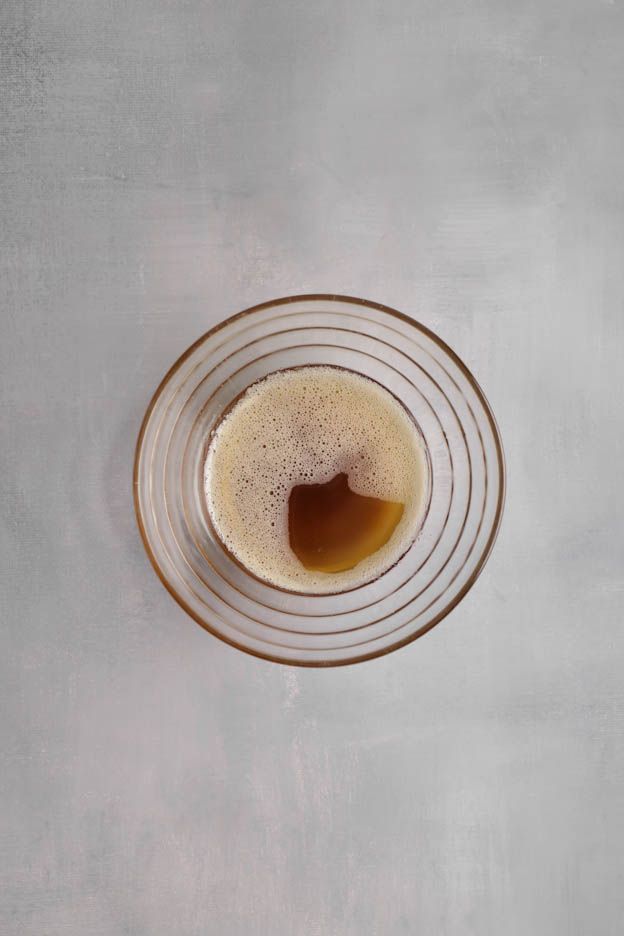
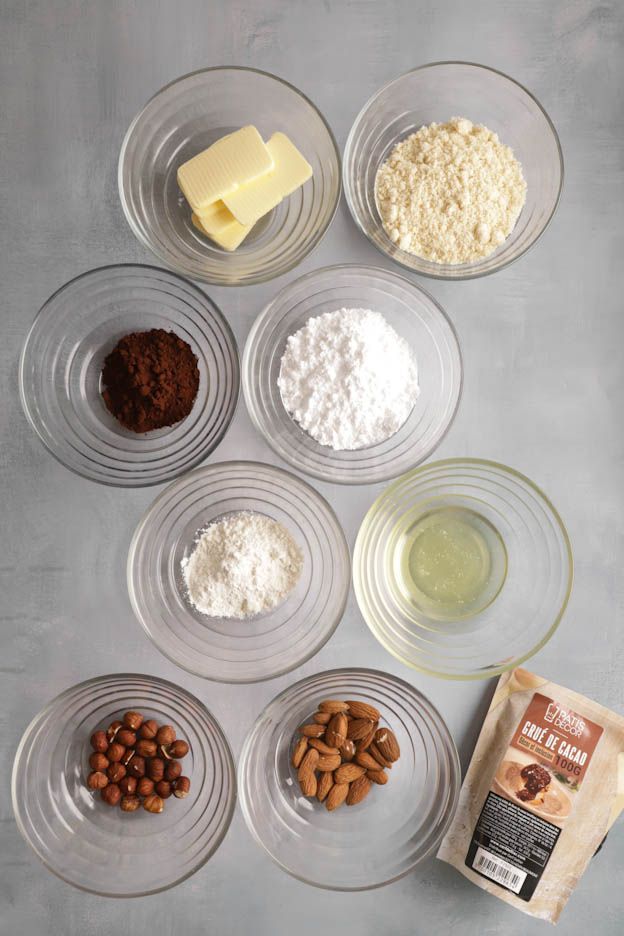
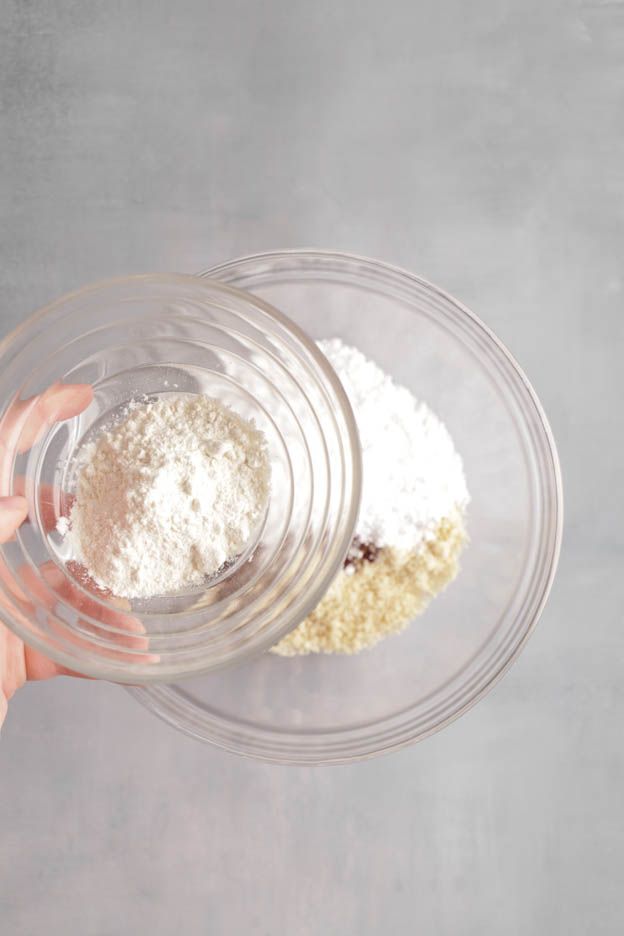
In a large bowl, pour 63gr of almond flour, 15gr of unsweetened cocoa powder and 75gr of icing sugar.
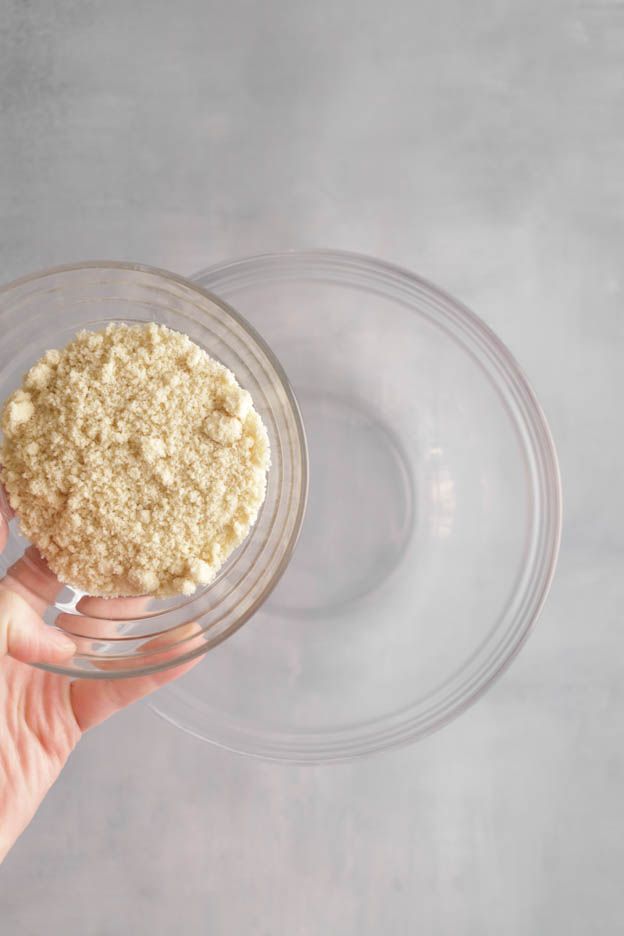
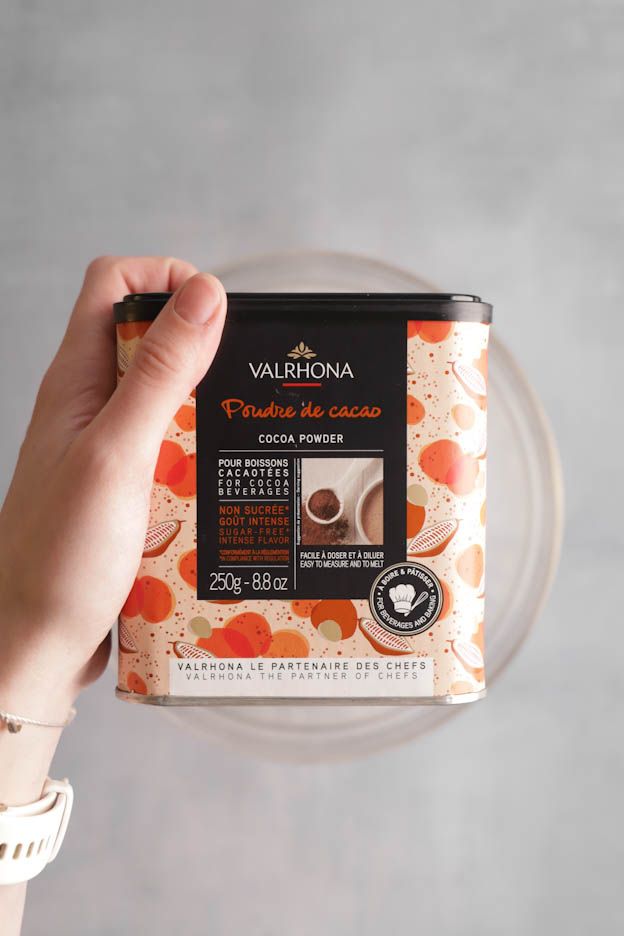
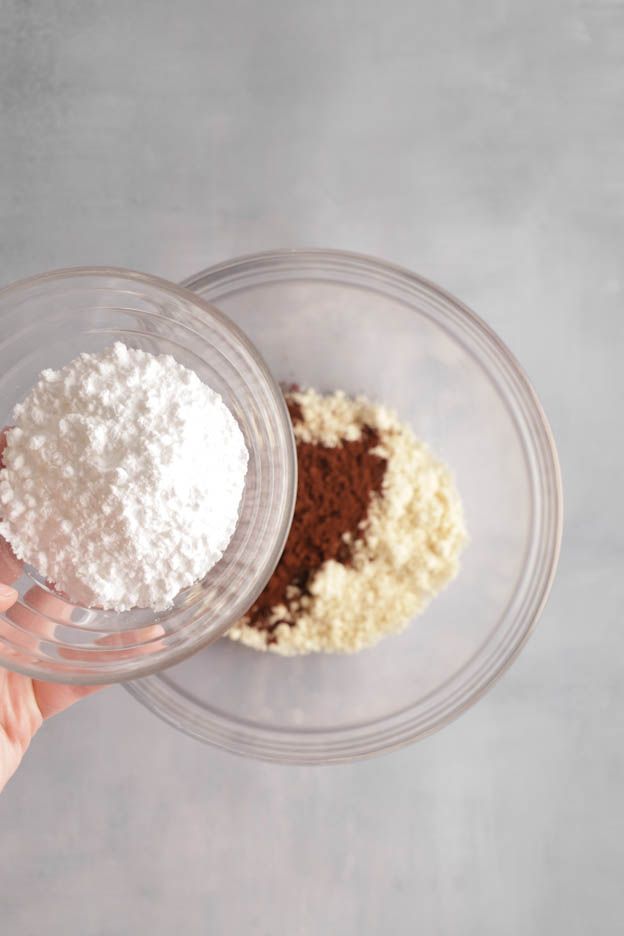
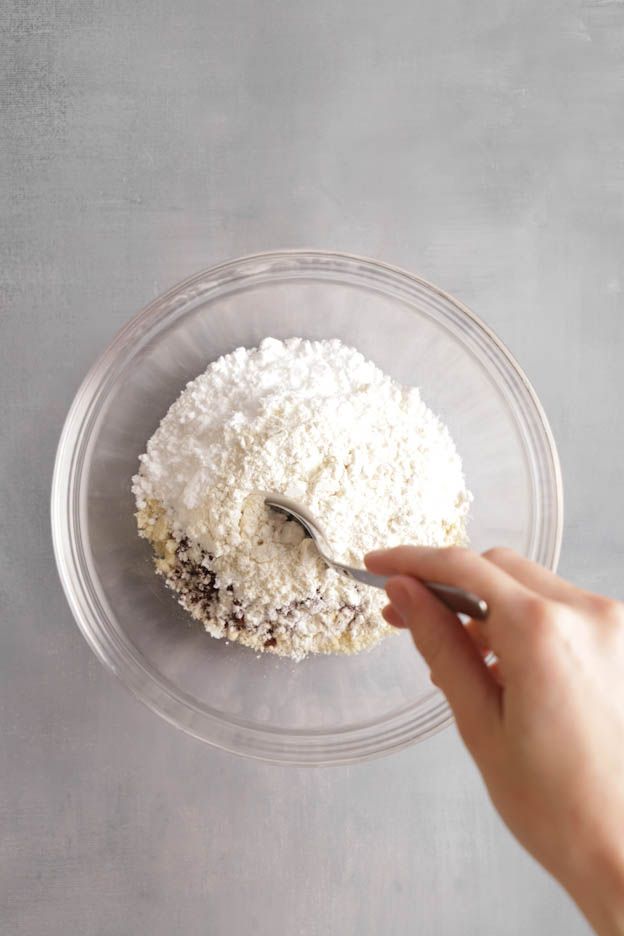
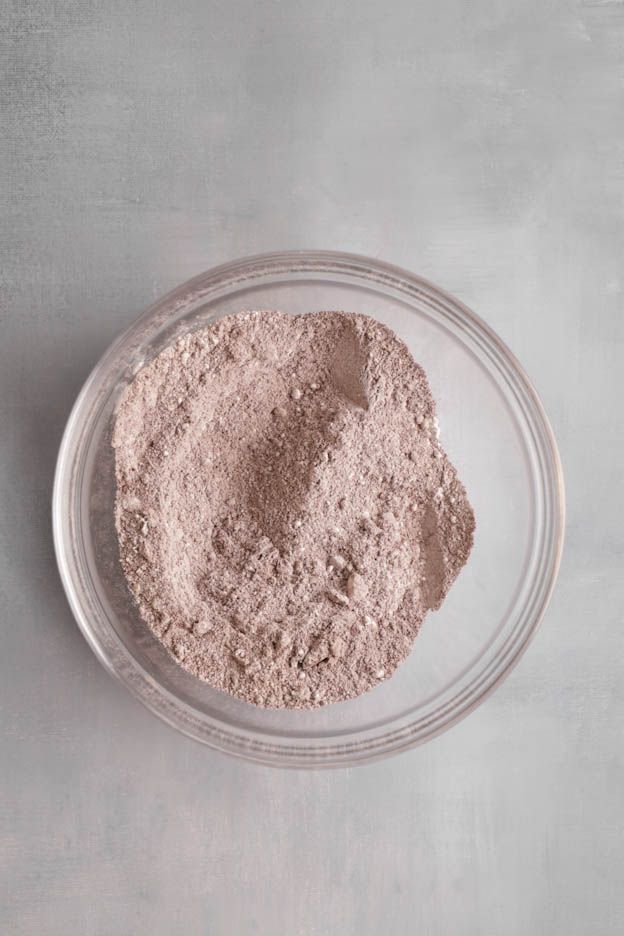
Add 20gr of flour and mix everything together with a spoon.
Preheat your oven to 170°C, fan-assisted.
I realised it would be easier to make the biscuit using a stand mixer, so I transferred the dry ingredients into the mixer bowl.
Add 63gr of egg whites and mix everything with the whisk for 1 minute at medium speed.
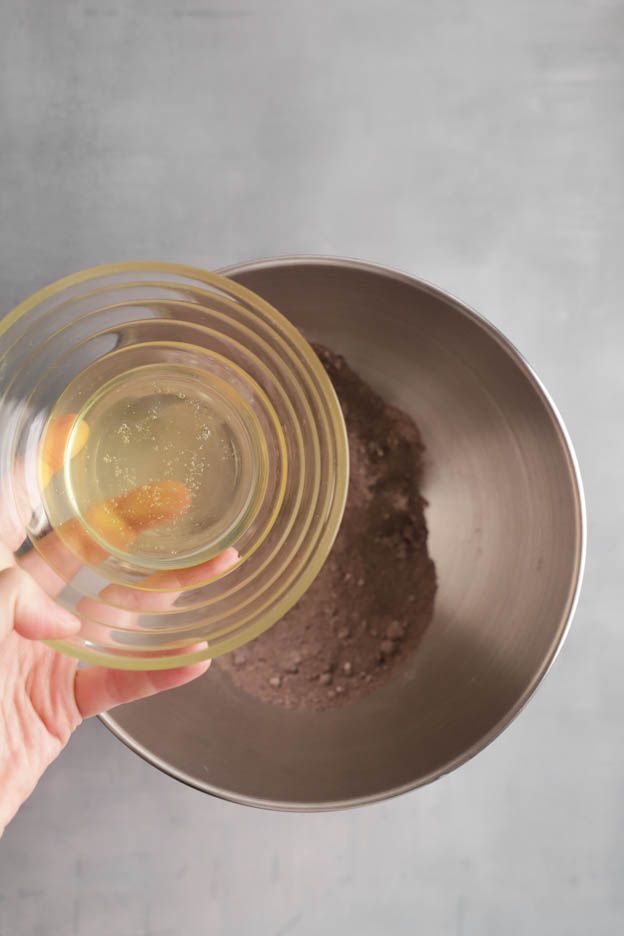
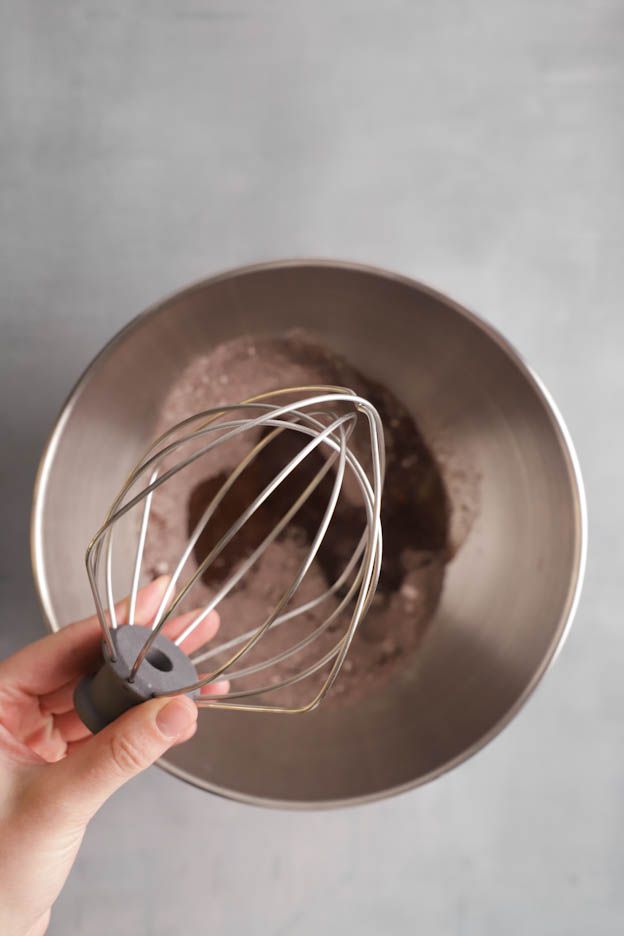
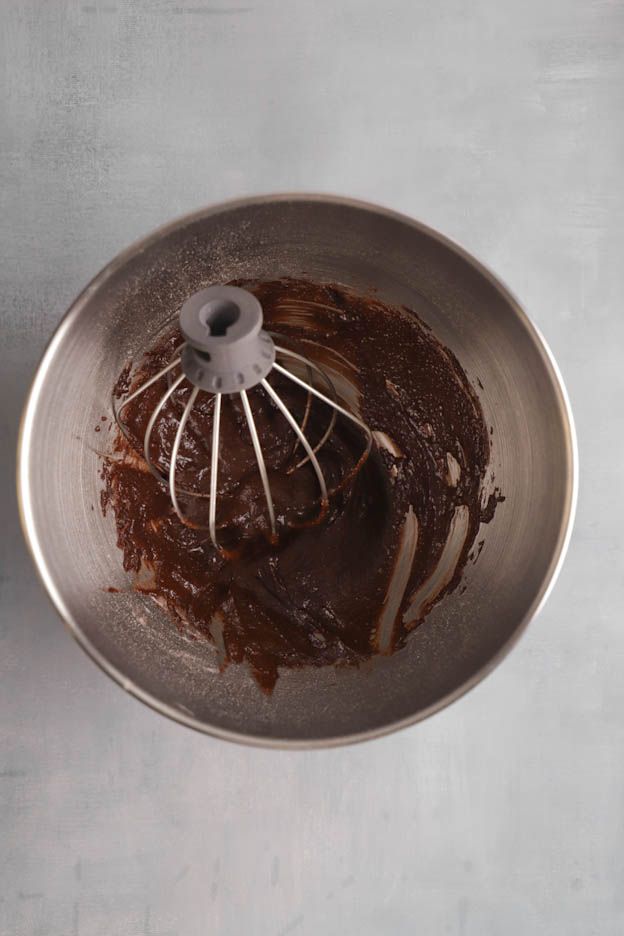
Then add the brown butter made earlier.
Mix again for a few seconds at medium speed so that the butter is well incorporated into the other ingredients.

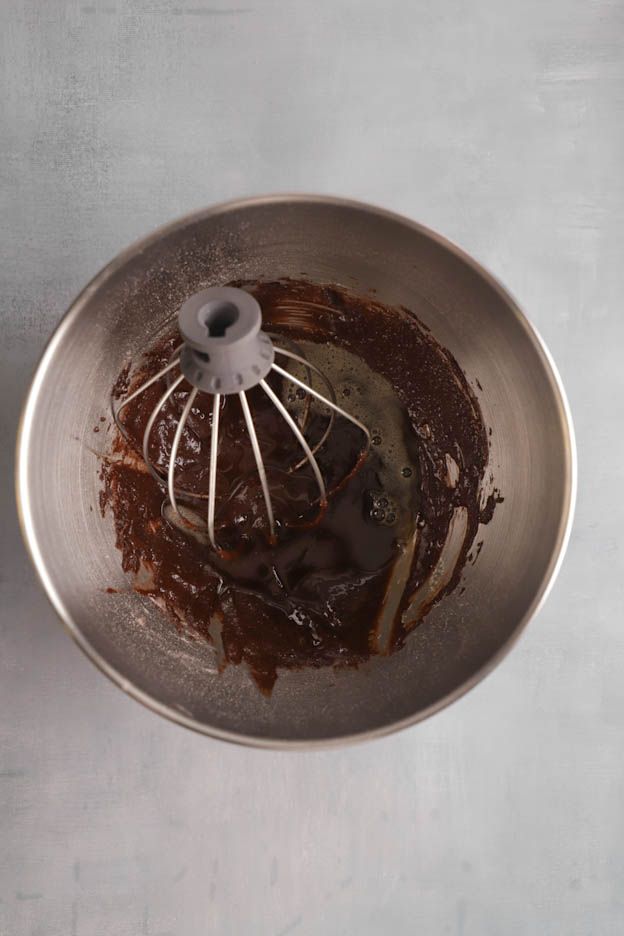
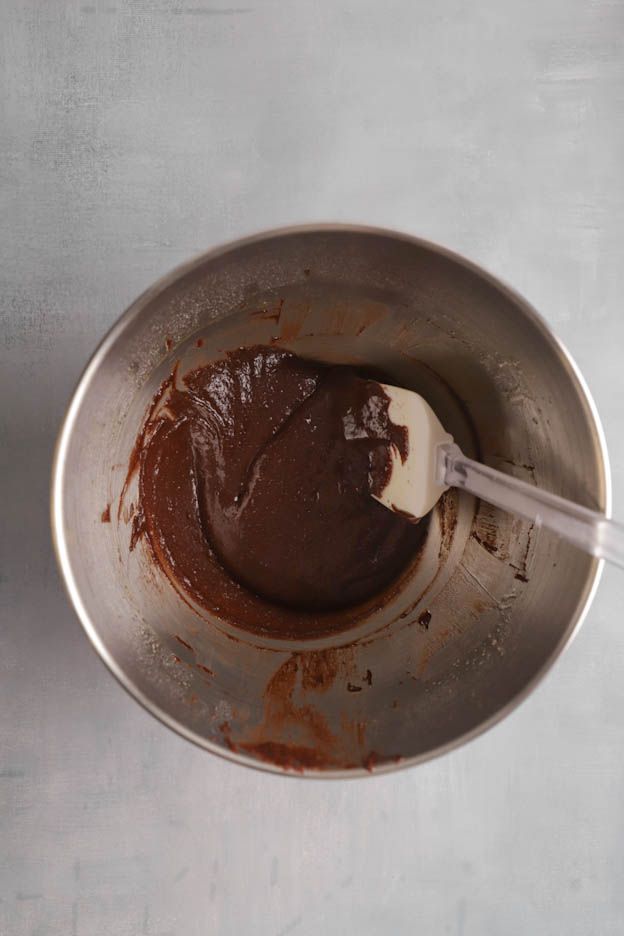
Our financier batter is ready!
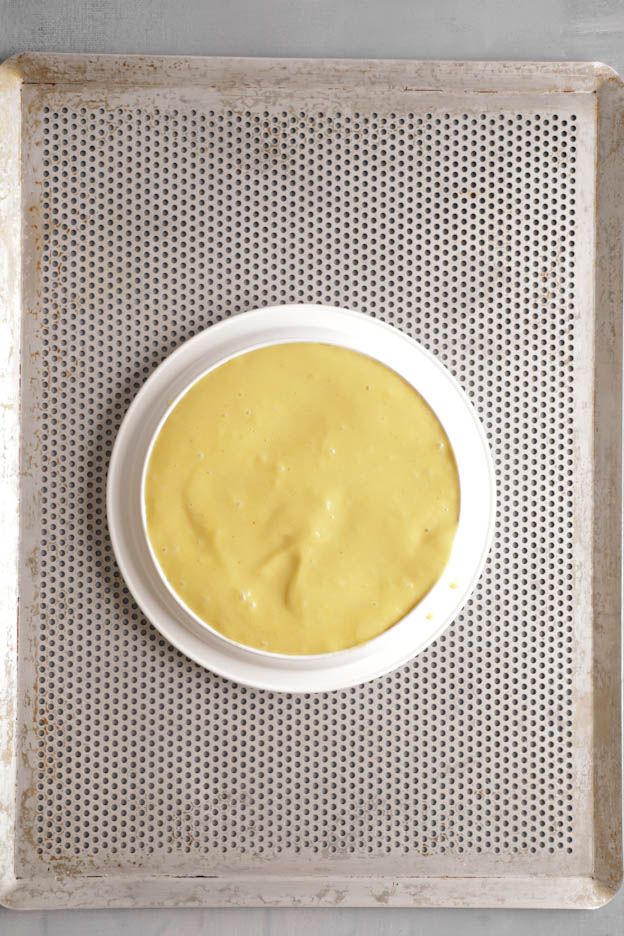
Place a sheet of baking paper on a perforated tray. For this recipe, I used a 16 cm diameter ring. You can also use an adjustable ring set to 16 cm.
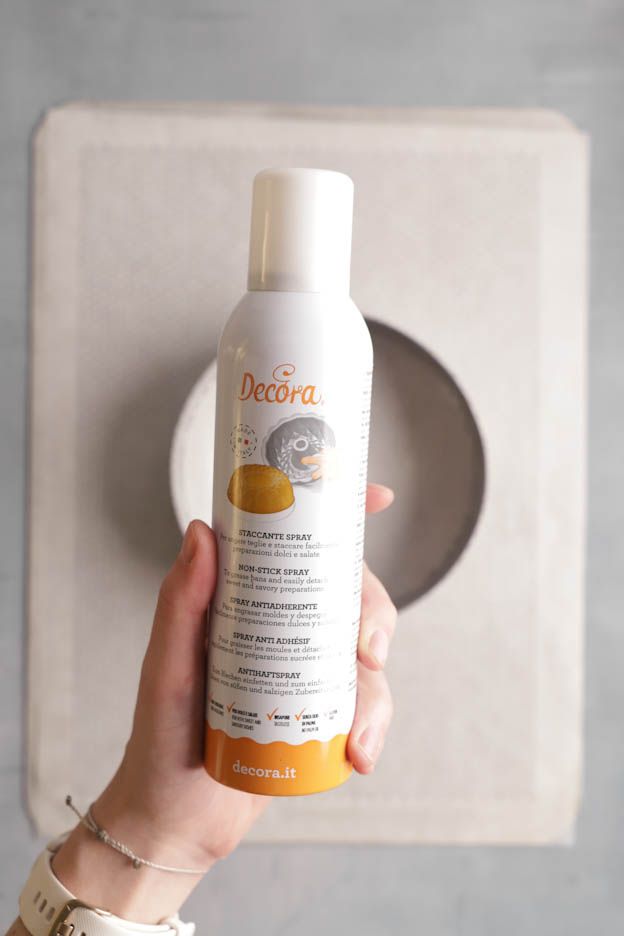
To prevent the biscuit from sticking, spray the inside of the mould with release spray.
Then pour the financier batter into the ring.
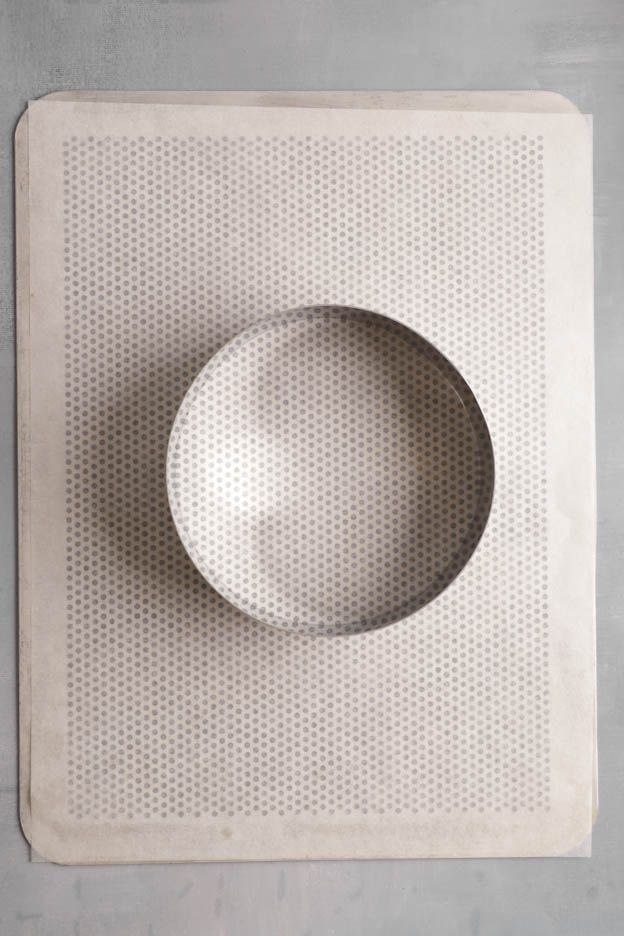
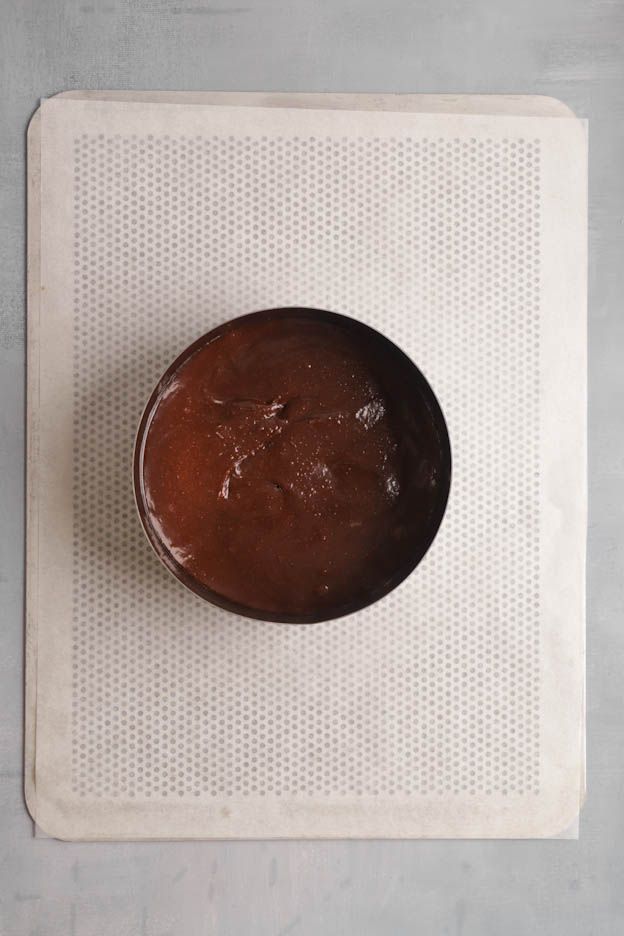
A crunchy element in an entremet is important for varying the textures in your mouth. :-)
Roughly crush 20gr of whole almonds and 20gr of whole hazelnuts.
Place the almonds and hazelnuts in a bag, then use a large rolling pin to crush the nuts.
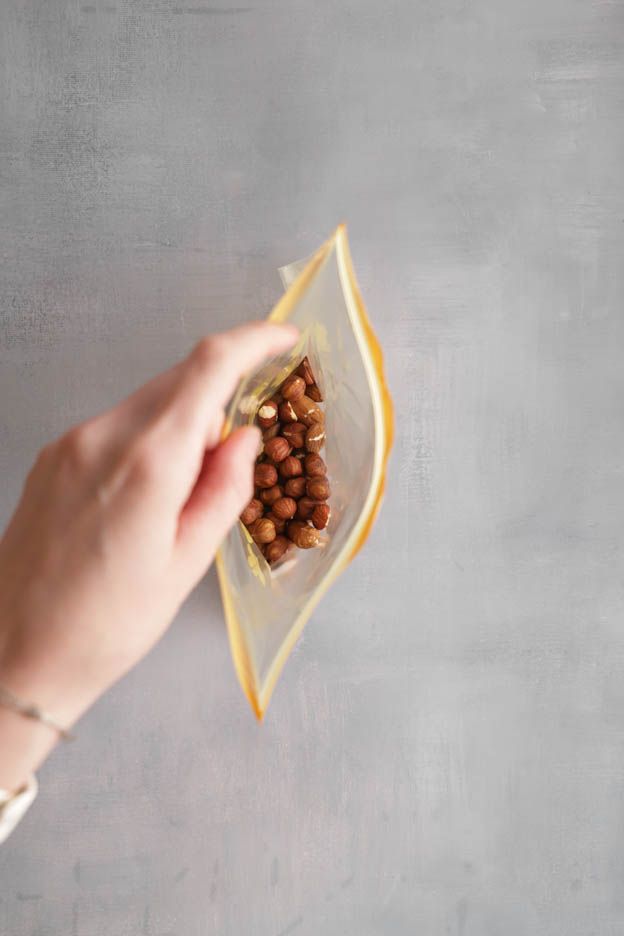
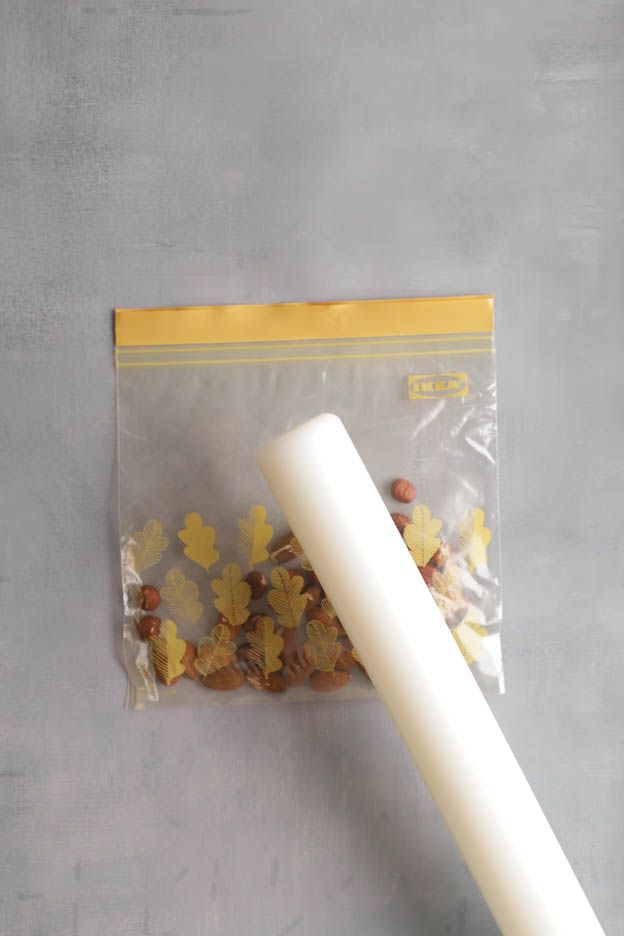
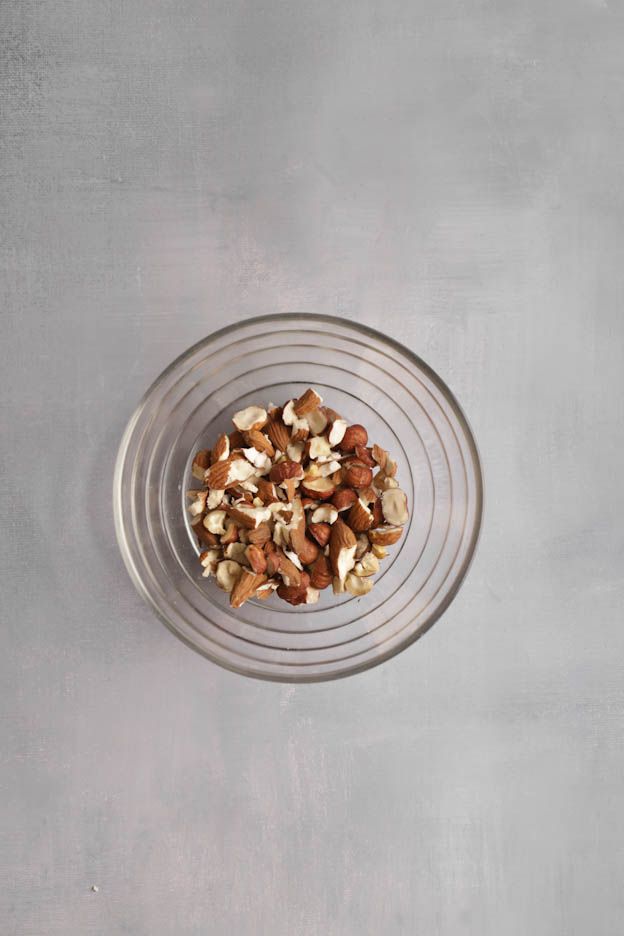
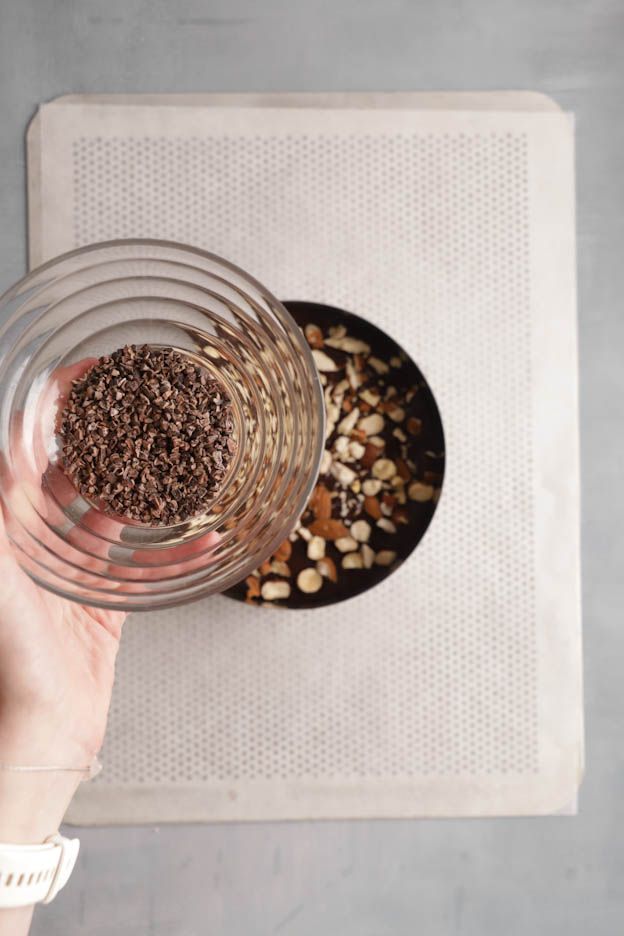
Spread the almond/hazelnut mixture over the biscuit.
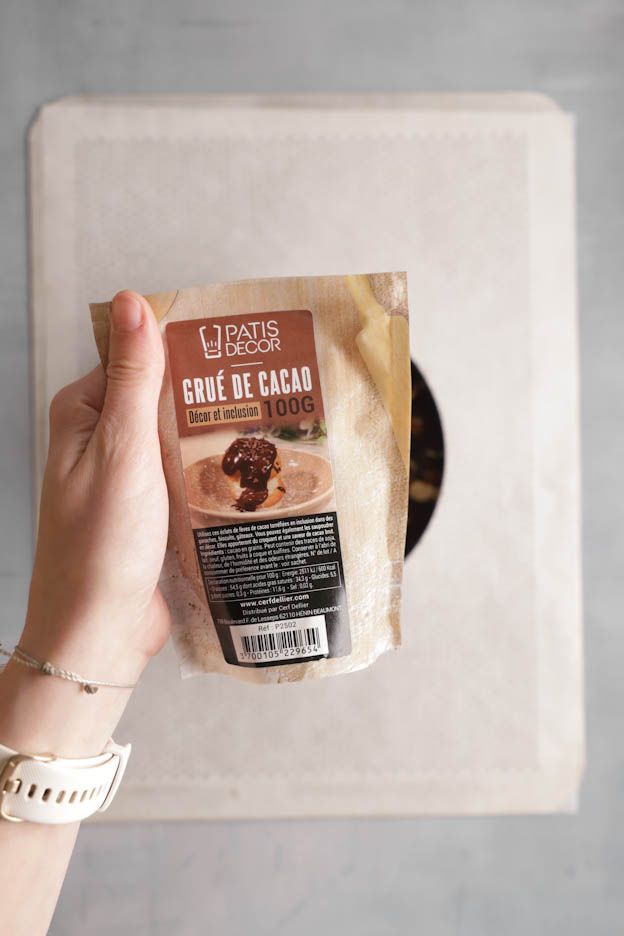
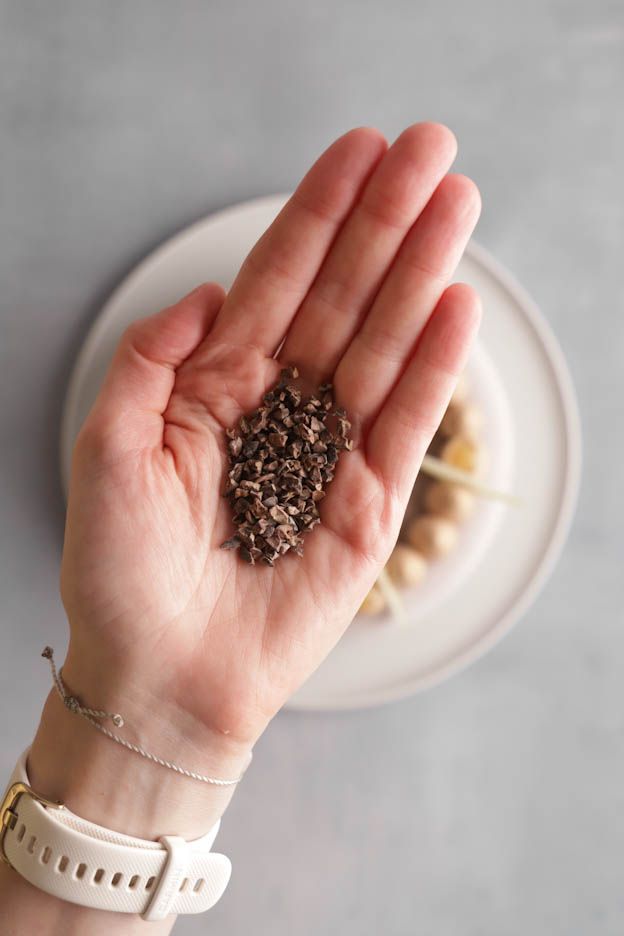
To add a touch of originality, also sprinkle 10gr of cacao nibs. These are roasted cocoa bean pieces. Cacao nibs have a slightly acidic and bitter taste, but still leave a lovely cocoa note in the mouth. Find out everything you need to know about them in our tips and tricks: CACAO NIBS.
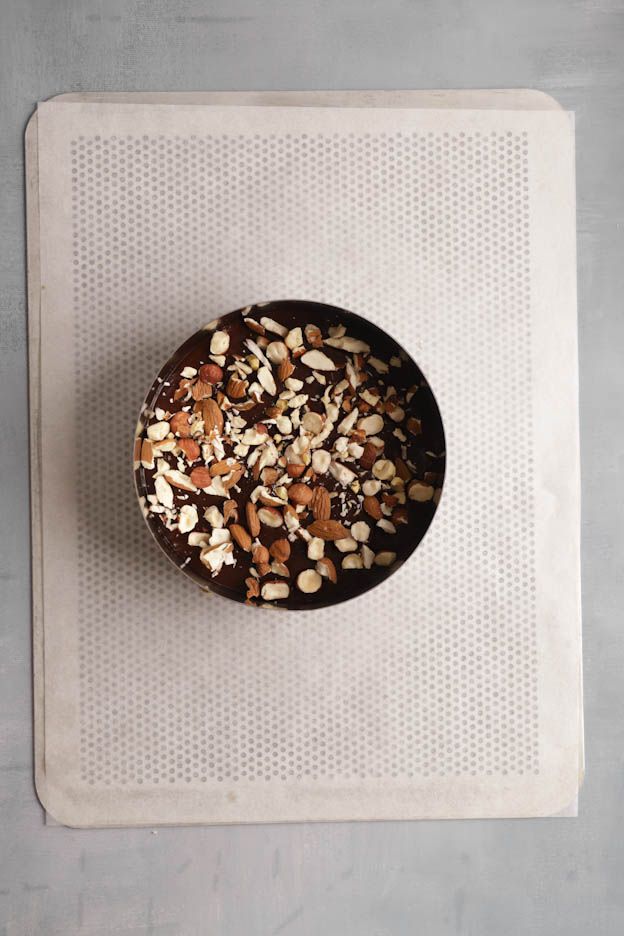
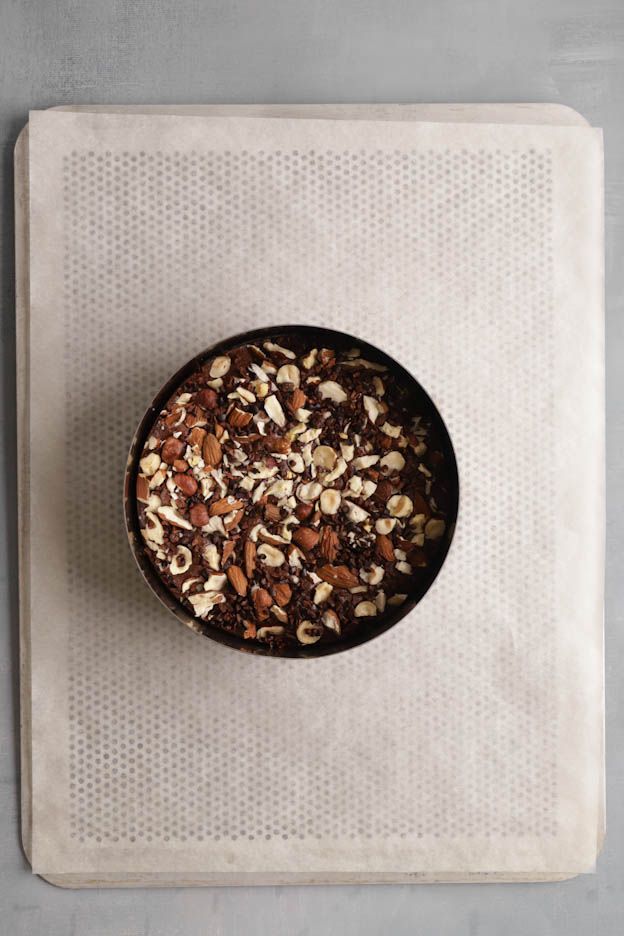
Bake the biscuit for 15 minutes in the middle of the preheated oven.
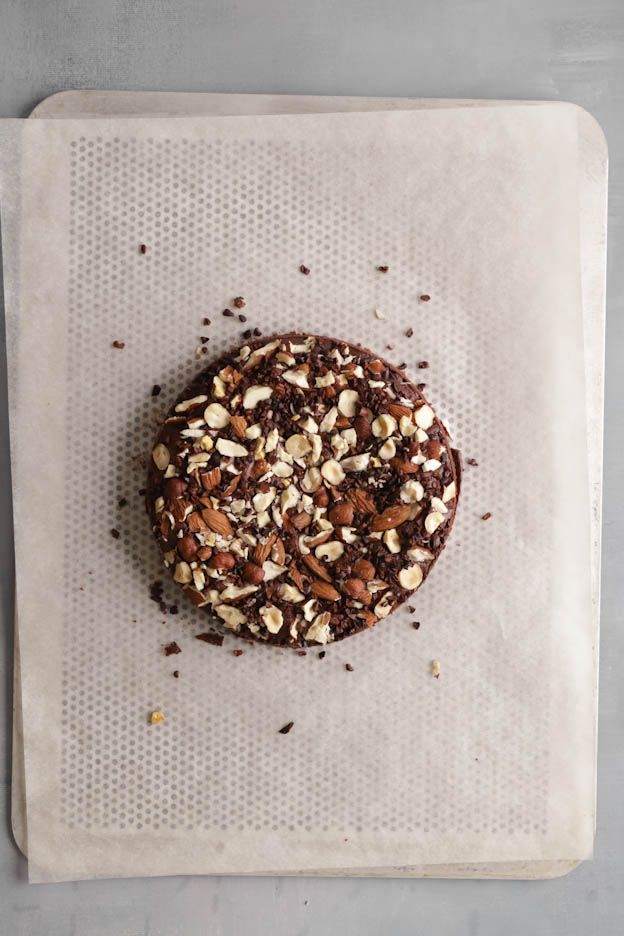
Once the financier biscuit is baked, let it cool for about 5 minutes then remove the ring.
Run a knife all around it if it doesn't come off properly.
Let the biscuit cool completely.
Once cooled, I recommend trimming 1/2 cm from the bottom. I made the mistake during assembly as it was just a little too thick.
If you're not using it straight away, wrap it well in cling film. It will keep for 2 days like this at room temperature.

We are nicely nearing the end of our preparations. All that's left is the chocolate mousse.
Chocolate mousse
First, soak 2 gelatine leaves in a jug of cold water.
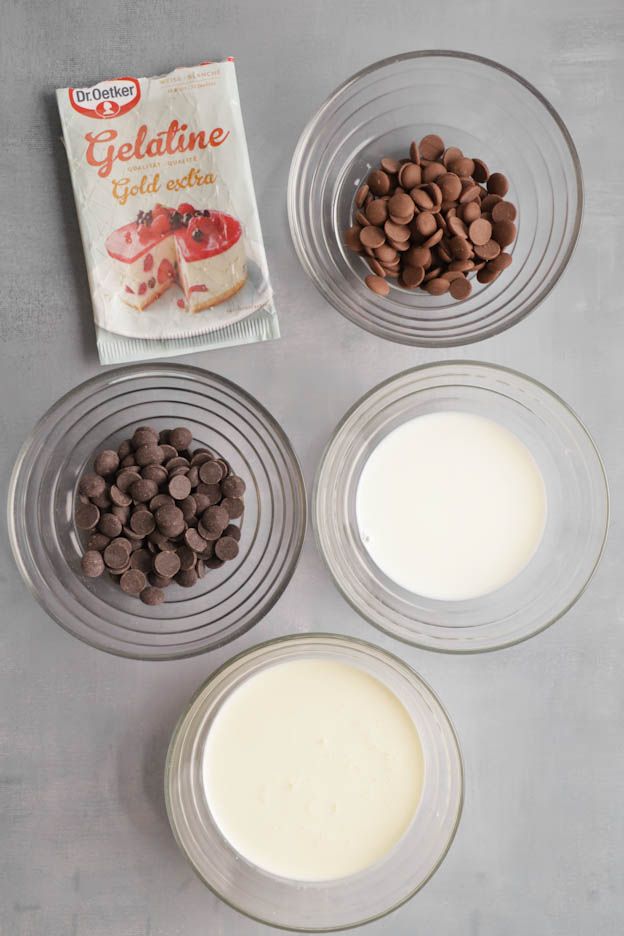
In a large bowl, pour 60gr of dark chocolate and 60gr of milk chocolate.
Place everything in the microwave for 30 seconds at 600W. The chocolate will start to melt but won't be completely melted. That's normal!
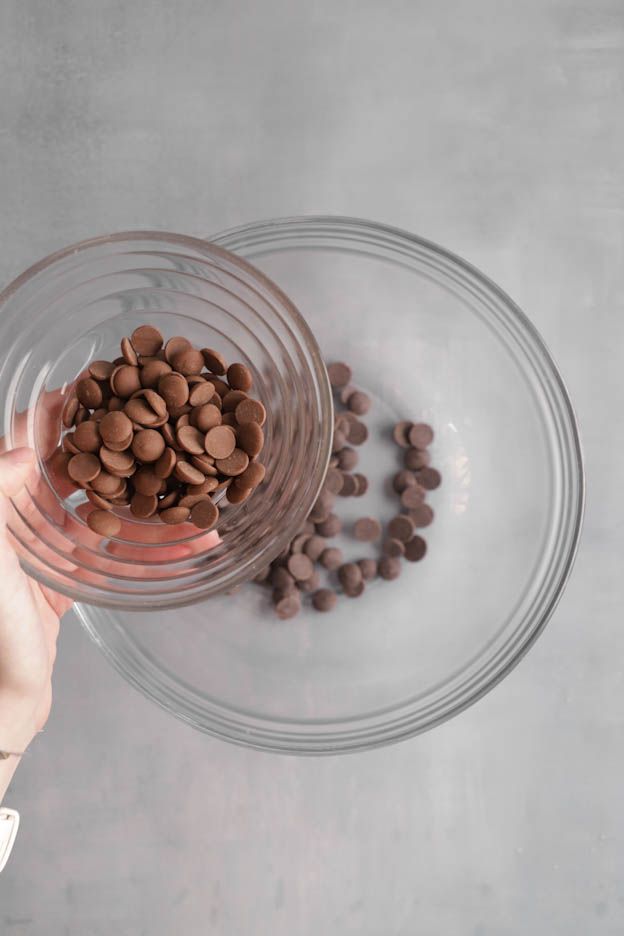
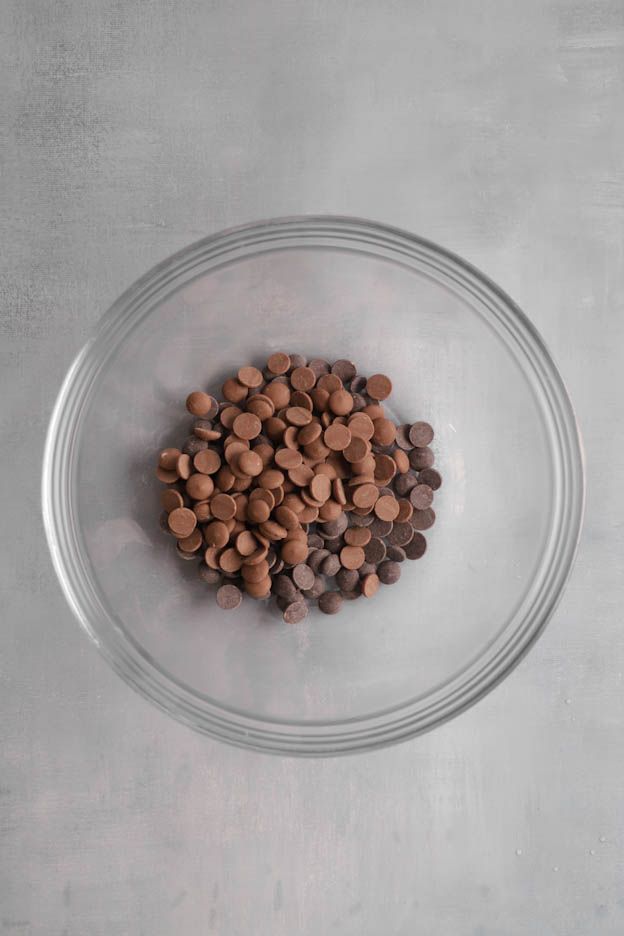
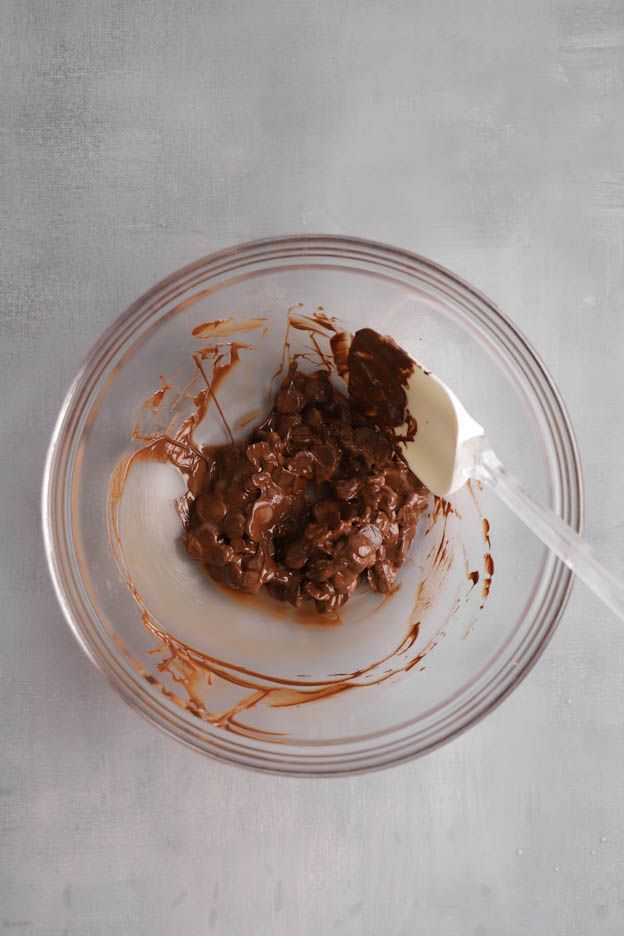
In a saucepan, pour 90gr of whole milk and bring it to the boil.
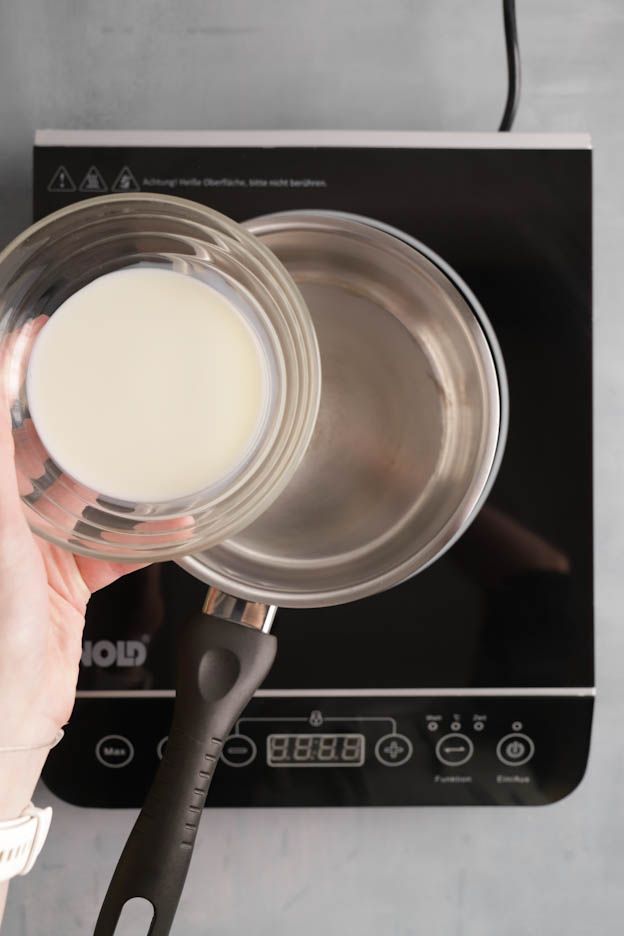
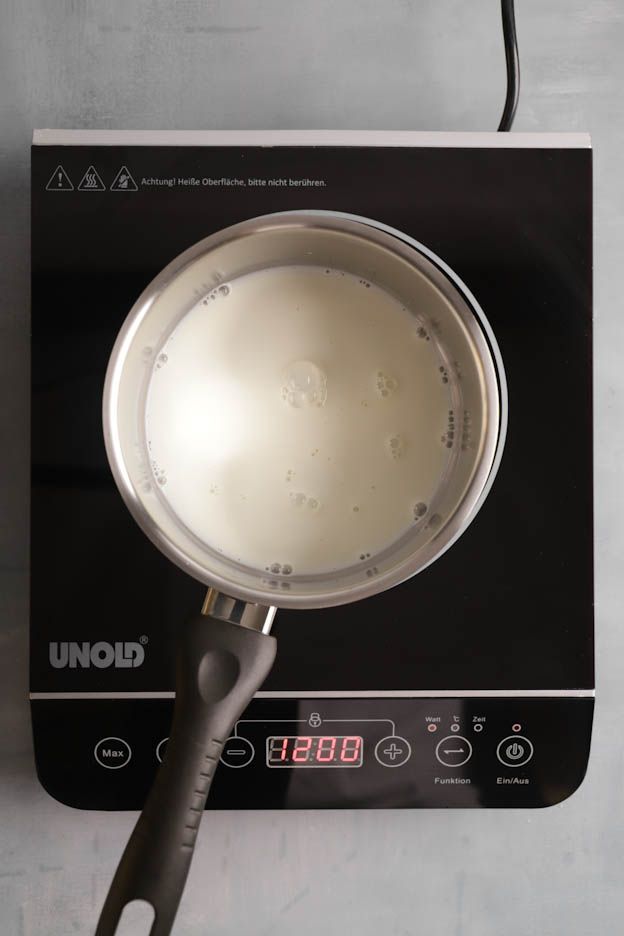
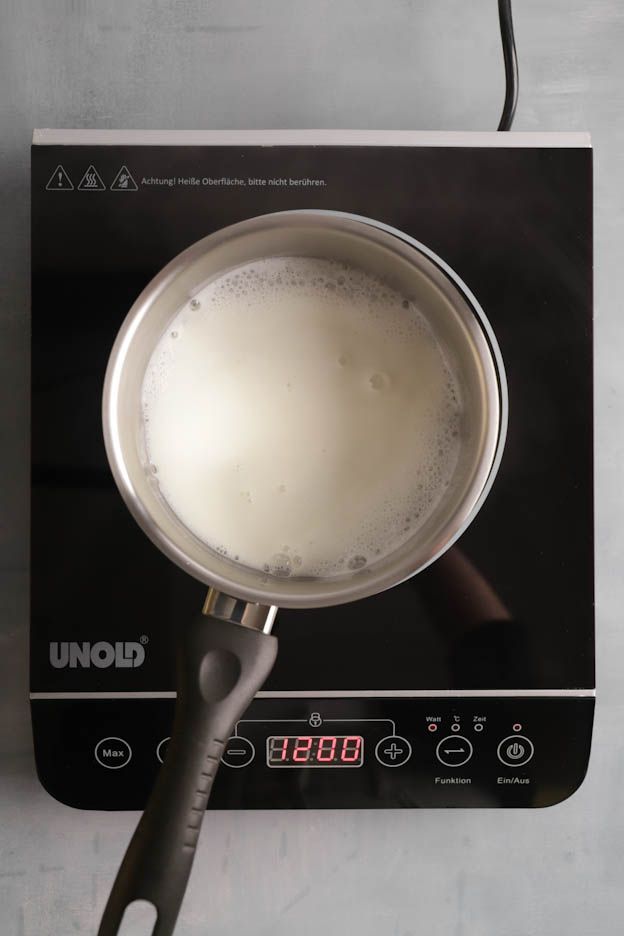
Remove from the heat and add the 2 squeezed gelatine leaves.
Mix well so that the gelatine melts completely.
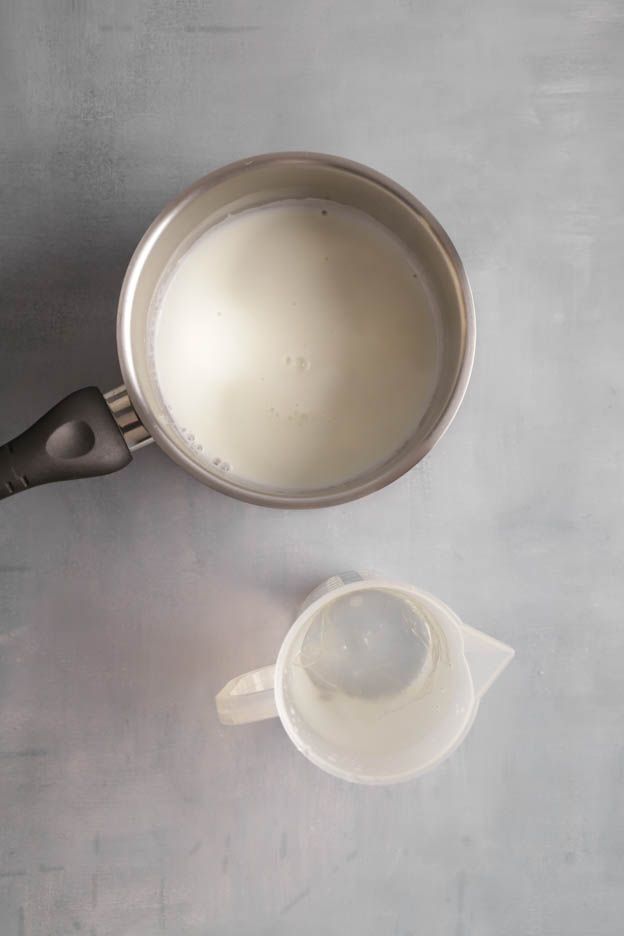
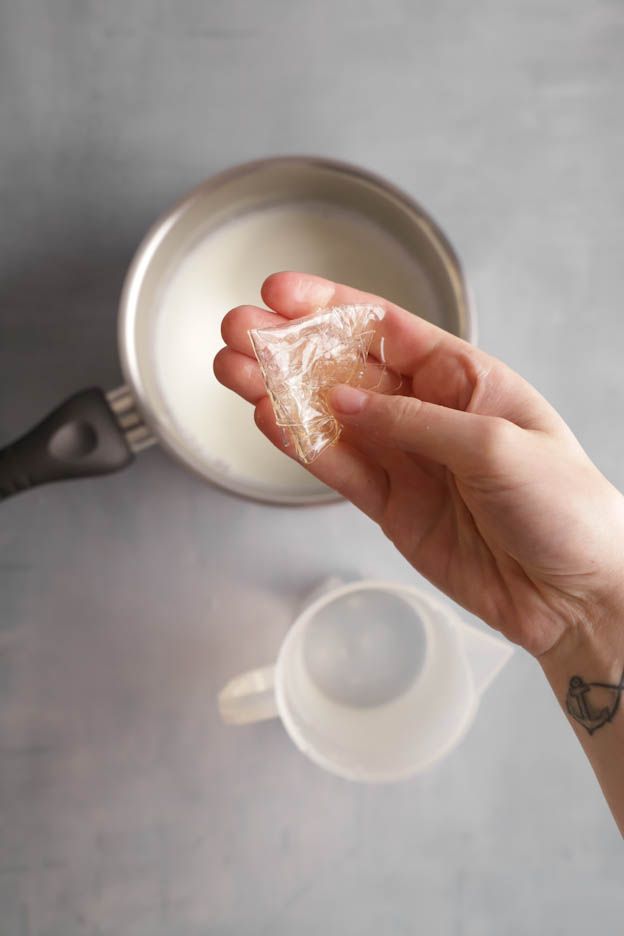
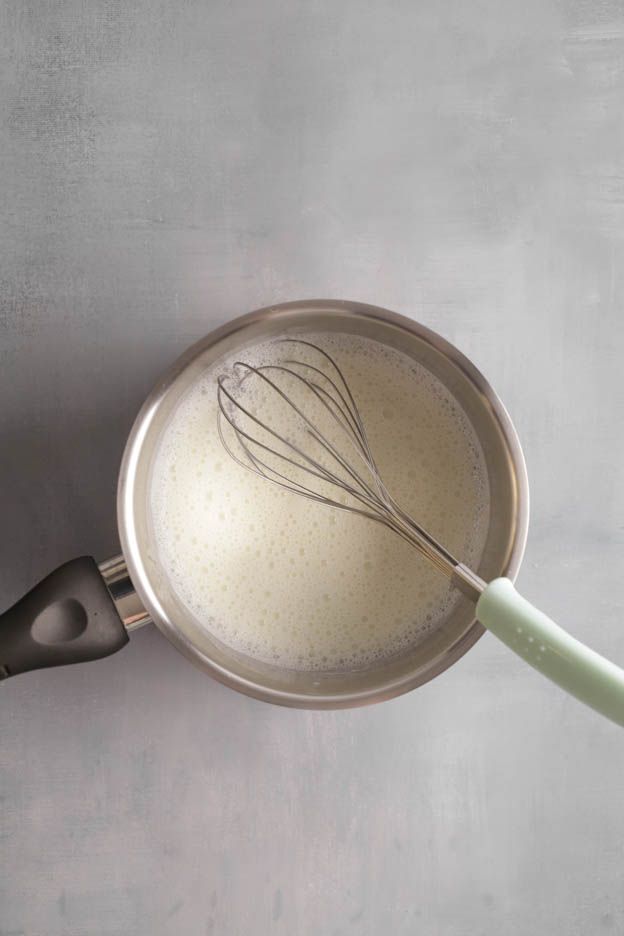
Pour the milk over the chocolate and mix well to obtain a smooth, homogeneous mixture.
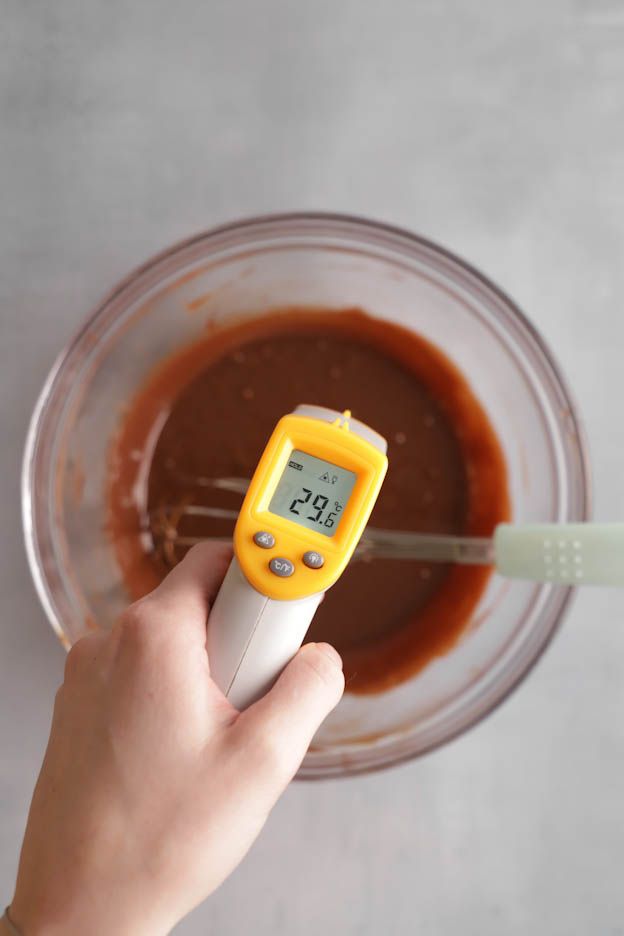
Leave to cool at room temperature until it reaches 29°C-30°C.
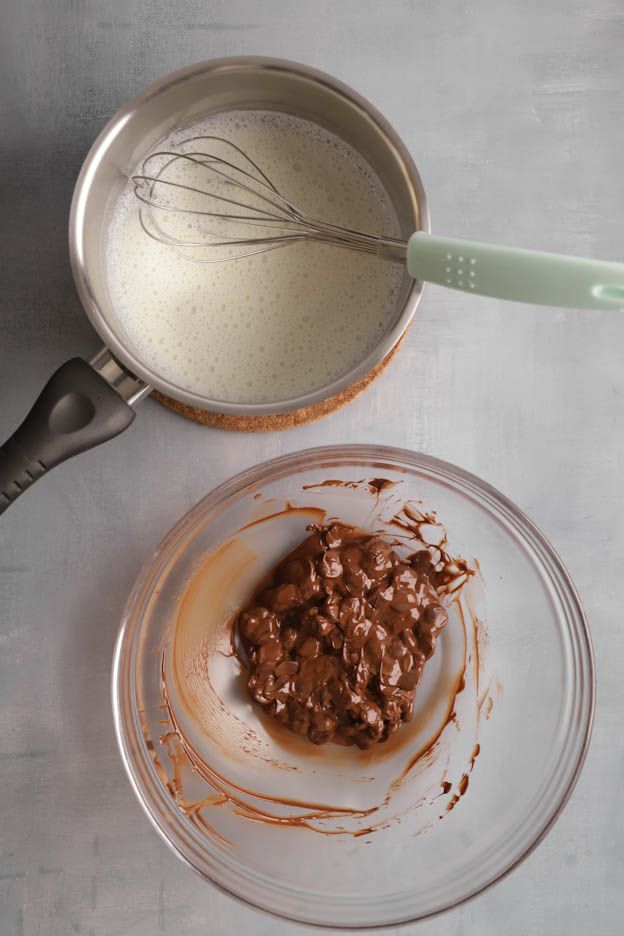
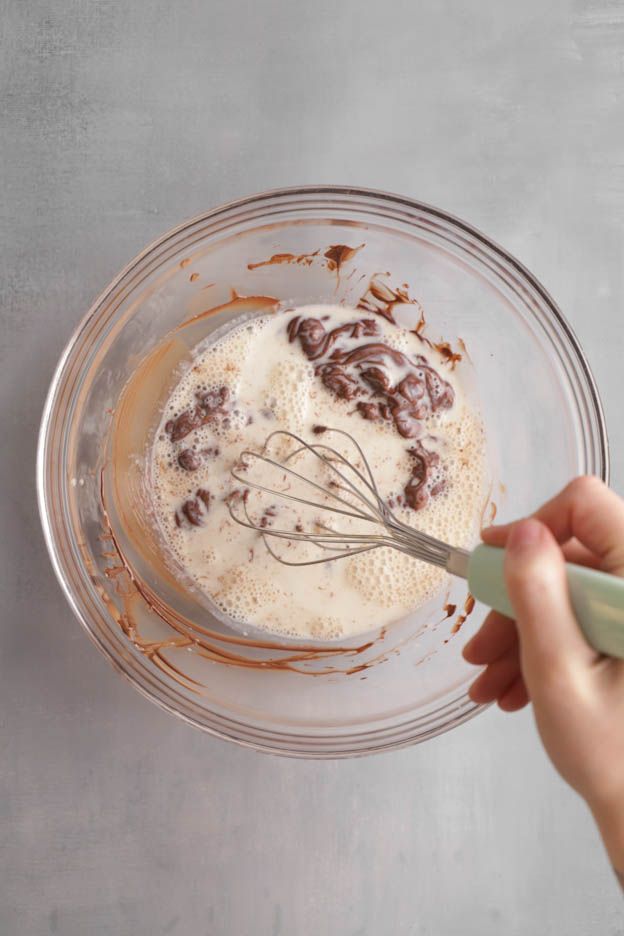
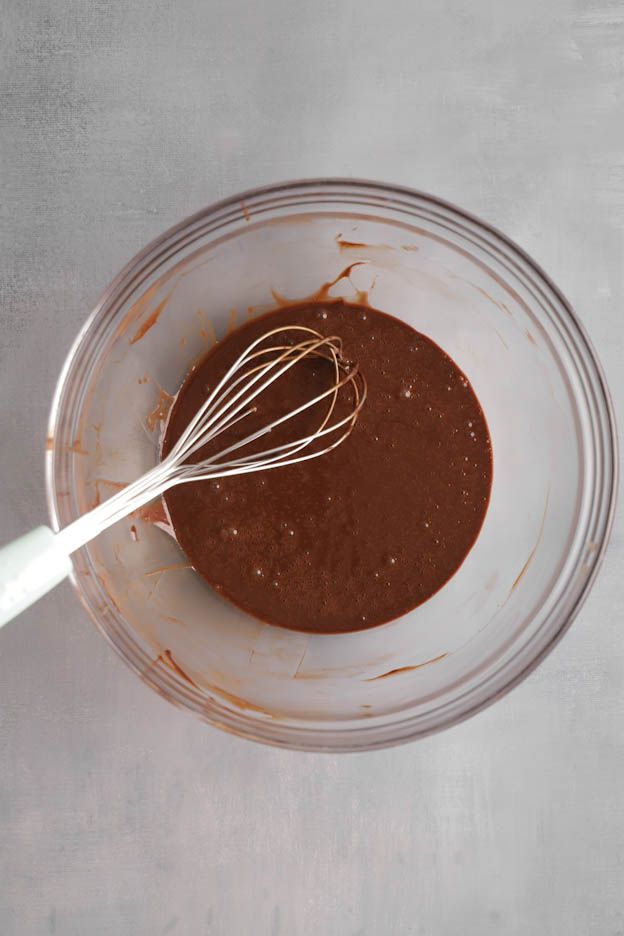
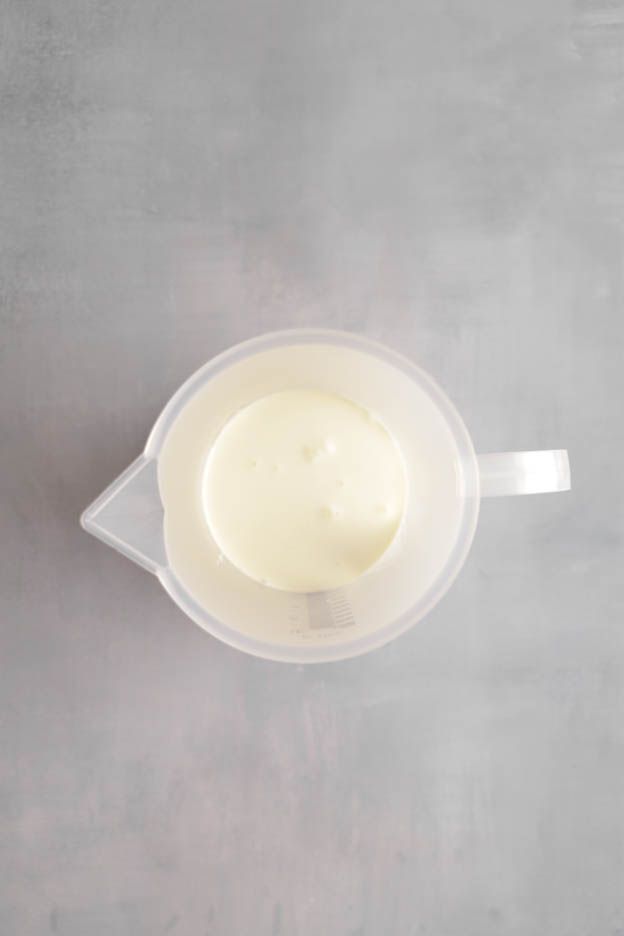
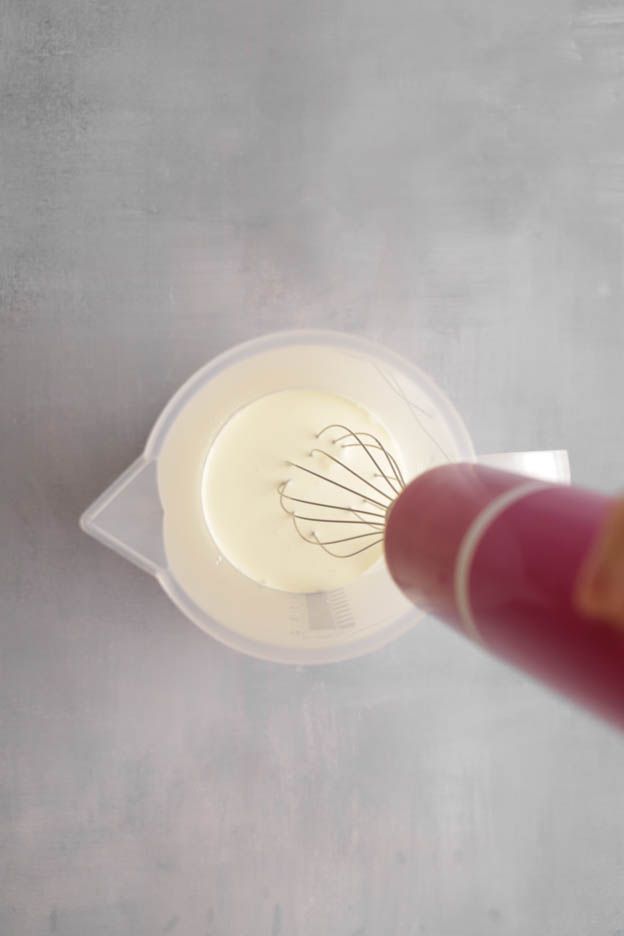
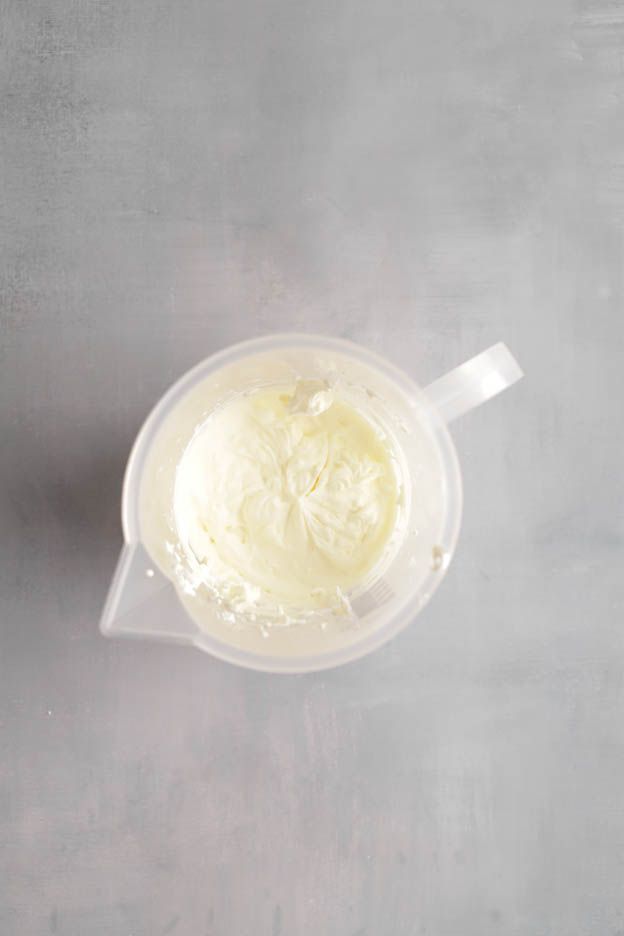
In the meantime, pour 170gr of heavy cream into a jug. Using an electric whisk, whip it into a firm (but not too firm) chantilly so that it blends well into the chocolate afterwards.
When the chocolate is at the right temperature, we can move on to making the mousse.
Check the temperature of the chocolate using a thermometer. I use an infrared thermometer which is ideal for this type of preparation.
Add the cream in 3 additions to the chocolate. Start by mixing with a whisk, then finish with a spatula to obtain a smooth mousse.
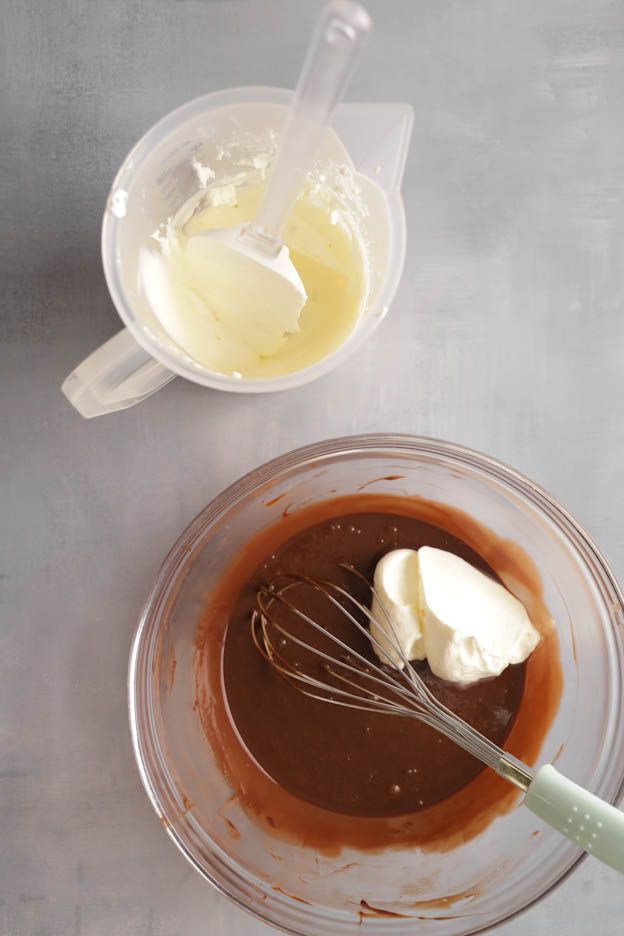
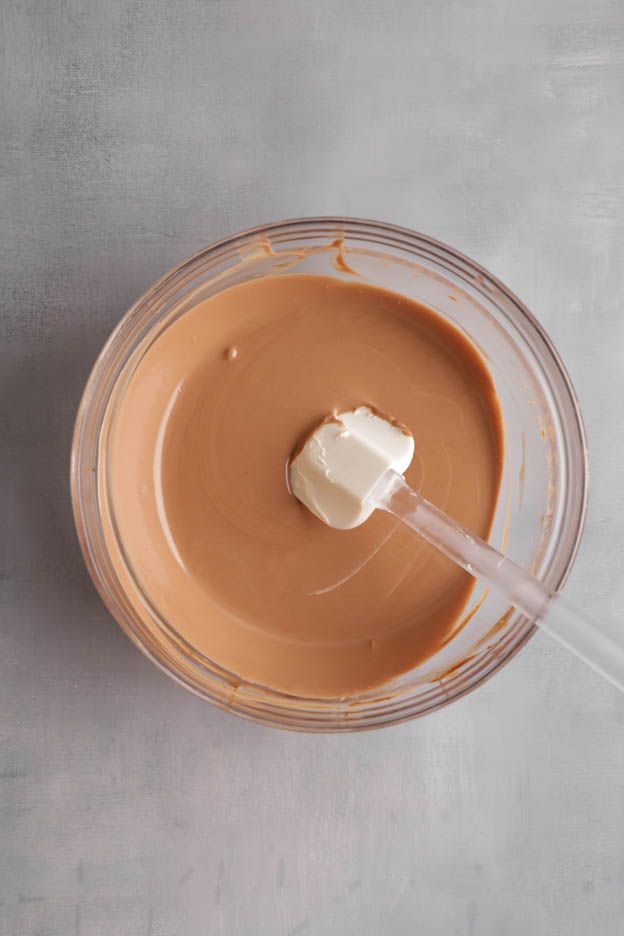
All our preparations are ready.
Assembly
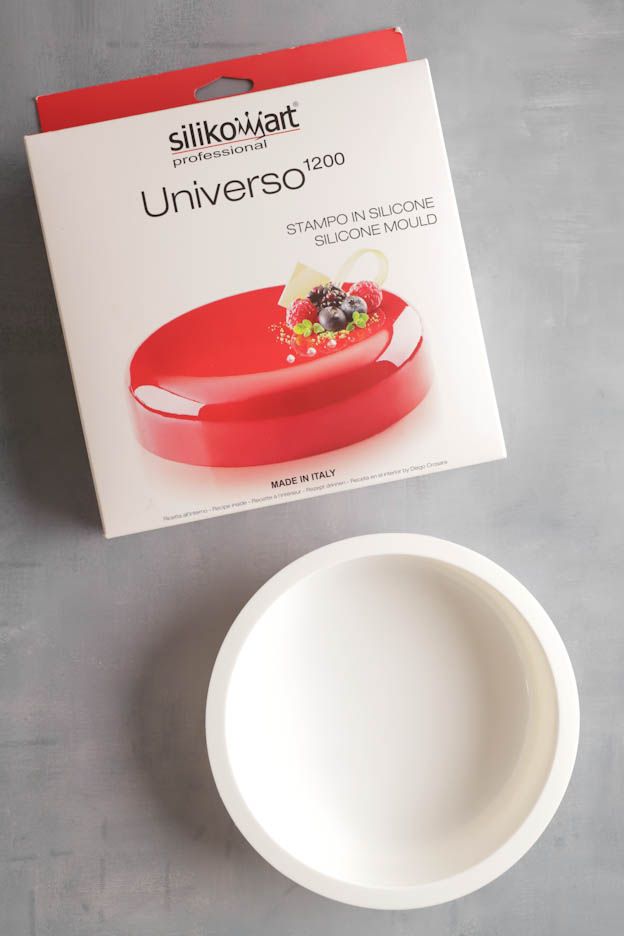
For this entremet, we will use the Universo 1200 mould from Silikomart. Place it on a perforated tray.
I love this mould because it's simple, so you can really have fun with the decoration. :-)
Start by pouring approximately half of the chocolate mousse into the mould.
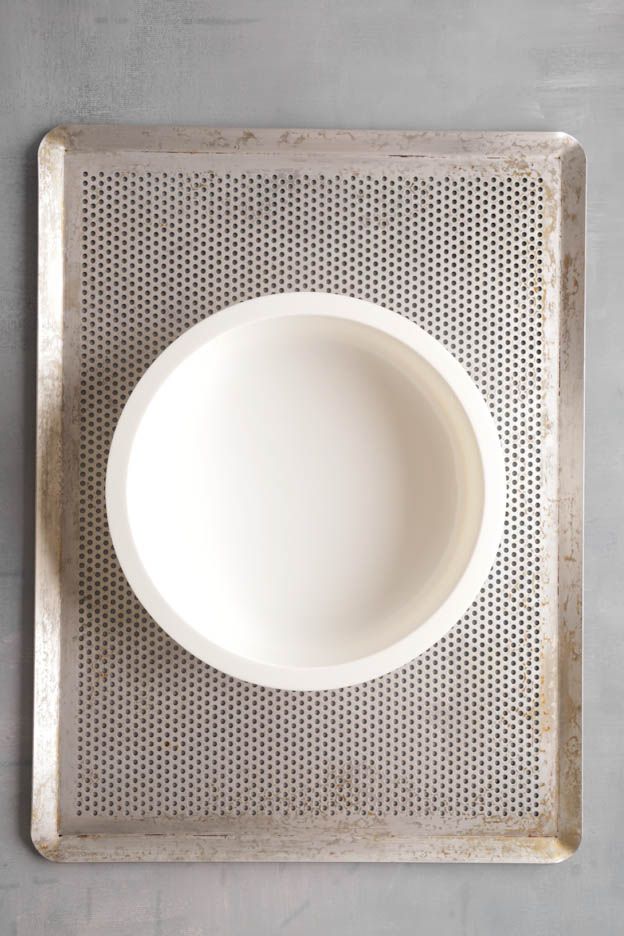
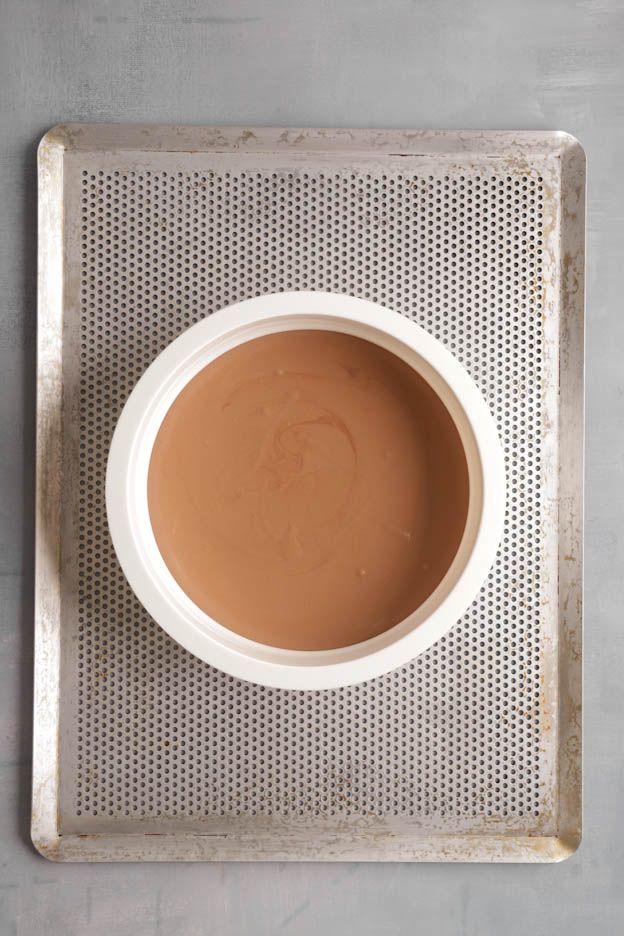
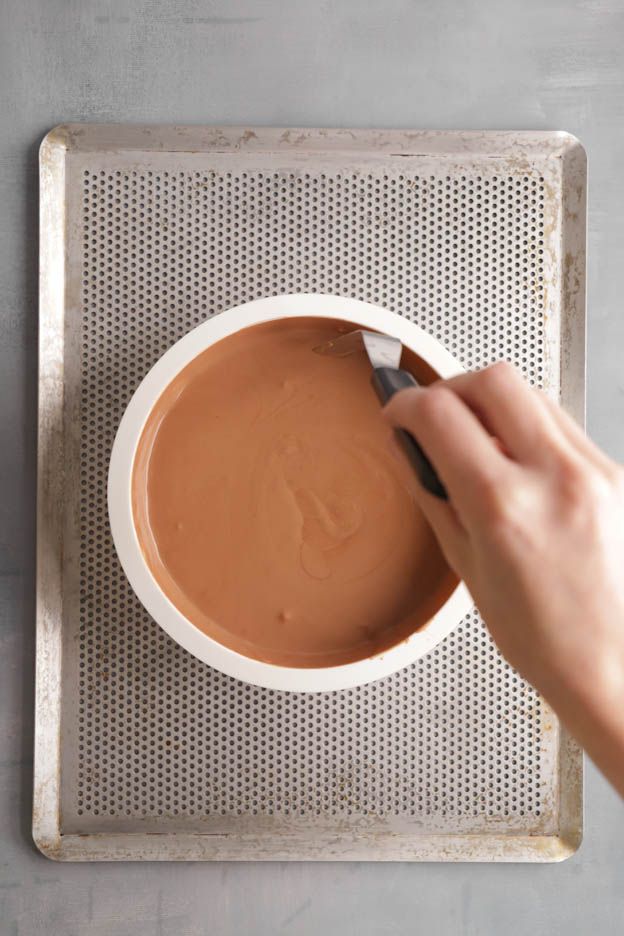
Using a small offset spatula, push the mousse up the sides. This will prevent air bubbles and give you a nicely smooth entremet when unmoulded. :-)
Take the pear insert out of the freezer and unmould it.
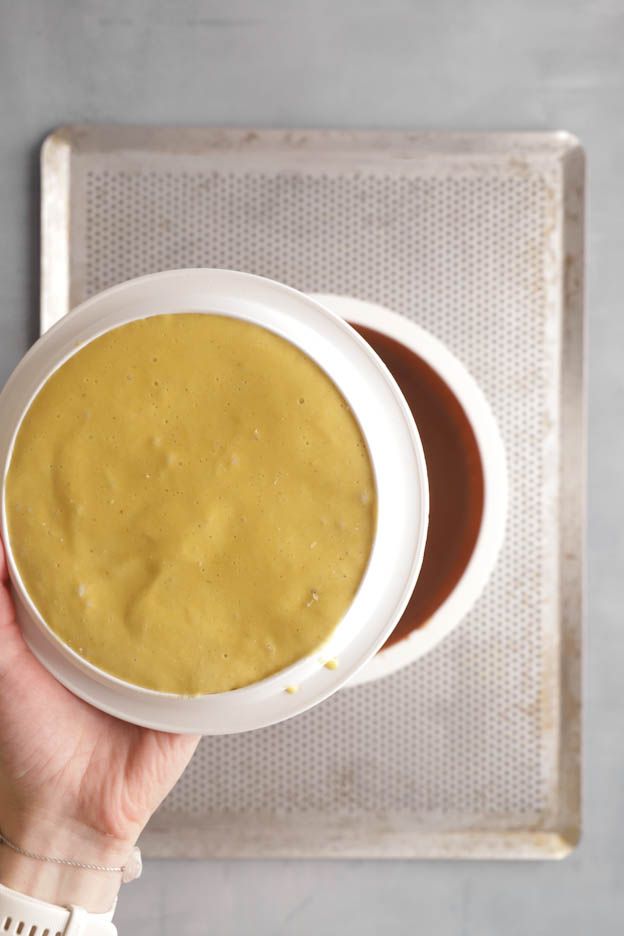
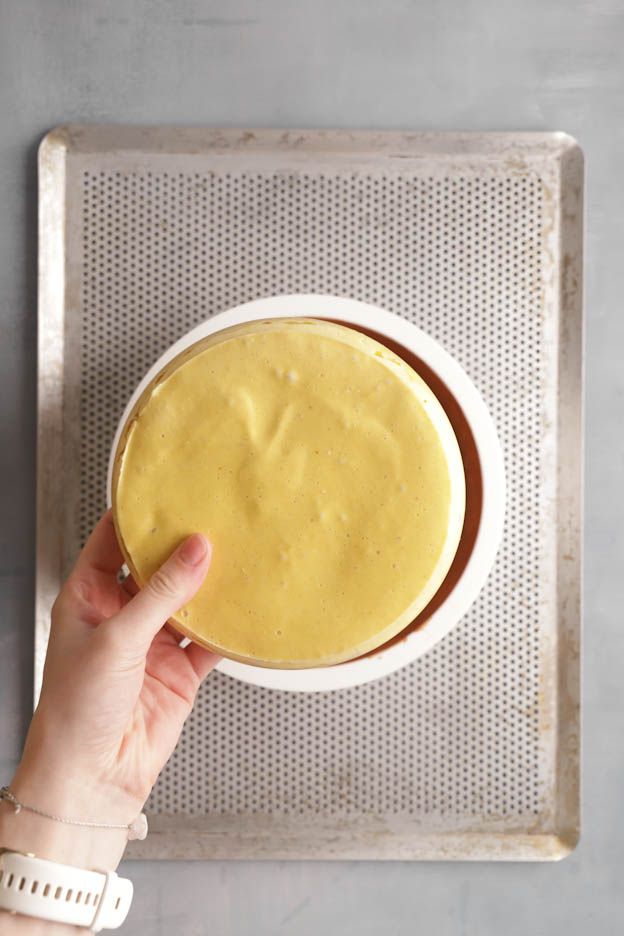
Place the insert in the mousse, right in the centre. Press down gently so that the mousse rises up around the insert.
Then add a little more mousse to completely cover the insert.
Place the biscuit on top of the mousse. The nuts should be facing down, against the mousse.
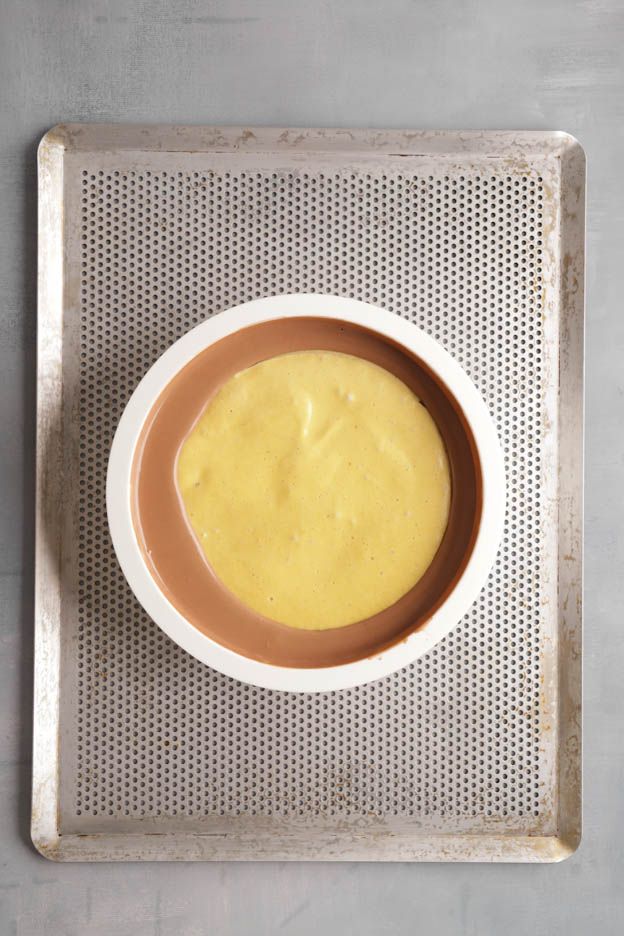
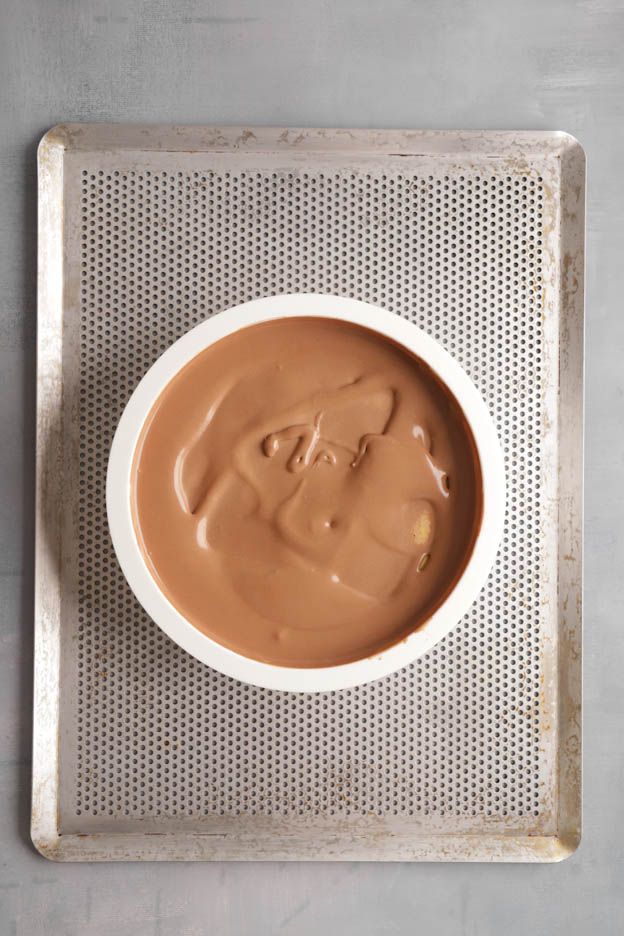
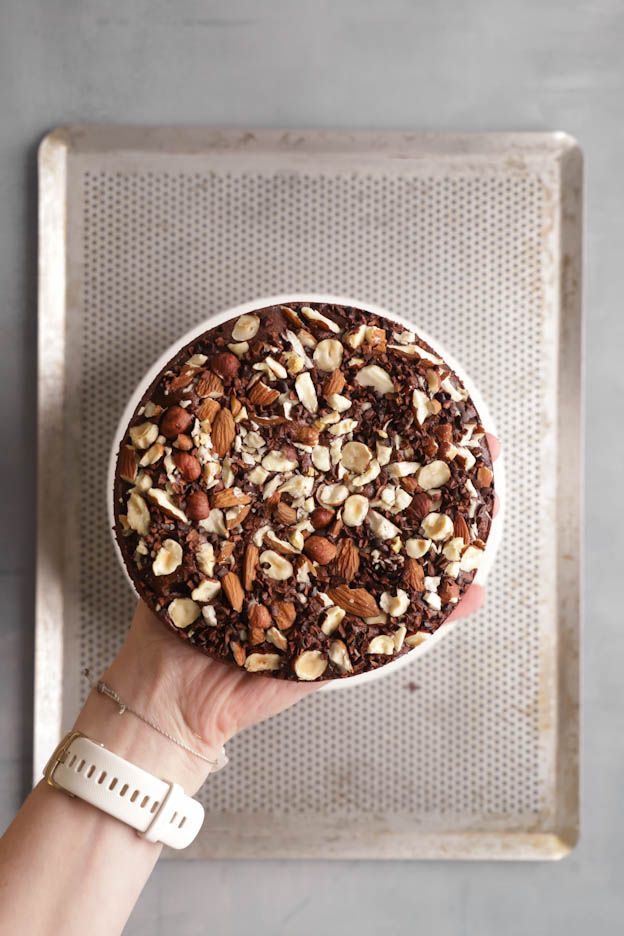
Press on the biscuit so the mousse rises up and add the remaining mousse on top of the biscuit.
Smooth everything with a small offset spatula and place the mould in the freezer for a minimum of 8 hours.
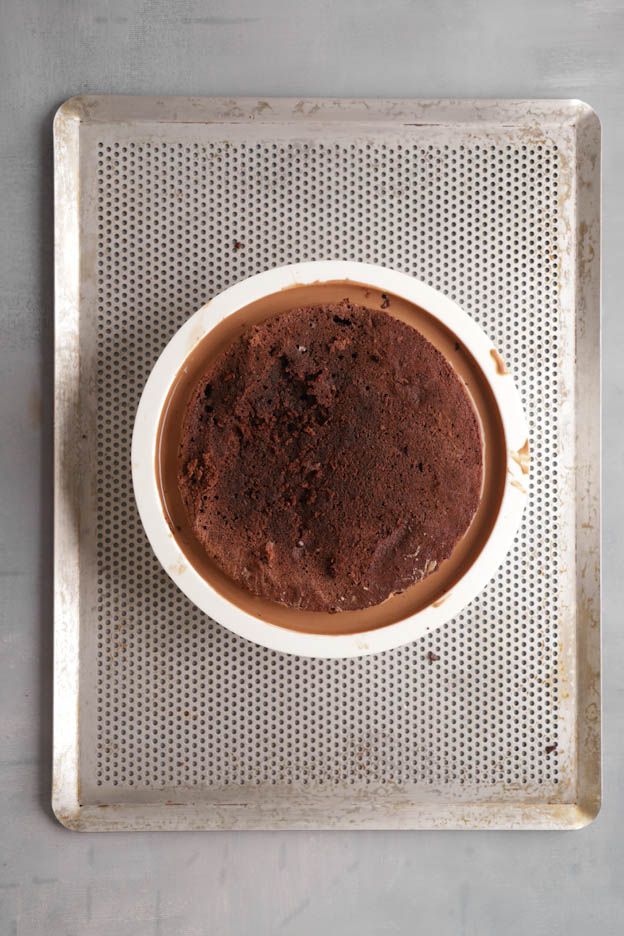
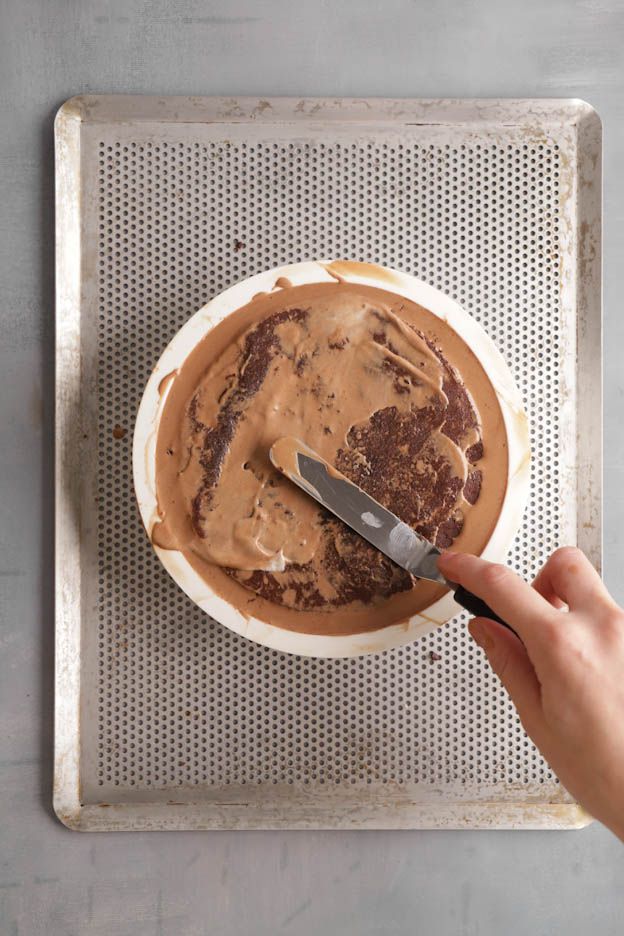
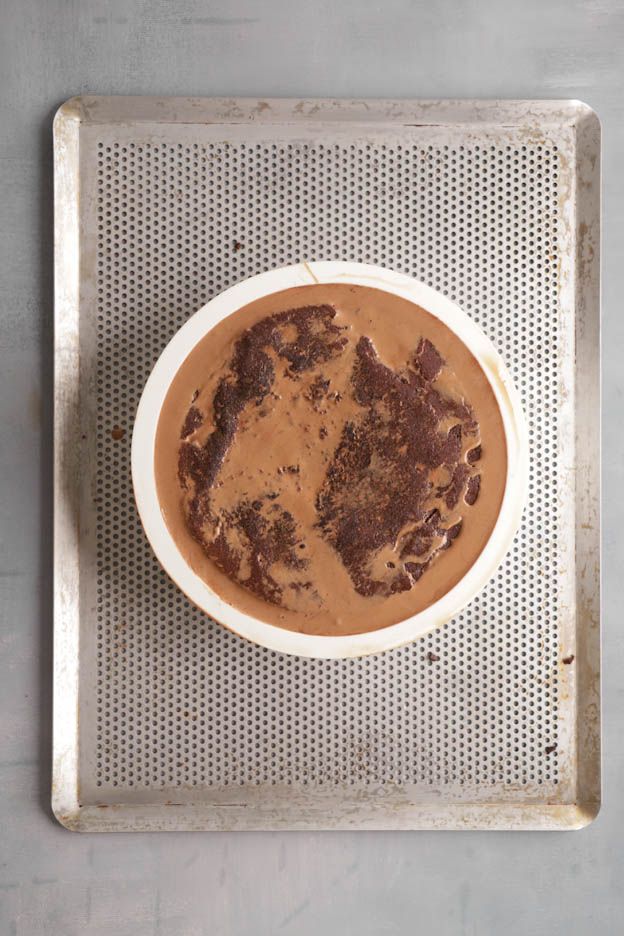
Once the entremet is fully frozen, we can move on to the decoration.
Decoration with velvet spray
We are going to decorate our entremet with a cocoa-coloured velvet spray.
Start by placing the velvet spray in a jug of hot water (hot tap water is fine).
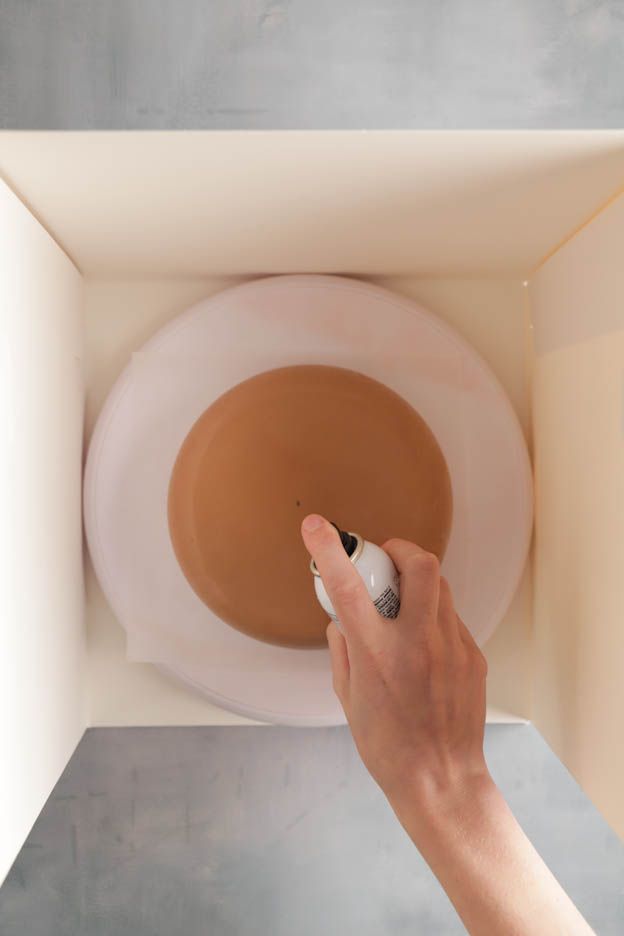
Leave the spray for approximately 10 minutes in the hot water. This will allow the cocoa butter in the bottle to liquify and give a beautiful result when flocking.
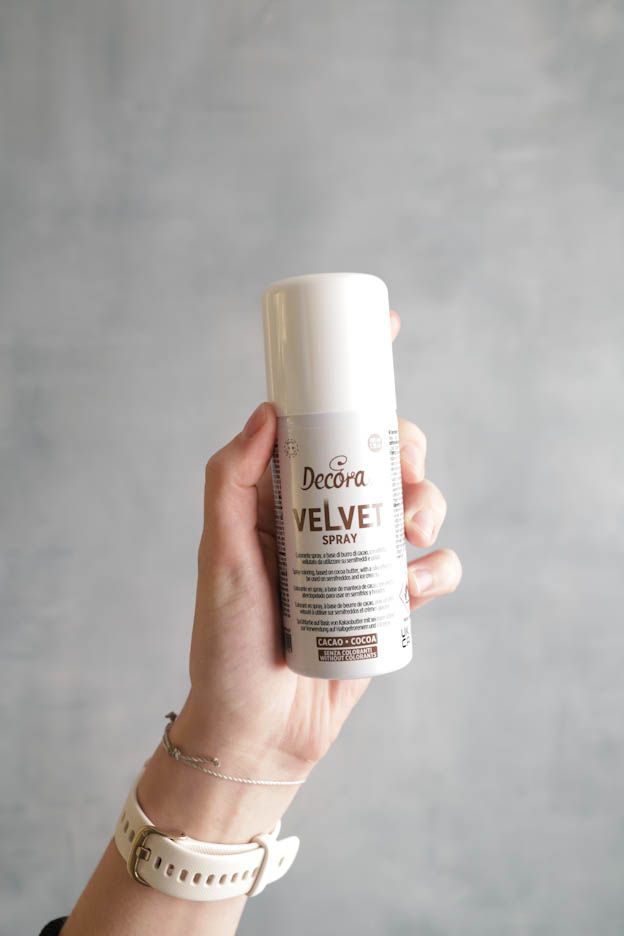
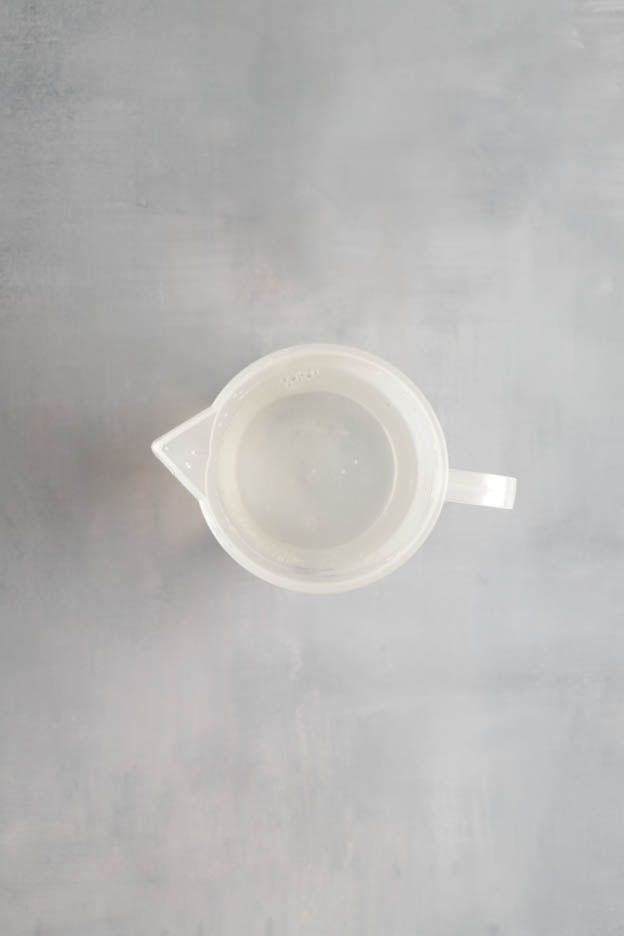
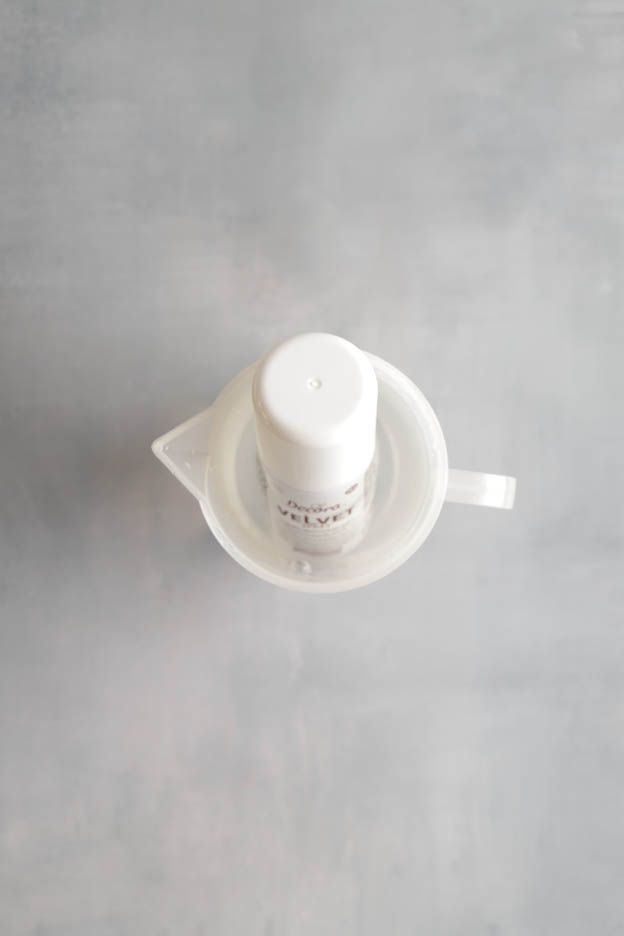
Cocoa butter is very volatile. To avoid spraying it all over your kitchen, I recommend spraying your entremet inside a tall box.
On a turntable, place a sheet of baking paper, then unmould your entremet and place it on top.
The turntable will allow you to spray your entremet evenly without having to move it.
For a fine, even finish, hold the bottle approximately 20-25 cm away from your dessert while spraying.
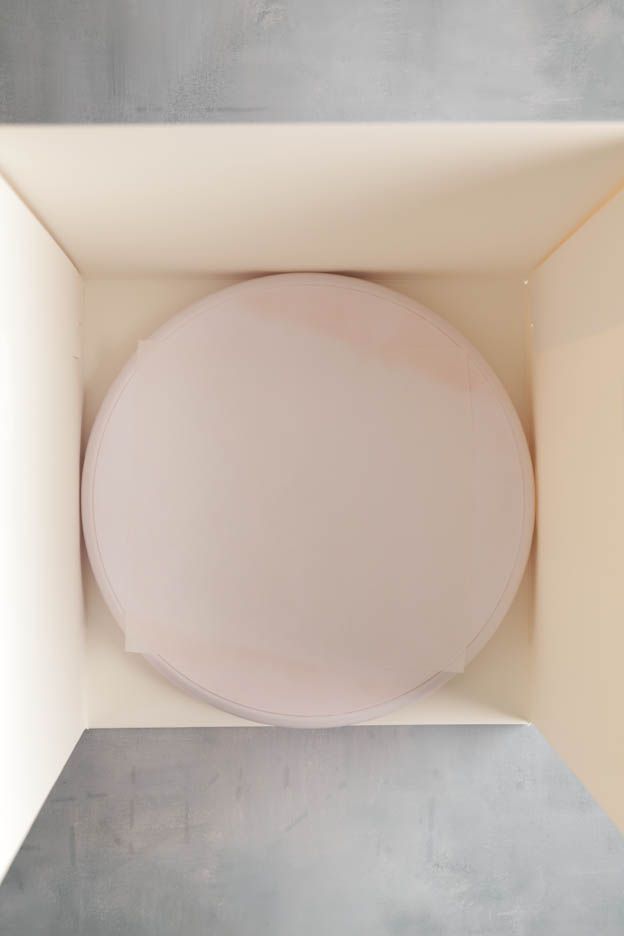
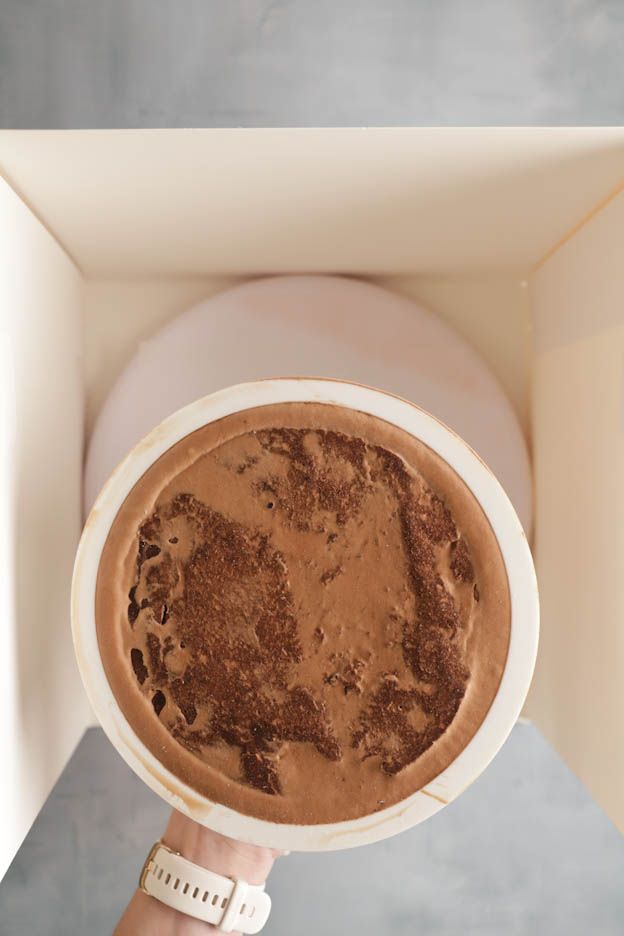
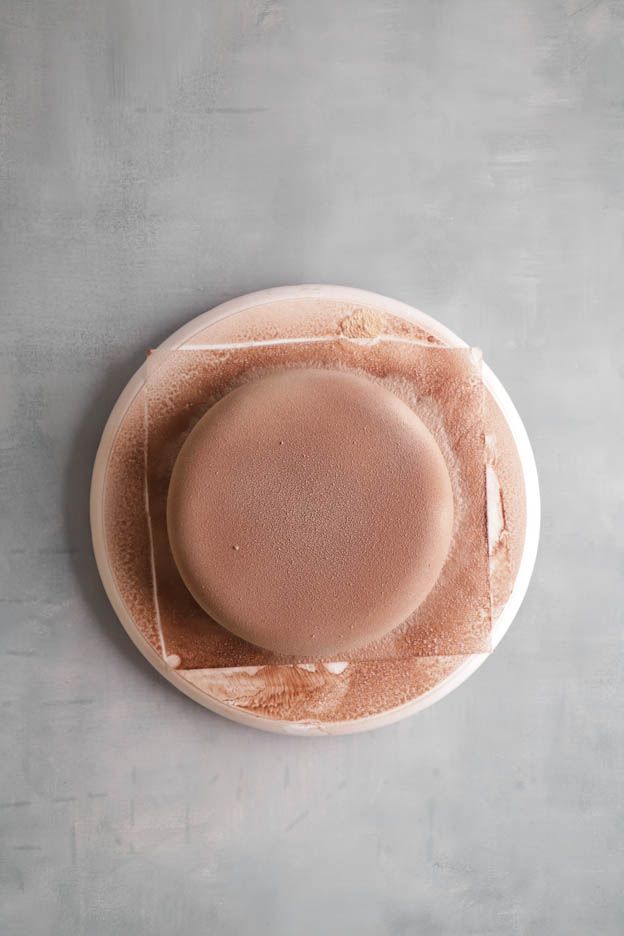
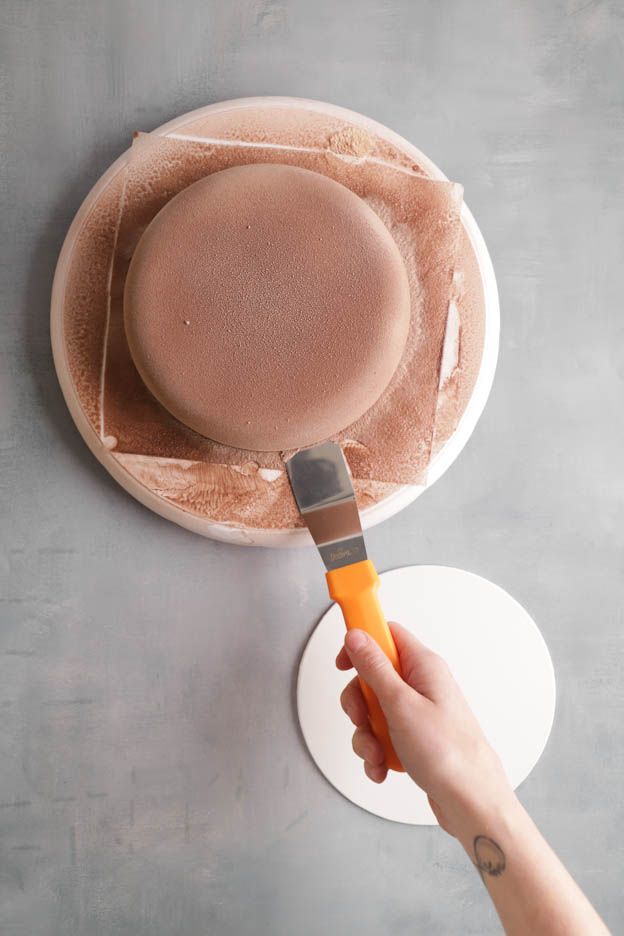
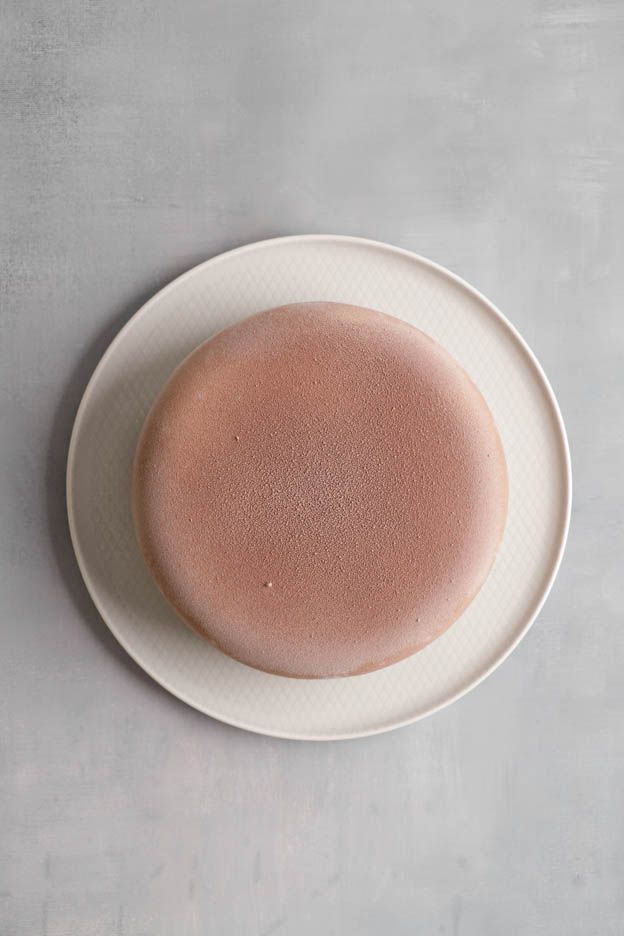
Once the entremet is fully flocked, place it on a board or a pretty plate. Use an offset spatula to avoid damaging it when moving.
Now we will finish our whipped ganache prepared at the very beginning of the recipe. It will have had plenty of time to chill — perfect! :-)
Pour the ganache into the mixer bowl.
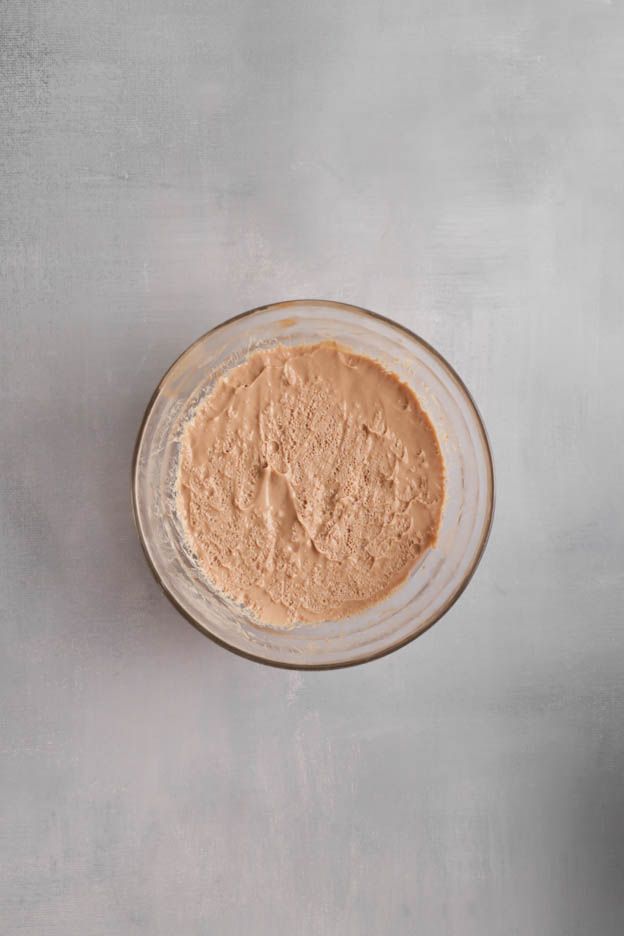
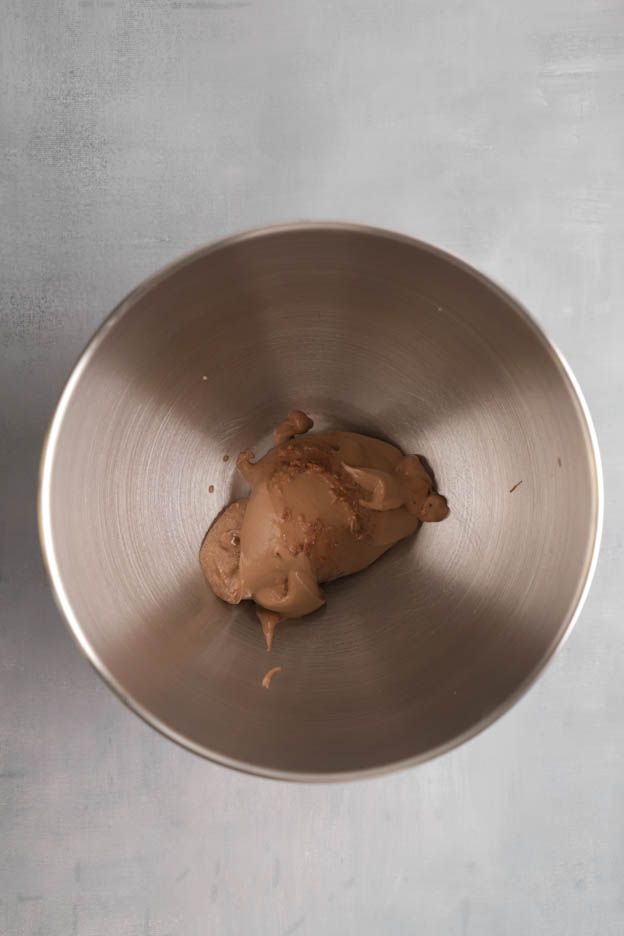
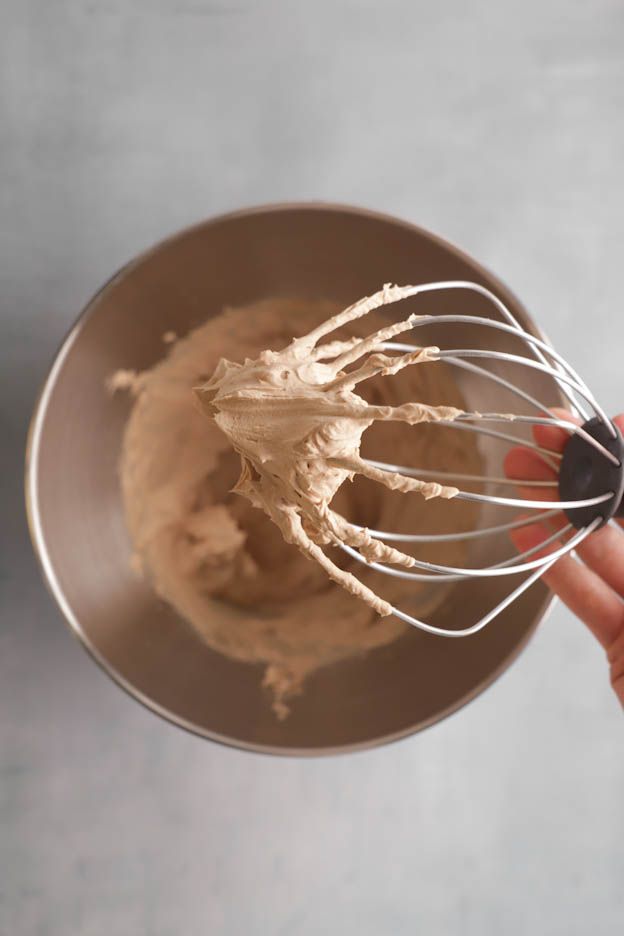
Using the whisk, whip it into a firm chantilly. Be careful, it whips up quickly so keep a close eye on it. You absolutely must not let it split!
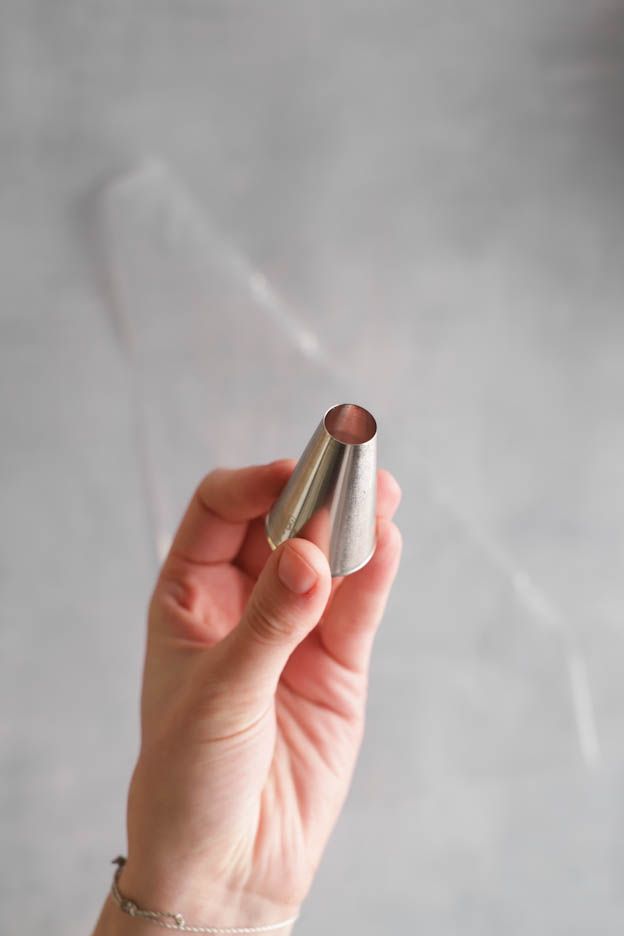
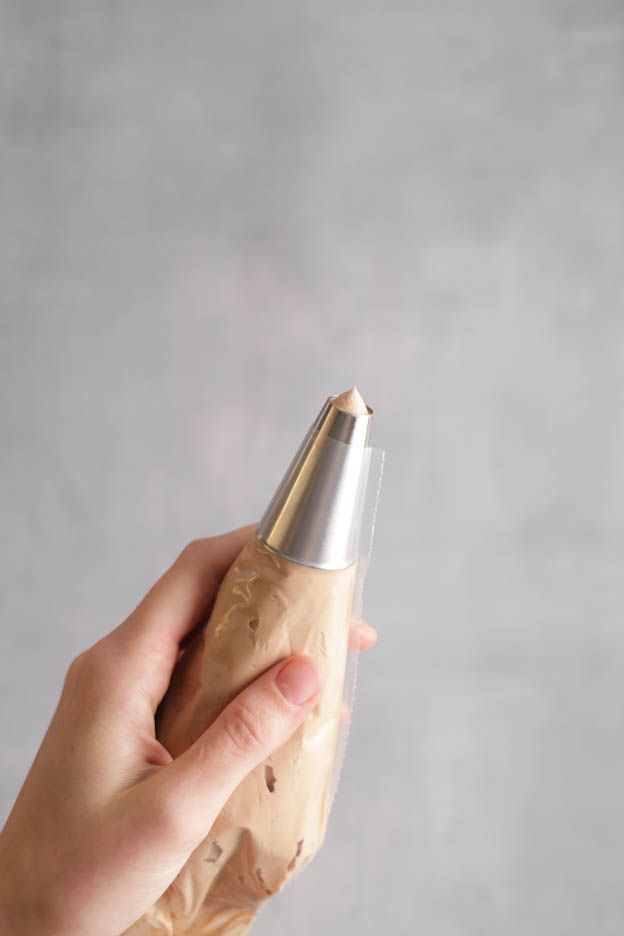
For beautiful ganache peaks, use a 13 mm round nozzle and place it in a large piping bag.
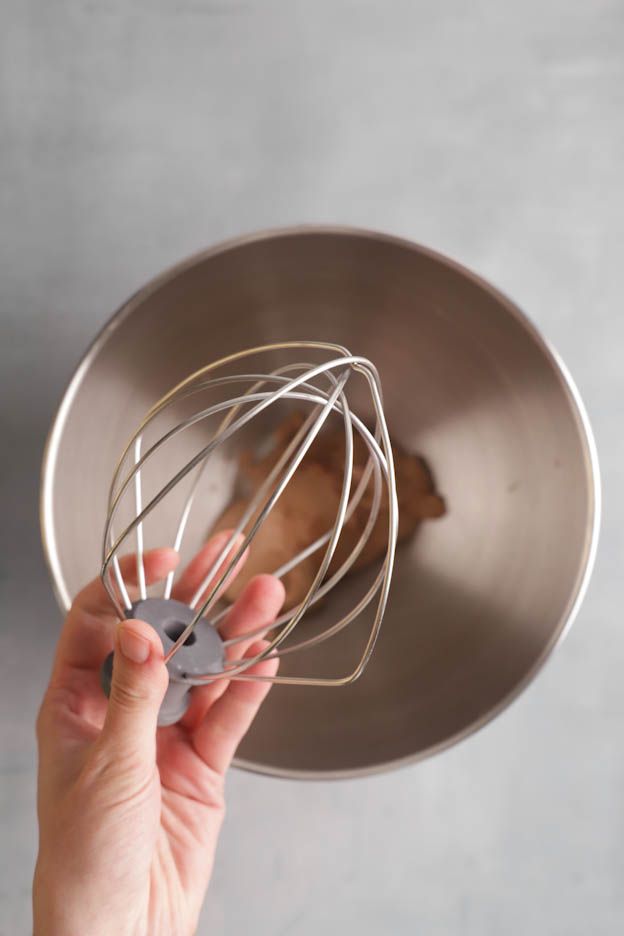
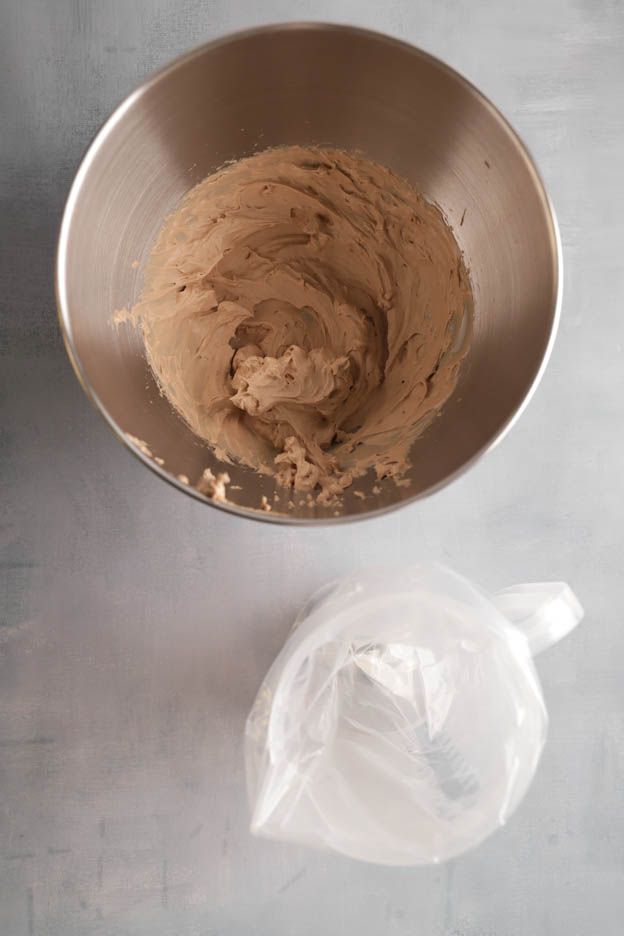
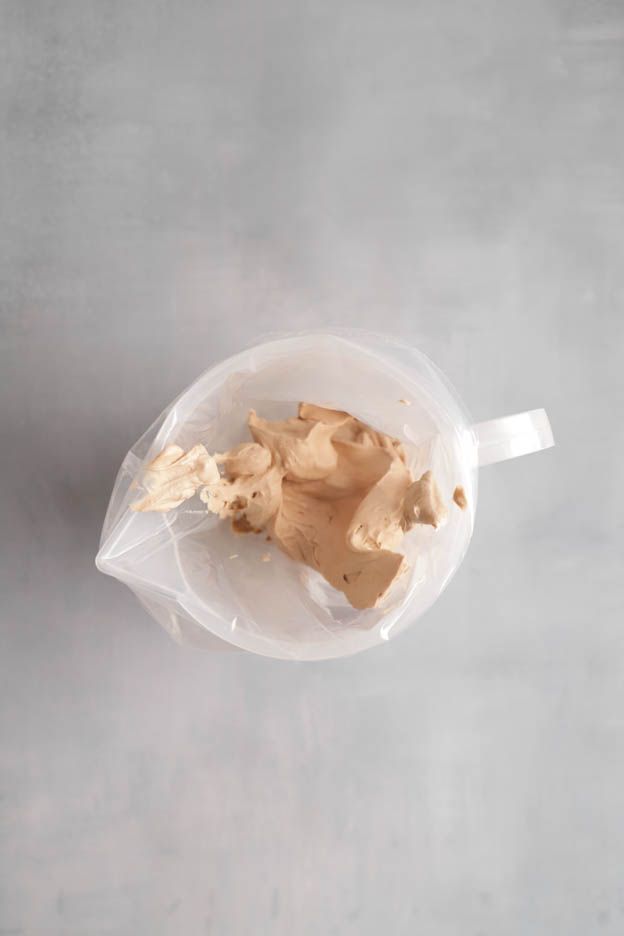
To fill the piping bag with ganache neatly, place it in a large jug.
Ideas for decorating an entremet
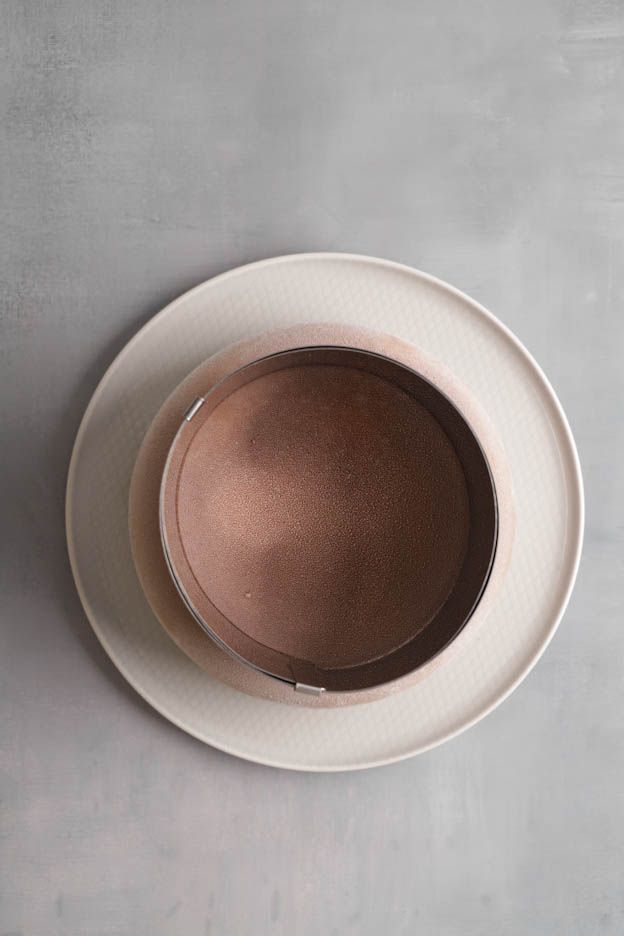
For evenly spaced piping, mark a circle on your entremet using an adjustable ring set to 13.5 cm.
Pipe neat, even peaks following the marked circle.
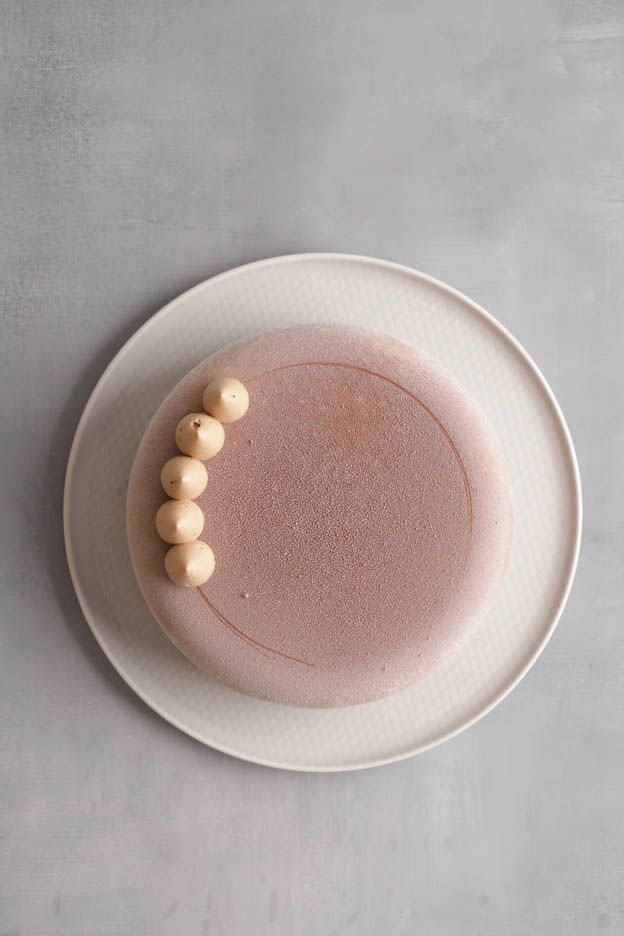
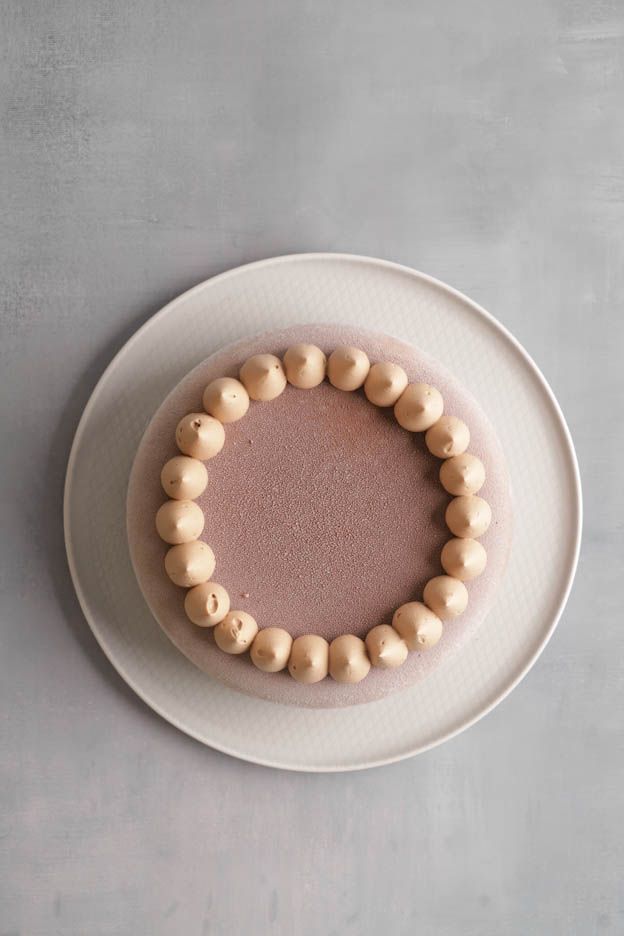
We will hollow out some of the peaks using the 1/2 tsp measuring spoon.
Dip it in oil and hollow out the peaks. This will prevent the ganache from sticking to the spoon.
You can use any neutral-tasting oil.
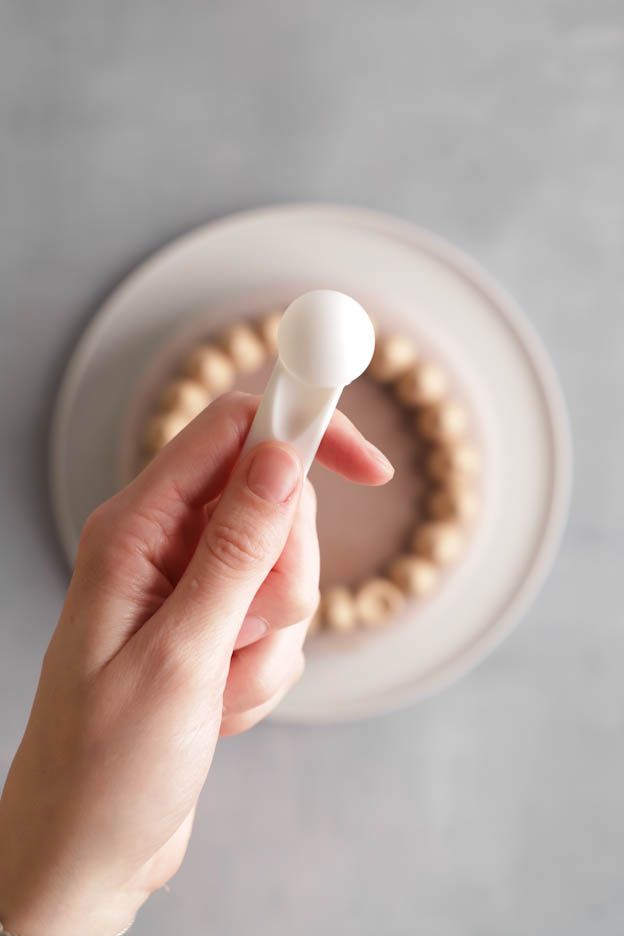
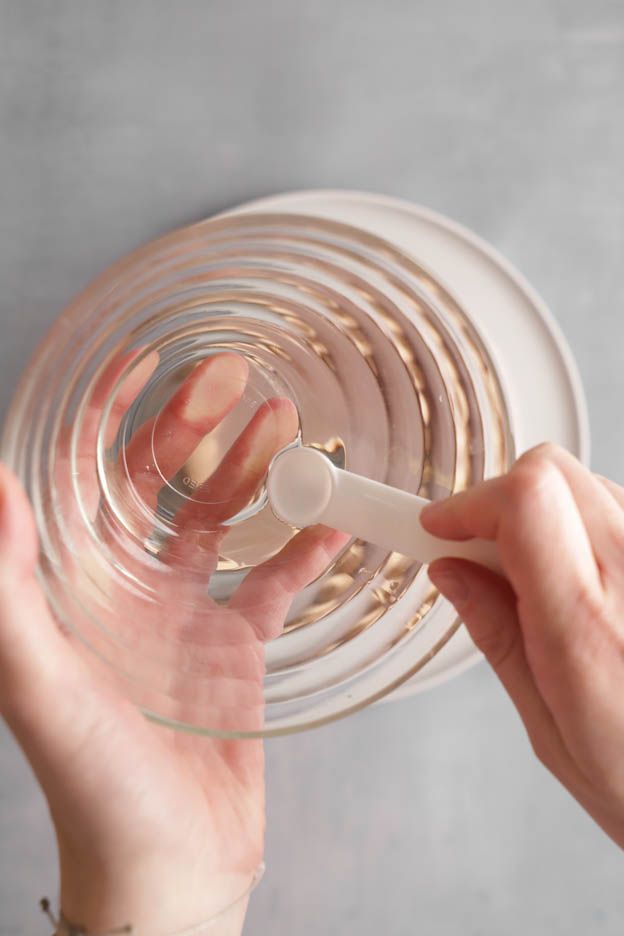
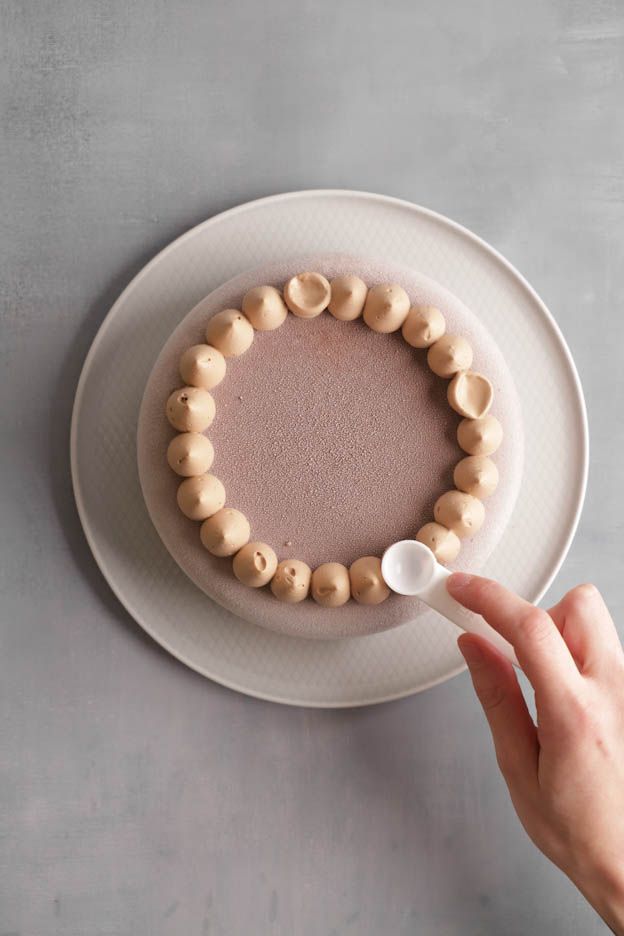
I chose to hollow out only 5 peaks, but feel free to hollow out as many as you like :-P
Fill a small piping bag with pear purée (equivalent to 5 tsp) and fill the hollowed-out peaks.
You will have a little pear purée left over. You can easily freeze it for your next creations.
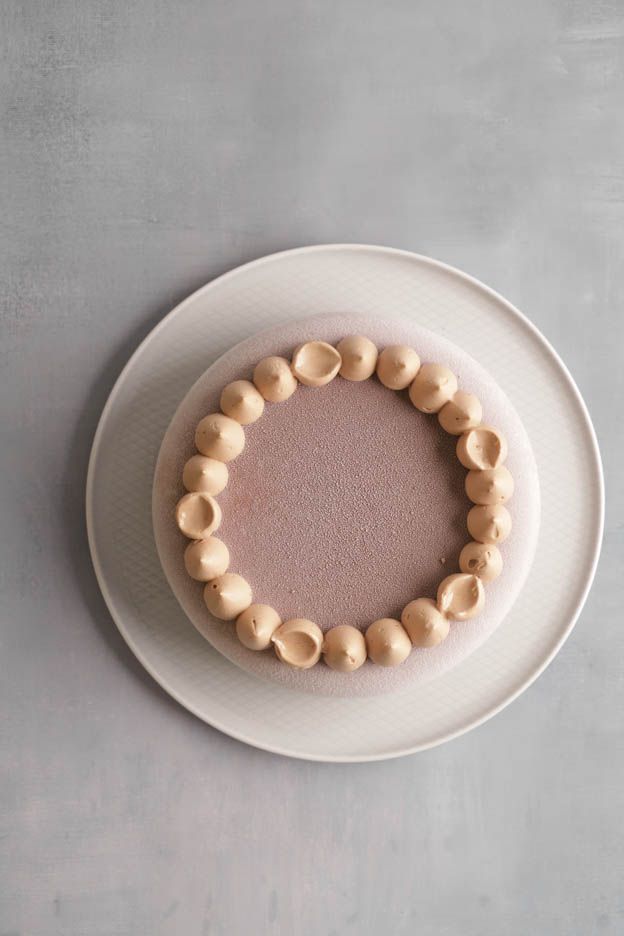
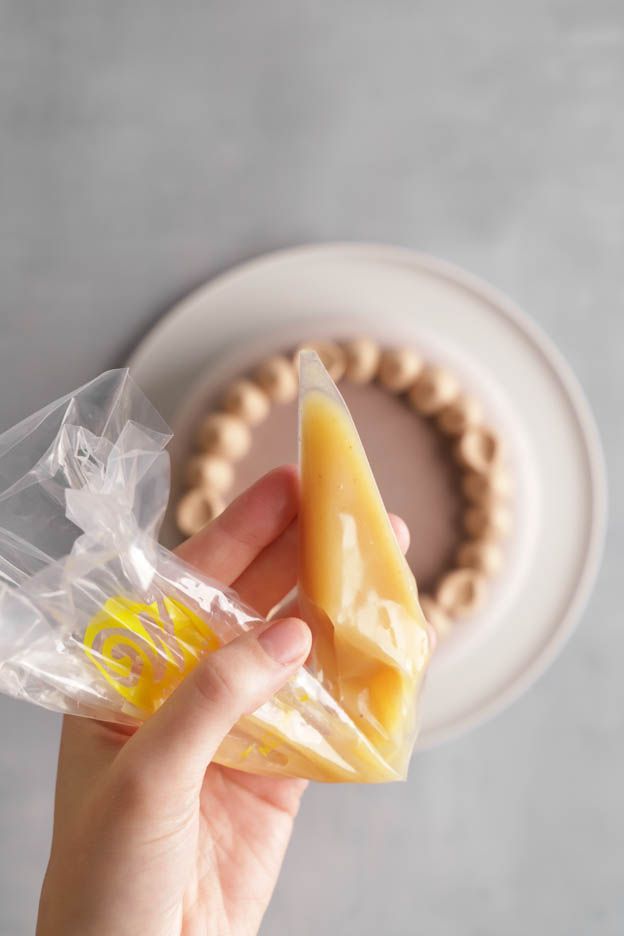
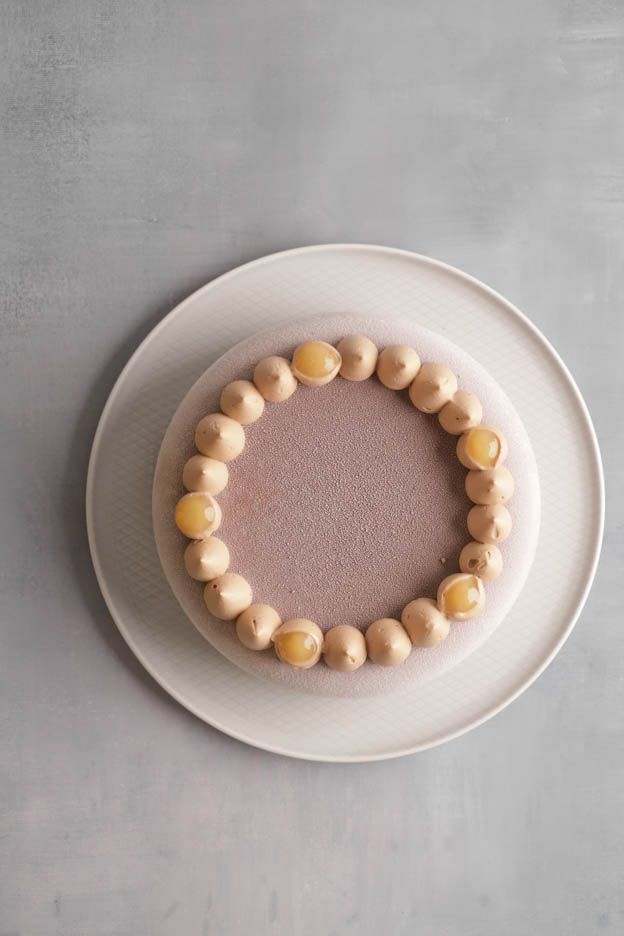
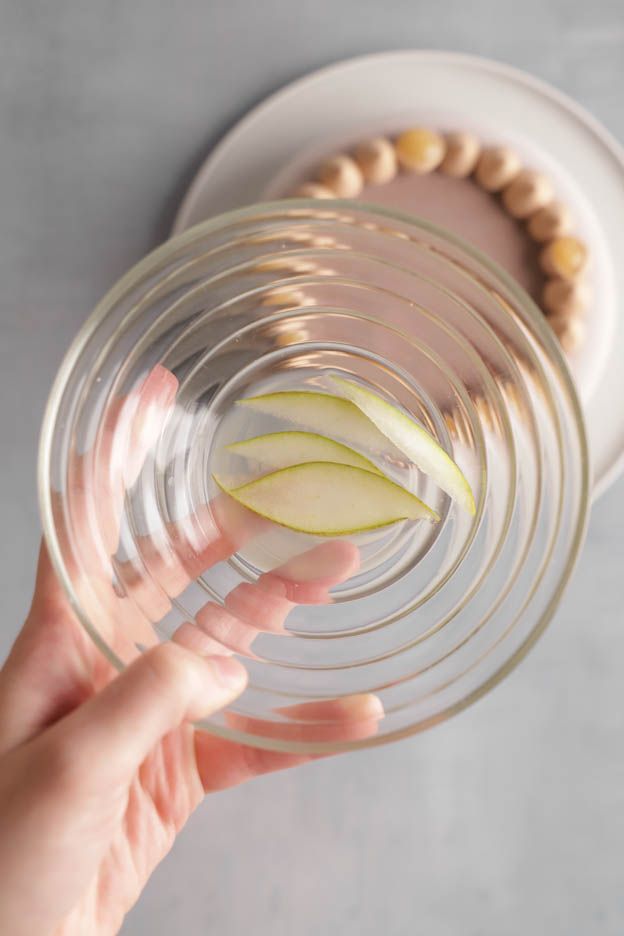
To echo the pears on the entremet, cut thin slices of pear.
Dip them in lemon juice to prevent them from browning.
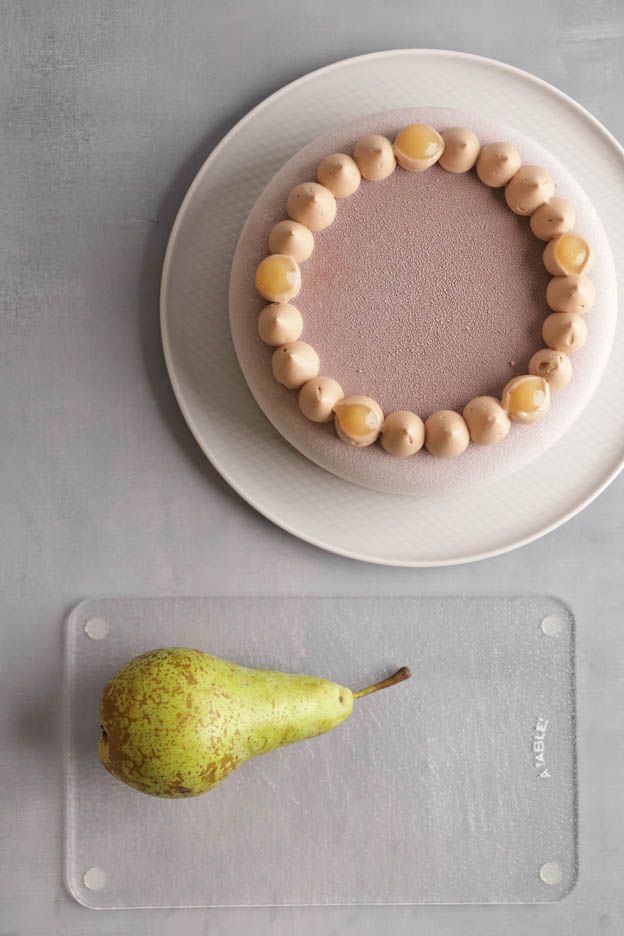
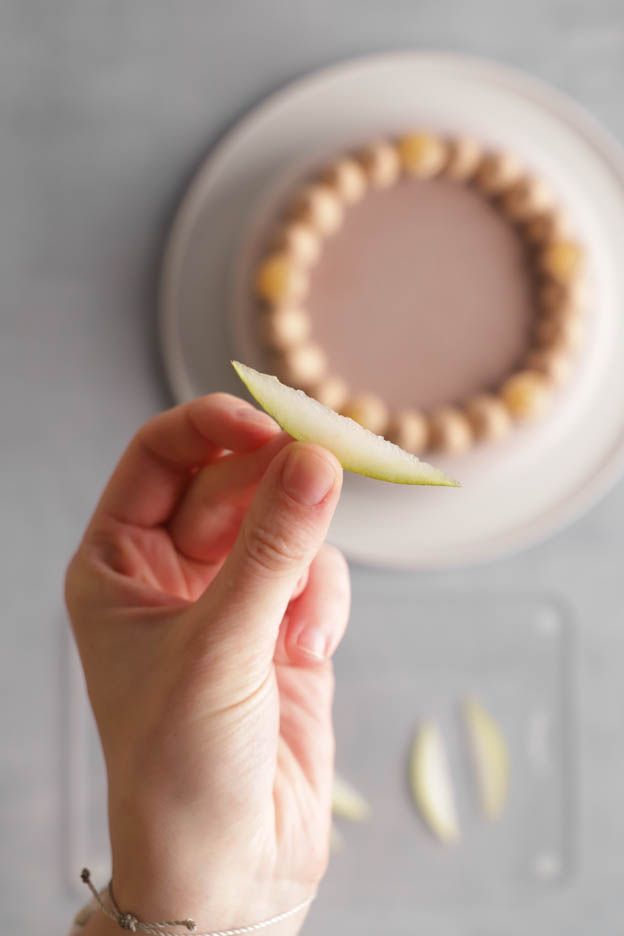
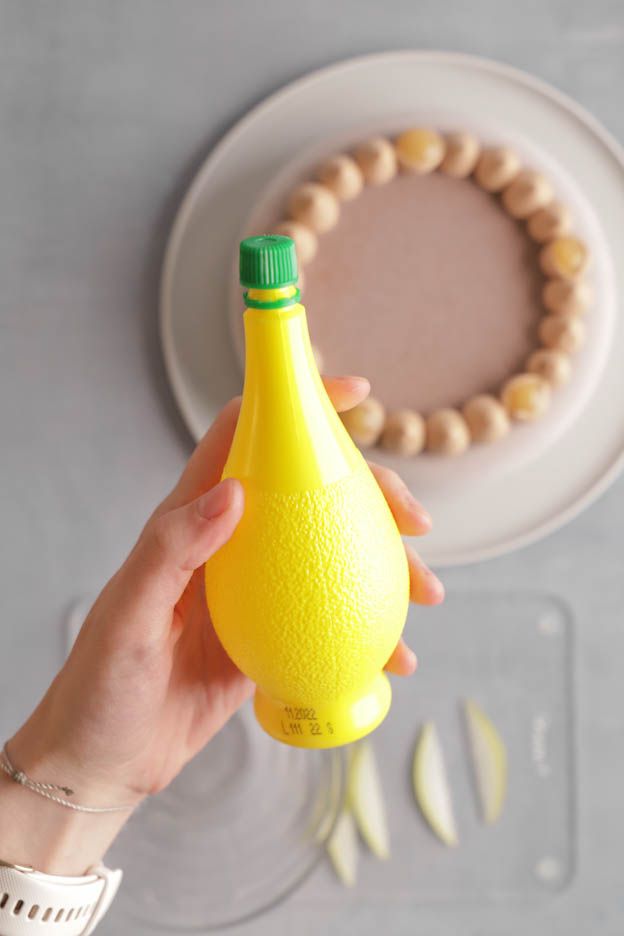
I cut them in half again. Then place two pear slices next to each hollowed-out peak.
For the finishing touch, sprinkle cacao nibs on each non-hollowed peak.
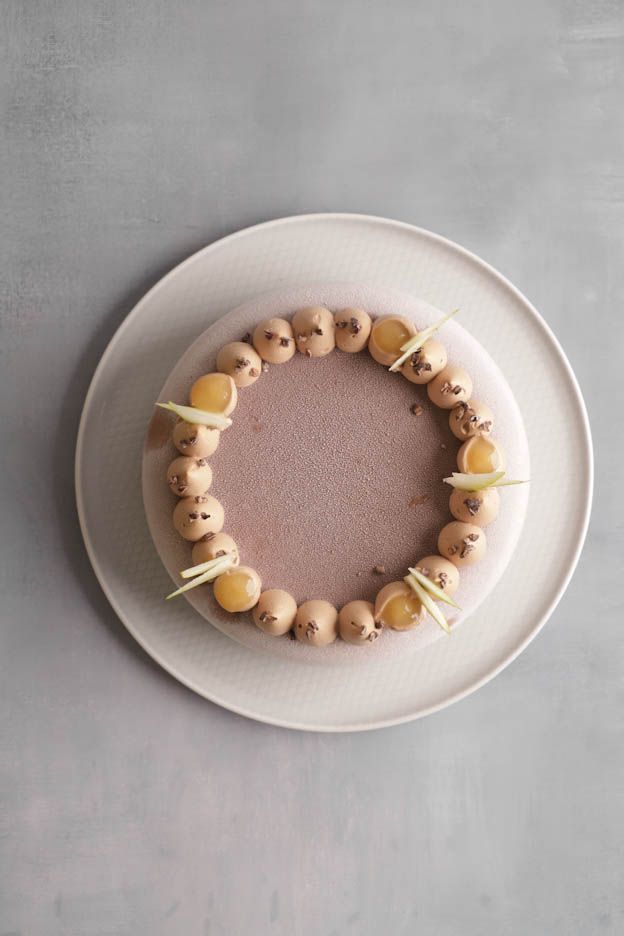
And there we have it, our entremet is finished!
Don't forget to flock and decorate it at least 8 hours before serving so that it can defrost gently in the fridge.
It will keep for 2 days in the fridge in a cake box.
I recommend making this recipe over several days like this:
D-3: the pear insert, the pear cremeux, the chocolate financier biscuit
D-2: the milk chocolate whipped ganache, the chocolate mousse and the assembly
Day D: the flocking, piping the ganache and the decoration
I hope you enjoy this recipe and give it a try.
Have a lovely Sunday, food lovers!
Sophie
P.S.: All the equipment used can be found at the bottom of the recipe.


Related posts
 Juicy Matcha Muffins with Pecan Nuts & White Chocolate
Matcha Iced Latte & Coconut Variant
Pull-apart bread with fresh wild garlic pesto
Mini Banana Bread with Chocolate Chips
Juicy Matcha Muffins with Pecan Nuts & White Chocolate
Matcha Iced Latte & Coconut Variant
Pull-apart bread with fresh wild garlic pesto
Mini Banana Bread with Chocolate Chips
Leave a comment
Comments
Question de Antoinette
By: Antoinette C. On 2024-10-27Bonsoir,
Je souhaiterais tester cette recette avec le moule du COFFRET MOULE À BÛCHE Référence 0040-0046.
Est-ce que je peux utiliser les mêmes quantités ?
Merci d'avance
Replied by: Karin On 2024-10-28
Question de Angélique
By: Angélique M. On 2024-10-03Bonjour, est-ce possible d’ajoutes une couche de croustillant praliné sur le biscuit? Éventuellement enlever le grué de la recette ou faudrait-il dans ce cas plutôt faire un autre biscuit? Je souhaiterais faire cet entremet dans un moule en forme de cœur, lequel me conseillez-vous ? Merci
Replied by: Karin On 2024-10-03
Replied by: Angélique M. On 2024-10-04
Replied by: Karin On 2024-10-04
Question de Sophie
By: Sophie P. On 2024-05-28Bonjour,
Puis je déjà préparer mon insert de poire 4 à 5 jours avant ?
Comment de temps dois je prévoir par jour pour faire les étapes ?
Merci
Replied by: Karin On 2024-05-28
Question de Lena
By: Lena P. On 2023-12-07Bonjour, est-ce que cette recette pourrait être faite sous forme de “bûche”? Merci d’avance!
Replied by: Karin On 2023-12-07
Question de Delphine
By: Delphine R. On 2023-11-29Bonjour, j’aimerais tester la recette avec le moule perla 20cm et l’insert en silicone 16cm. Faut-il que j’augmente beaucoup les quantités svp? Merci d’avance bonne journée
Replied by: Karin On 2023-11-29
Question de Telma
By: Telma D. On 2023-11-19Bonjour,
Entremet testé et presque approuvé à 100%. Pour nous, le biscuit était un peu trop dense. Je ne sais pas si c'est dû à la congélation.
Serait-il possible de le réaliser avec un autre biscuit ? Merci d'avance
Replied by: Karin On 2023-11-20