
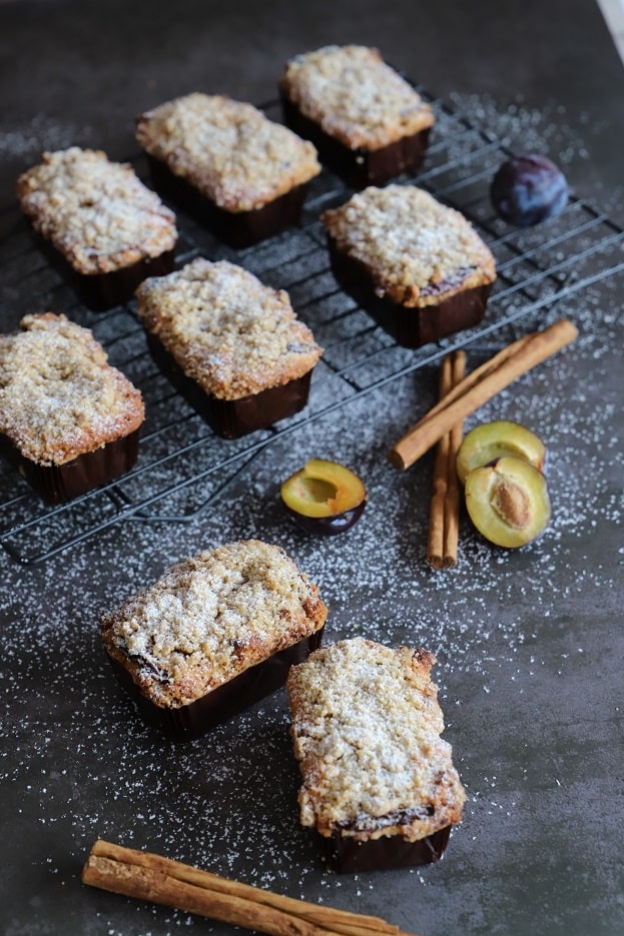
Mini prune-cinnamon cakes
Hello food lovers,
Autumn is gently arriving, here is a seasonal recipe.
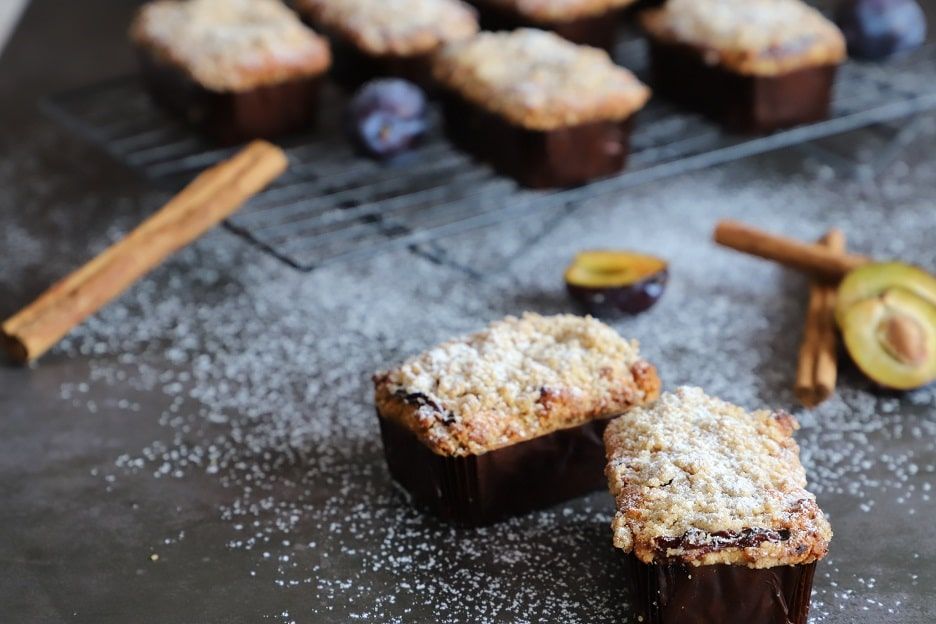
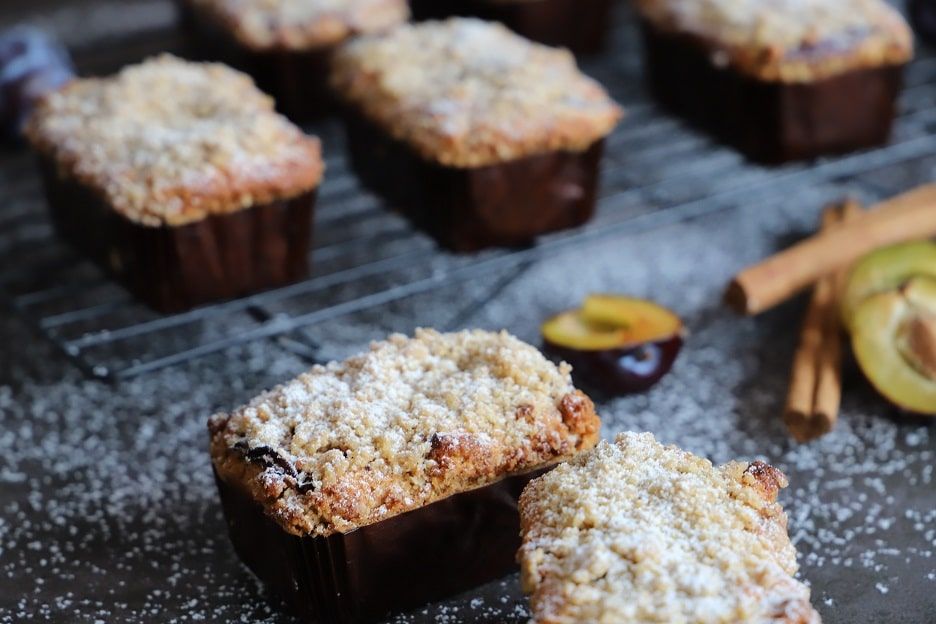
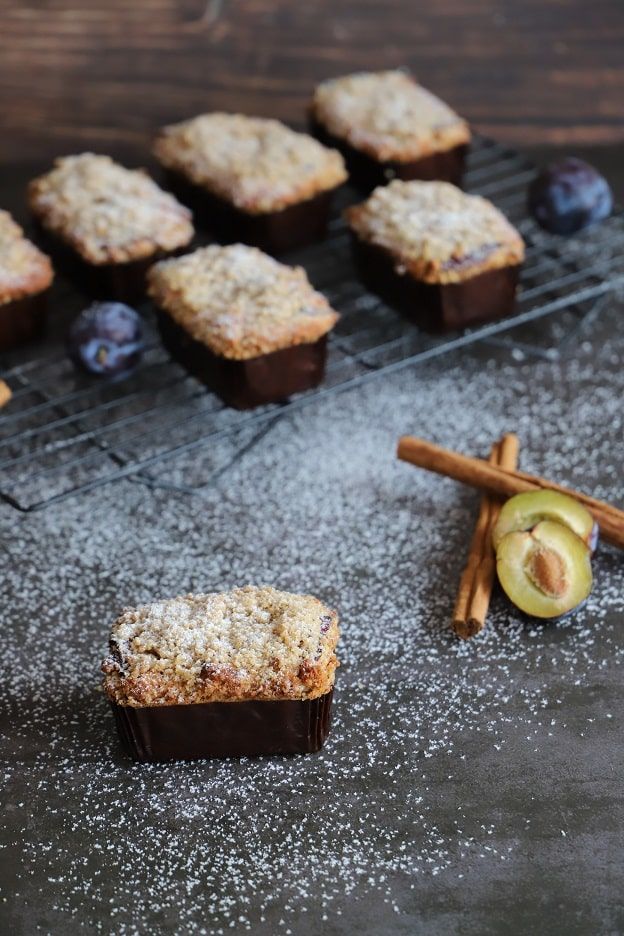
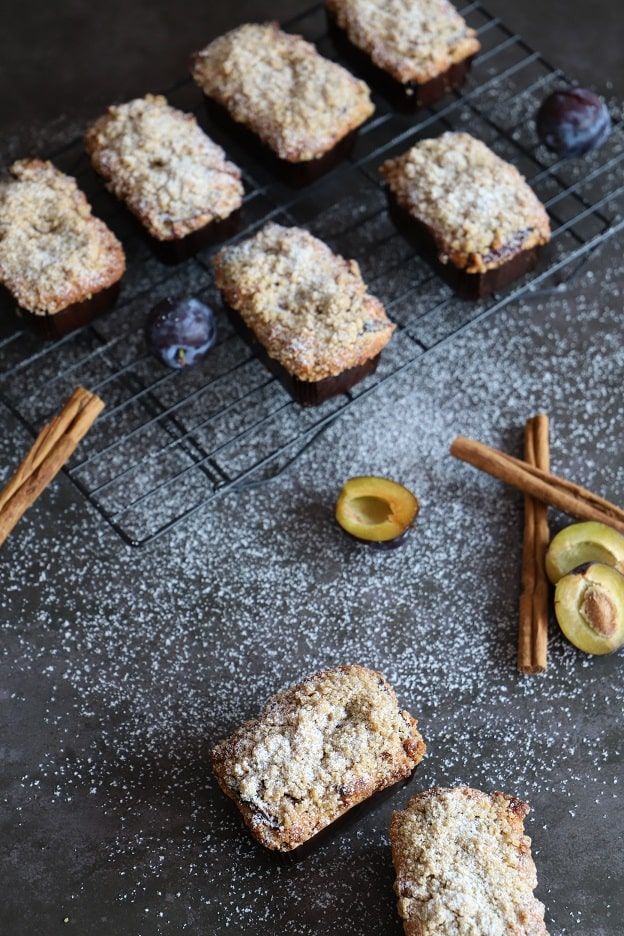
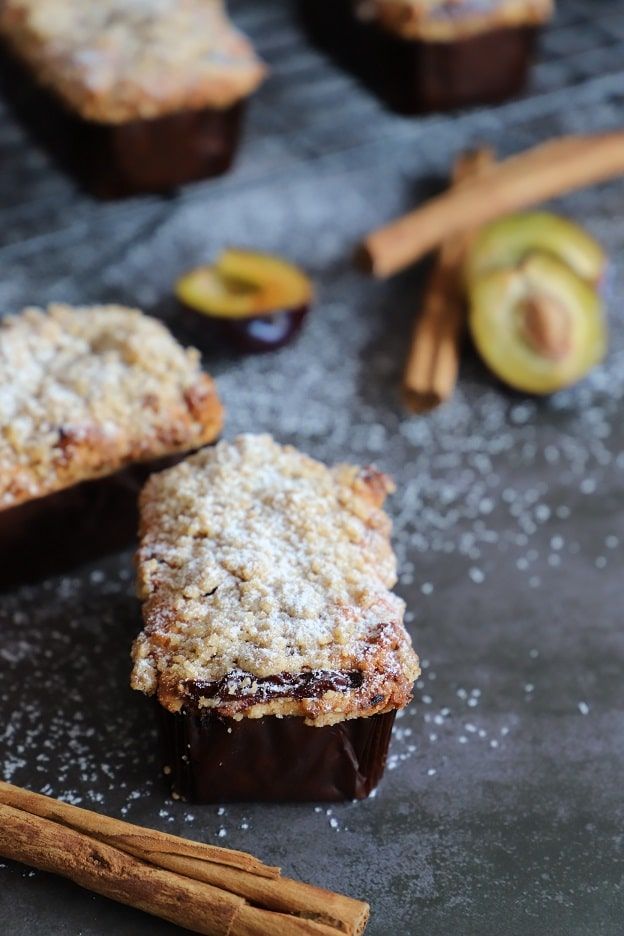
Mini prune and cinnamon crumble cakes.
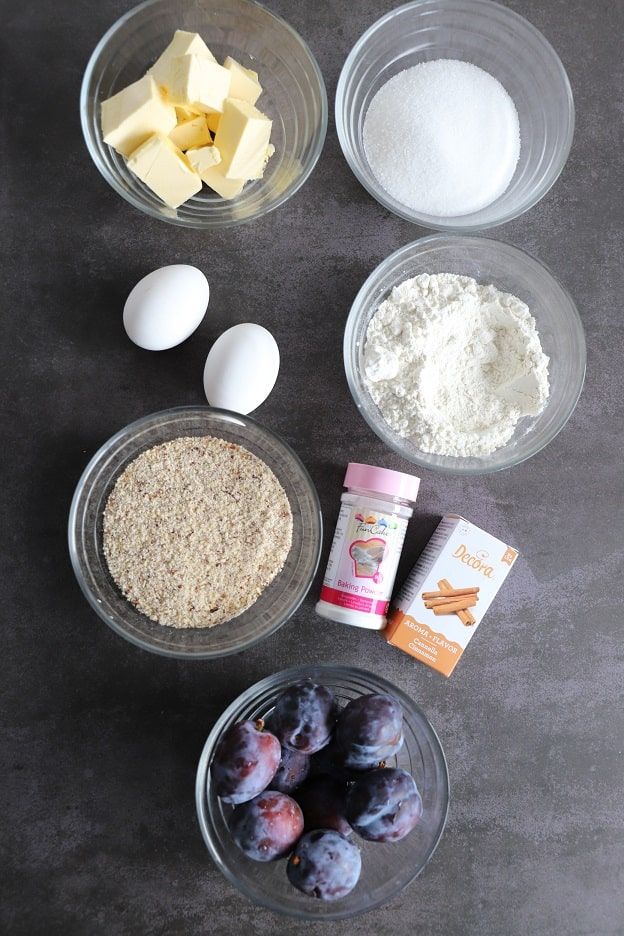
For 8 mini cakes you will need:
Cake
- 375g butter
- 375g sugar
- 3 eggs
- 170g flour
- 150g ground hazelnuts
- 1.5 tsp baking powder
- 1 tsp cinnamon flavouring
- 200g prunes
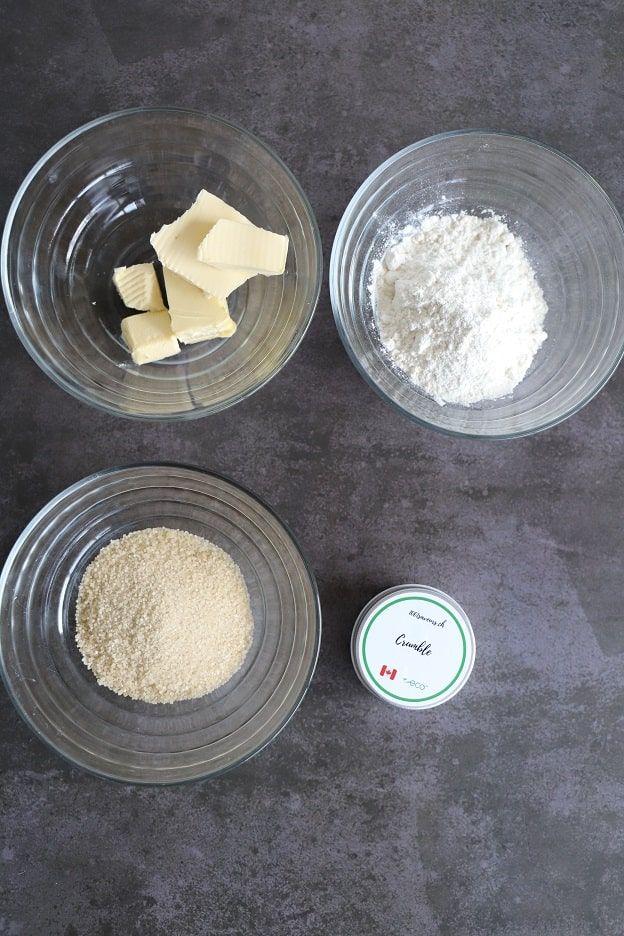
Crumble
- 60g flour
- 1 tsp gingerbread spice mix
- 60g brown sugar
- 40g cold butter
- Mini cake tin
- Brown mini cake liners
Cake
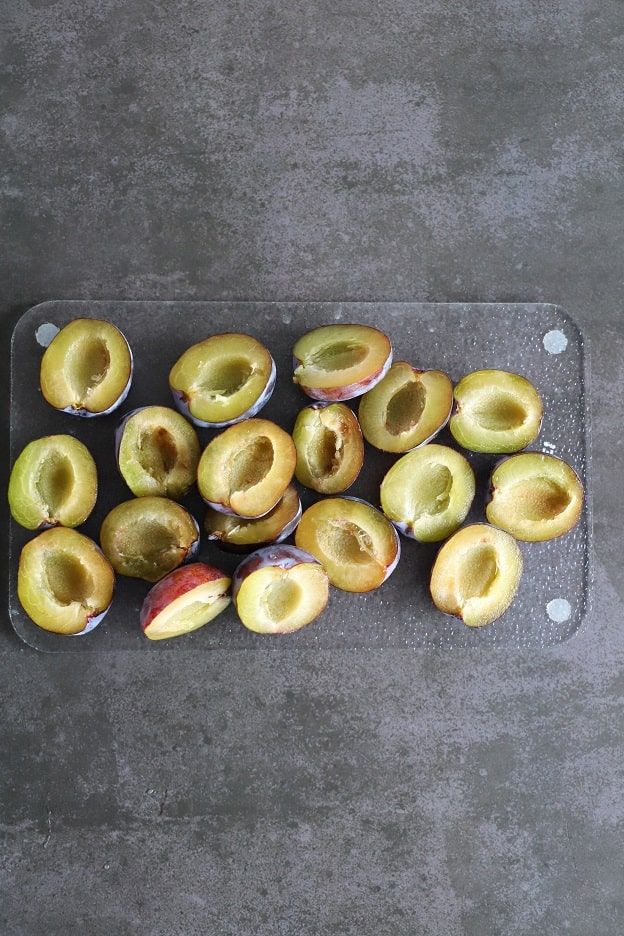
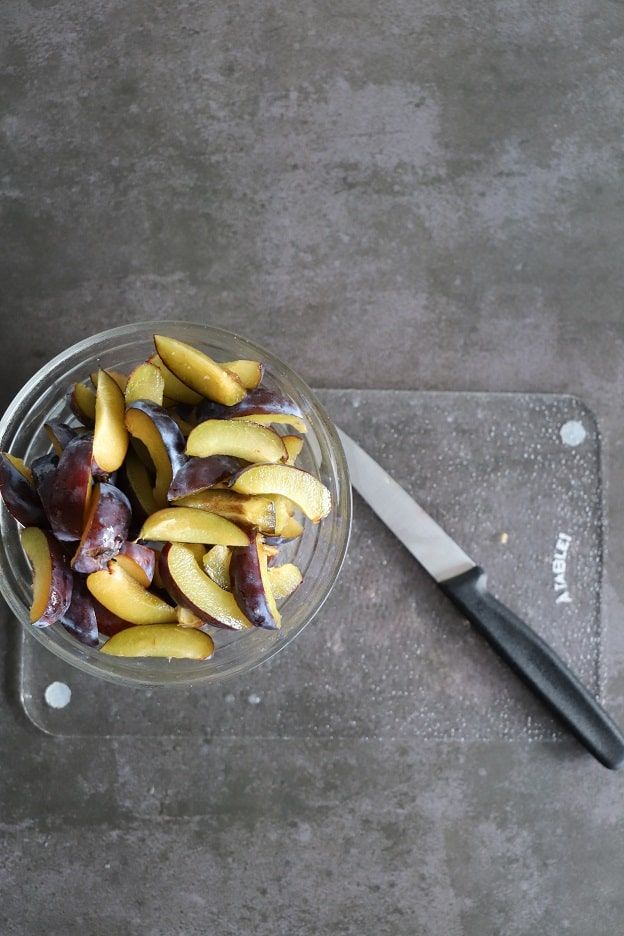
Pit 200g of prunes and cut them into 8 pieces.
Set them aside, we will need them very soon.
Preheat the oven to 180°C fan-assisted.
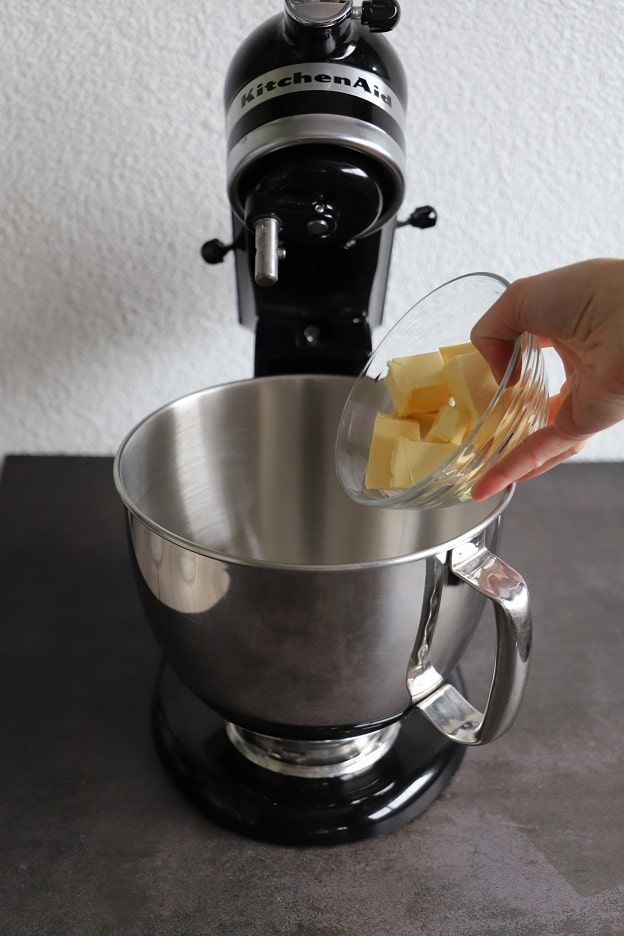
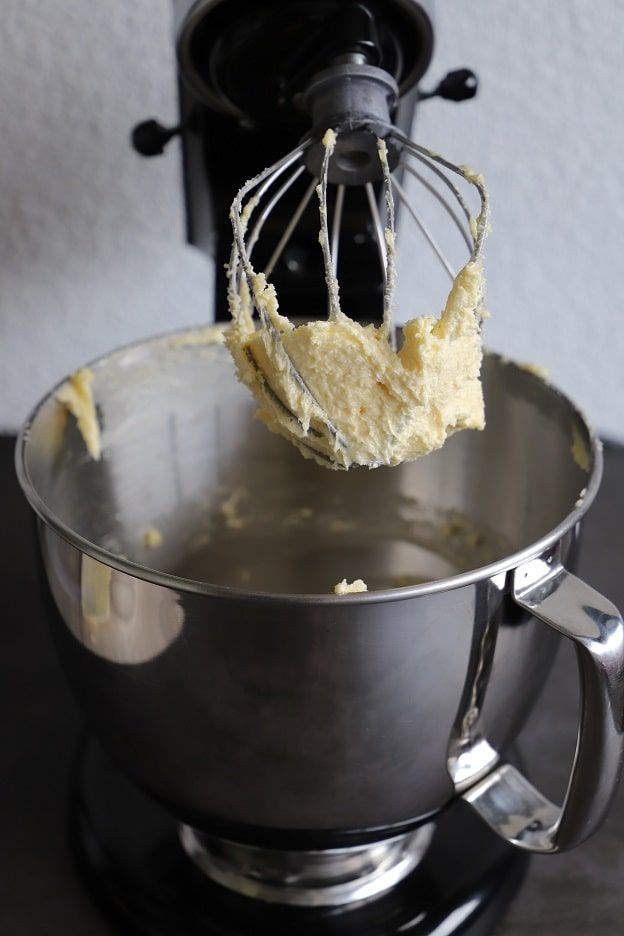
In a mixer with the whisk attachment, cream 375g of butter and 375g of sugar at maximum speed for about 5 minutes.
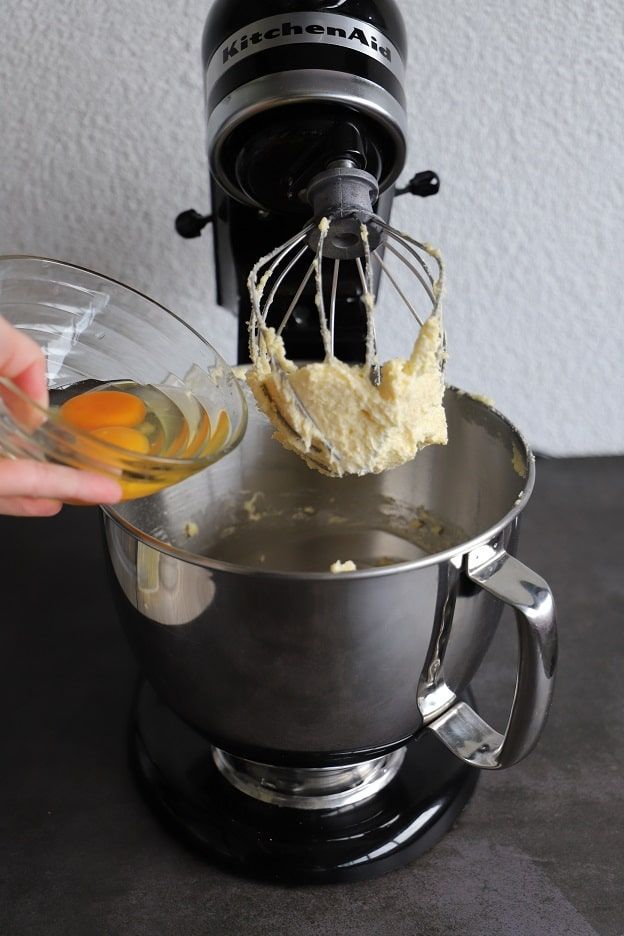
Add 3 eggs to the creamed butter and sugar mixture. Mix at speed 2 for 30 seconds.
Add to the mixer bowl 170g of flour, 150g of ground hazelnuts, 1.5 tsp of baking powder and 1 tsp of cinnamon flavouring.
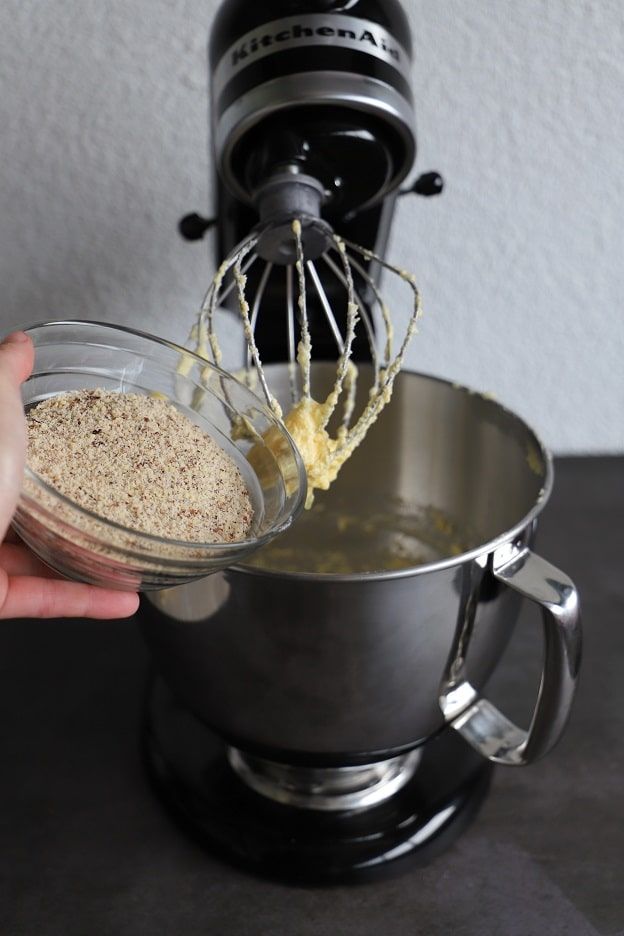
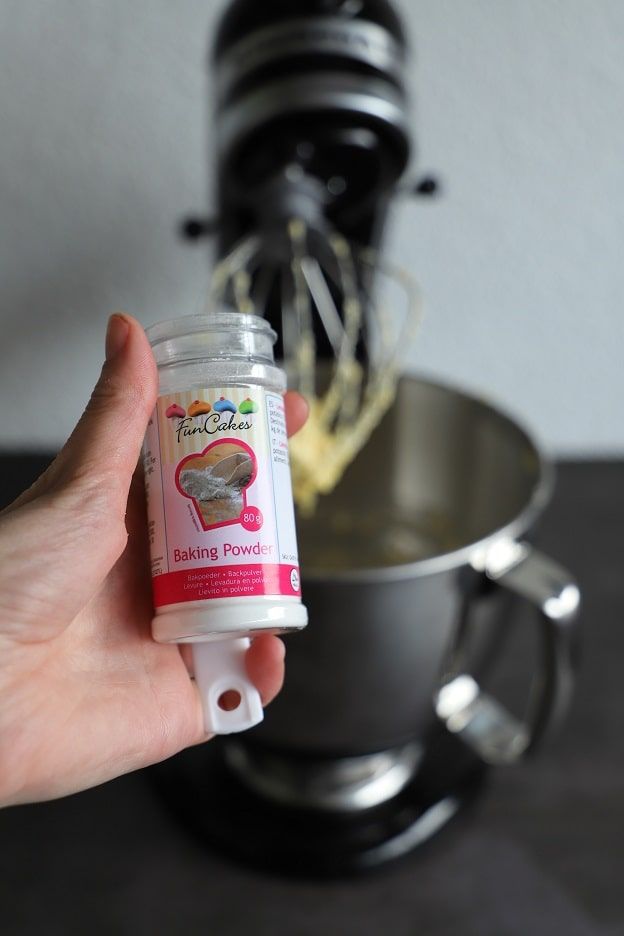
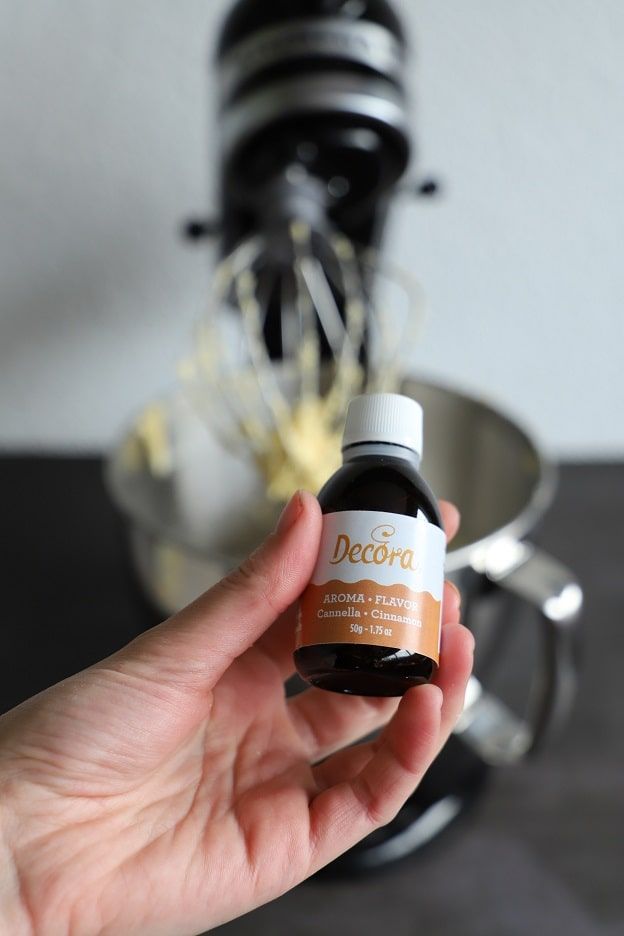
Mix at maximum speed for 1 minute.
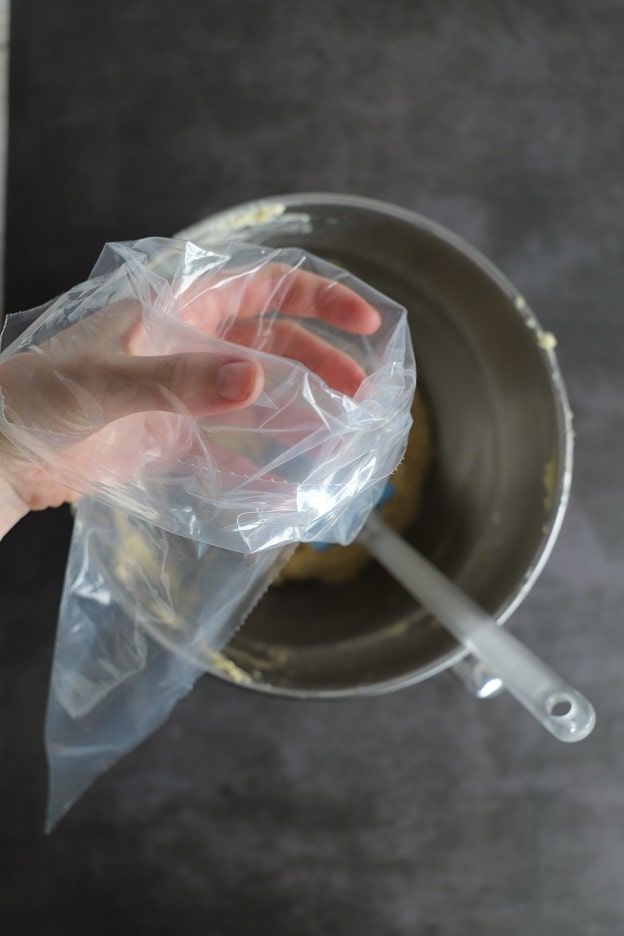
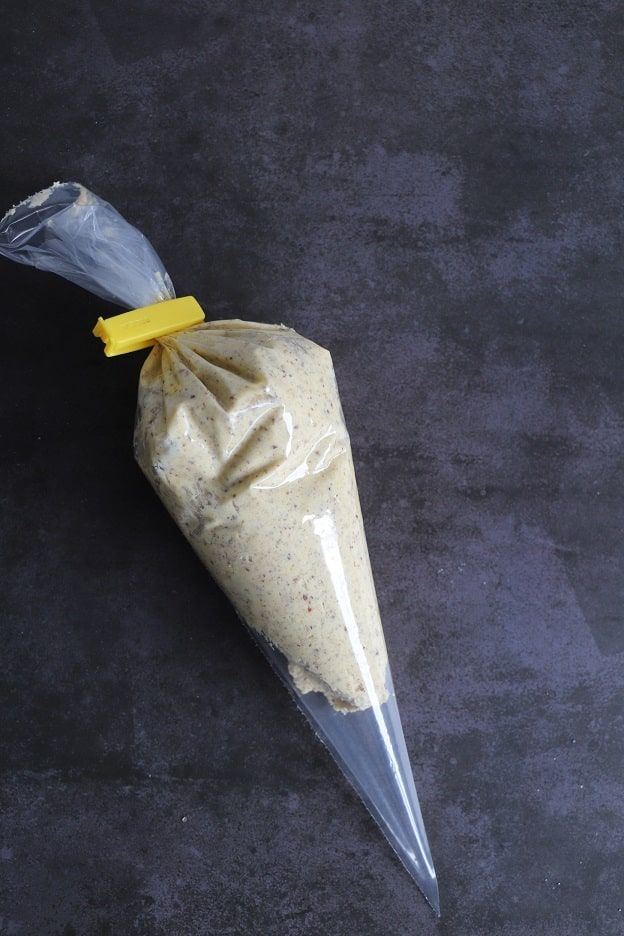
Place your batter into a piping bag.
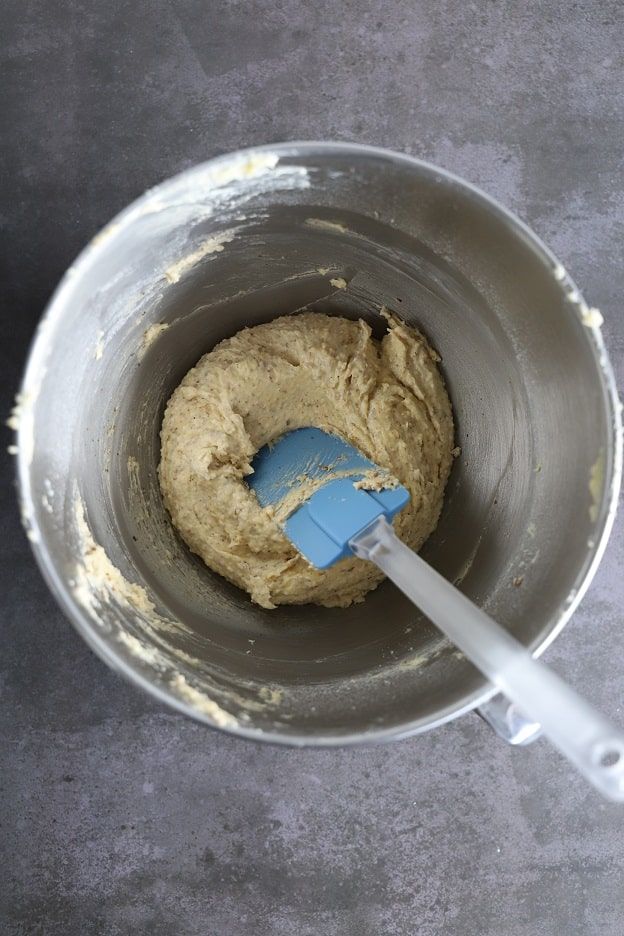
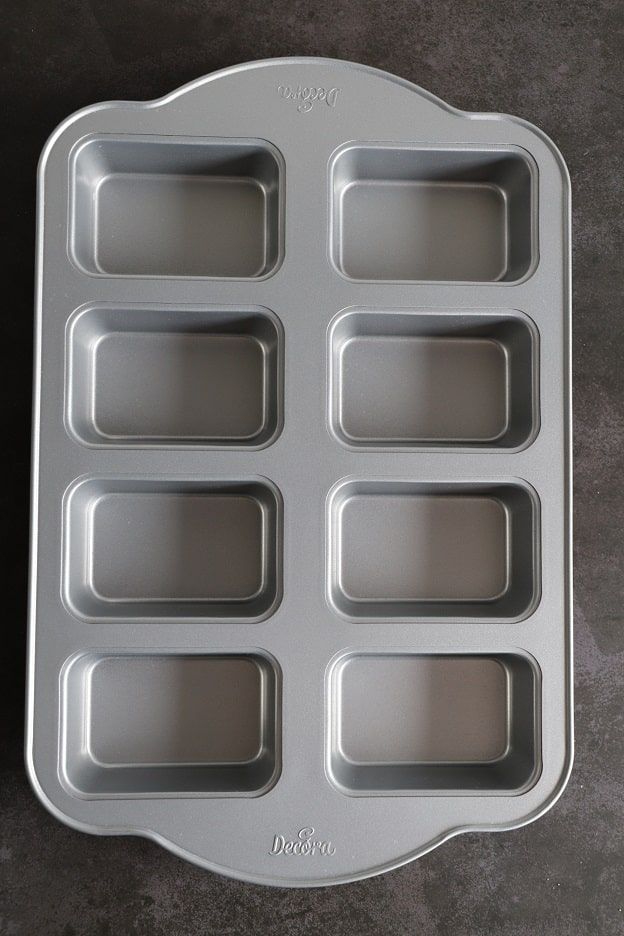
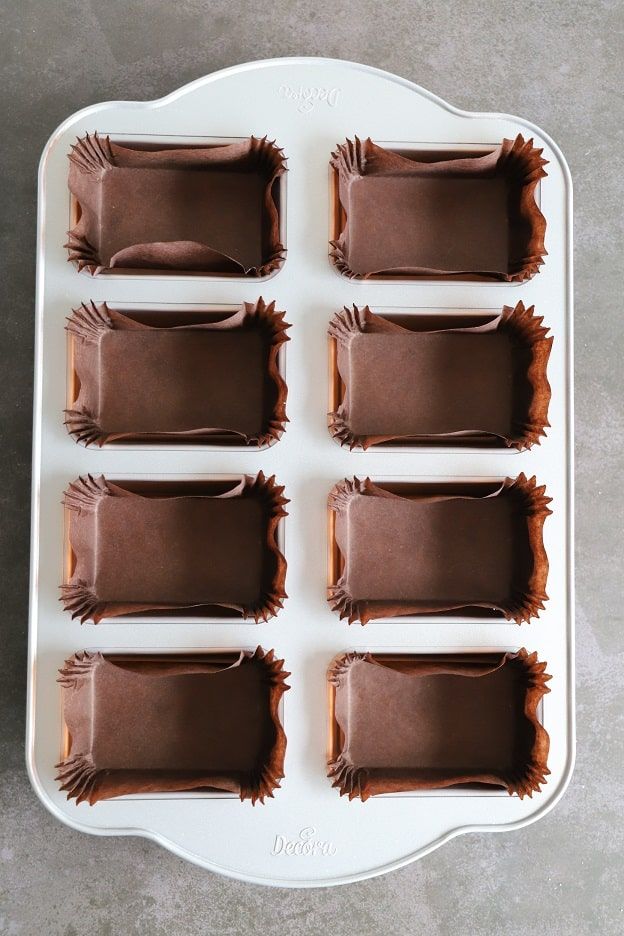
Place the mini cake liners into the cavities of the mini cake tin.
Using the piping bag, fill the liners 3/4 full.
It is important not to fill them more than 3/4 as we will be placing the prunes on top afterwards.
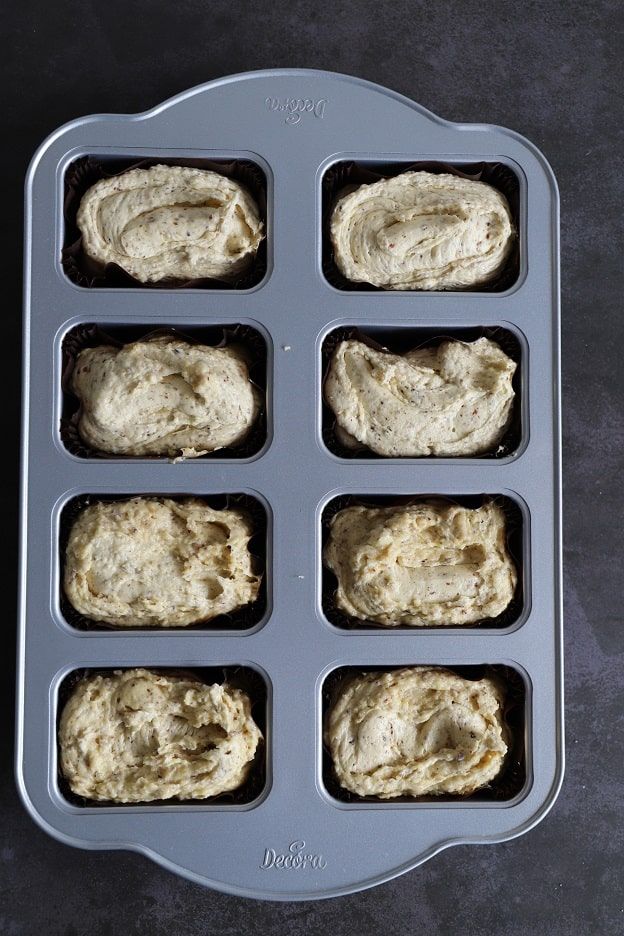
Place about 25g of prunes per mini cake as shown in photos no. 2 and 3.
Bake the mini cakes in your preheated oven at 180°C for about 25 minutes.
The baking will be done in two stages.
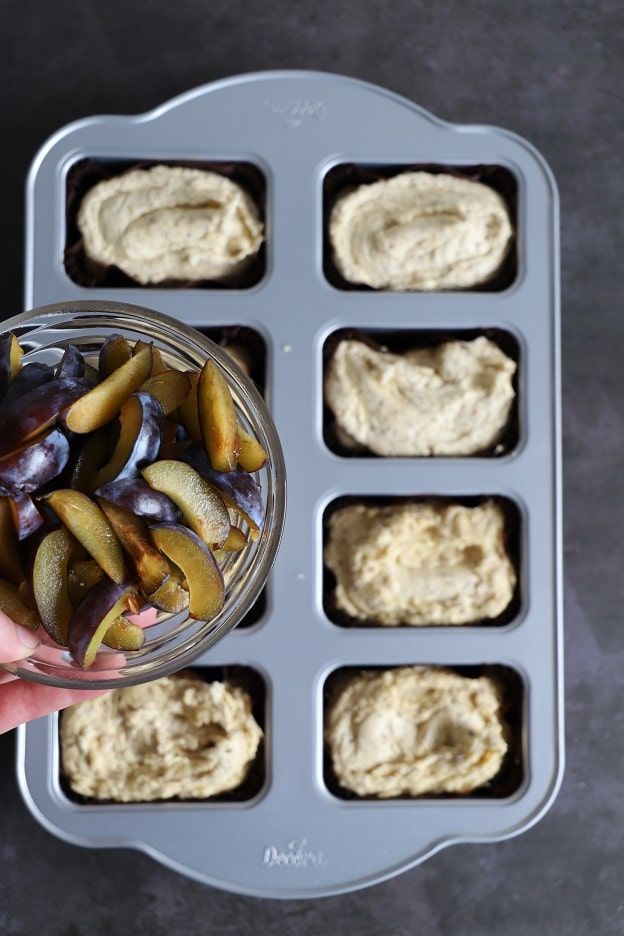
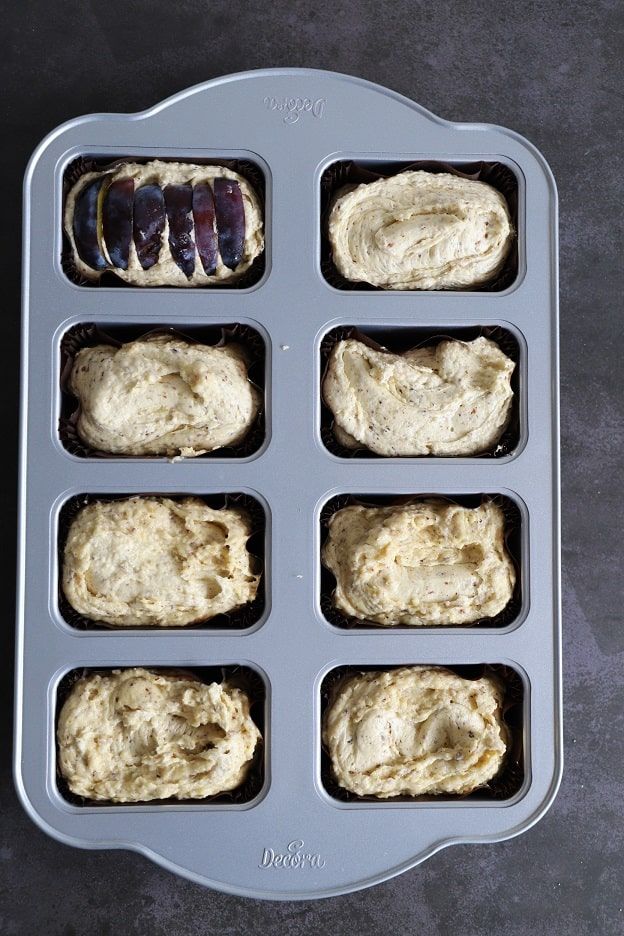
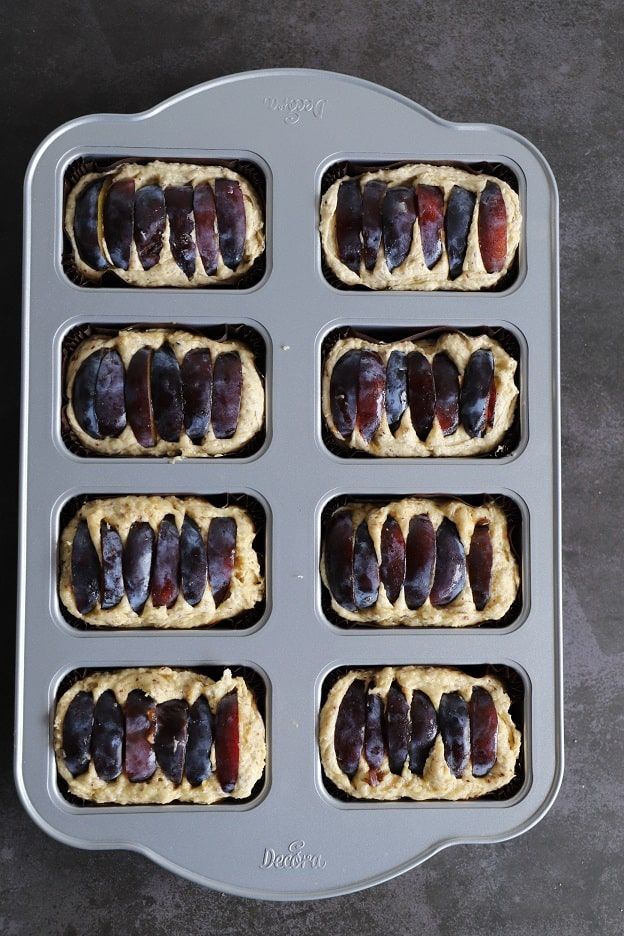
During the first bake we will prepare the crumble.
Crumble
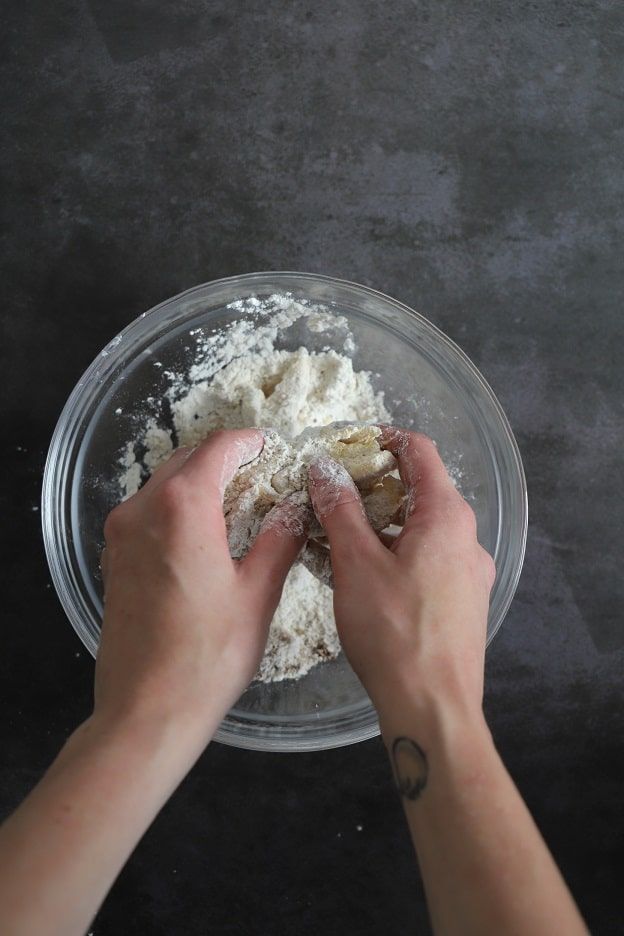
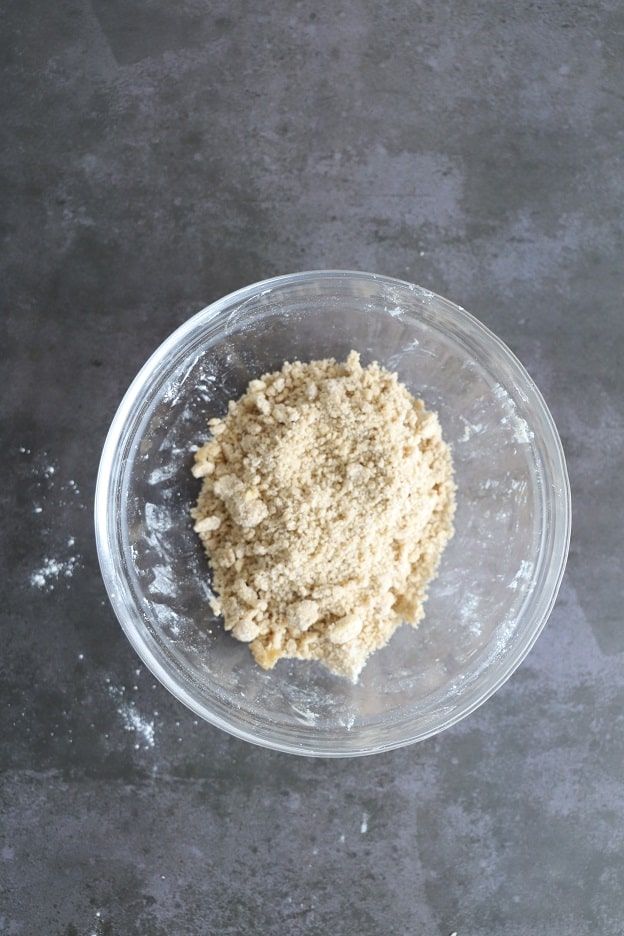
In a bowl, work by hand 60g of flour, 1 tsp of gingerbread spice mix, 60g of brown sugar and 40g of cold butter, until you obtain a sandy dough.
Set the crumble aside in the fridge.
After 25 minutes take your mini cakes out of the oven.
Spread the crumble over the little cakes.
Bake again for 15 minutes.
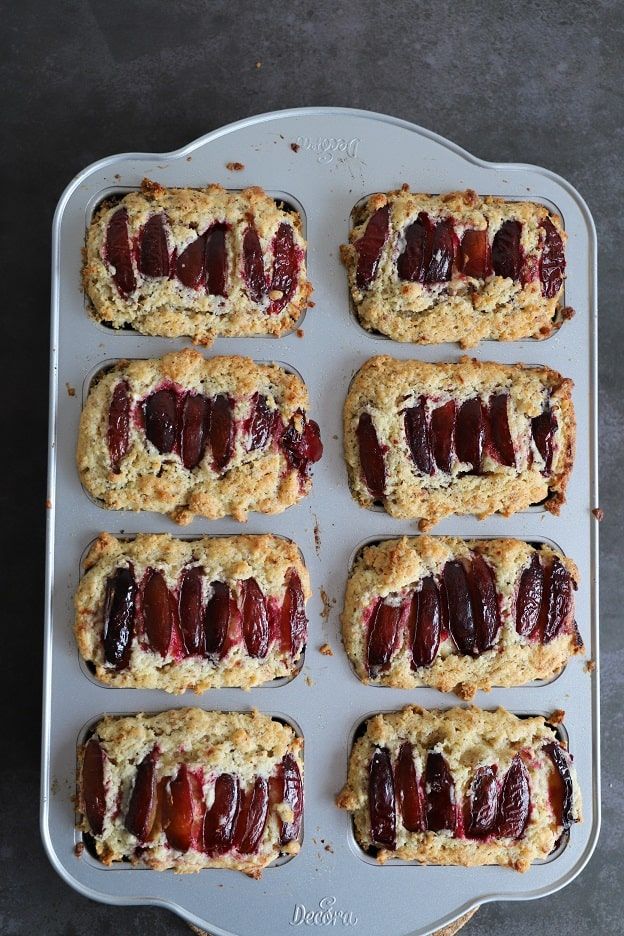
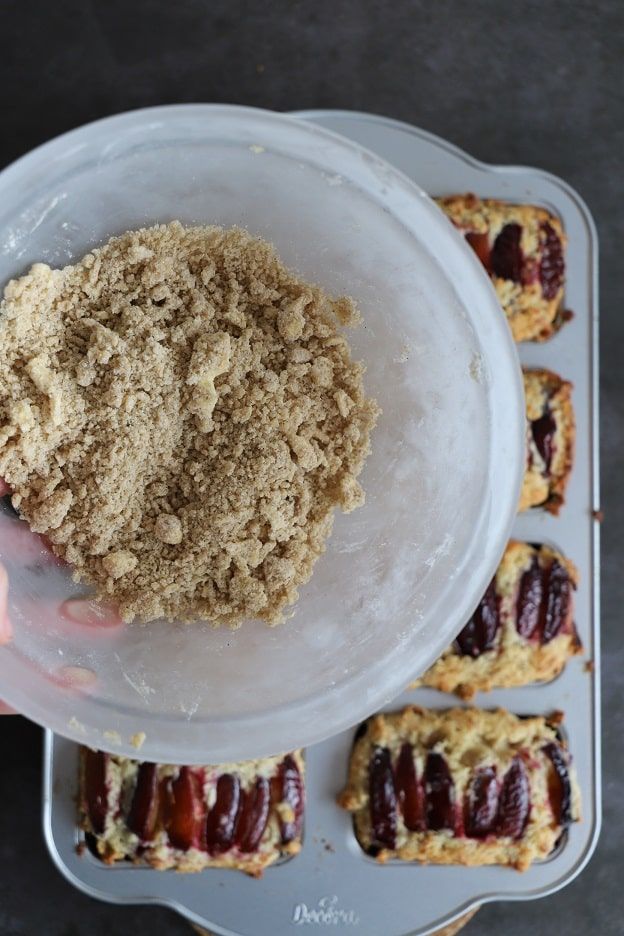

A little tip: to check if your cakes are fully baked, insert the tip of a knife into them — if the cakes are done, the knife will come out clean; otherwise, extend the baking time by 1-2 more minutes.
Once baked, your mini cakes will be nicely golden.
Carefully turn them out onto a cooling rack.
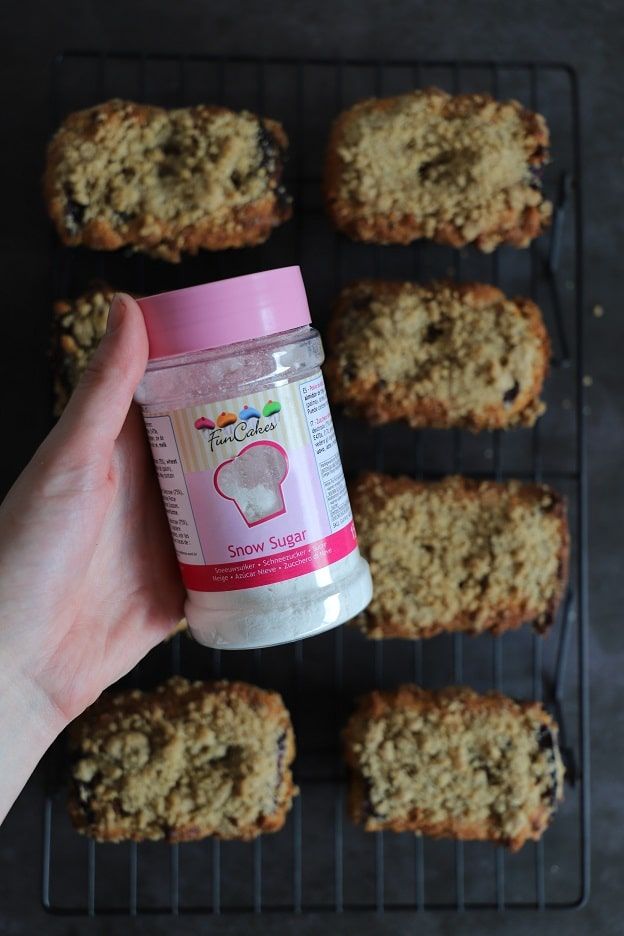
Using a sieve, dust them with snow sugar.
Snow sugar looks like icing sugar, but it is resistant to moisture.
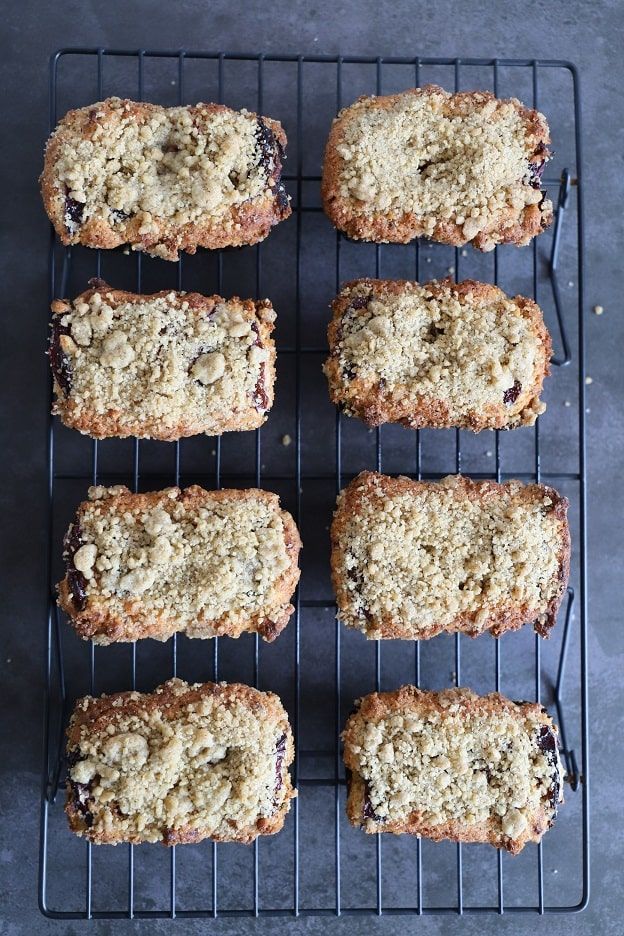
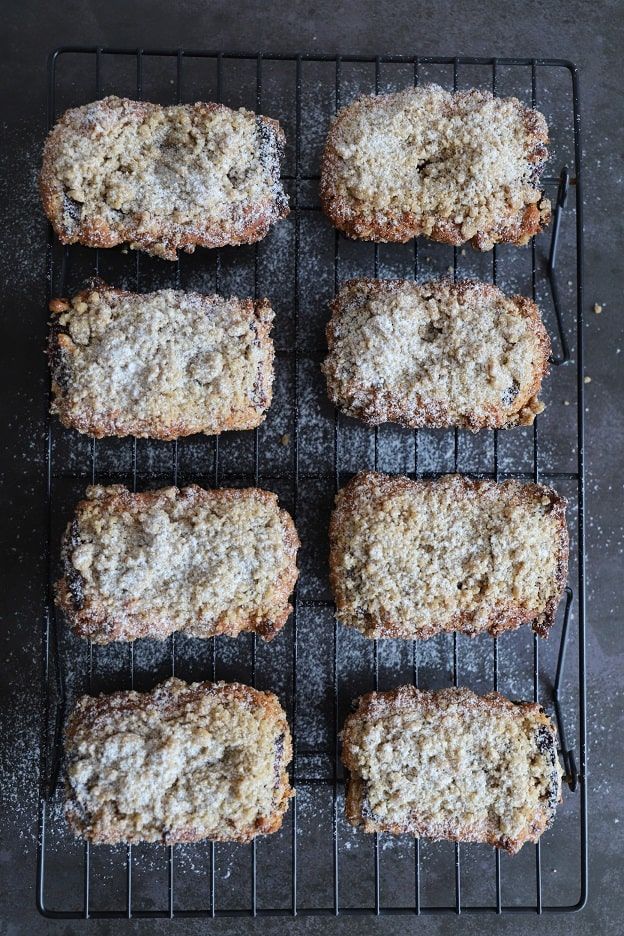
Let them cool before enjoying them.
And there you have it, our little cakes are ready to be enjoyed.
They keep for 2 days in a closed container.
I hope you enjoy this recipe :-)
Wishing you a lovely Sunday, food lovers.
Sophie
P.S. All the equipment used can be found at the bottom of the recipe

Related posts
 Juicy Matcha Muffins with Pecan Nuts & White Chocolate
Matcha Iced Latte & Coconut Variant
Pull-apart bread with fresh wild garlic pesto
Mini Banana Bread with Chocolate Chips
Juicy Matcha Muffins with Pecan Nuts & White Chocolate
Matcha Iced Latte & Coconut Variant
Pull-apart bread with fresh wild garlic pesto
Mini Banana Bread with Chocolate Chips
Leave a comment