
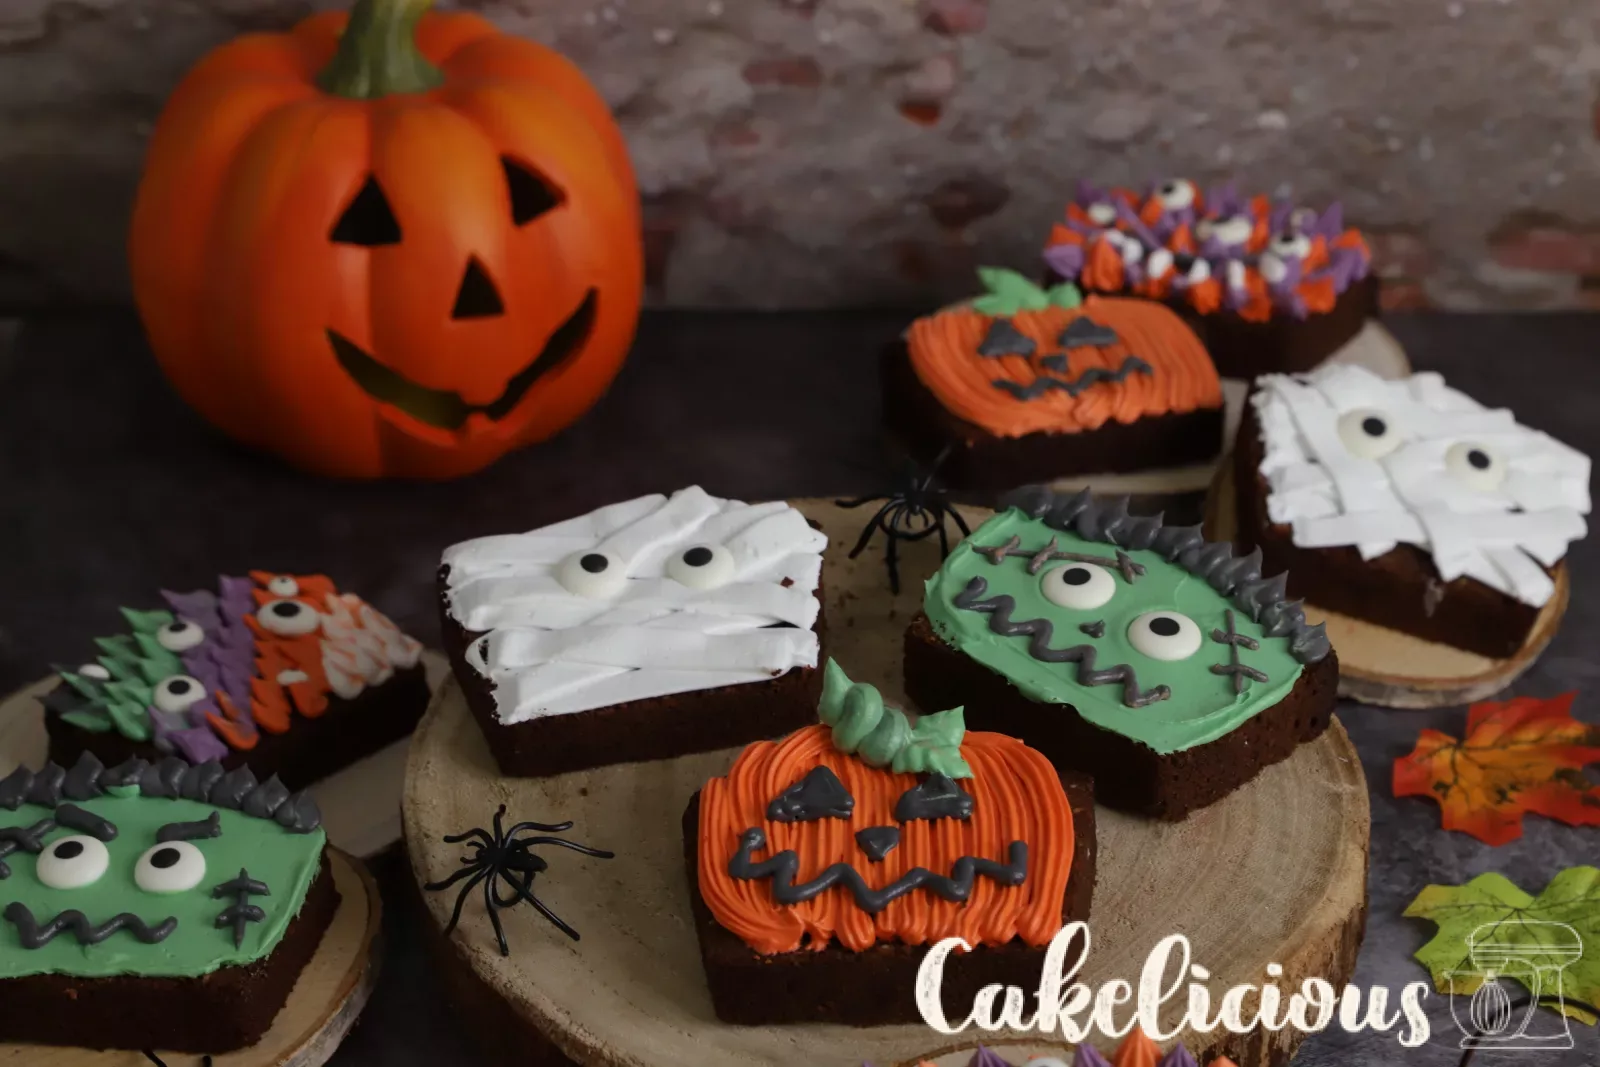
Halloween cake: monster cake with chocolate and hazelnuts
One cake, five colours, countless little monsters, Halloween to sink your teeth into
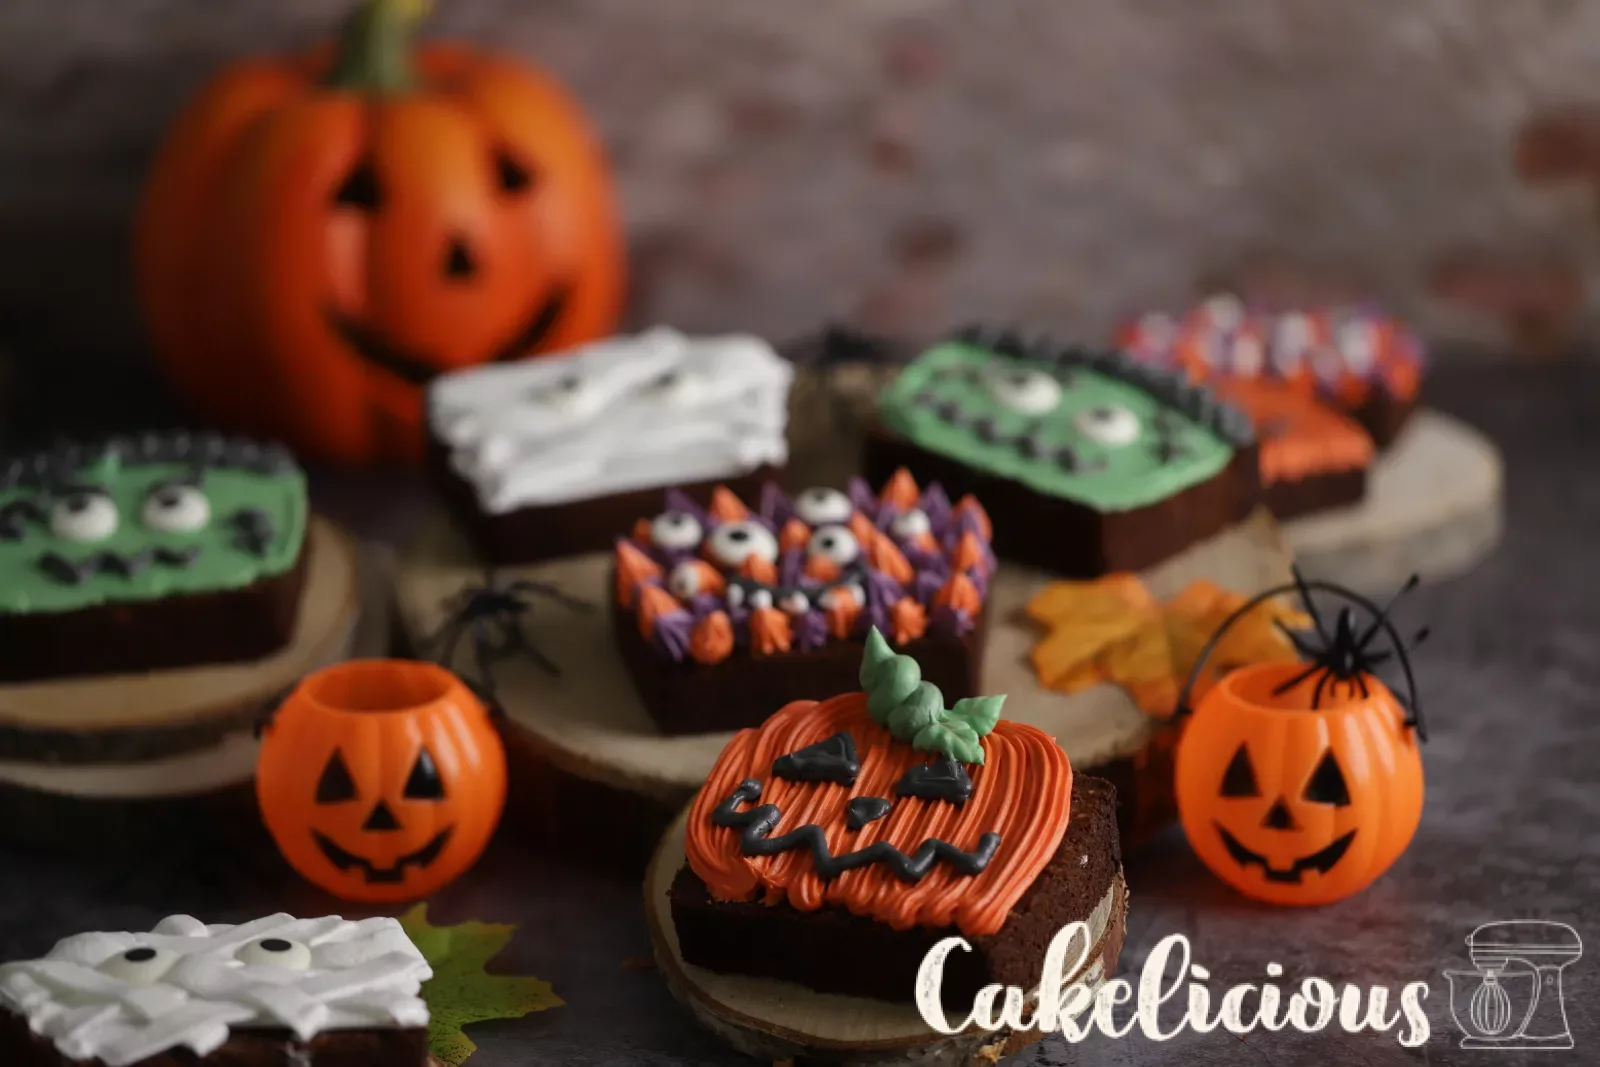
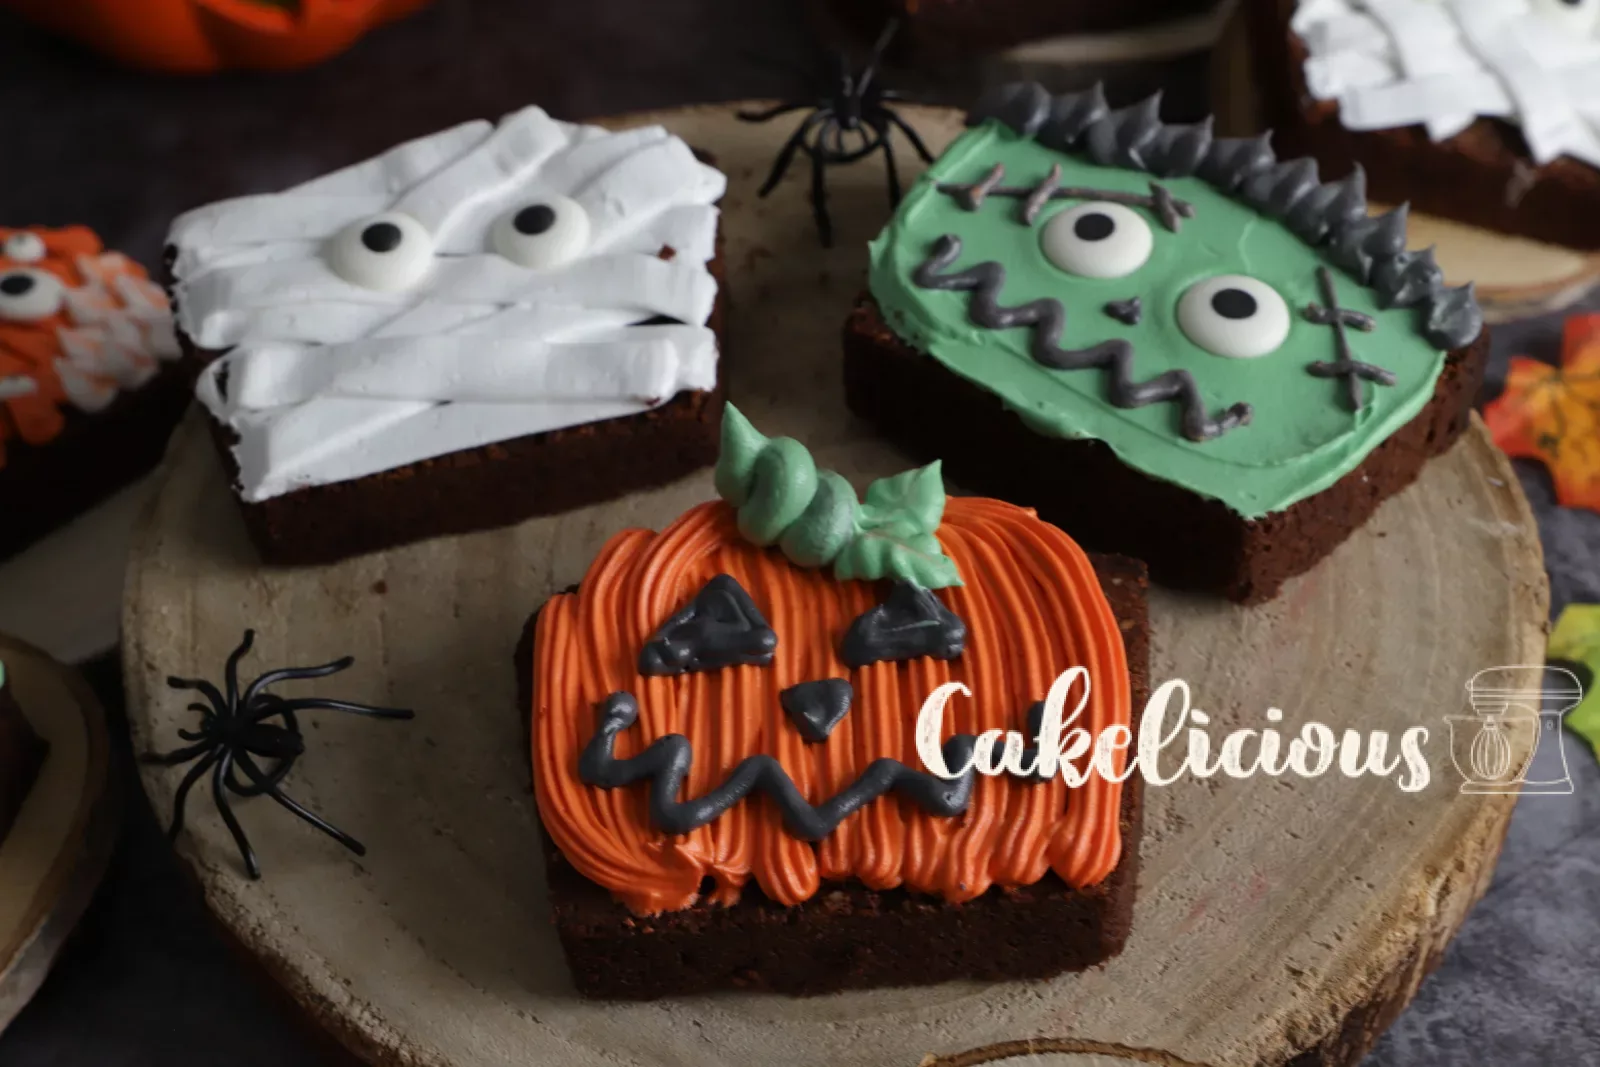
Hello fellow foodies! When the days grow shorter and the rain taps against the window outside, it is the perfect time for a little afternoon of baking. This halloween cake starts out as a moist chocolate hazelnut cake and, once sliced, becomes the canvas for tiny works of art: a mummy, a Frankenstein, a fluffy monster and a grinning pumpkin. We will show you every piping technique step by step, so your monsters turn out just as charming as ours.
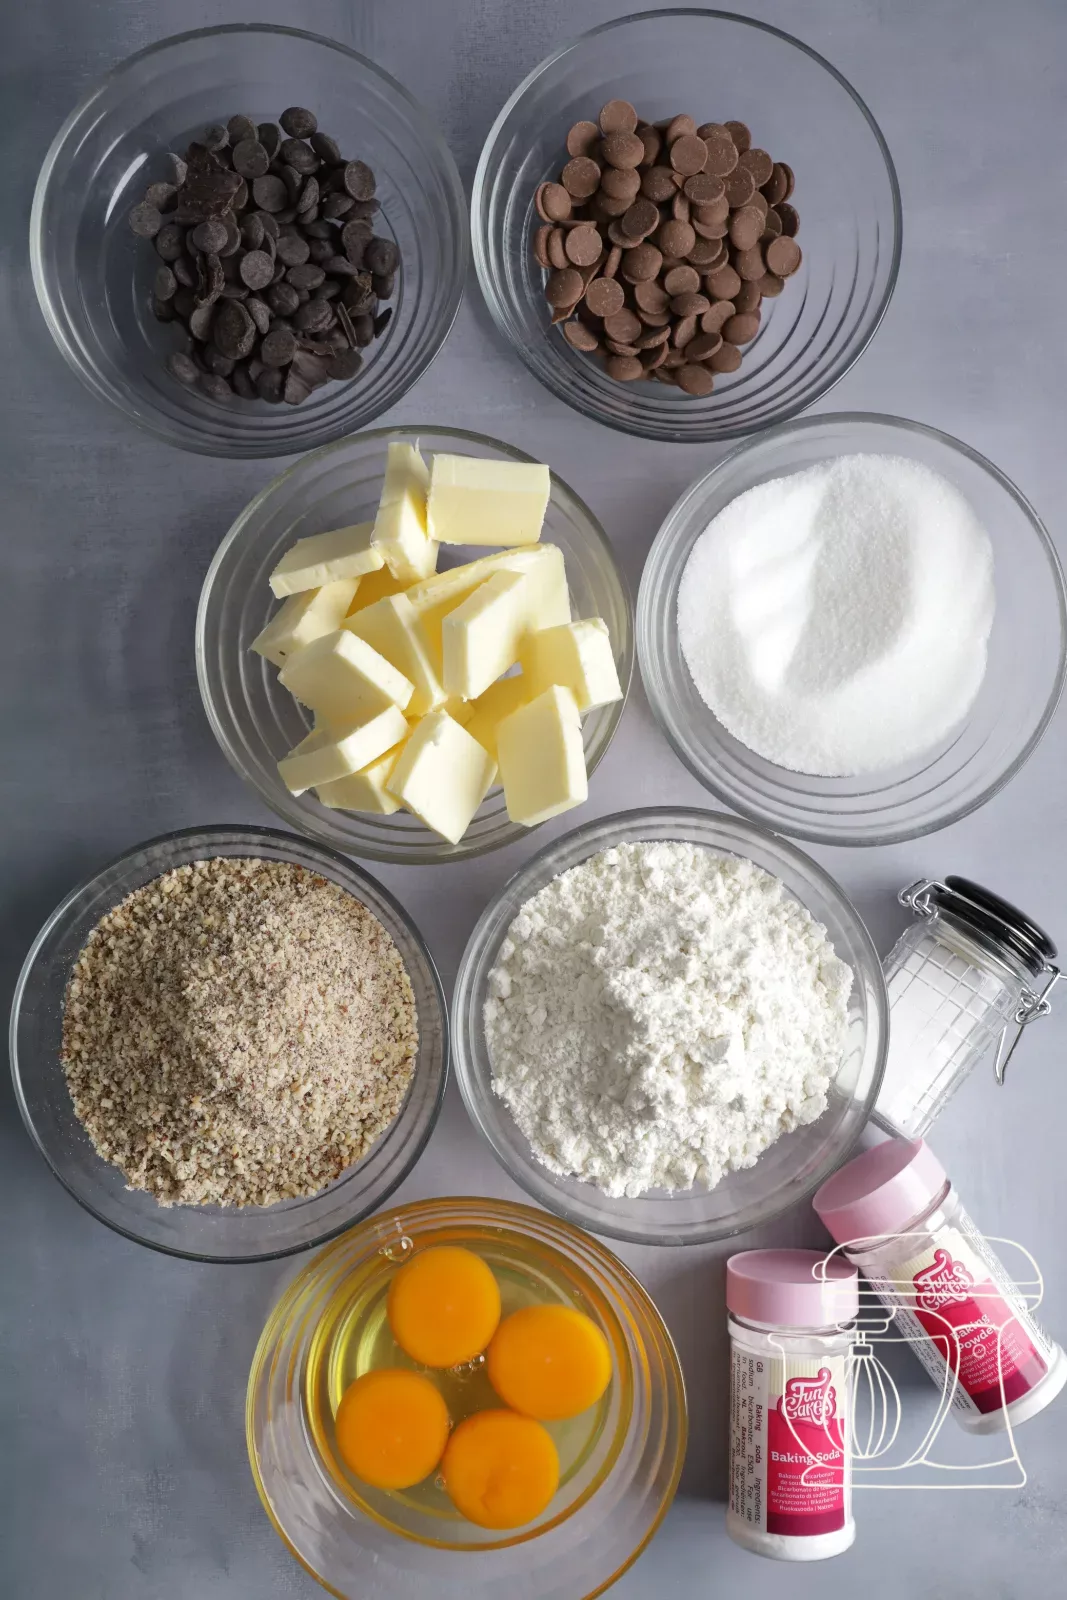
Ingredients
Cake
Decoration
Step by Step
Baking the chocolate hazelnut cake
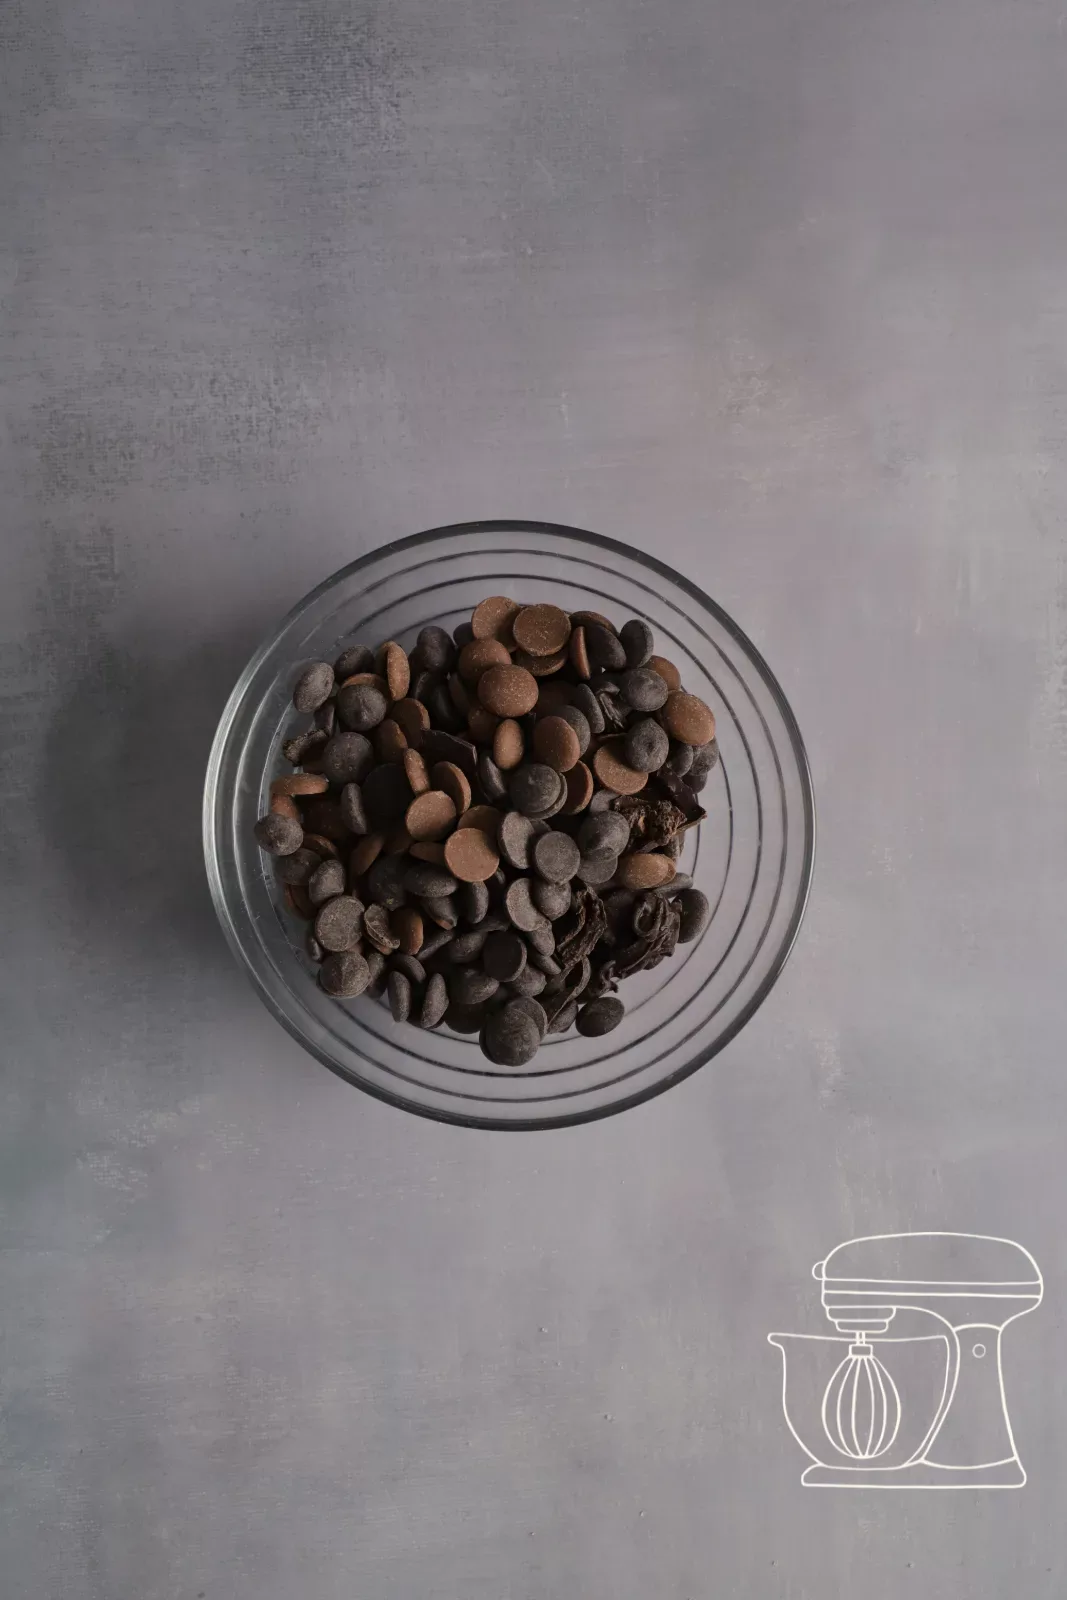
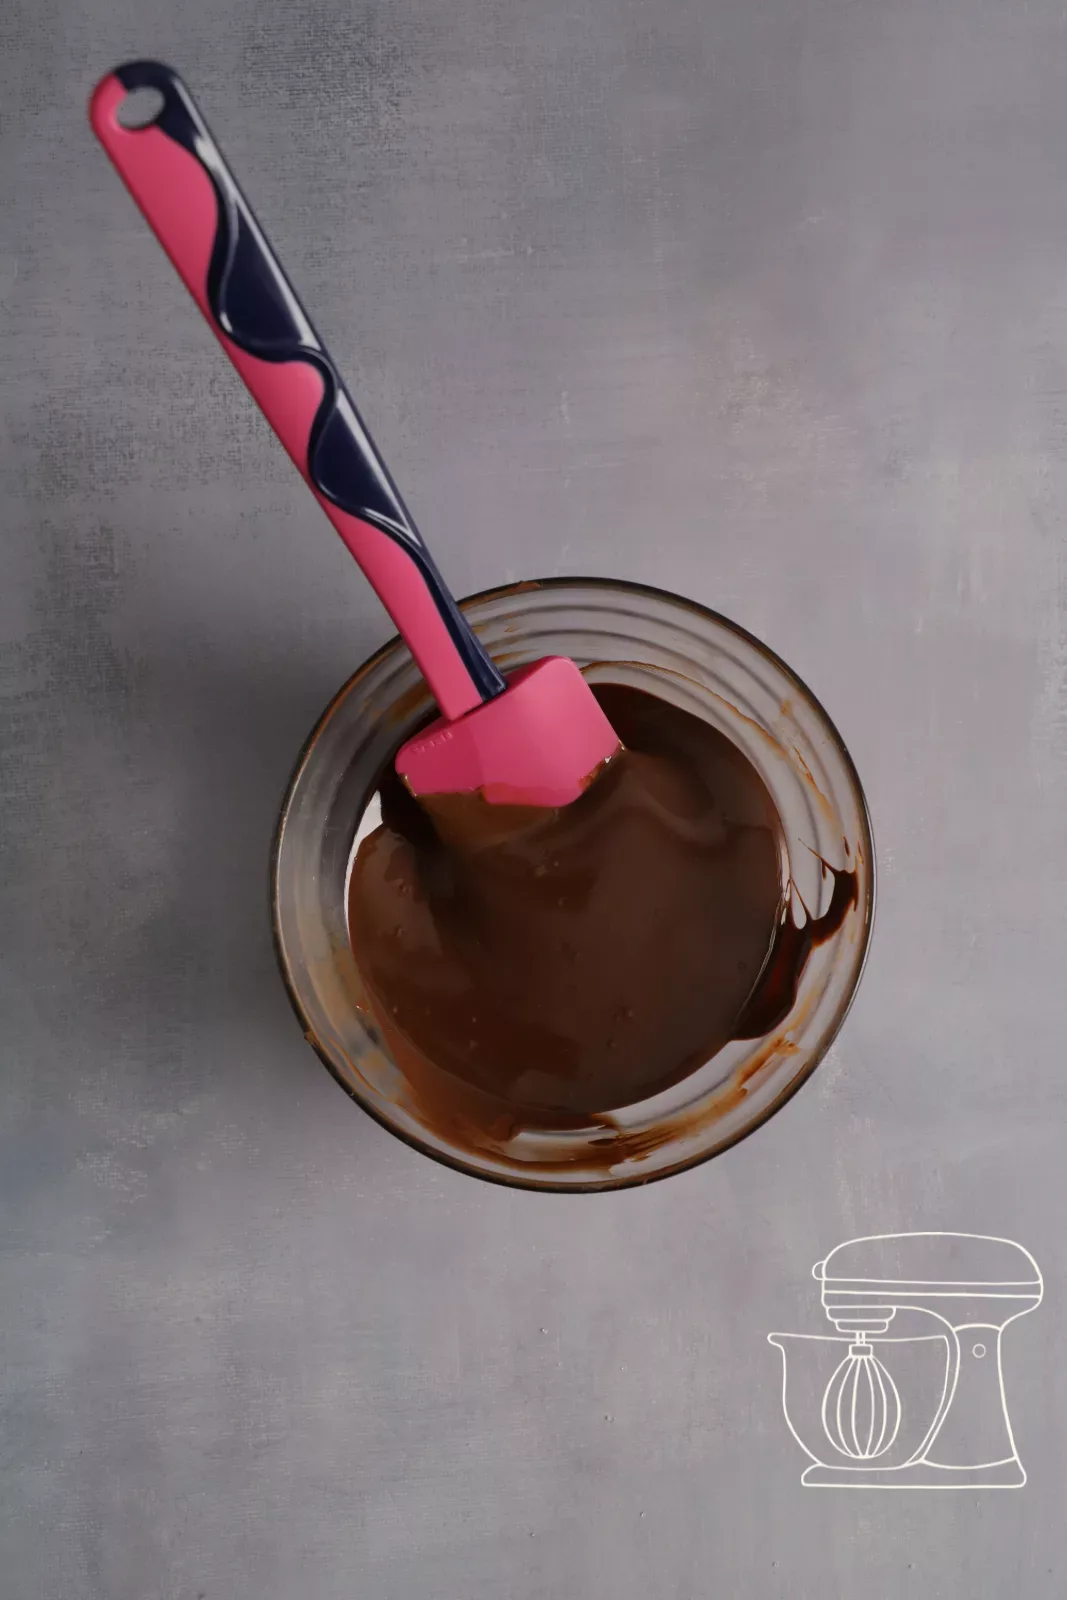
Melt the chocolate
Melt 80 g dark chocolate and 80 g milk chocolate together for 1 to 2 minutes at 600 watts in the microwave. Stir with a dough scraper now and then so the heat spreads evenly and nothing burns. Set the chocolate aside.
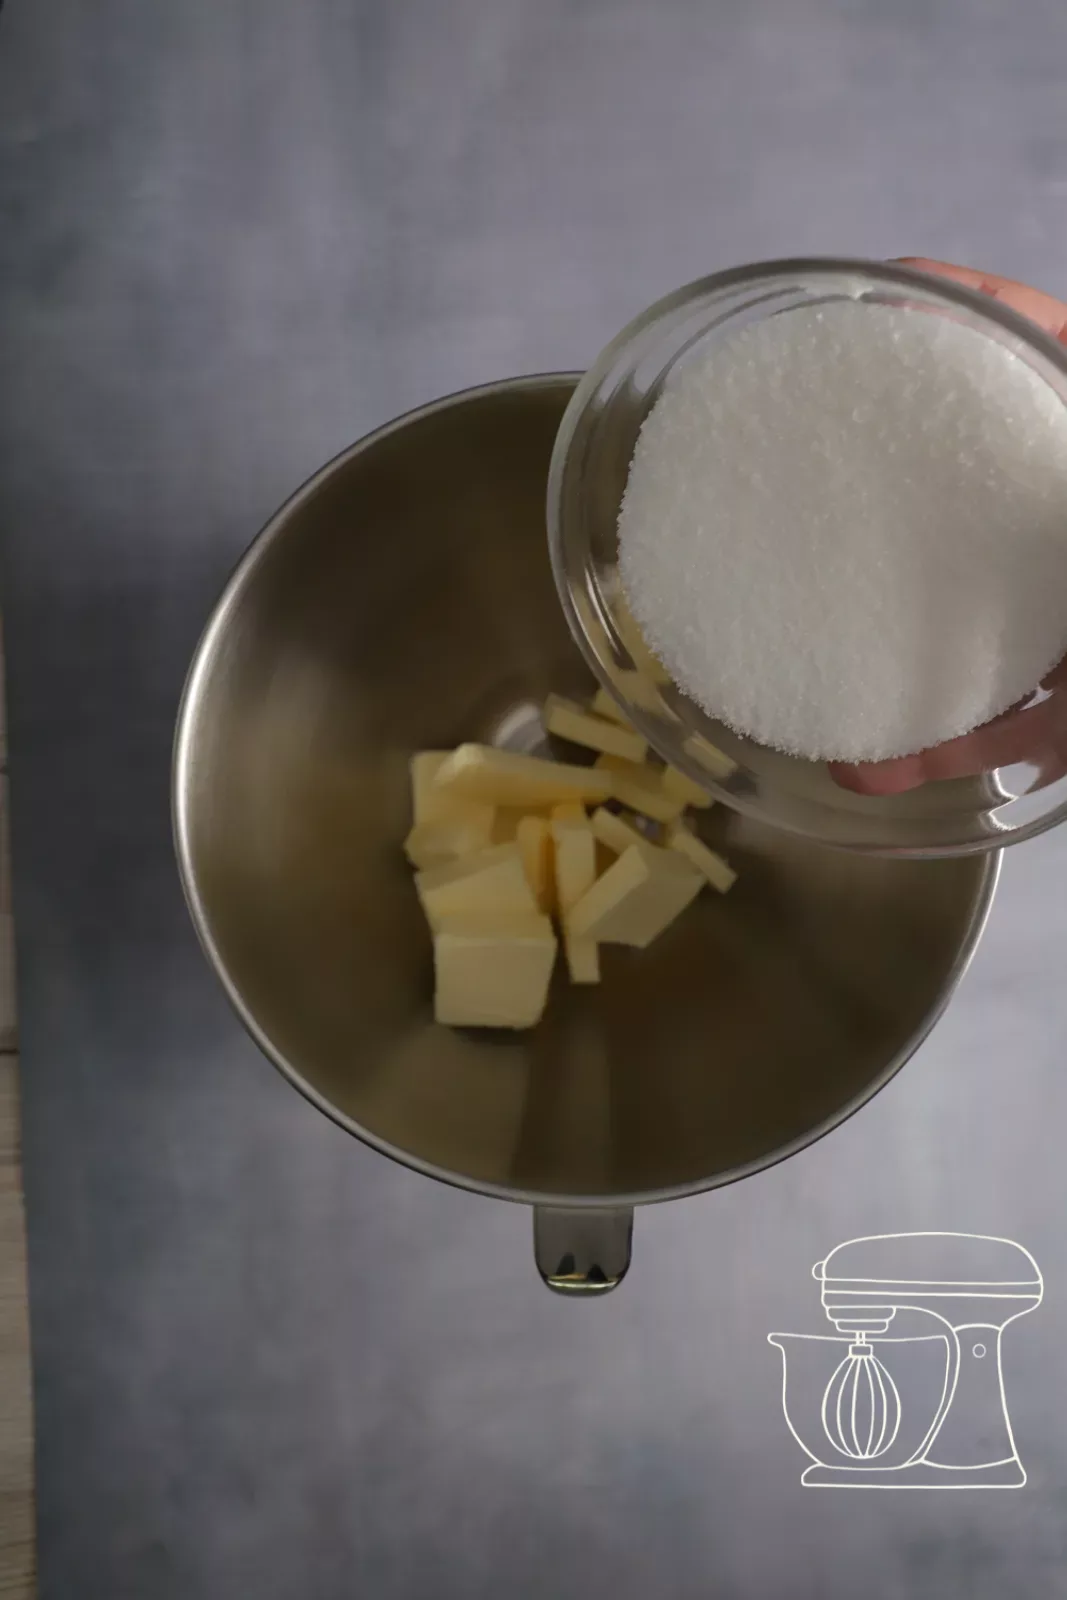
Whip the butter
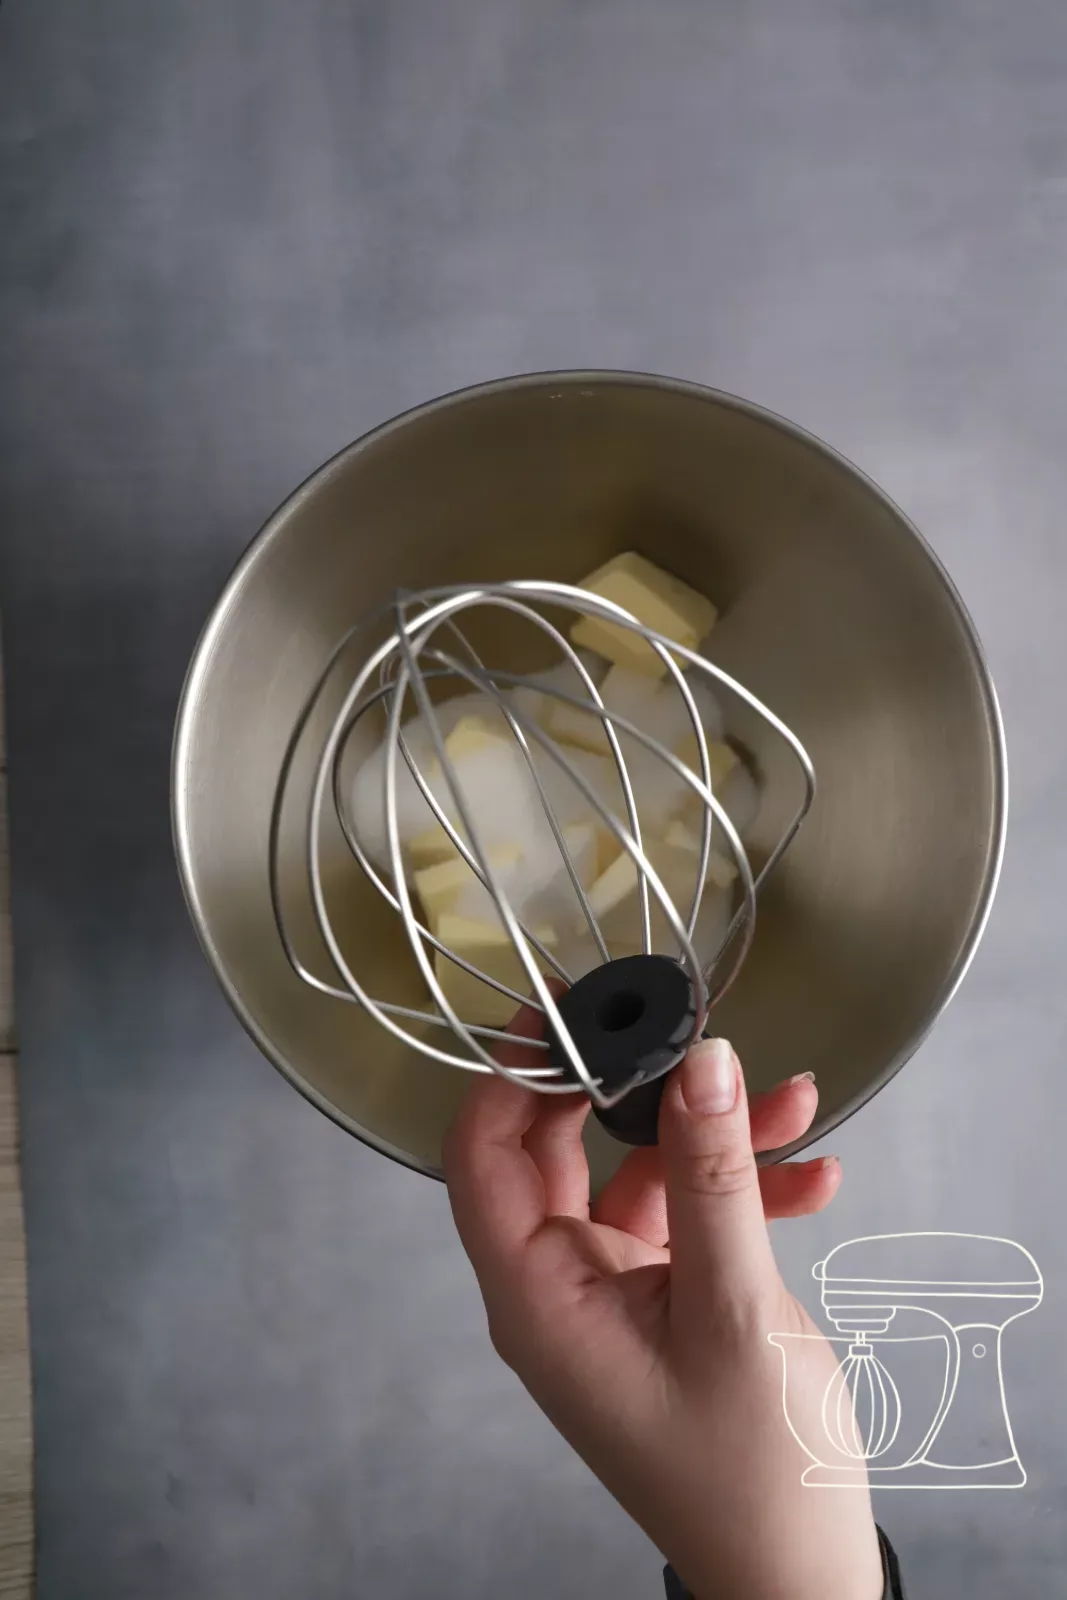
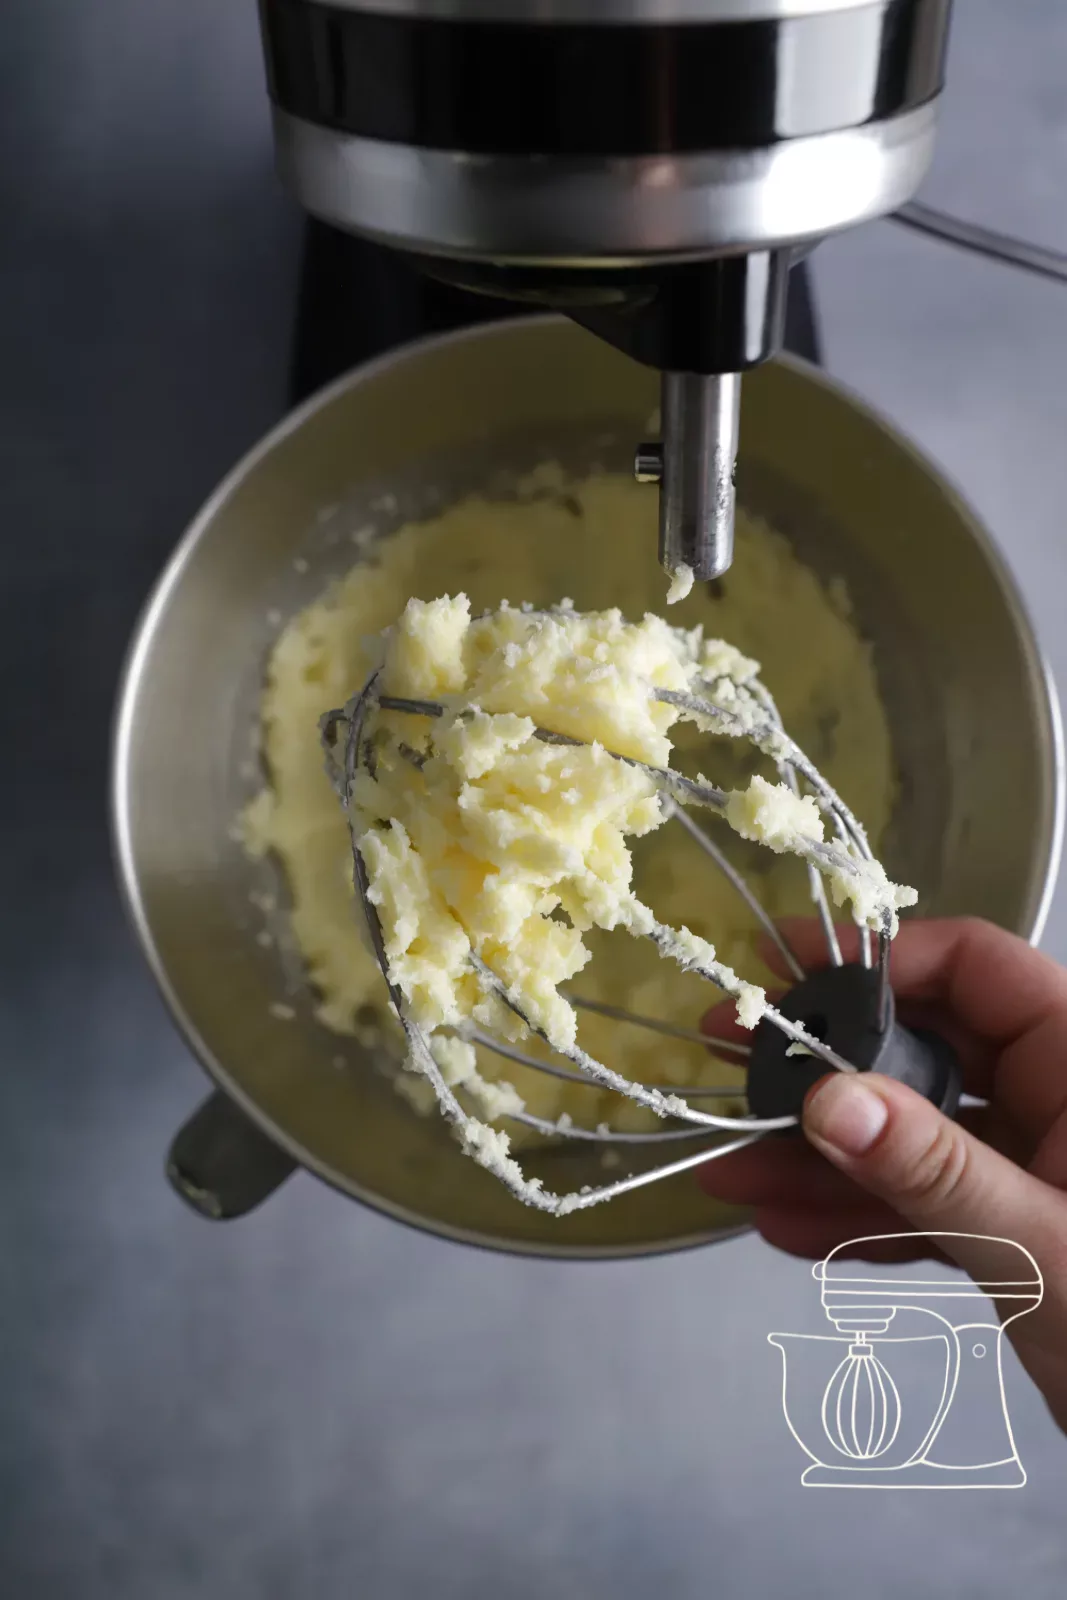
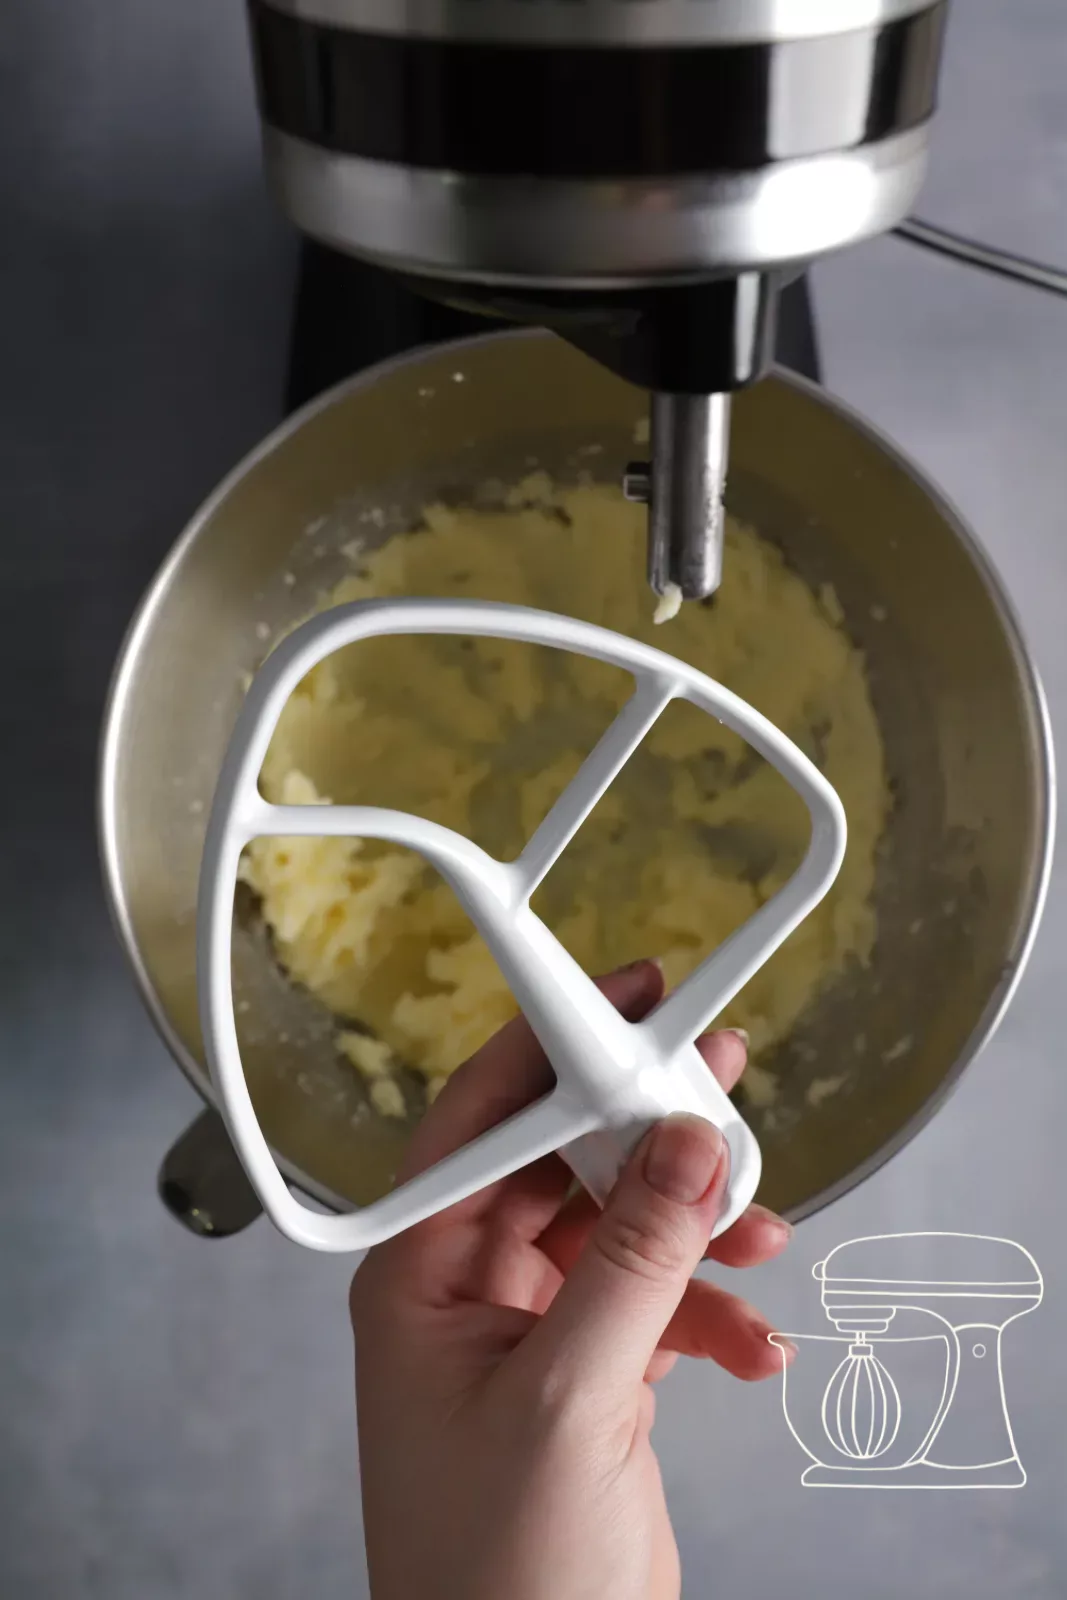
Preheat the oven to 180 °C fan. Put 200 g butter, 150 g sugar and a pinch of salt into the mixing bowl and whip everything until light and creamy with the whisk.
Mix the raising agents
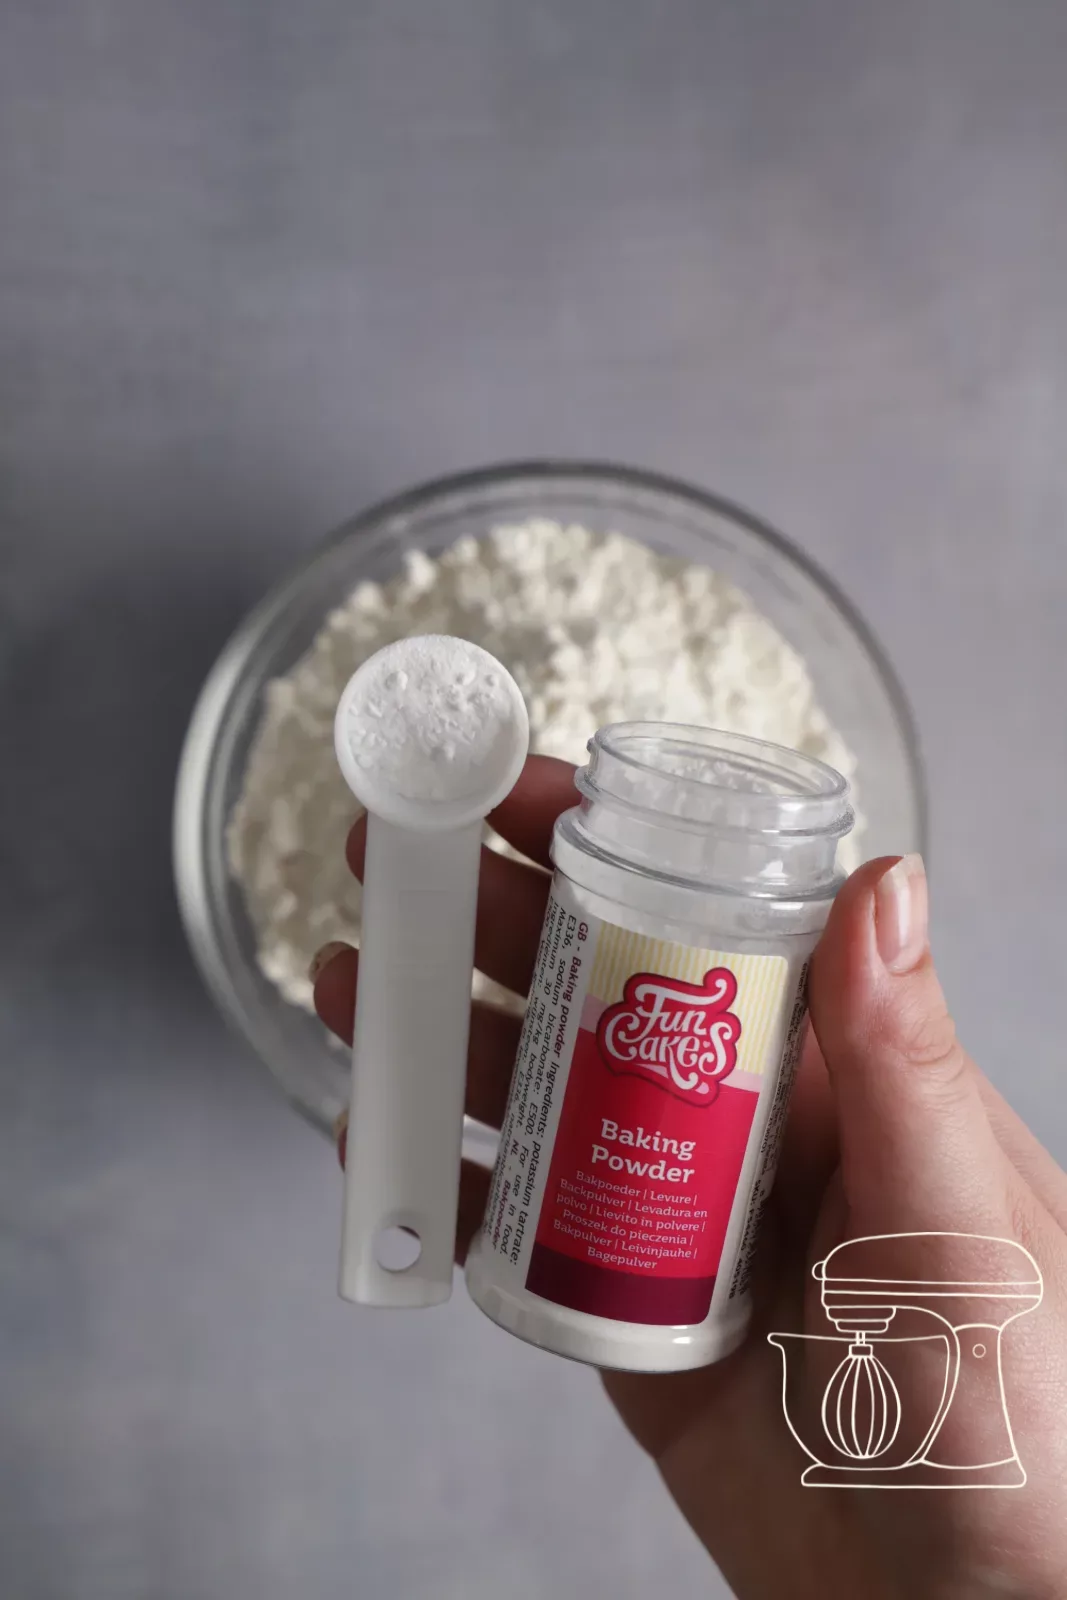
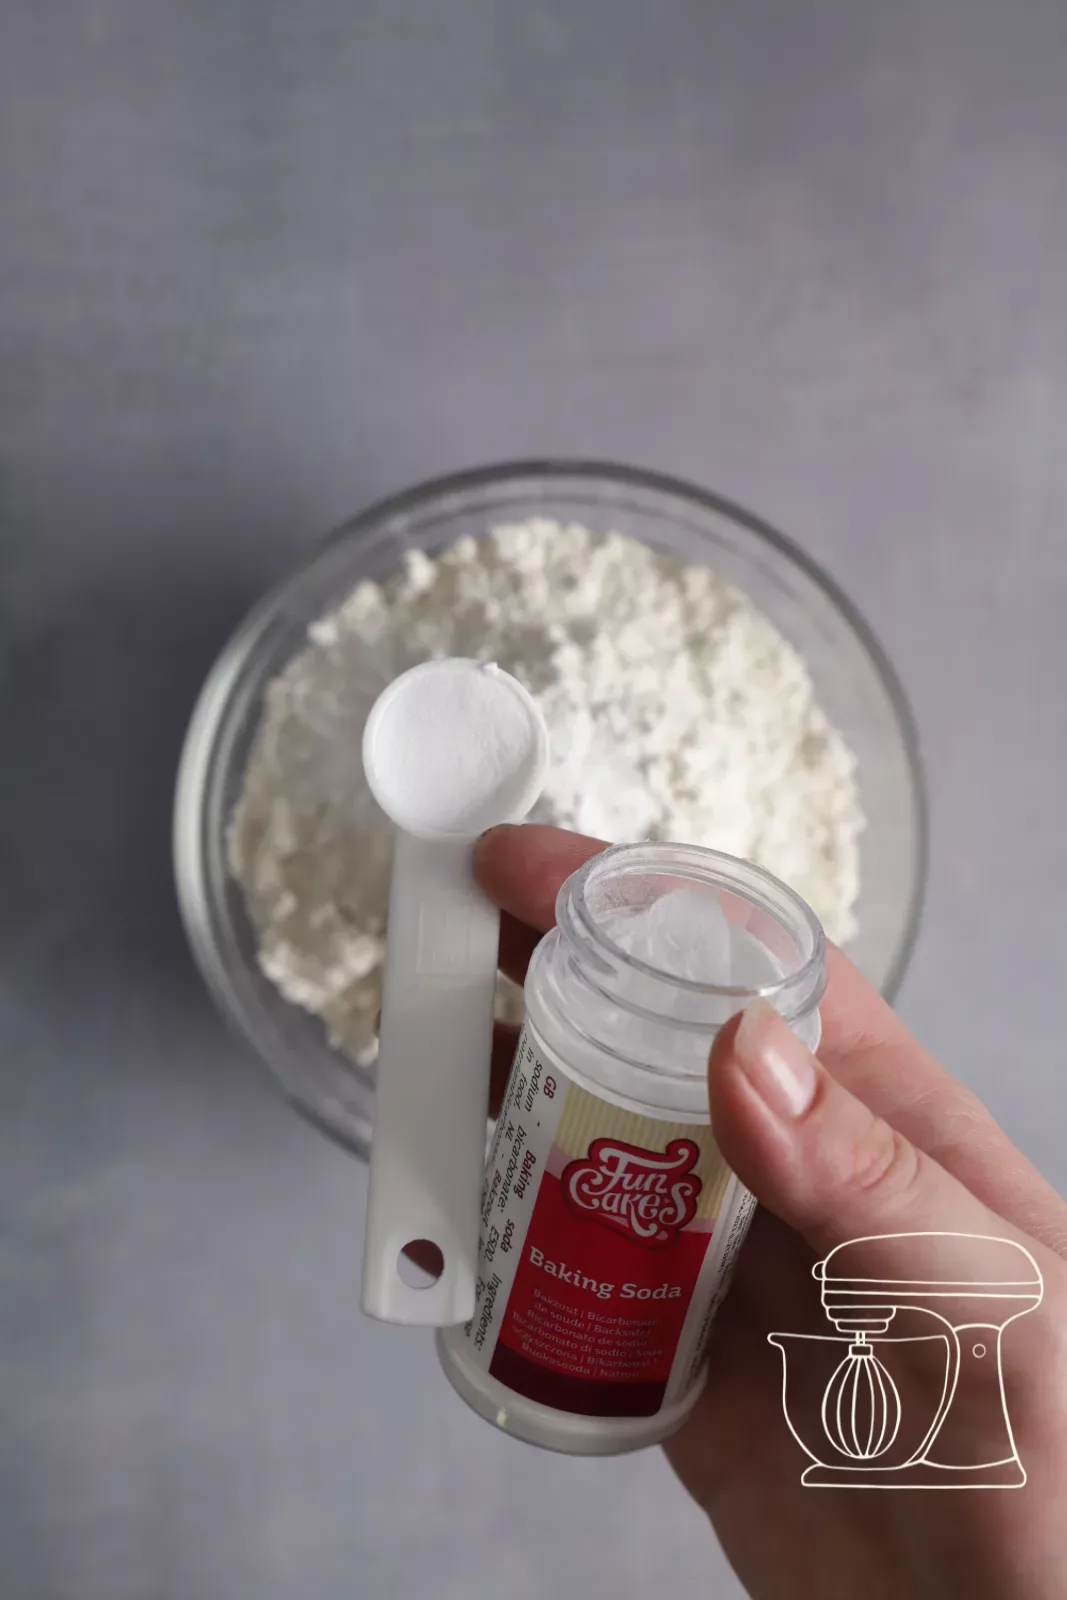
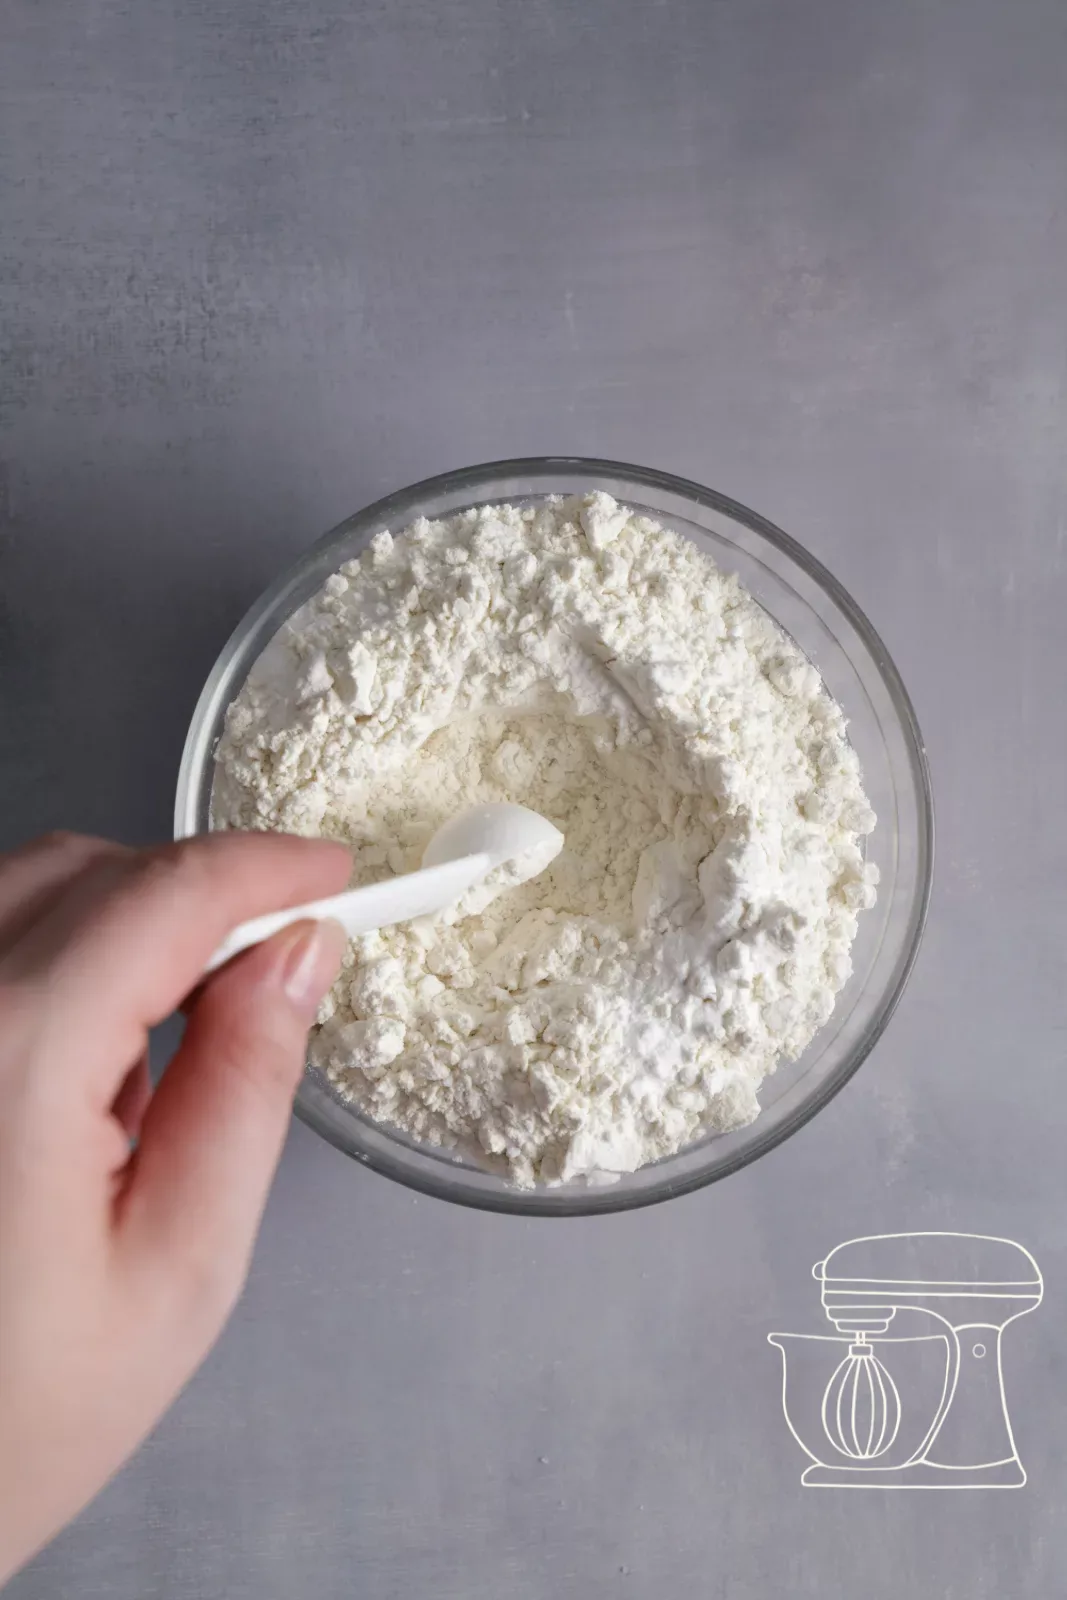
Using a measuring spoon, add 1 tsp baking soda and 1 tsp baking powder to 200 g flour and mix everything well. This way the raising agents are spread evenly and the cake rises nicely.
Dark chocolate for melting
Baking powder 80g
Baking soda 100g
Swiss white flour, 1 kg
Work in the eggs and flour
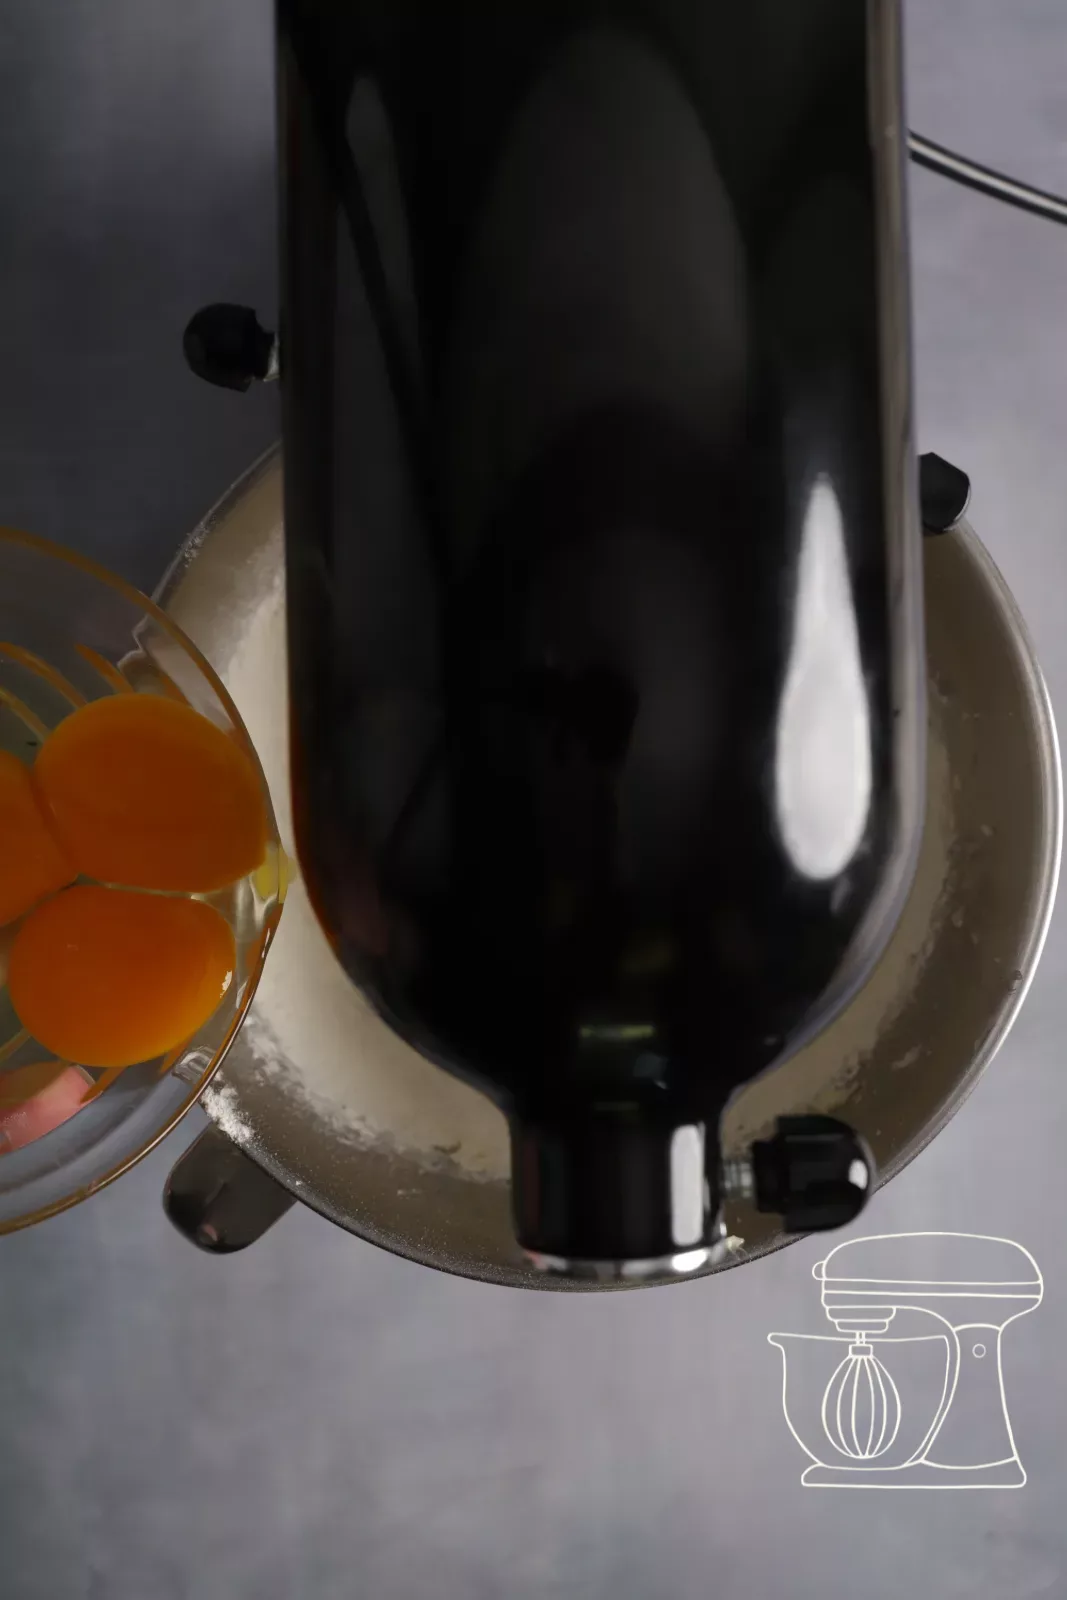
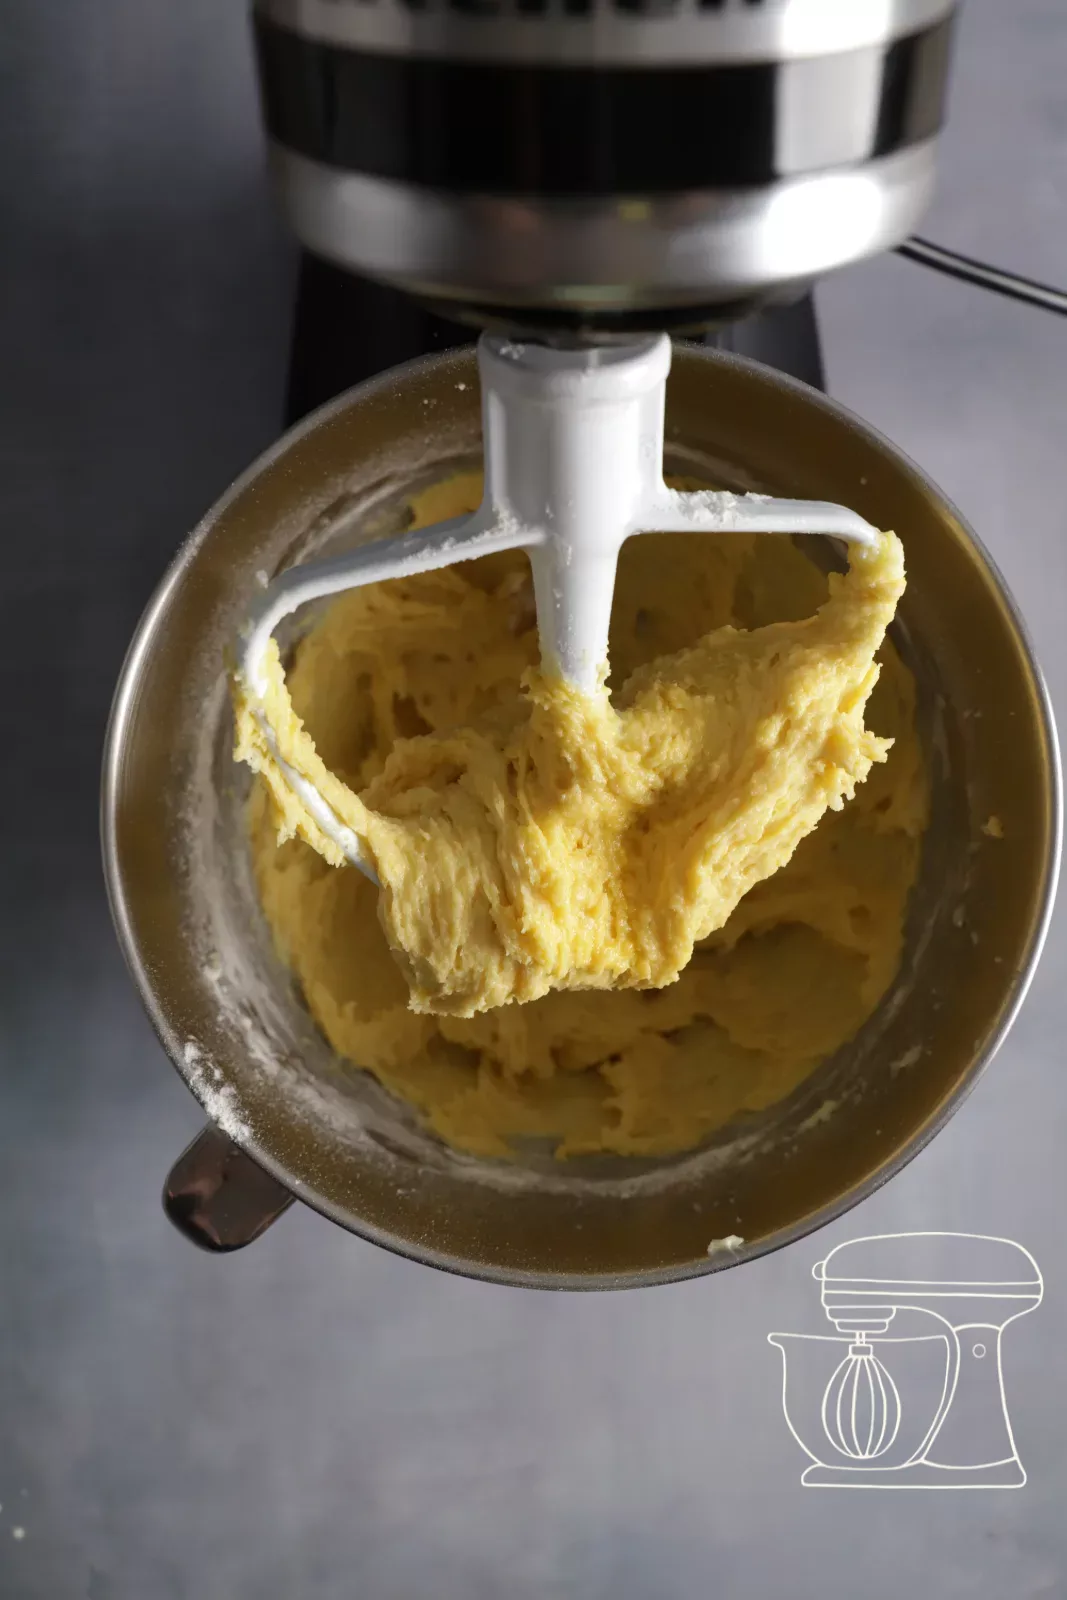
Switch to the flat beater. On a low speed, add 4 eggs and the flour mixture and mix everything for 1 to 2 minutes on medium speed.
Hazelnuts and chocolate
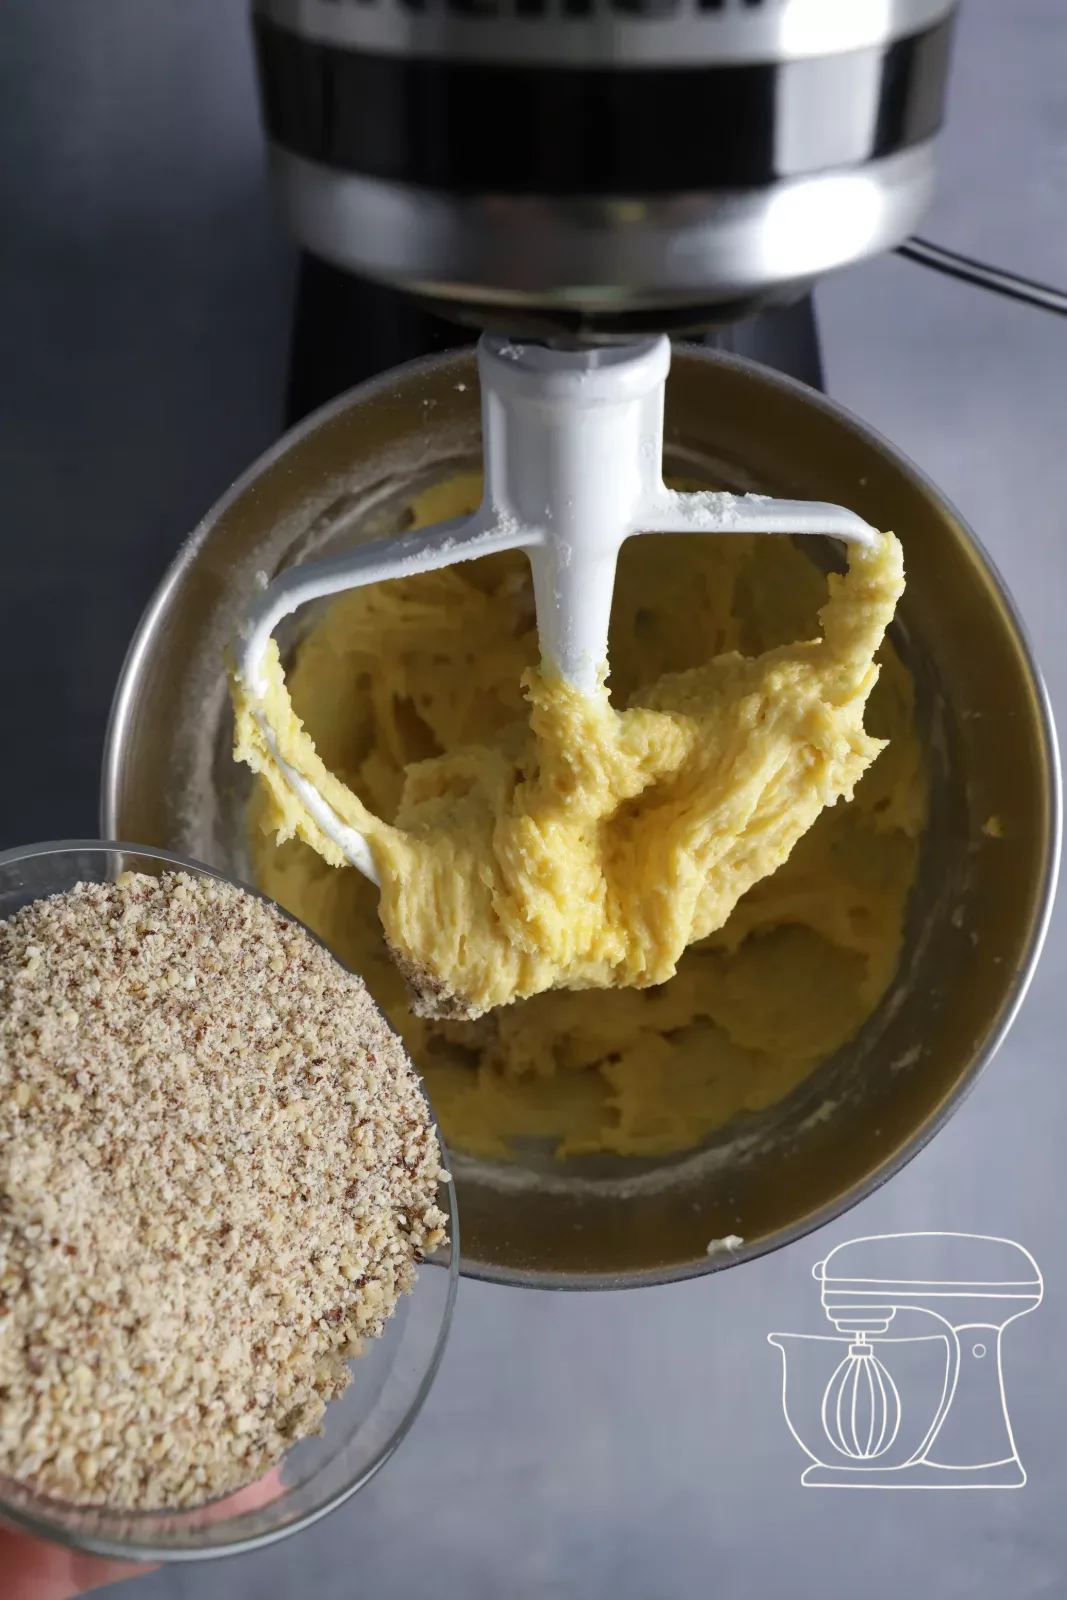
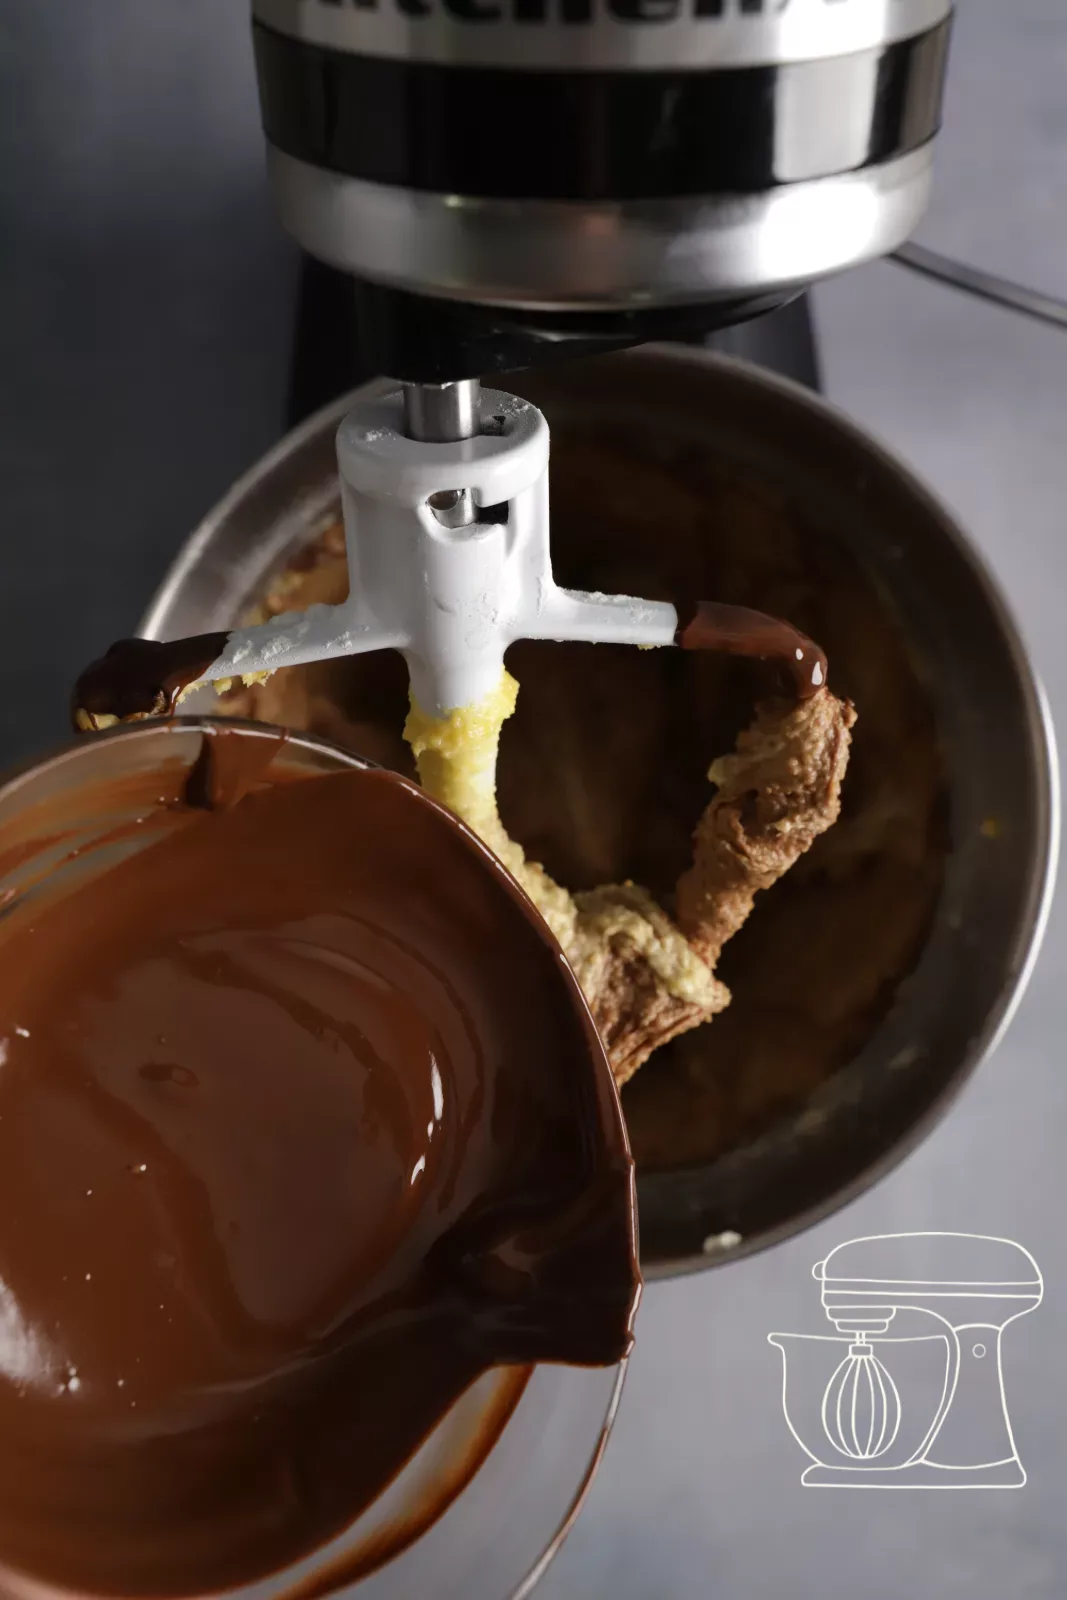
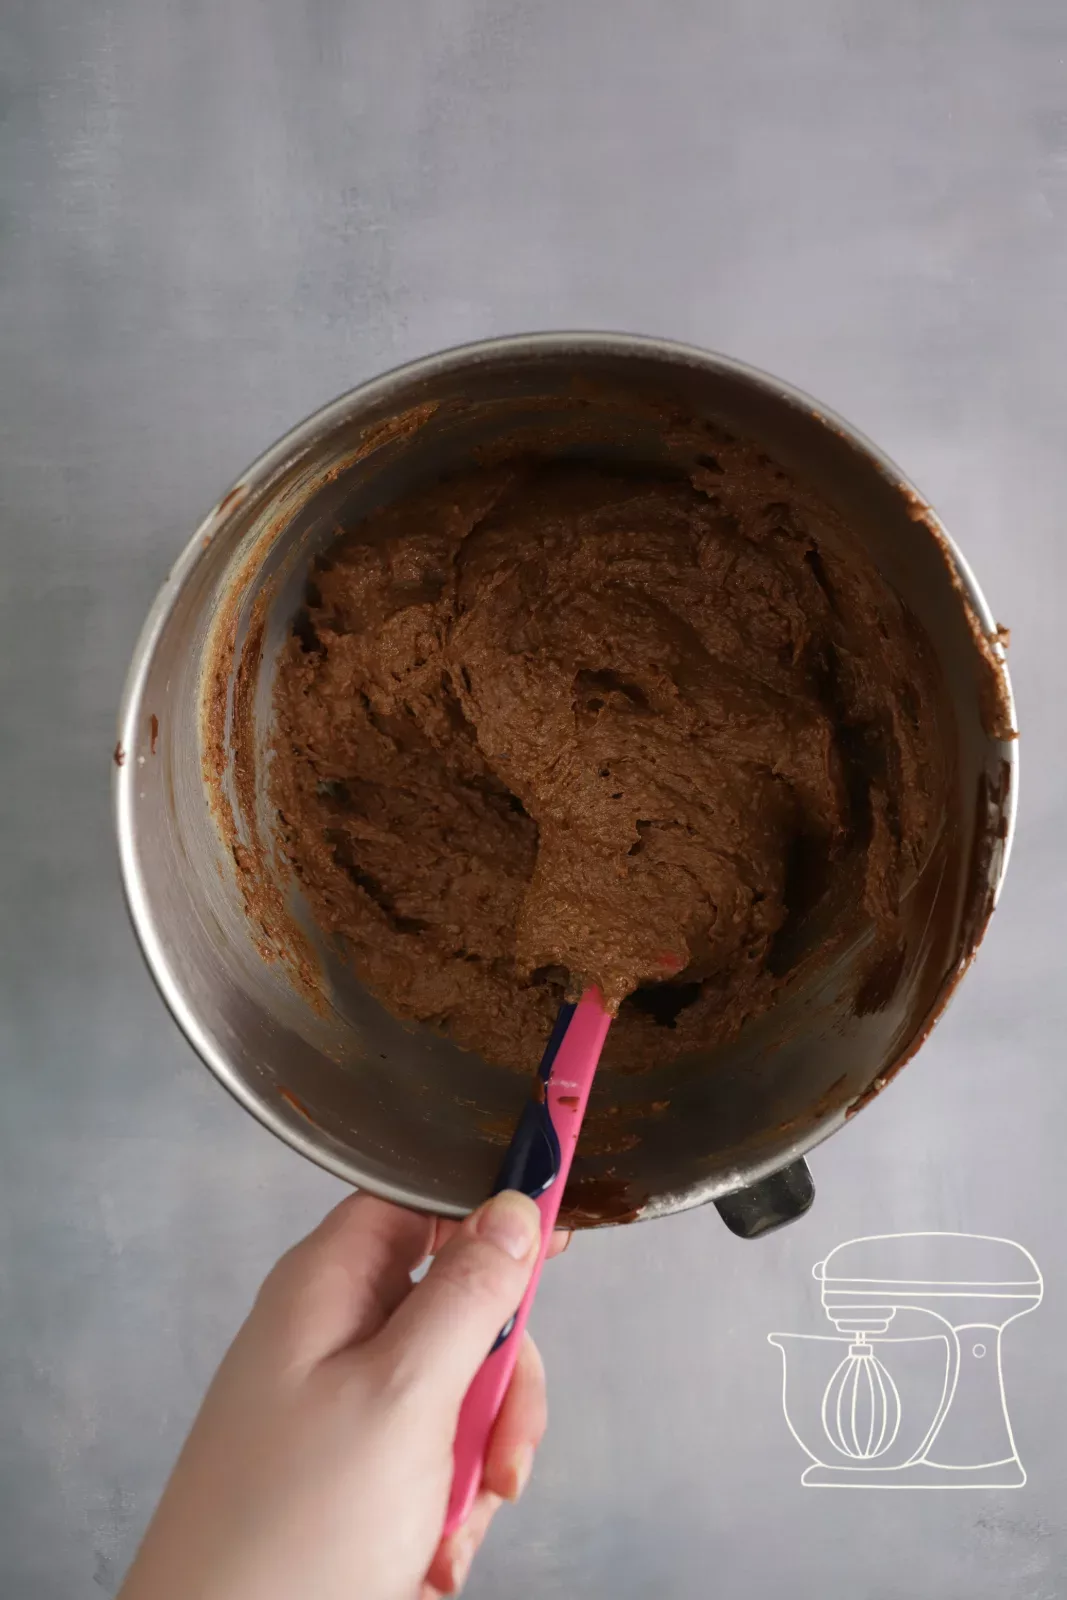
Add 150 g ground hazelnuts and the melted chocolate and continue mixing for 1 minute. Finally, mix everything through well once more with the dough scraper.
Adjustable cake tin 20 to 30 x 10.5 cm
250ml Non-stick spray
Milk chocolate for melting
Dark chocolate for melting
Prepare the tin and fill it
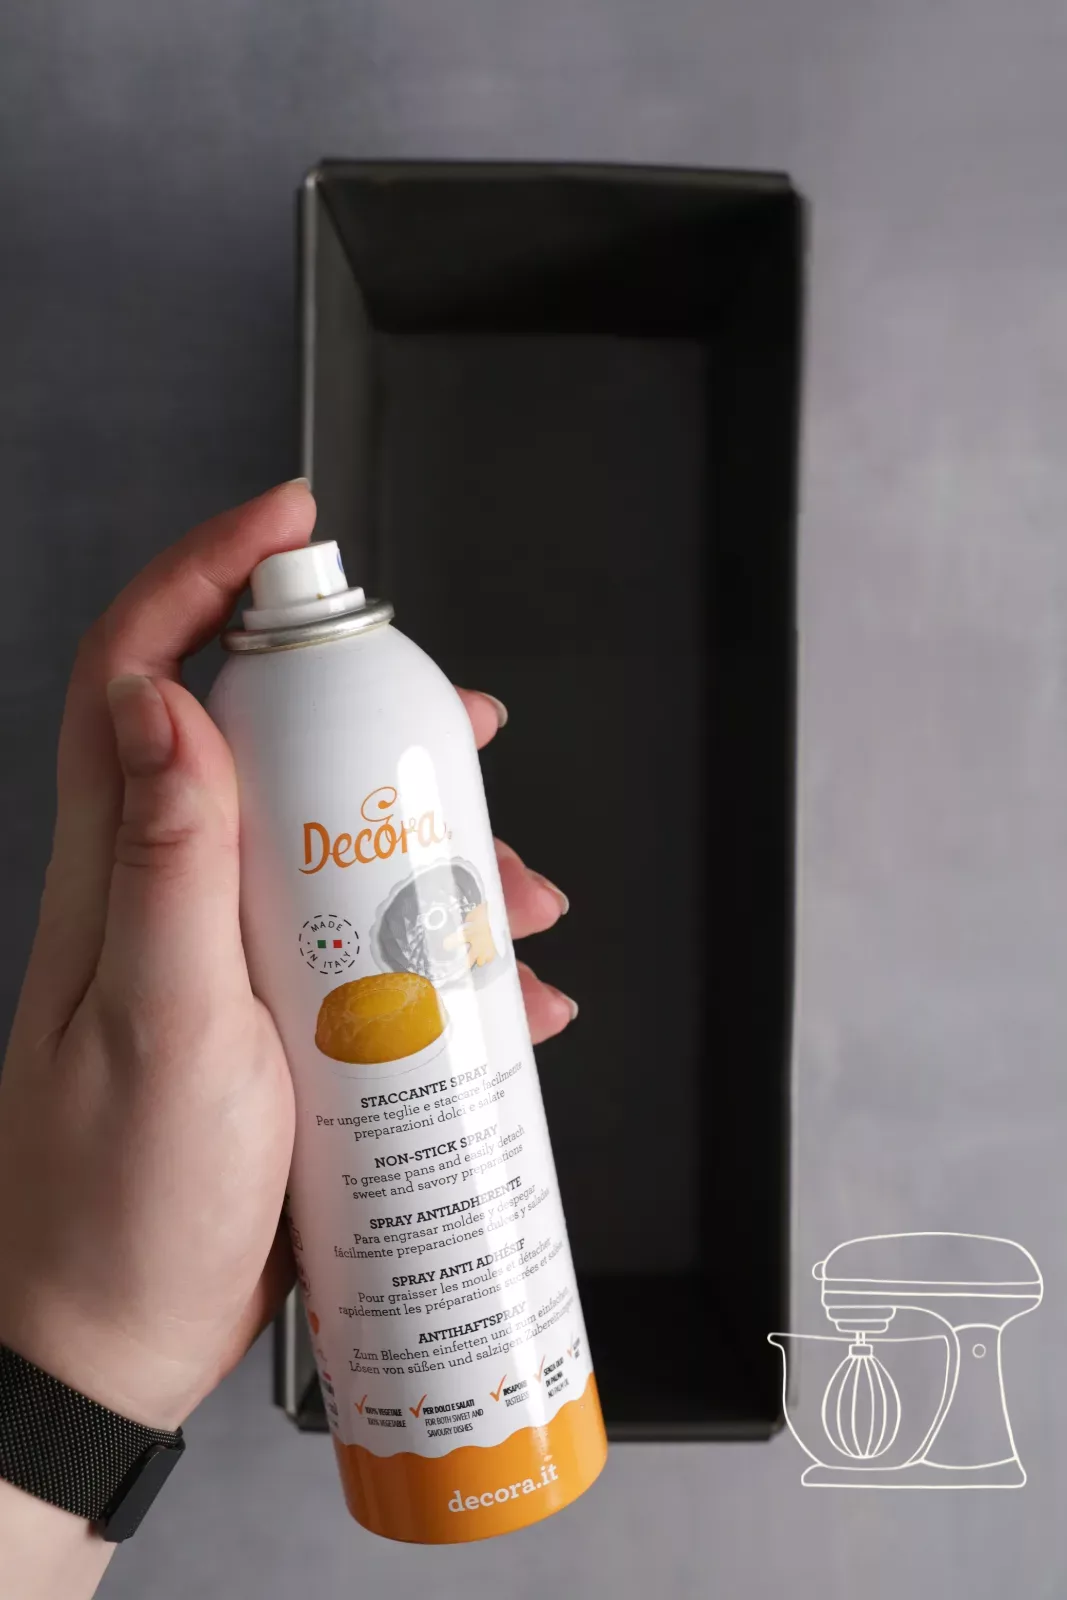
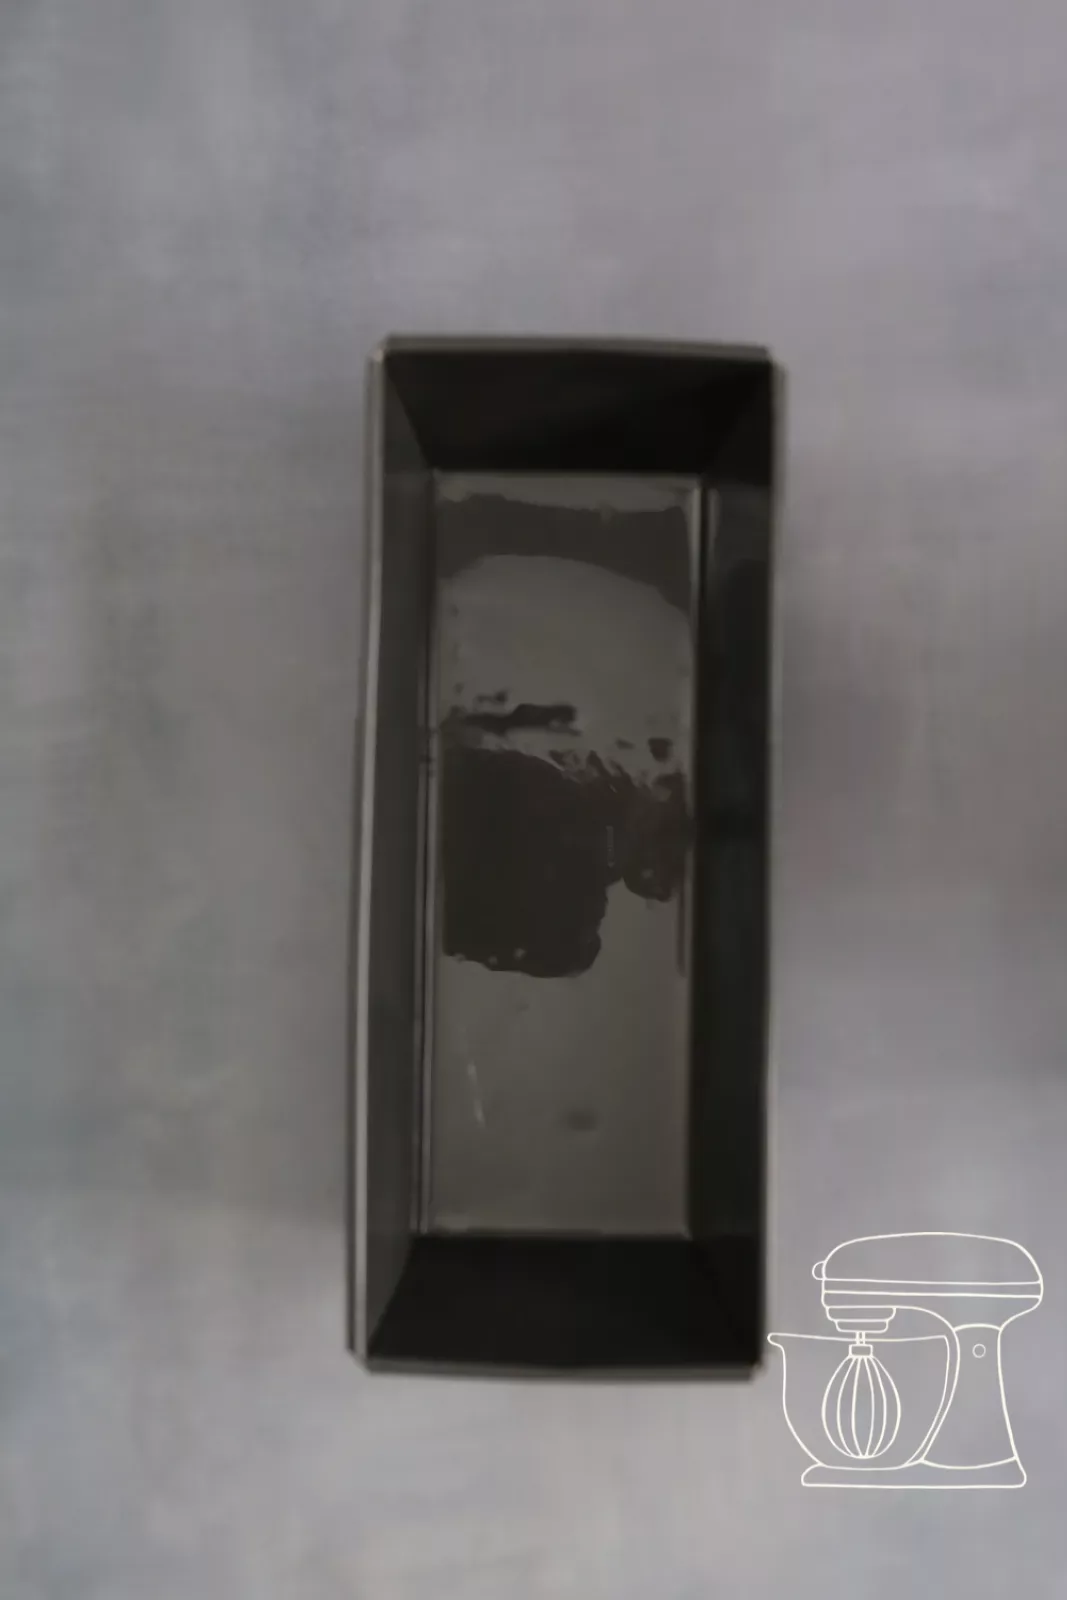
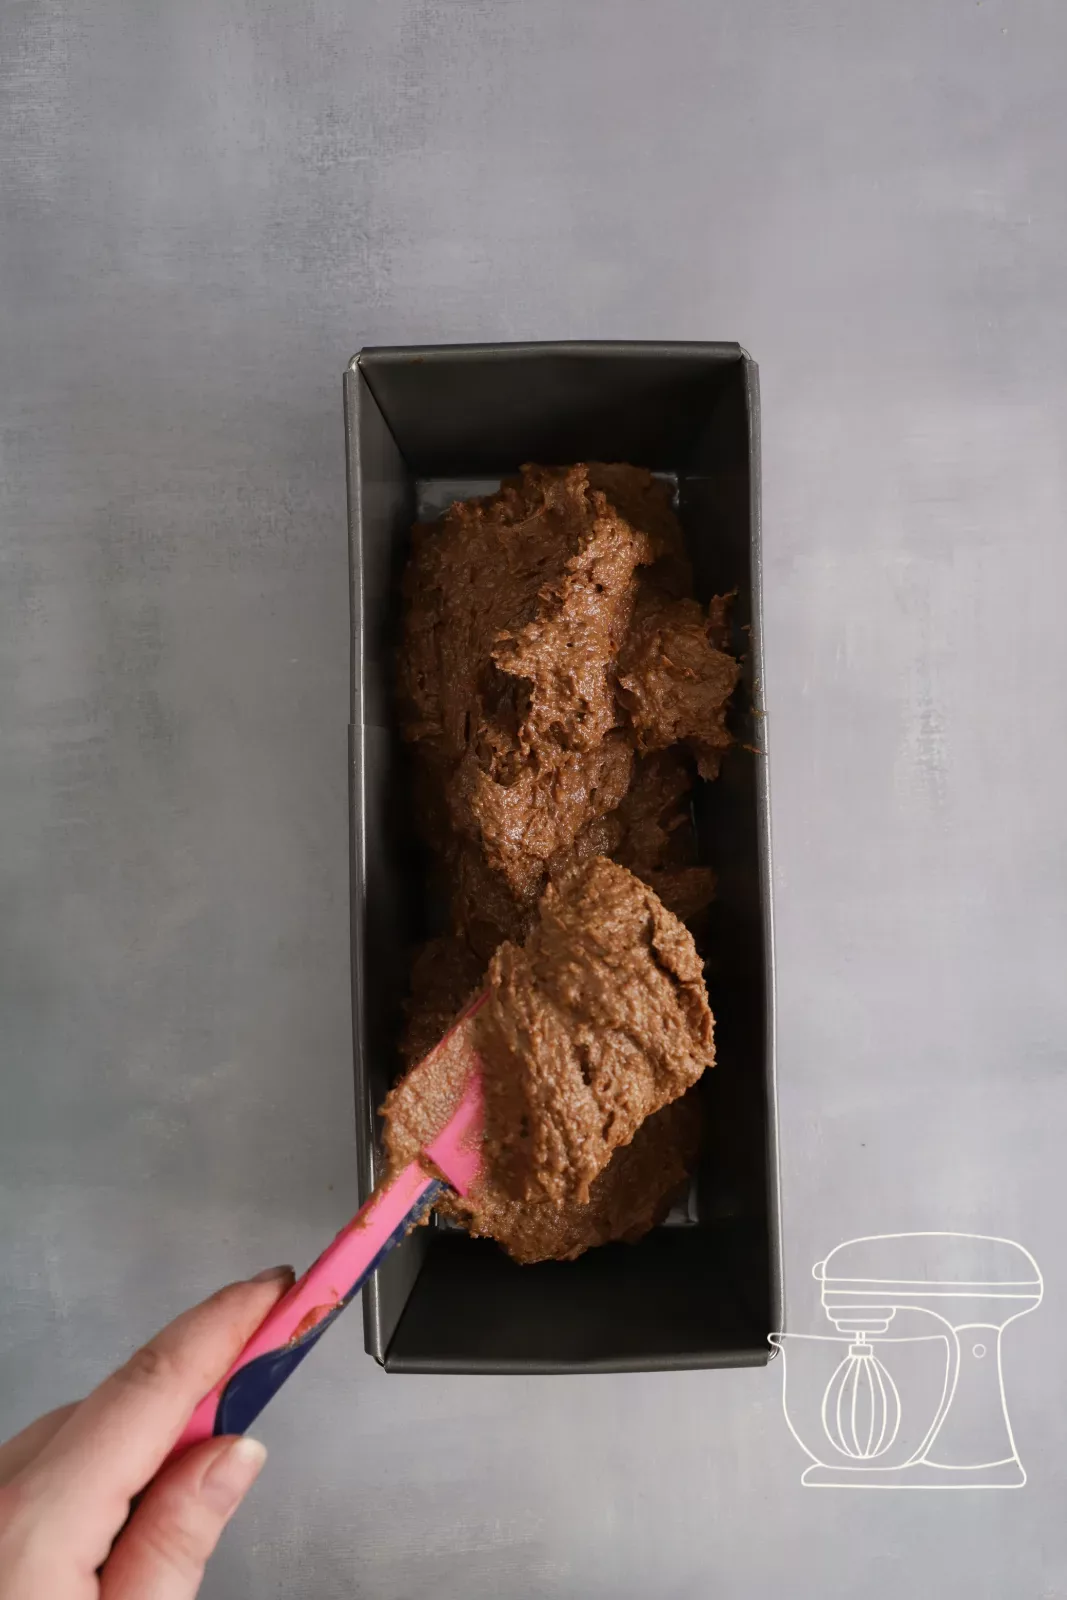
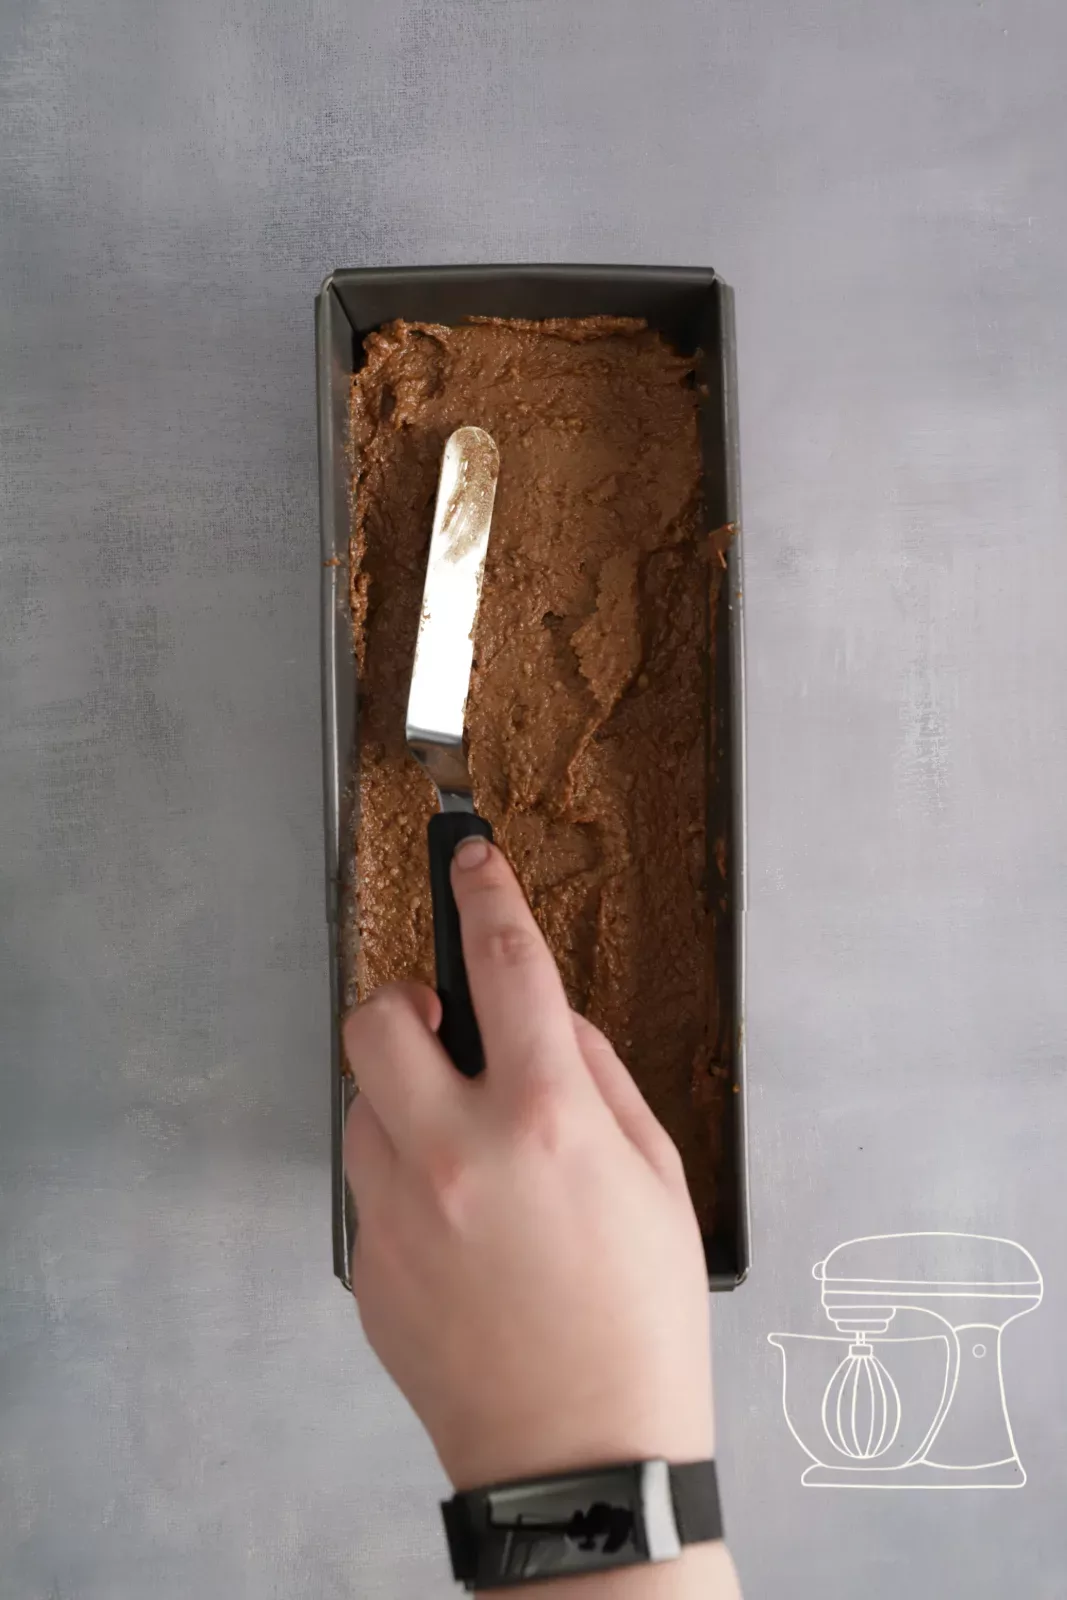
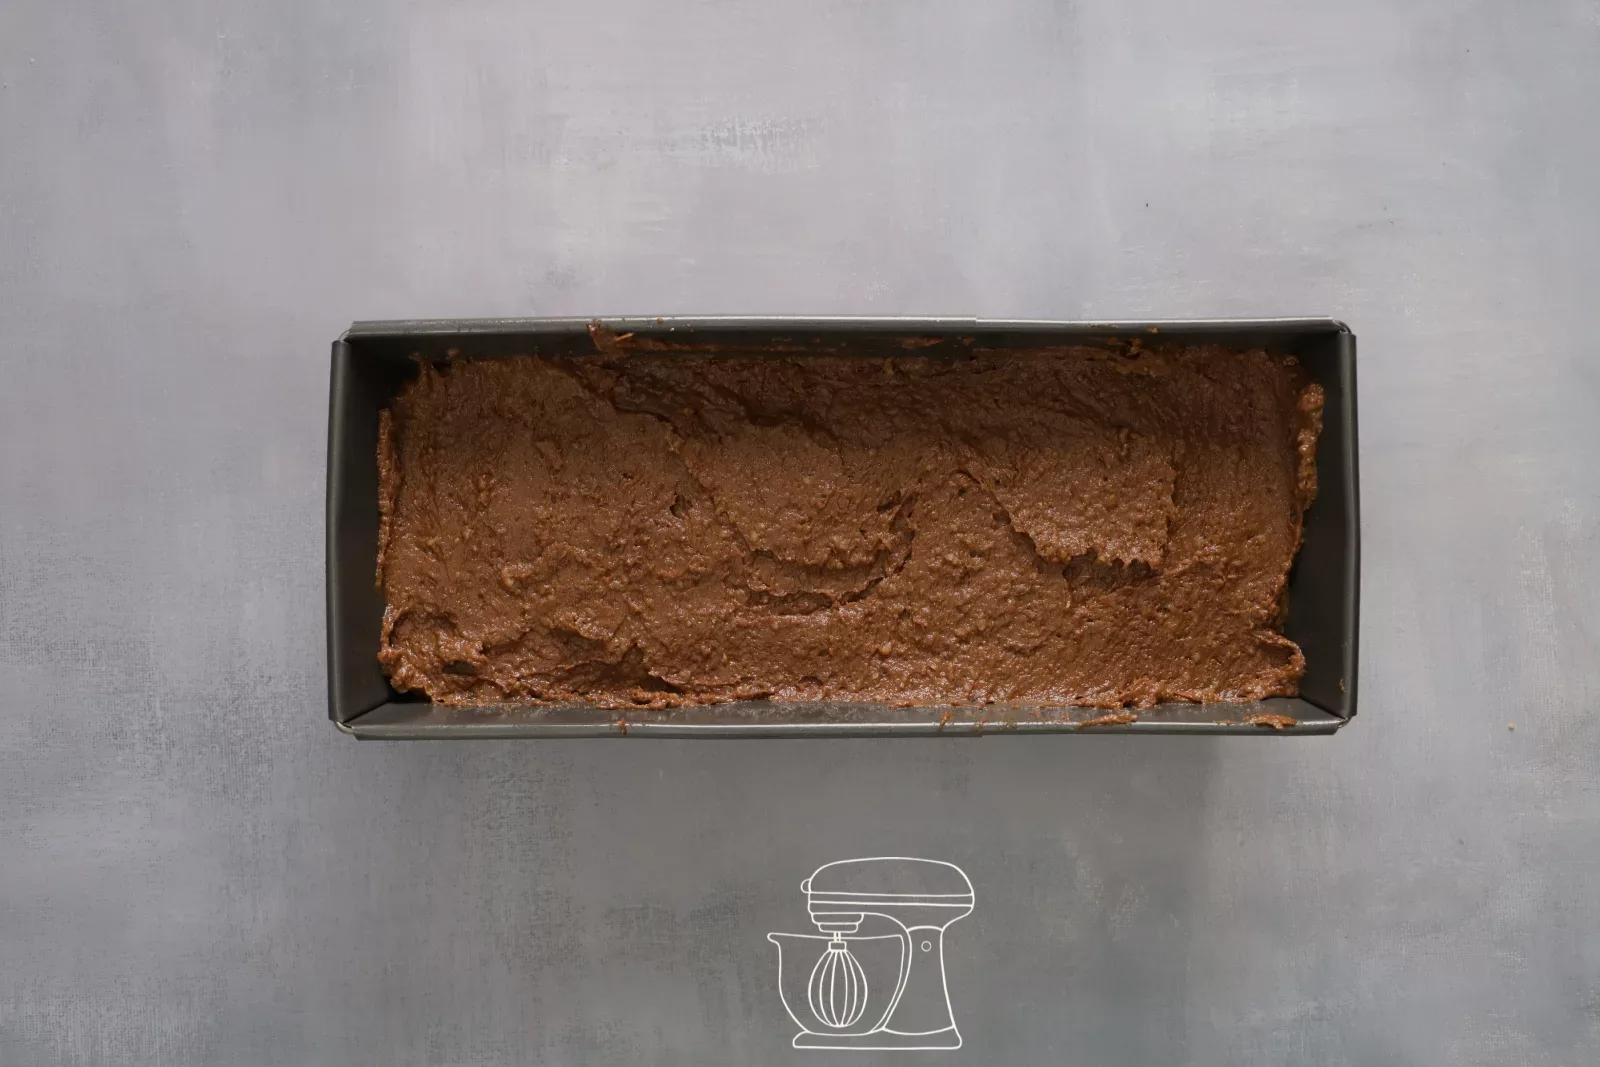
Set the adjustable loaf tin to 28 cm and spray it generously with Non-stick spray. Pour in the batter and smooth it out with a small Angled spatula.
Bake
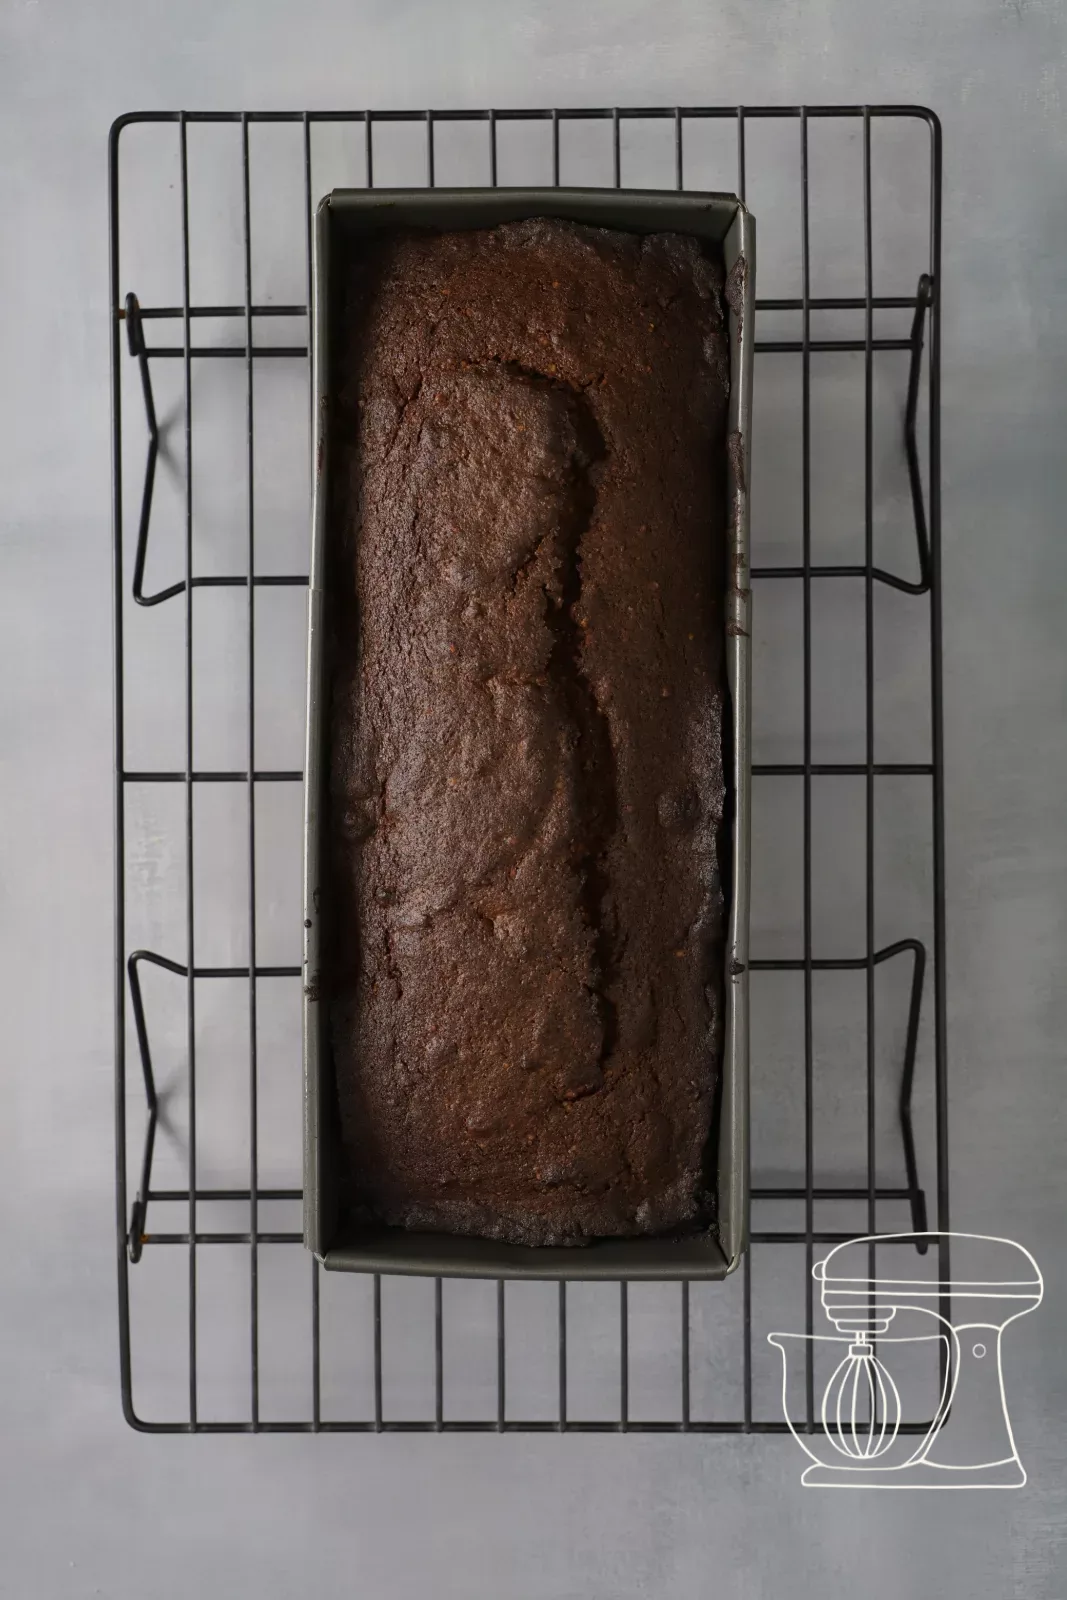
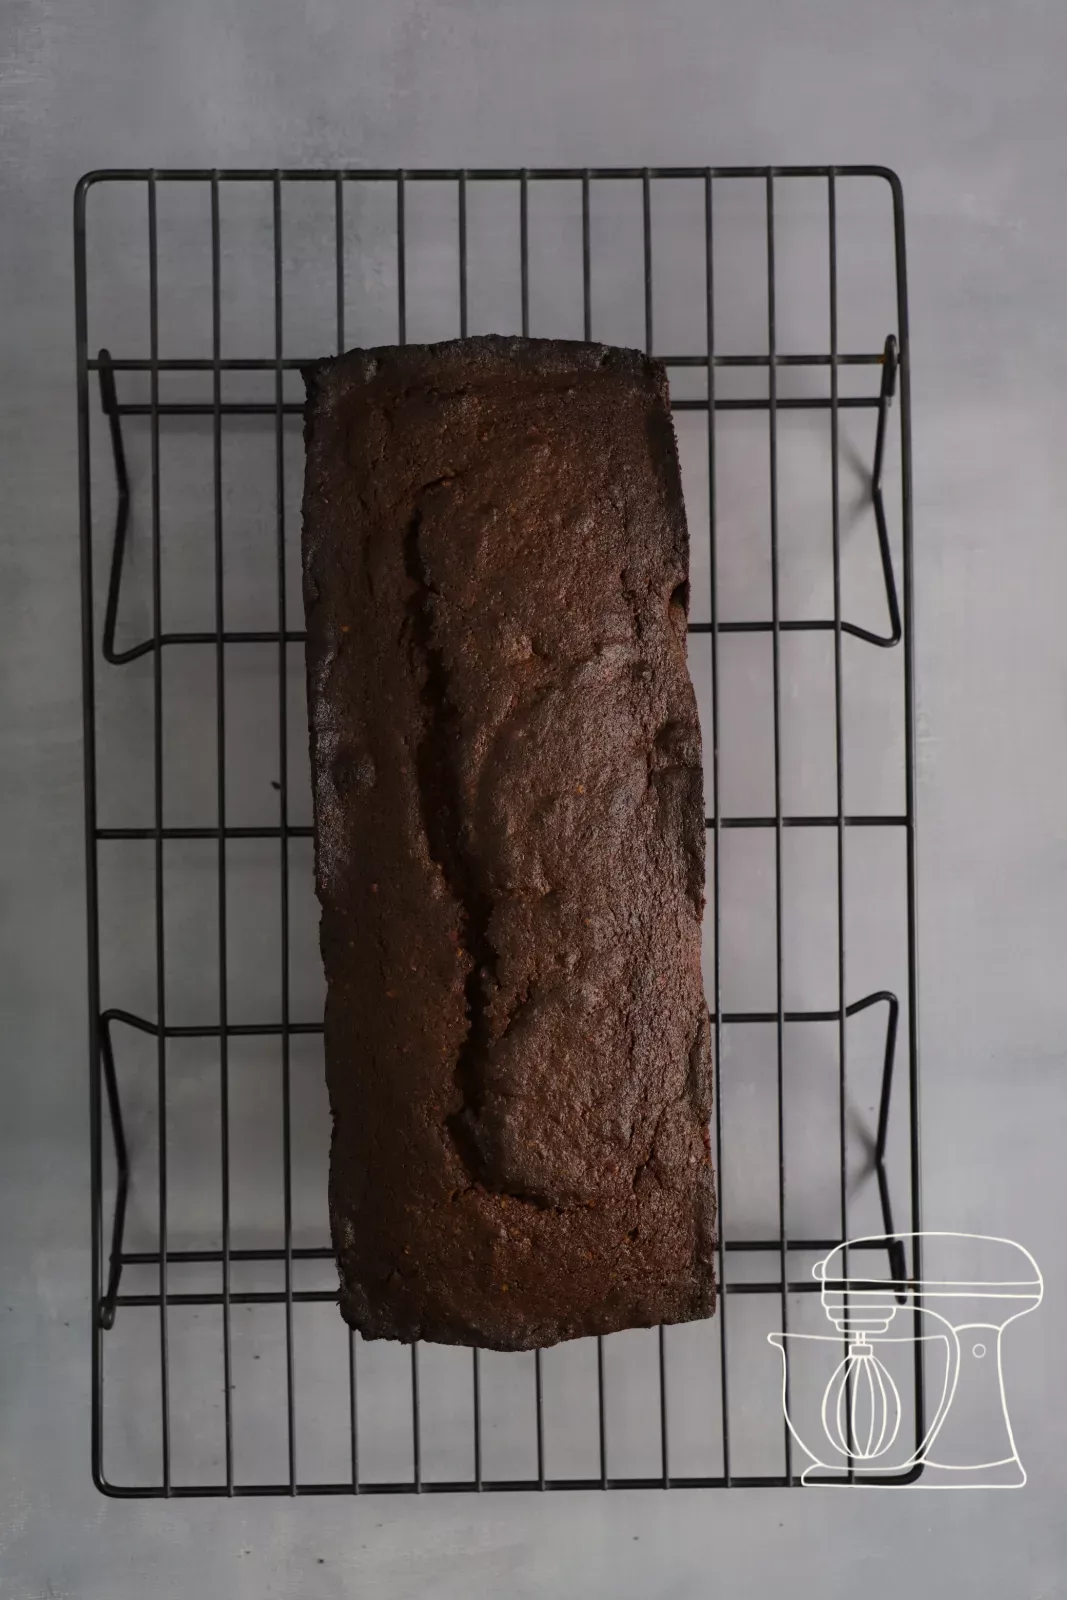
Bake the cake for 45 bis 50 minutes in the lower part of the oven at 180 °C fan. Then turn it out and let it cool completely on a Cake rack.
Cut into slices
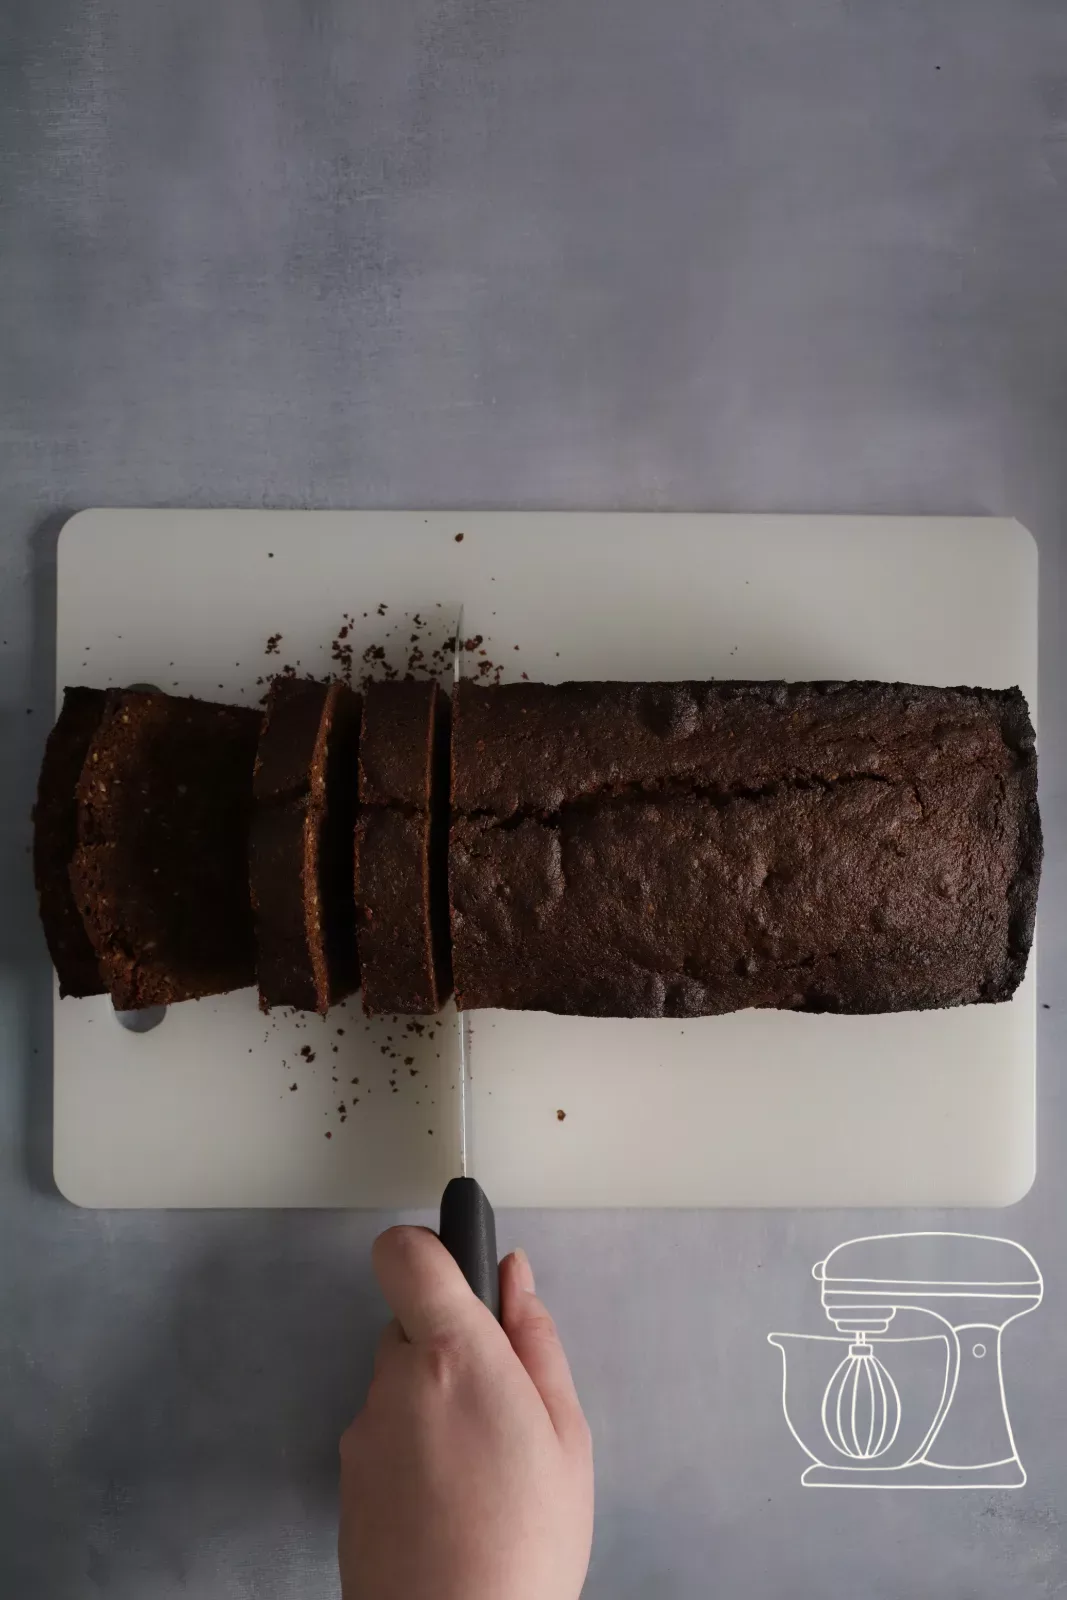
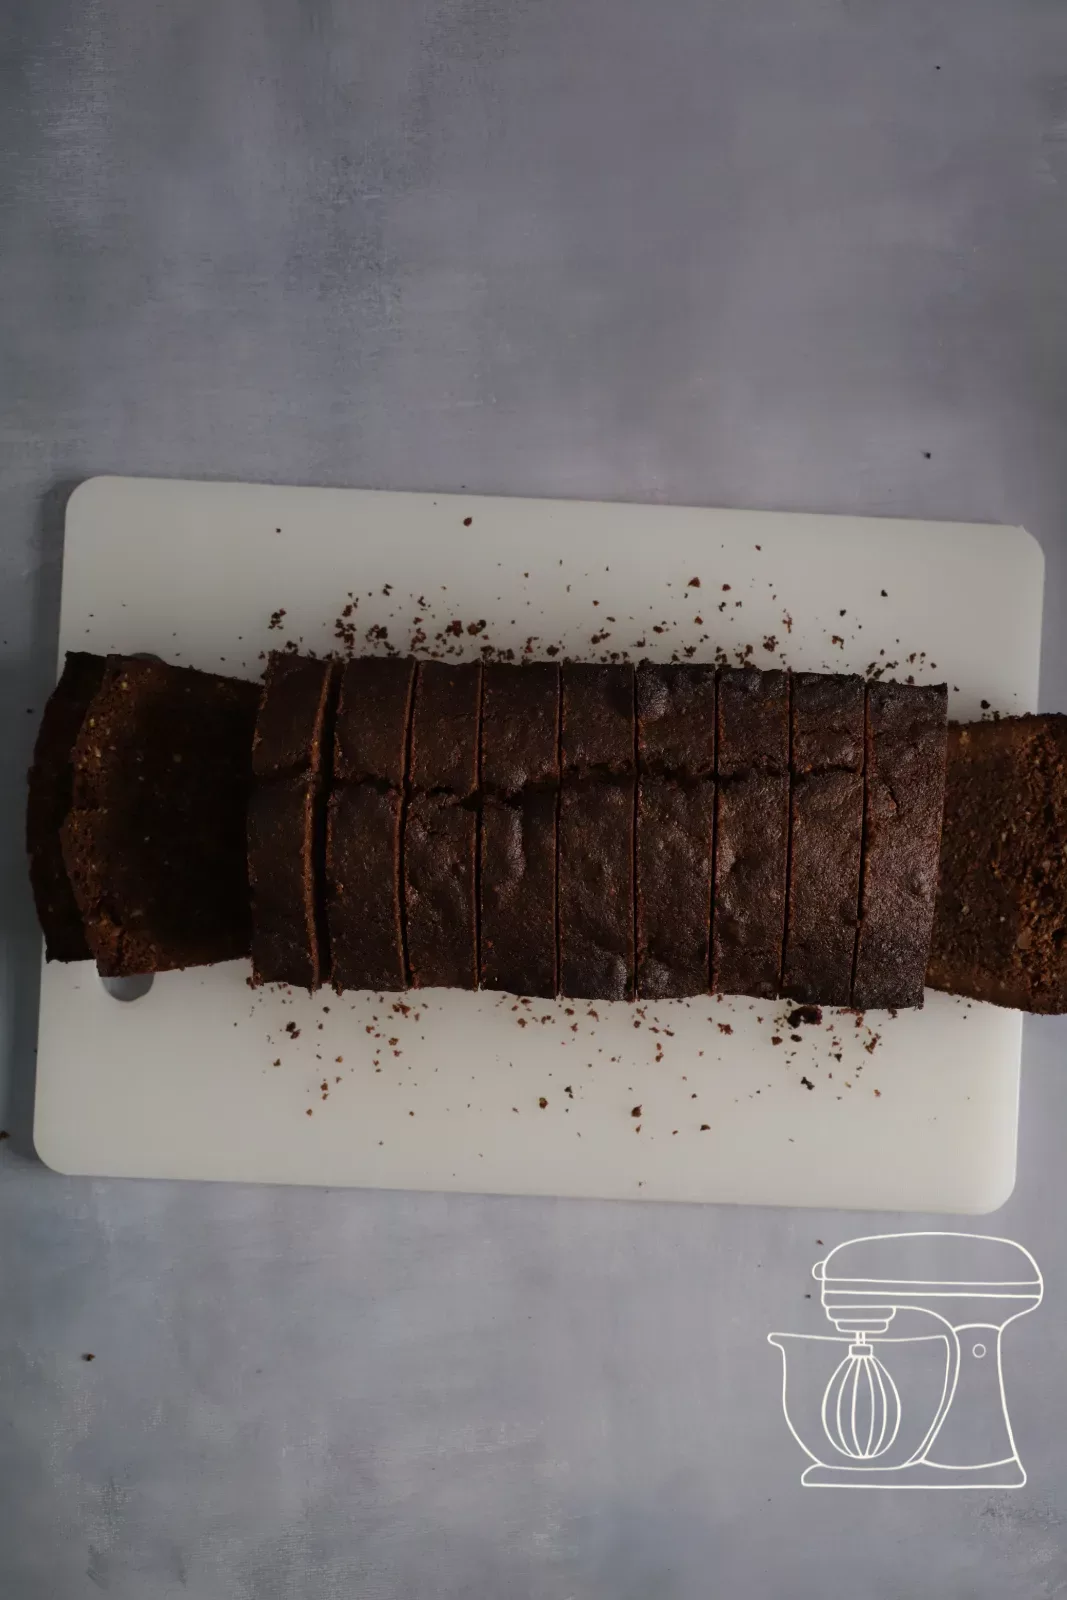
To be safe, chill the cooled cake in the fridge for another 30 minutes. Then cut it into slices 2,5 cm thick, so the cut surfaces stay clean.
Prepare the cream
Whip up the cream
Whip 100 g of Enchanted Cream powder with 200 g of milk until stiff for 2 to 3 minutes. You can replace the milk fully or partly with water. We deliberately keep the cream neutral so the chocolate and nut flavour of the cake really comes through.
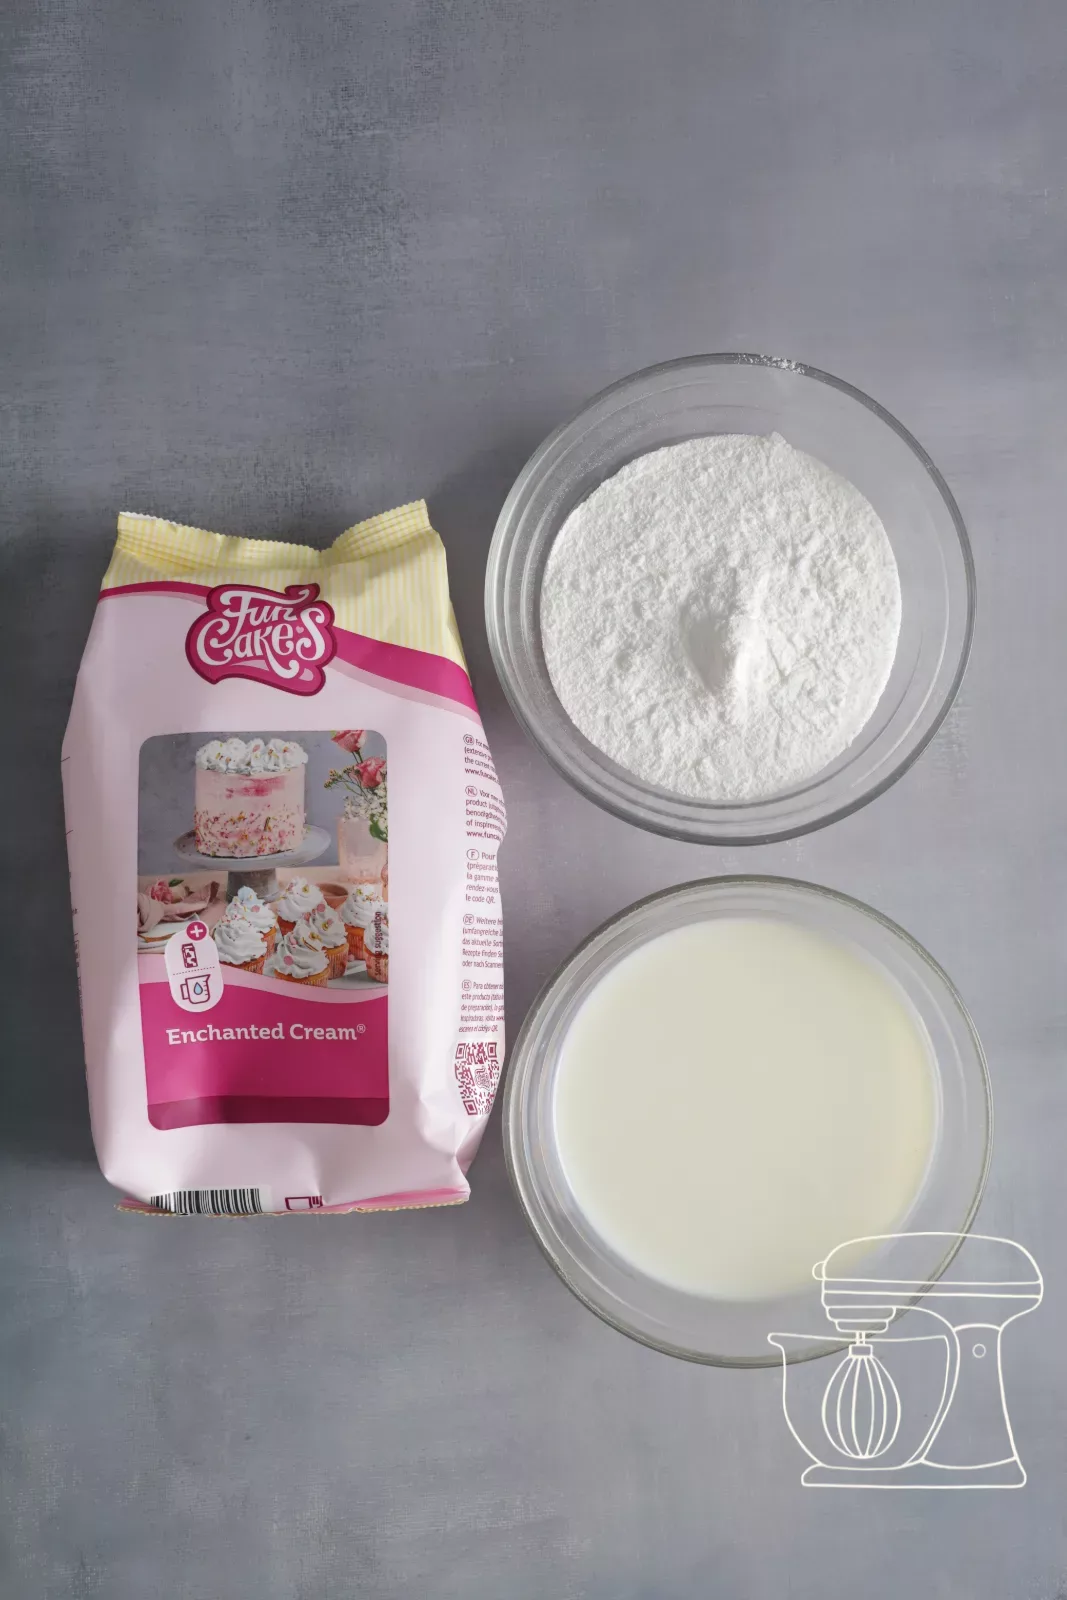
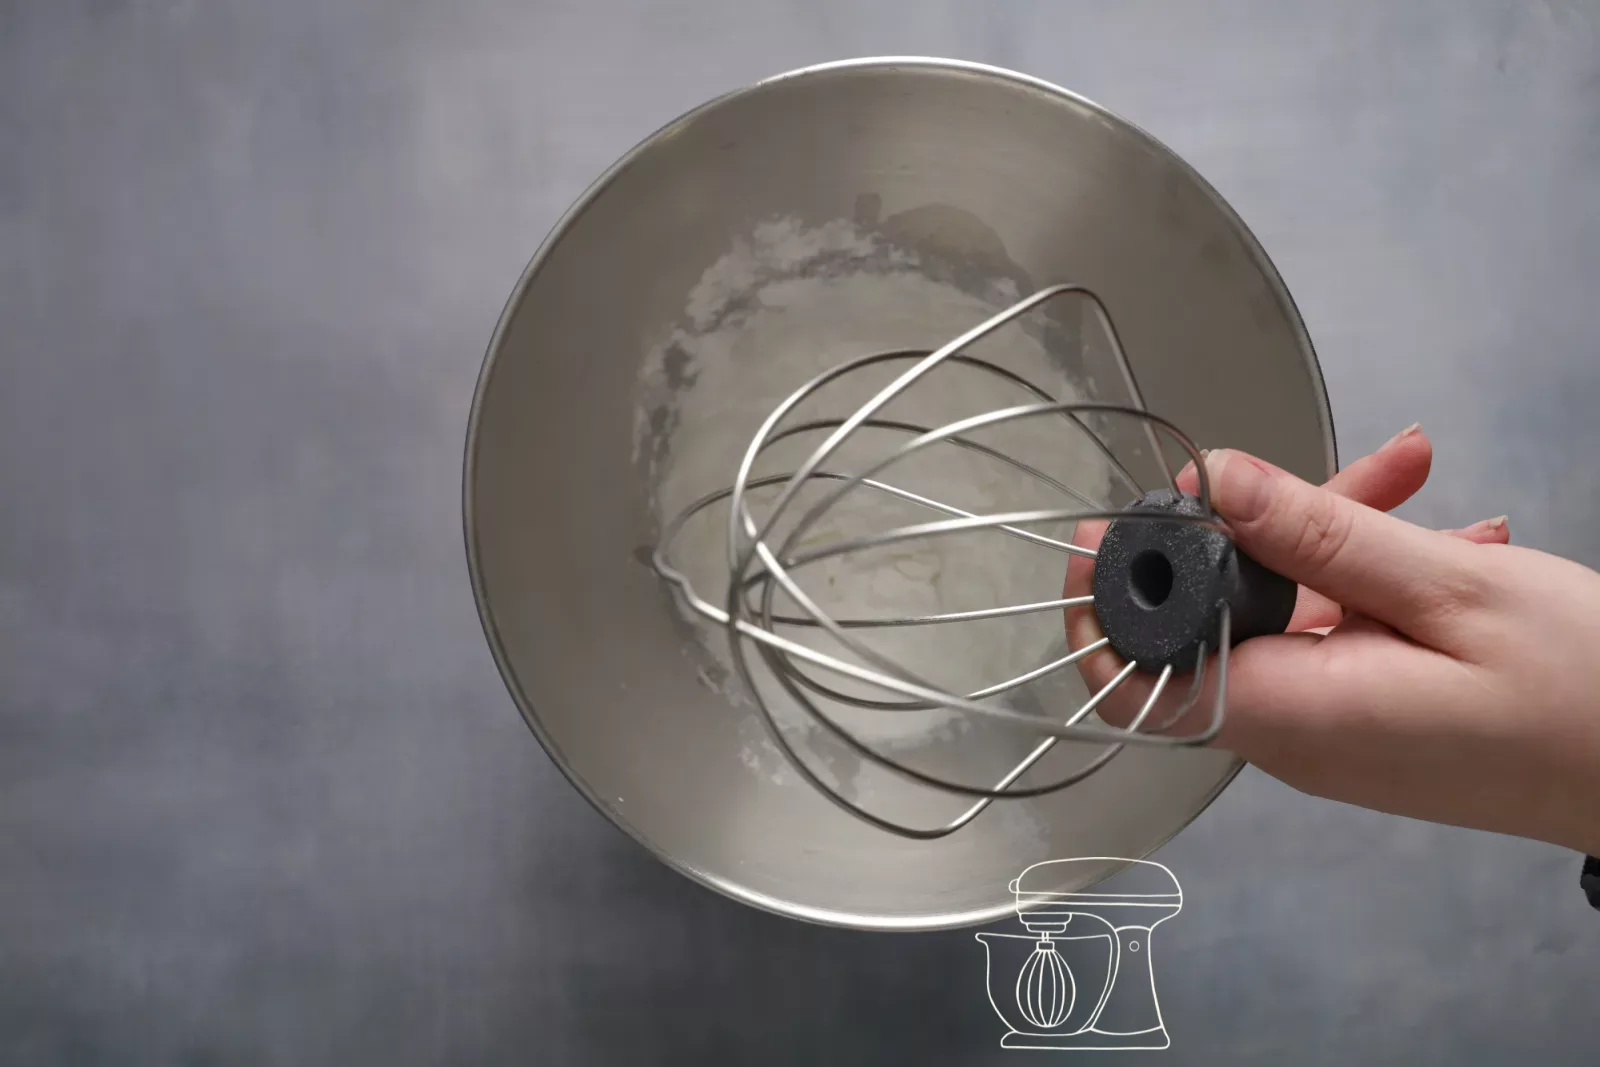
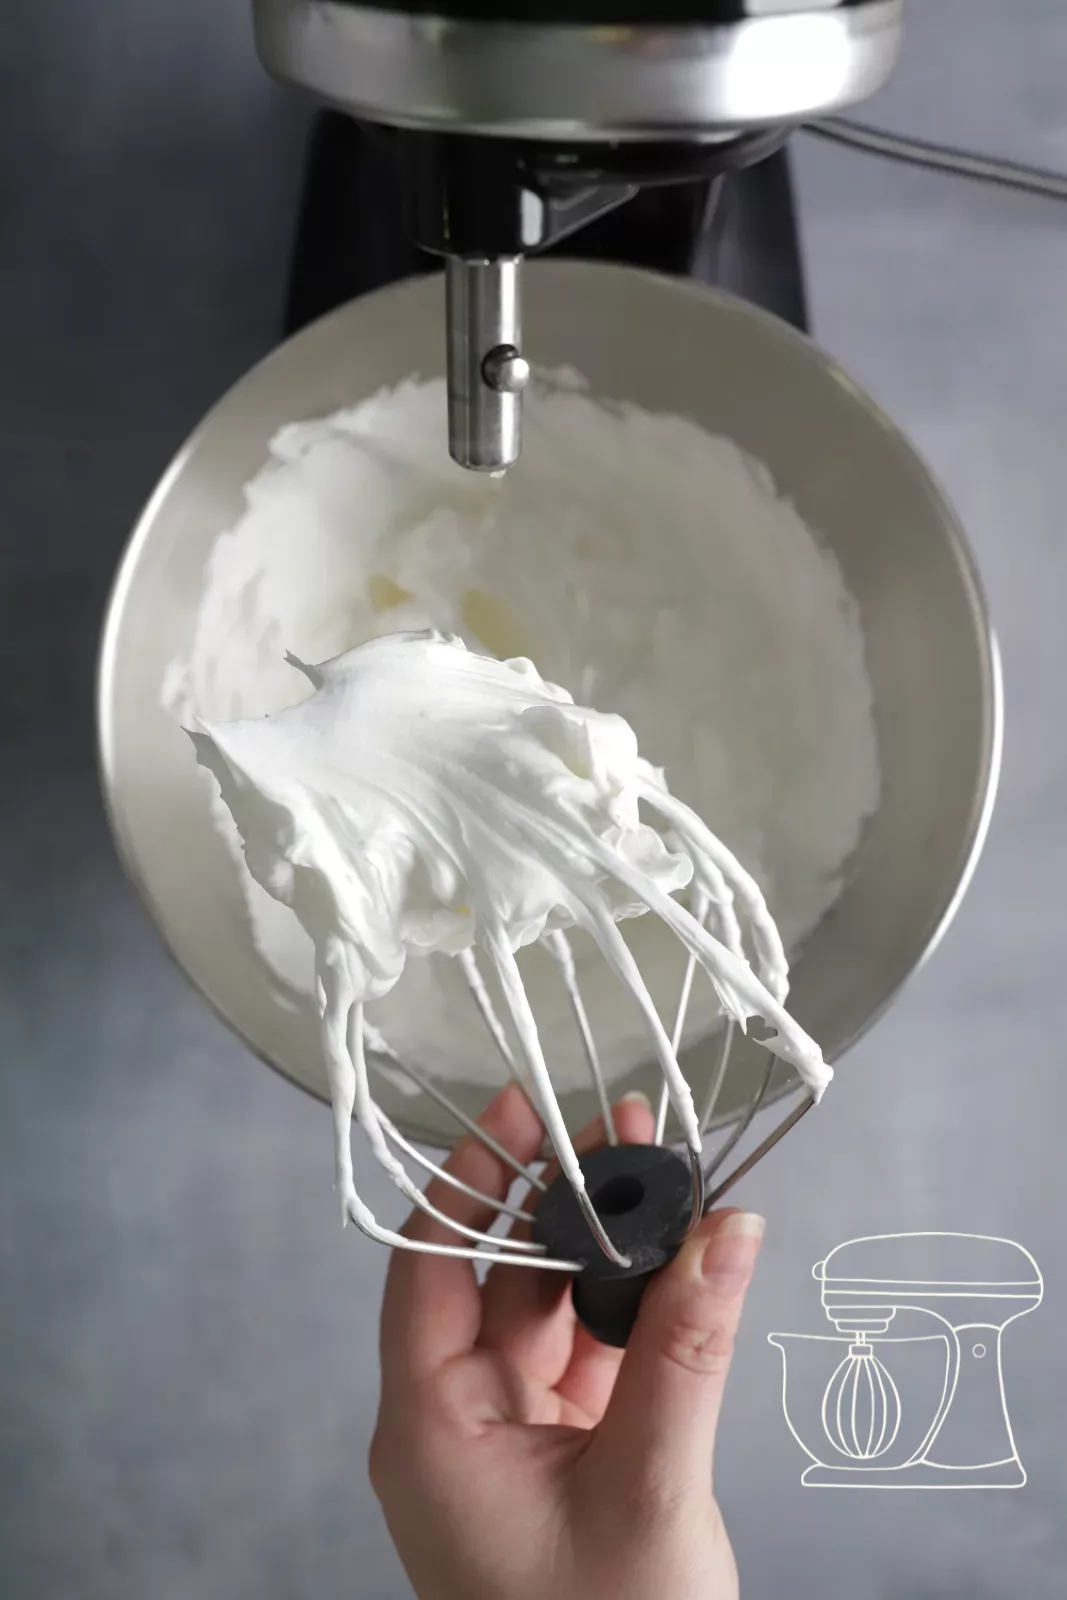
450g Enchanted Cream
Gel colors Progel: Violet
Gel colors Progel: Light green
Gel colors Progel: Orange
Colour in Halloween colours
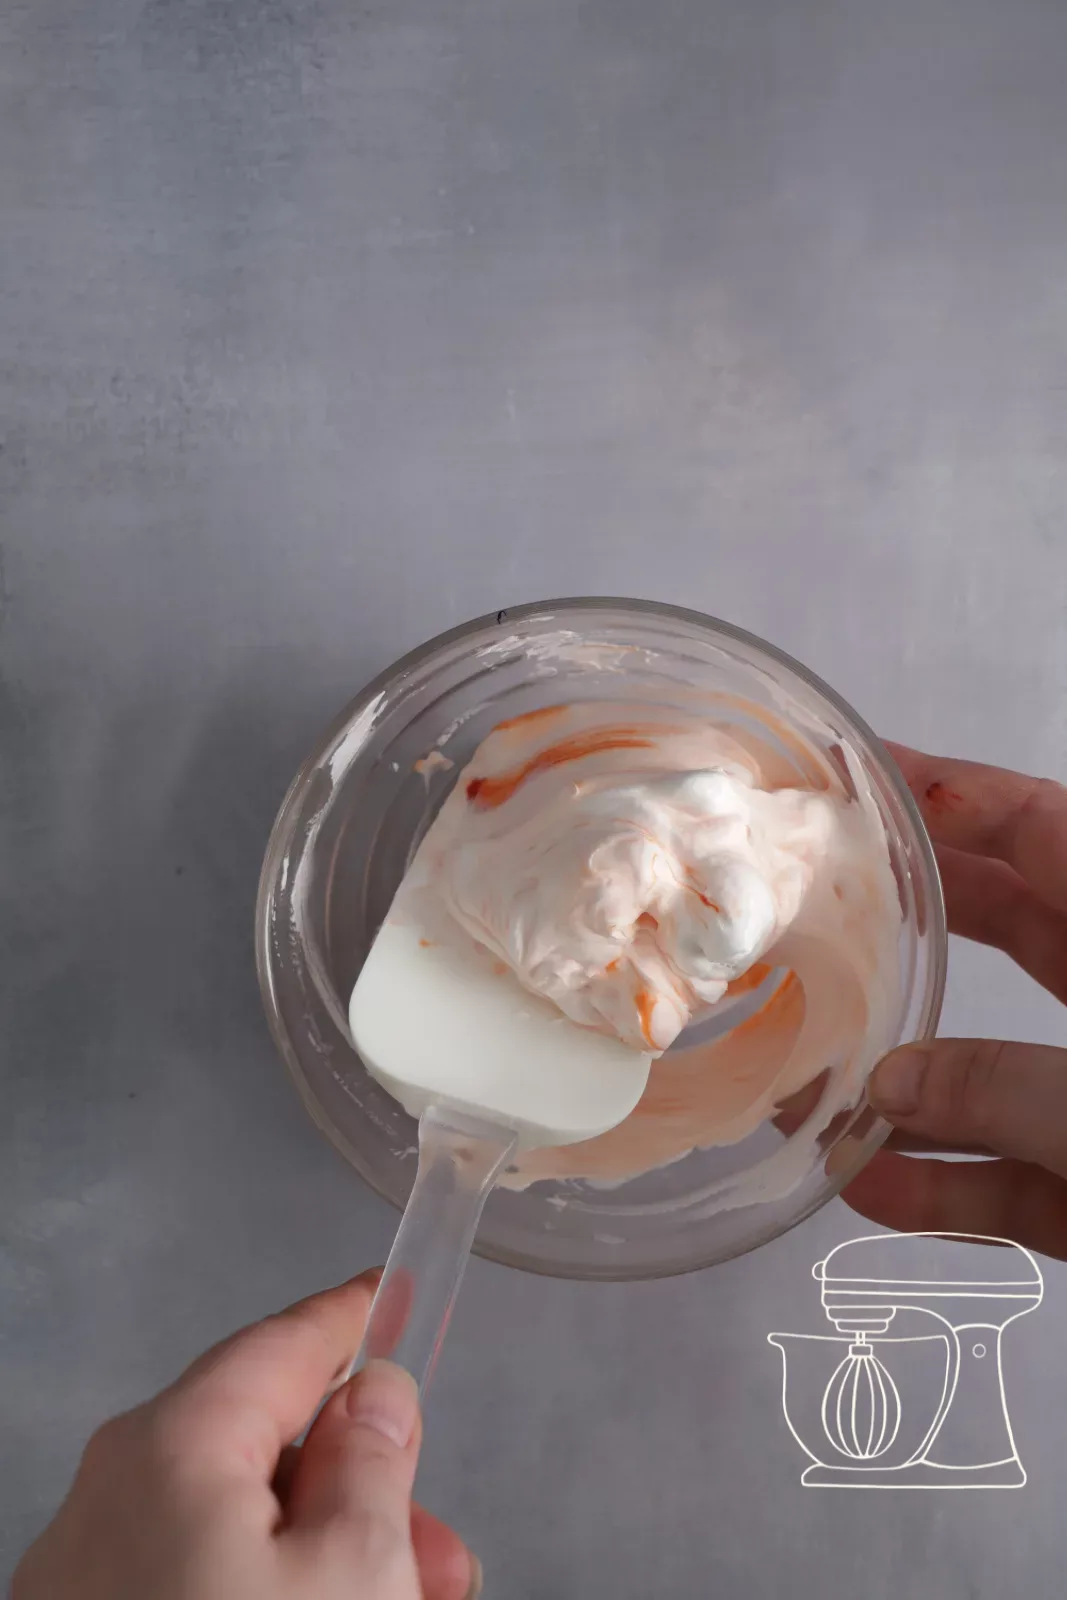
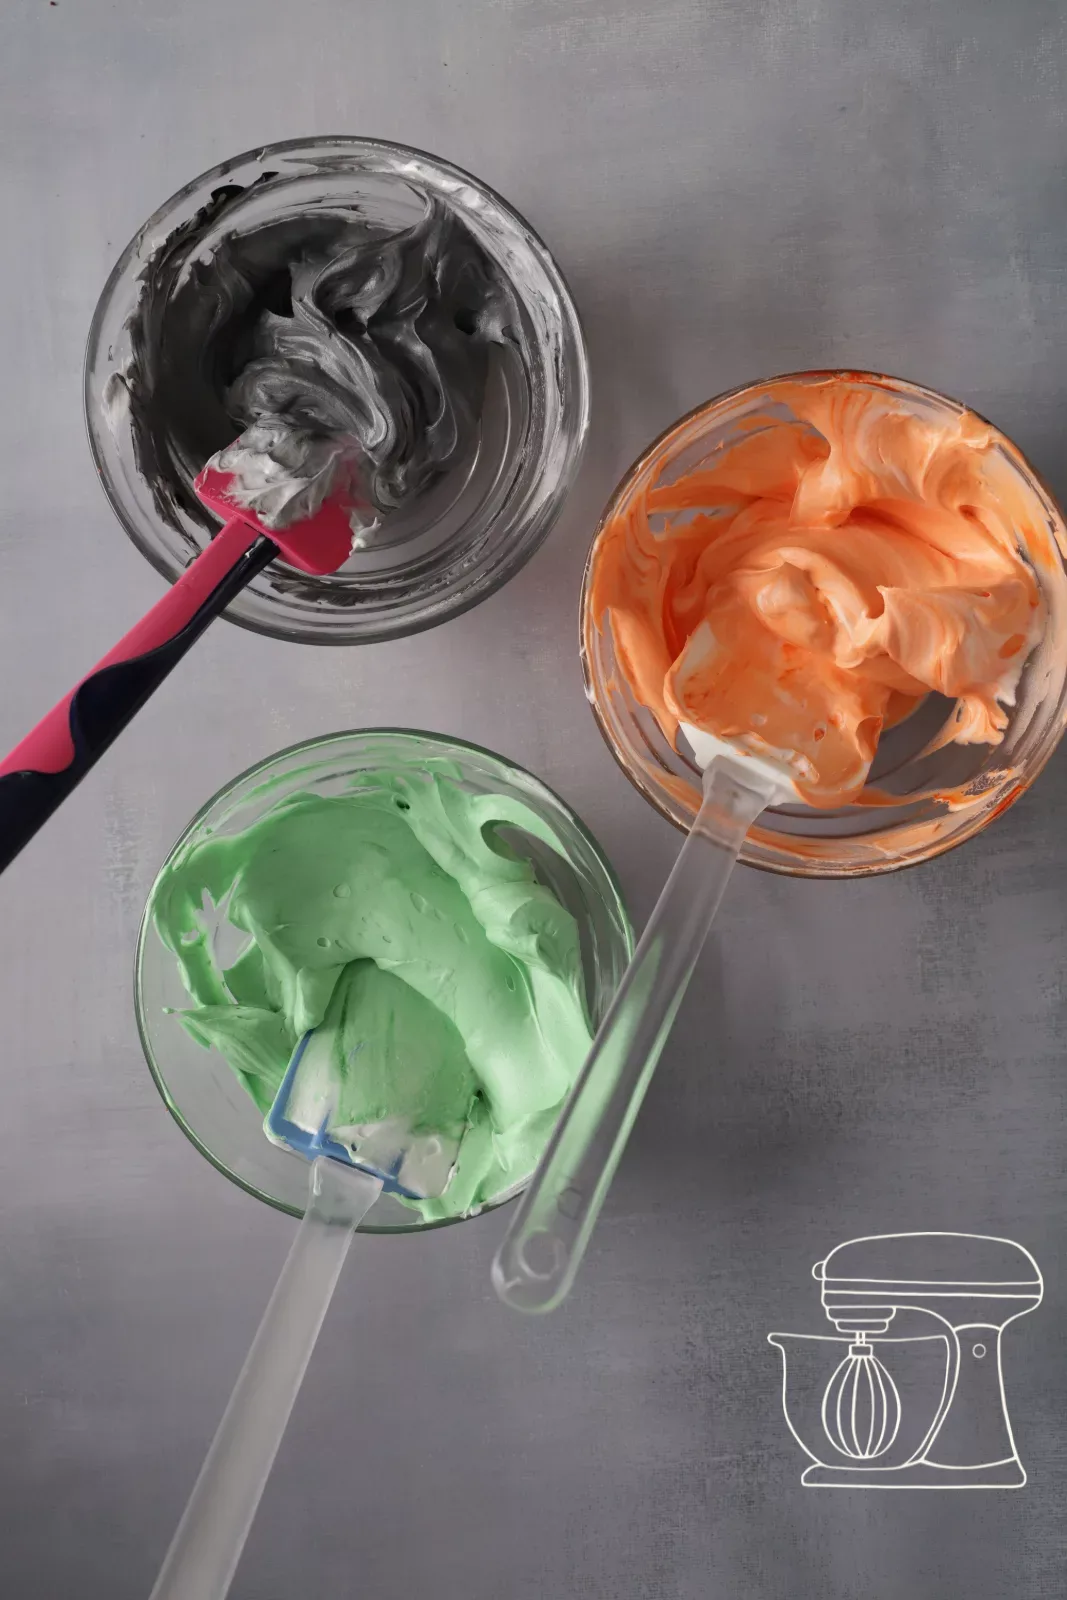
Divide the cream between 5 small bowls. Leave one white and colour the others with gel colors green, orange, violet and black.
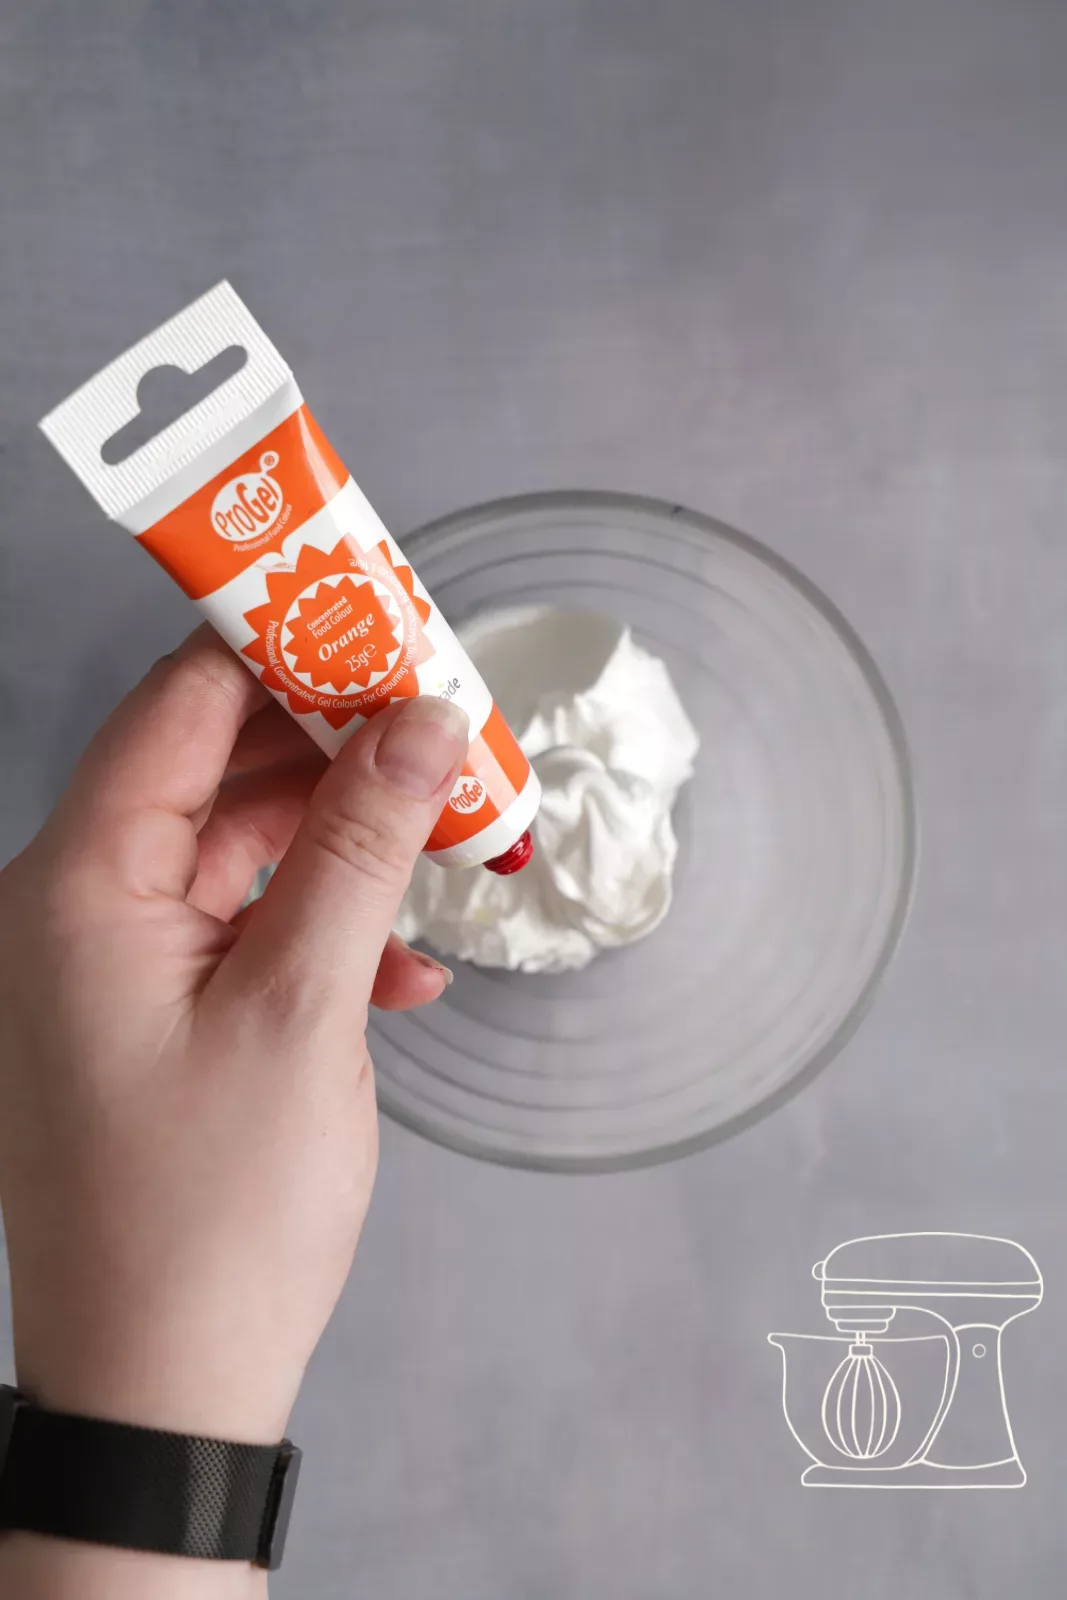
Prepare piping bags with adapters
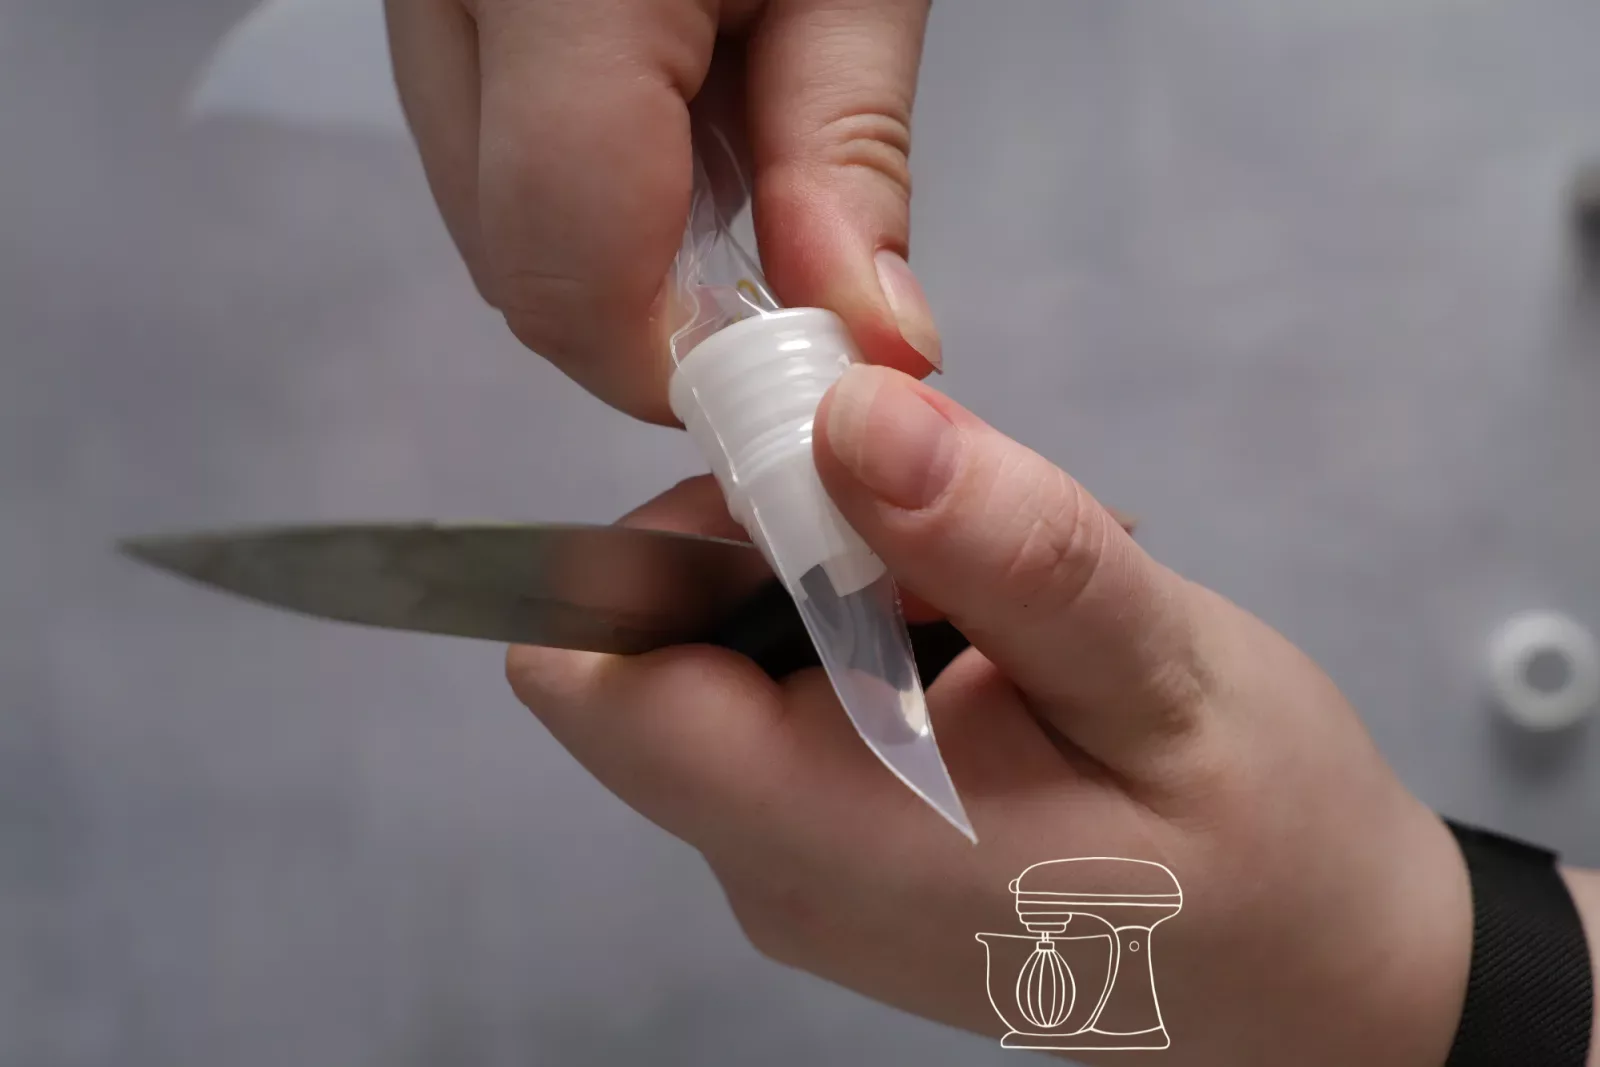
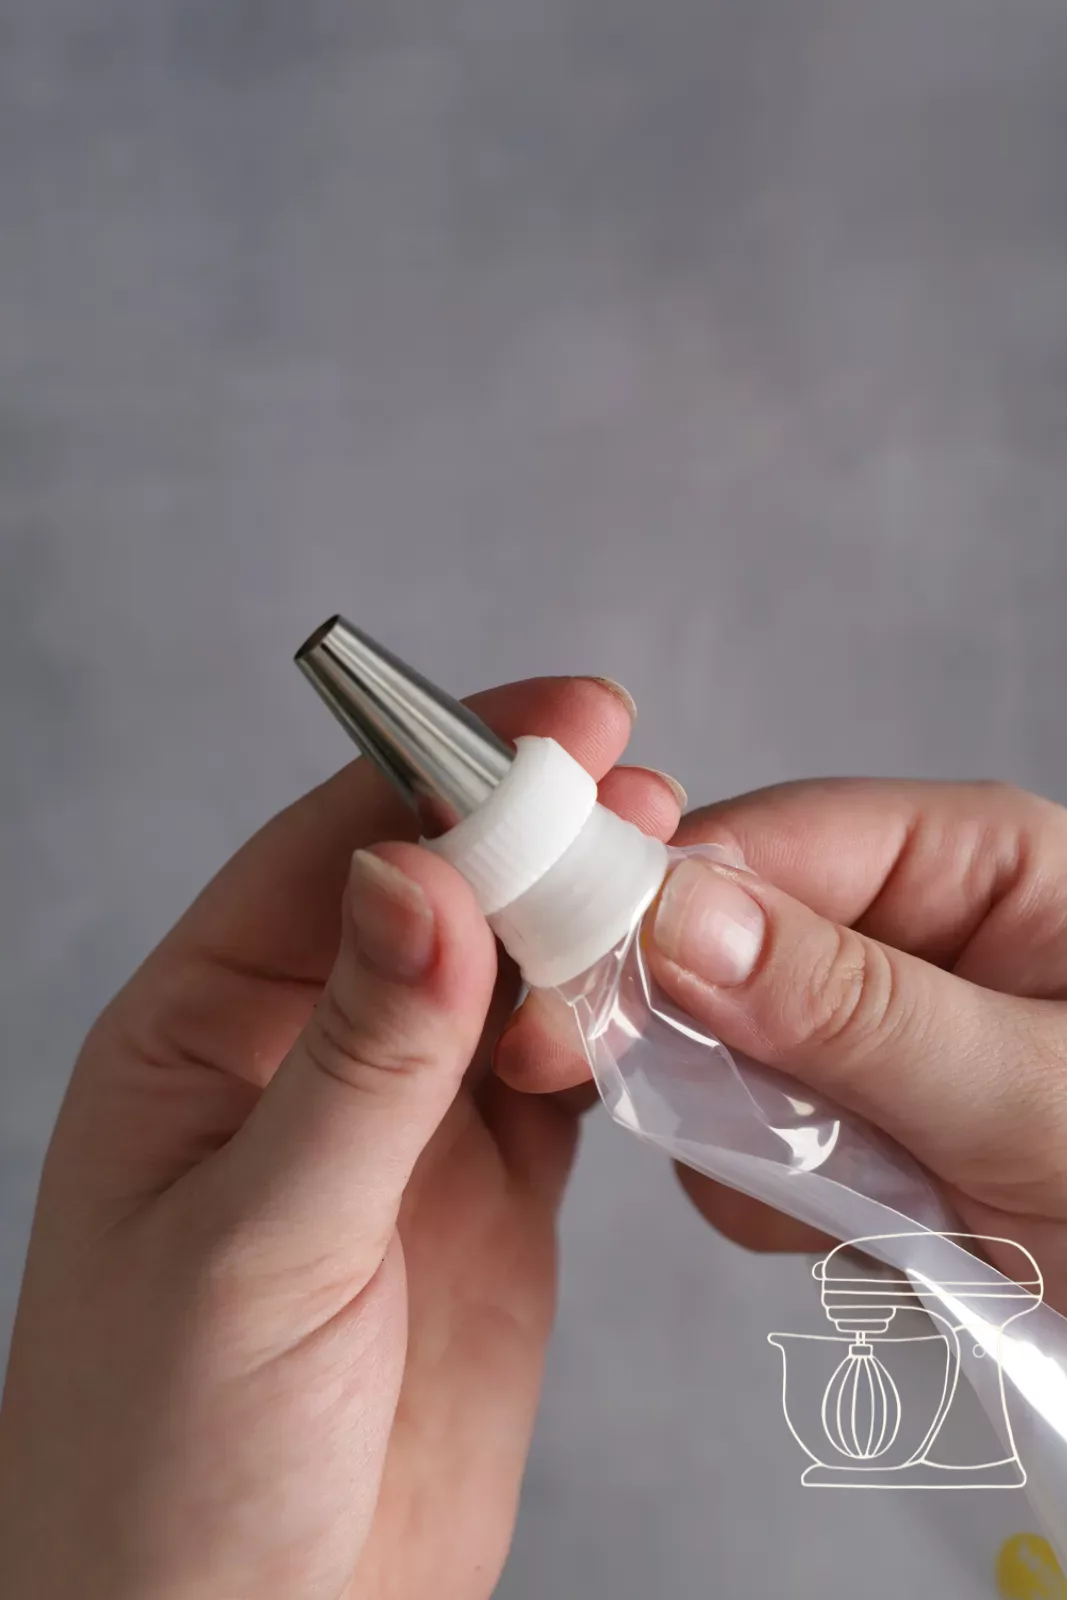
Place an adapter into each of the 5 small piping bags, push it right to the tip and cut the tip off just short. Then fill each with one colour. Thanks to the adapters, you can swap the piping nozzles later without squeezing the cream out.

Disposable piping bag S - 30cm - 10 pcs
Piping nozzle set plastic
Star tips 8 mm
Star tip 3 mm
Decorating Halloween cake
Mummy
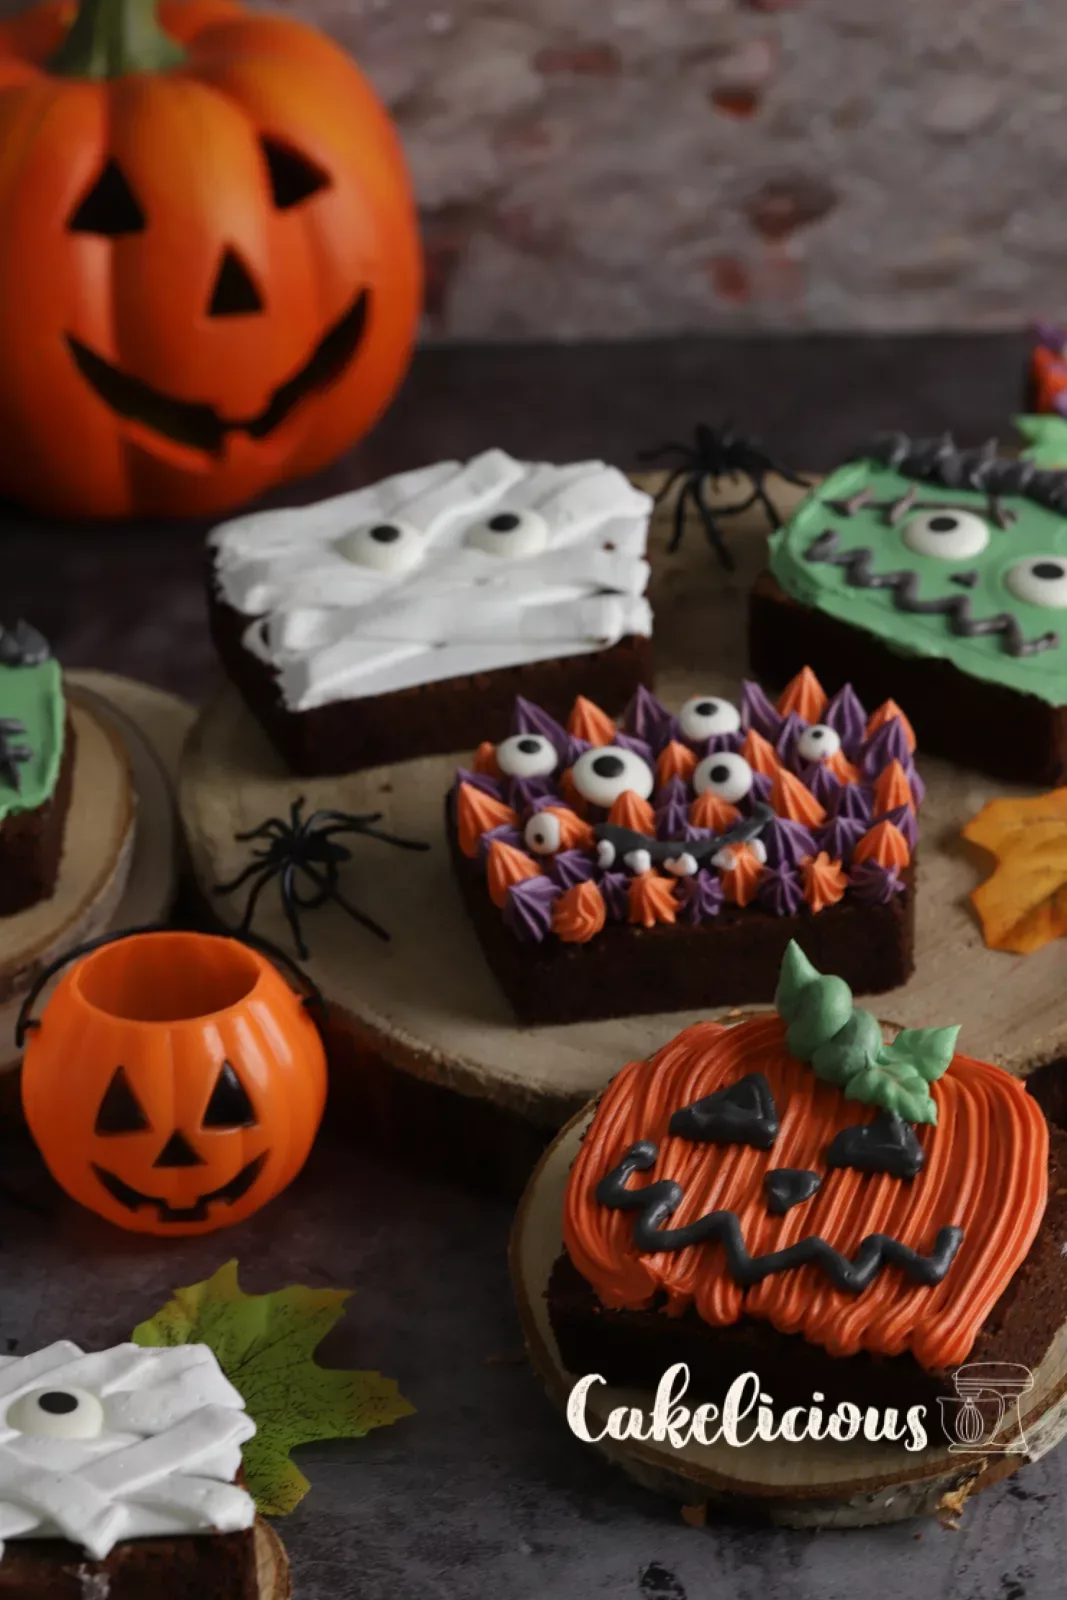
Fit the small basketweave nozzle onto the white cream. Hold the piping bag at a 45° angle and pipe even bands, changing direction again and again and crossing the bands. Add two large Candy eyes on top, and your mummy is done.
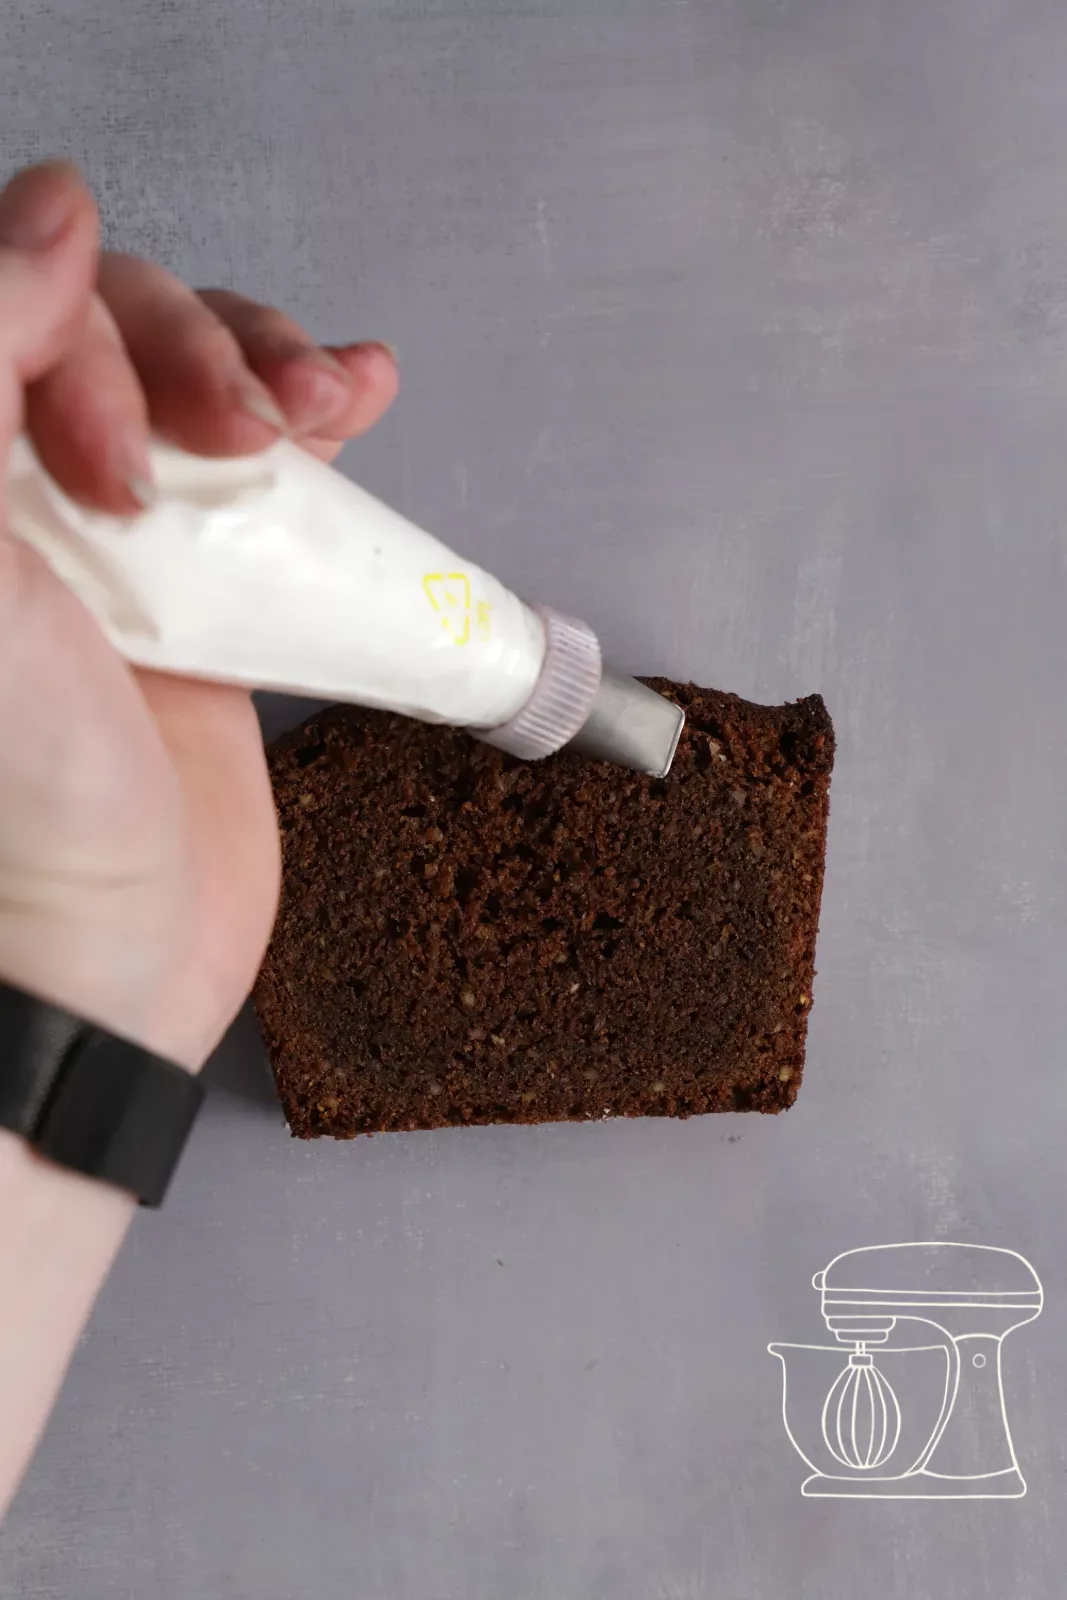
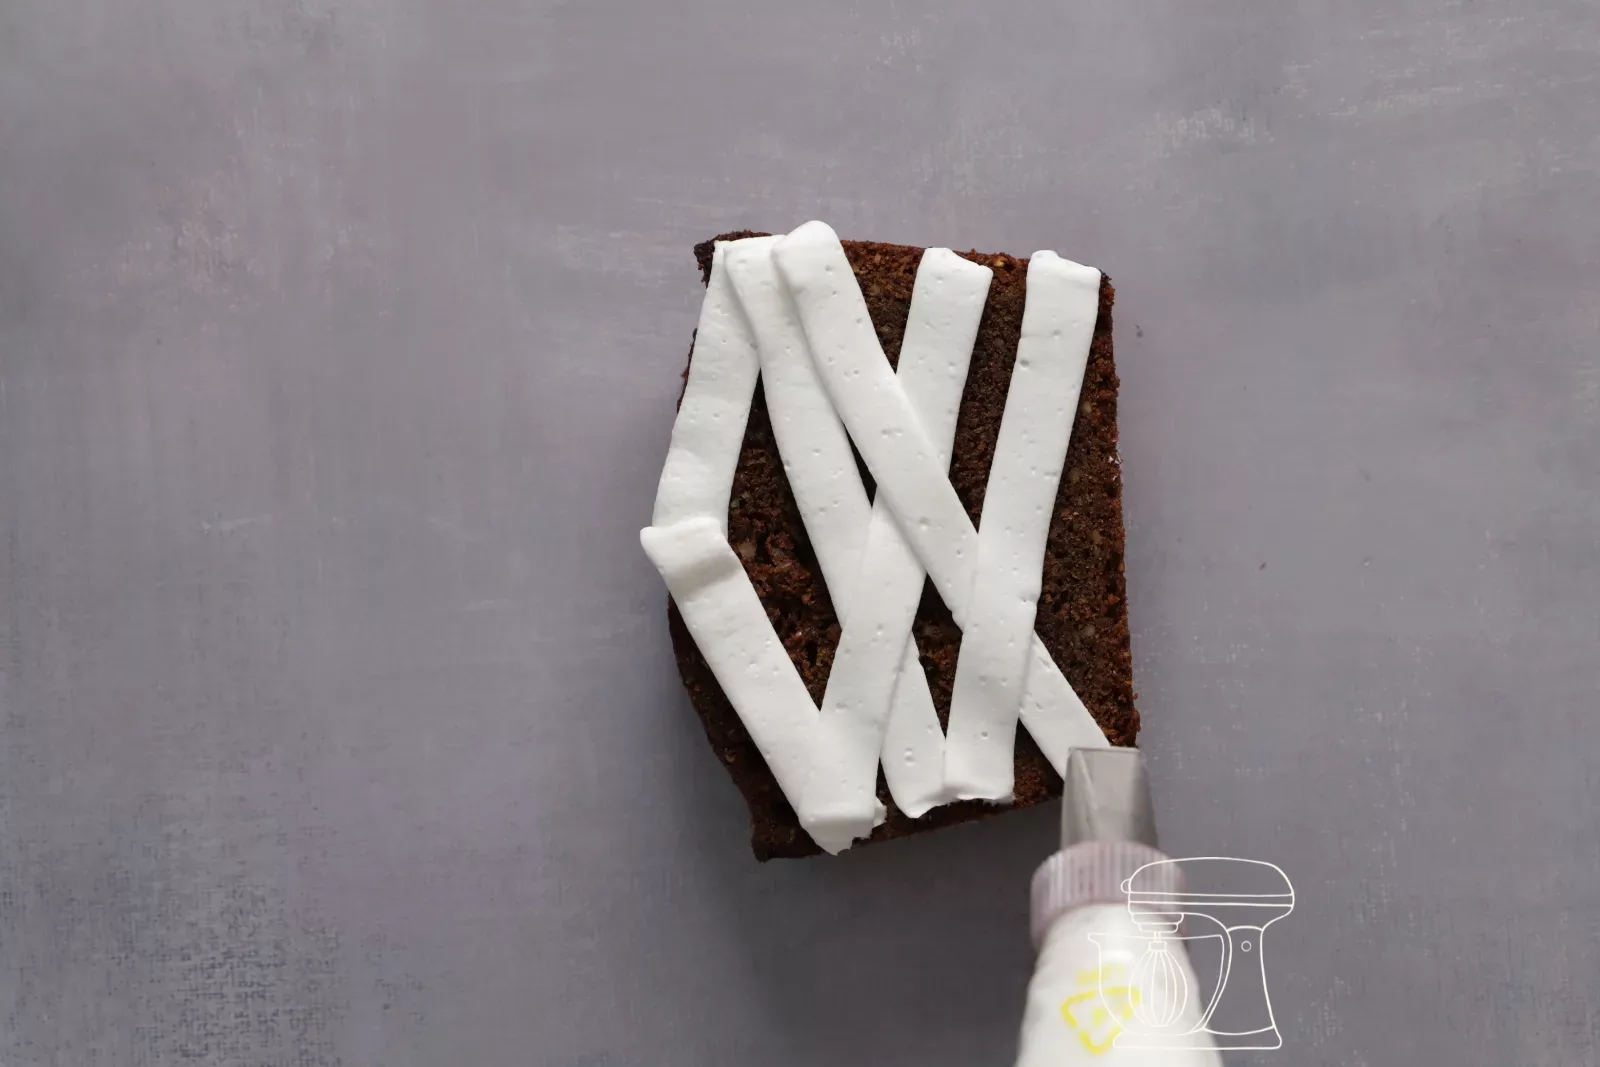
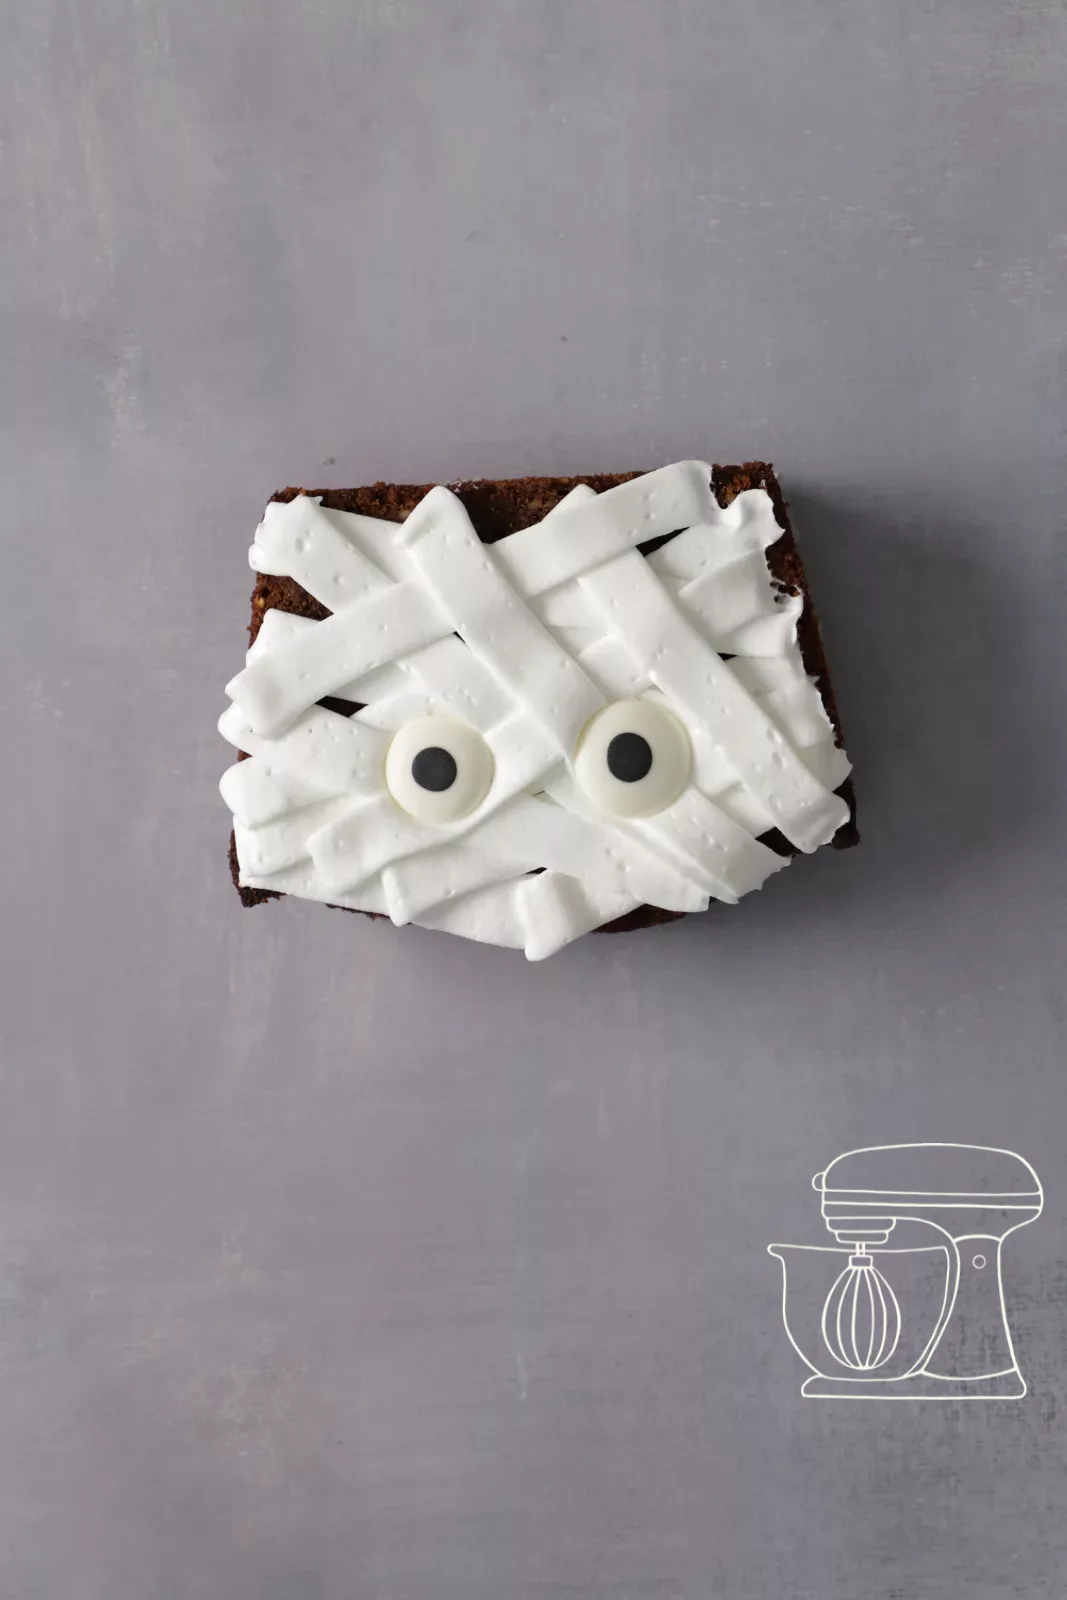
Disposable piping bag S - 30cm - 10pcs
Sugar decorations - bloody eyes
Basketweave nozzle - 20 mm
Adapter for piping nozzles
Ombré Monster
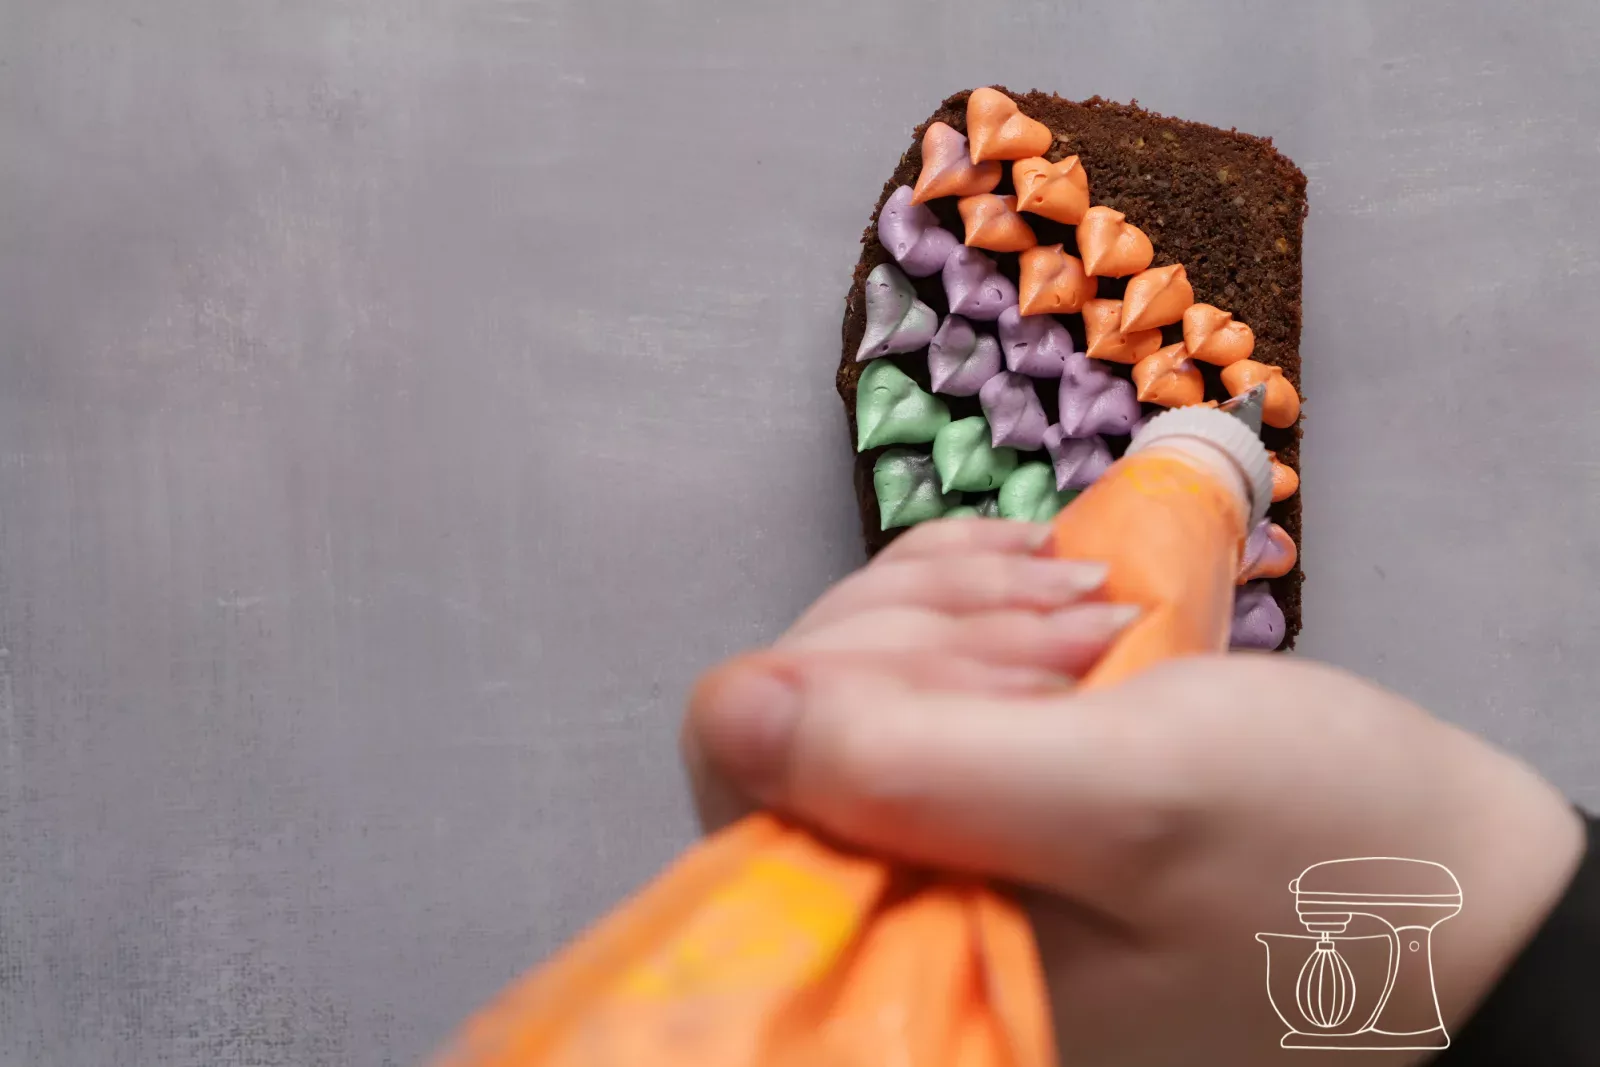
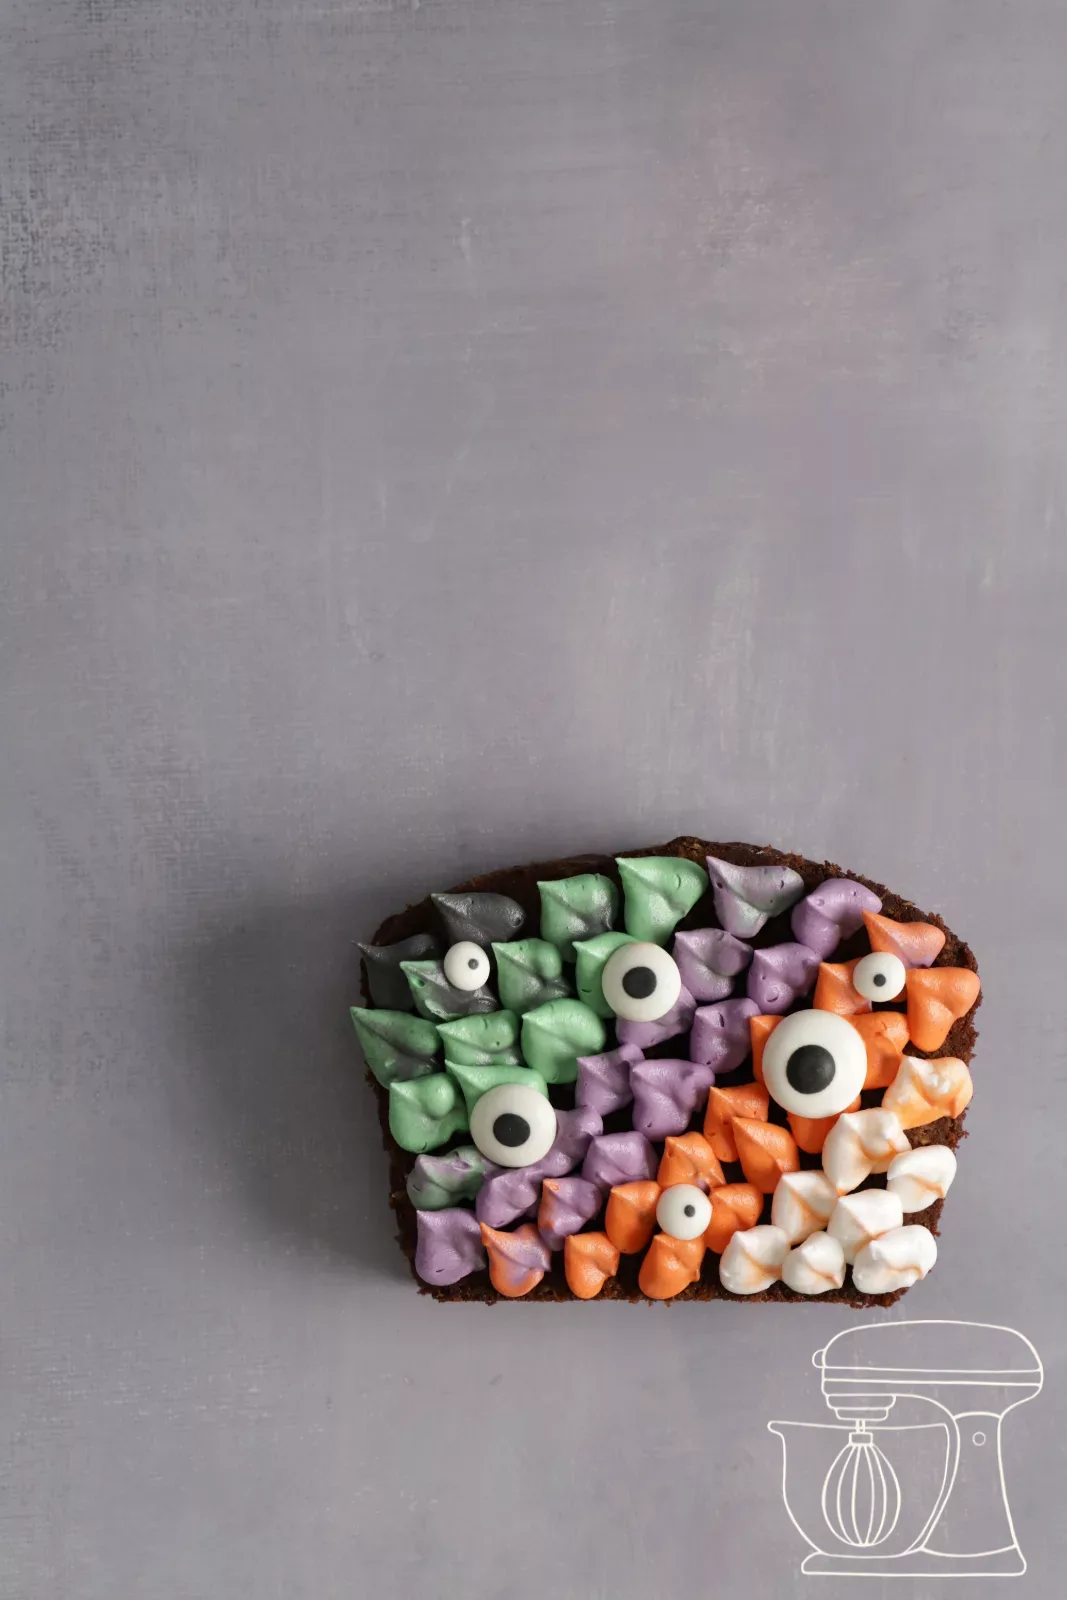
Fit the Leaf piping nozzle onto each of the five colours in turn, from black through green, purple and orange to white. Because the nozzle still holds a little of the previous colour each time, you get a beautiful colour gradient. Squeeze at a 45° angle, stop and pull upwards, then decorate with Candy eyes.
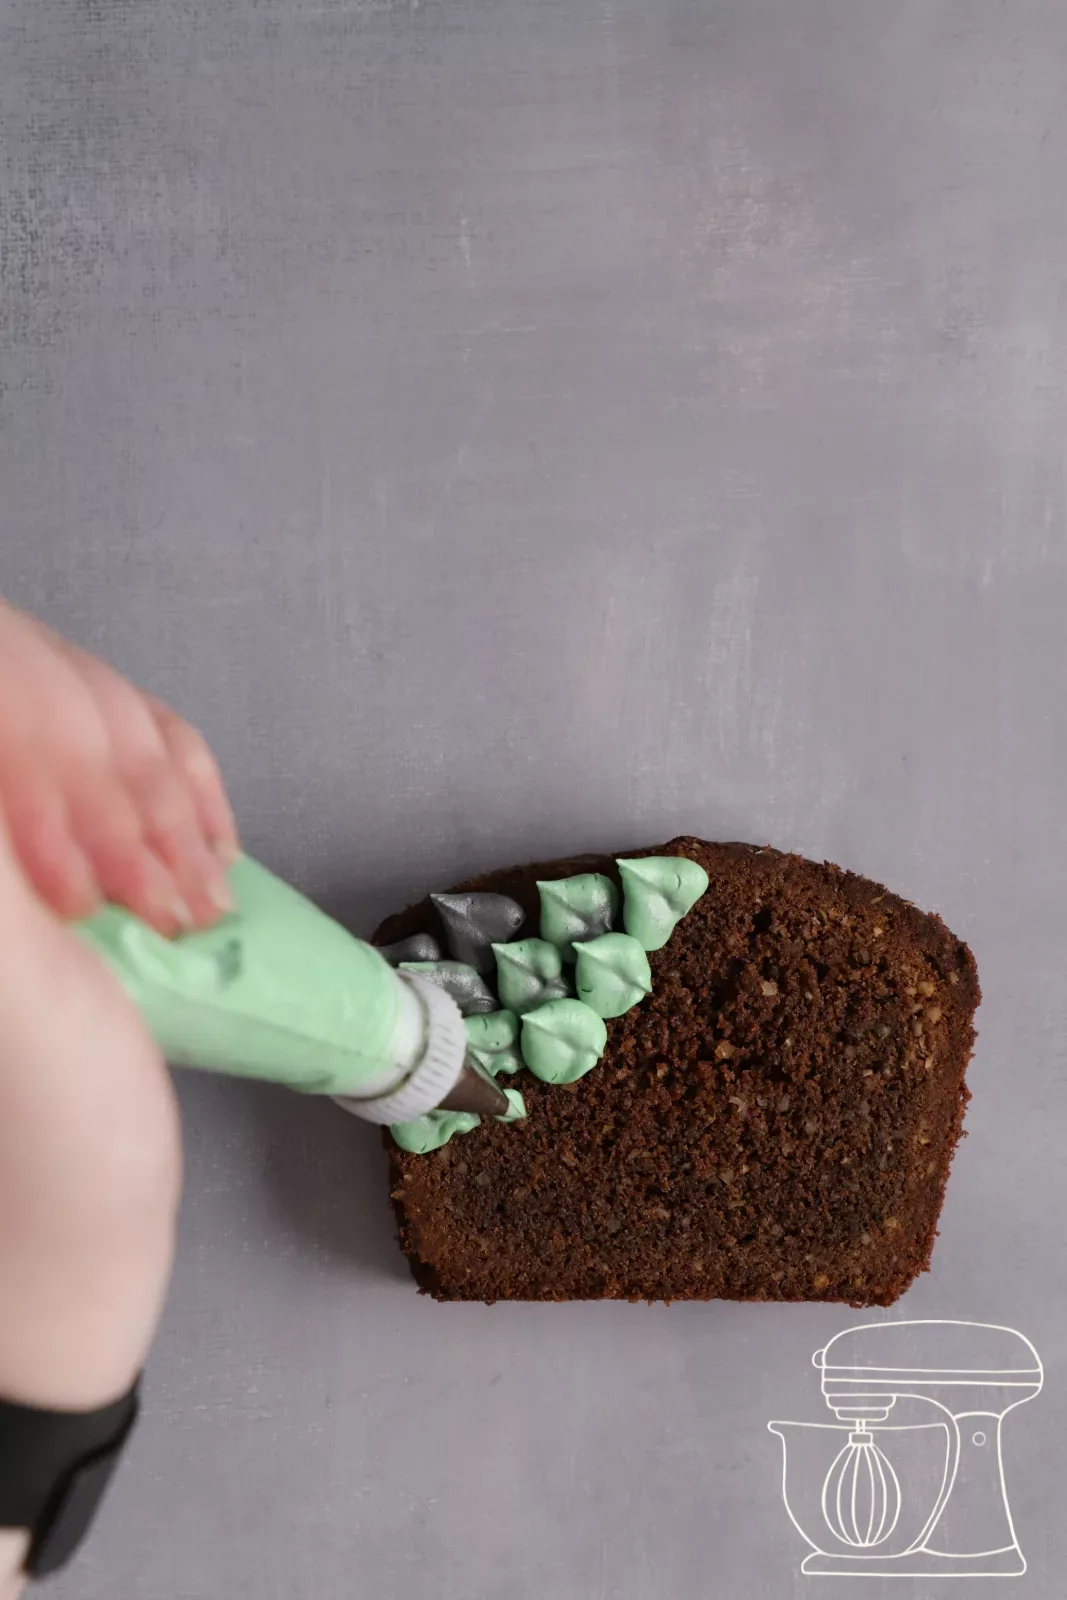
Leaf piping nozzle no. 66
Progel gel colours: Purple
Progel gel colours: Light green
Progel gel colours: Orange
Fluffy monster
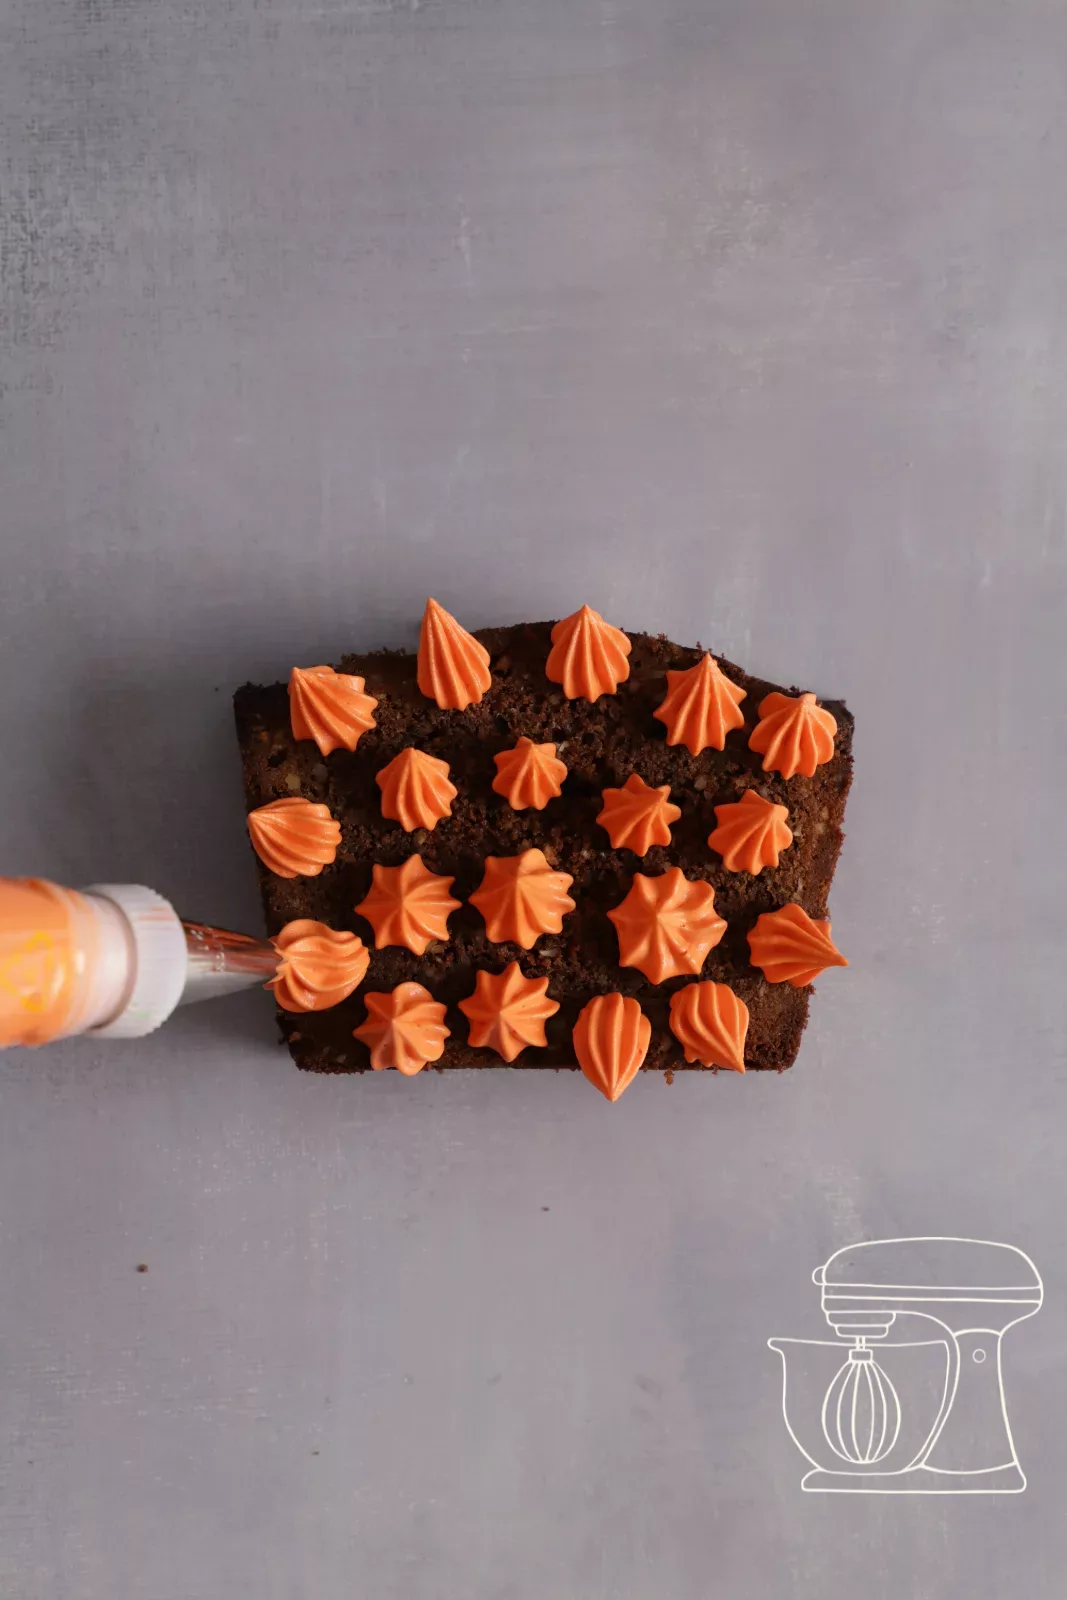
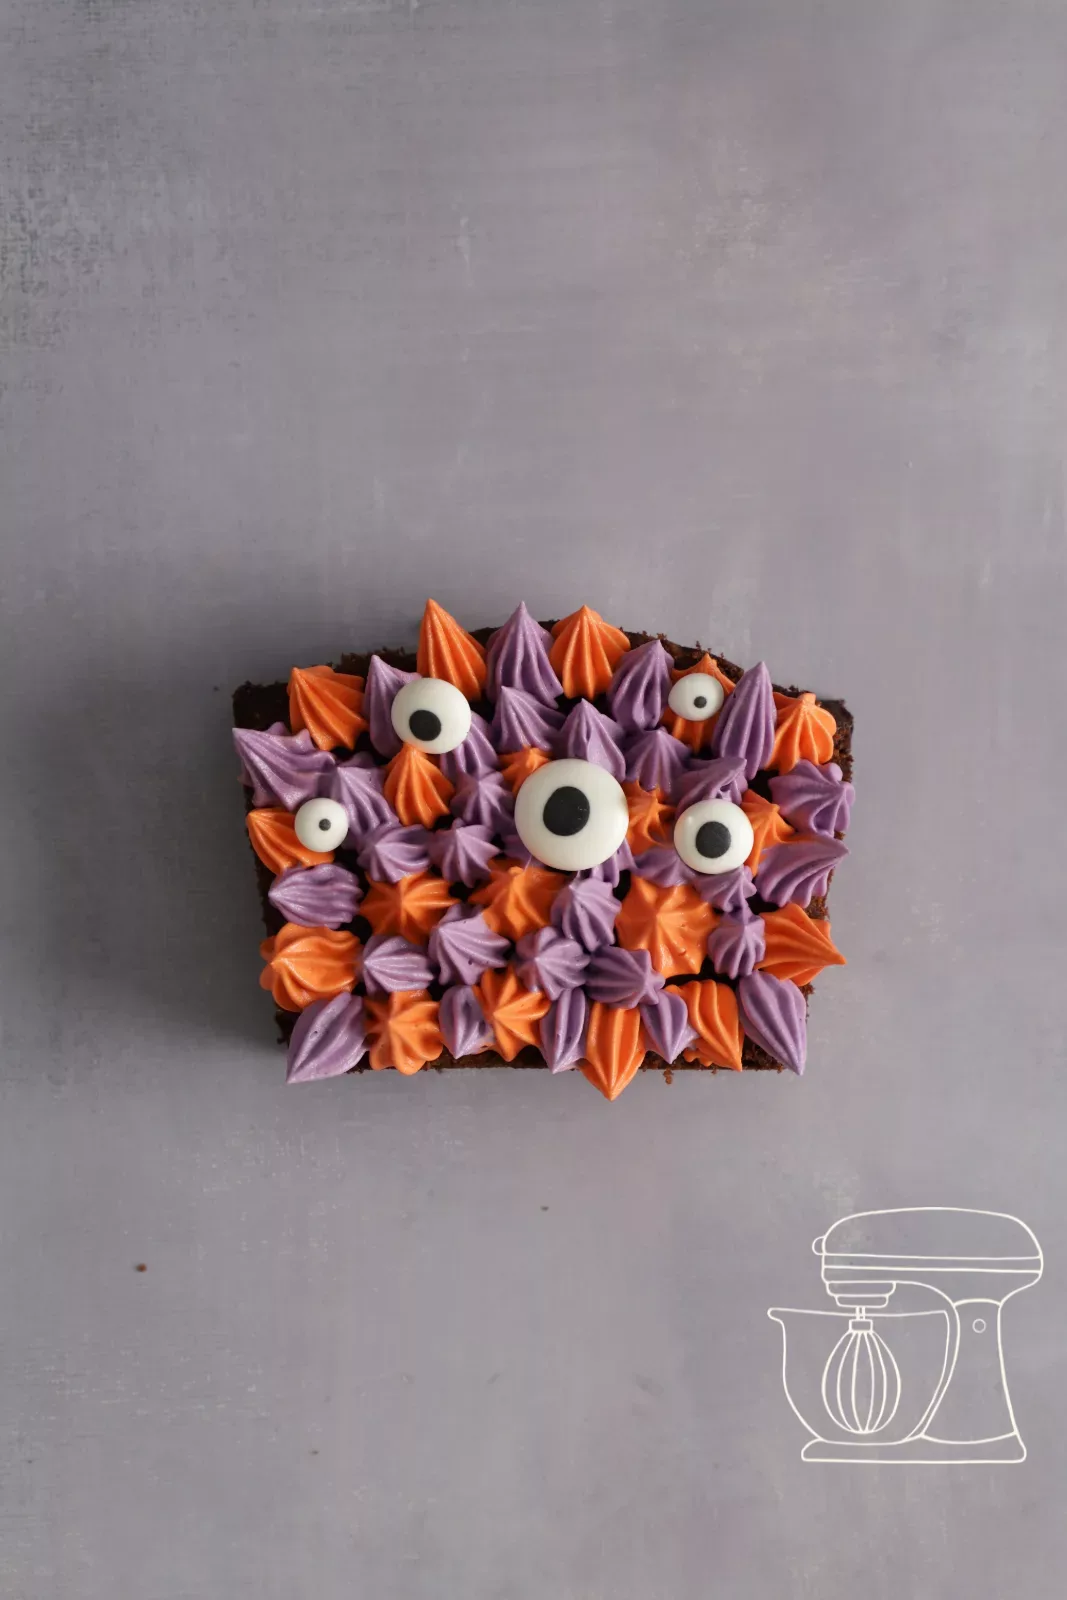
Using the small Star tip no. 21, pipe small peaks of orange and purple cream all over the surface, holding the bag straight. For the mouth, pipe a black semicircle with the 3 mm Round piping nozzle, and for the teeth use white cream with the basketweave nozzle.
Frankenstein
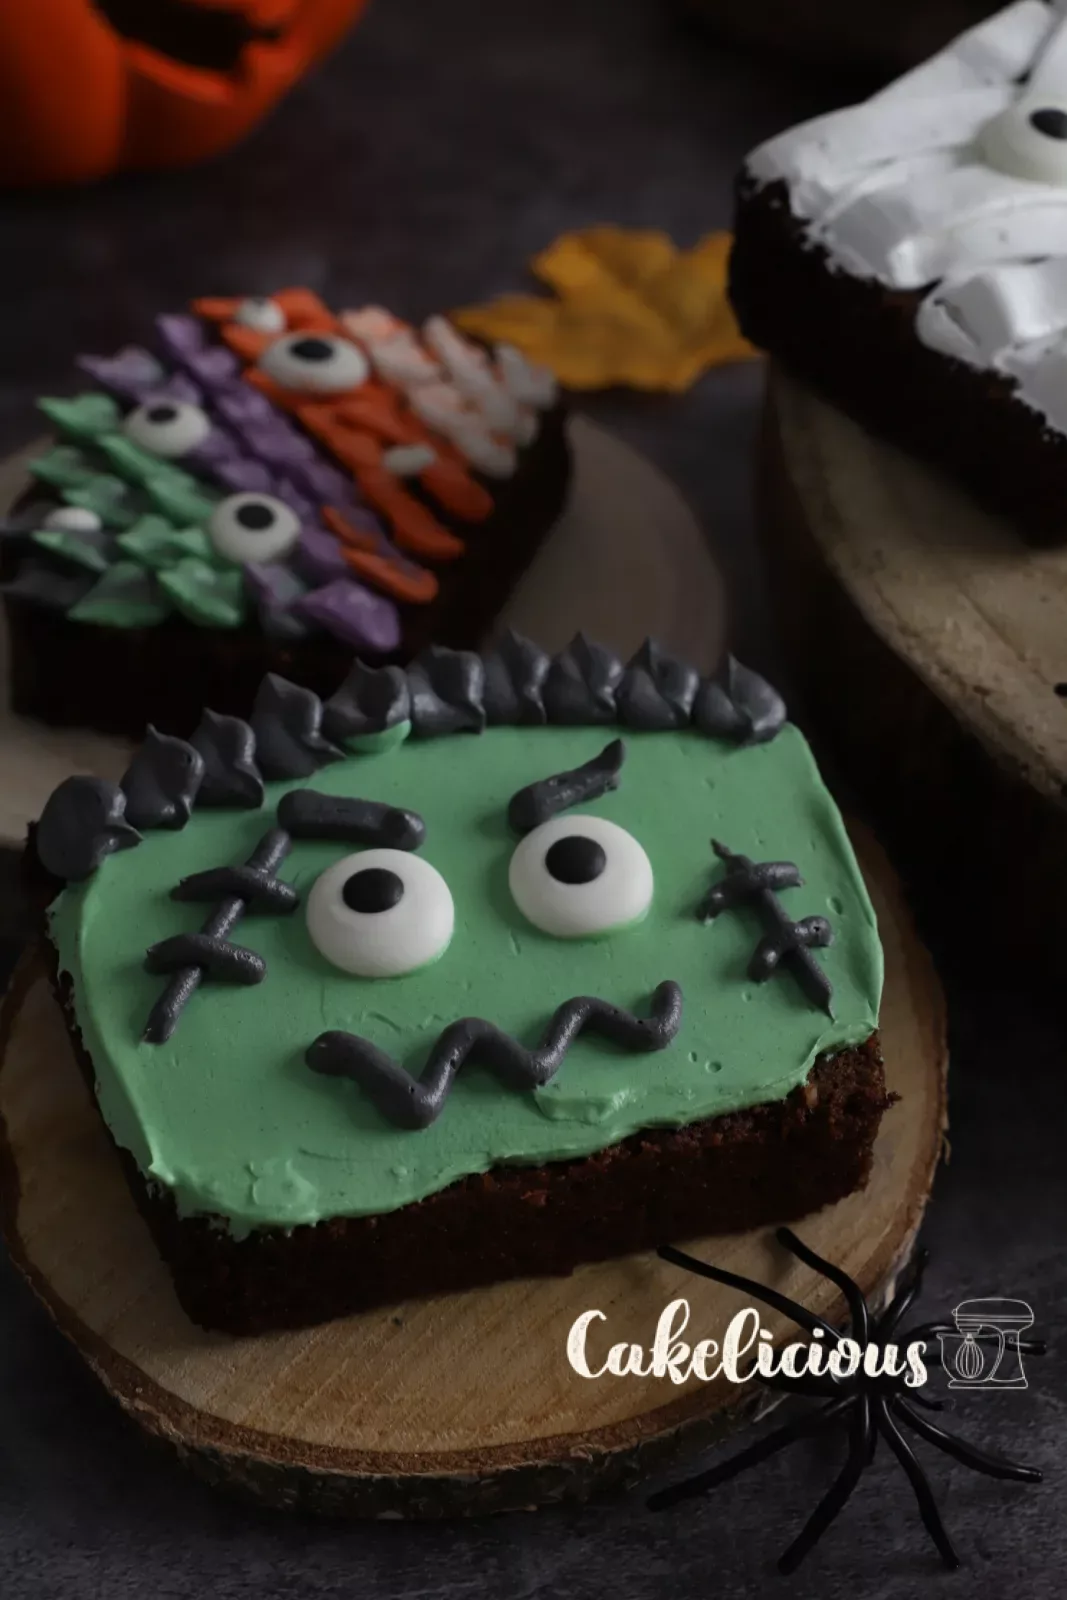
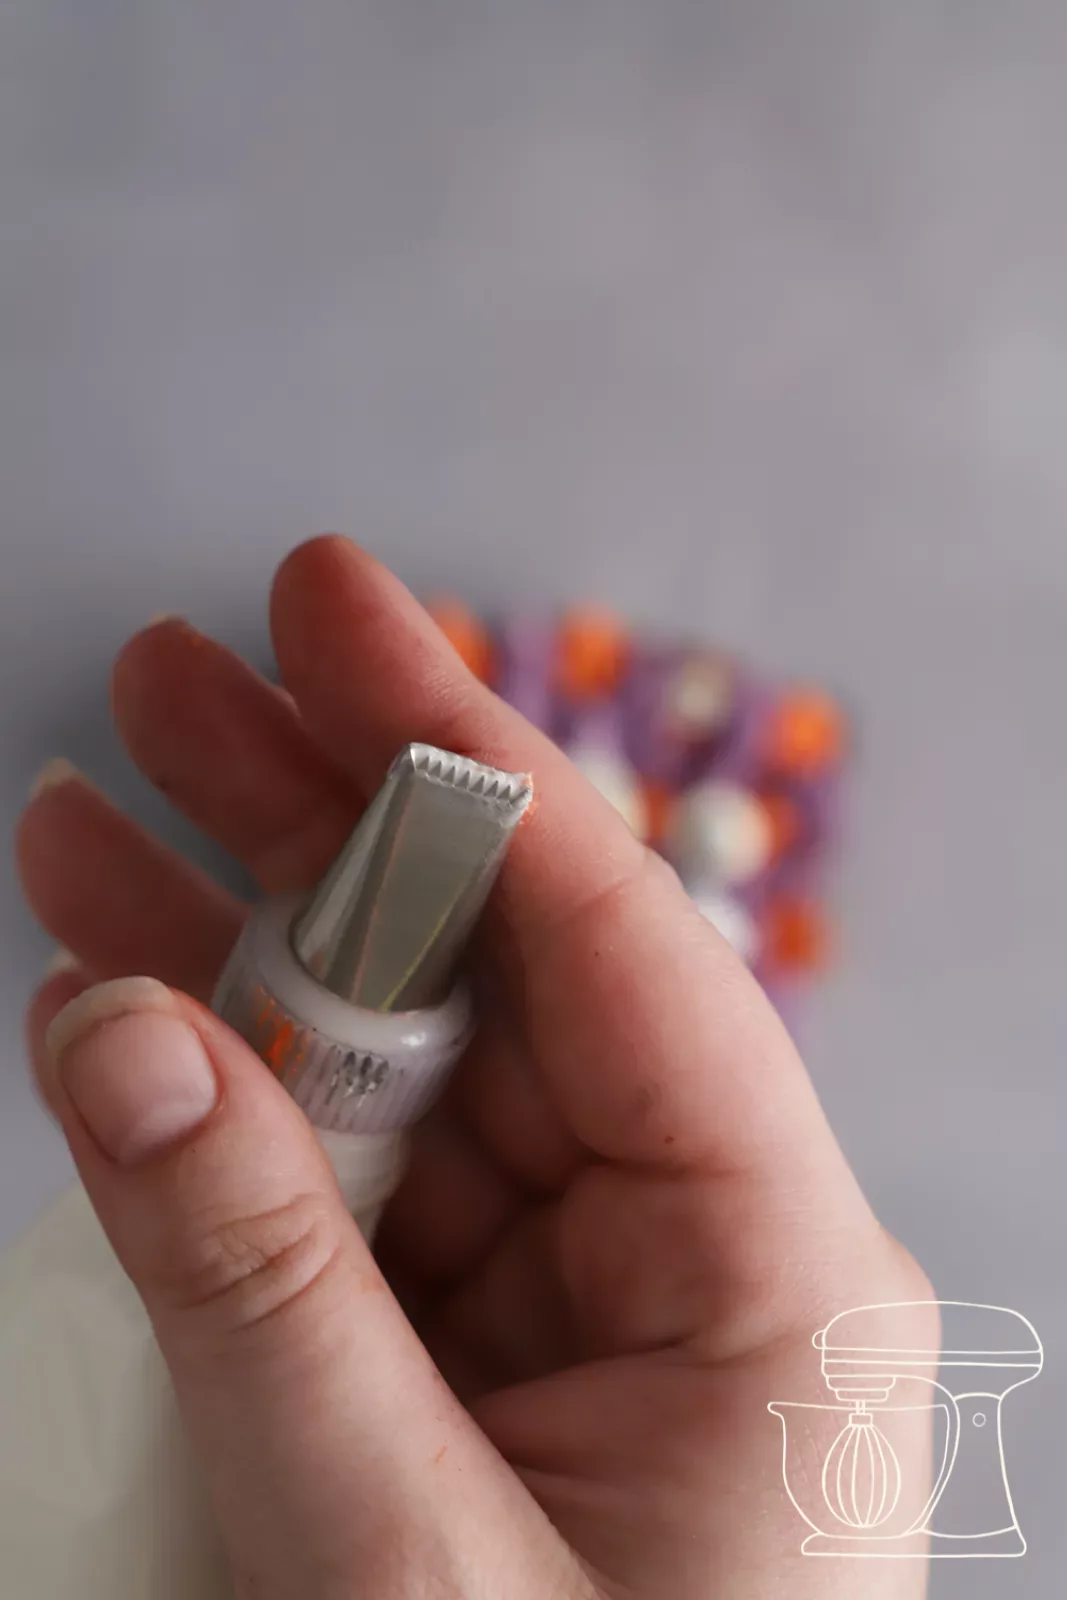
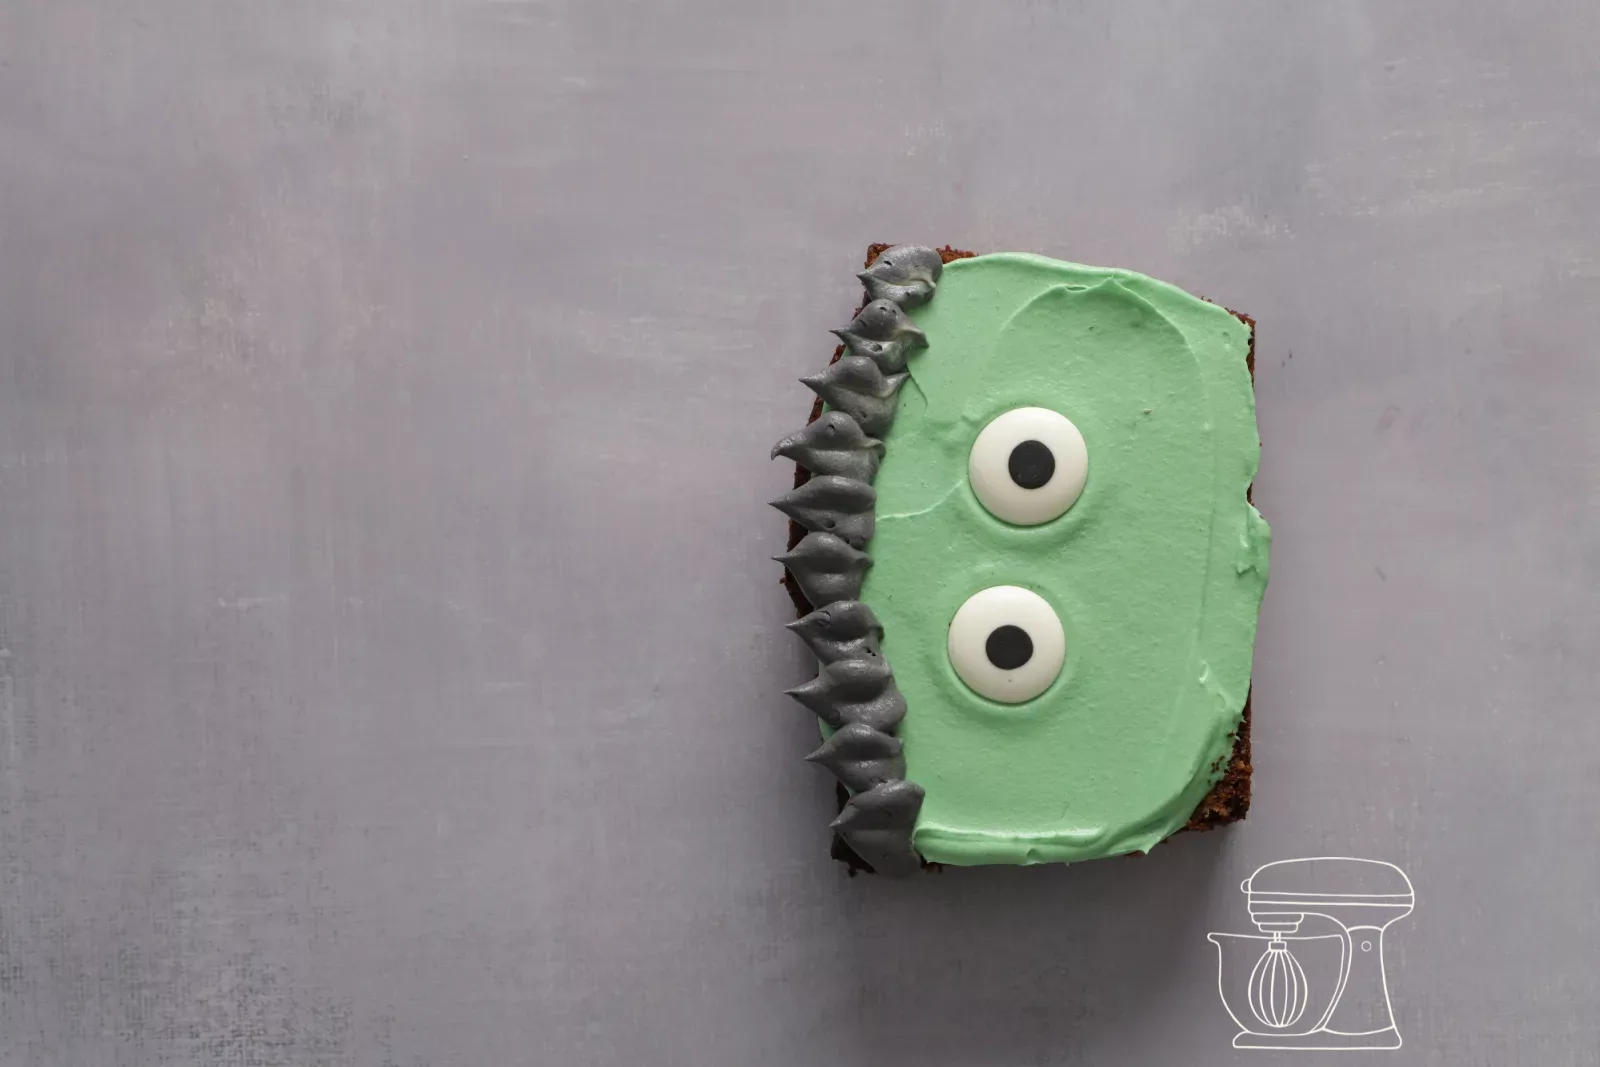
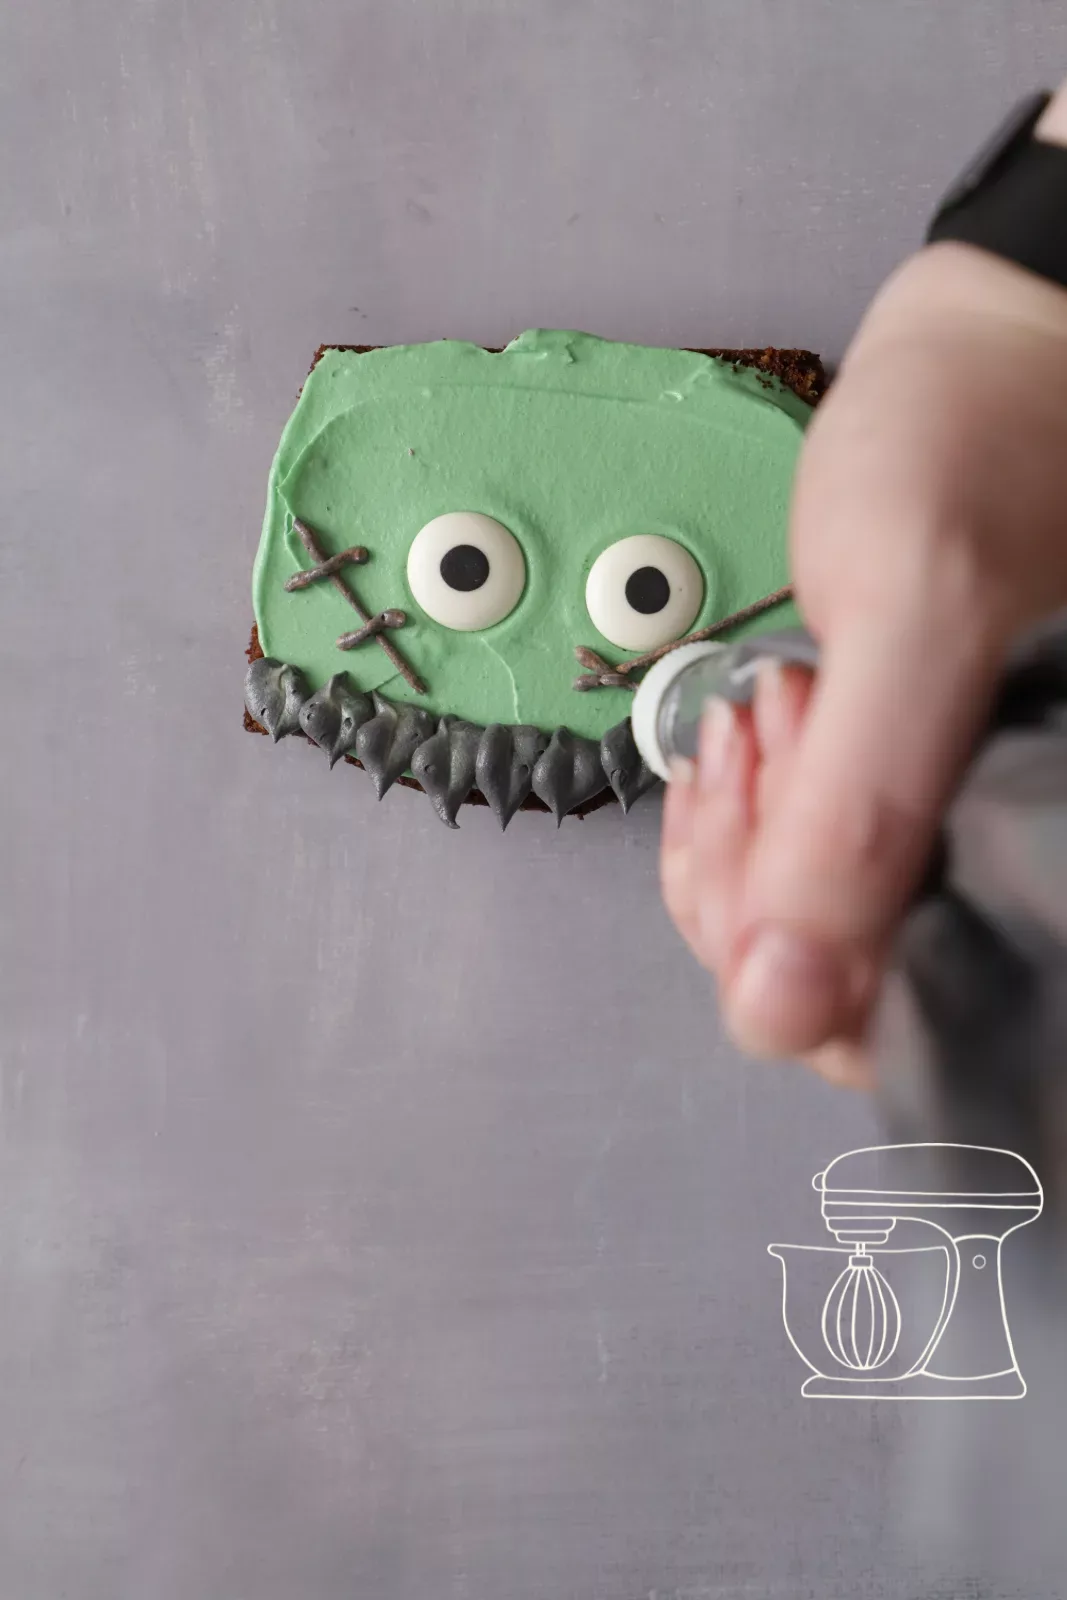
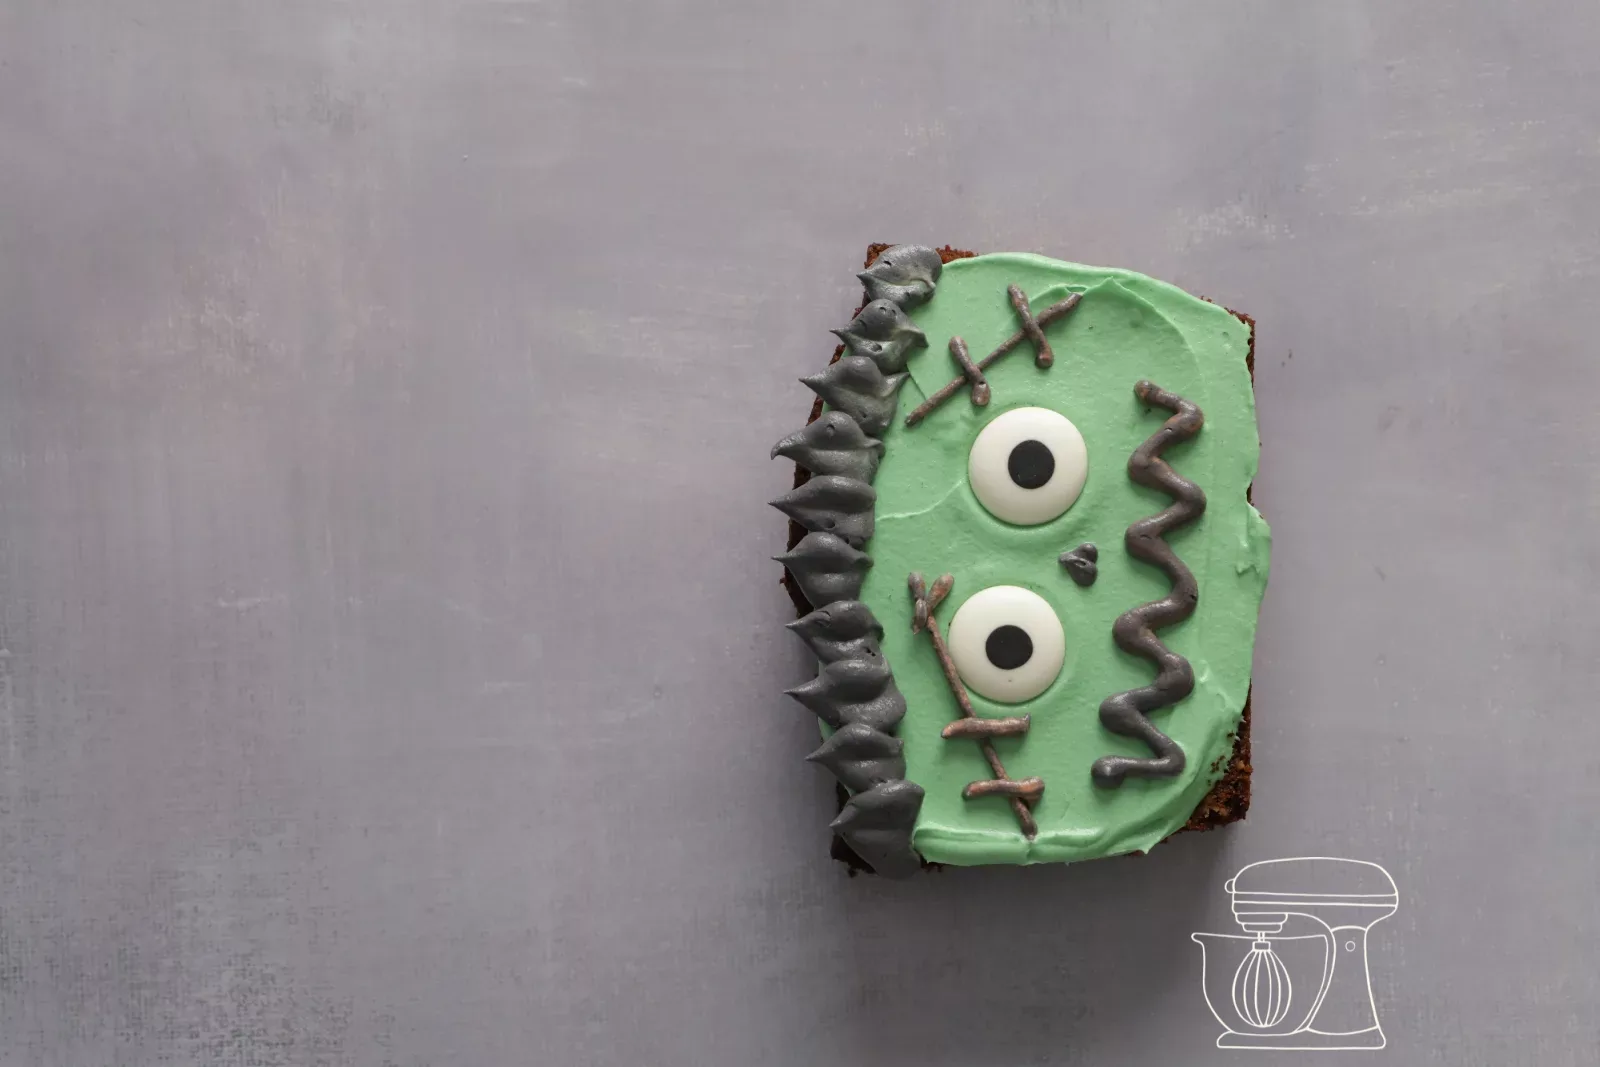
Spread green cream with the 8 mm Round piping nozzle and smooth it out with the Angled spatula. Pipe black hair with the Leaf piping nozzle, place two Candy eyes in the centre and draw scars and a nose with the 1.5 mm piping nozzle. The mouth turns out a little bolder with the 3 mm piping nozzle.
Round piping nozzle Wilton - opening: 1.5 mm
Round piping nozzle Wilton - opening: 3 mm
Star tips 8 mm
Star tip 3 mm
Pumpkin
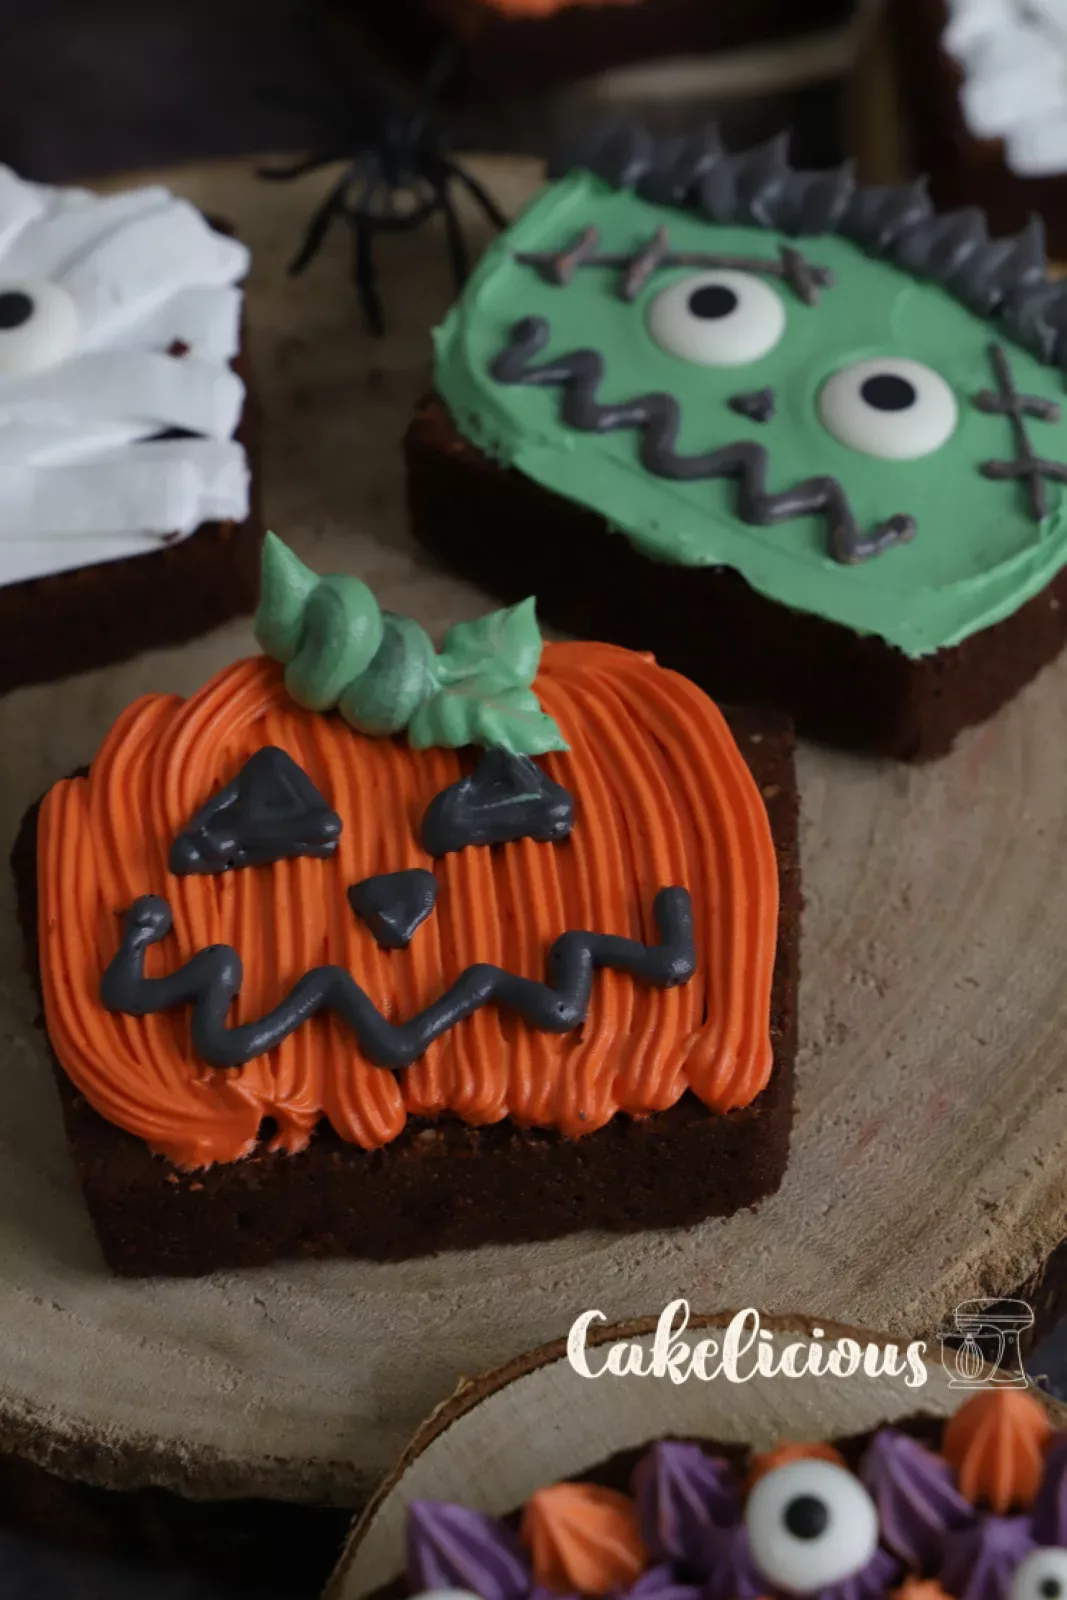
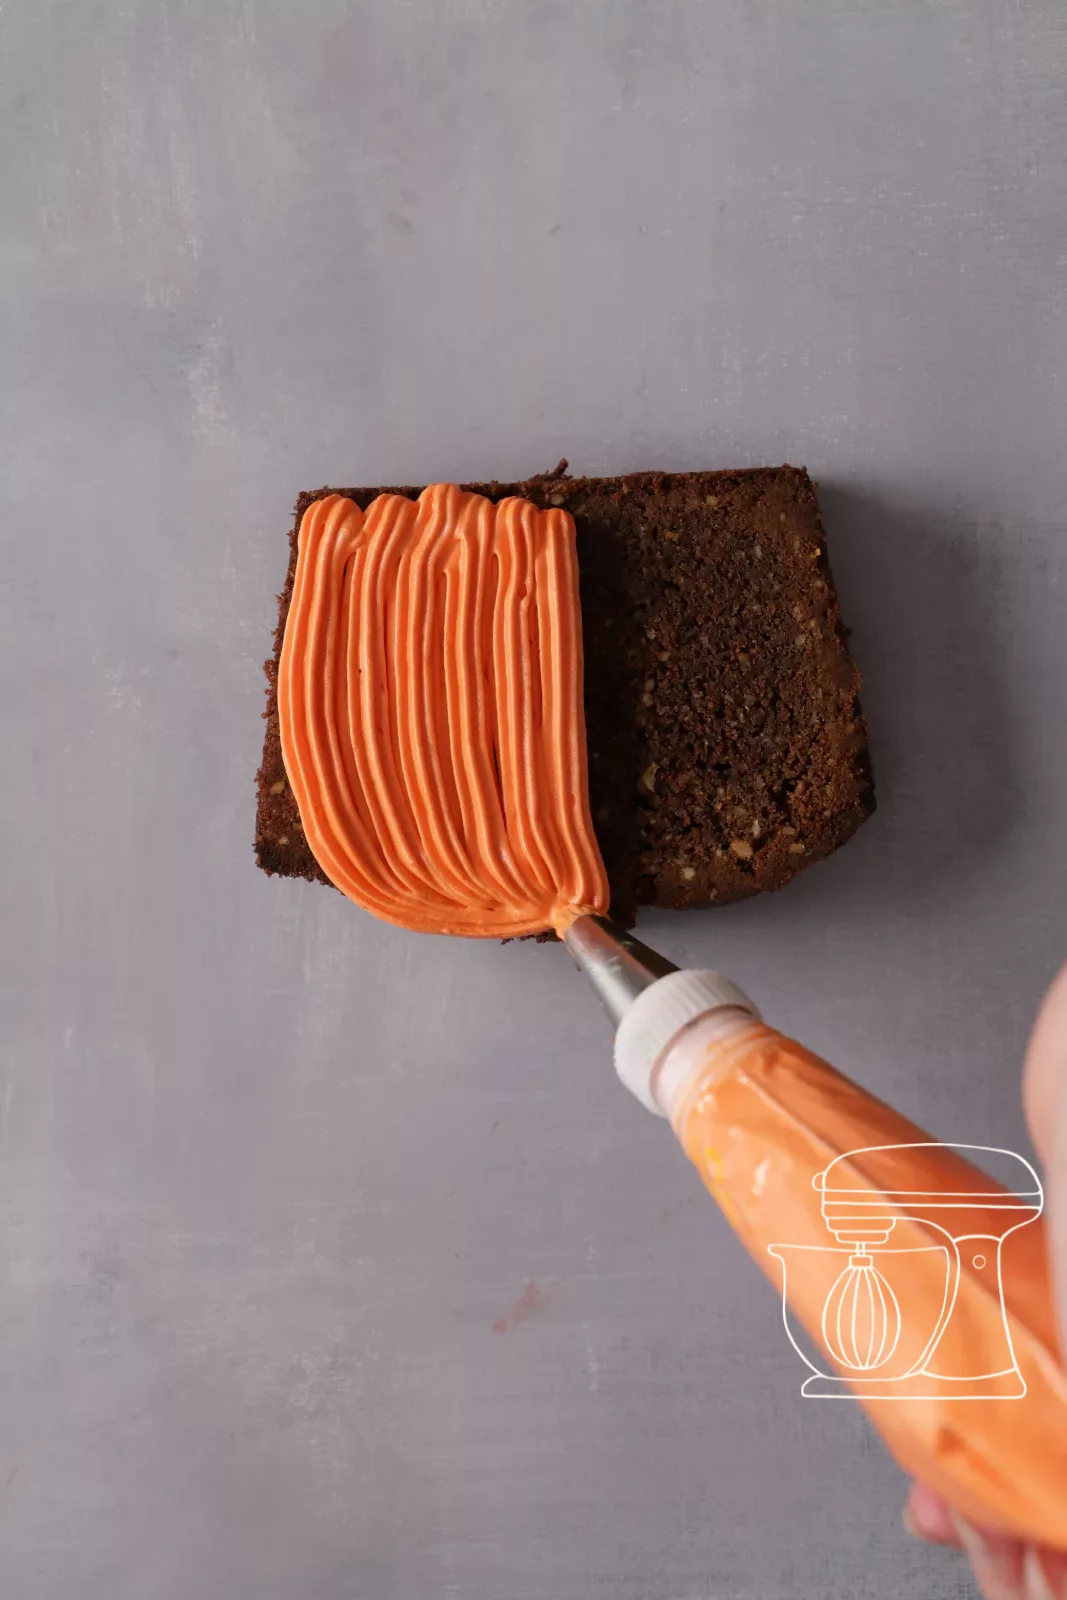
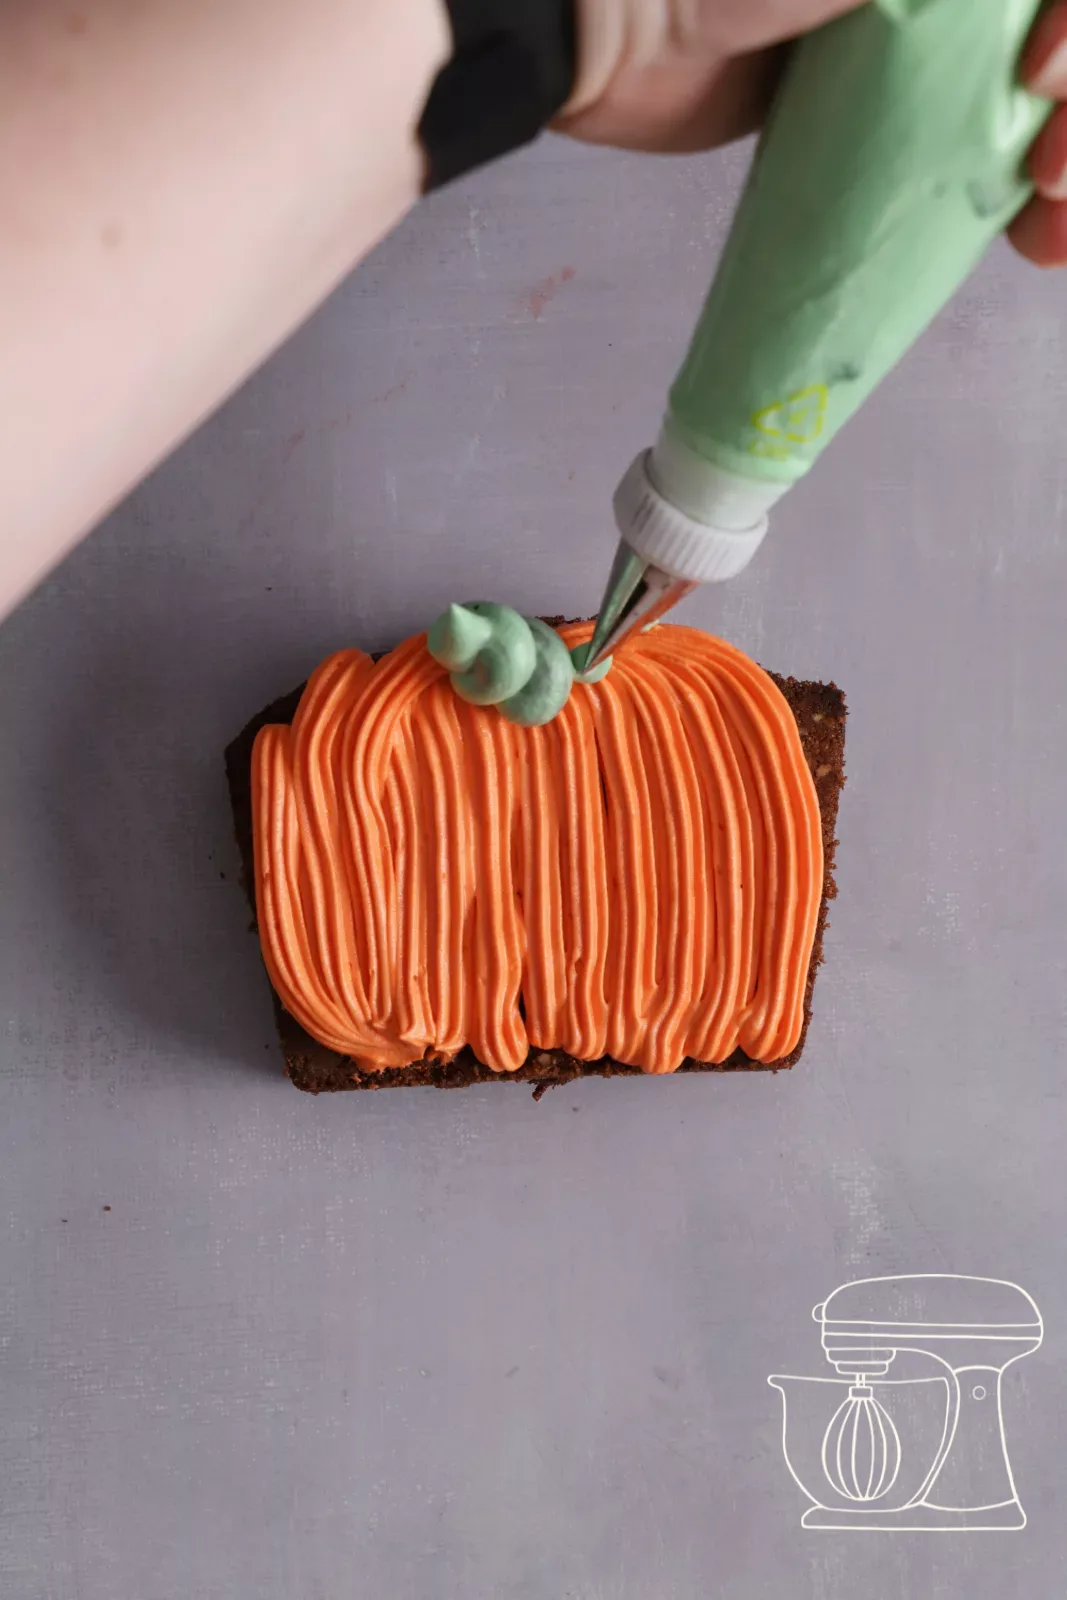
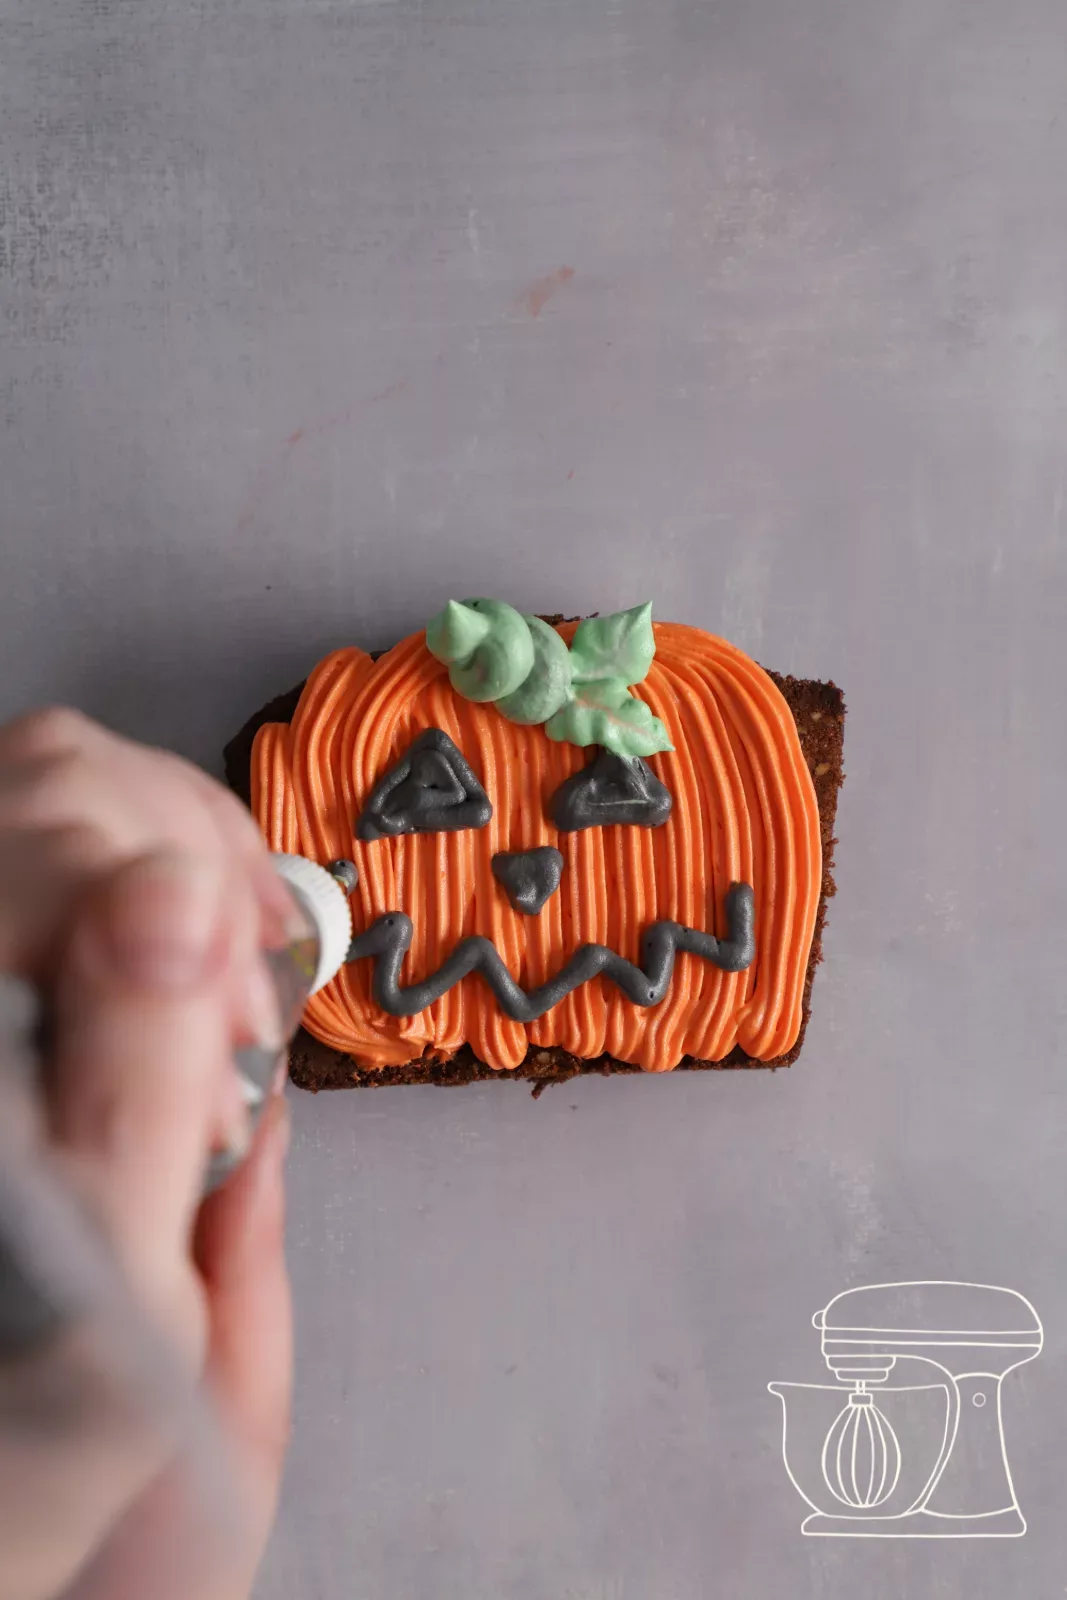
Using the star tip no. 21, pipe stripes of orange cream, rounding them off slightly towards the end. With green cream and the 8 mm piping nozzle, swirl a stalk, then set two leaves with the Leaf piping nozzle. Finally, draw triangular eyes, a nose and a zigzag mouth with black cream.
Halloween Monster Cake
Ingredients
Cake
Decoration
Preparation
- Melt: Melt both chocolates for 1 bis 2 min. at 600 W.
- Whisk: Whisk the butter, sugar and salt until pale.
- Raising agents: Mix the baking soda and baking powder with the flour.
- Batter: Work in the eggs and flour mixture for 1 bis 2 min.
- Nuts: Stir in the hazelnuts and chocolate.
- Tin: Spray a 28 cm tin, pour in the batter.
- Bake: 45 bis 50 min. at 180 °C fan, leave to cool.
- Slice: Chill for 30 min., cut into 2.5 cm thick slices.
- Cream: Whip the Enchanted Cream with milk until stiff.
- Color: Divide into 5 small bowls and color.
- Piping bag: Prepare with adapters and fill.
- Mummy: Cross white bands, add the eyes.
- Ombré: Pipe leaves in a color gradient.
- Fluffy: Pipe the tips, mouth and teeth.
- Frankenstein: Spread green, pipe the hair and scars.
- Pumpkin: Pipe the stripes, stem and face.
Nutritional values per 100 g
Storage & shelf life
Everything for this recipe
Recommended from our bakery: exactly the sizes the recipe was tested with.
Ingredients
Sugar decorations - bloody eyes
450g Enchanted Cream
250ml Non-stick spray
Wilton Candy eyes Maxi, 57 g
Progel Gel colours: Black
Progel Gel colours: Violet
Progel Gel colours: Light green
Progel Gel colours: Orange
Milk chocolate for melting
Dark chocolate for melting
Baking powder 80g
Baking soda 100g
Swiss White flour, 1 kg
Accessories
Disposable piping bag S - 30cm - 10 pcs
Plastic piping nozzle set
Adjustable cake tin 20 to 30 x 10.5 cm
Round piping nozzle Wilton - opening: 1.5 mm
Round piping nozzle Wilton - opening: 3 mm
Star tips 8 mm
Star tip 3 mm
Leaf piping nozzle no. 66
Ribbon piping nozzle - 20 mm
Adapter for piping nozzles
Delivery in 1–2 working days · Free shipping from CHF 100
A nice touch
Not needed for the recipe, but it fits.
Sugar decoration "Eyes"
Candy eyes, 25 g
Bloody candy eyes decoration for Halloween
Wilton candy eyes Midi, 57 g
Round candy eyes 64 pieces
Oval candy eyes 32 pieces
Sugar decorations - connected eyes
So it turns out perfectly, guaranteed
A completely cooled cake slices much more cleanly. Give it another 30 minutes in the fridge before cutting, then nothing crumbles.
Don't clean the leaf piping nozzle between colours: the remainder of the previous colour creates the elegant gradient all by itself.
Let the children invent the motifs themselves: ghost, skull, witch or black cat. A monster cake thus becomes the most creative afternoon snack of the season.
Frequently asked questions
Enchanted Cream is a powder for a light, creamy filling that whips up in just a few minutes. It has the perfect consistency for decorating and holds its shape especially well when piping.
With adapters you simply swap the piping nozzle at the front without squeezing the cream out of the bag. With five colours and six different piping nozzles, this saves you a lot of time and cream.
Of course! With a little icing sugar or a chocolate icing, the chocolate hazelnut cake is a treat on its own too, entirely without monsters.
Print recipe
Choose what should appear on the printout.
Related posts
 Juicy Matcha Muffins with Pecan Nuts & White Chocolate
Matcha Iced Latte & Coconut Variant
Pull-apart bread with fresh wild garlic pesto
Mini Banana Bread with Chocolate Chips
Juicy Matcha Muffins with Pecan Nuts & White Chocolate
Matcha Iced Latte & Coconut Variant
Pull-apart bread with fresh wild garlic pesto
Mini Banana Bread with Chocolate Chips
Leave a comment