
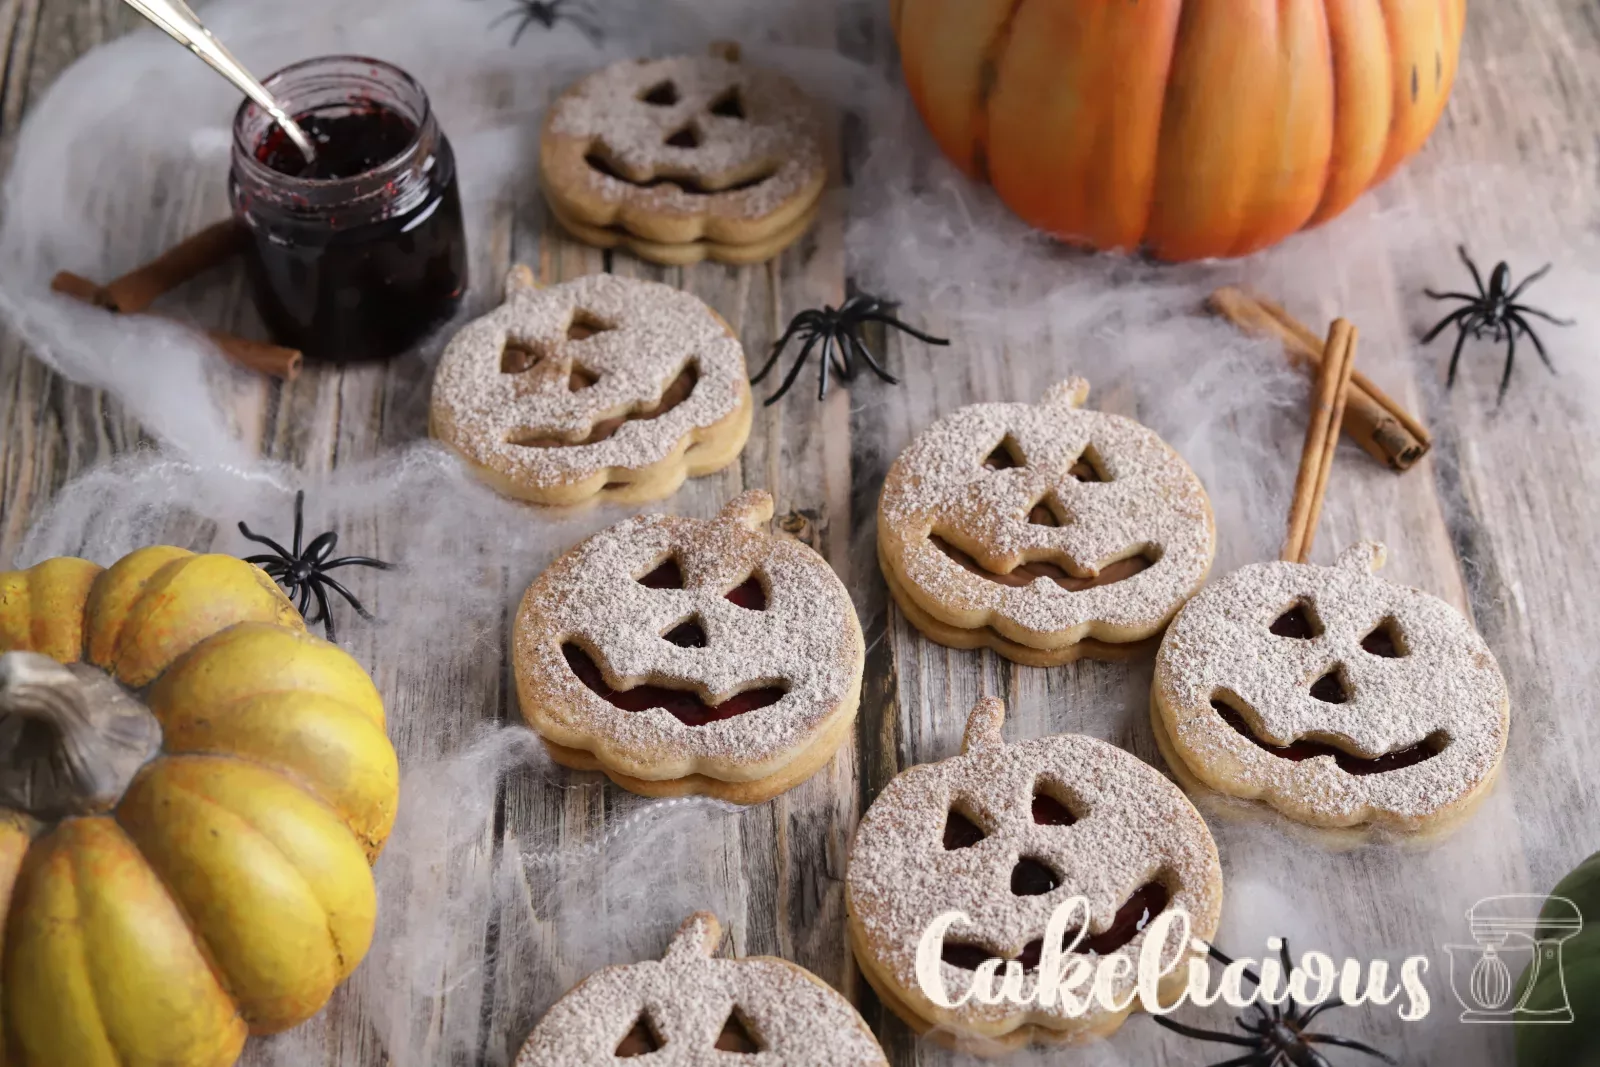
Halloween cookies: Spitzbuben with a pumpkin face
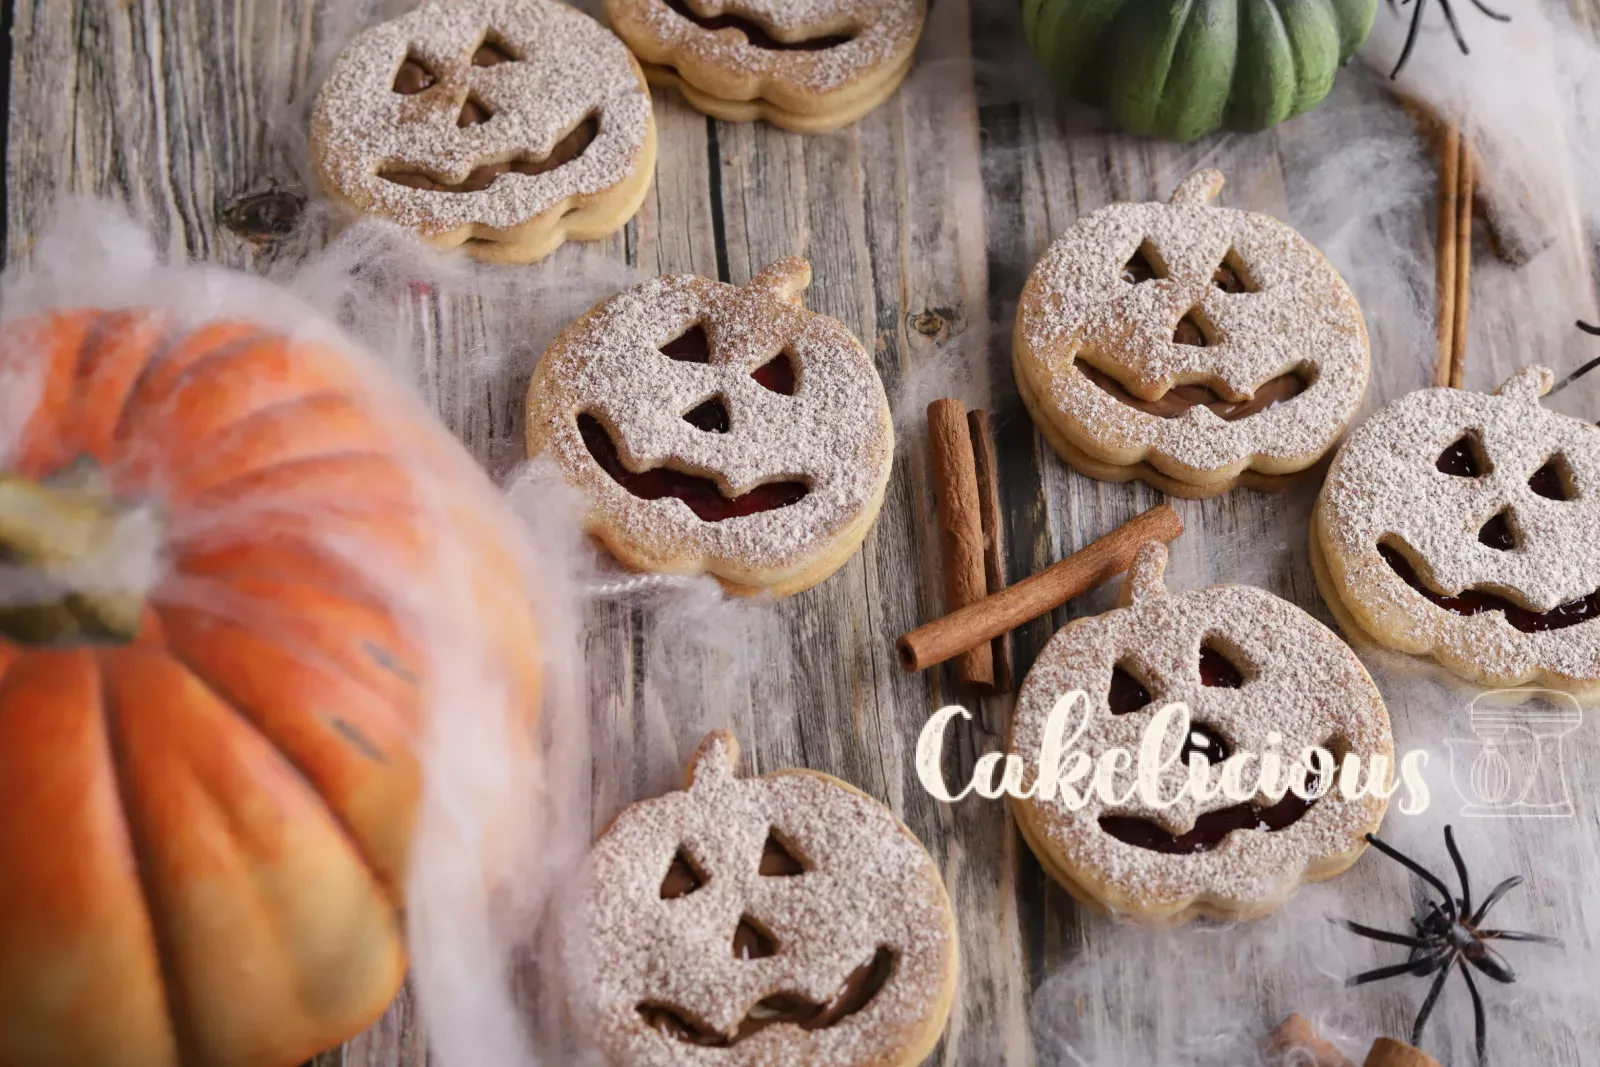
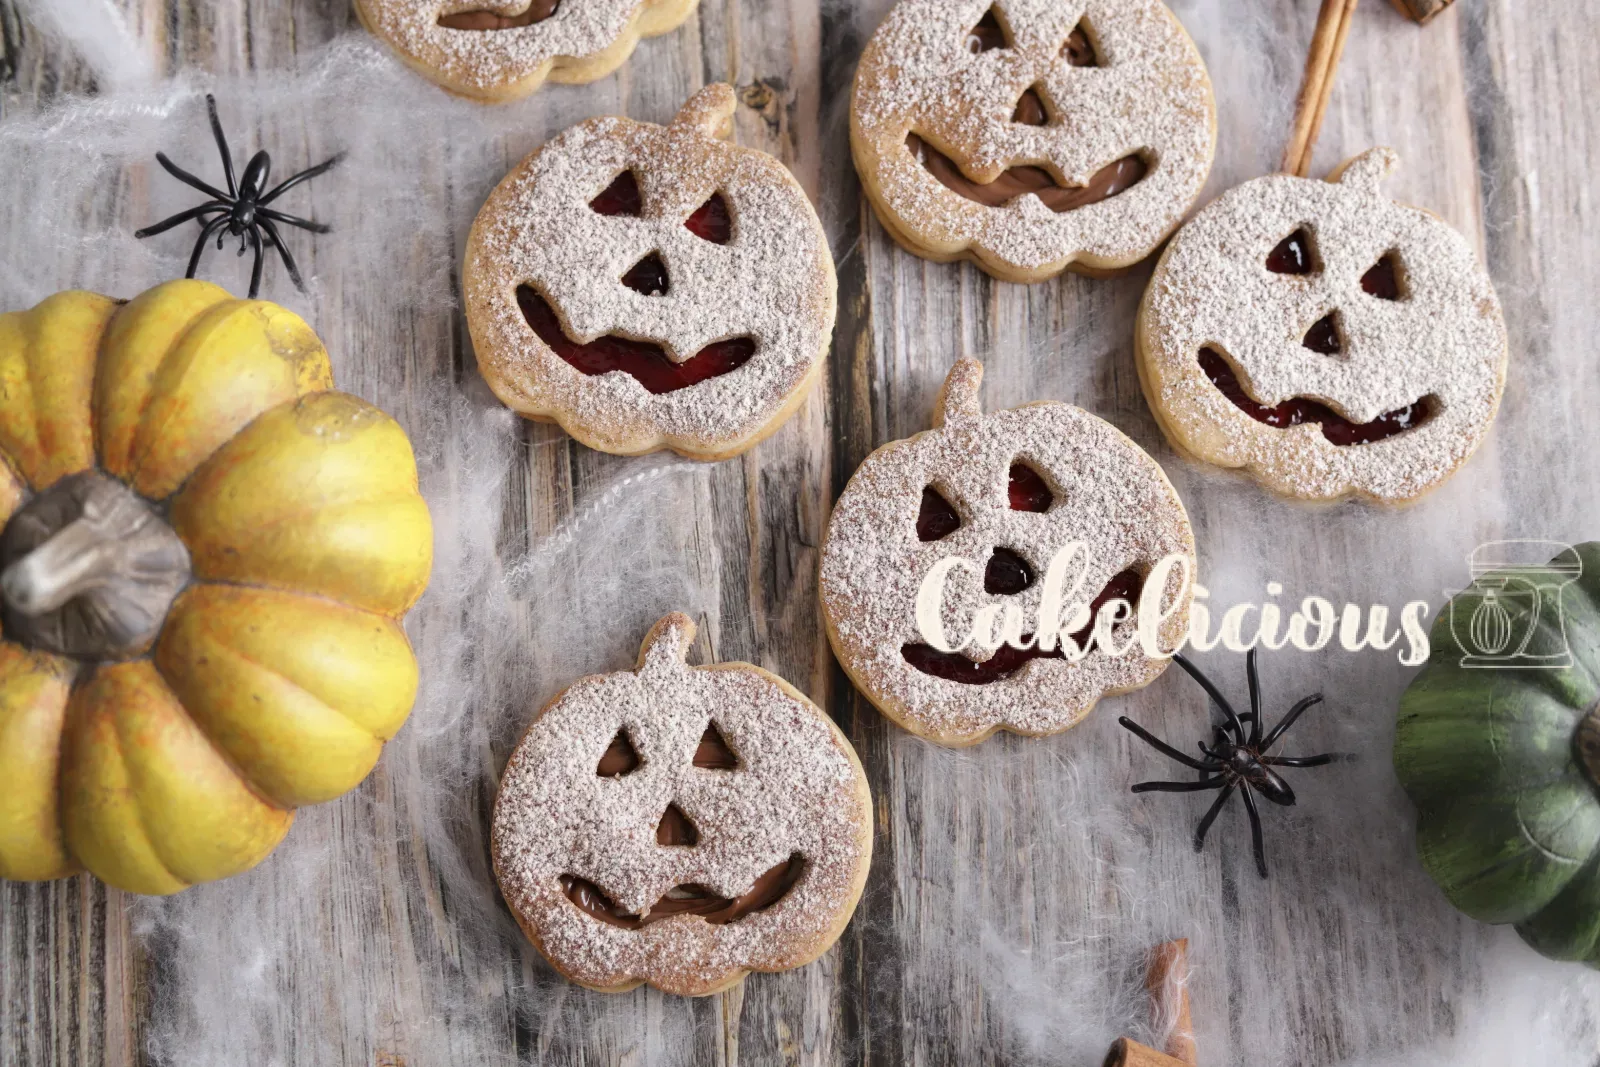
The Swiss classic with a smile: pumpkin faces that are good enough to bite into
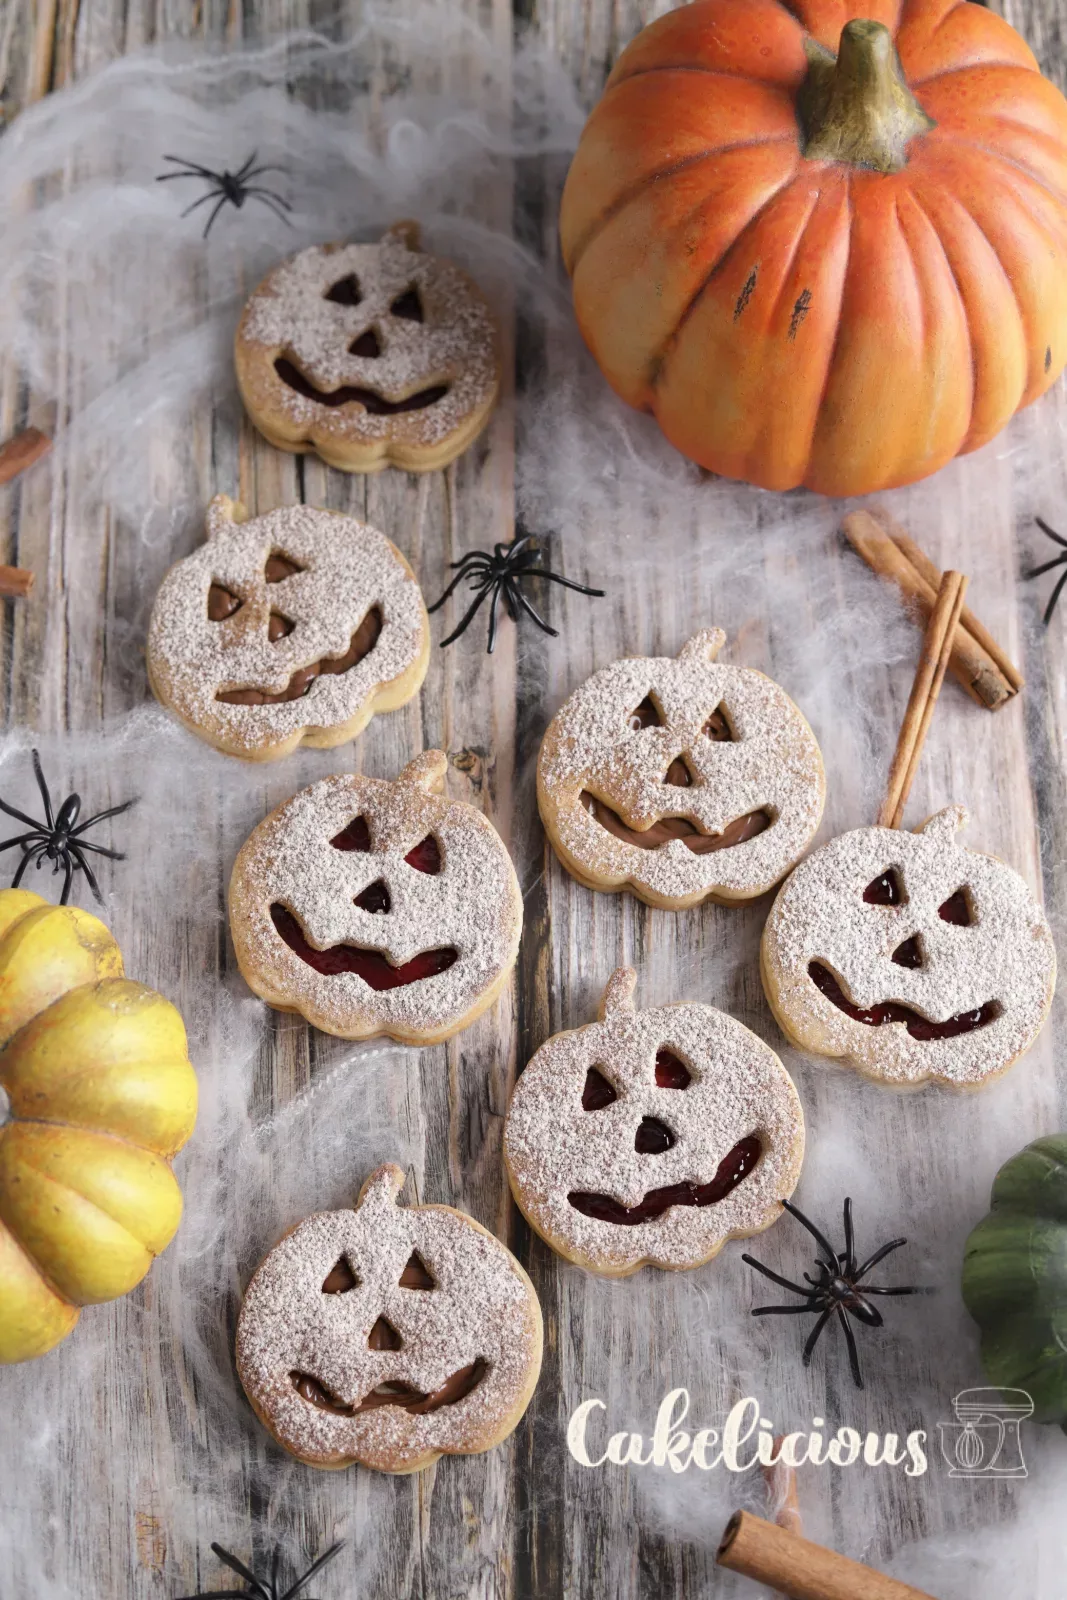
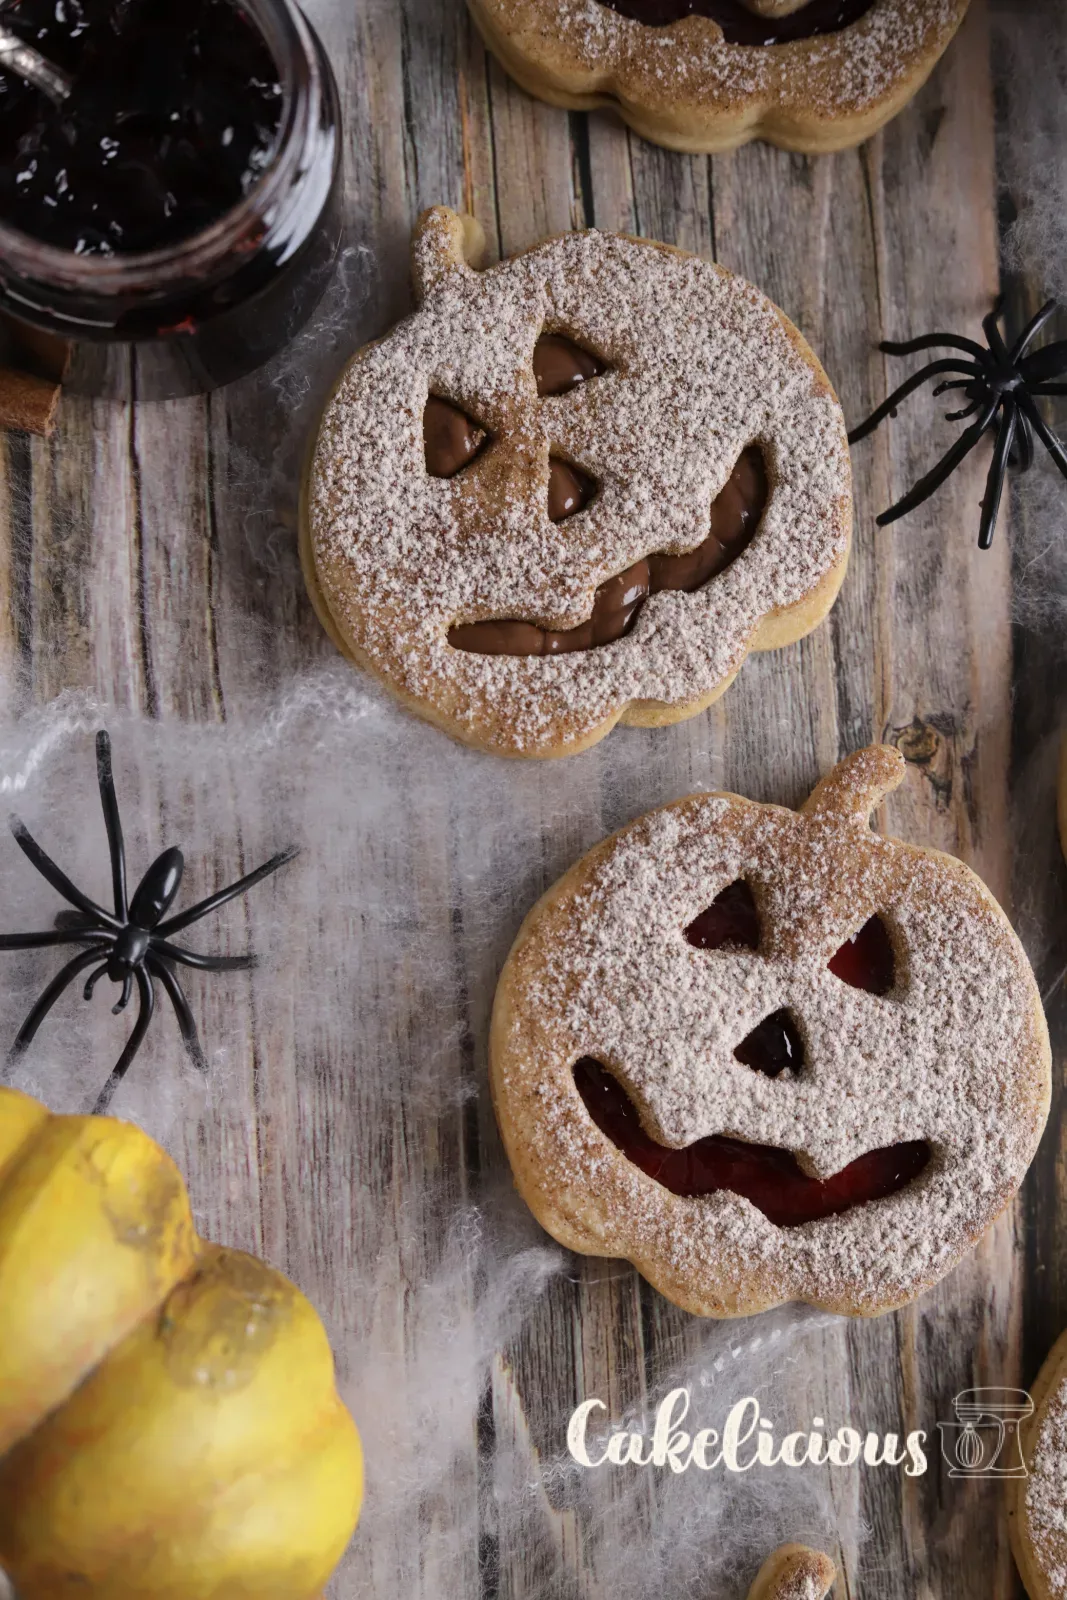
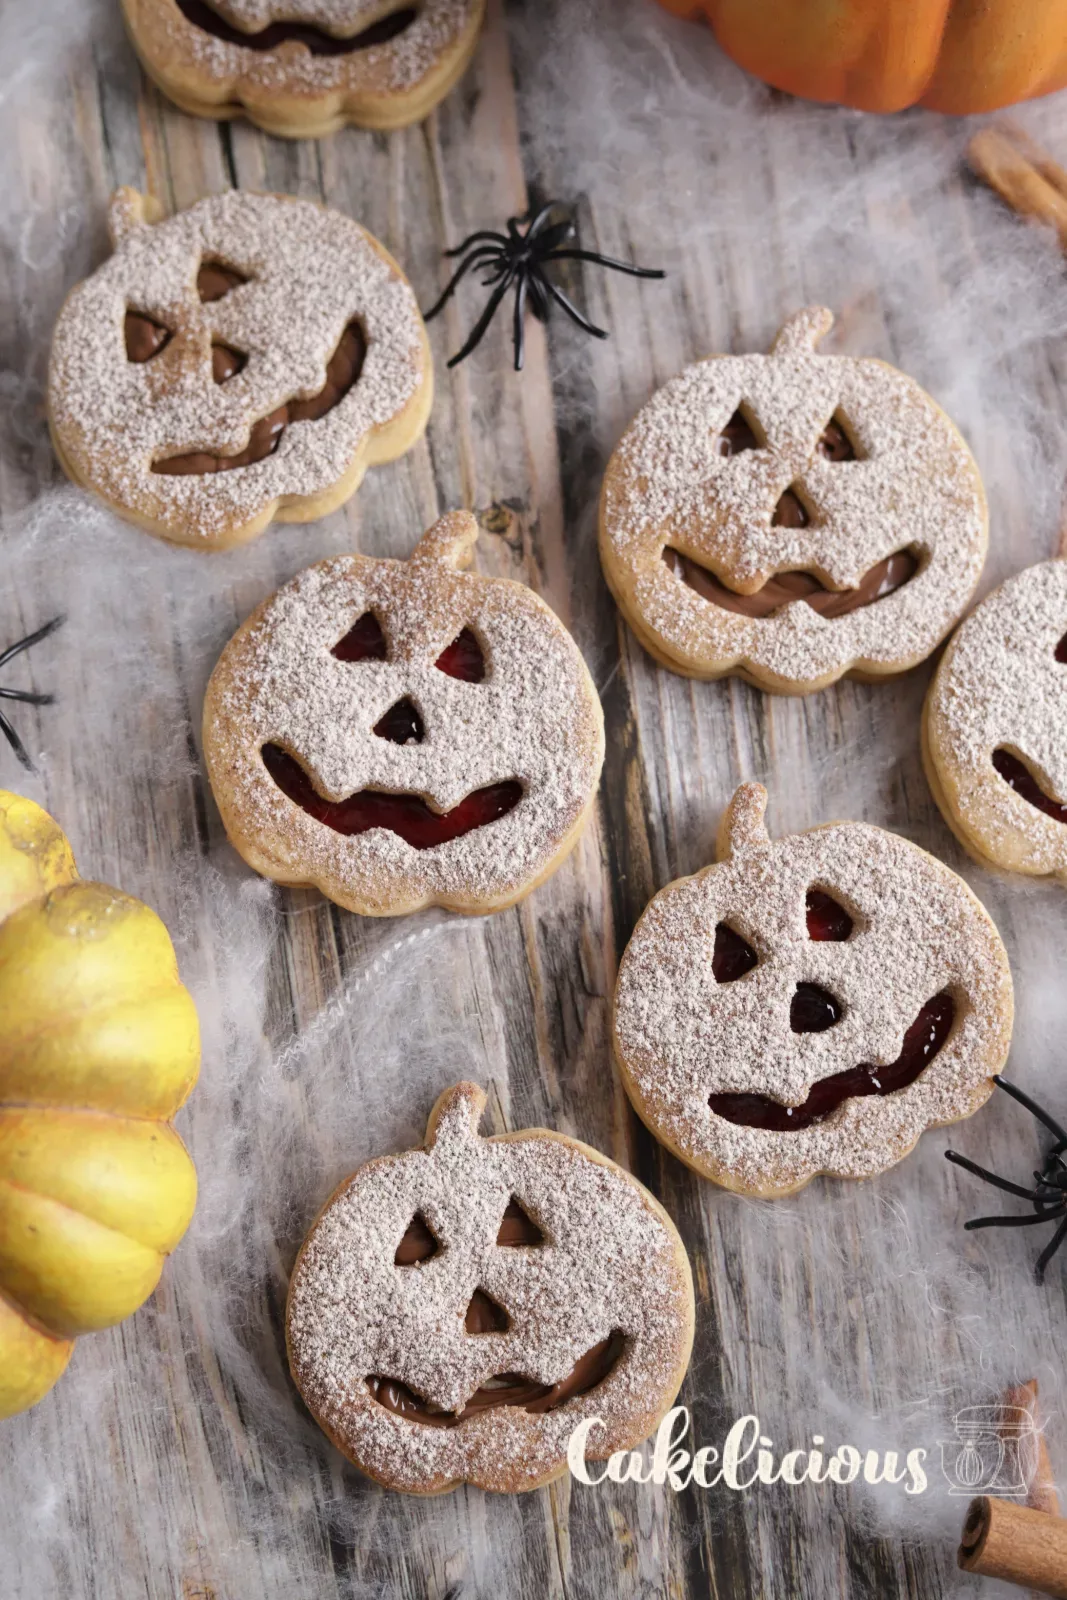
Hello there, gourmets! Spitzbuben actually belong to the Christmas season, but this classic is far too good to be baked just once a year. For our halloween cookies we have tweaked the traditional recipe slightly: with warm Gingerbread spice in the dough, a fine coating of cinnamon sugar and cheeky pumpkin faces. The filling is entirely up to you: raspberry Jelly, Nutella or our favourite, chestnut purée.
Ingredients
Spitzbuben dough
Filling
Step by Step
Spitzbuben dough
Beat butter and icing sugar
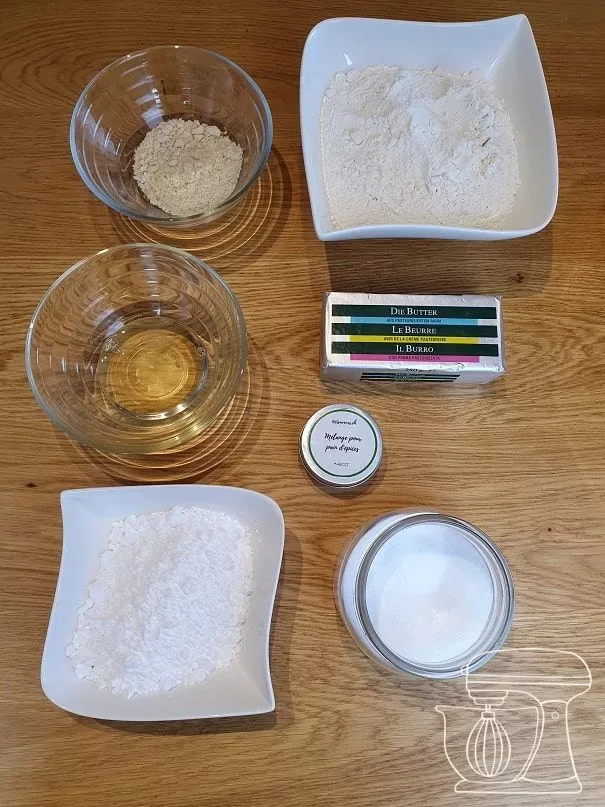
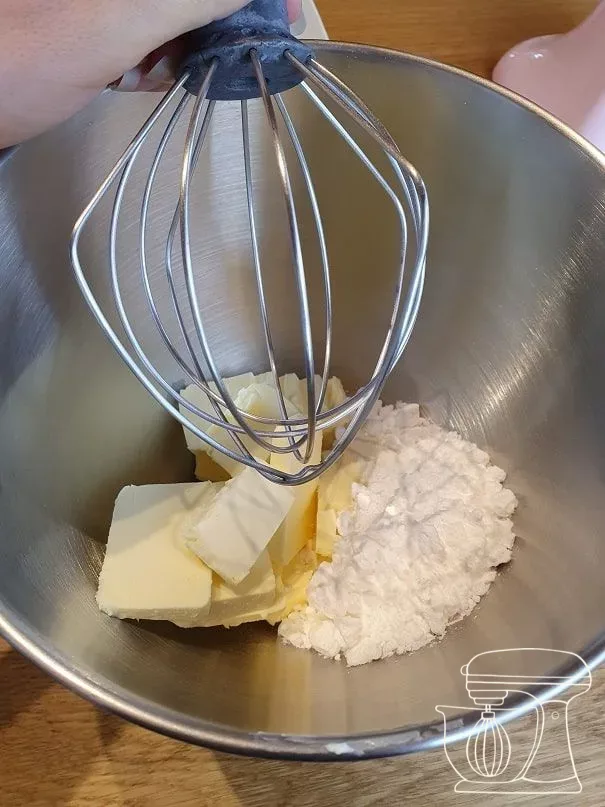
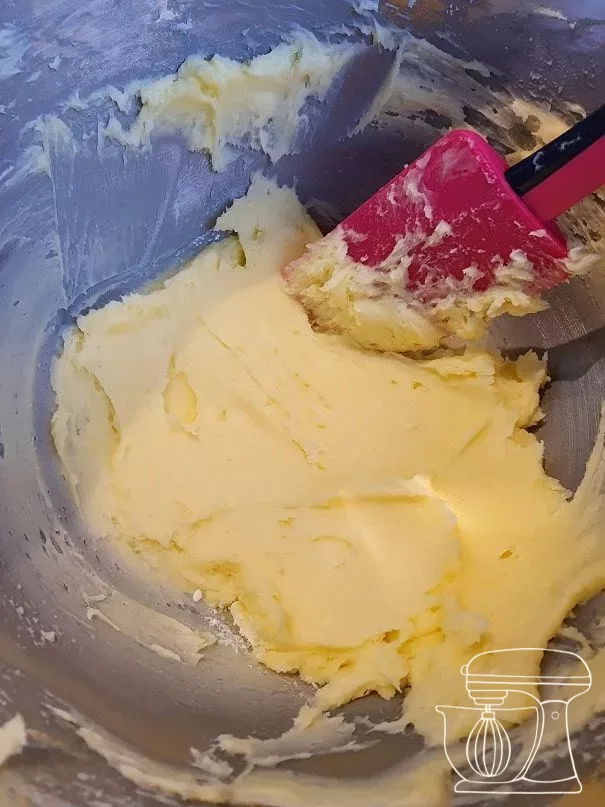
Beat 250 g of soft butter with 125 g of icing sugar until fluffy. The butter needs to be soft enough to combine well with the icing sugar: take it out of the fridge at least 10 minutes beforehand.
Spice, egg white and salt
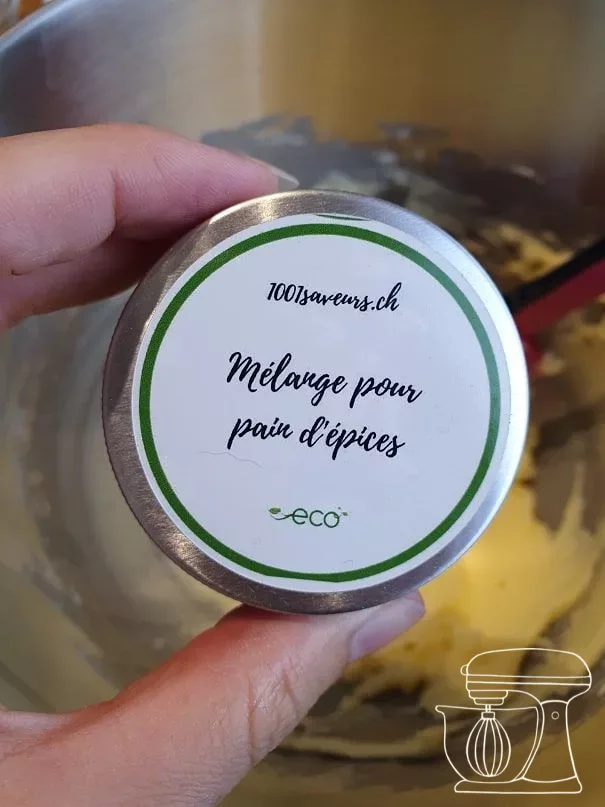
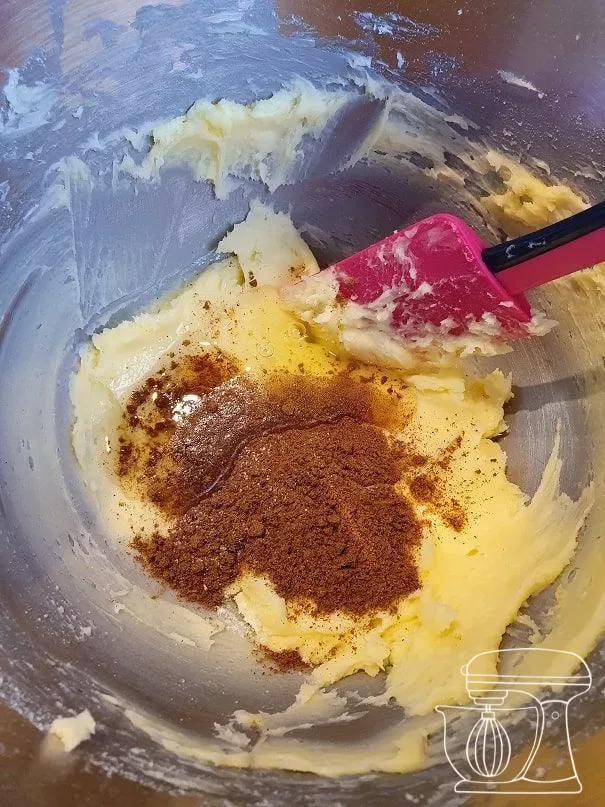
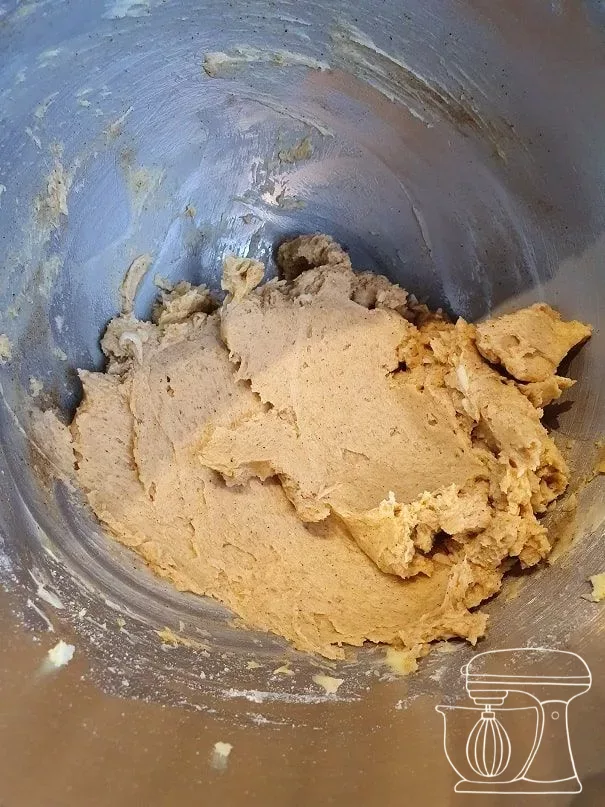
Add 2 tsp of Gingerbread spice, 1 egg white and 1 pinch of salt, then beat everything again with the Whisk.
Swiss White flour, 1 kg
Almond flour for Macarons
Ceylon Cinnamon powder, 50 g
Gingerbread spice, 60 g
Flour and almonds
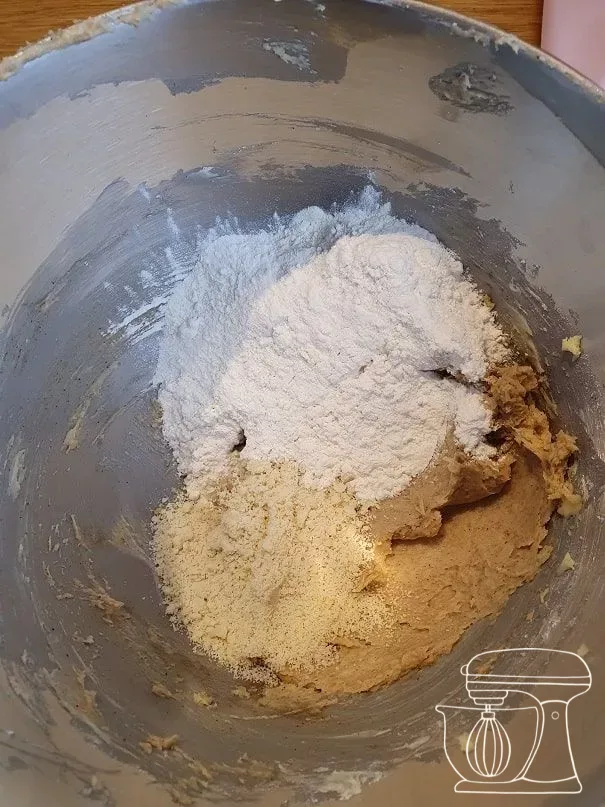
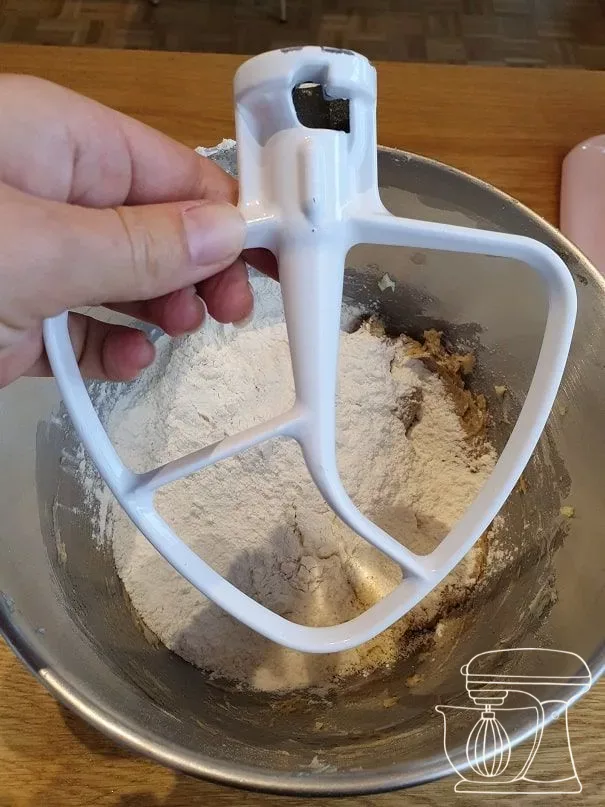
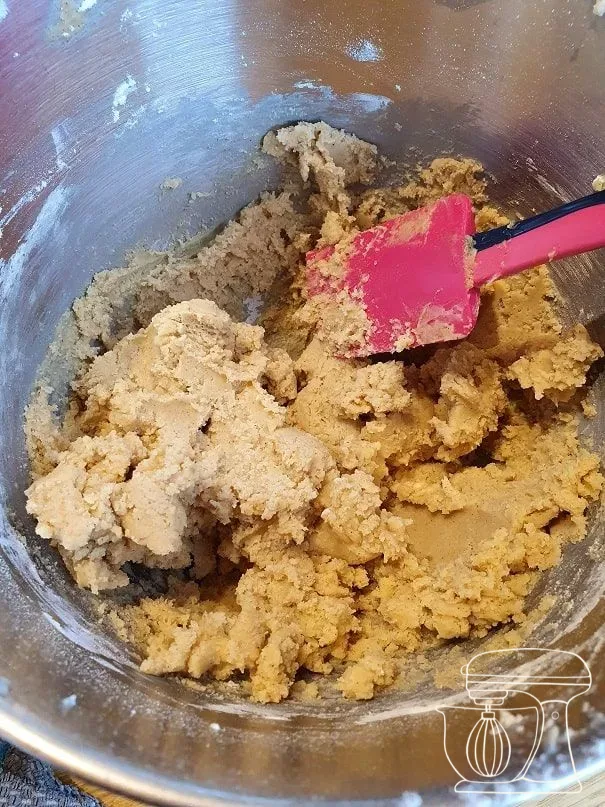
Add 325 g of White flour and 25 g of ground almonds and switch to the flat beater. Mix for just a few seconds: that way the gluten does not develop too much, and the biscuits stay nicely flat during baking.
Roll out and freeze
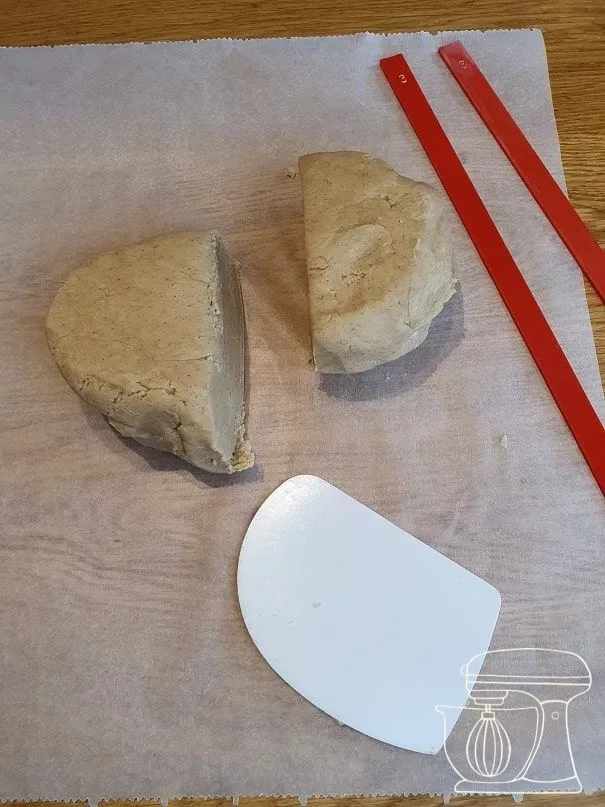
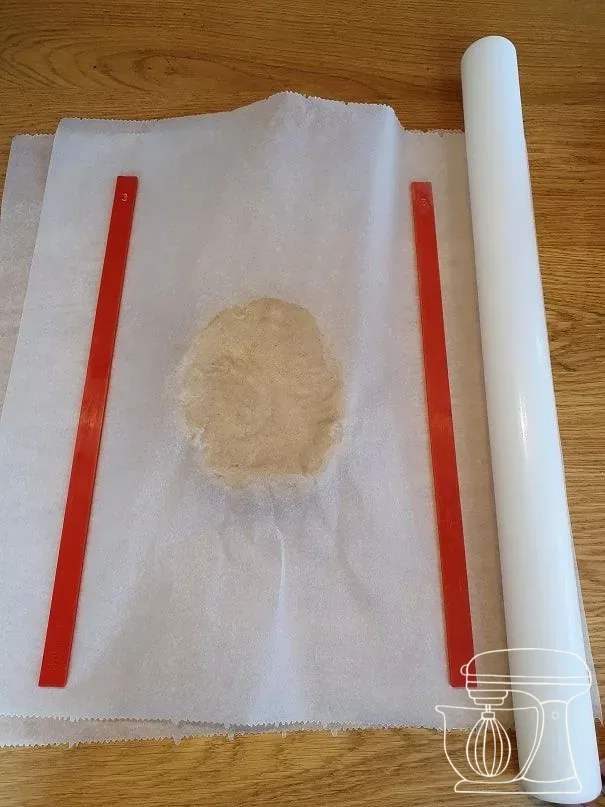
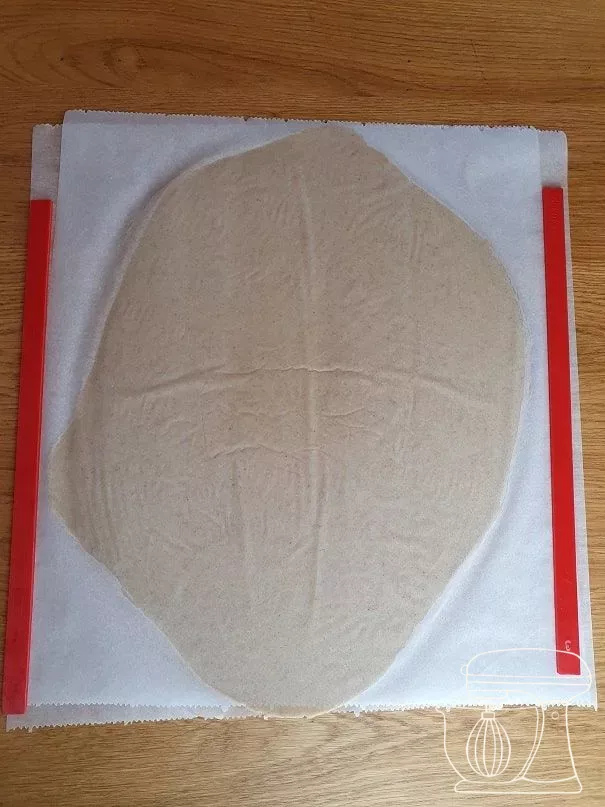
Halve the dough with a Dough scraper. Roll out the first half between two sheets of baking paper with rolling guides to exactly 3 mm and place it on a perforated tray in the freezer for 15 bis 20 minutes. Repeat with the second half.
Halloween Spitzbuben Mix and Match
Pumpkin cookie cutter with embossing
Cookie cutter Halloween pumpkin face spooky
Beechwood dough sticks, 6-piece (3/5/10 mm)
Cutting out and baking
Cutting out the pumpkins
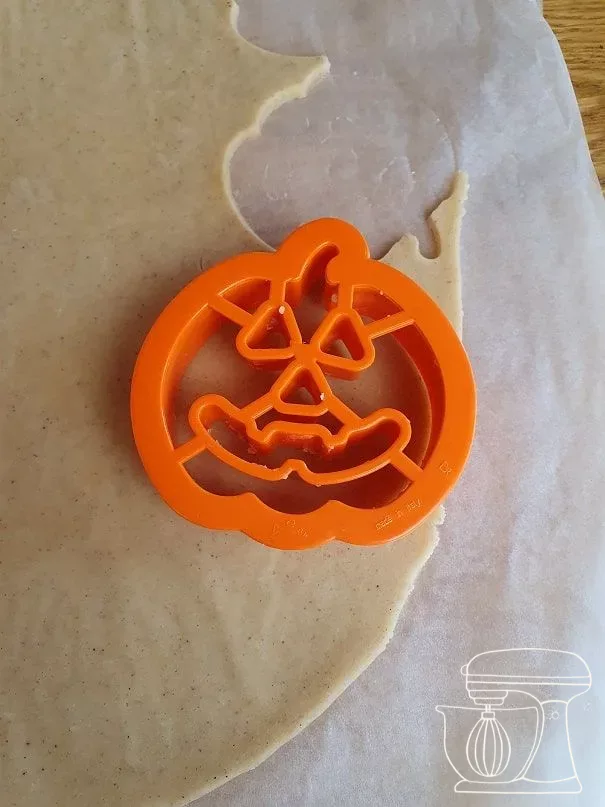
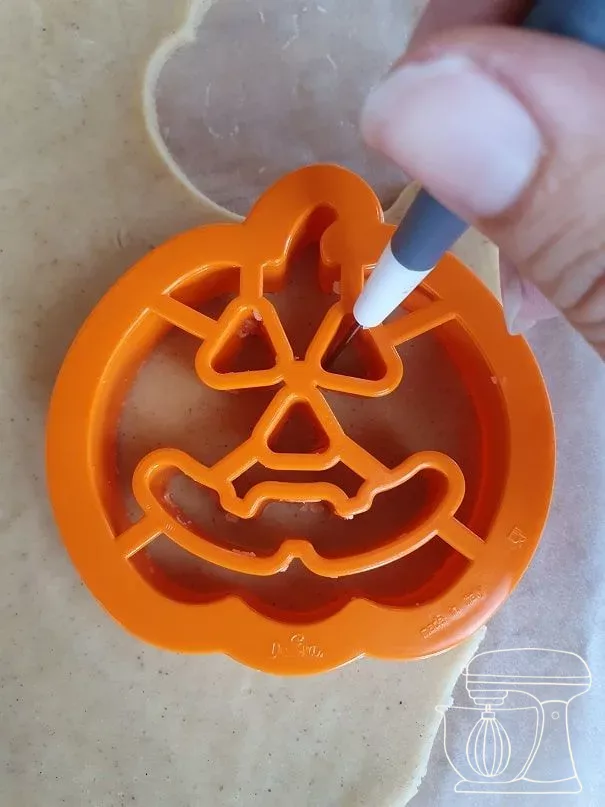
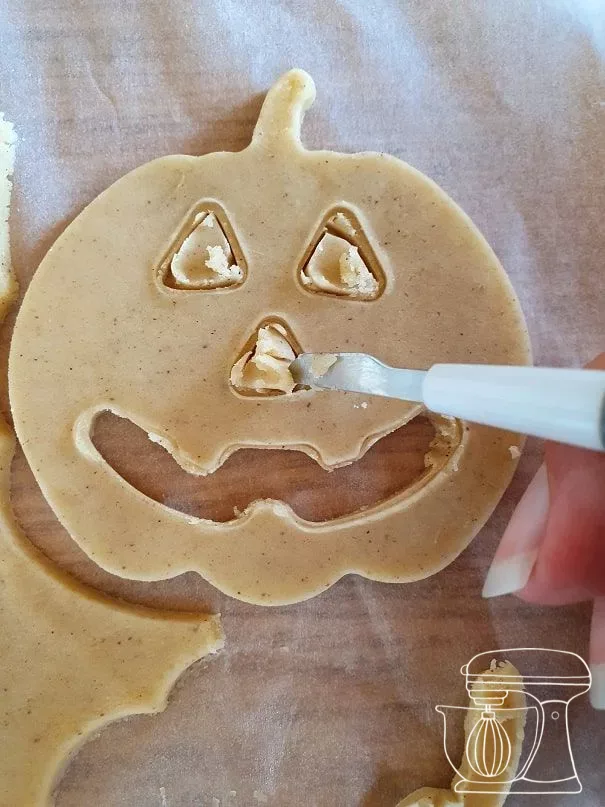
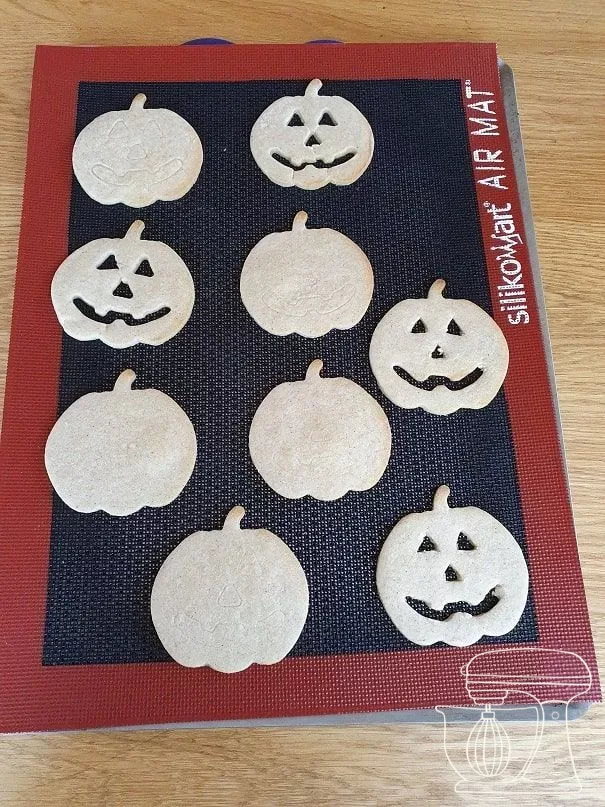
Preheat the oven to 180 °C fan. Press the pumpkin shape only lightly with the Cookie cutter, trace the outline with a needle and cut out the faces cleanly with a cutter. You need half whole pumpkins and half pumpkins with a face. If the dough gets too soft, pop it back into the freezer briefly.
Baking
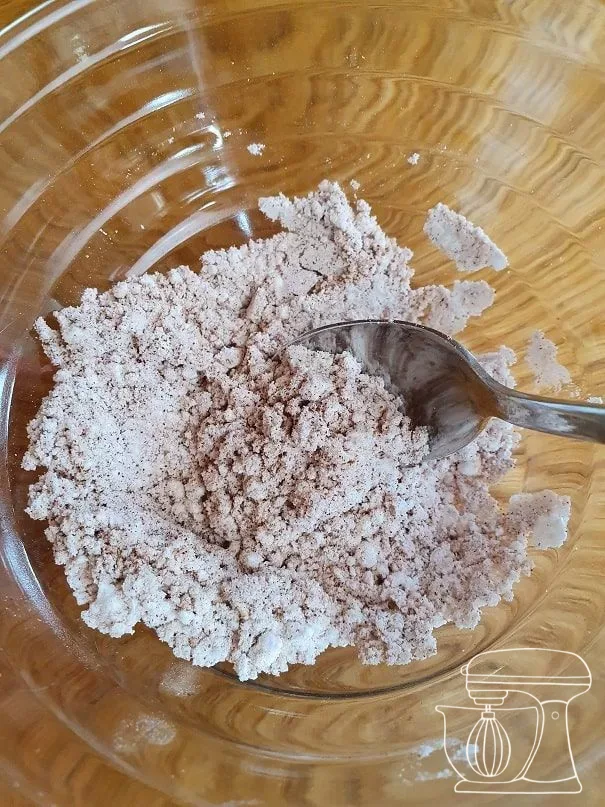
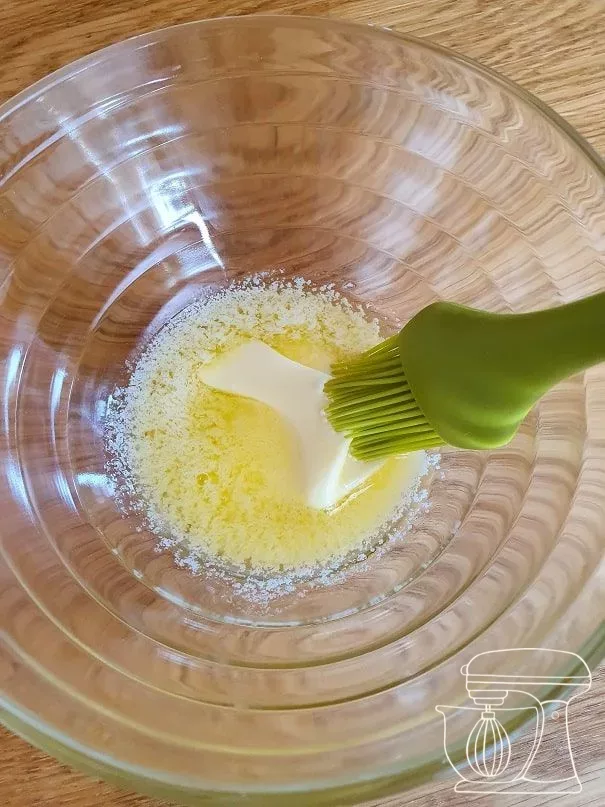
Place the cookies on a perforated baking tray with a perforated mat and bake them for 6 minutes at 180 °C fan. In the meantime, mix 30 g icing sugar with 2 tsp cinnamon and melt 25 g butter in the microwave.
Finishing with cinnamon sugar
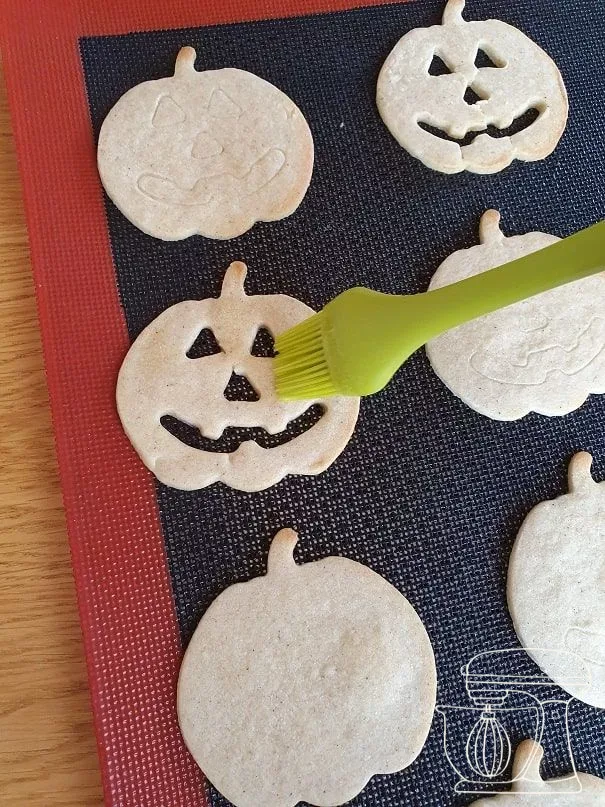
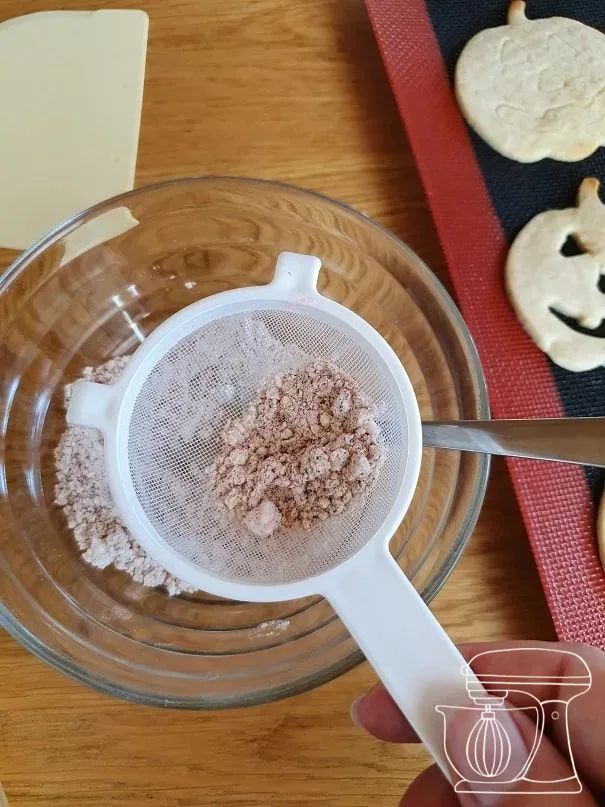
Brush the cookies with the melted butter right after baking and sprinkle them immediately with the cinnamon sugar. That way it sticks even during transport. Then let the cookies cool completely.
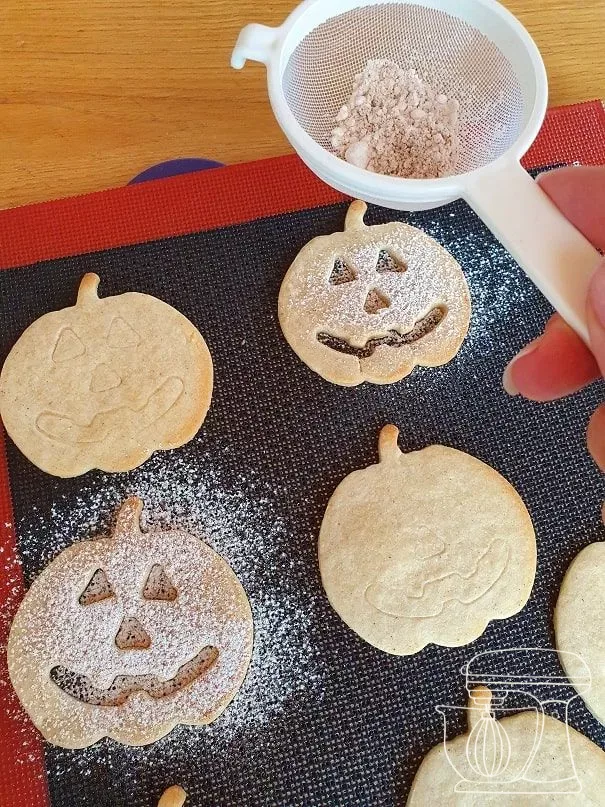
Filling the Halloween Spitzbuben
Filling
Spread the whole pumpkins with raspberry Jelly, Nutella or chestnut purée and set the cookies with a face on top. If you are not eating them all within two days, it is better to fill them gradually, because the filling releases a lot of moisture.
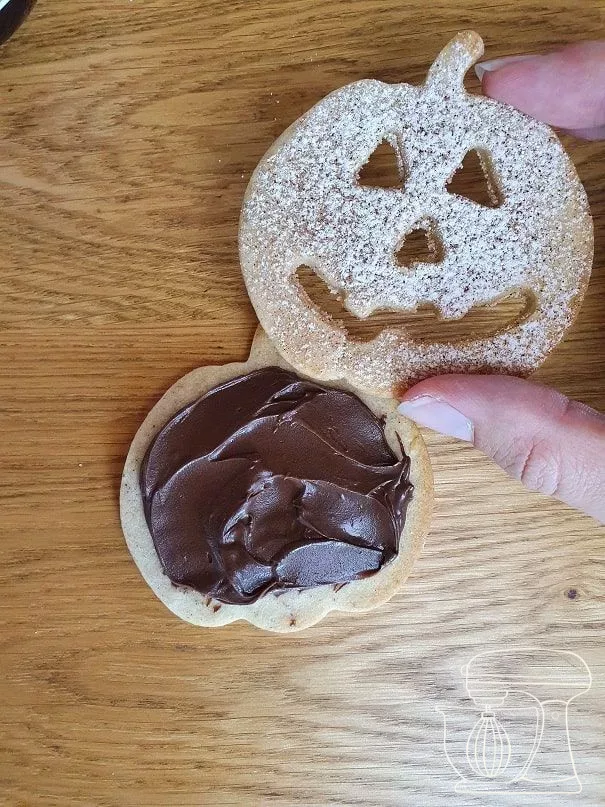
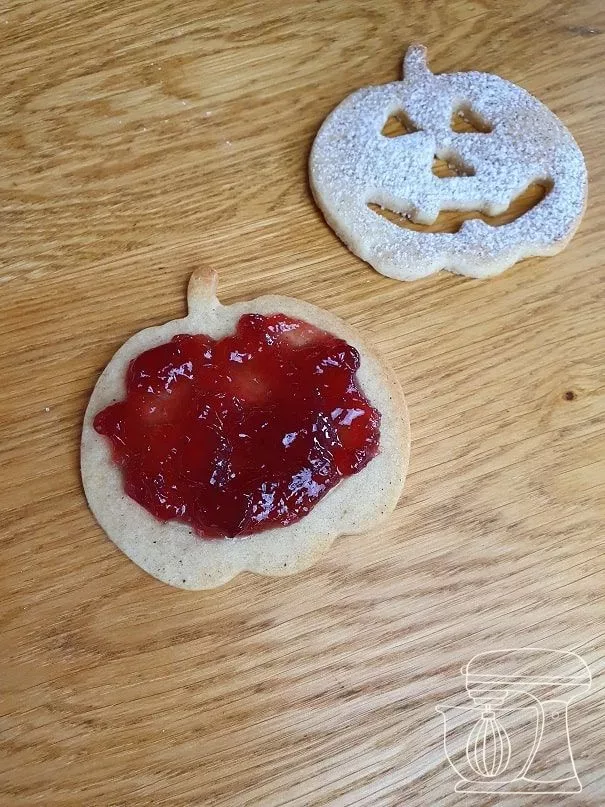
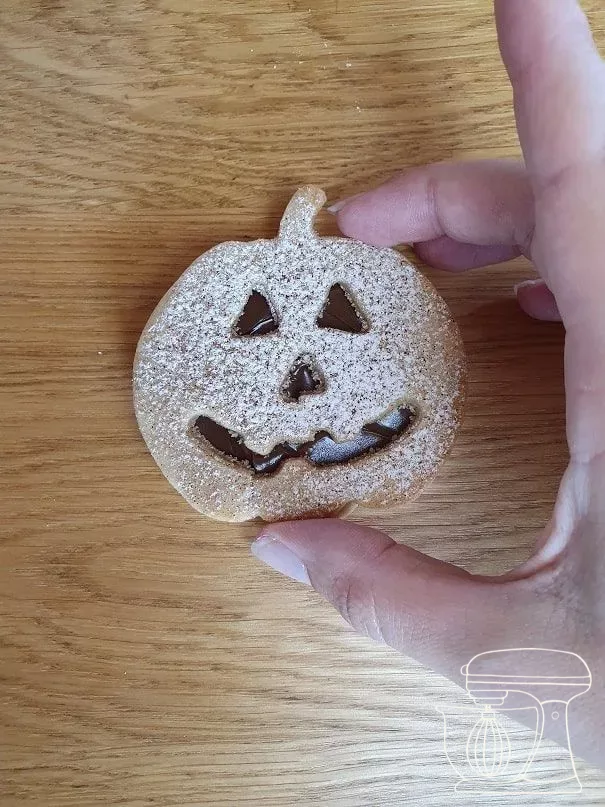
Halloween Spitzbuben
Ingredients
Spitzbuben dough
Cinnamon sugar icing
Filling
Preparation
- Beat: Beat the soft butter with icing sugar until fluffy.
- Season: Stir in the Gingerbread spice, egg white and salt.
- Flour: Work in the flour and almonds for just a few seconds.
- Roll out: Halve, roll out to 3 mm, freeze for 15 to 20 min.
- Cut out: Cut out pumpkins with and without a face.
- Bake: 6 min. at 180 °C fan, prepare the cinnamon sugar.
- Finish: Brush with butter while warm and sprinkle with cinnamon sugar.
- Fill: Assemble with the filling of your choice.
Nutritional values per 100 g
Storage & shelf life
Everything for this recipe
Recommended from our bakery: exactly the sizes the recipe was tested with.
Ingredients
Swiss White flour, 1 kg
almond flour for Macarons
Ceylon Cinnamon powder, 50 g
Gingerbread spice, 60 g
Accessories
Halloween Spitzbuben Mix and Match
Pumpkin Cookie cutter with embossing
Cookie cutter Halloween pumpkin face spooky
Beech wood dough spacers, 6-piece (3/5/10 mm)
Resealable sweet bags, Halloween
Baking paper XL 46 x 38 cm, 15 pieces
Wooden rolling pin 50 cm
Delivery in 1 to 2 working days · Free shipping from CHF 100
So gelingen sie garantiert
The biscuits must not be thicker than 3 mm, as the finished pastry consists of two layers and a layer of filling. Rolling guides ensure an even thickness.
Chilled dough can be cut out much more cleanly. Feel free to put it back in the freezer now and then if it gets soft: this saves your nerves and gives sharp contours.
Prettily packed in little bags, the Halloween Spitzbuben make a charming small gift. It's best to fill them only shortly before giving them away.
Frequently asked questions
With cookie cutters that have a face, this can happen. Only press the shape in lightly, trace the contour with a needle and cut out the details with a cutter. That way you get a clean result.
Unfilled, they easily keep in a tin for 1 bis 2 weeks. Once filled, they should be eaten quickly, as the filling releases moisture and the biscuits become soft.
Of course! With stars, hearts or Christmas trees, the Halloween recipe turns into classic Christmas Spitzbuben in no time.
Print recipe
Choose what should appear on the printout.
Related posts
 Juicy Matcha Muffins with Pecan Nuts & White Chocolate
Matcha Iced Latte & Coconut Variant
Pull-apart bread with fresh wild garlic pesto
Mini Banana Bread with Chocolate Chips
Juicy Matcha Muffins with Pecan Nuts & White Chocolate
Matcha Iced Latte & Coconut Variant
Pull-apart bread with fresh wild garlic pesto
Mini Banana Bread with Chocolate Chips
Leave a comment