
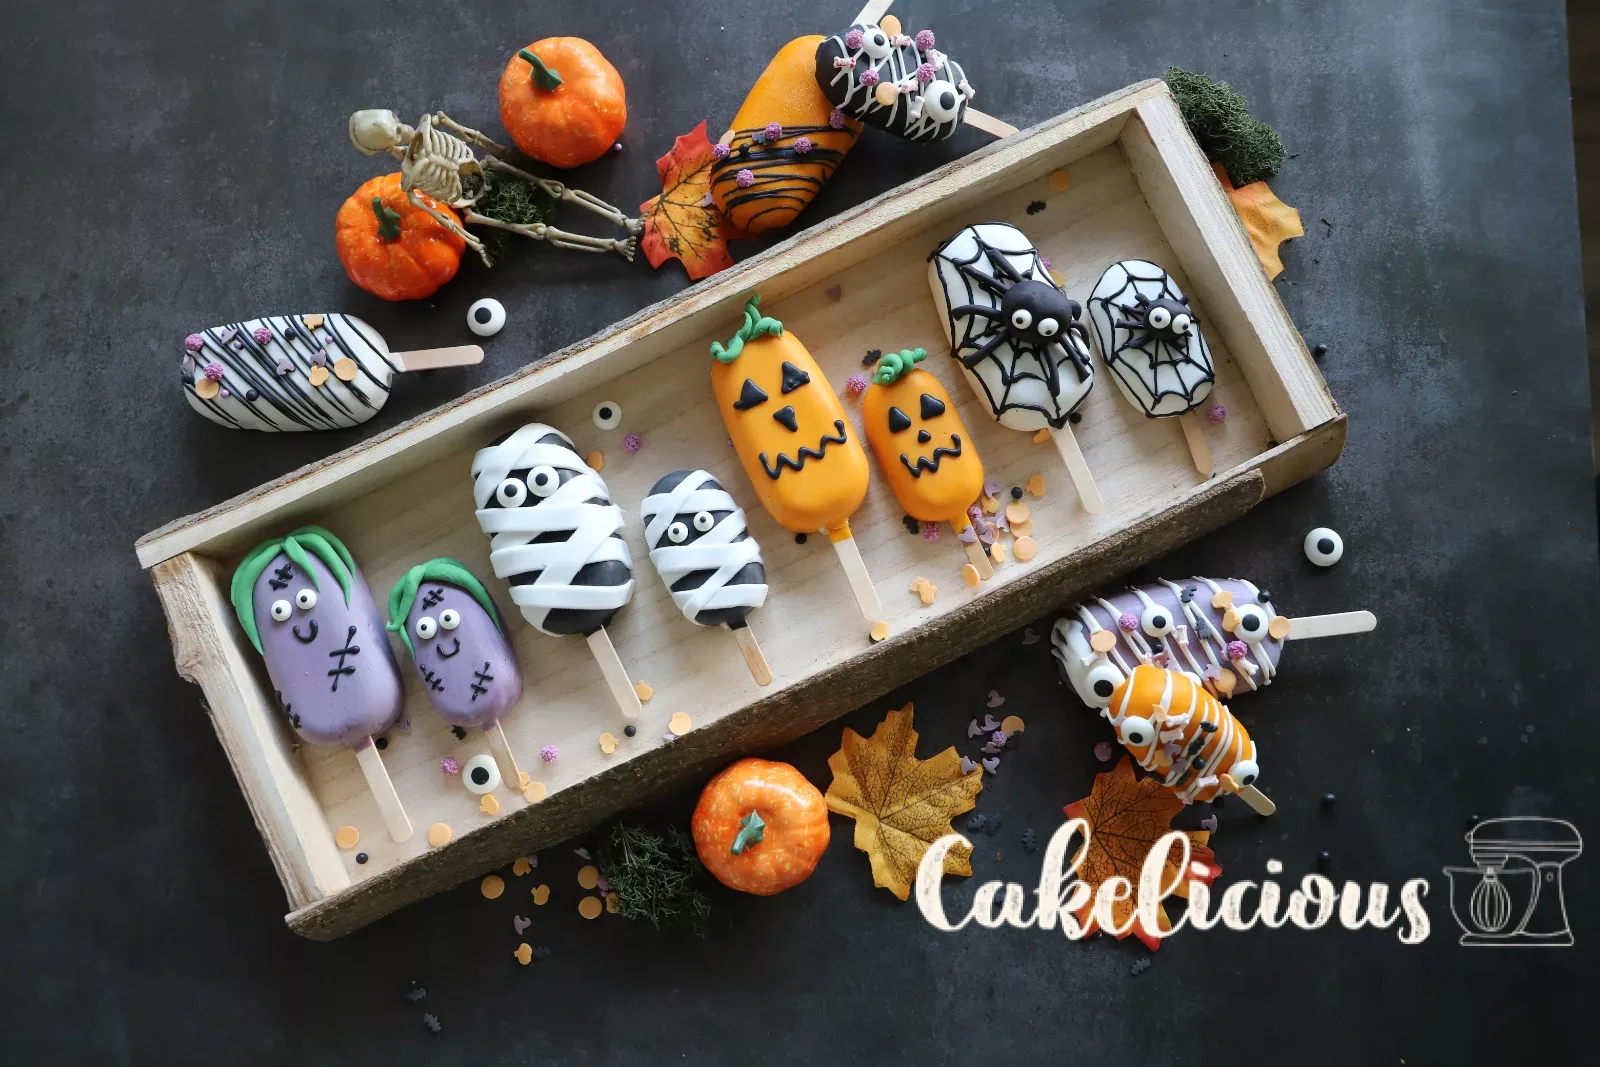
Halloween cakesicles with an apple and cinnamon filling
Apple cake on a stick, spookily sweet and wrapped up for Halloween night
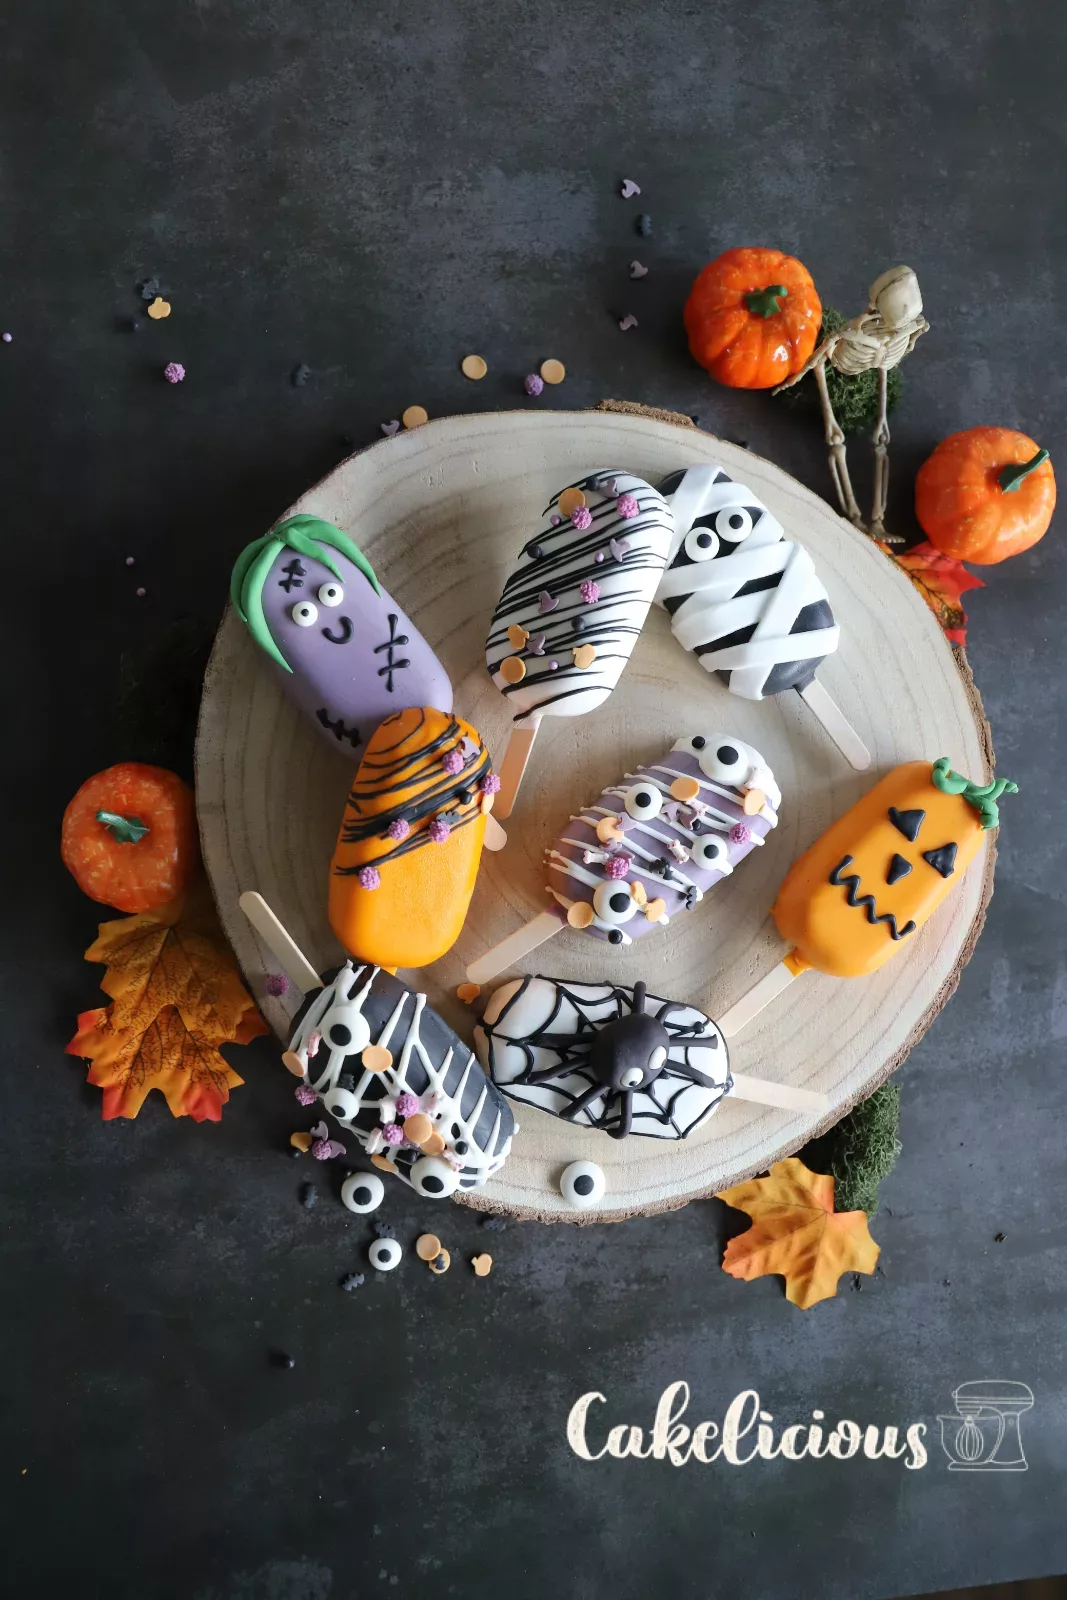
Hello, fellow food lovers! Halloween, apple cake and the whole autumn season: why not enjoy it all in one? Our Halloween cakesicles combine a creamy caramel cheesecake with a filling of caramelised cinnamon apples and crumbled biscuits. Coated in Deco melts and lovingly decorated, they turn into pumpkins, mummies, zombies and little spiders. The best part: they need no baking at all and make a wonderful project for the whole family.

Ingredients
Apple and cinnamon filling
Caramel cheesecake
Icing & decoration
Step by step
Apple and cinnamon filling
Prepare the apples
Peel 2 to 3 tart apples and cut them into small cubes until you have 225 g of apple cubes. Make sure not to choose varieties that are too sweet, as the tartness creates a lovely contrast to the caramel.
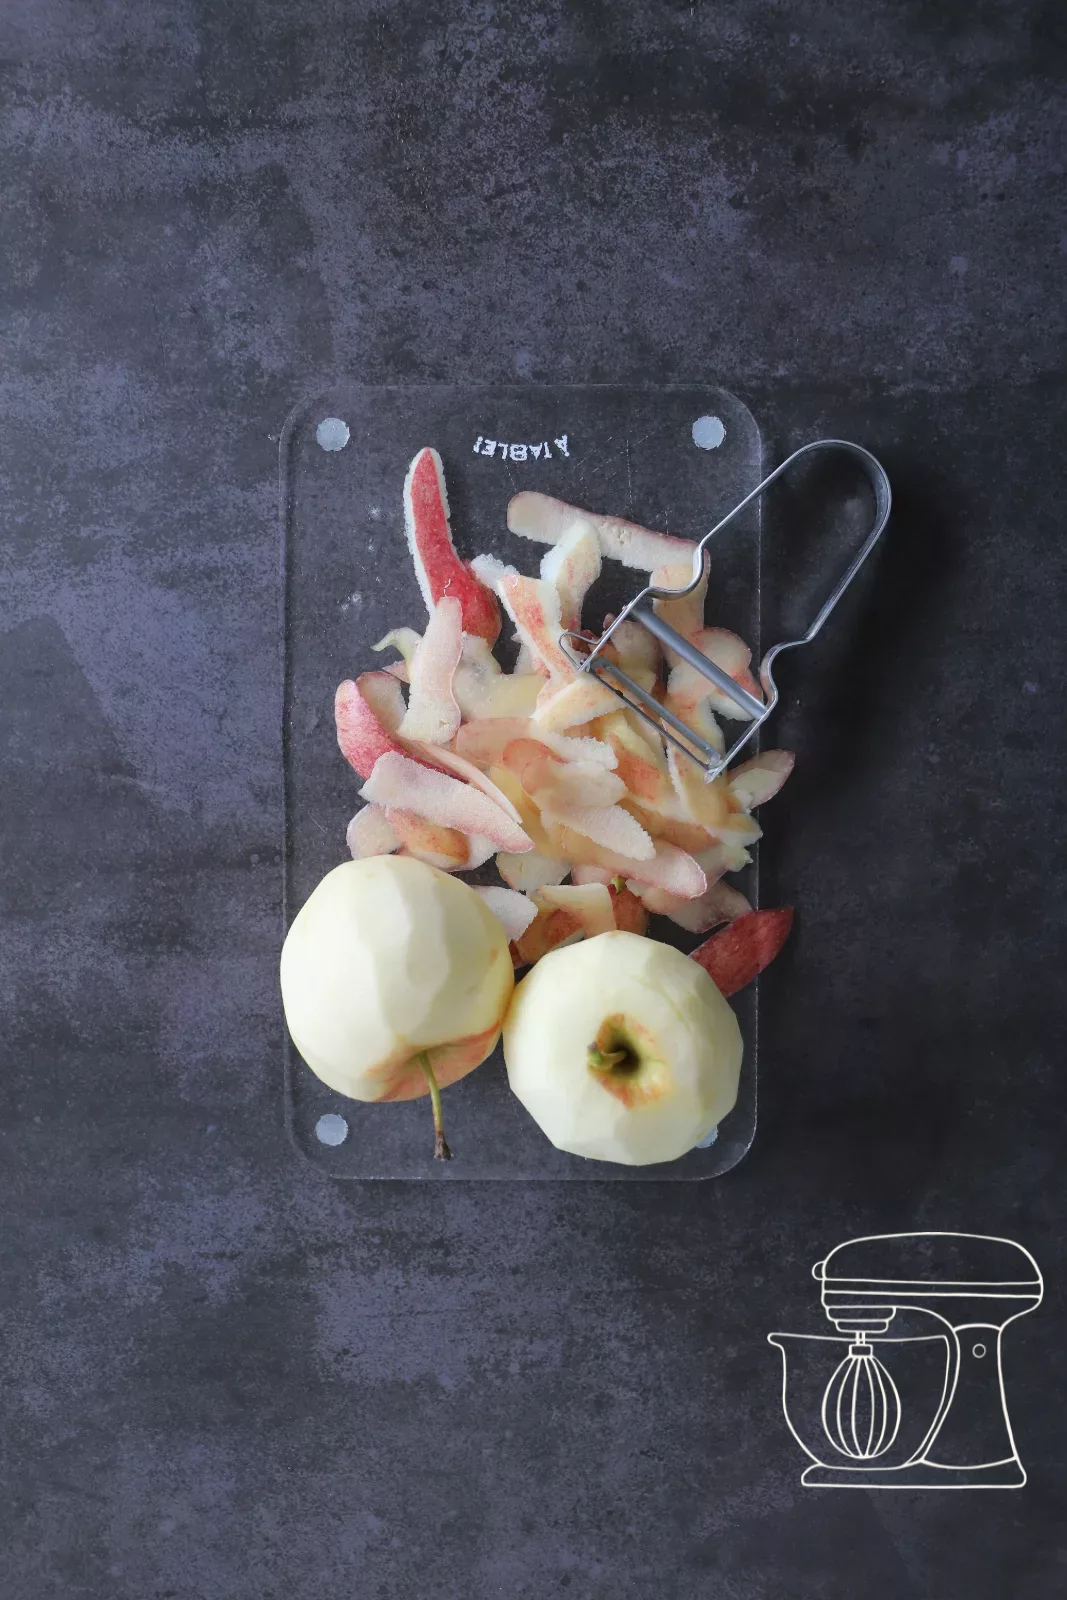
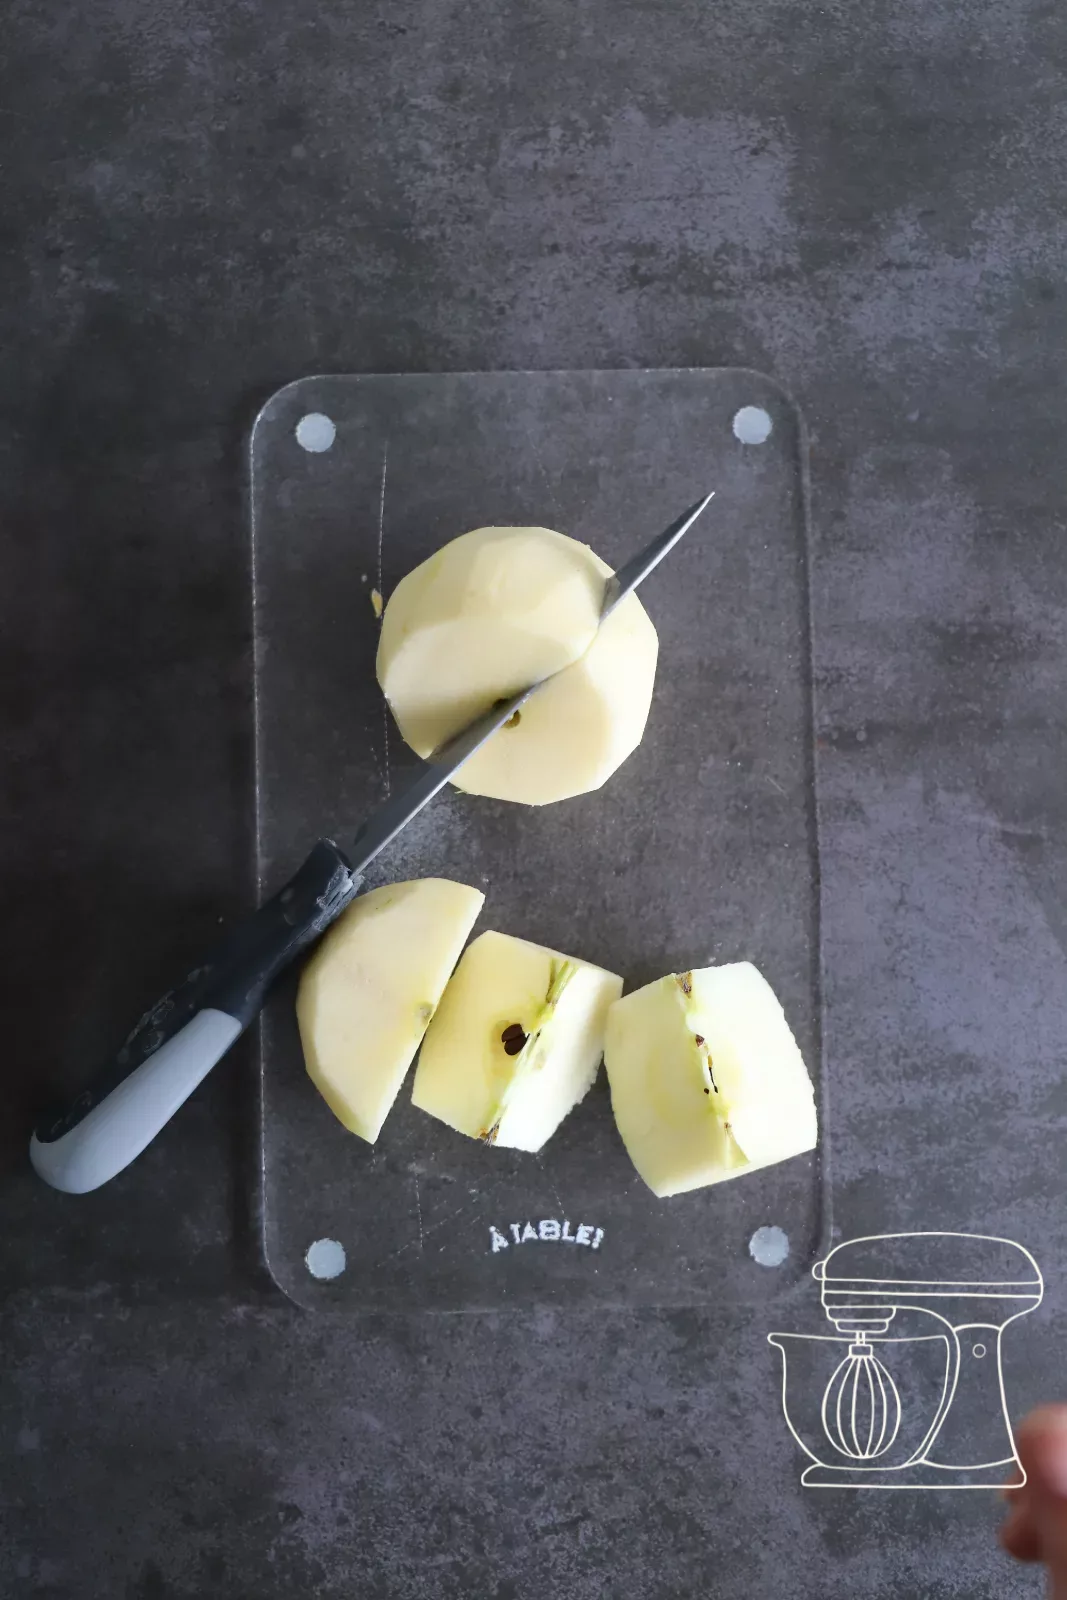
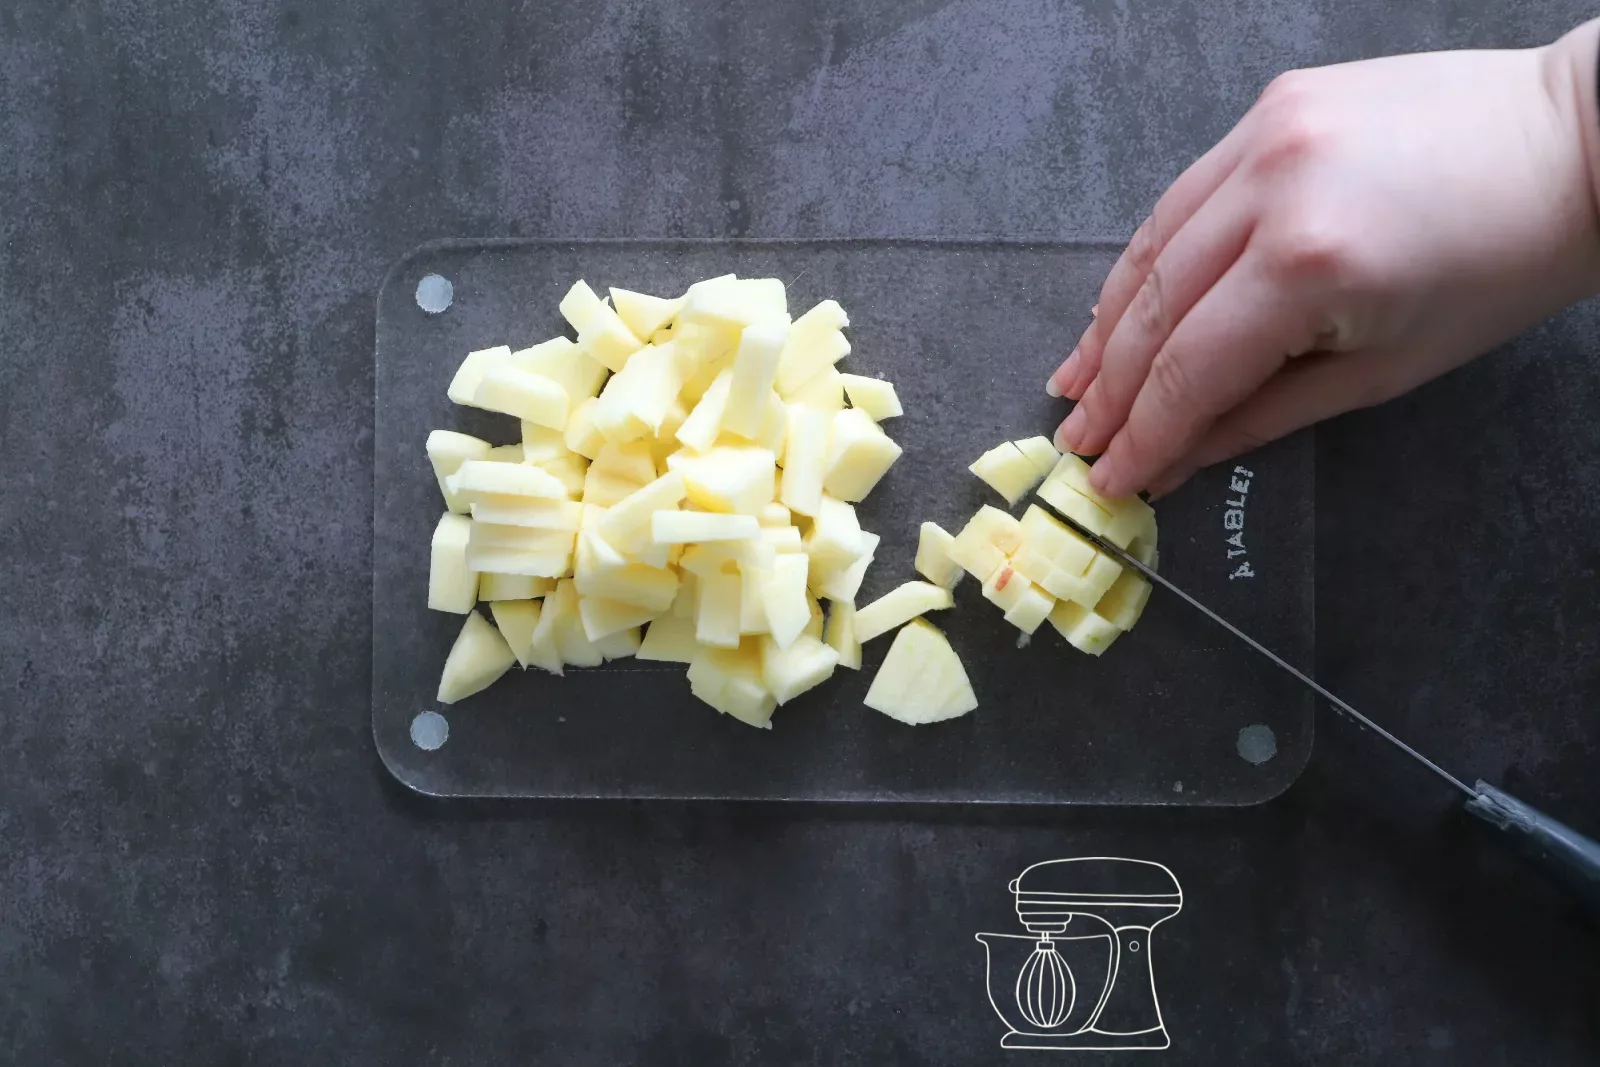
Apples and sugar
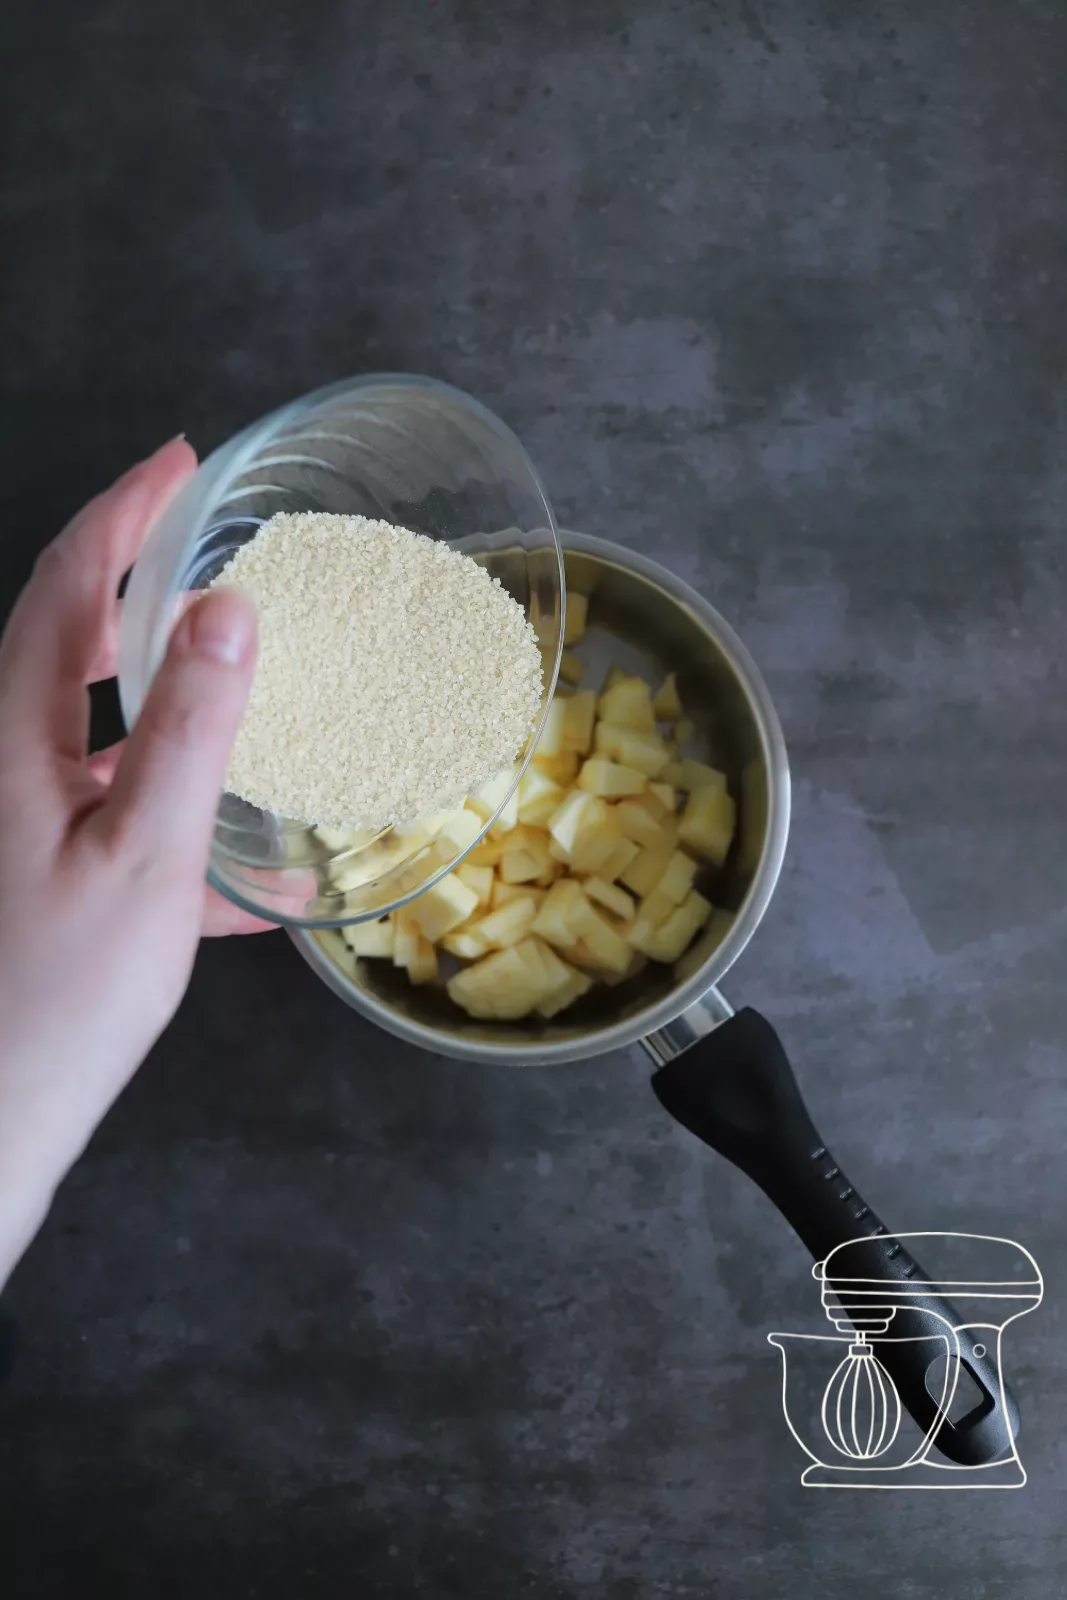
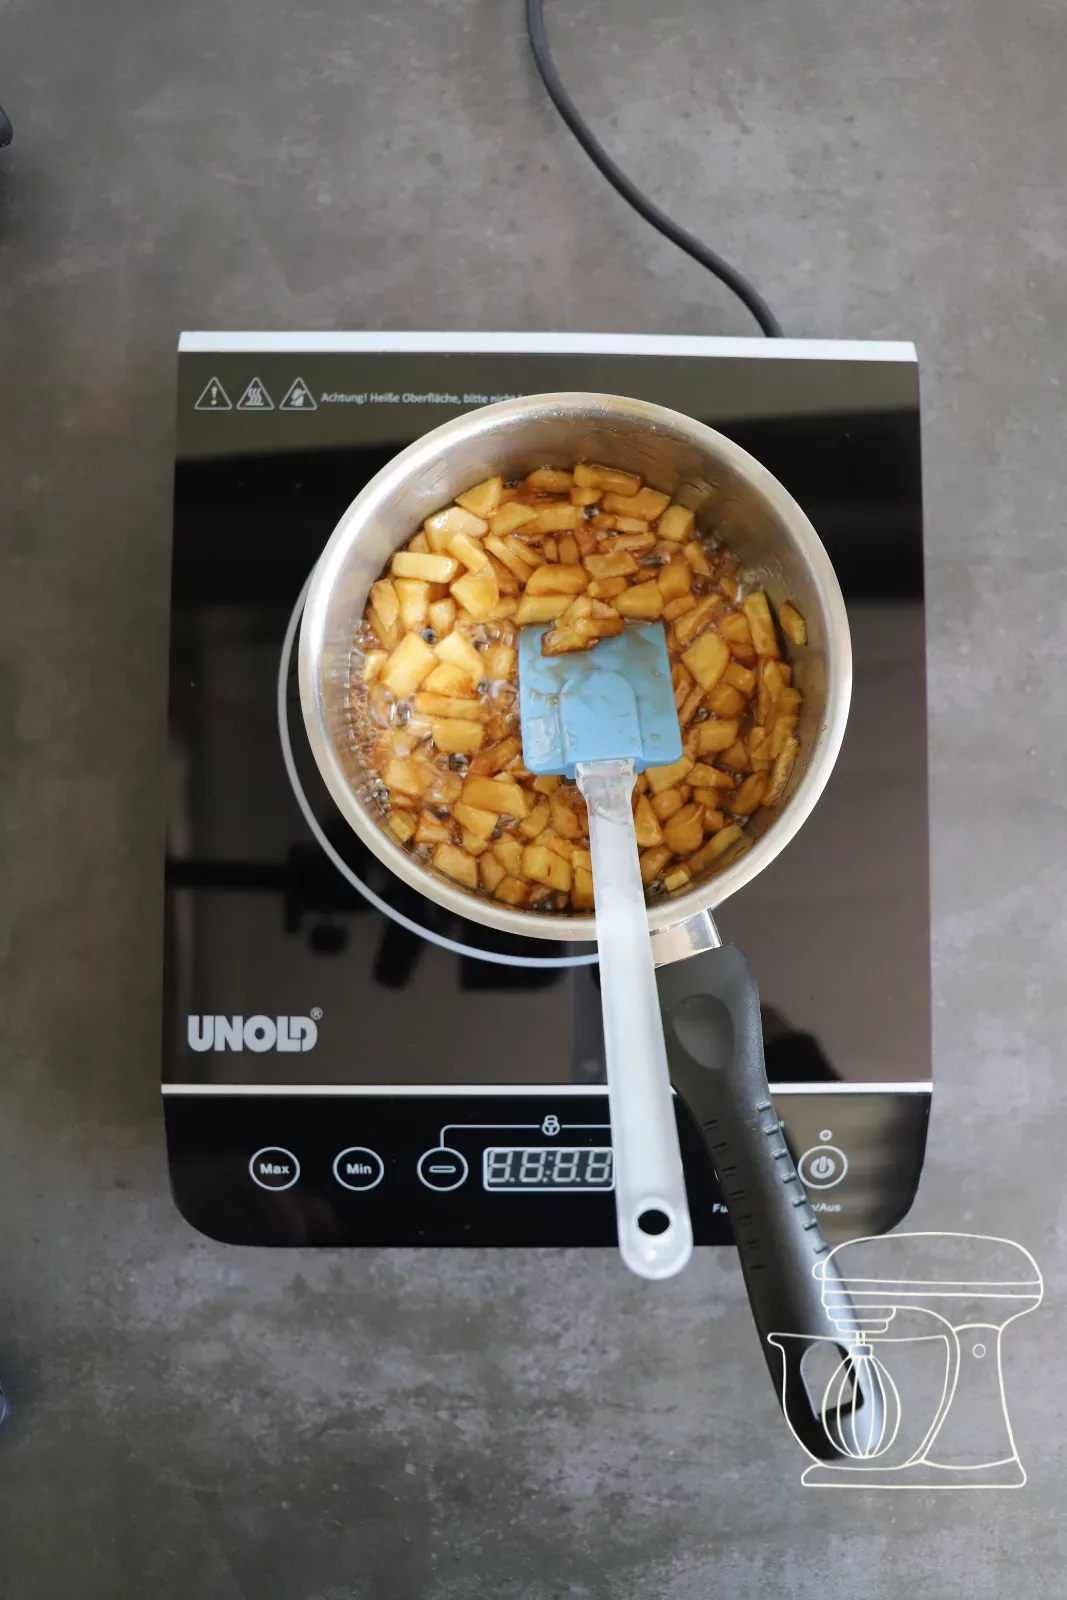
Put the 225 g of apple cubes into a pot together with 80 g of brown sugar.
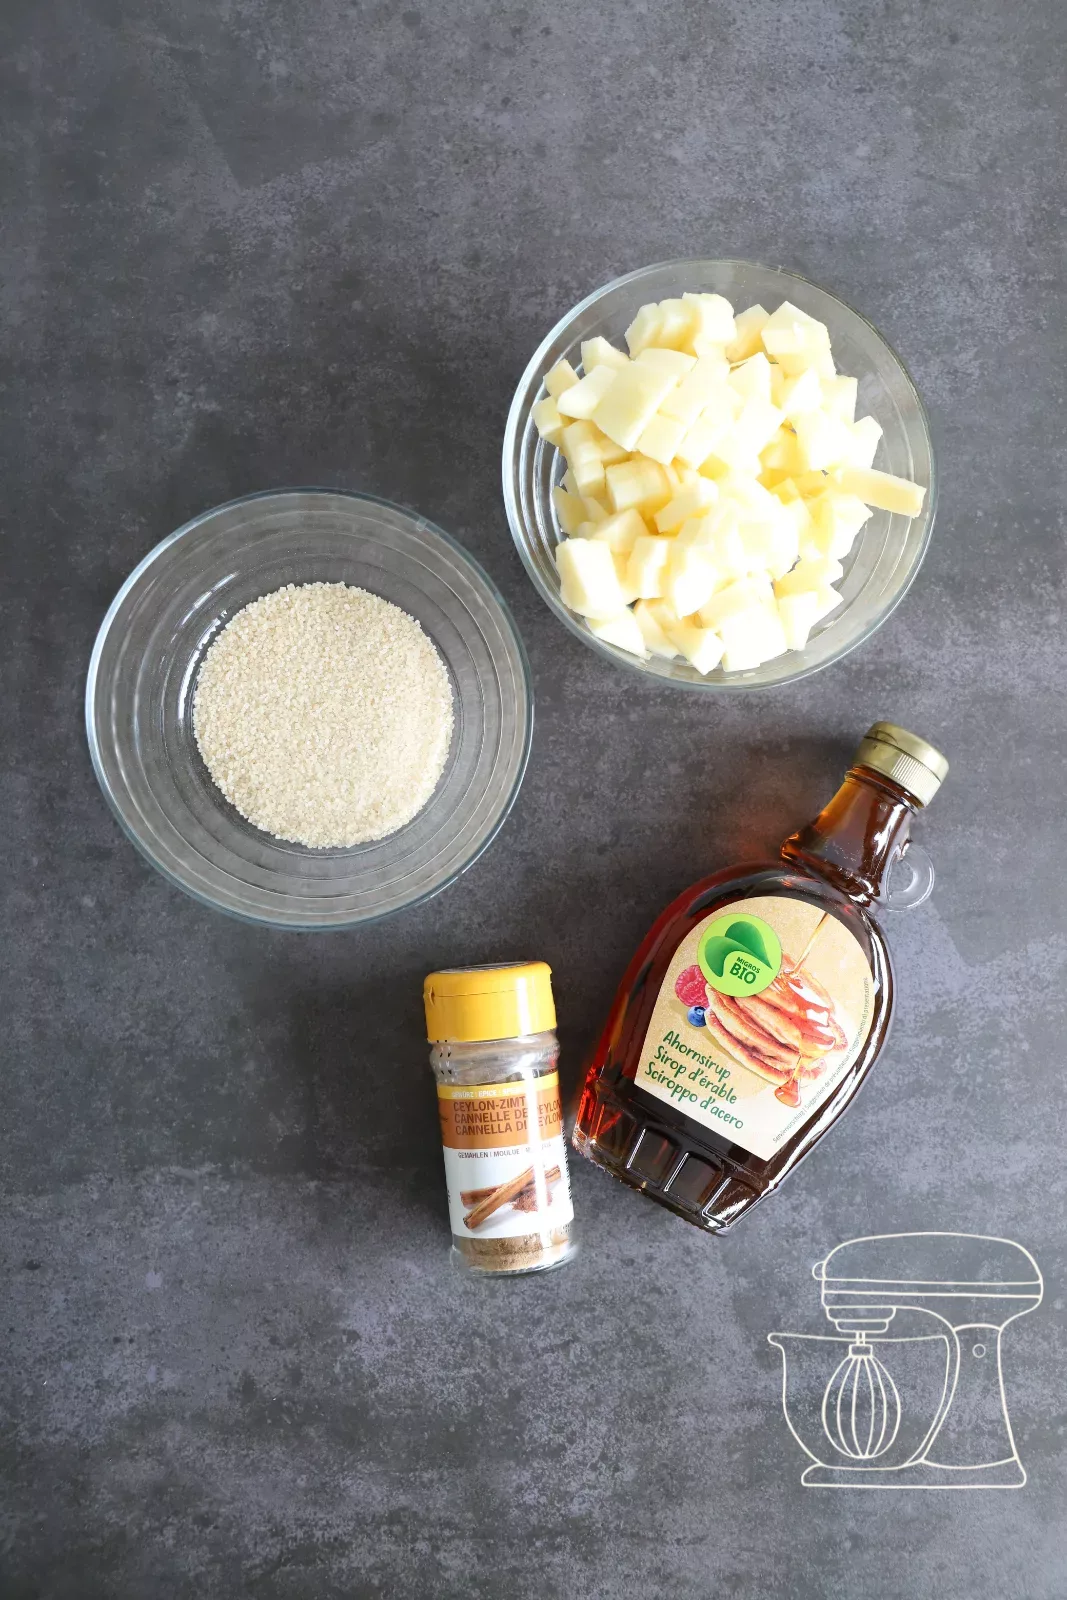
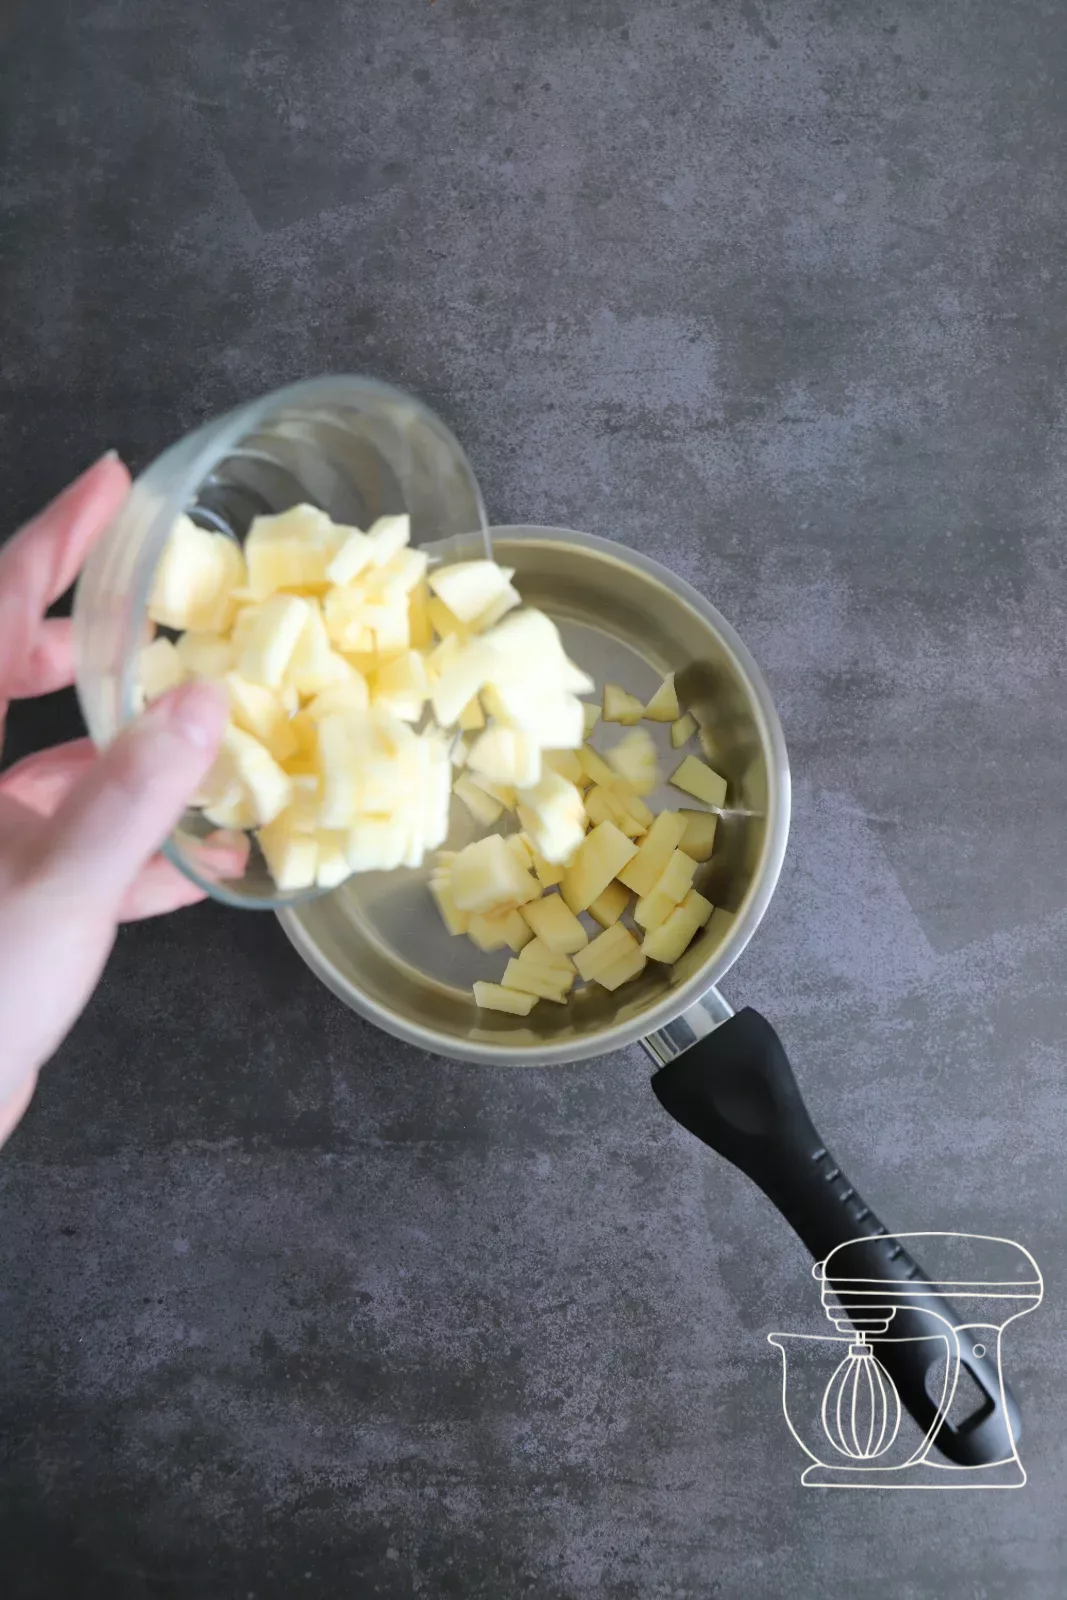
Caramelise
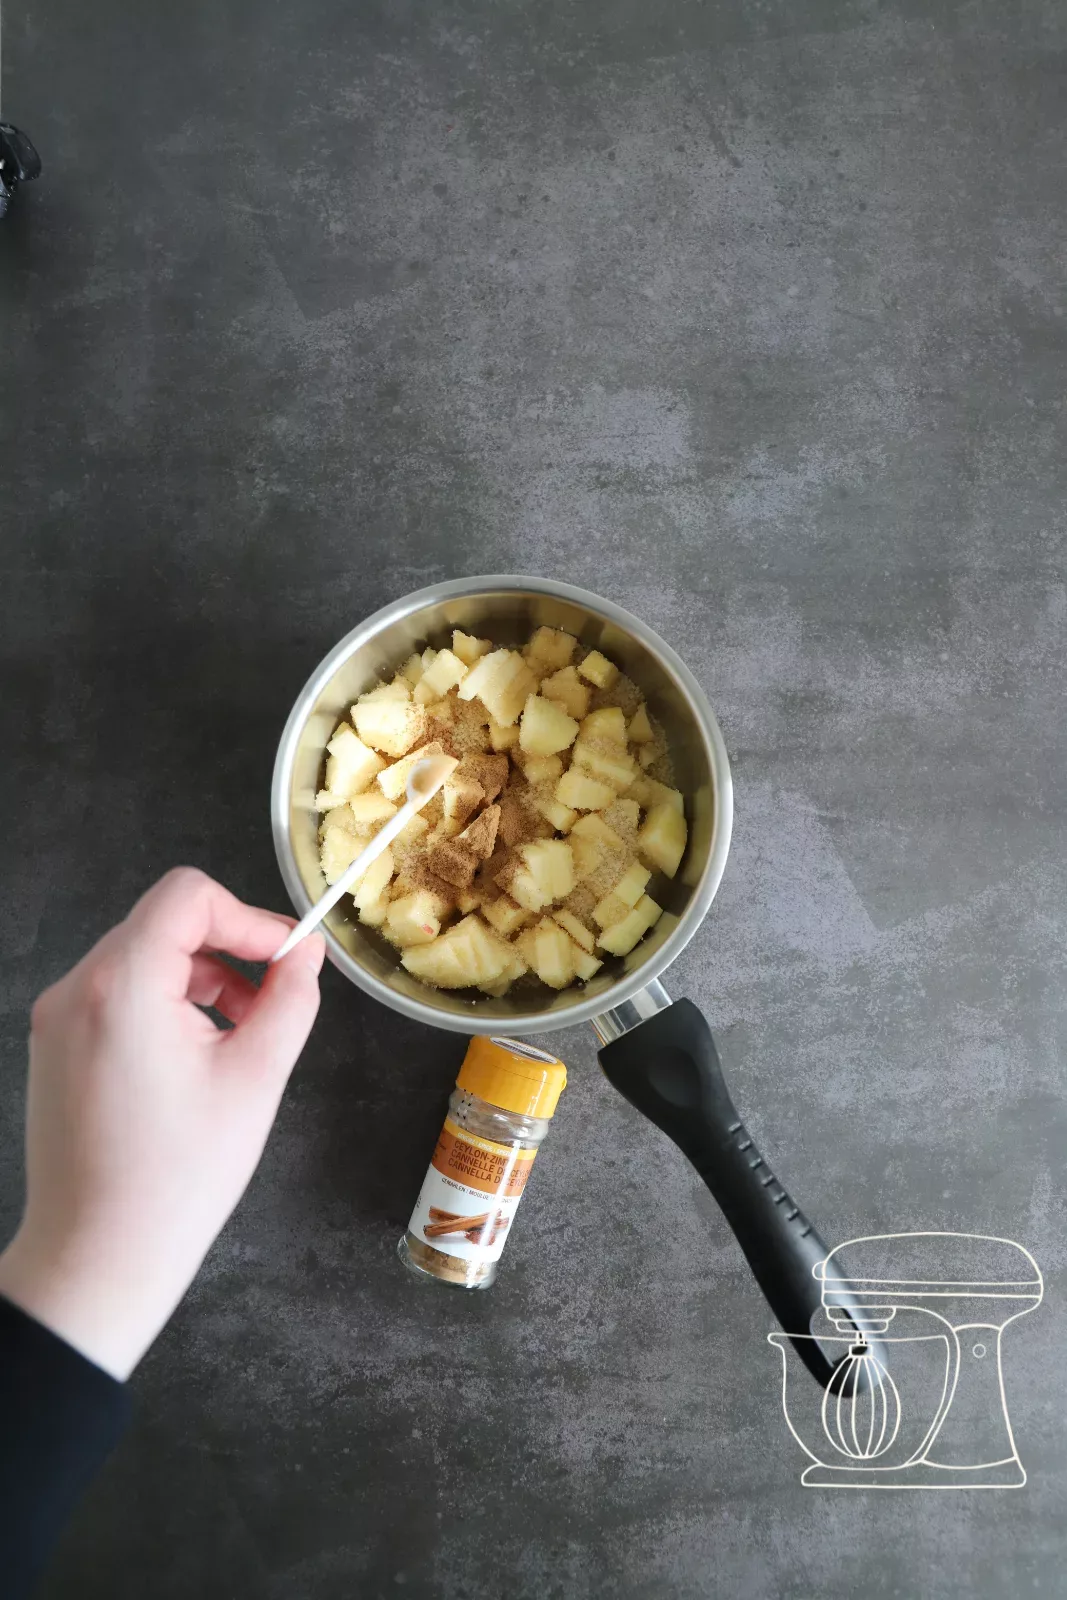
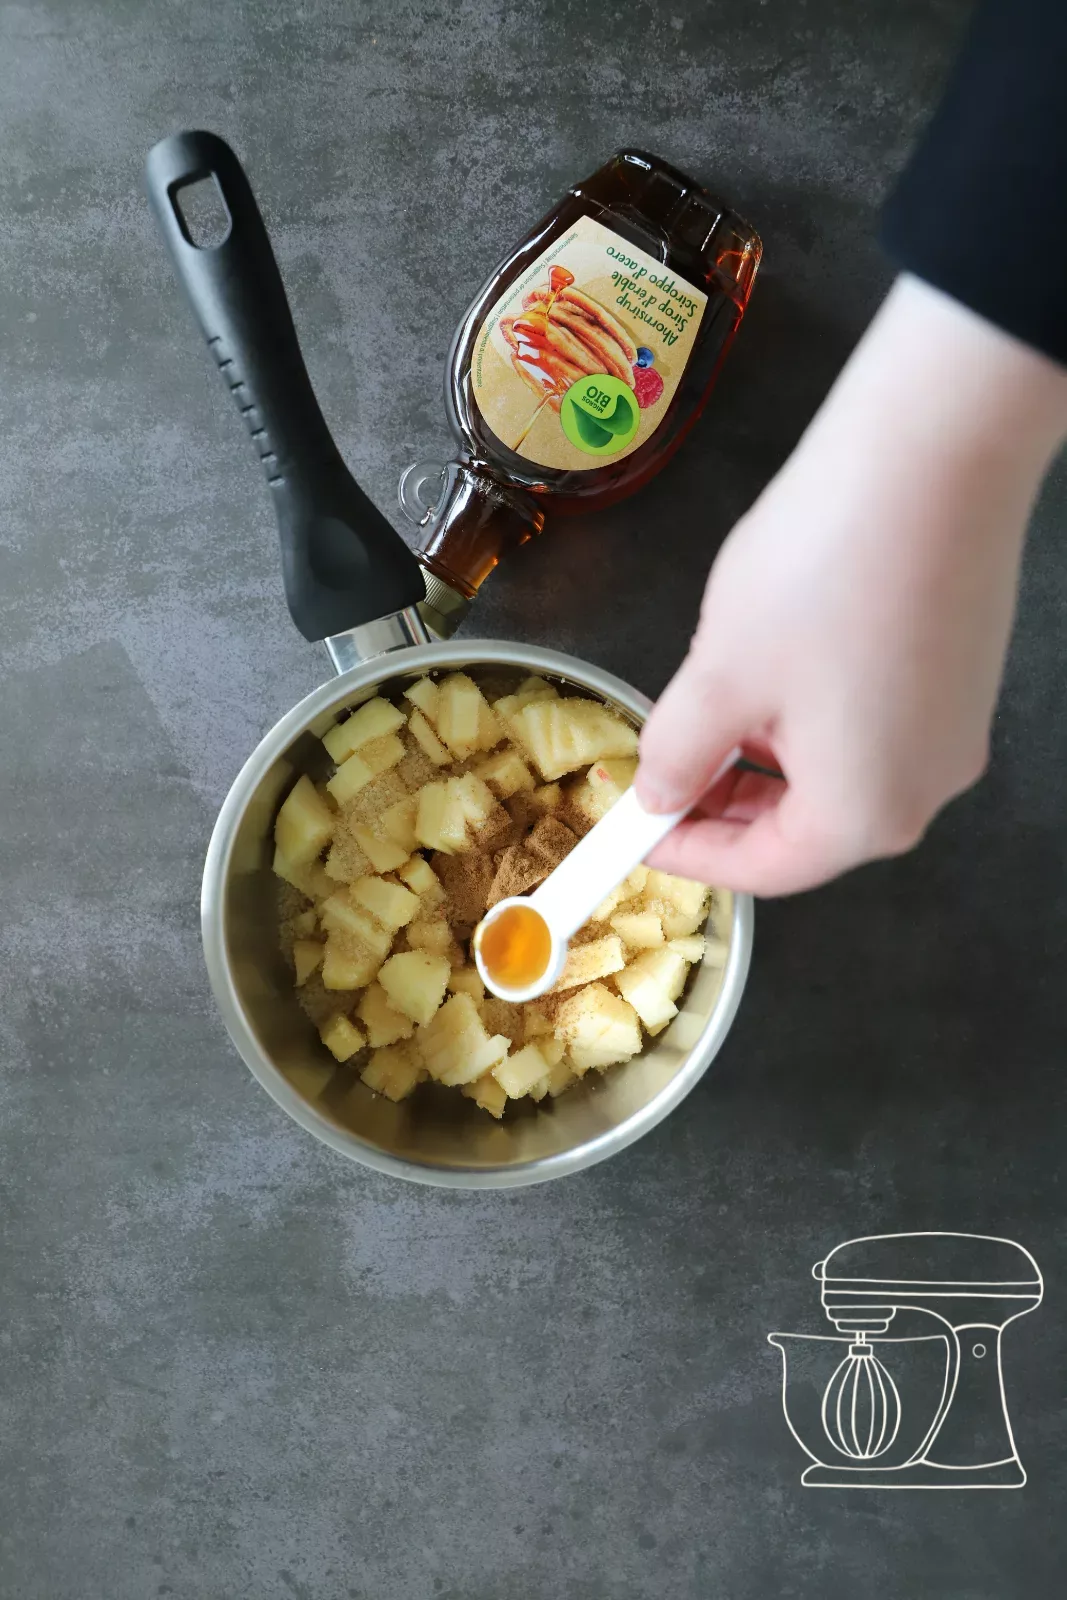
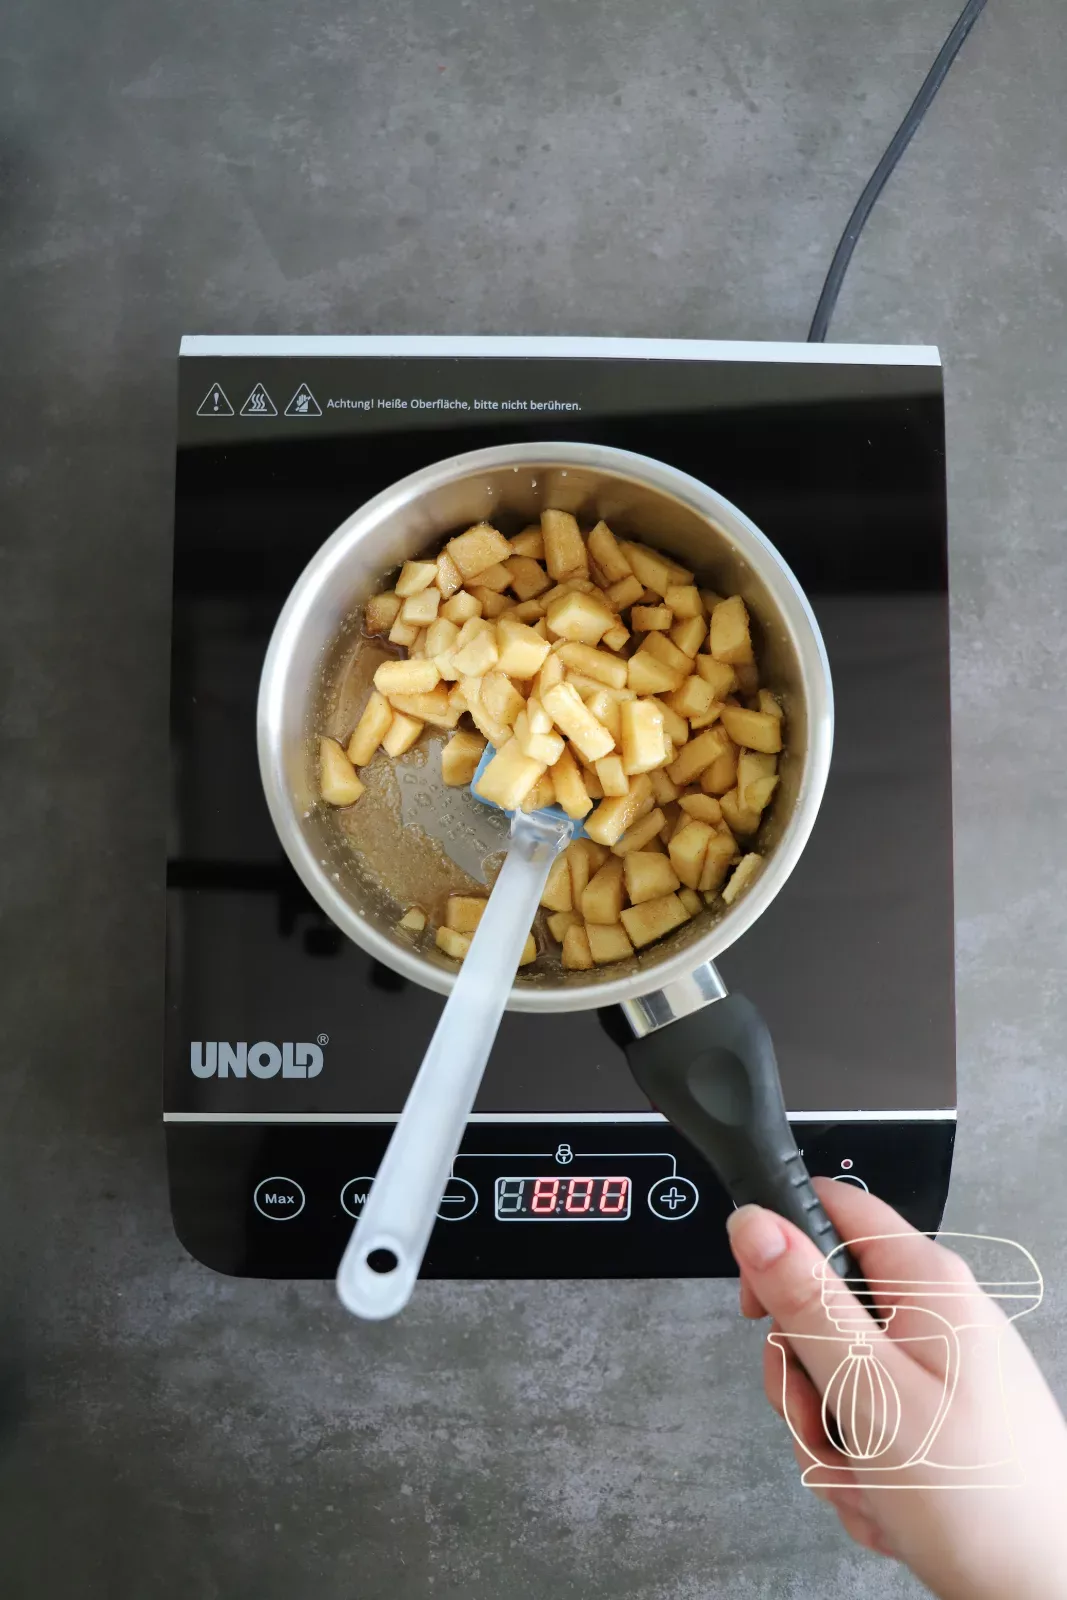
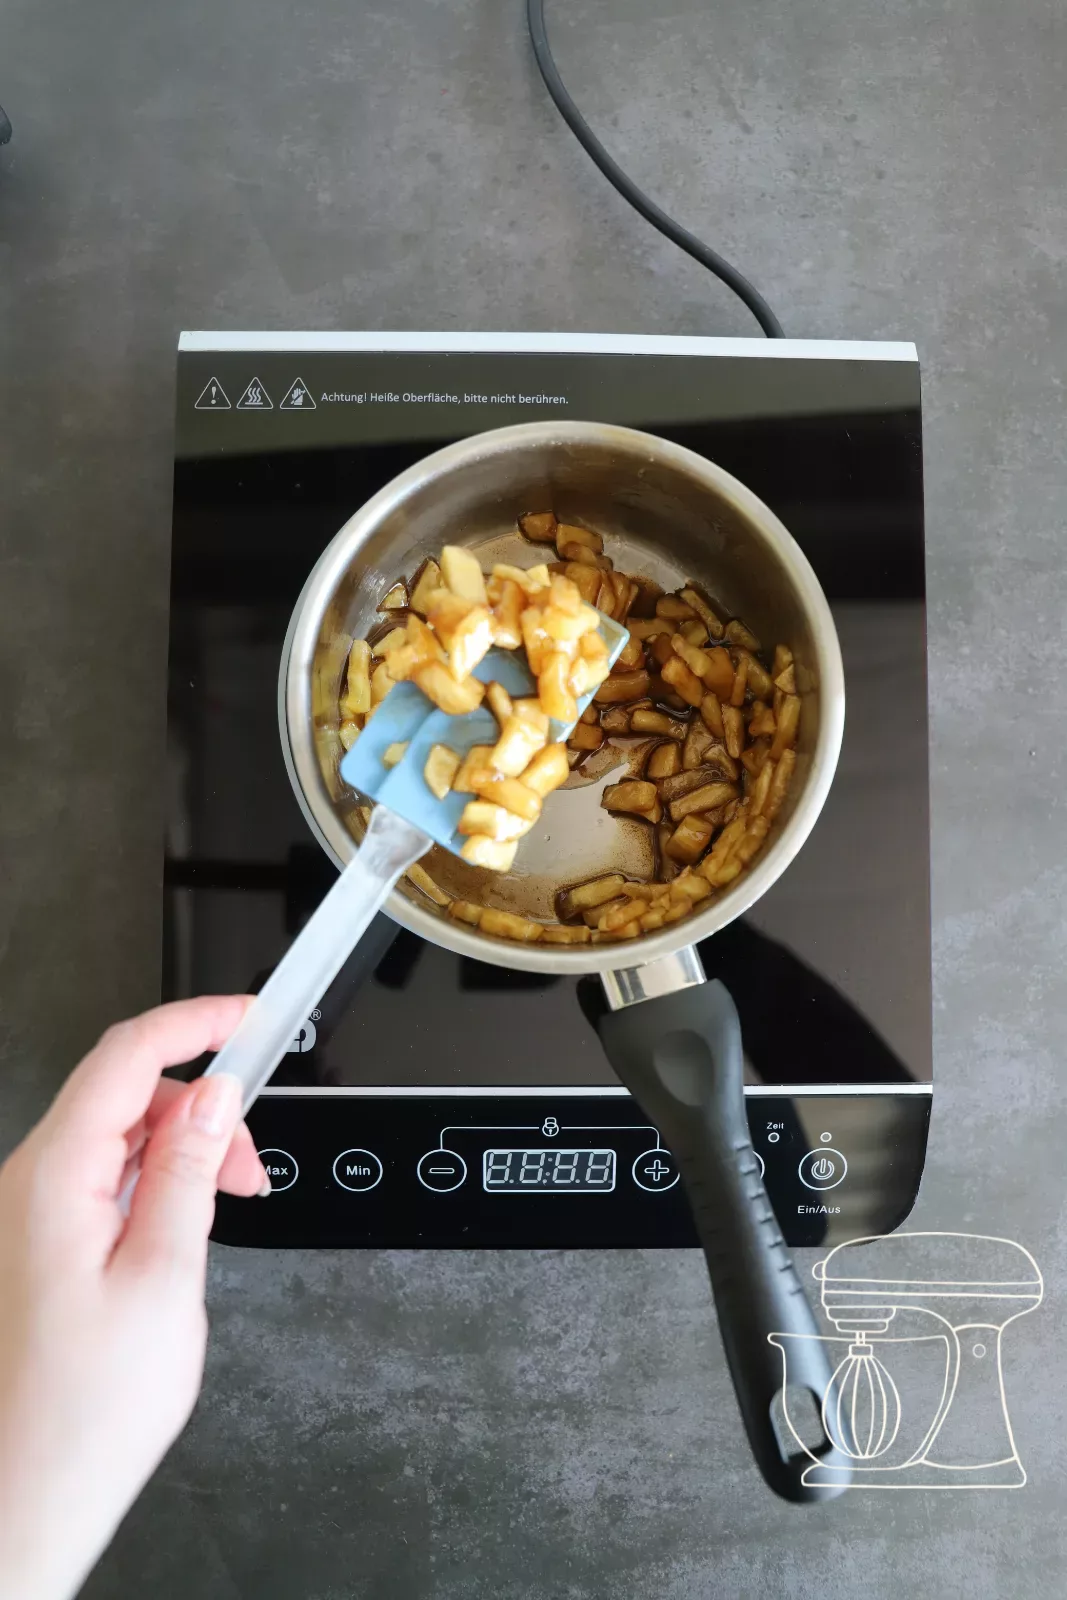
Add ½ tsp of Cinnamon powder and 2 to 3 tsp of maple syrup and cook everything for about 5 minutes, until the sugar has dissolved and the apples are nicely caramelised.
Chill the filling
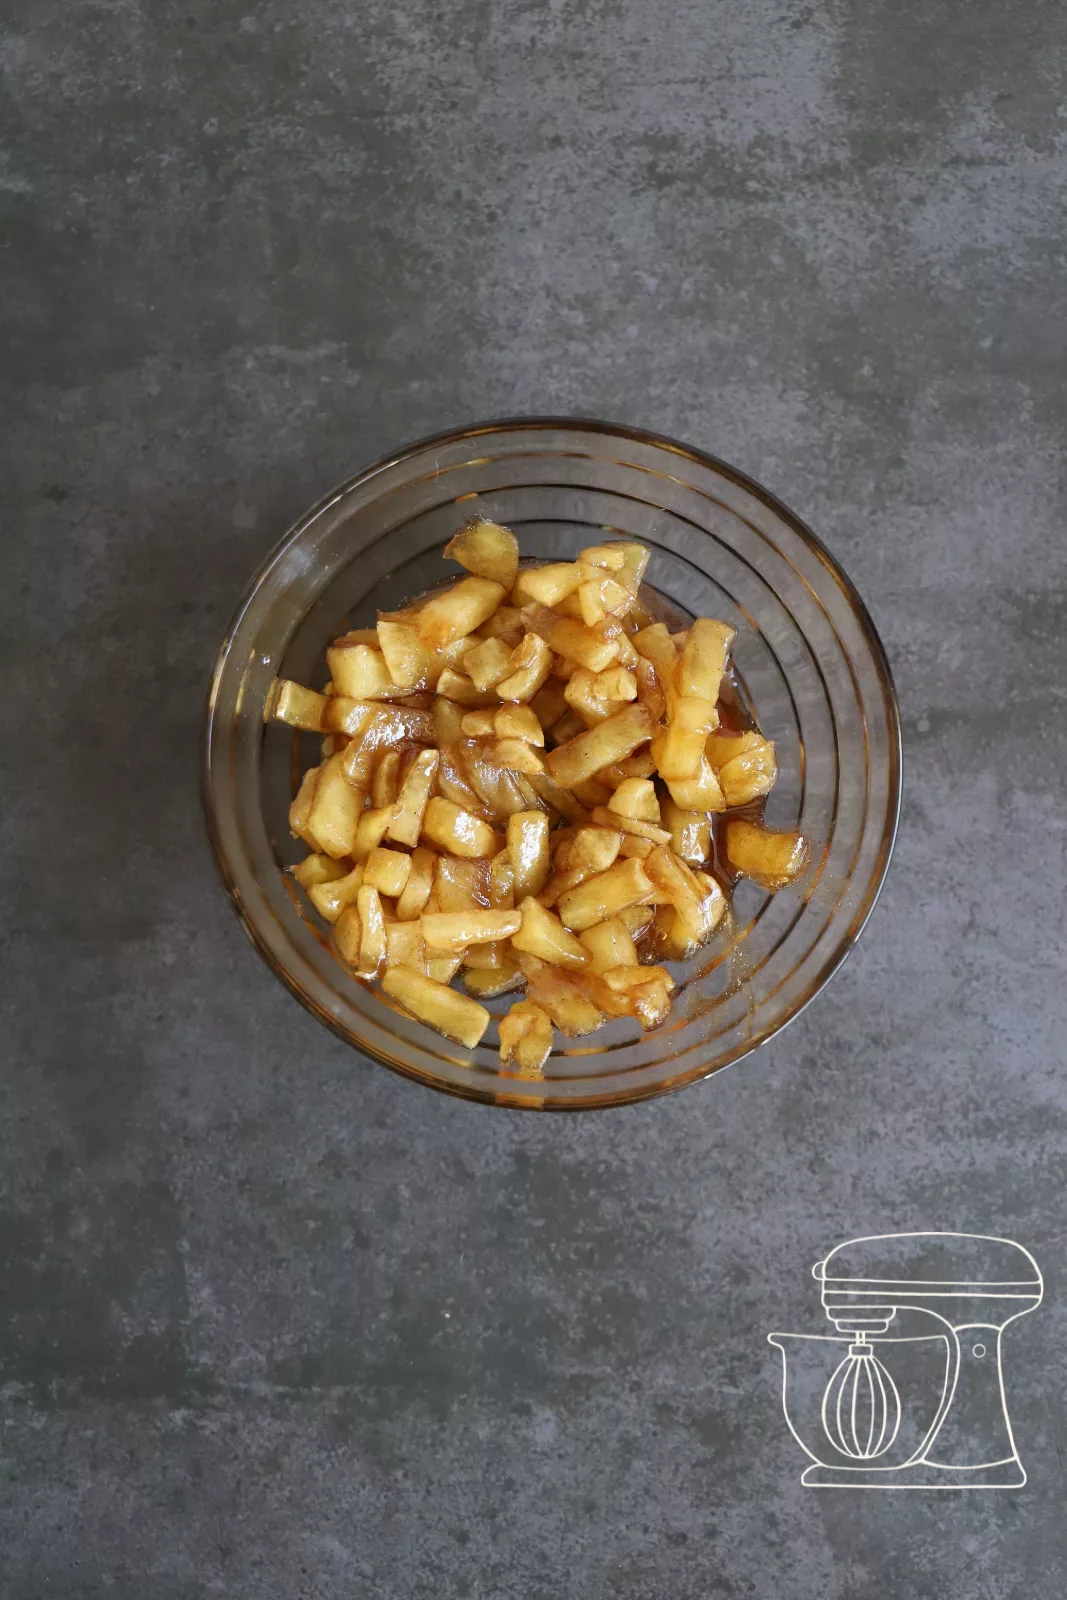
Transfer the apple and cinnamon filling into a Bowl and place it in the fridge for at least 30 minutes.
Caramel cheesecake mixture
Crumble the biscuits
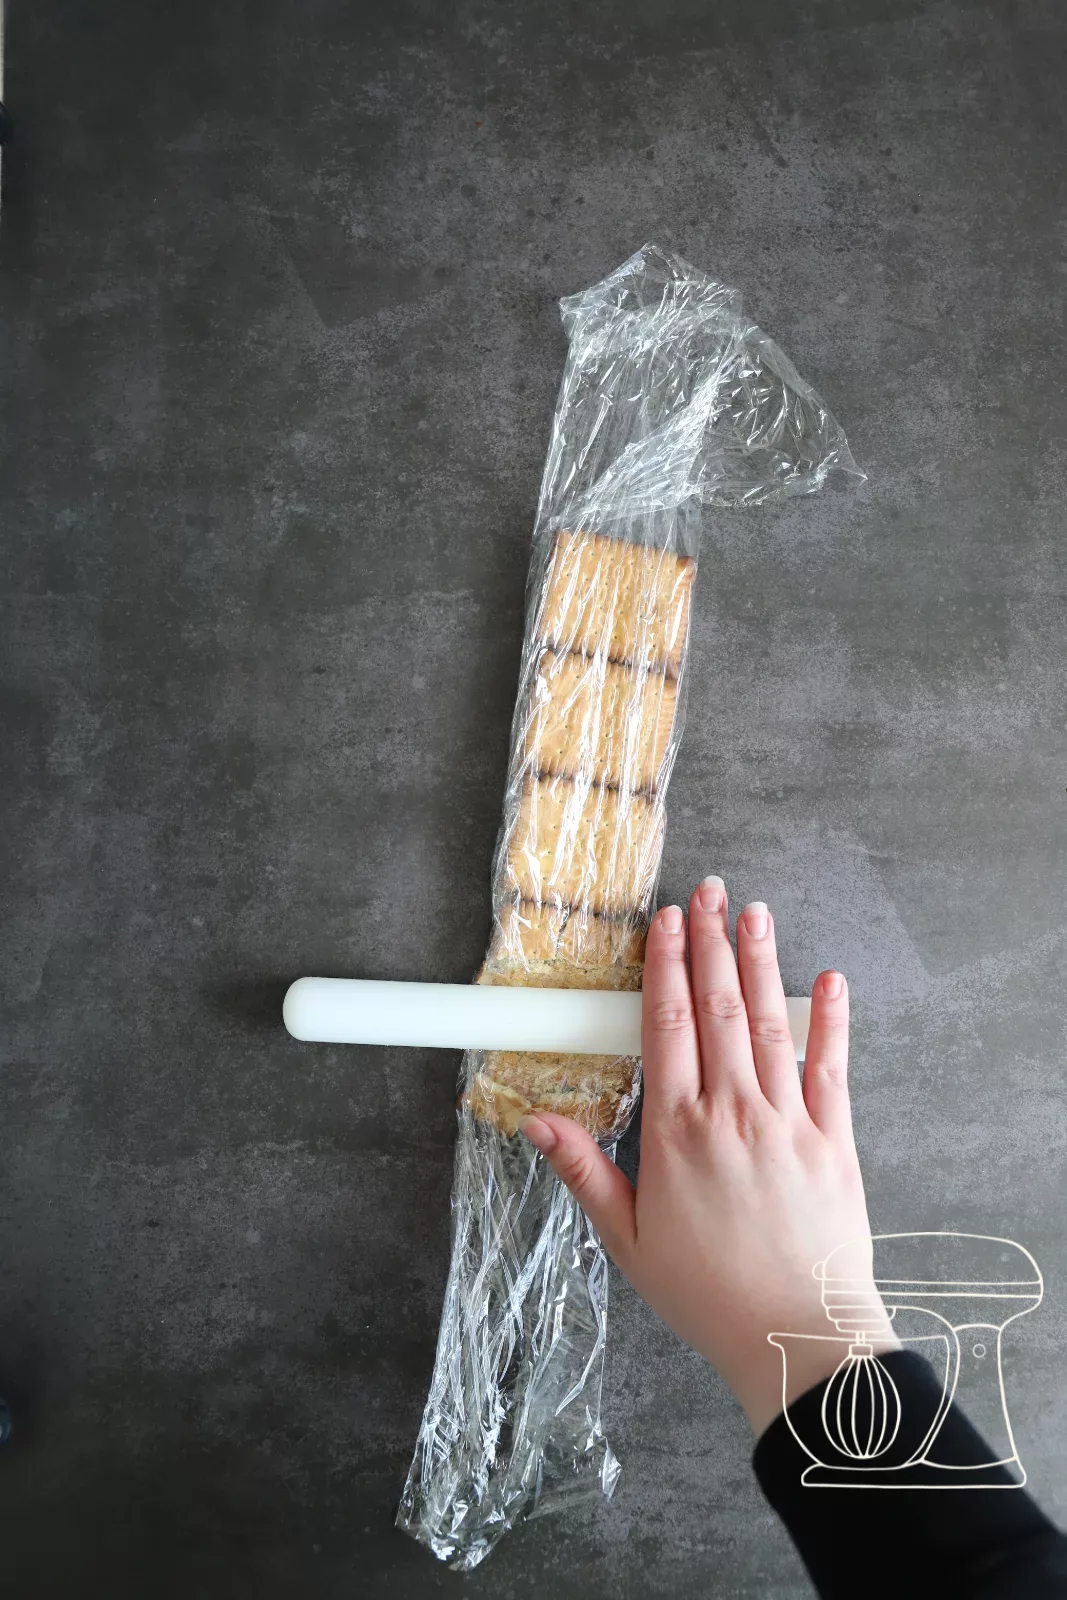
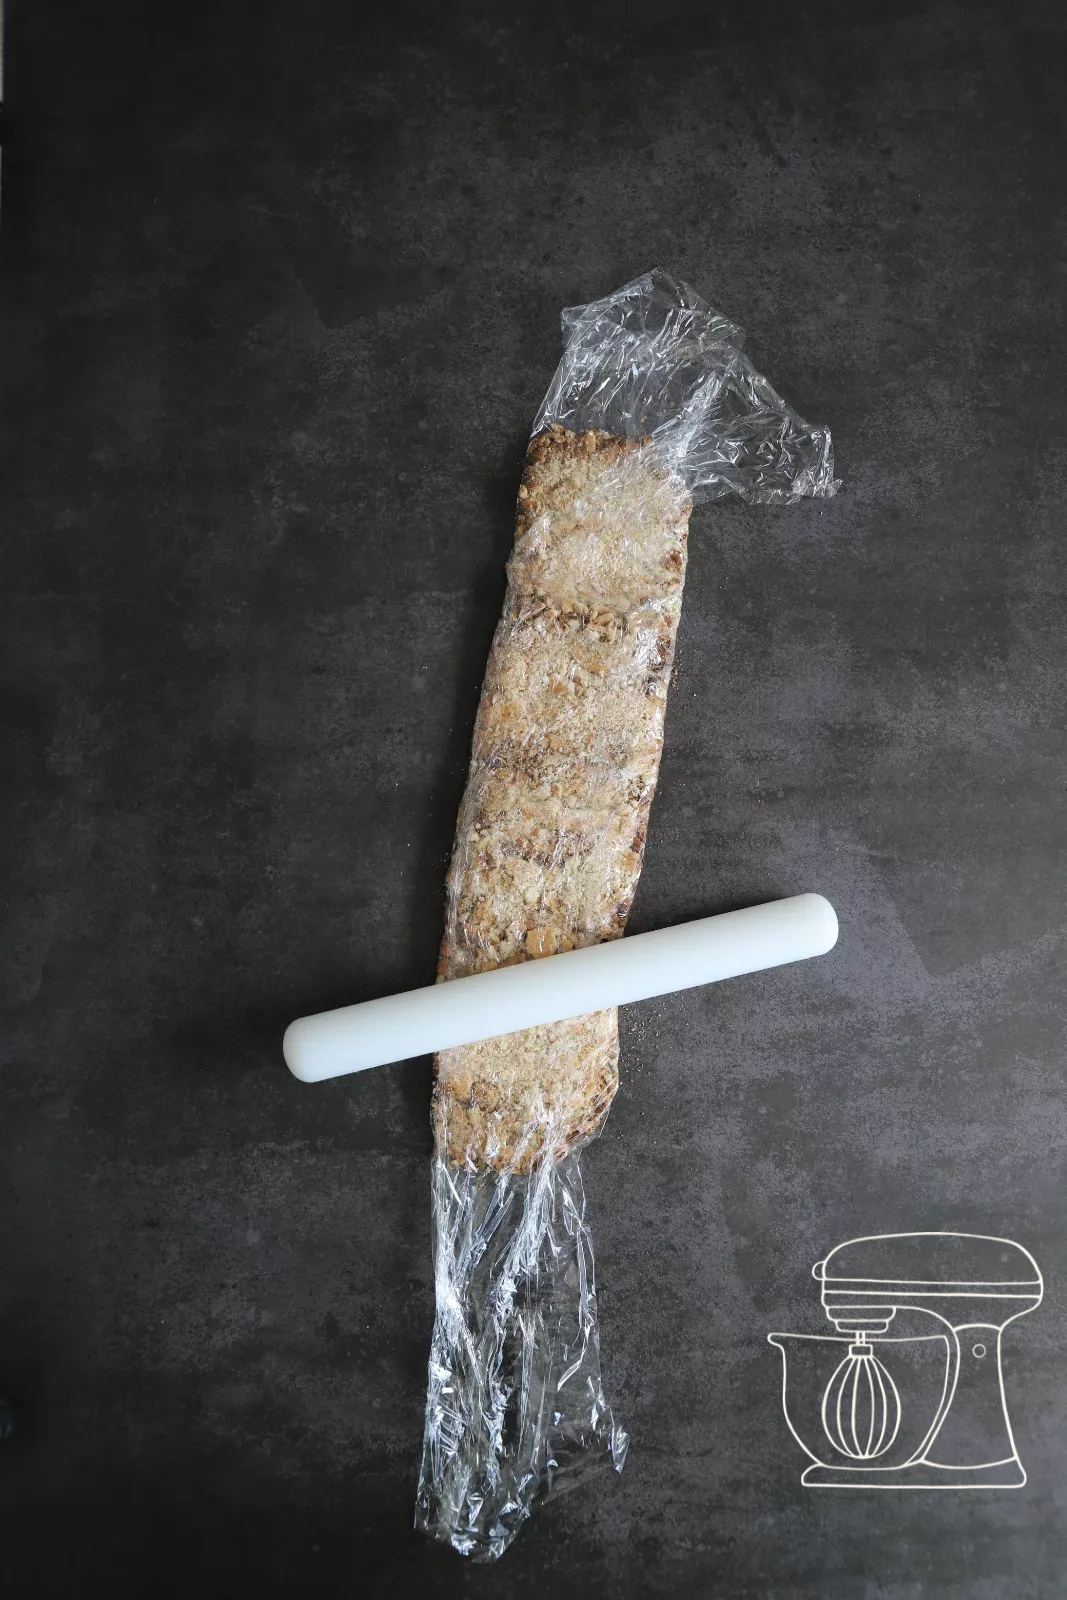
Put 8 Petit Beurre biscuits into a zip bag or into cling film and roll over them with a rolling pin. They do not have to be perfectly crushed: larger pieces give the mixture a nice bite.
Whip the cream
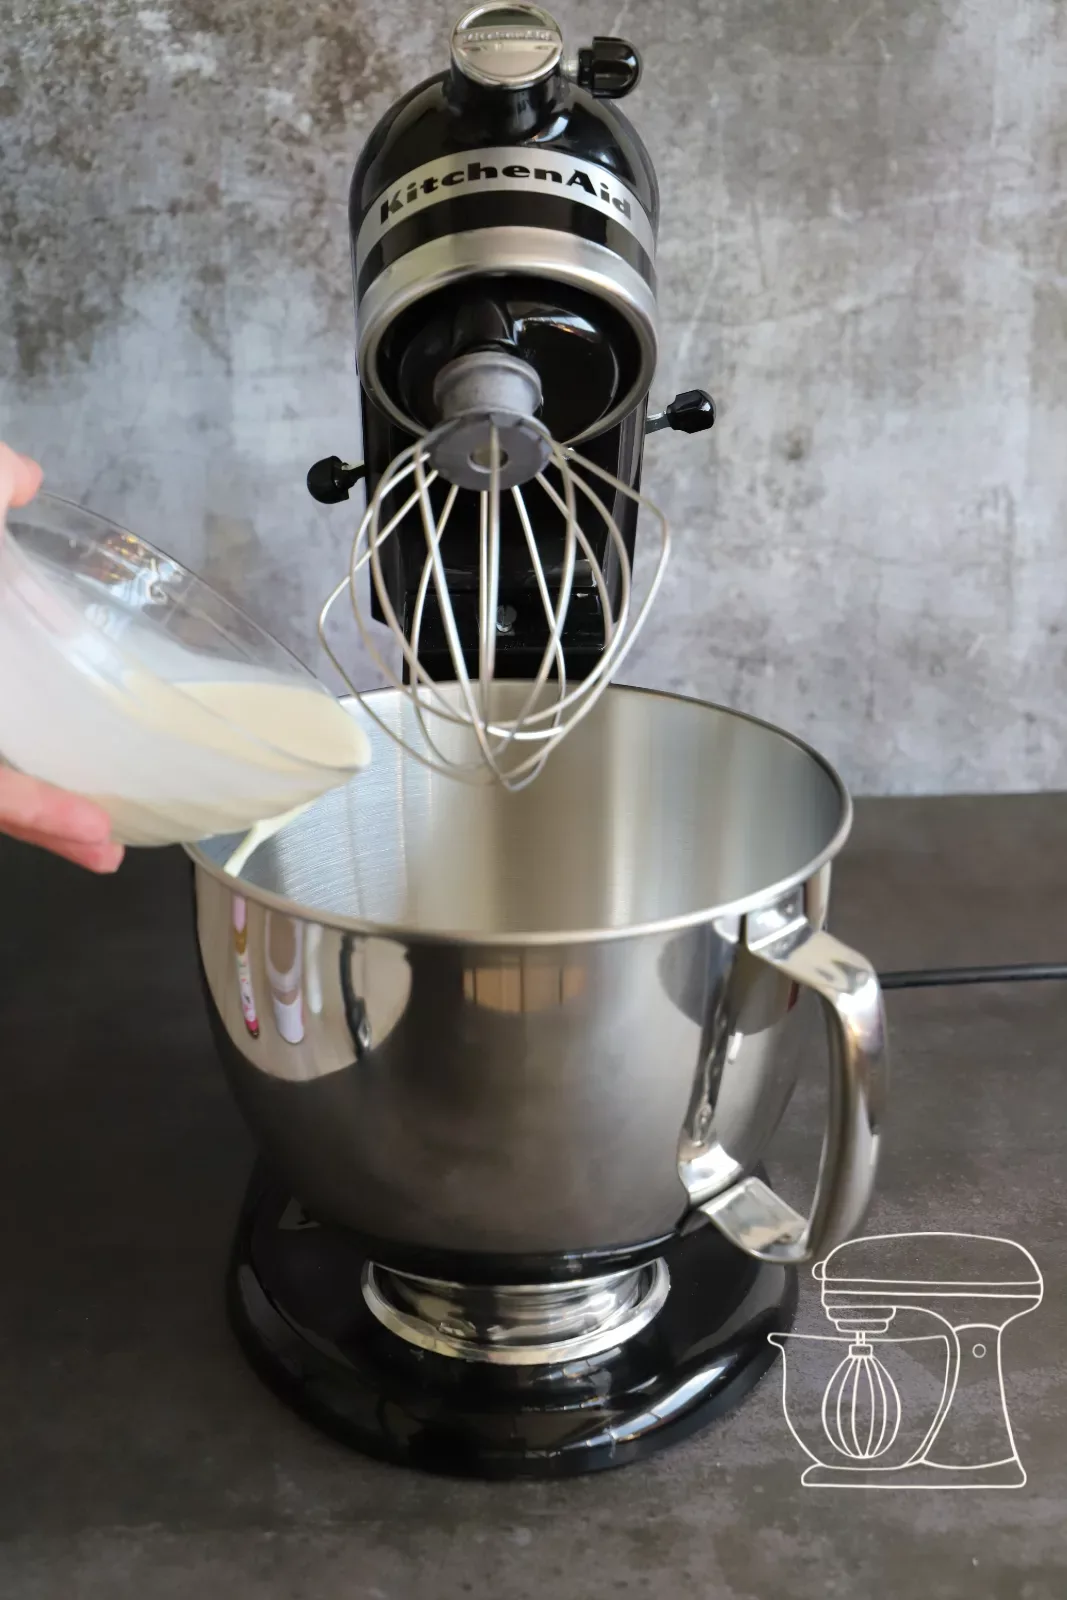
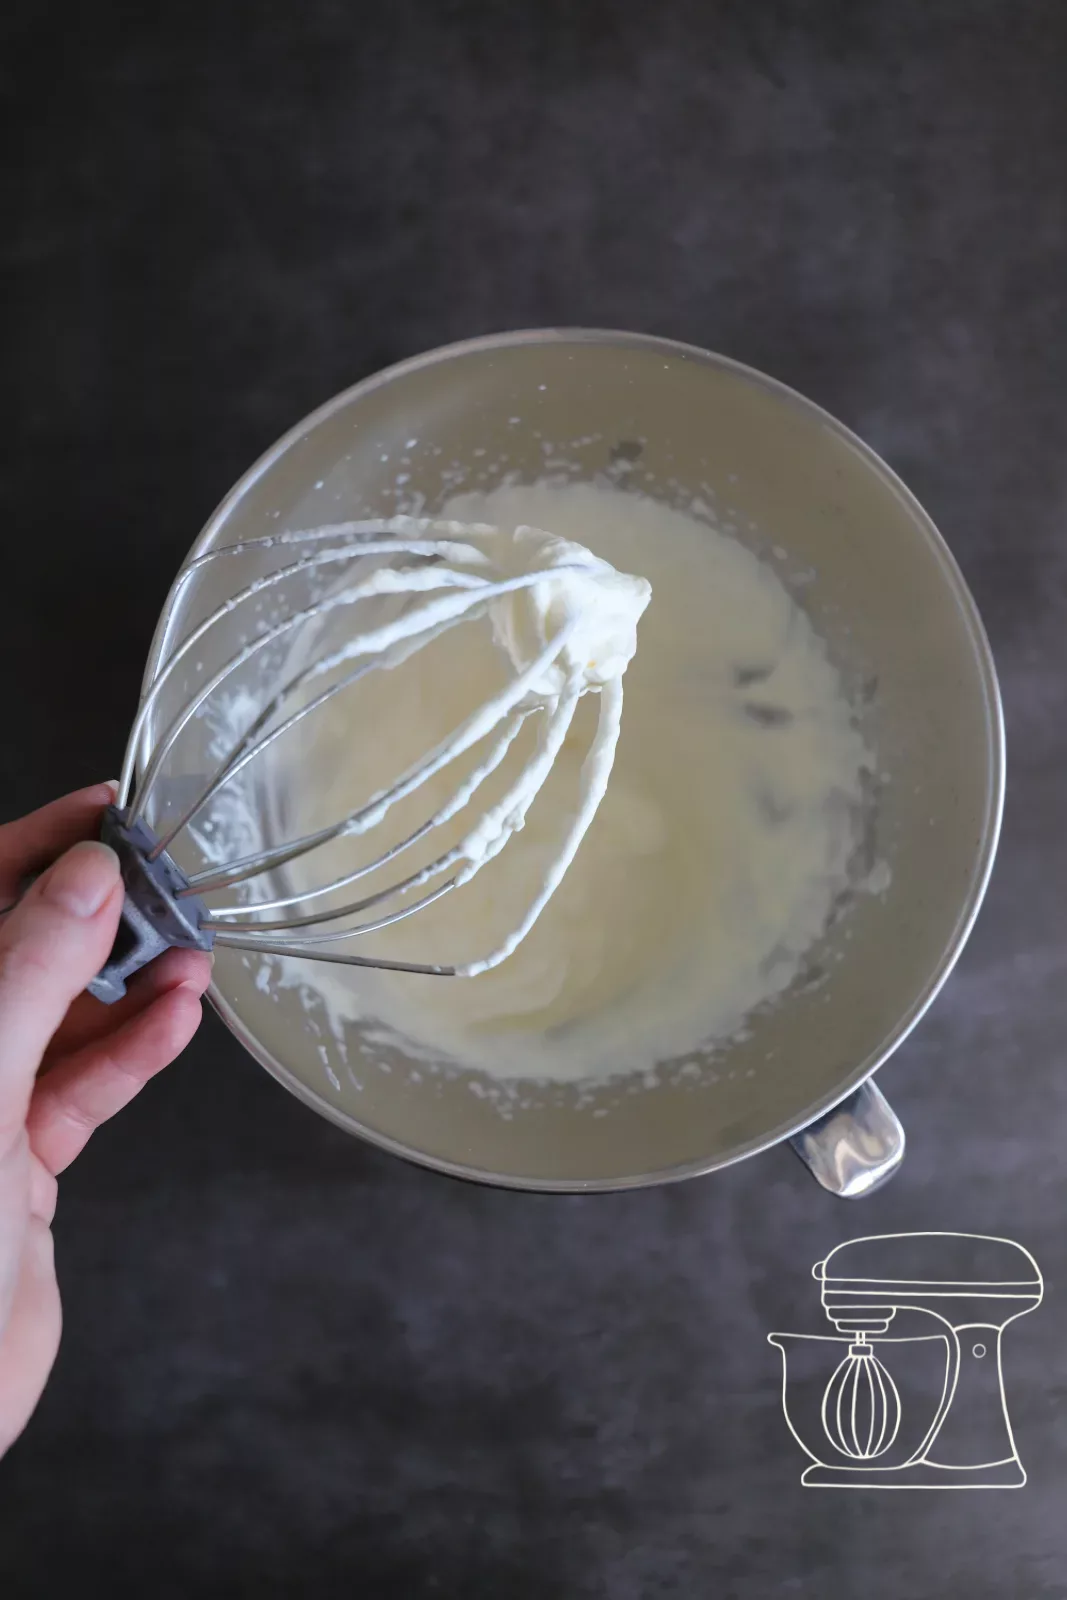
Lightly whip 200 g of full cream and keep it in the fridge until you need it.
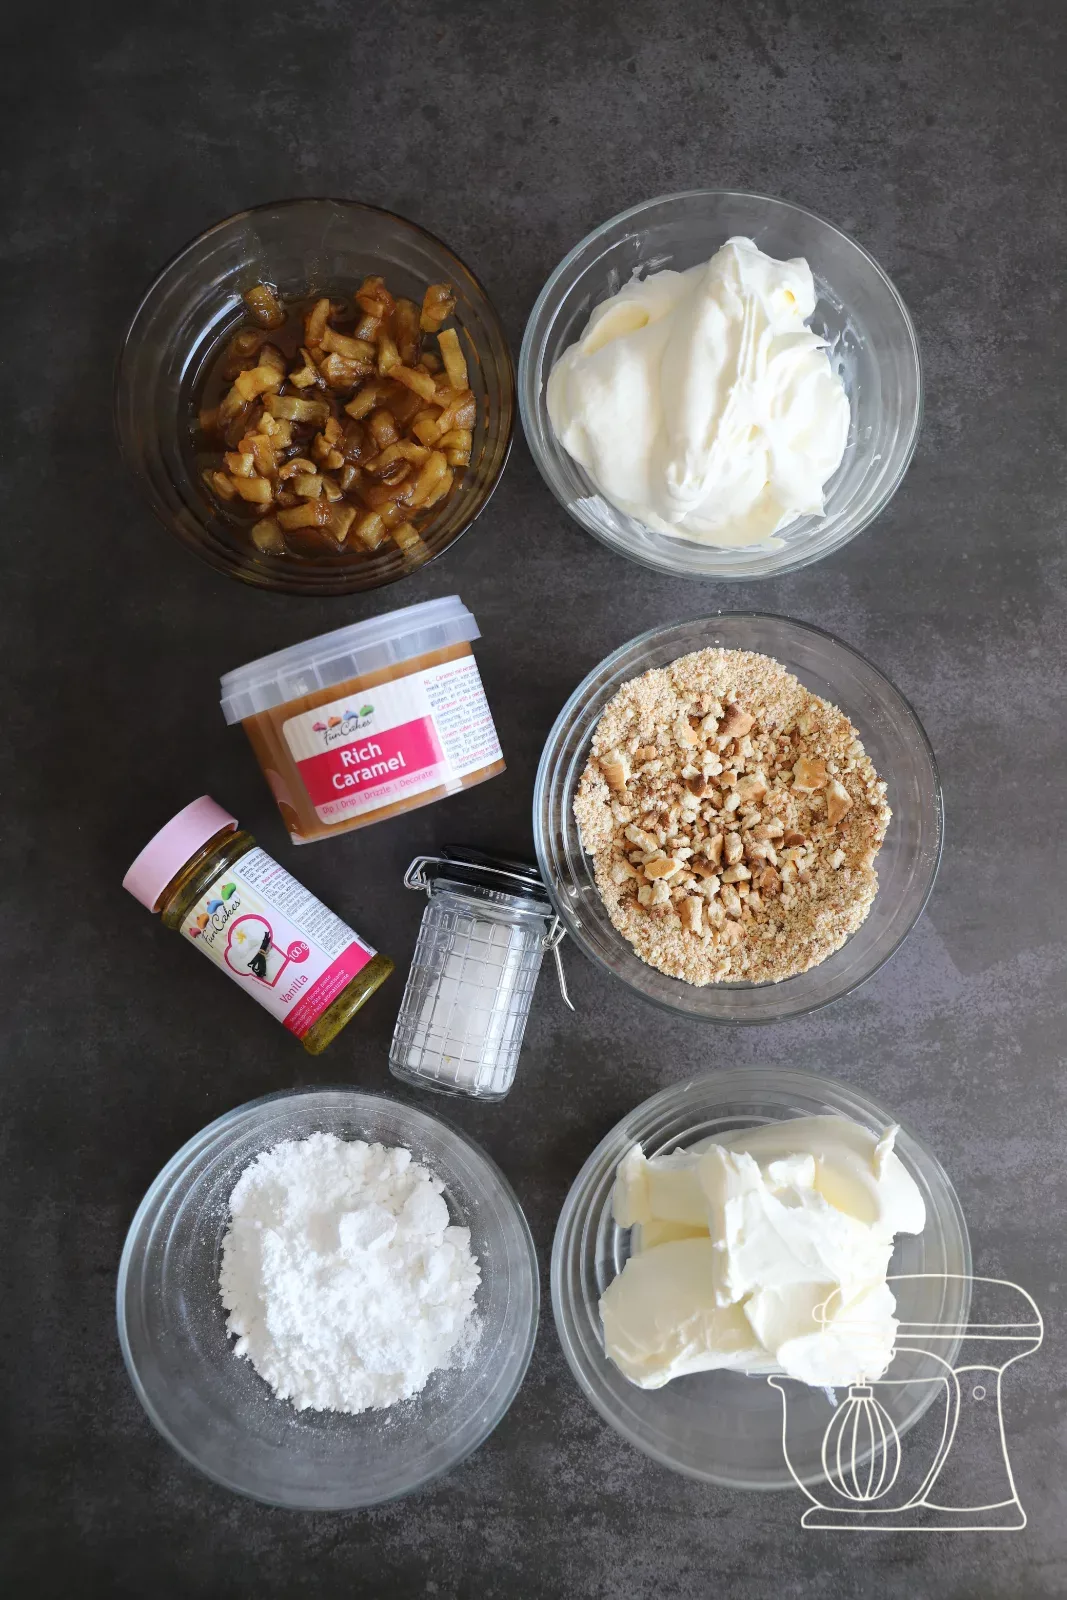
Cream cheese and caramel
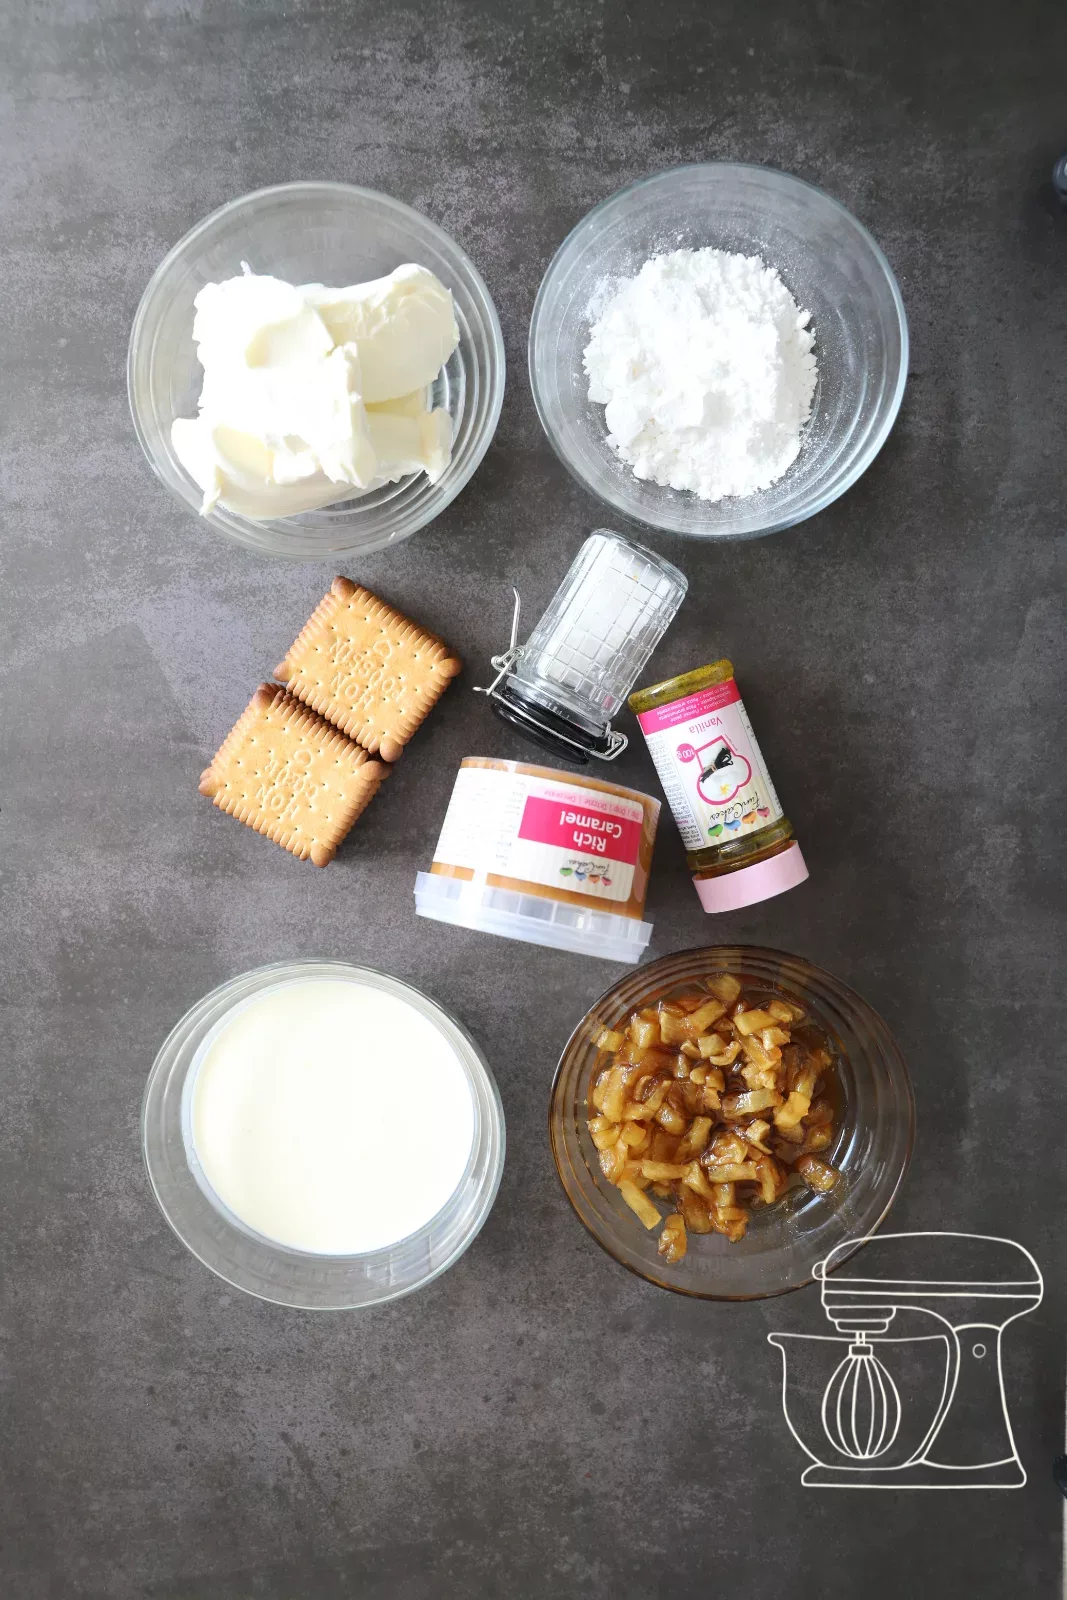
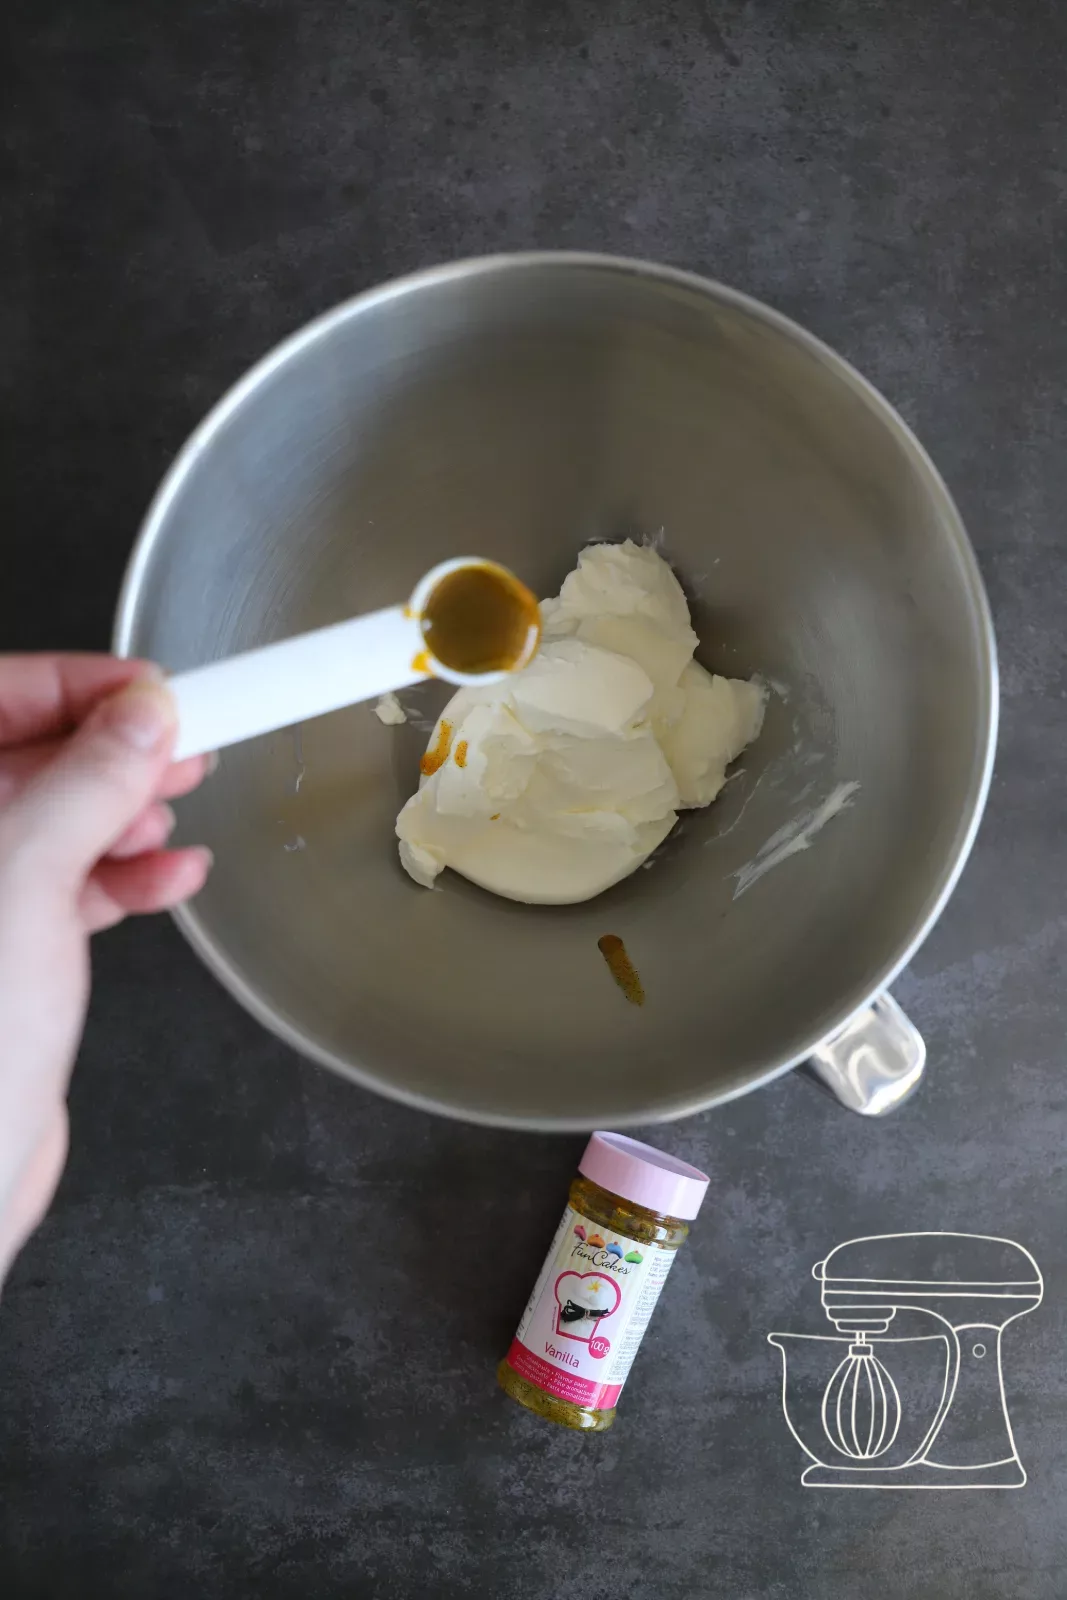
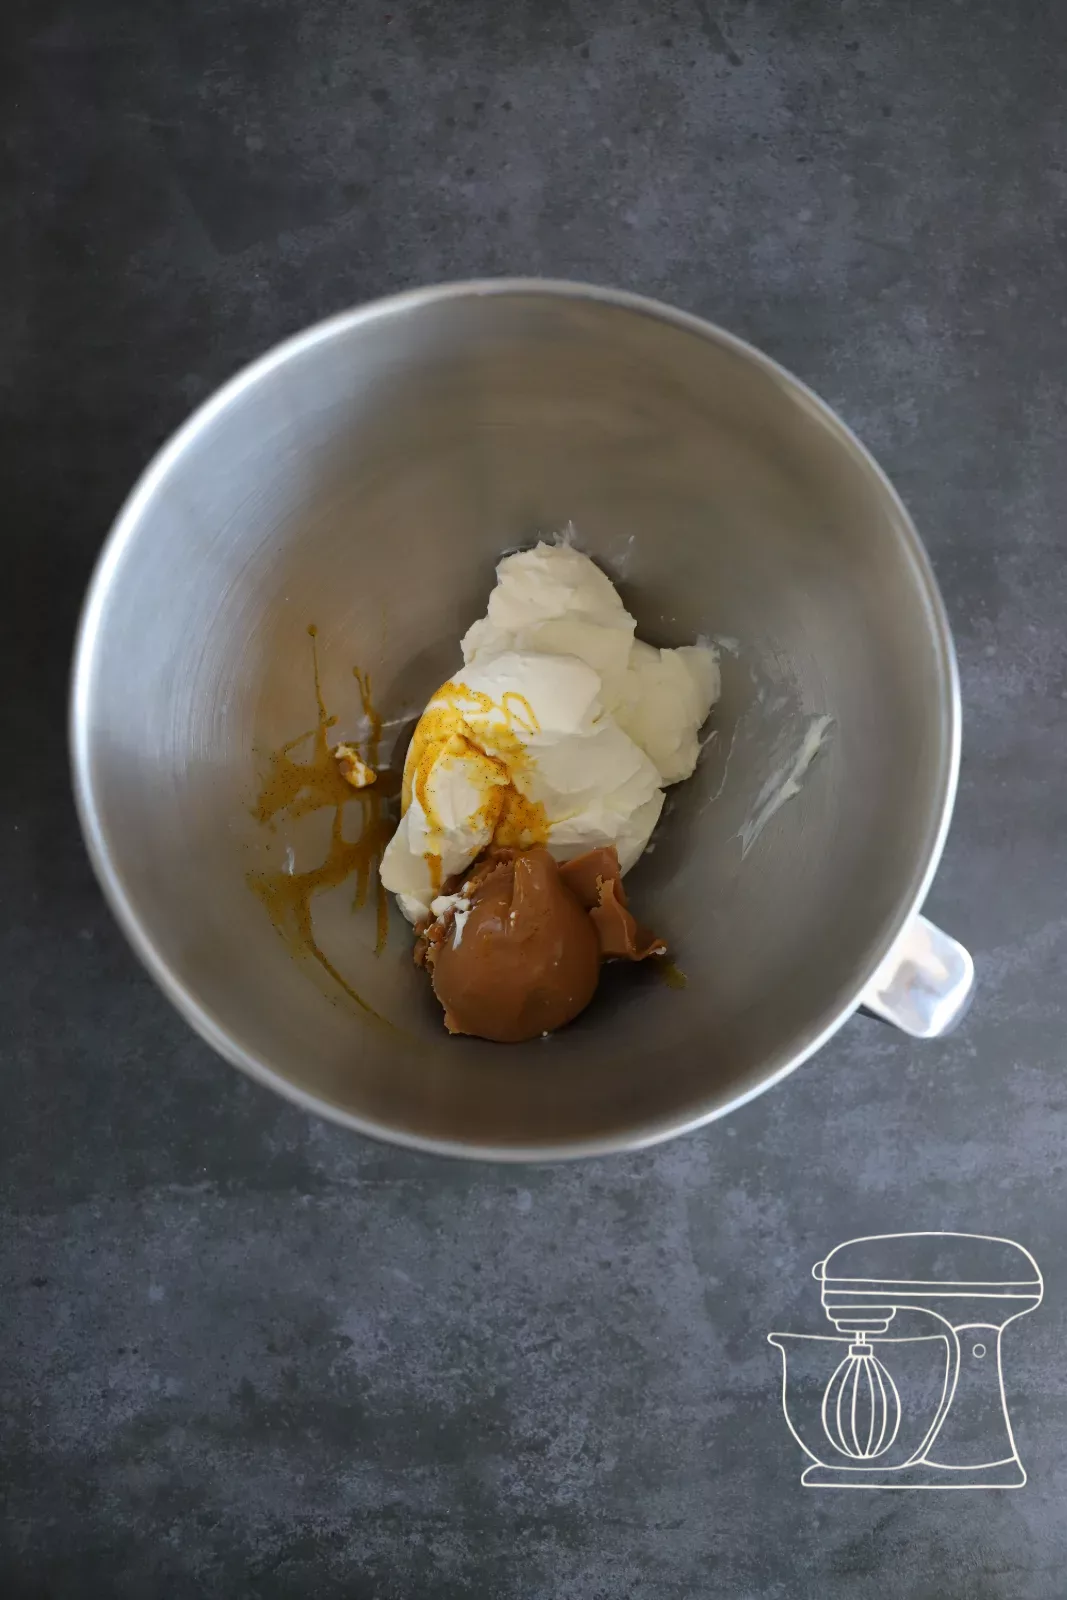
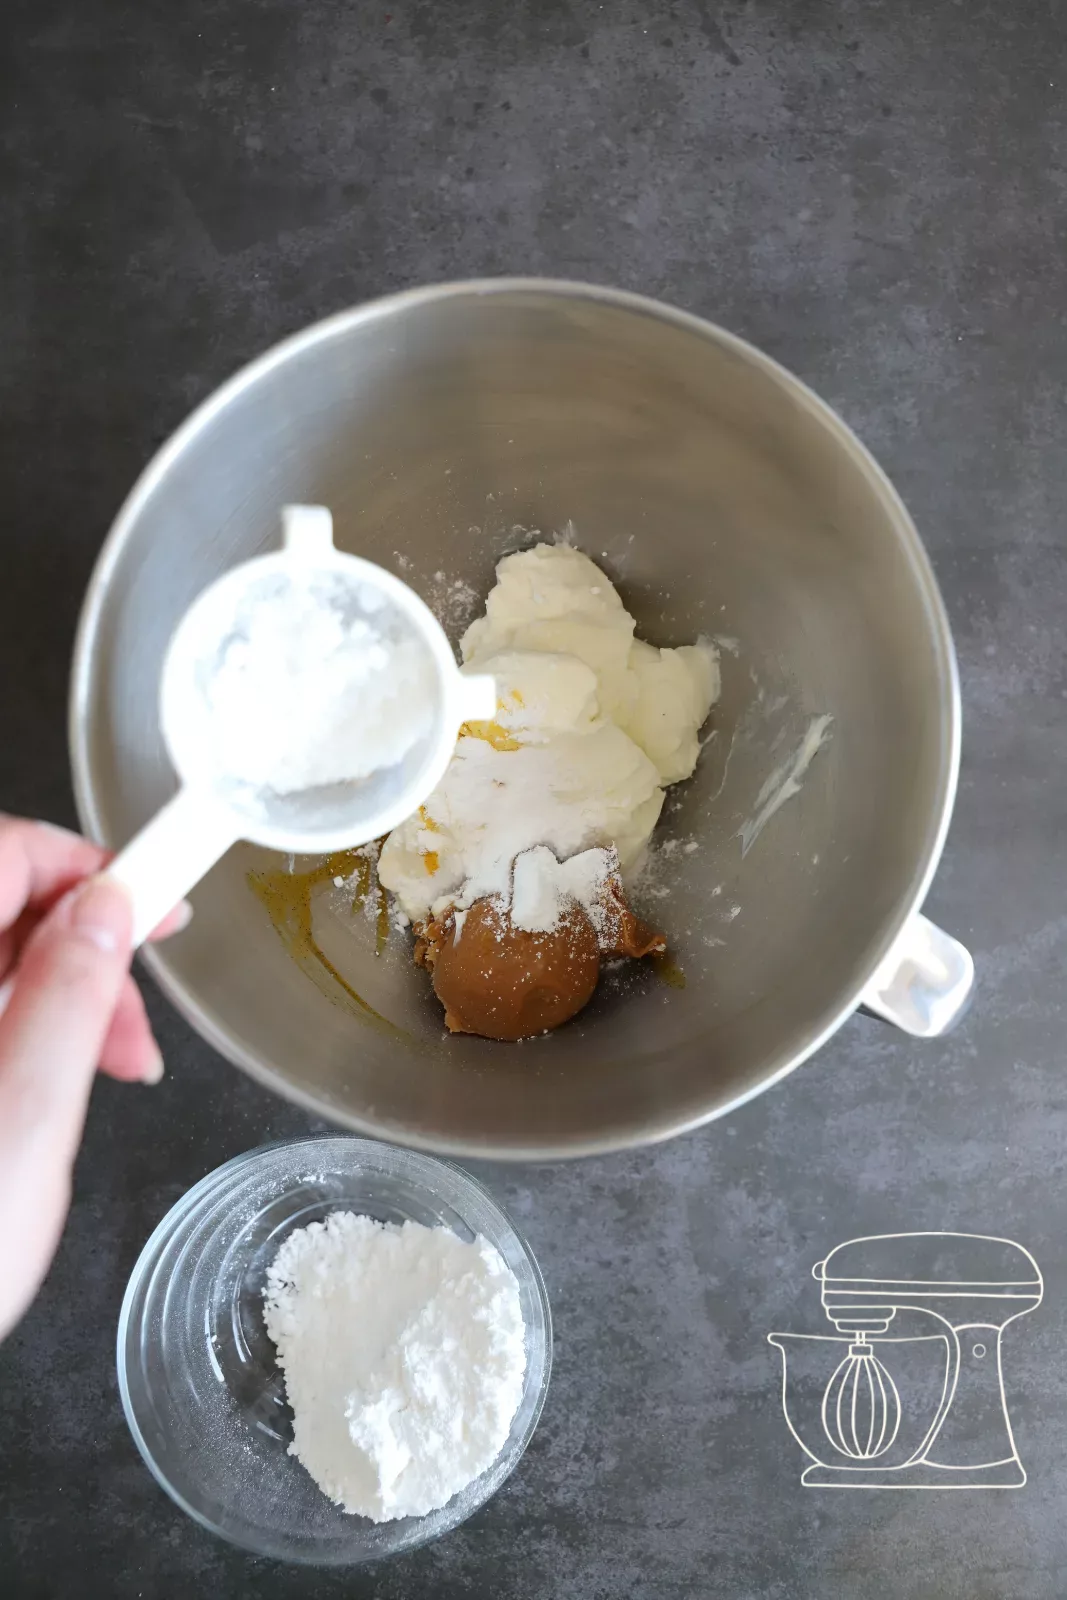
Put 320 g of cream cheese, 70 g of sieved icing sugar, 1 tsp of vanilla Liquid aroma, 100 g of caramel and 1 to 2 pinches of salt into a Mixing bowl. If you use a homemade Caramel Salé, simply leave out the salt.
Ice mould "Mini classic"
Ice mould "Classic"
Creamy caramel
Liquid aroma "Vanilla"
Mix together
Mix everything with the stand mixer on a medium setting until the mixture is smooth. Then add the whipped cream and fold it in briefly.
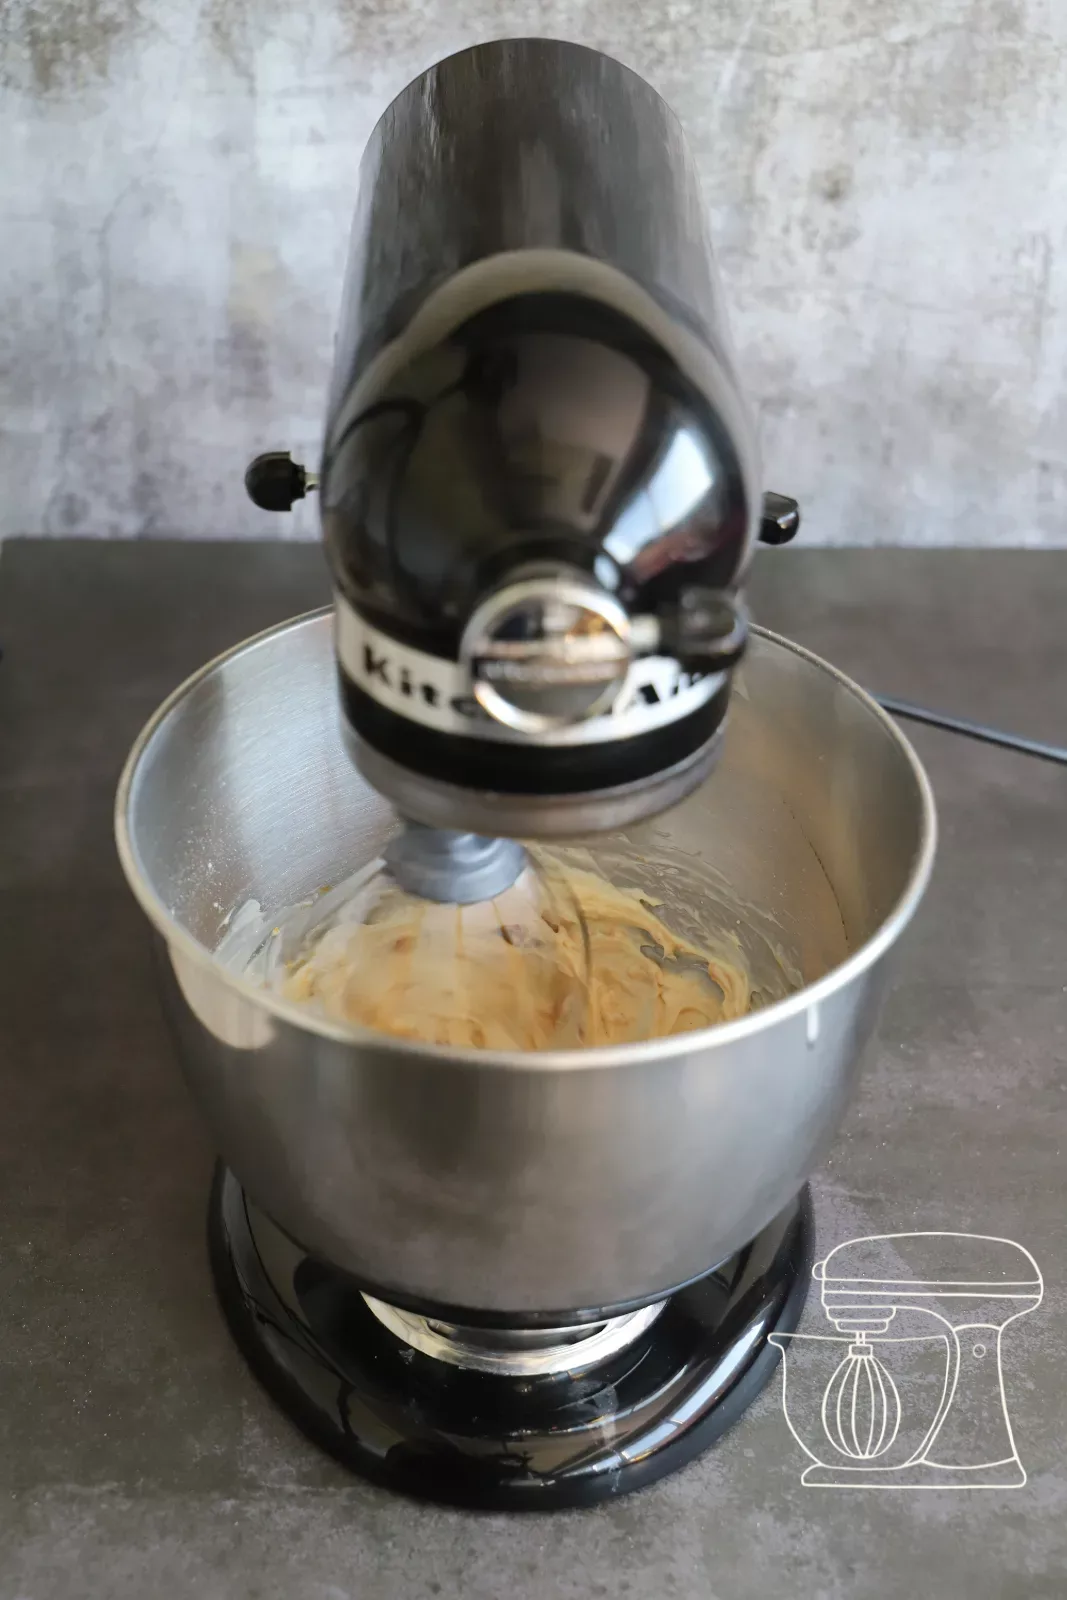
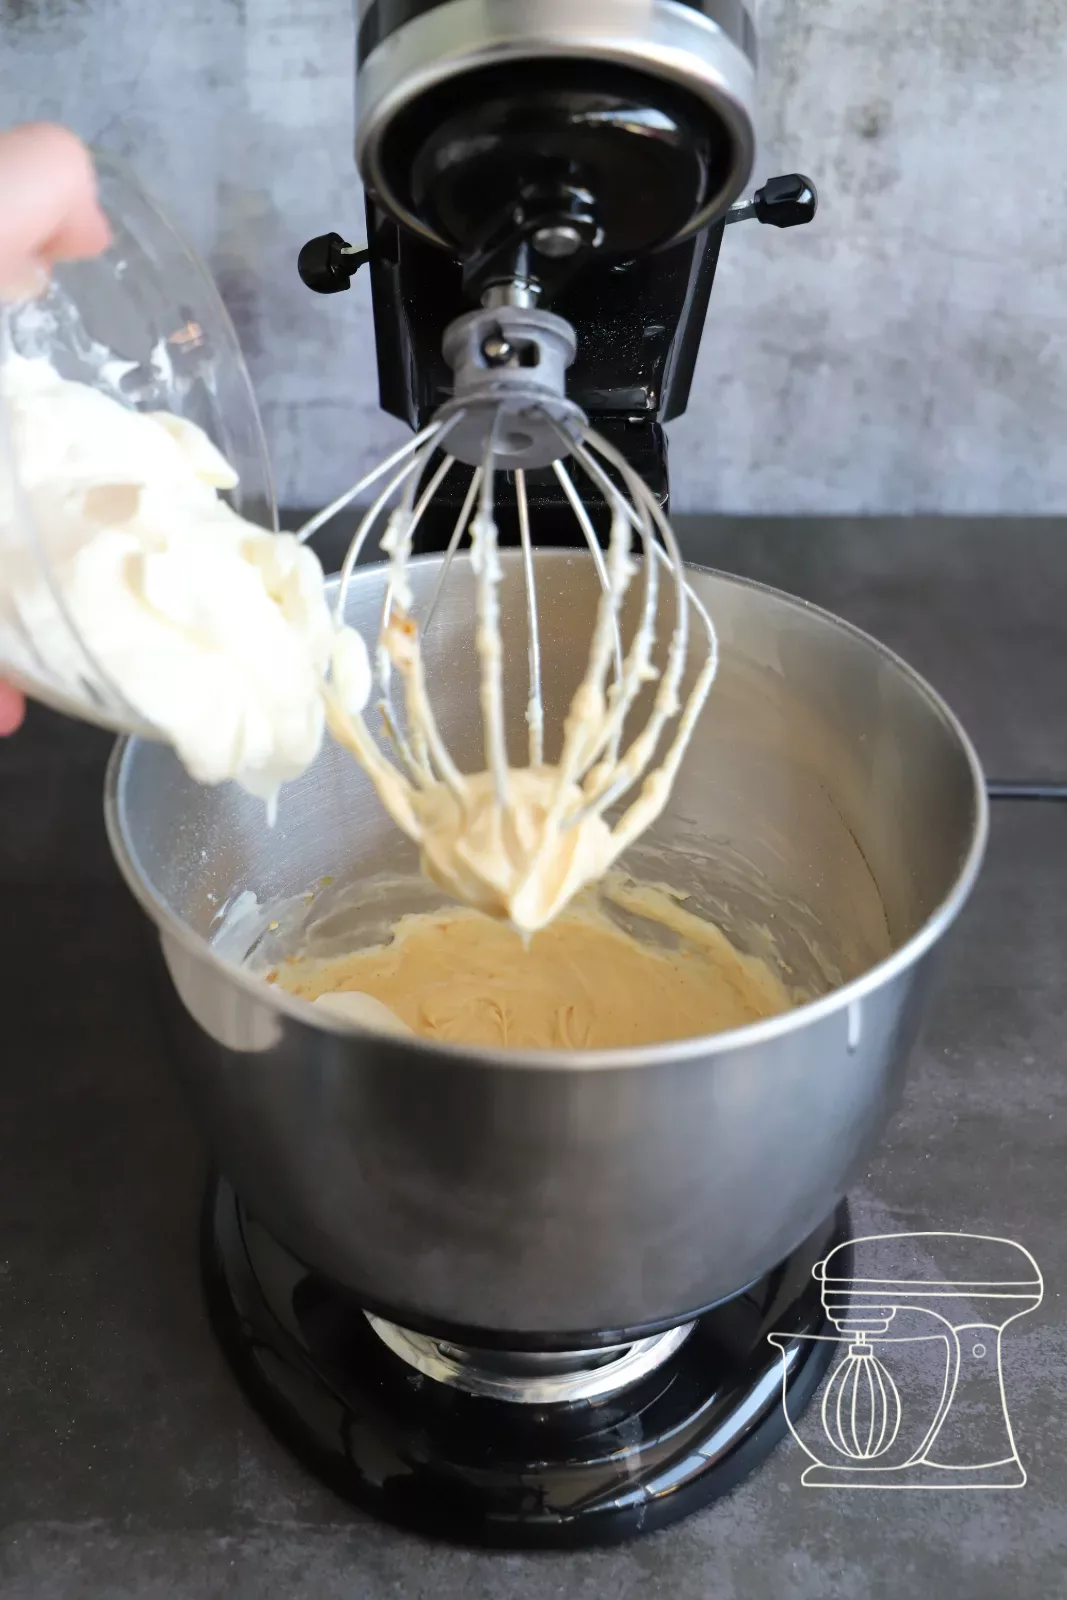
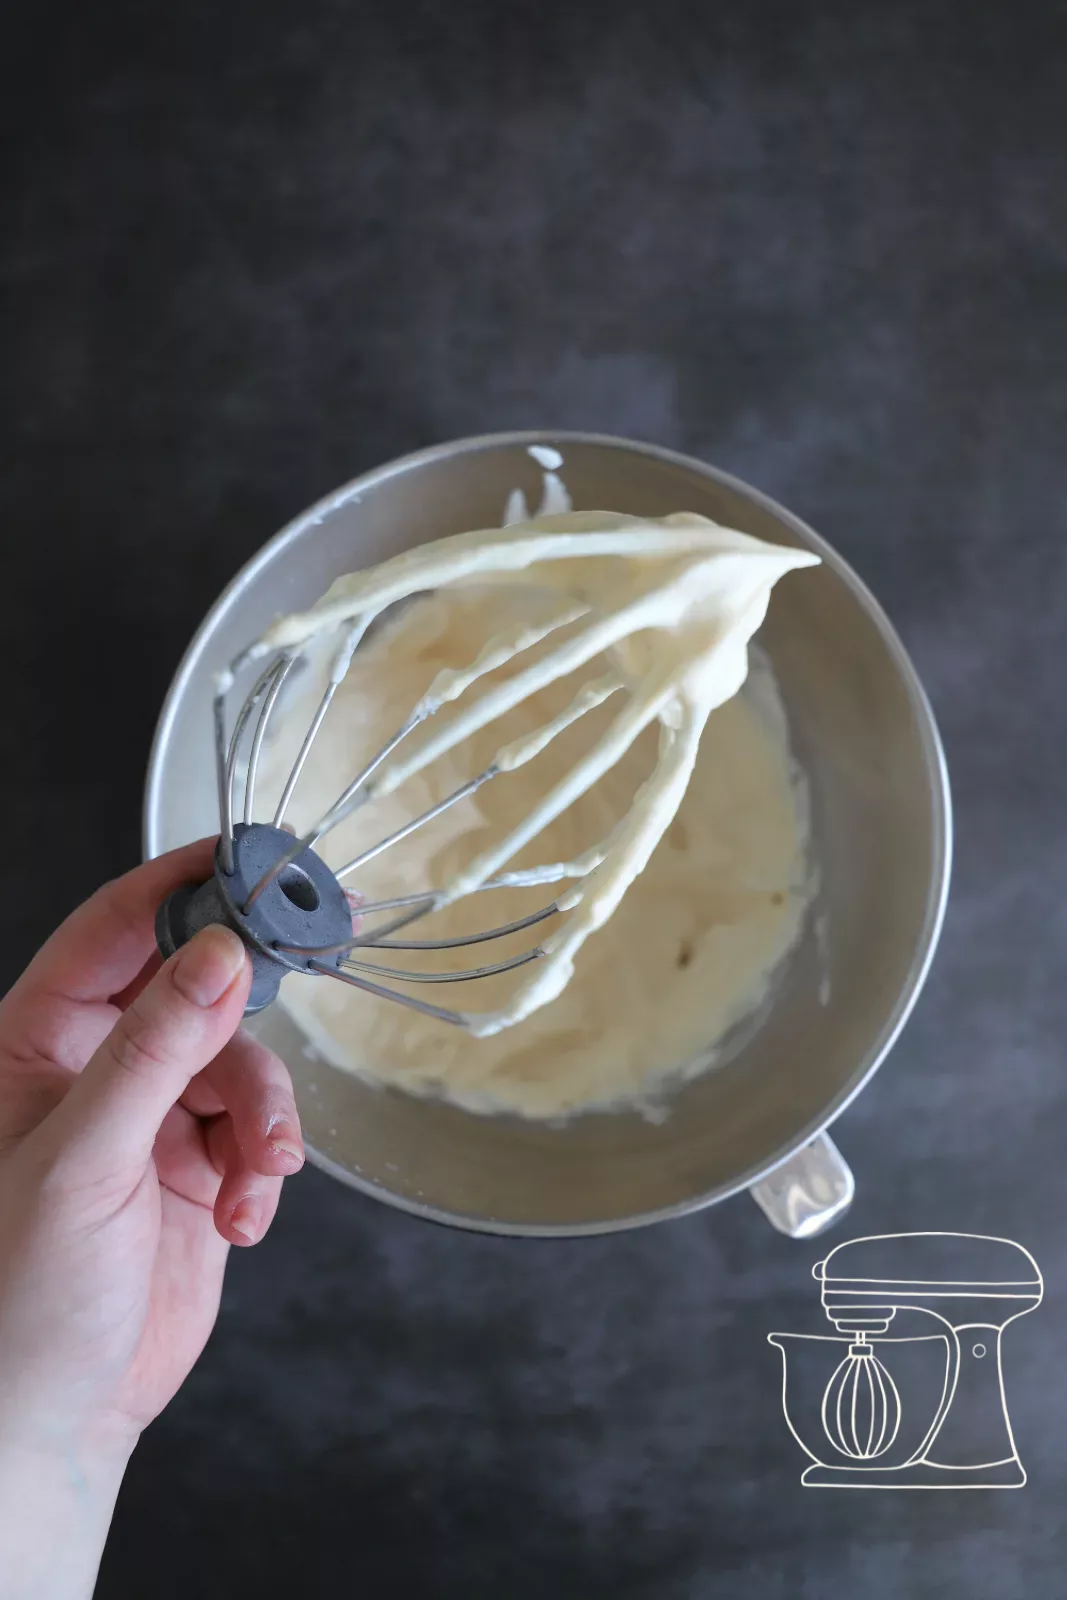
Fold in biscuits and apples
Add the crumbled biscuits and the cooled apple filling and gently fold everything in with a Dough scraper.
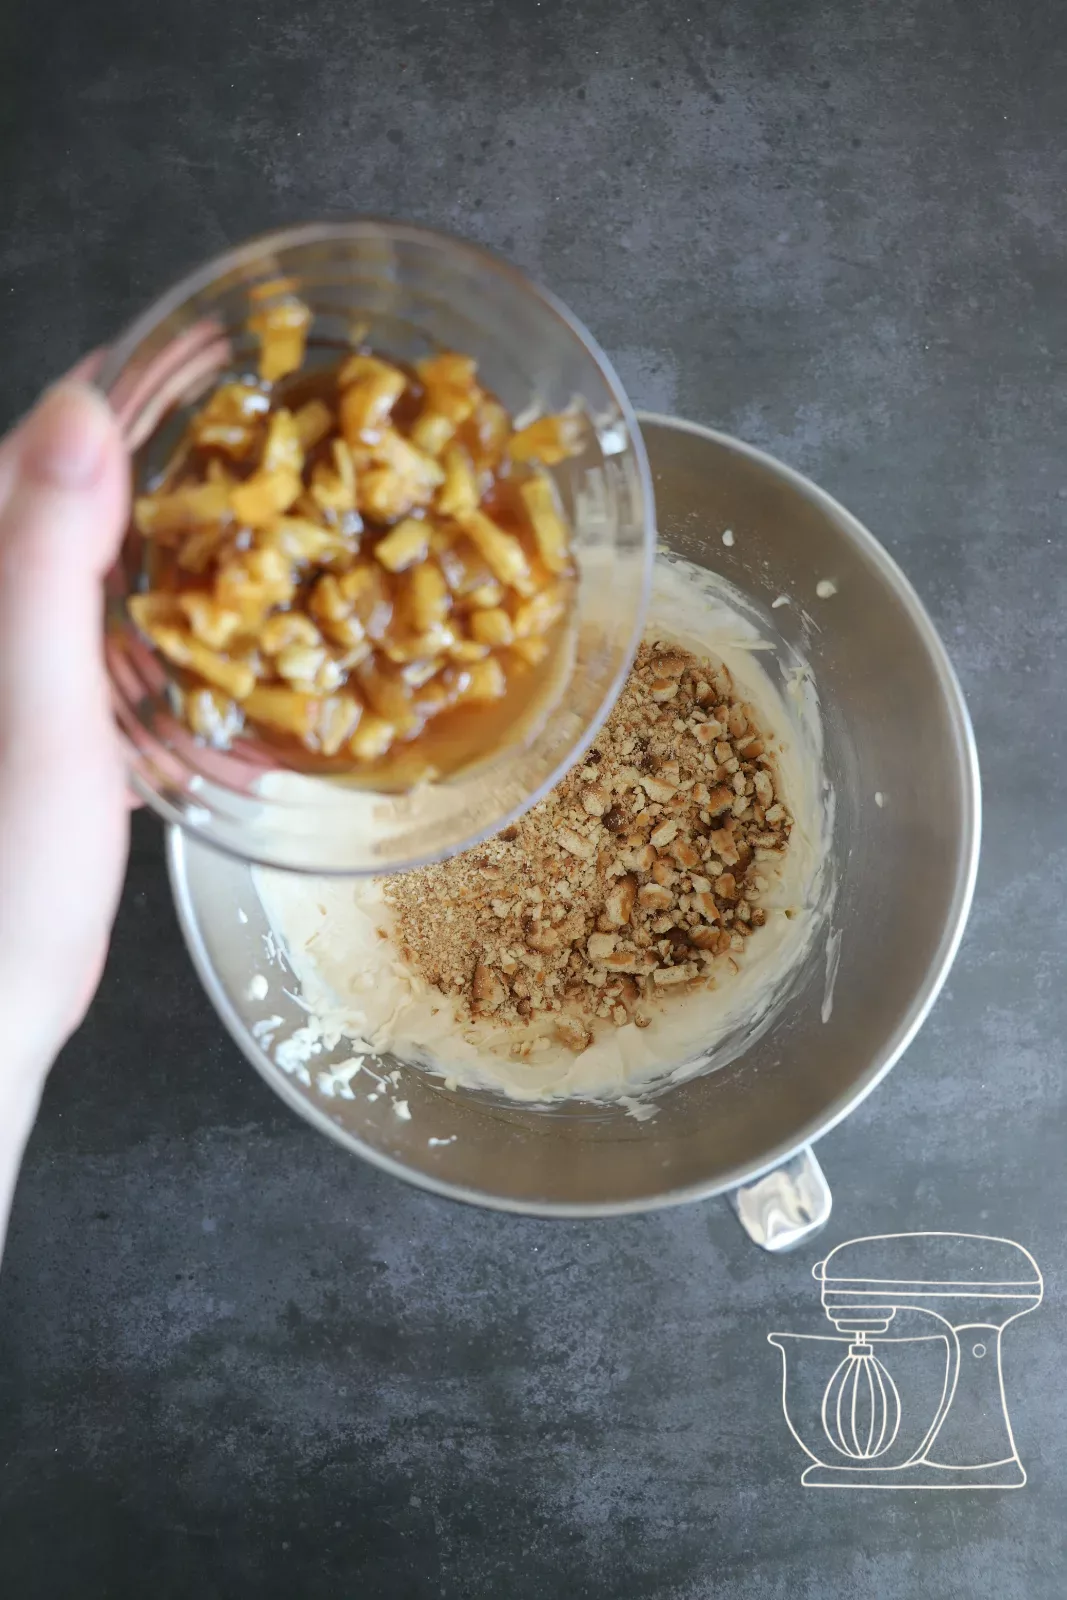
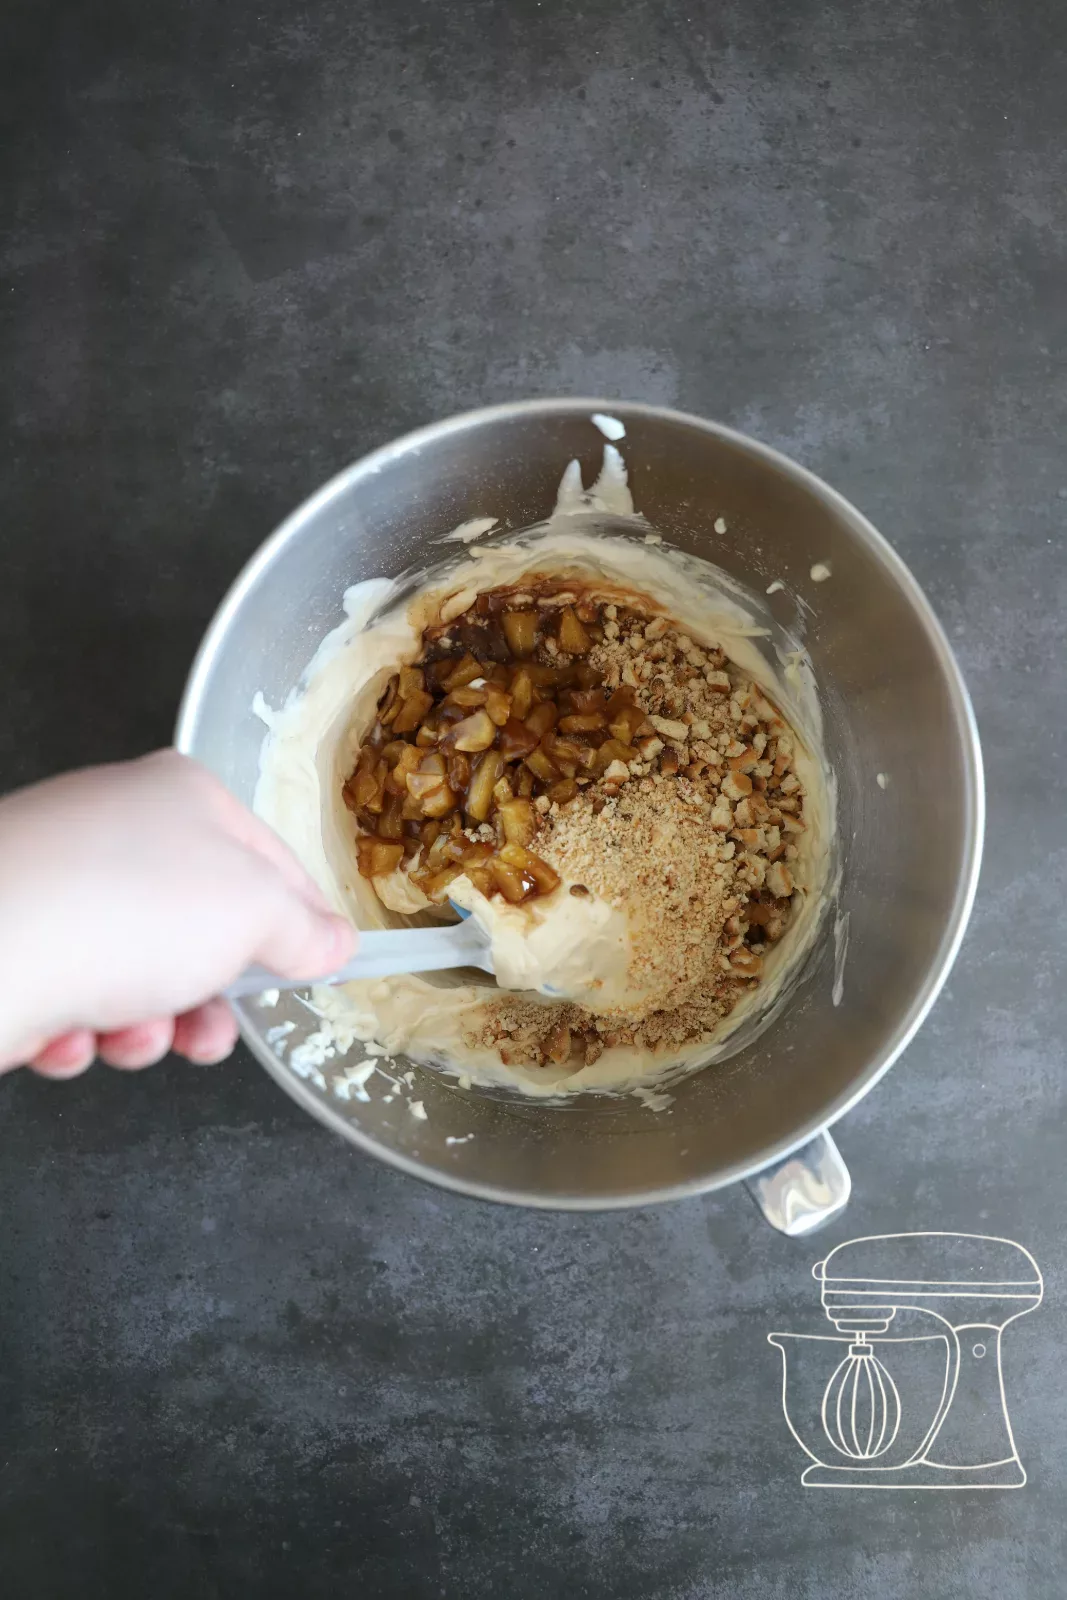
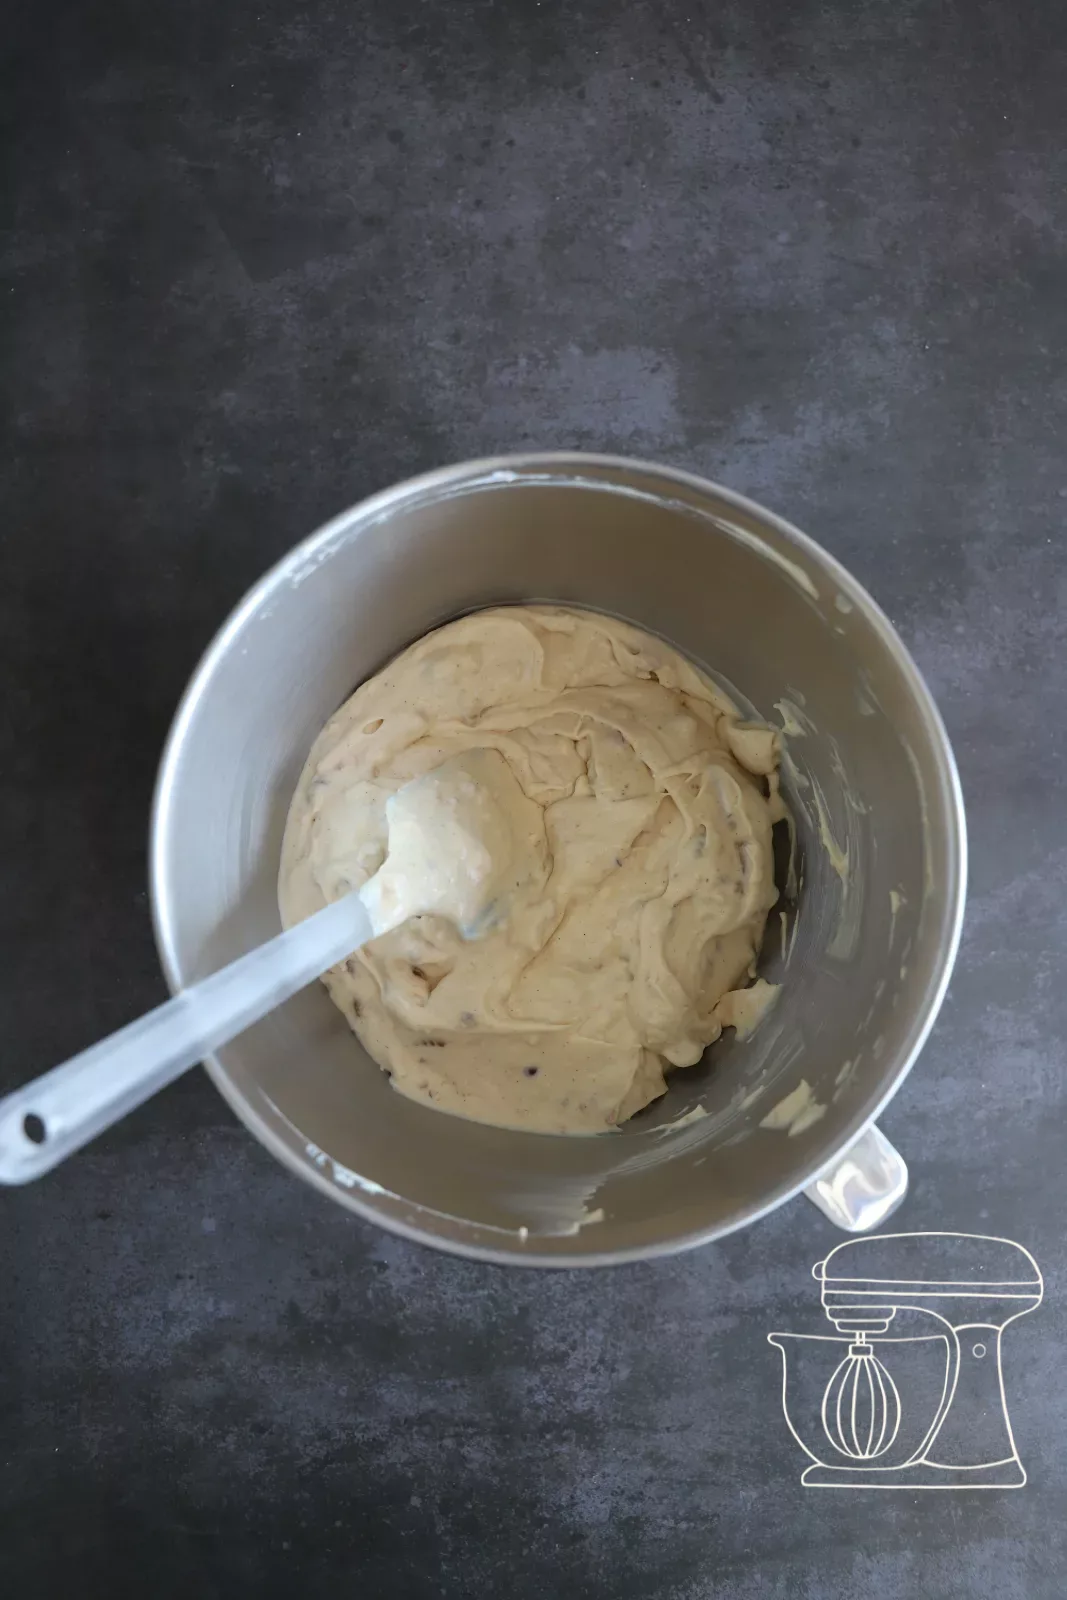
Fill and freeze the cakesicles
Fill the moulds
Fill some of the mixture into the cakesicle moulds and smooth it out with a spatula. The recipe makes 20 small or 10 large cakesicles. If you don't have that many moulds, simply work in several batches.
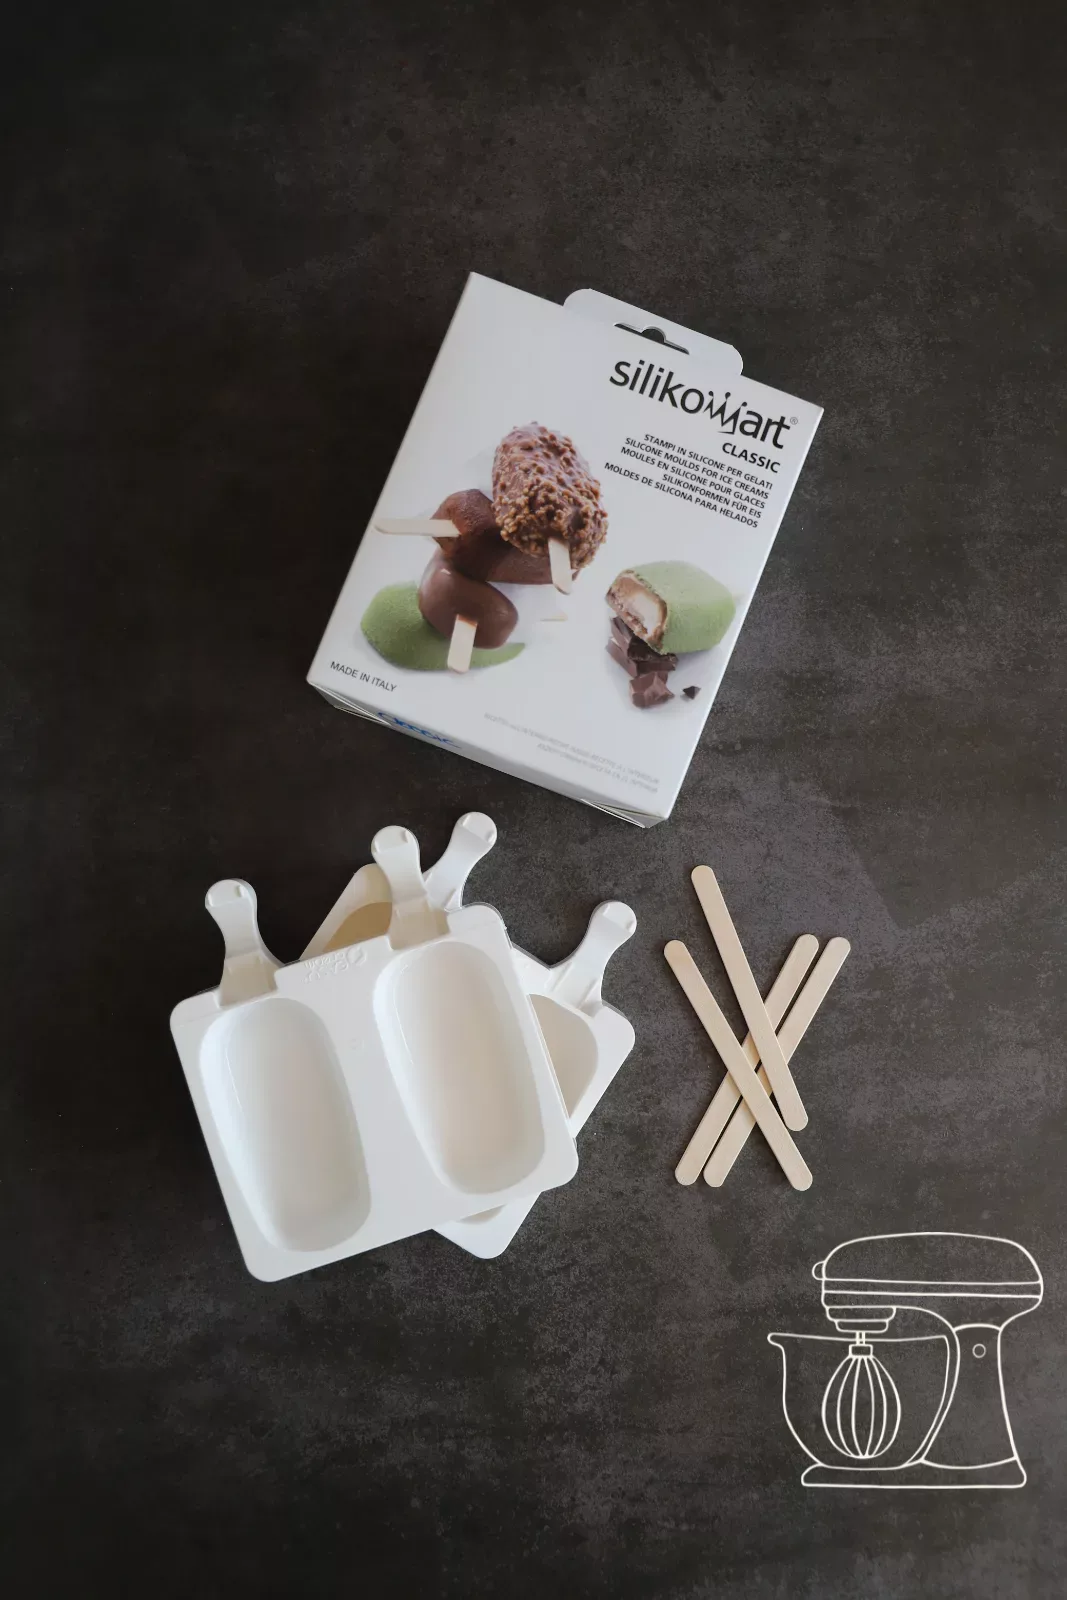
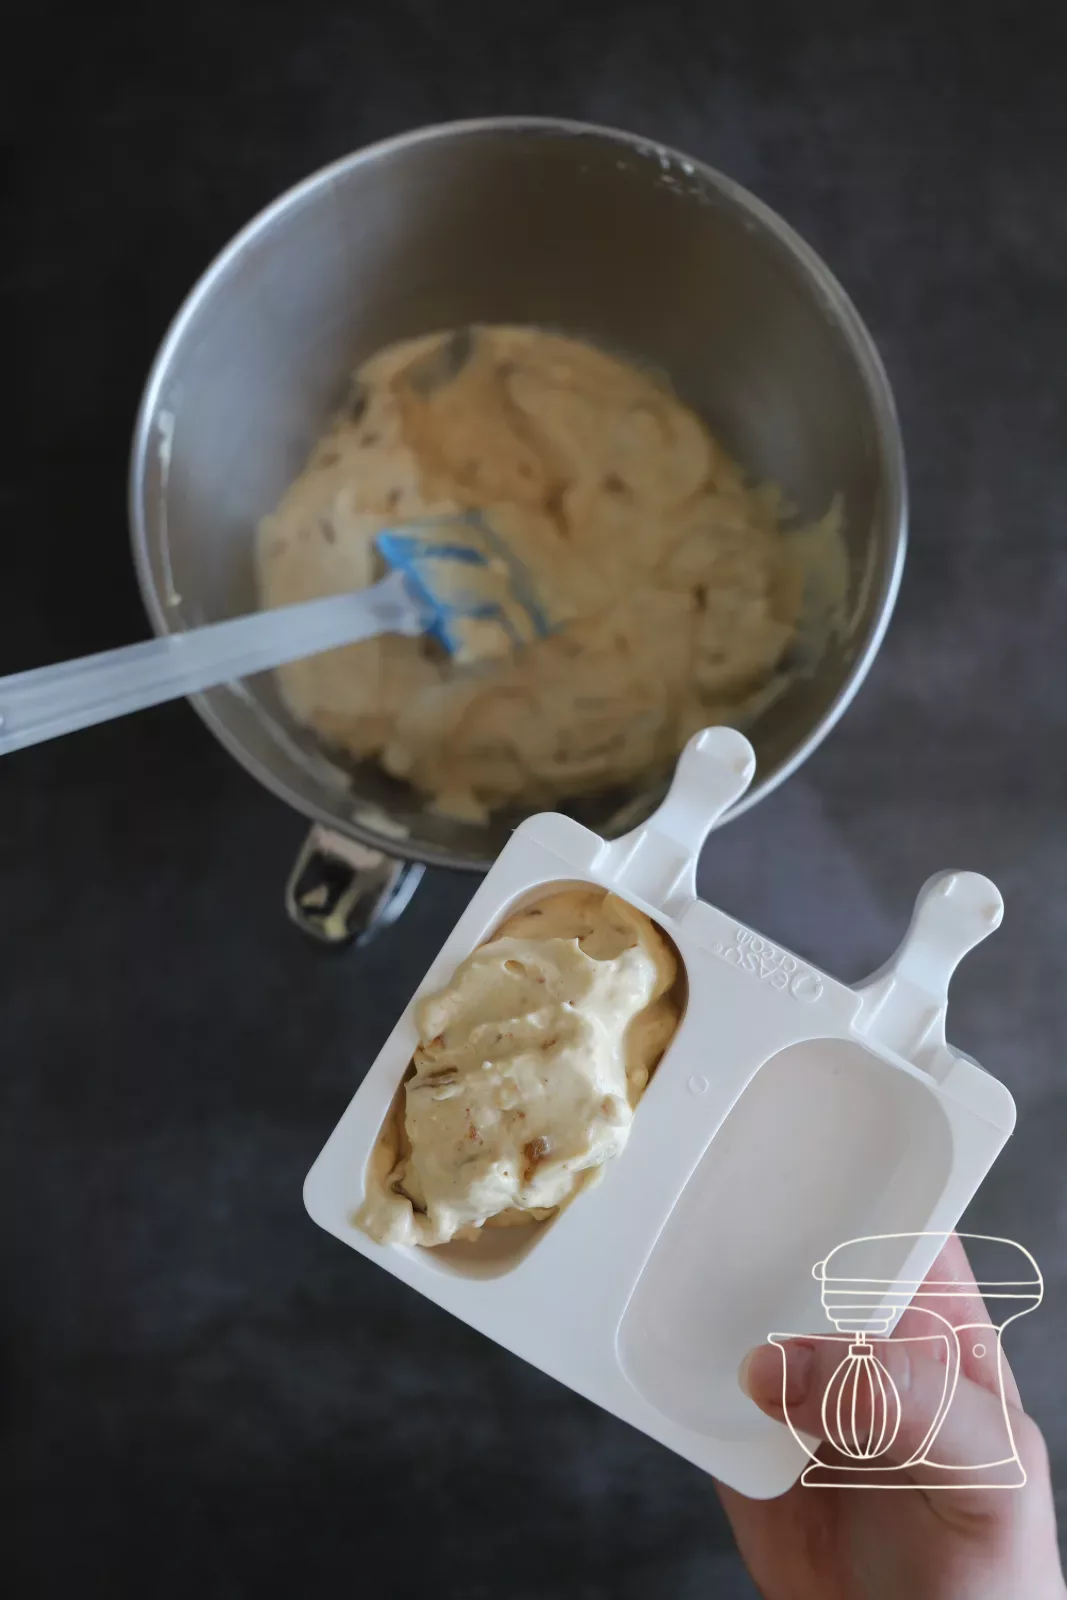
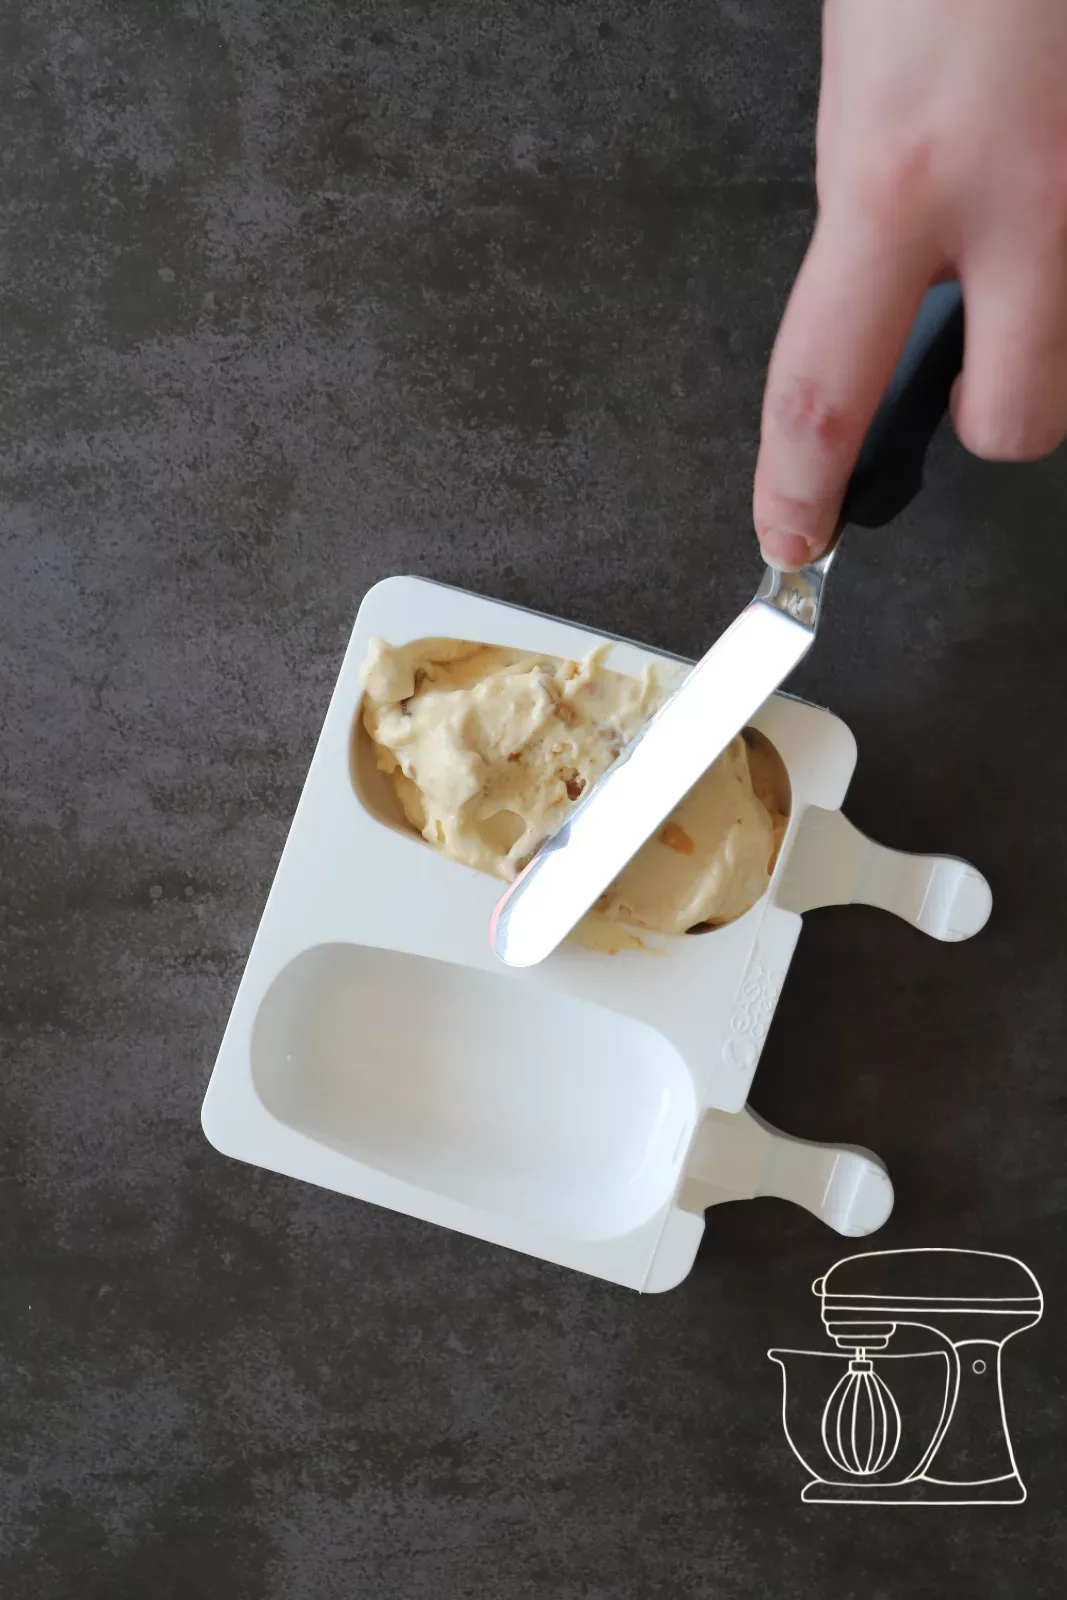
Ice mould "Mini classic"
Ice mould "Classic"
Wooden sticks for ice cream on a stick, 100 pieces
Stainless steel angled spatula
Insert the stick and freeze
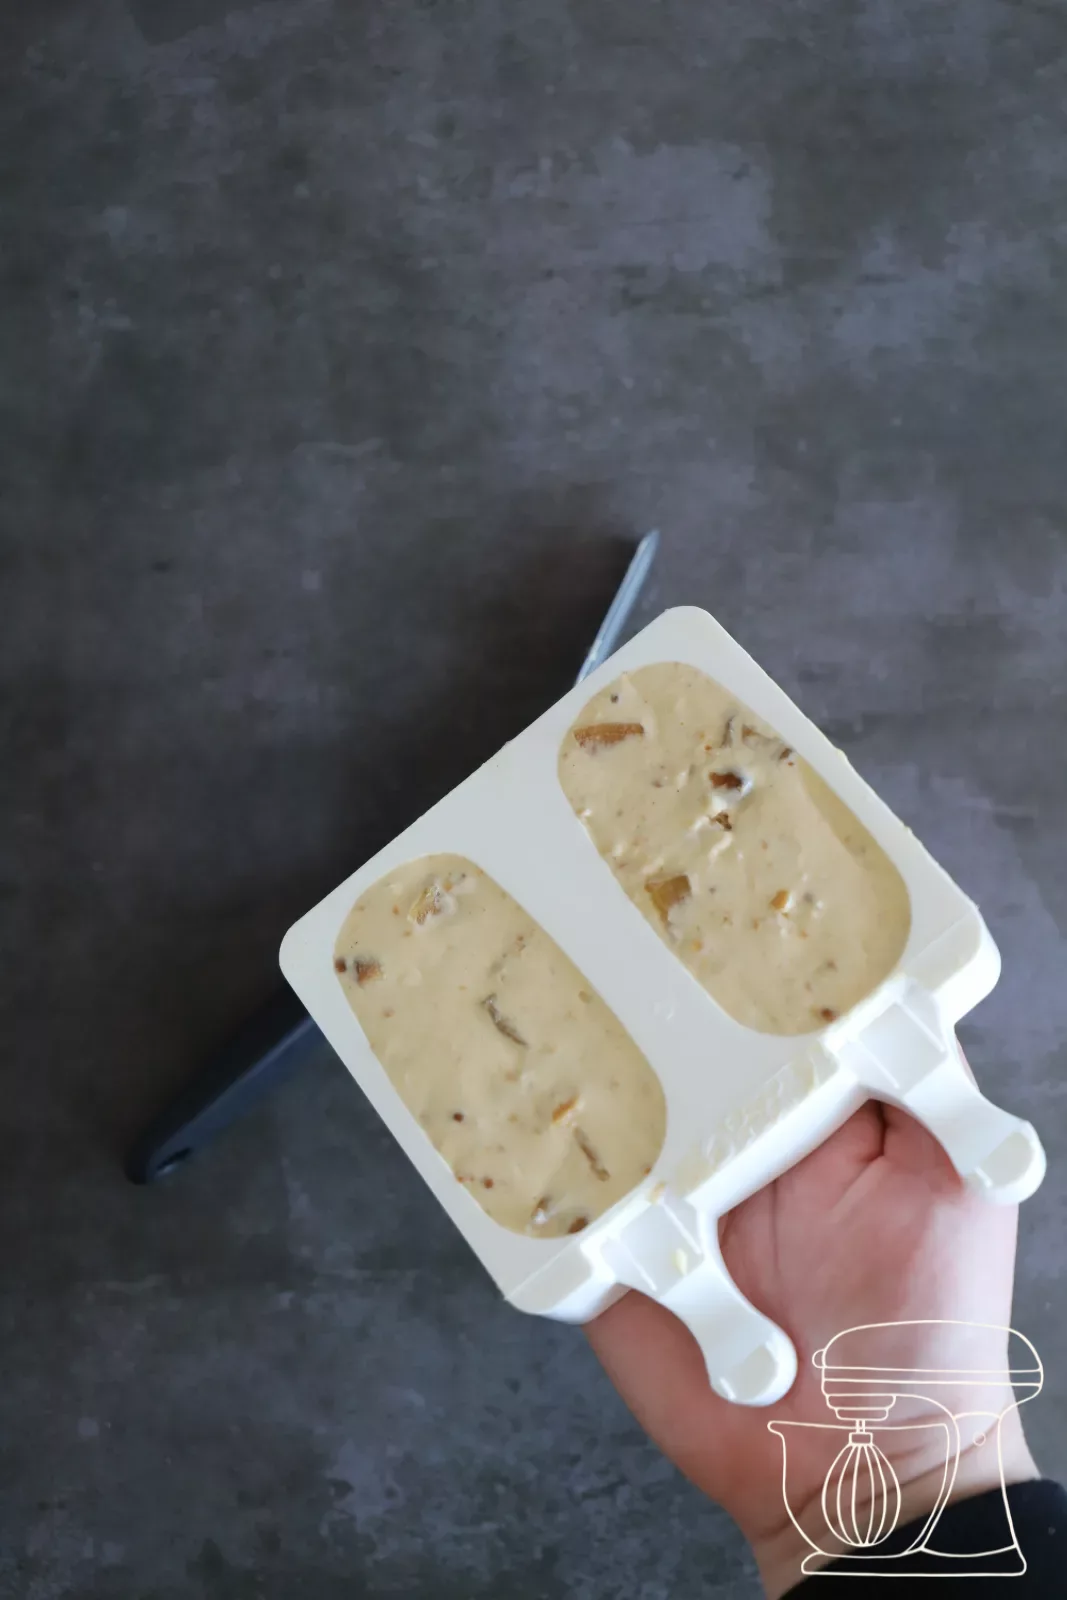
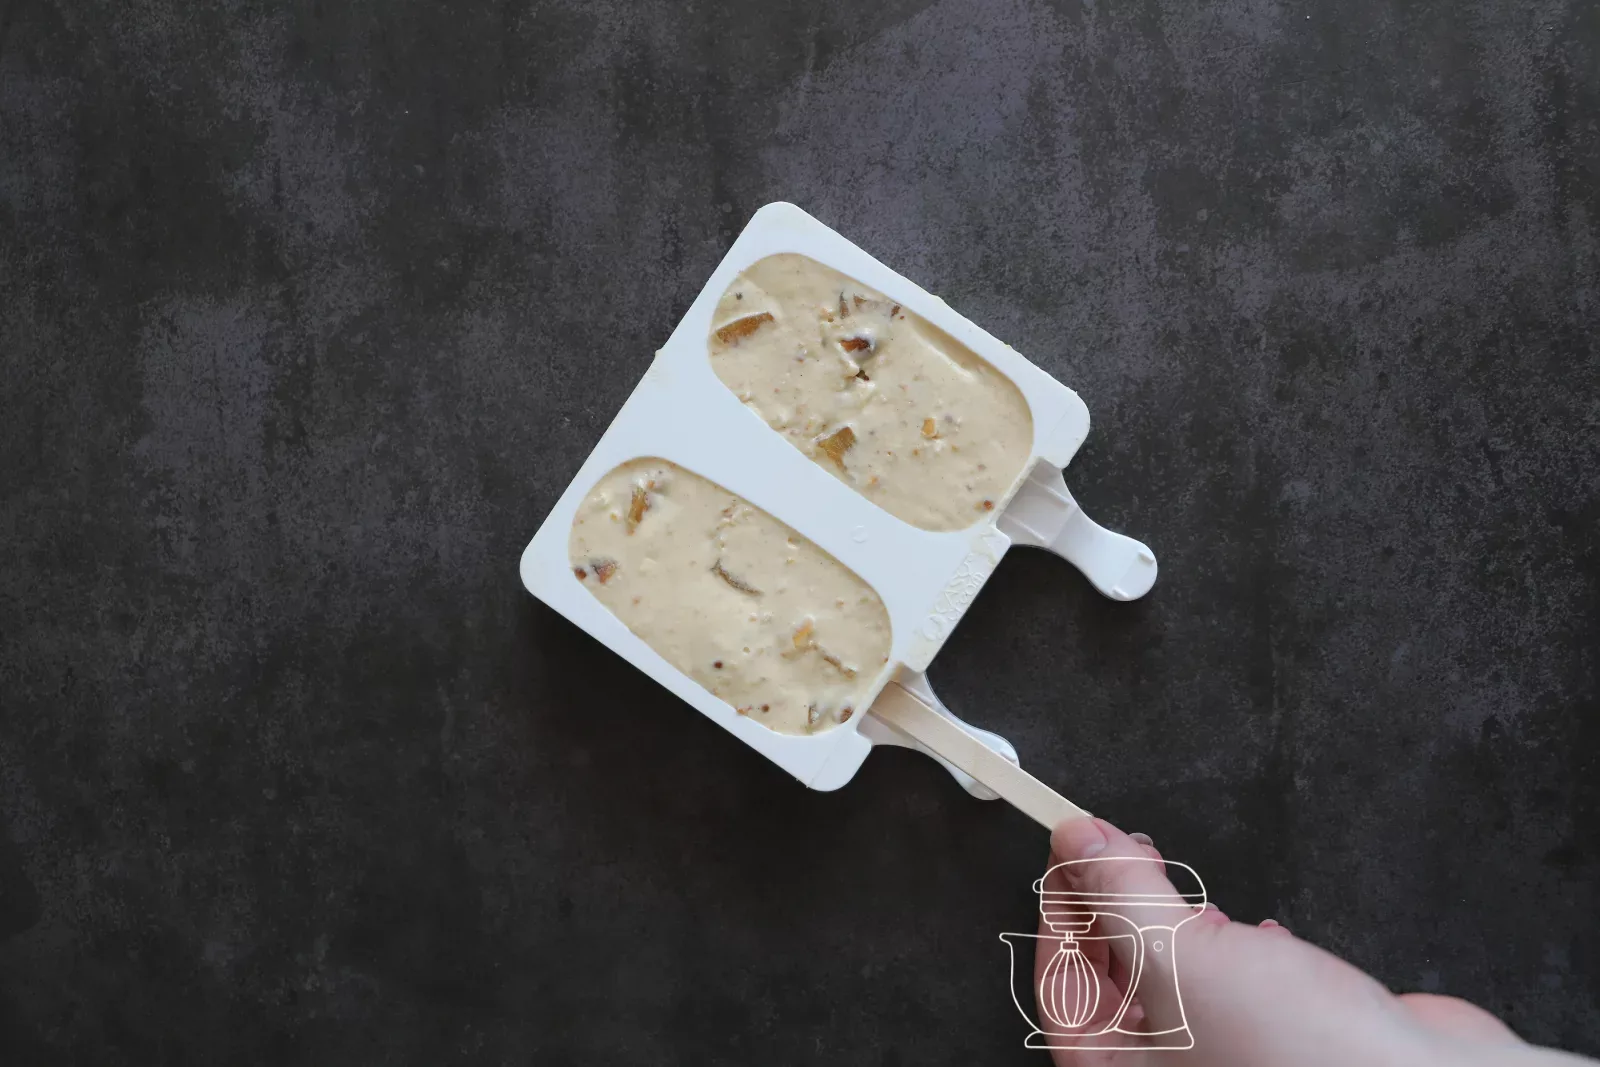
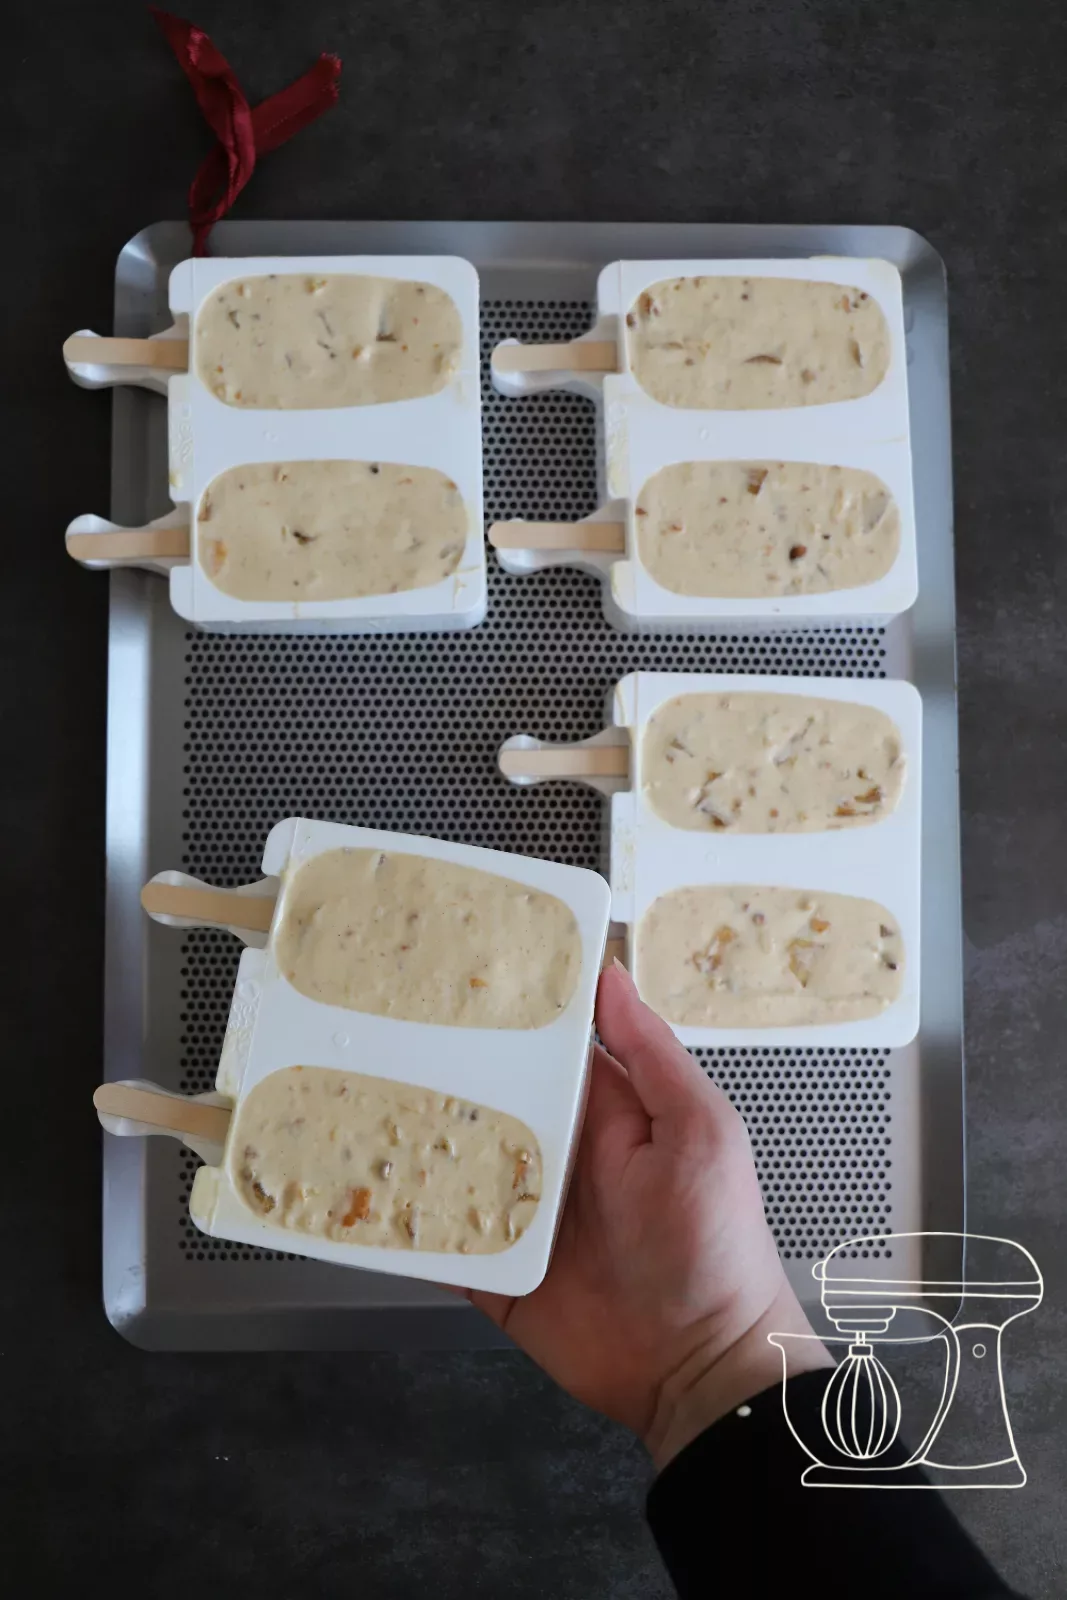
Push in the wooden sticks, add a little more mixture on top, smooth it out and gently tap the mould on the table so that air bubbles escape. Place everything on a tray and put it in the freezer for at least 6 hours, ideally overnight.
Glazing and decorating Halloween cakesicles
Melt the Deco melts
Put the Deco melts into a tall container and melt them in the microwave in 30-second bursts. Stir well in between each time, as Deco melts can burn too. Alternatively, you can temper white chocolate and colour it with chocolate colouring.
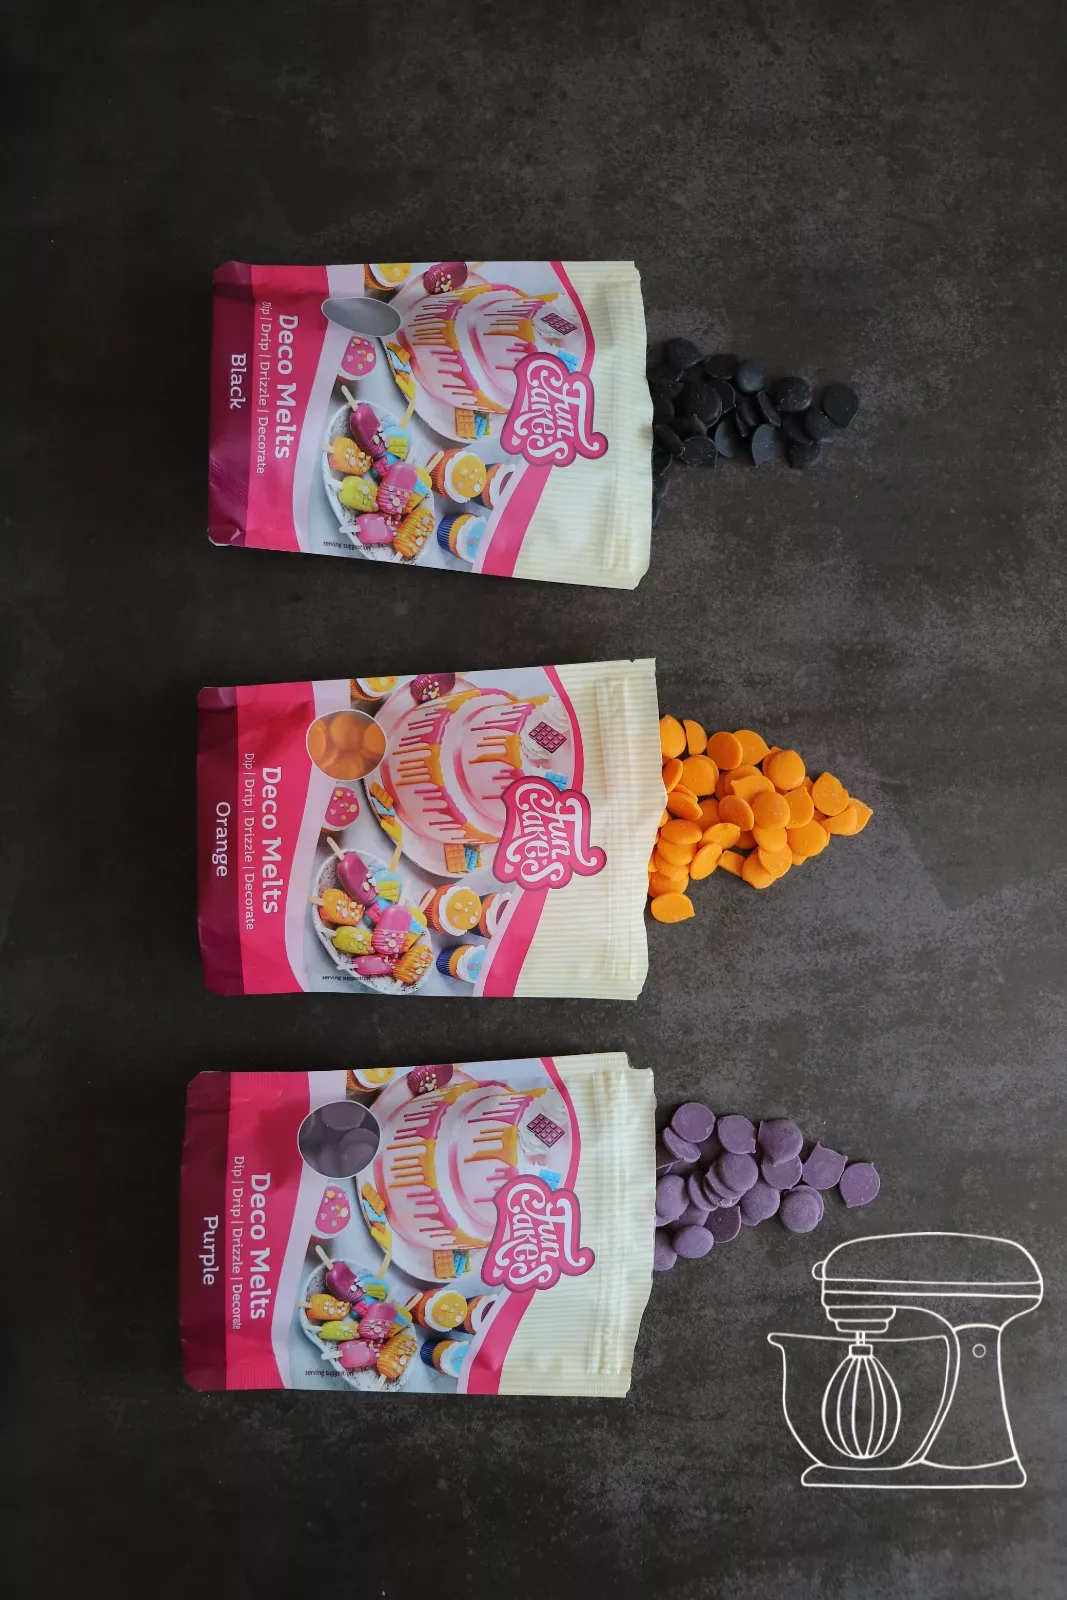

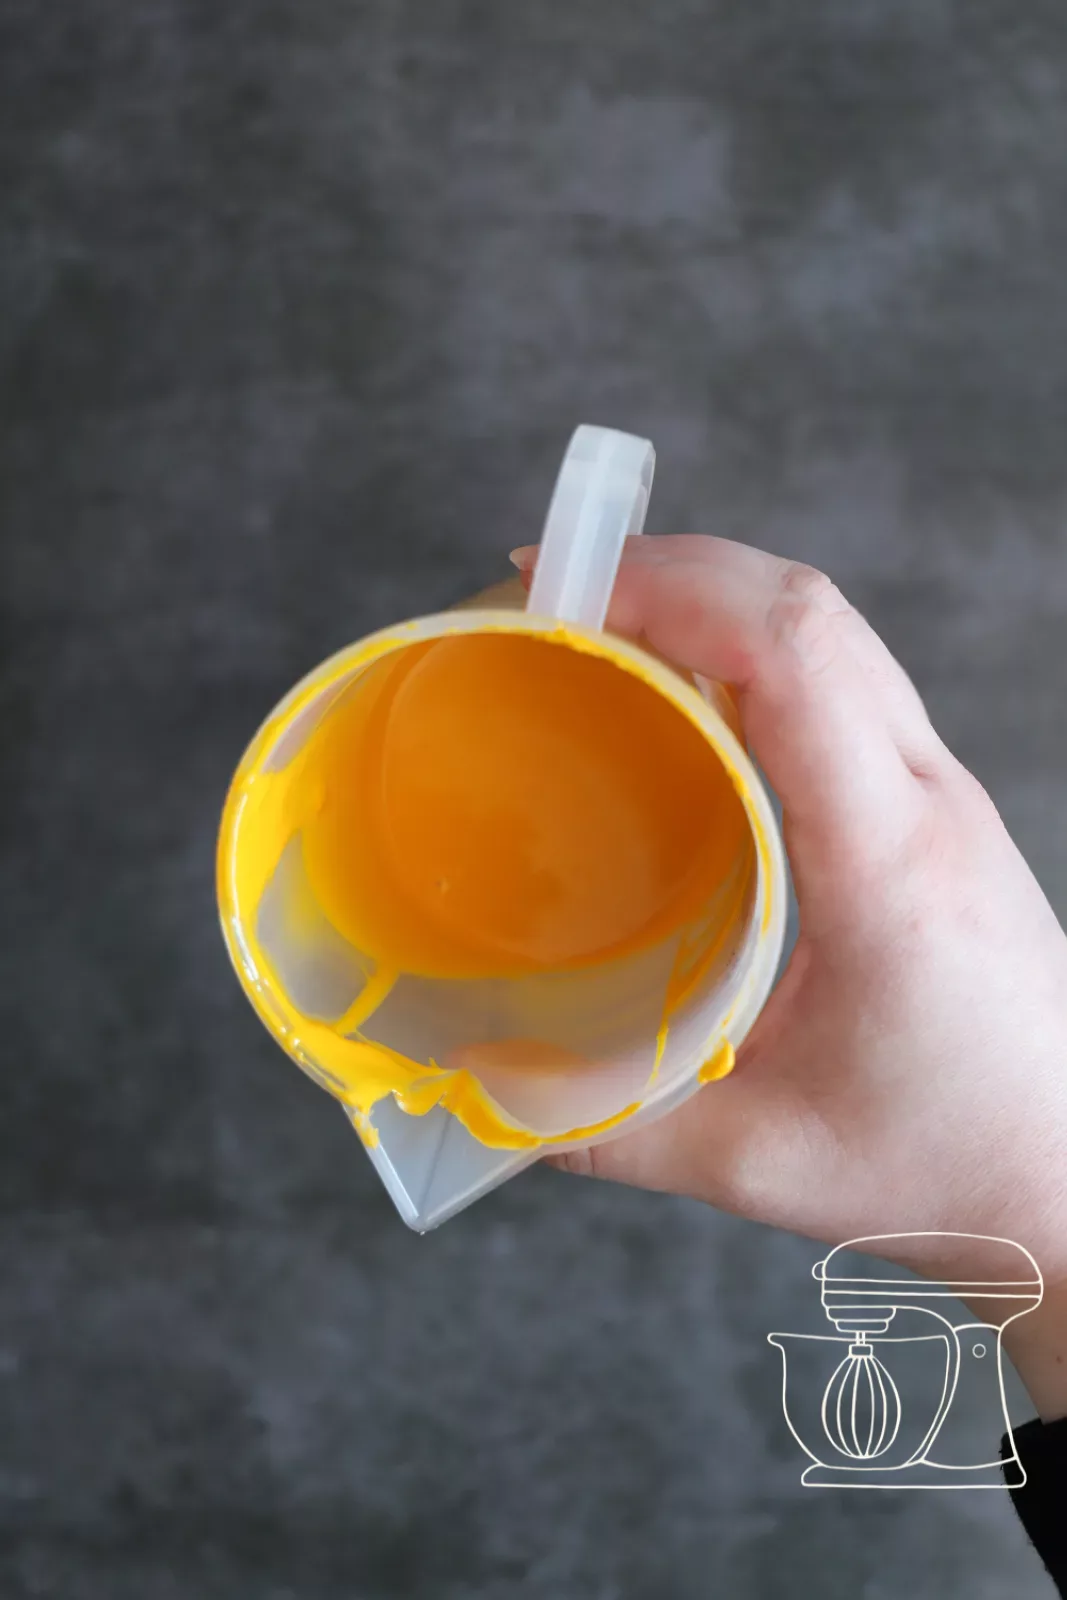
Deco melts: Orange
Deco melts: Purple
Deco melts - Black
Deco melts: Green
Dipping
Only take 2 cakesicles out of the mould at a time, keep the rest in the freezer. Hold them by the stick, dip them once into the Deco melts and wipe the underside on the rim of the container.
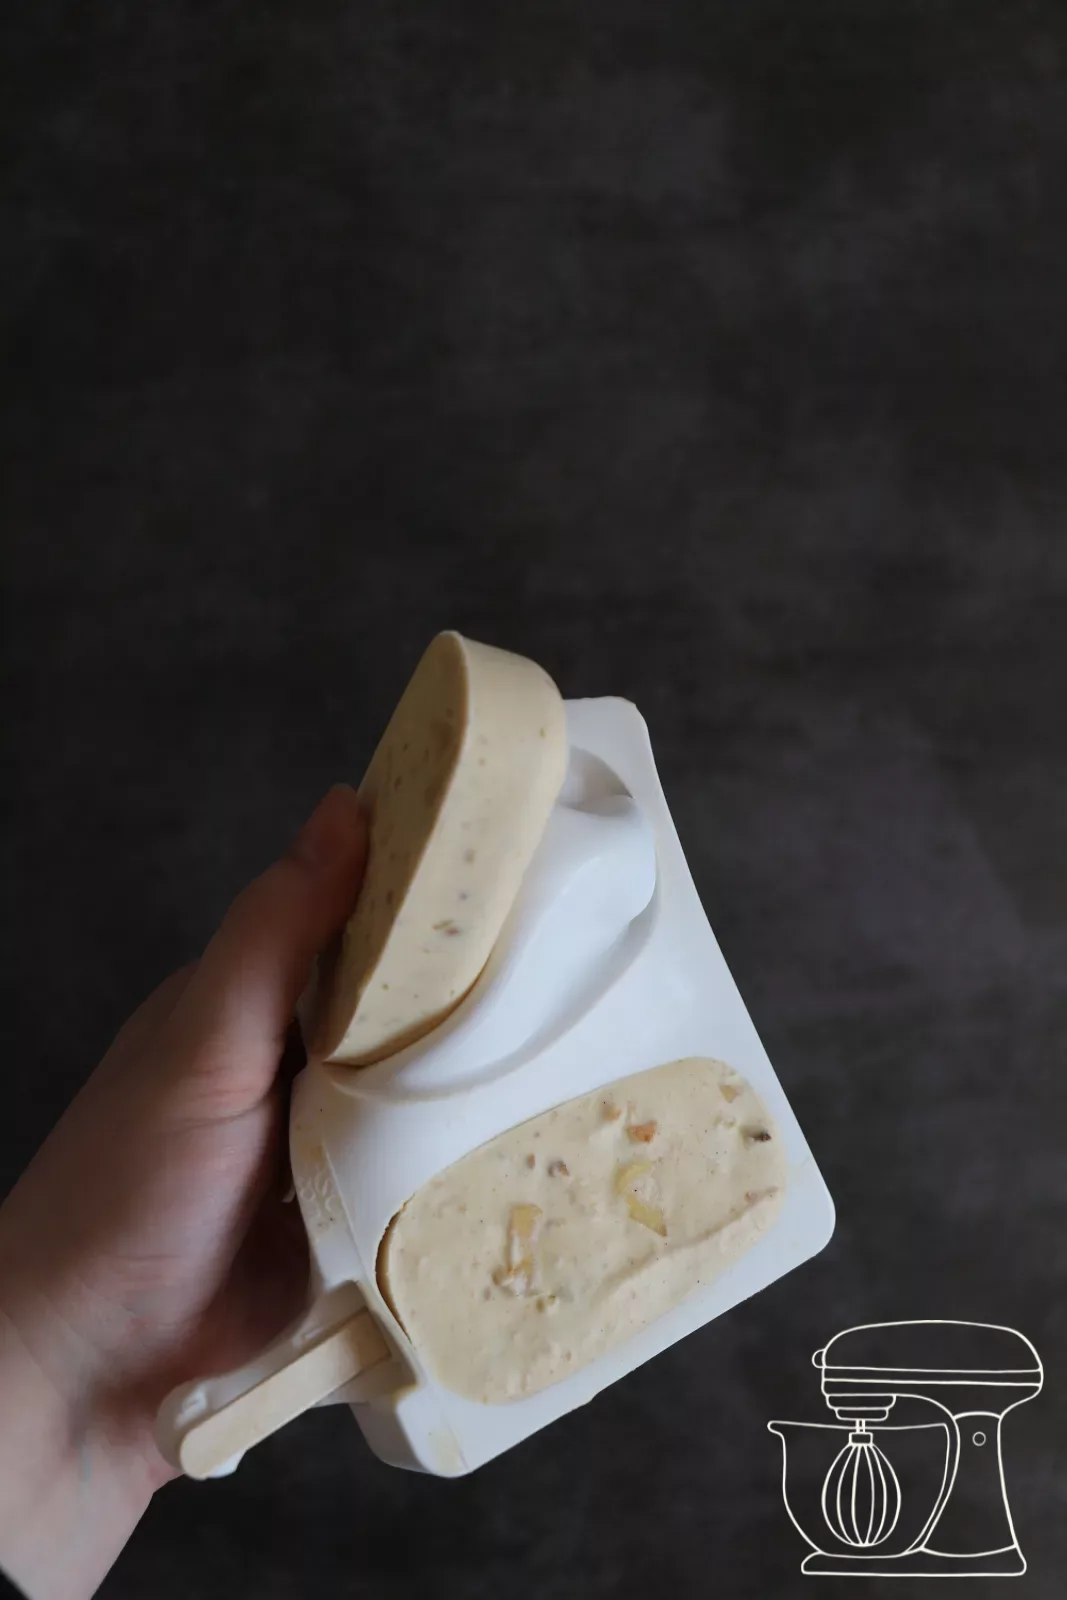
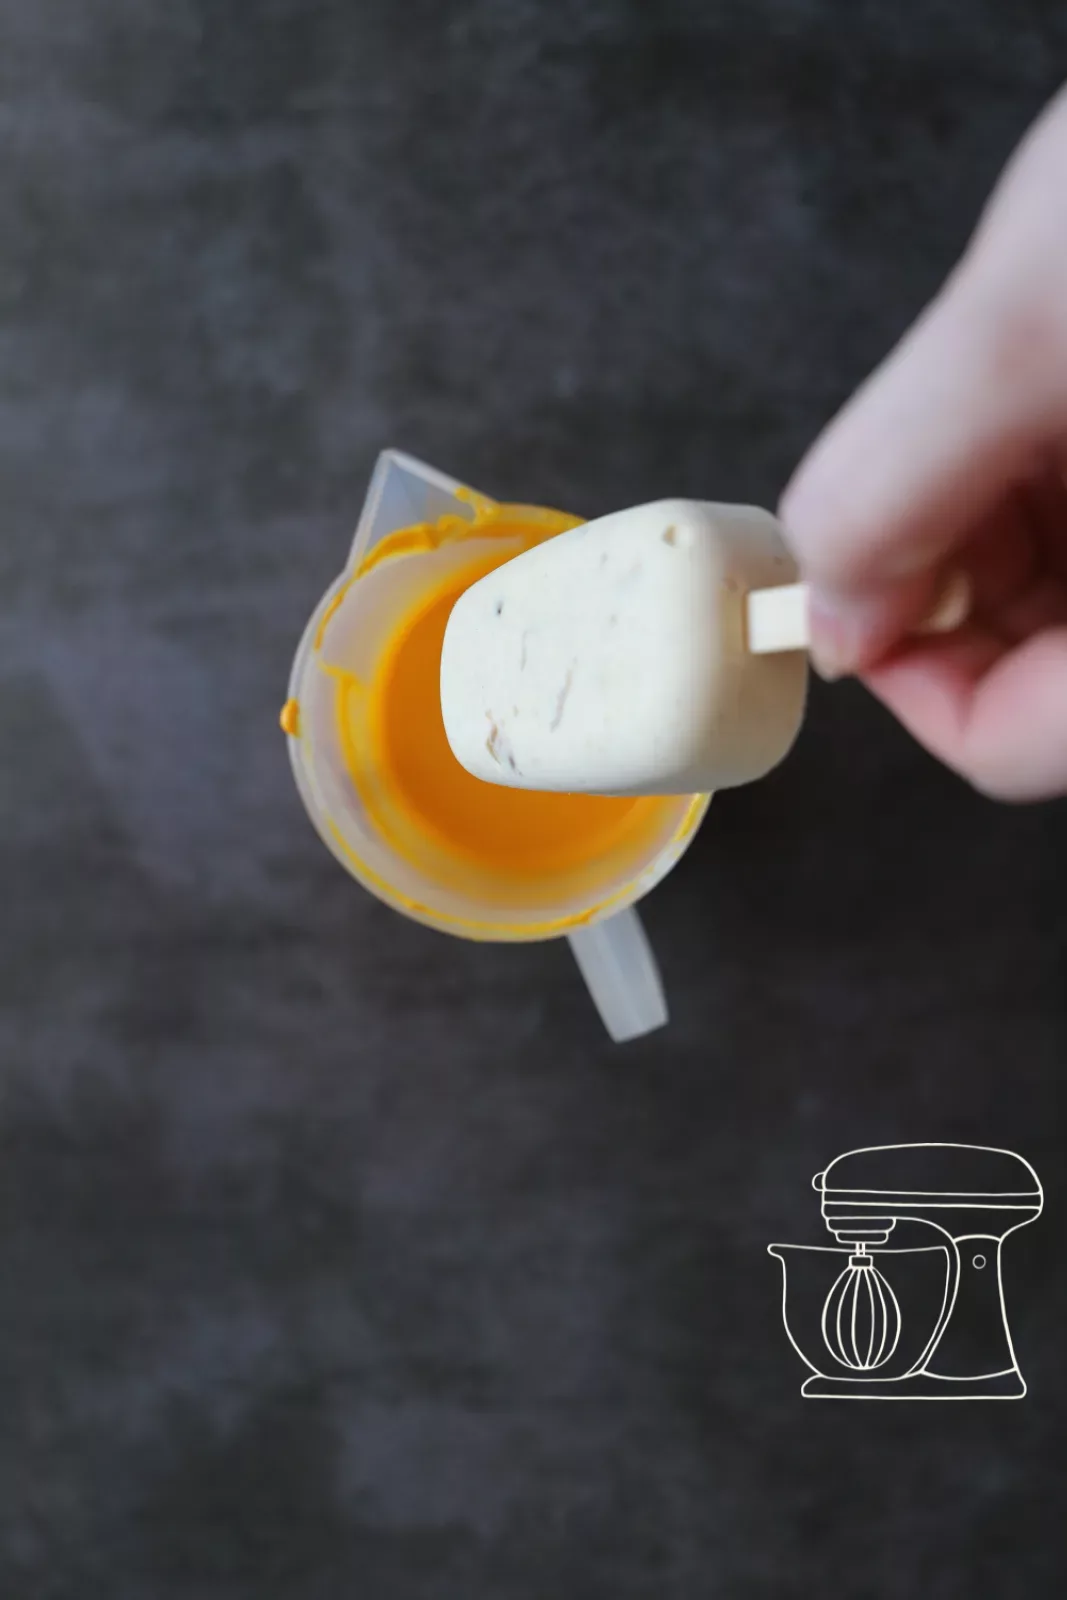
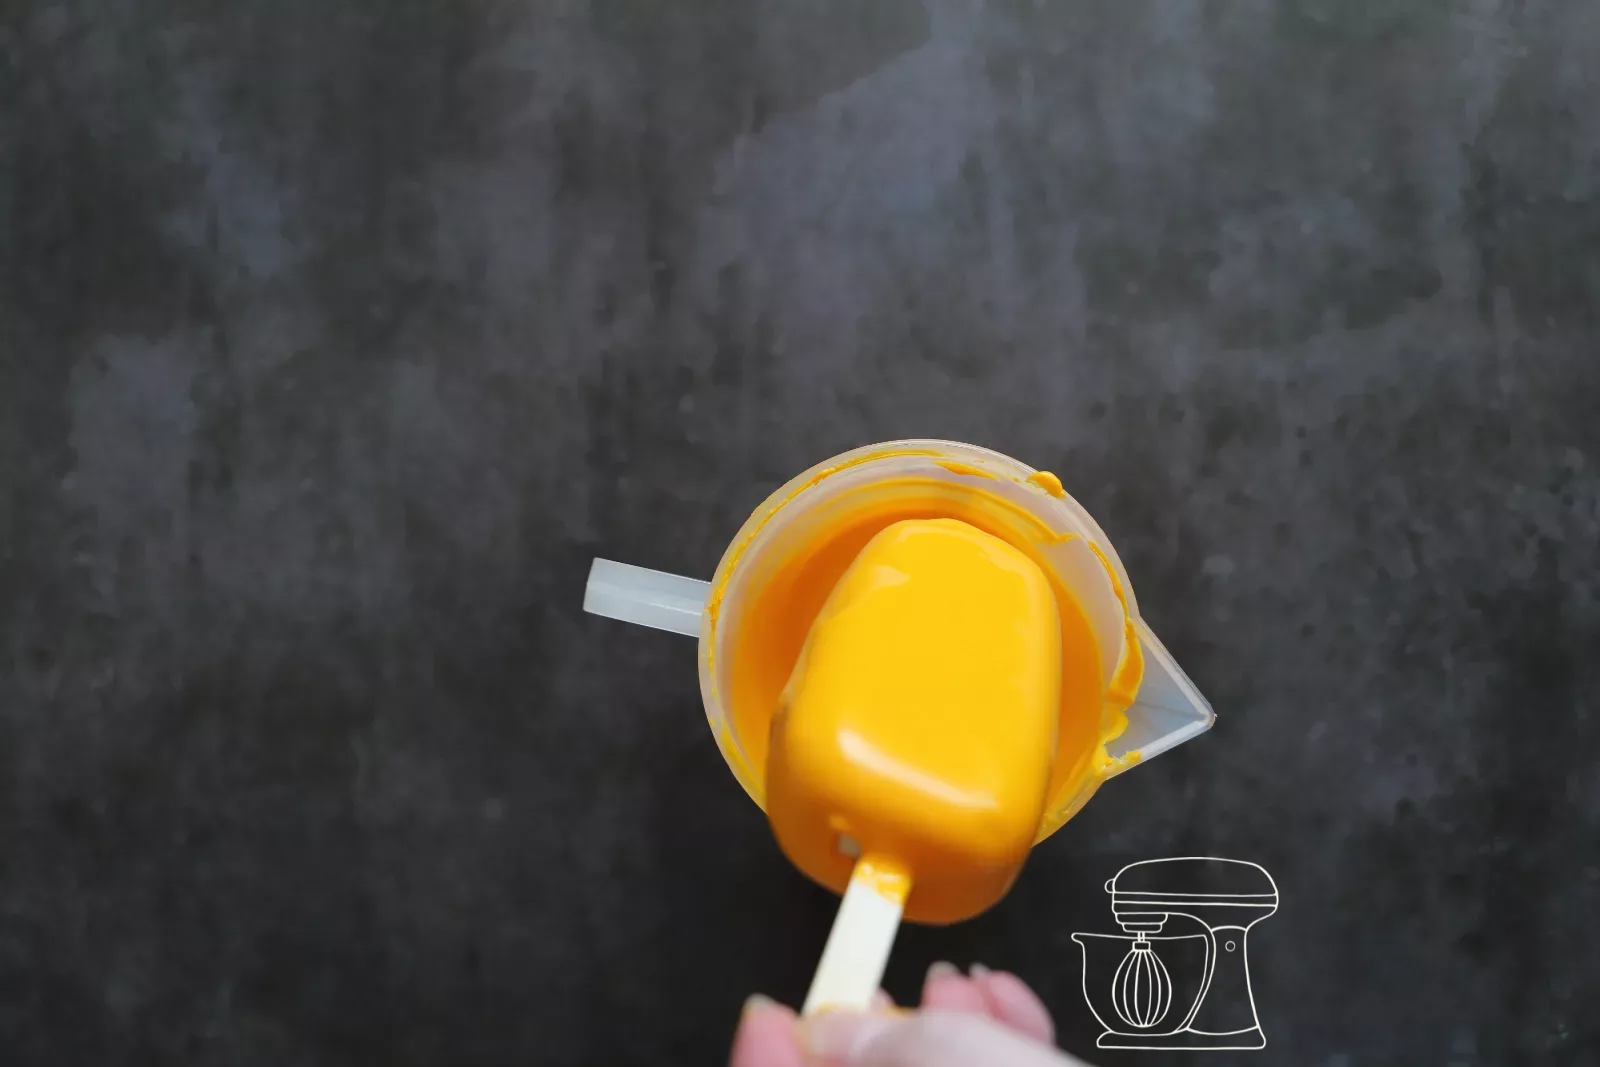
Let them drip
Place the glazed cakesicles on baking paper. Pour any leftover Deco melts onto baking paper as well and let them set, so you can break them up and reuse them later. Repeat the process with all the colours.
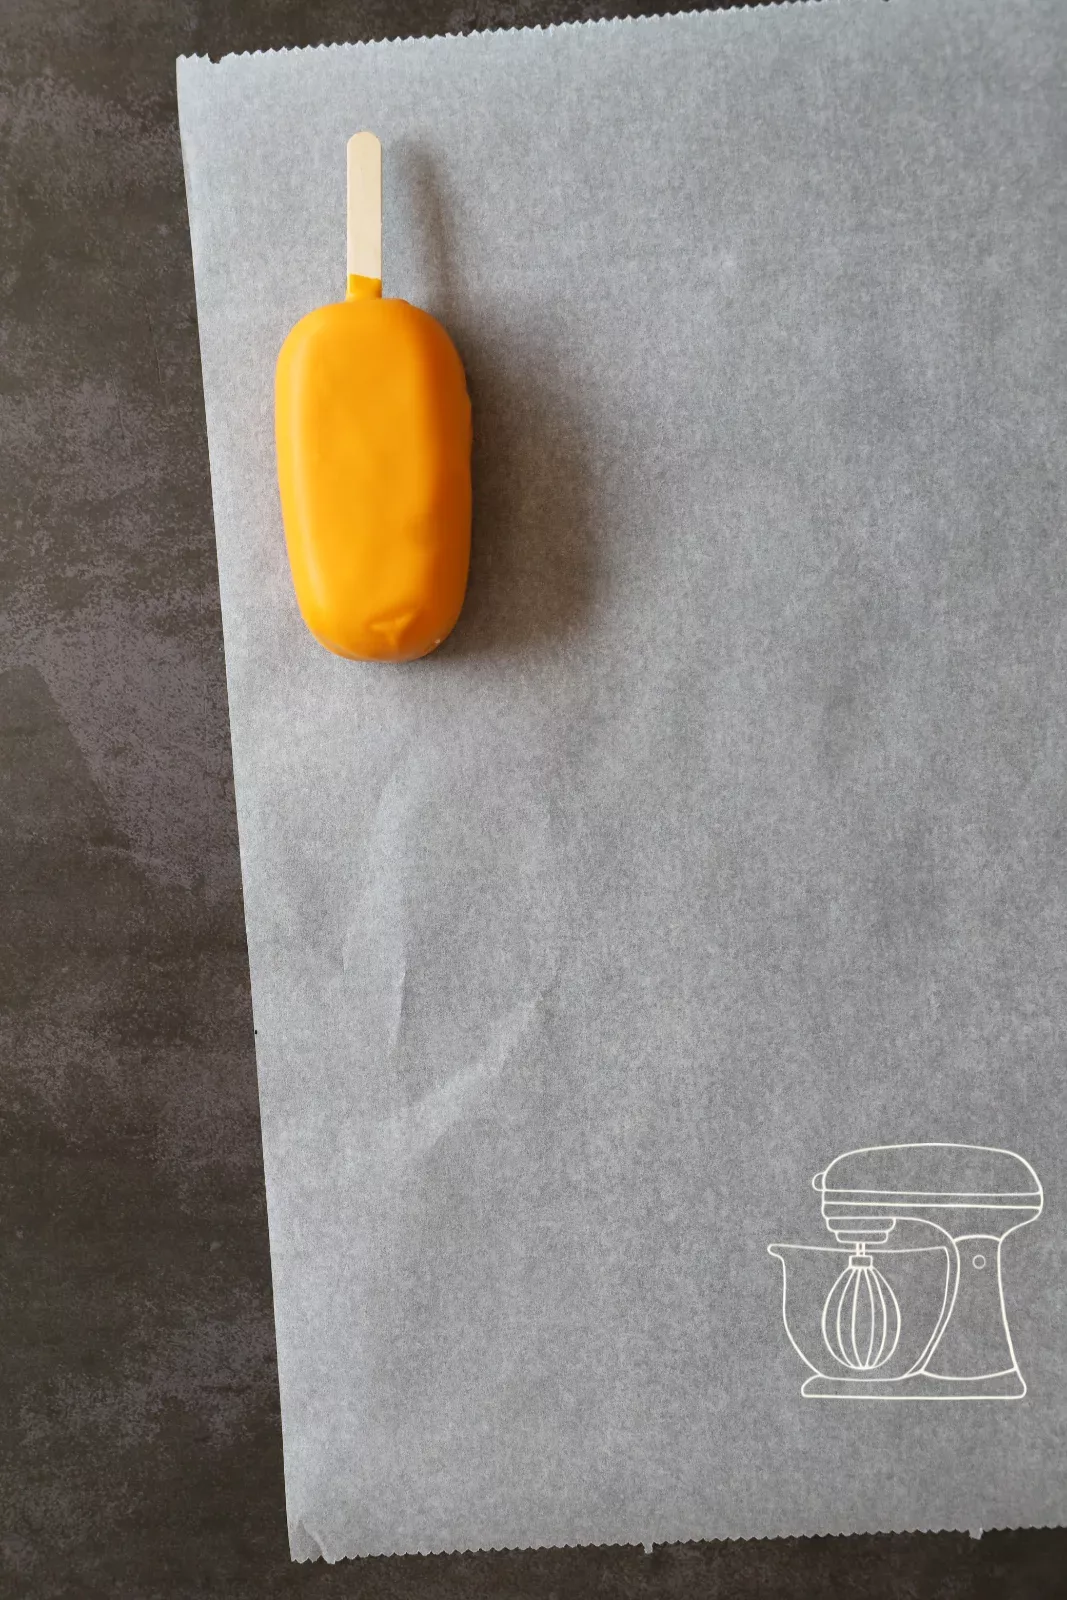
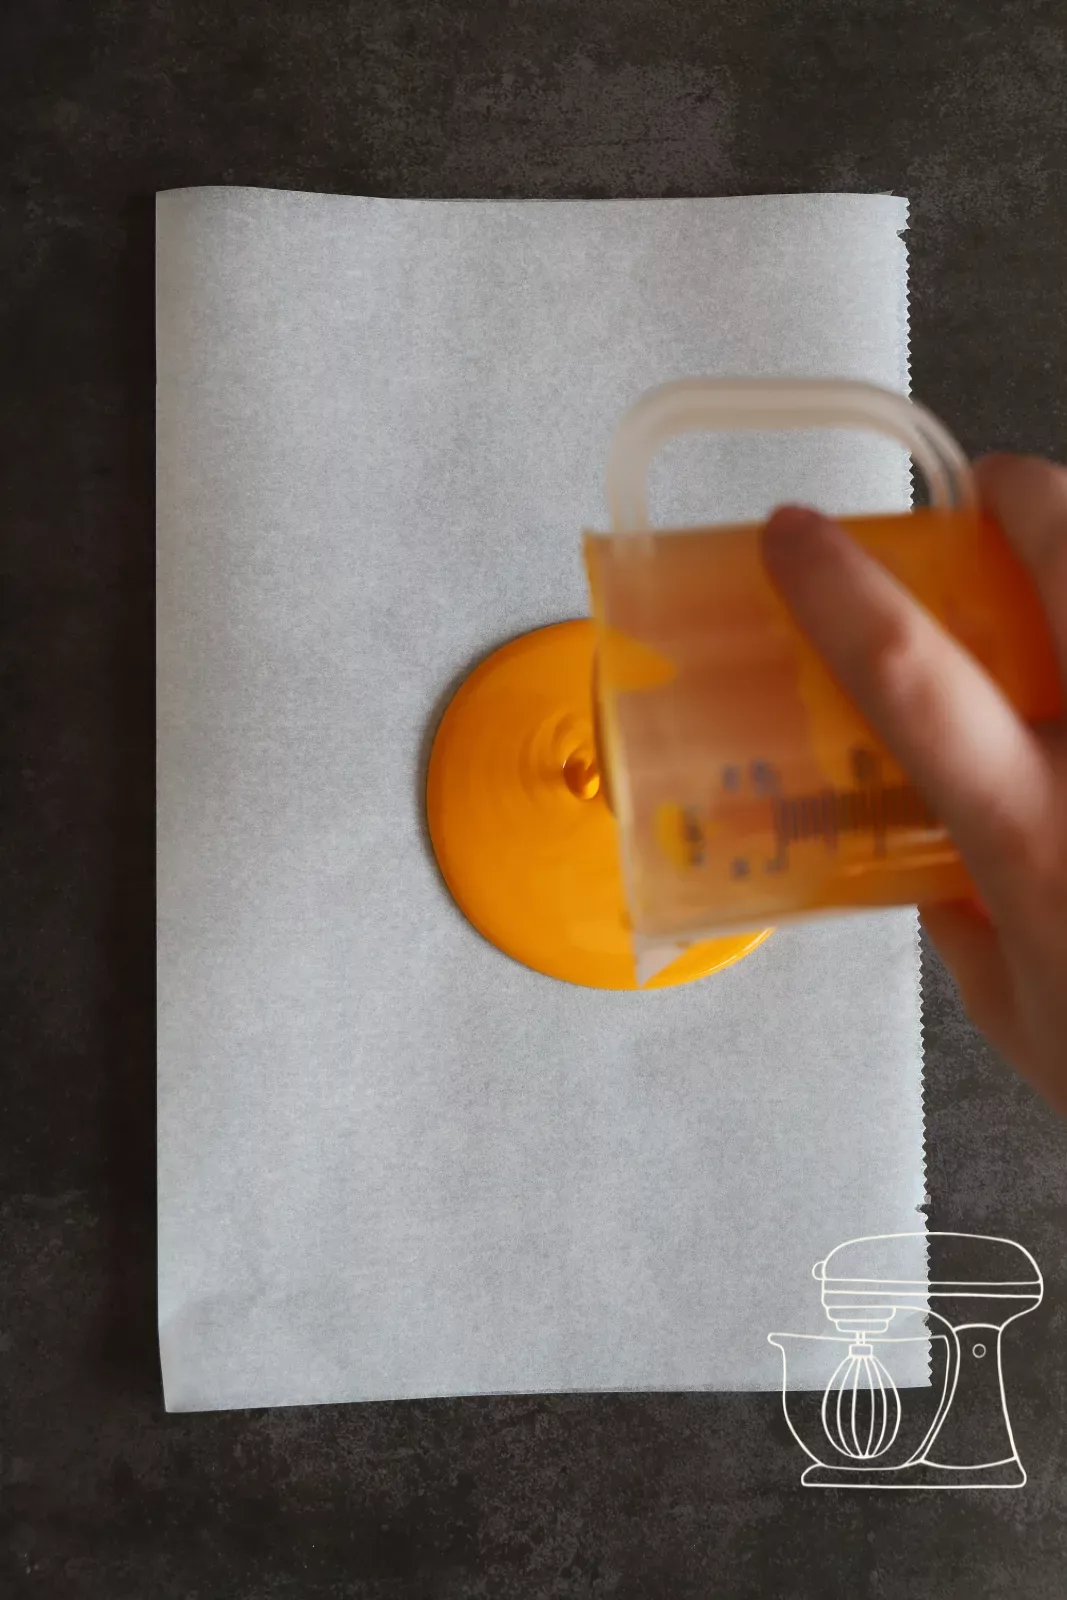
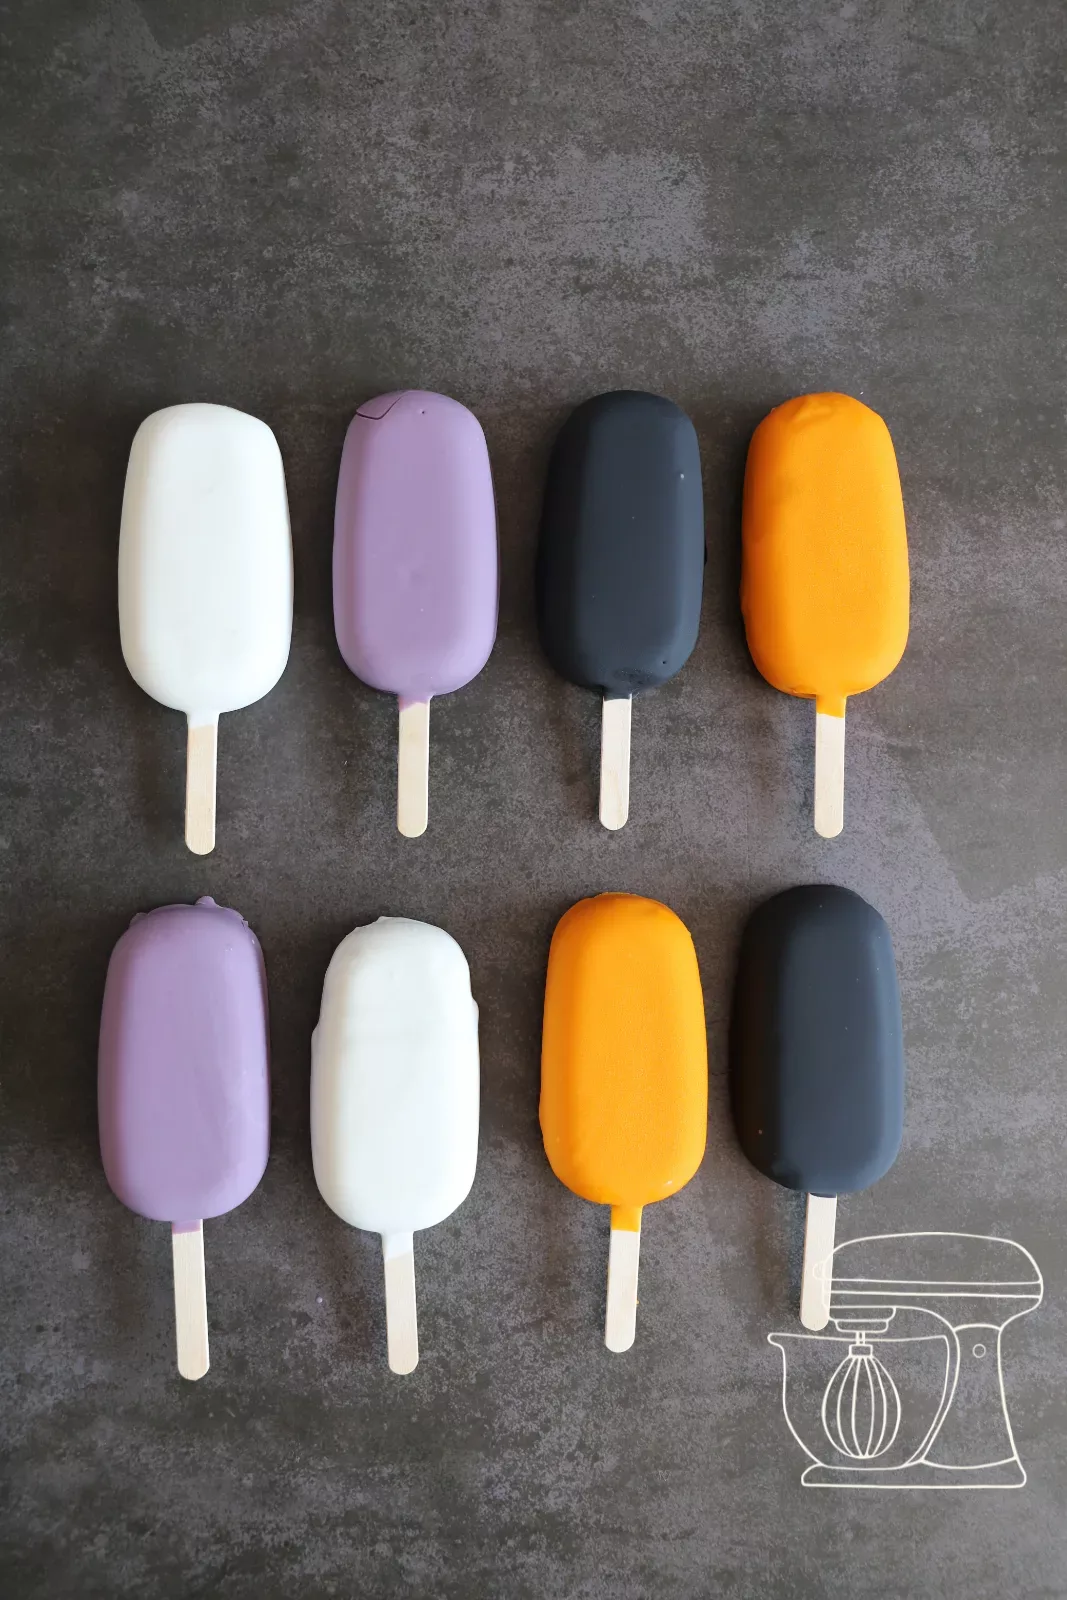
Decorate with sprinkles
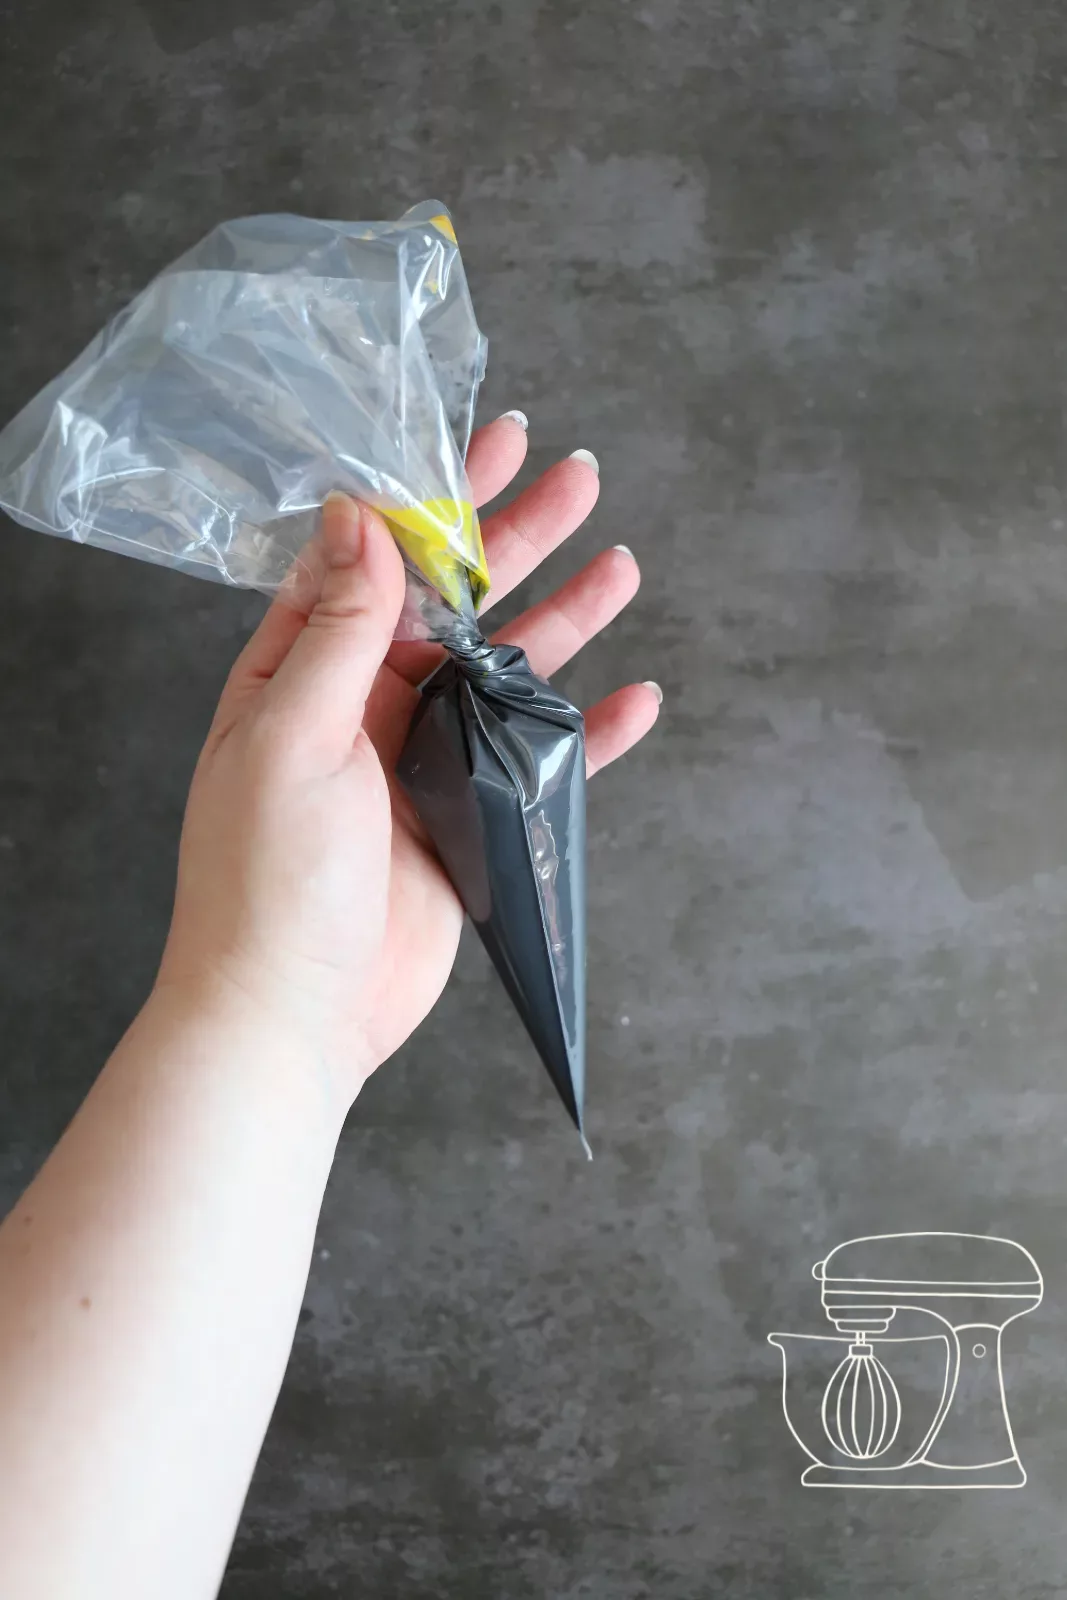
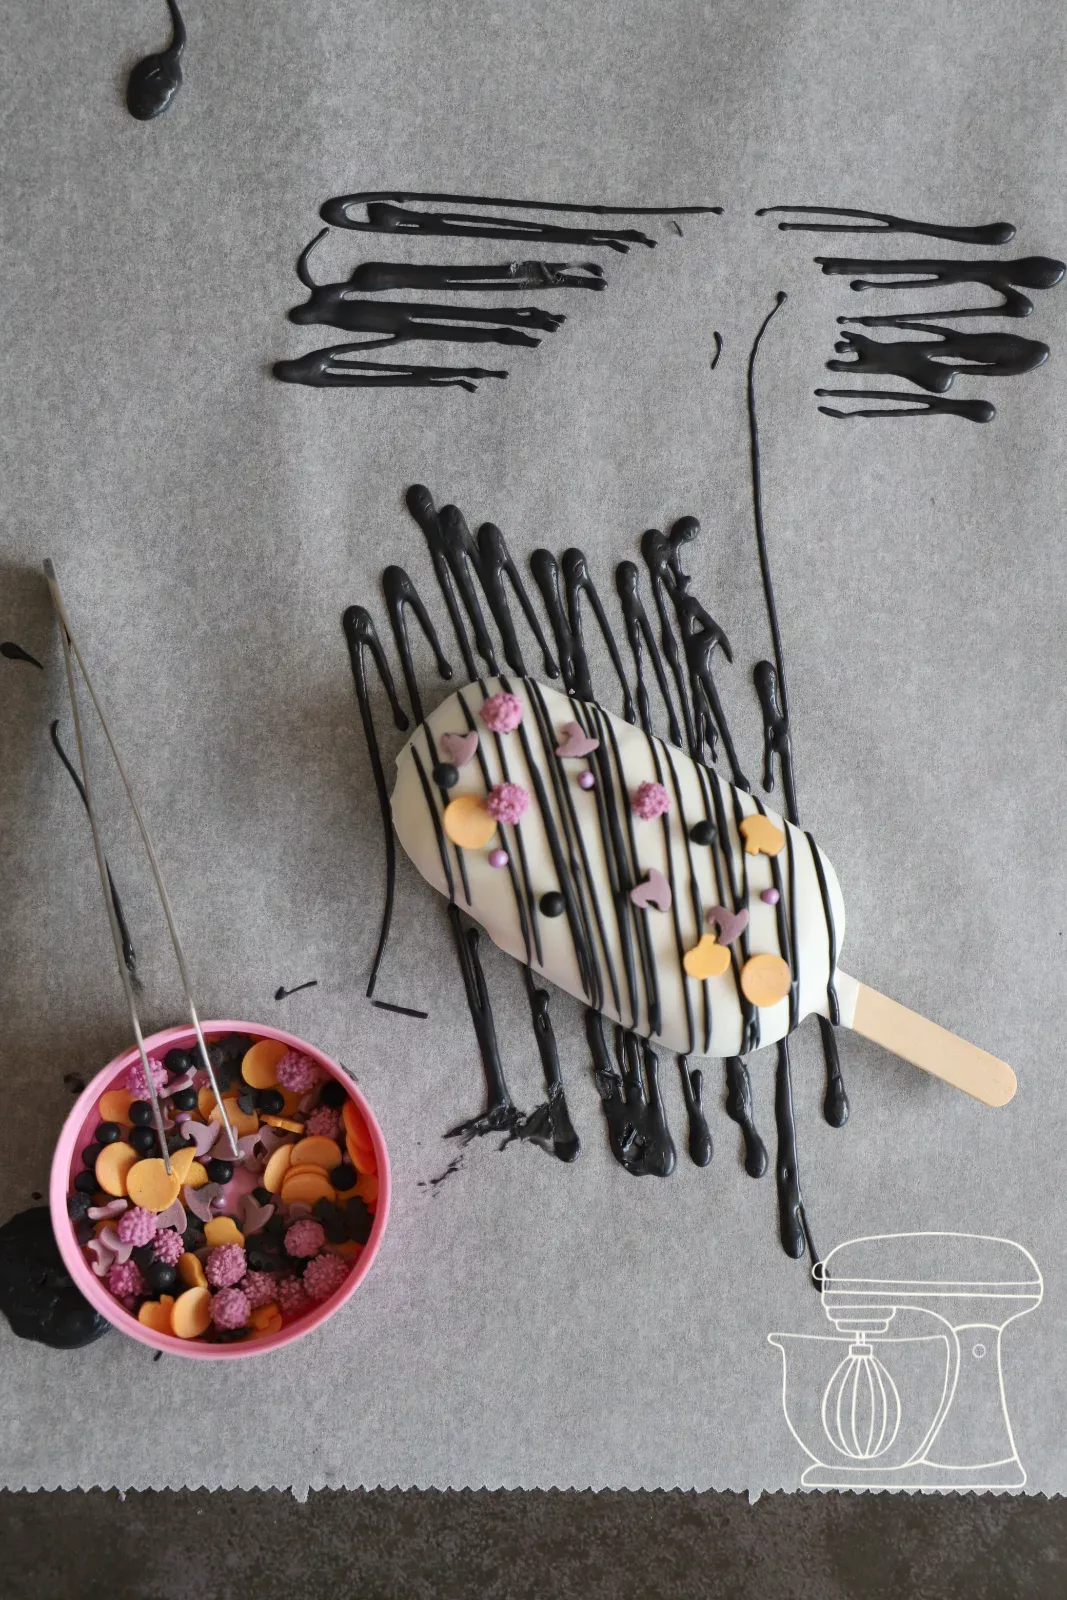
Fill Deco melts into a Disposable piping bag, snip off a very small hole and pipe them over the cakesicles with even back-and-forth movements. Sprinkle them straight away with Halloween sugar sprinkles while the icing is still soft.
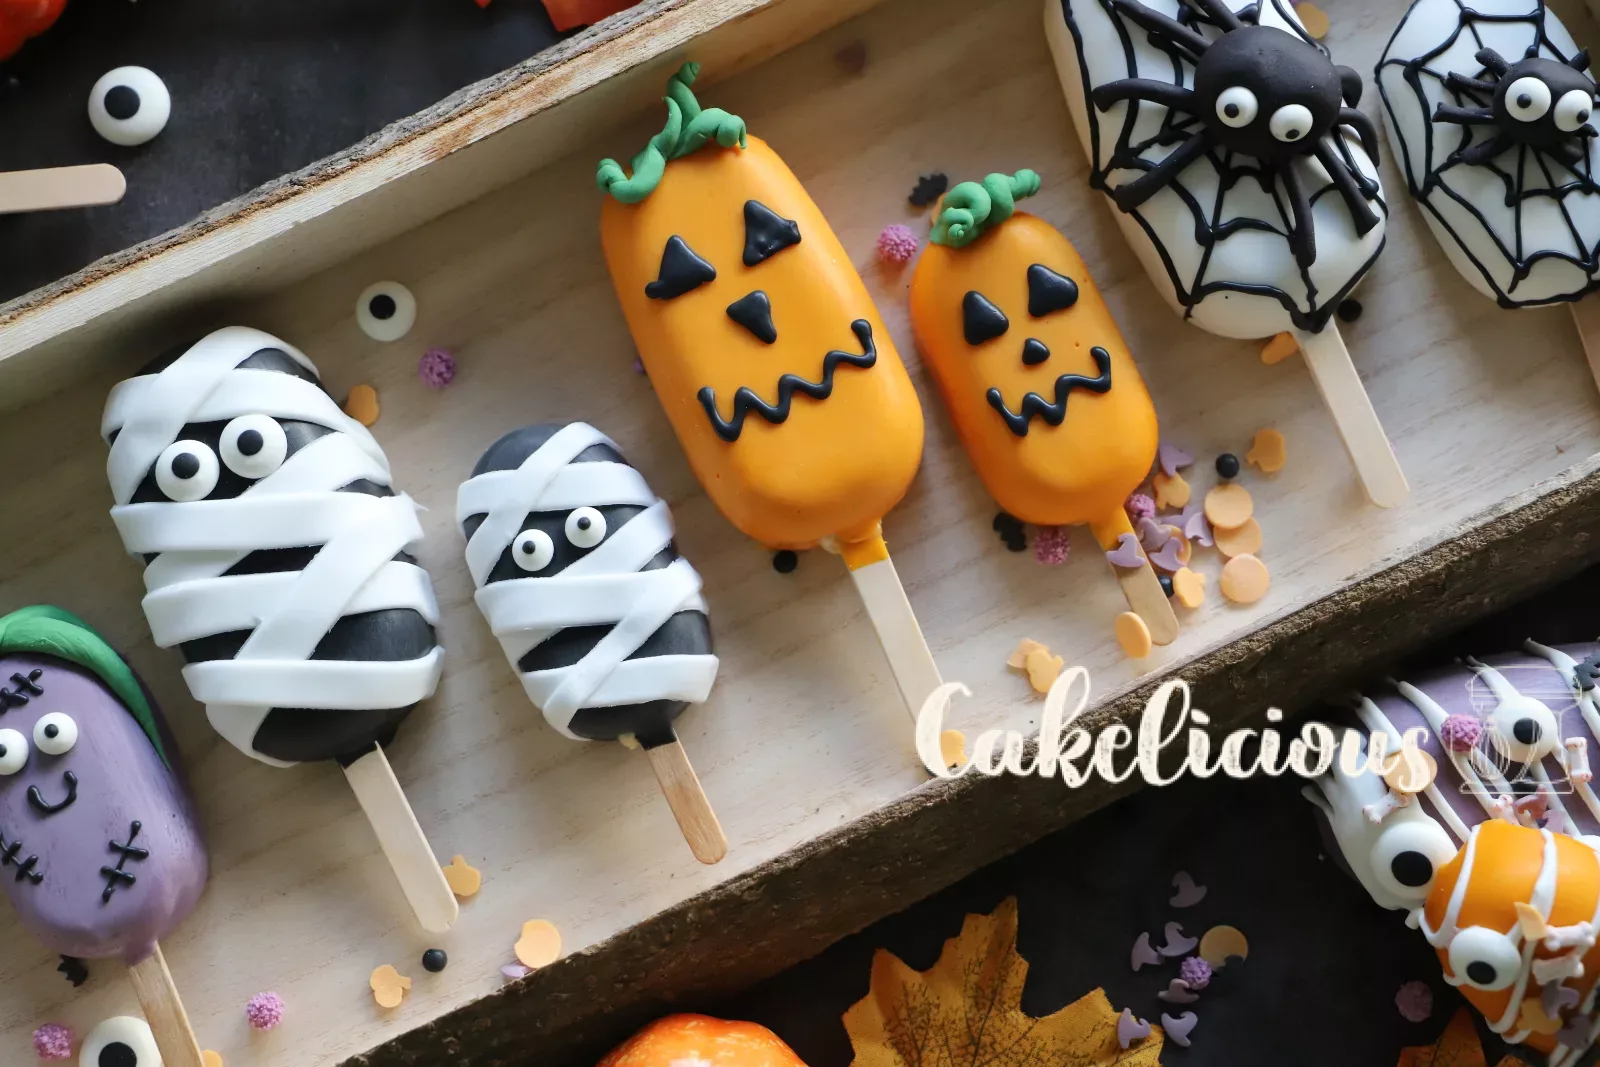
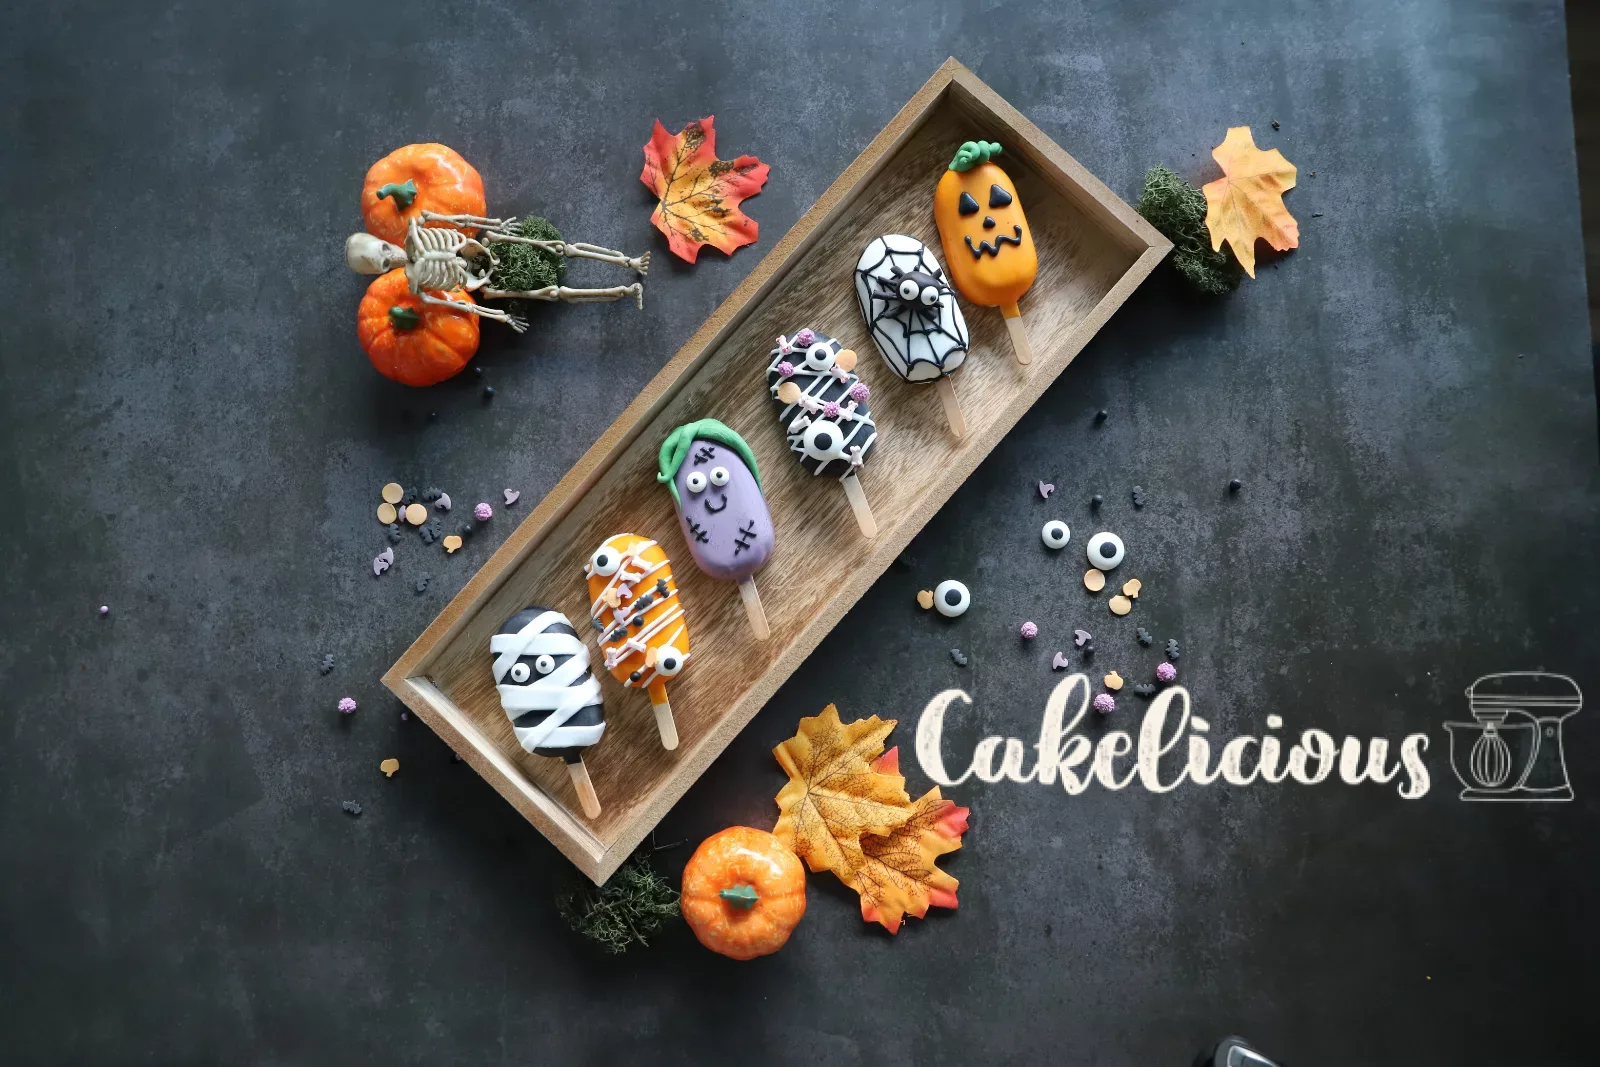
Pumpkin
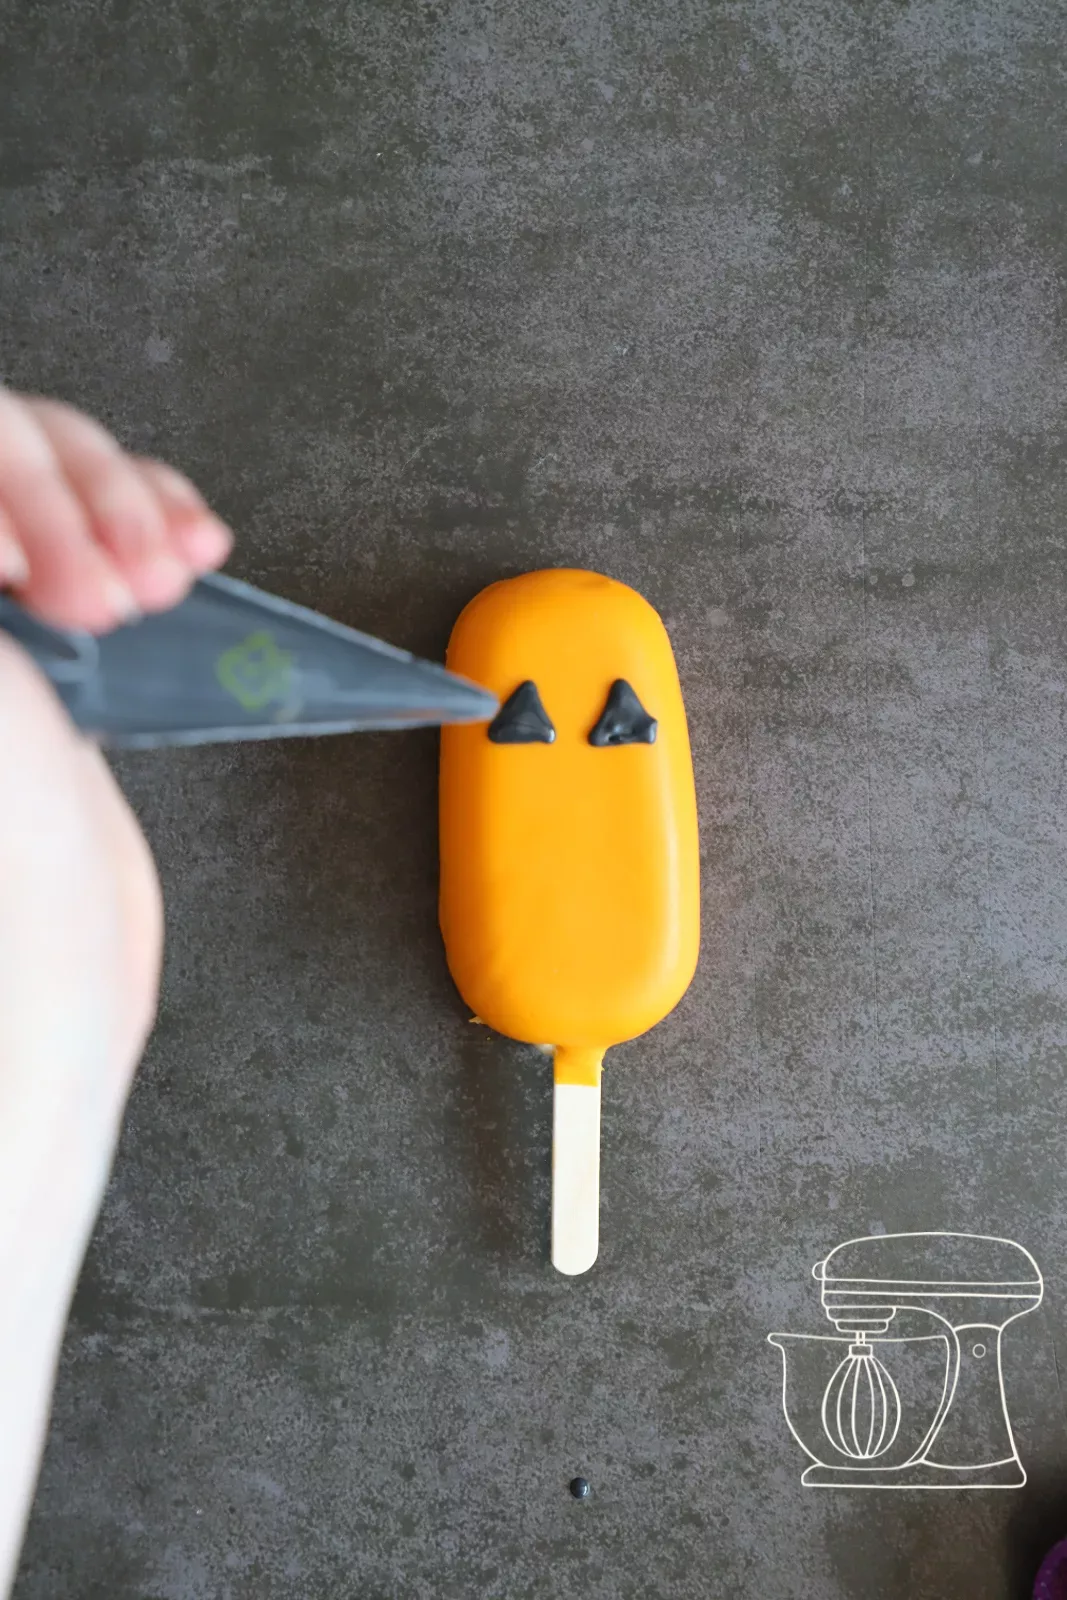
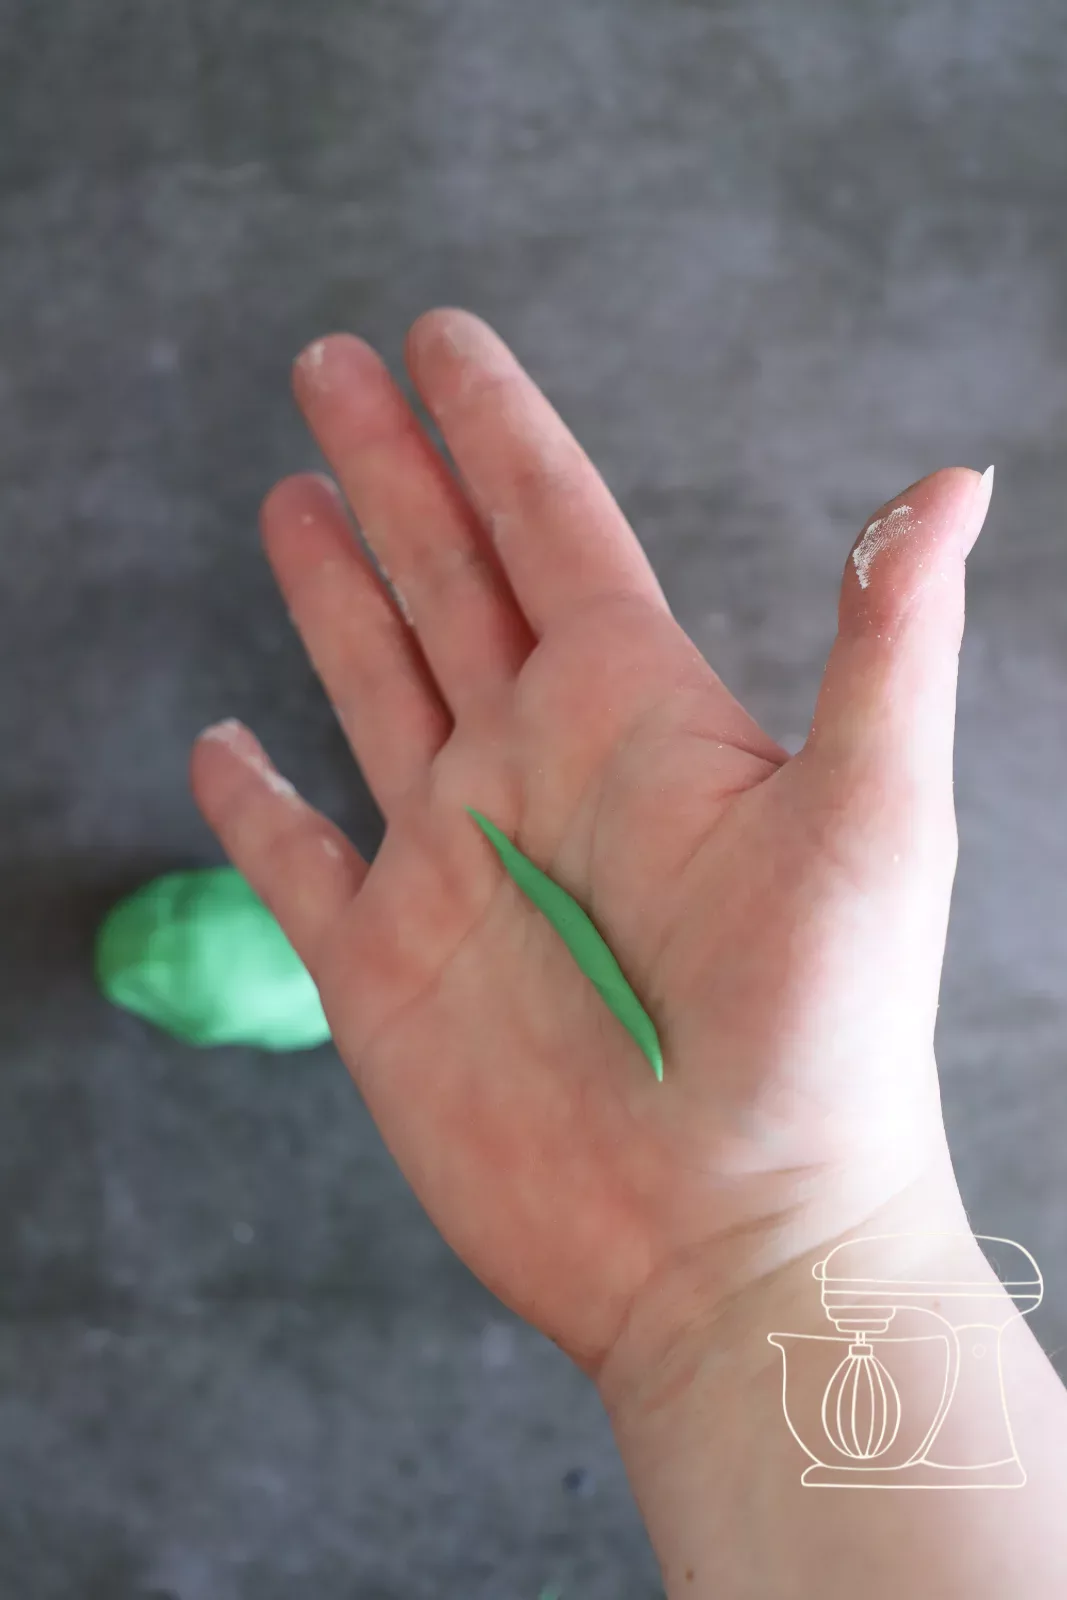
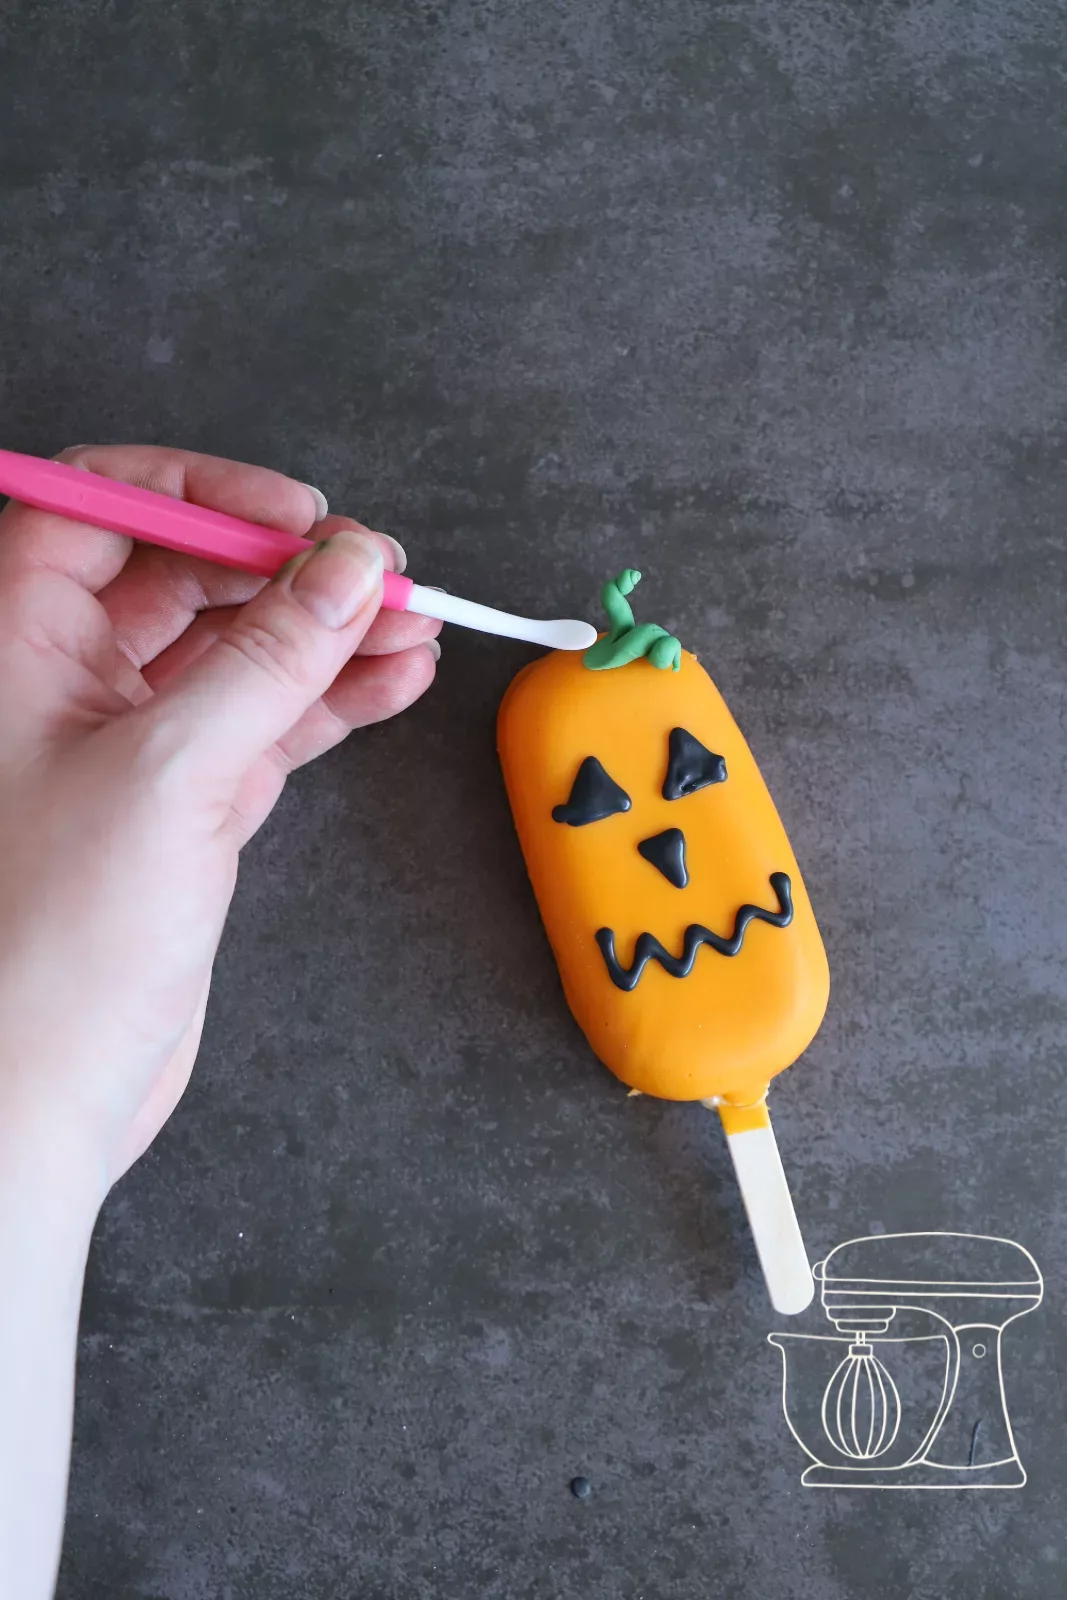
Using Deco melts, pipe triangles for the eyes and nose onto an orange cakesicle. Shape a ball of Fondant, then a small sausage, twist it and set it on top as a stem with a modeling tool.
Deco melts: Orange
Deco melts - Black
1 kg Fondant Marshmallow White
Gel colors "Progel" Set Rainbow
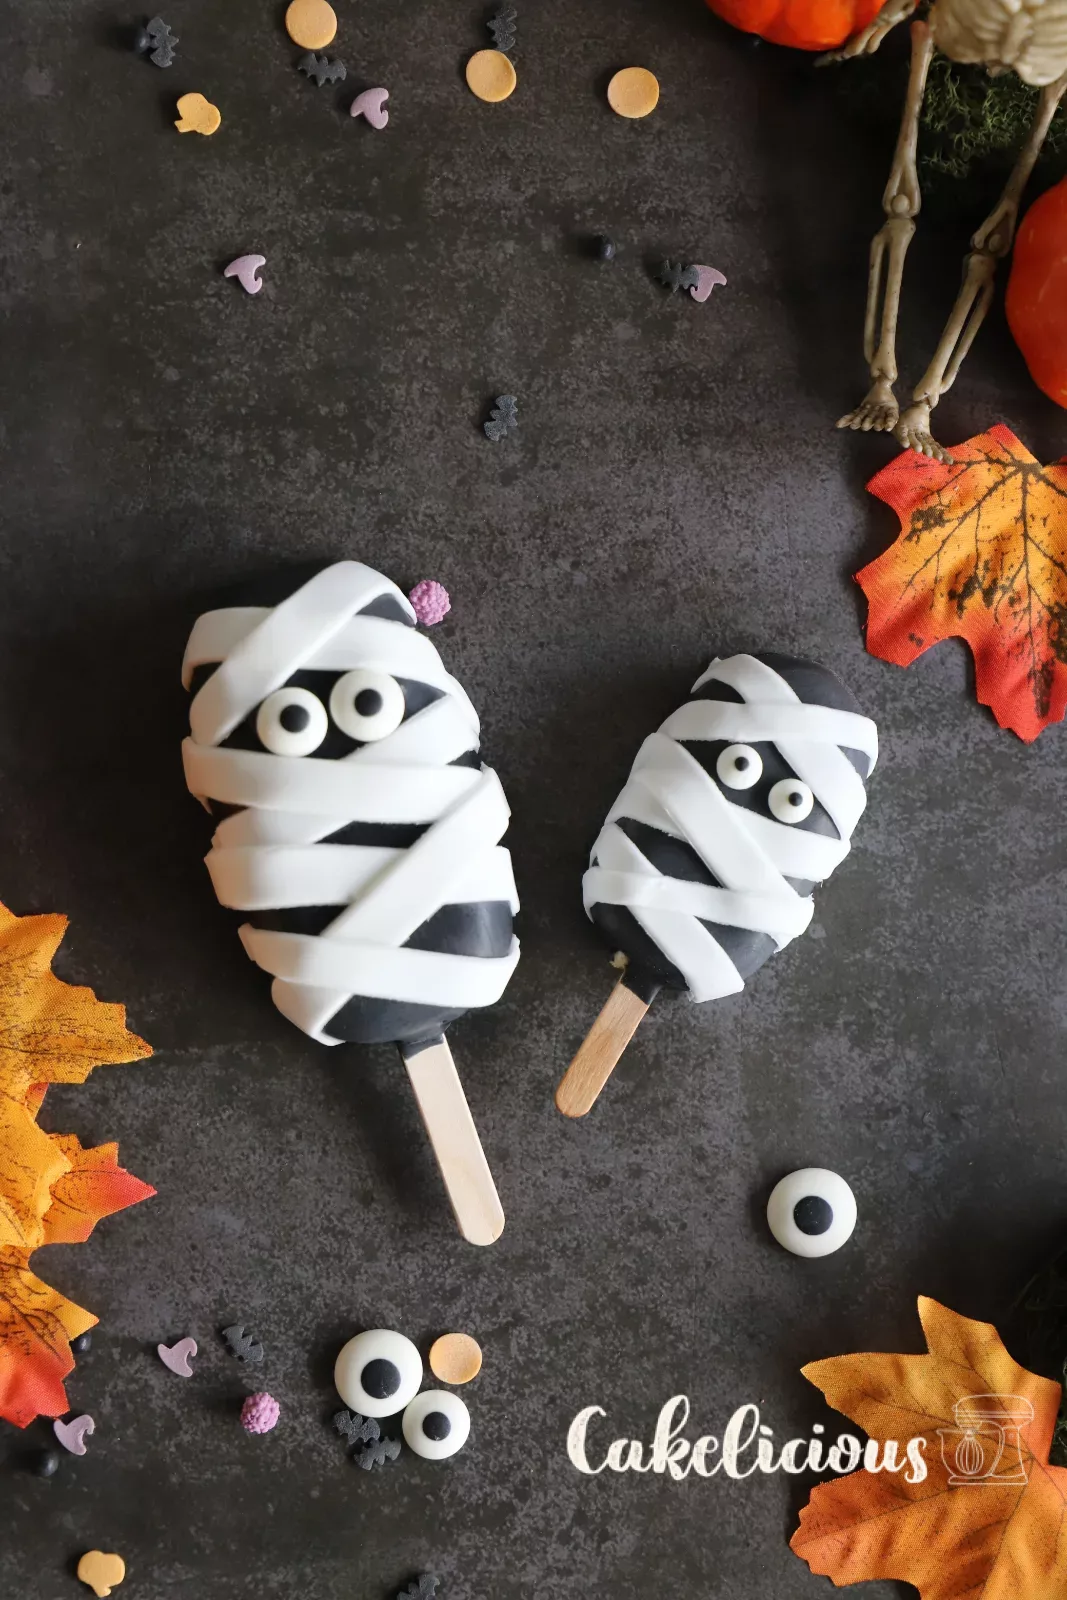
Mummy
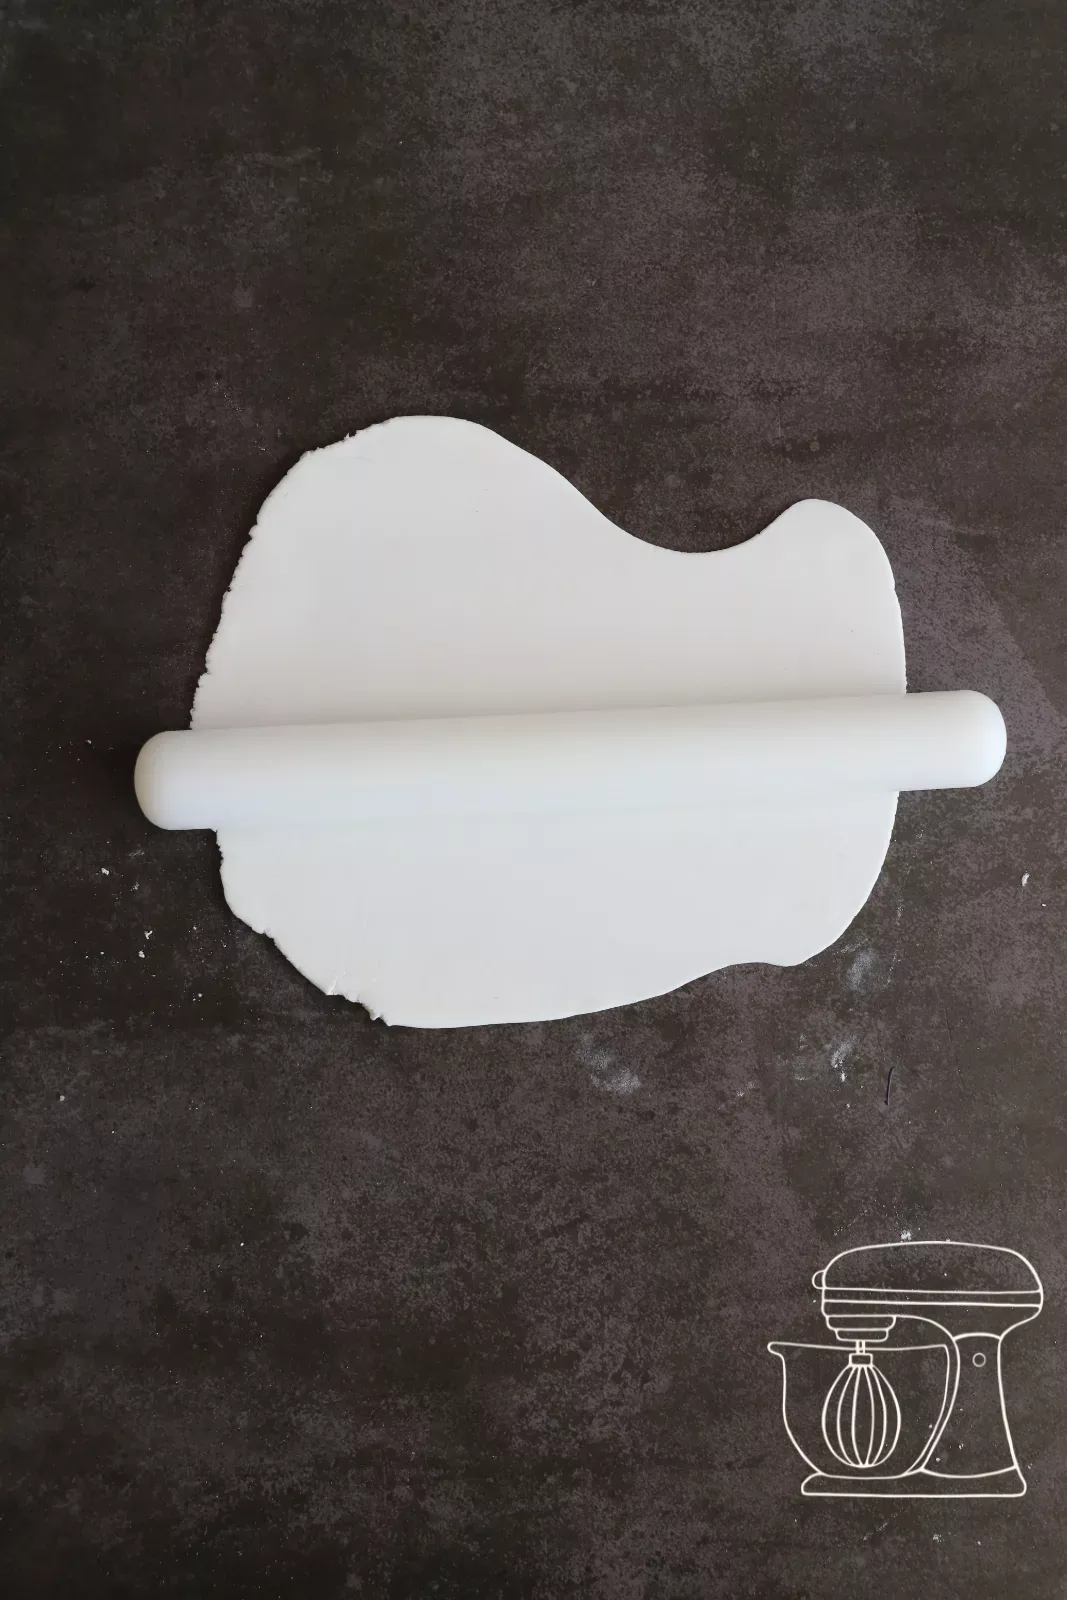
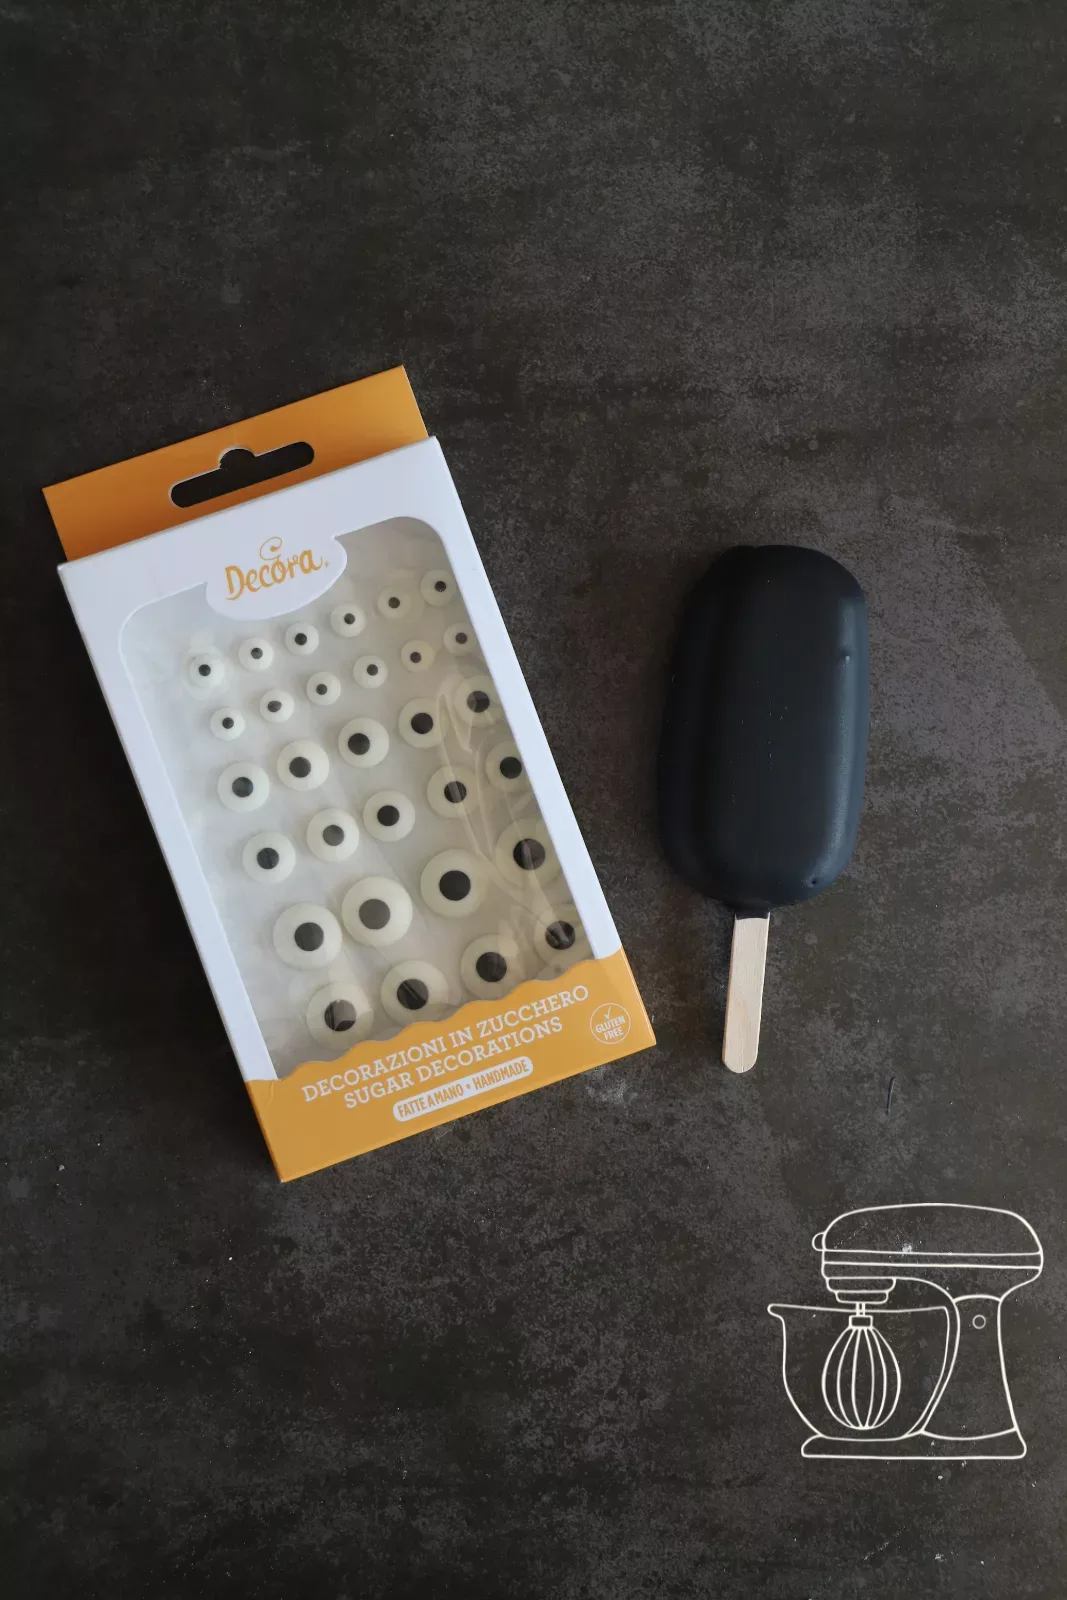
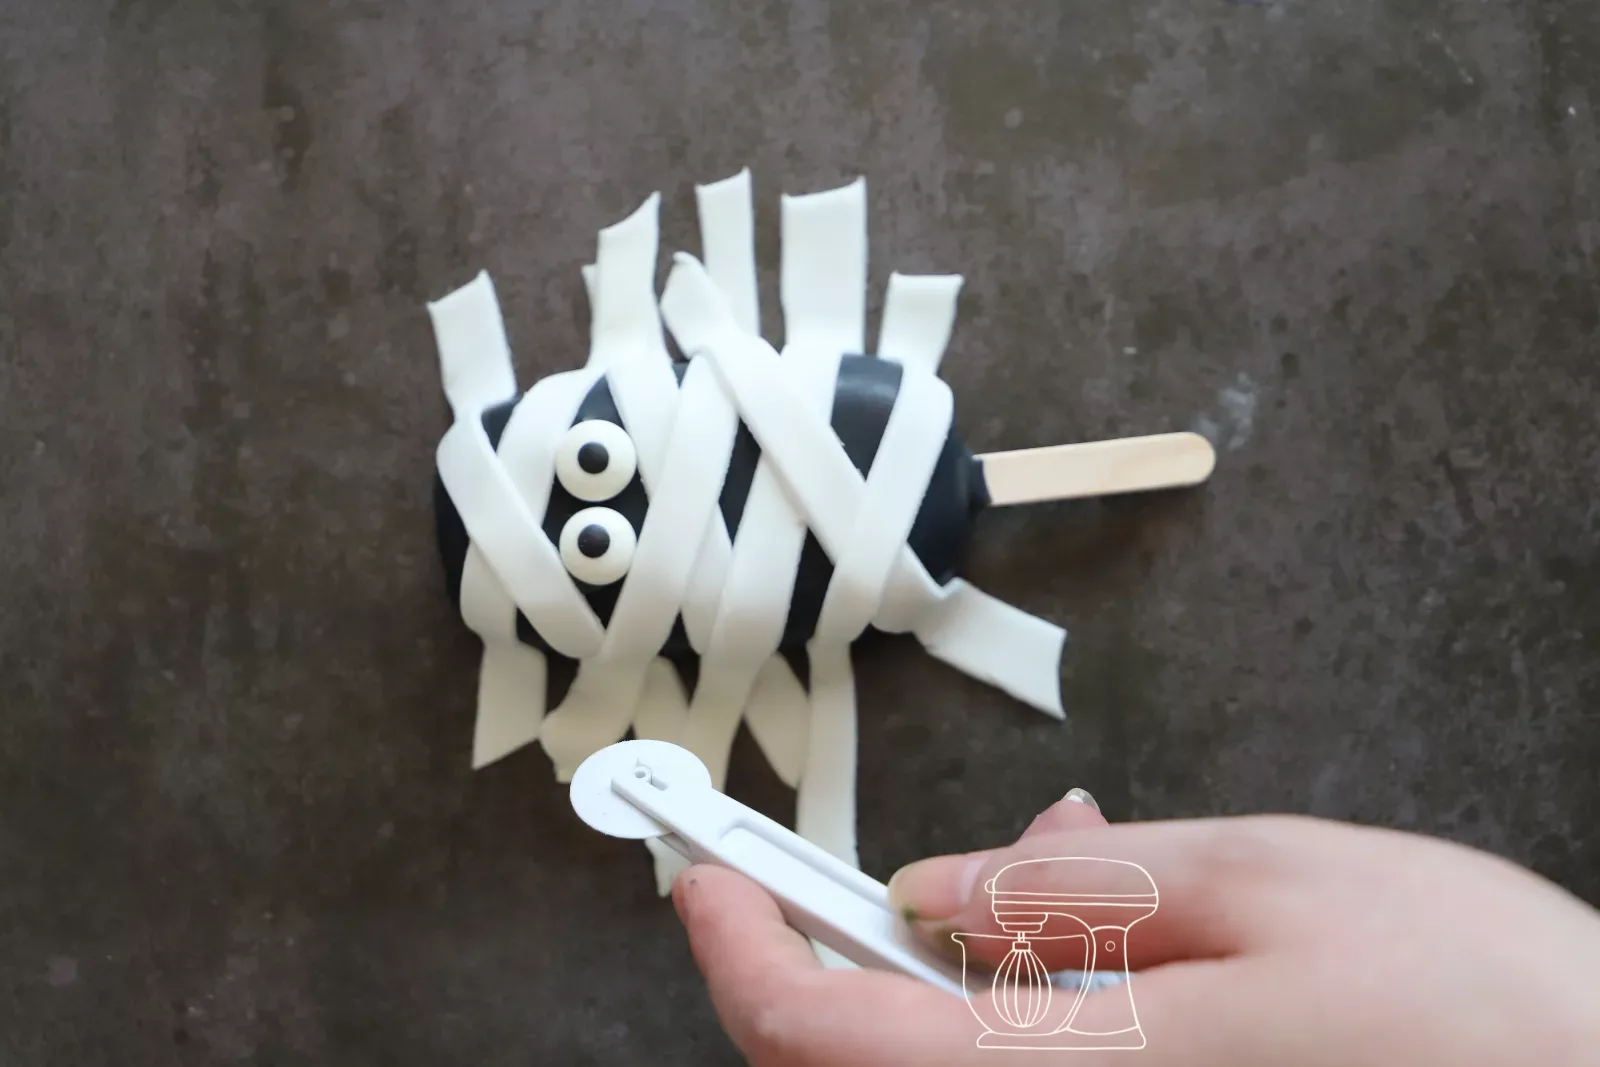
Roll out white Fondant and cut irregular strips with a cutting tool. First attach the Candy eyes with a little Deco melts, then lay the Fondant strips crisscross over them and trim off the excess.
1 kg Fondant Marshmallow White
Zuckerdekor "Augen"
Zuckerdekorationen - verbundene Augen
Modellierwerkzeug-Set, 6-teilig
Zombie
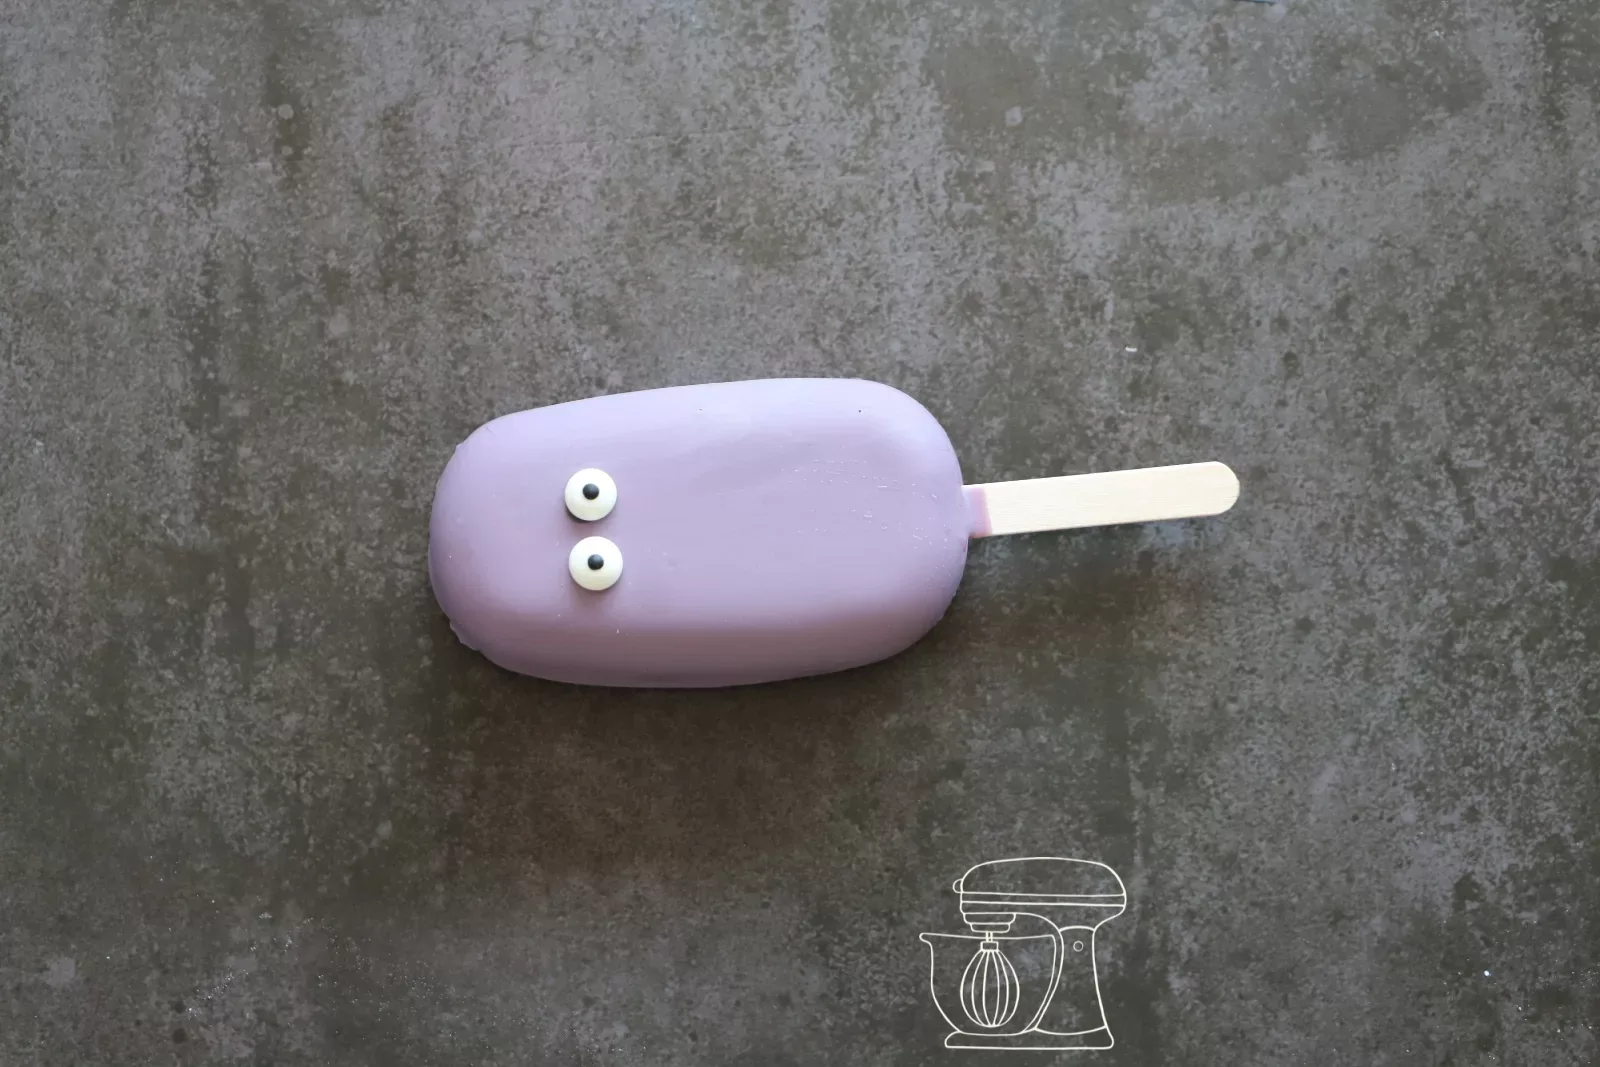
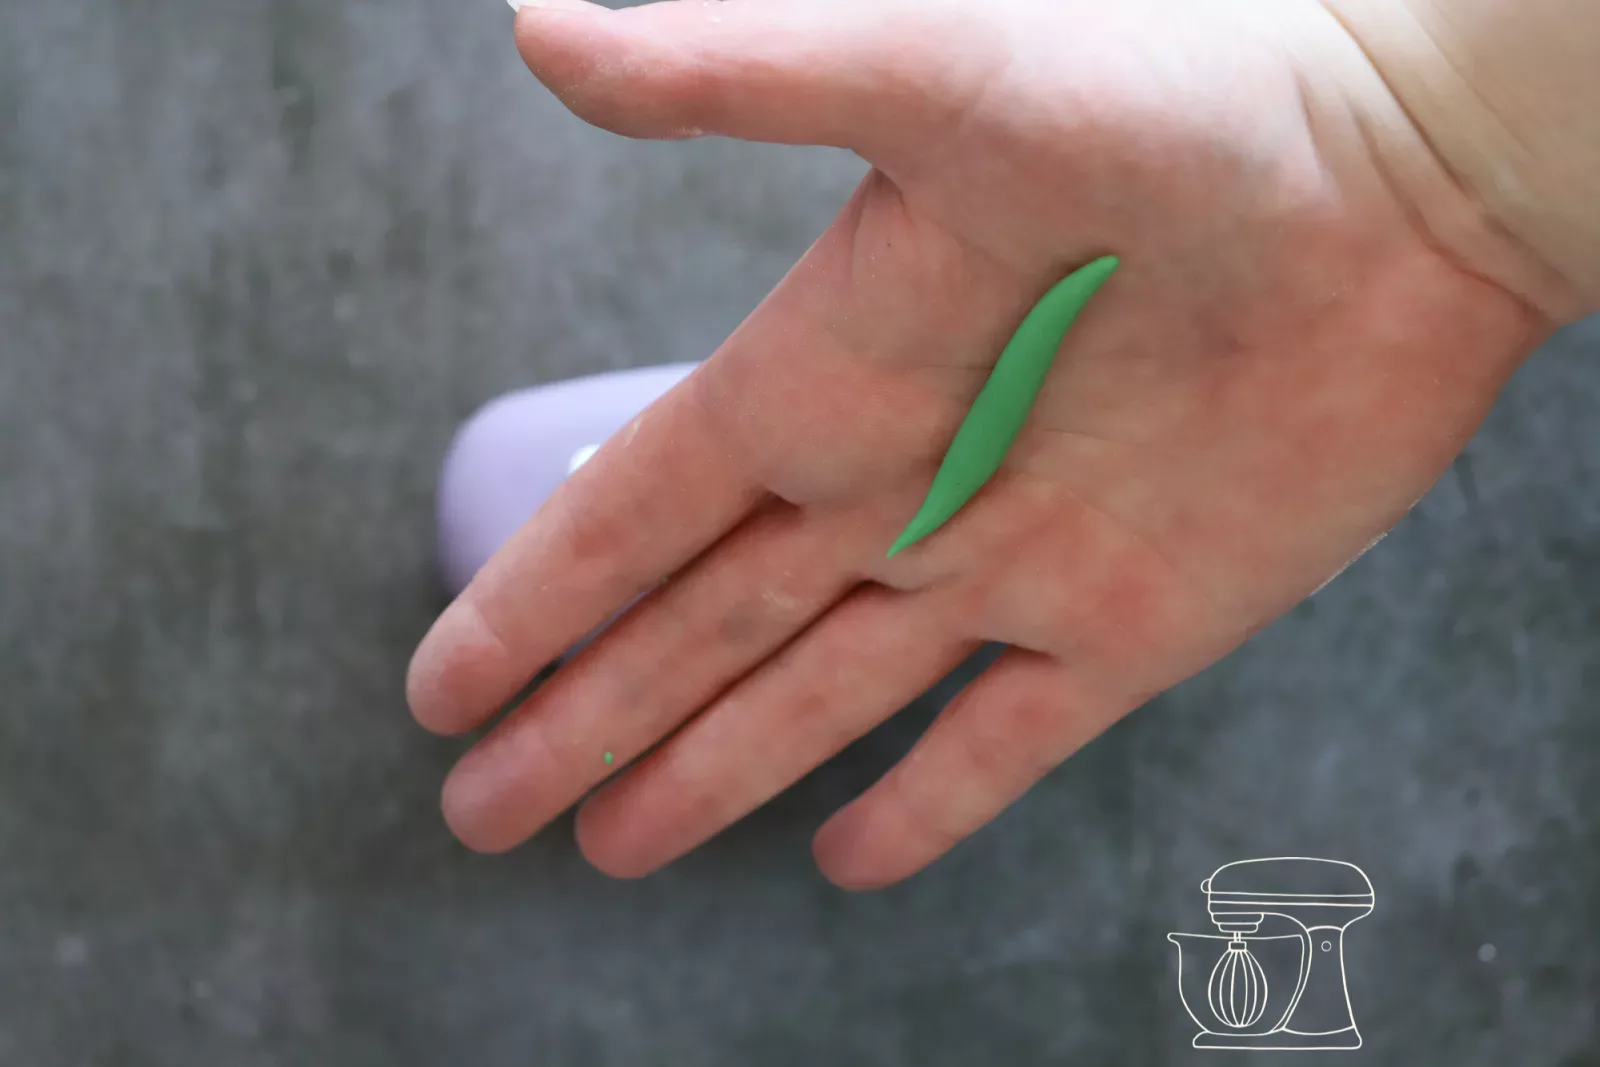
Stick on the eyes with Deco melts, shape small sausages from Fondant for the mouth and scars and place them on the green cakesicle. Now your zombie is ready for Halloween night.

Spider web and spider
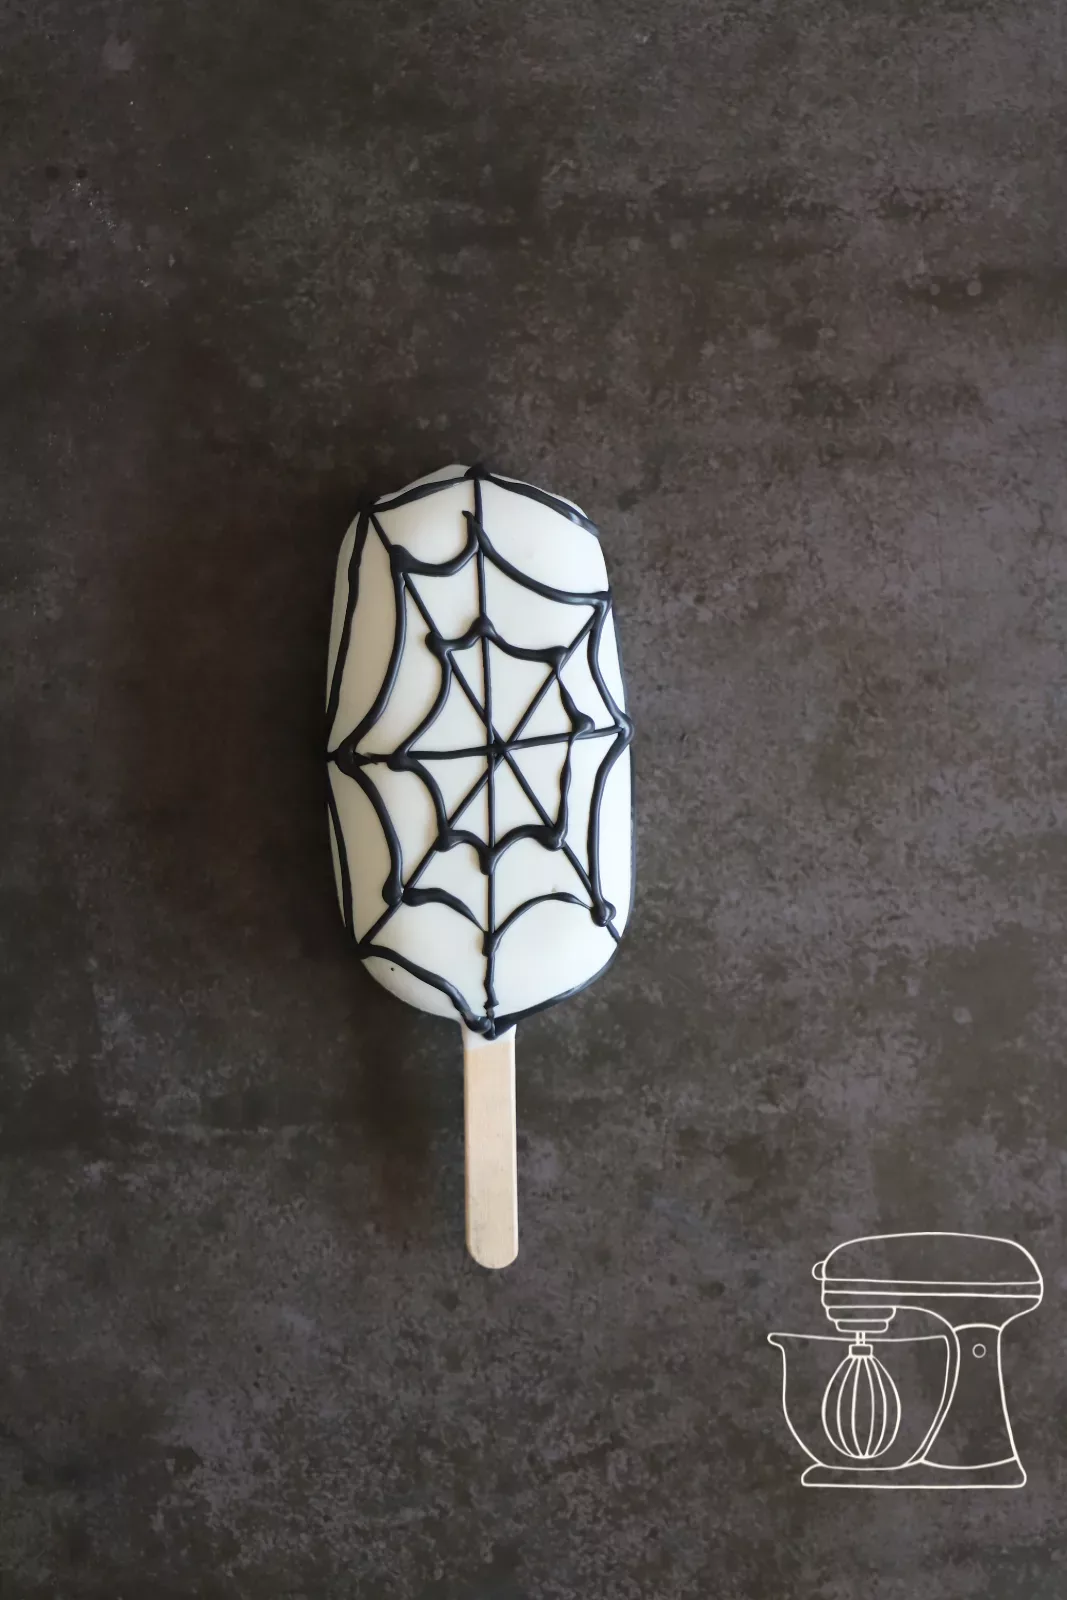
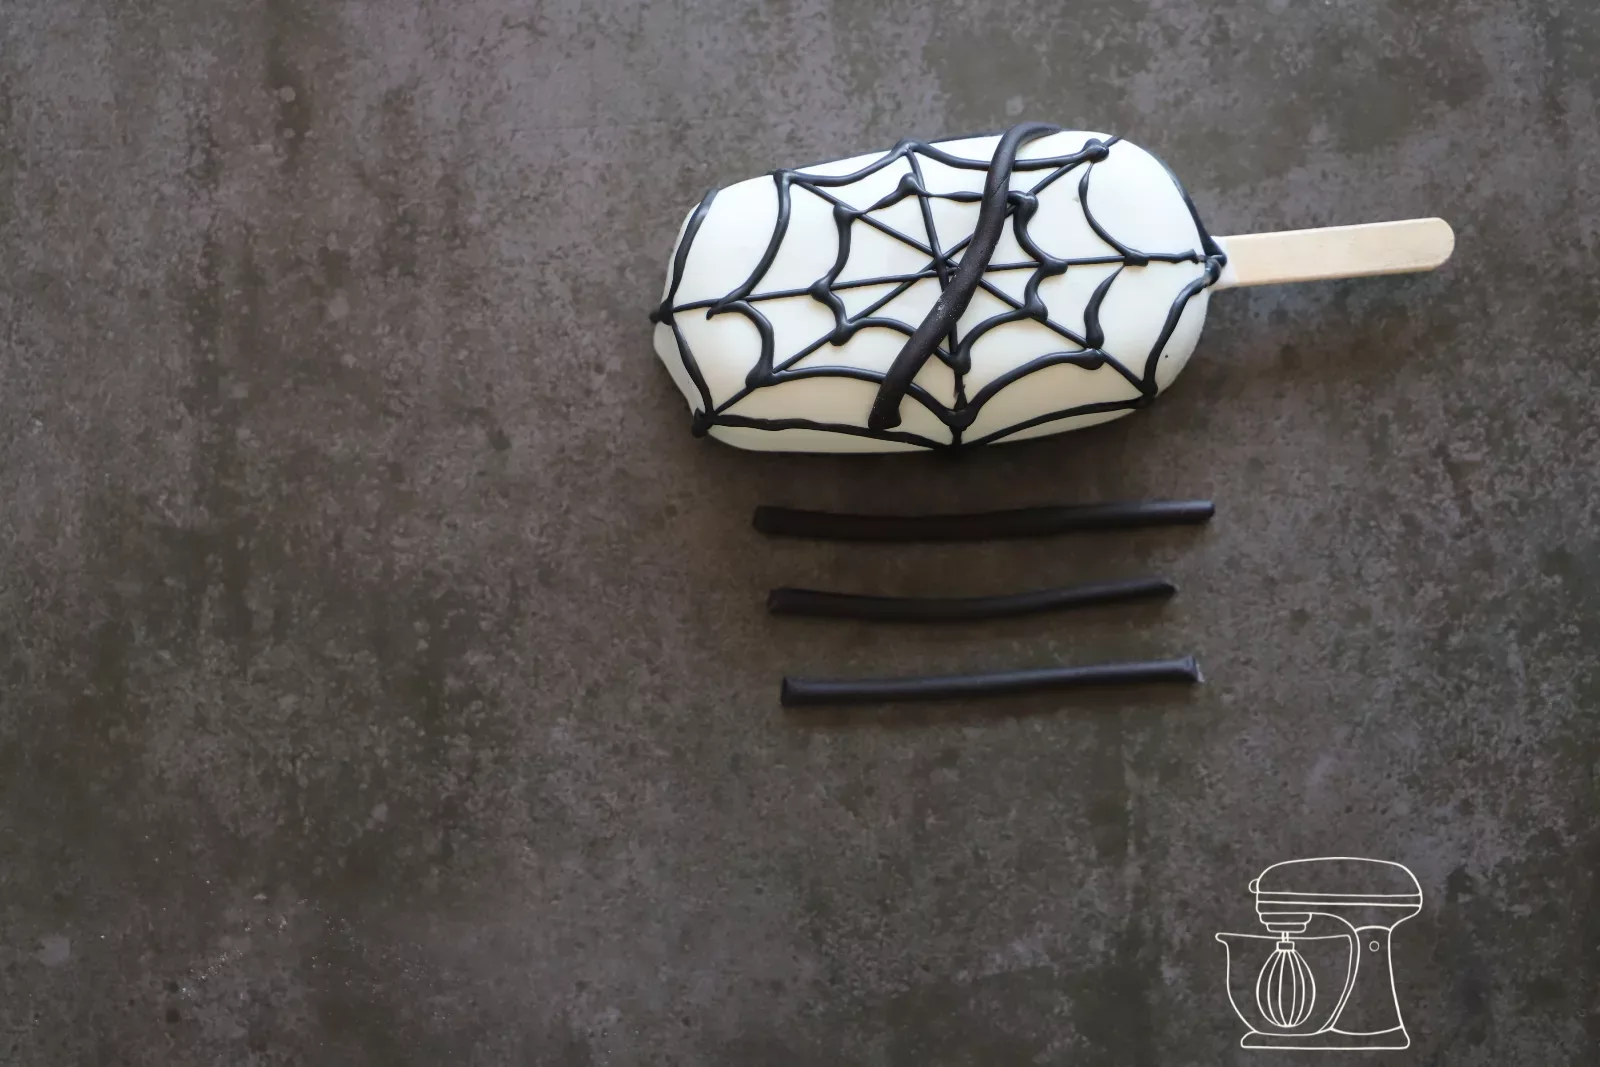
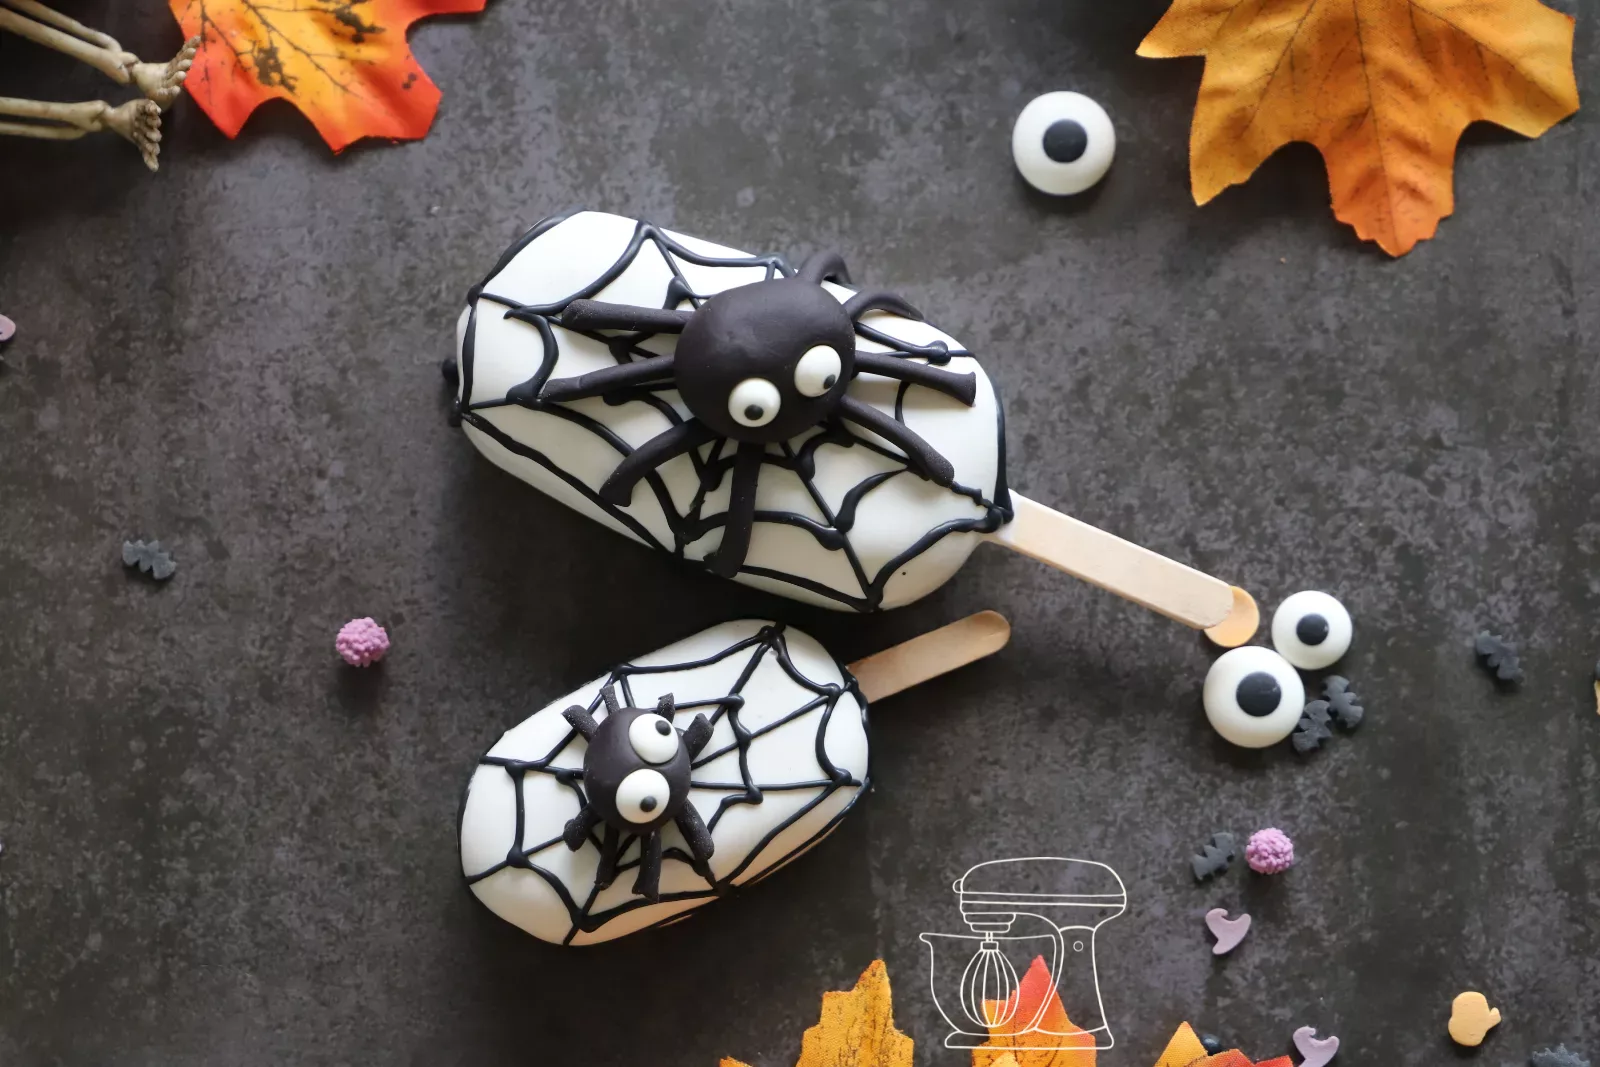
Pipe 4 lines across the cakesicle and connect them into a spider web. For the spider, roll 4 strands from black Fondant, lay them on top of each other for 8 legs, shape a ball for the body and press 2 Candy eyes into it.
Halloween cakesicles
Ingredients
Apple and cinnamon filling
Caramel cheesecake
Icing & decoration
Preparation
- Apples: Peel and dice 225 g of tart apples.
- Sugar: Put into a pot with the brown sugar.
- Caramelise: Add cinnamon and maple syrup, cook for approx. 5 min.
- Chill: Chill the filling for at least 30 min.
- Biscuits: Roughly crumble 8 biscuits.
- Cream: Lightly whip 200 g of full cream.
- Cream cheese: Put into the Bowl with icing sugar, vanilla, caramel and salt.
- Mix: Stir until smooth, briefly fold in the cream.
- Fold in: Gently fold in the biscuits and apple filling.
- Fill: Spread the mixture into the moulds.
- Freeze: Insert the sticks, freeze for at least 6 hrs.
- Icing: Melt the Deco melts in 30 second steps.
- Dip: Dip and wipe off 2 cakesicles at a time.
- Drain: Let set on baking paper.
- Sprinkles: Pipe lines, sprinkle immediately.
- Pumpkin: Pipe a face, place a fondant stem on top.
- Mummy: Stick on the eyes, lay on strips of fondant.
- Zombie: Add eyes, mouth and scars.
- Spider: Pipe a web, place a fondant spider on top.
Nutritional values per 100 g
Storage & shelf life
Everything for this recipe
Recommended from our bakery: exactly the sizes the recipe was tested with.
Ingredients
Colourful Halloween sugar sprinkles, 65 g
Sugar decoration, bloody eyes
Deco melts: Orange
Deco melts: Violet
Deco melts: Black
Deco melts: White
Deco melts: Green
Creamy caramel
1 kg Fondant Marshmallow White
Gel colors "Progel" set Rainbow
Sugar decoration "Eyes"
Ceylon cinnamon powder, 50 g
Liquid aroma "Vanilla"
Accessories
Disposable piping bag S - 30cm - 10 pcs
Ice cream mould "Mini classic"
Ice cream mould "Classic"
Wooden sticks for ice cream on a stick, 100 pieces
Modeling tool set, 6-piece
Disposable piping bag - 41cm - 24 pcs
Angled spatula made of stainless steel
Delivery in 1 to 2 working days · Free shipping from CHF 100
A lovely touch
Not needed for the recipe, but it fits nicely.
Bloody candy eyes decoration for Halloween
Candy eyes, 25 g
Round candy eyes 64 pieces
Sugar decorations, blindfolded eyes
So they turn out perfectly
Always coat just 2 cakesicles at a time and keep the others in the freezer. That way they stay nice and firm and the coating sticks perfectly.
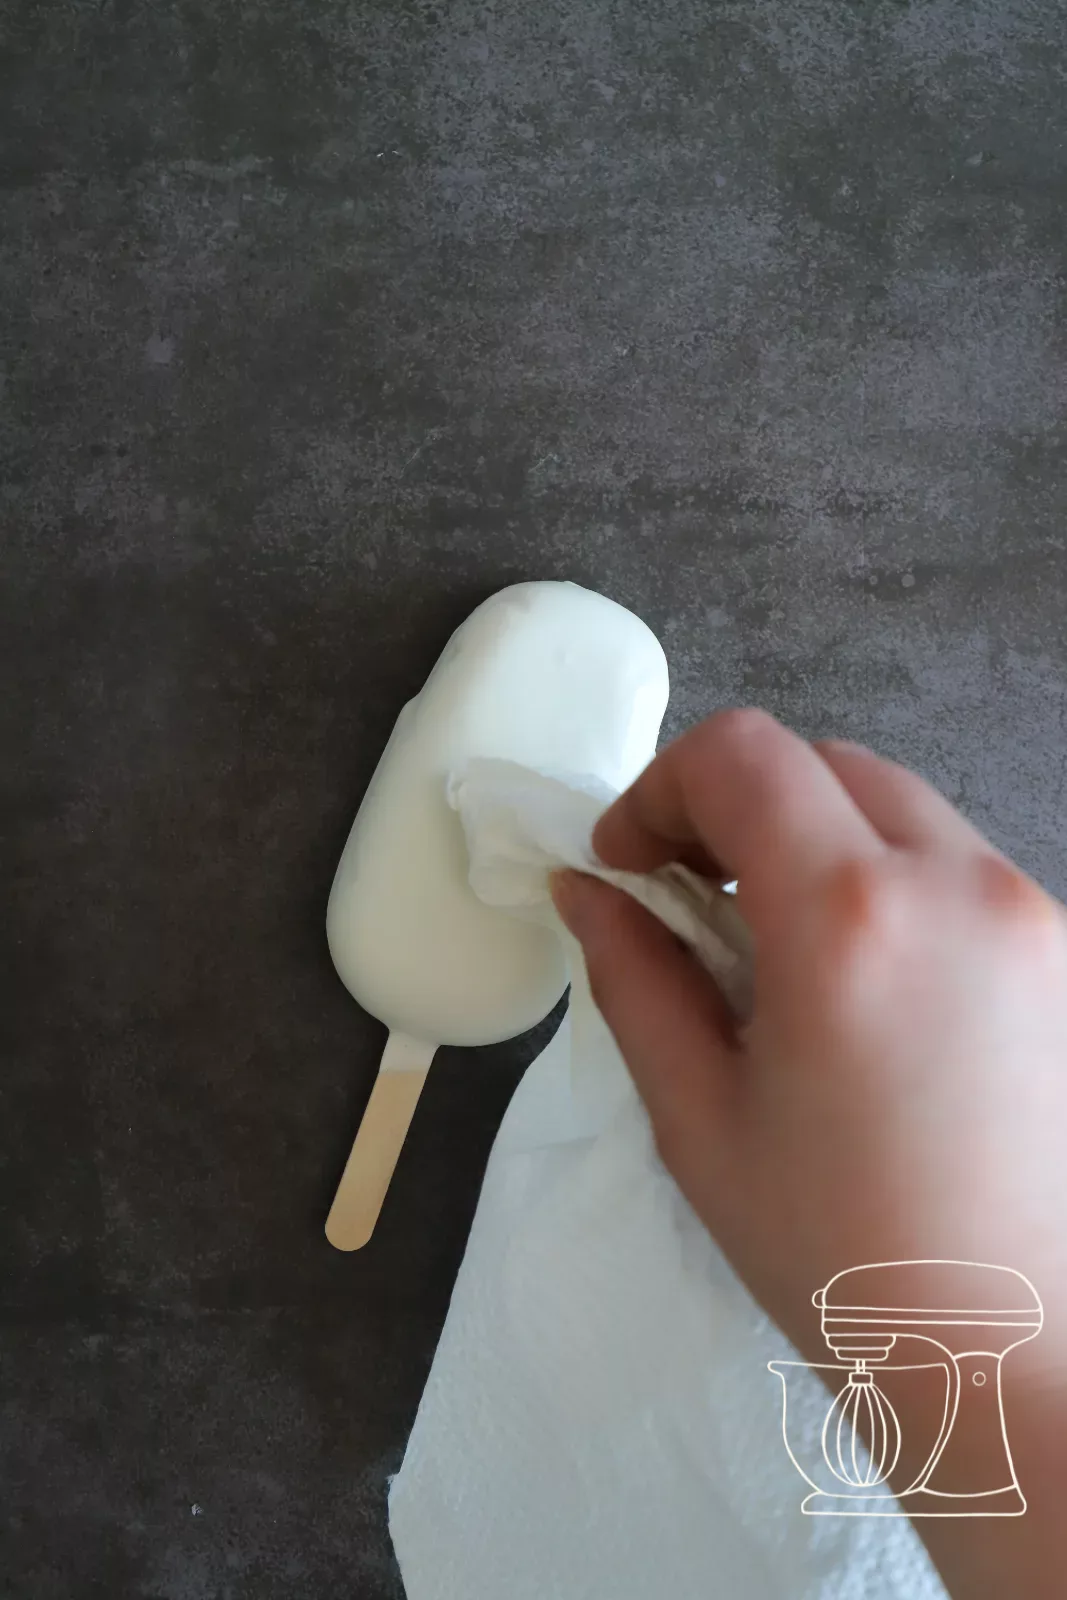
If a little condensation forms on the surface after coating, simply dab it off with kitchen paper. This is completely normal with a no-bake cheesecake straight from the freezer.
From simple Sprinkles to a fondant spider: the decorating ideas come at different levels of difficulty. That way little and big helpers can find their favourite motif, and once hardened you can reuse any leftover Deco melts.
Frequently asked questions
Yes! You can coat and decorate the cakesicles 1 to 2 days ahead and keep them in the fridge until the big day. Ideal if you are getting ready for a large party.
Of course. Deco melts are quick and easy, but real chocolate tastes finer. Temper white chocolate and colour it with chocolate colours in your desired shades.
No problem: fill a first batch, freeze it for 2 to 3 hours, unmould it and fill the cakesicle mould again with the chilled mixture. The only important thing is that each cakesicle is frozen for at least 6 hours in total.
Print recipe
Choose what should appear on the printout.
Related posts
 Juicy Matcha Muffins with Pecan Nuts & White Chocolate
Matcha Iced Latte & Coconut Variant
Pull-apart bread with fresh wild garlic pesto
Mini Banana Bread with Chocolate Chips
Juicy Matcha Muffins with Pecan Nuts & White Chocolate
Matcha Iced Latte & Coconut Variant
Pull-apart bread with fresh wild garlic pesto
Mini Banana Bread with Chocolate Chips
Leave a comment
Comments
Question de Morgane
By: Morgane M. On 2023-08-13Bonjour,
Je souhaites faire ceci mais pour un anniversaire et on sera 24. Beaucoup de job m'attend :0 Mais du coup, je dois me prendre à l'avance. Comment je peux faire,est-ce que le glaçage chocolat je peux aussi le faire en avance ou le jour même ?
Replied by: Laura On 2023-08-14
Question de Nadine
By: Nadine B. On 2021-10-30Vraiment top, les enfants ont adoré décorer. J ai utilisé du chocolat blanc pour le glaçage et on l a coloré. Le rendu est super!
Replied by: Karin On 2021-10-30