
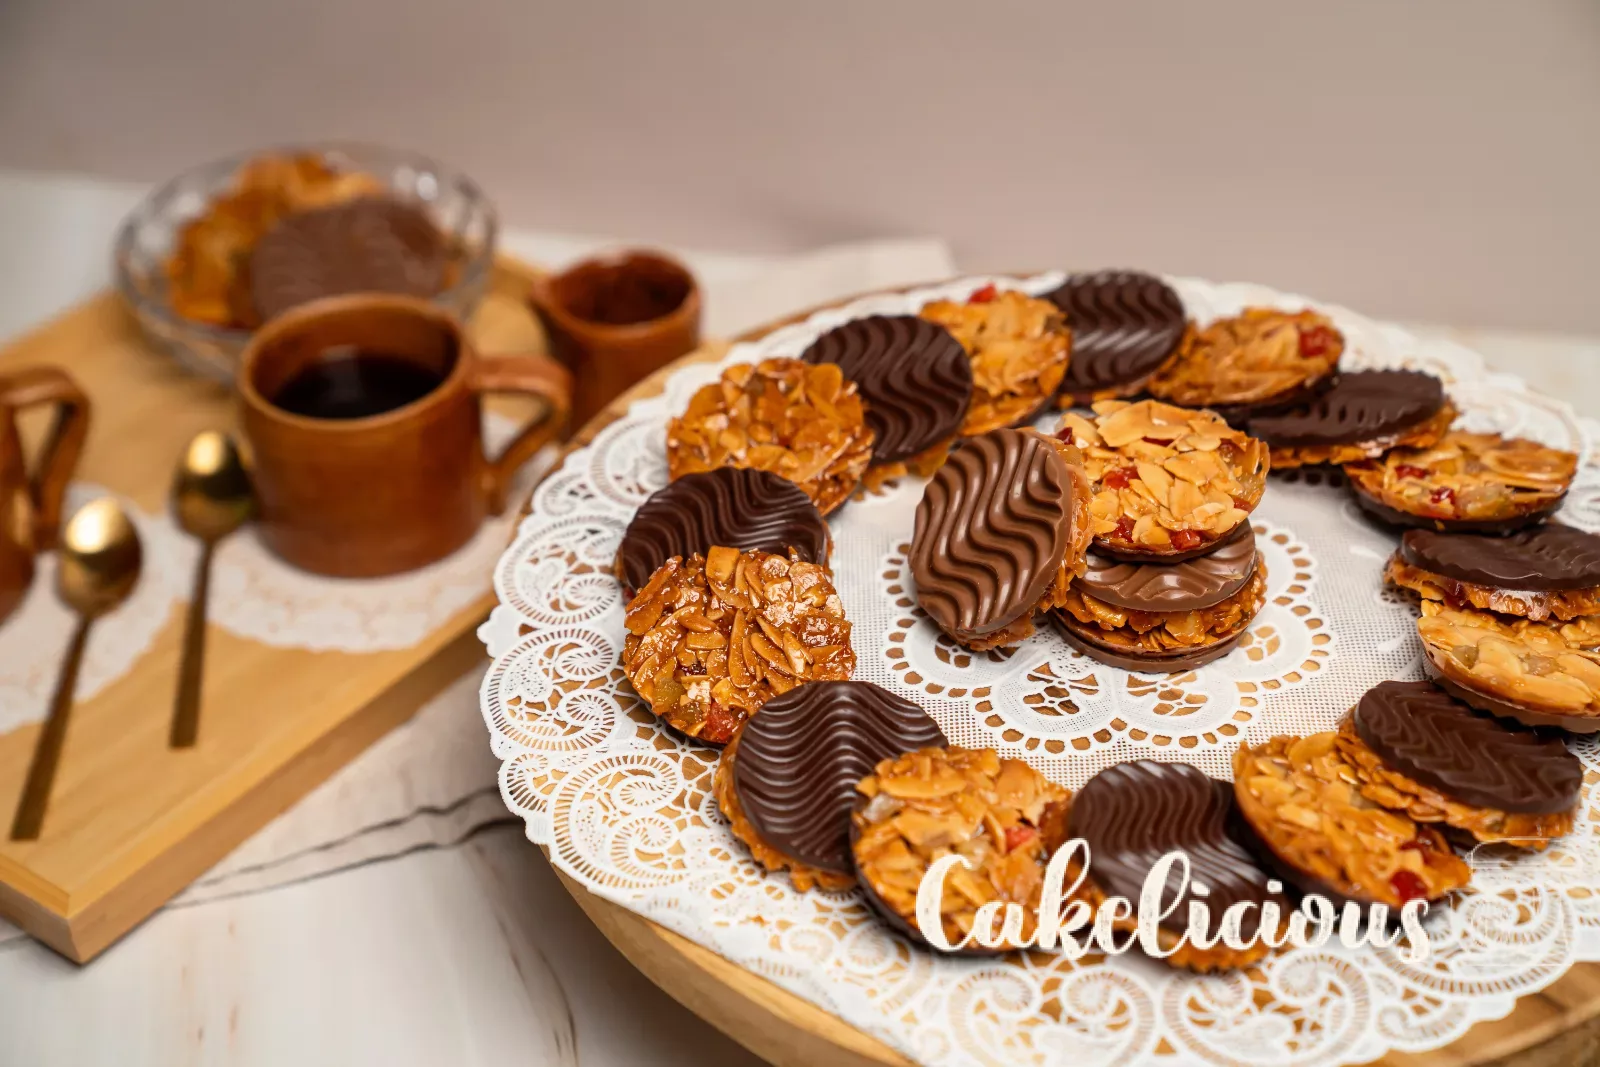
Florentine like from the confectioner, easy to make at home
Crisp almonds, candied fruit and a base that really snaps
Hello food lovers,
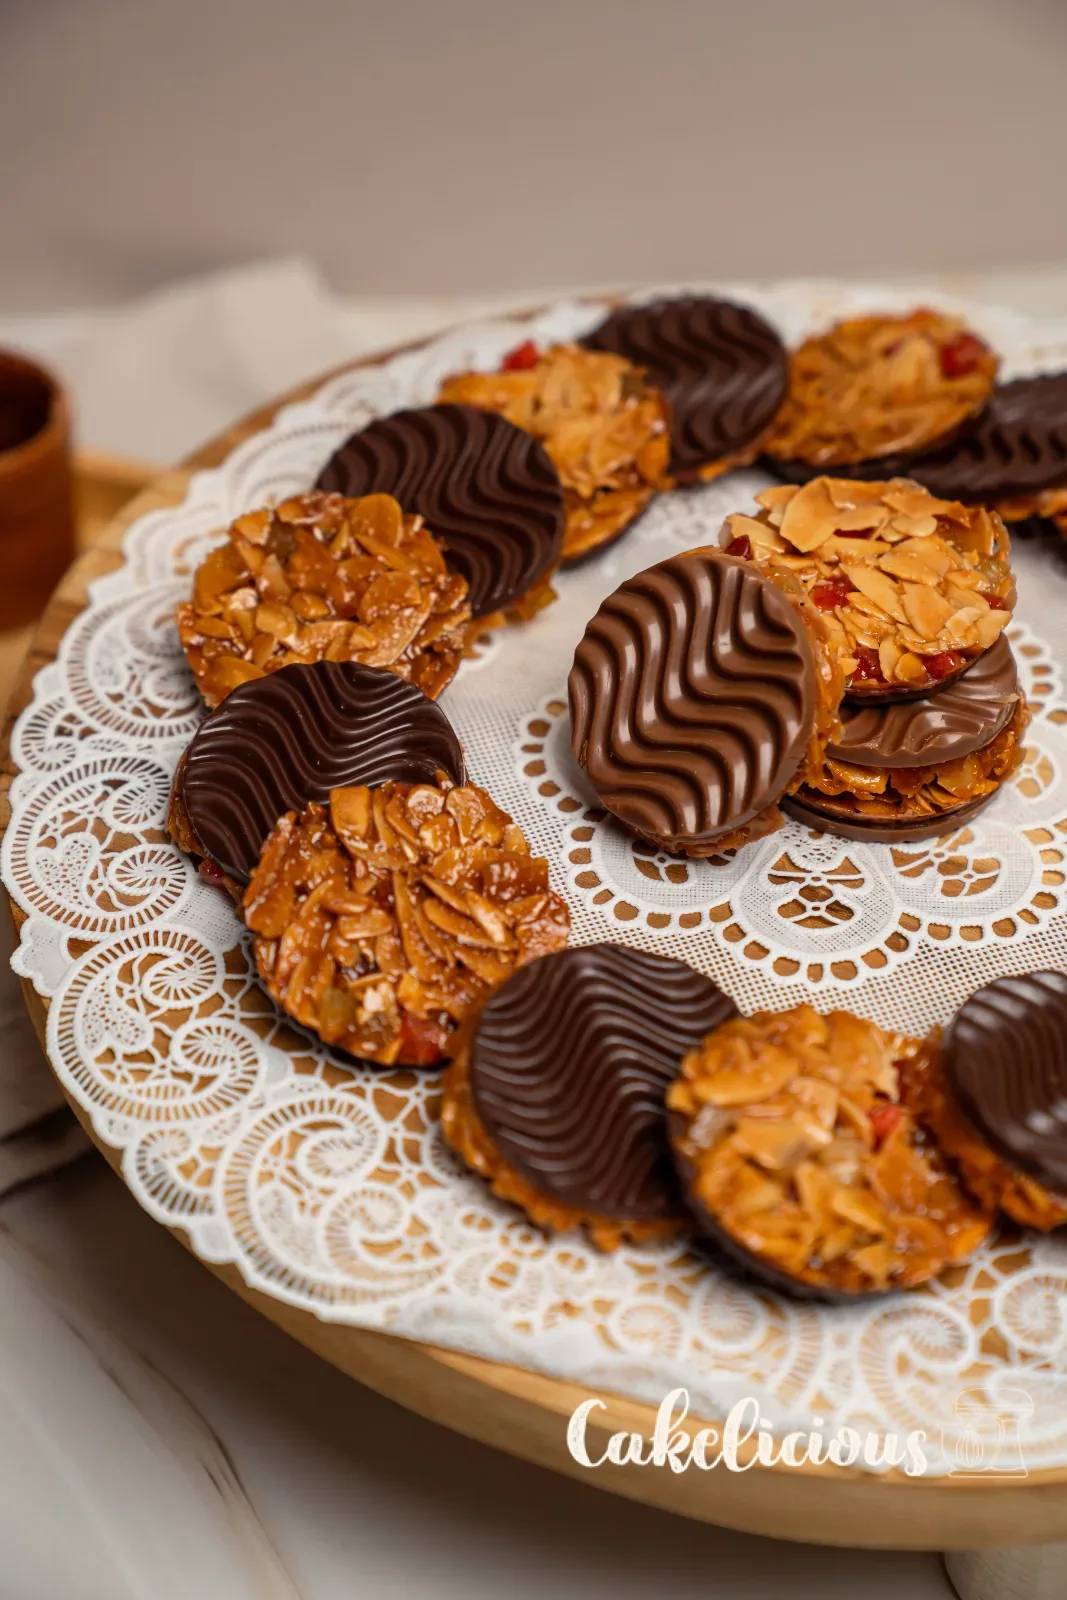
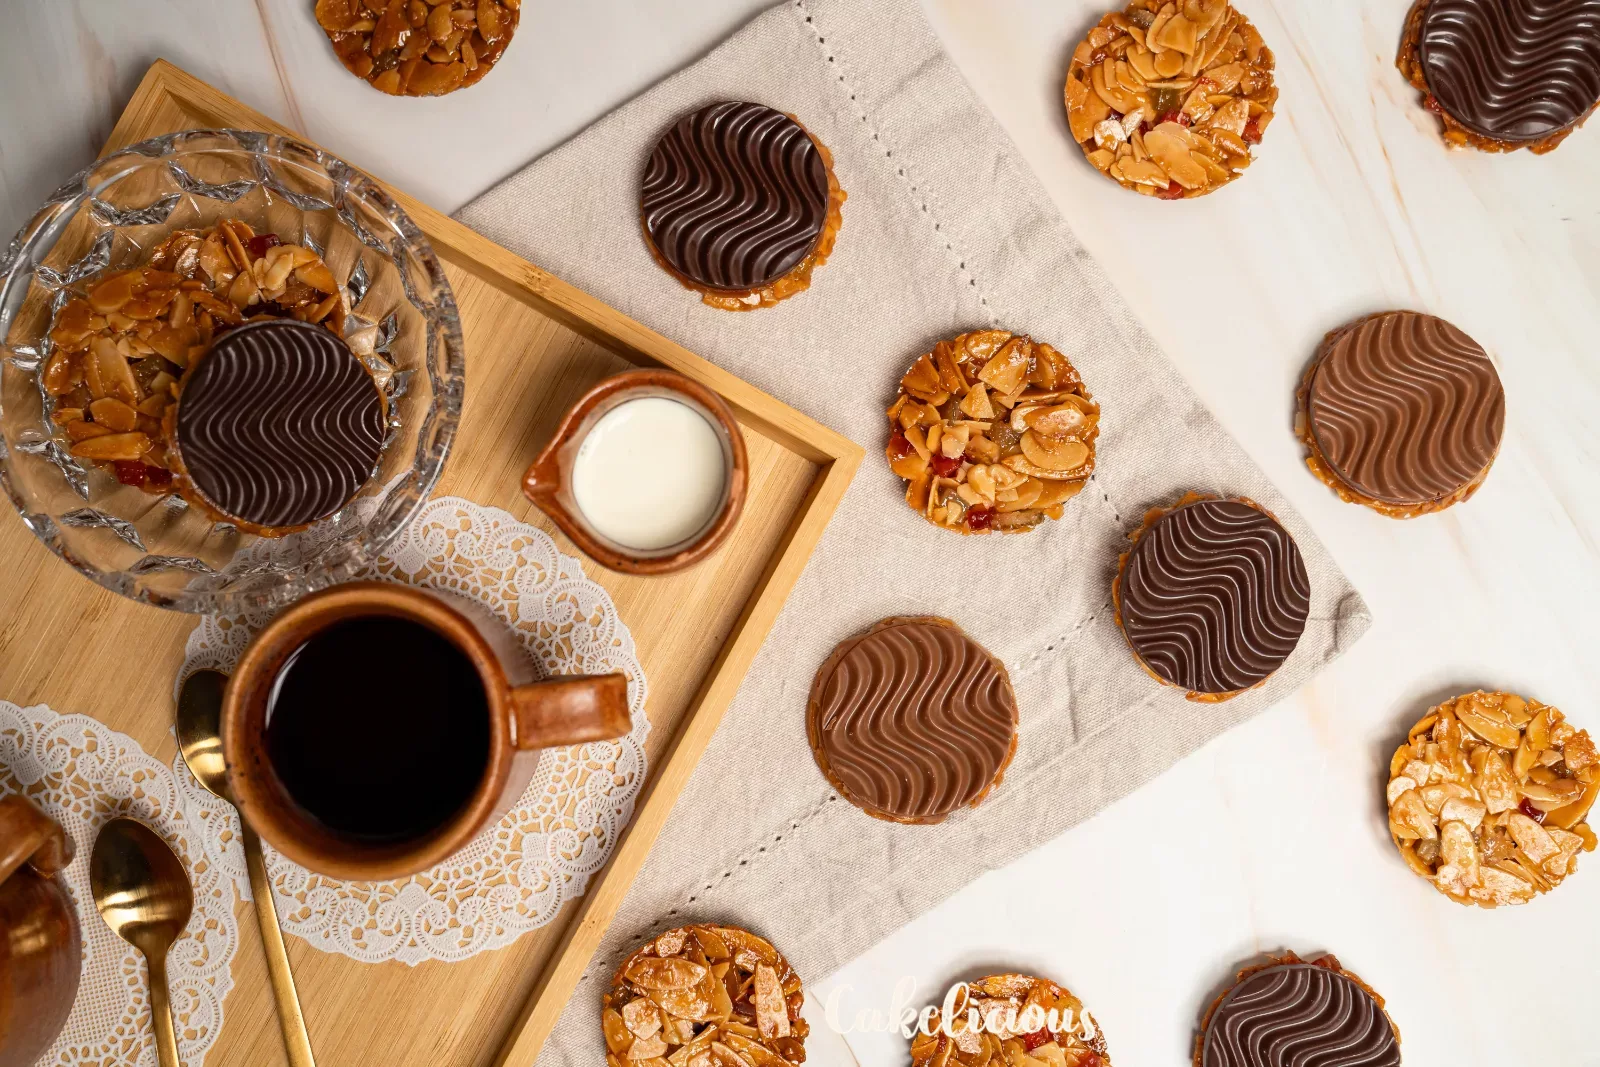
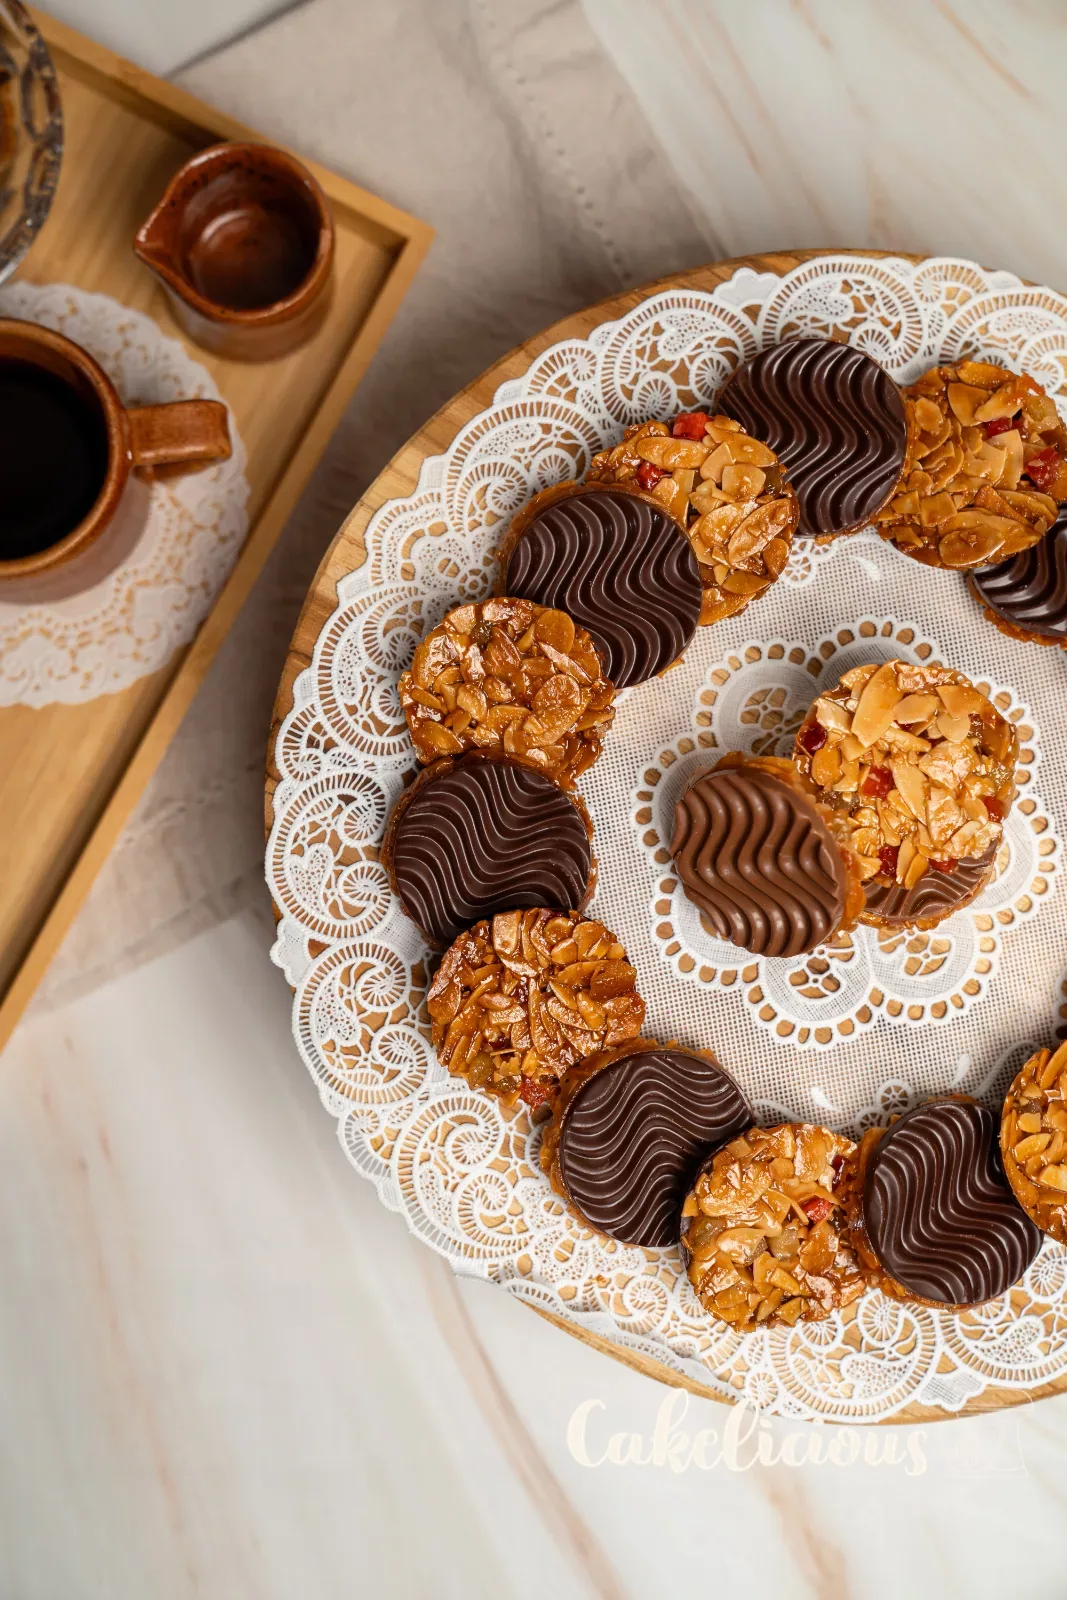
does this sound familiar? On every cookie platter there is one variety that everyone reaches for first. For us, that is clearly the florentine: wafer-thin and crisp, full of almonds and candied fruit, with a glossy chocolate base underneath that snaps when you bite into it.
For a long time we thought florentine were something for professionals only. That's not true at all! With a Thermometer, a Silicone mold and a bit of patience when tempering, they work at home too. We bake the mixture directly in the mold, so every disc comes out nicely round and fits exactly onto its chocolate base later.
For the base we tried two methods: with a brush and with a Piping bag. Which one we liked better, we'll tell you below in the steps. Enjoy baking!
Ingredients
For the Florentine
For the chocolate base
Step by Step
The Florentine mixture
Into the pan
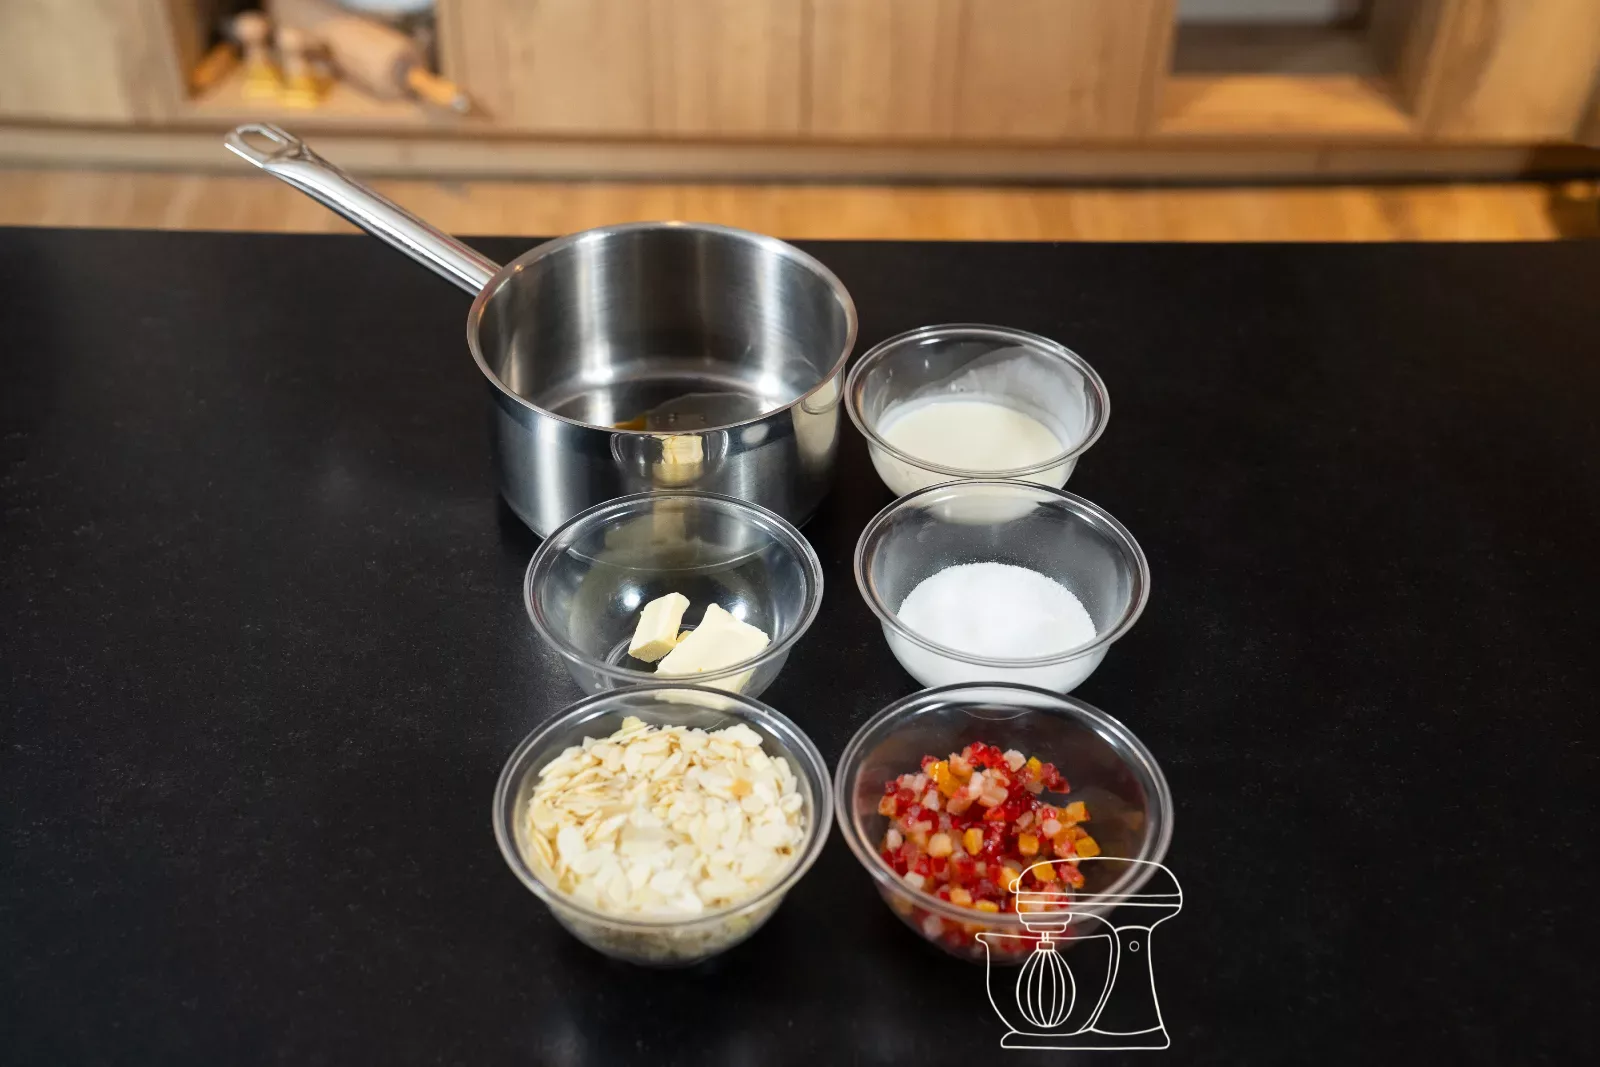
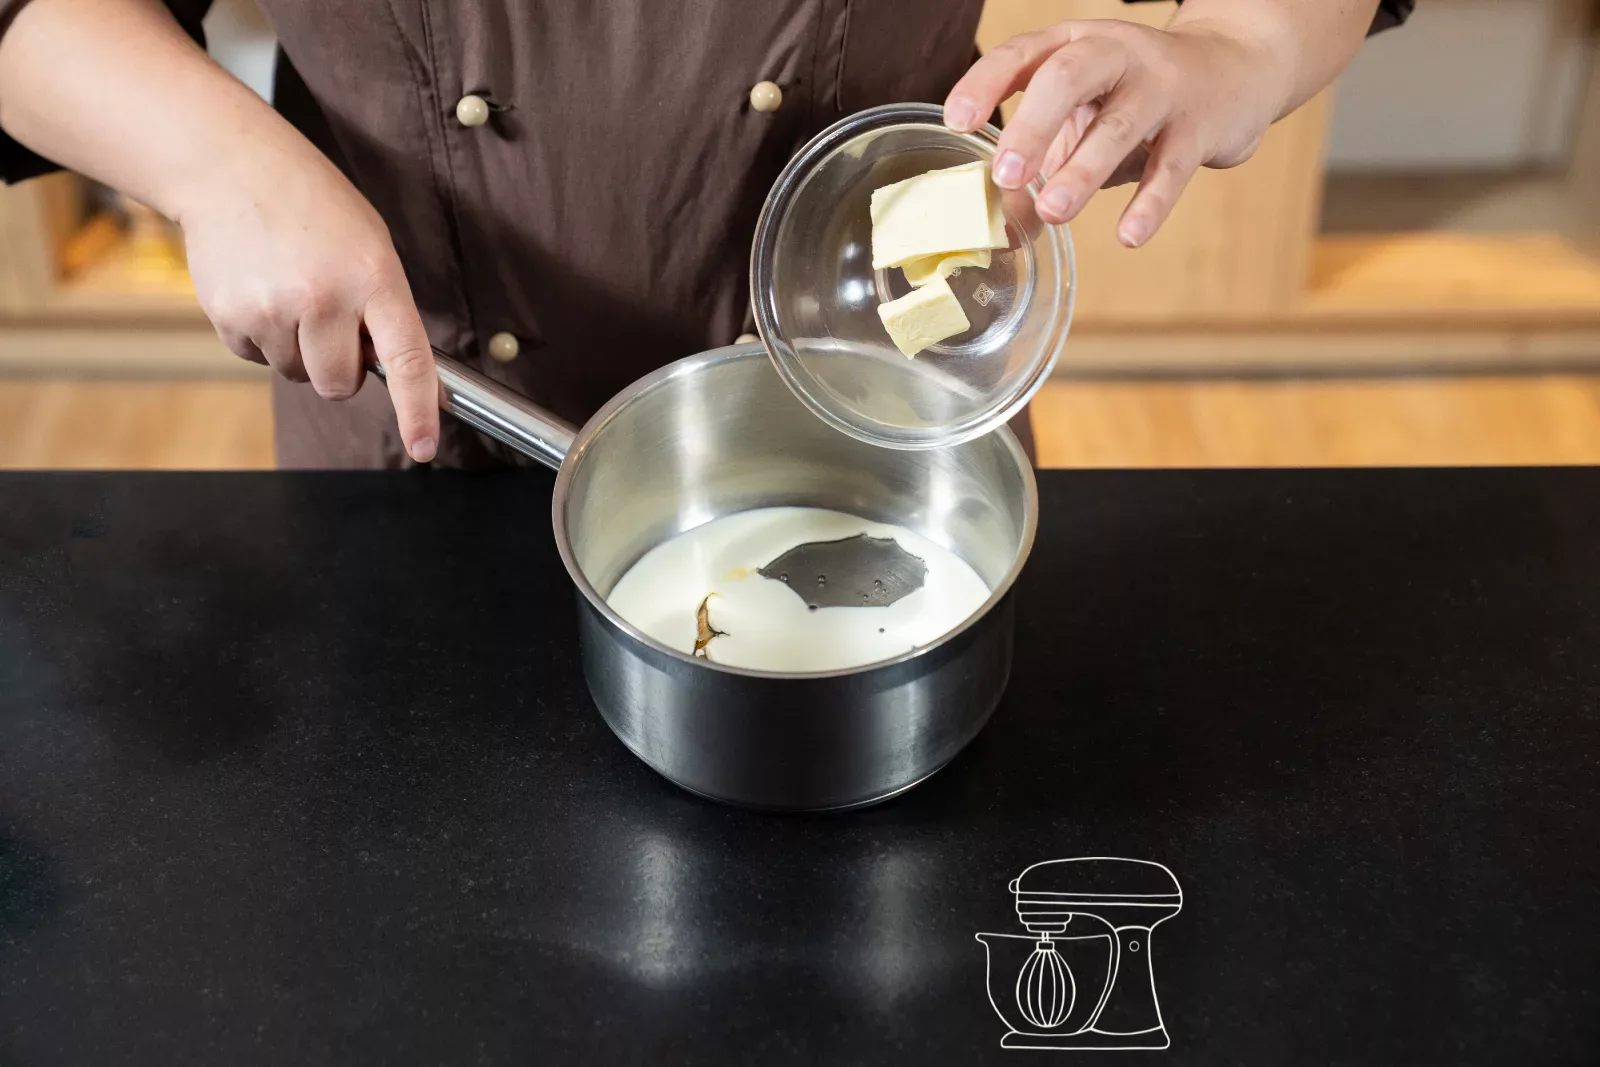
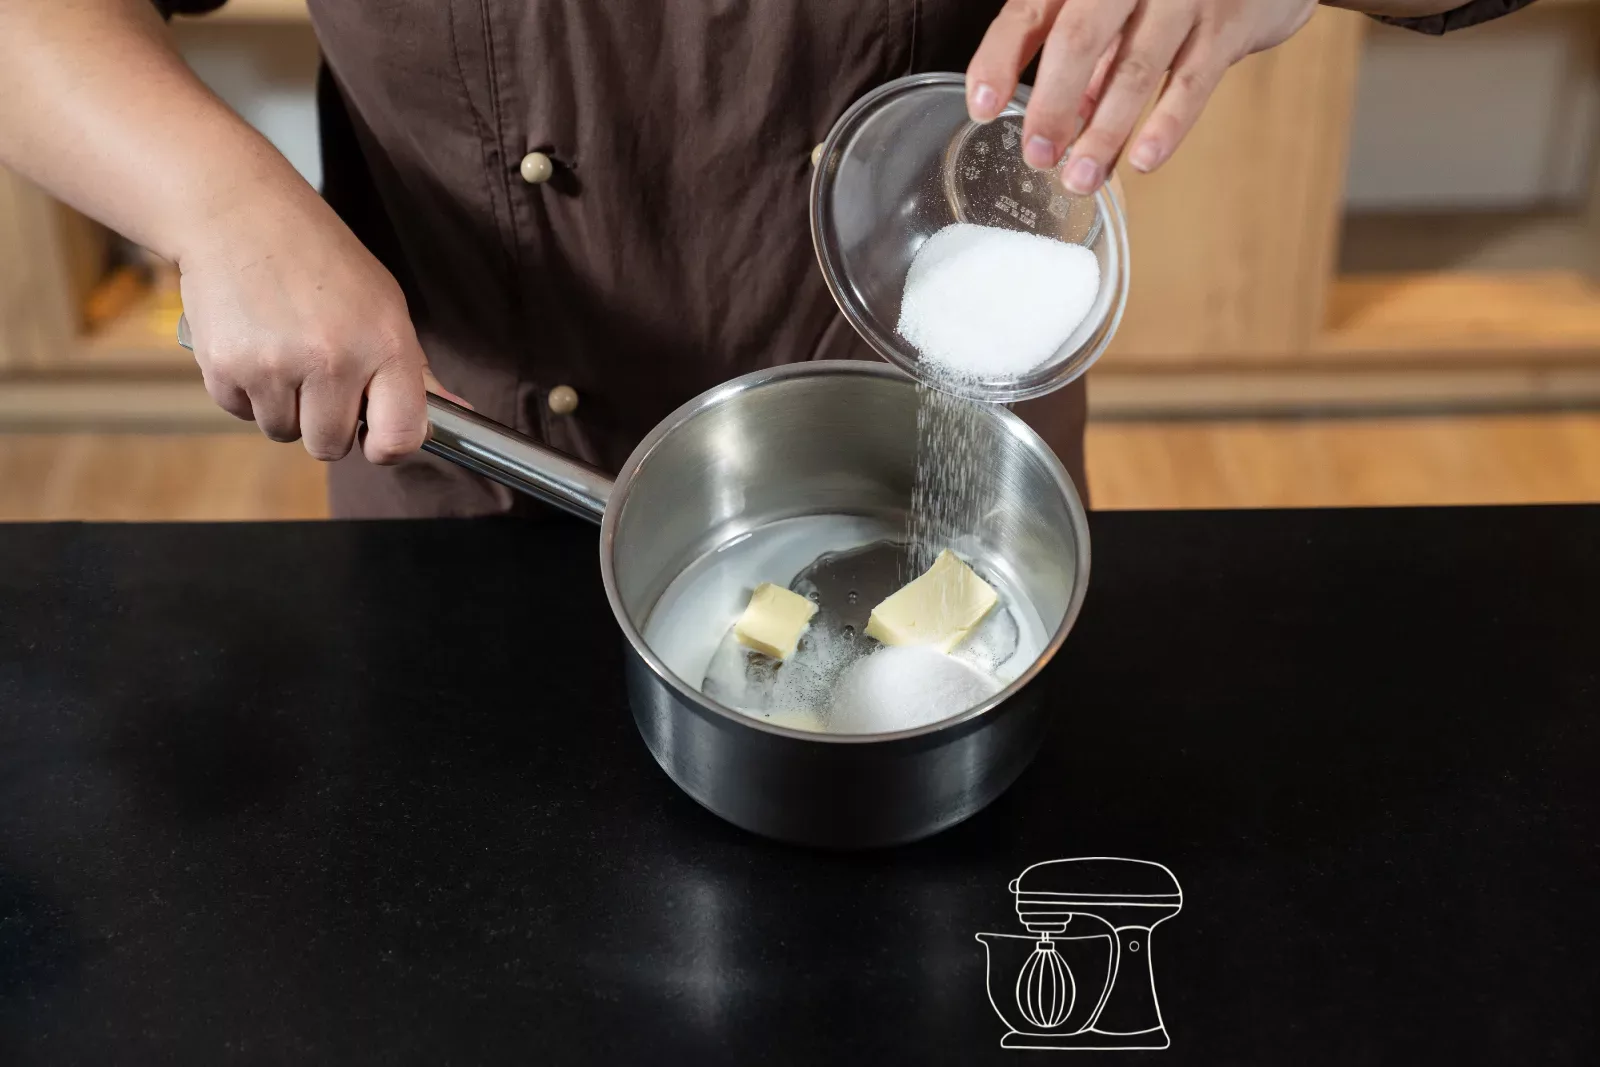
Get all your ingredients ready first, because things move quickly from here on. Put the butter, cream, sugar, Glucose syrup and honey together in a pan. The order doesn't matter, everything can go on the stove at the same time.
Digital Thermometer, waterproof and foldable
Glucose syrup - 300g
Dark chocolate 54.5% 400g - Callebaut
Milk chocolate 33.6% 400g - Callebaut
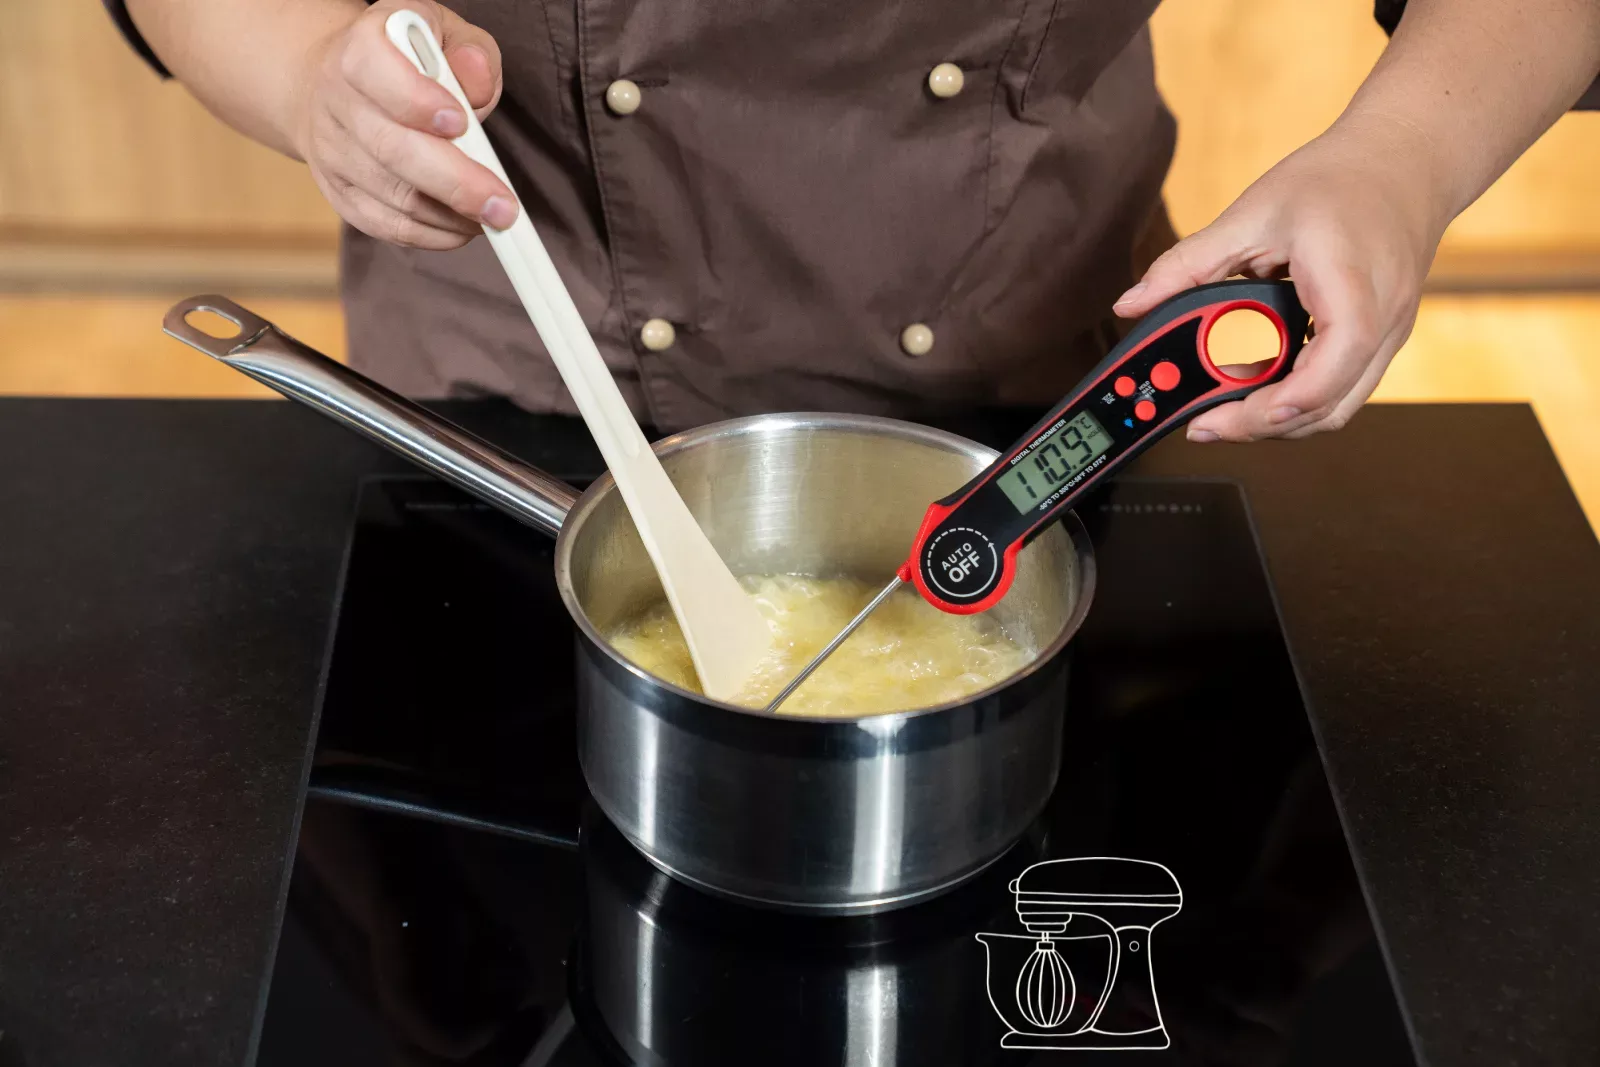
Exactly 110 °C
Bring the mixture to the boil while stirring and measure the temperature with the Thermometer. At exactly 110 °C it is perfect. If it is too cool, your Florentines will turn soft and chewy after a few days. If it is too hot, the sugar becomes too dark and tastes bitter. This is one step where it really pays to not guess!
Almonds and fruit in
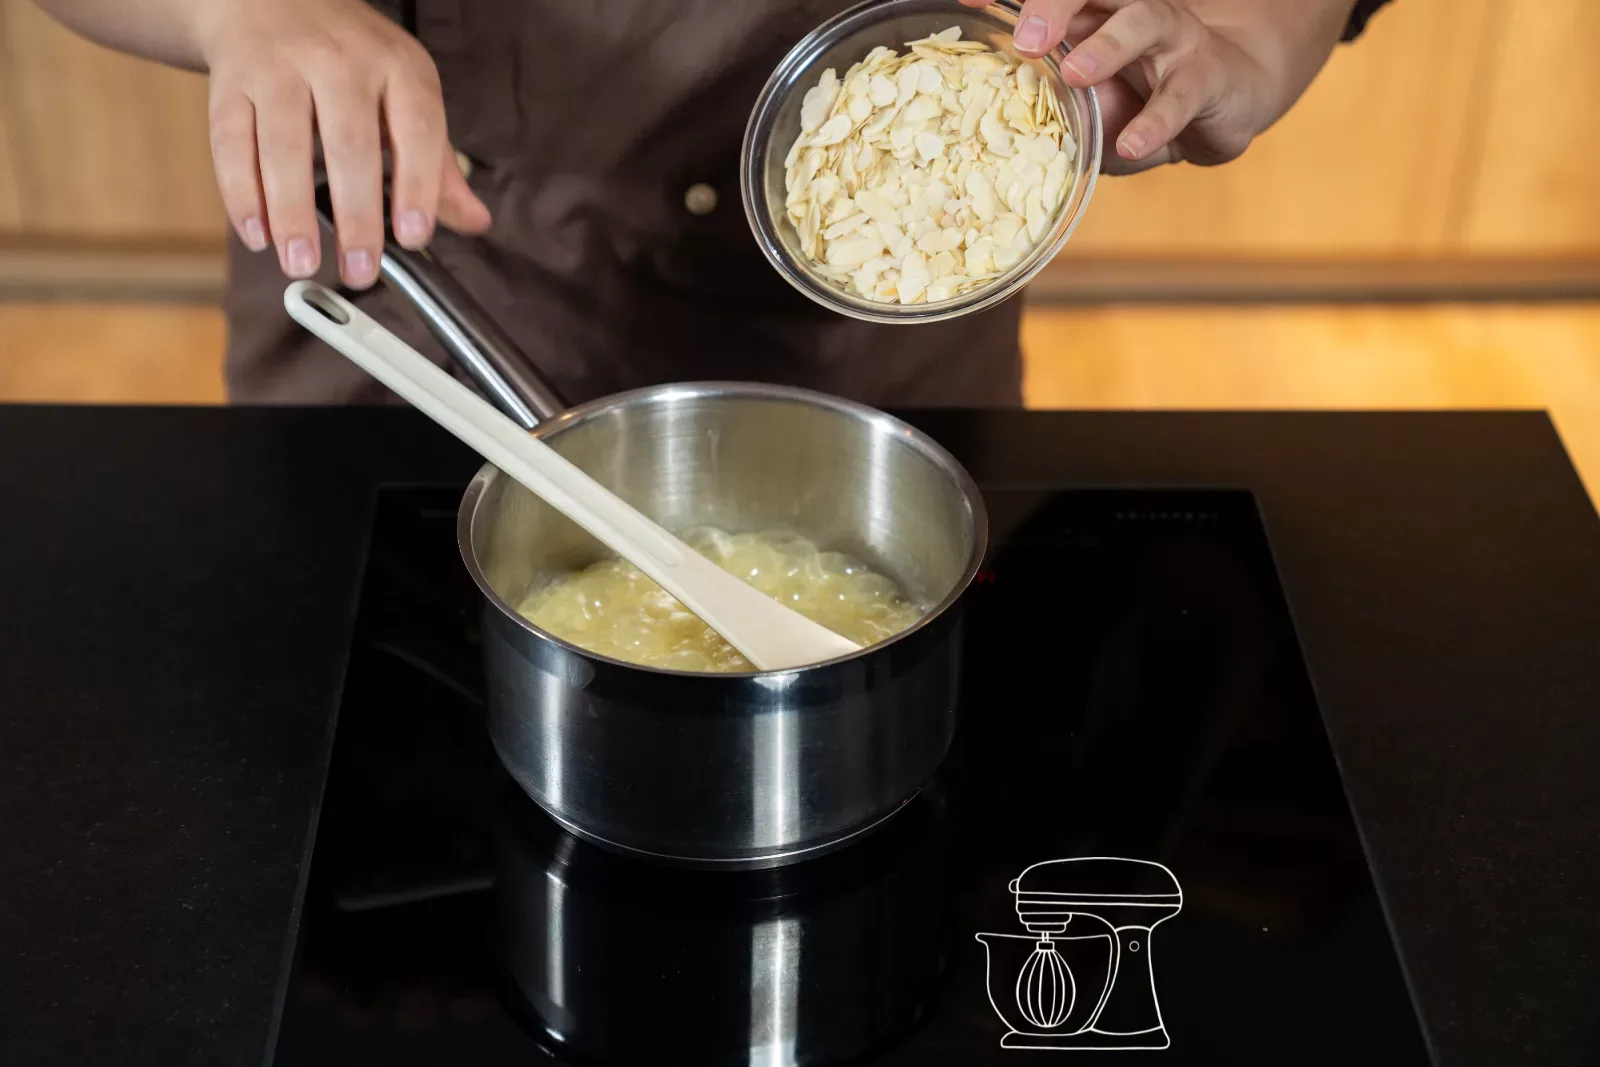
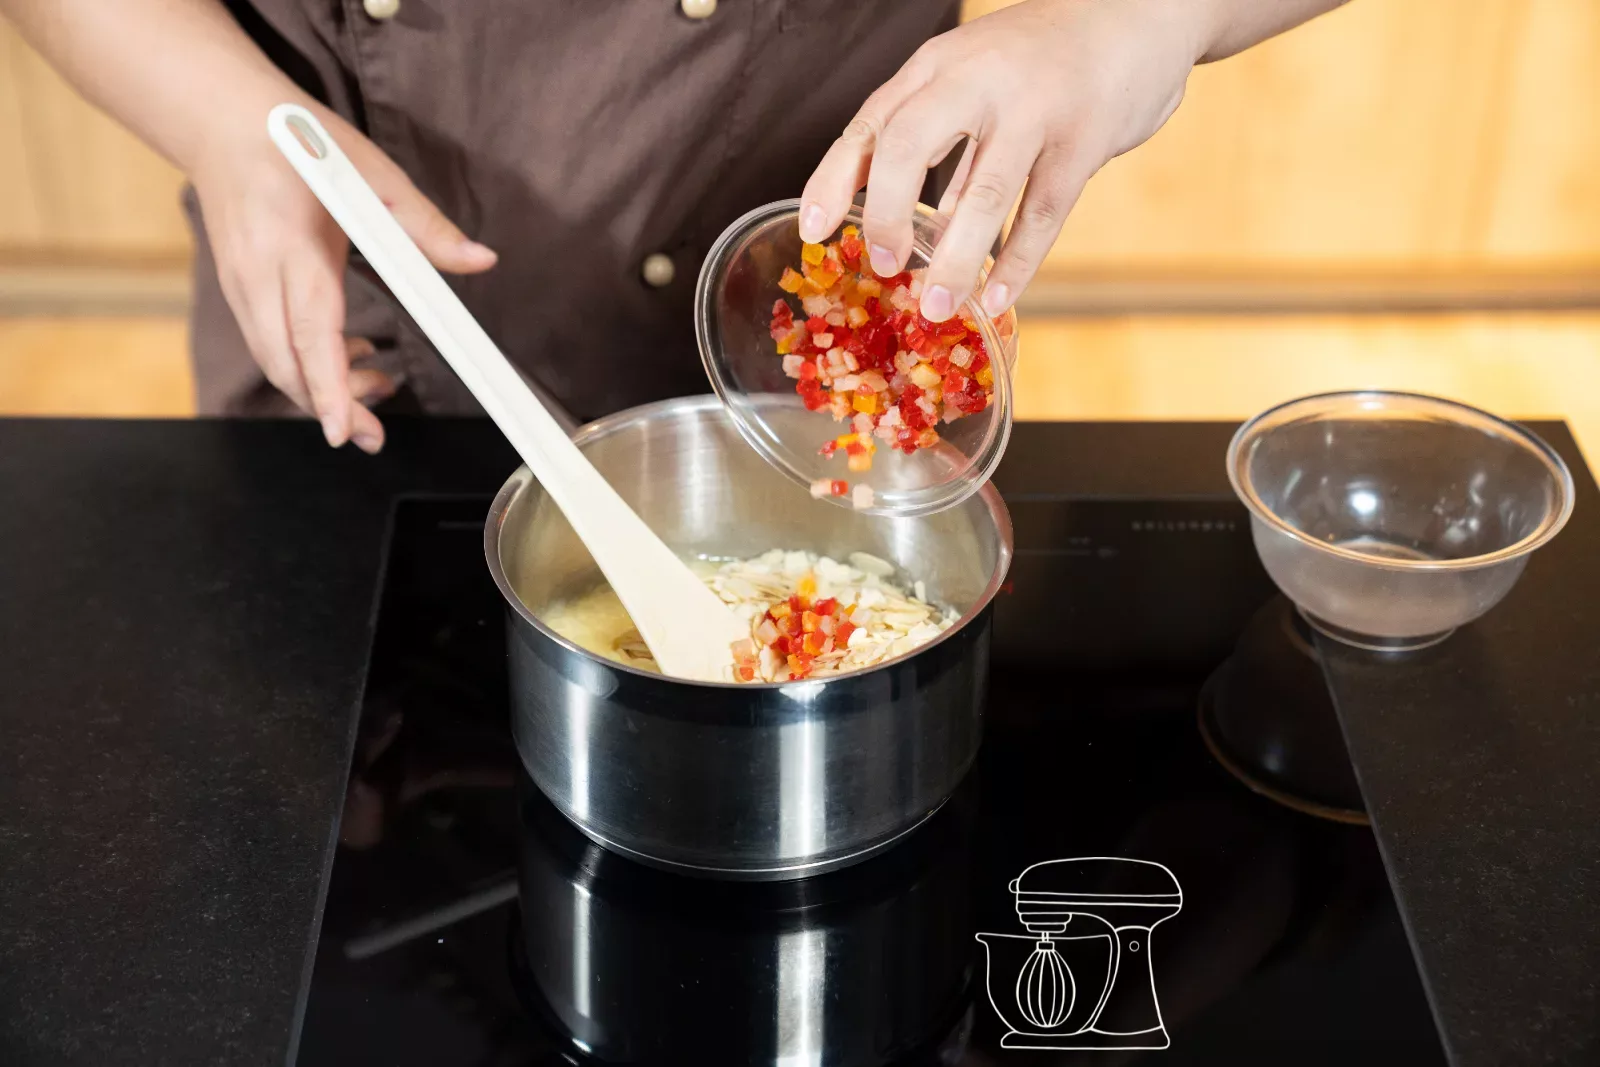
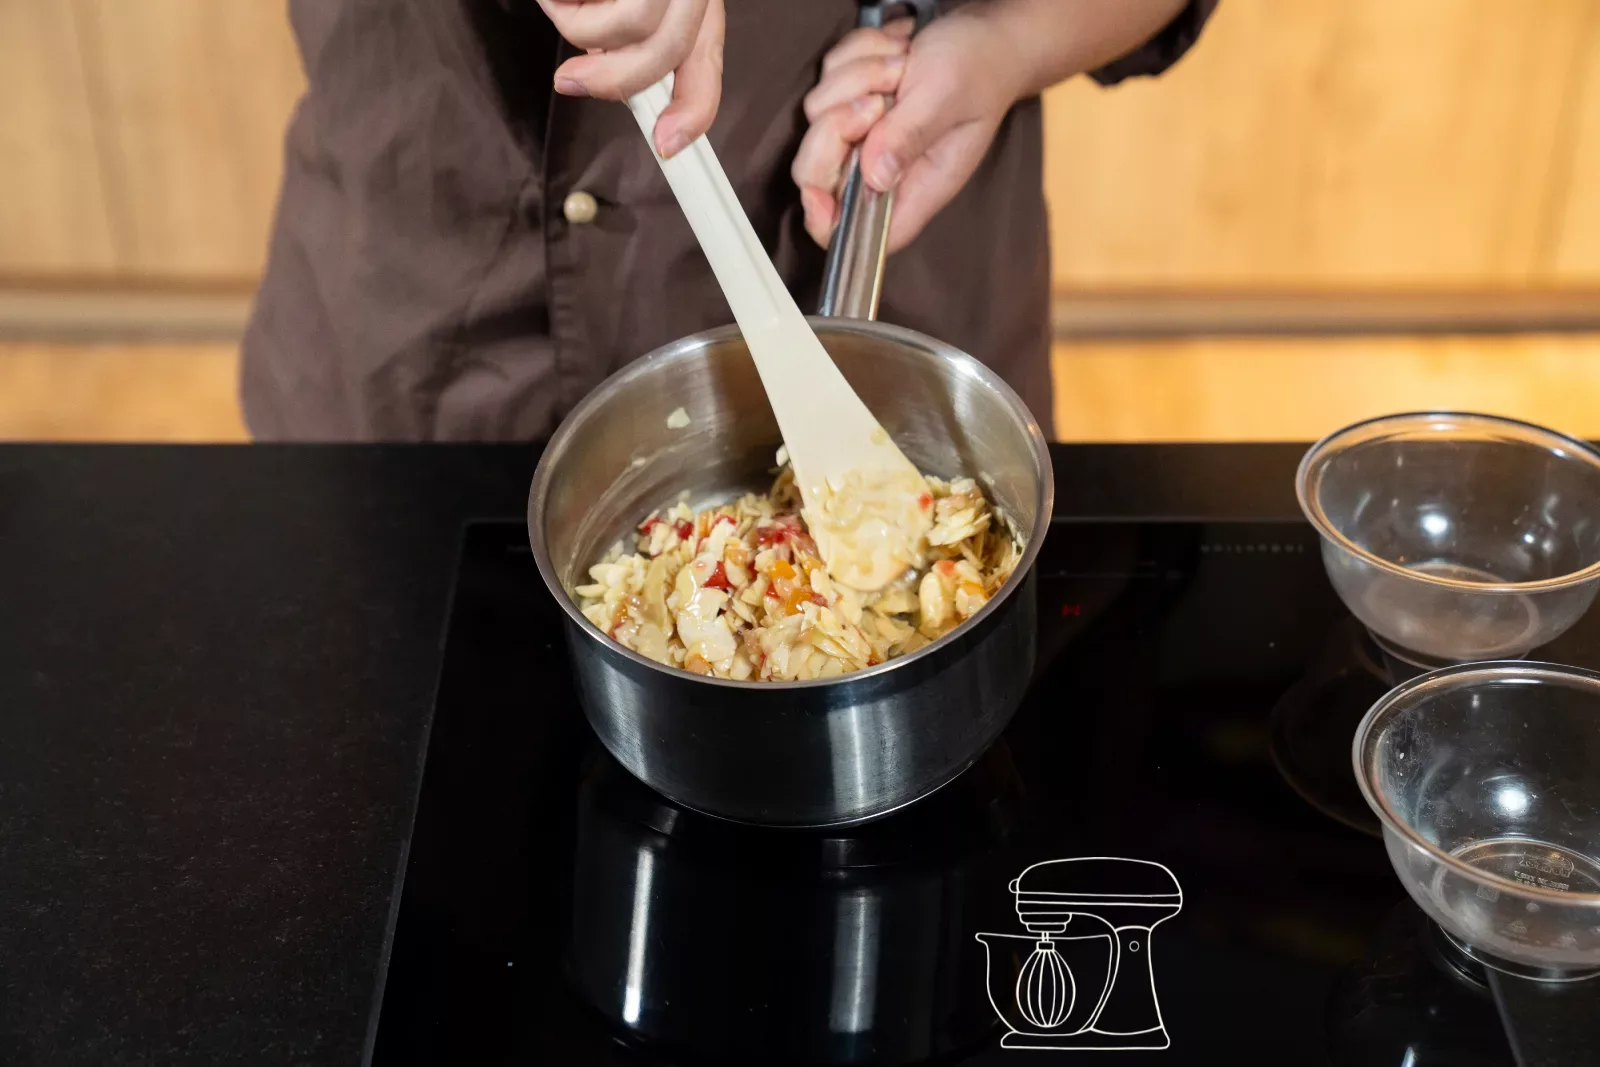
Take the pan off the heat and stir in the flaked almonds until every almond is nicely coated in caramel. Then add the Orangeat, Zitronat and the chopped candied cherries. Transfer the mixture to a Bowl and let it cool briefly, but only until you can touch it with your fingers. Once it is completely cold, it can no longer be shaped.
Candied cherries for topping, 100 g
Small pink rubber scraper
Candied orange peel
Candied lemon peel
Shape and bake
Shape with wet fingers
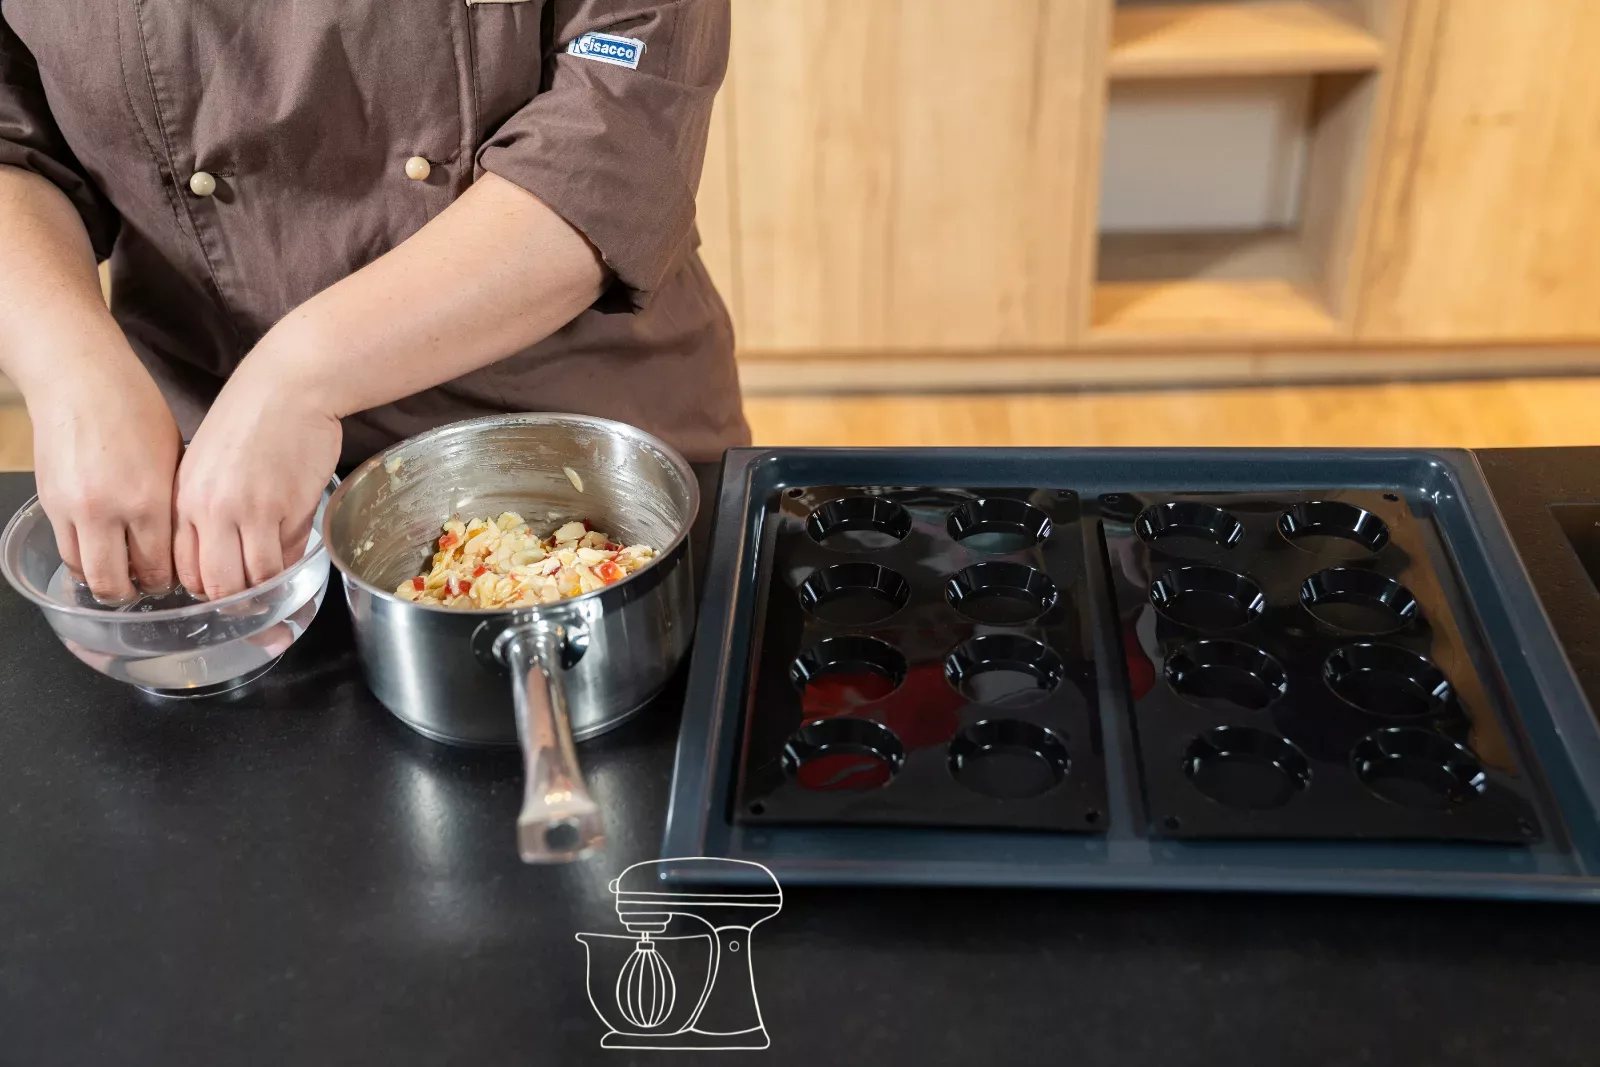
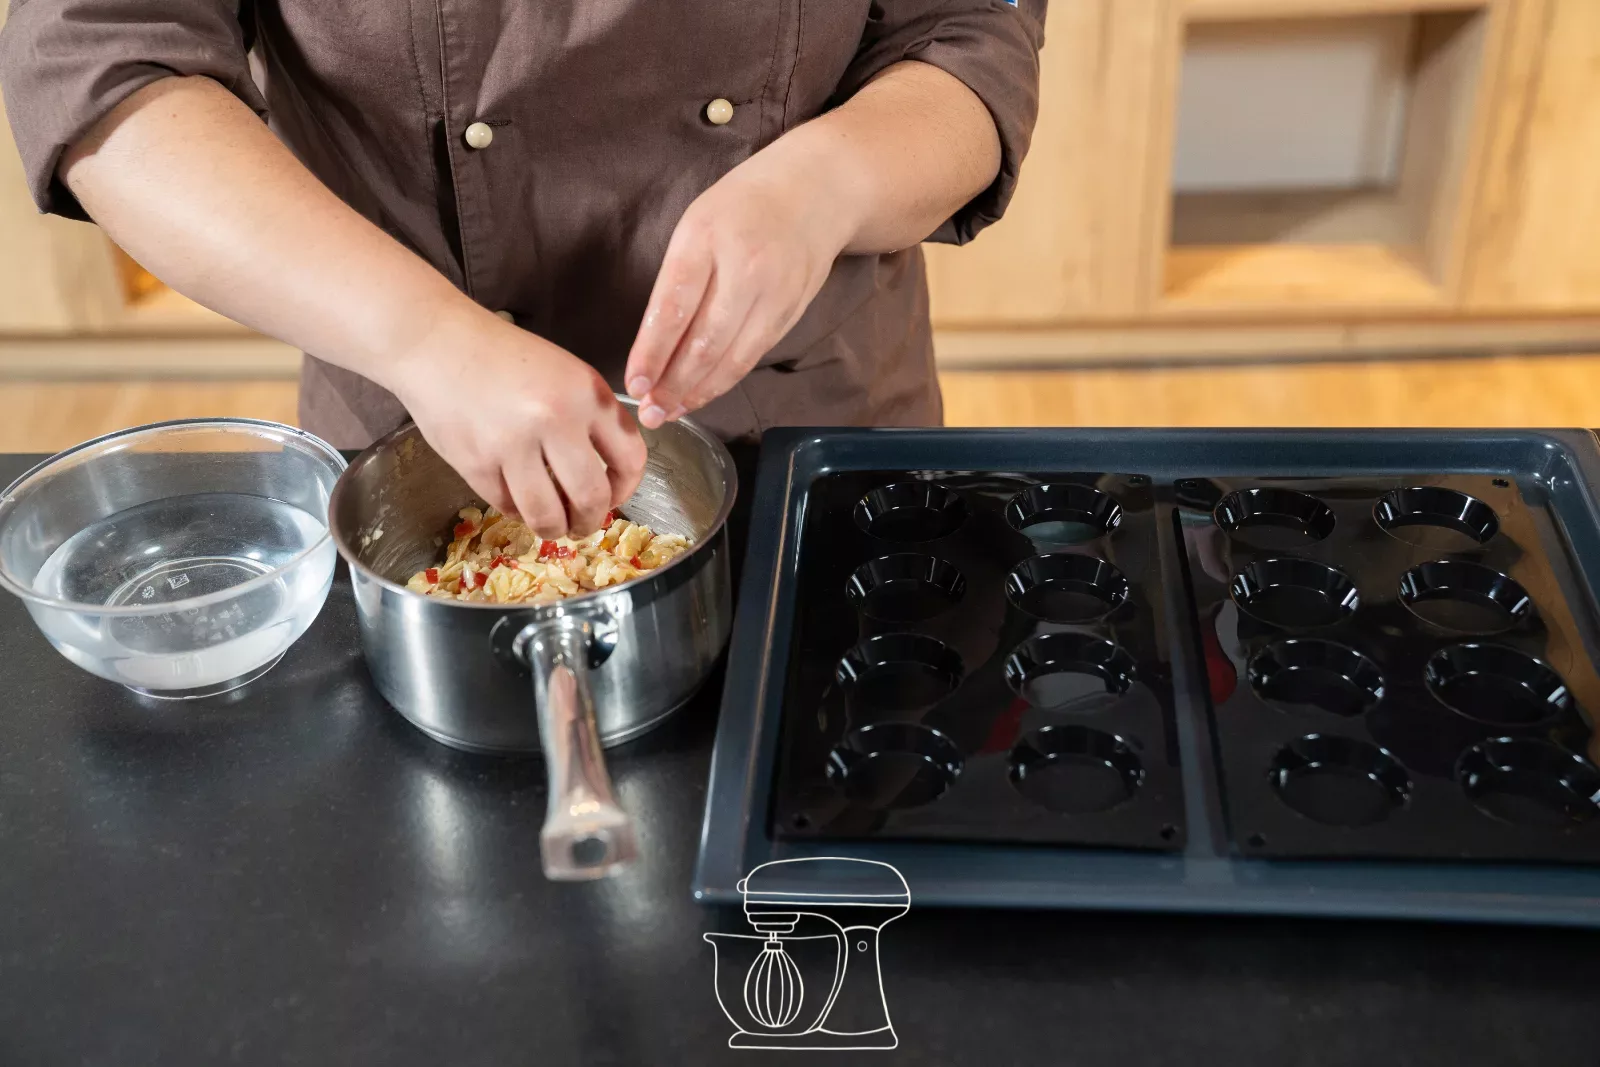
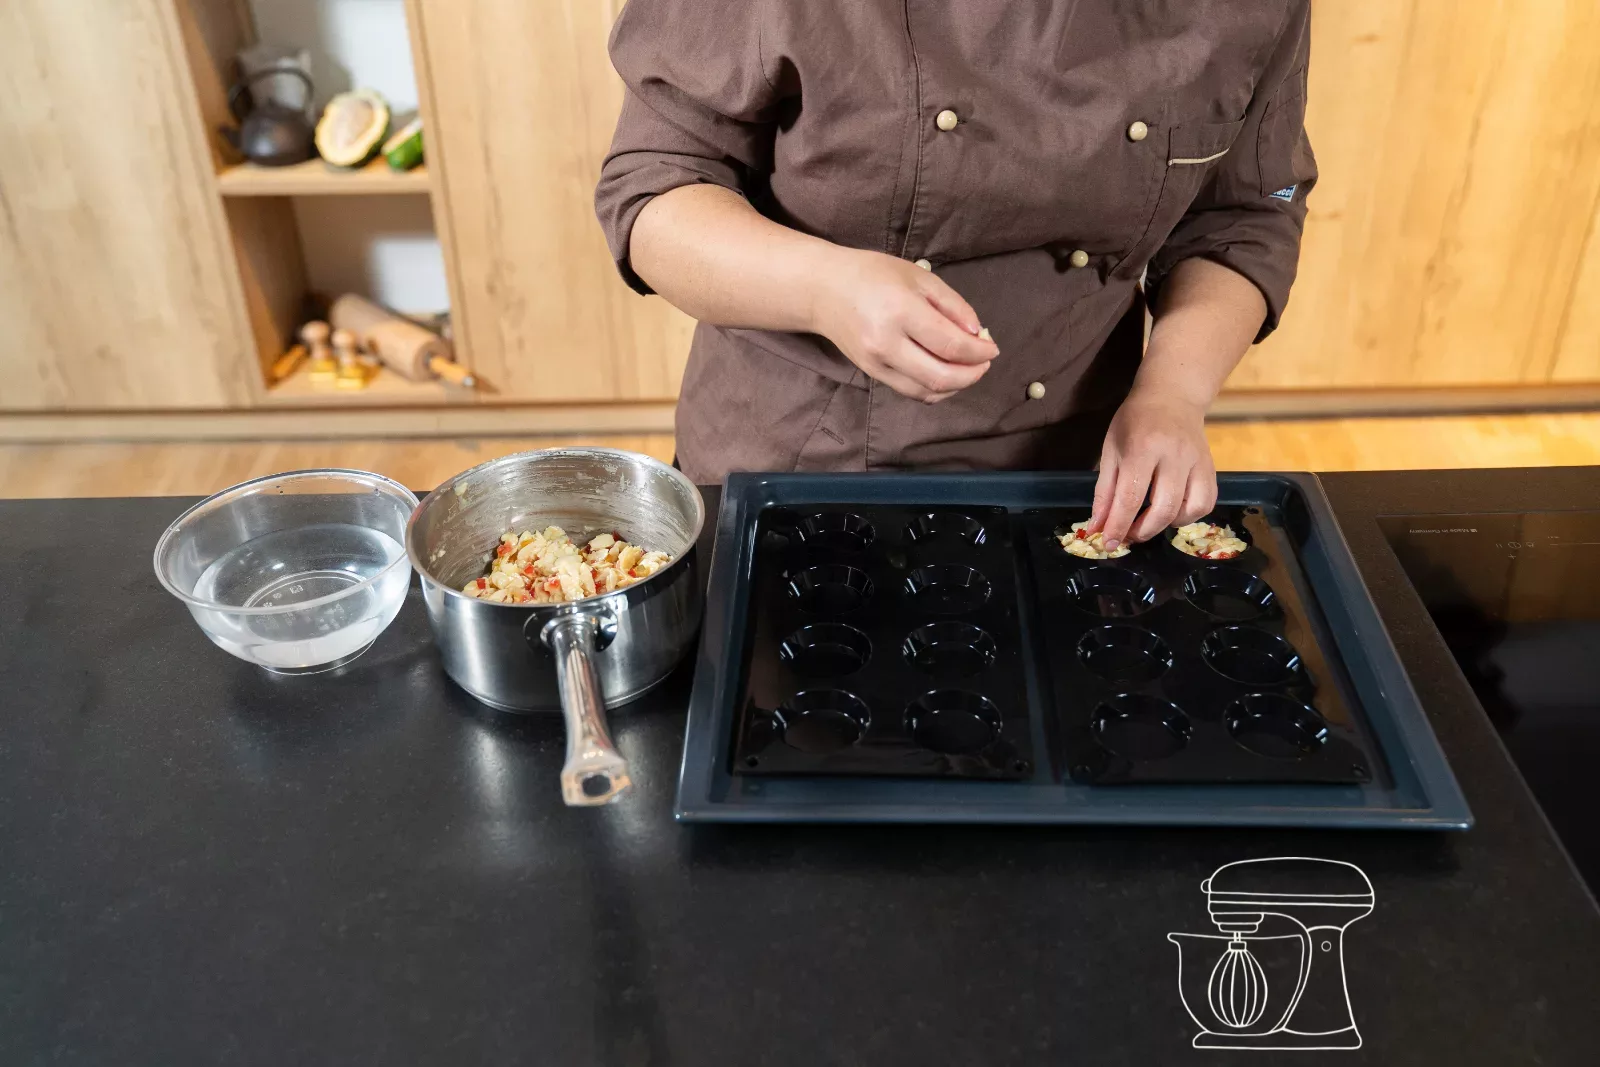
Preheat the oven to 170 °C convection heat. Place a small bowl of cold water next to the silicone mould. Dip your fingers in the water and press about 10 g of dough flat into each cavity. Wet fingers stop the dough from sticking, I promise! Don't pile it up: the dough still spreads a little in the oven.
Bake and let cool
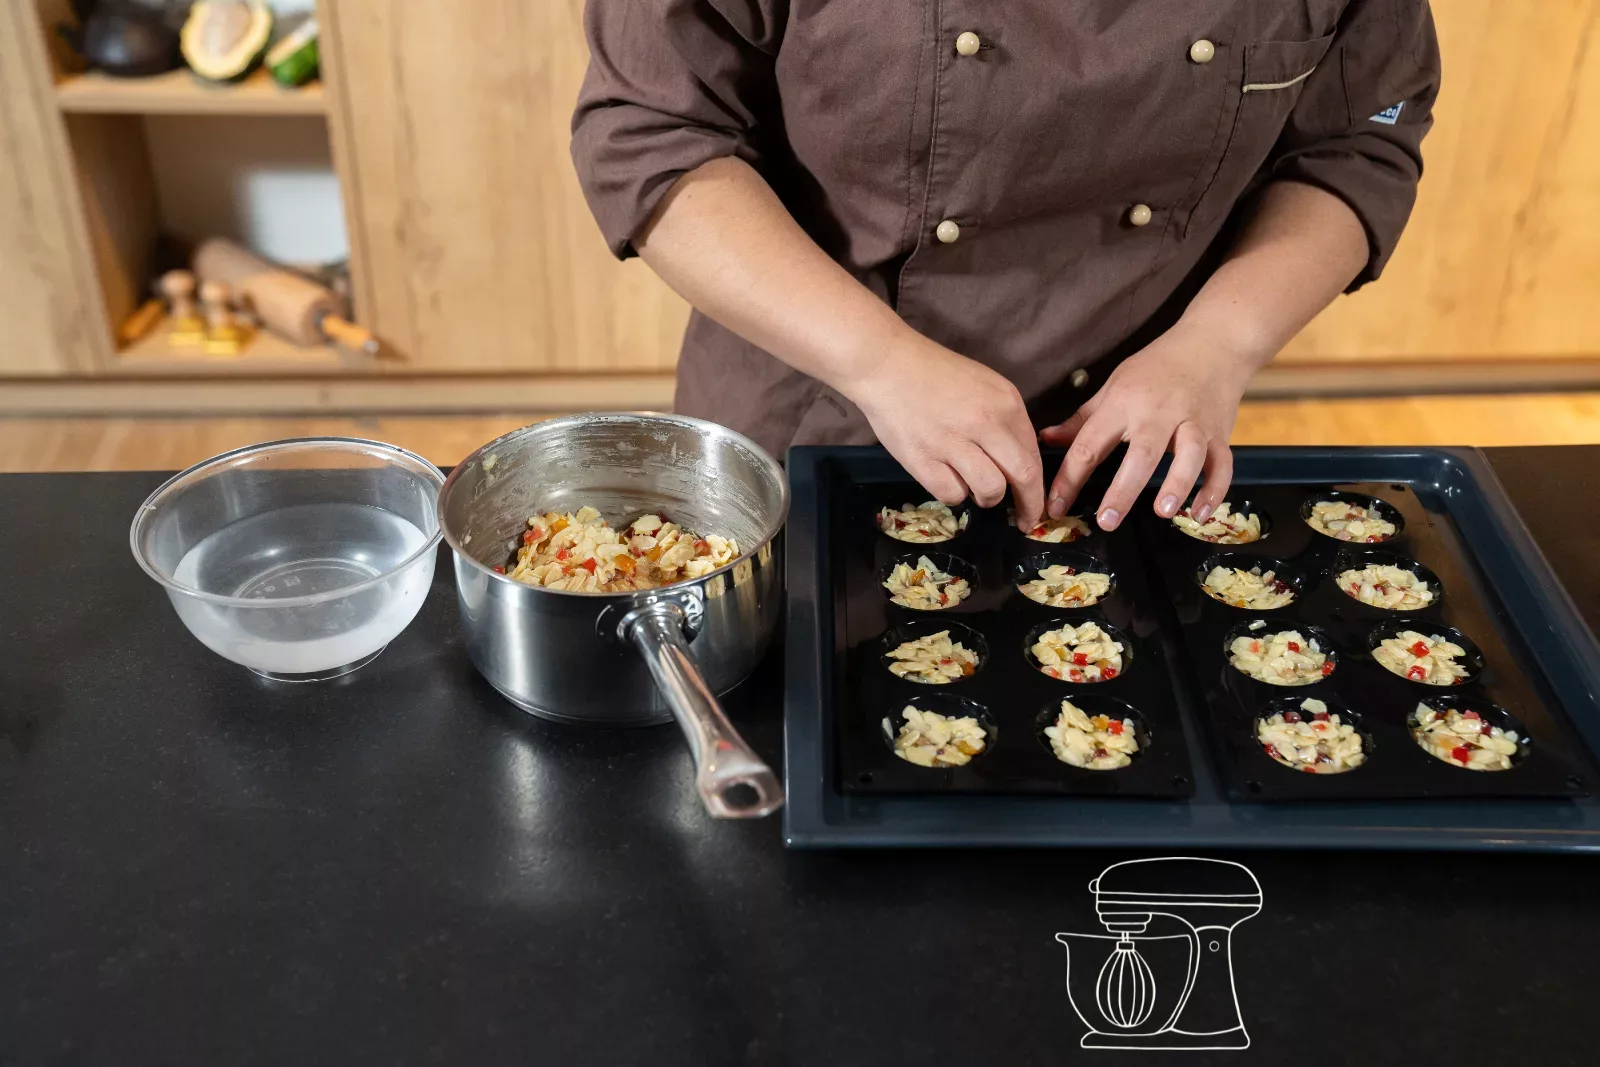
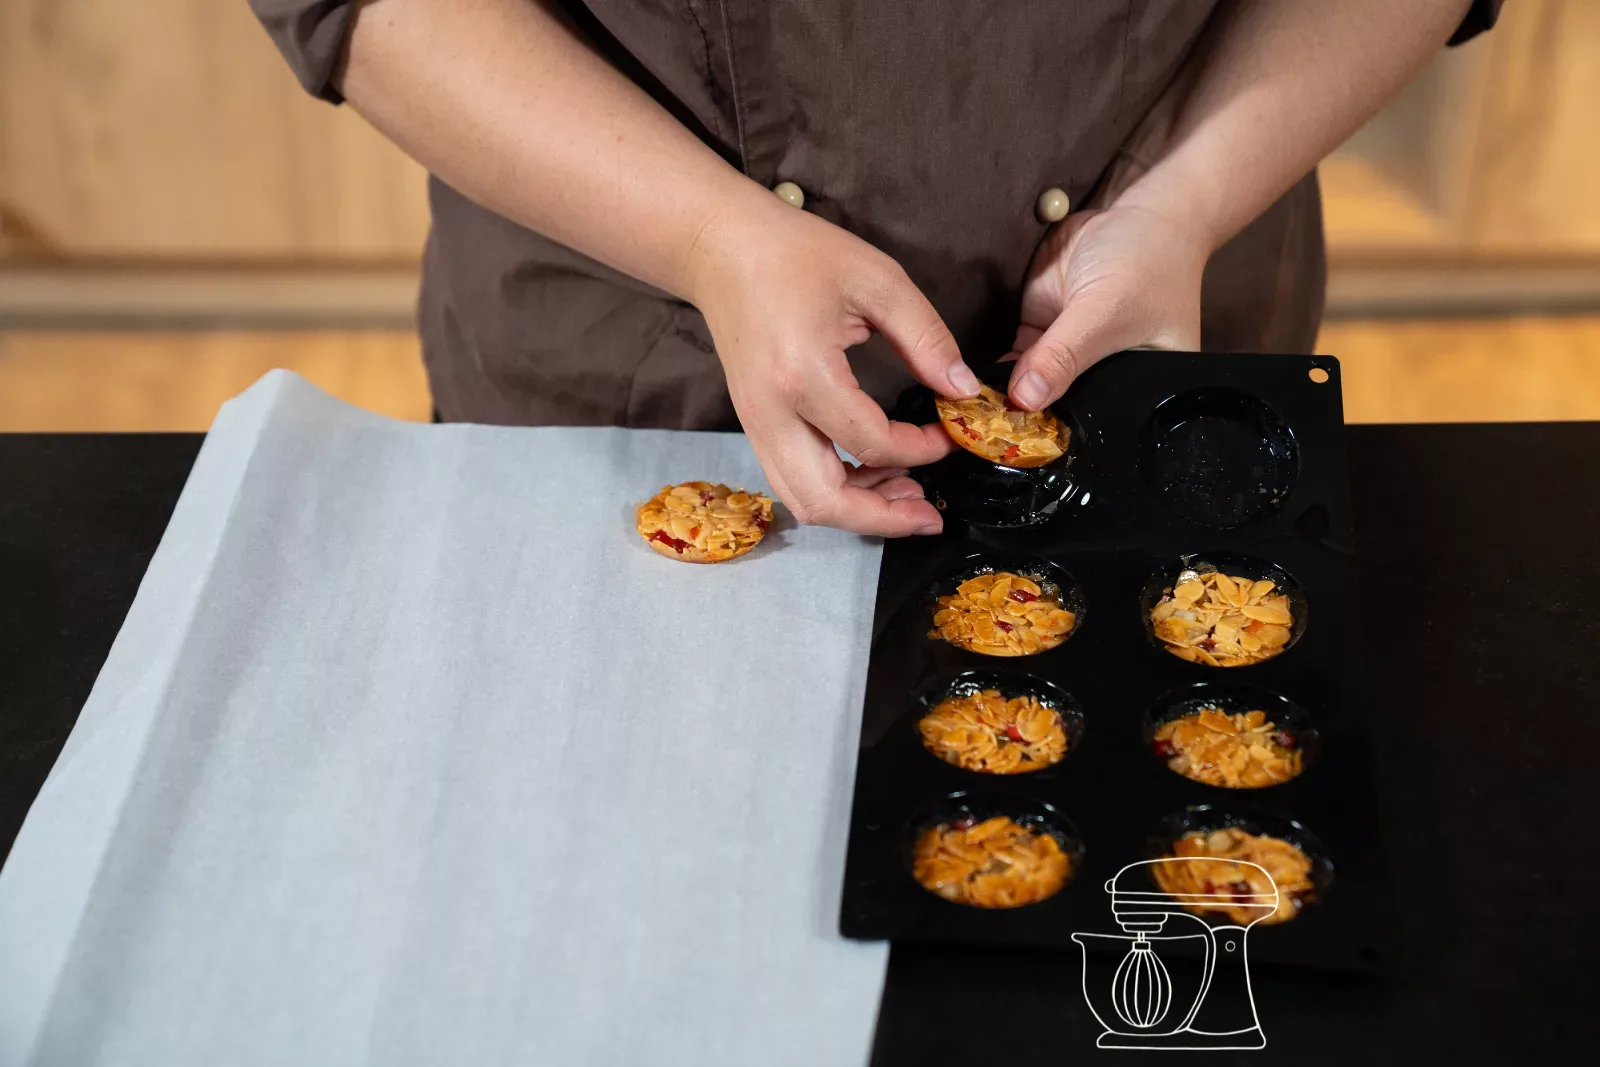
Bake the Florentines for about 13 minutes, until golden brown. Let them stand in the mould briefly, then carefully press them out and let them cool completely on baking paper. While warm they are still soft and pliable, once cold they become wonderfully crisp.
The chocolate base
Tempering the couverture
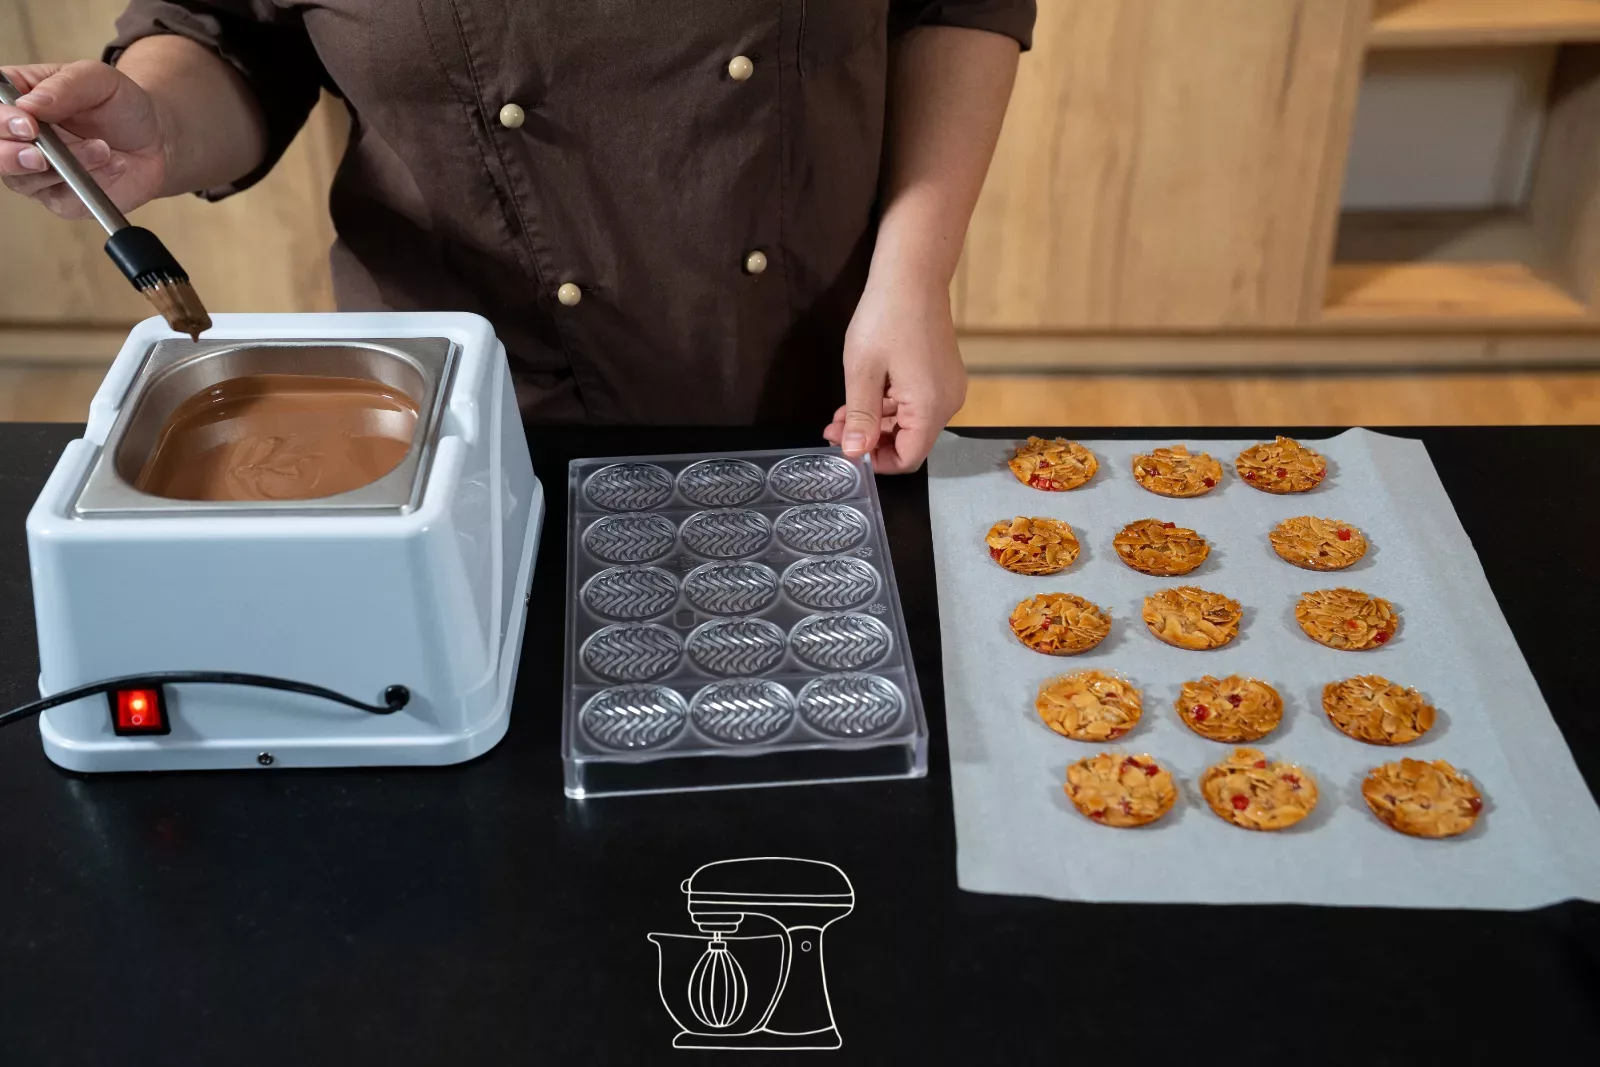
Now it gets chocolatey! Temper the couverture, dark or milk, whichever you prefer. The easiest way is with a tempering device. Tempering is worth the effort: only then does the base turn out glossy and crisp and release cleanly from the mold later.
Silicone baking mold for Florentine Ø 4.8 - 6 cm, 8 pieces
Chocolate bar mold Florentine Ø 4.8 cm, 15 pieces
Tempering device 1.5 l for couverture and chocolate
Silicone brush, 20 cm with stainless steel handle
Brush or piping bag?
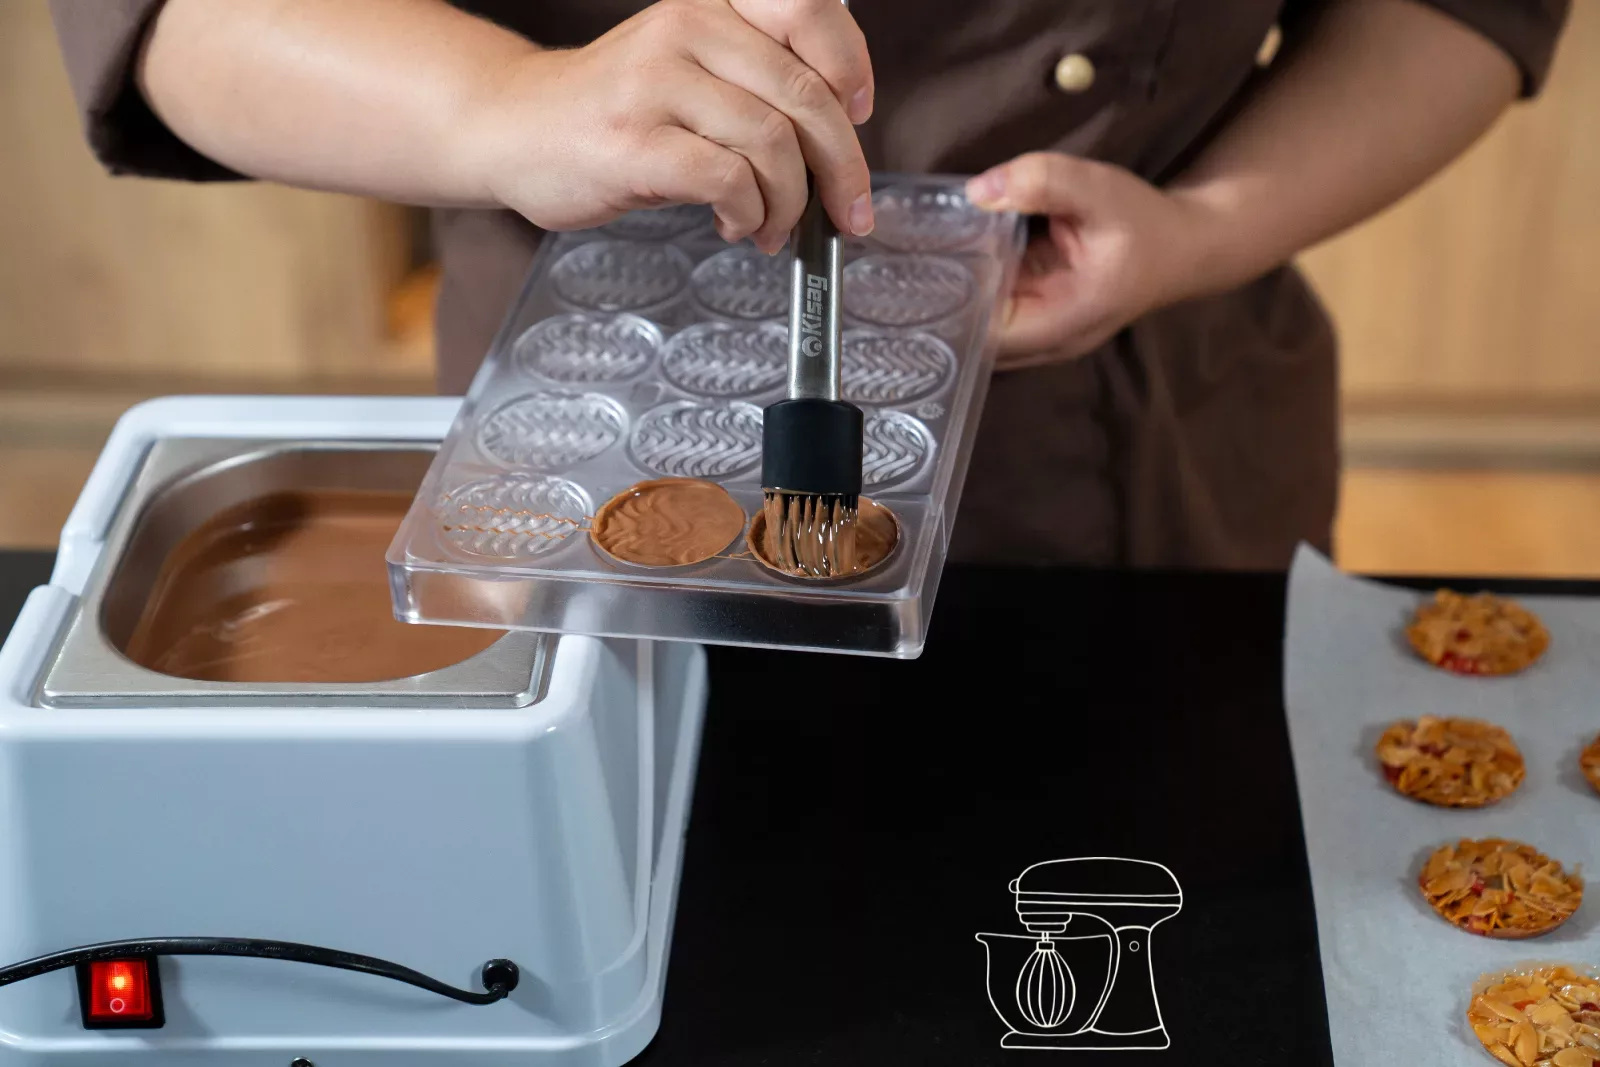
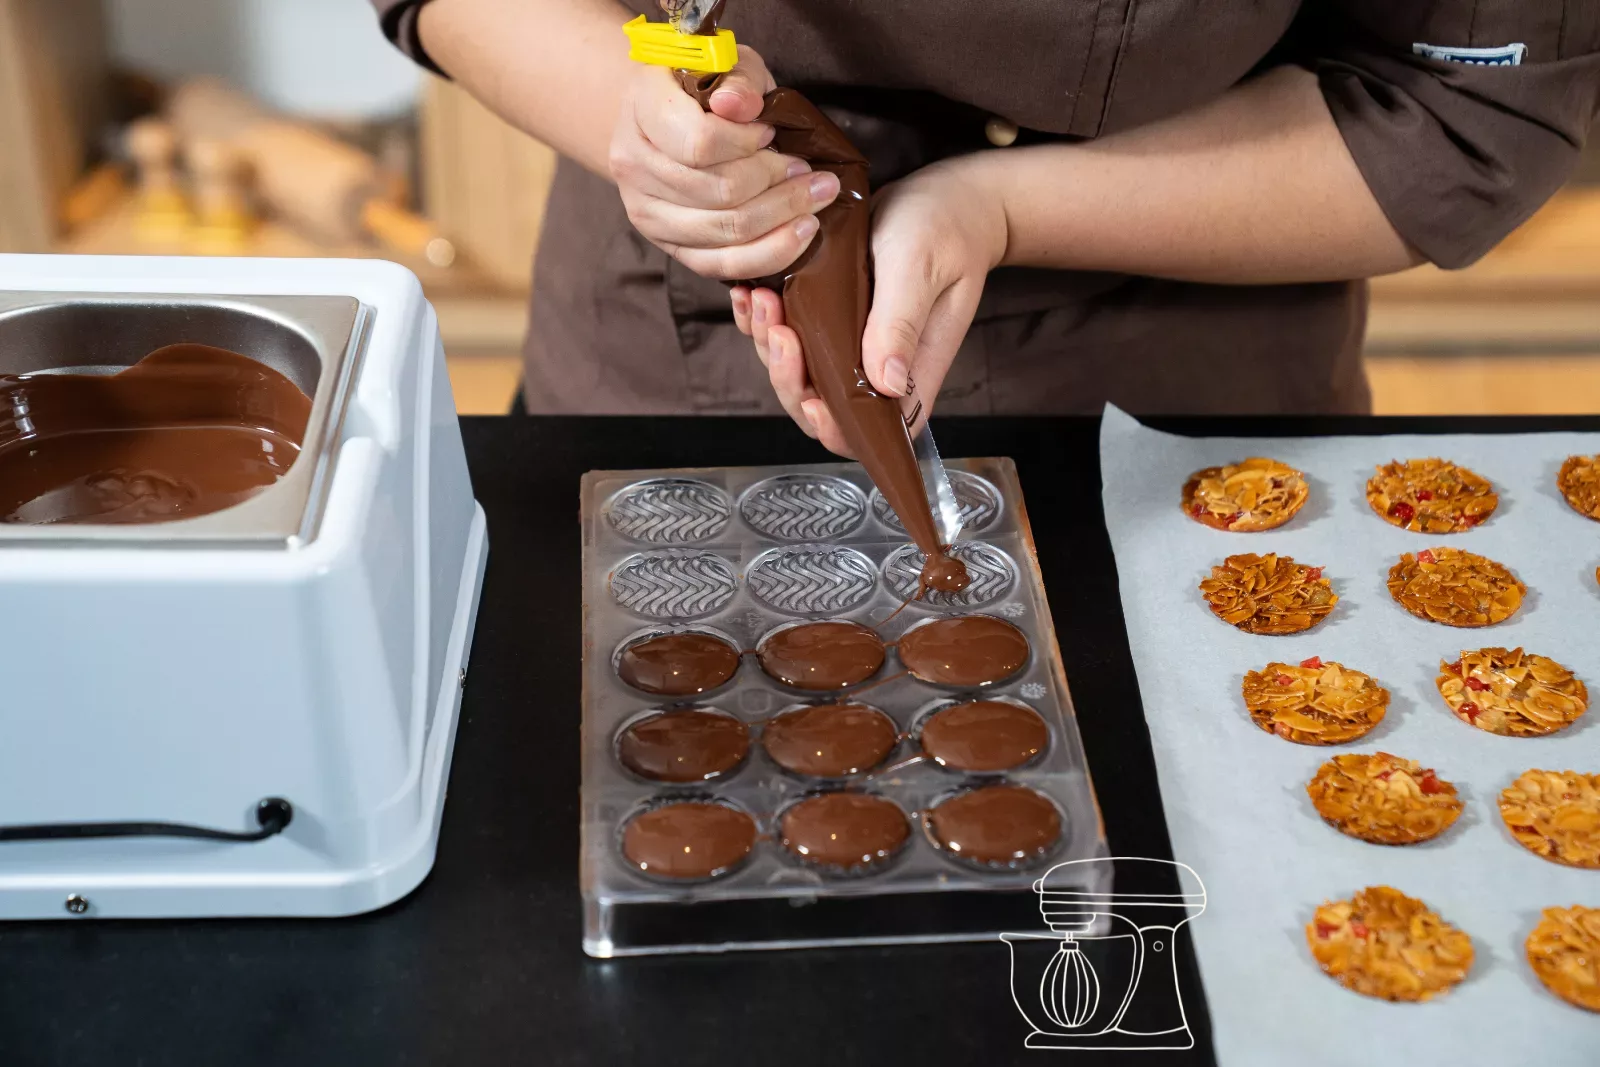
You need about 90 g of couverture per chocolate bar mold. With the brush, you paint the couverture into the cavities, which is quick and needs little chocolate. With the piping bag, you fill the molds from the bottom up, which lets the air escape and leaves hardly any bubbles. Our favourite is the piping bag, as it gives the base the smoothest finish.
Chocolate bar mold Florentine Ø 4.8 cm, 15 pieces
Silicone brush, 20 cm with stainless steel handle
Disposable piping bag 41 cm, 24 pieces
Dark chocolate 54.5% 400 g - Callebaut
Placing the Florentines
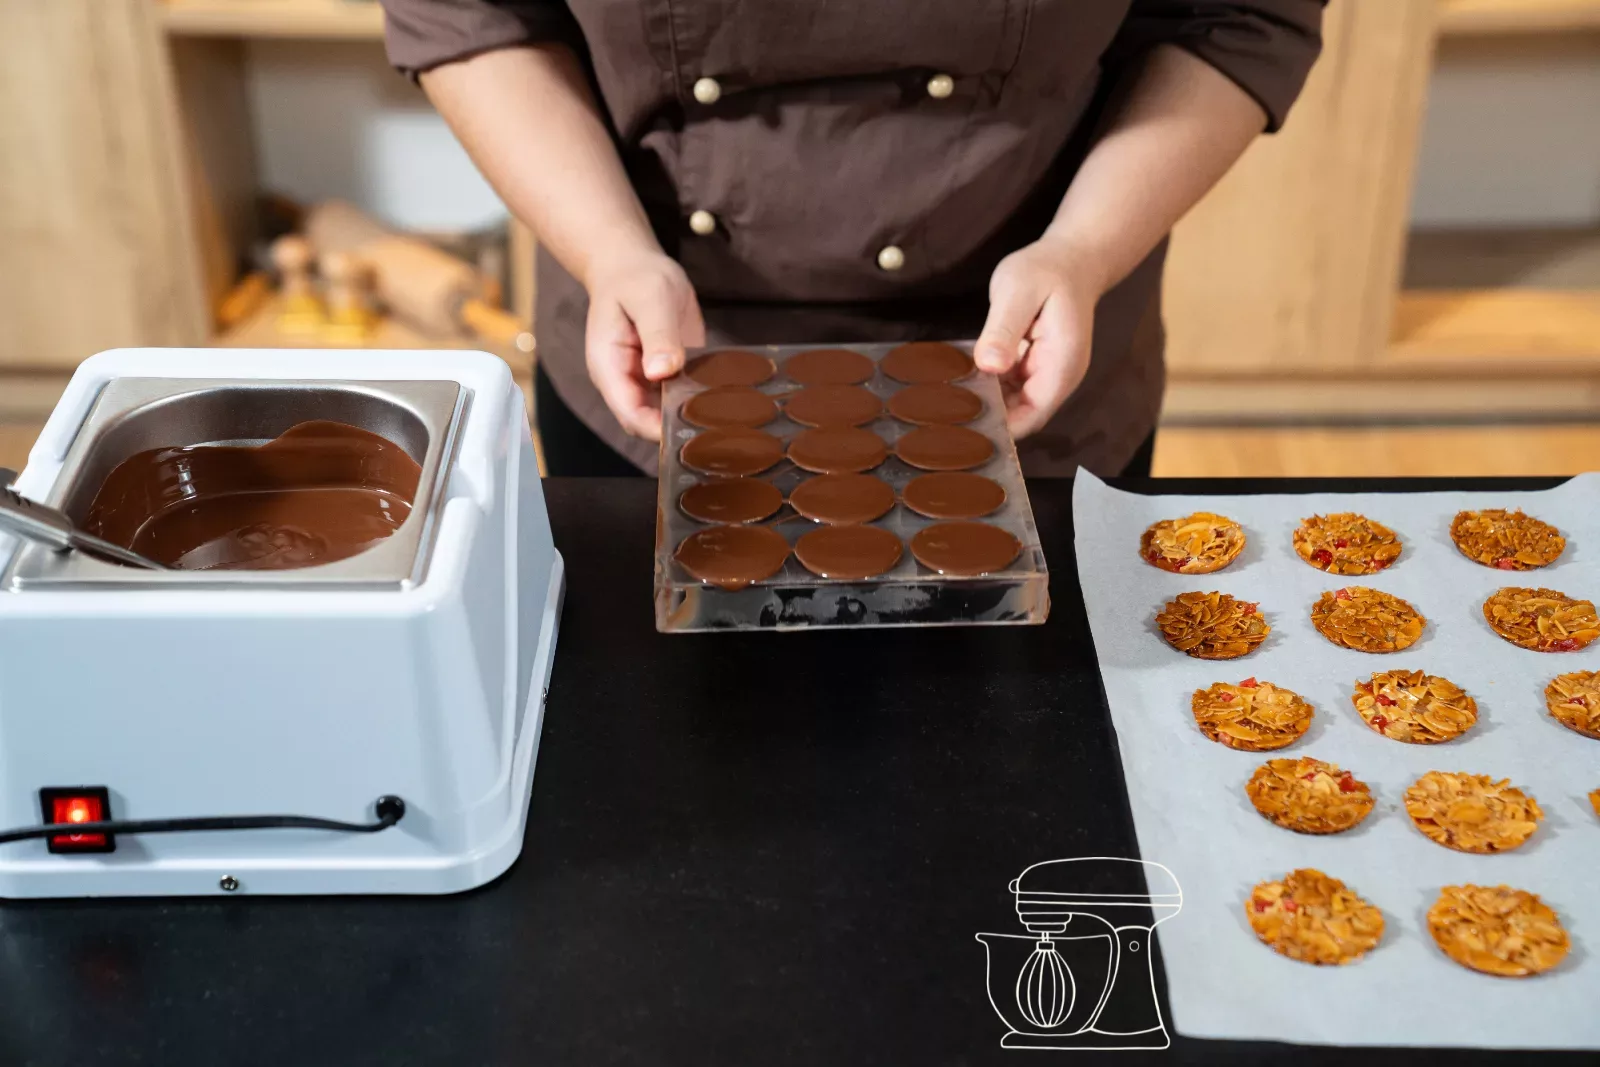
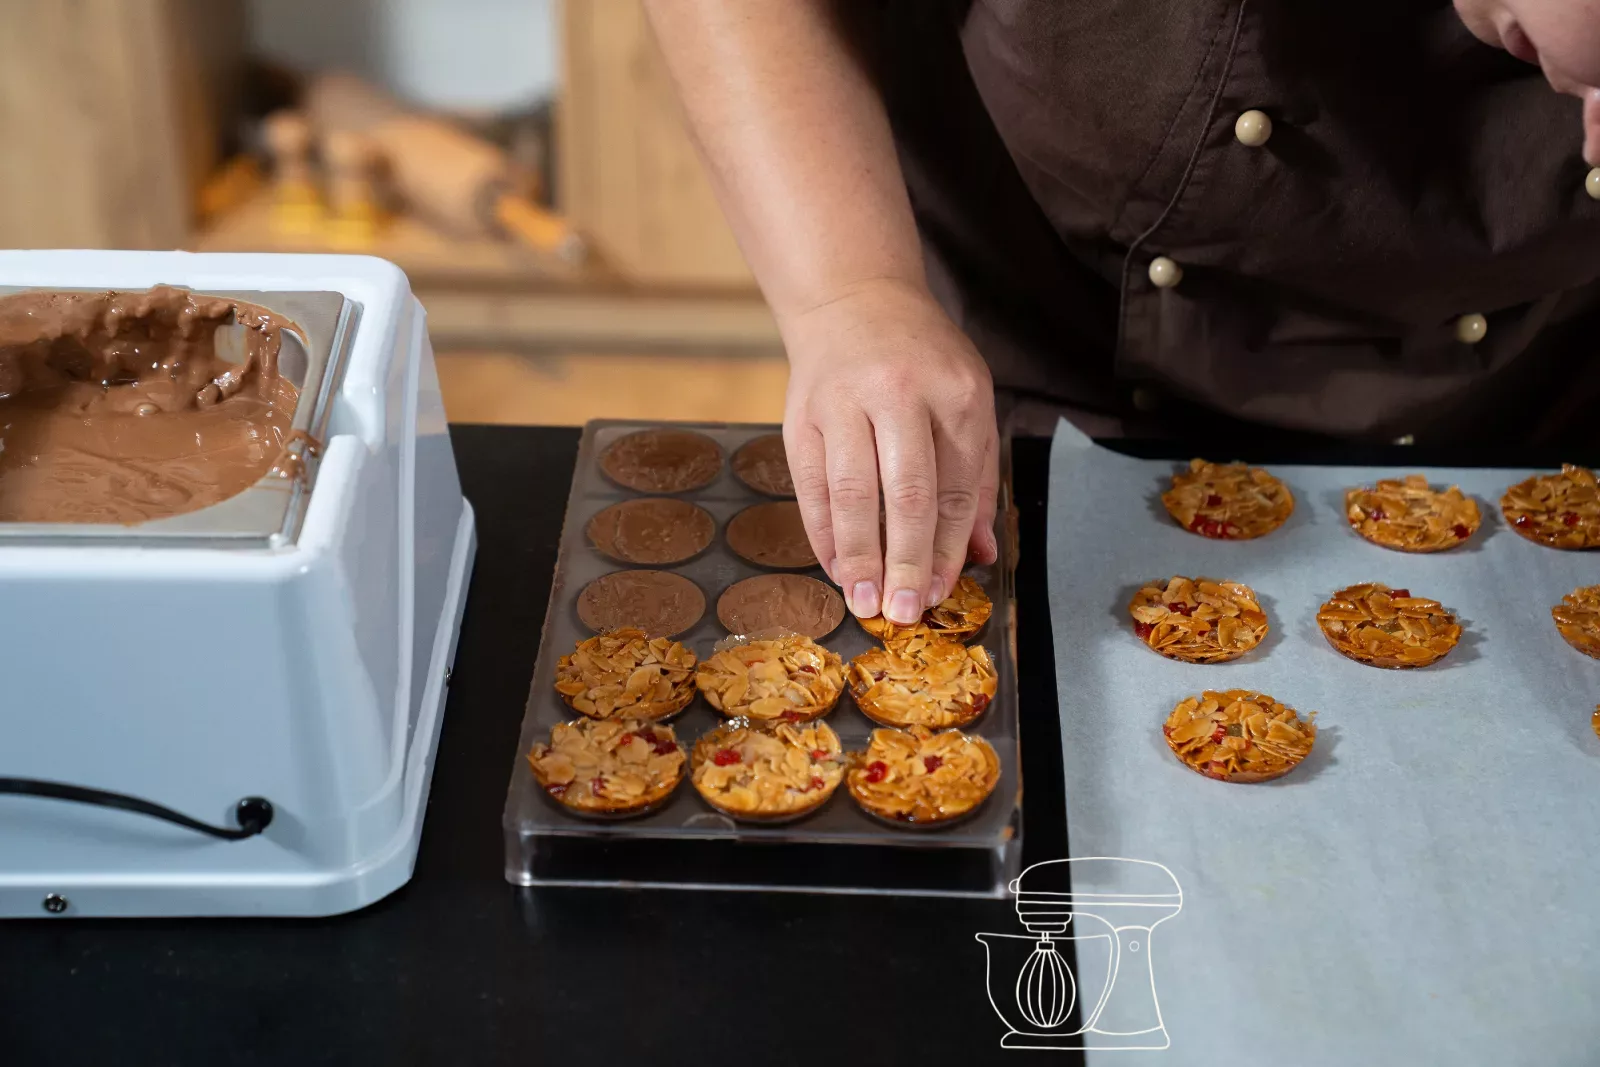
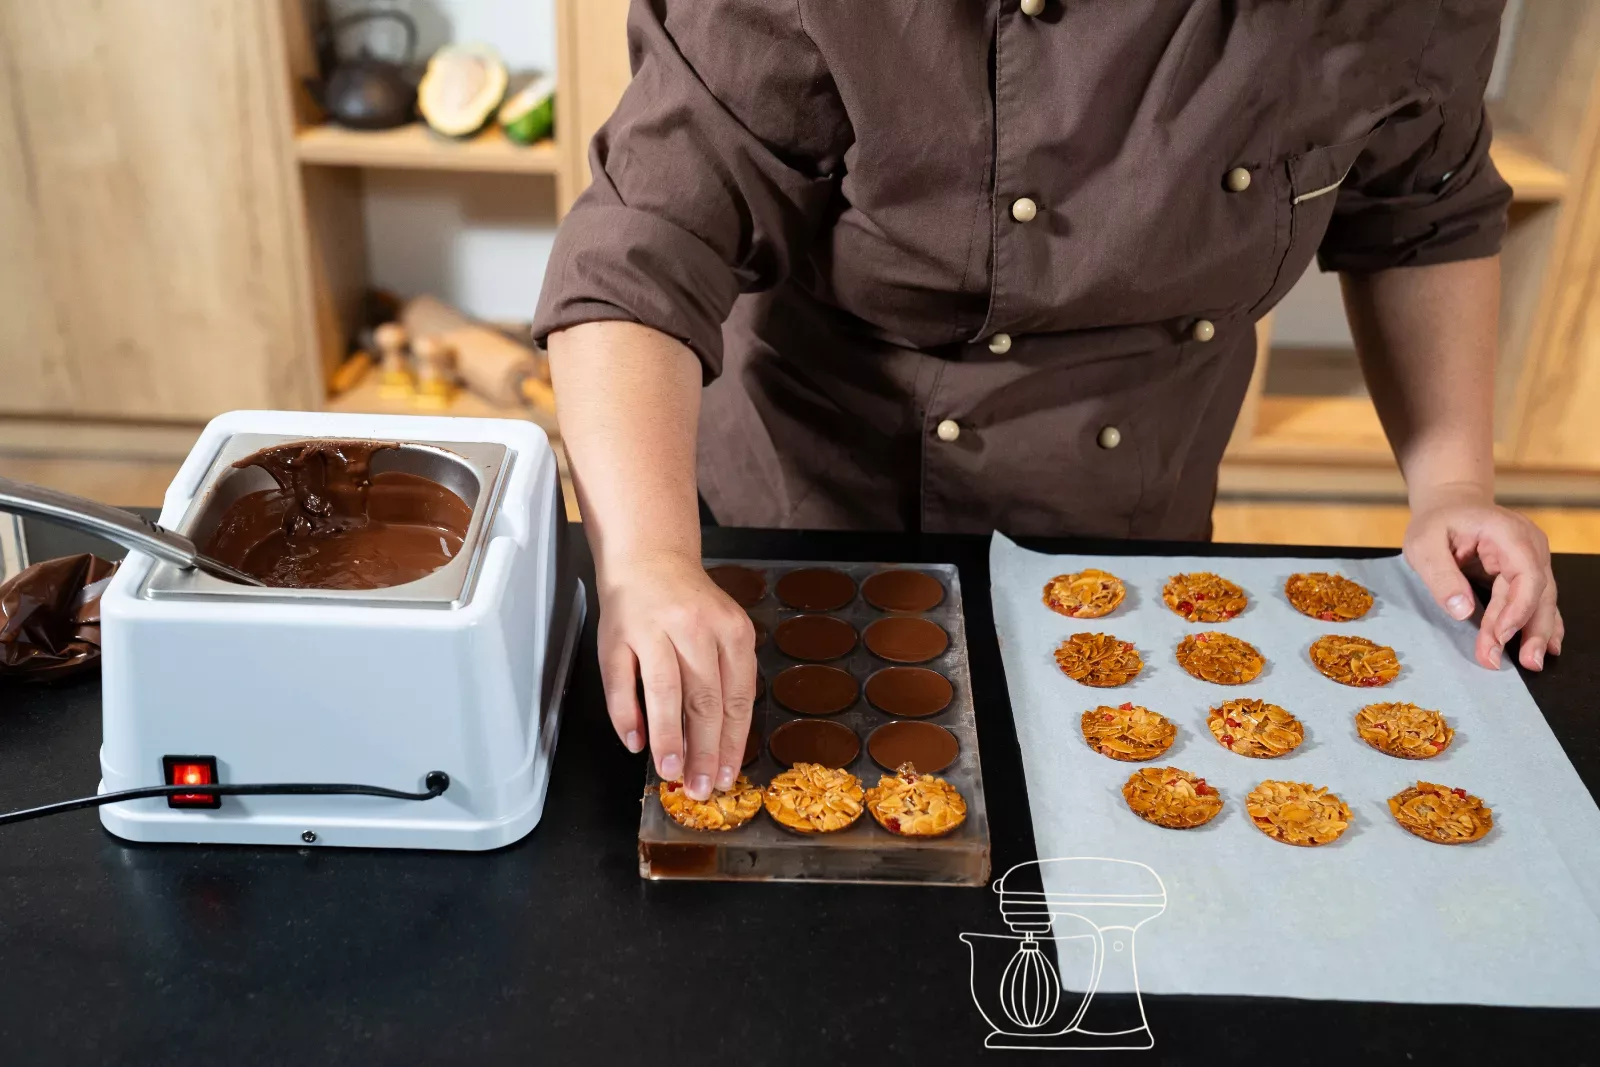
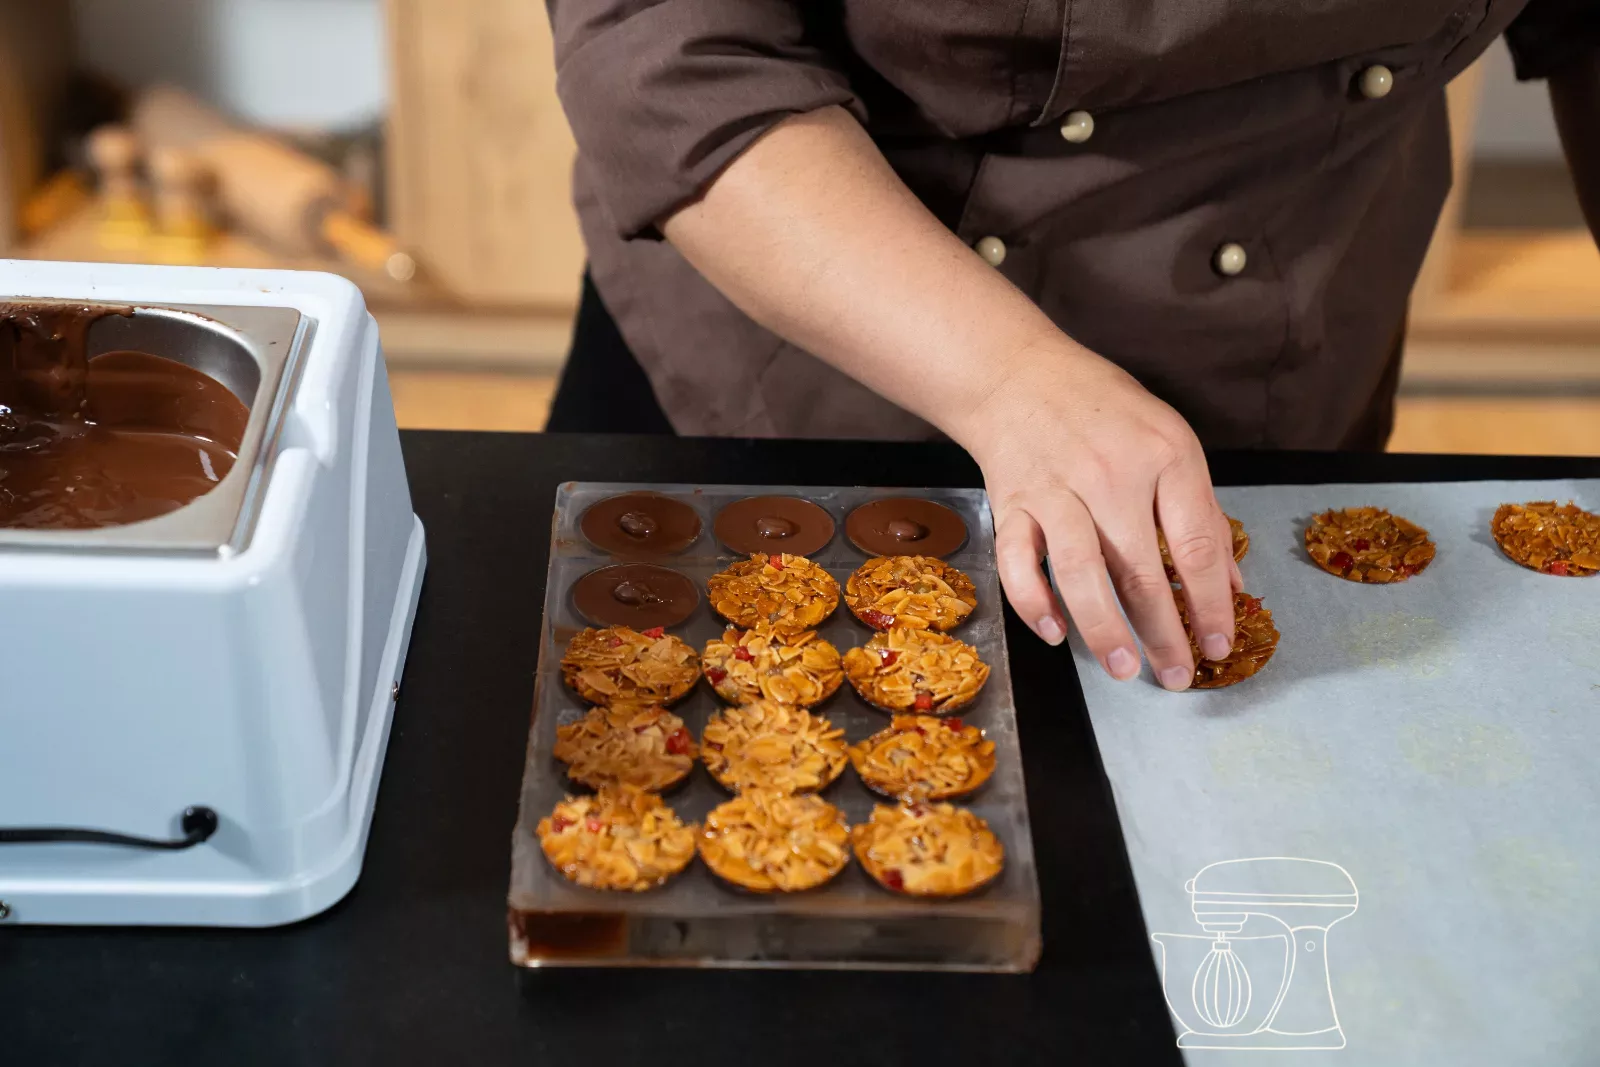
Place the cooled Florentines onto the still liquid couverture and press them down gently. The chocolate may rise a little at the edges, but it should not overflow.
Letting them set and demoulding
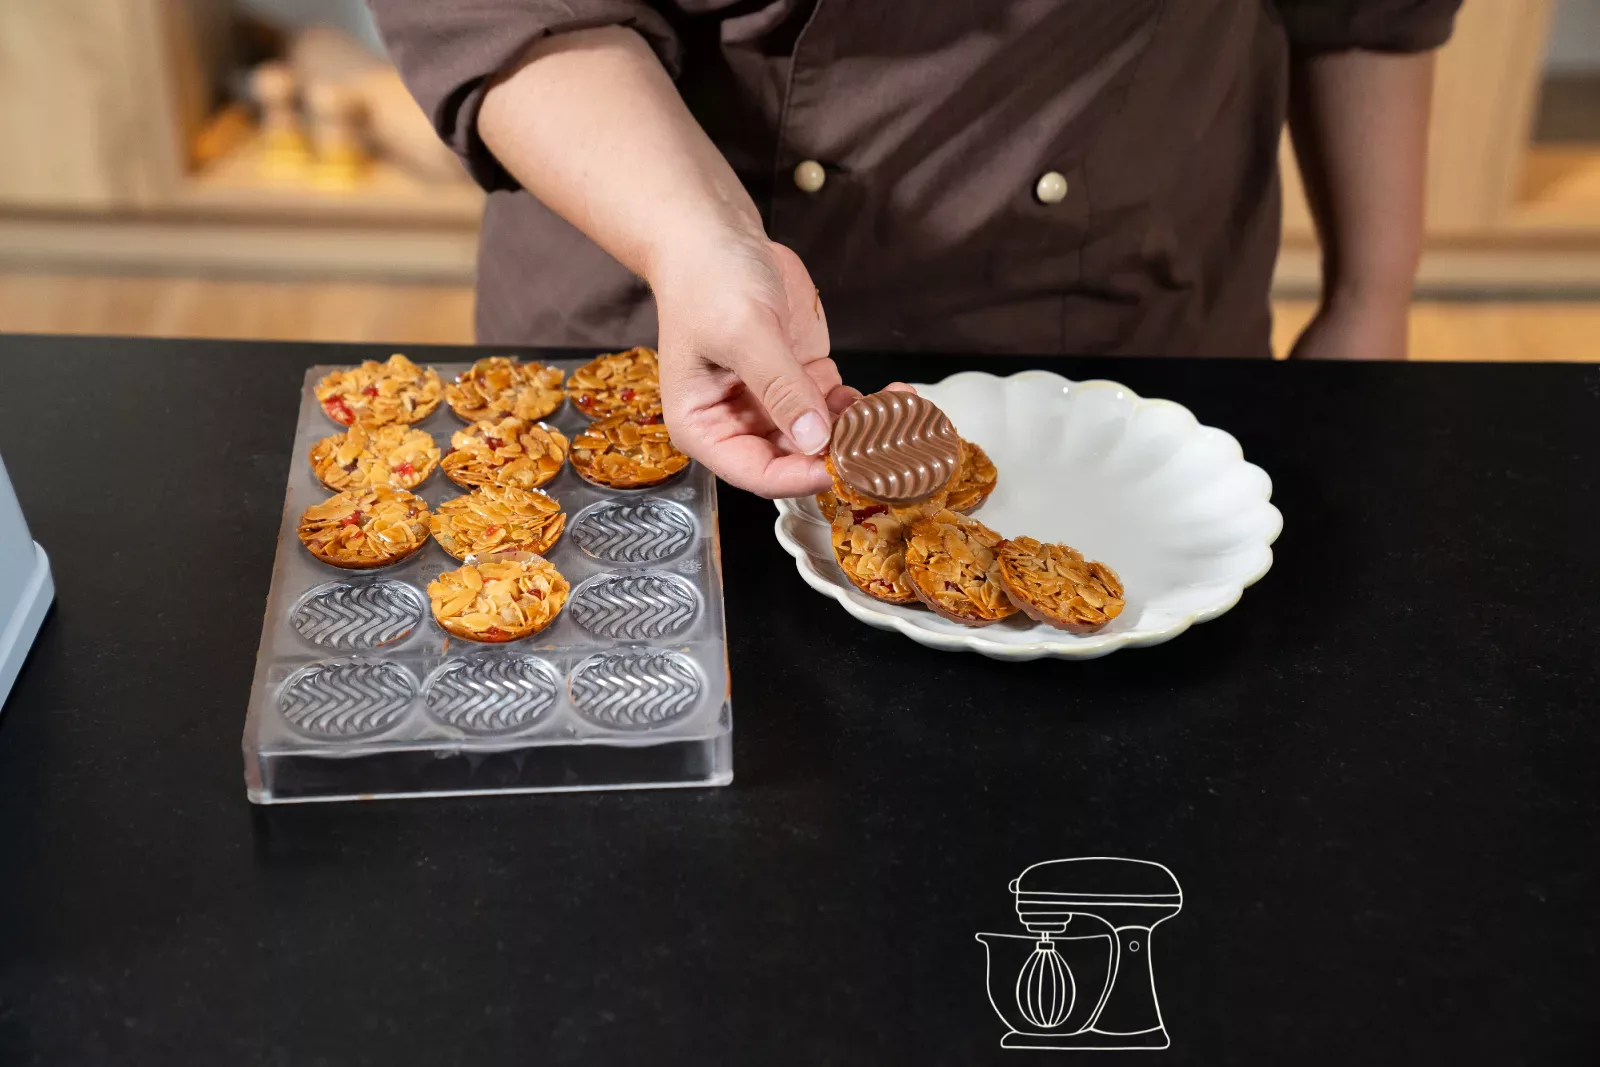
Place the mold in a cool spot for 10 to 15 minutes. If the couverture was tempered correctly, it contracts and your Florentines almost fall out of the mold on their own. Take a look at this pattern, isn't it lovely?
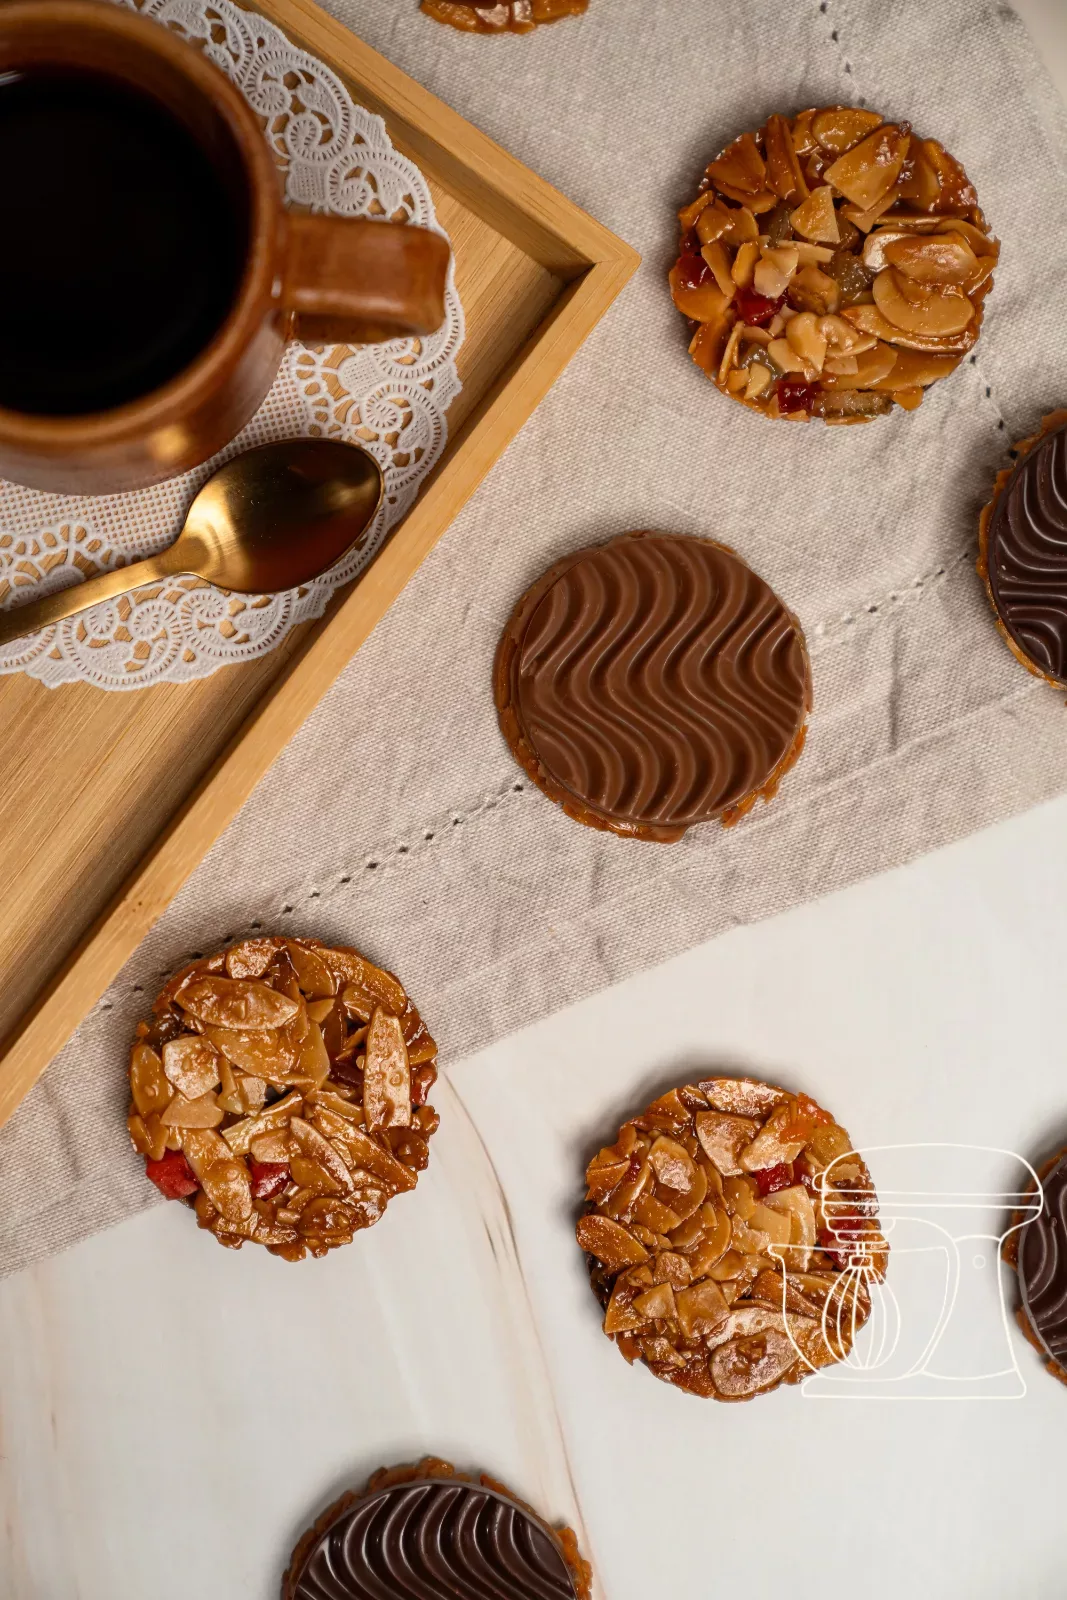
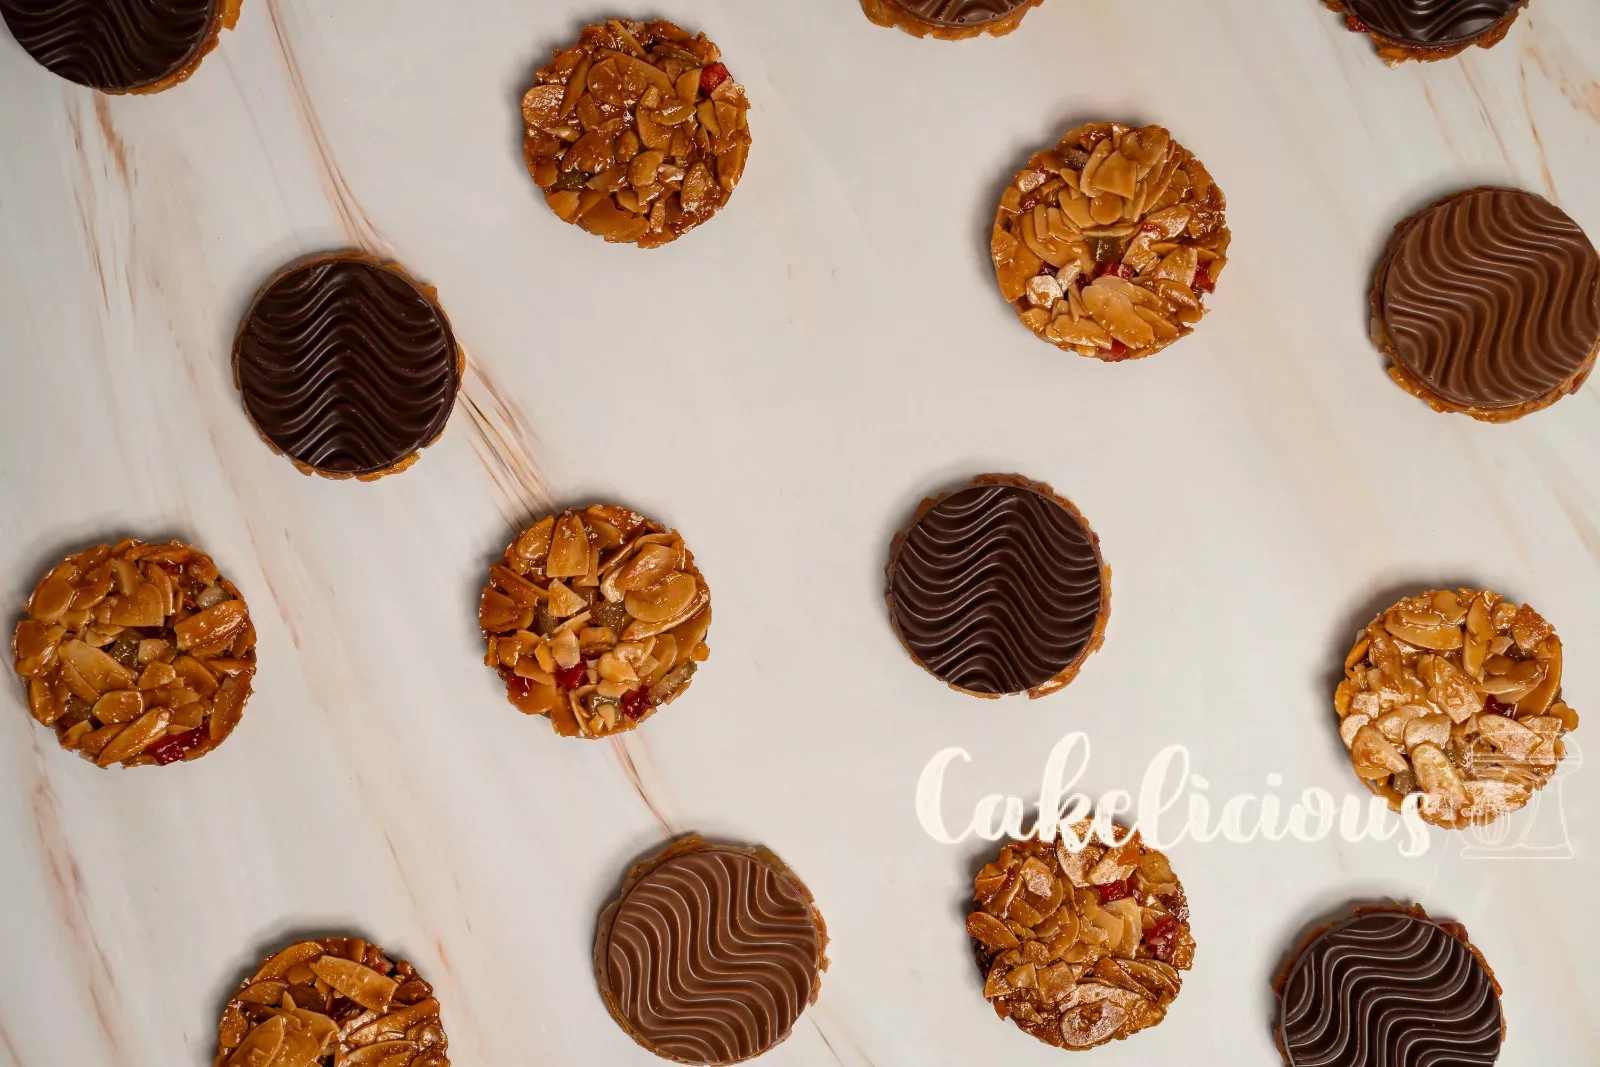
Florentine
Ingredients
For the florentines
For the chocolate base
Method
- Cook: Bring butter, cream, sugar, glucose syrup and honey to exactly 110 °C.
- Mix: Remove from the heat, stir in almonds and candied fruit, let cool briefly.
- Shape: With wet fingers, press 10 g portions flat into the silicone mold.
- Bake: Bake approx. 13 min. at 170 °C convection, unmold, let cool.
- Base: Temper the couverture, fill it into the chocolate bar mold, press the florentines in, let set.
Nutrition per 100 g
Storage & shelf life
Everything for this recipe
Recommended by our bakery, in exactly the sizes this recipe was tested with.
Ingredients
Candied cherries for topping, 100 g
Candied orange peel
Candied lemon peel
Glucose syrup - 300g
Dark chocolate 54.5% 400g - Callebaut
Milk chocolate 33.6% 400g - Callebaut
Accessories
Silicone baking mold for florentines Ø 4.8 - 6 cm, 8 pieces
Chocolate bar mold for florentines Ø 4,8 cm, 15 pieces
tempering device 1.5 l for couverture and chocolate
Silicone brush, 20 cm with stainless steel handle
Disposable piping bag - 41cm - 24 pieces
Small rubber scraper, pink
Digital thermometer, waterproof and foldable
Delivery in 1 to 2 working days · Free shipping from CHF 100
Nice to serve with
Not needed for the recipe, but it goes well.
Florentine baking mold for 24 pieces, 5.5 cm
Silicone baking mold Florentine, 24 pieces Ø 3.5 cm
Chocolate bar mold Florentine Ø 9 cm, 5 pieces
How to make them succeed every time
For Florentines one value makes all the difference: 110 °C. With an insertion Thermometer you hit it every time, even without experience. That keeps your Florentines crisp and stops them tasting bitter.
Then use a cake icing instead of couverture, which doesn't need tempering. The base will be slightly softer and less glossy, but it still tastes fine. Perfect when things need to go quickly.
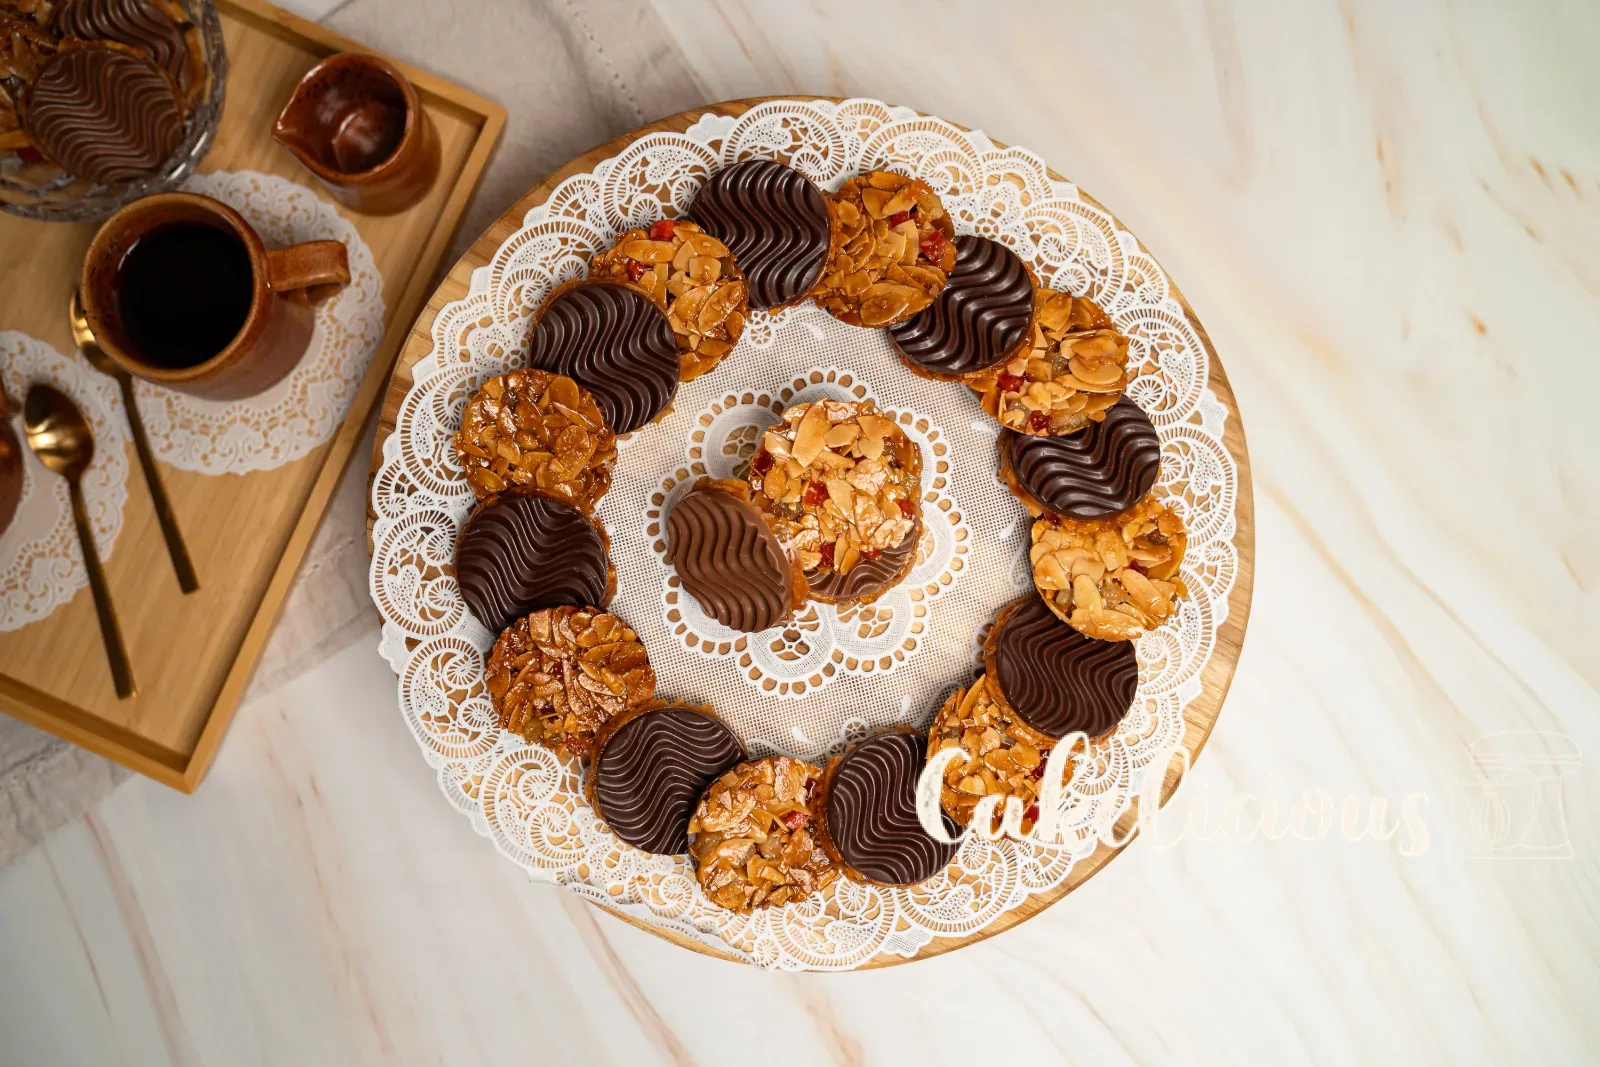
Florentines make a wonderful homemade gift. Place them chocolate side down in a tin or a bag and separate the layers with baking paper, so the lovely pattern stays intact.
Frequently asked questions
Of course! Simply replace it with the same amount of sliced almonds or dried fruit. The only thing that matters is that the total quantity stays the same, otherwise the Florentines won't hold together.
Usually the mixture wasn't hot enough. Below 110 °C too much moisture remains, and the Florentines become soft over time. An airtight tin also helps them stay crisp.
Either the couverture wasn't tempered properly, or the Florentines were in the fridge. Temper the couverture carefully and let the chocolate set only in a cool place, not in the fridge.
Print recipe
Choose what should appear on the printout.
Related posts
 Juicy Matcha Muffins with Pecan Nuts & White Chocolate
Matcha Iced Latte & Coconut Variant
Pull-apart bread with fresh wild garlic pesto
Mini Banana Bread with Chocolate Chips
Leave a comment