
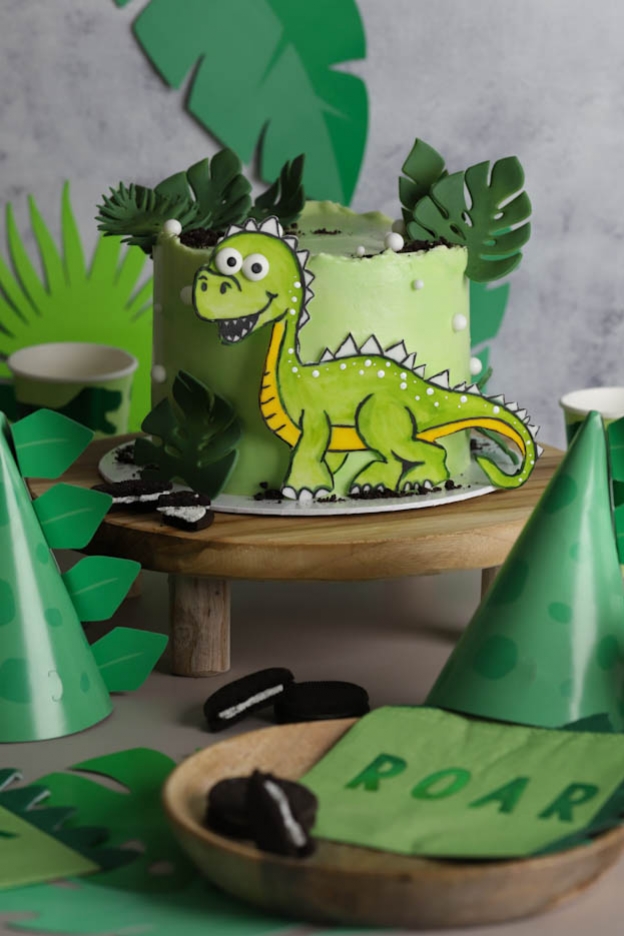
Dinosaur cake
Buttercream
Dino Template
Hey there, sweet tooths!
You loved our Mermaid cake so much that I decided to offer you a cake in the same style but with a different theme: dinosaurs! :o) This birthday cake will fit perfectly into any dinosaur birthday theme.
In addition to the delicious Oreo cream that your child will certainly love, I also show you some new decoration techniques: the use of stencils and a painting technique.
It is best to prepare this cake over several days.
At least 3 days before: the sugar paste decorations so they can dry and keep their shape.
One day before: the buttercream and the sponge.
On the day itself: the Oreo cream, the assembly and the decoration.

For a cake of Ø 15 cm, you will need:
Decorations
- Green sugar paste
- White sugar paste
- Tropical leaf cutters
- Yellow powder food colouring
- Light green powder food colouring
- Dark green powder food colouring
- Rejuventor Spirit (alcohol)
- Black food pen
- Edible glue
- Sugar eyes
- Precision knife
- Scriber needle
- Sugar pearls
Swiss meringue buttercream
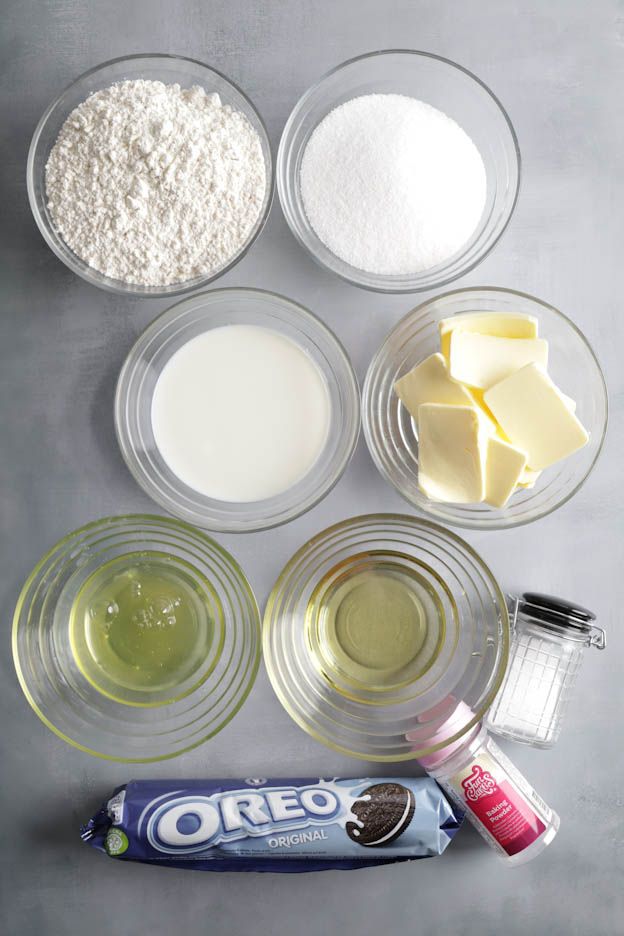
- 150gr egg whites
- 300gr sugar
- 1 pinch of salt
- 250gr soft butter
Oreo sponge
- 200gr flour
- 2 tsp baking powder
- 1/2 tsp salt
- 120gr soft butter
- 200gr sugar
- 100gr egg whites
- 140gr milk
- 30gr rapeseed oil
- 8 Oreos (approx. 60gr)
Oreo cream
- 250gr heavy cream
- Filling from 8 Oreos
- 150gr mascarpone
- 1 tsp vanilla extract
- 6 Oreos
Decorations
I recommend making the decorations at least 3 days, or even earlier, before the big day. This way, the sugar paste leaves and the dinosaur can dry properly, the leaves will hold their curved shape and the dinosaur will be solid enough to stand on the cake without falling over. :o)
Sugar paste decorations can be made well in advance – this is no problem at all. The longer the decorations dry, the harder they will become. Once dry, I recommend placing them in a Tupperware container (at room temperature) to protect them from dust.
If you're short on time, I recommend using flower paste or adding CMC powder to the sugar paste, as this speeds up the drying process.
For the leaves, I used green sugar paste and our new "jungle leaves" cutters.
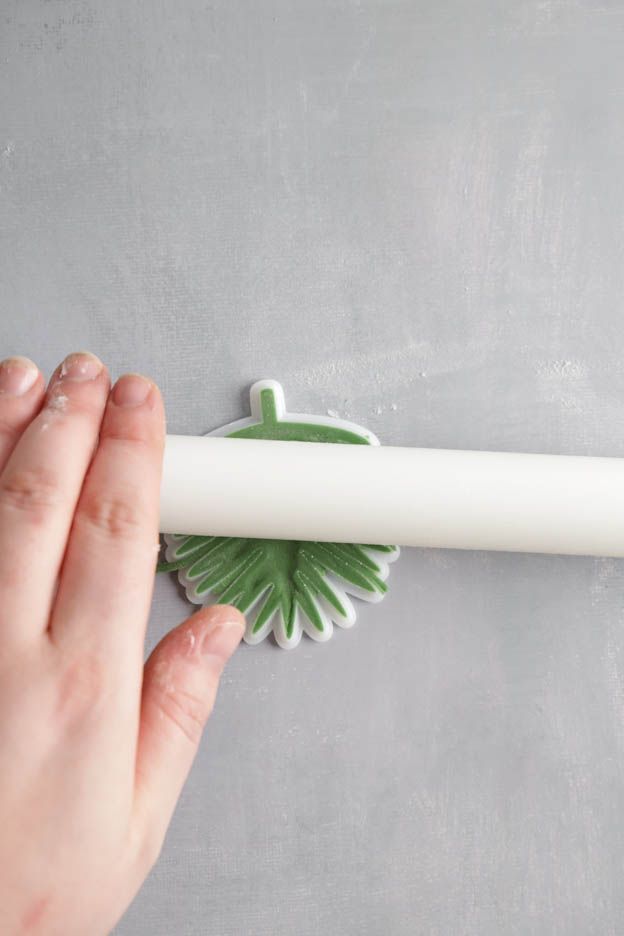
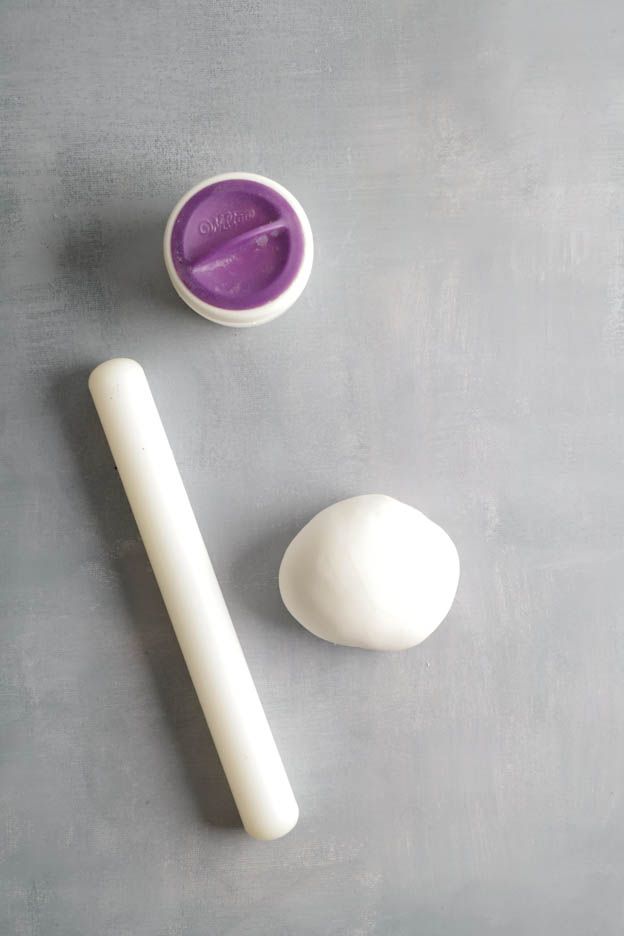
Roll out the sugar paste very thinly, about 3 mm, using a small rolling pin and a little magic powder.
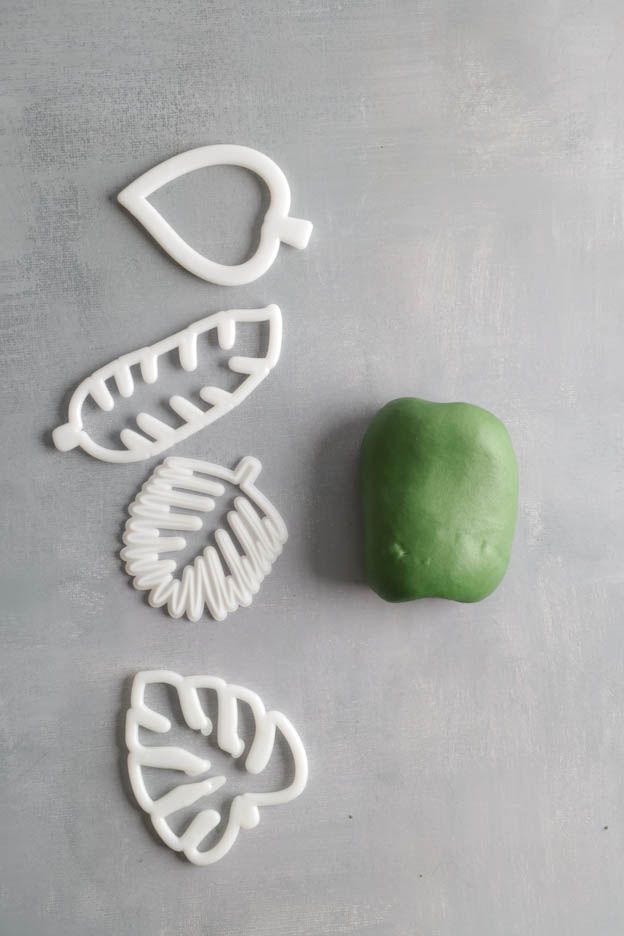
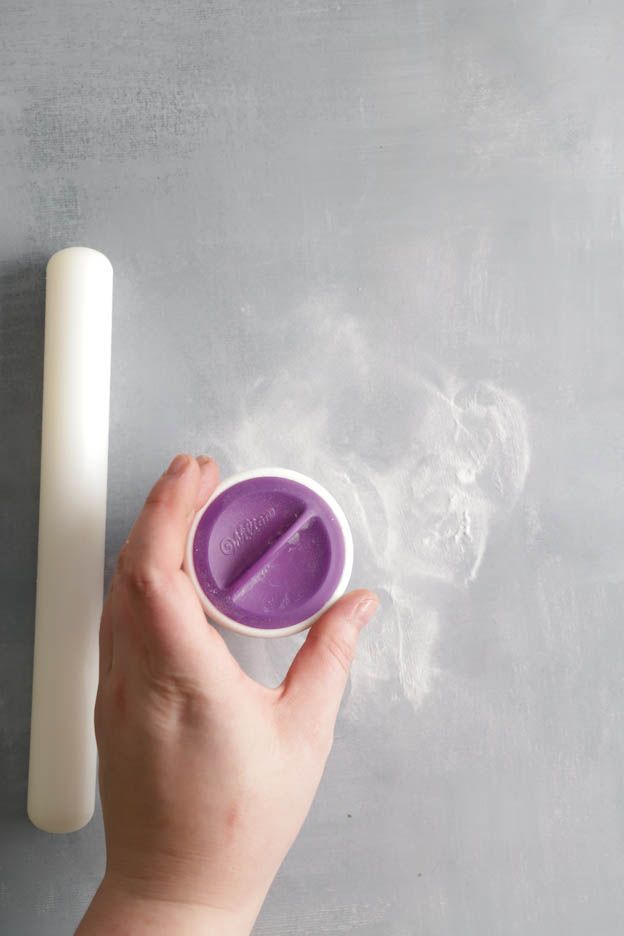
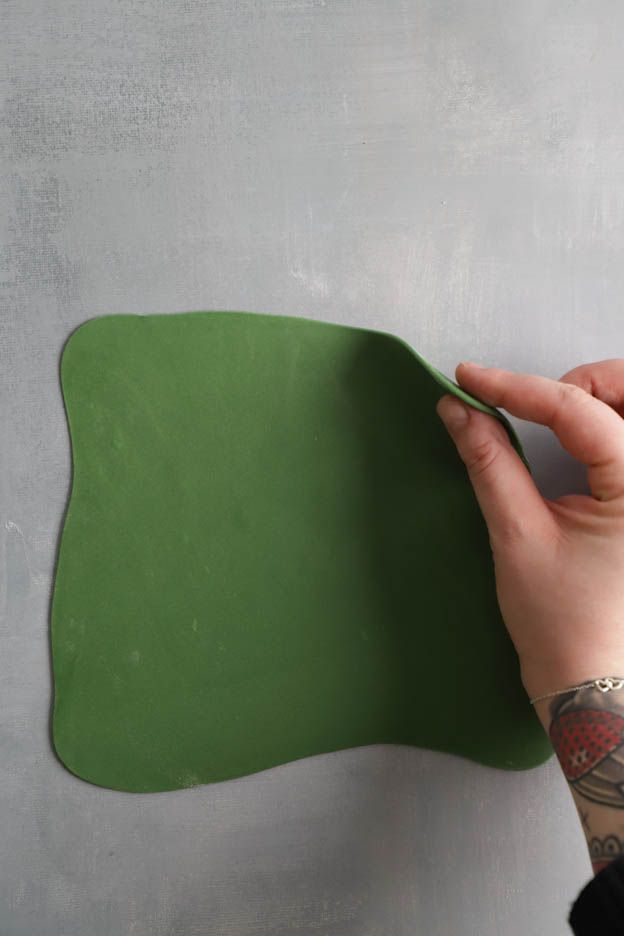
Now cut out your leaf. To get a clean cut, slide your hand under the cutter to achieve a nice sharp edge. Place the leaf in small containers to dry.
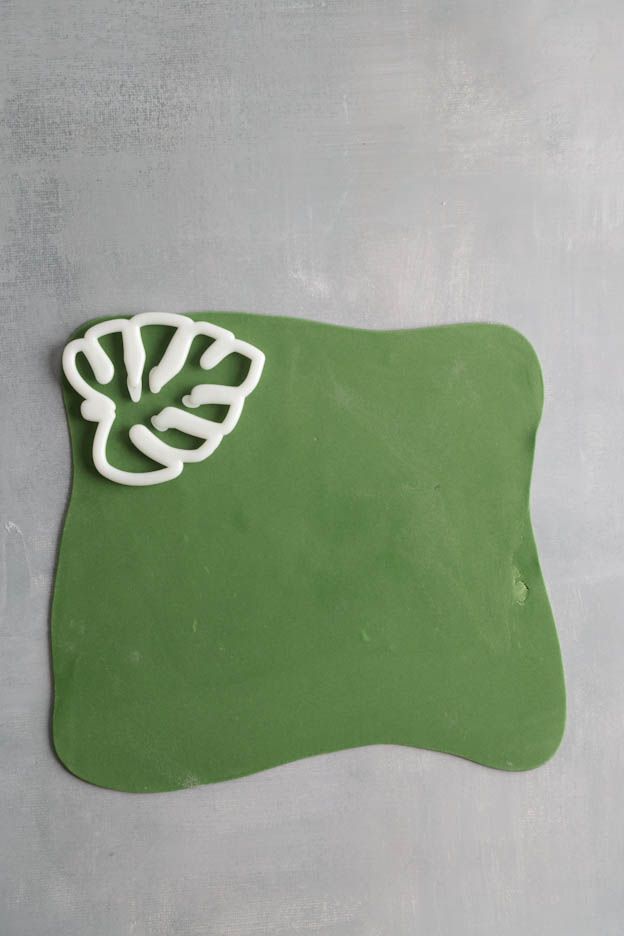
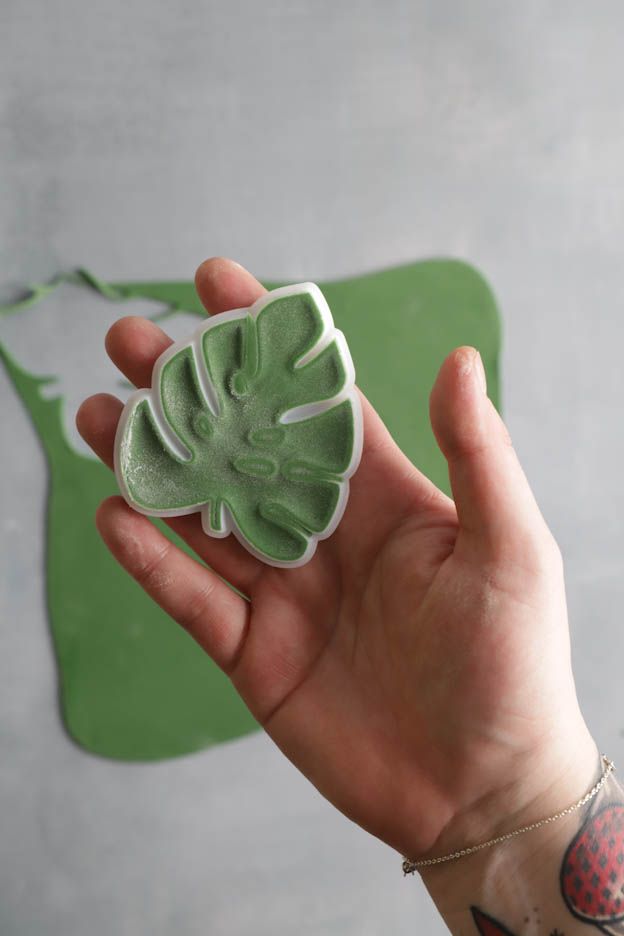
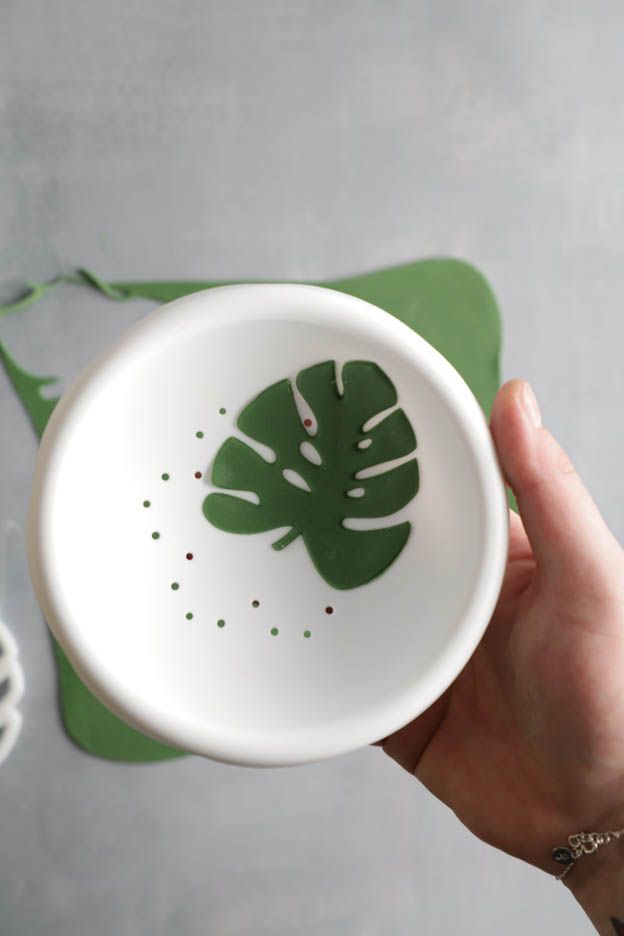
For some leaves, it can be tricky to cut them out neatly or even to remove them from the cutters...
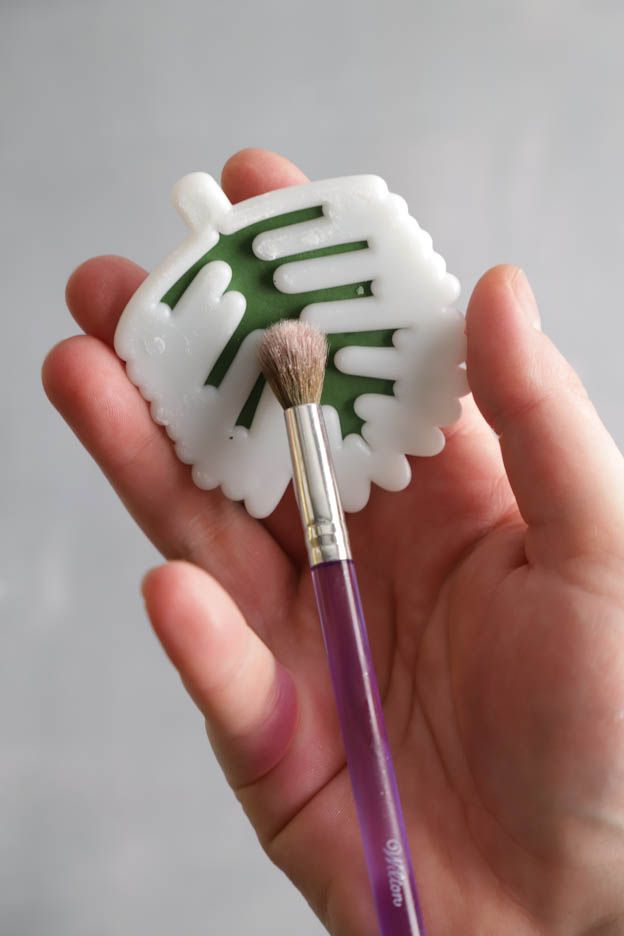
To do this, run the rolling pin over the cutter once more and use a soft, clean brush to release the leaf.
The brush technique is great because it allows you to avoid damaging the sugar paste and prevents marks that other tools might leave.
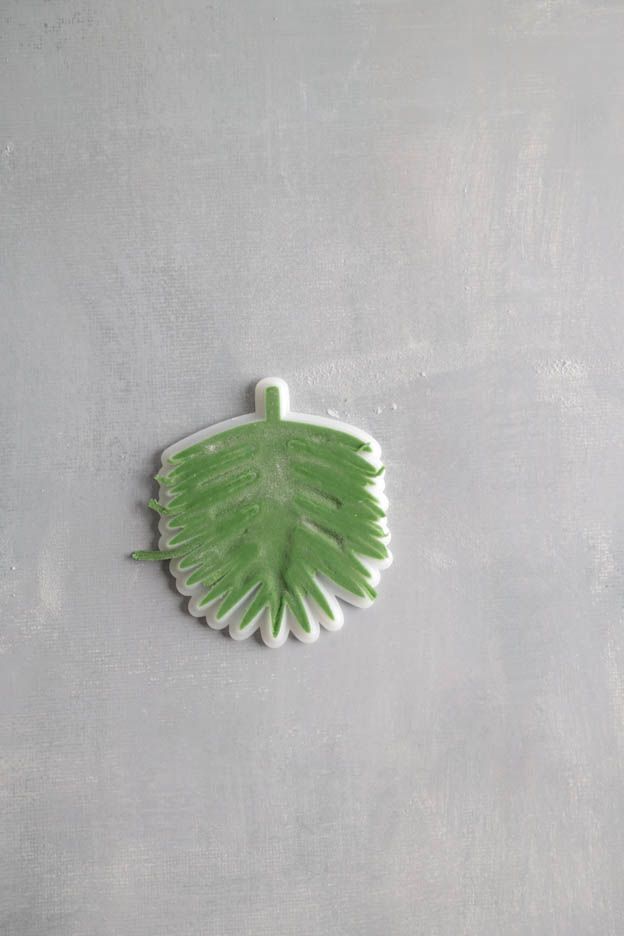
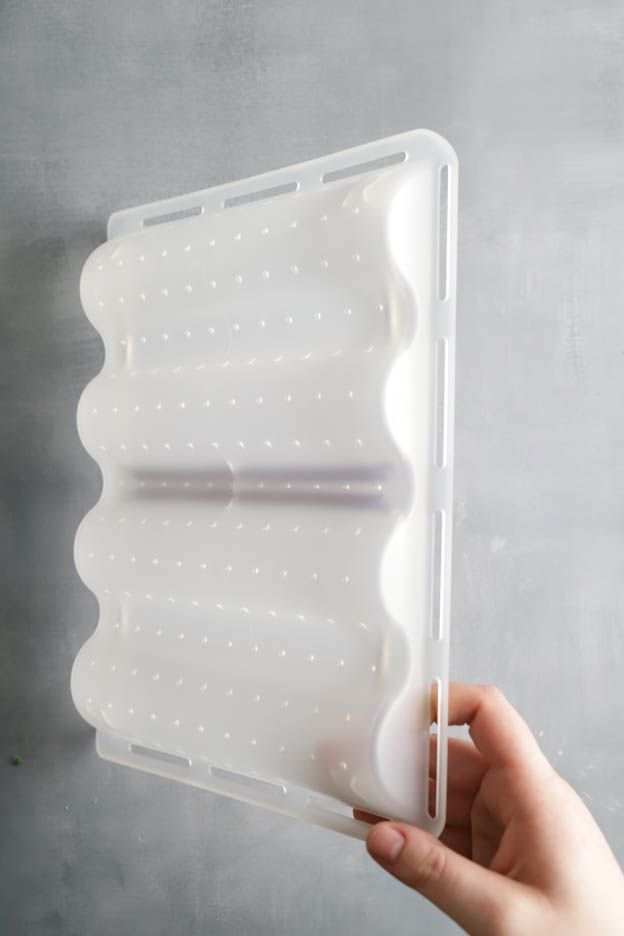
To dry the leaves and give them different shapes, you can use various kitchen objects.
I used the sugar flower drying rack to give my leaves different movements.
For this cake, I ended up using about 8 to 10 leaves, but I like to make more to have spares in case any break.
Let the leaves dry for at least 2 to 3 days.
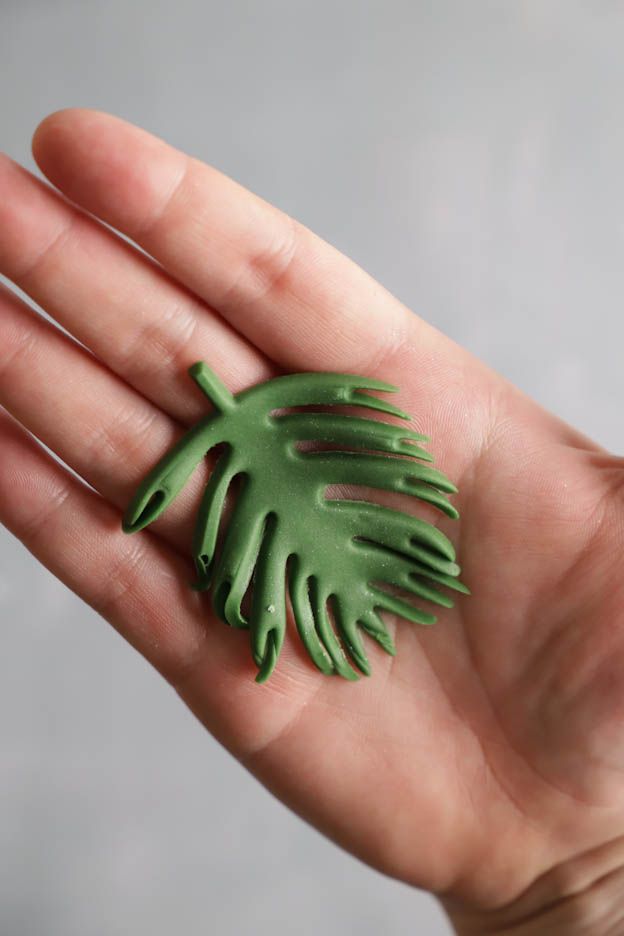
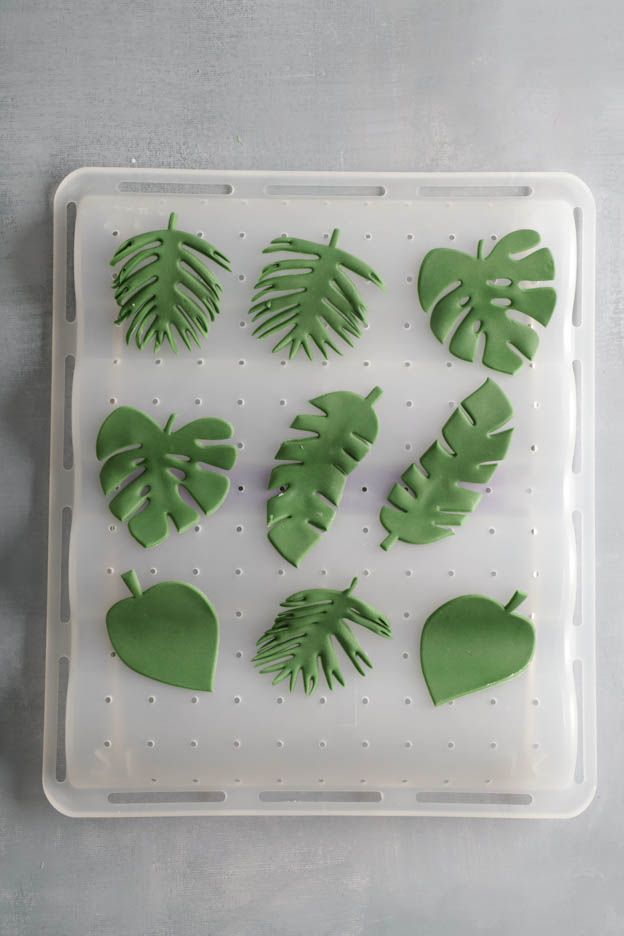
After drying, the leaves will hold their shape.
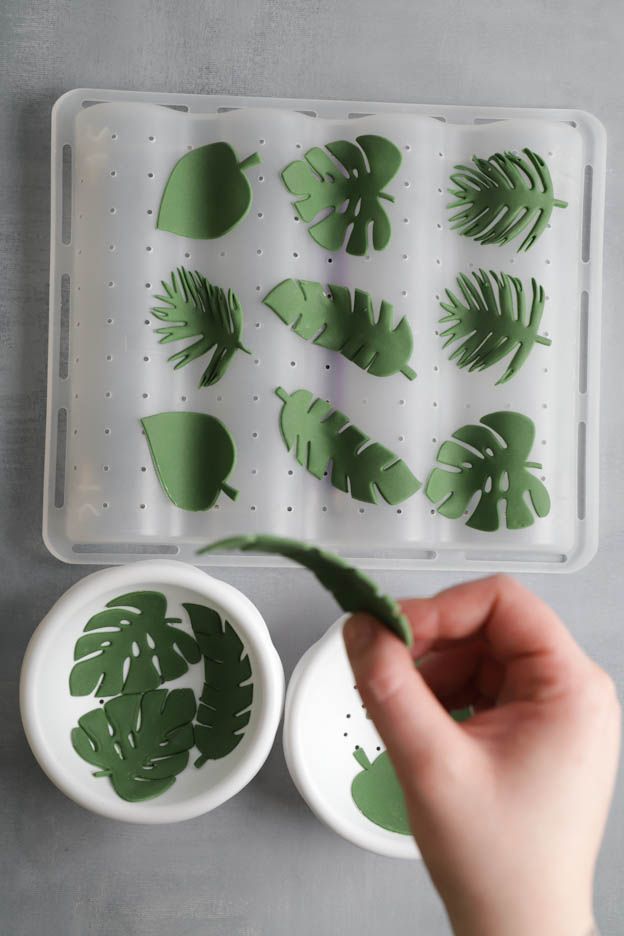
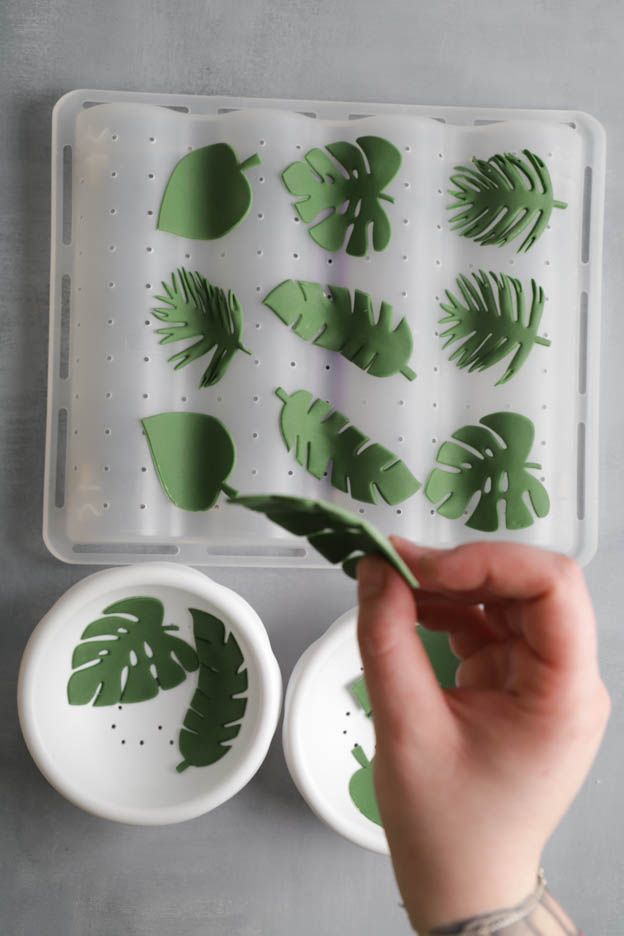
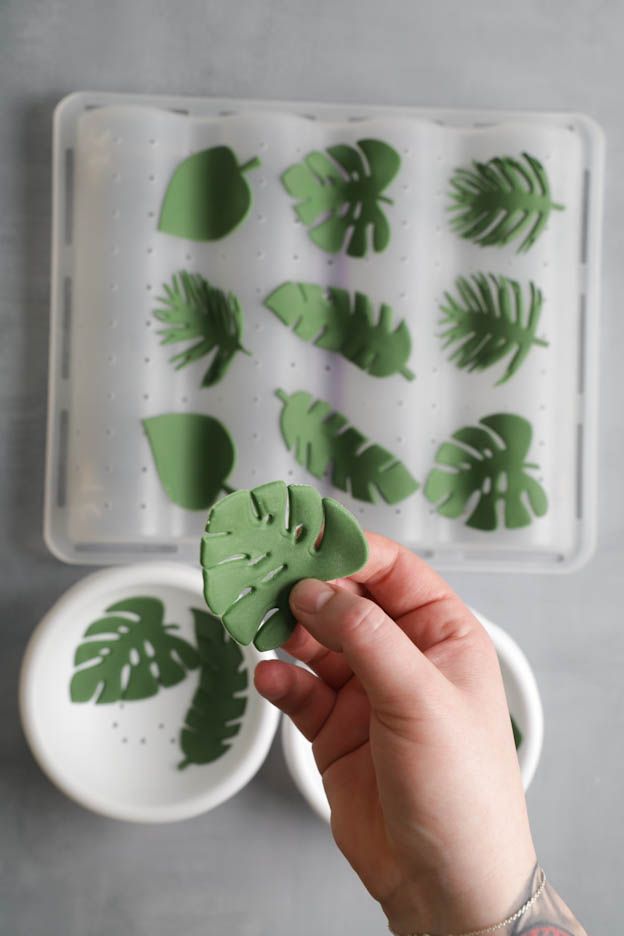
You can of course leave and use the leaves as they are. As a little extra touch, I dust them with a brush using light green and dark green powder colour. This is a great way to add more depth and life to the leaves.
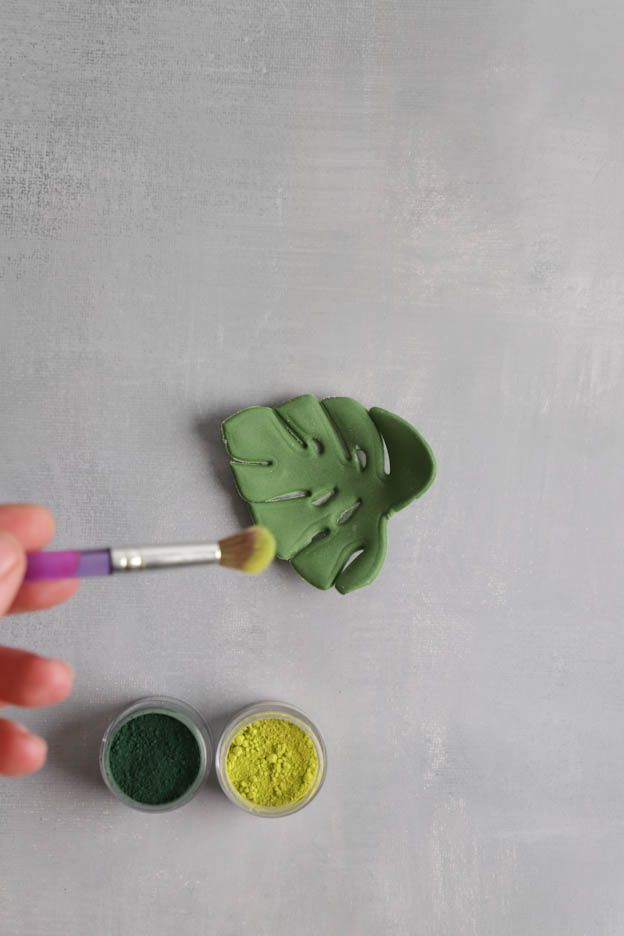
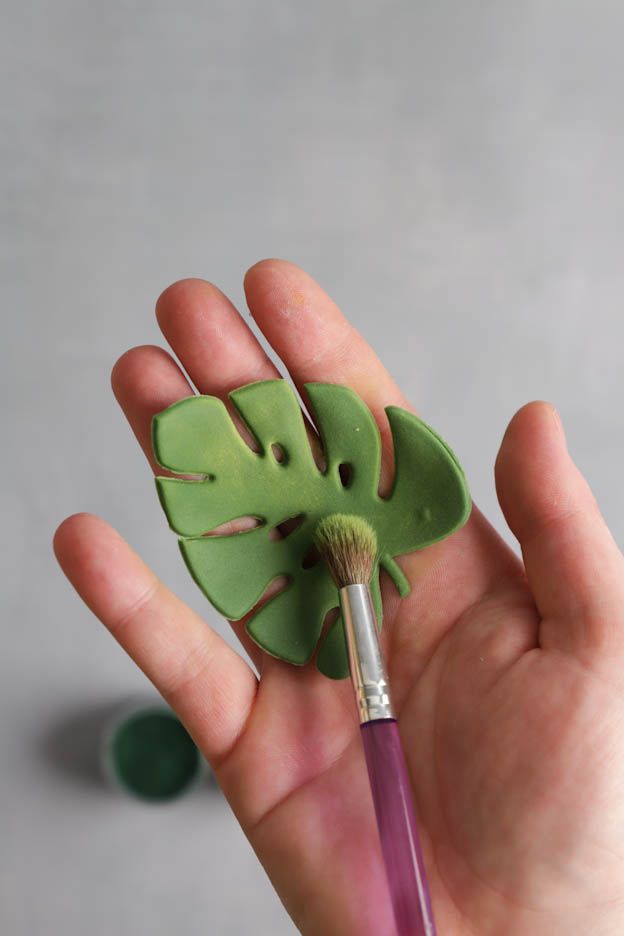
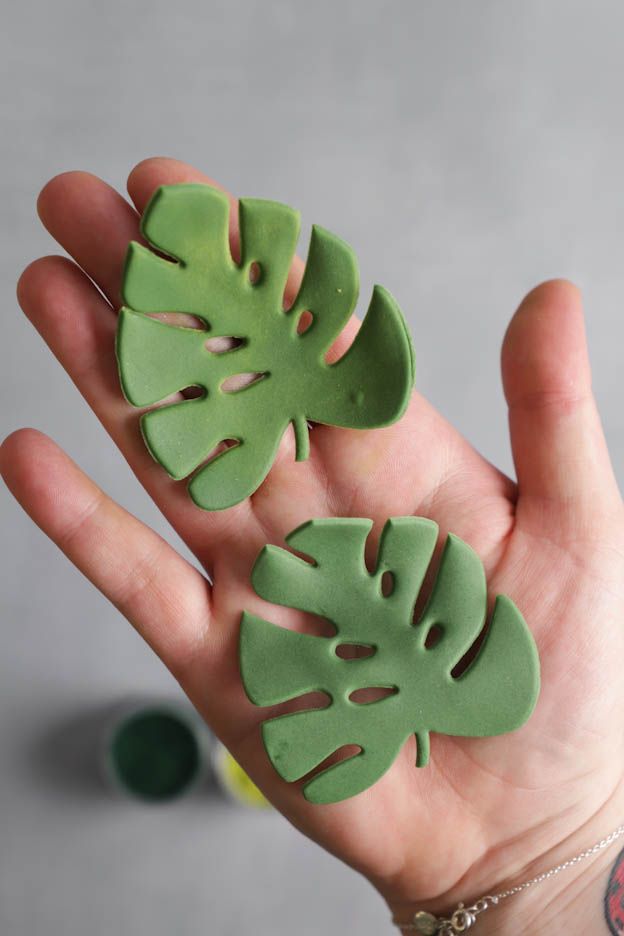
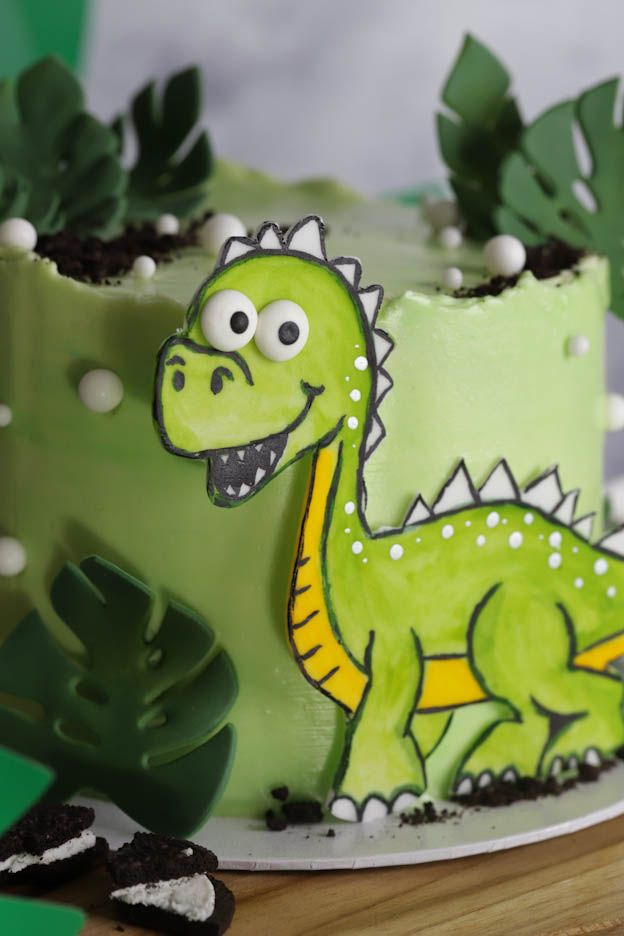
For the dinosaur, I chose an image and used it as a template. Here is the model to print for this image.
Depending on your skill level, you can use the same model, a simpler one or a more challenging one. These cutters are also perfectly suitable for this. ;o)
I used white sugar paste which I then colour with powder food colouring. If this seems too complicated, you can of course use already coloured sugar paste and decorate it like the leaves.
Roll out your white sugar paste to 3 mm with magic powder and a rolling pin, then place it on a cutting board.
Next, cut out your template with a pair of scissors.
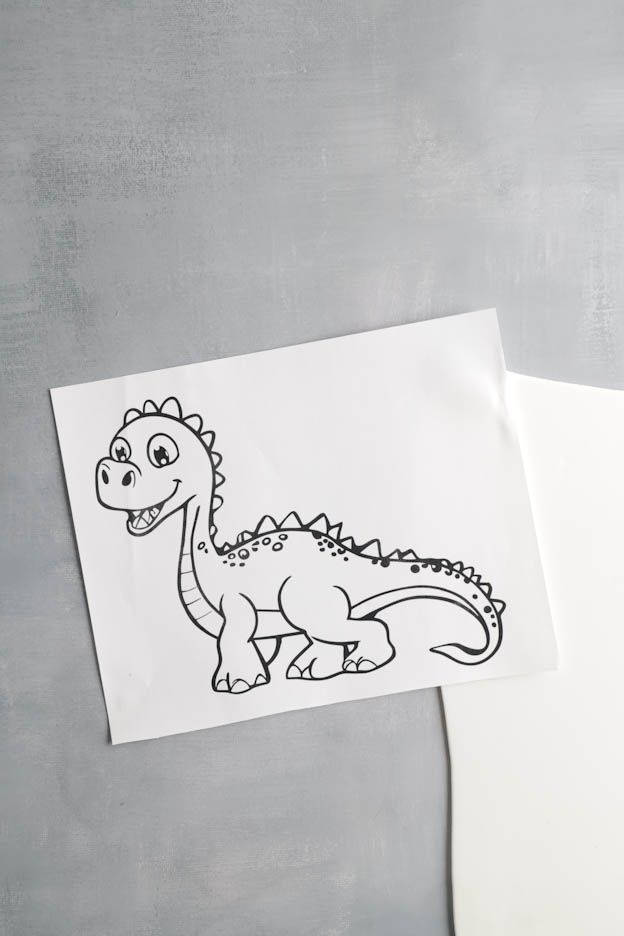
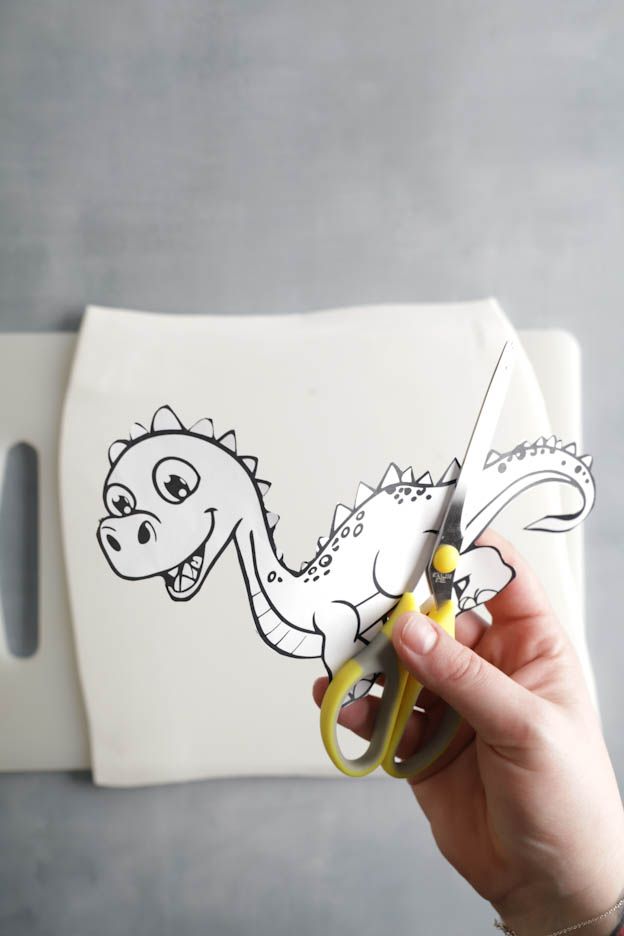
Place the template on the sugar paste and carefully cut around the dinosaur using a precision knife.
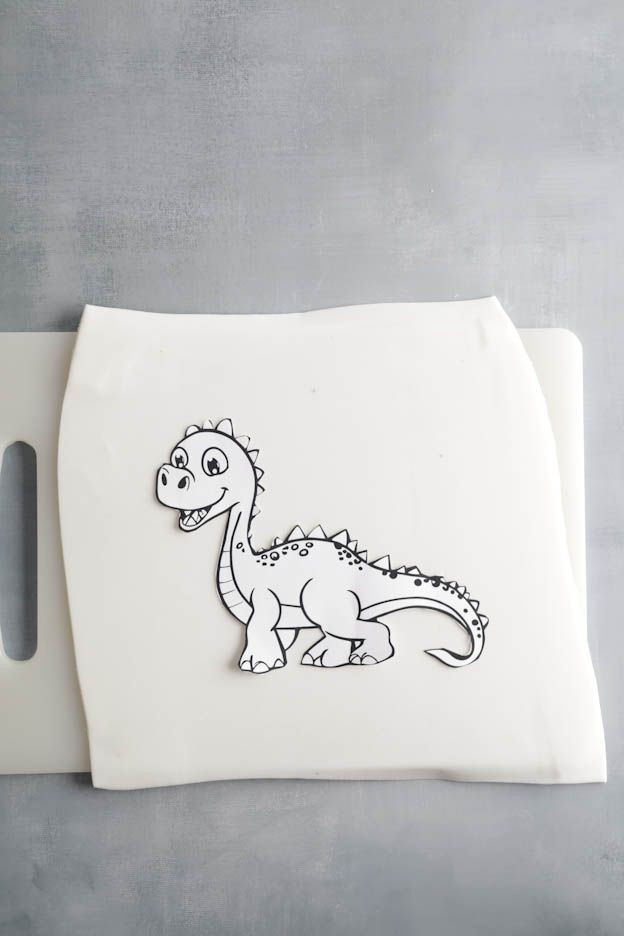
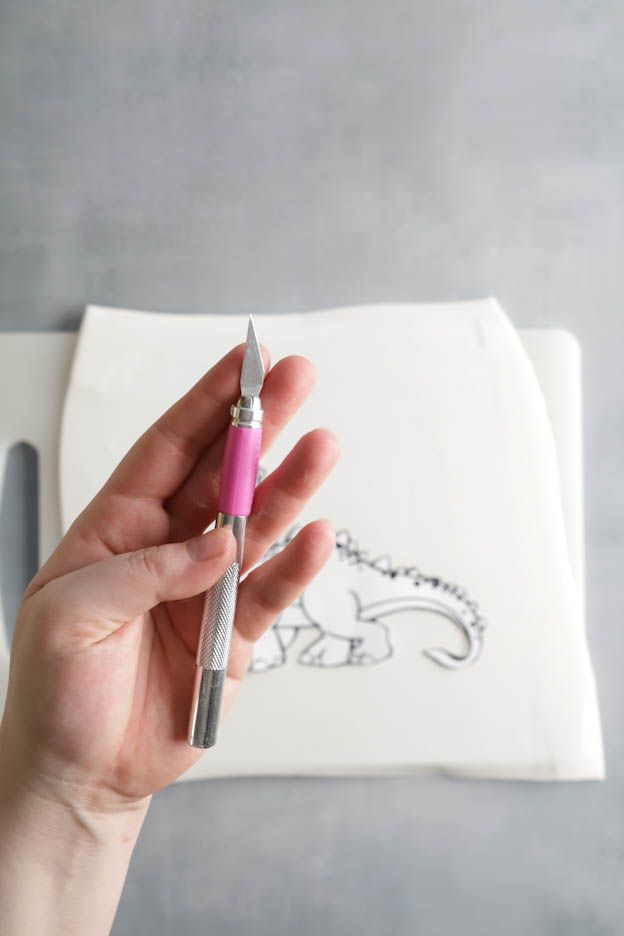

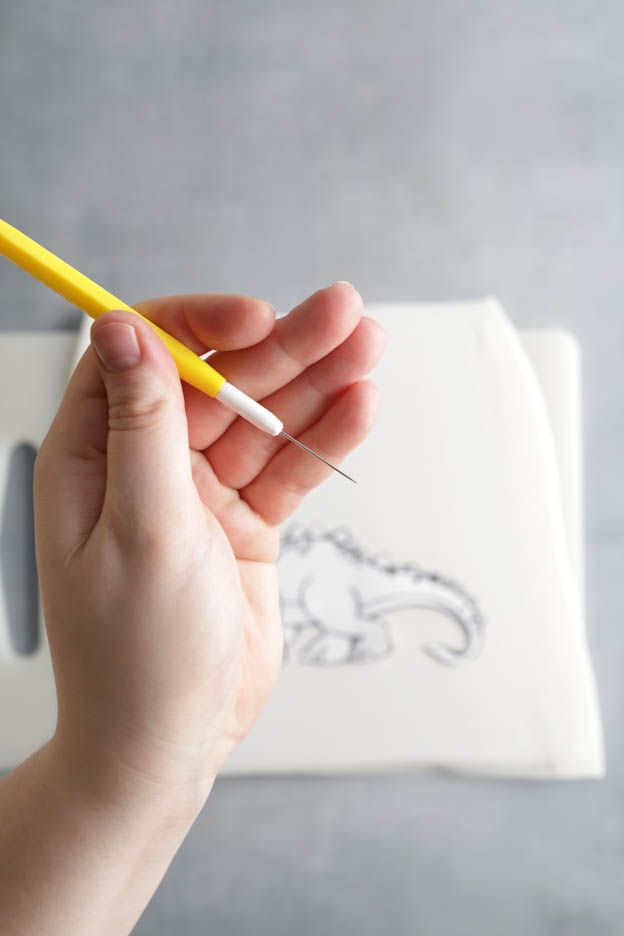
With a scriber needle, trace the inner lines by applying light pressure – this is how the dinosaur design will be imprinted into your sugar paste.


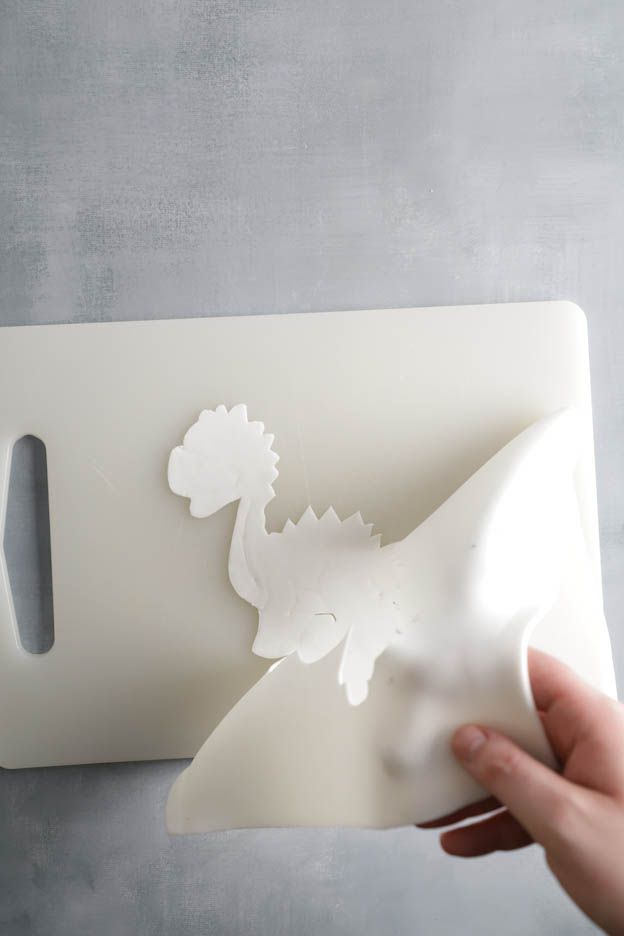
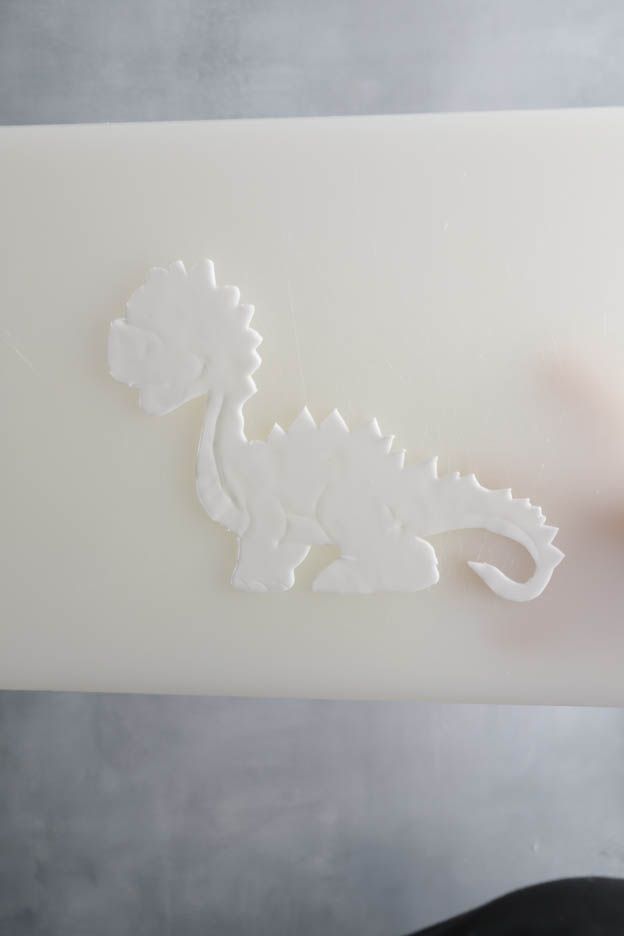
Remove the excess sugar paste from the cutting board. You can clearly see the drawing marks in the second photo.
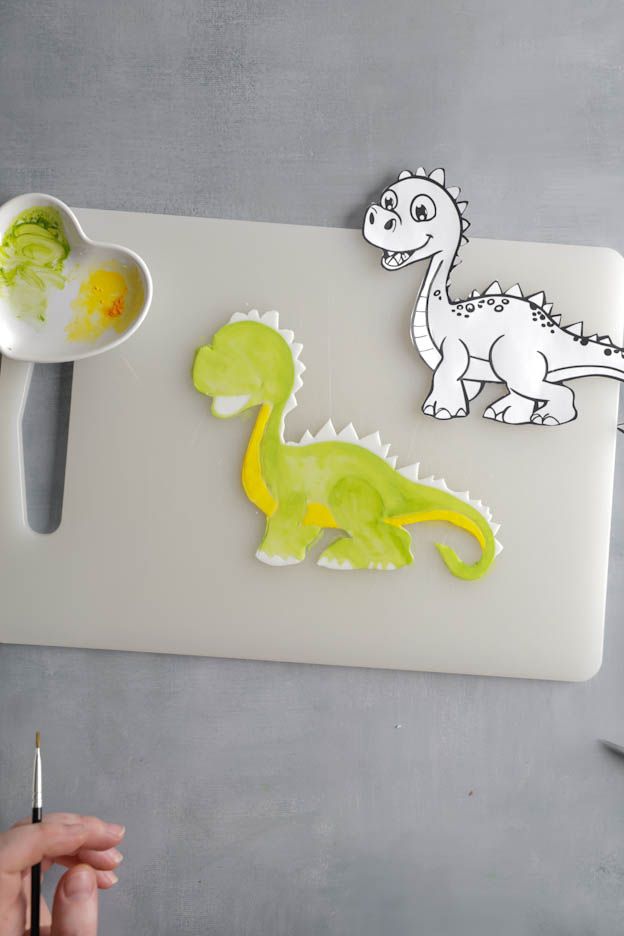
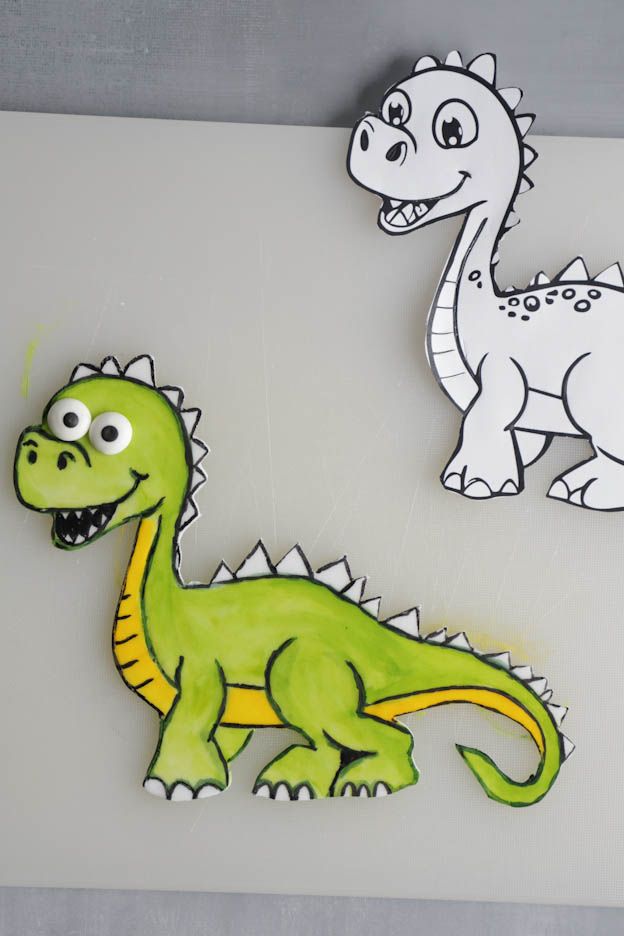
Now the dinosaur needs to be painted in colour. You can compare this step to colouring with watercolour paint.
For this, I use yellow, light green and dark green powder food colouring and mix it with Rejuventor Spirit (alcohol). Just a few drops are enough.
It is better to mix the colours with alcohol rather than water.
The paint dries better and faster with alcohol, as it evaporates more quickly than water, which allows you to paint faster with multiple colours without everything spreading.
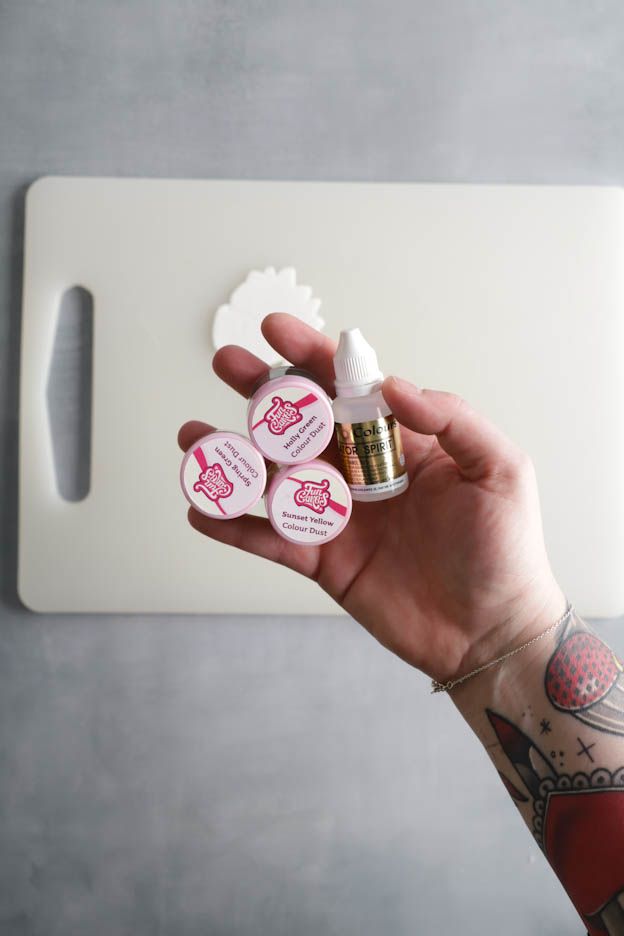
Always start with the lightest colour. Keep the cut-out template next to you – it can help you paint and achieve nice details.
Depending on the area you are painting, it is best to use brushes of different sizes.
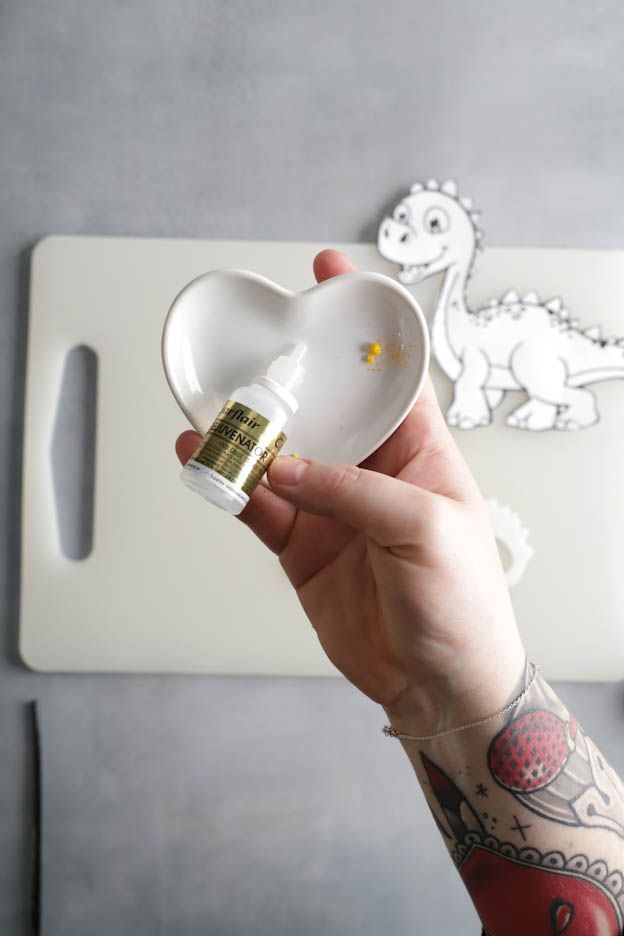
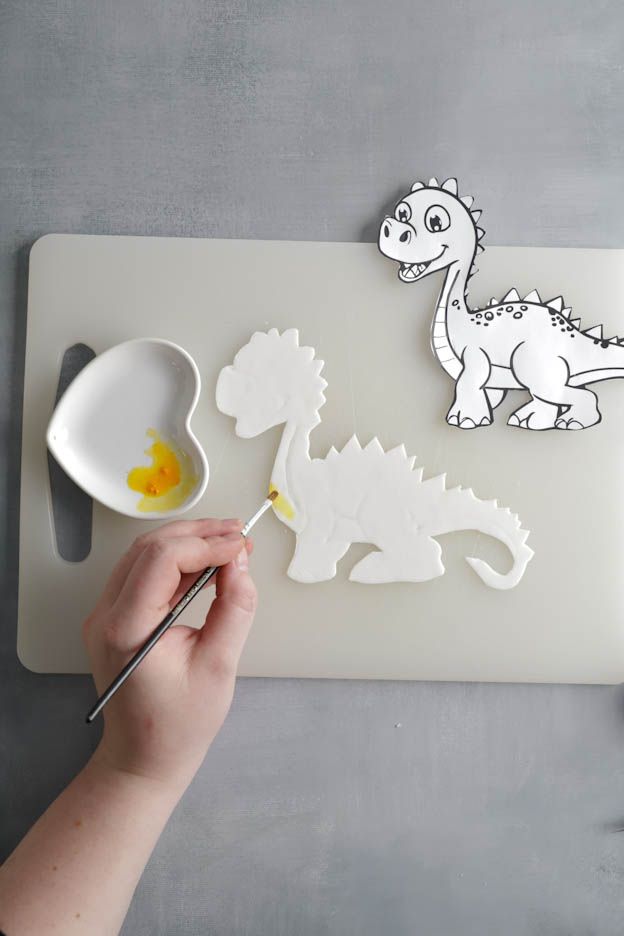
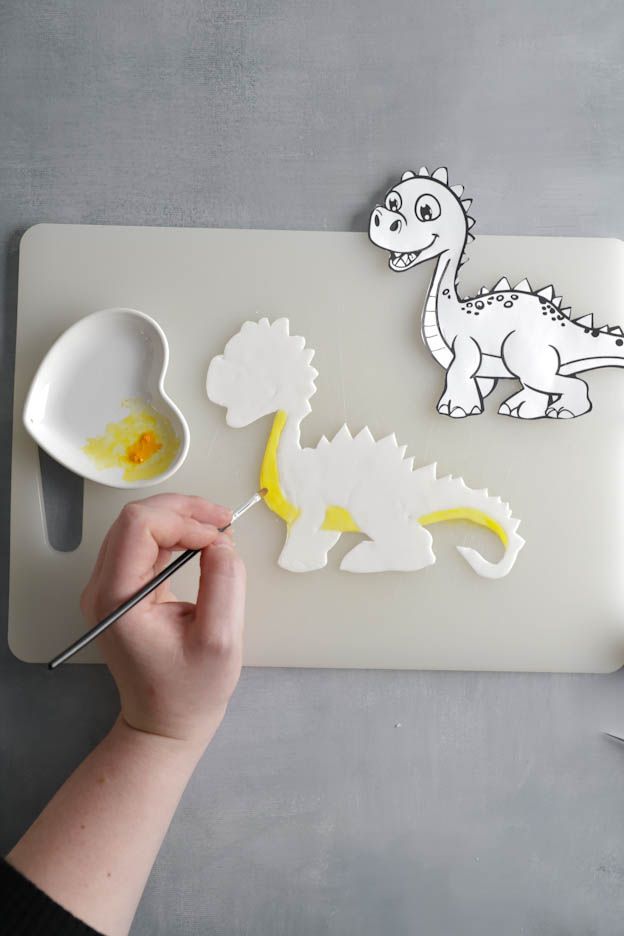
Then colour the dinosaur in light green, making sure to leave areas such as the toes, mouth and spikes (and the eyes, if you want to draw them) in white.
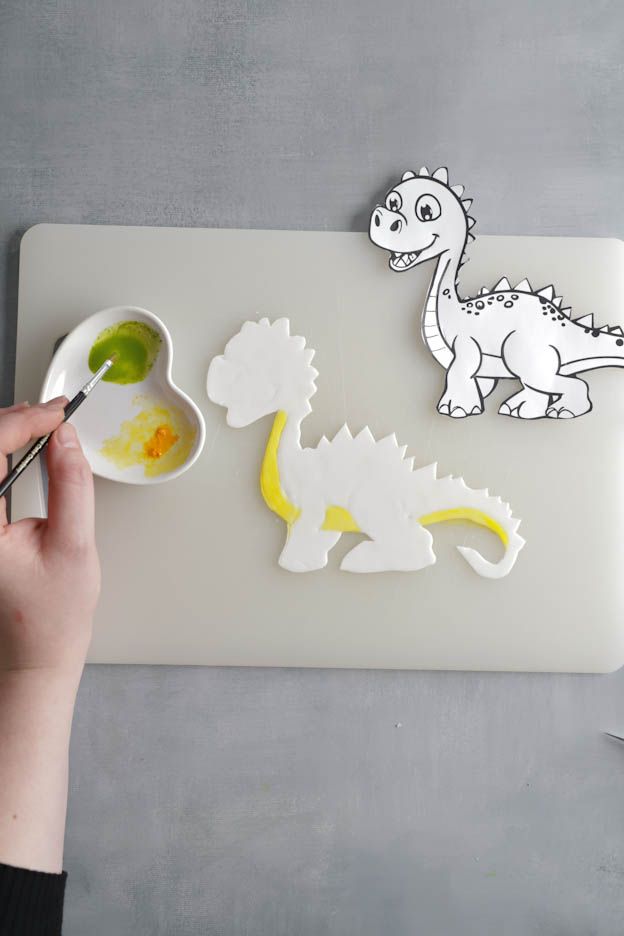
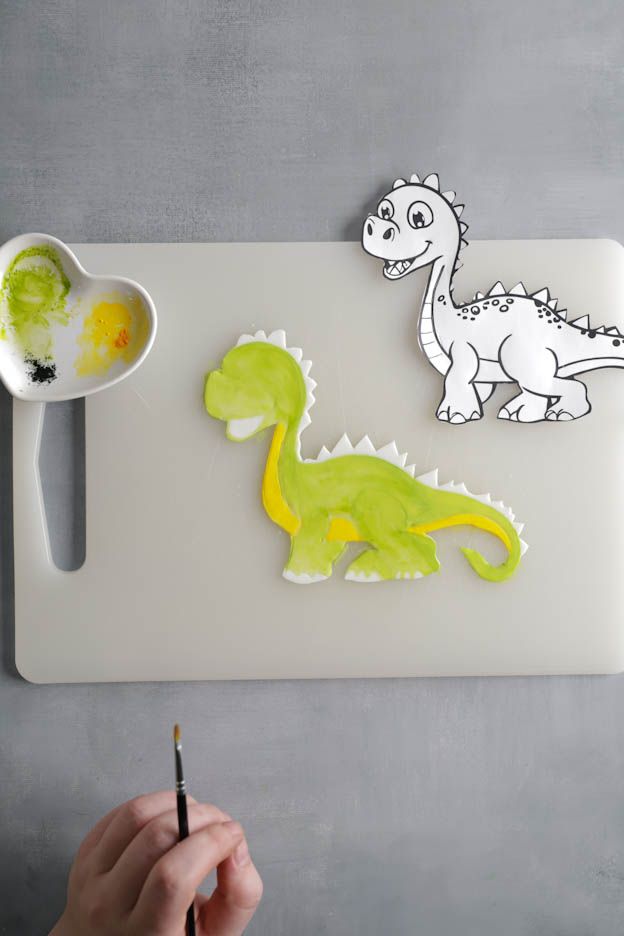
To finish, you can paint borders and shadows with dark green.
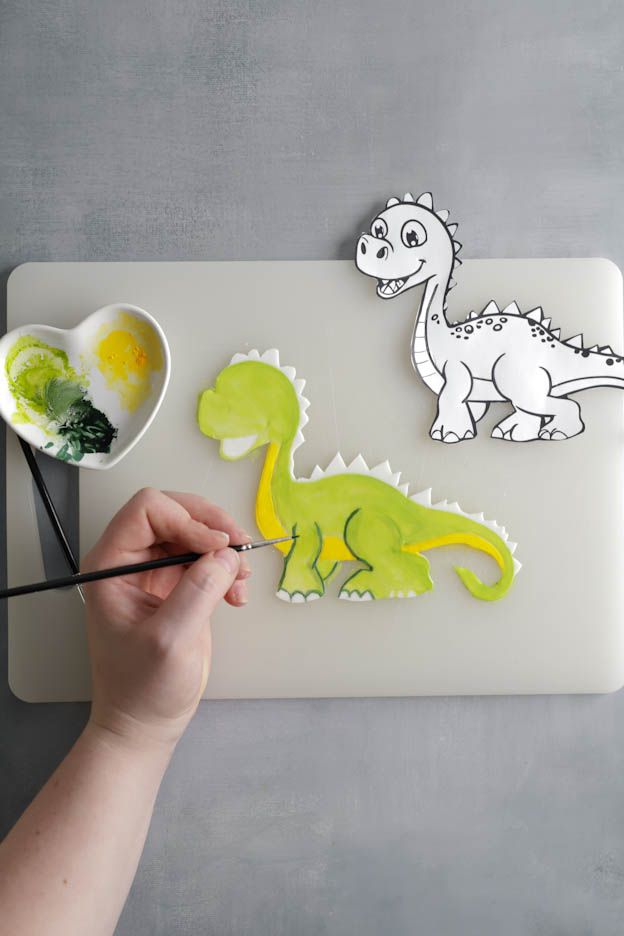

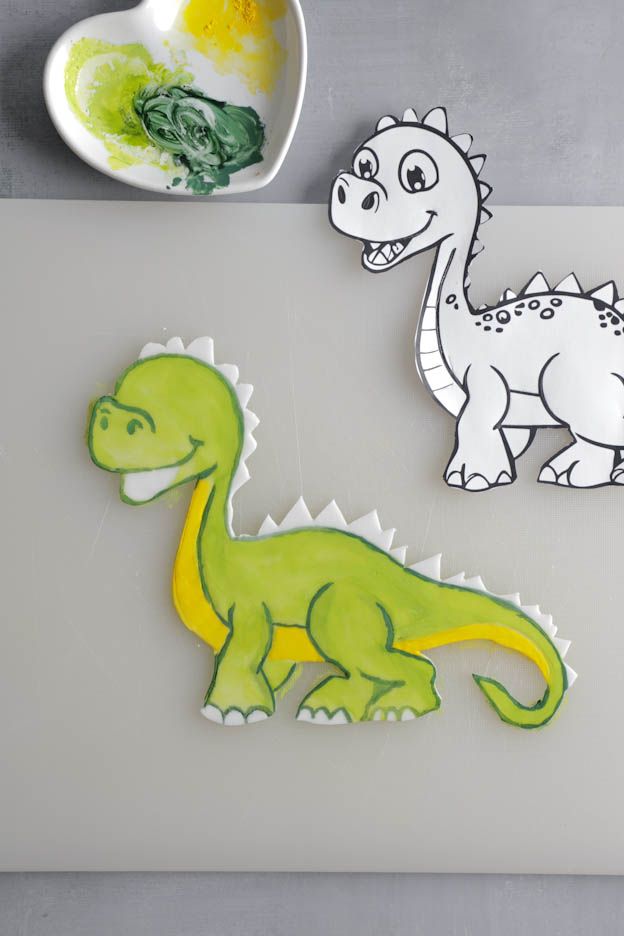
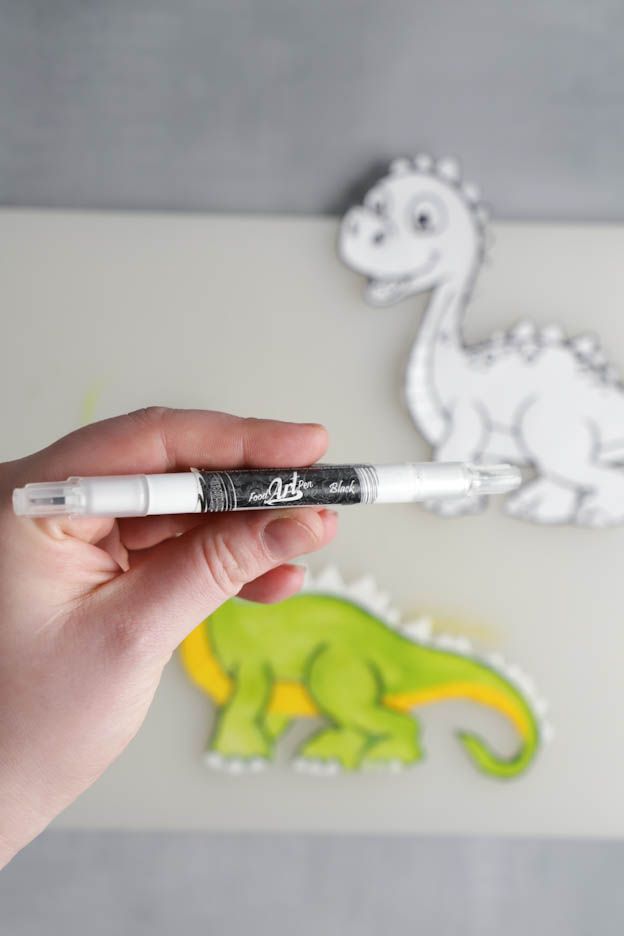
Once the paint is completely dry, you can draw the outlines of the dinosaur with a black food pen.

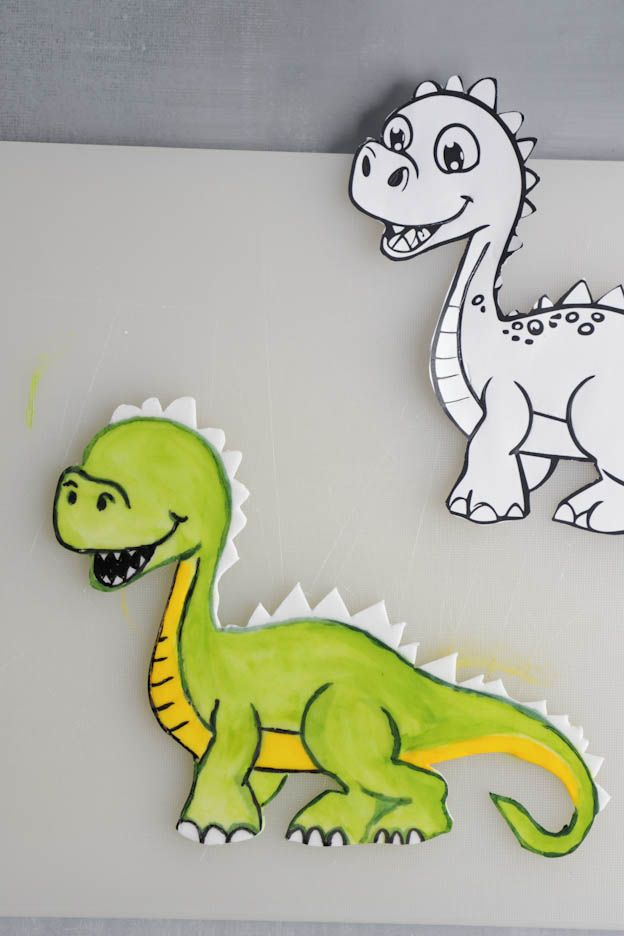
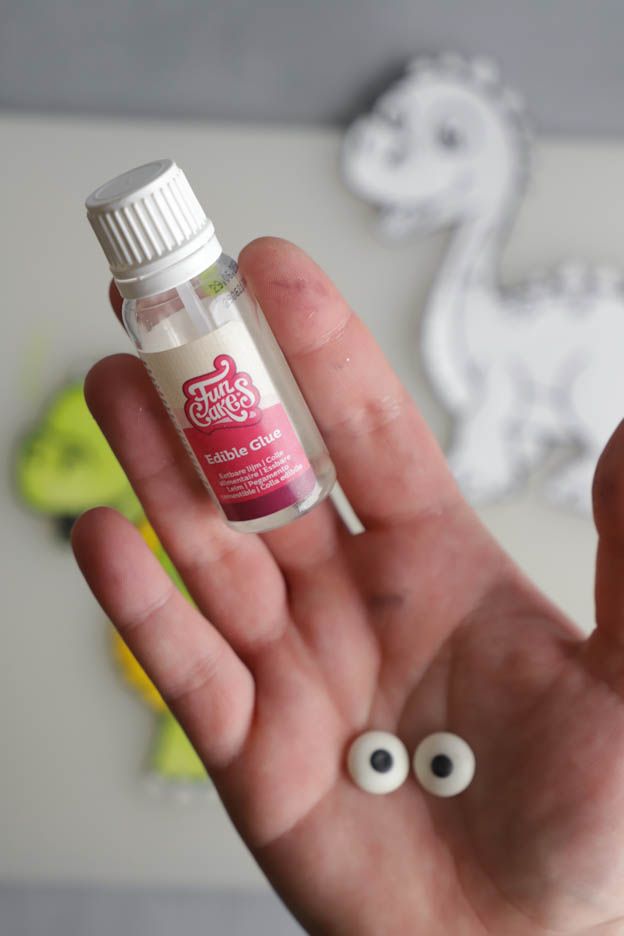
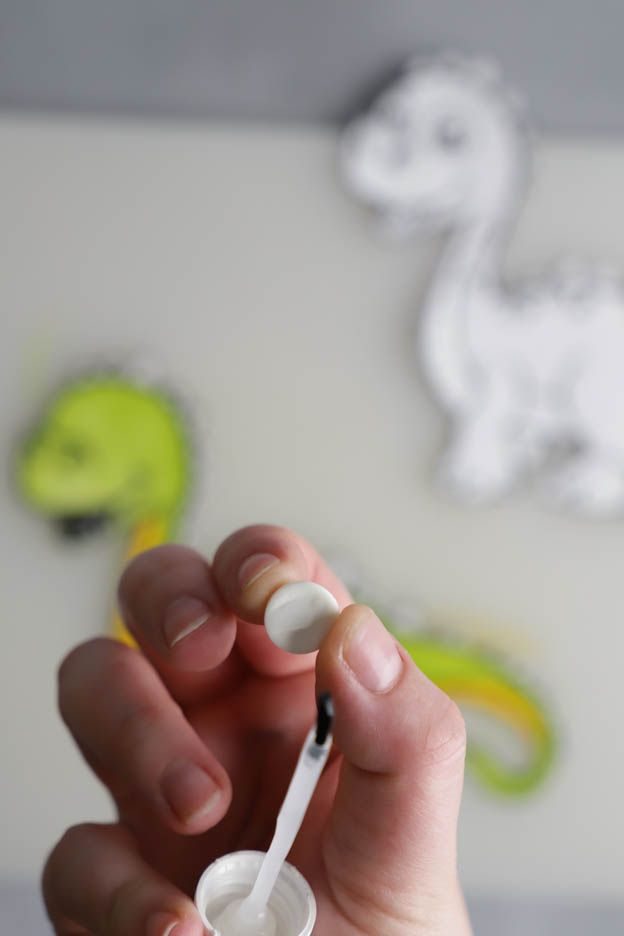
To make this time-consuming work a little quicker, I used sugar eyes and glued them on with edible glue.
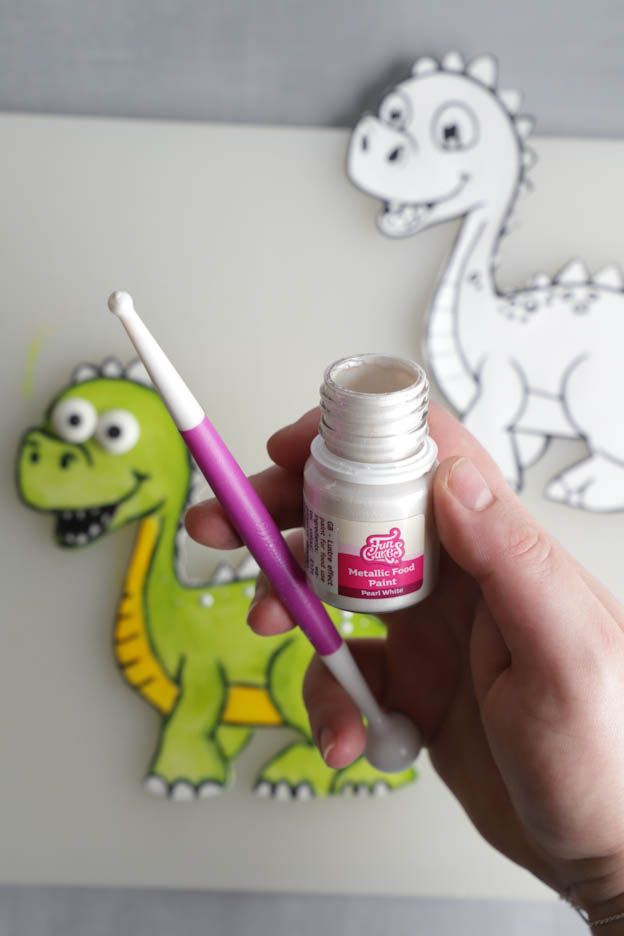
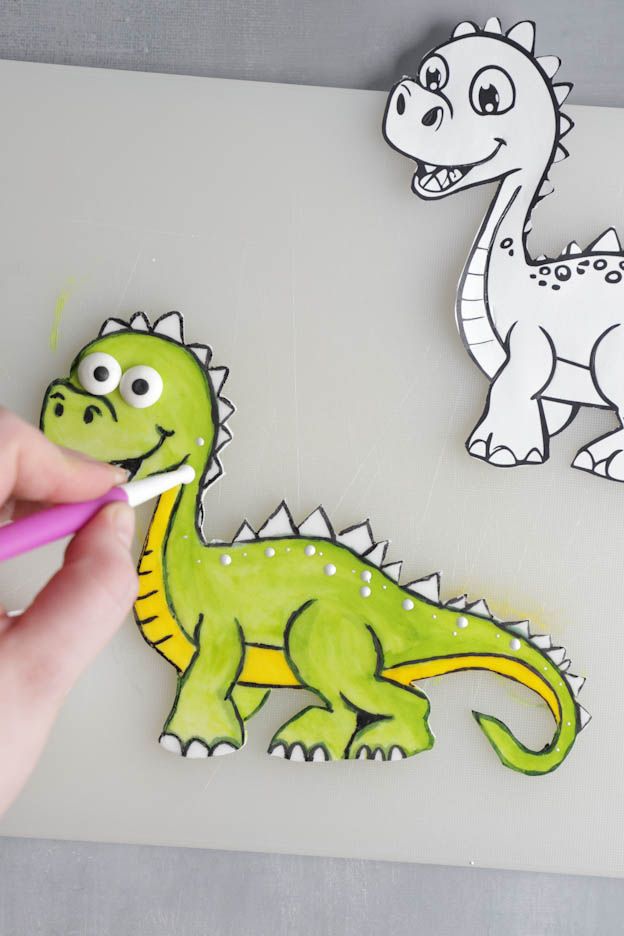
Yes, sometimes I just can't help myself – I absolutely wanted to paint little shiny dots on the dinosaur. :o)
If you want to do the same, use a ball tool and white metallic paint.
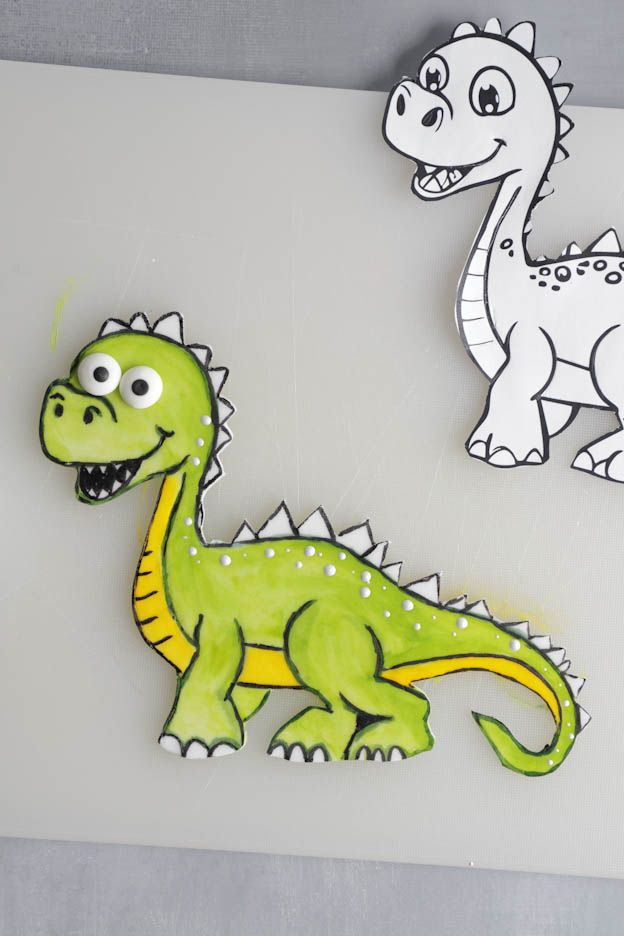
Dip the modelling tool into the paint and dot small spots onto the dinosaur.
And there you go, the dinosaur is done.
Oreo sponge
For the sponge, preheat the oven to 170°C, fan-assisted.
Then mix 2 tsp baking powder, 1/2 tsp salt and 200gr flour and set aside for a moment.
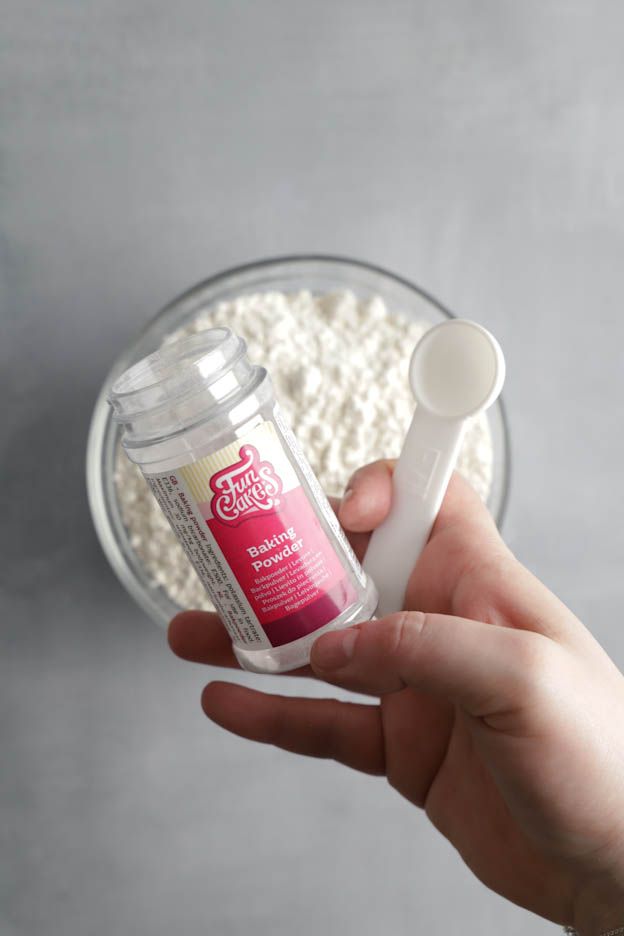
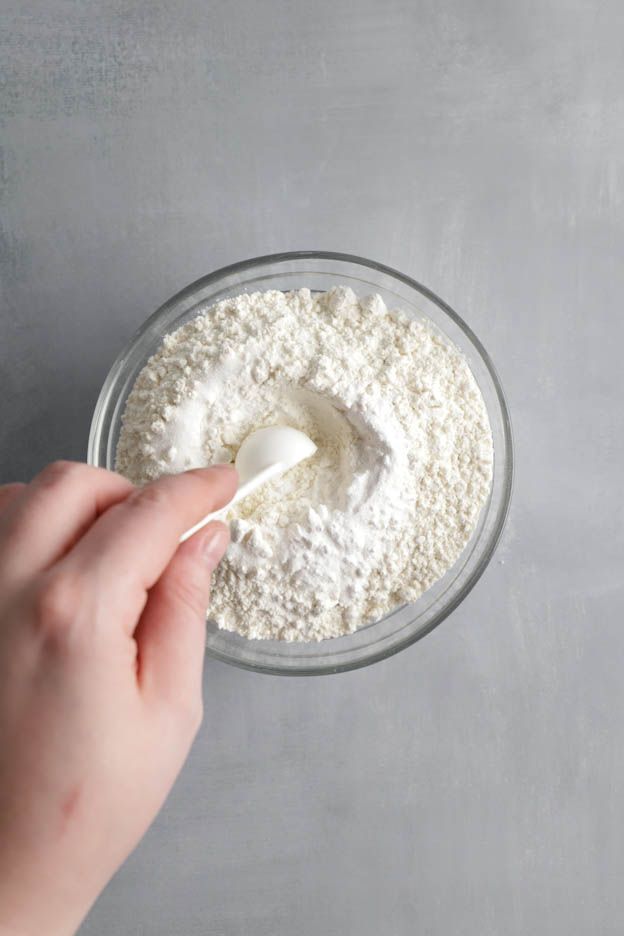
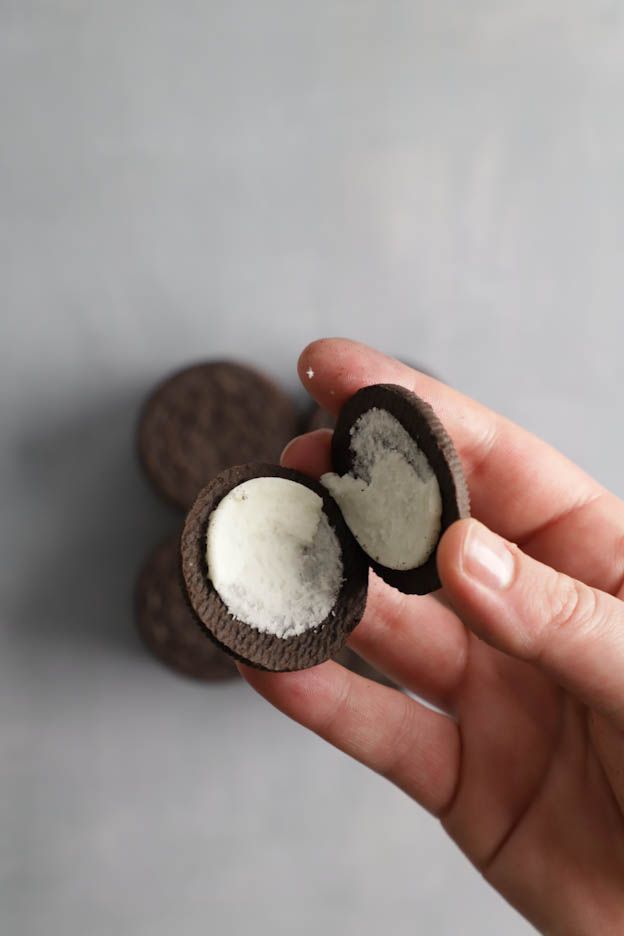
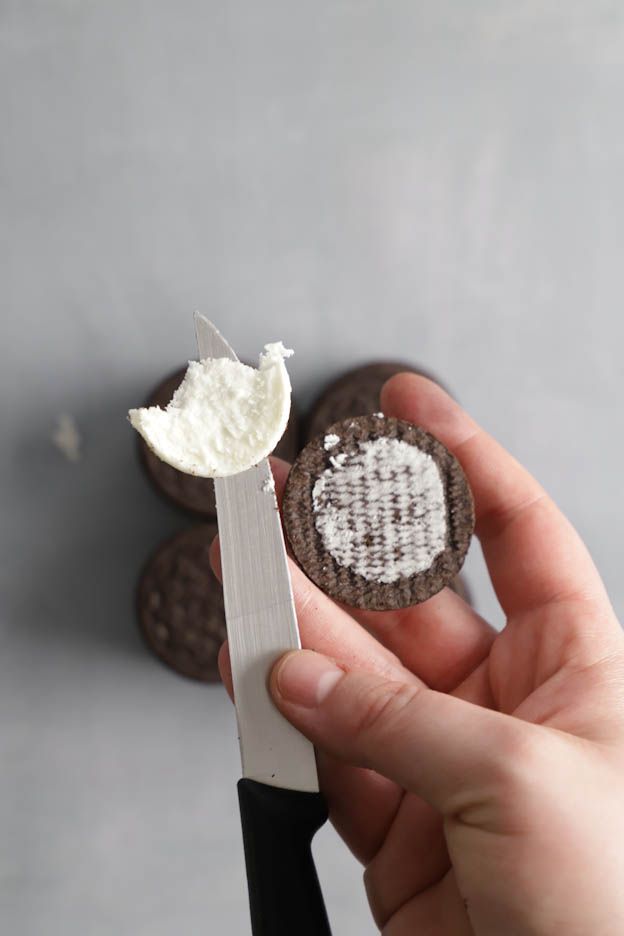
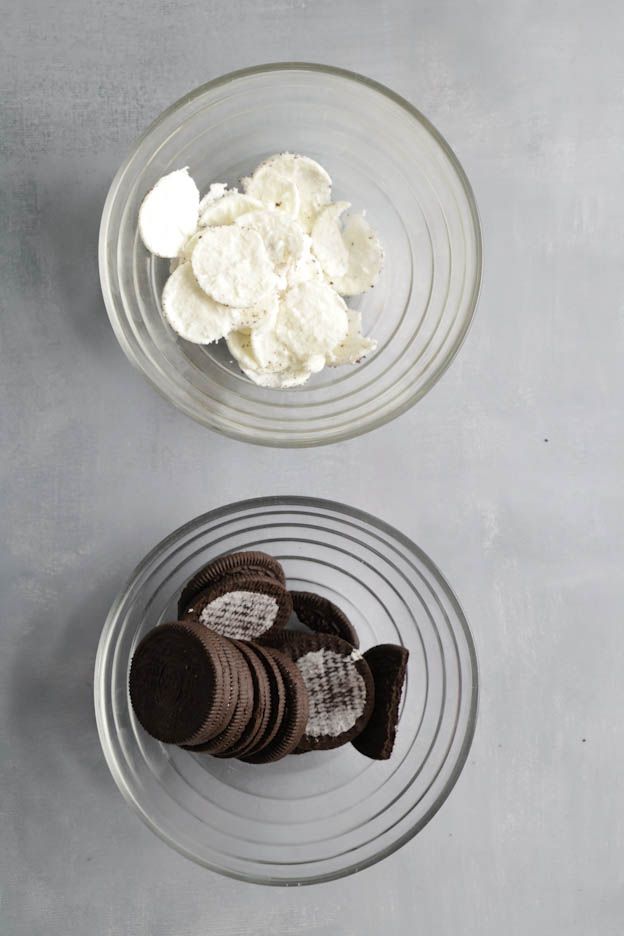
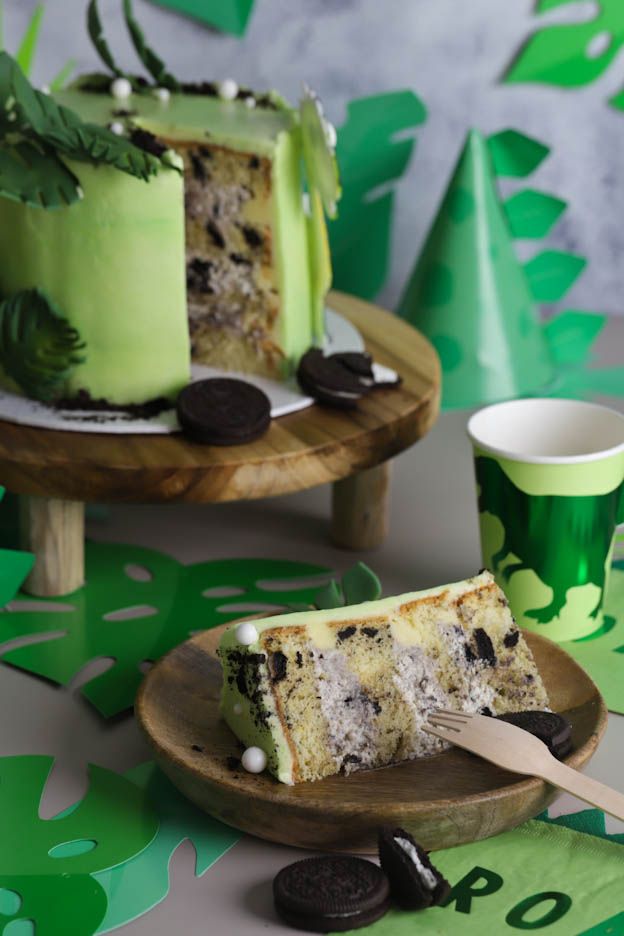
Also prepare 8 Oreo biscuits. Remove the filling from the Oreos and place it in a separate bowl.
It is important to use only the biscuits, as the filling melts during baking and leaves holes in the sponge.
I will use the Oreo filling later to fill the cake.
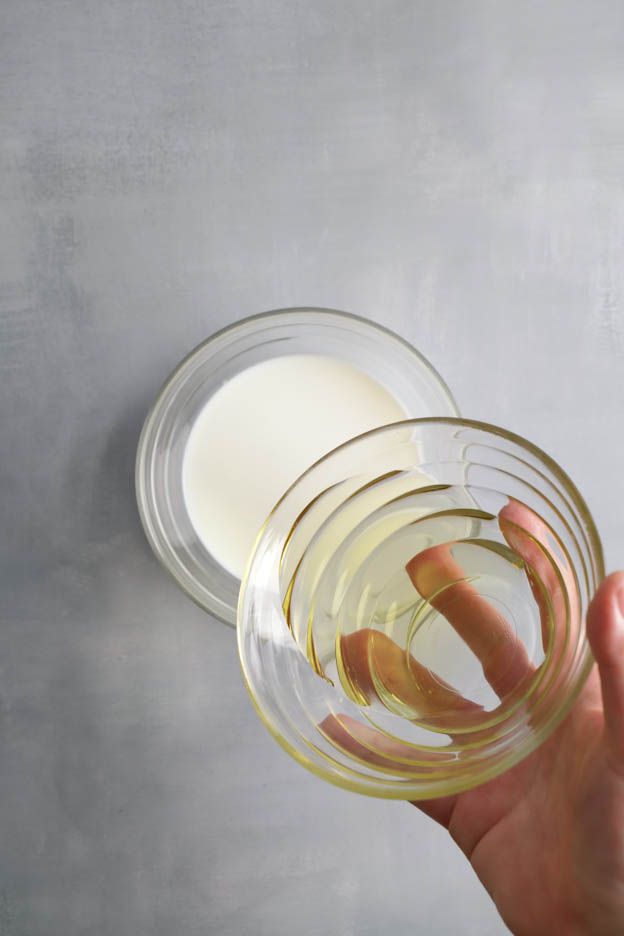
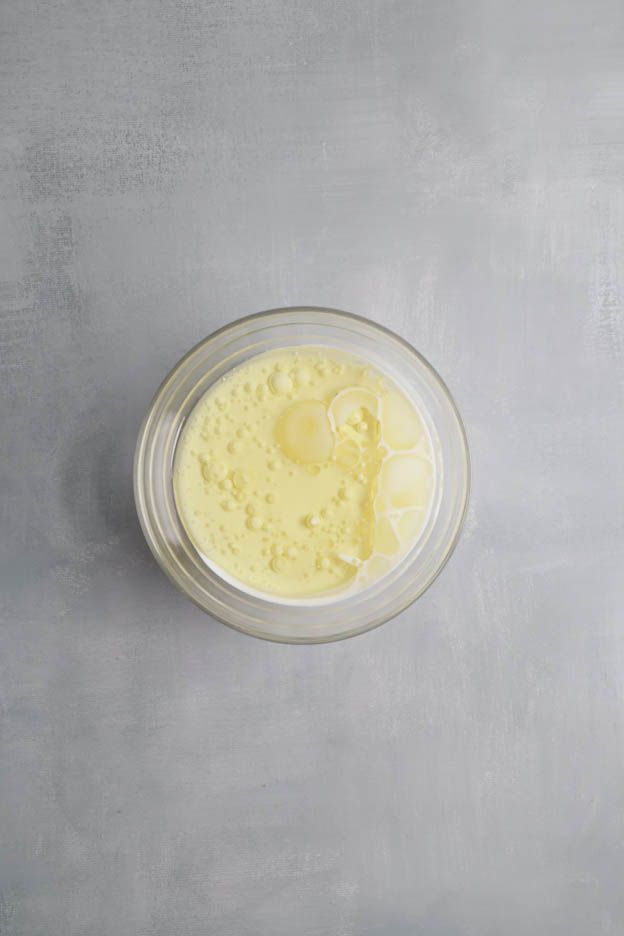
Mix 140gr milk with 30gr rapeseed oil in a bowl and set aside.
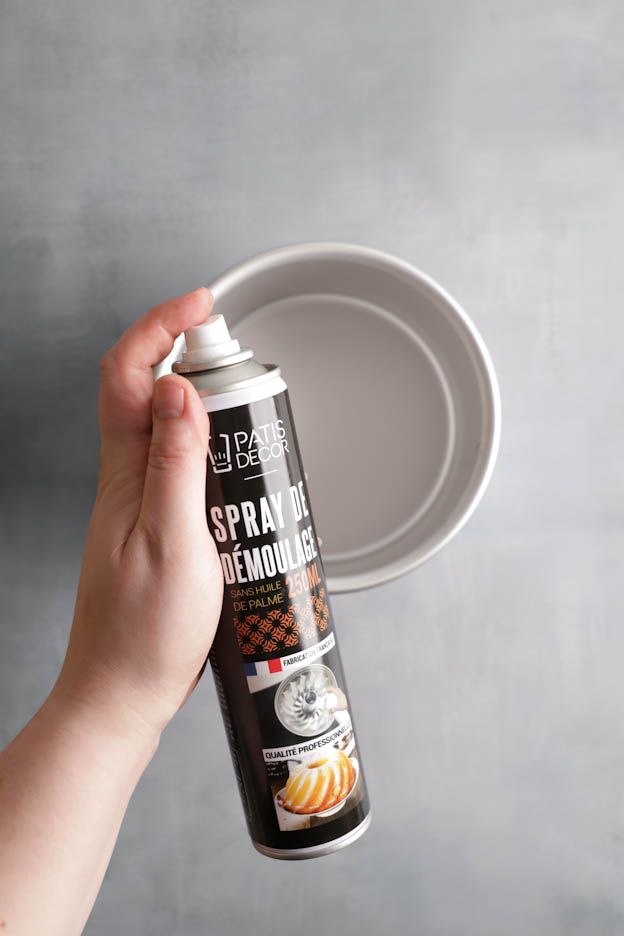
Spray your 15 cm diameter tin with a release spray. This is my "must-have" for baking in stainless steel or even silicone tins.
Great, we have prepared everything perfectly and all that's left to do is make the batter. ;o)
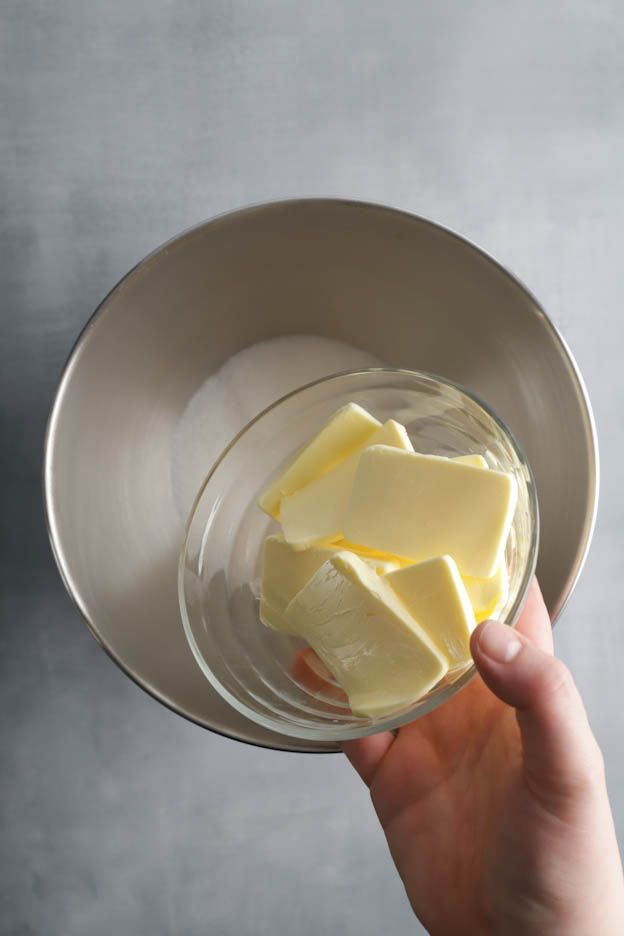
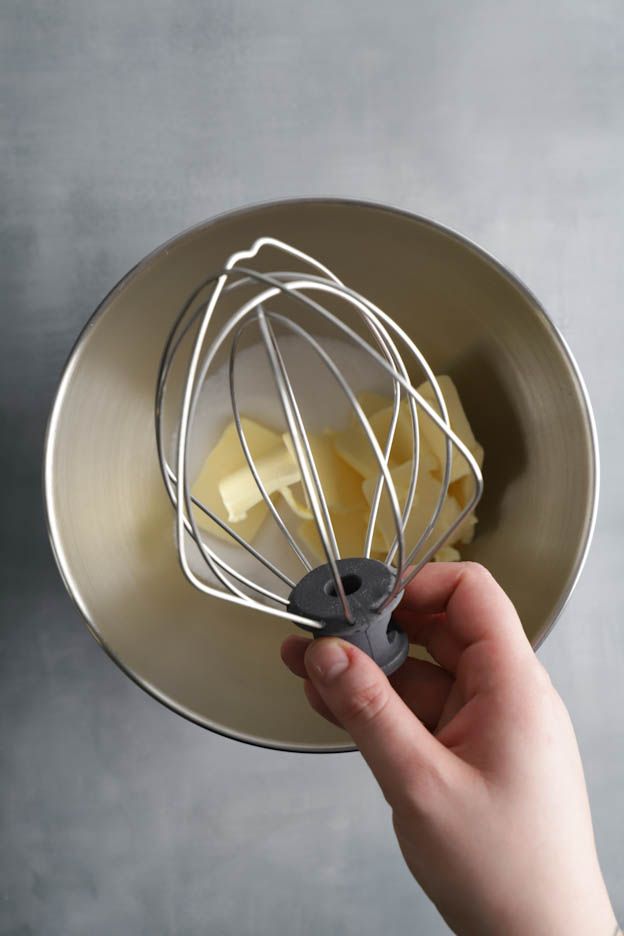
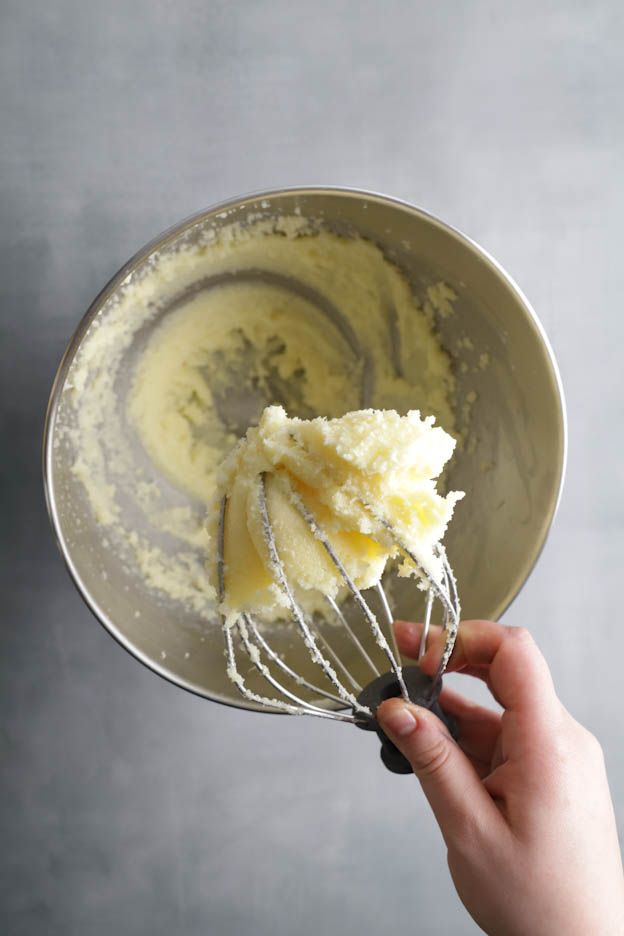
In a bowl, pour 200gr sugar and 120gr soft butter and whisk at high speed for about 5 minutes until the mixture becomes light, white and fluffy.
Gradually add 100gr egg whites (setting the mixer to low speed) to the mixture and allow them to fully incorporate into the batter.
Attention! Make sure to use egg whites that are at room temperature and not cold, otherwise the mixture will split and the batter will not rise properly during baking.
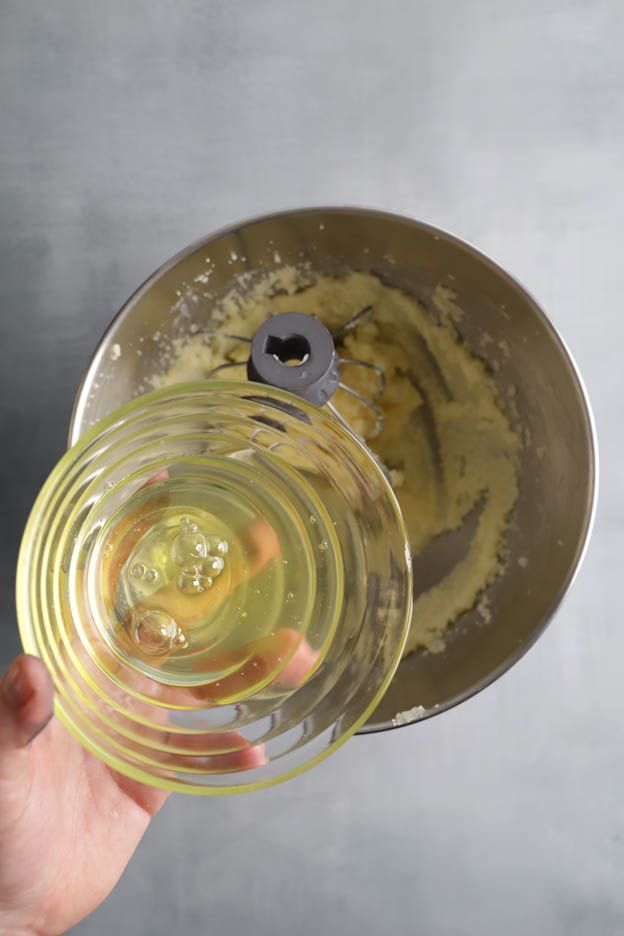
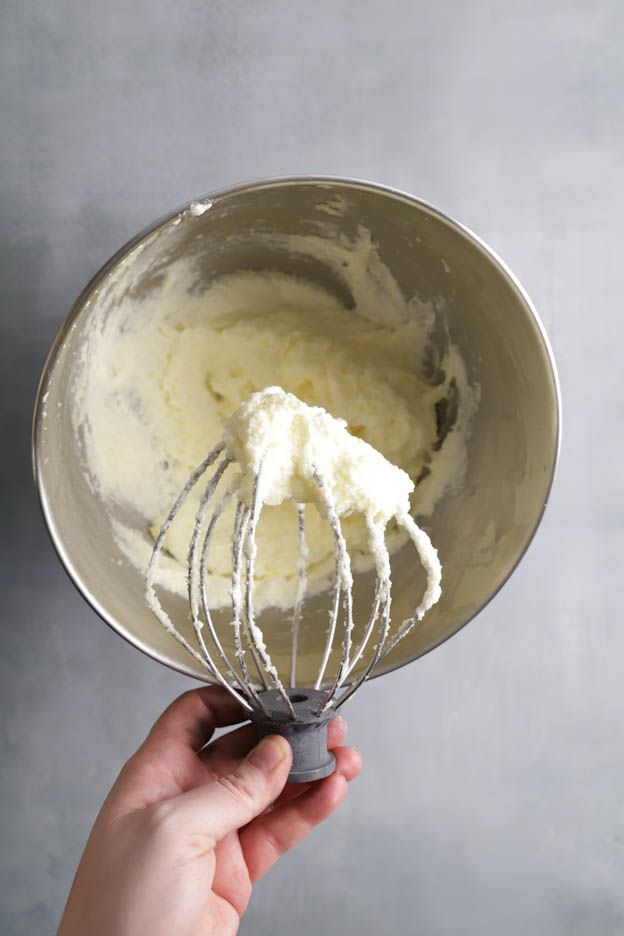
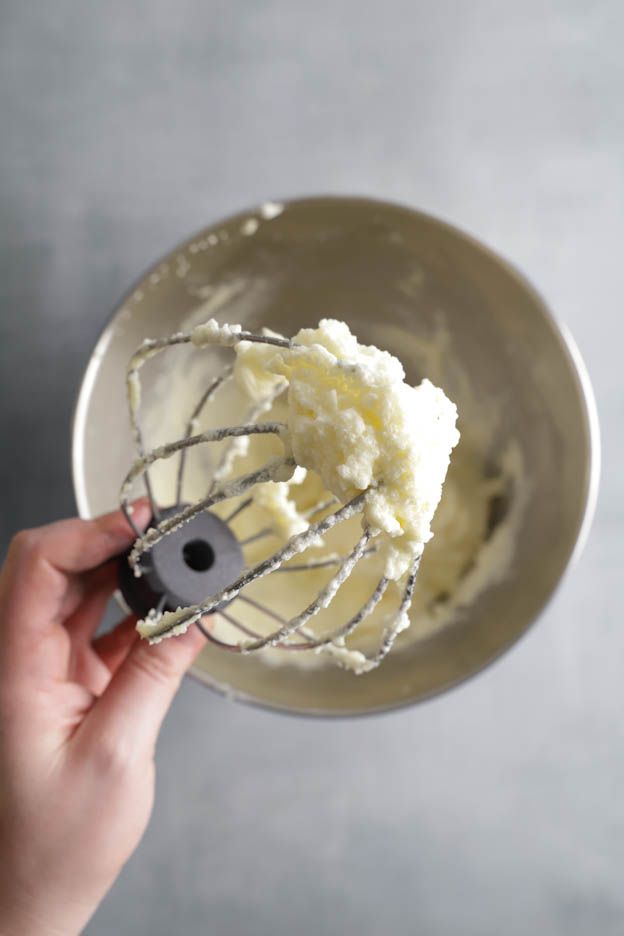
Gradually add the milk/oil mixture and the flour/baking powder/salt mixture at the lowest speed until everything is well combined.
Once everything is fully incorporated, turn off the mixer. Be careful not to over-mix the batter.
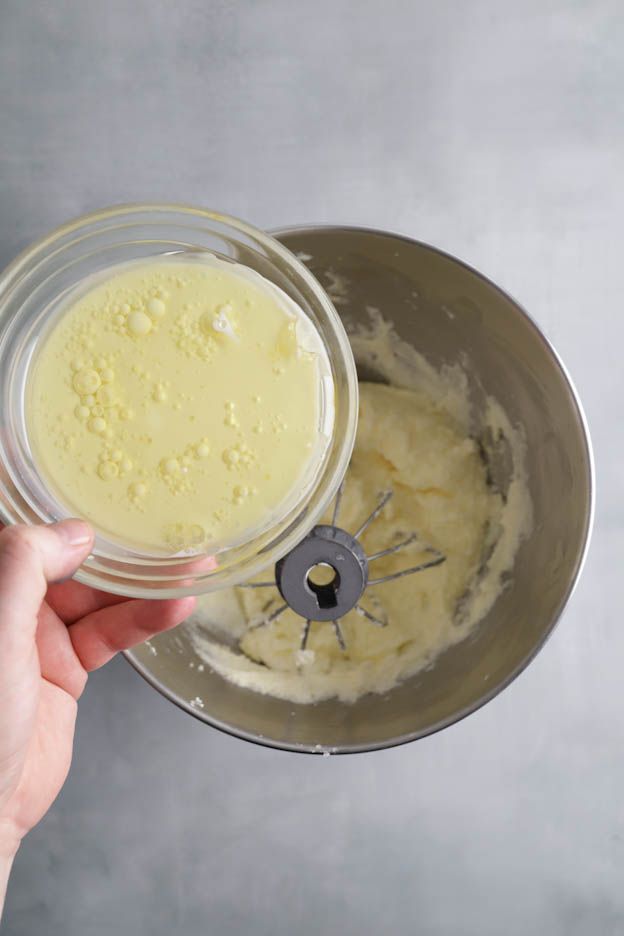
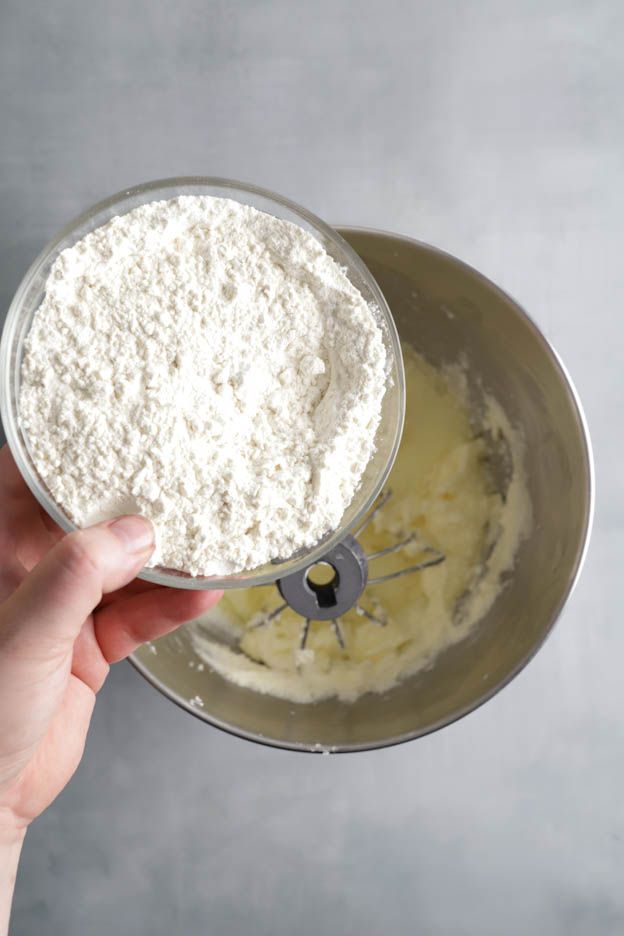
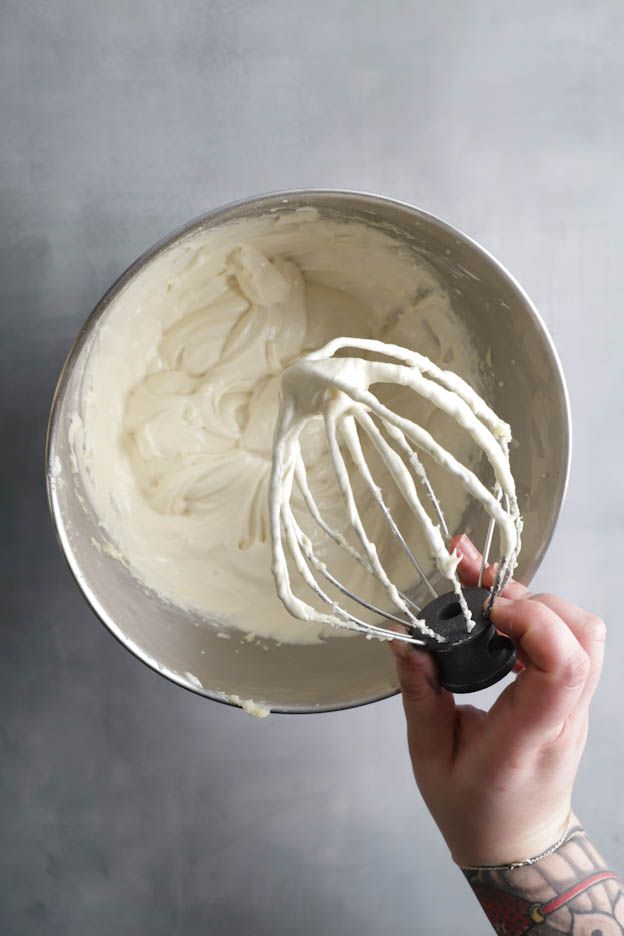
Pour all the batter into the cake tin using a scraper.
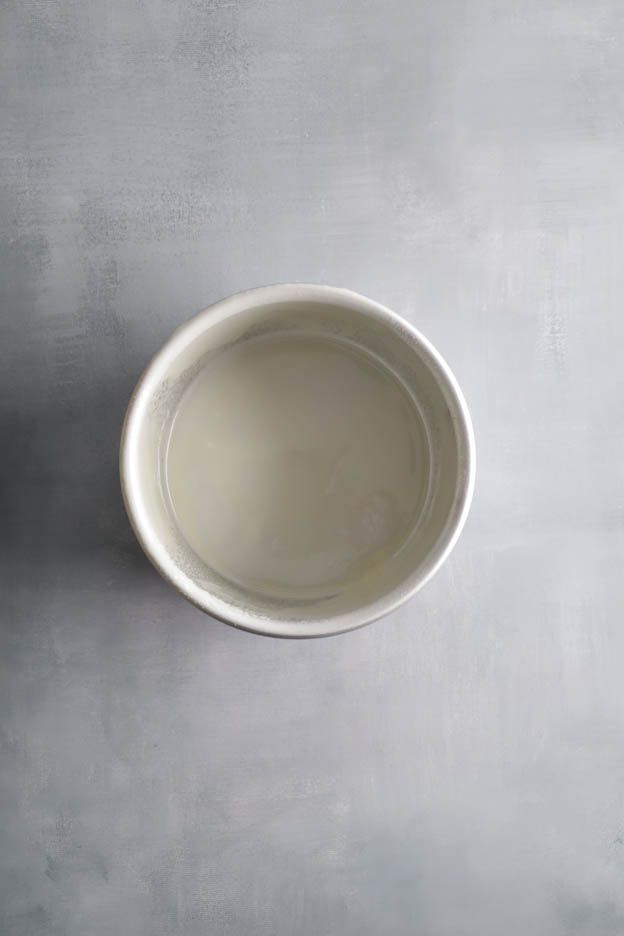
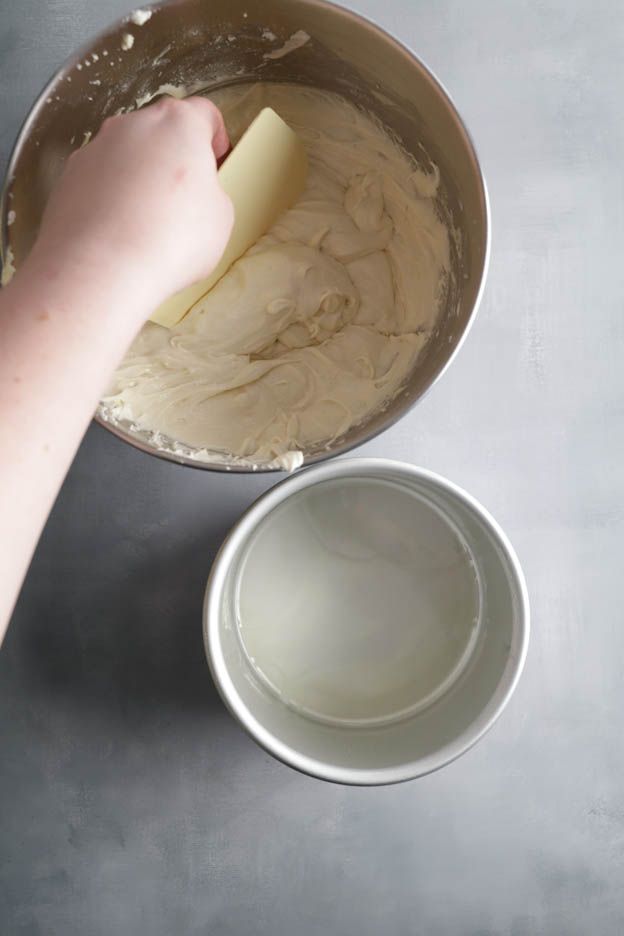
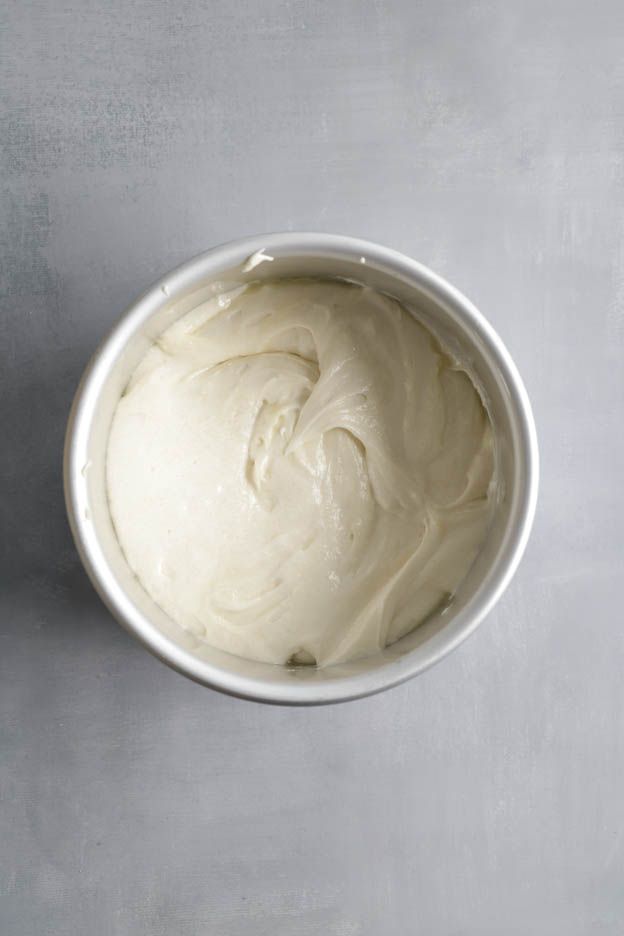
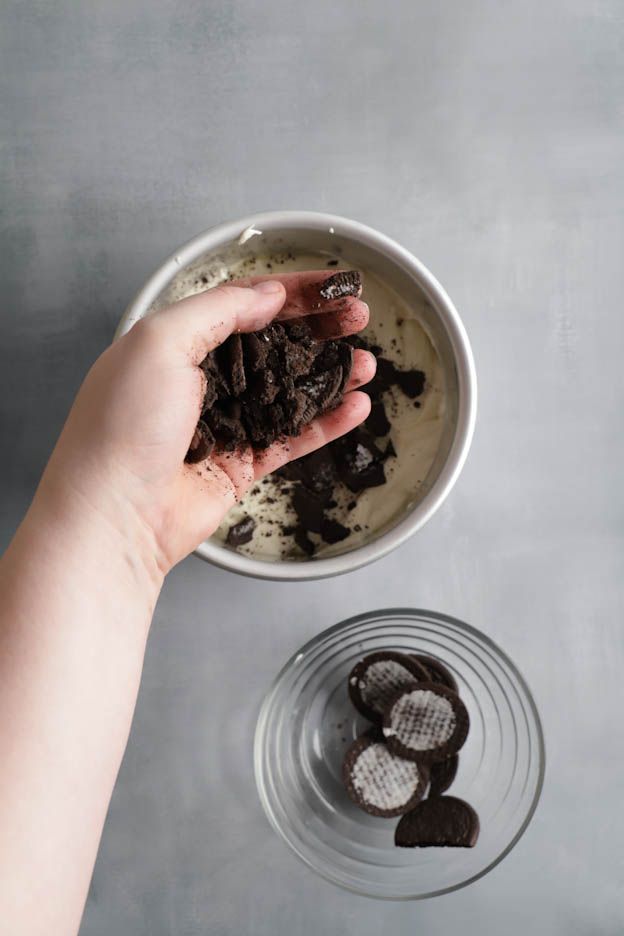
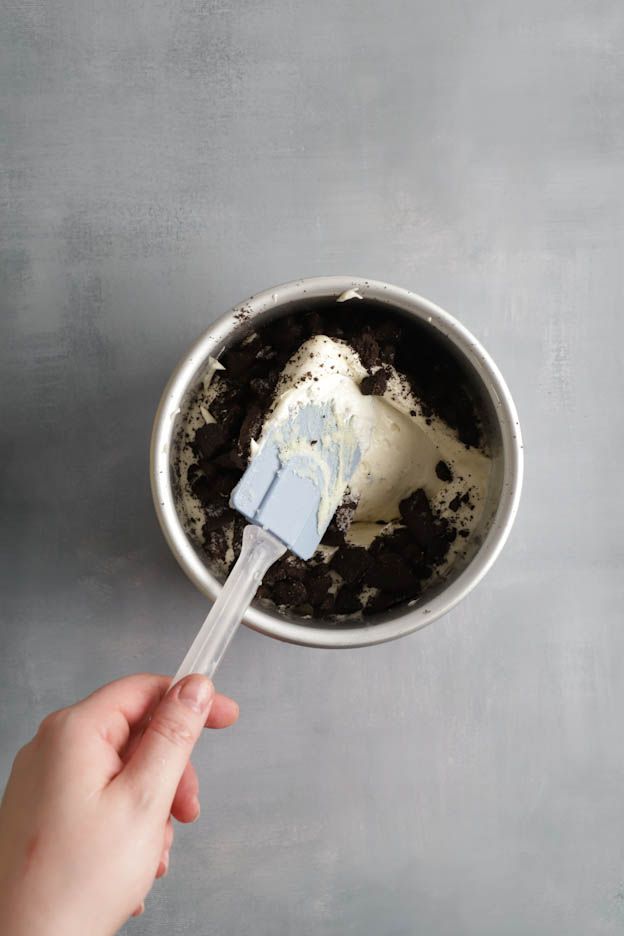
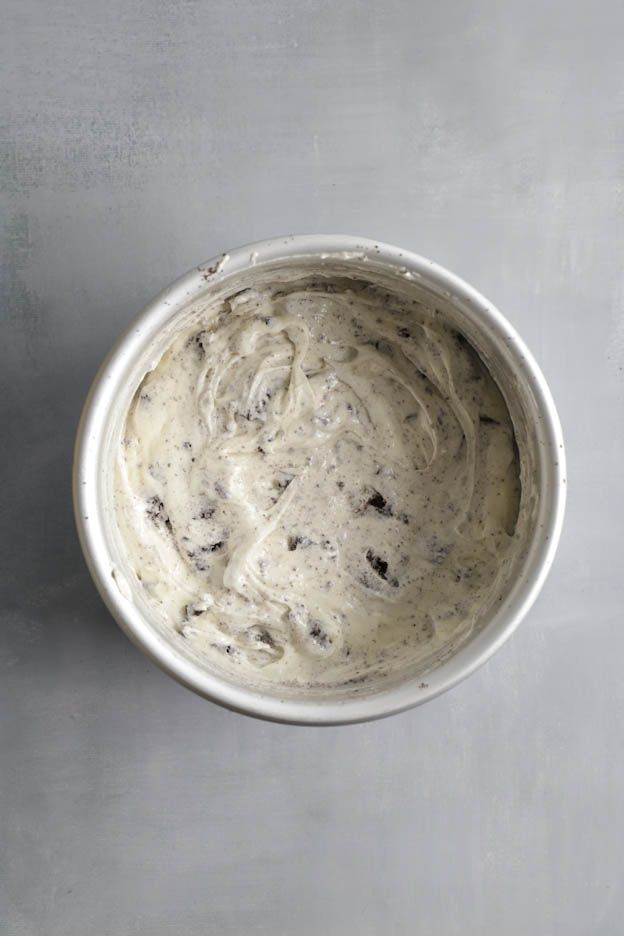
Crumble the Oreo biscuits over the batter and gently fold them in with a spatula.
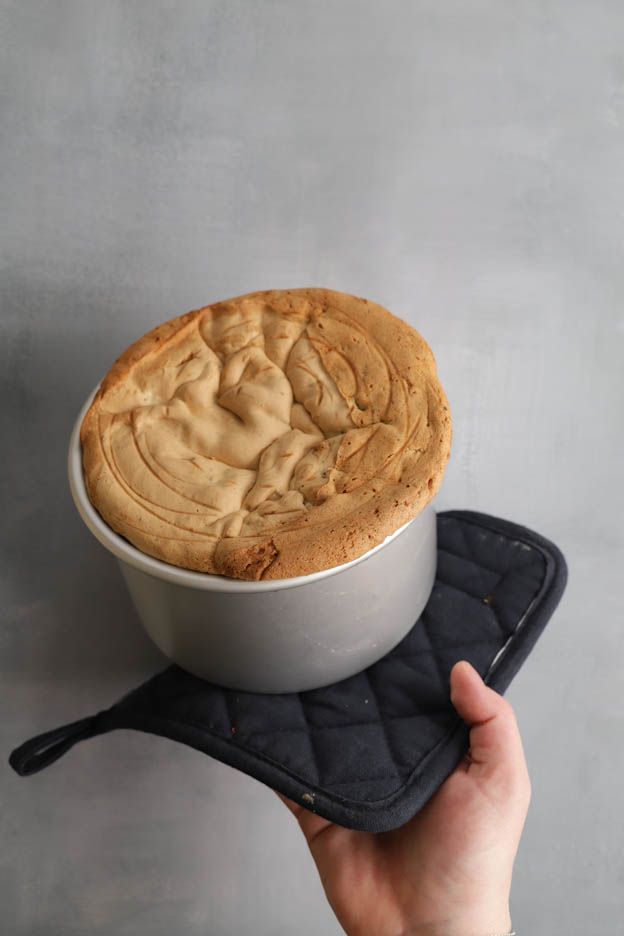
Bake the sponge at 170°C, fan-assisted for 60 minutes.
Baking time depends on the oven, so always check the sponge with a skewer. It should come out clean.
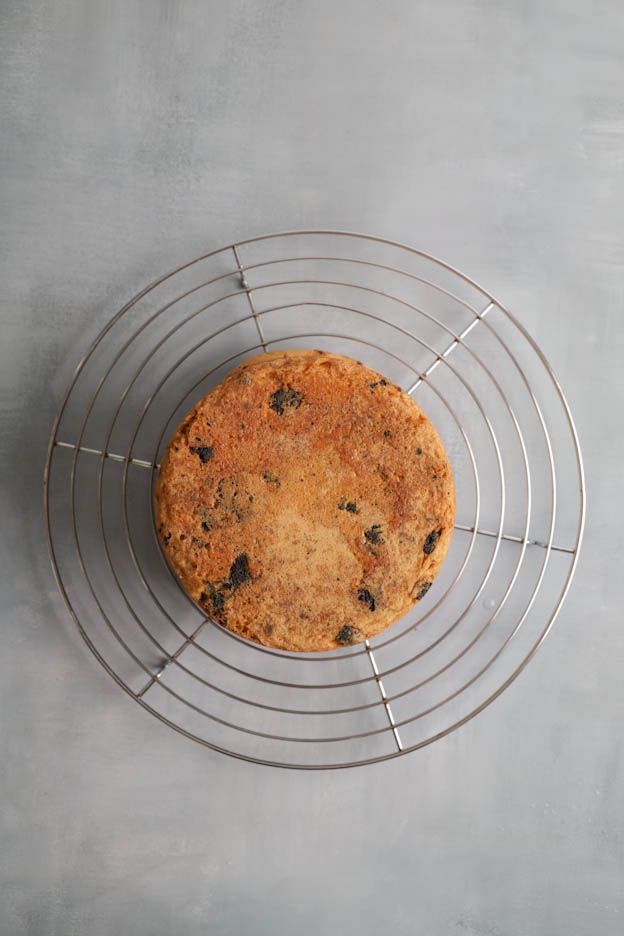
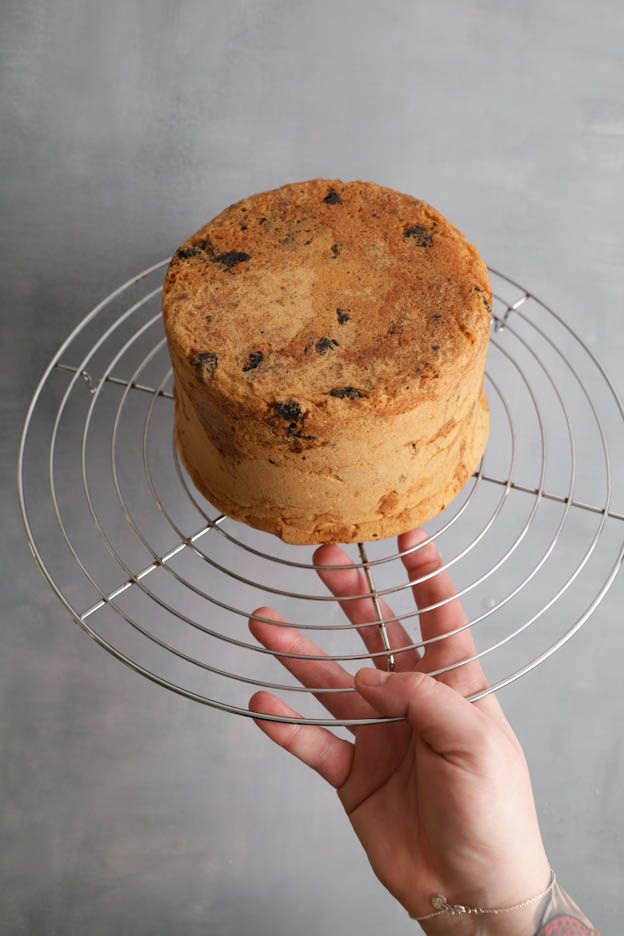
Once the sponge is baked, remove it from the tin immediately and leave it to cool on a wire rack.
Thanks to the release spray, it will come out without any trouble. :o)
Swiss meringue buttercream
In cake design, we work a lot with buttercreams or ganaches that form a protective layer for the sugar paste. Thanks to their firm and compact structure, you get a beautifully smooth and straight cake.
I use this recipe for all my cake design cakes.
Check out the basic recipe HERE ;o)
Put the buttercream into a piping bag and keep it at room temperature.


Oreo cream
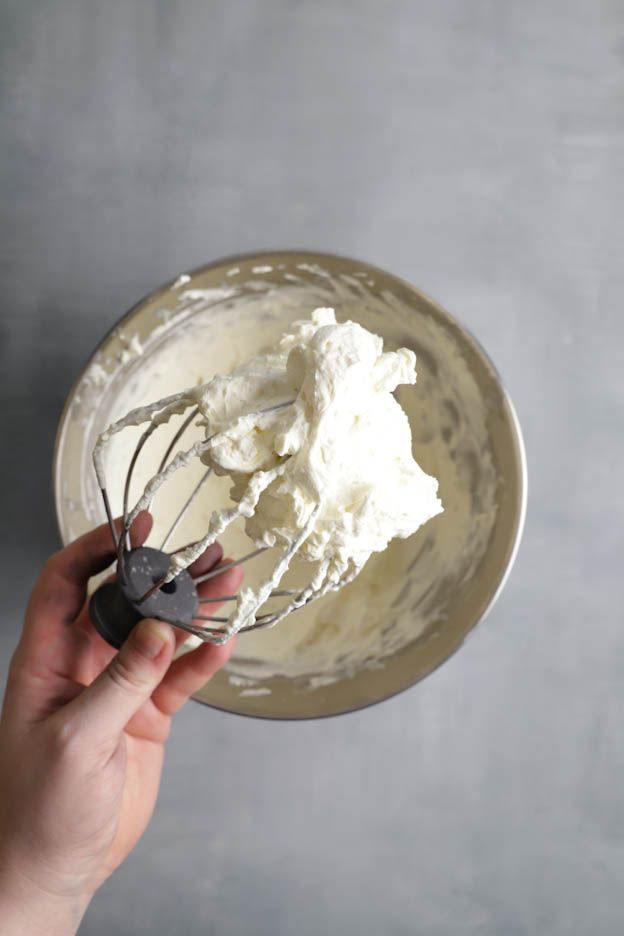
Start by lightly whipping 250gr heavy cream.
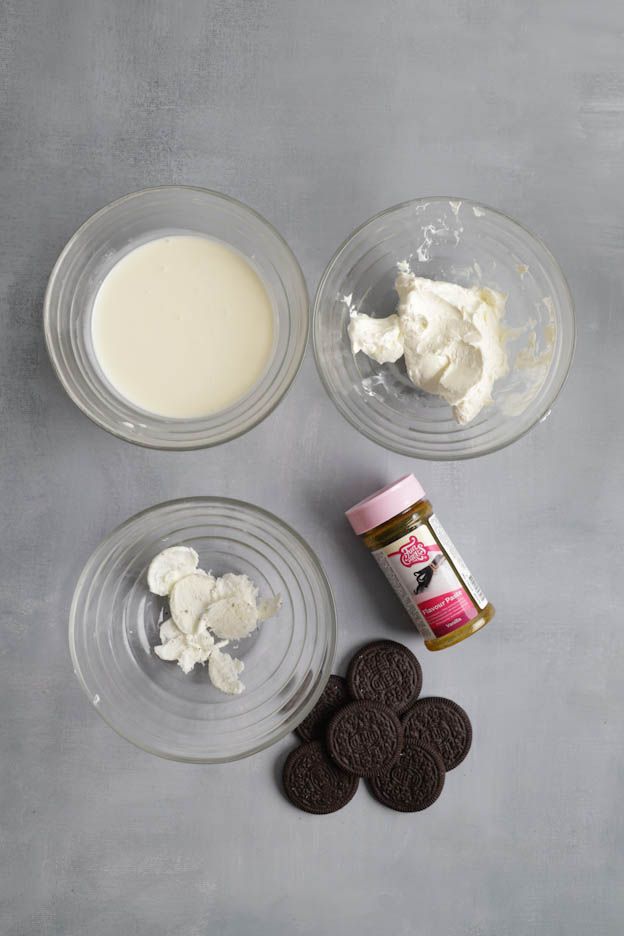
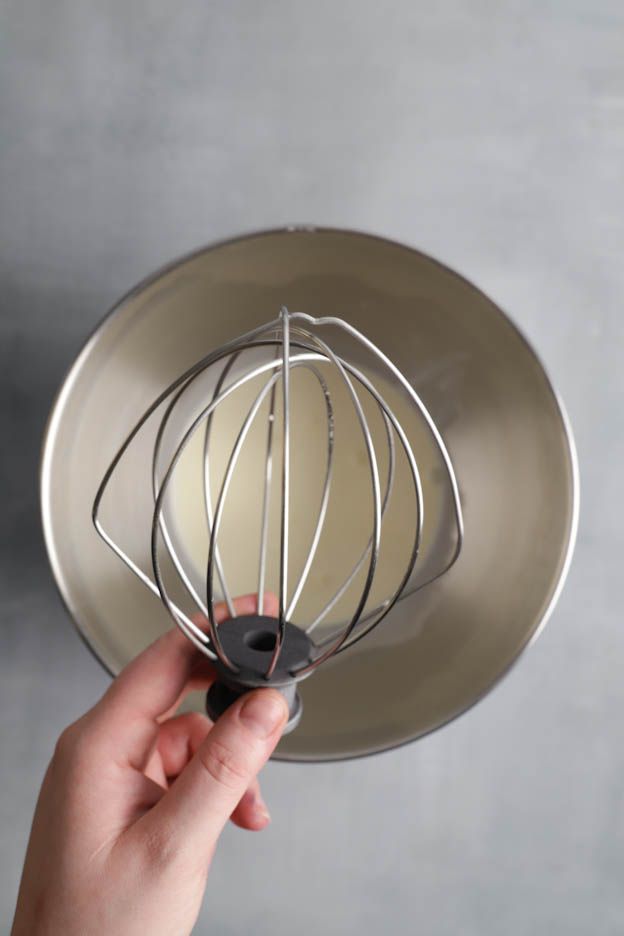
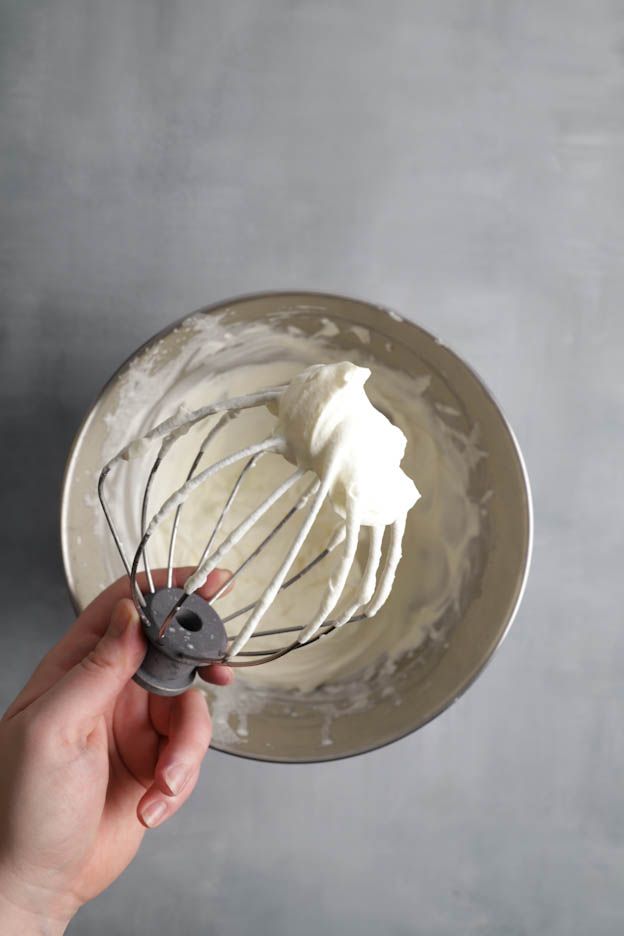
Then add 150gr mascarpone, 1 tsp vanilla extract, the filling from the 8 Oreos (set aside earlier) and mix everything together again.
The cream should be firm. Be careful not to mix it for too long, otherwise it will collapse.
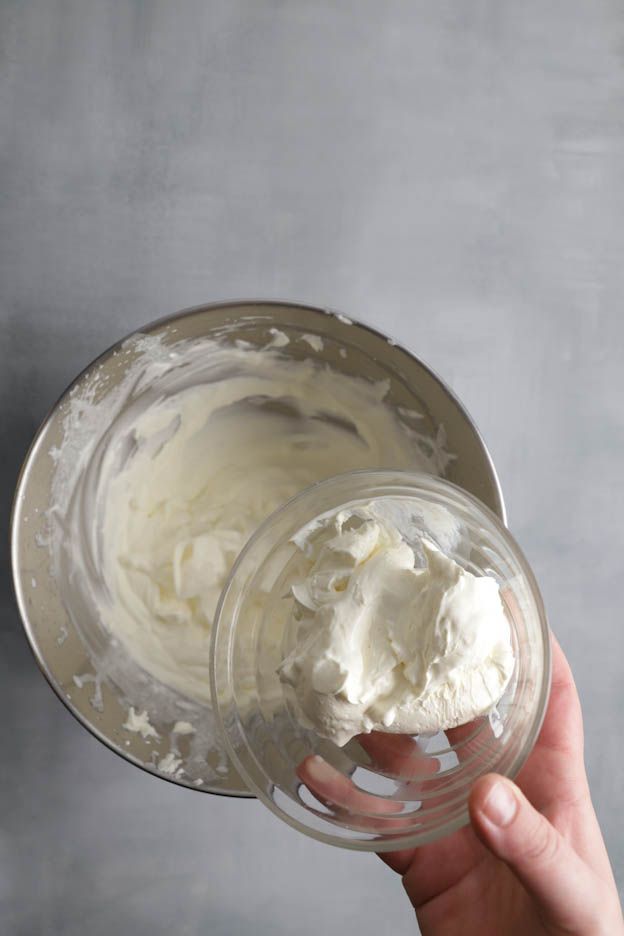
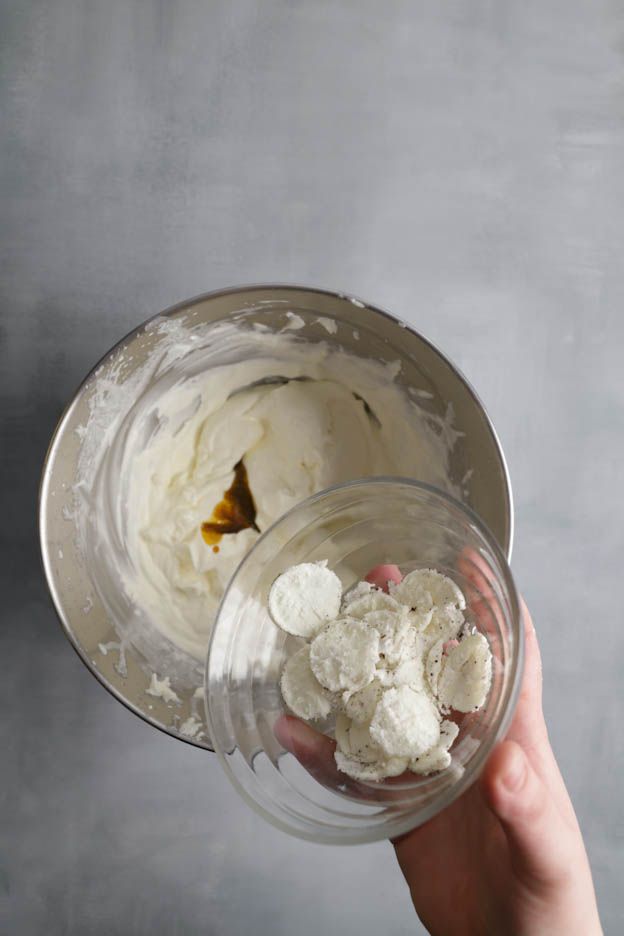
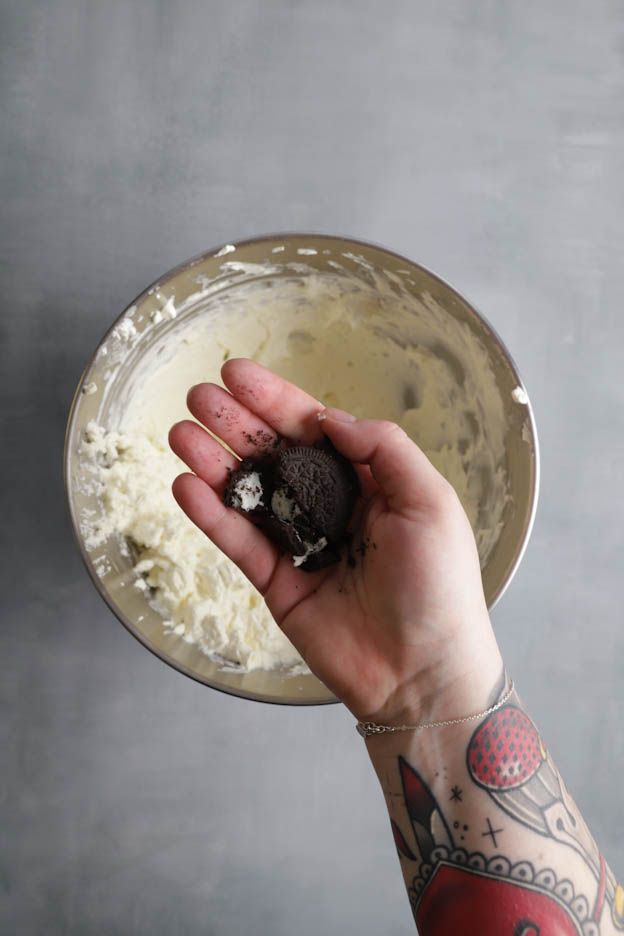
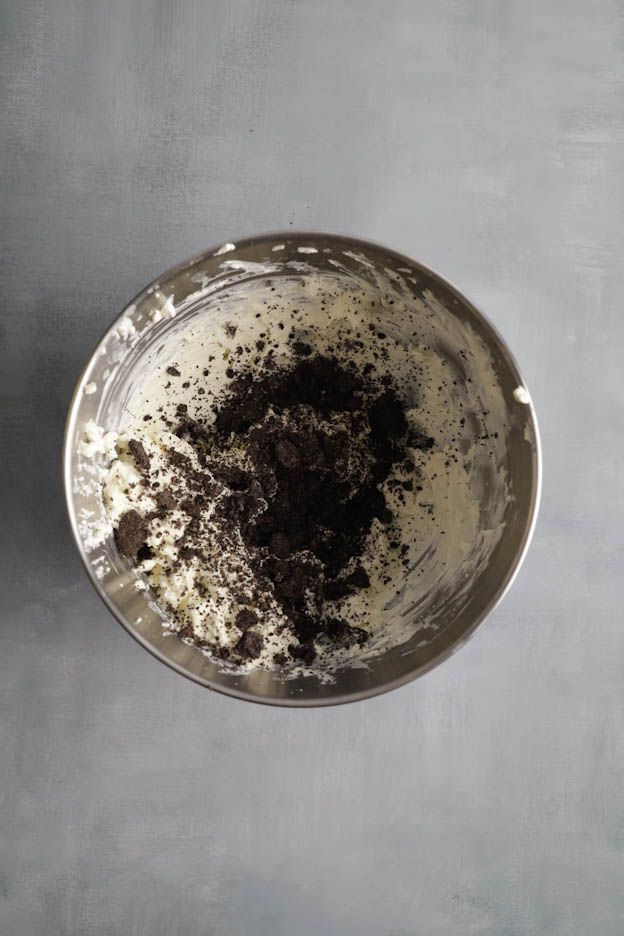
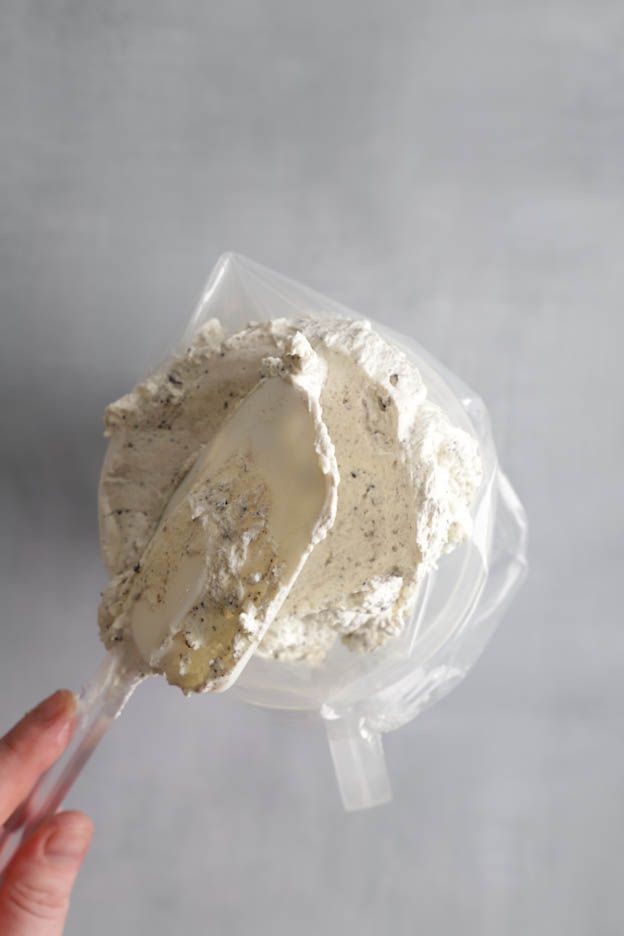
Then crumble 6 whole Oreos into the cream and fold them in with a spatula.
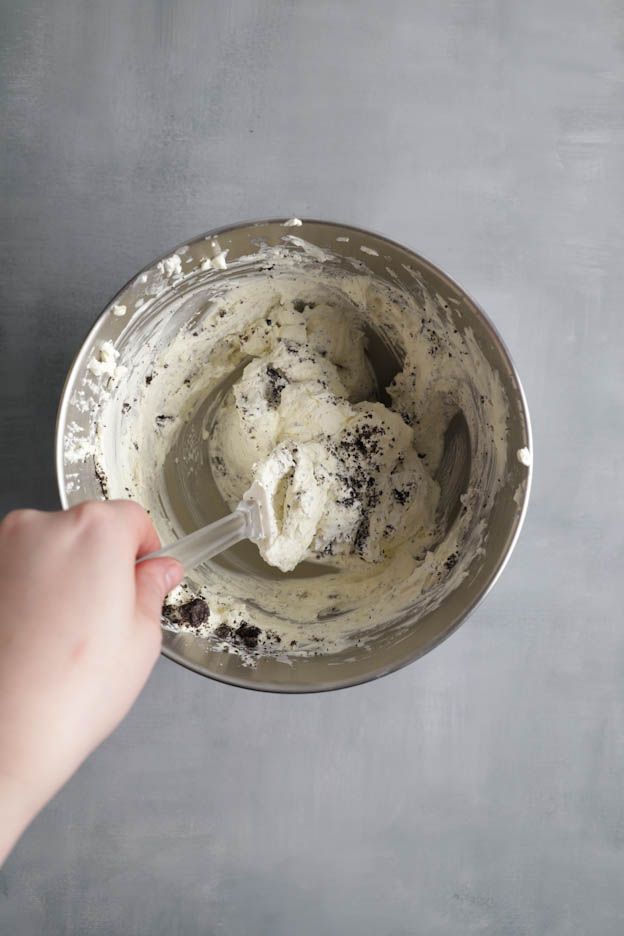
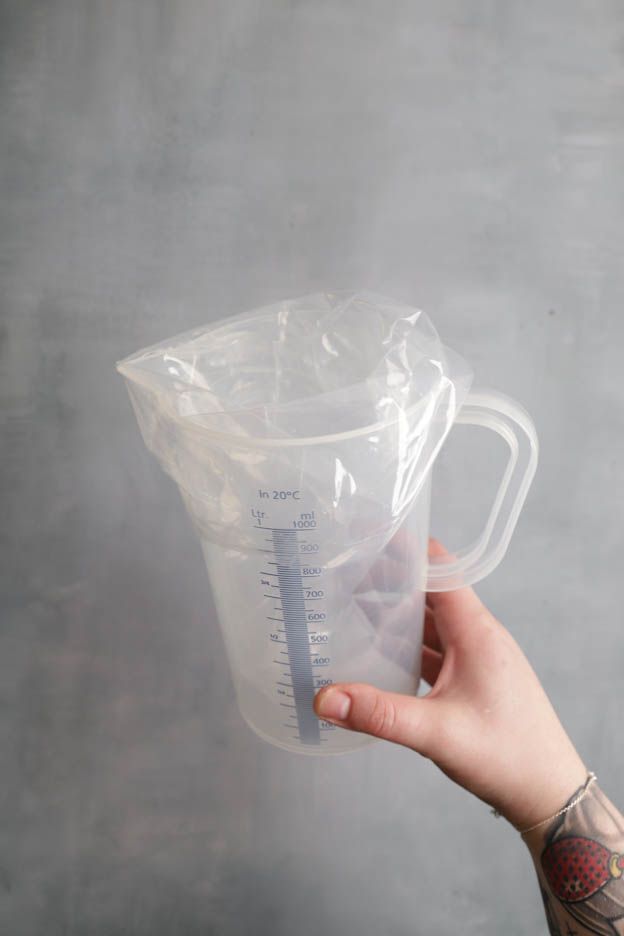
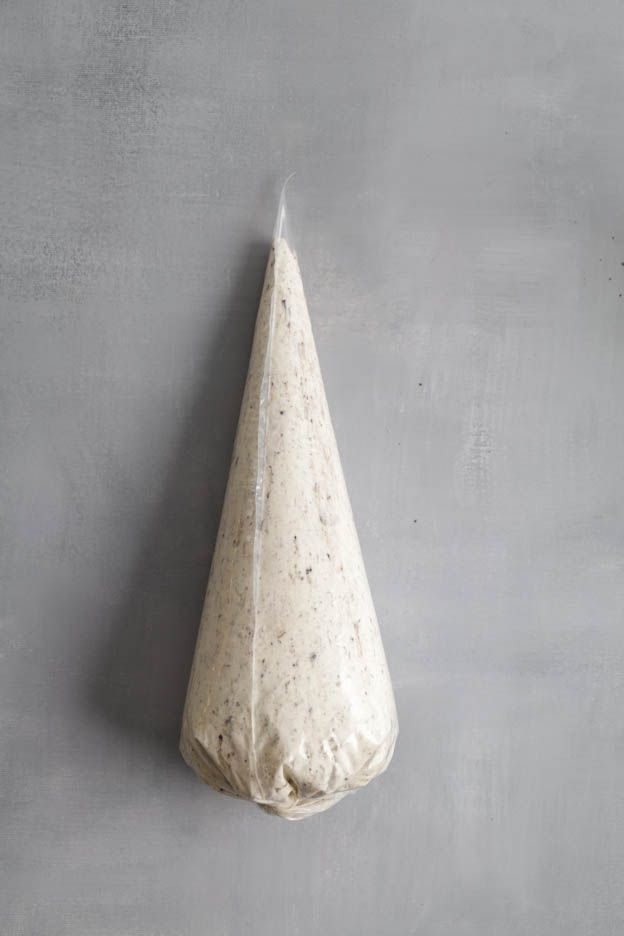
Pour the cream into a large piping bag. Use a jug to help keep both hands free.
Assembly and decoration
All that's left now is to fill and decorate the cake! :o)
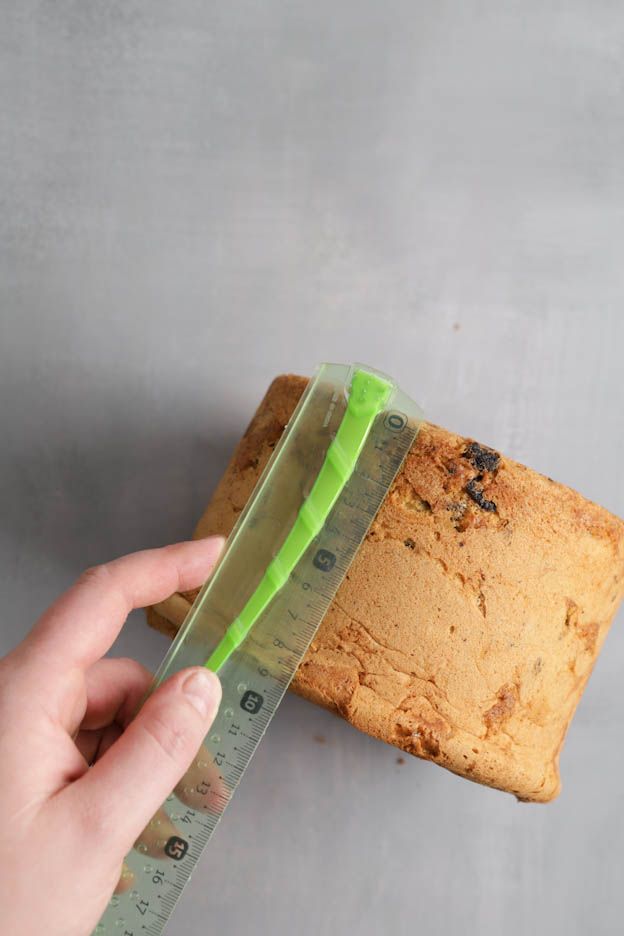
To get even layers of sponge, I measure the height of my sponge and then adjust the leveller to get 4 layers of equal height.
Using the leveller is very simple. Make back-and-forth movements (like a saw) so that the sponge layers are cut evenly. Just make sure that both feet of the leveller are flat on the work surface.
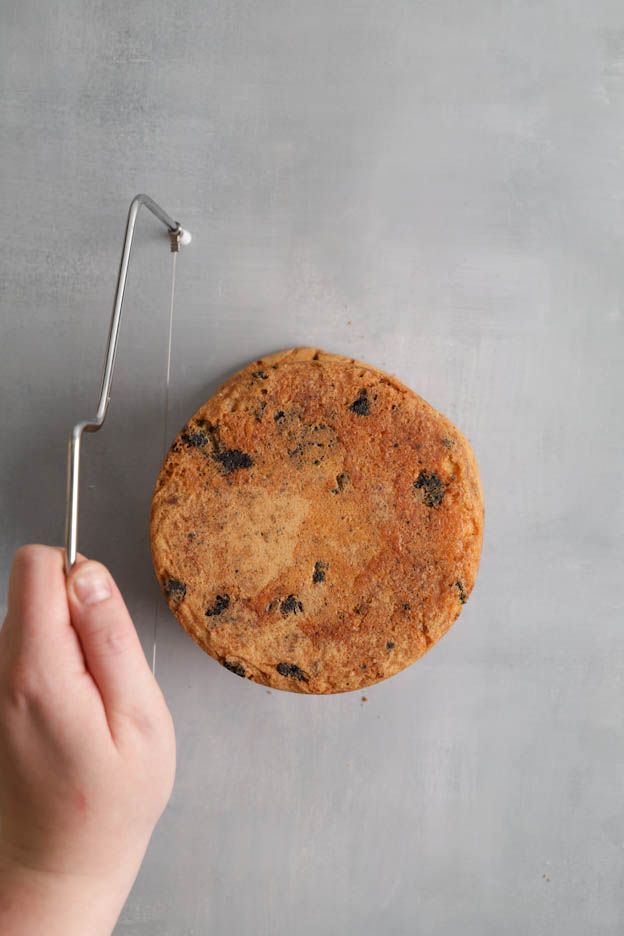
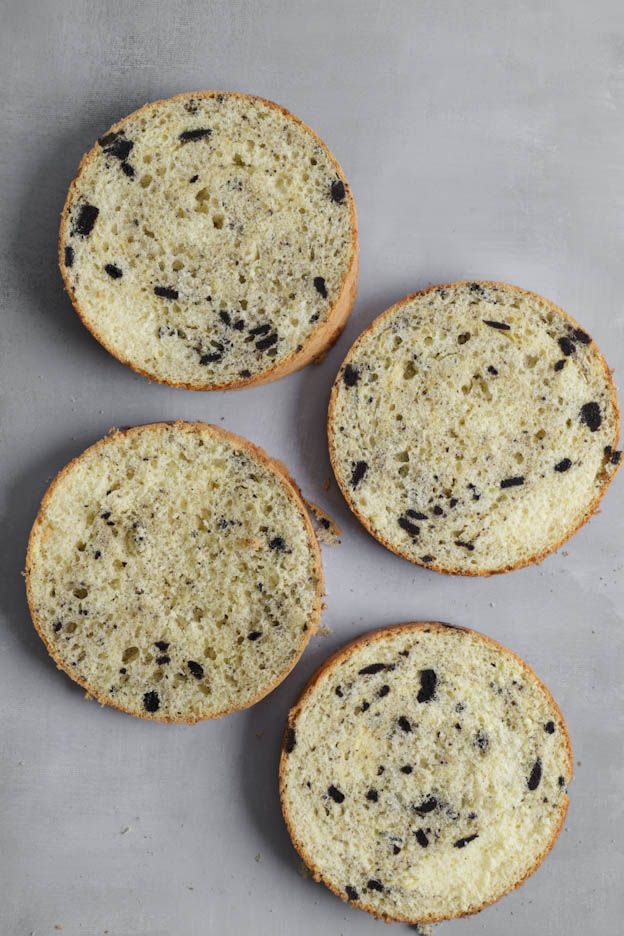
Prepare a turntable, a thin board or a thick board of your choice and your two creams.
Place a little buttercream on the board to secure the sponge and prevent it from sliding back and forth.
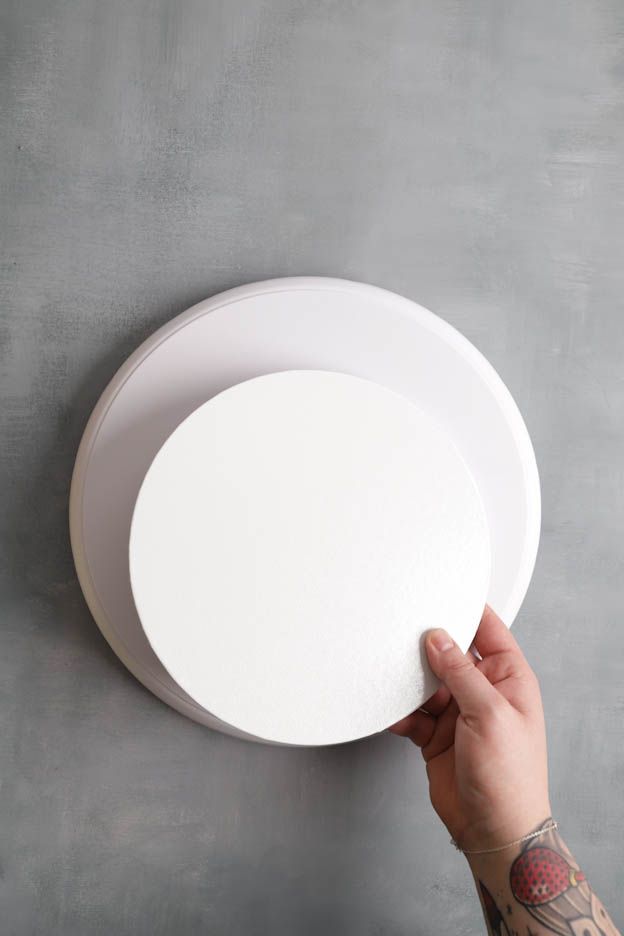
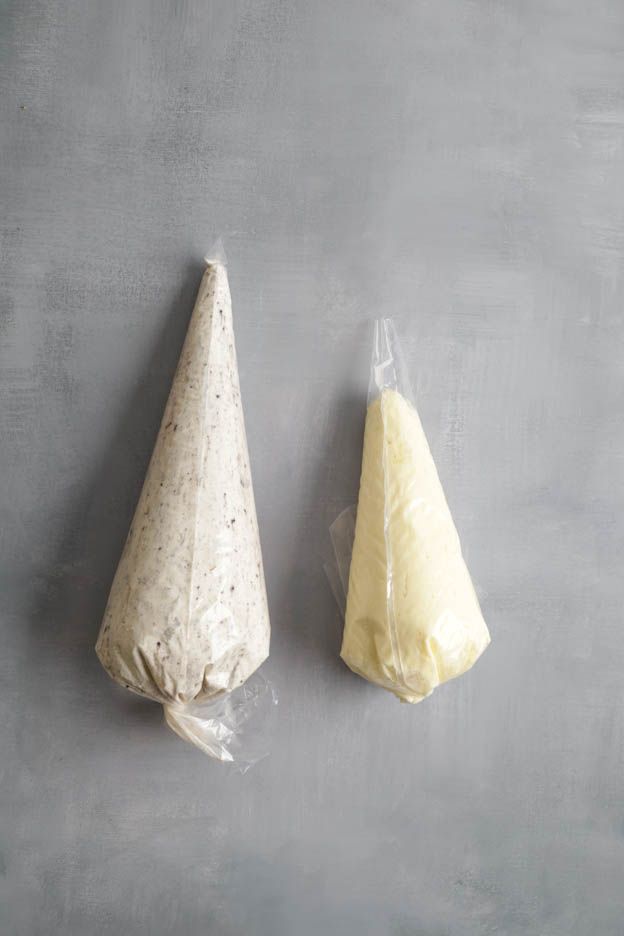
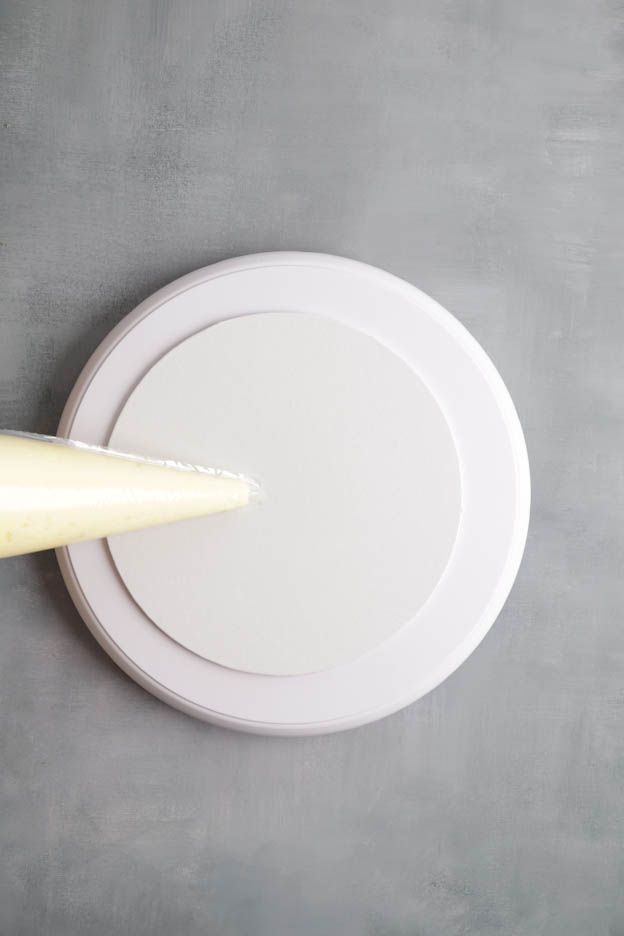
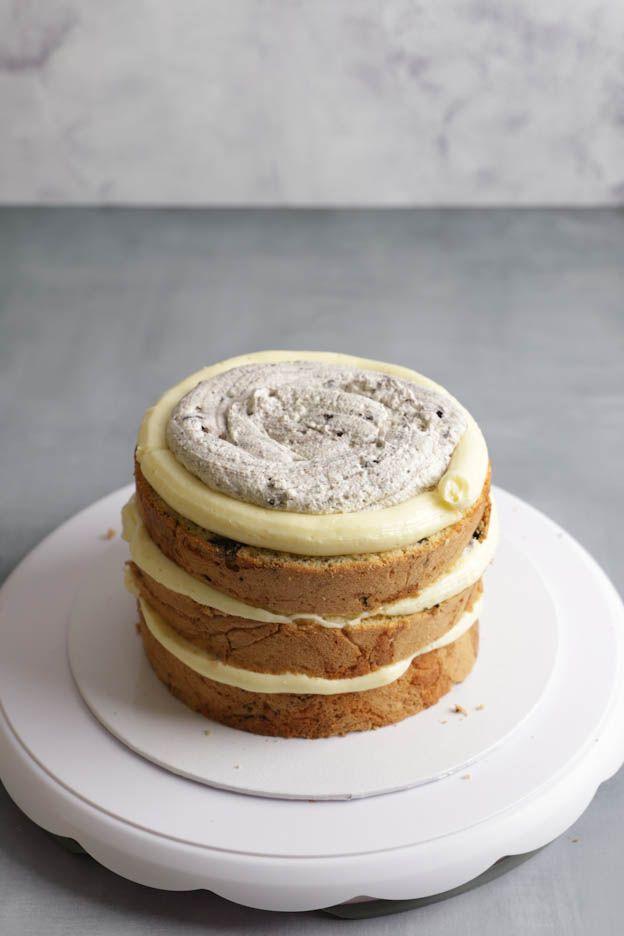
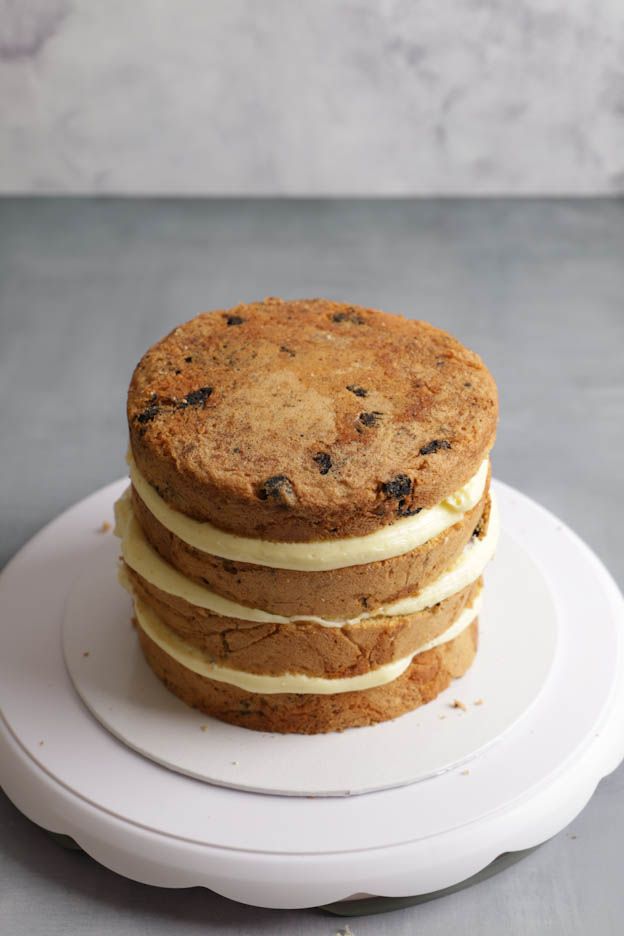
Start by piping a thin dam of buttercream around the edge, then add the Oreo cream in the centre.
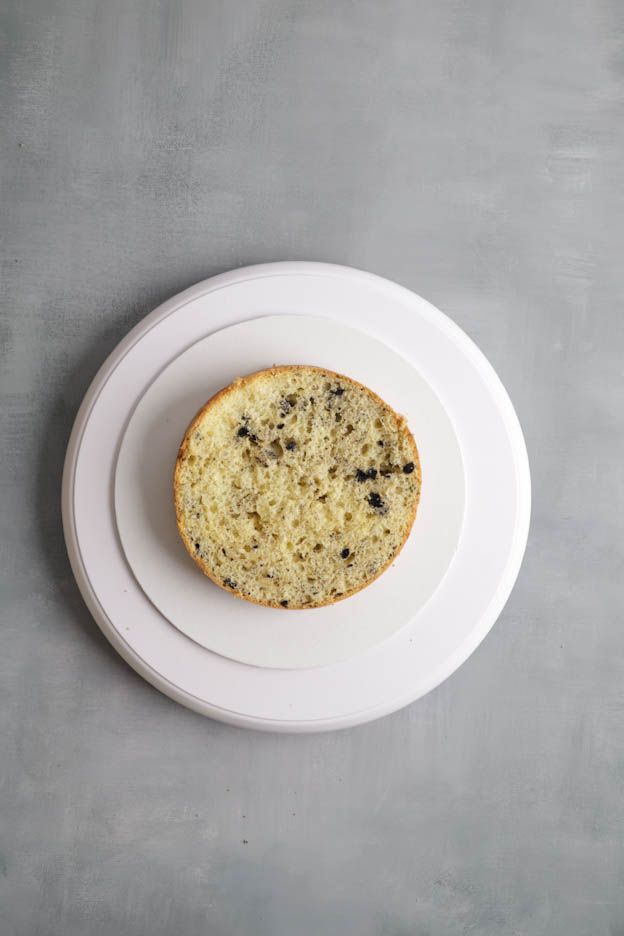
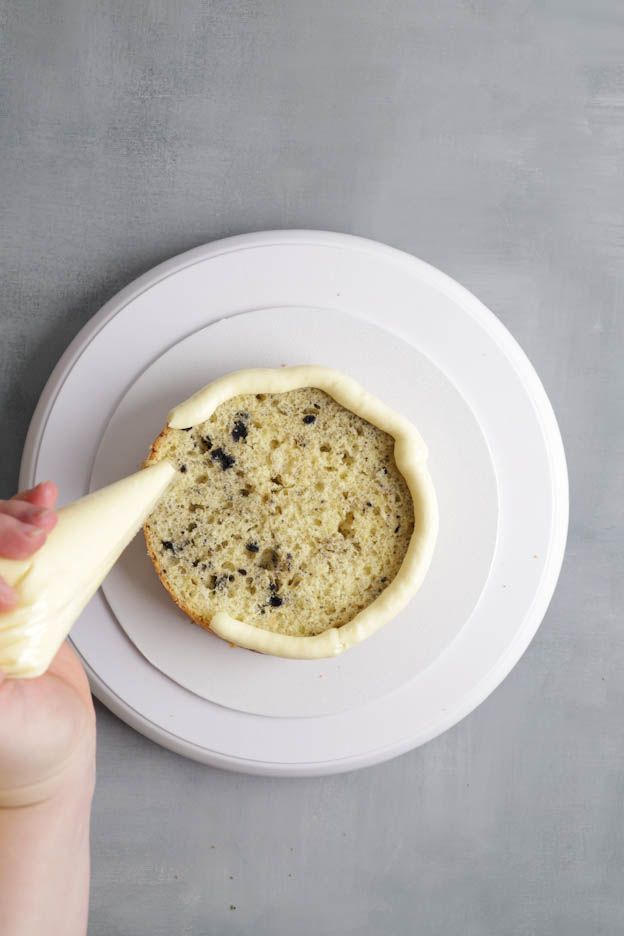
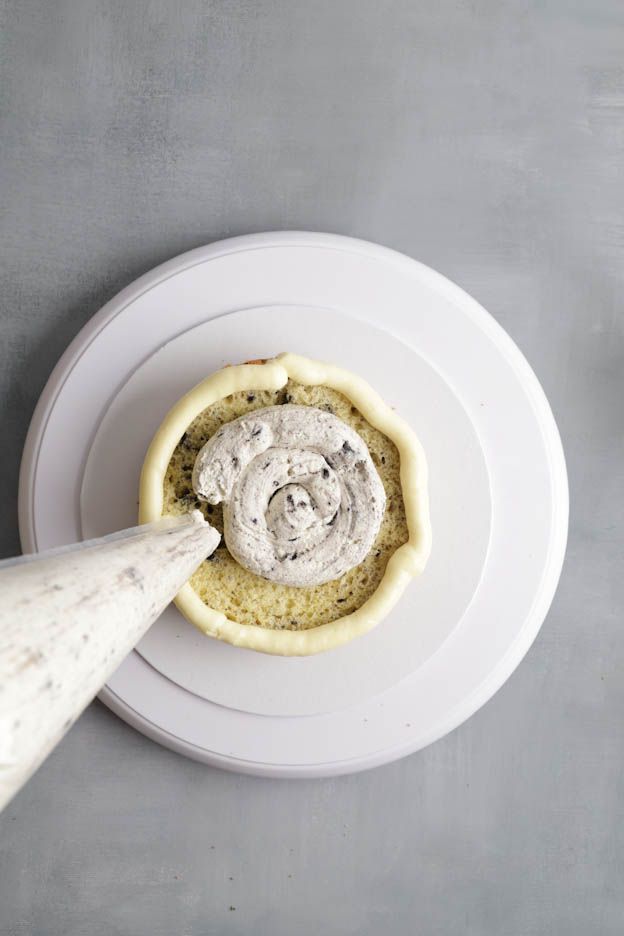
Repeat this step until the cake is fully assembled.
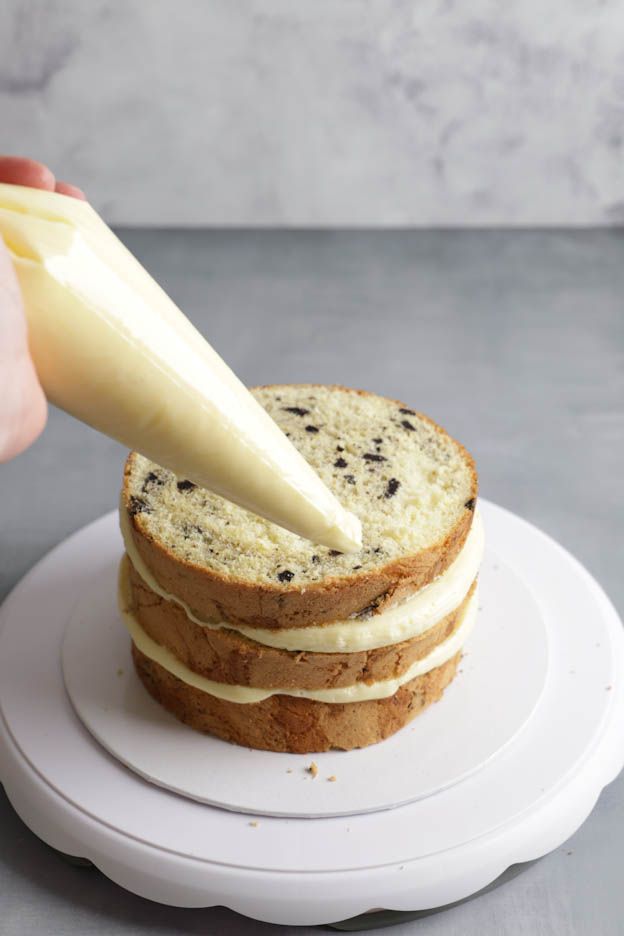
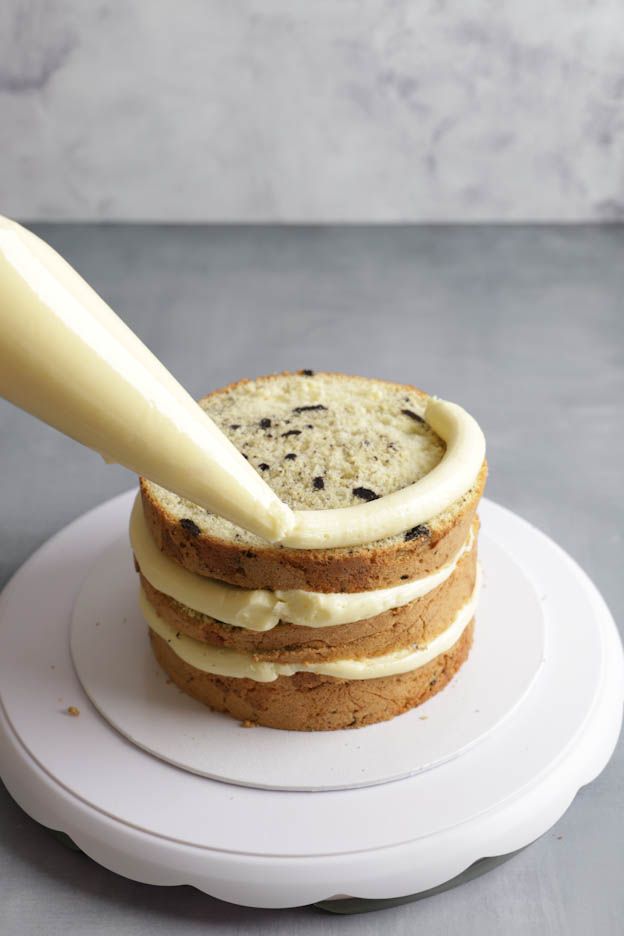
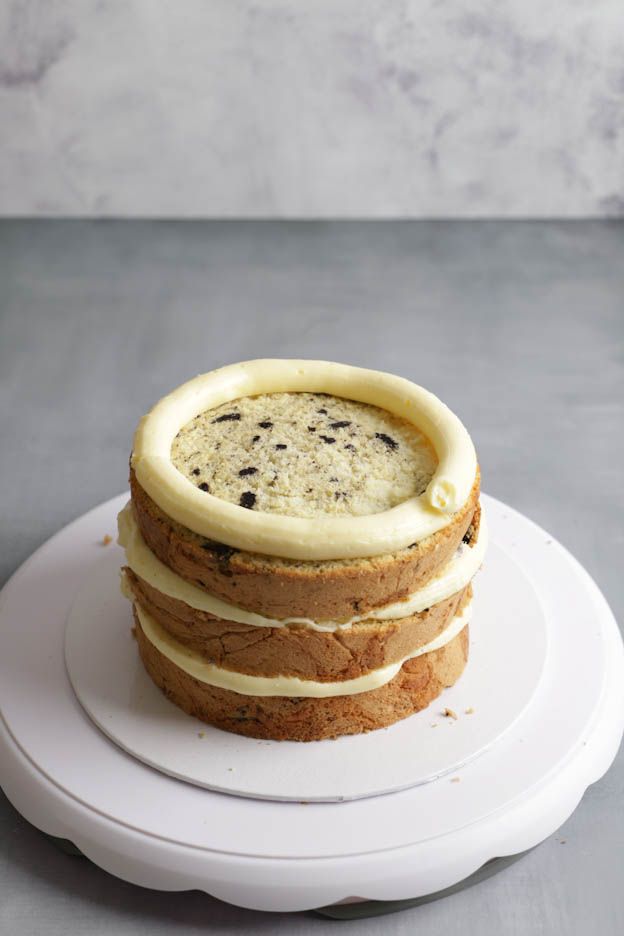
Finally, place the last sponge layer on top and press it gently with your hand to even out the cake if it isn't perfectly straight.
I always use the bottom of the sponge for the top finish, as it is the flattest.
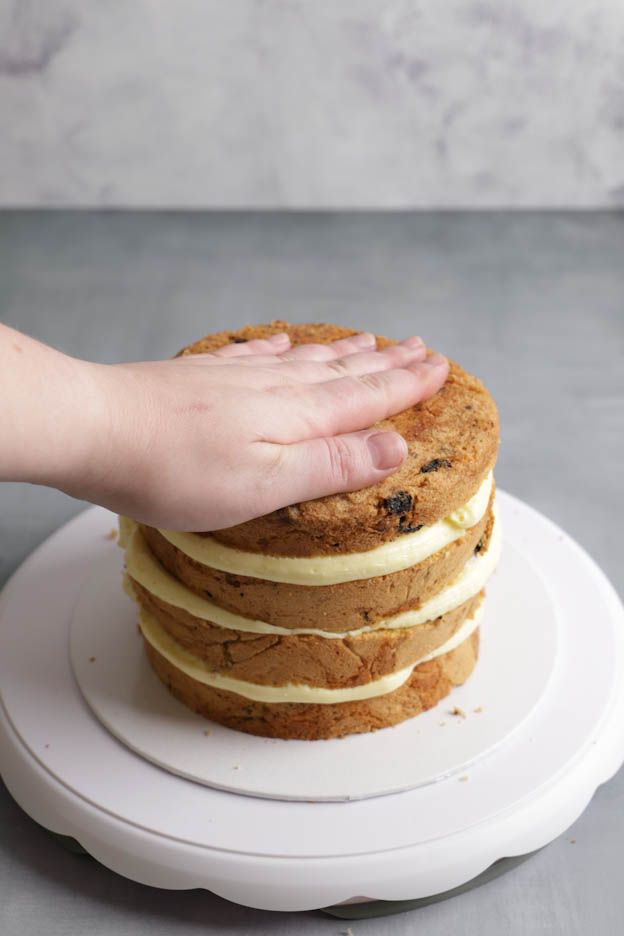
Spread the buttercream lightly over the cake using a small offset spatula, a large offset spatula or a cake smoother, depending on your preference.
This layer is called the "crumb coat" – it is the first layer and an important step in cake decoration.
It prevents the sponge from drying out. And as the name suggests, it "traps" all the crumbs from the sponge, allowing the second layer of buttercream to be perfectly clean and crumb-free.
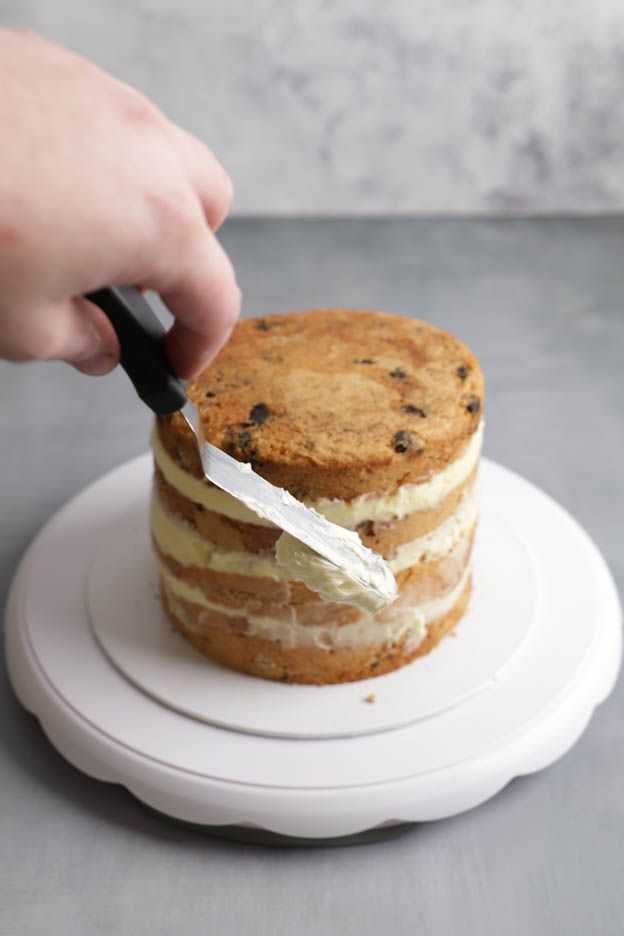
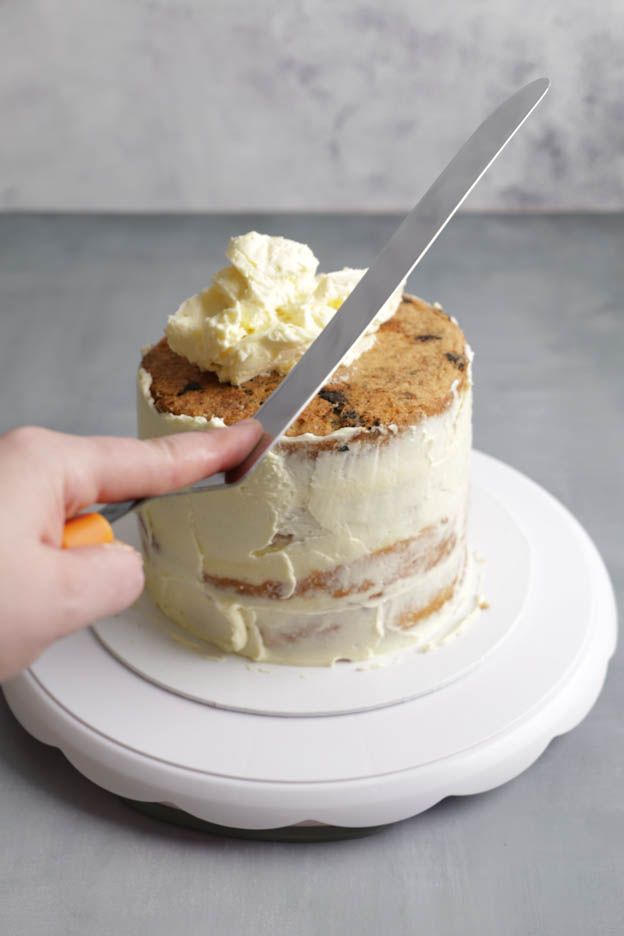
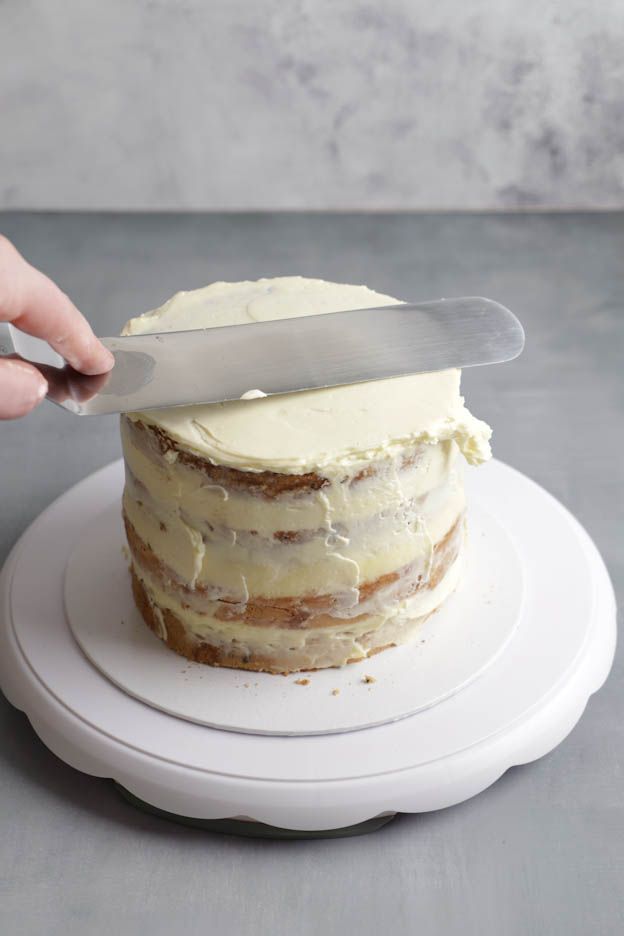
Try to smooth the cake as well as possible. To do this, place your cake smoother so that it lightly touches the edge and gently slide it all the way around the cake to get an even surface.
To finish, run the spatula over the excess cream from the edge towards the centre. It doesn't need to be perfect, as the cake will be covered with another layer afterwards.
Place the cake in the fridge for 5 to 10 minutes to let the buttercream cool and harden.
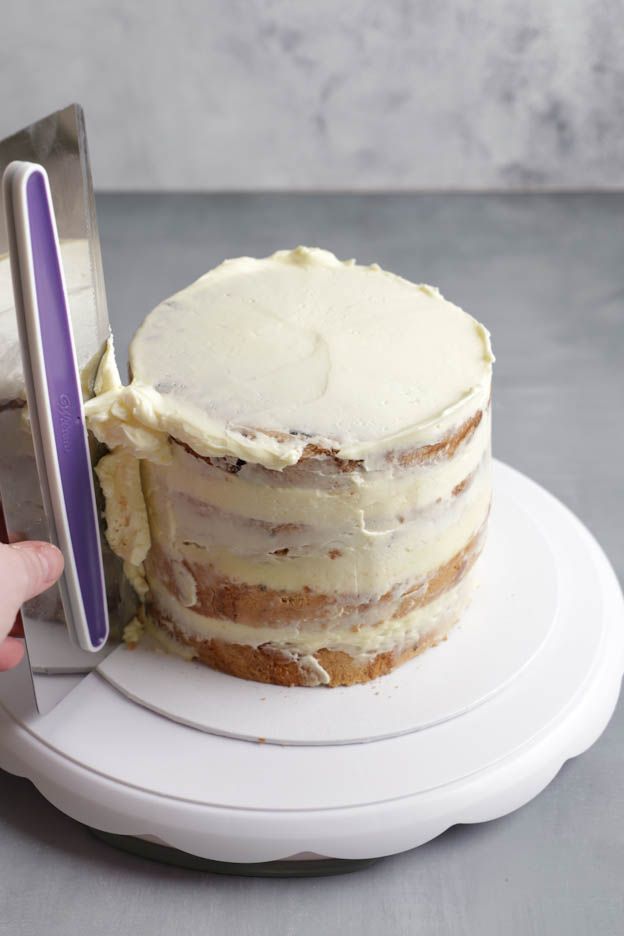
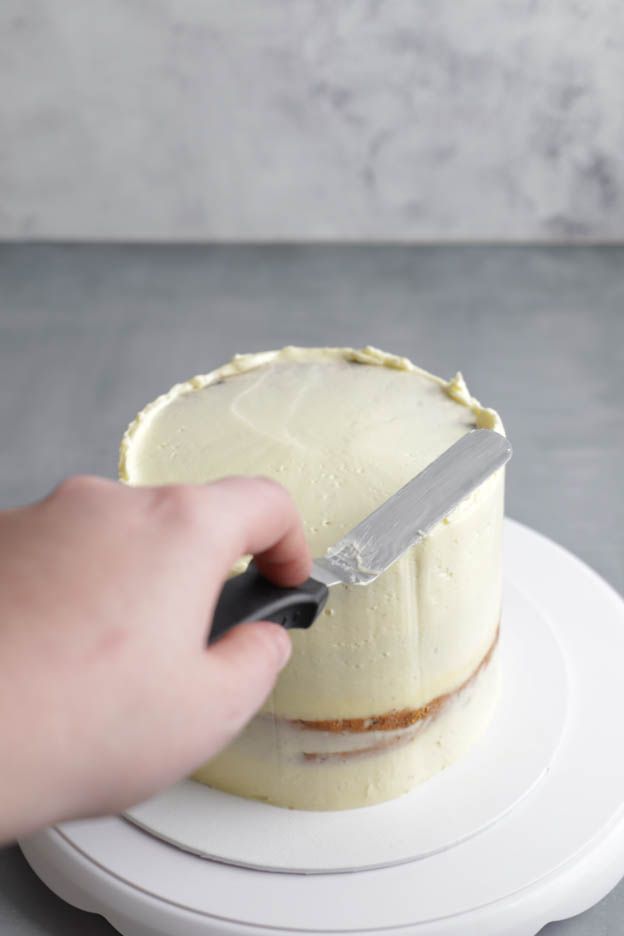
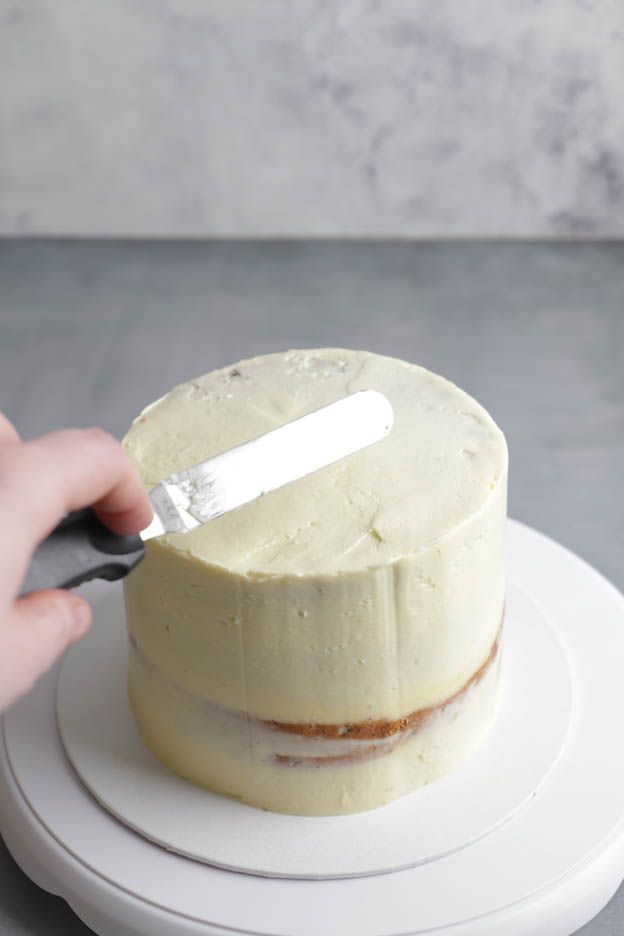
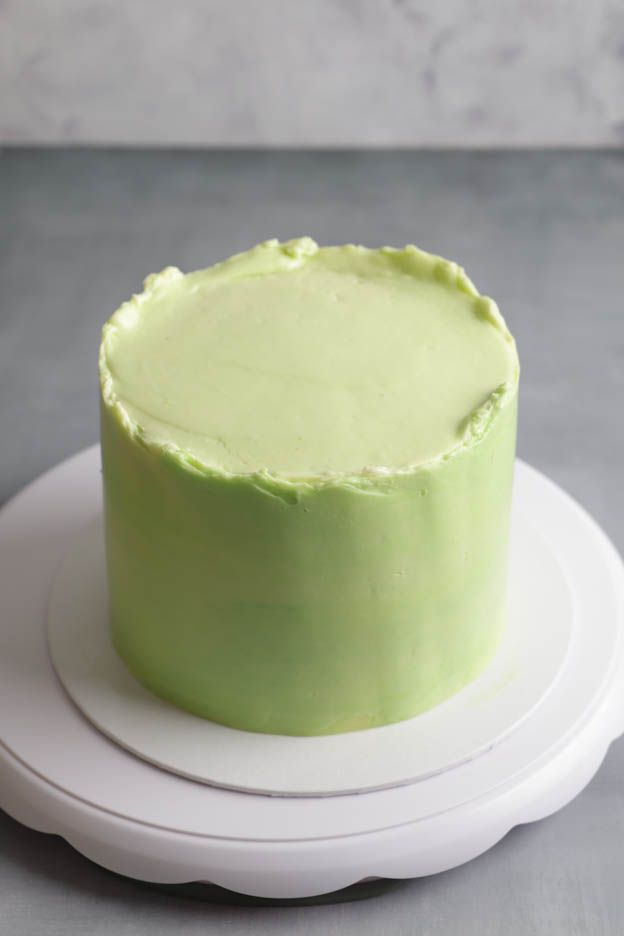
For my dinosaur cake, I wanted it to be pastel green to provide a nice contrast with my leaves, which are a deeper colour.
Colour the remaining buttercream with the lime green gel food colouring and mix with a spatula.
Add the colour carefully, as it colours very intensely – add it little by little until you reach the desired shade.
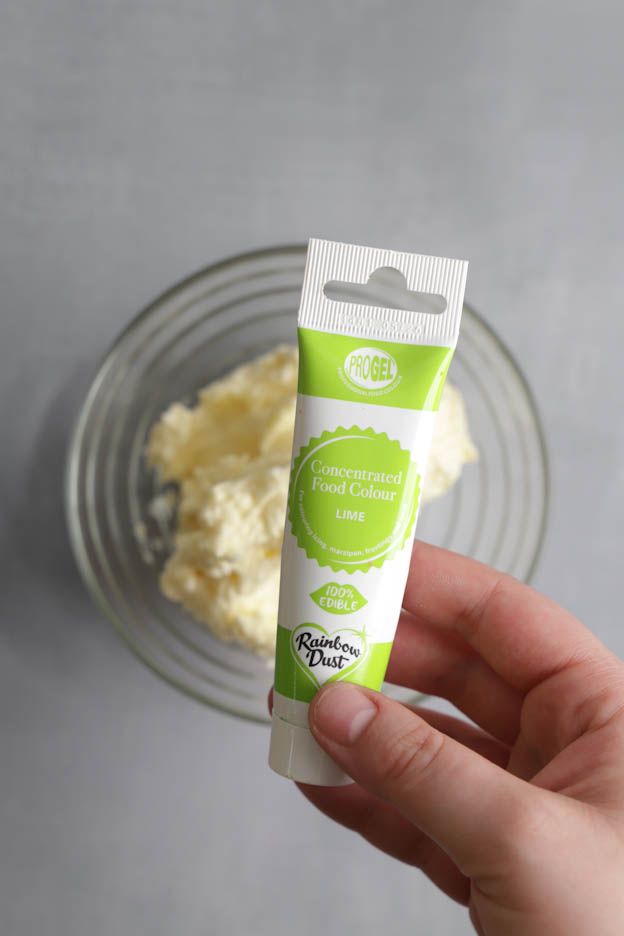
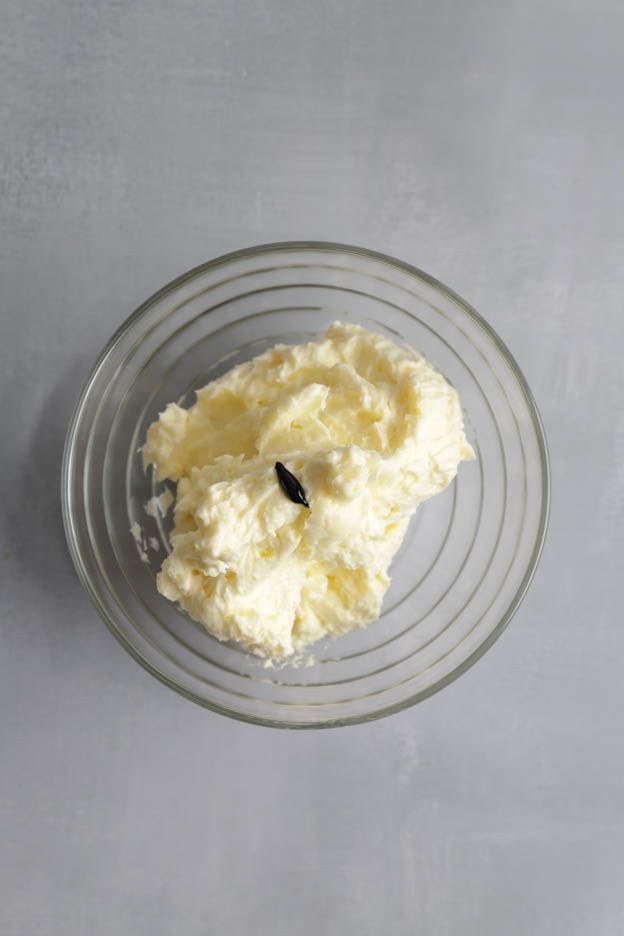
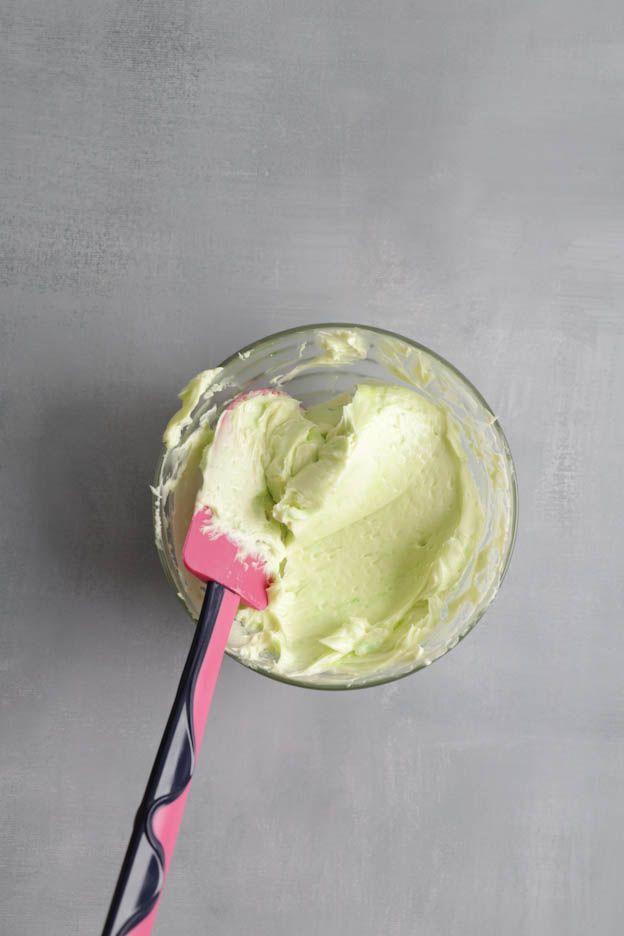
For the final layer of the cake, I put about 1/3 of the buttercream on top of the cake and smooth it with a large offset spatula.
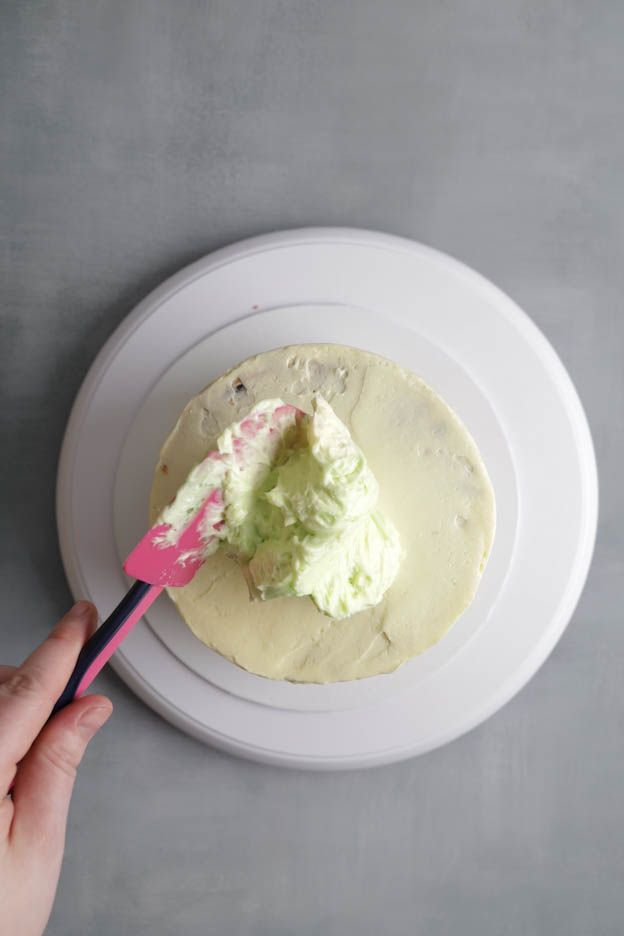
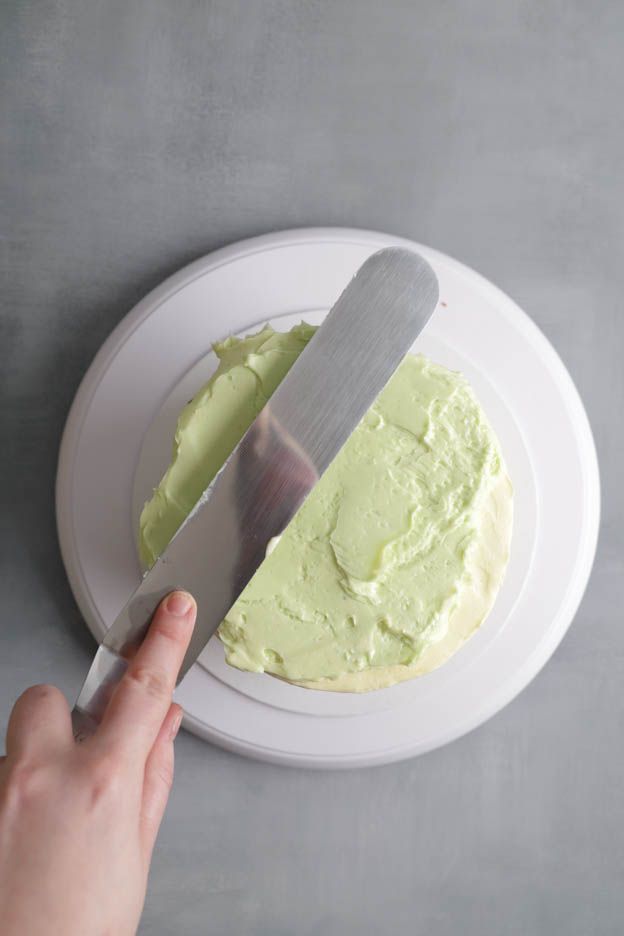
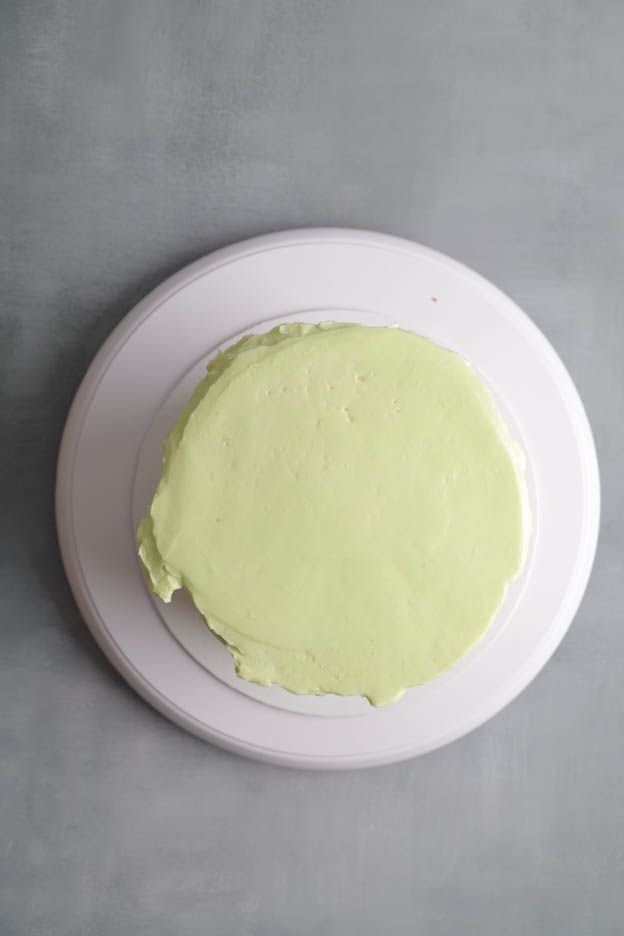
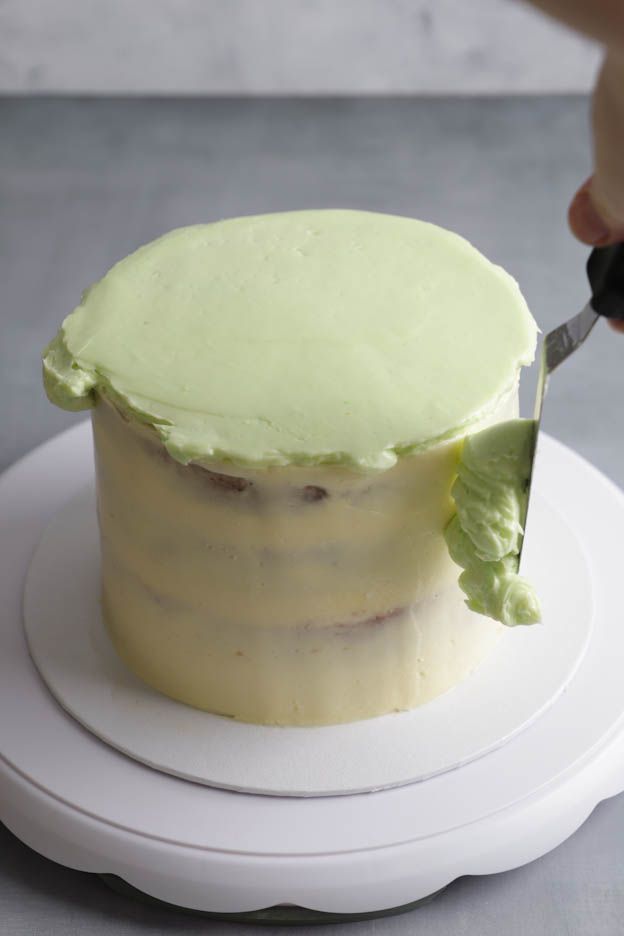
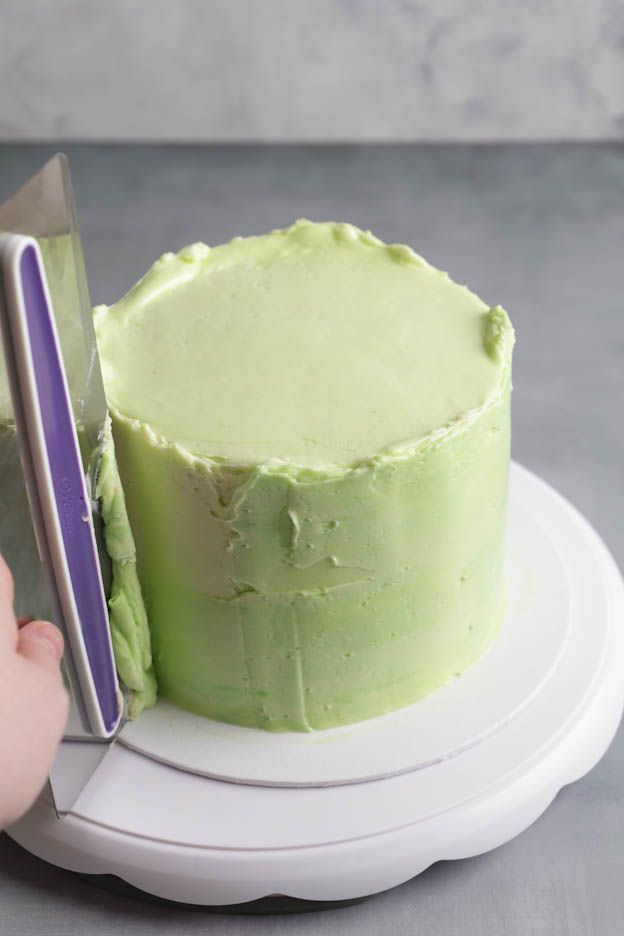
Spread the remaining buttercream around the sides of the cake with the offset spatula.
Smooth with the cake smoother, keeping it parallel to the cake. Slide it carefully all the way around the cake to get an even edge. Don't remove too much buttercream – instead, spread it evenly.
I left the top as is, as I think it suits a dinosaur cake well.
You could easily smooth it if you prefer. :o)
Then place all the decorative elements on and around the cake. They stick very well to the buttercream and do not need to be attached with anything else.
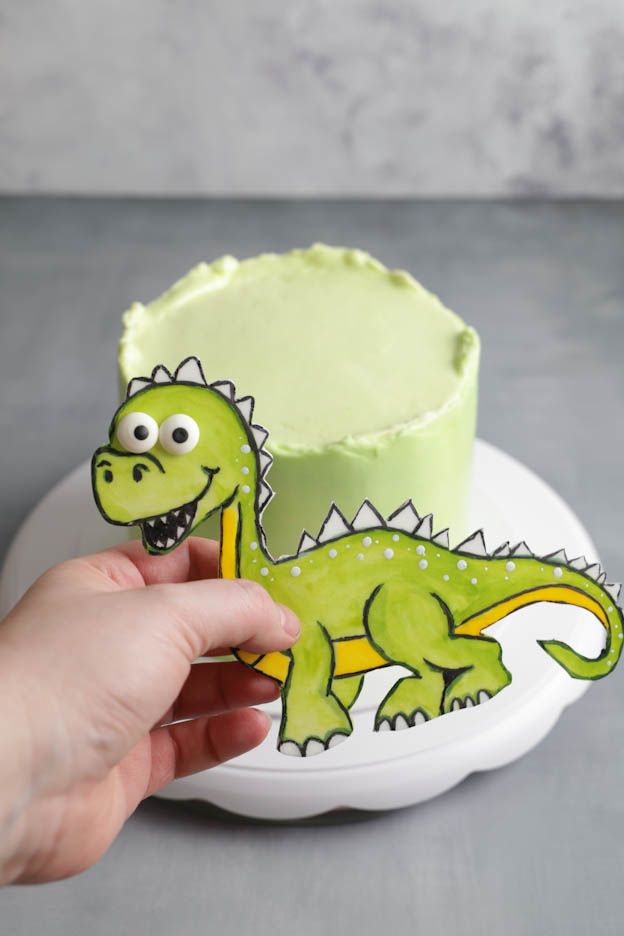
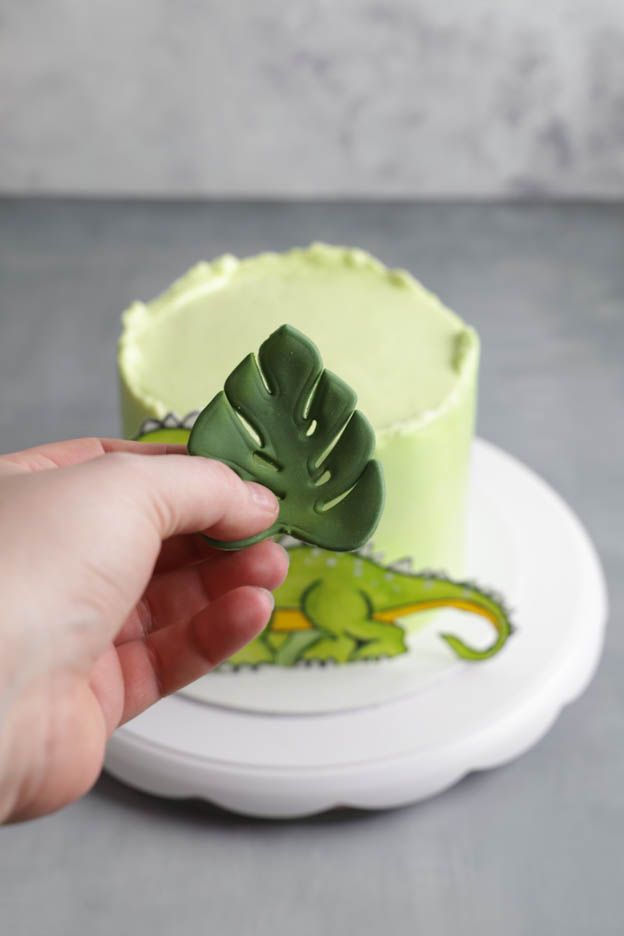
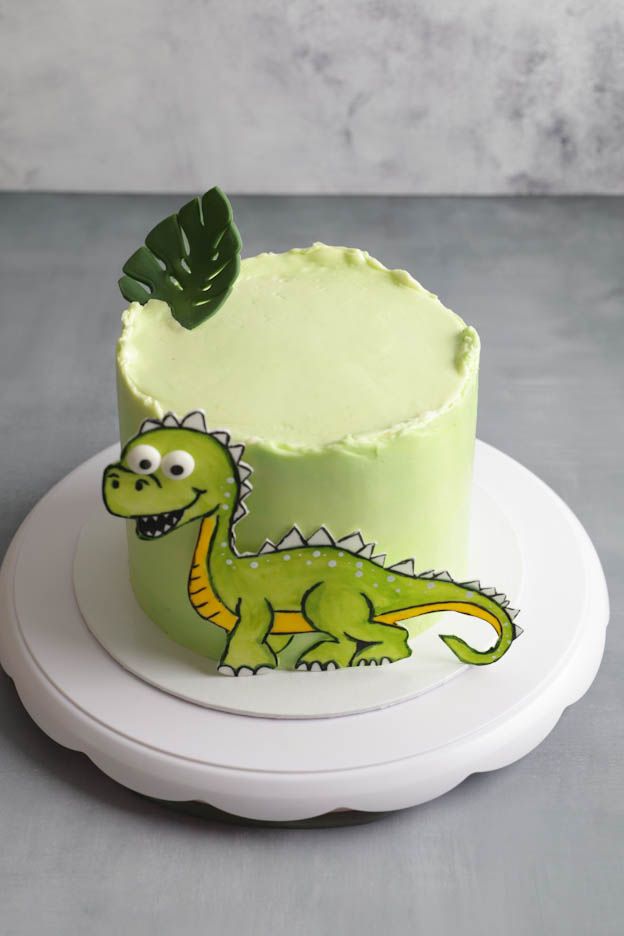
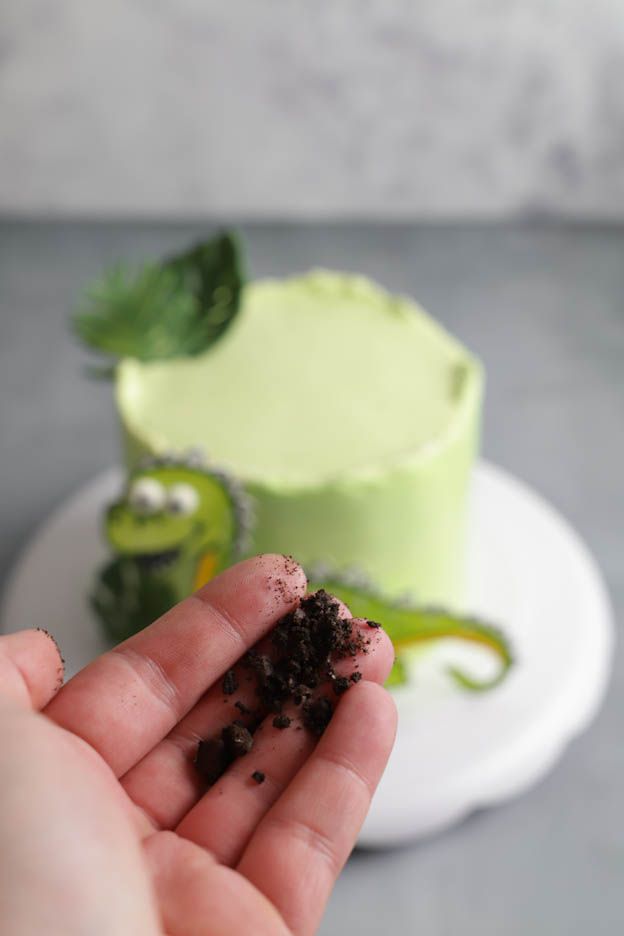
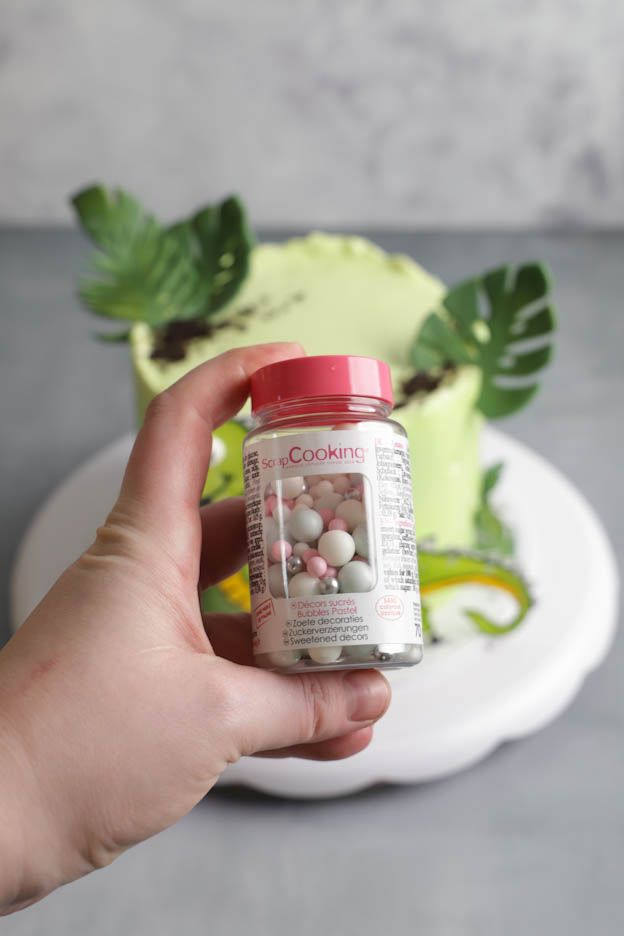
I also used Oreo crumbs and a few sugar pearls. There are no rules – decorate however you like!
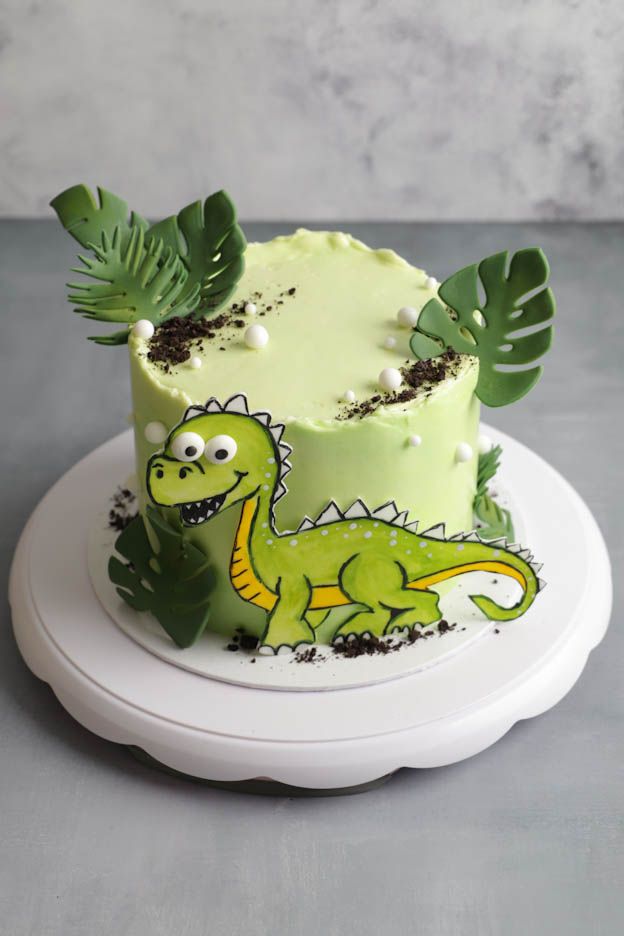
And there you go, the cake is done.
You can store this cake (wrapped in a box) for 2 days in the fridge, without the decorations! The decorations should be added at the last moment, just before serving. Sugar paste does not cope well with moisture – the decorations could melt, which would be a real shame.
This cake serves 8 to 10 people.
I hope you enjoyed this very creative recipe.
Don't forget that we have many birthday decorations on the dinosaur theme! Perfect for transporting your children into the prehistoric world! :o)
Have a lovely Sunday!
Jenny
P.S.: All the materials used can be found at the bottom of the recipe.


Related posts
 Juicy Matcha Muffins with Pecan Nuts & White Chocolate
Matcha Iced Latte & Coconut Variant
Pull-apart bread with fresh wild garlic pesto
Mini Banana Bread with Chocolate Chips
Juicy Matcha Muffins with Pecan Nuts & White Chocolate
Matcha Iced Latte & Coconut Variant
Pull-apart bread with fresh wild garlic pesto
Mini Banana Bread with Chocolate Chips
Leave a comment
Comments
Réponse
By: Laura On 2023-08-16Aucun problème ;-)
Alors malheureusement nous n'avons jamais essayé avec des Chocoly. Ce sont aussi des biscuits fourrés donc en principe ça doit marcher mais je ne peux pas vous dire ce que cela donne gustativement. ;-)
Belle journée!
Laura
Question de Stefania
By: Stefania M. On 2023-08-14Bonjour,
Est-ce possible de suivre la recette mais avec un autre chocolat? Si oui, lequel et quel quantité.
Un grand merci par avance pour votre suggestion!
Replied by: Laura On 2023-08-16