
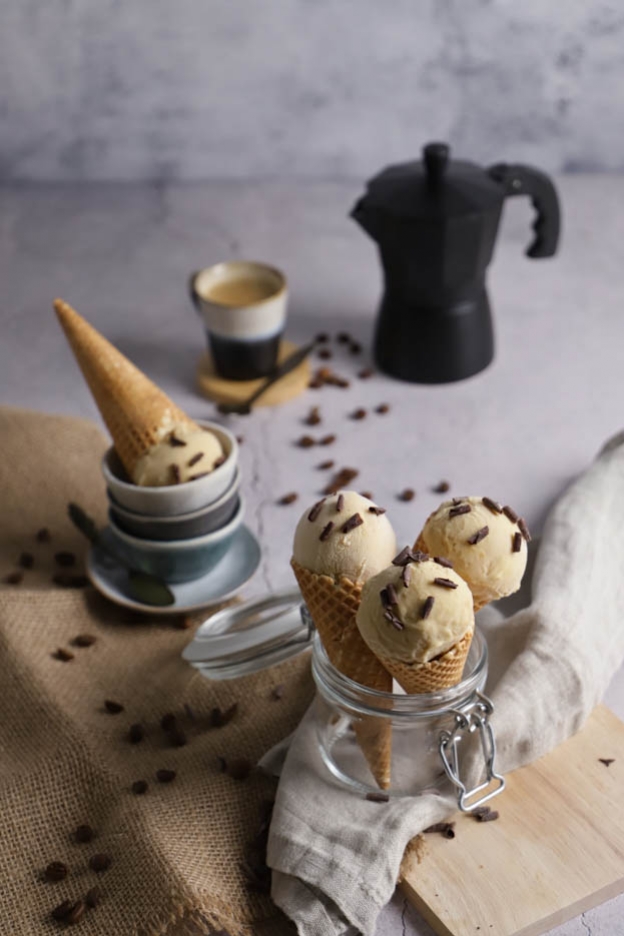
Coffee ice cream
Hey foodies!
I've been wanting to share a coffee ice cream recipe with you for a while now. :o) Here it is!
Let me introduce you to a homemade cappuccino ice cream.

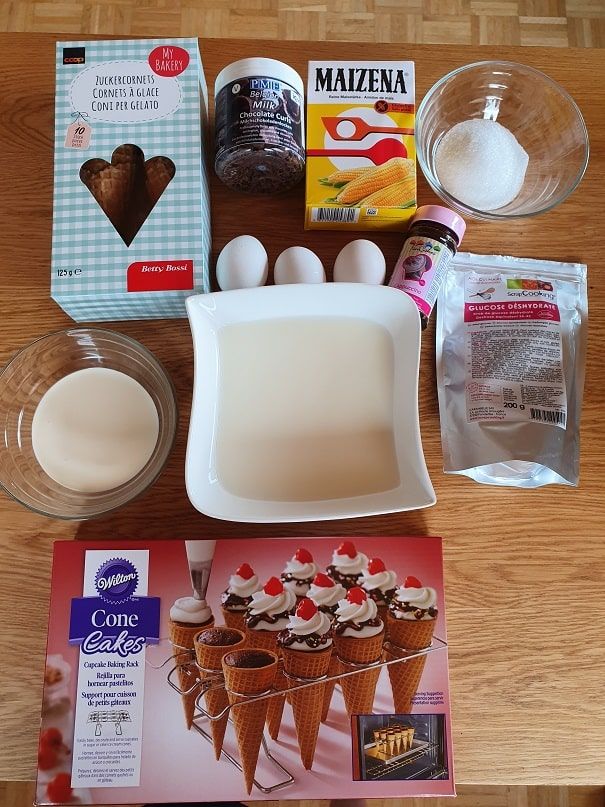
Here is the list of ingredients to make 1 litre of ice cream (7-8 scoops):
- 400g whole milk
- 100g heavy cream
- 3 egg yolks
- 65g sugar
- 20g dehydrated glucose
- 4 tsp cappuccino flavouring
- 10g cornstarch
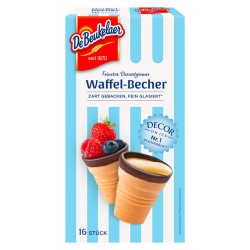
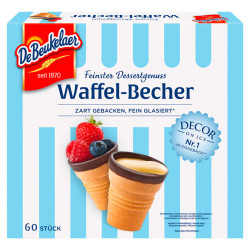
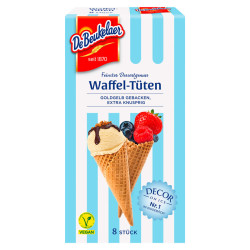
- 1 pack of empty ice cream cones
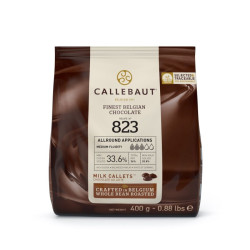
- 80g milk chocolate
- Chocolate shavings
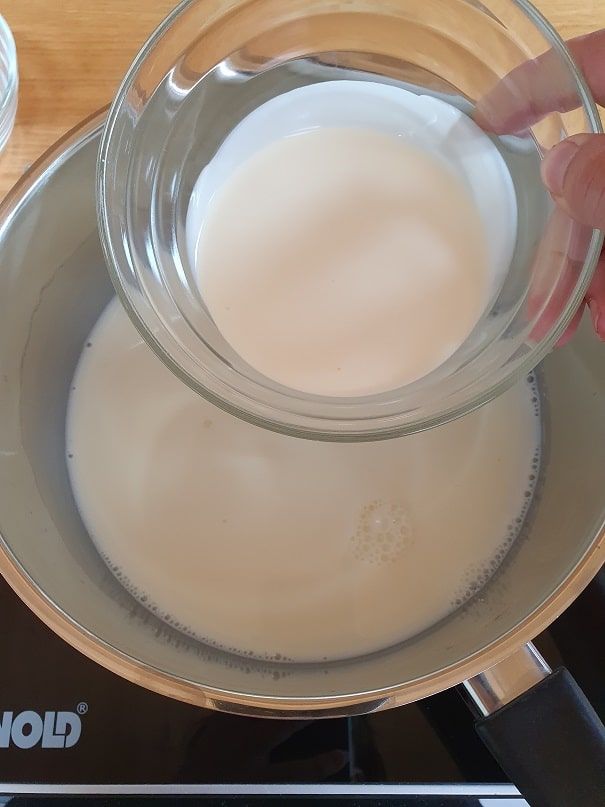
Start by pouring 400g whole milk and 100g heavy cream into a saucepan.
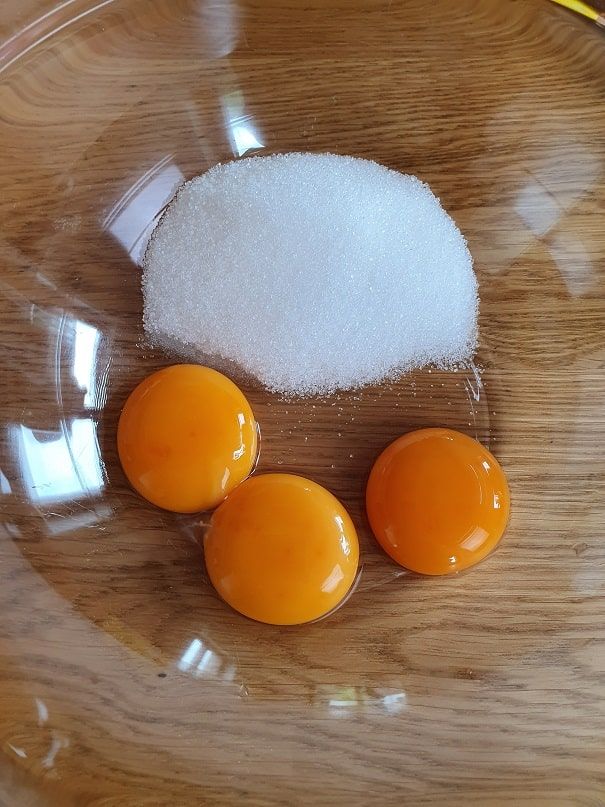
In a separate bowl, combine 3 egg yolks and 65g sugar.
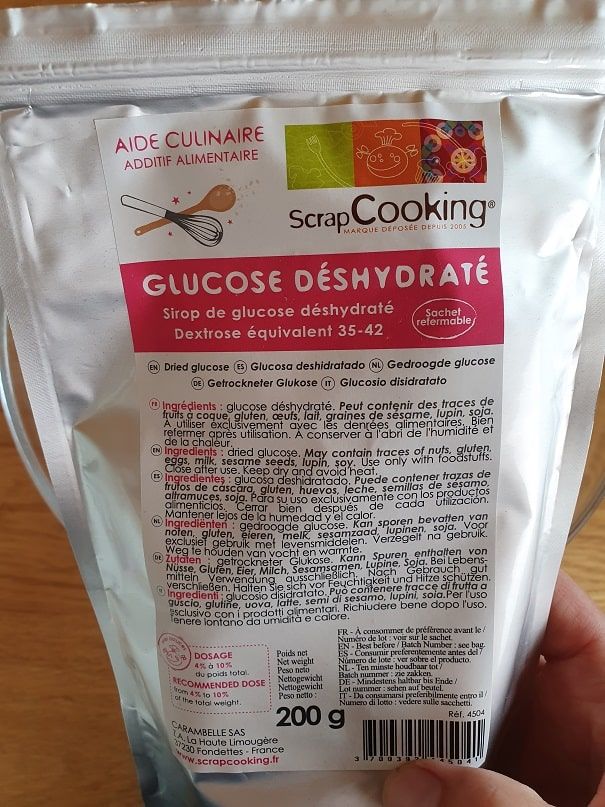
Then add 20g dehydrated glucose.
Dehydrated glucose is essential for making creamy ice cream that doesn't freeze into a solid block... Also, using dehydrated glucose means you don't need to add liquid (which would crystallise when frozen) and makes the ice cream even creamier.
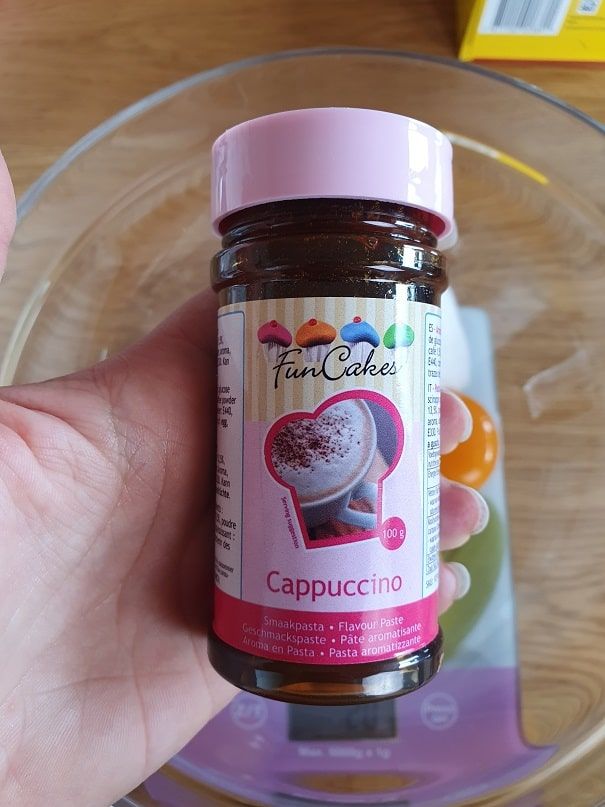
Then add 4 tsp cappuccino flavouring. I wanted a coffee ice cream but not one that was too strong or bitter. Being a cappuccino fan, this flavouring was perfect. :o)
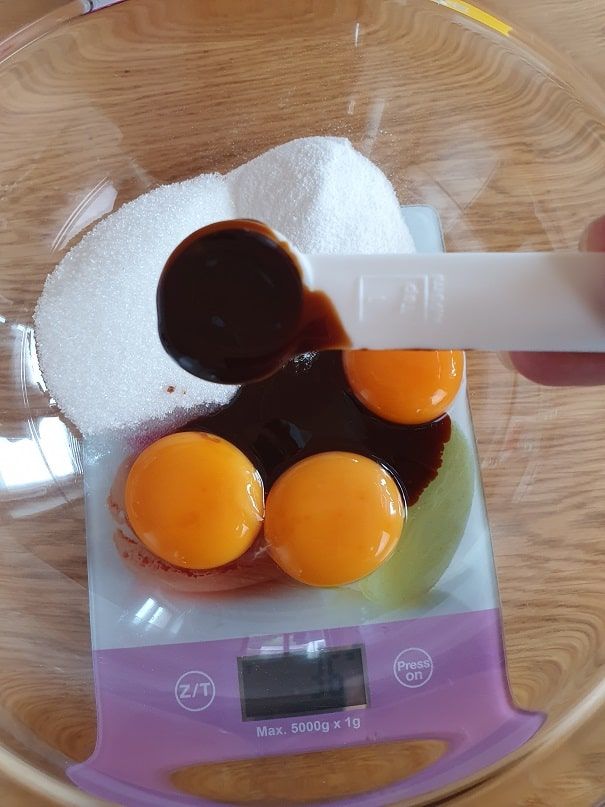
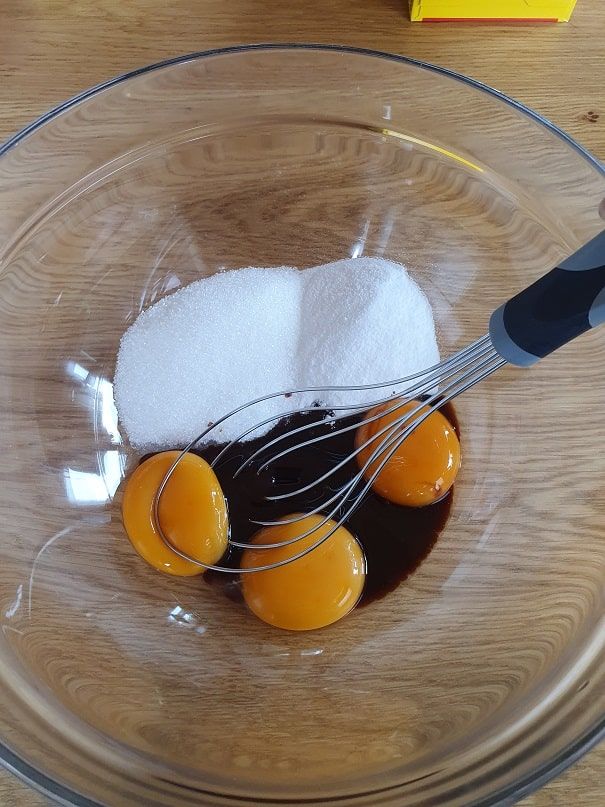
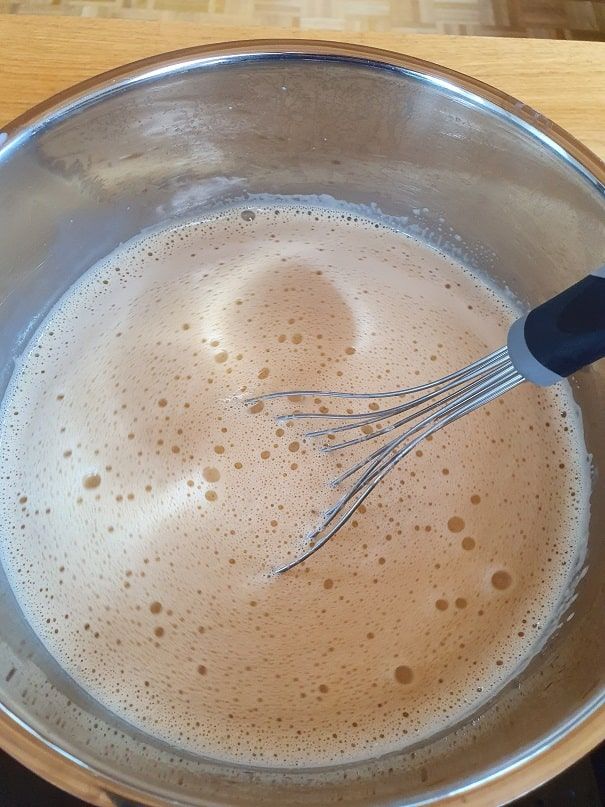
Whisk the mixture until it turns pale.
You can clearly see the colour change. When it turns pale, it's ready.
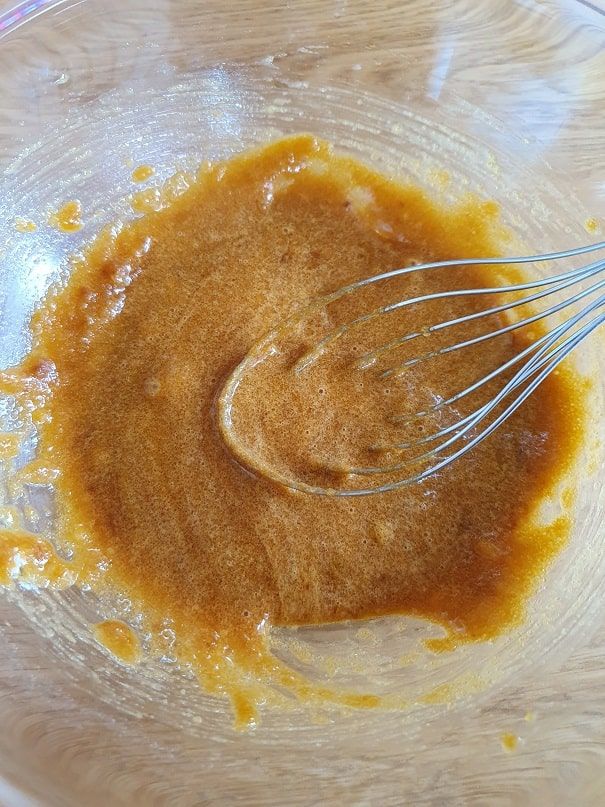
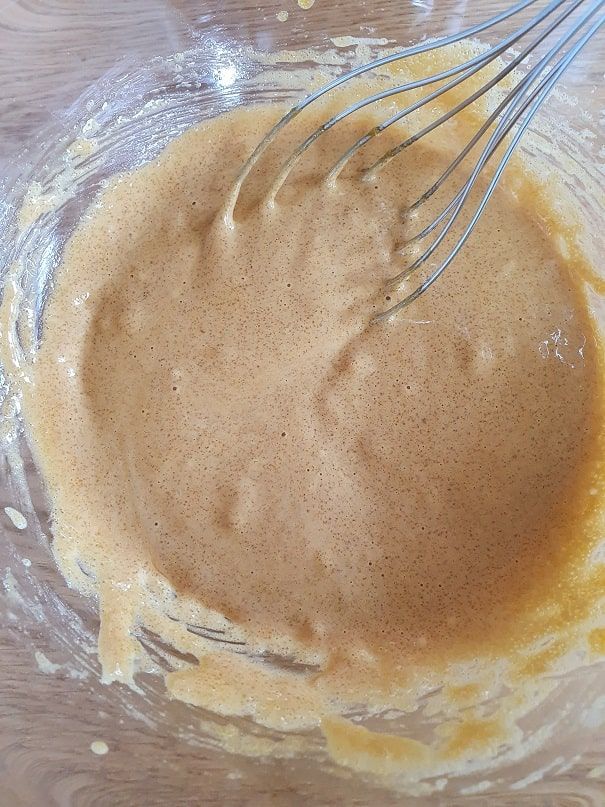
Finally, add 10g cornstarch and whisk again. Set aside for a few minutes.
Heat the milk. It should not boil! Just steam and be hot.
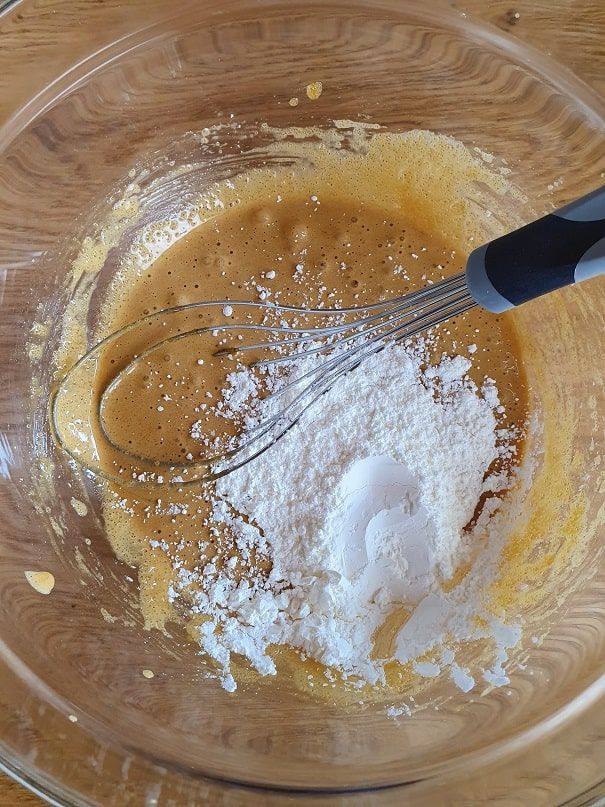
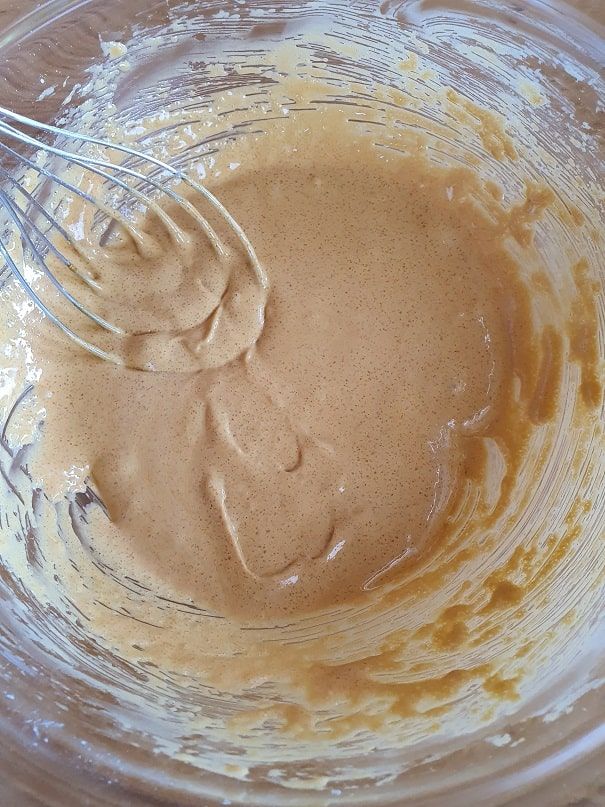
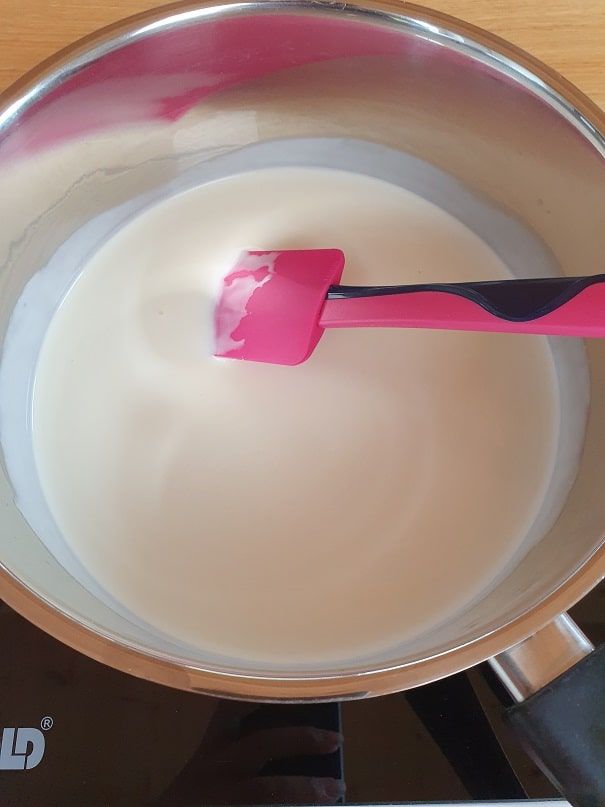
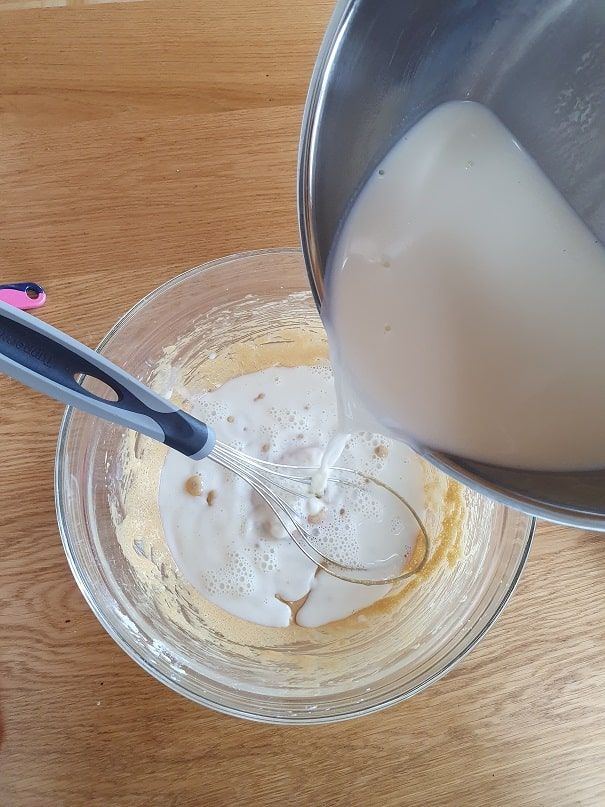
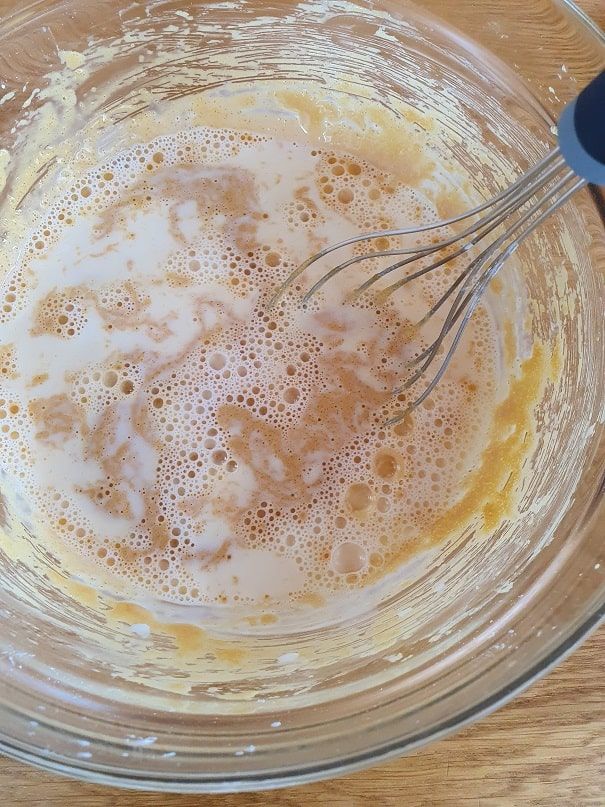
Pour half the milk over your egg/sugar mixture. Mix well.
Then pour the mixture back into your saucepan, off the heat, and mix again.
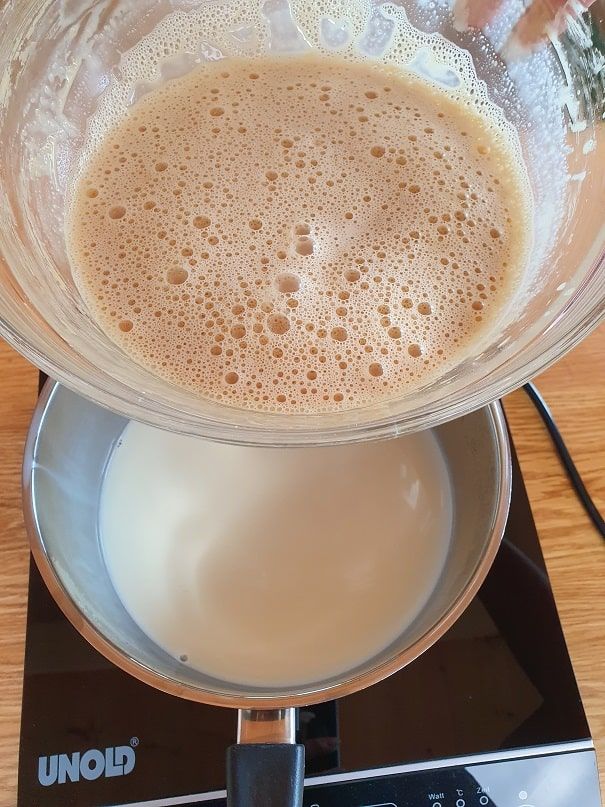
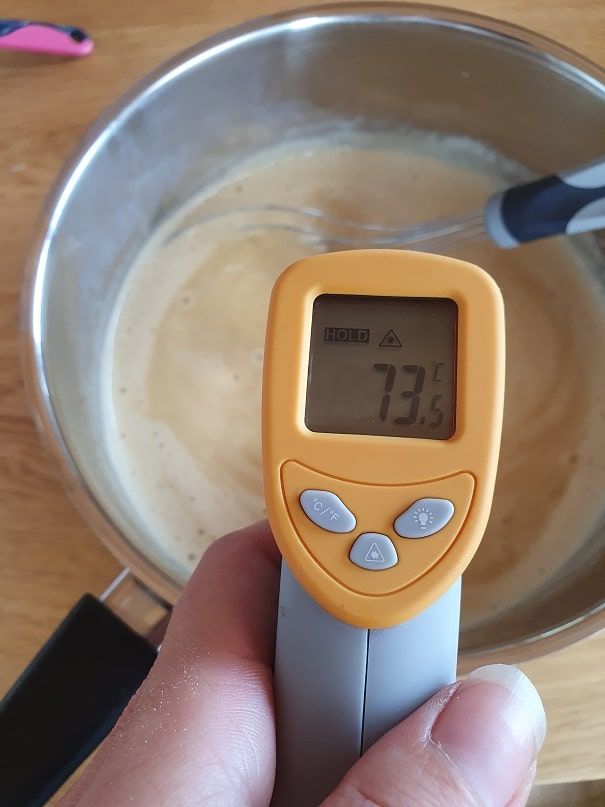
Place your saucepan over medium heat and heat the mixture to approximately 70-73°C.
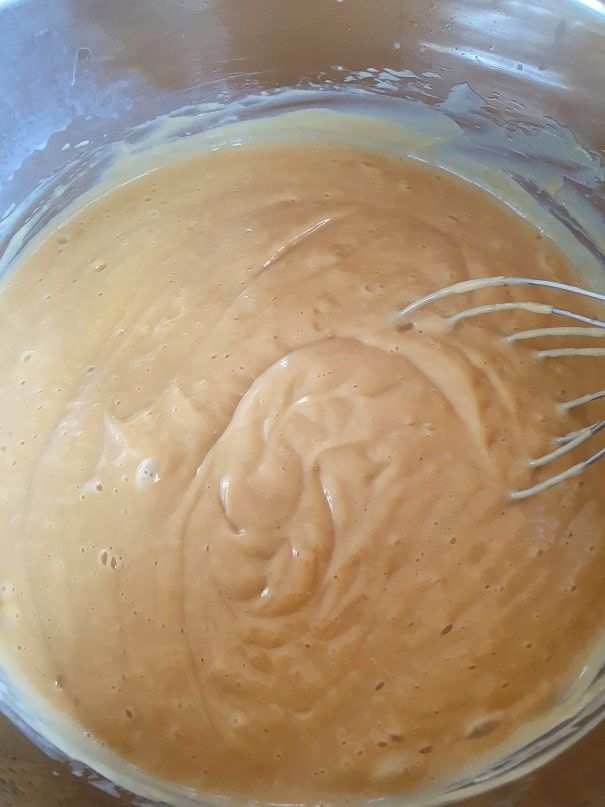
You will see the texture thicken.
When your custard thickens and resembles a lovely crème anglaise (or reaches 70-73°C), remove the saucepan from the heat and continue whisking for about 1 minute.
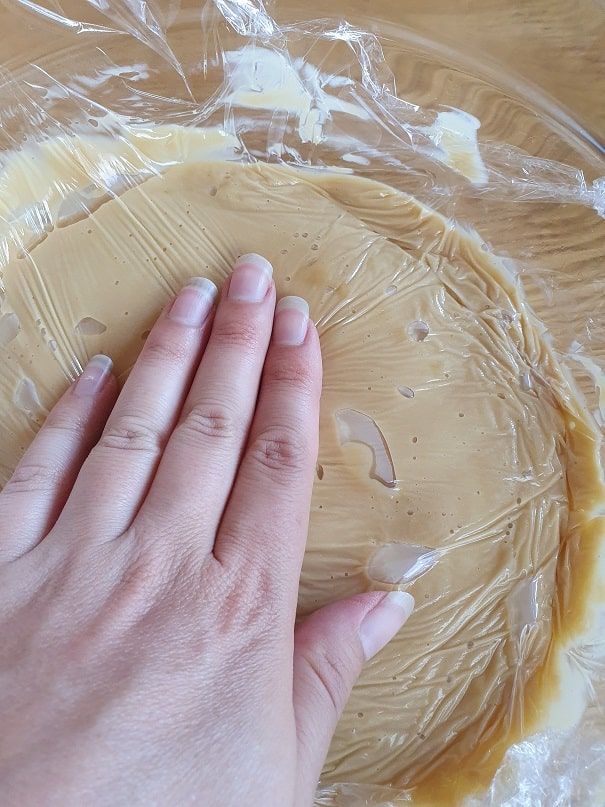
Pour your custard into a bowl, cover with cling film directly on the surface and place it in the fridge for at least 2h.
The custard needs to cool down to approximately 10-15°C.
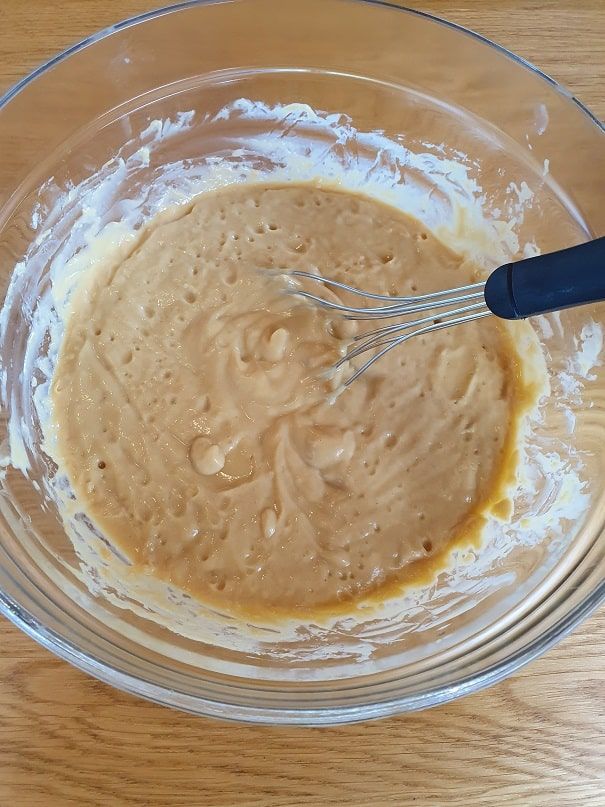
Once the temperature has dropped sufficiently, take your custard out of the fridge and whisk it to give it a good texture.
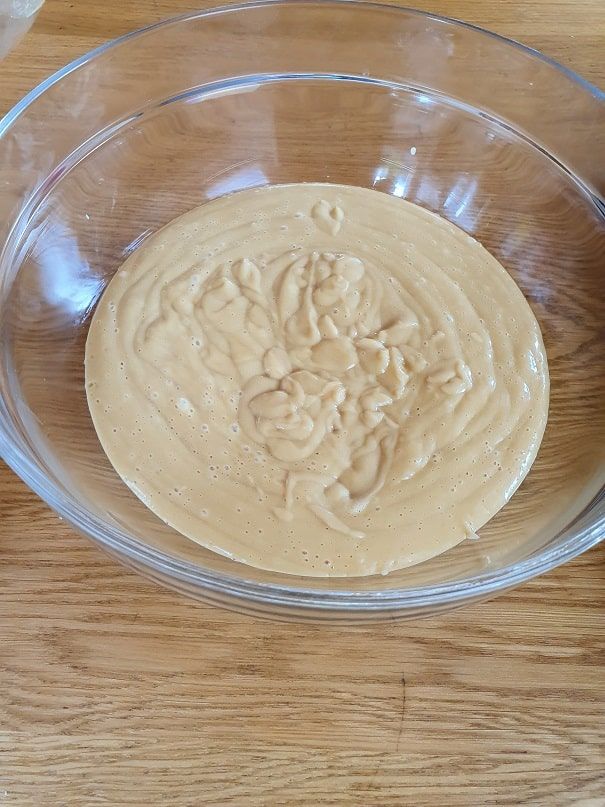
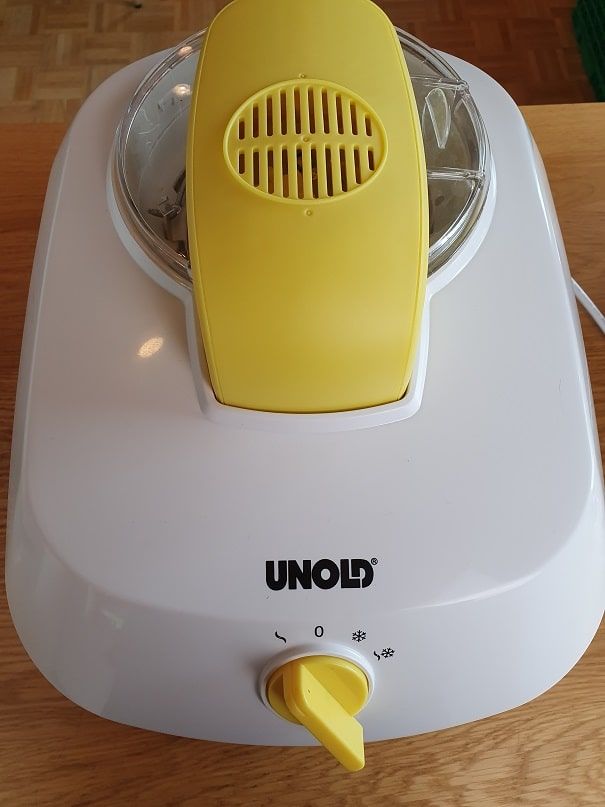
I use the Betty Bossi ice cream maker which I think is really great! Its size allows you to make 1 litre of ice cream and the price is reasonable. :o) I'm not disappointed!
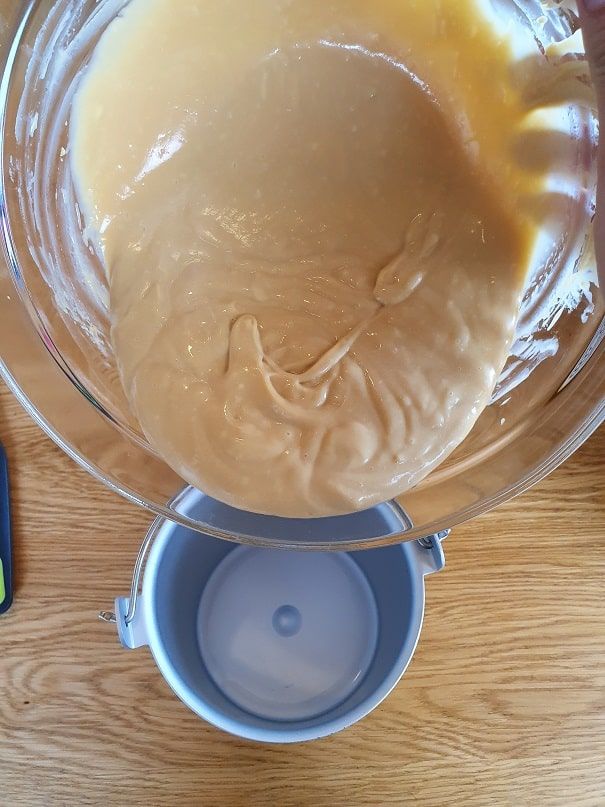
Pour your custard into the ice cream maker bowl and attach the paddle.
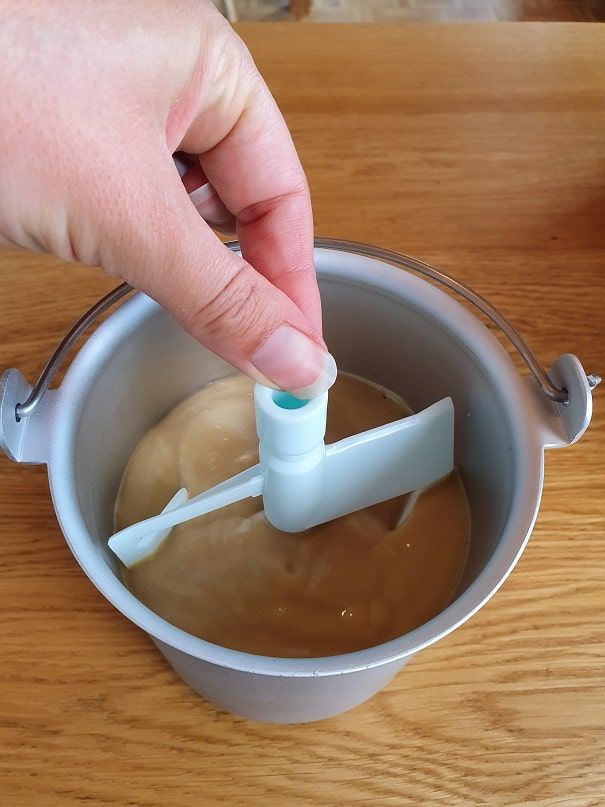
Let your ice cream set. Its temperature should be -4°C to -7°C when ready.
Check on it from time to time but it will take about 30-40 minutes to set (at least with my ice cream maker).
Once the ice cream is ready, transfer it into a square or rectangular container that will allow you to scoop nice balls later on.
You can of course eat it straight away if it is at -7°C.
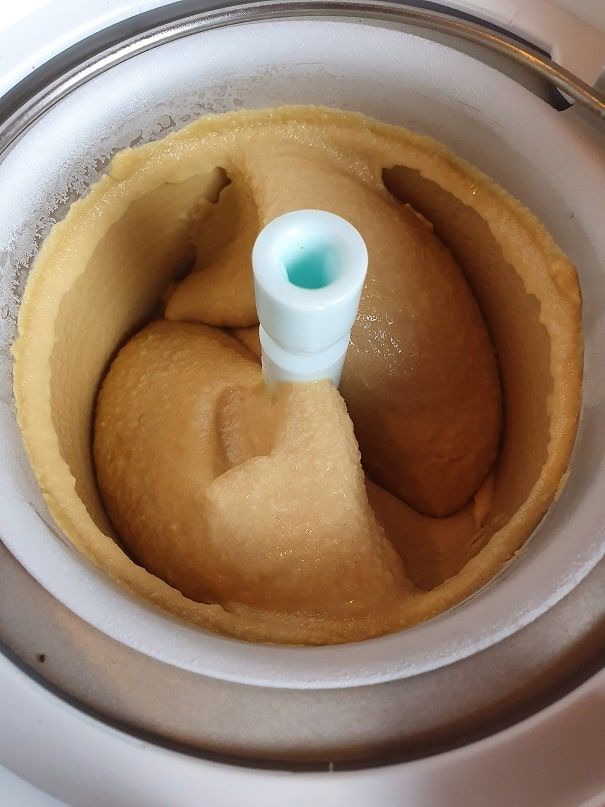
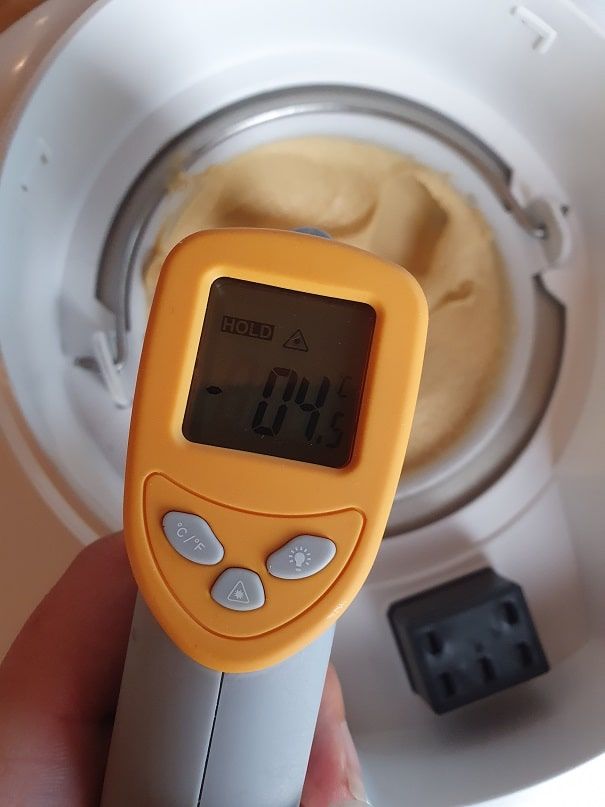
This time, I didn't use an ice cream mould, but that is of course an option.
I felt like making cones (the foodie that I am!). :o)
My colleague told me I could find empty ice cream cones at Coop and indeed they have them all year round! Yay!
To serve them more easily, I got myself this stand that lets you place empty or filled cones. It's incredibly practical!

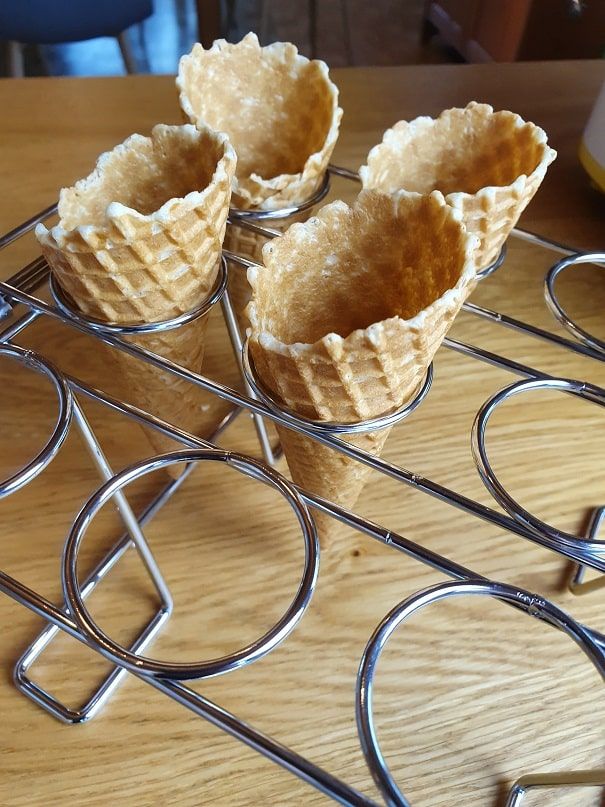
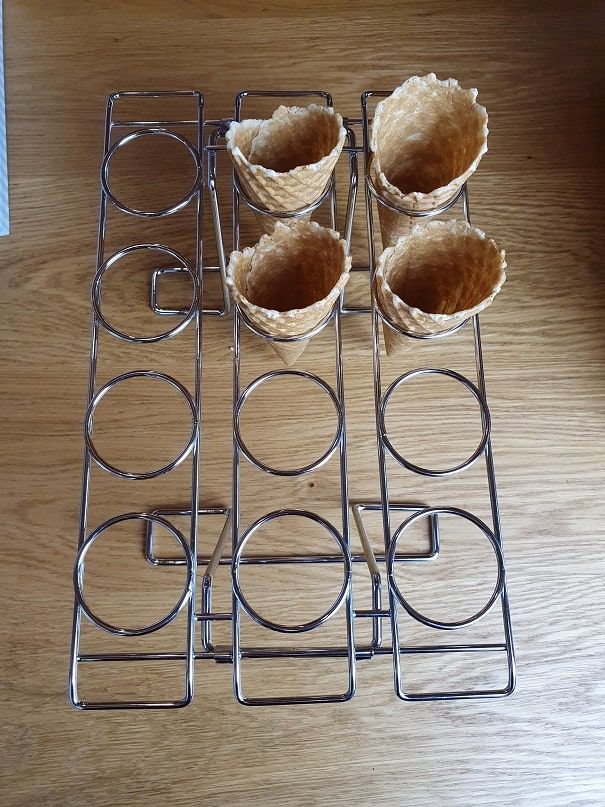
My husband came through the kitchen and told me that homemade cones are great... But only if there's chocolate at the bottom of the cone.... I love it when he comes and adds extra steps to my desserts! :o) Anyway! He's not wrong either, so I got to work and melted some chocolate.
For each cone you need about 10g of chocolate. So for 8 scoops, you will need 80g milk chocolate.
Melt the chocolate in the microwave at 400W for approximately 1 minute 30.
Then pour 10g of melted chocolate into the bottom of each cone. Let the chocolate set.
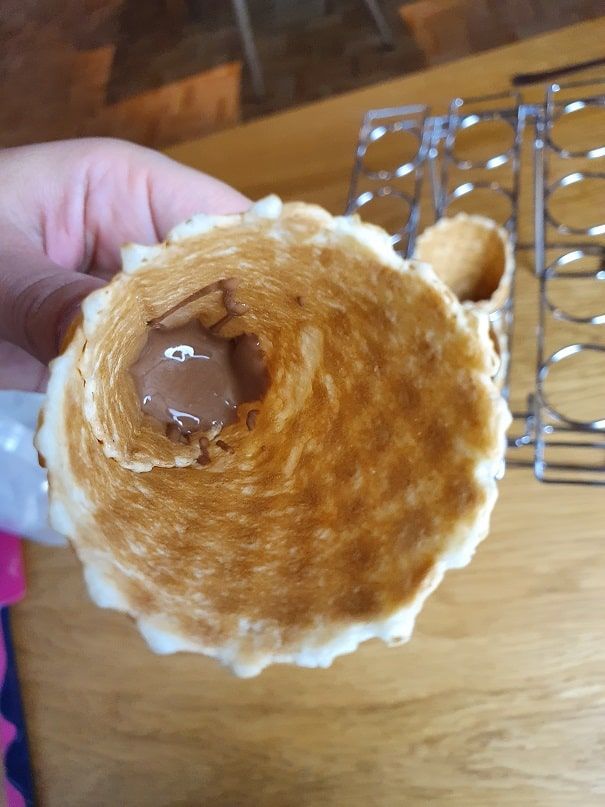
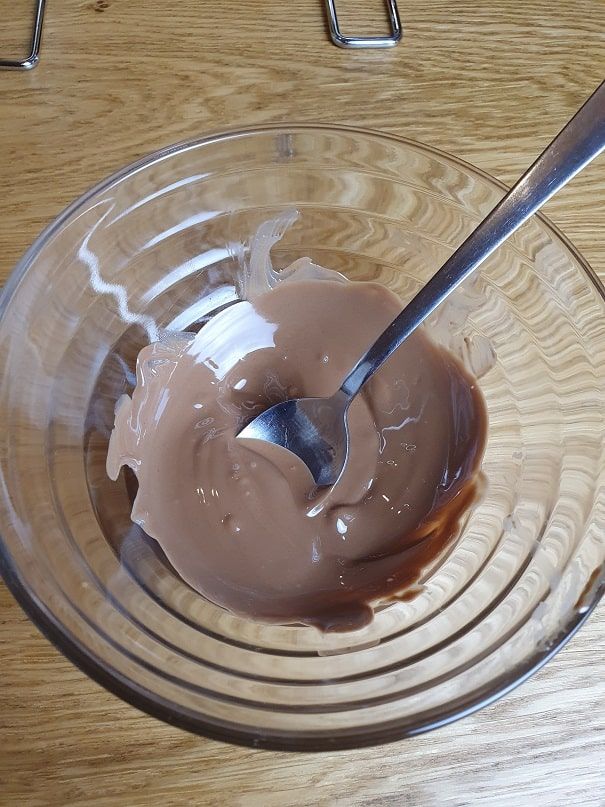
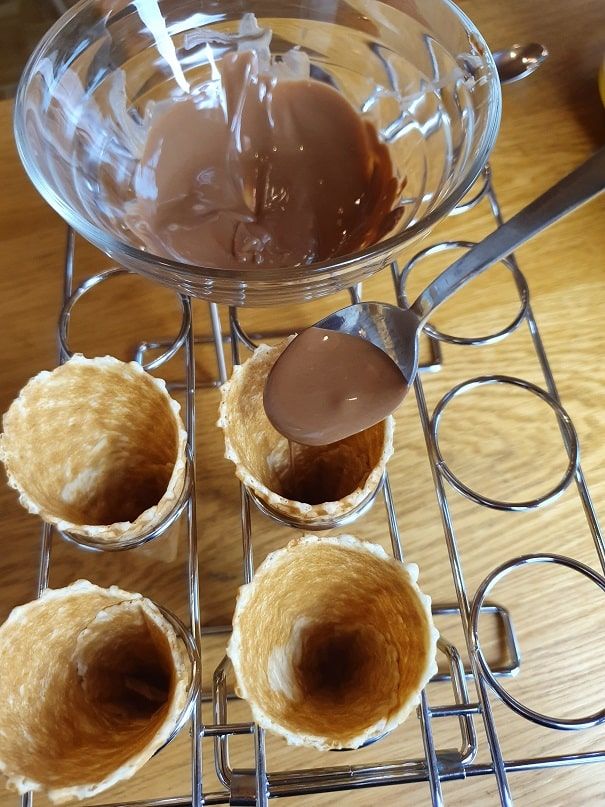
There you go! Everything is ready! :o)
If you made your ice cream 1-2 days in advance, remember to take your ice cream tub out 10 minutes before scooping. This way you'll get nice round scoops.
Also remember to dip your ice cream scoop in a bowl of hot water to make the scoops easier to form.
If on the other hand you're eating the ice cream right away (straight from the ice cream maker), make sure it is well chilled to -7°C so it doesn't melt in 30 seconds.
Ideally, consume your ice cream within 2 weeks to keep a nice creamy texture.
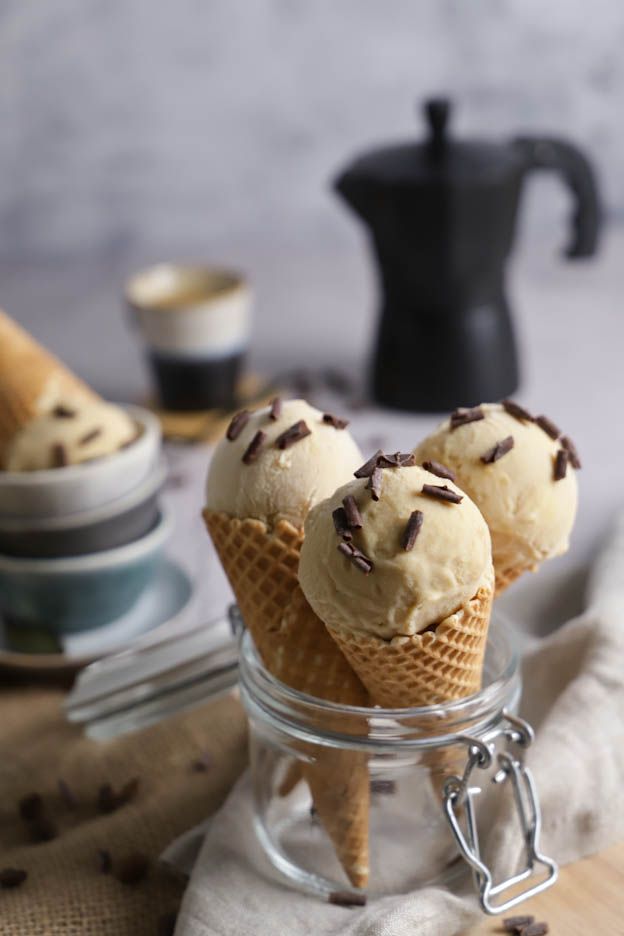
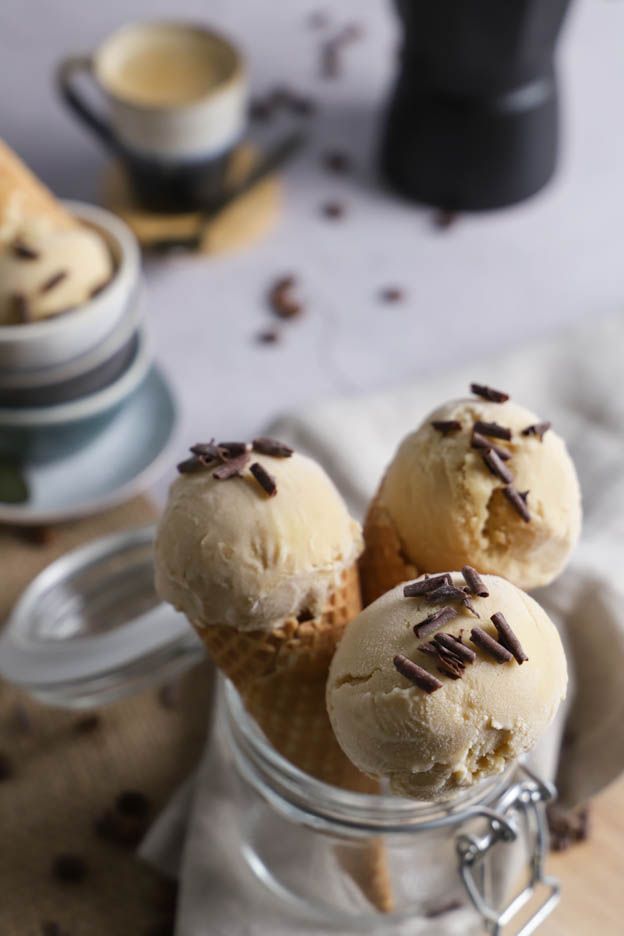
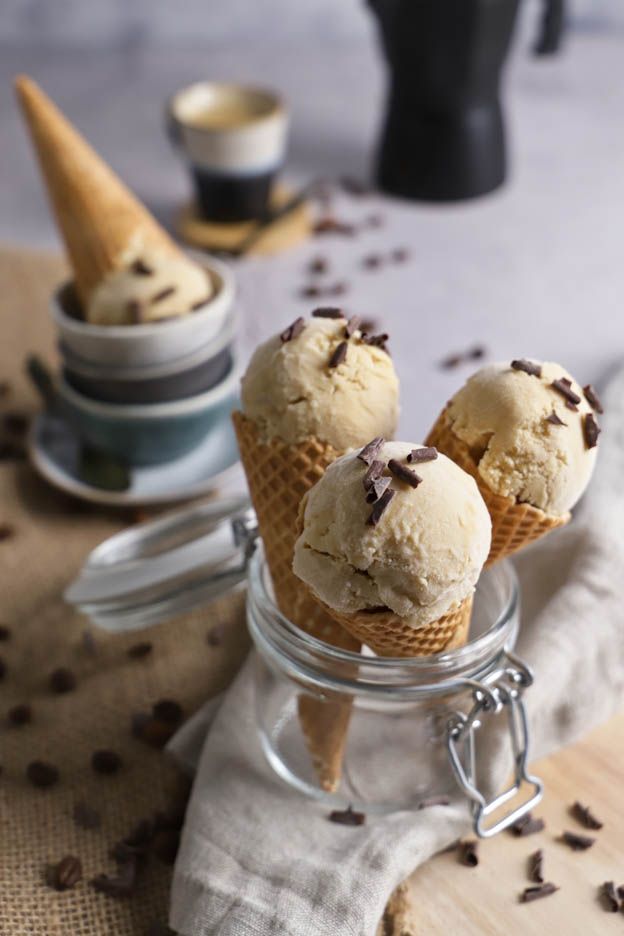
This recipe was a hit at our place. I simply sprinkled the ice creams with chocolate shavings to give them a bit of crunch.
I hope this recipe inspires you and that you'll give homemade ice cream a try.
Have a lovely Sunday.
Karin
P.S.: All the equipment used can be found at the bottom of the recipe.
Related products
Ice Cream Cone Cupcakes Holder
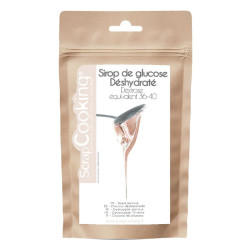
Dehydrated Glucose 200g
Plastic graduated spoons
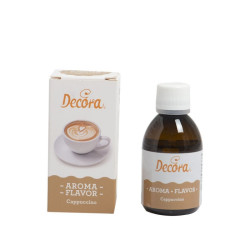
Liquid aroma "Cappucino"
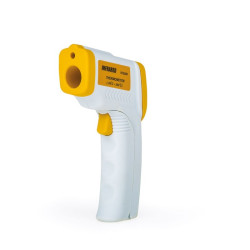
Infrared Thermometer
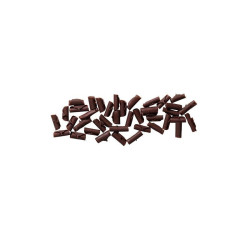
Chocolate Shavings - Dark Chocolate
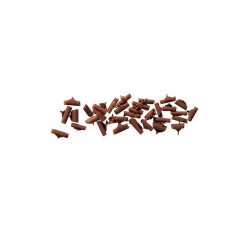
Chocolate Shavings - Milk chocolate
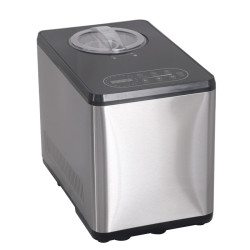
Ice cream maker 1.5 liter with compressor and timer

Related posts
 Juicy Matcha Muffins with Pecan Nuts & White Chocolate
Matcha Iced Latte & Coconut Variant
Pull-apart bread with fresh wild garlic pesto
Mini Banana Bread with Chocolate Chips
Juicy Matcha Muffins with Pecan Nuts & White Chocolate
Matcha Iced Latte & Coconut Variant
Pull-apart bread with fresh wild garlic pesto
Mini Banana Bread with Chocolate Chips
Leave a comment
Comments
Question de Jessica
By: Jessica C. On 2023-05-24Bonjour,
Mes garçons qui adorent la glace au café adore votre recette ?
On peut utiliser la même base pour faire de la glace caramel en mettant un arôme caramel par exemple? Ou des grains de gousse de vanille pour faire une glace vanille?
Merci ?
Replied by: Laura On 2023-05-25
Question de Christelle
By: Christelle M. On 2020-06-19Bonjour,
Peut-on remplacer le glucose déshydraté par du glucose normal ?
Merci!
Replied by: Karin On 2020-06-19