
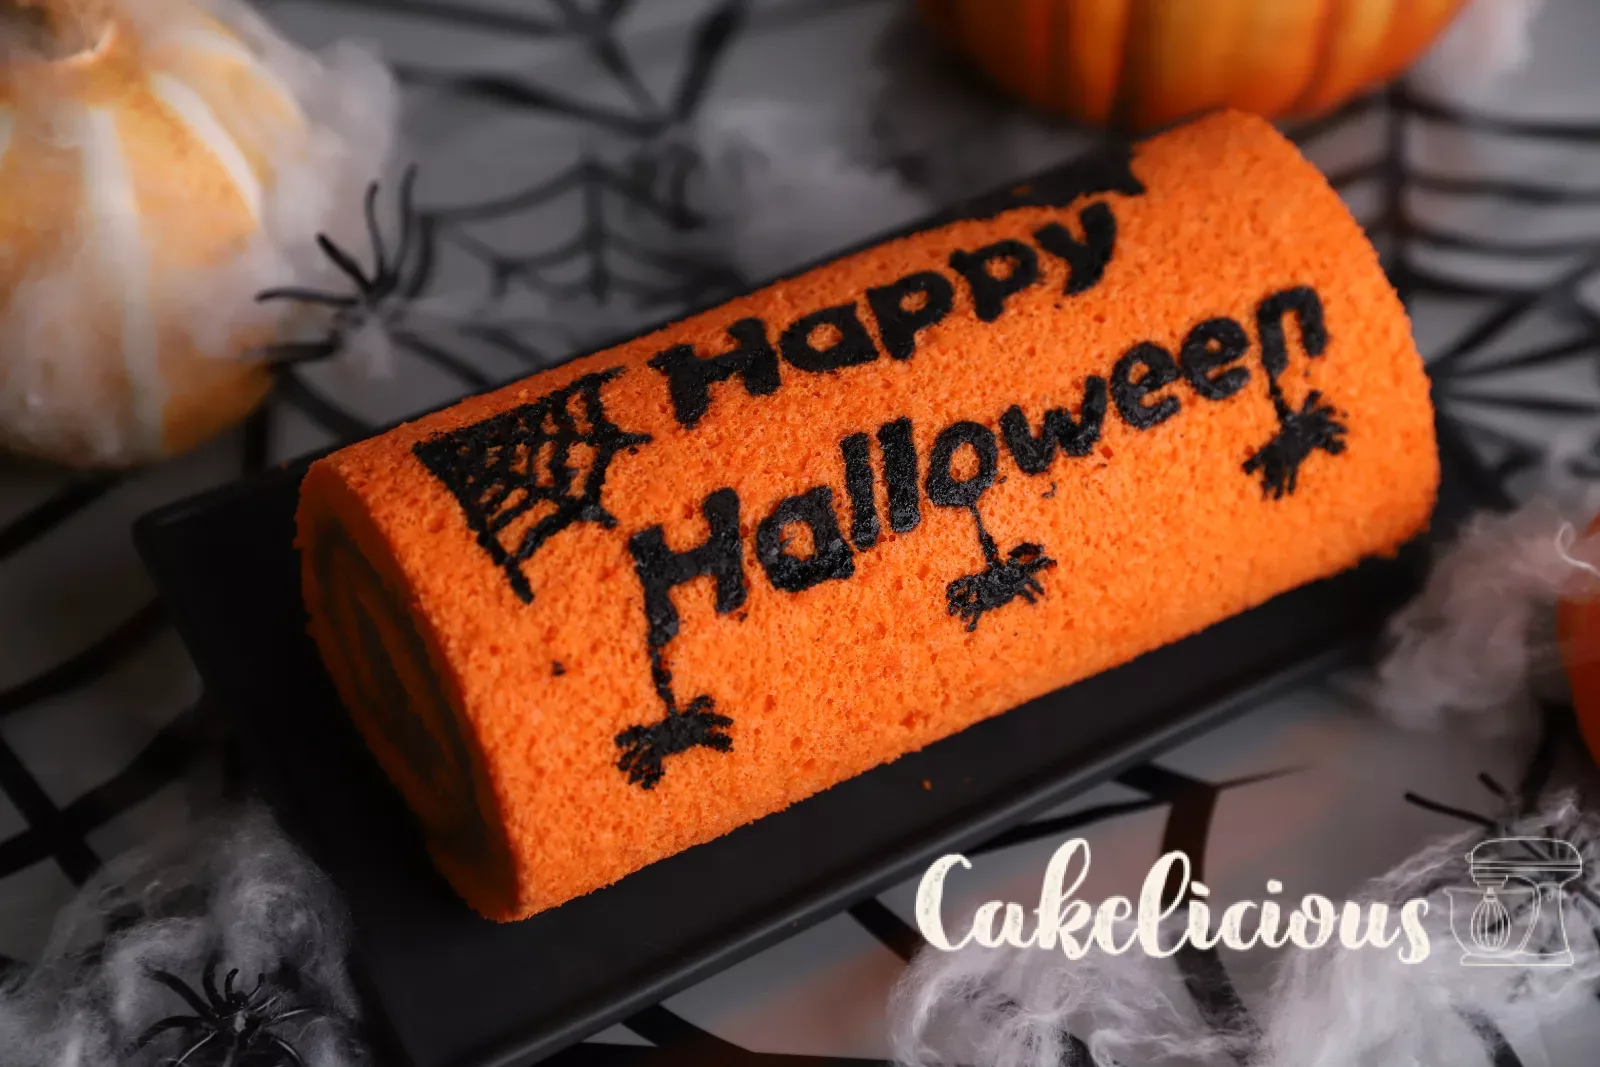
Halloween chocolate roulade with praline Ganache
Orange sponge, black motifs and an airy praline Ganache: Halloween to roll up
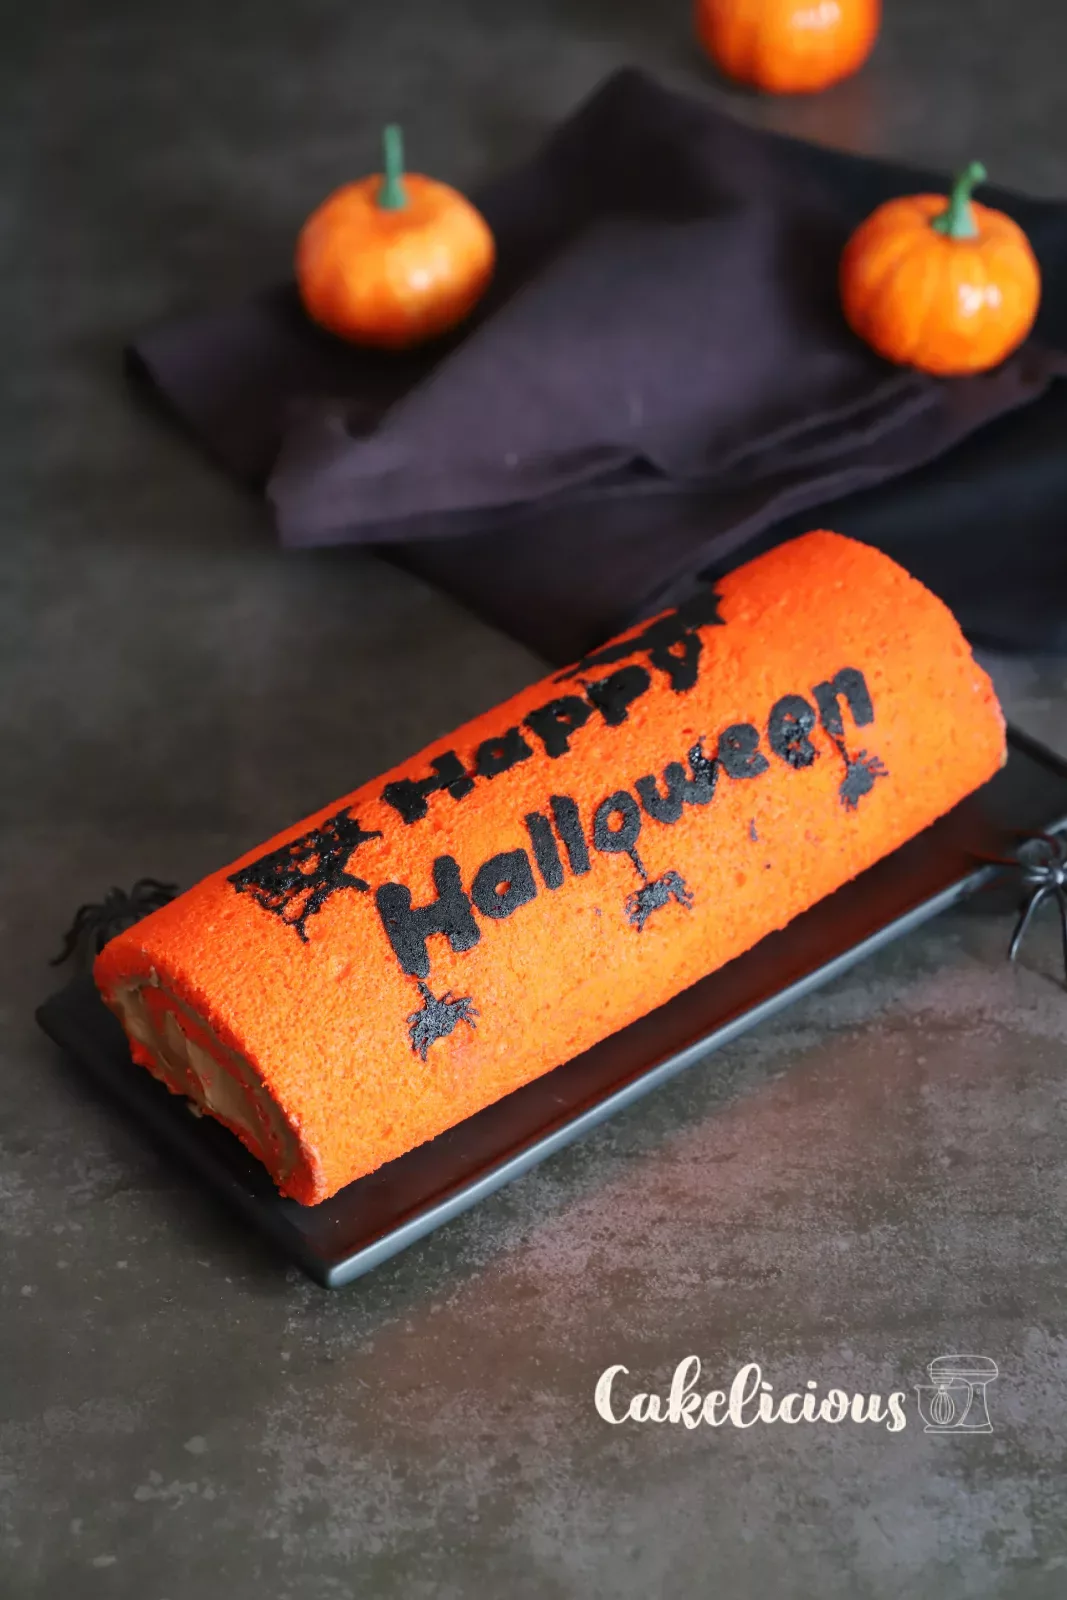
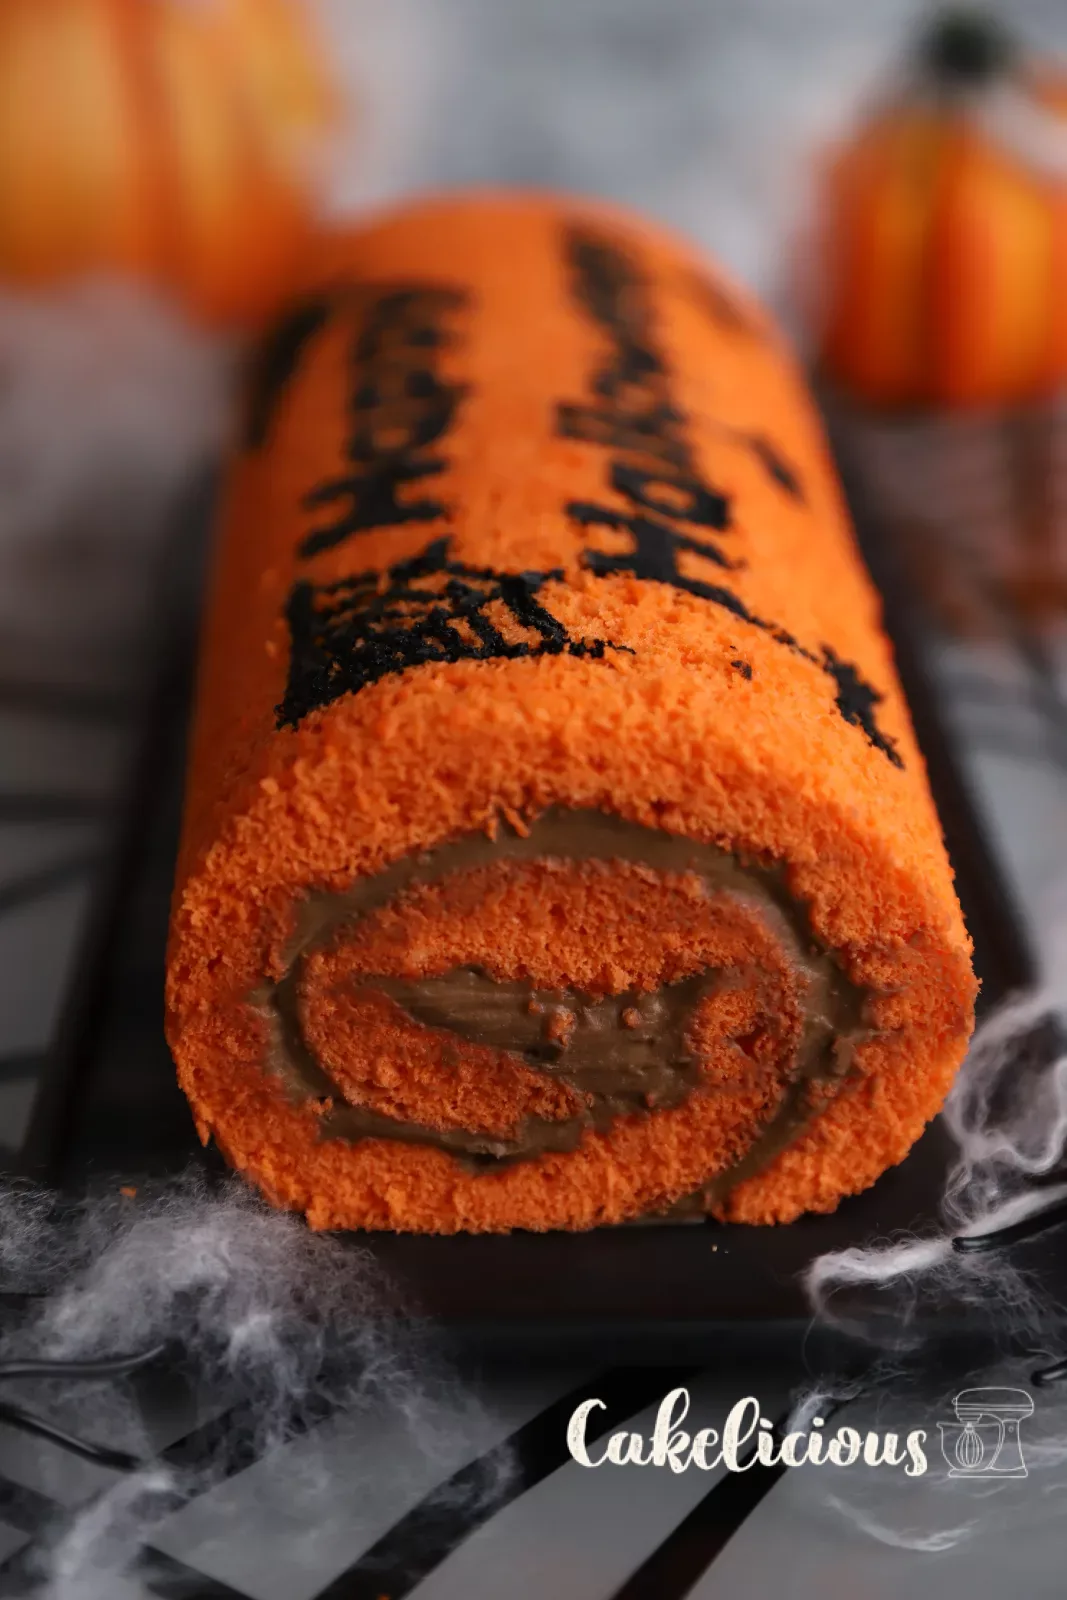
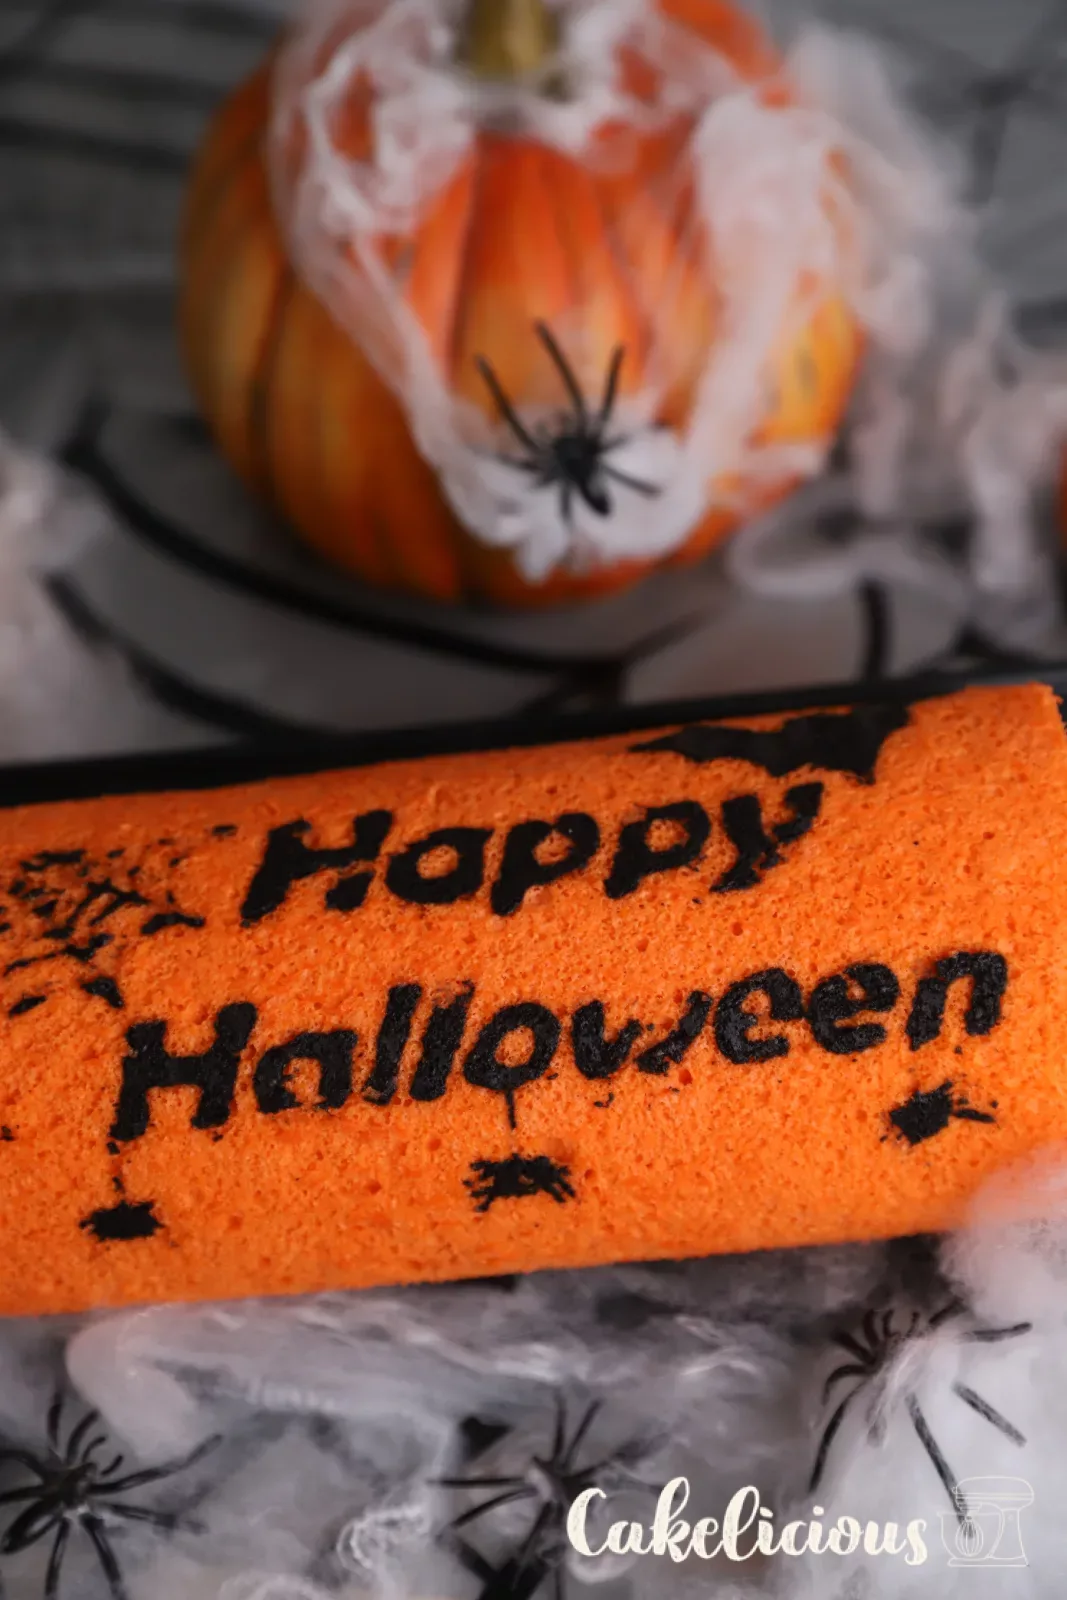
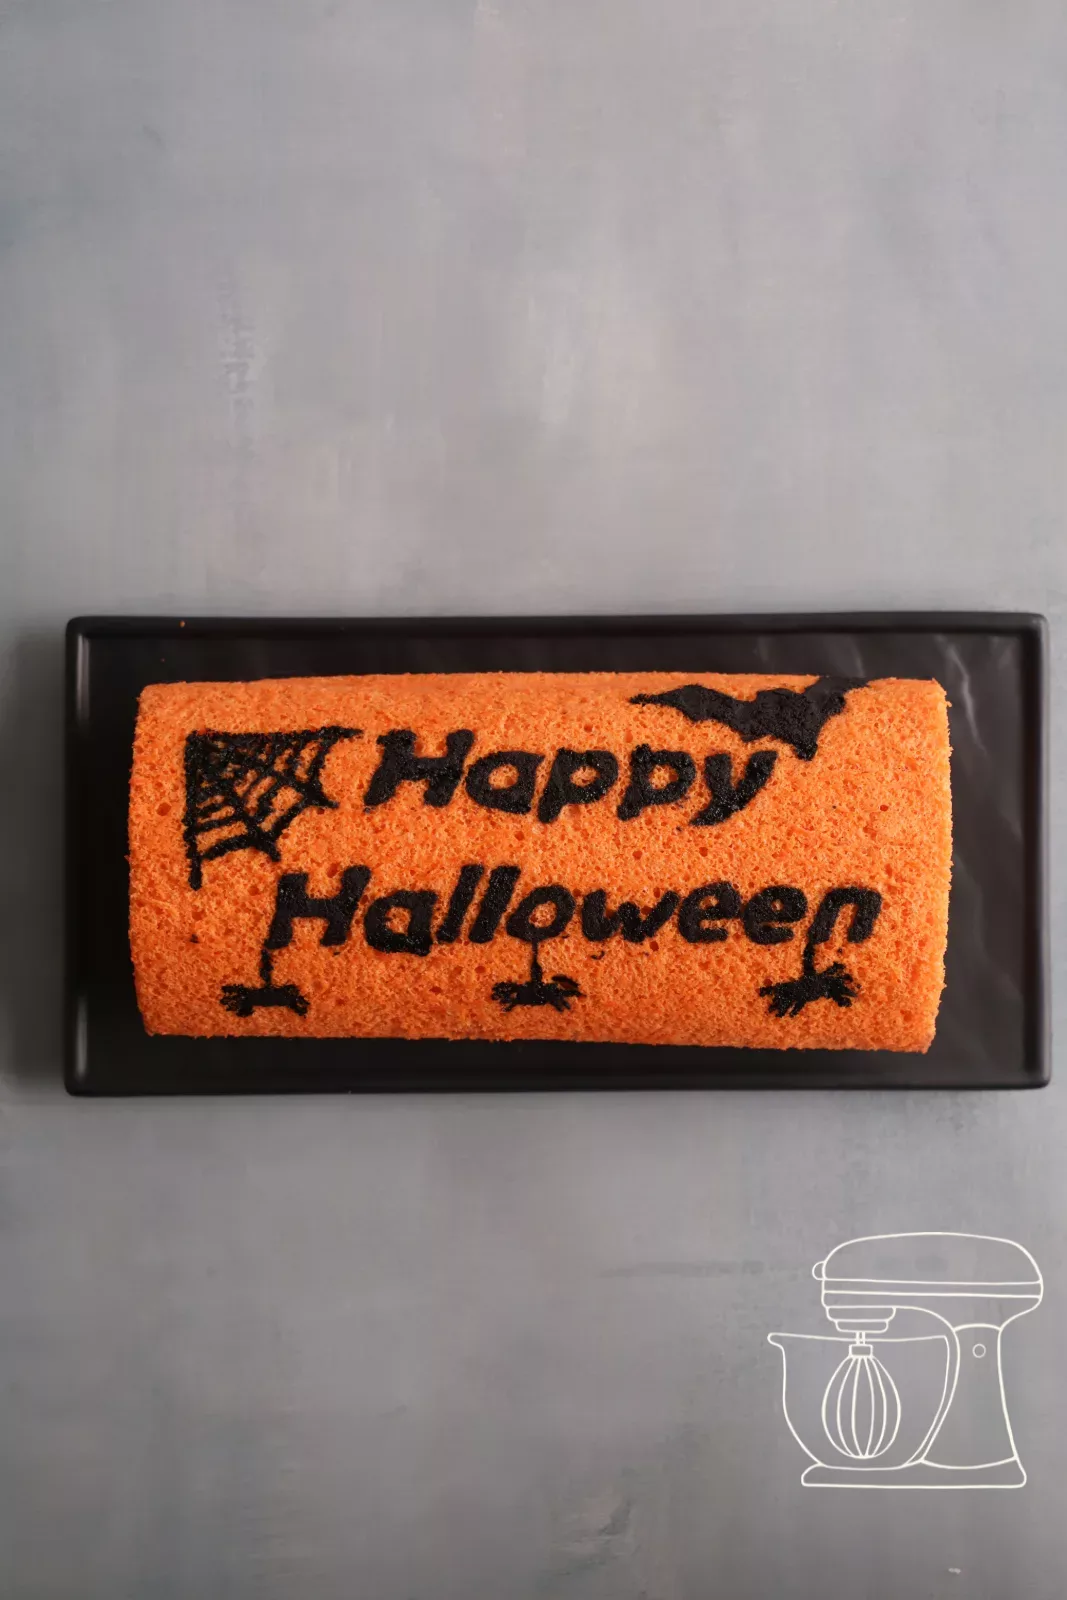
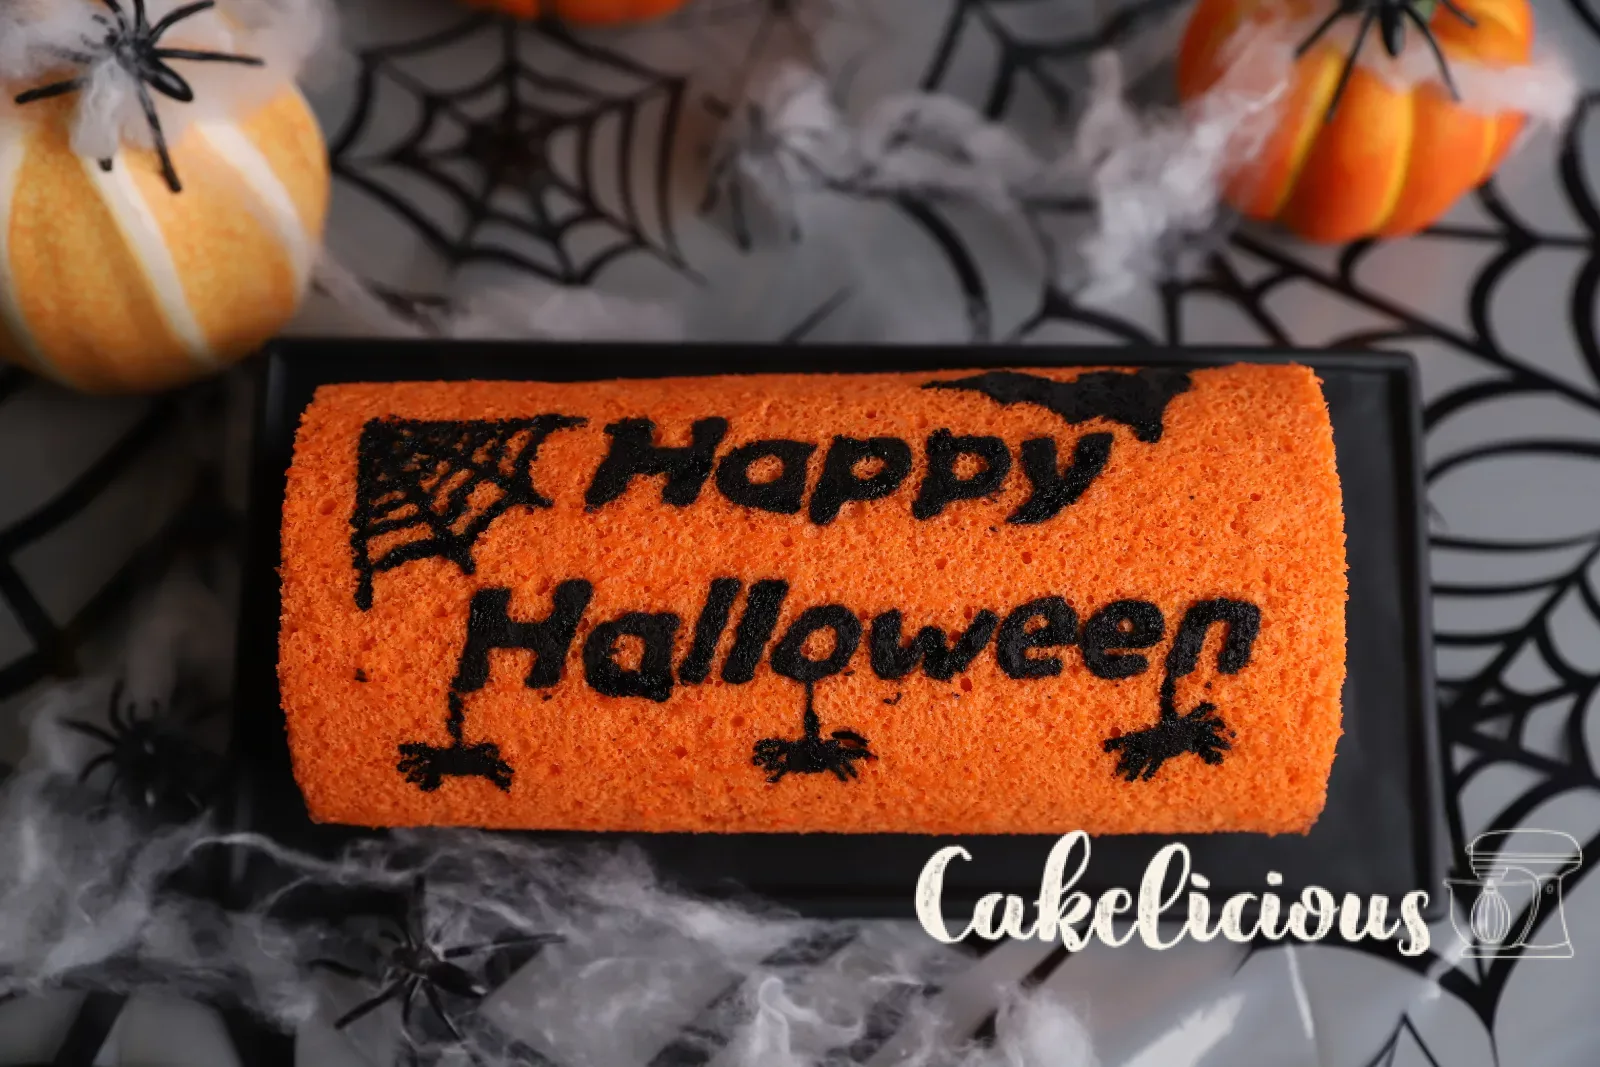
Hello you gourmets! This week we have another Halloween recipe for you, and it is easier than it looks. Our chocolate roulade consists of a bright orange sponge, with bats, spider webs and letters made from black cigarette paste baked right into it. It is filled with an airy Ganache of dark chocolate, milk chocolate and praline. Not a Halloween fan? Then simply choose other colours and motifs, and this chocolate sponge roulade suits any occasion.
Ingredients
Chocolate praline Ganache
Cigarette paste
Sponge
Step by step
Chocolate praline Ganache
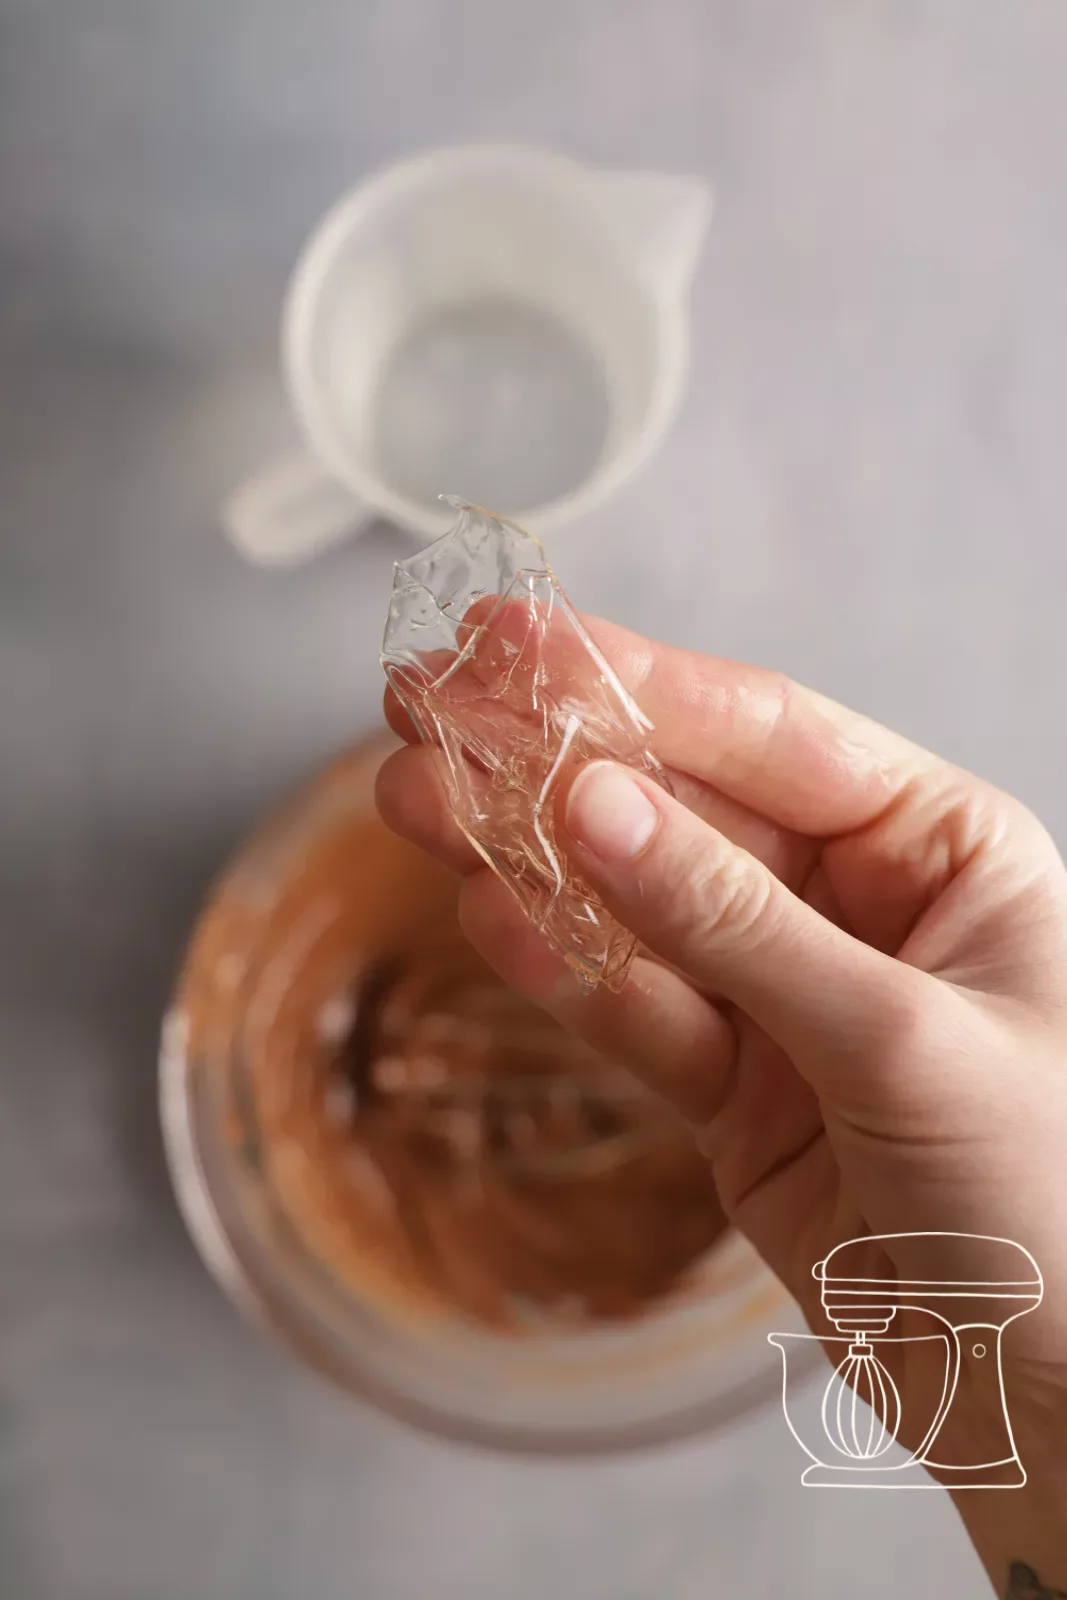
Soak the Gelatine
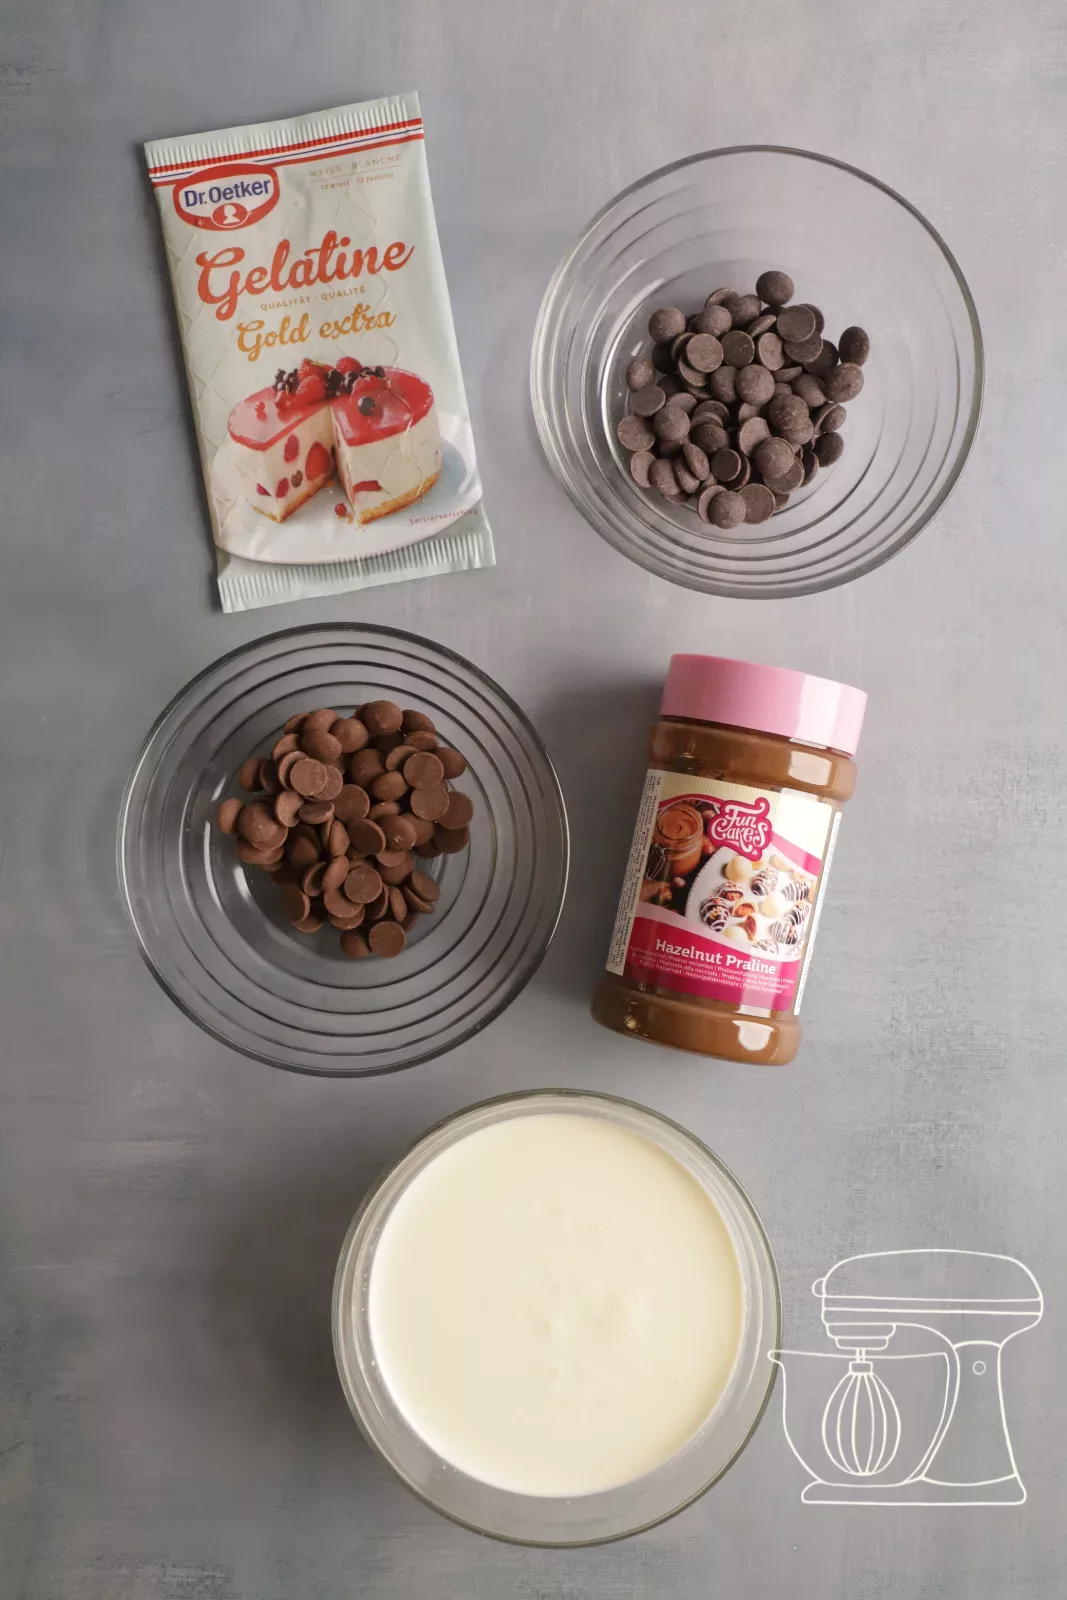
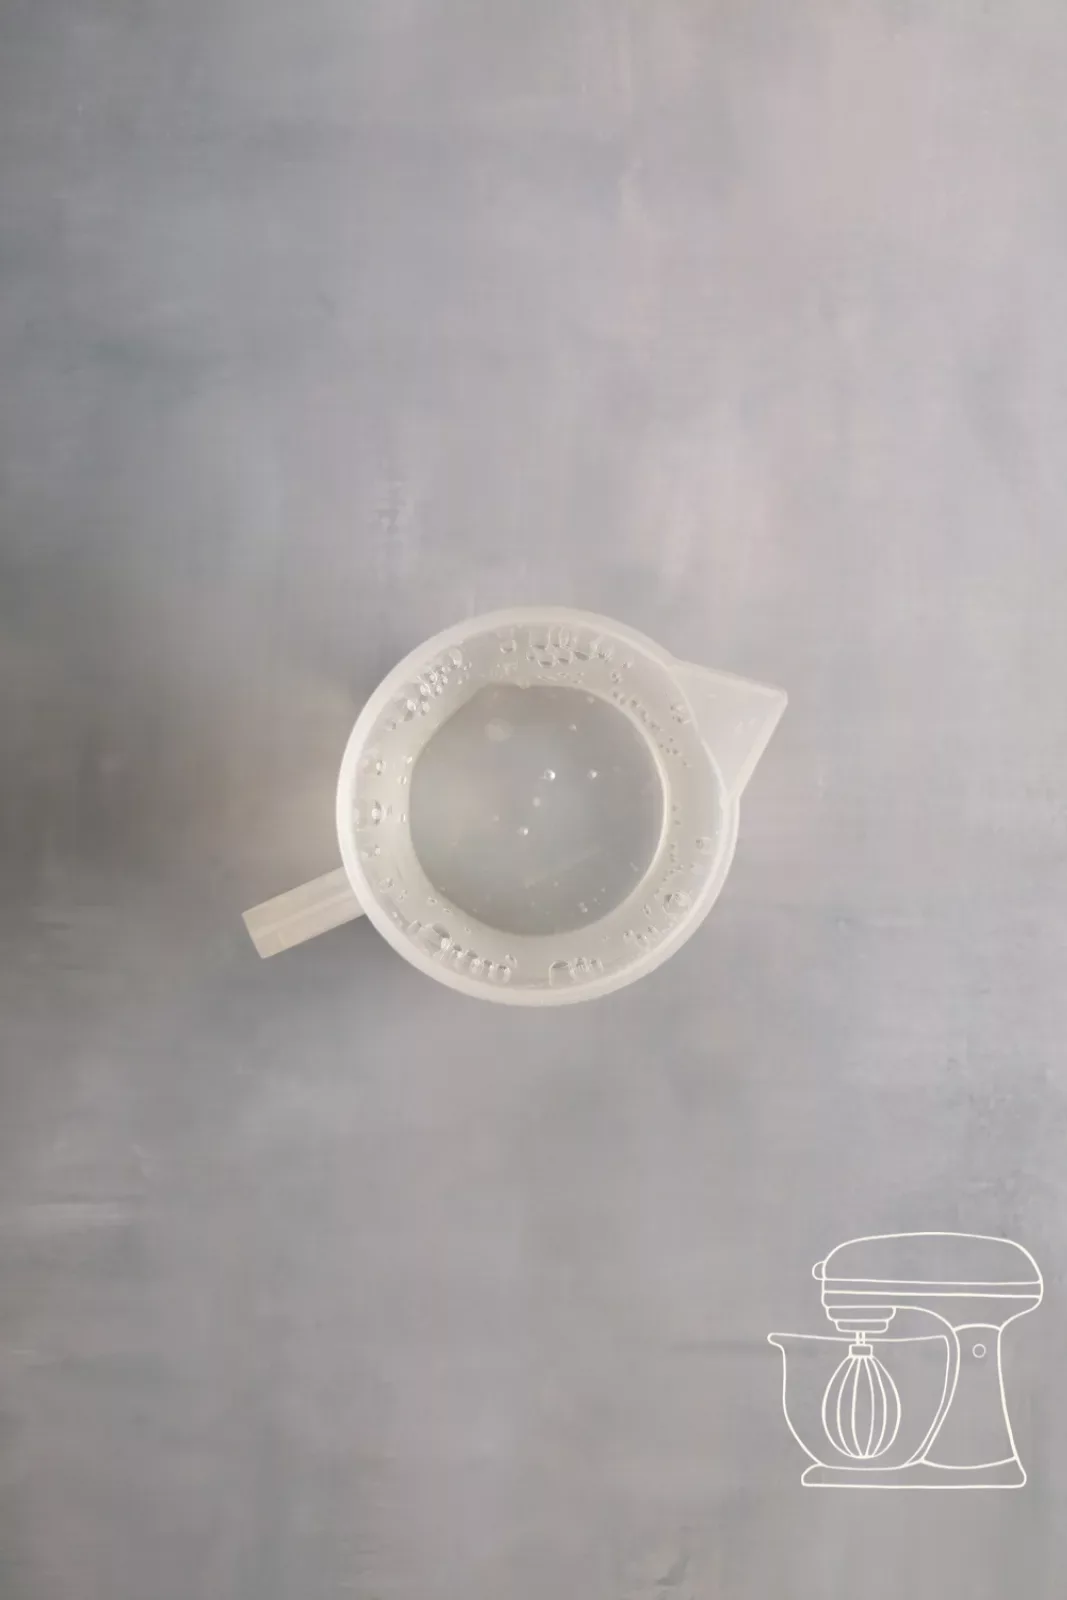
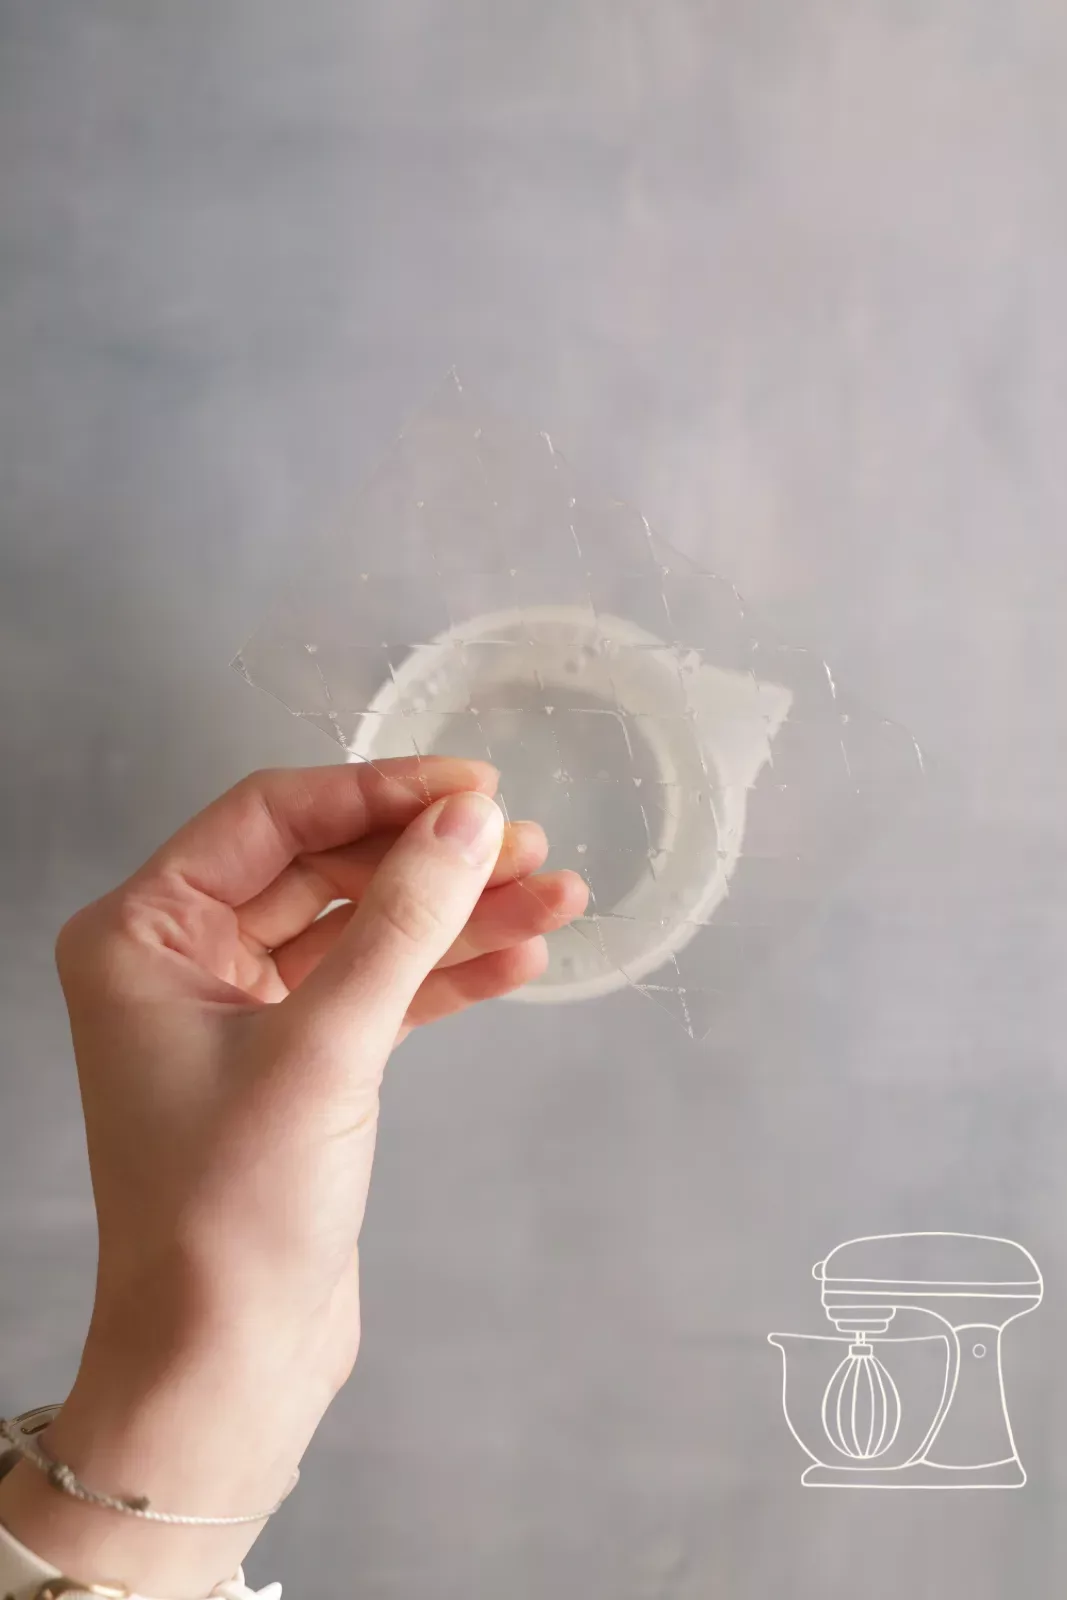
We start with the Ganache so that it has enough time to set in the fridge. Soak 1 leaf of Gelatine in cold water.
Chocolate and praline
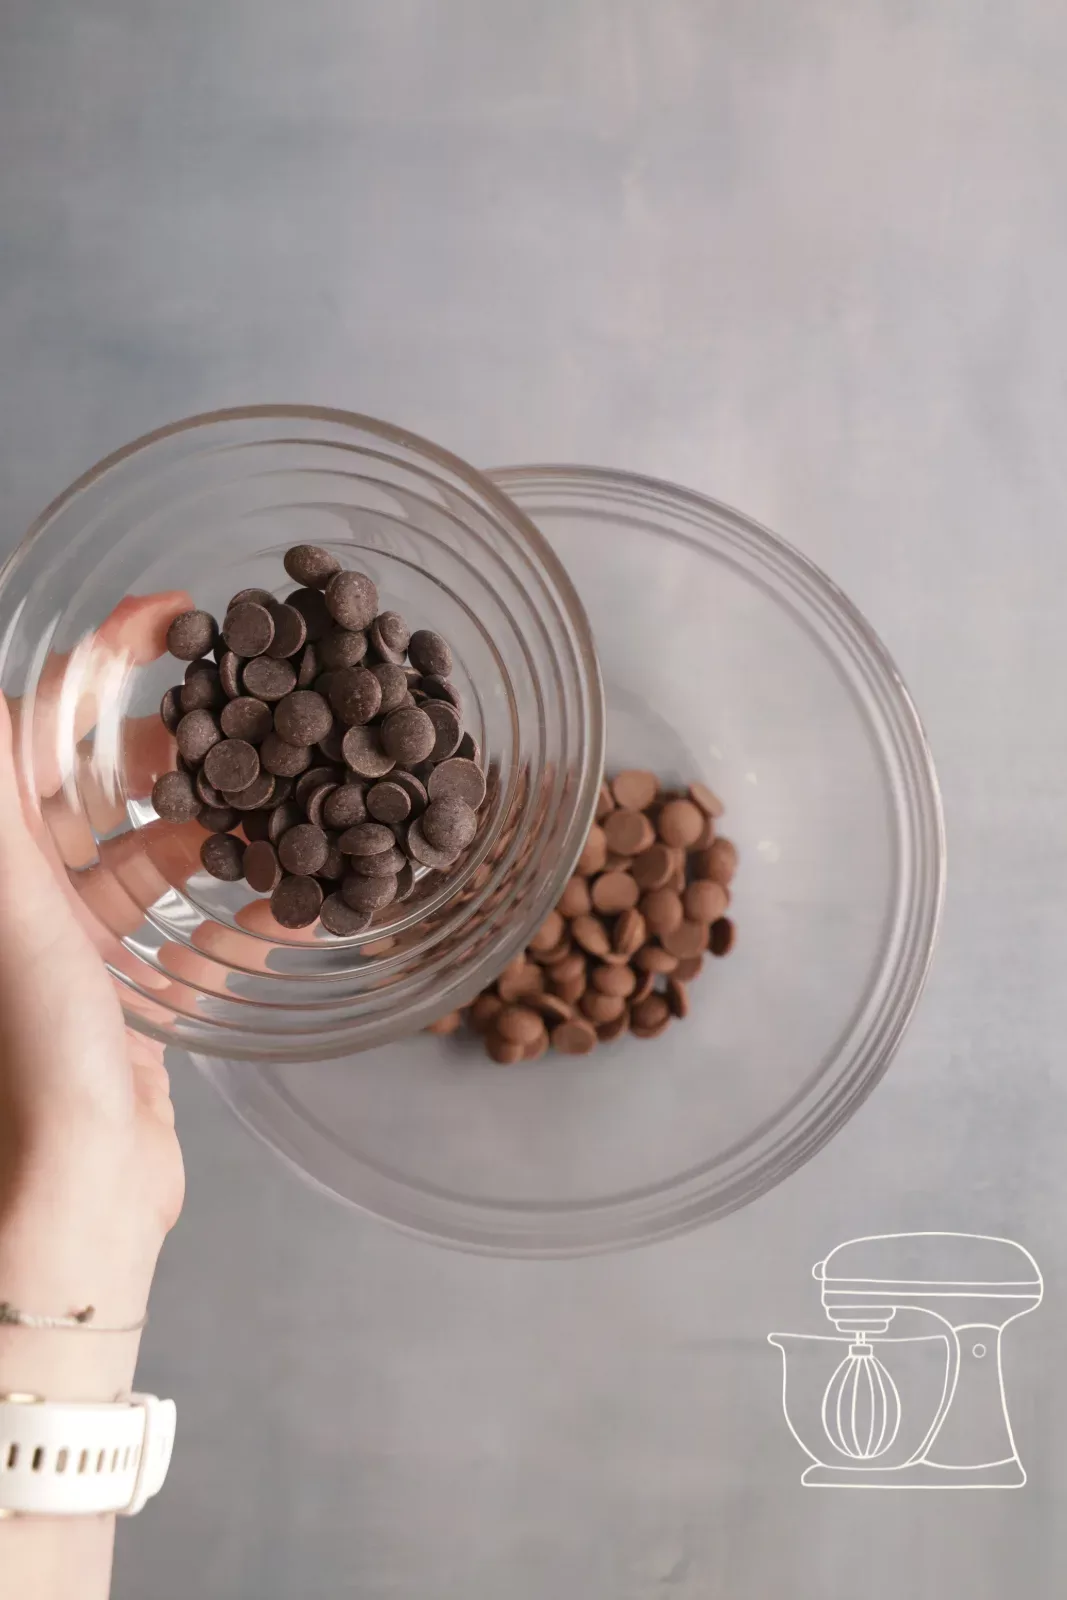
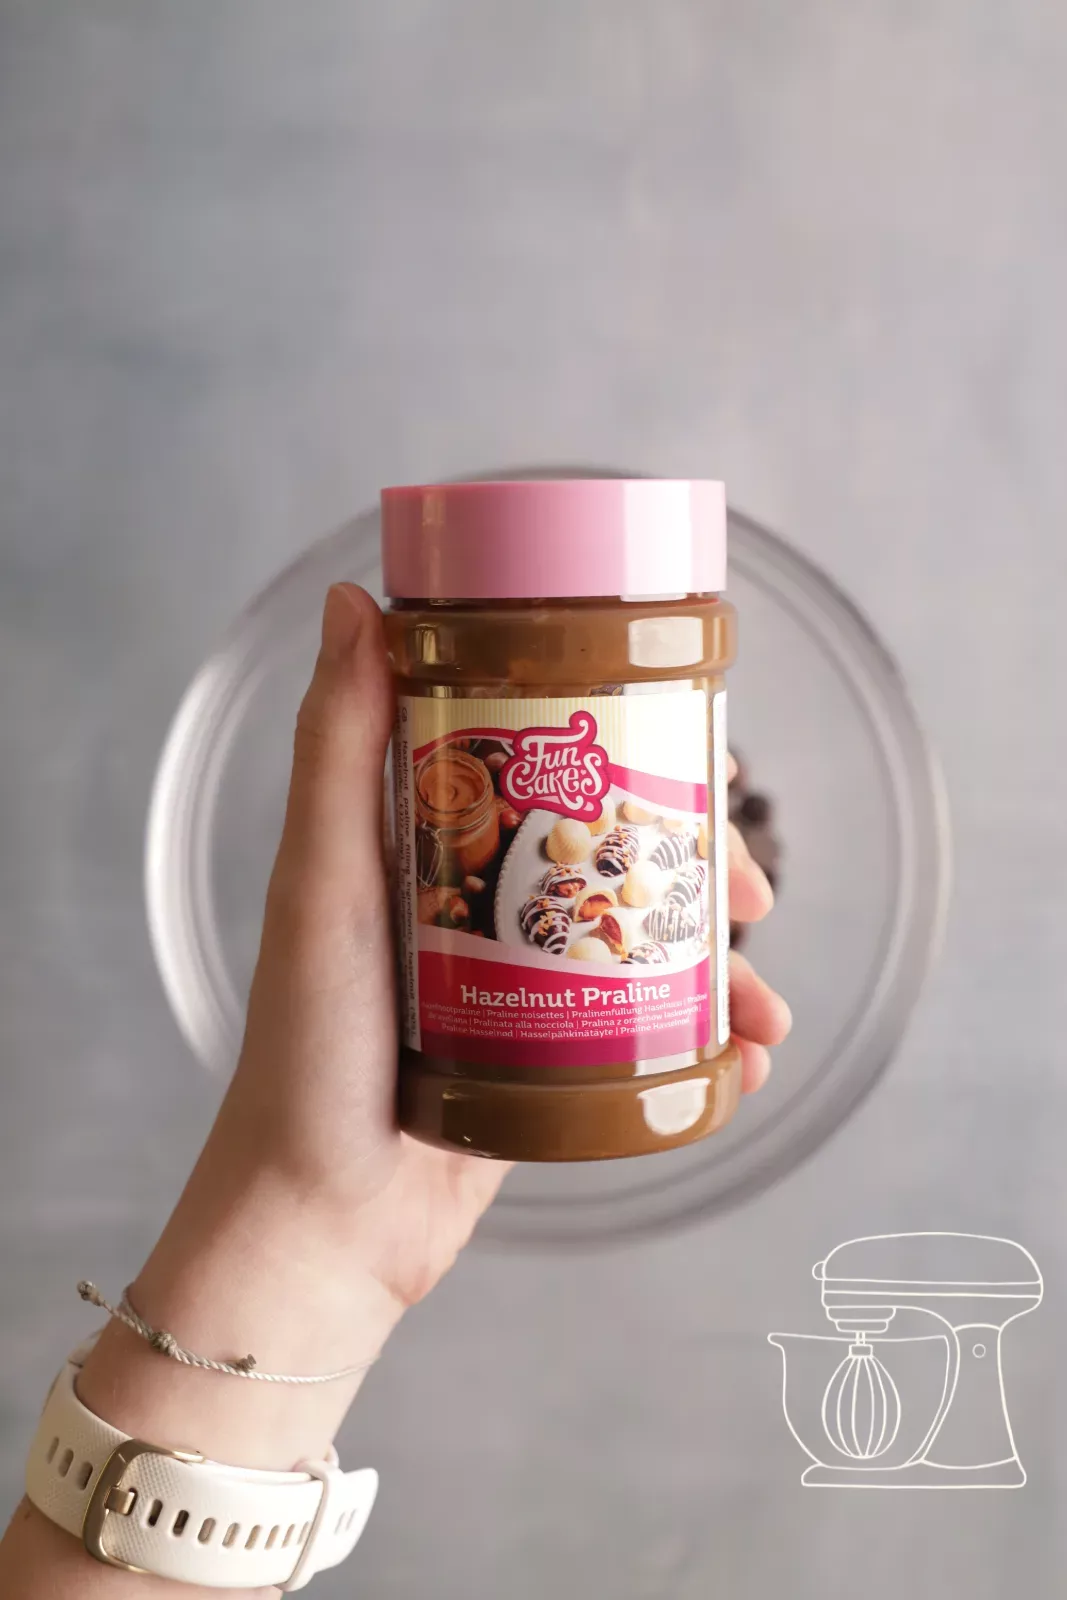
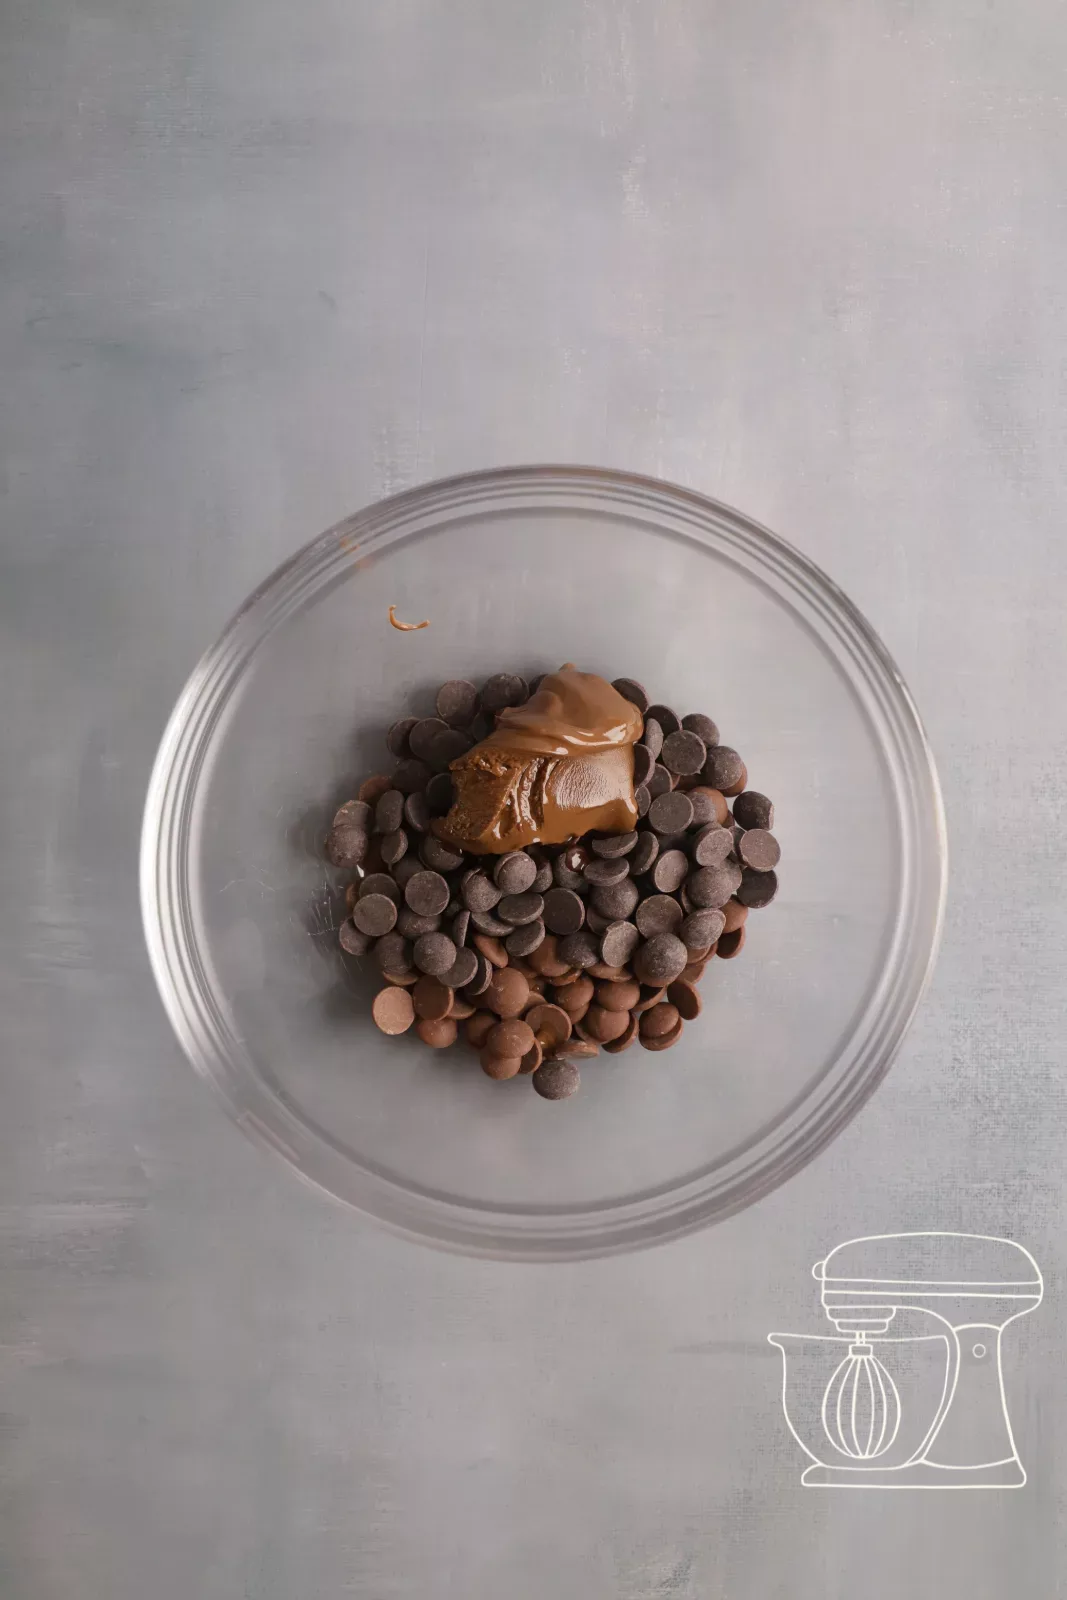
Put 50 g of Milk chocolate, 50 g of Dark chocolate and 30 g of praline into a large Bowl. The combination of the two chocolates gives a rich but not too bitter flavour.
RUF Gelatine leaves, 12 pieces
Dark chocolate for melting
Milk chocolate for melting
Praline paste almond/hazelnut
Melting
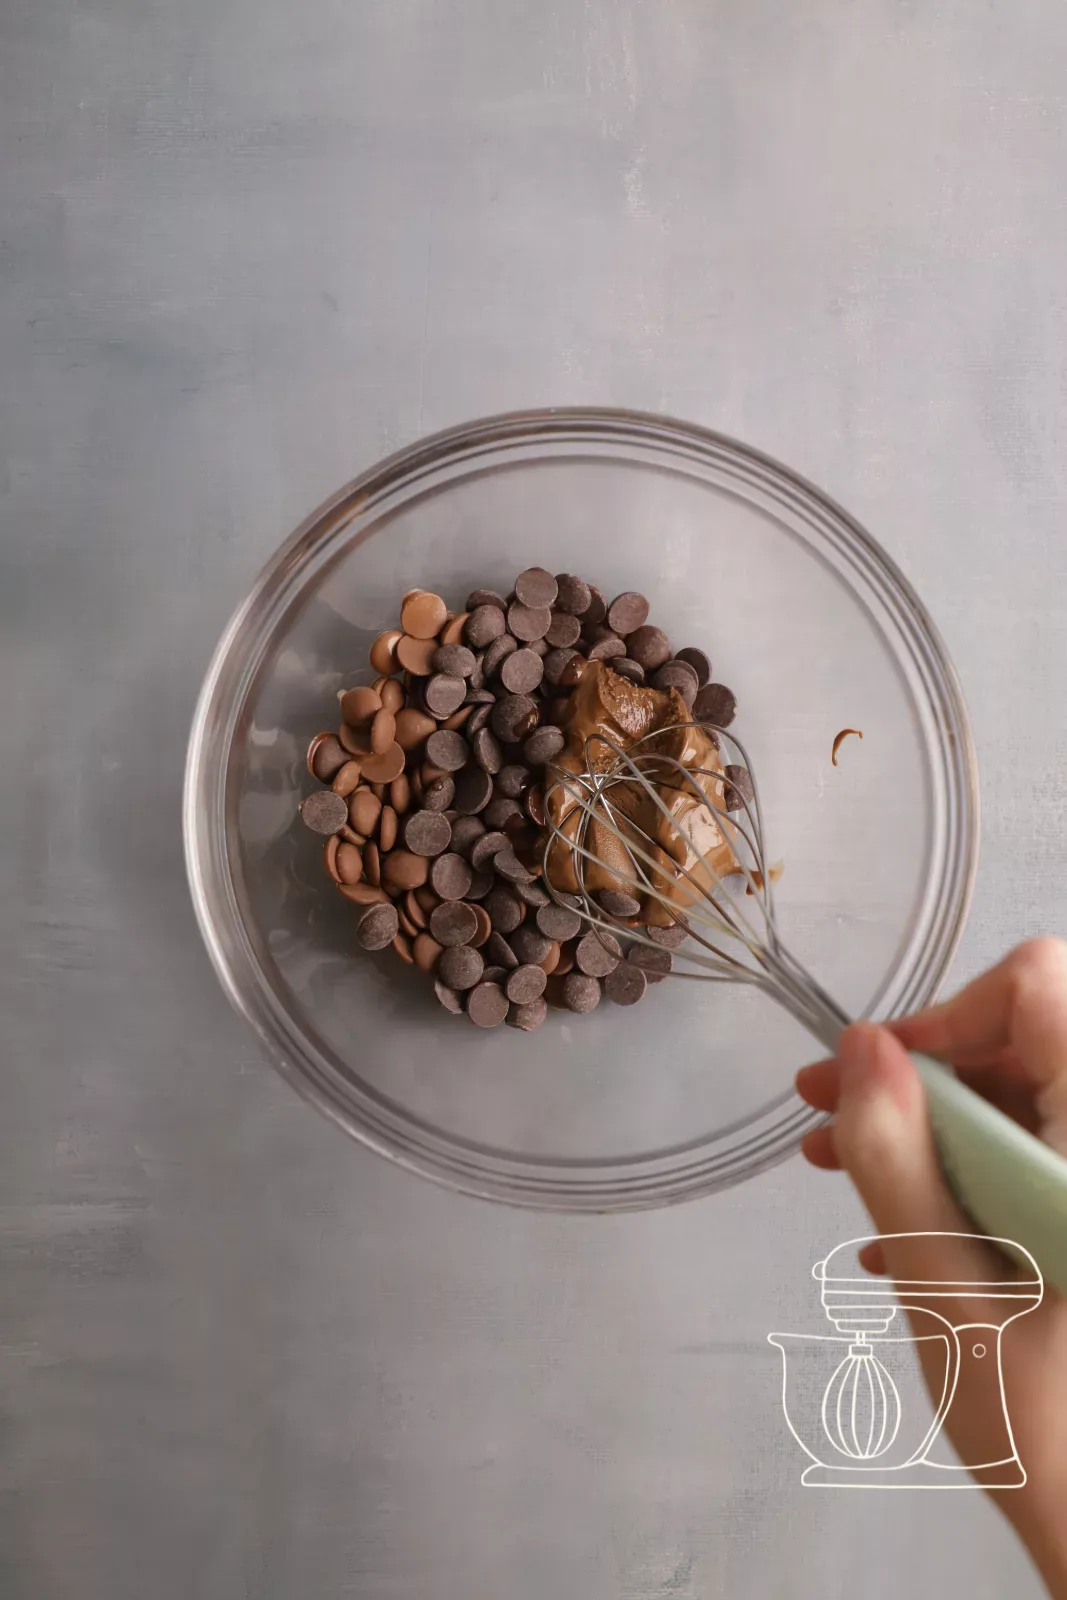
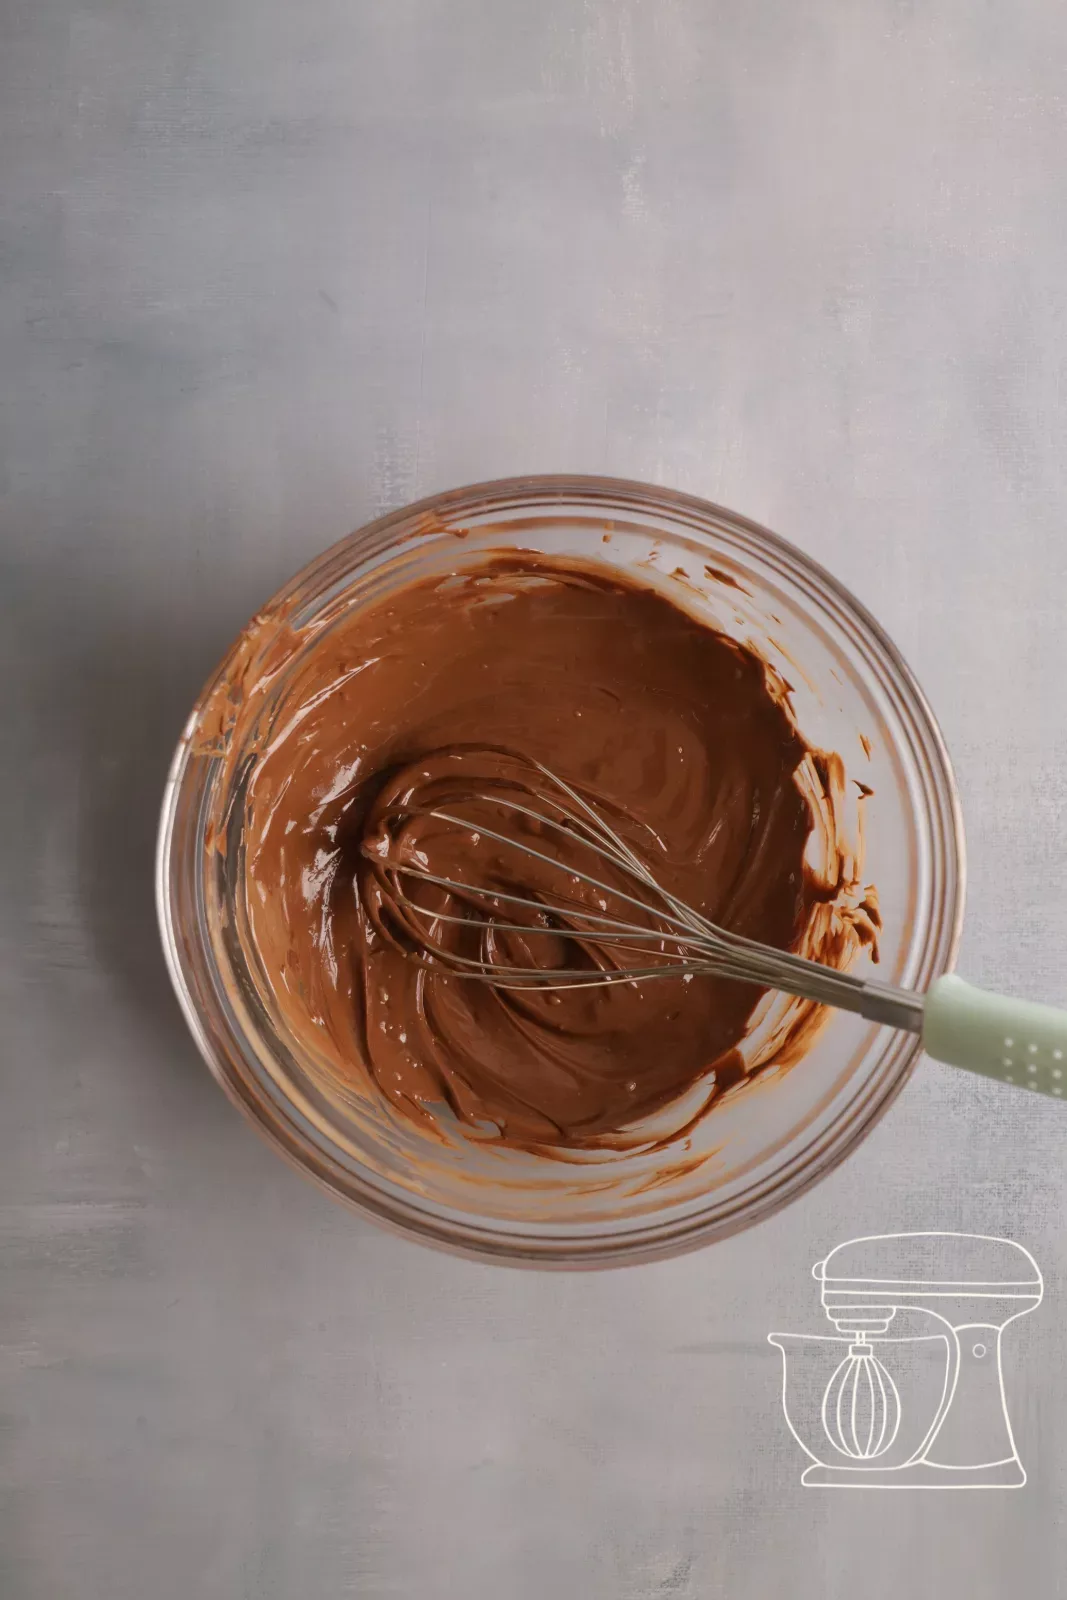
Heat the mixture for 1 minute 30 seconds at 600 watts in the microwave, stirring with the Whisk every 30 seconds. Squeeze out the Gelatine and place it on the almost melted chocolate.
Bring the cream to the boil
Heat 240 g of full cream in a pot and take it off the heat as soon as it comes to the boil.
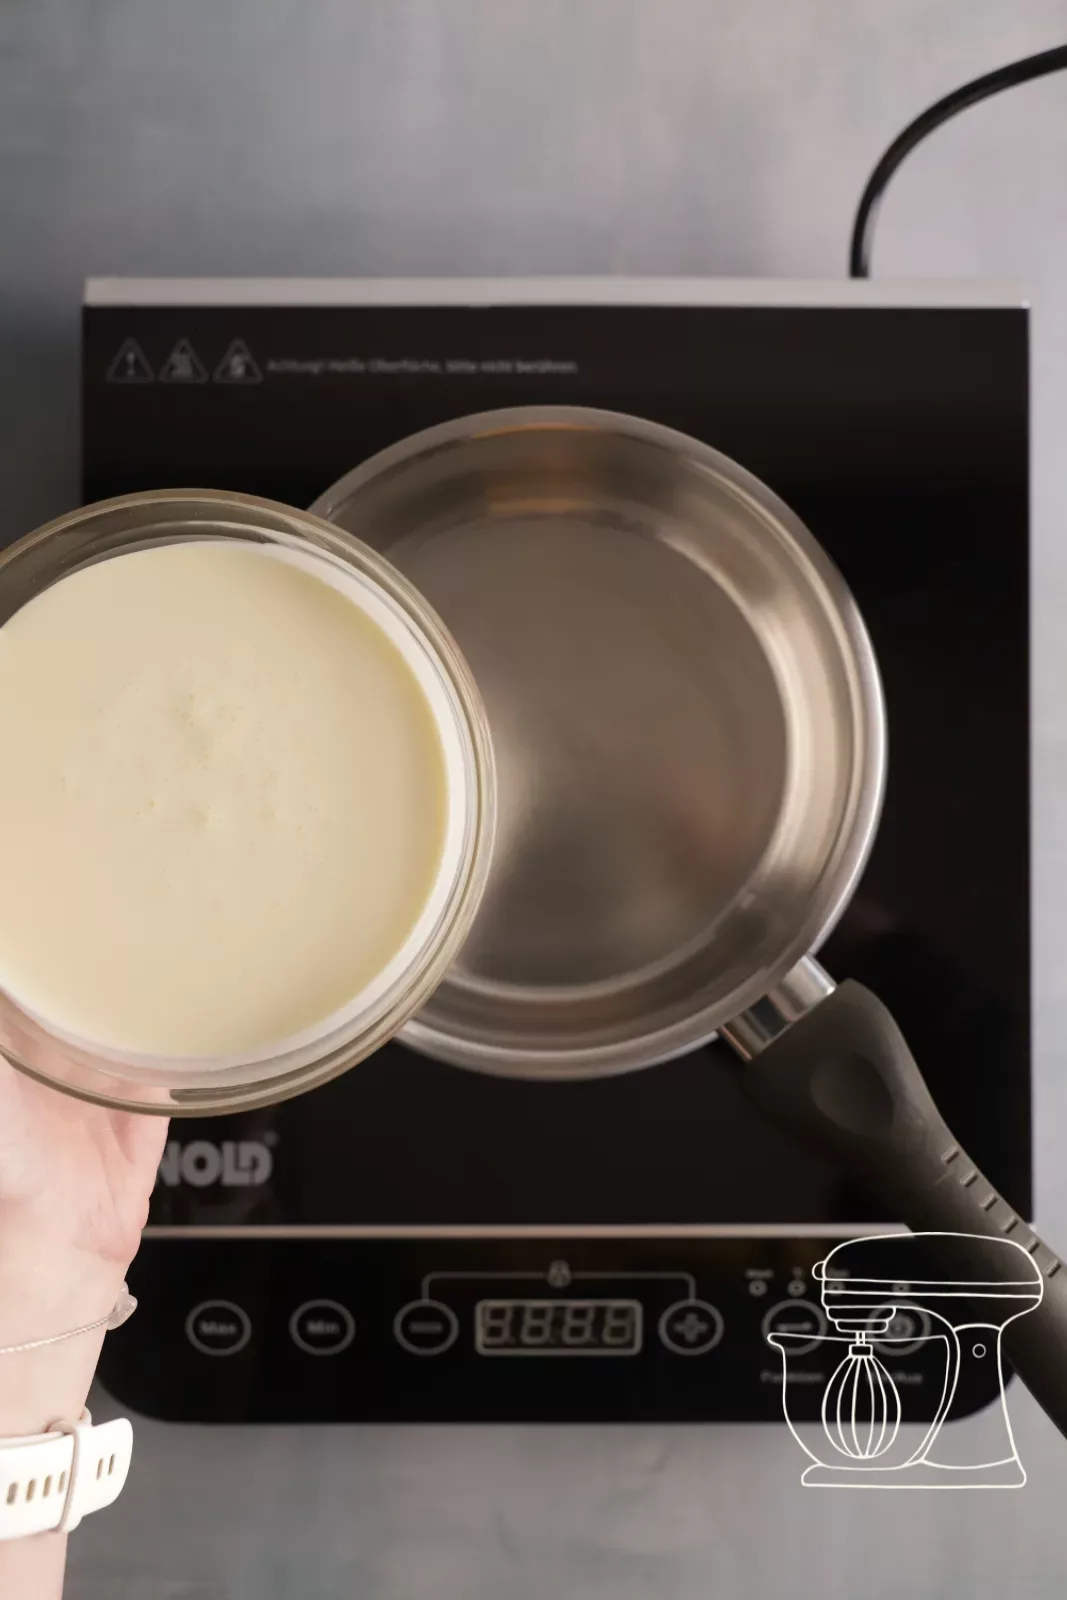
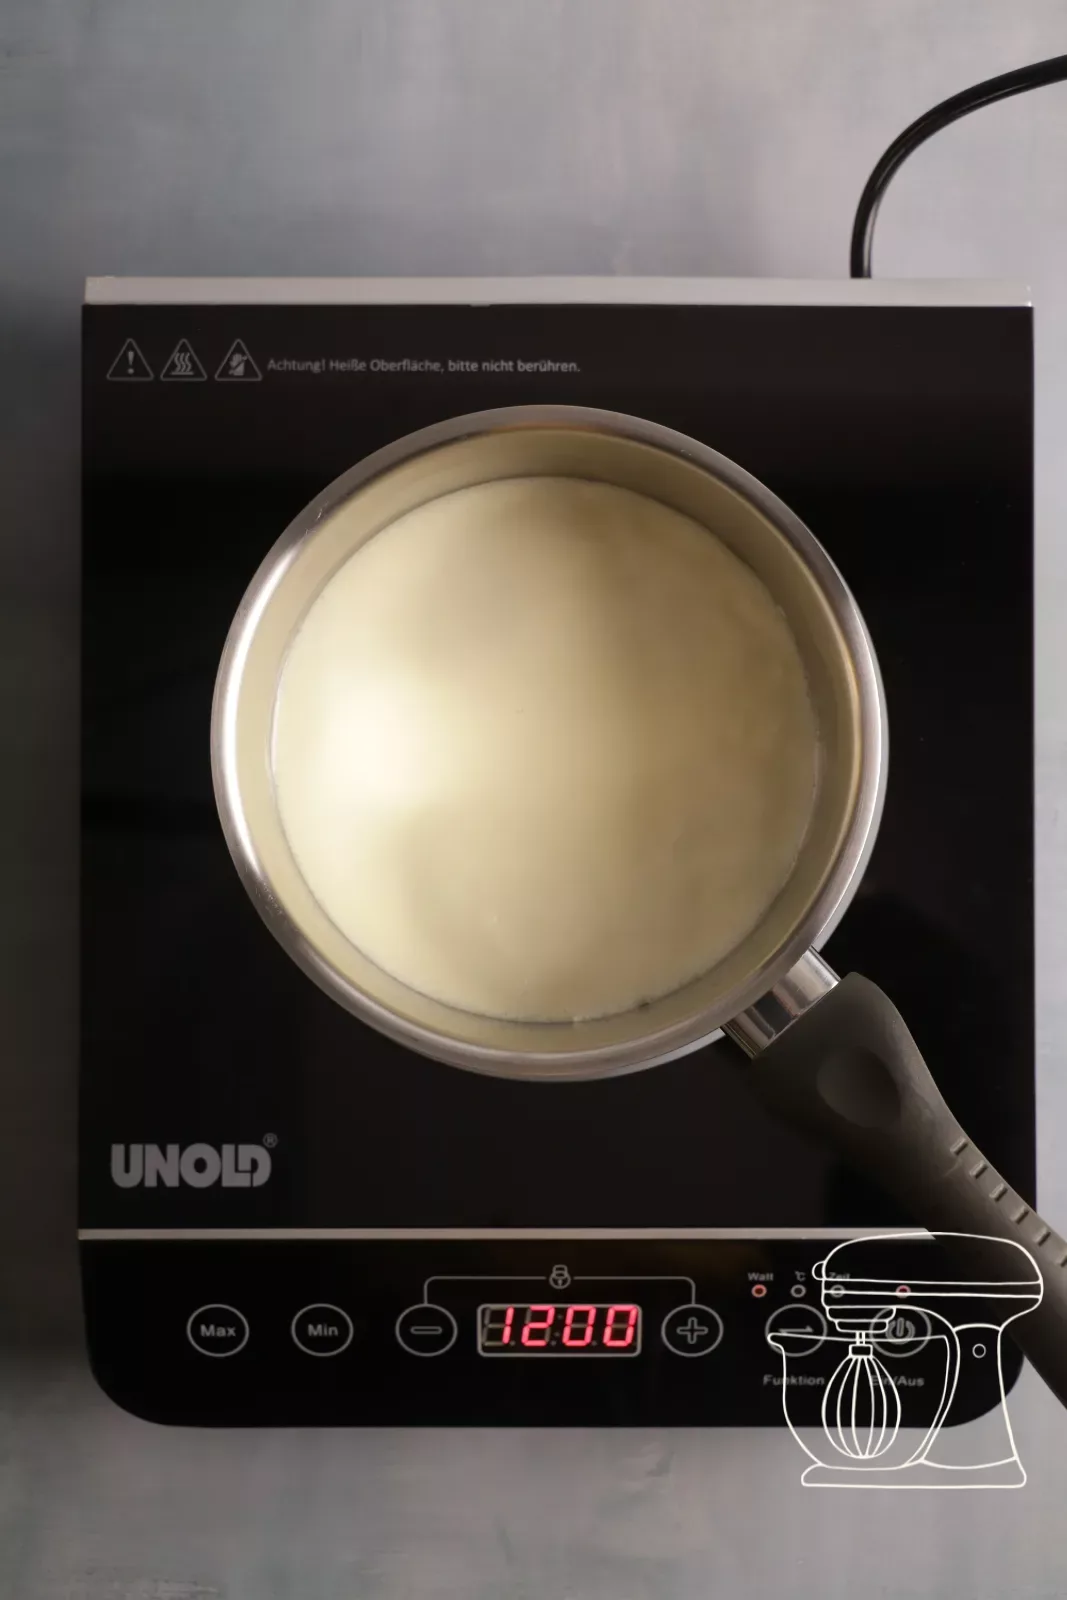
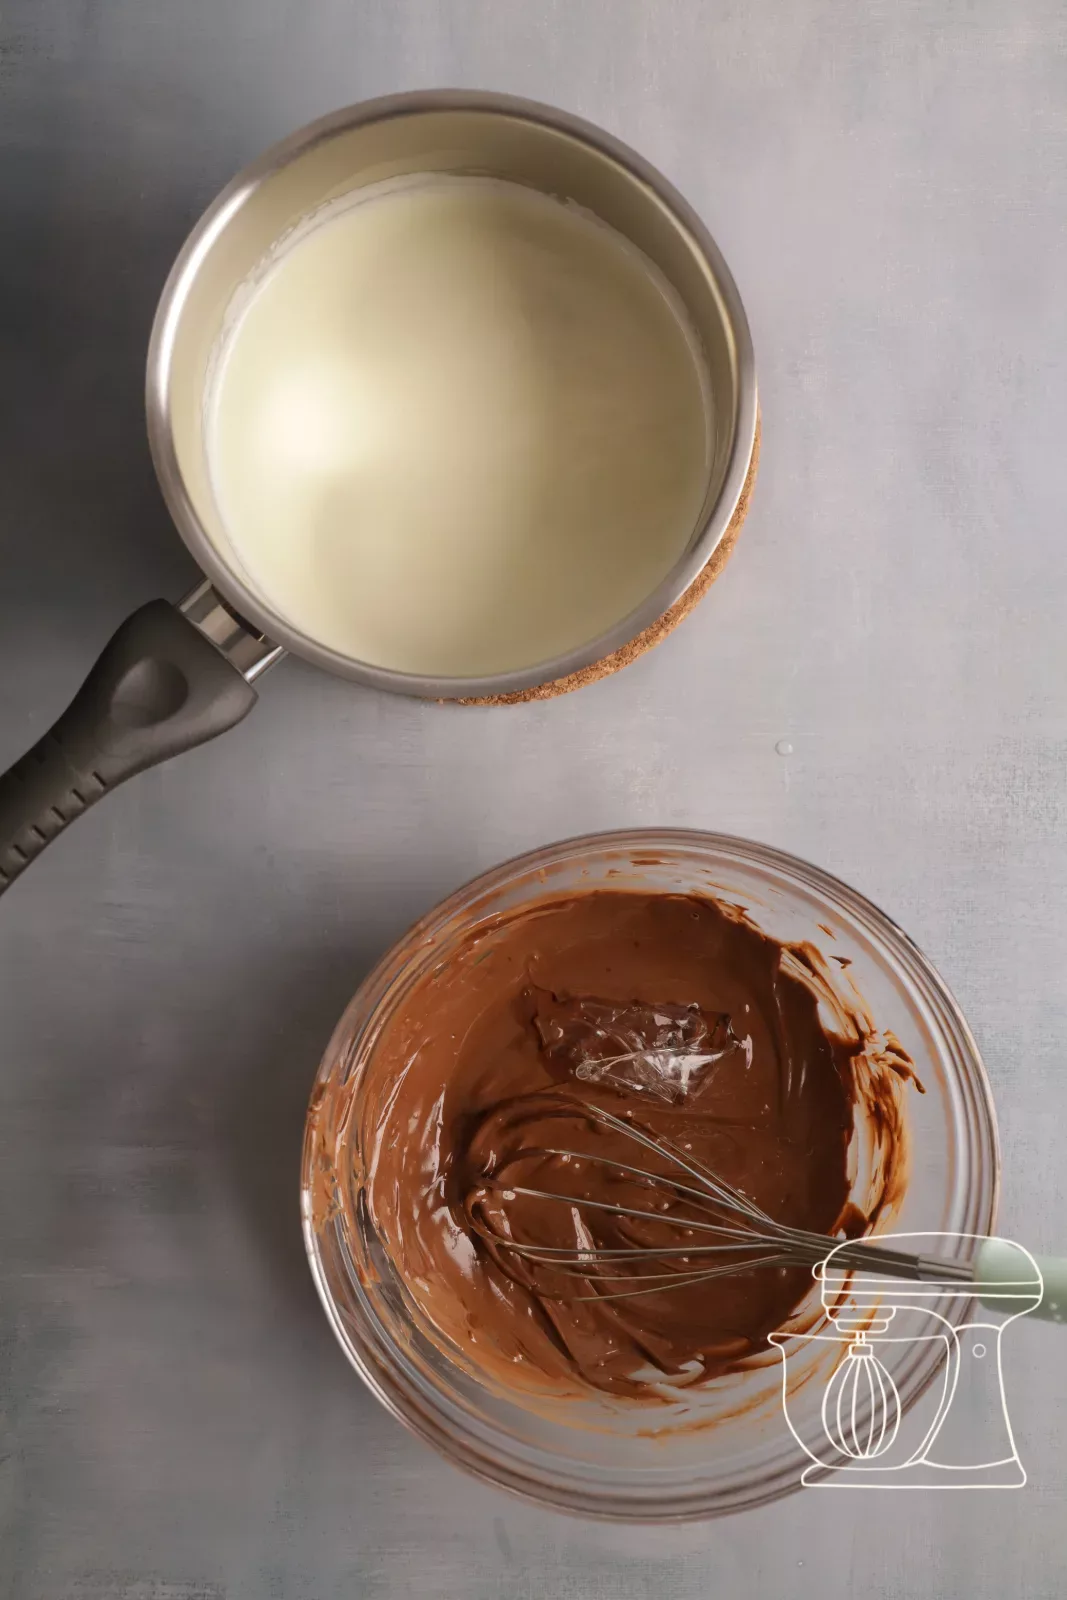
Emulsify in three portions
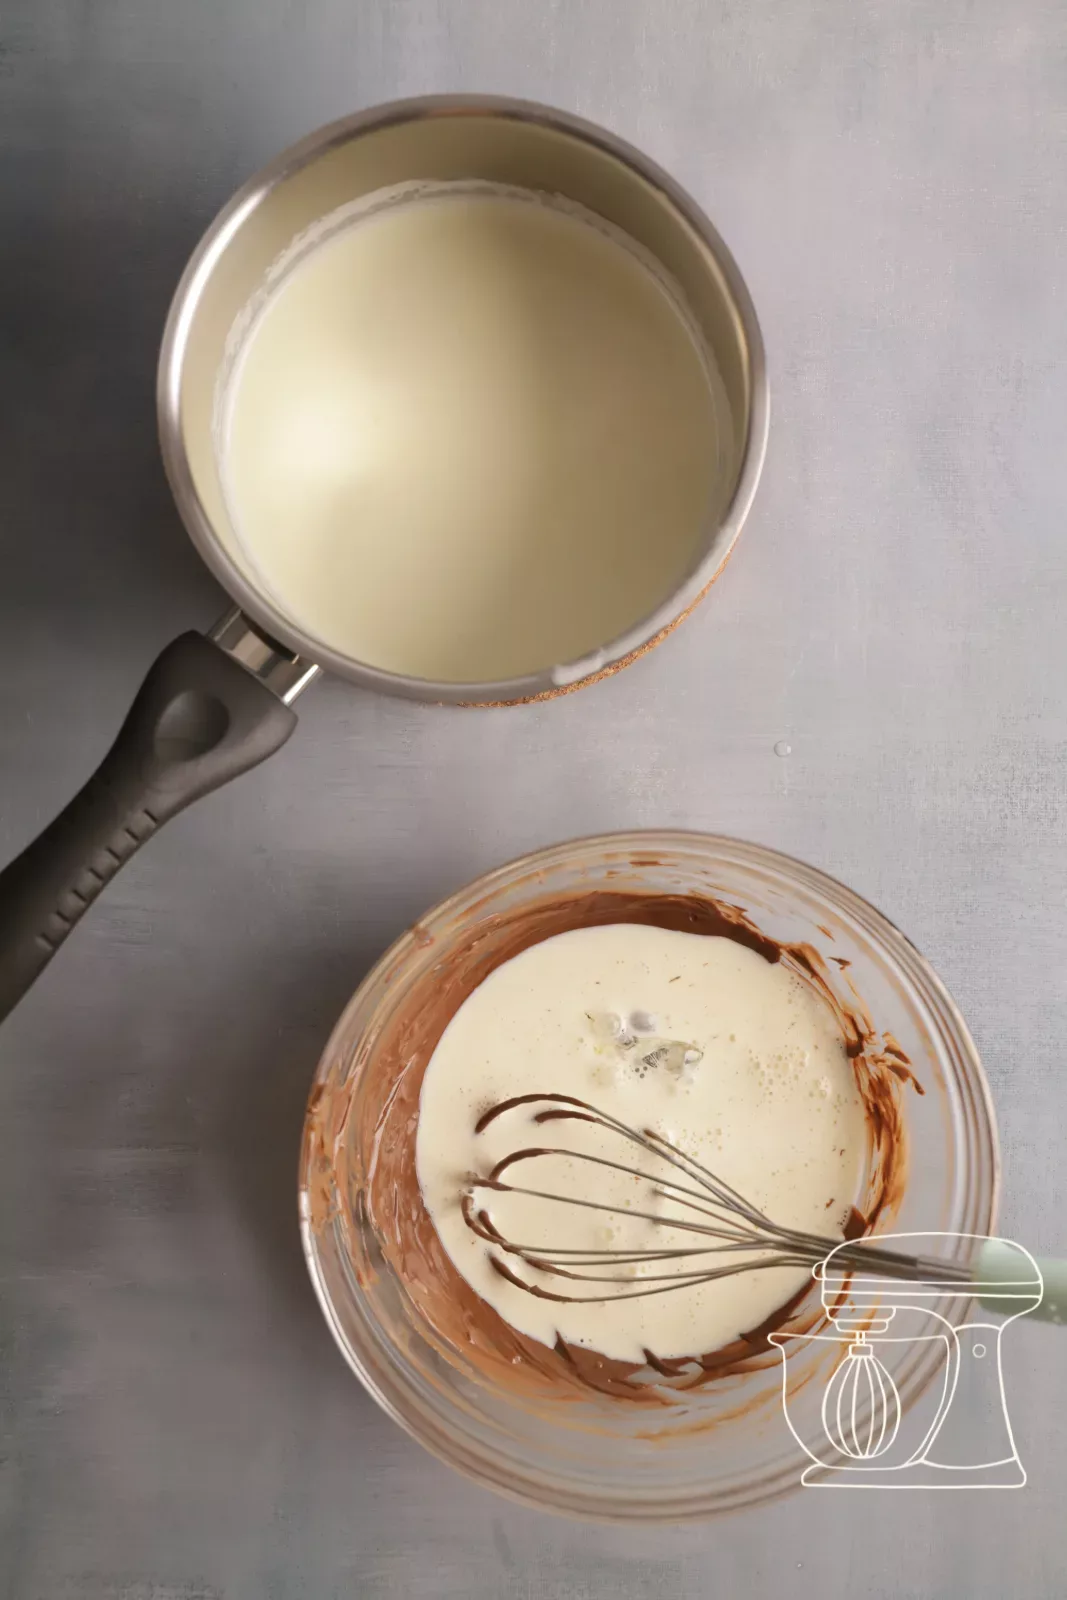
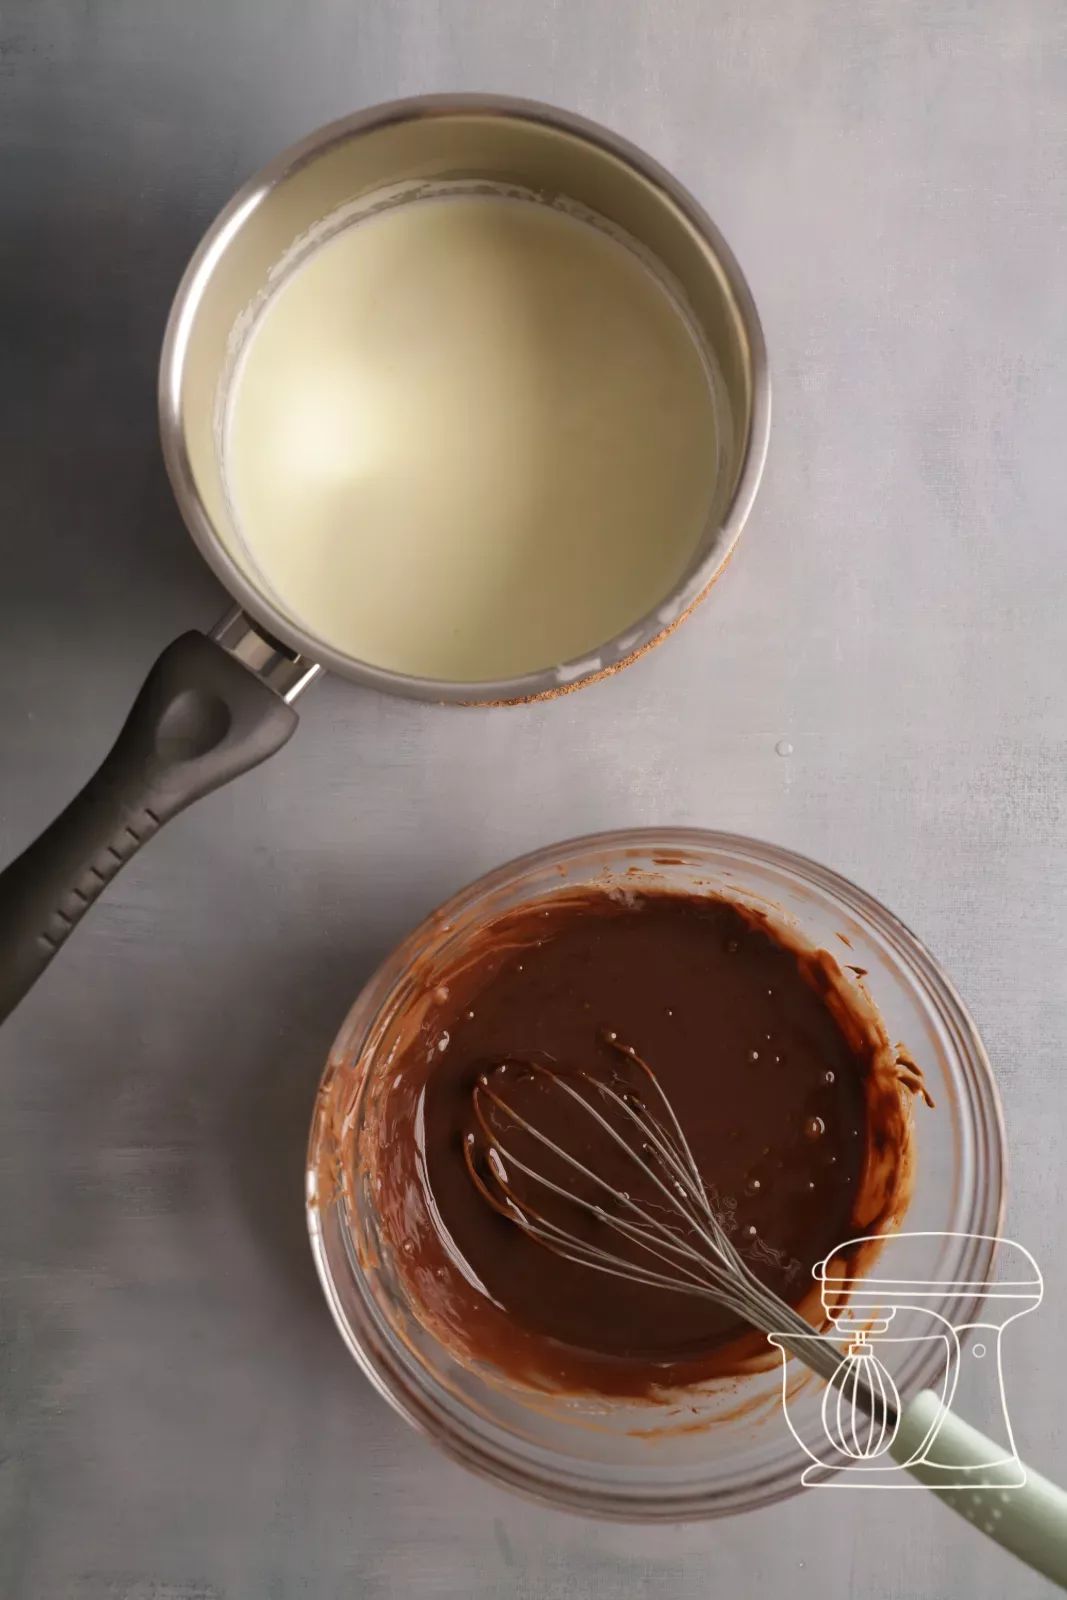
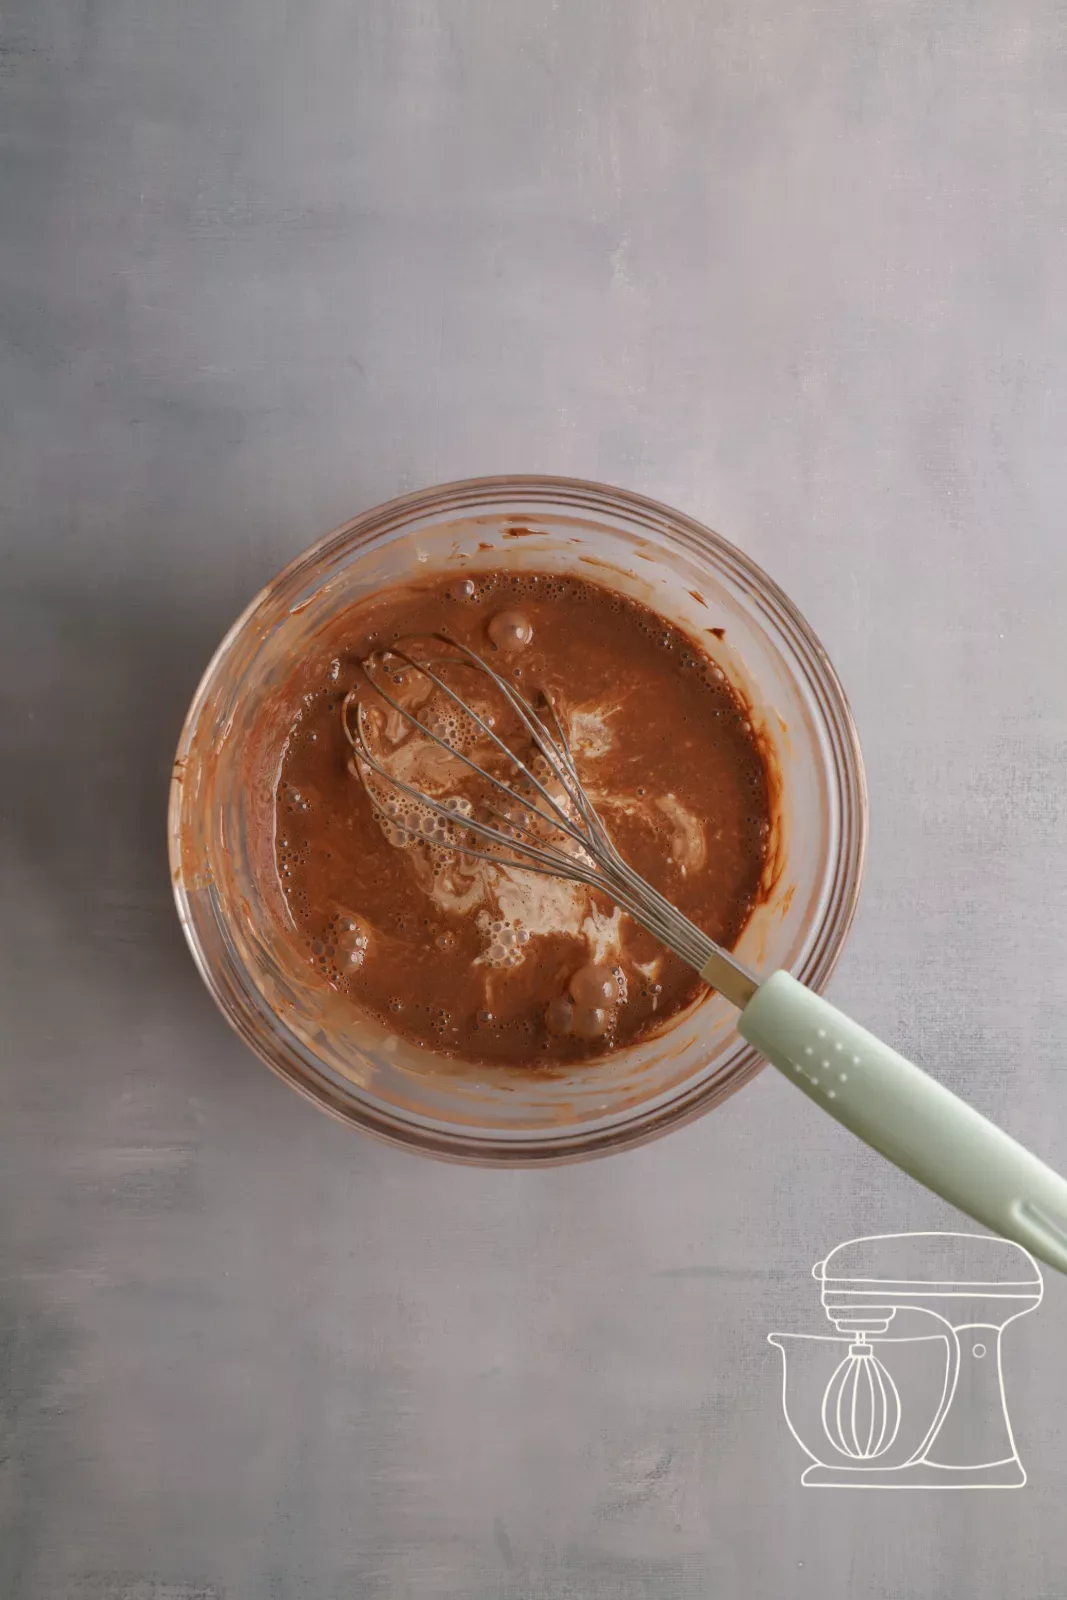
Pour the cream over the chocolate in 3 portions and stir well between each addition. This is the only way to create a stable emulsion, otherwise the Ganache can split.
Chilling
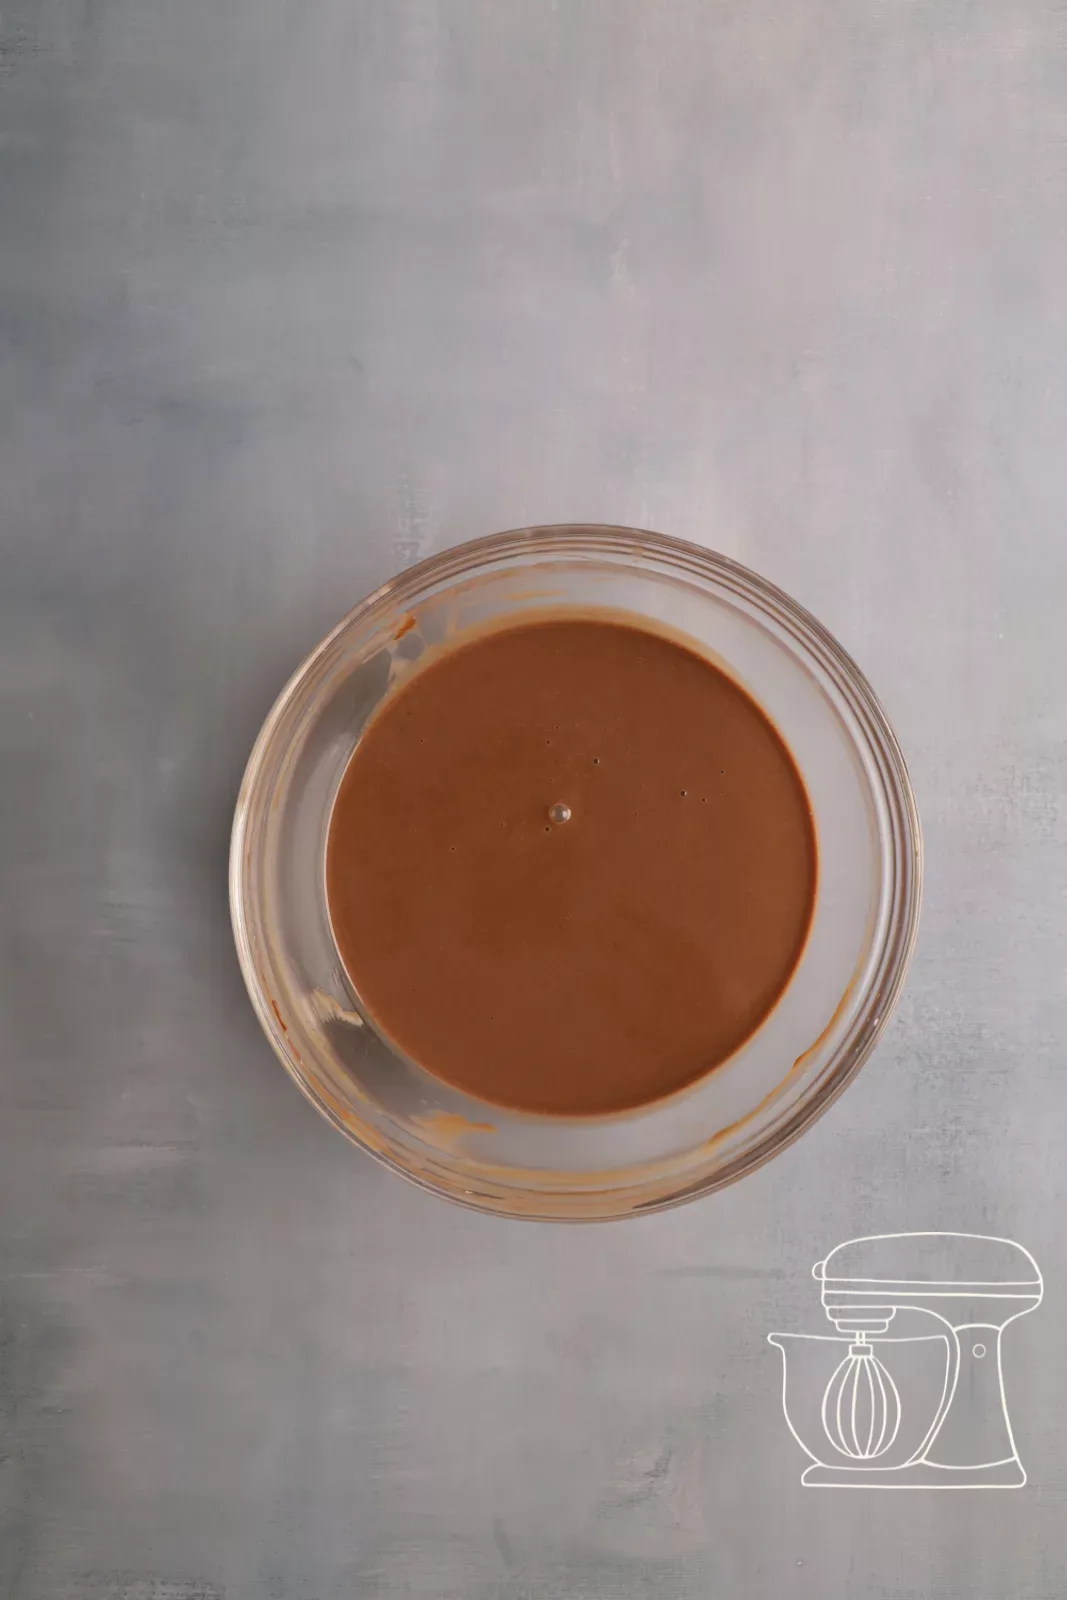
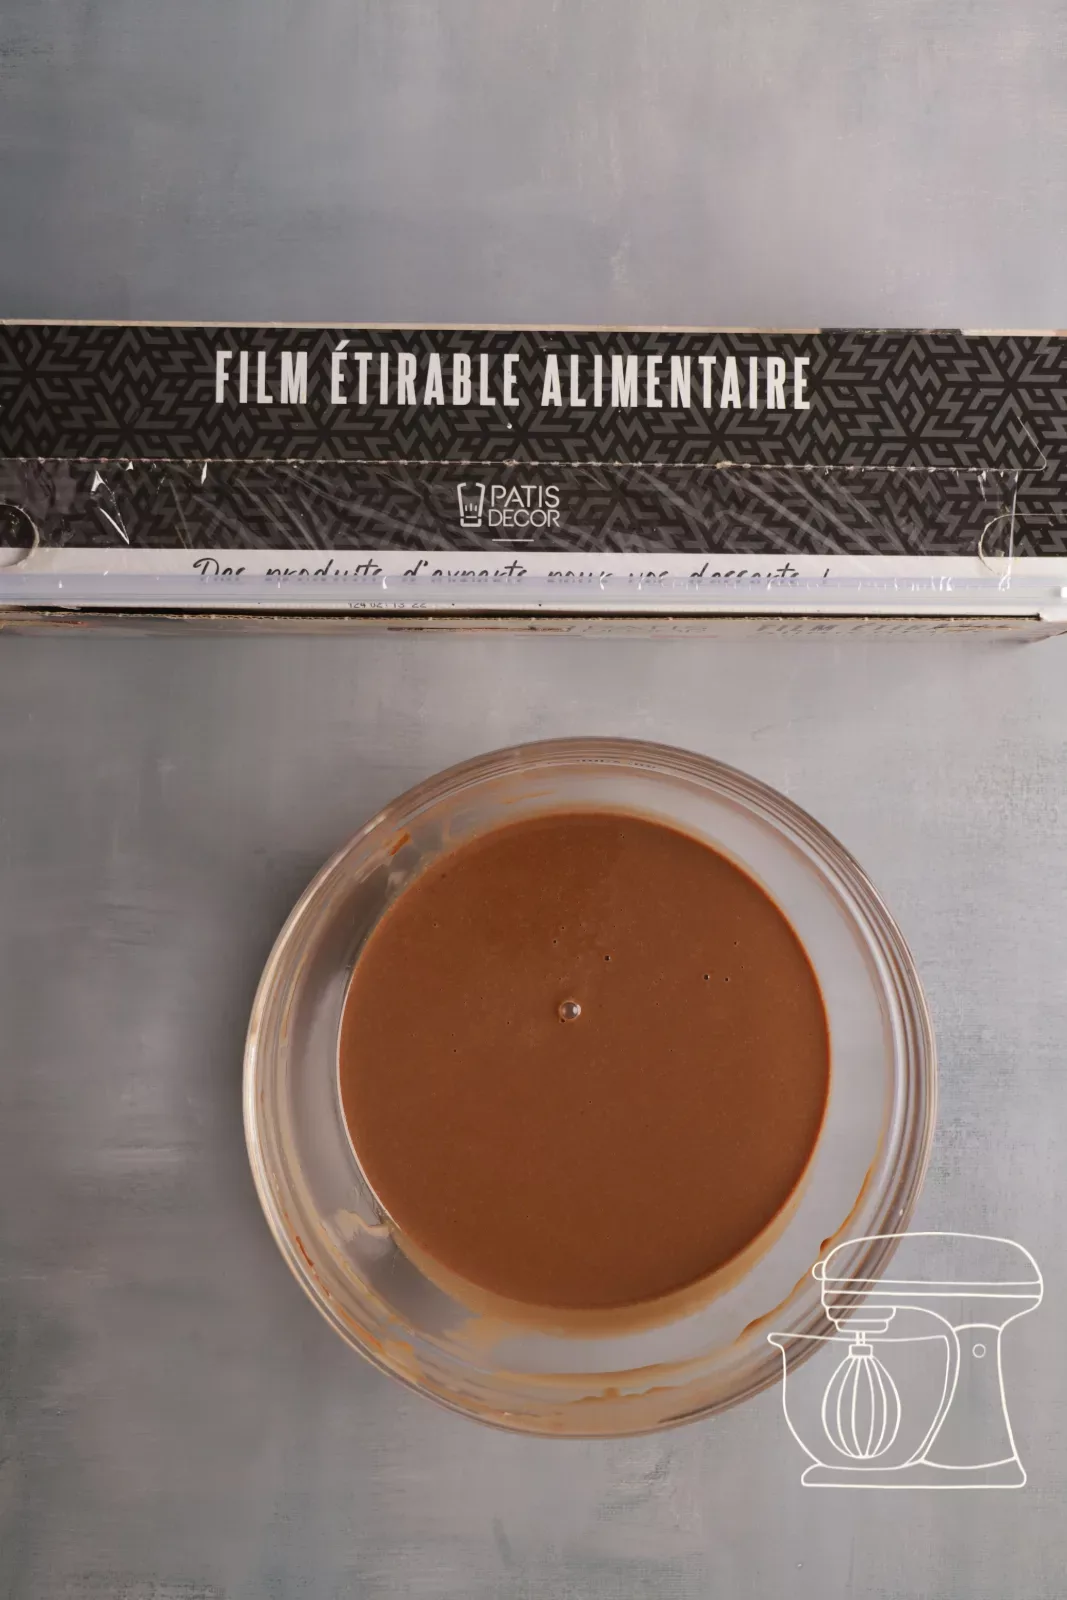
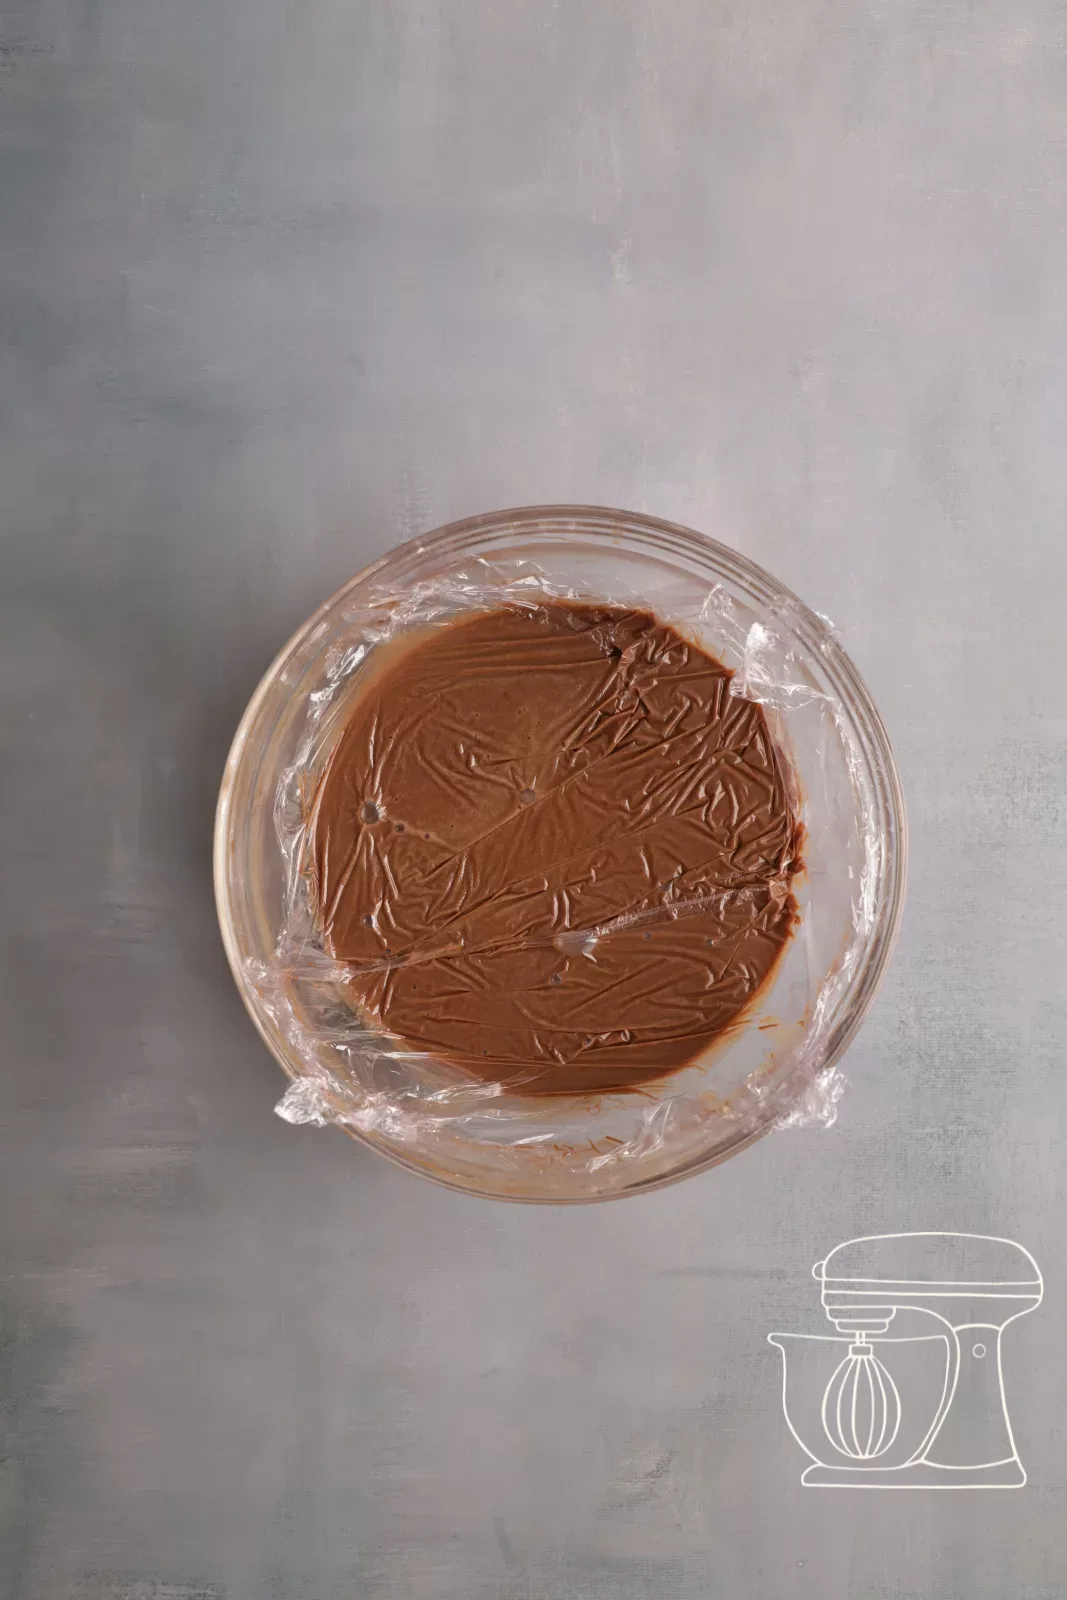
Cover the Ganache with cling film and put it in the fridge for at least 2 hours. You can also prepare it the day before.
Design from cigarette paste
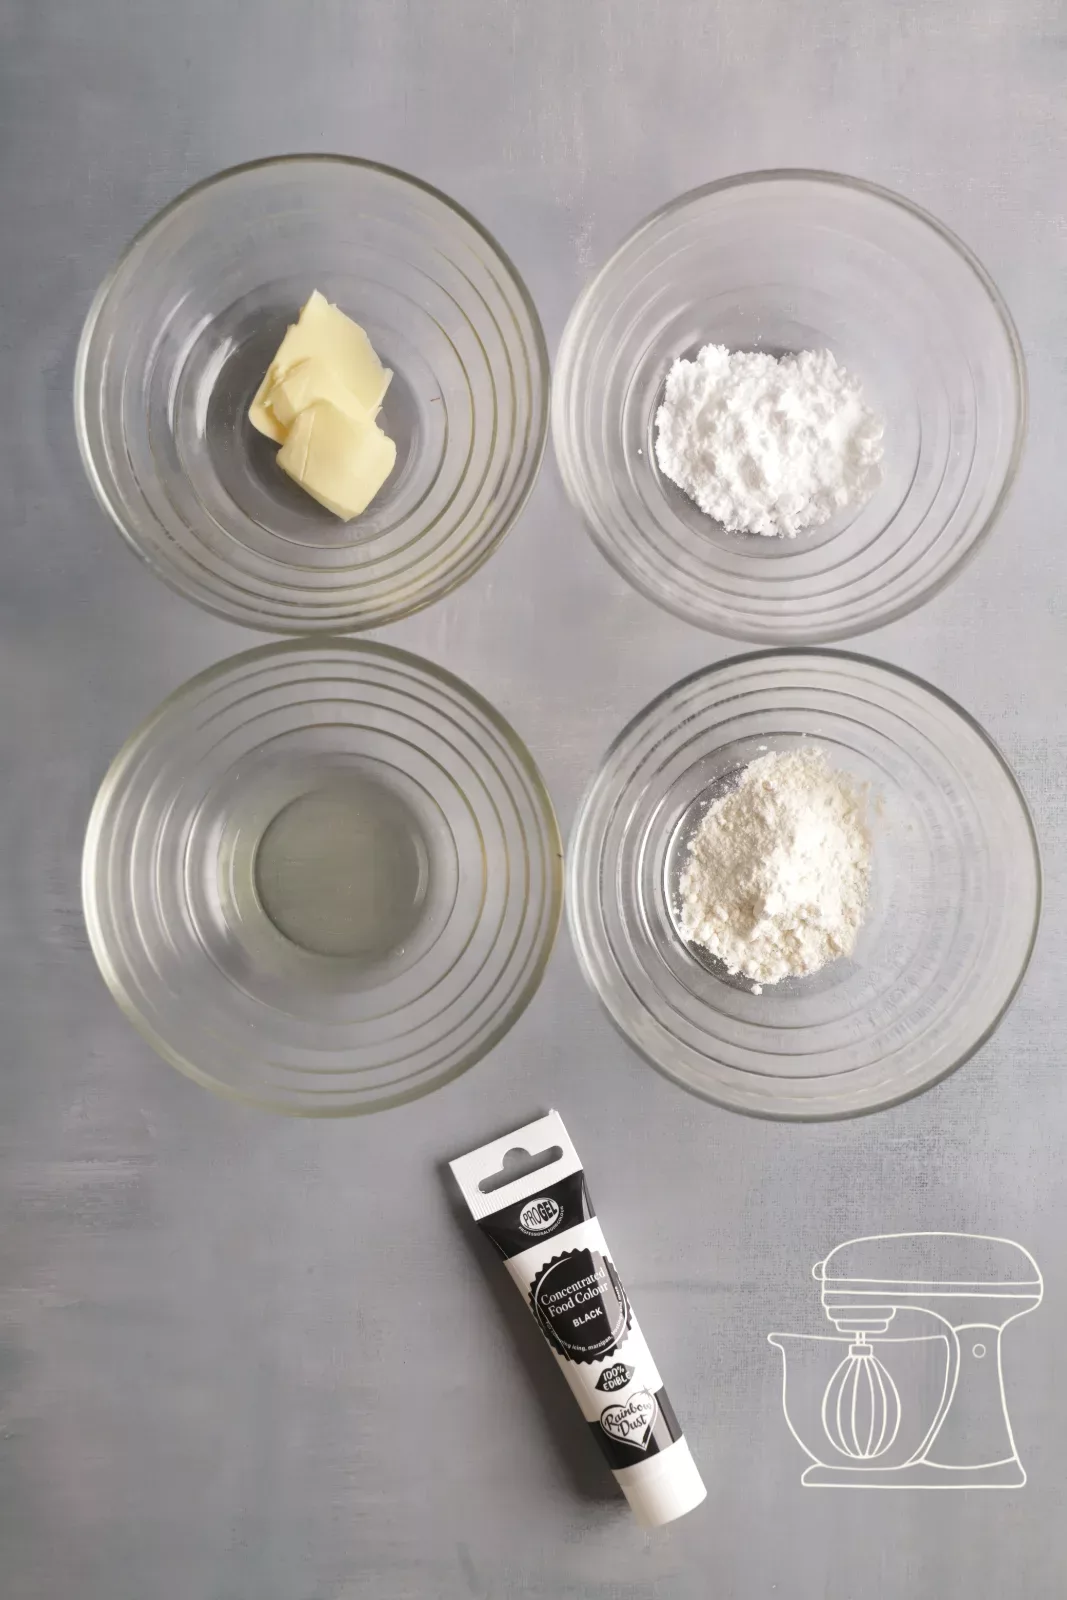
Butter, icing sugar and egg white
Mix 10 g of icing sugar with 10 g of soft butter until you get a kind of crumble. Then add 10 g of egg white and stir everything again. Thanks to its texture, this paste holds the decoration even during baking.
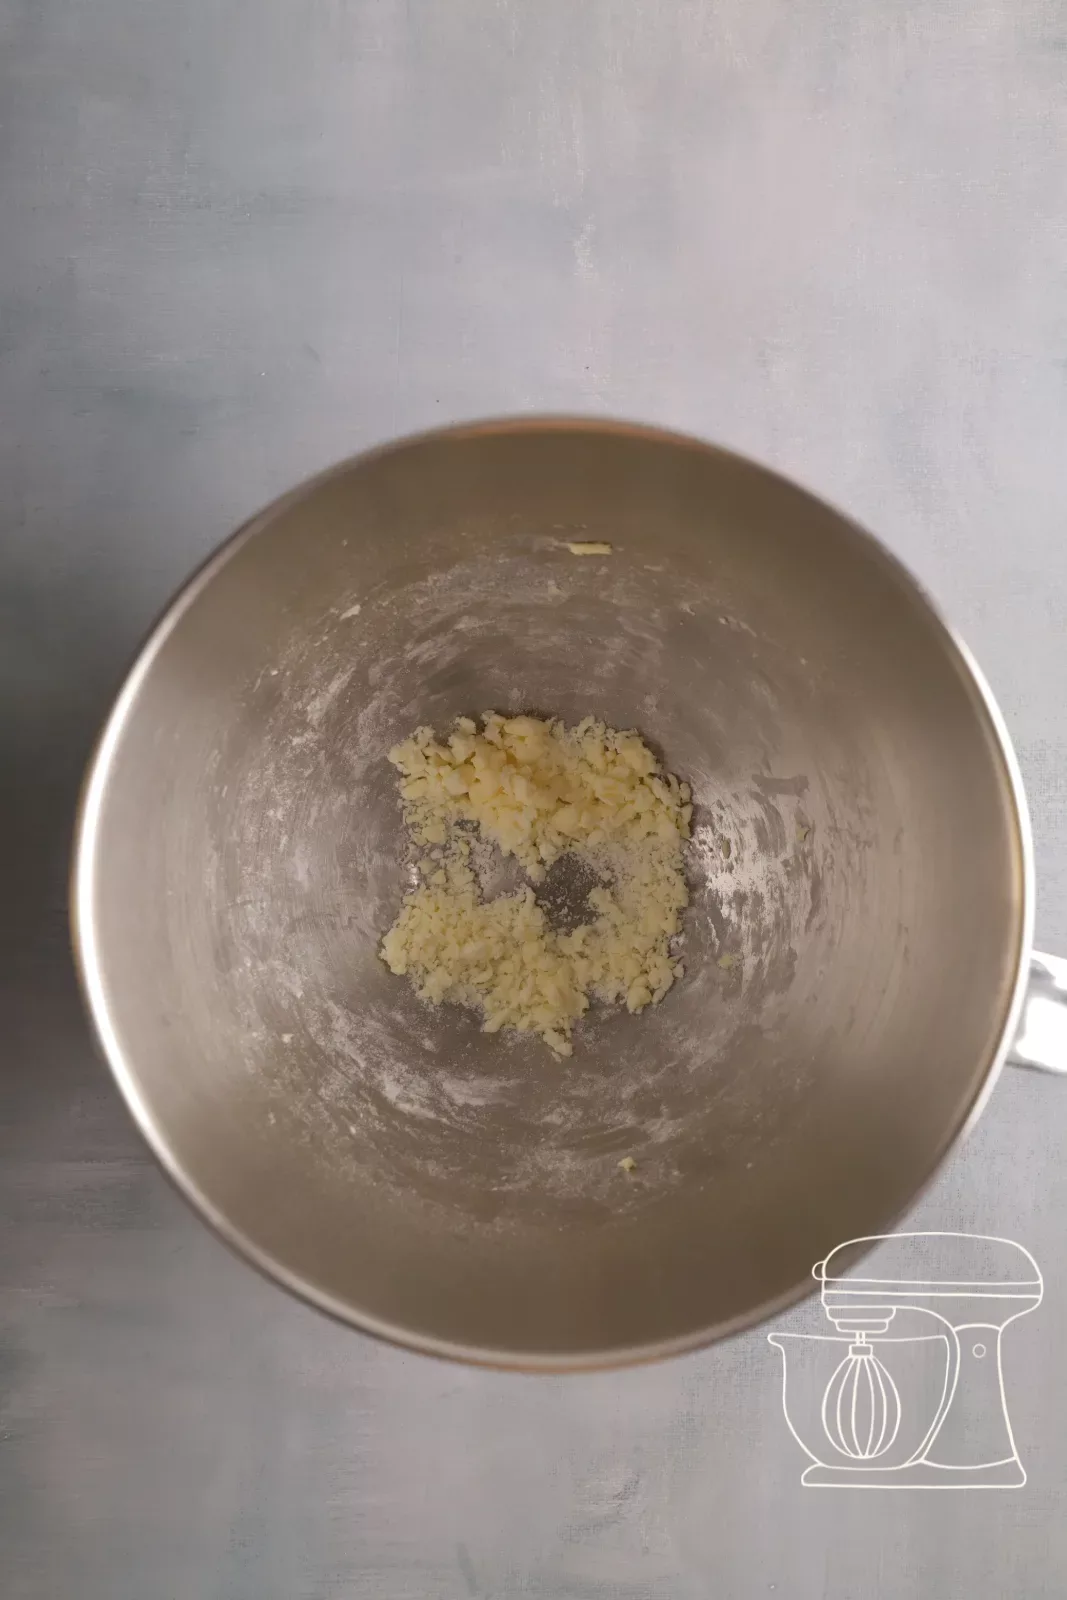
Flour and color
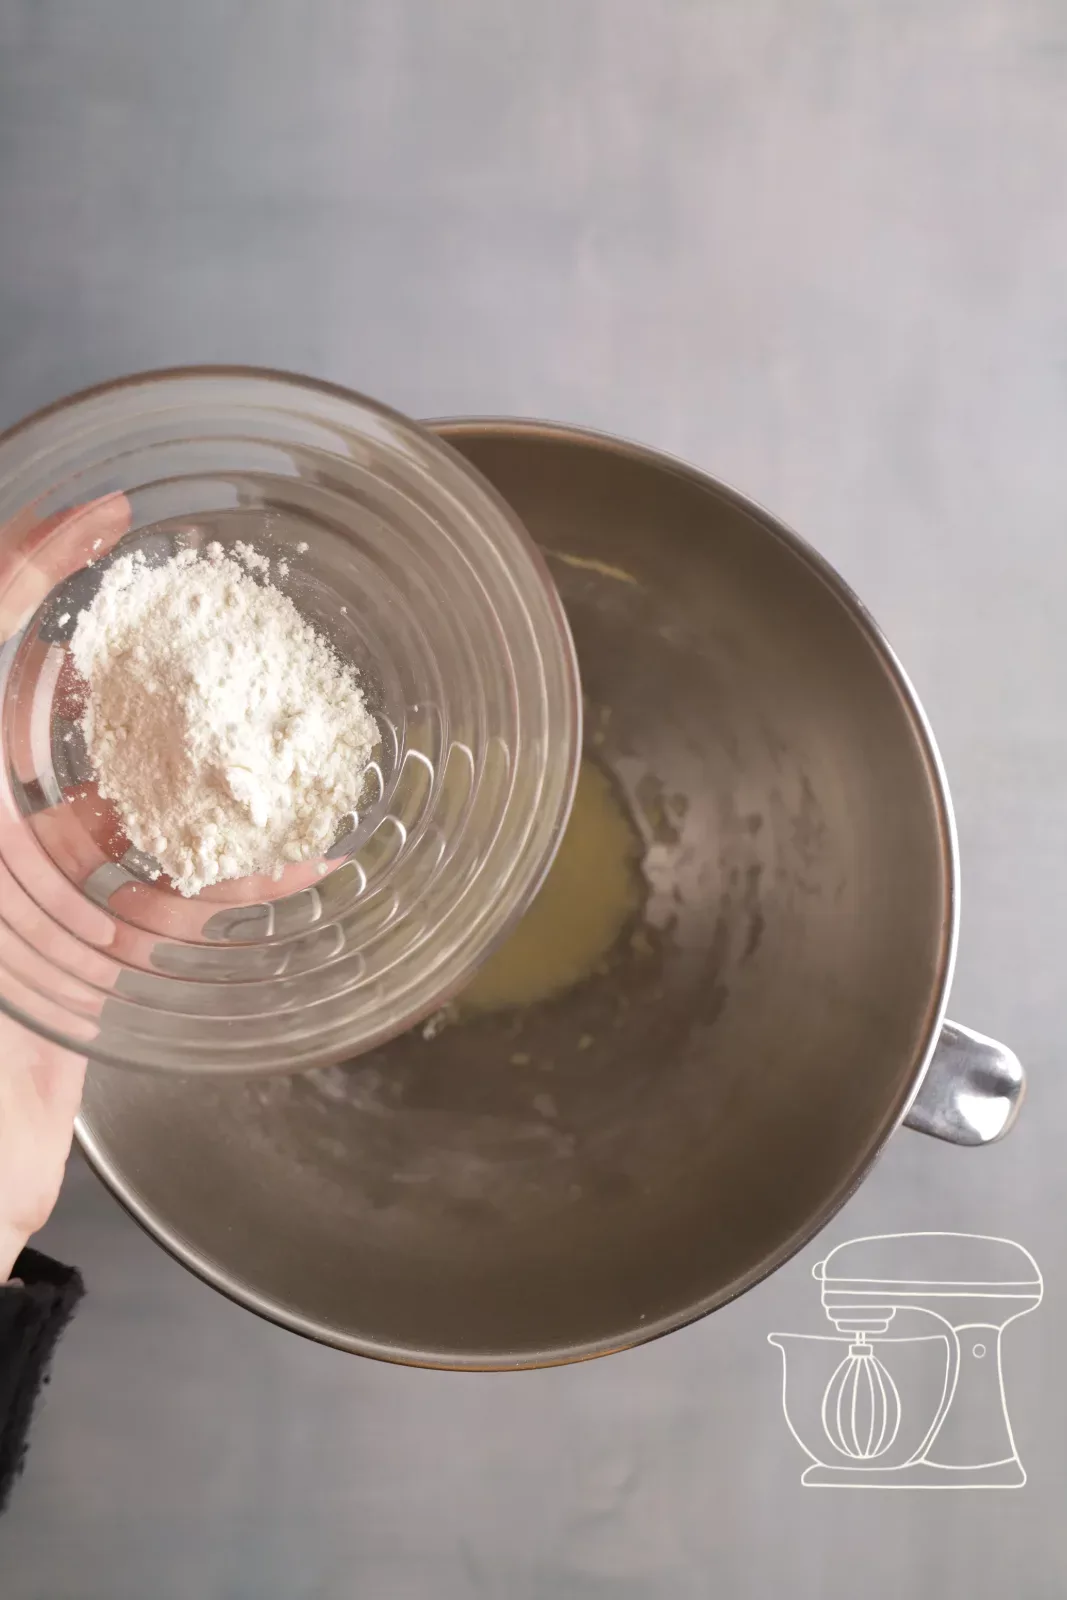
Add 10 g of flour and stir until you get a smooth paste. Color it with black gel color, as it is especially intense.
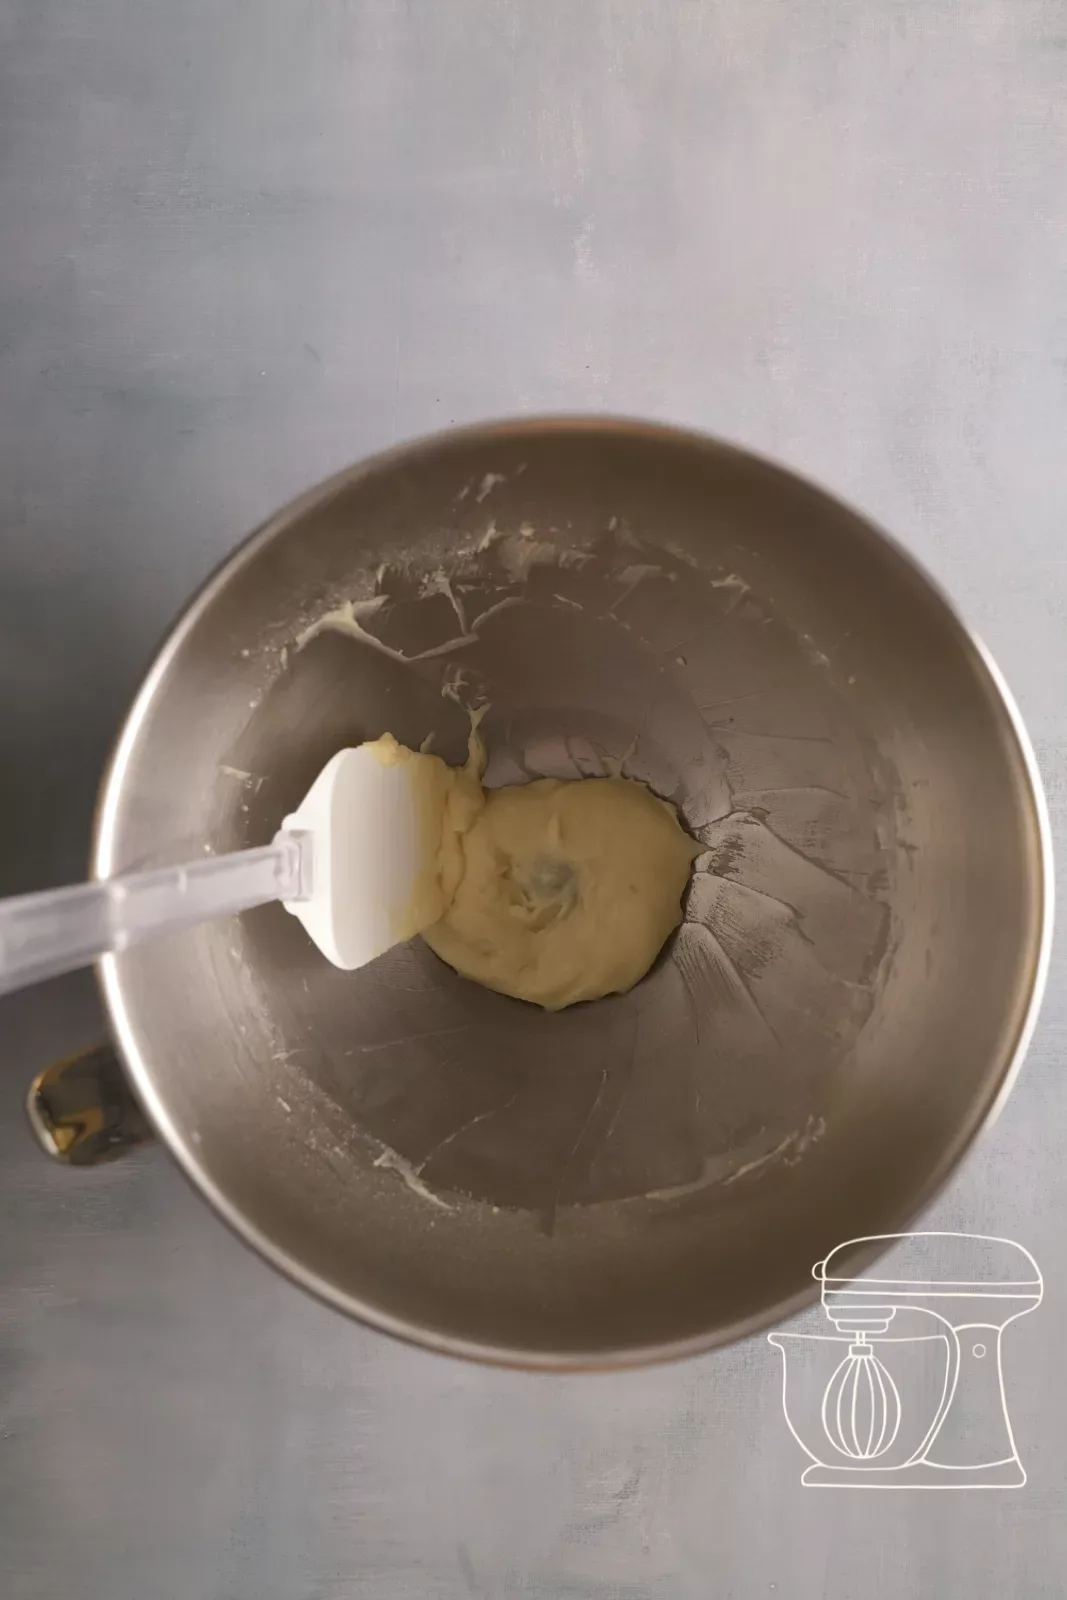
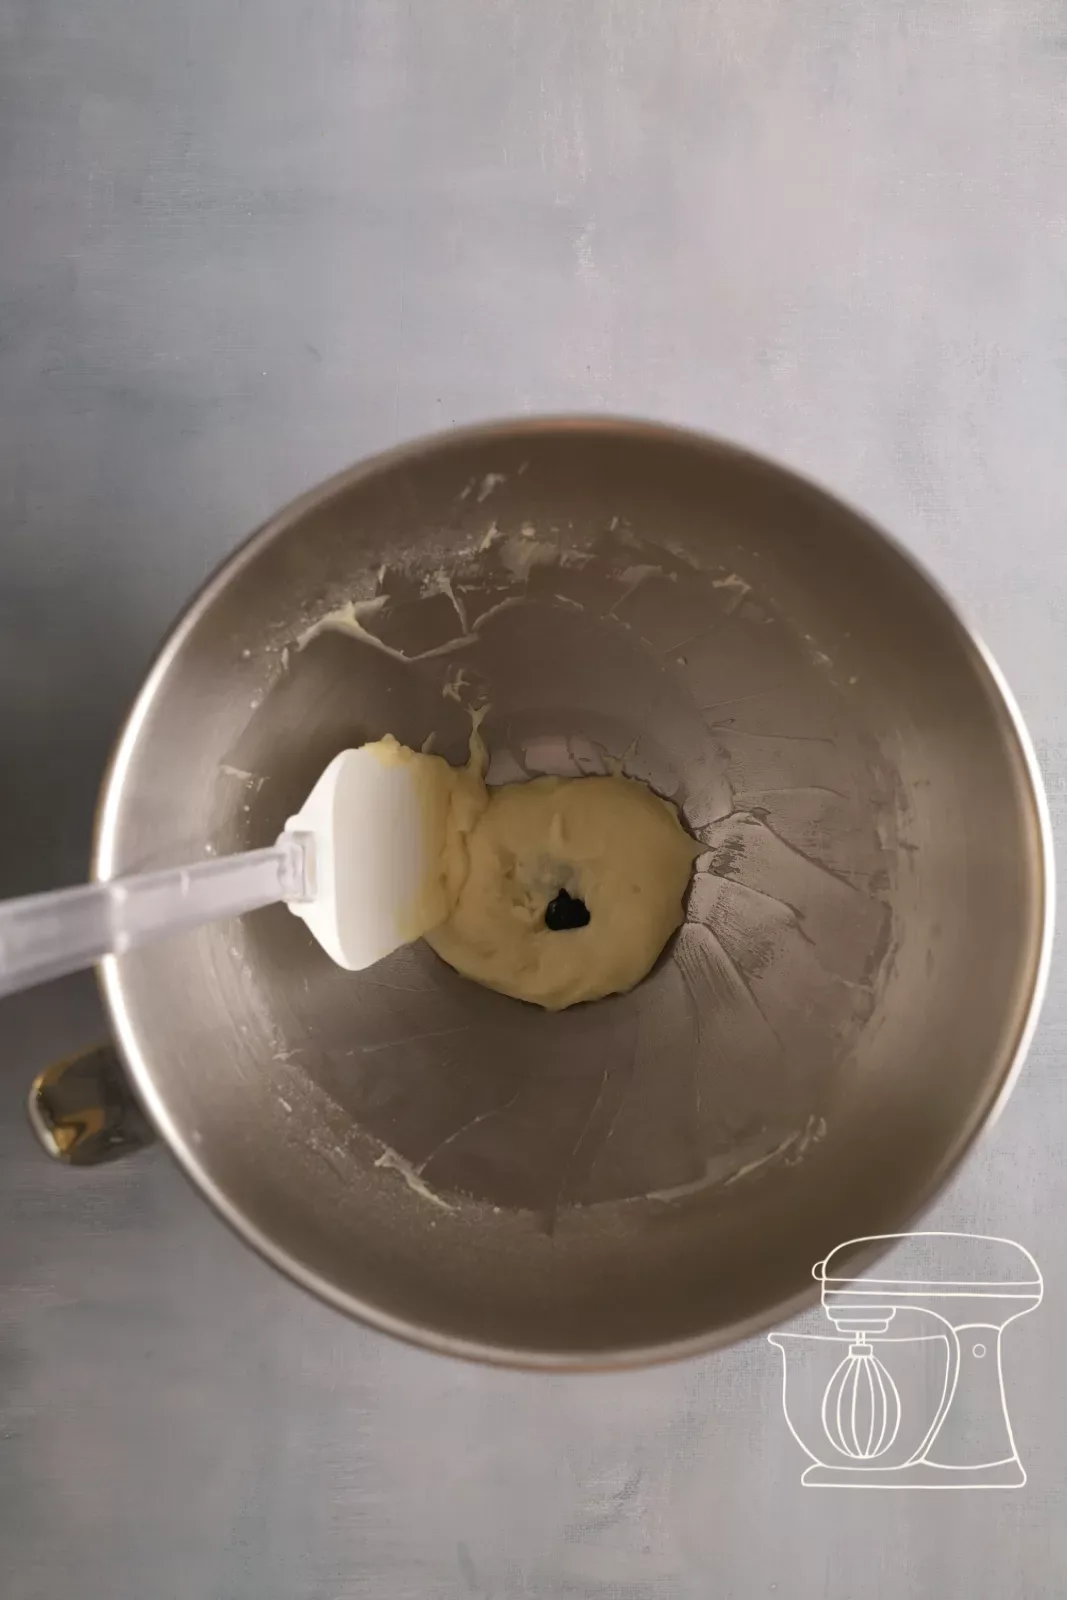
Round piping nozzles for Royal icing - opening: 1 mm
Round piping nozzles - opening: 2 mm
Progel gel colors: Black
Adapter for piping nozzles
Piping bag with adapter
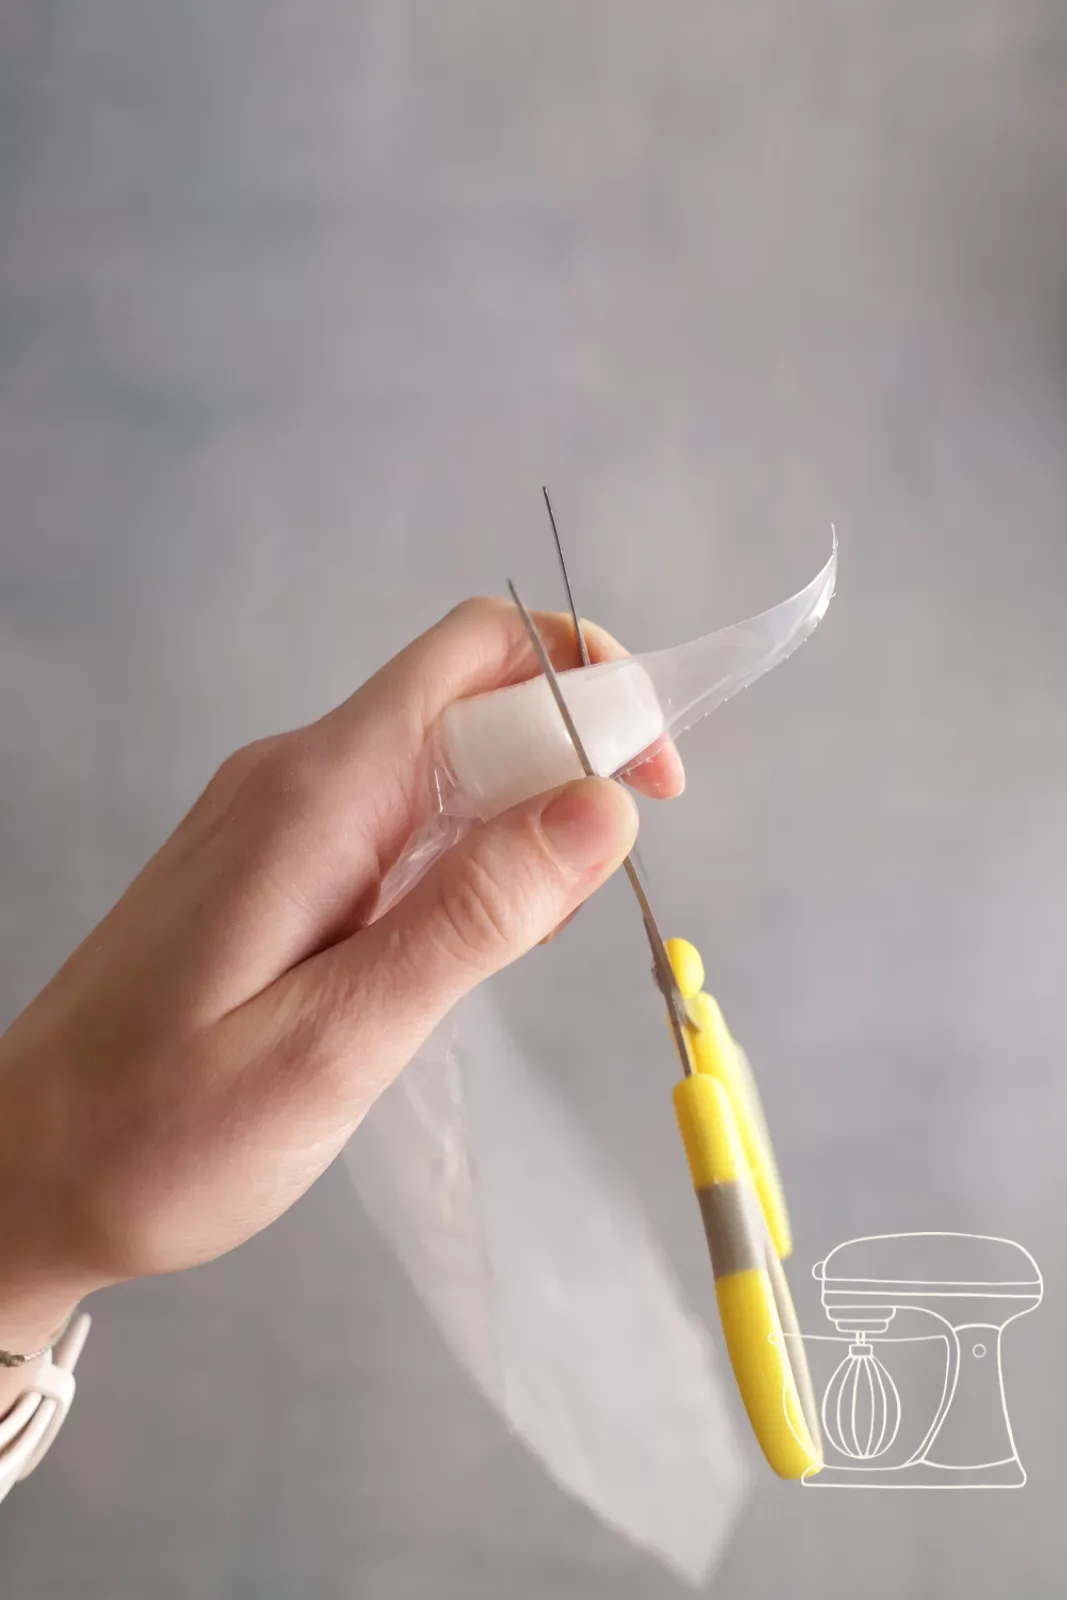
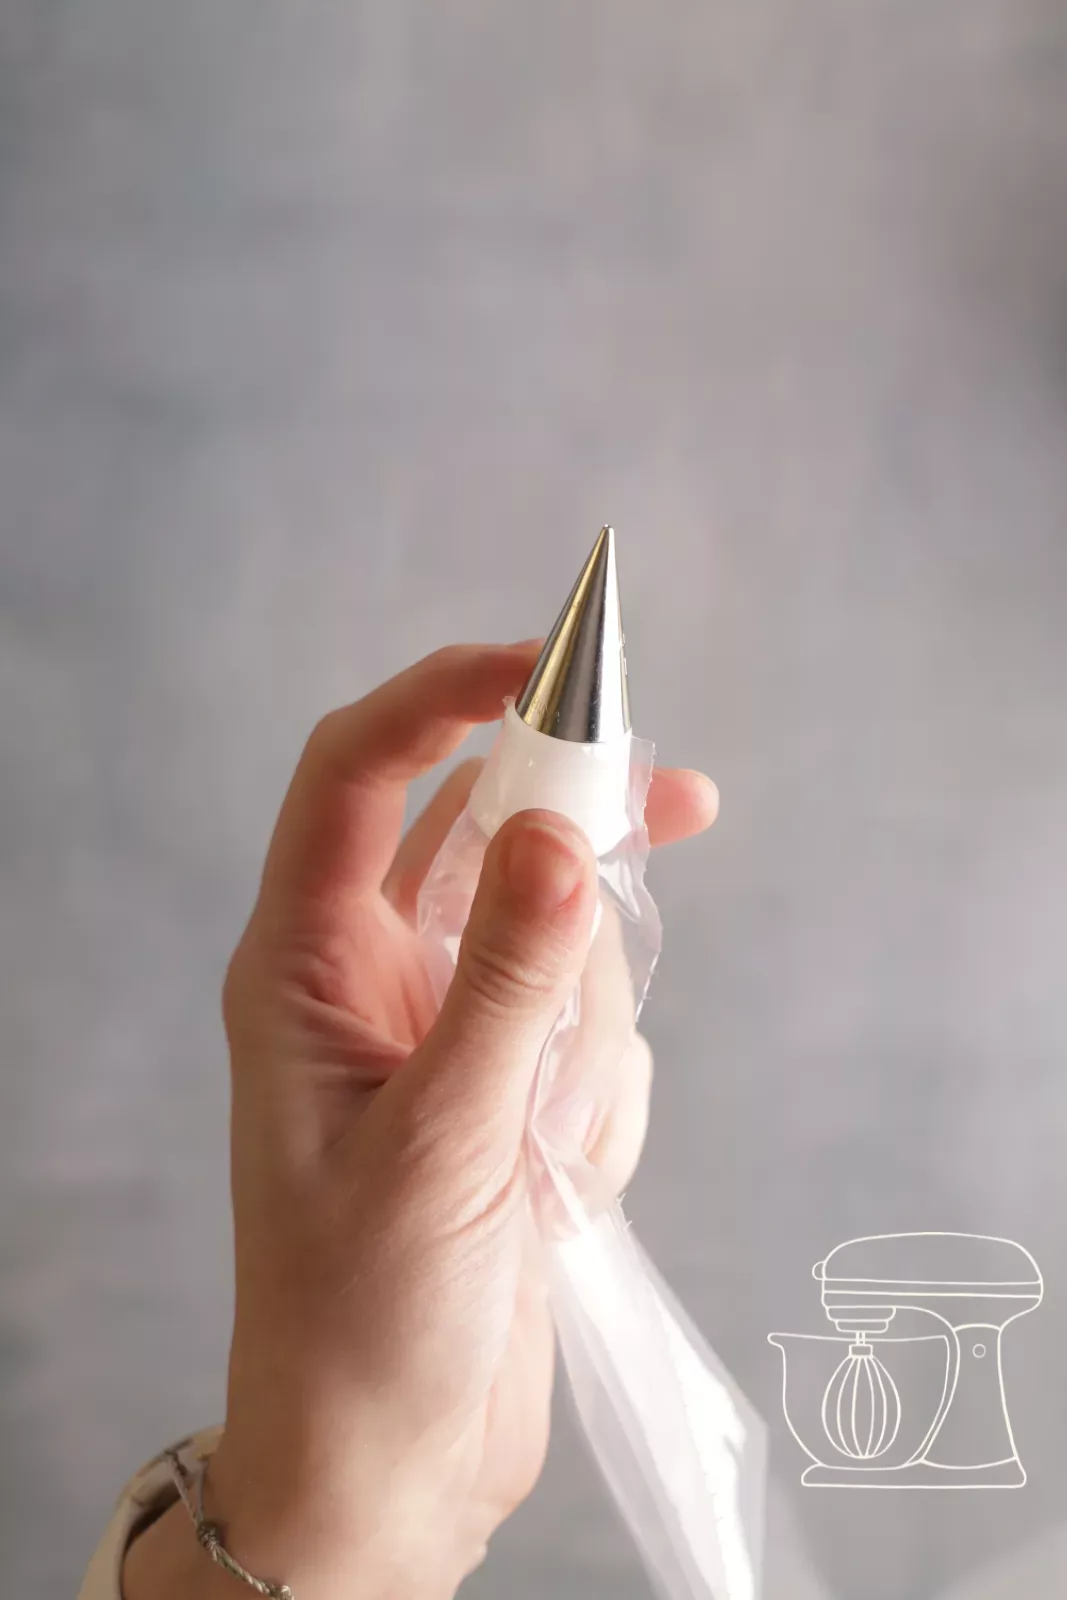
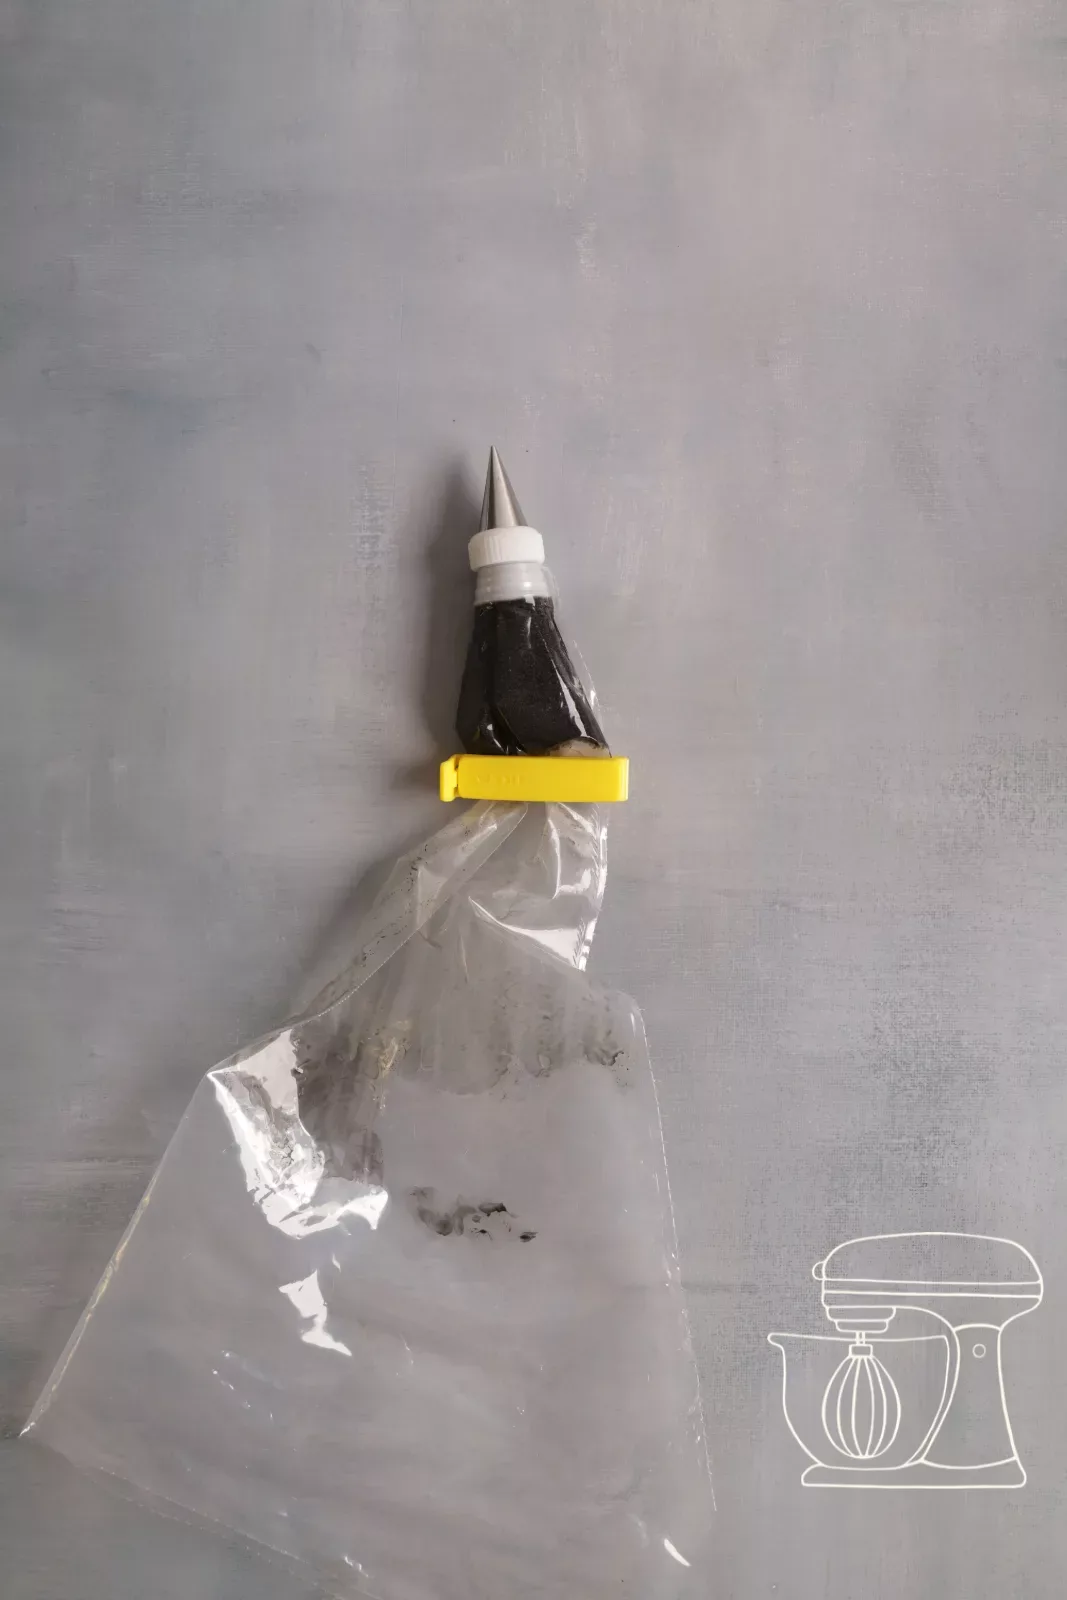
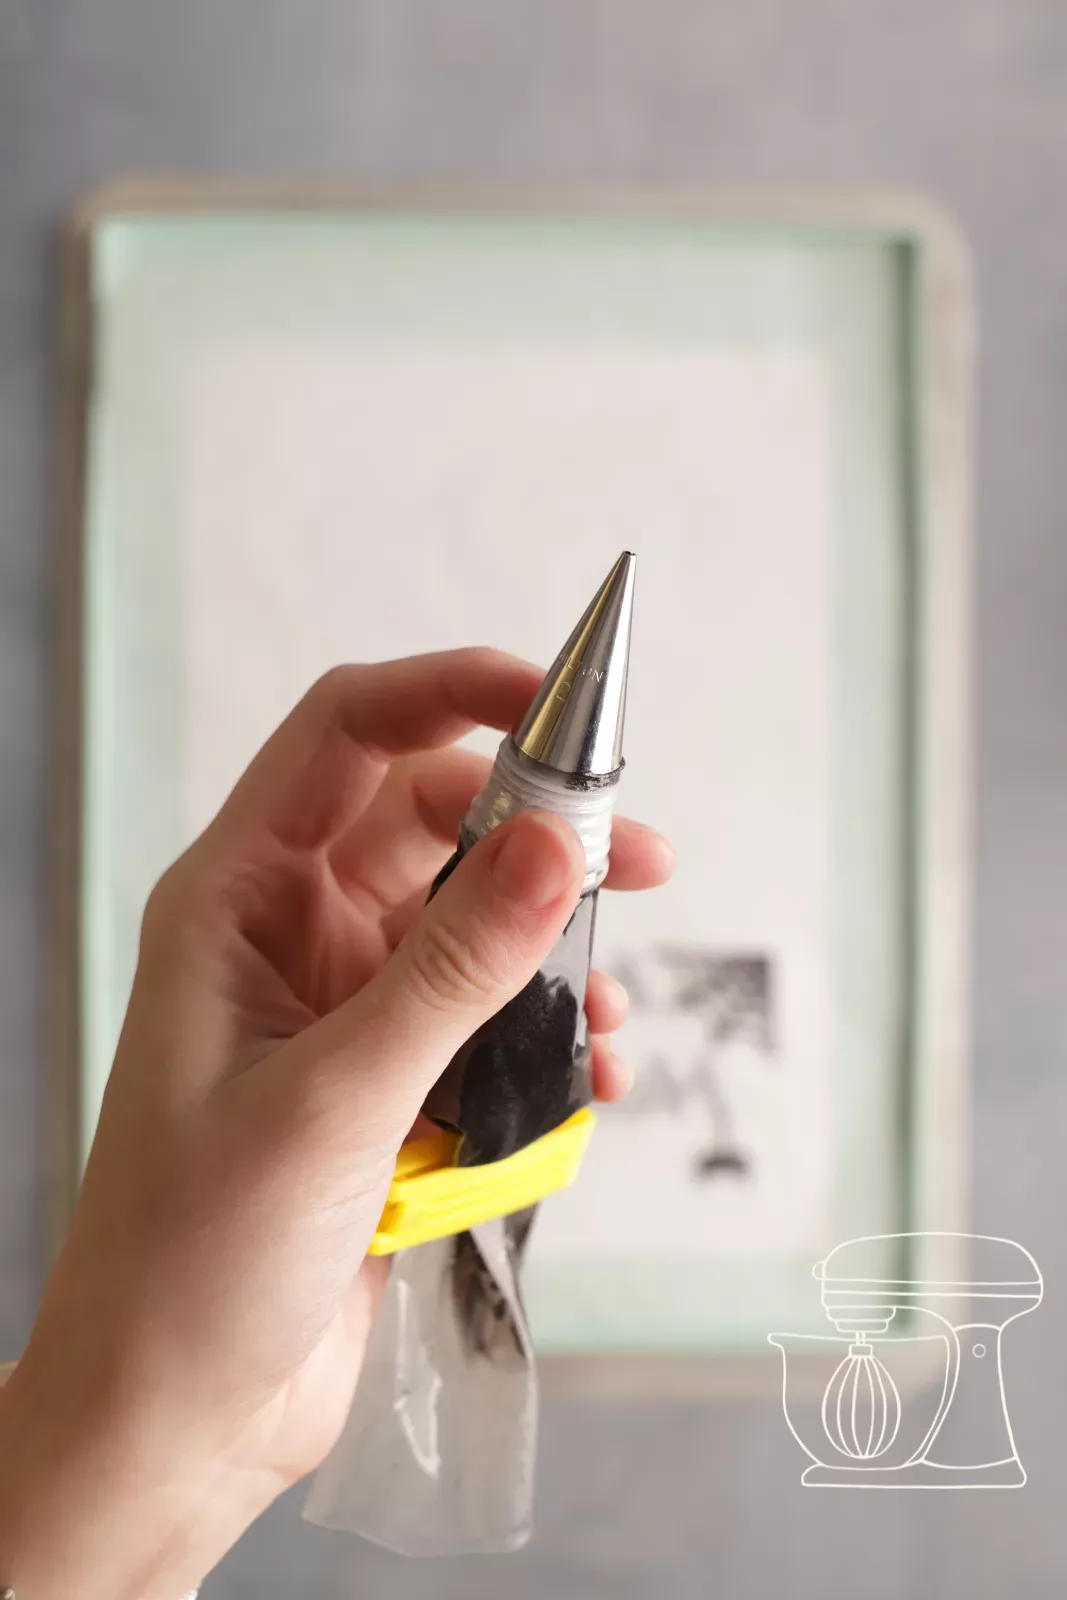
Place the large part of the adapter into a small piping bag and cut off the tip just below the small indentation. Fit the 2 mm round piping nozzle and screw on the second part of the adapter.
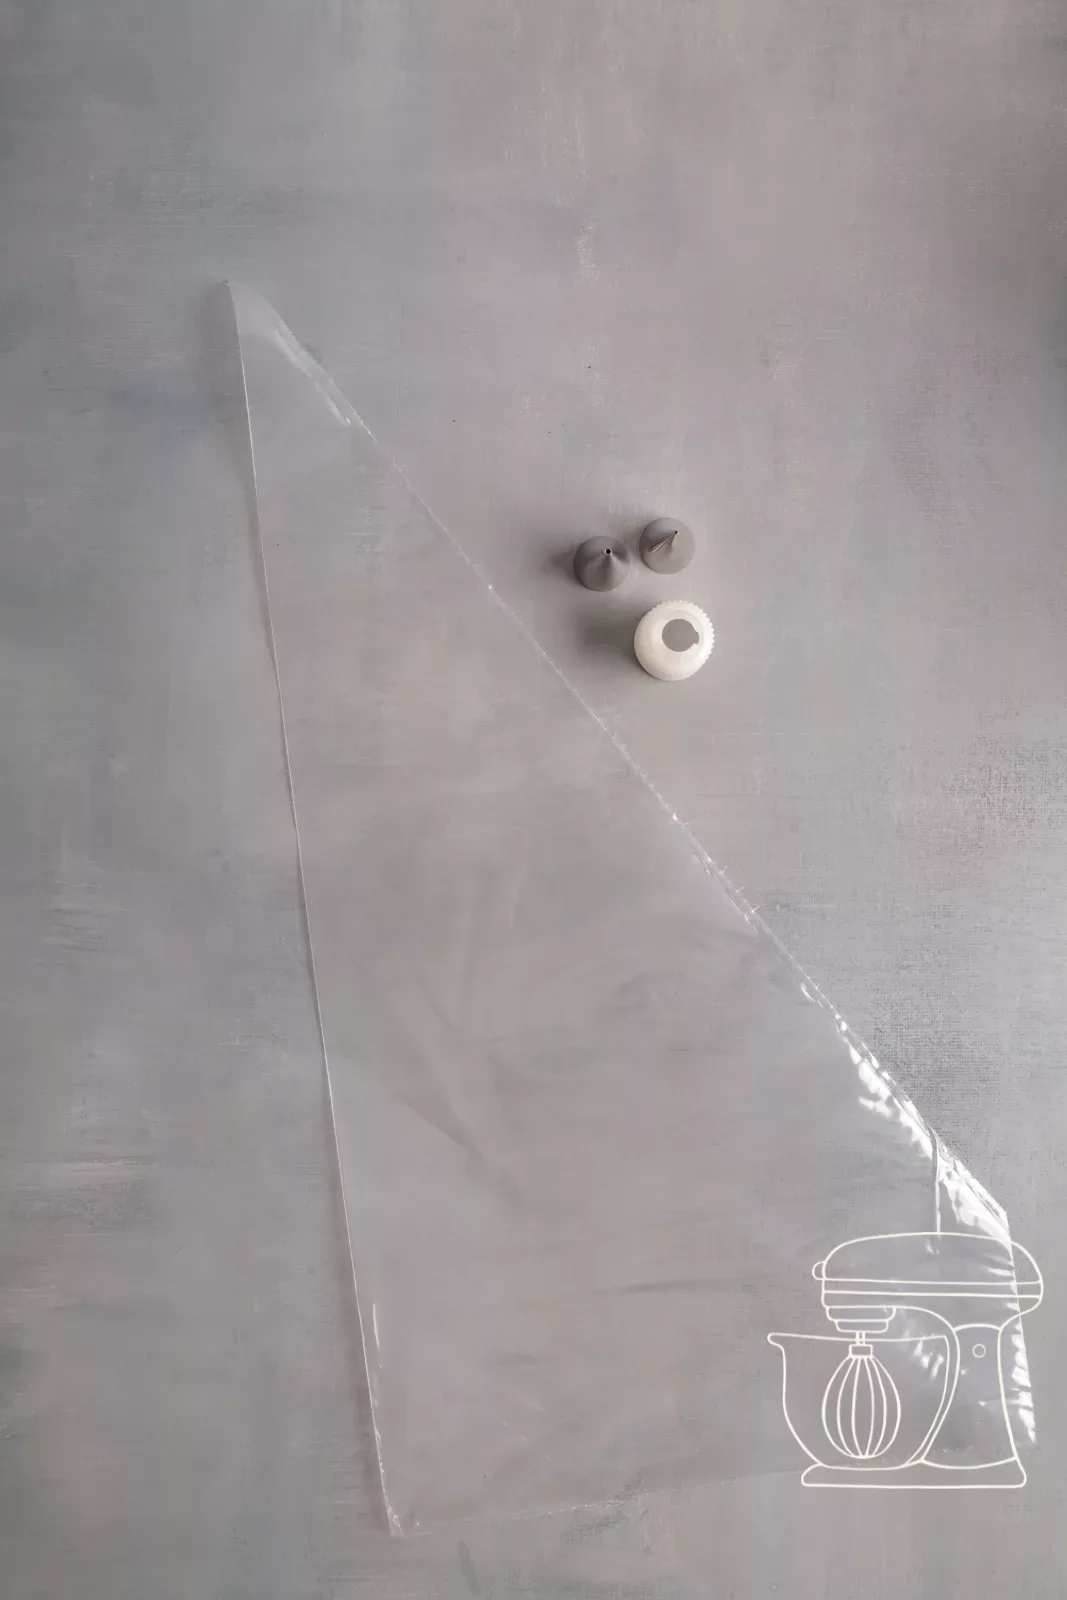
Fill and chill briefly
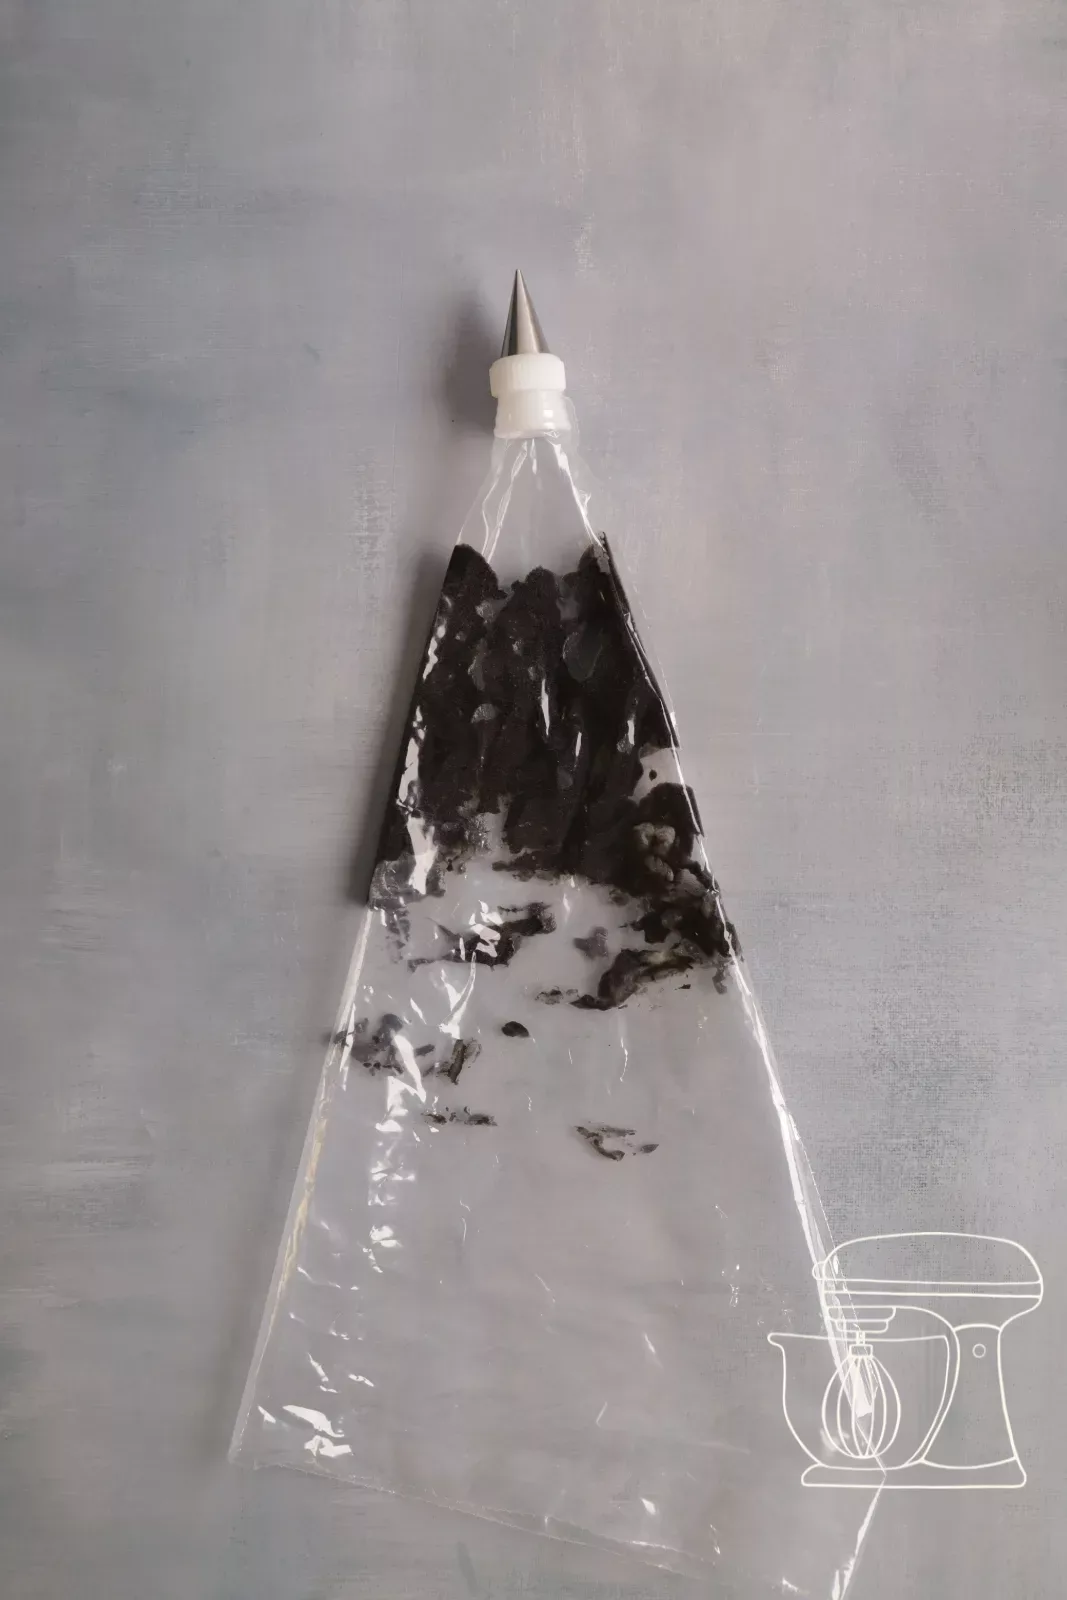
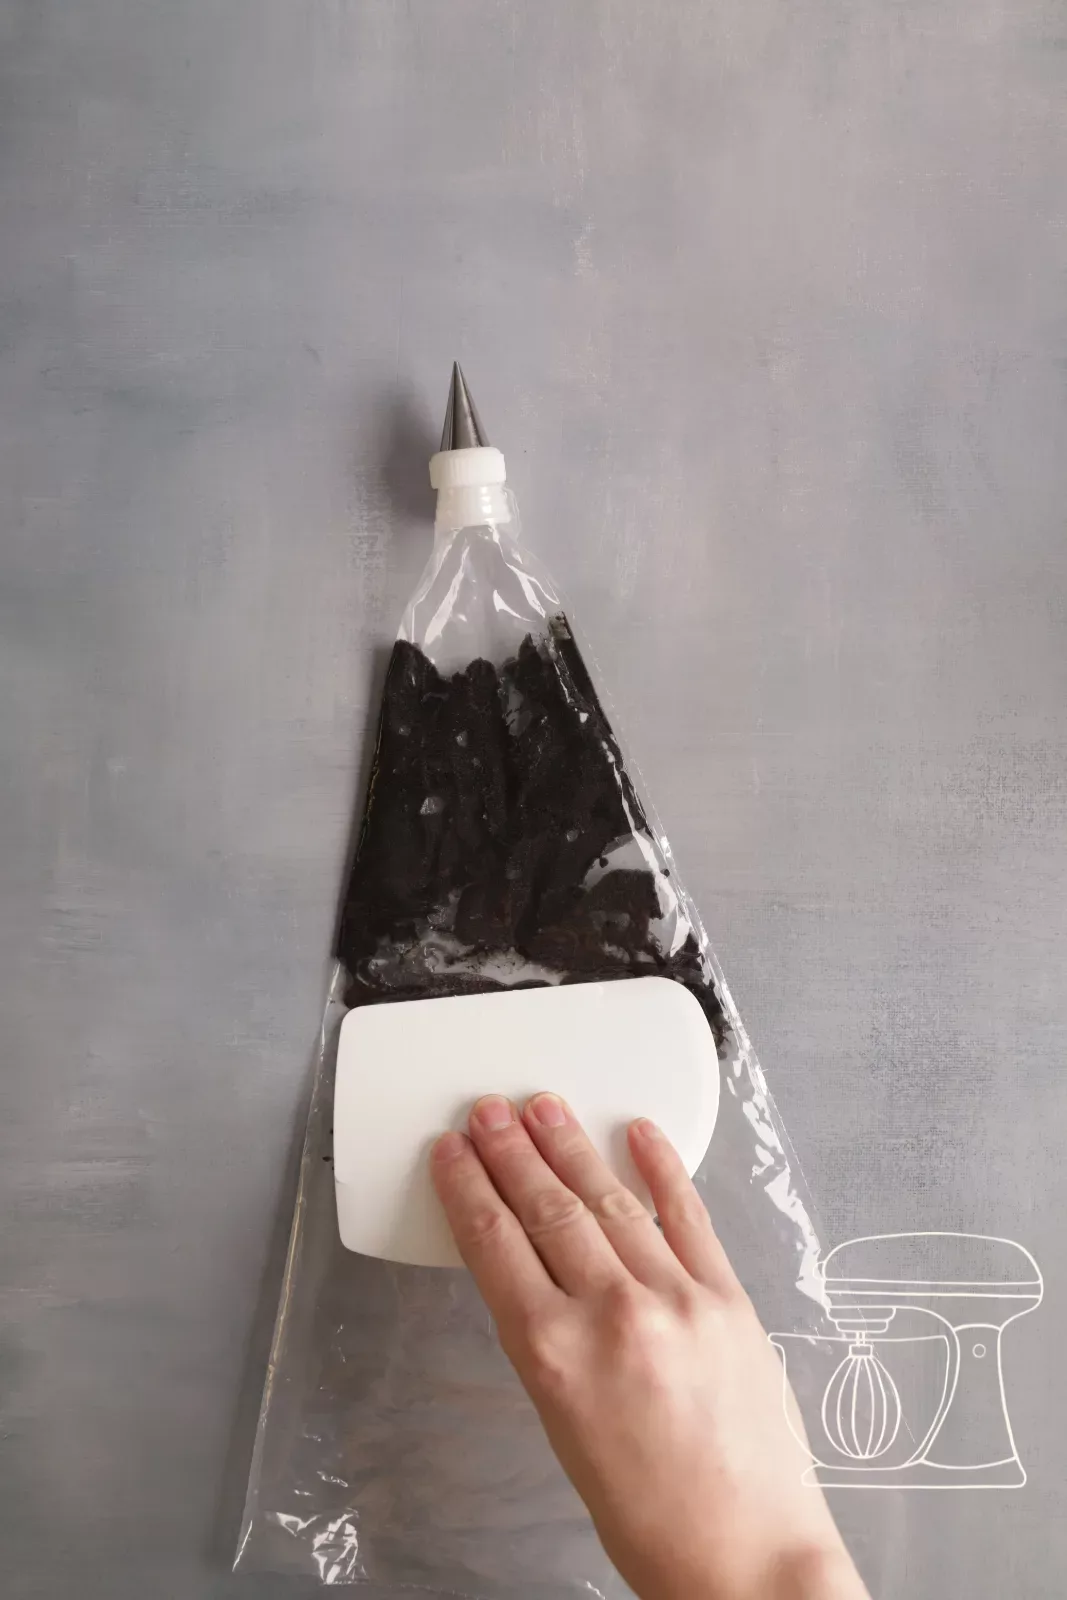
Fill the cigarette paste into the piping bag and push it forward with a dough scraper. Put the bag in the fridge for 5 minutes so the paste firms up a little.
Prepare the template
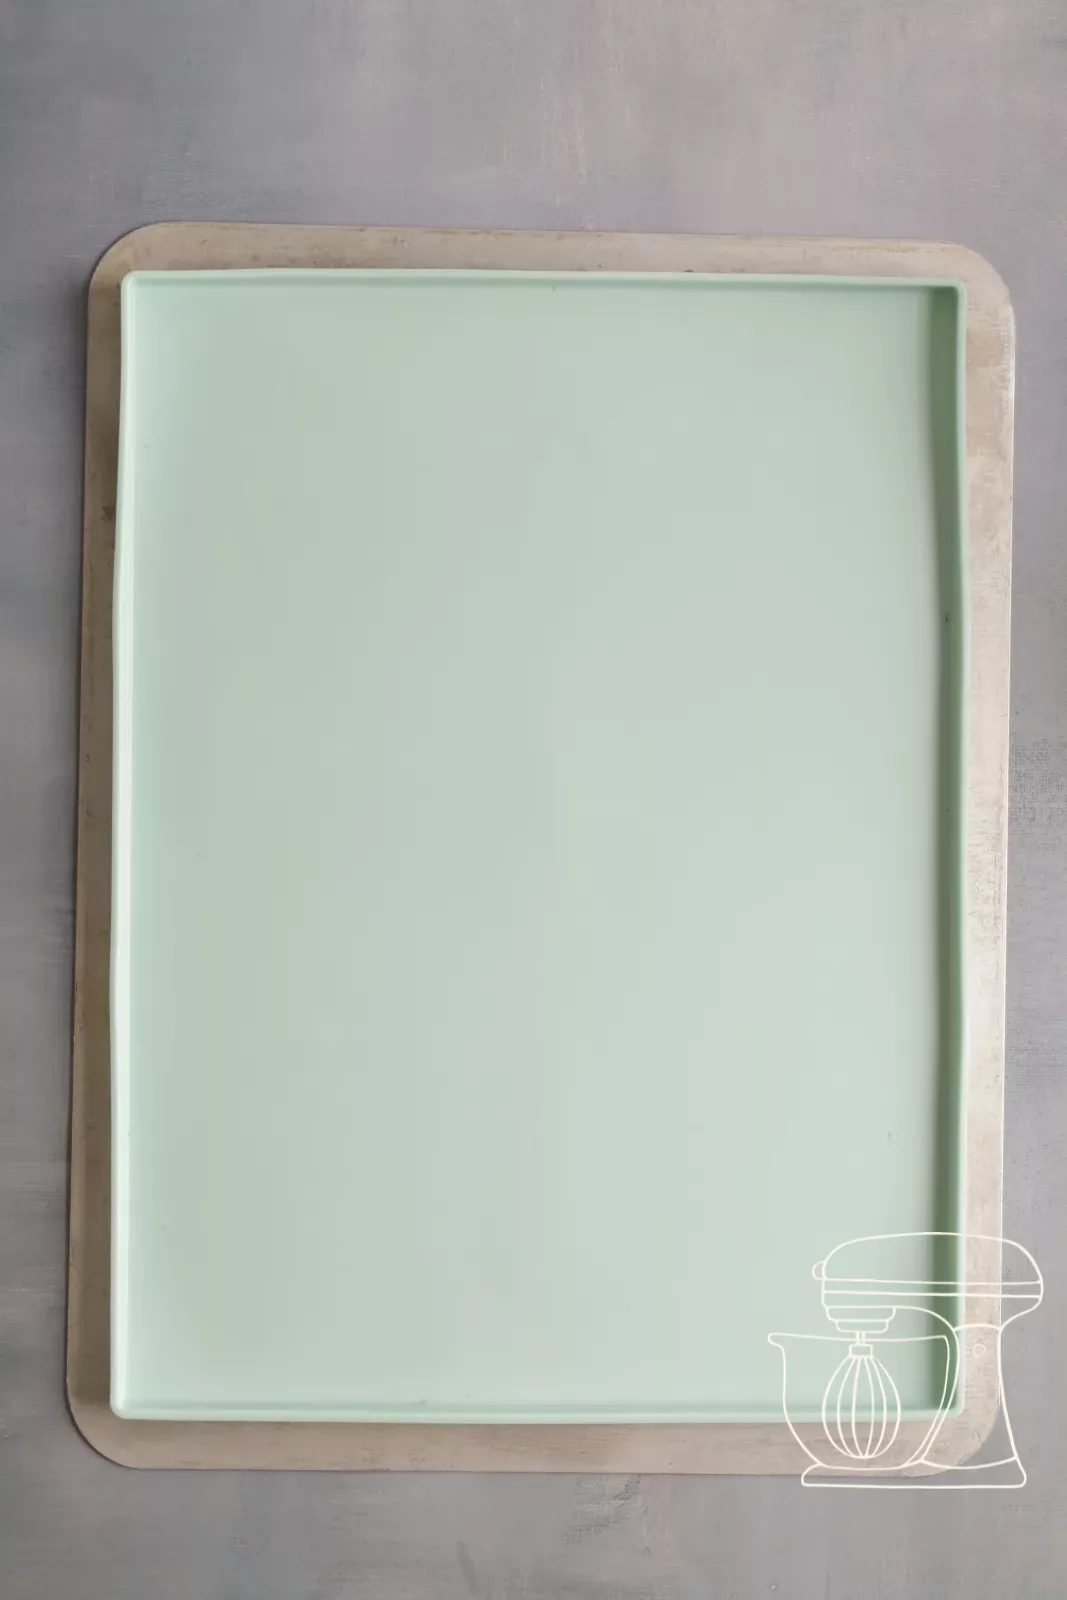
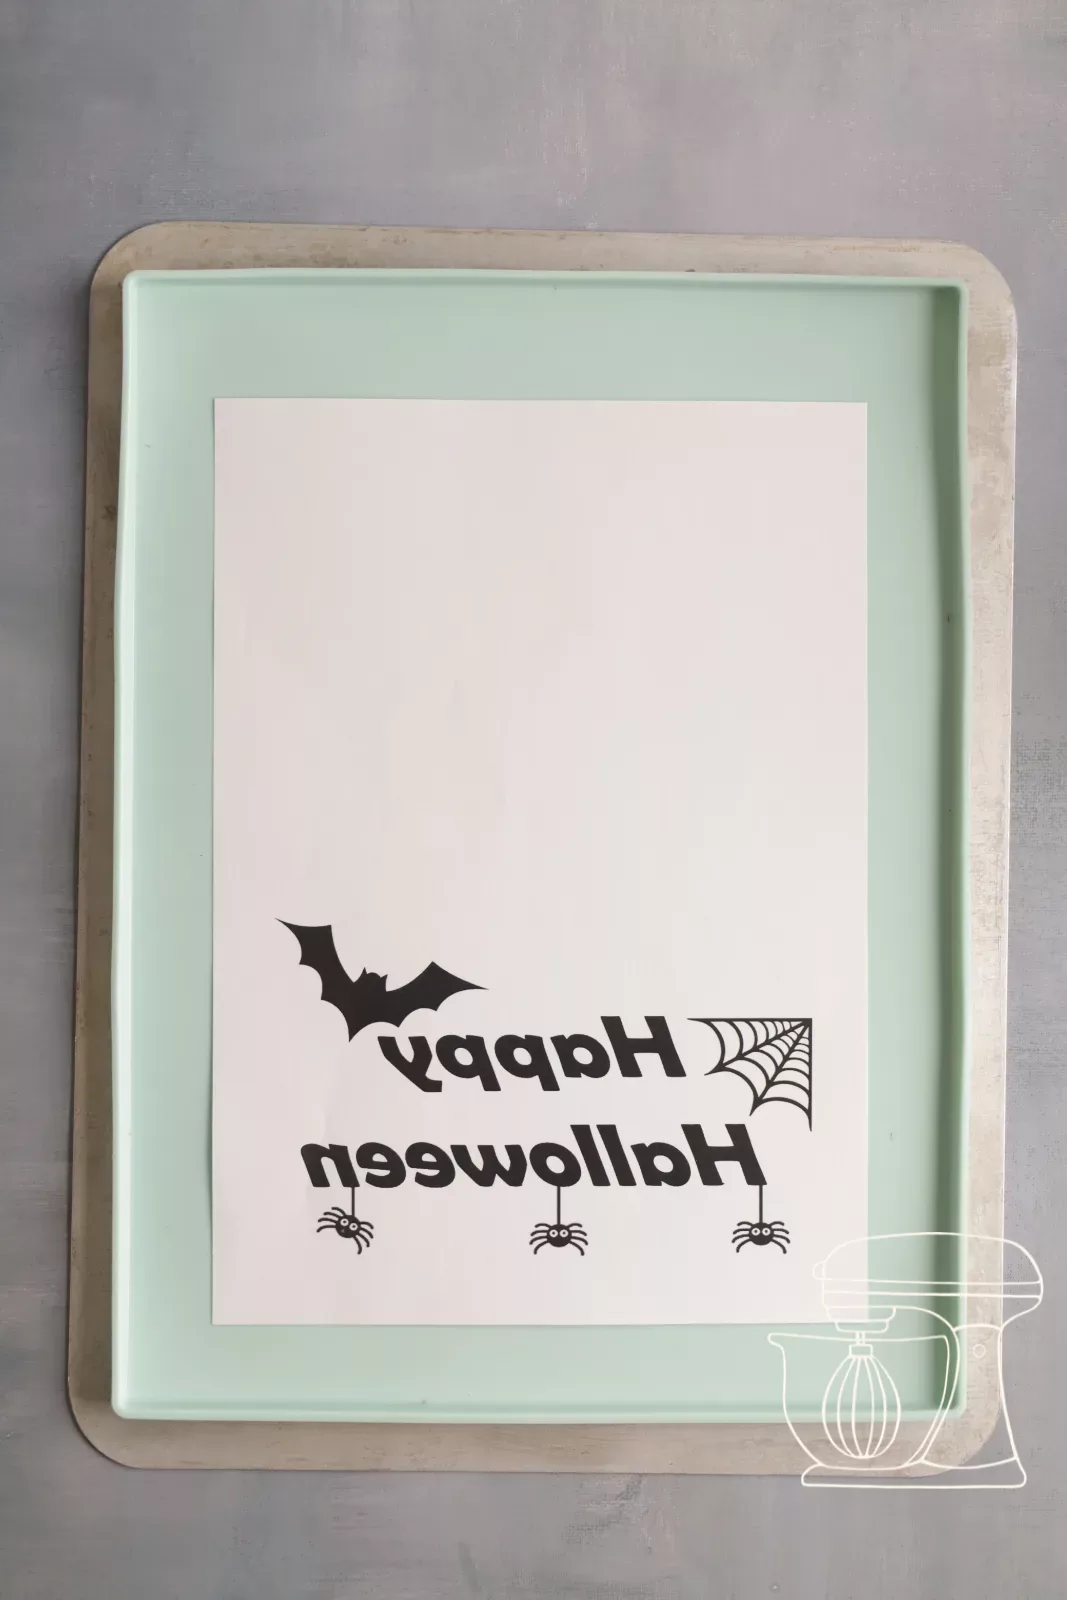
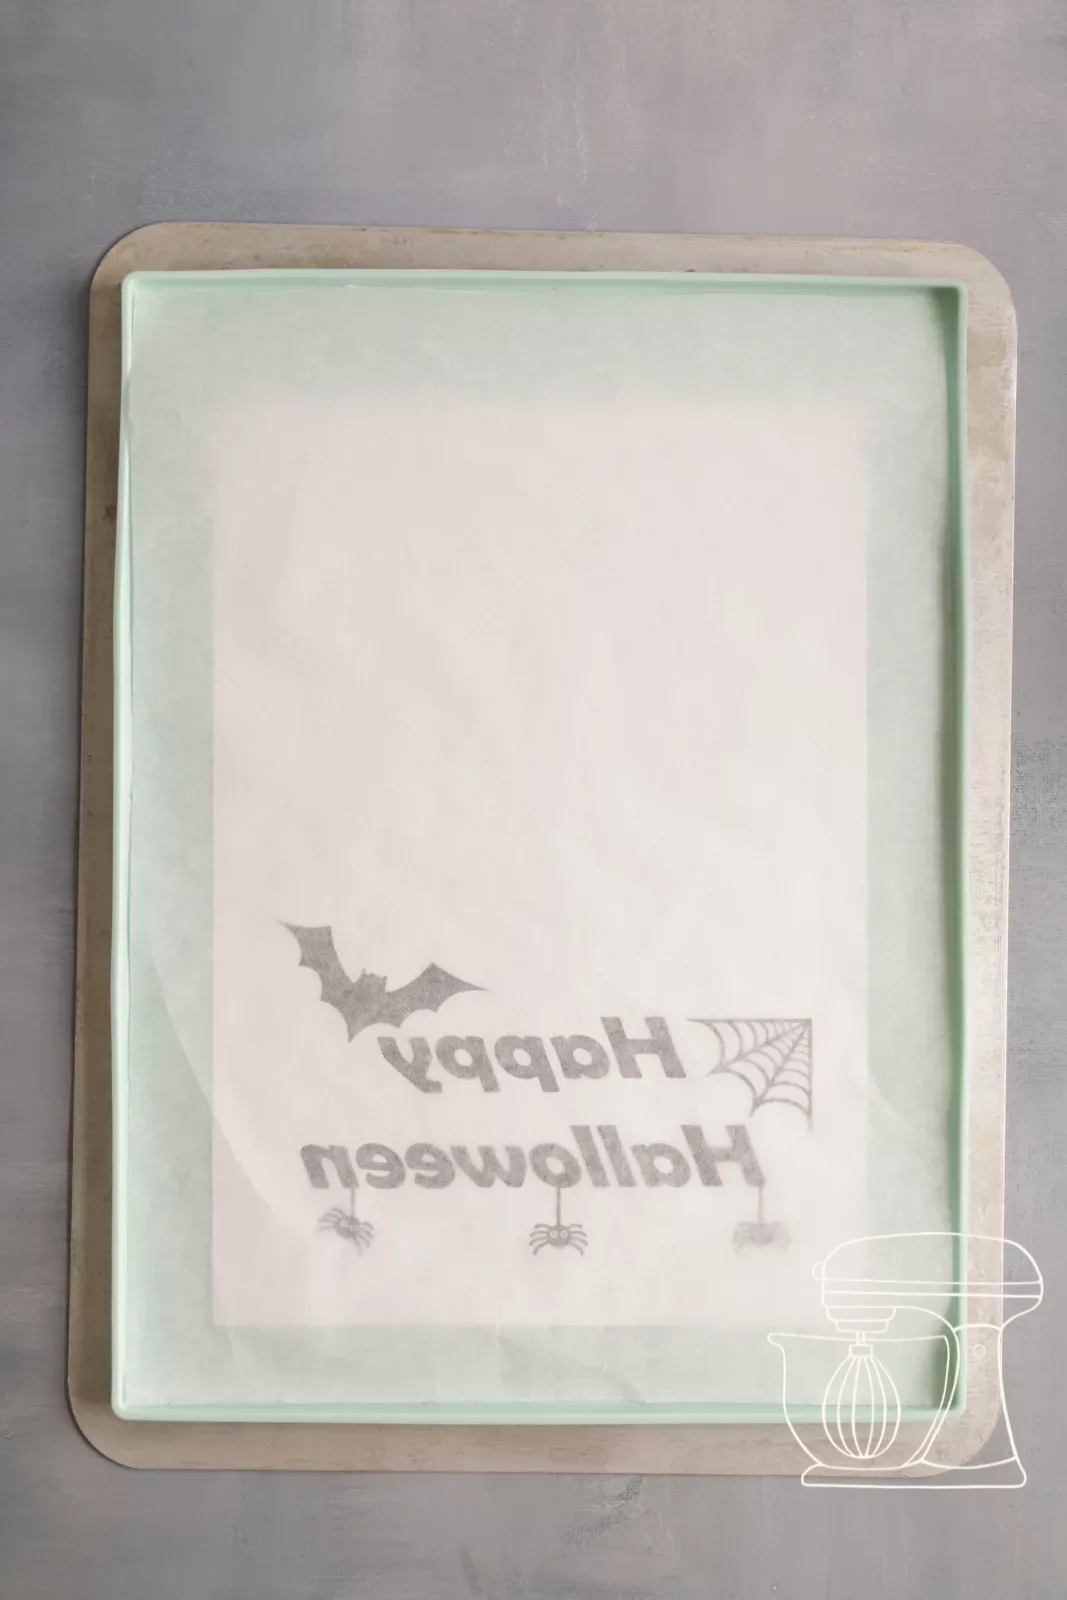
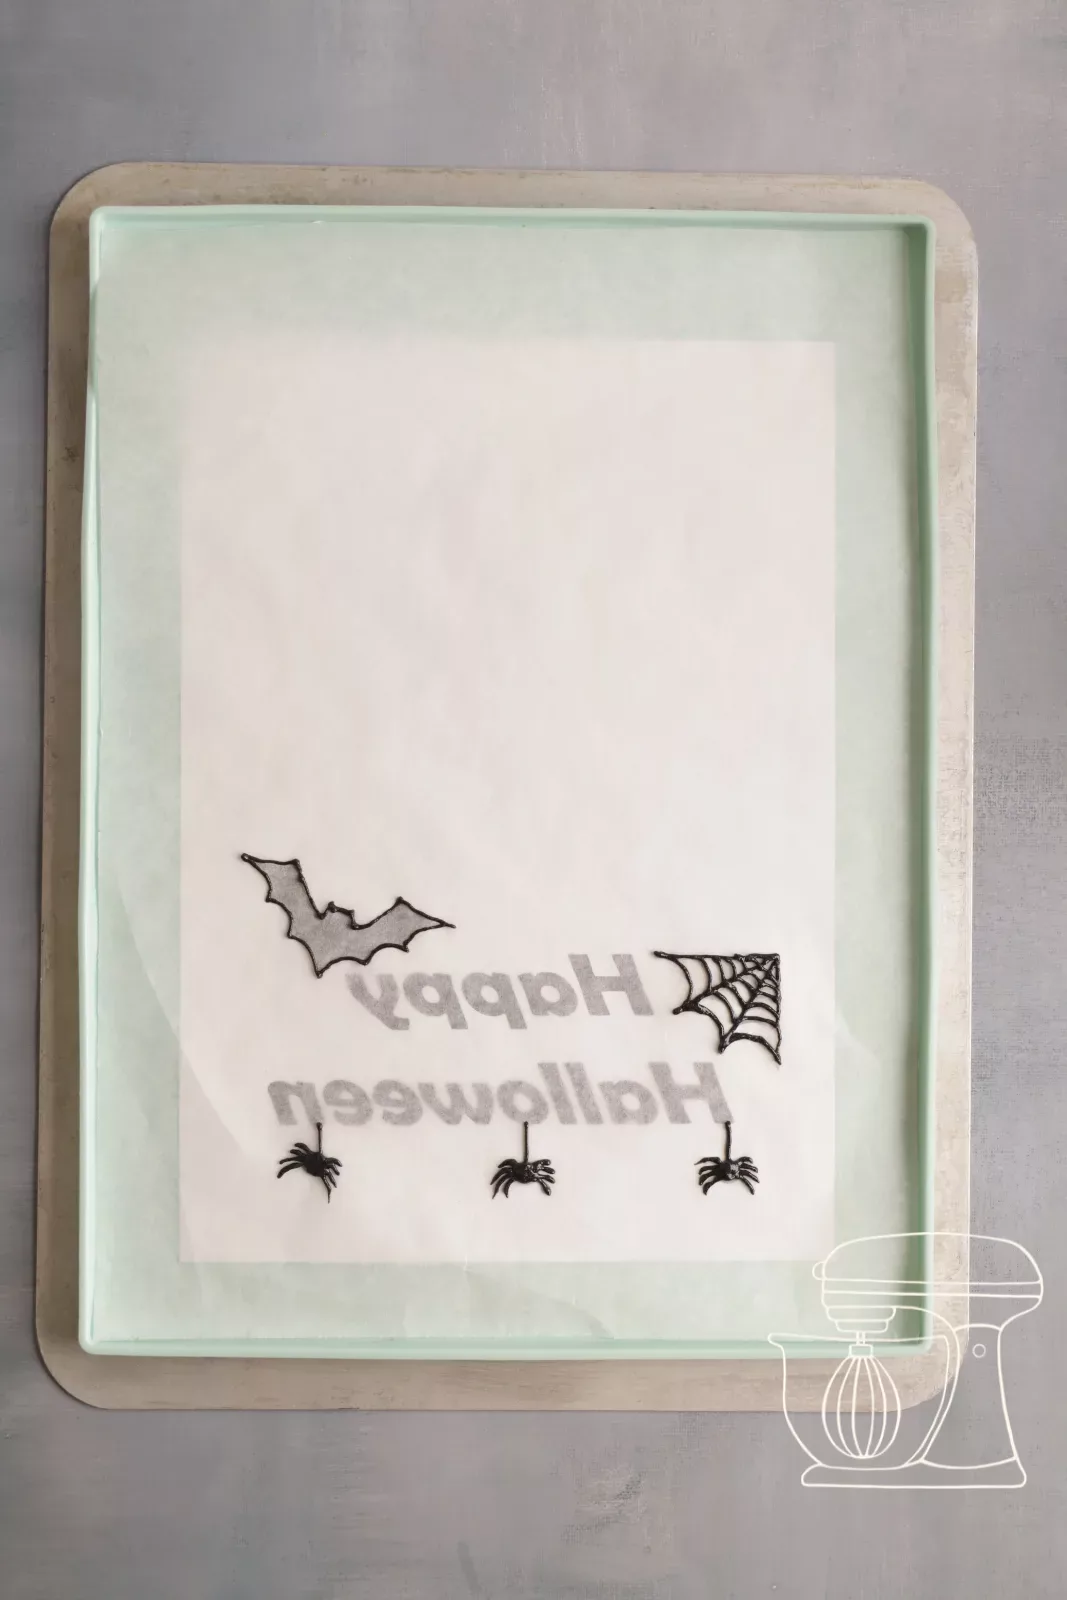
Place the Roulade mat on a perforated baking tray and the printed template underneath. The drawing is mirror-reversed, which is correct. Lay a sheet of baking paper cut to size over the top.
Disposable piping bag S - 30cm - 10pcs
Jelly sponge silicone mat
Round piping nozzles for Royal icing - opening: 1 mm
Progel gel colors: Black
Pipe the motifs and freeze
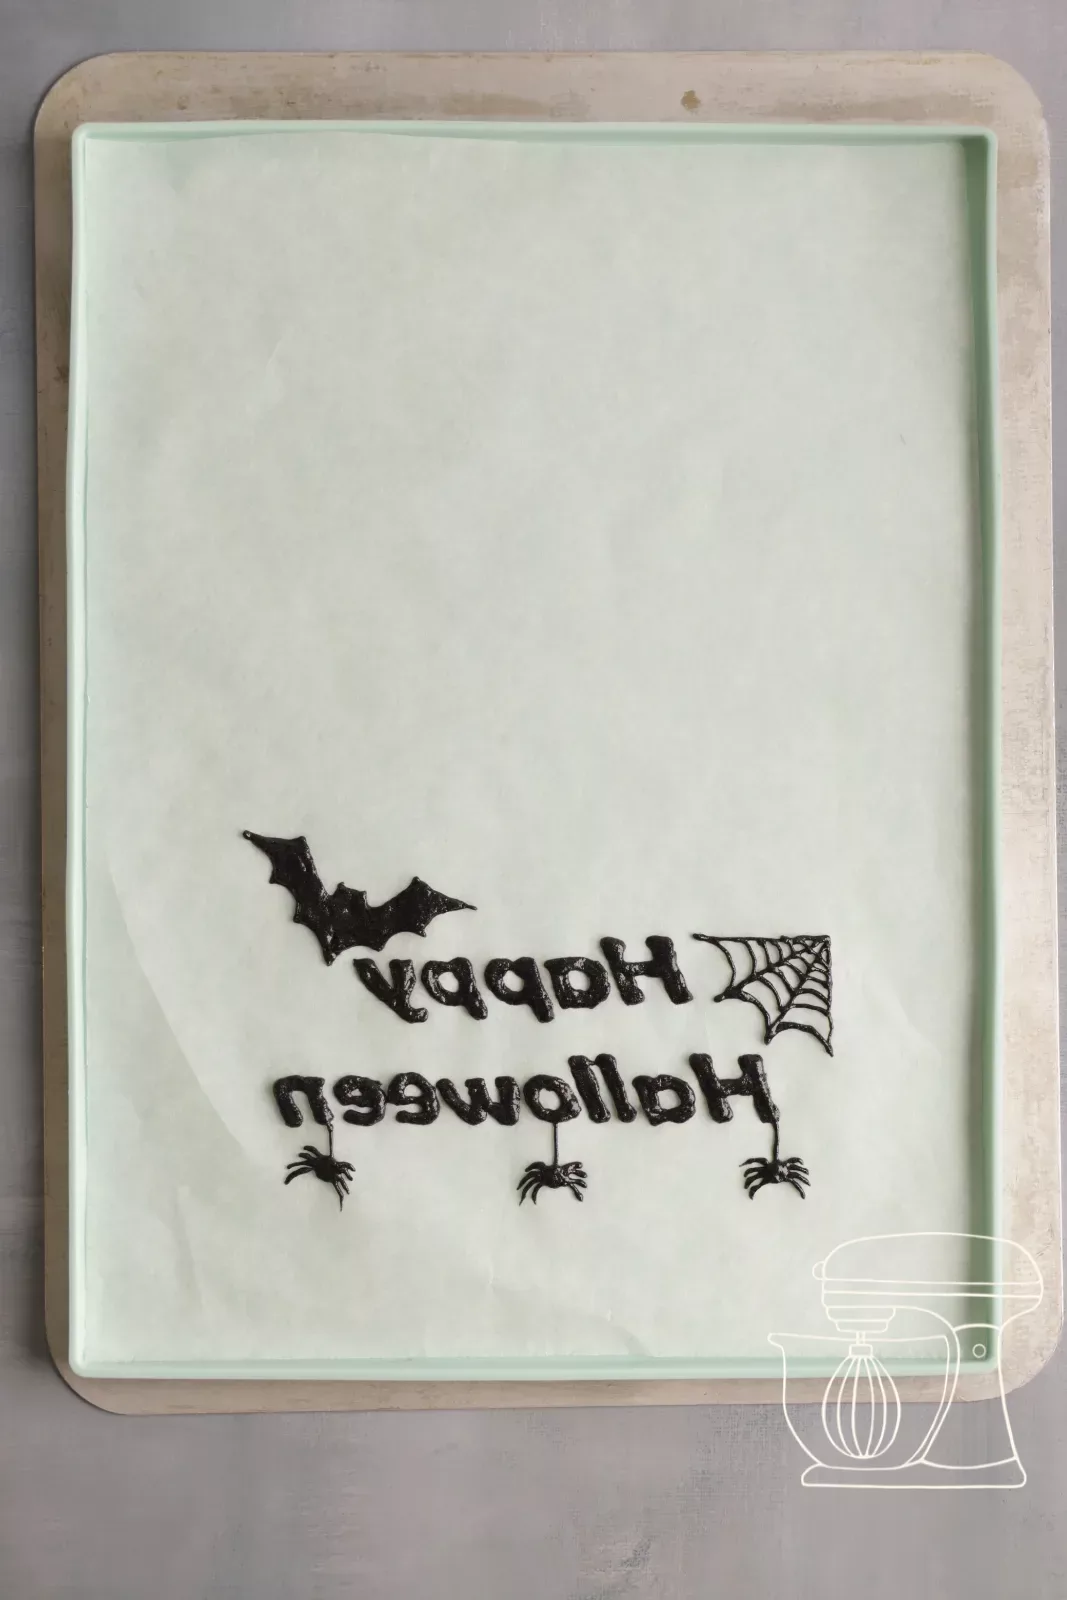
Follow the outlines with the Piping bag: use the 2 mm Piping nozzle for the bat and letters, and the 1 mm Piping nozzle for the spiderwebs and spiders. Remove the template and place the mat in the freezer while you prepare the sponge.
Orange sponge
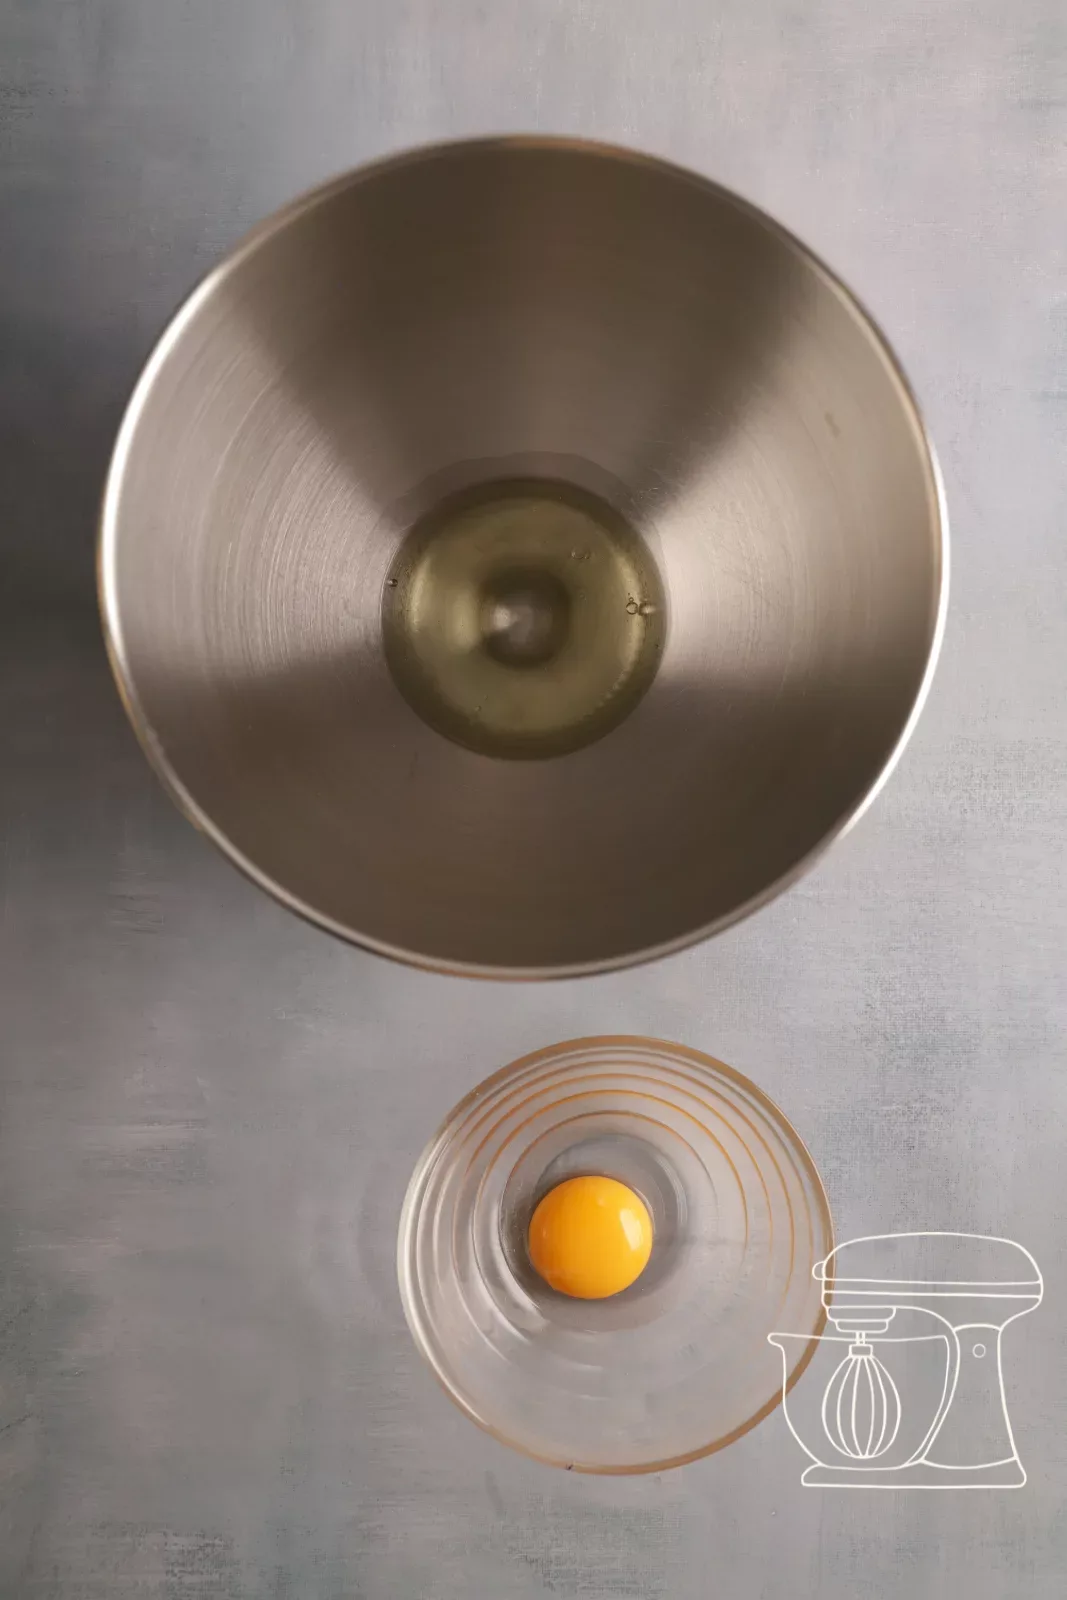
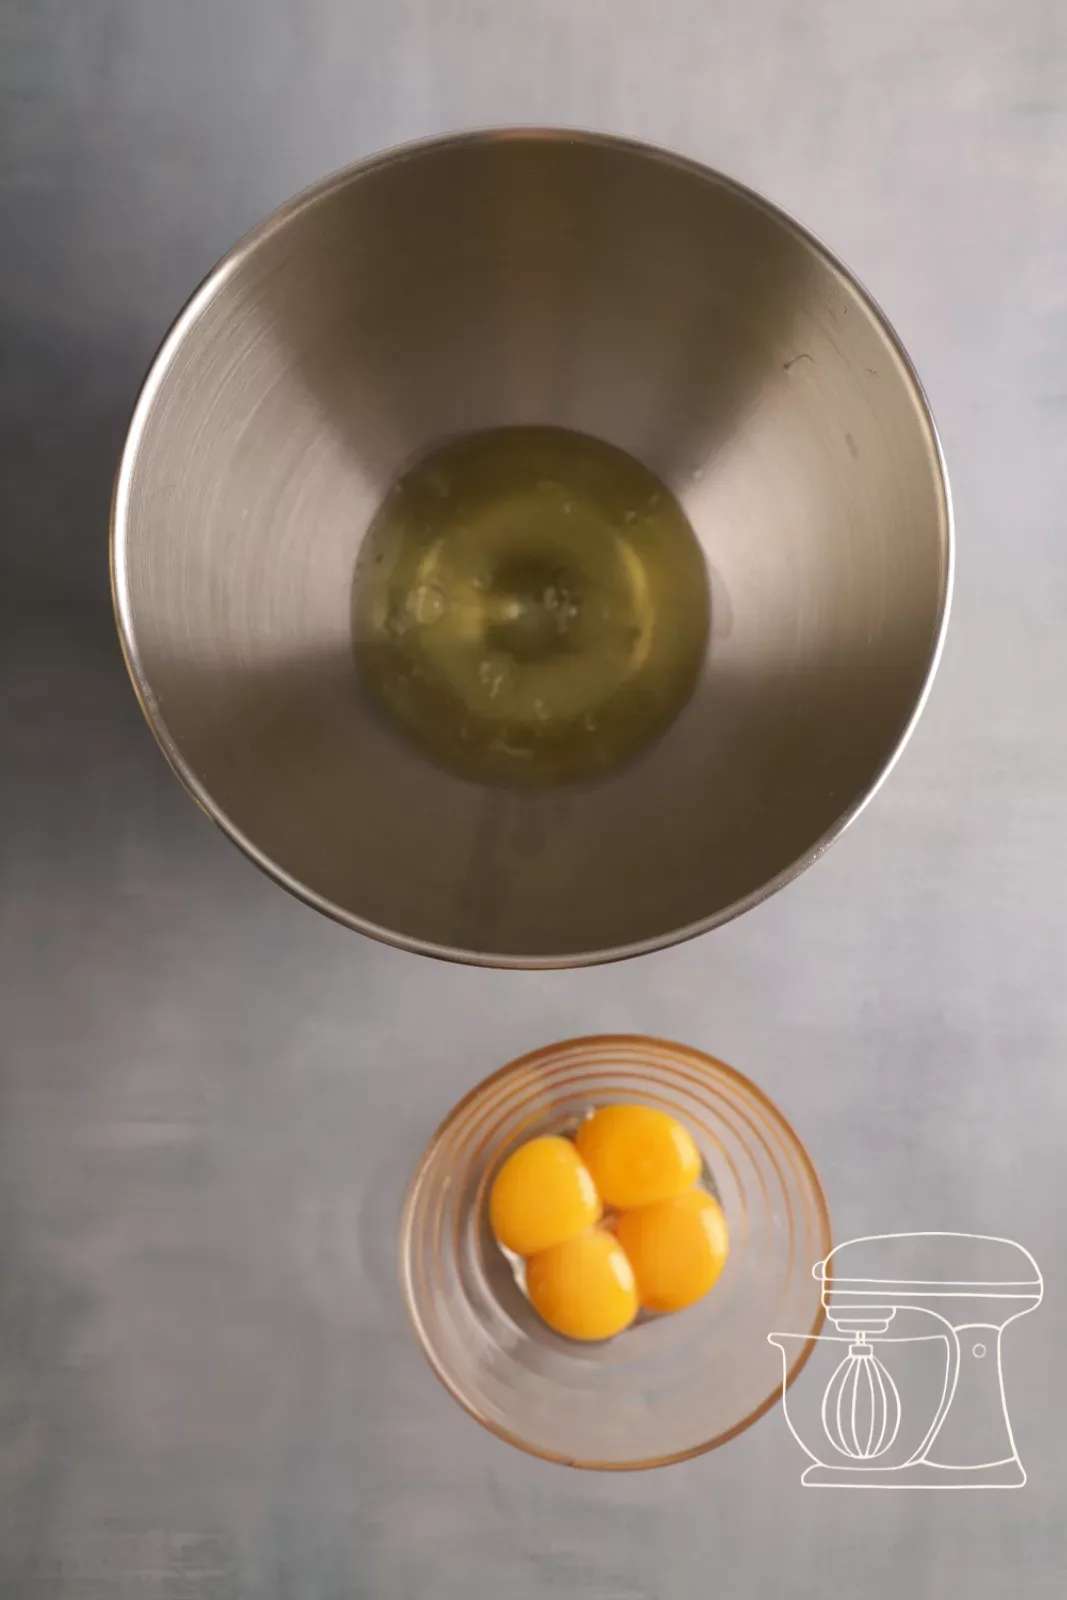
Separate the eggs
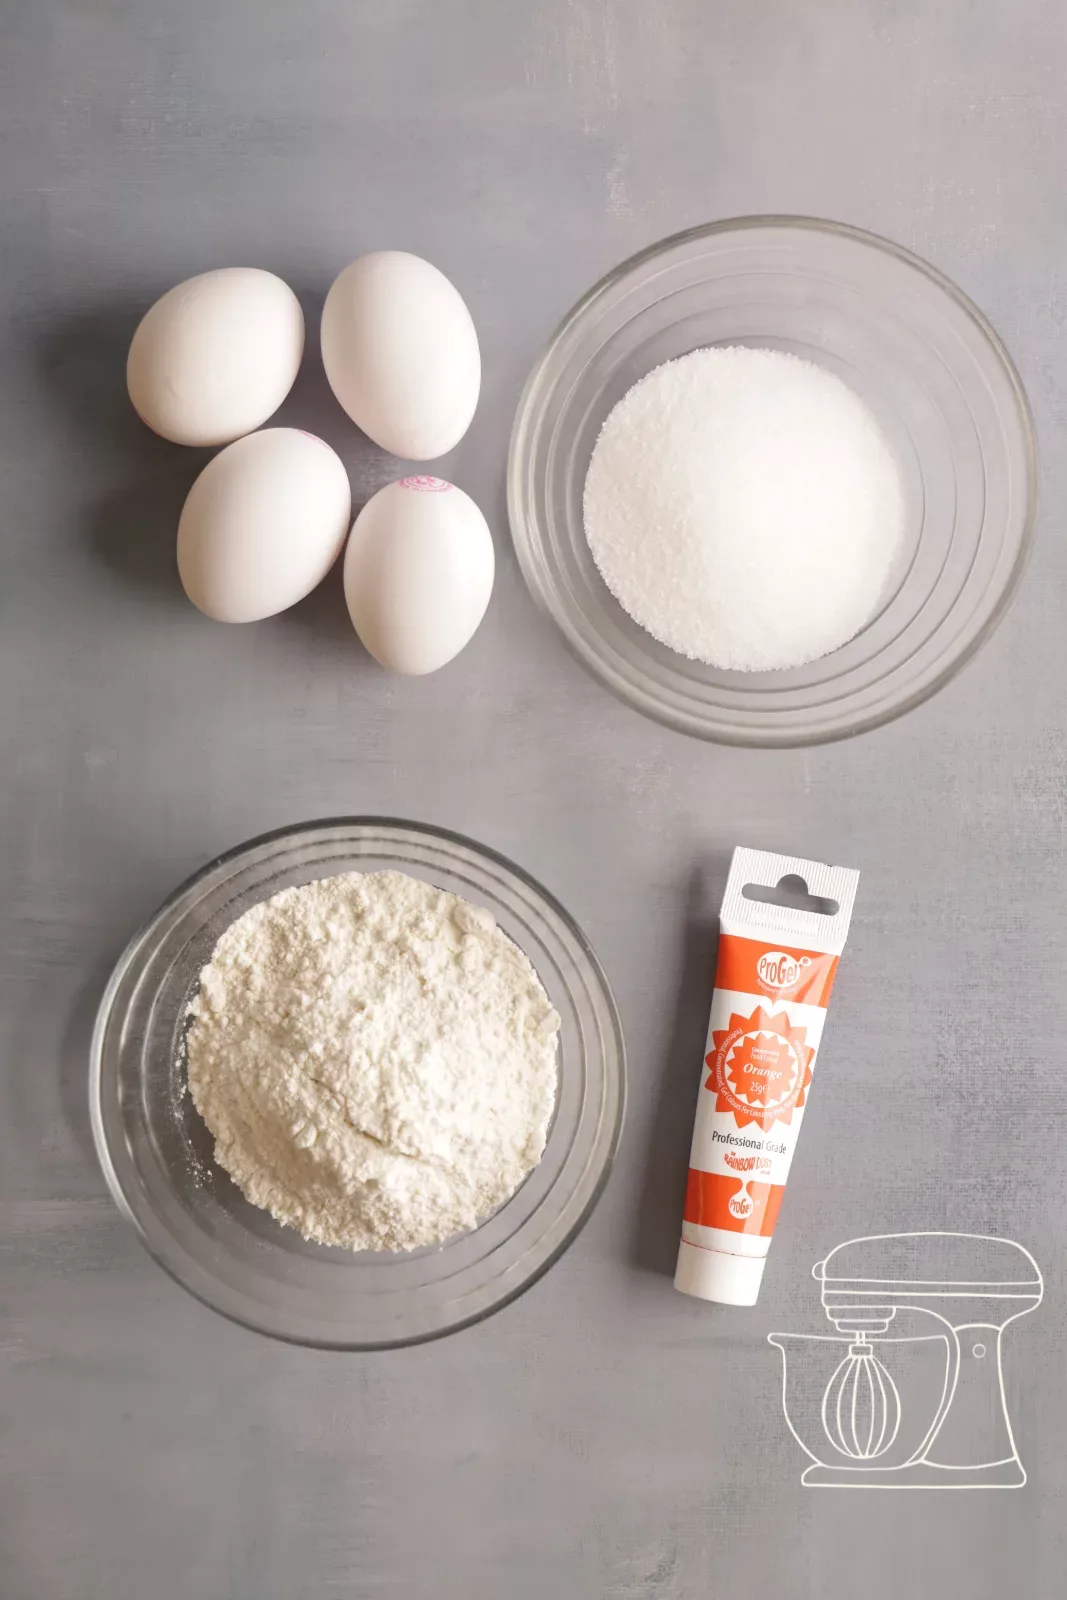
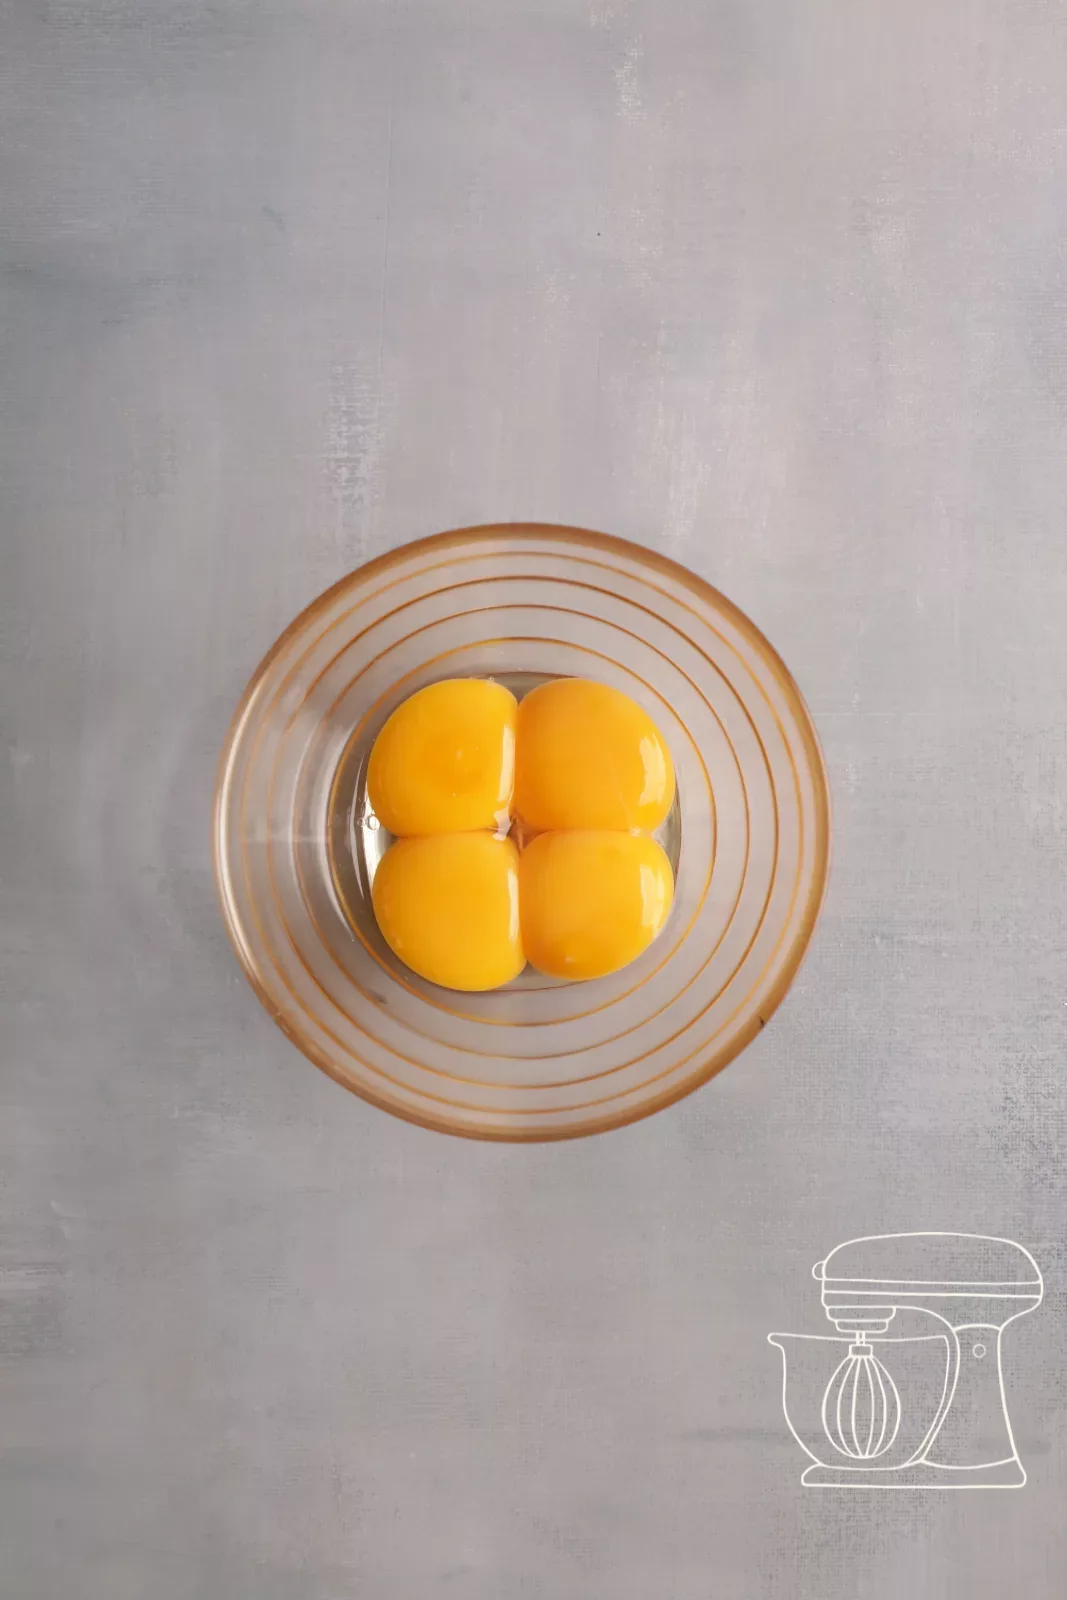
Preheat the oven to 180 °C fan. Separate 4 eggs and put the yolks and whites into two separate bowls.
Meringue mixture
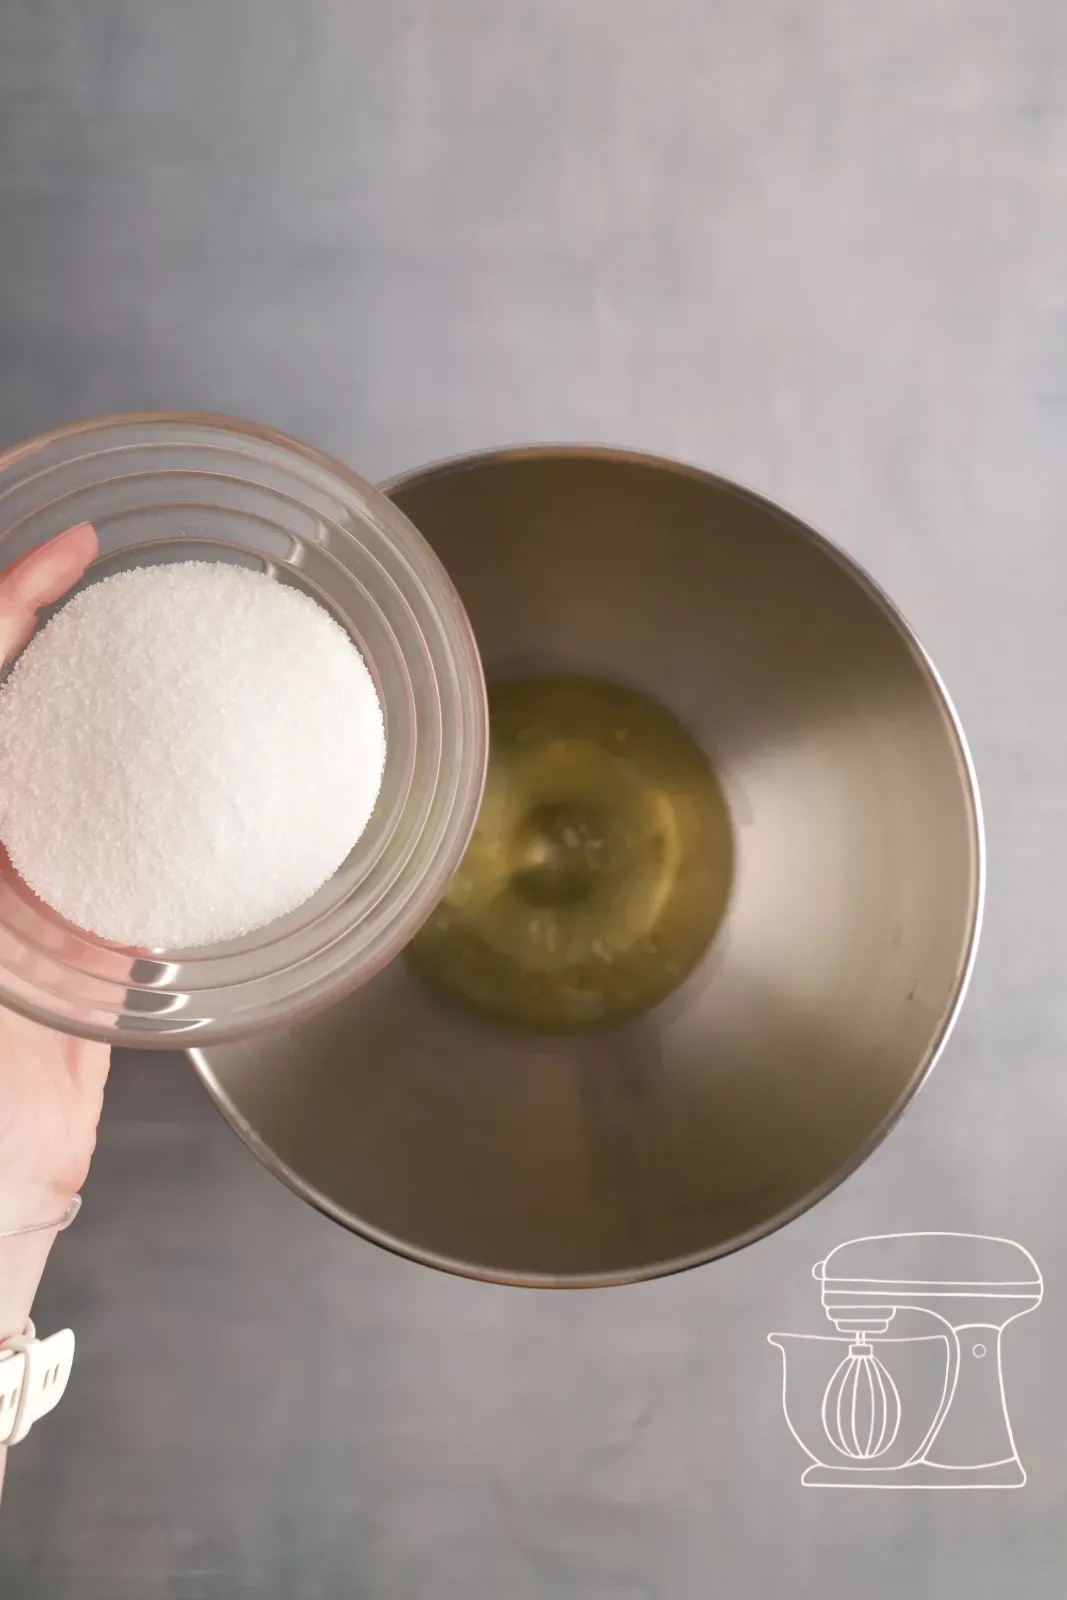
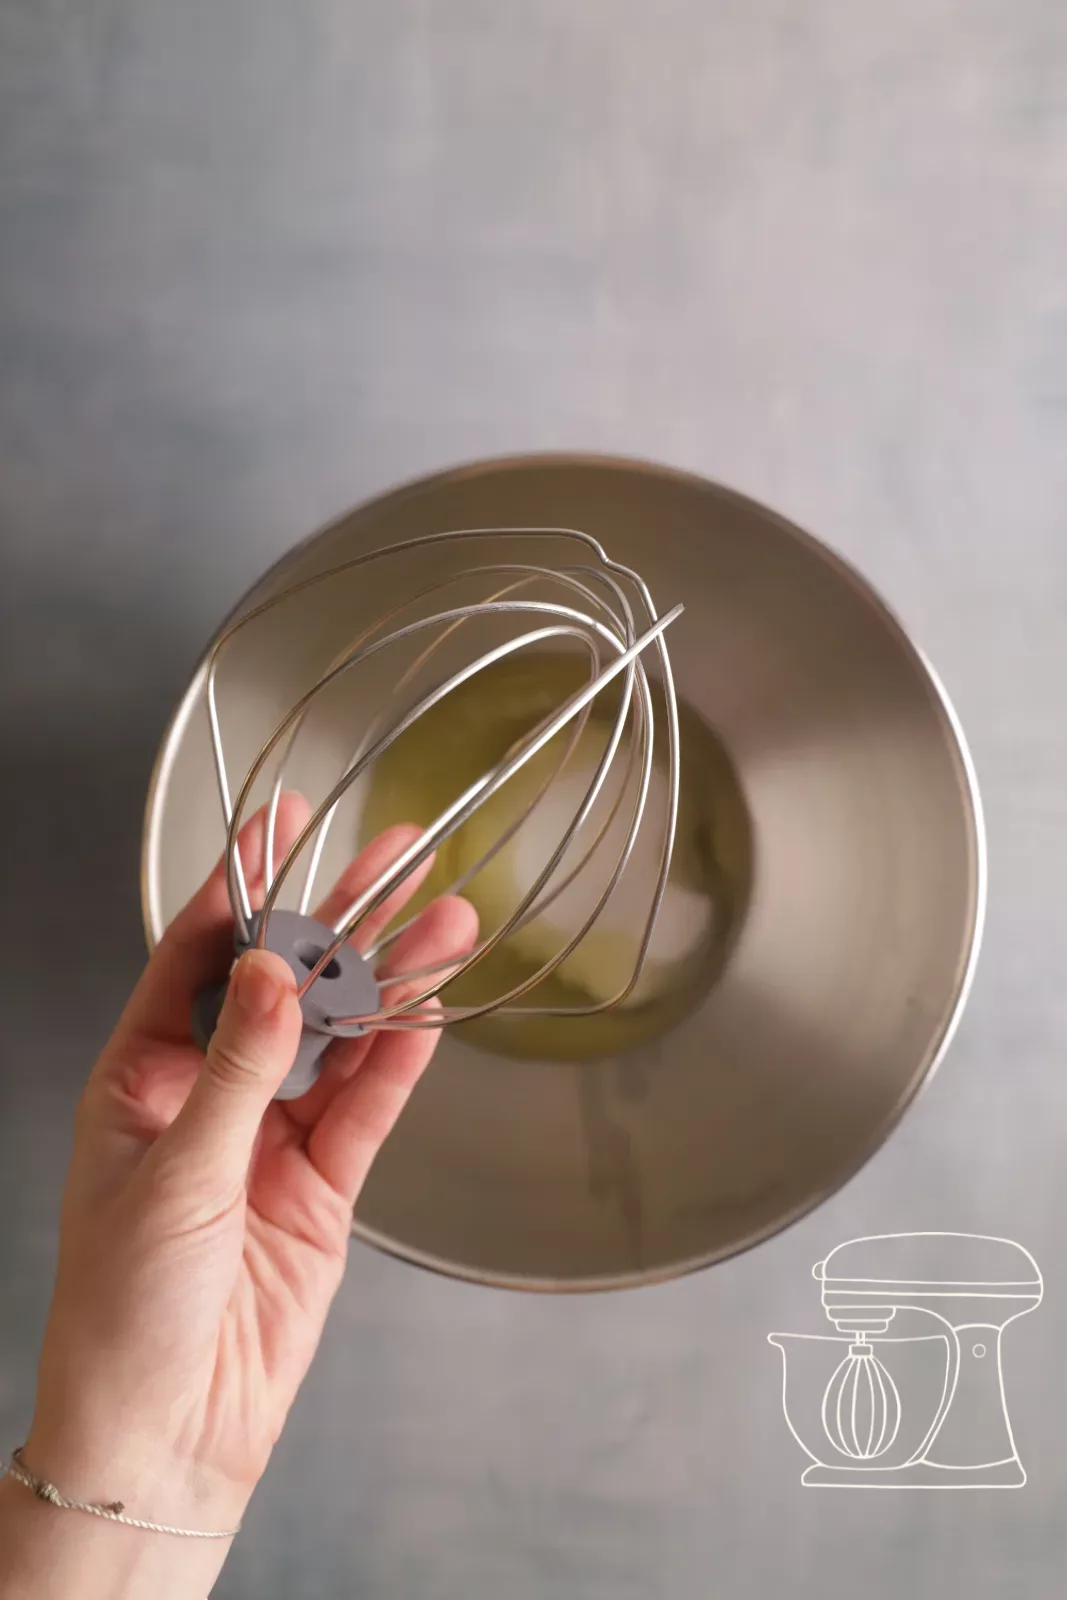
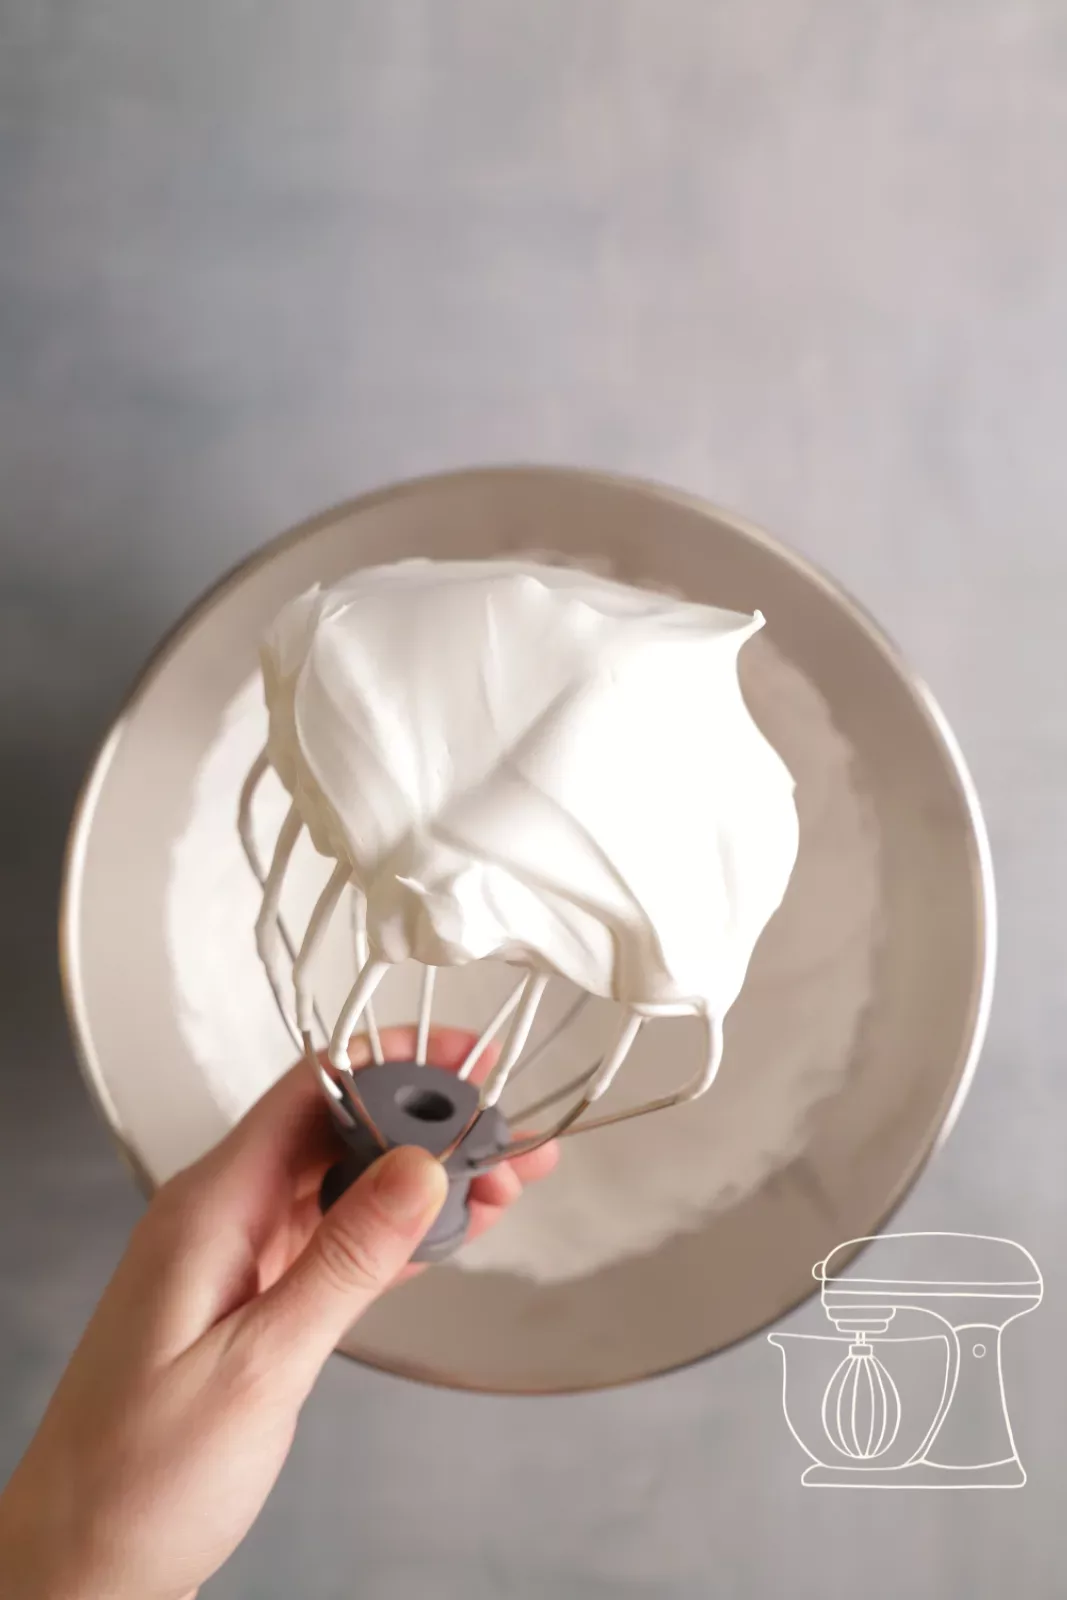
Beat the 4 egg whites (approx. 120 g) with 100 g sugar at medium speed to a nice, firm meringue mixture. Be a little patient: cold eggs take longer, which is why we use them at room temperature.
Egg yolk and color
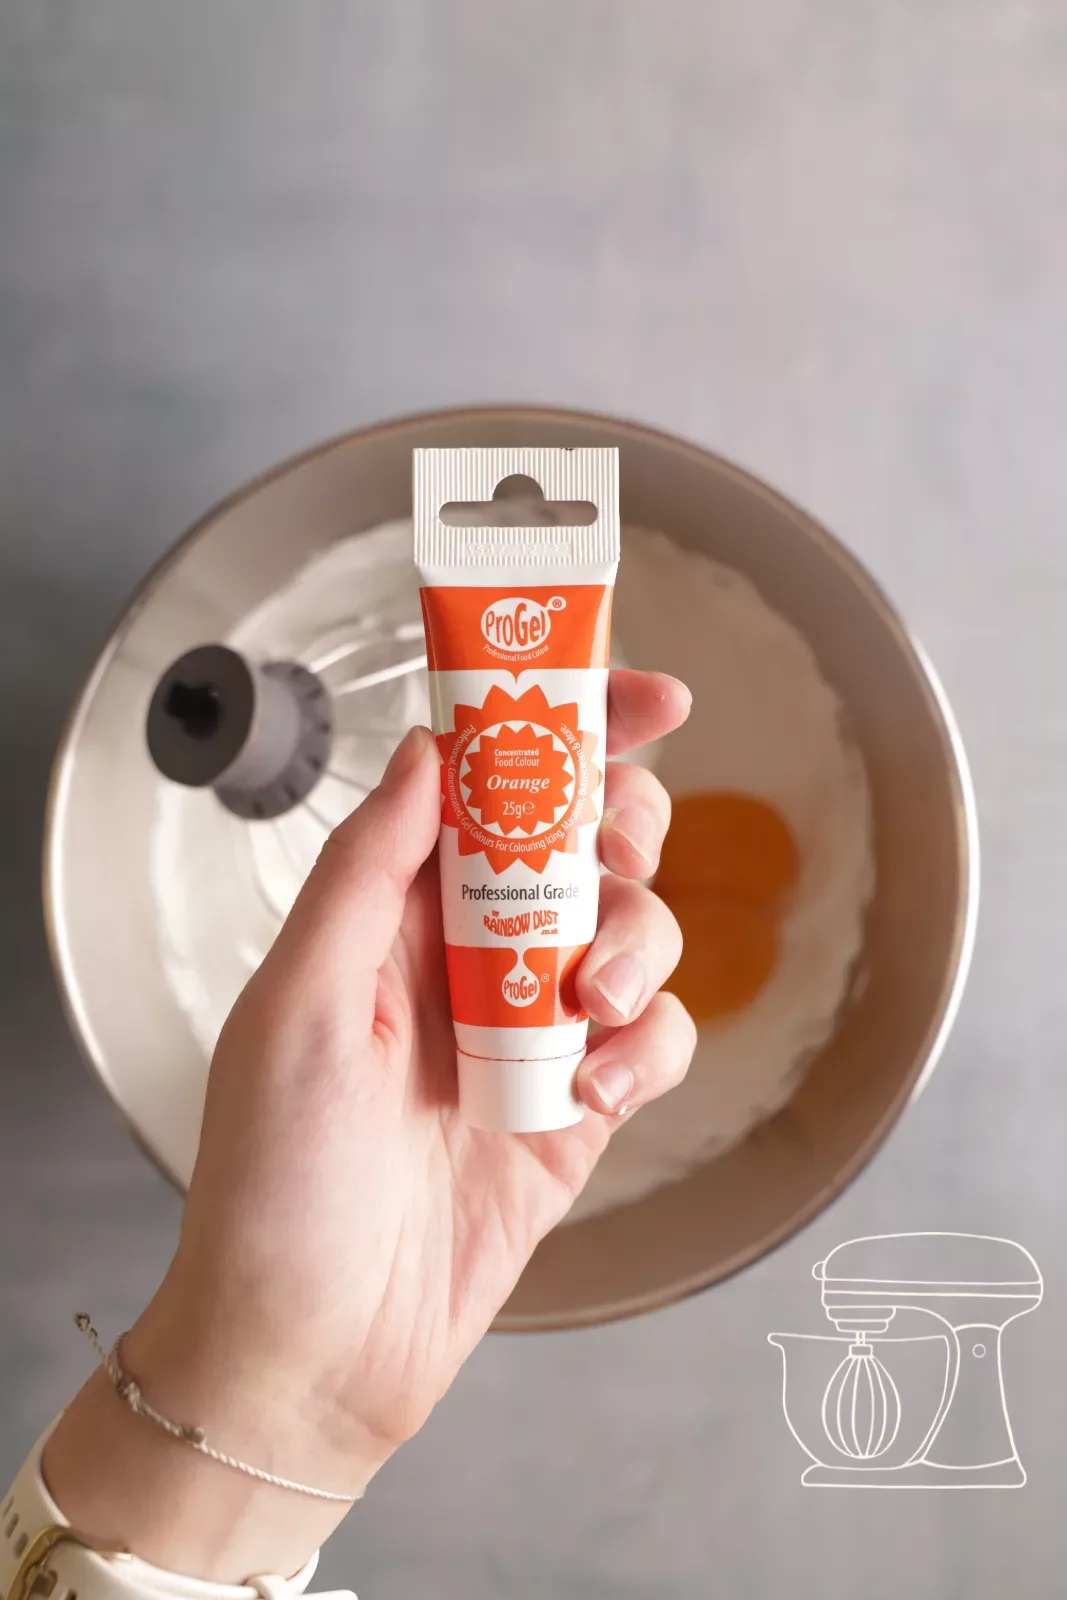
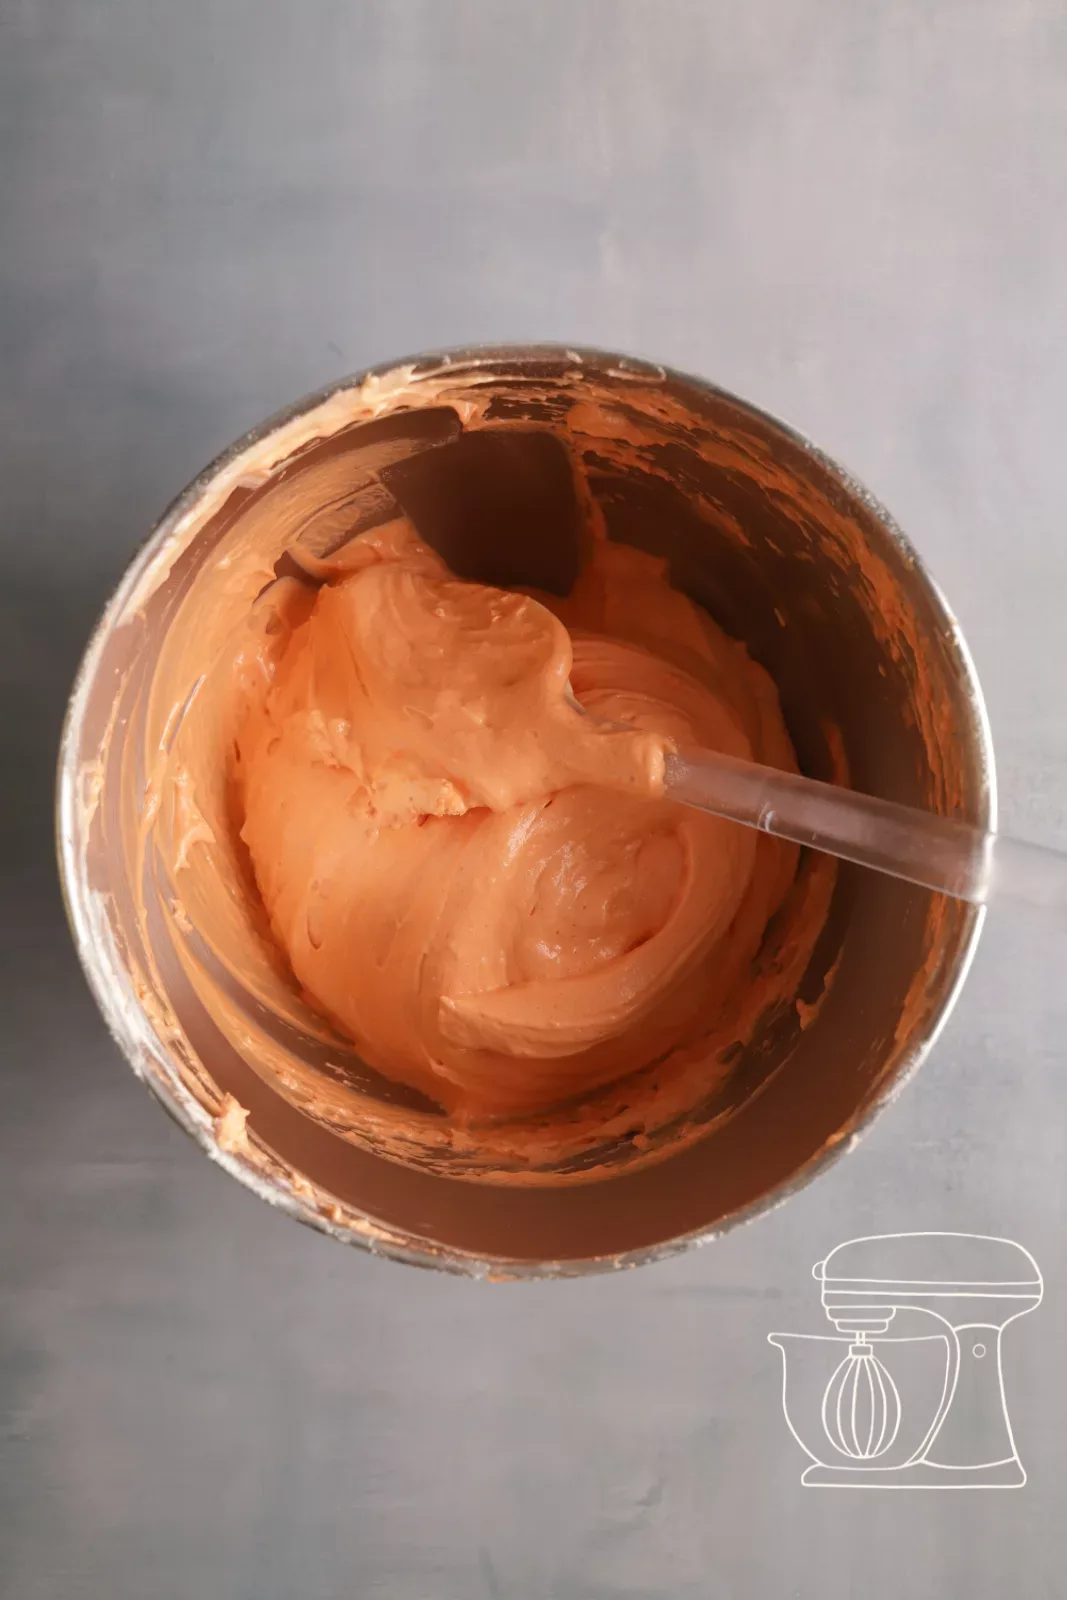
Add the 4 egg yolks (approx. 80 g) and orange Gel color and mix for only about 10 seconds on the lowest setting. Not everything needs to be combined yet: mixing too long makes the meringue collapse.
Silicone Roulade mat with rim, 32.5 x 32.5 x 1 cm
Swiss White flour, 1 kg
Progel Gel colors: Orange
Stainless steel Angled spatula
Fold in the flour
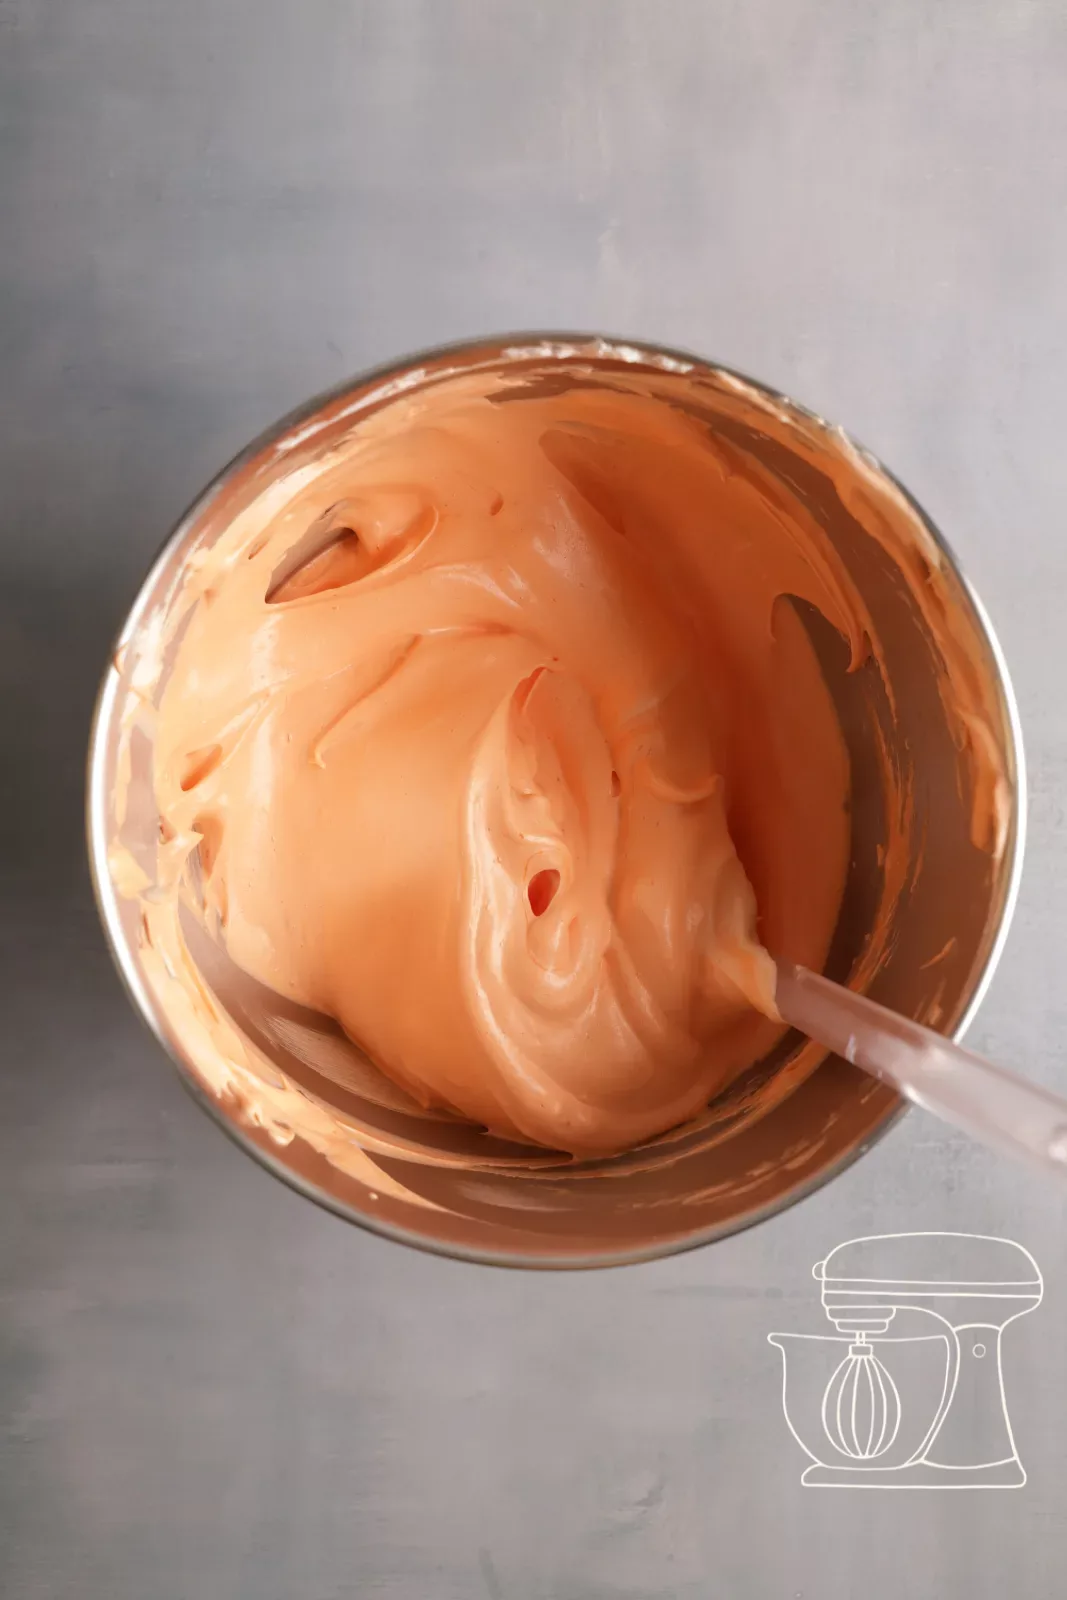
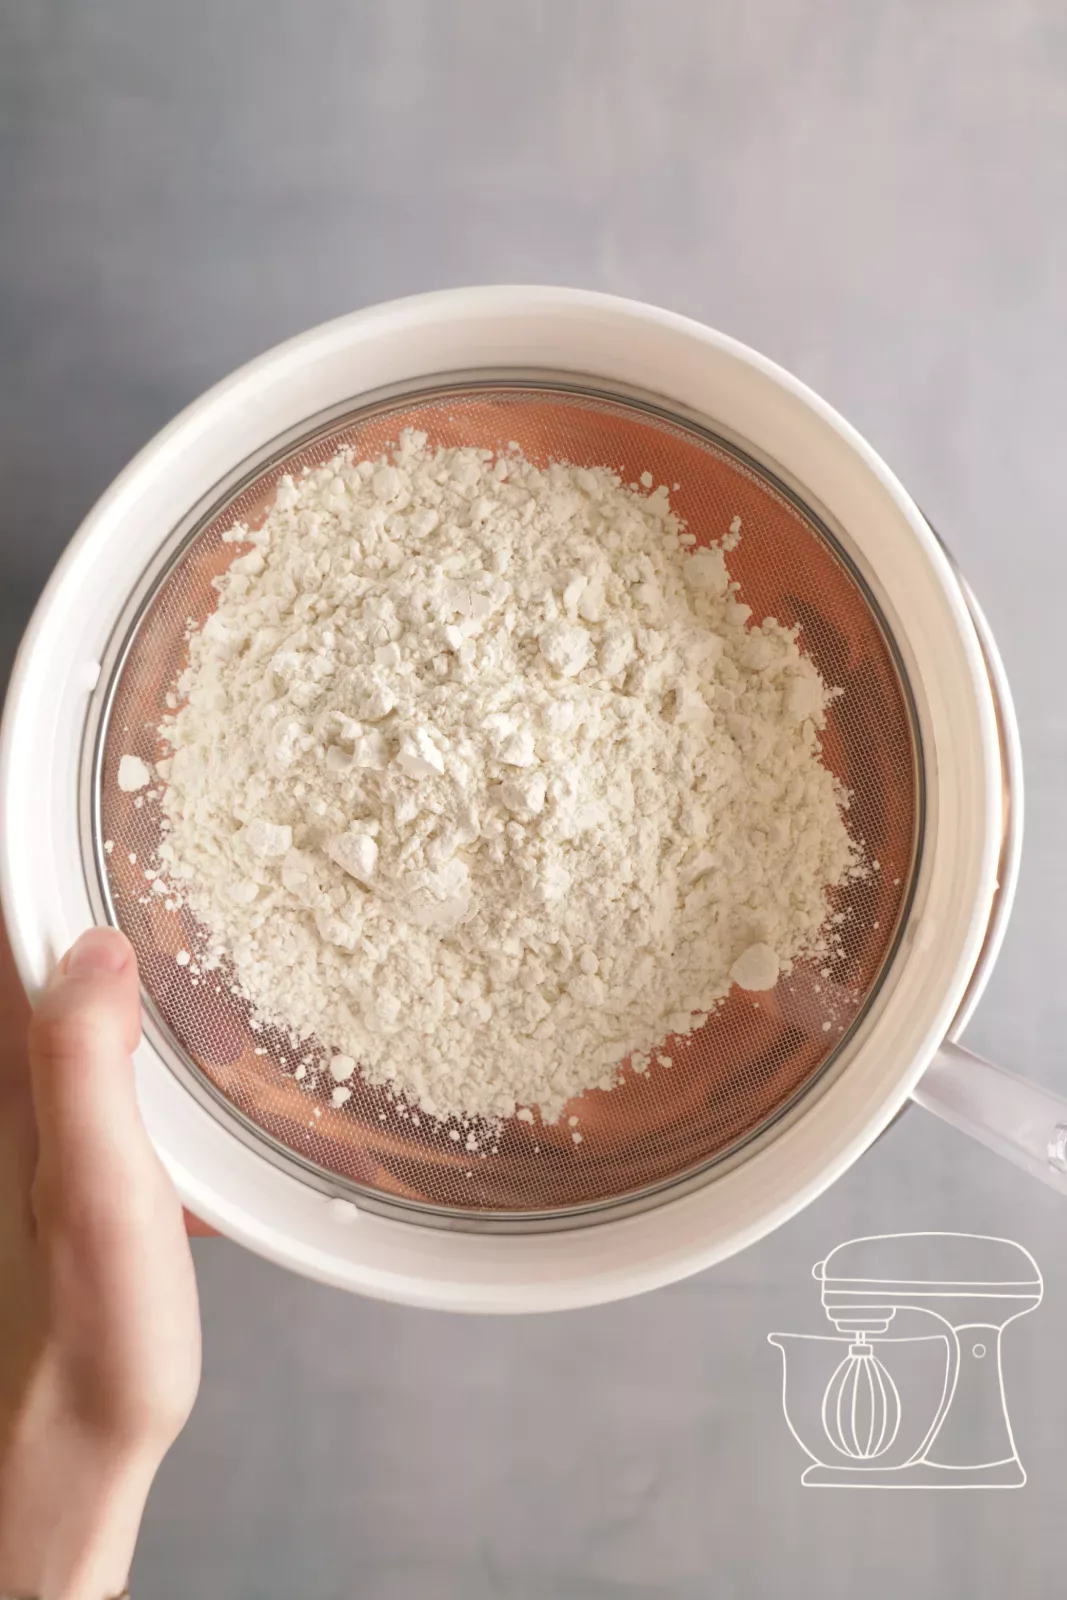
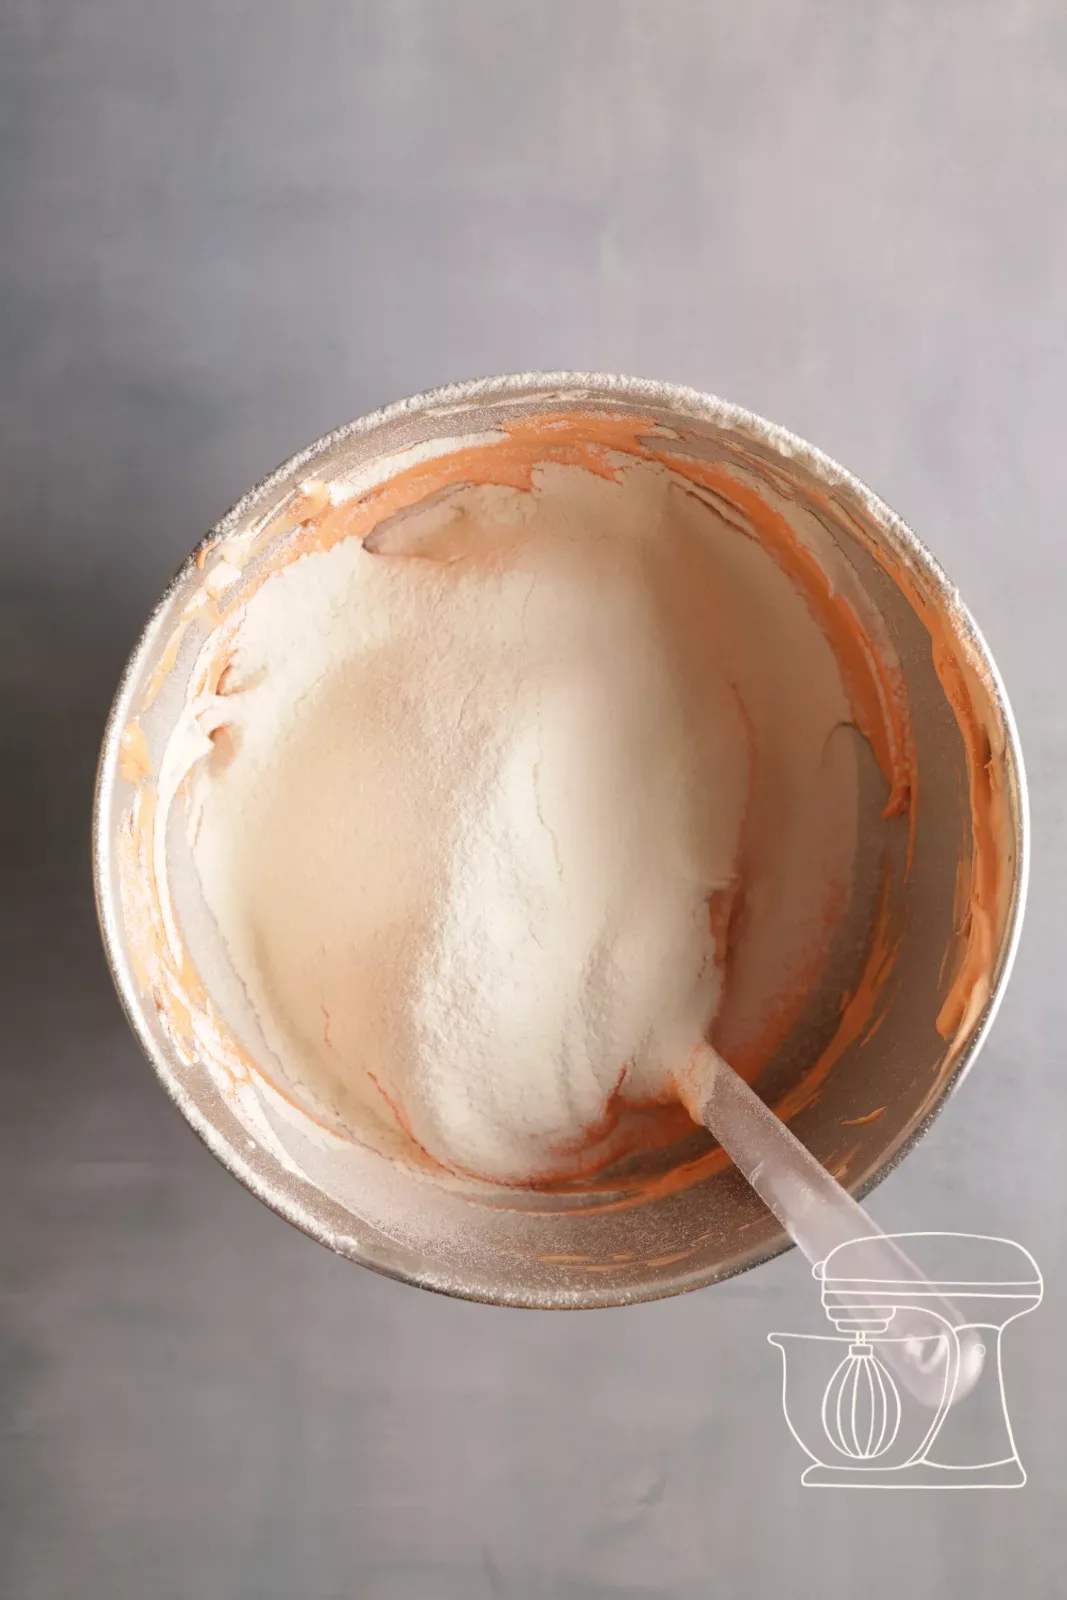
Sieve 100 g flour over the mixture and fold it in gently with a Dough scraper, much like with Macarons. The batter is ready when it is smooth and evenly orange.
Spread and bake
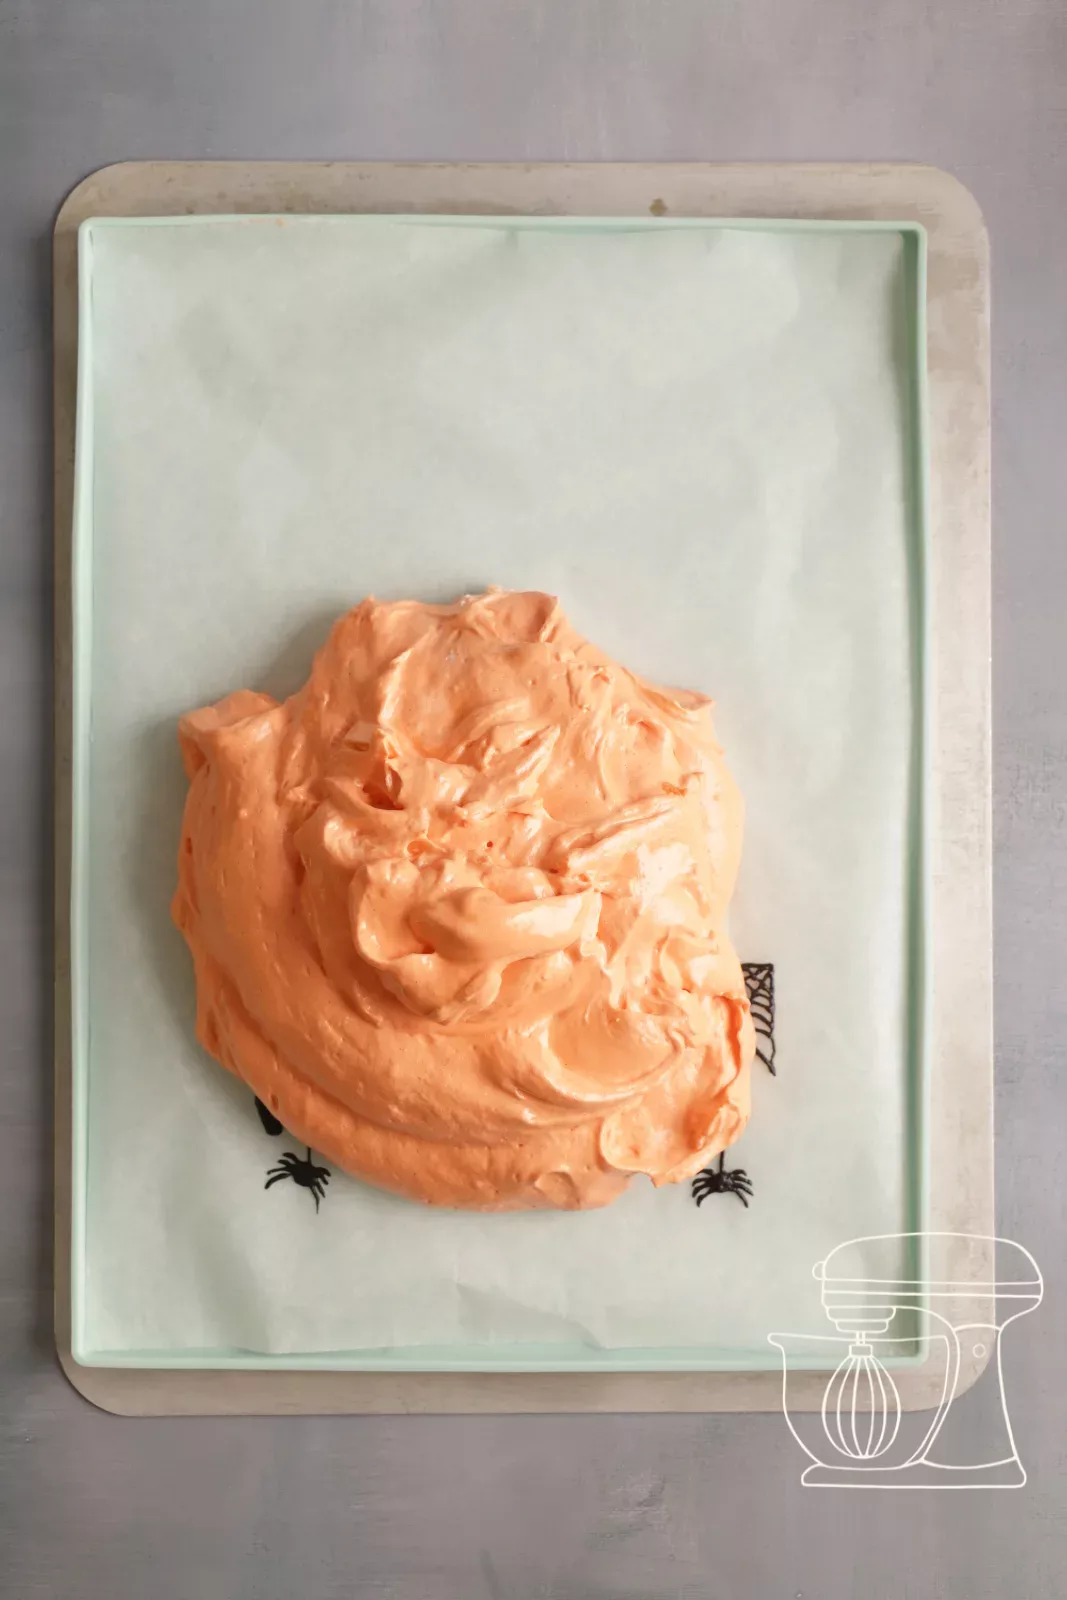
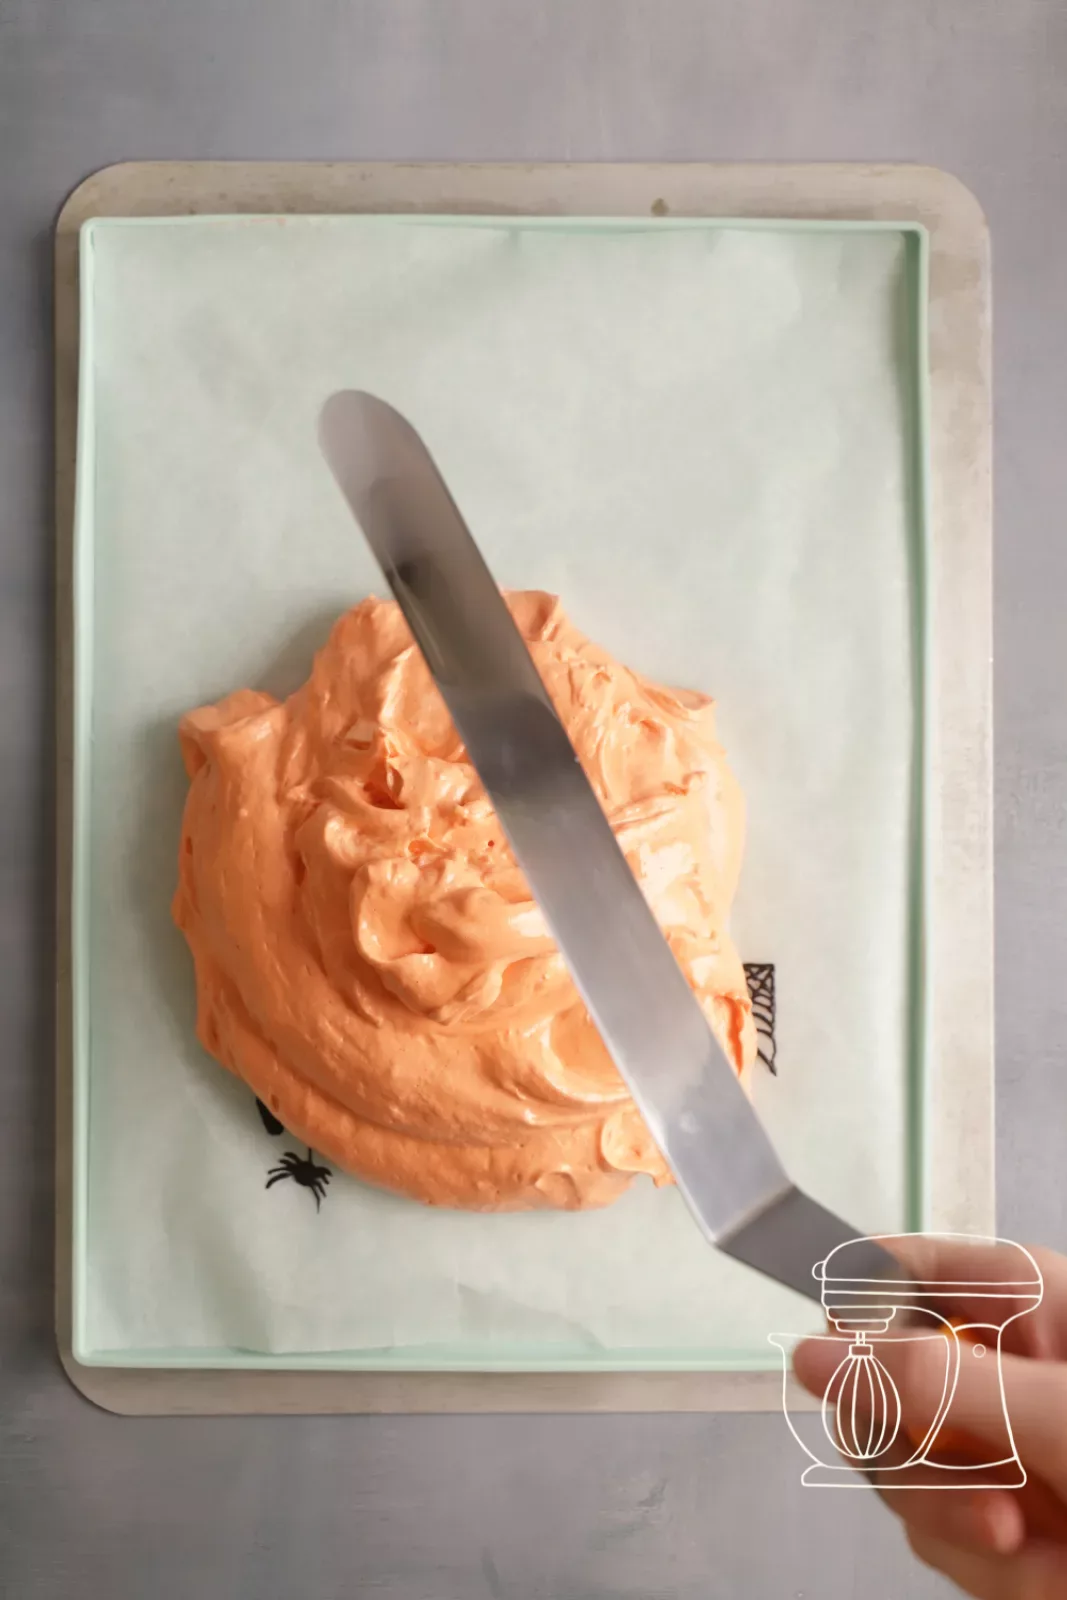
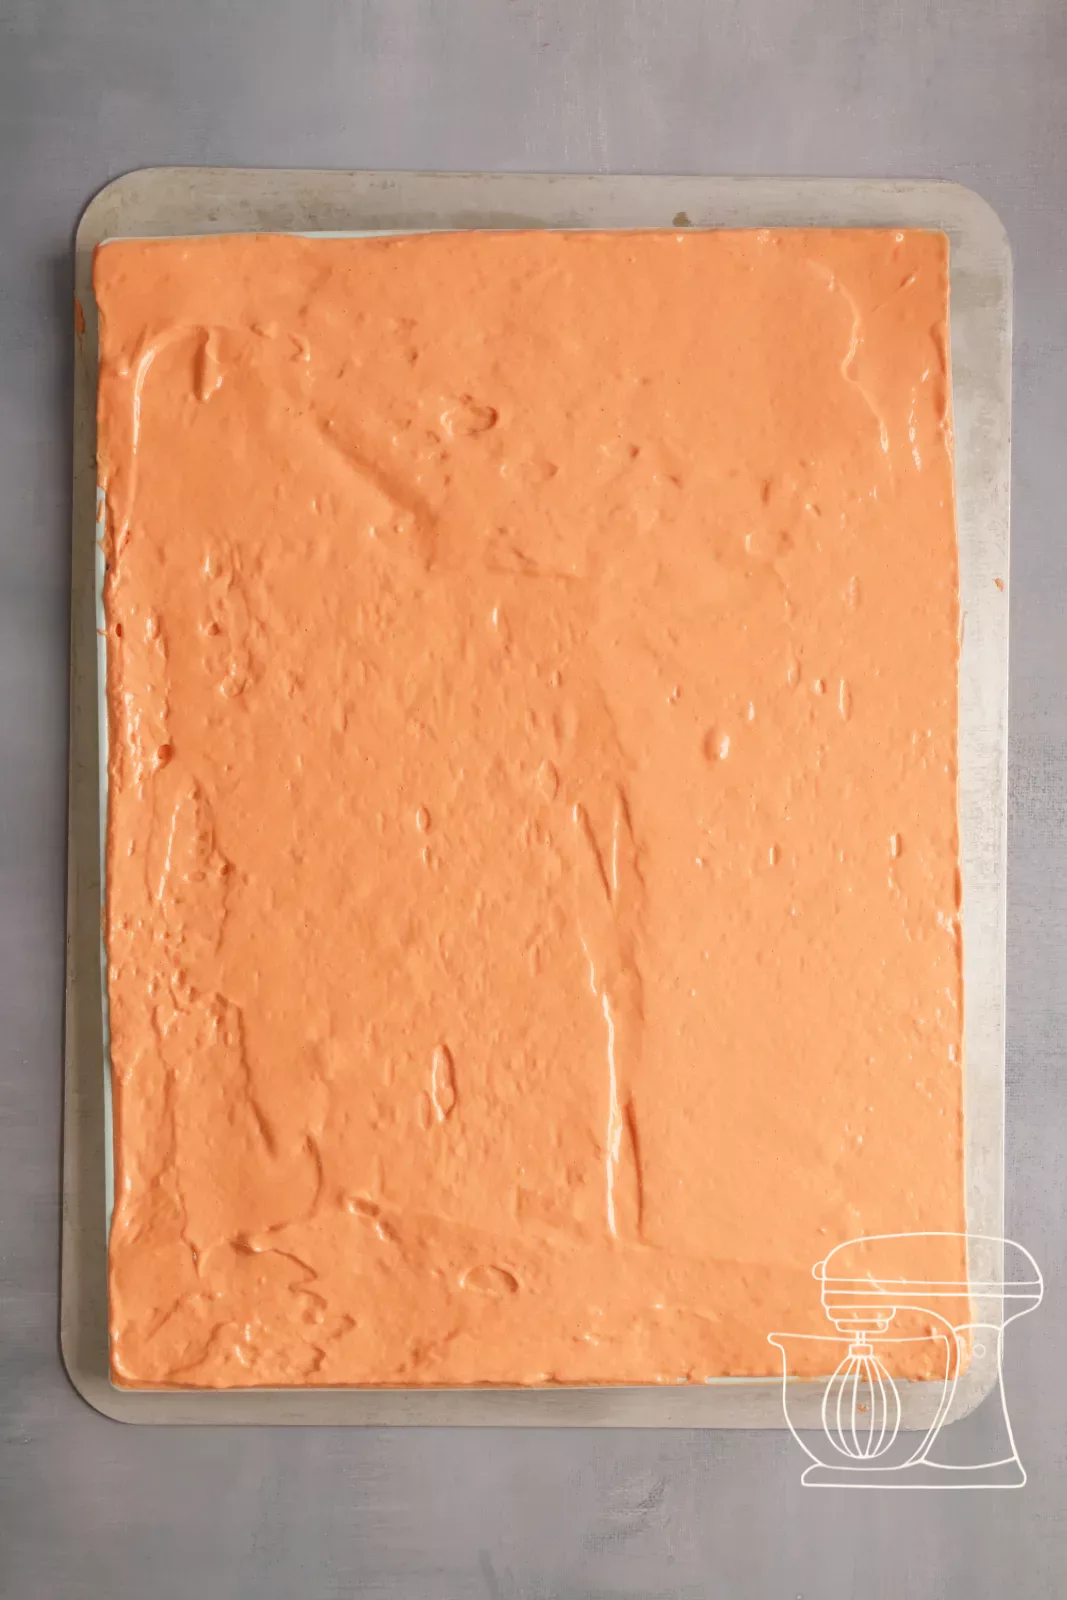
Take the mat out of the freezer, pour the batter onto it and smooth it out with an Angled spatula, without pressing on the design. Bake the sponge for 10 minutes at 180 °C fan.
Turn out
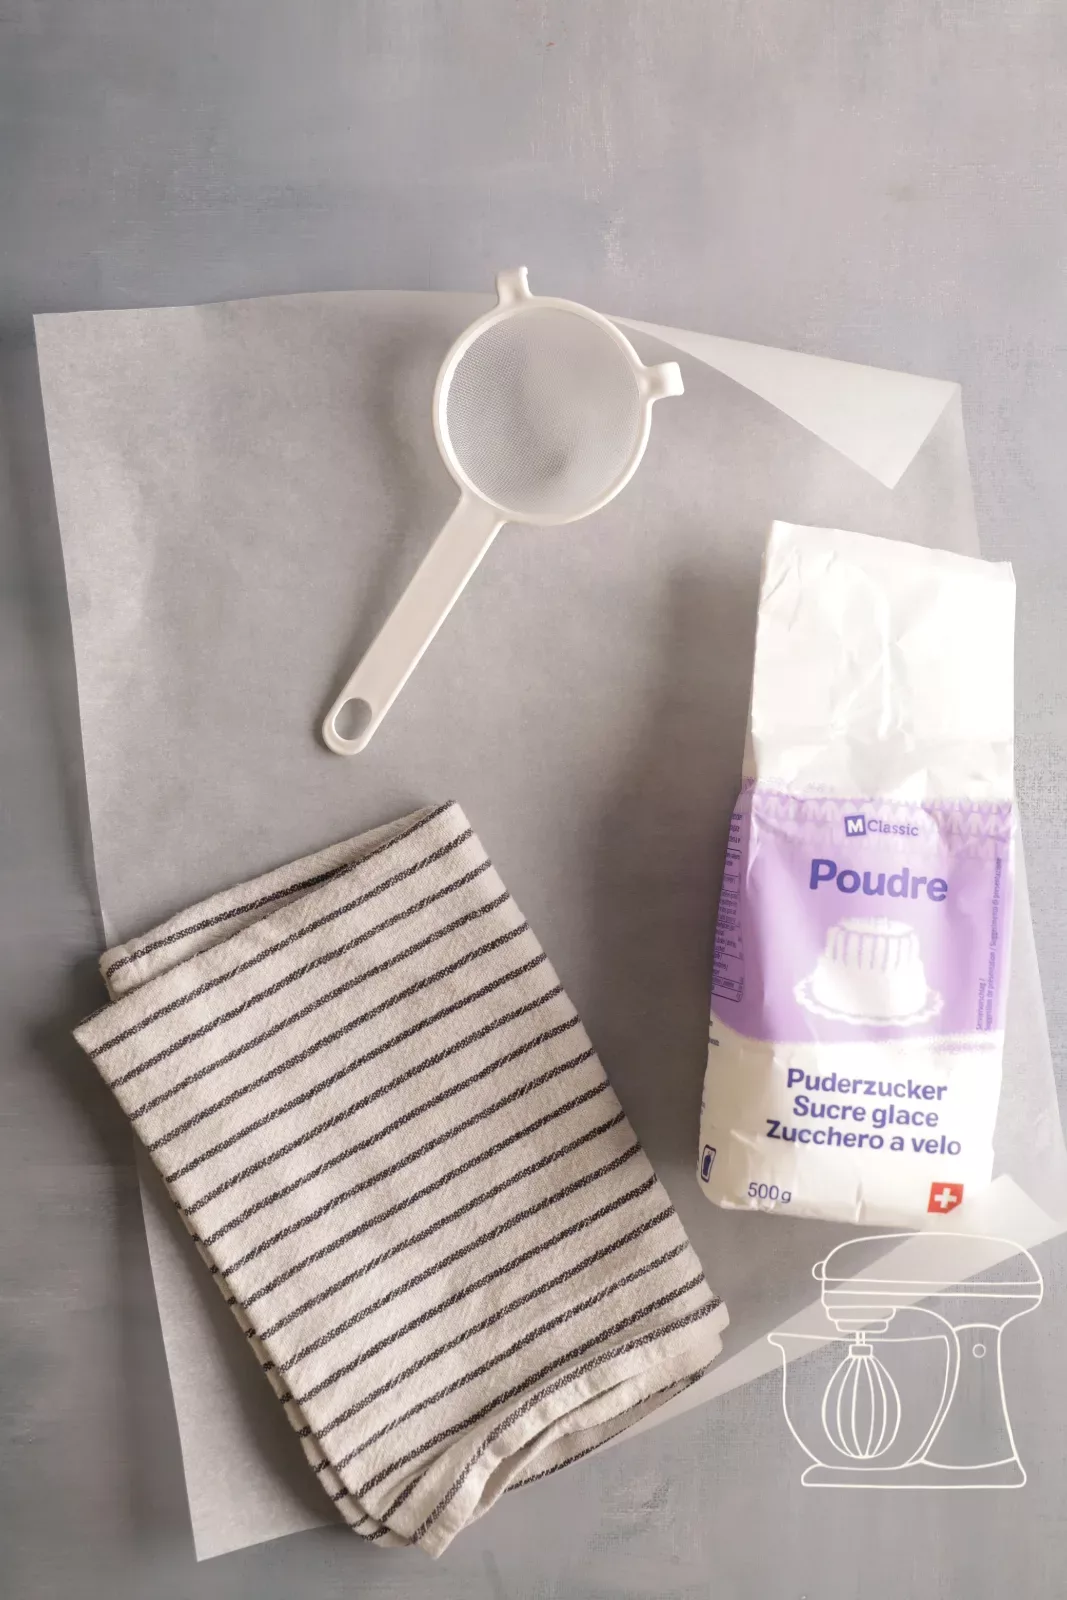
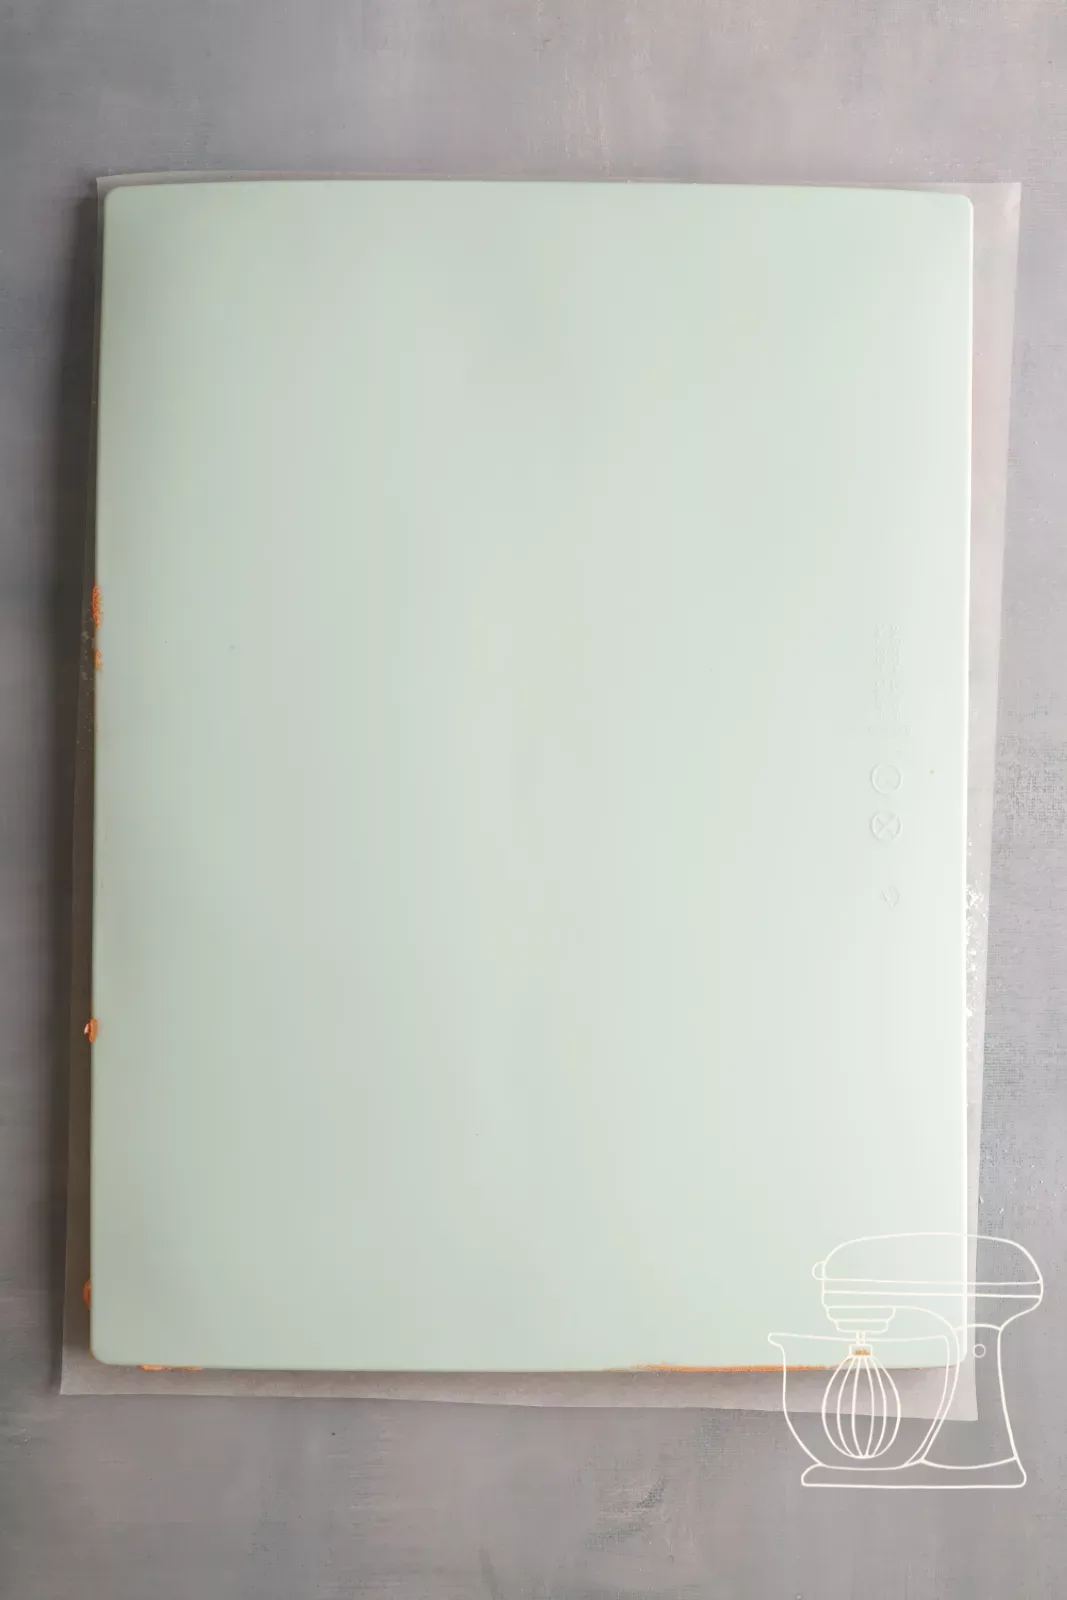
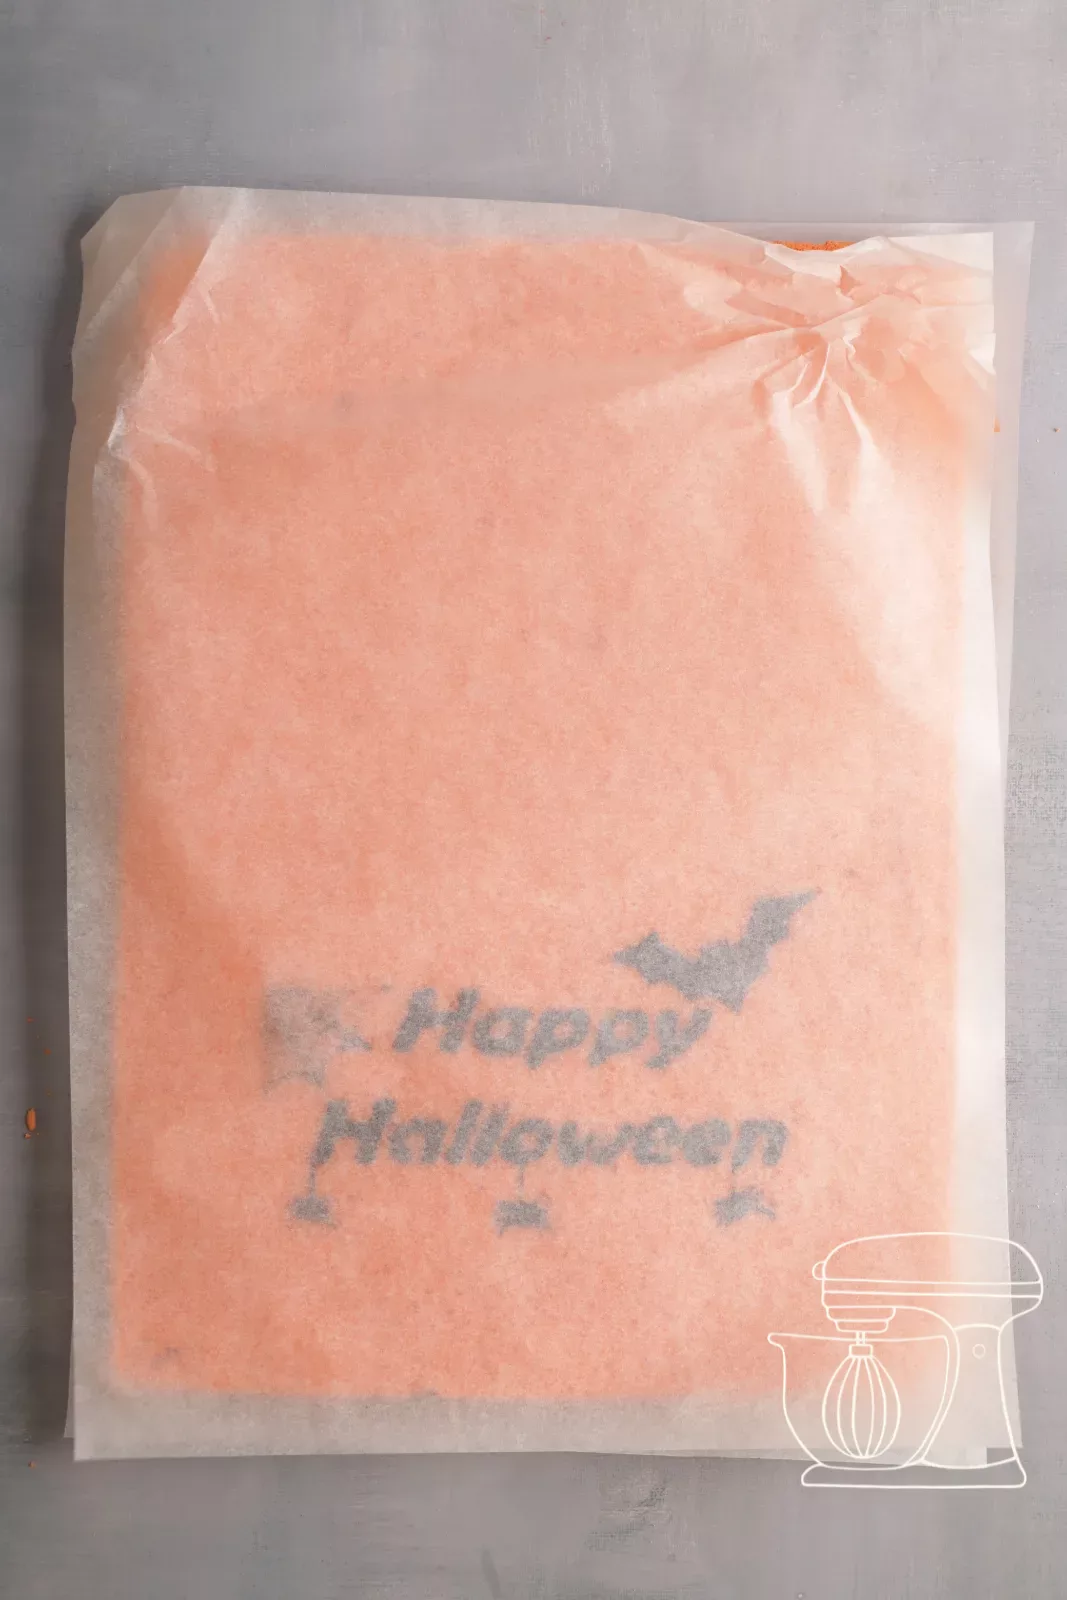
Sprinkle a sheet of baking paper with icing sugar and turn the sponge out onto it. Carefully peel off the mat so nothing tears, and replace the baking paper that was baked on with a fresh one, this keeps the decoration intact.
Roll up and cool
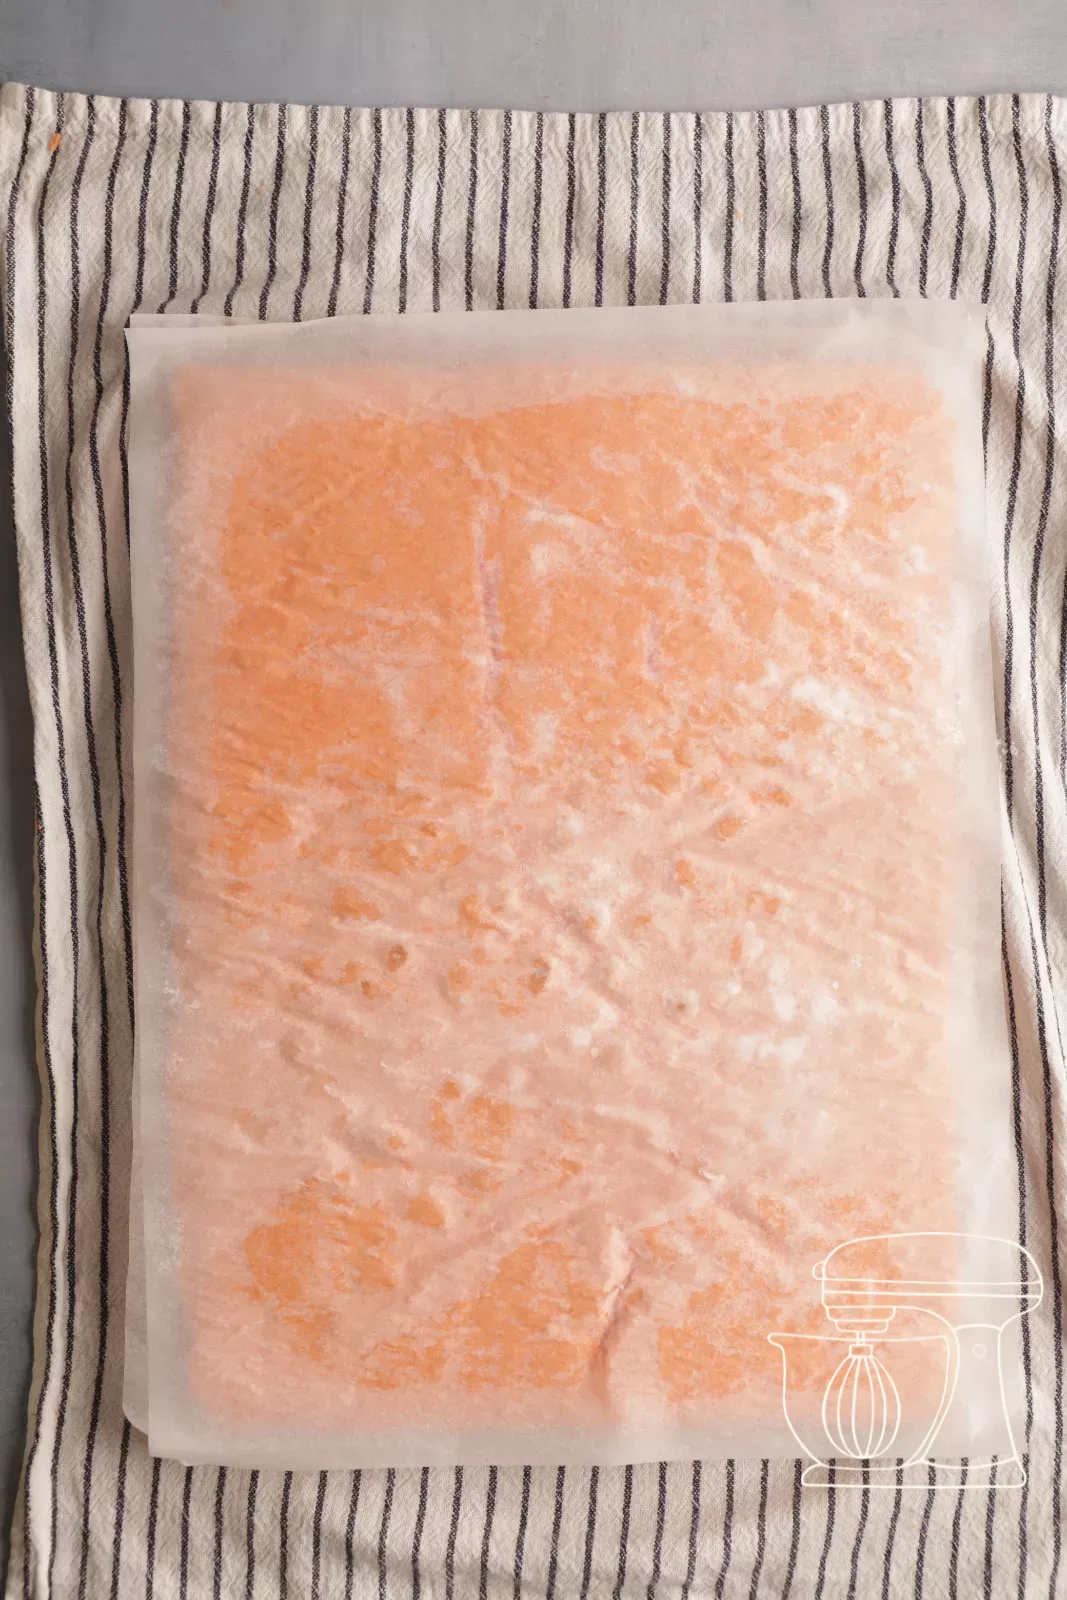
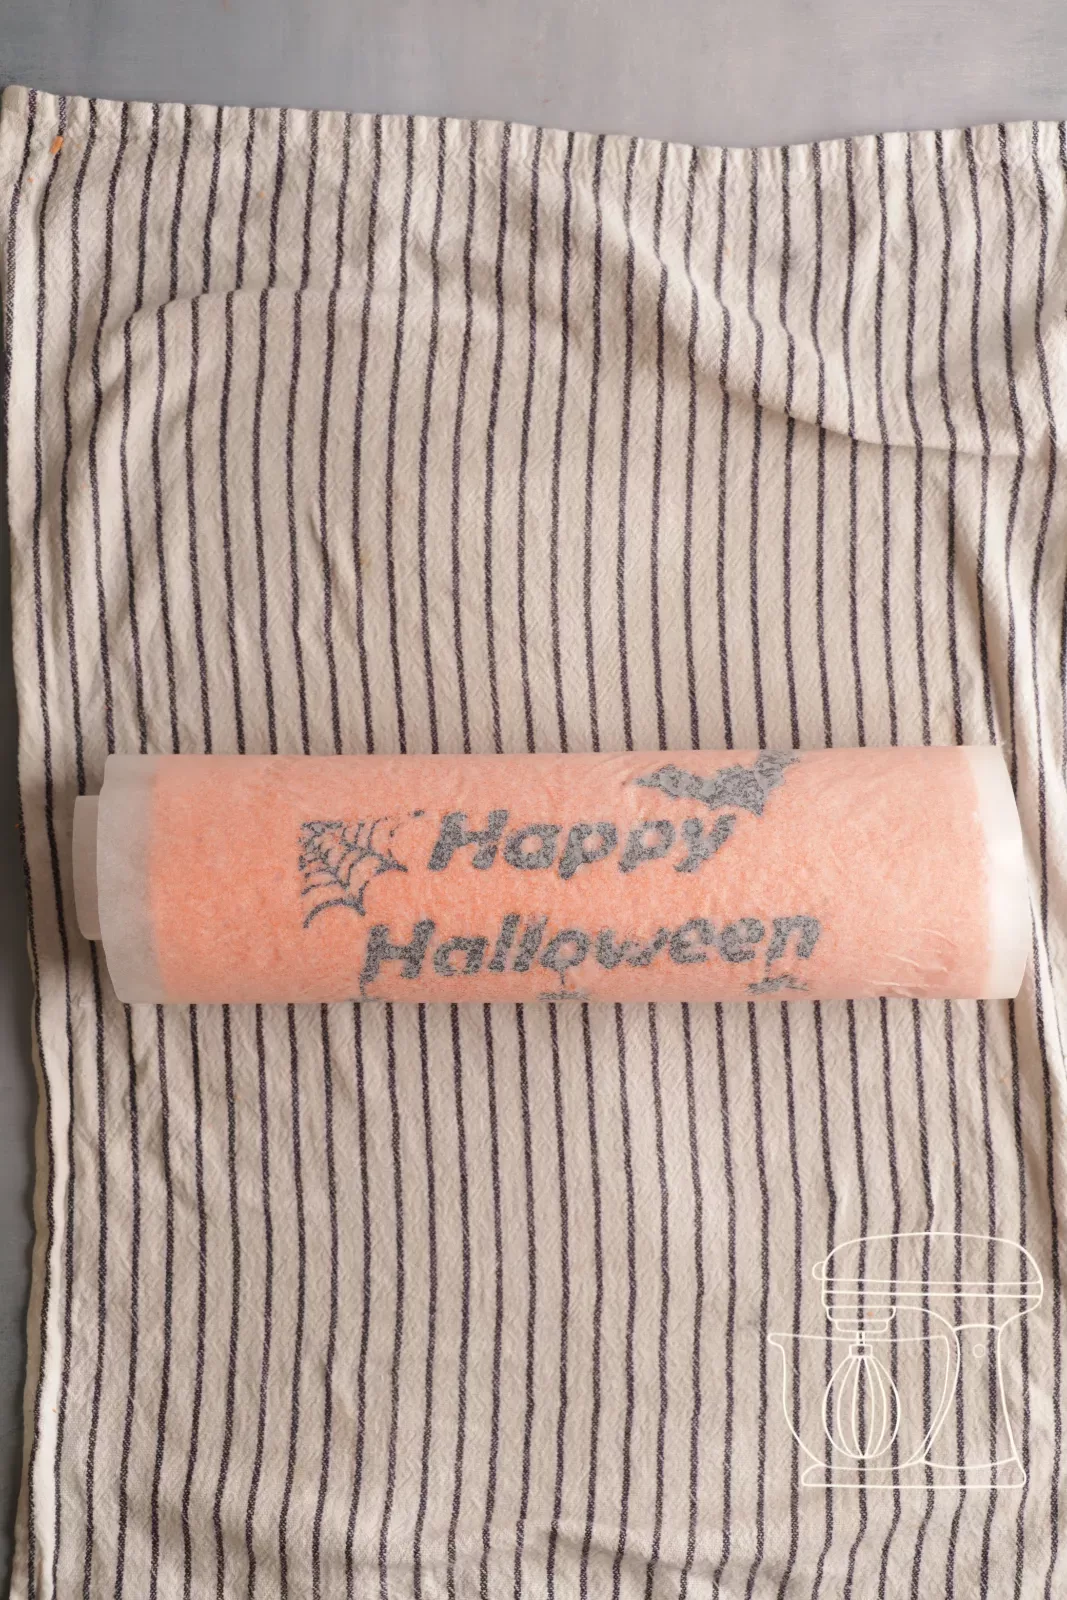
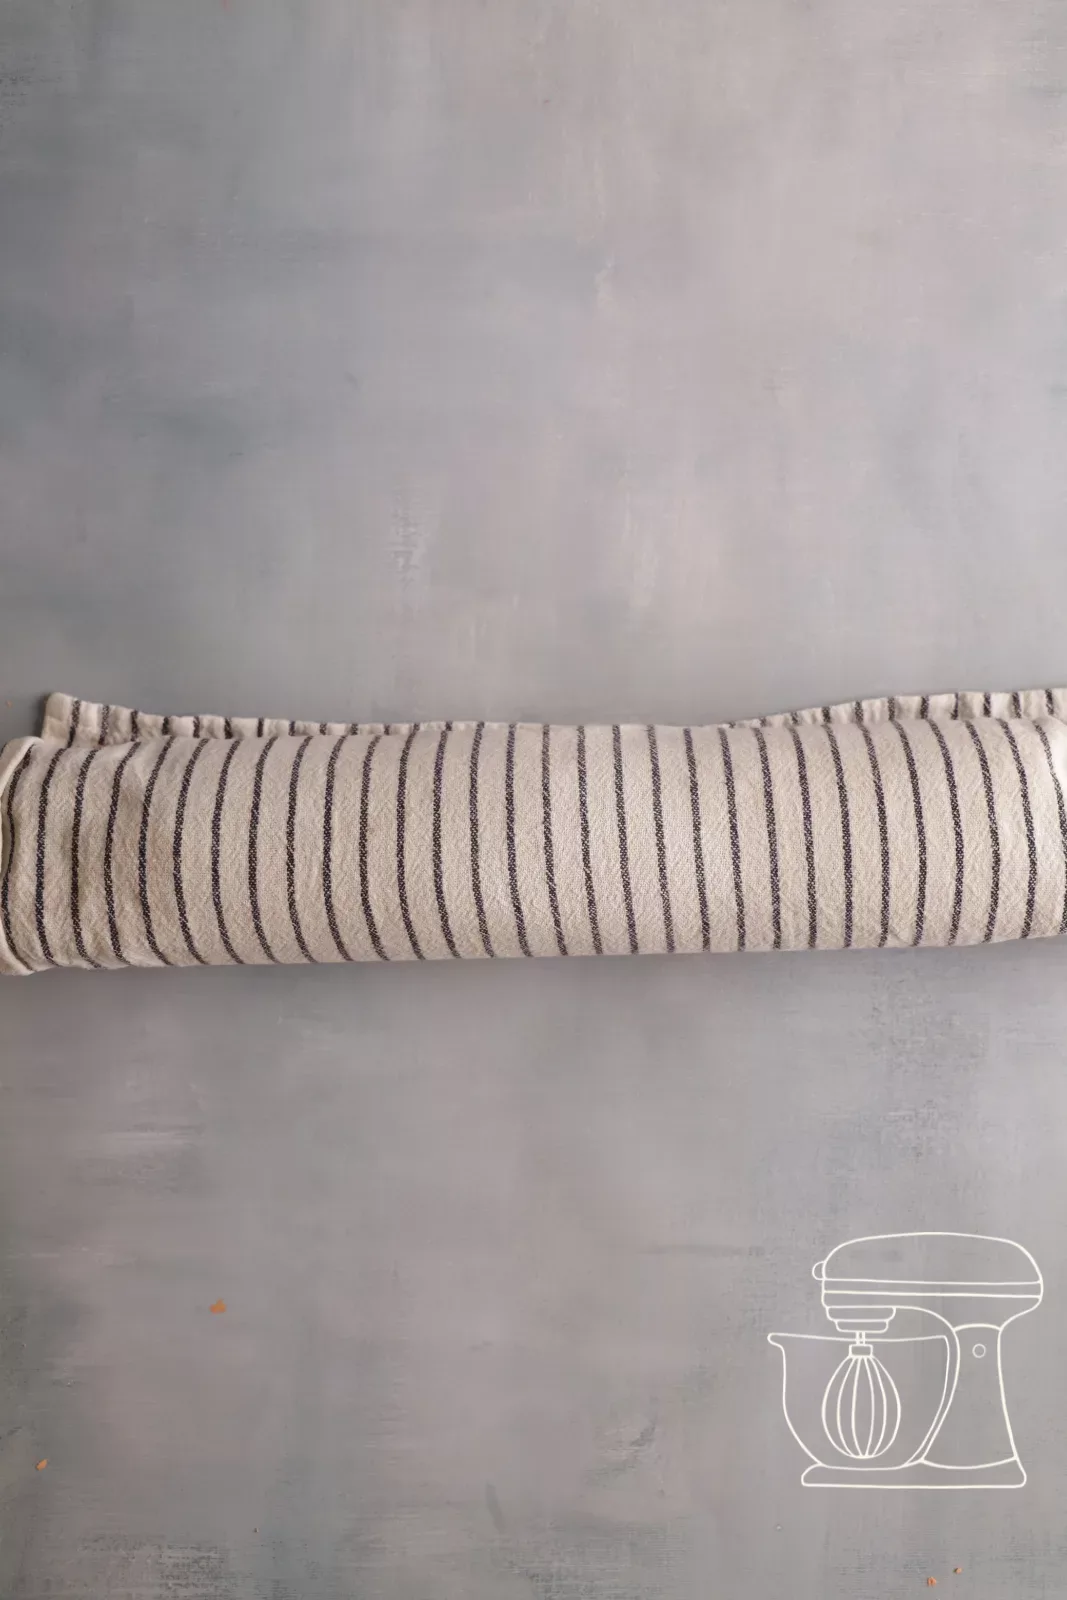
Place the sponge between two sheets of baking paper on a damp cloth and roll it up as nicely as possible. Wrap it in the cloth and let it cool completely for about a good hour.
Filling the Halloween chocolate roulade
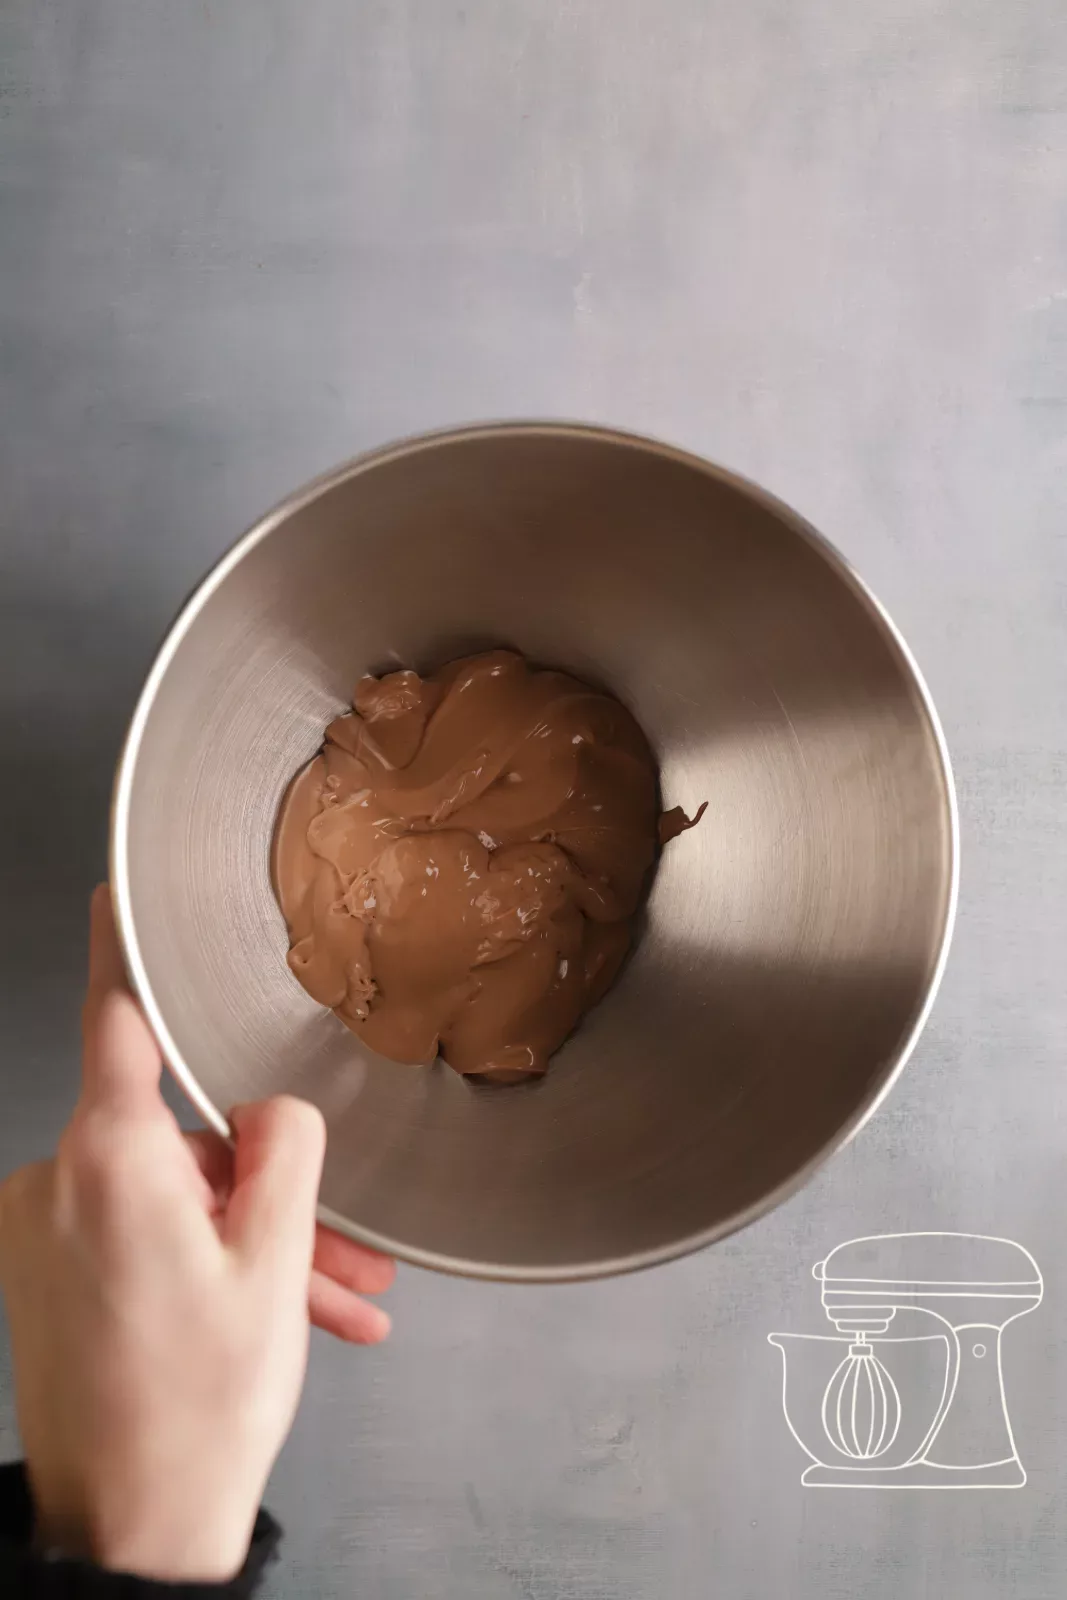
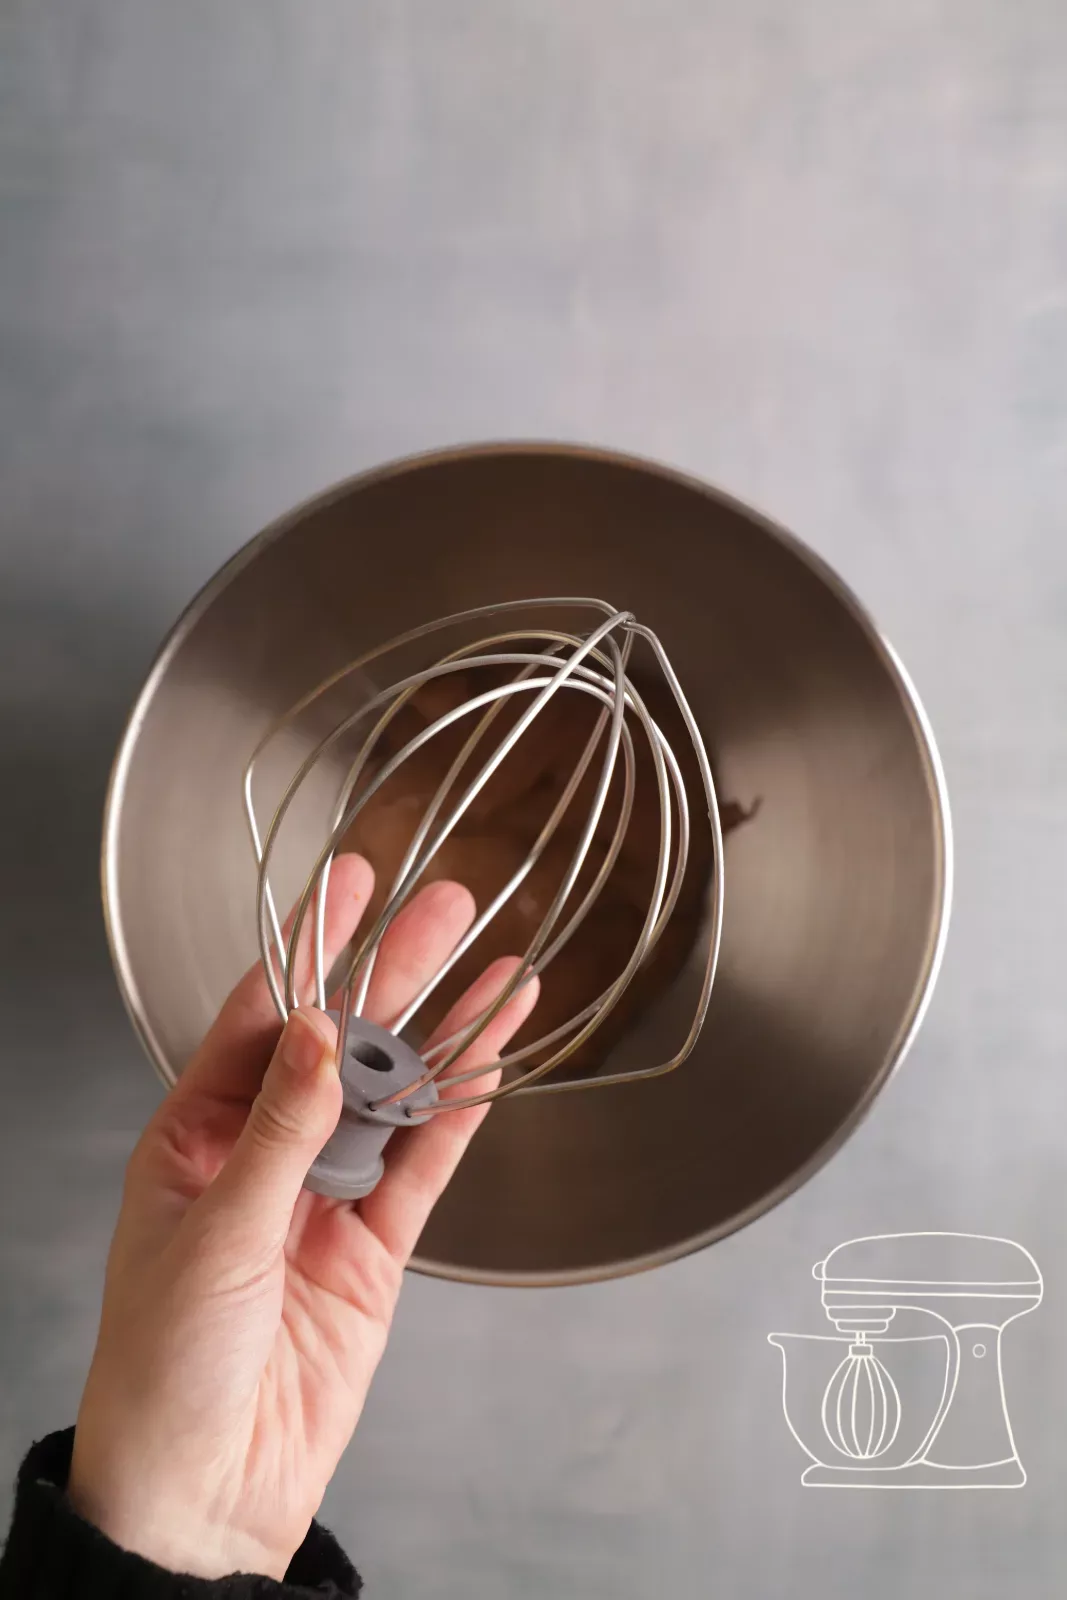
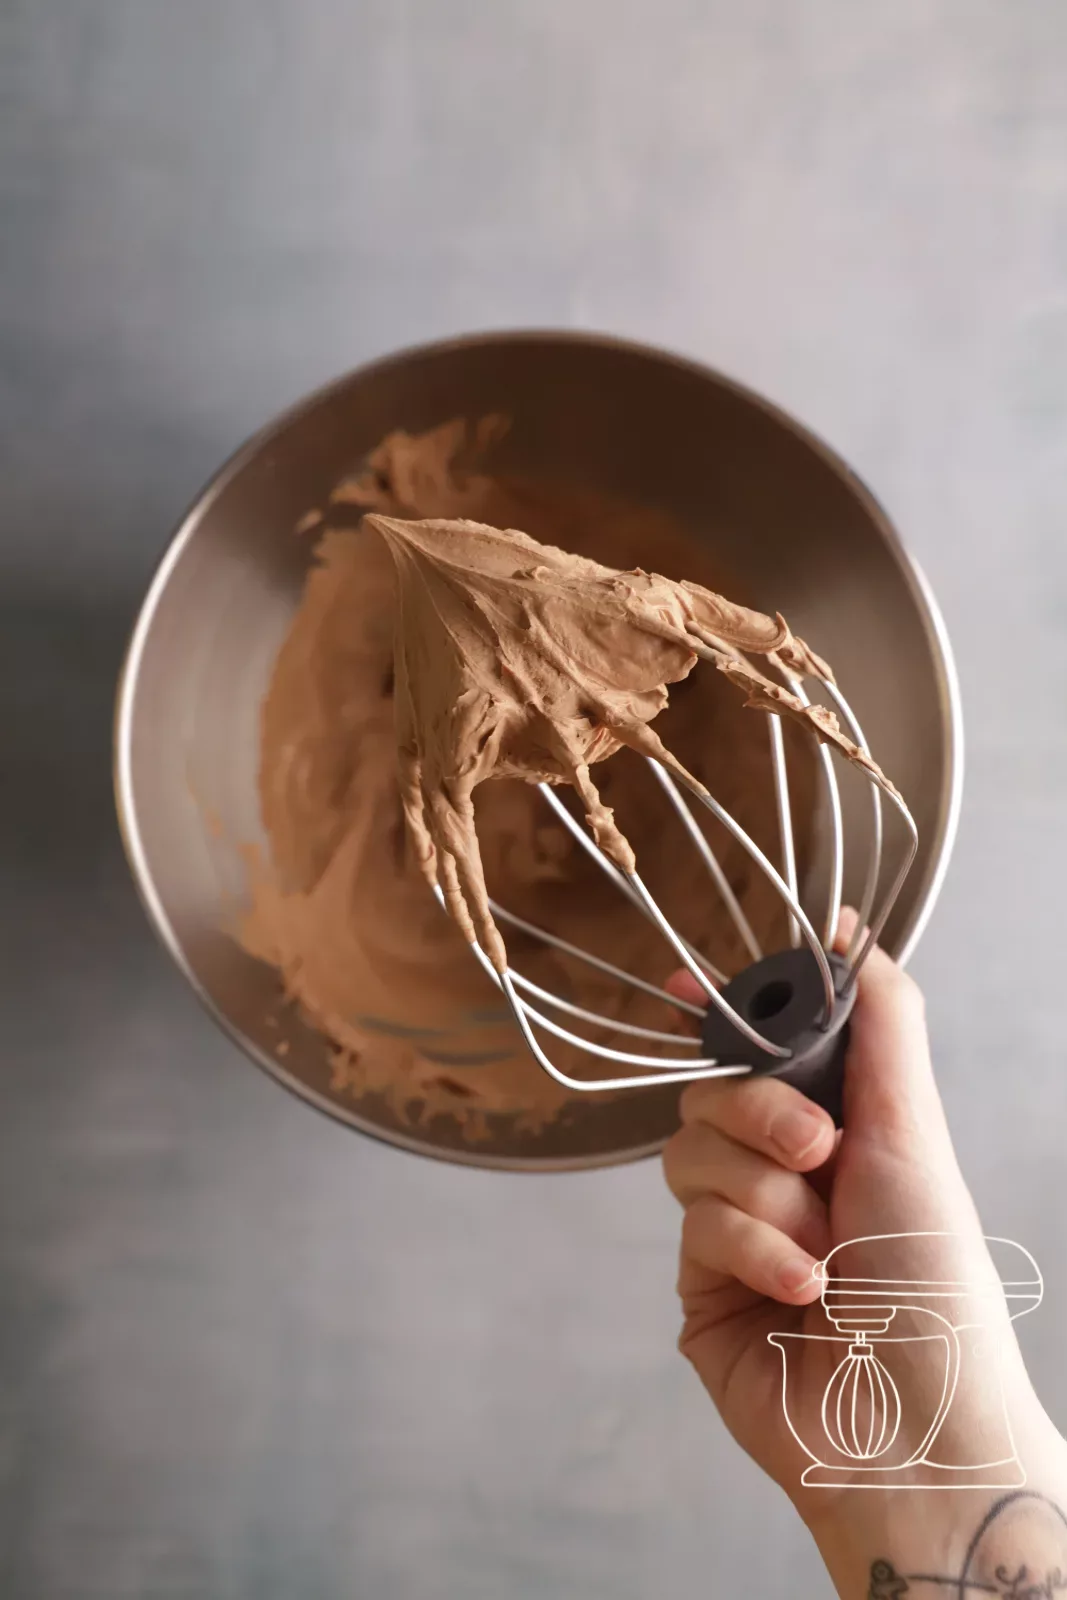
Whip the Ganache montée
Take the Ganache out of the fridge: it is now thicker and slightly gel-like. Do not whip it too fast with the Whisk and keep an eye on it so it does not split. It is ready as soon as it forms a peak.
Fill and roll up
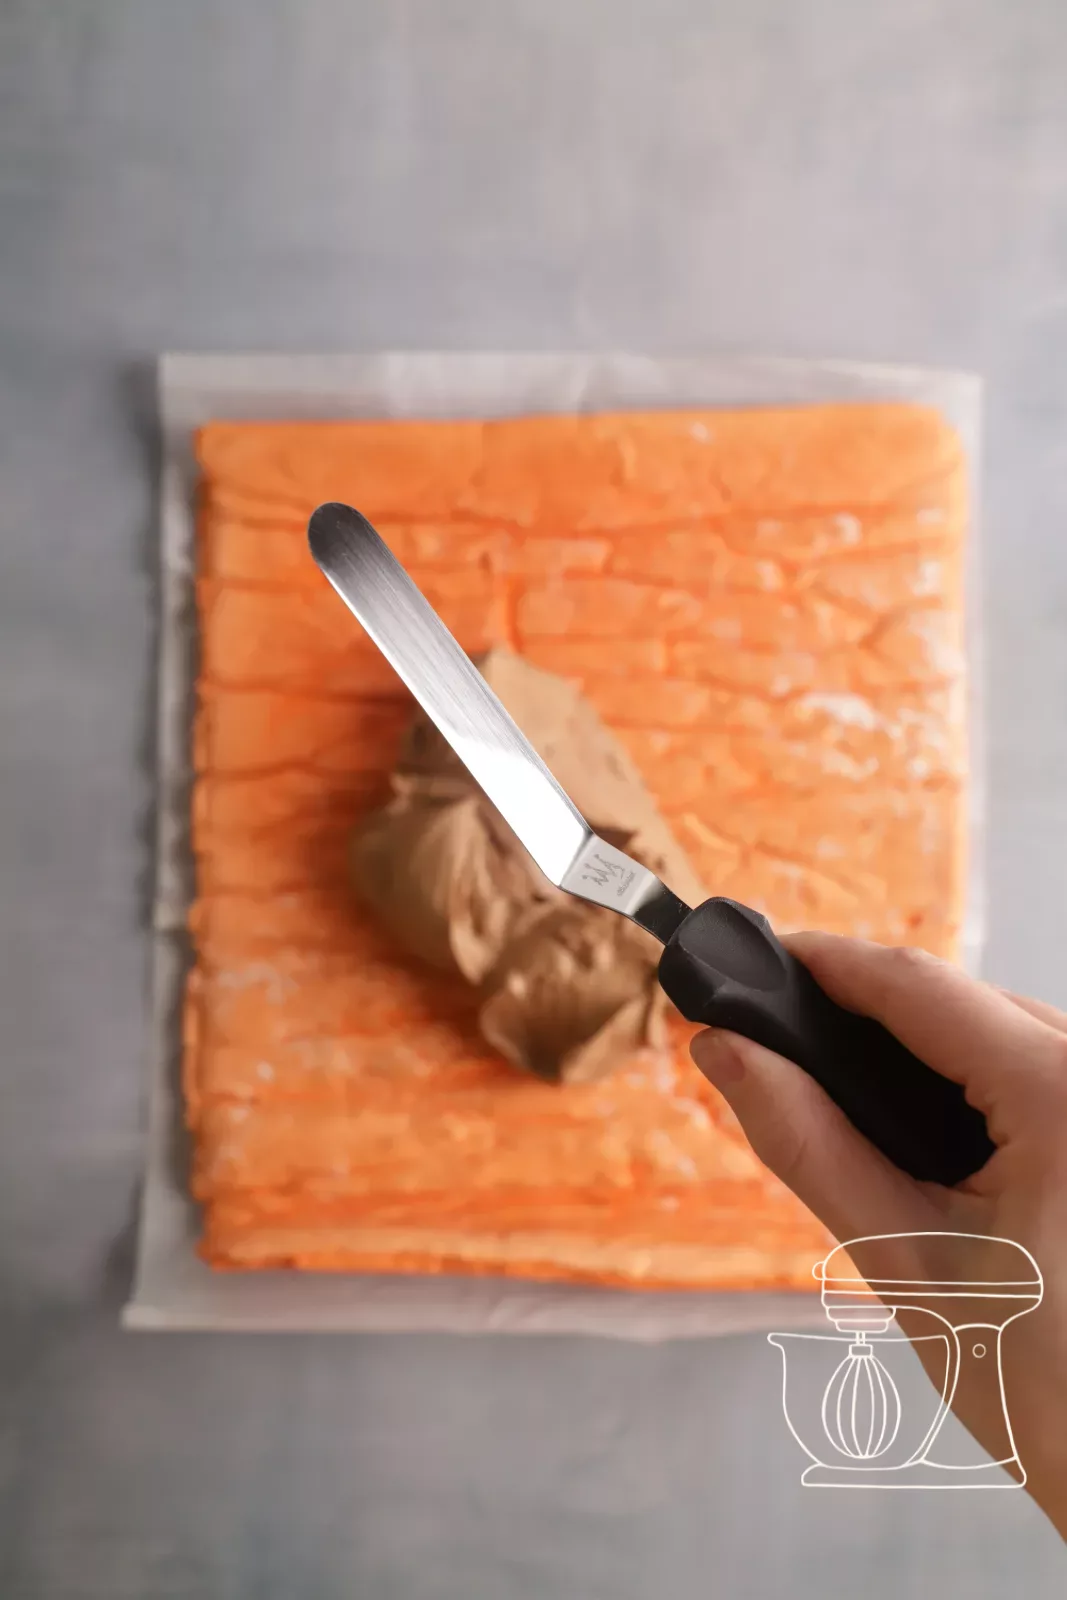
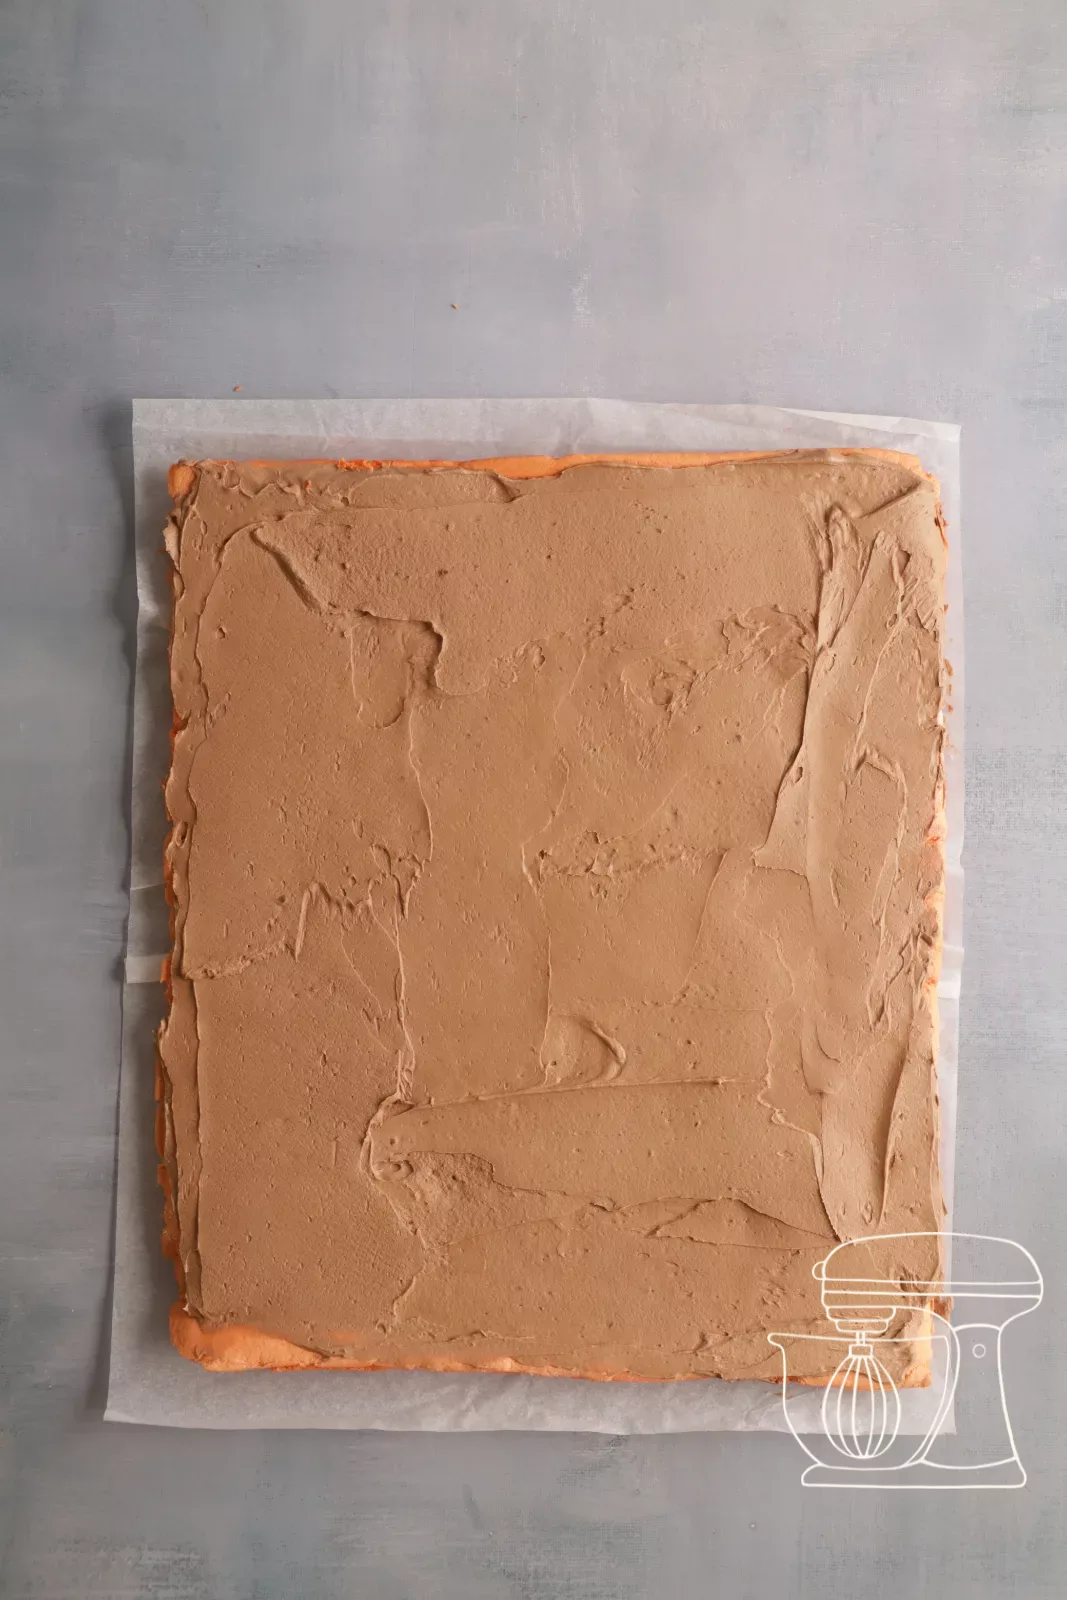
Unroll the sponge, spread the Ganache evenly with an Angled spatula and roll it up again. Touch up any small irregularities in the motif with a fine brush and black Gel color. Let the roulade rest in the fridge for 20 minutes and trim the ends cleanly.
Halloween chocolate roulade
Ingredients
Chocolate praline Ganache
Cigarette paste
Sponge
Preparation
- Gelatine: Soak 1 sheet in cold water.
- Chocolate: Put both chocolates and the praline in a Bowl.
- Melt: Melt for 1:30 min. at 600 W, lay the Gelatine on top.
- Cream: Bring 240 g full cream to the boil.
- Emulsify: Pour over the chocolate in 3 batches.
- Chill: Chill covered for at least 2 hrs.
- Cigarette paste: Mix butter, icing sugar and egg white.
- Color: Work in flour and black gel color.
- Adapter: Prepare the Piping bag with adapter and Piping nozzle.
- Fill: Fill in the paste, chill for 5 min.
- Template: Place the mirror-image template under the mat.
- Piping: Trace the motifs, deep-freeze the mat.
- Separate: Separate 4 eggs, set oven to 180 °C fan.
- Meringue: Whisk egg white with sugar until stiff.
- Egg yolk: Stir in egg yolk and orange color for 10 sec.
- Flour: Sieve 100 g flour and fold in.
- Bake: Spread onto the mat, bake for 10 min.
- Turn out: Turn out onto sugared baking paper.
- Roll: Roll up in a damp cloth, cool for 1 hr.
- Ganache montée: Whip the Ganache until it forms a peak.
- Fill: Spread, roll up, chill for 20 min., trim the ends.
Nutritional values per 100 g
Storage & shelf life
Everything for this recipe
Recommended from our bakery: exactly the sizes the recipe was tested with.
Ingredients
RUF gelatine leaves, 12 pieces
Dark chocolate for melting
Milk chocolate for melting
Praline paste almond/hazelnut
Swiss white flour, 1 kg
Progel gel colours: Black
Progel gel colours: Orange
Accessories
Disposable piping bag S - 30cm - 10 pcs
Plastic piping nozzle set
Jelly sponge silicone mat
Silicone roulade mat with rim, 32.5 x 32.5 x 1 cm
Round piping nozzles for royal icing - opening: 1 mm
Round piping nozzles - opening: 2 mm
One-handed stainless steel flour sieve
Stainless steel angled spatula
Mixing spatula for bakery, confectionery and kitchen
Small flexible dough scraper
Adapter for piping nozzles
Delivery in 1 bis 2 working days · Free shipping from CHF 100
So it turns out perfectly every time
Roll up the sponge while still warm in a damp cloth and let it cool like this. That way it «remembers» the shape and won't tear when you fill it later.
Whip the chilled Ganache slowly and stop as soon as it forms a peak. Whipped too fast or too long, it will split.
Small irregularities in the motif? A fine brush and a little black Gel color are enough to cleanly touch up the contours after rolling.
Frequently asked questions
Yes, very happily even! The Ganache has to chill for at least 2 hours anyway. Prepared the day before, it saves you a lot of time on baking day.
Only this way do the fat and liquid combine into a stable emulsion. If you pour the cream in all at once, the Ganache can split and curdle.
Of course! Simply choose other colors and motifs: with hearts, stars or initials this sponge roulade becomes a dessert for any occasion.
Print recipe
Choose what should appear on the printout.
Related posts
 Juicy Matcha Muffins with Pecan Nuts & White Chocolate
Matcha Iced Latte & Coconut Variant
Pull-apart bread with fresh wild garlic pesto
Mini Banana Bread with Chocolate Chips
Juicy Matcha Muffins with Pecan Nuts & White Chocolate
Matcha Iced Latte & Coconut Variant
Pull-apart bread with fresh wild garlic pesto
Mini Banana Bread with Chocolate Chips
Leave a comment