
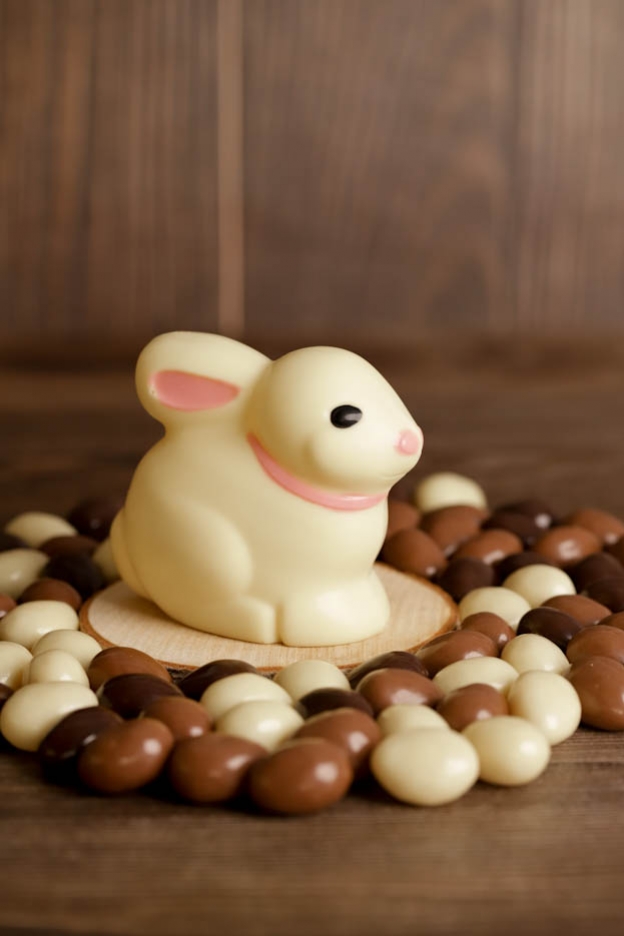
Chocolate Bunnies
Hey foodies!
As promised, here is a tutorial to teach you how to make your own homemade chocolate bunnies! :o)
Nothing too complicated... However, you must strictly follow the temperatures indicated to get bunnies that are shiny and have an even chocolate coating. Otherwise you'll end up with dull, grainy bunnies or lumps of chocolate in certain spots.
If you're interested, we have lots of tips on how to succeed with your chocolates -> HERE.
I promise, anyone can do it! So here are my lovely bunnies.

To make 2 chocolate bunnies of 9.5 x 8 cm, you will need:
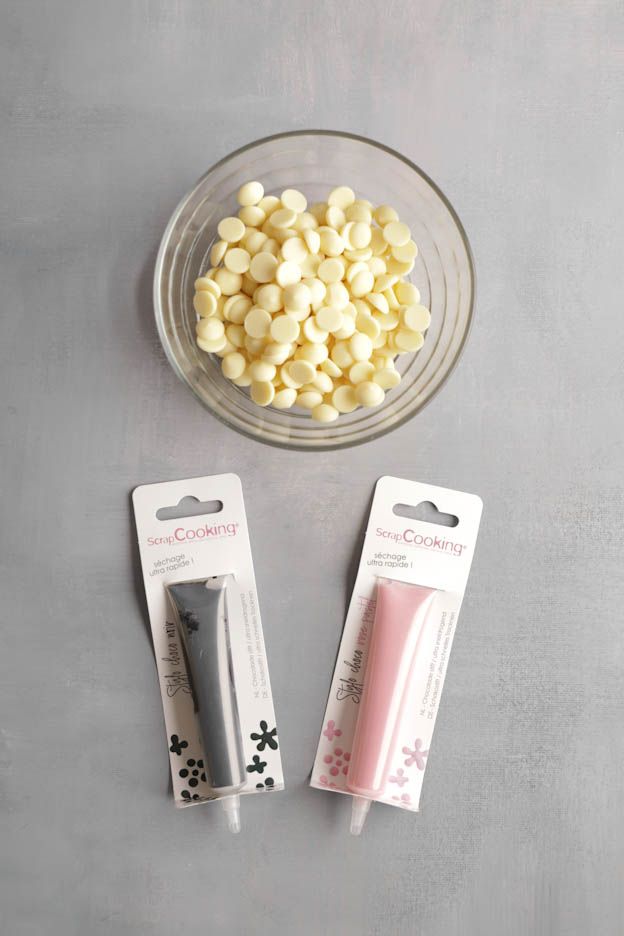
- 160g of white chocolate
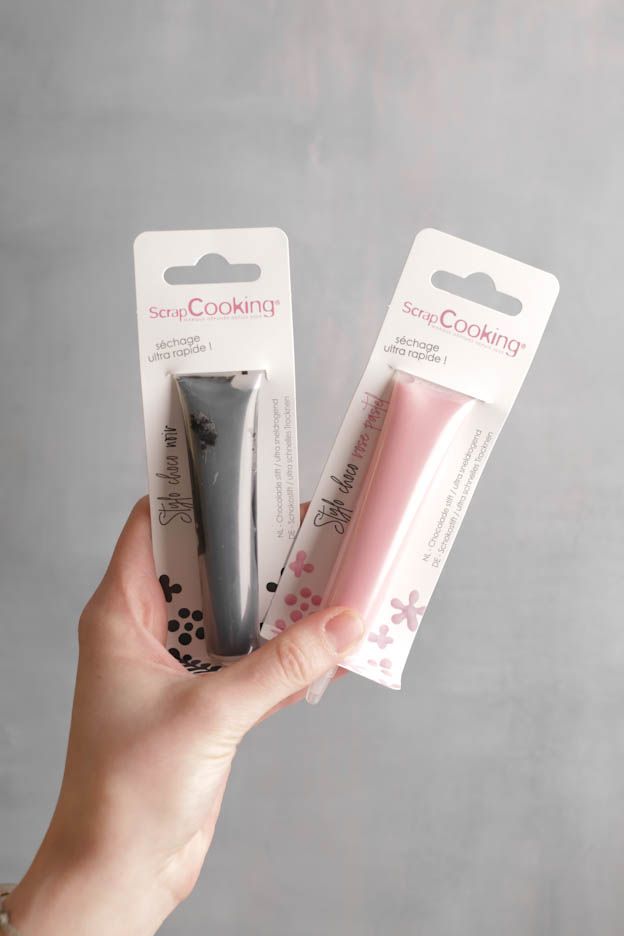
- 1 pastel pink chocolate pen
- 1 black chocolate pen
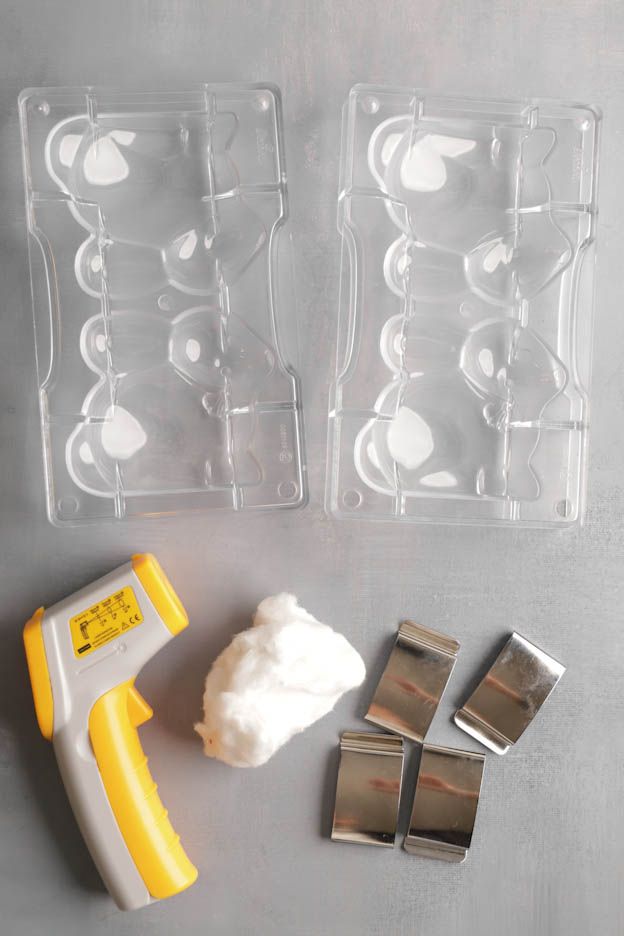
- 2 bunny chocolate moulds
- 1 set of steel clips
- 1 thermometer
- Some cotton wool
To begin, pour 120g of white chocolate into a large glass bowl and heat the chocolate in the microwave at 400W for 1 minute 30 seconds.
(If you don't have a microwave, melt your chocolate in a bain-marie until it reaches 42°C).
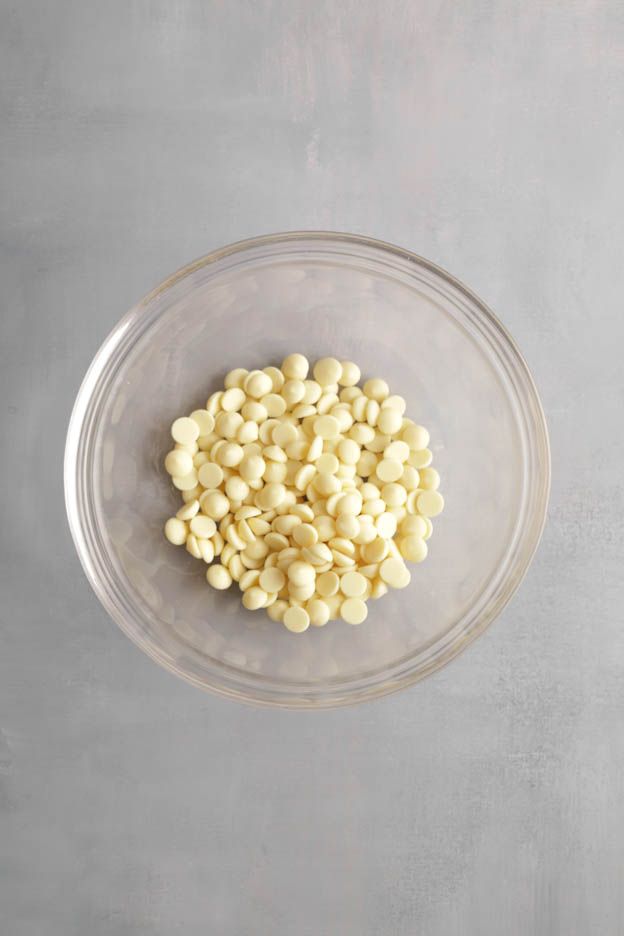
Take out your chocolate and stir it with a spatula. It won't be completely melted and that's normal, but you need to stir it so the heat is evenly distributed. Otherwise you risk burning it.
Then put it back in the microwave, still at 400W for an additional 30 seconds. Your chocolate should now be melted. Stir it with a spatula to get a nice, smooth chocolate.
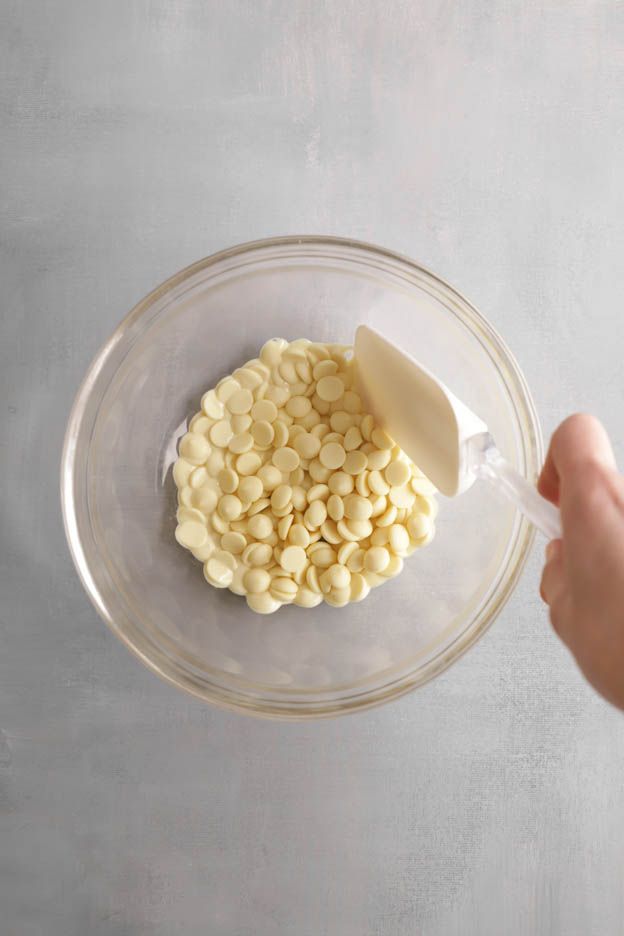
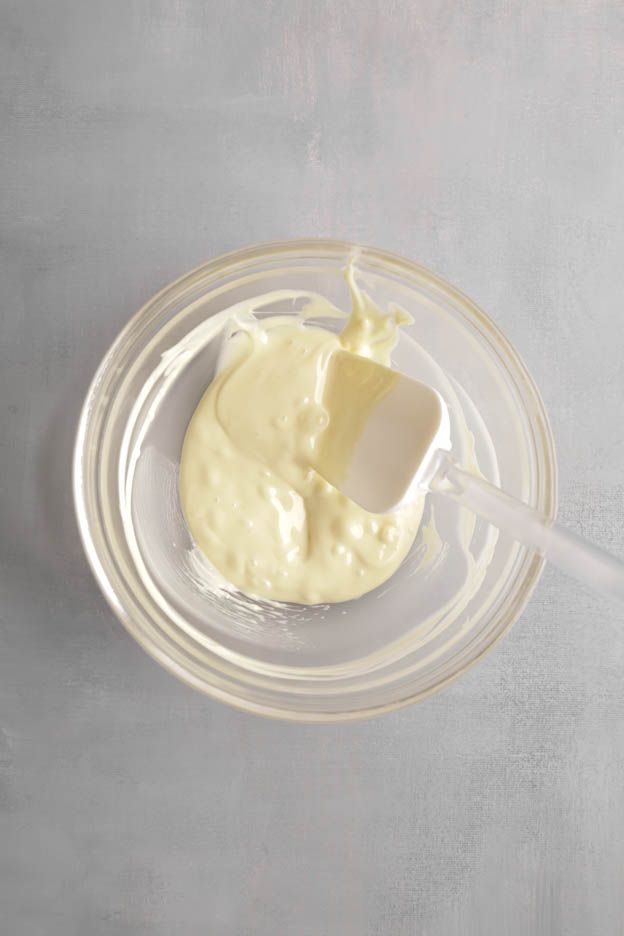
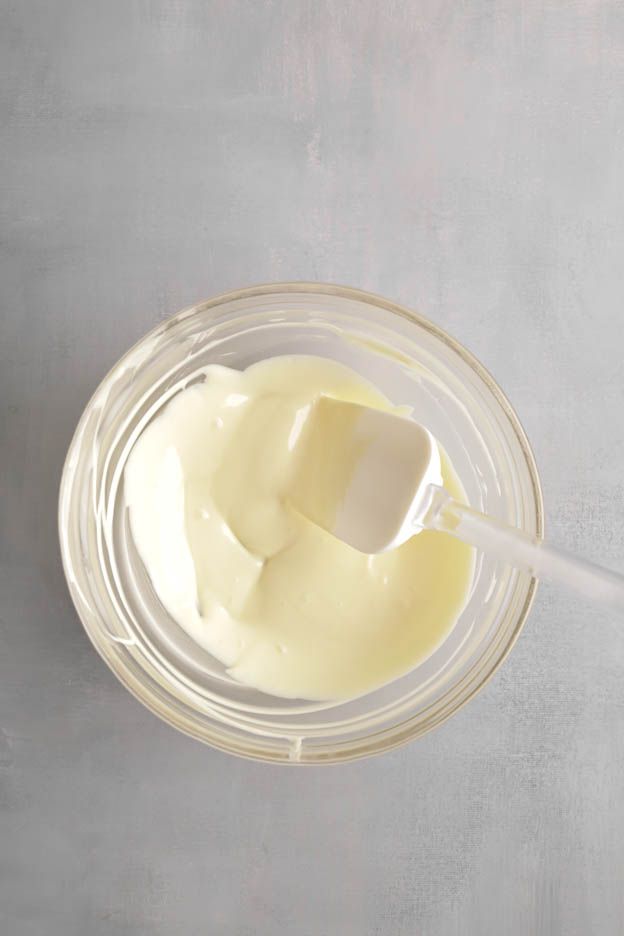
Your chocolate should be at 41-42°C. If it's lower, put it back in the microwave for 10 seconds.
If it's above 45°C, you've overheated it! There's a risk you may have burned it. It must not exceed 45-46°C.
Anyway, once at 41-42°C, add 40g of unmelted white chocolate to the melted chocolate. This is what will make our bunnies shiny afterwards.
Stir the chocolate well with a spatula. Do not put your chocolate back in the microwave. The chocolate pistoles will melt within a few minutes.
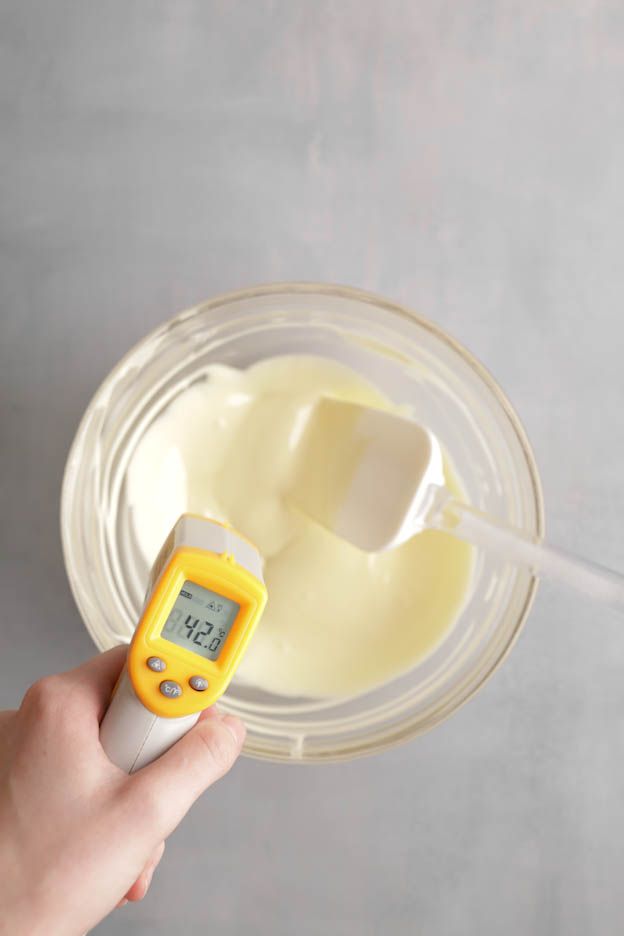
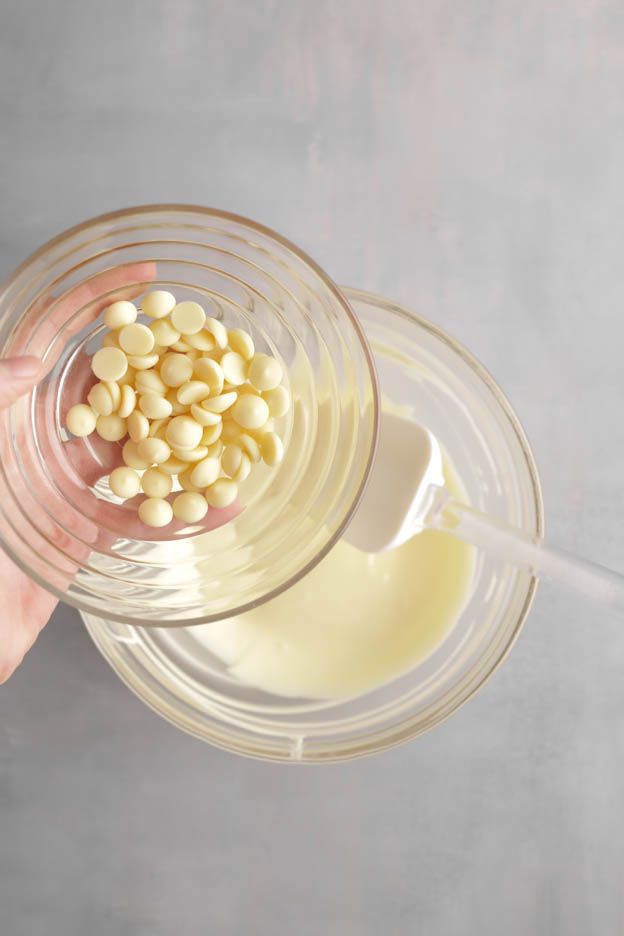
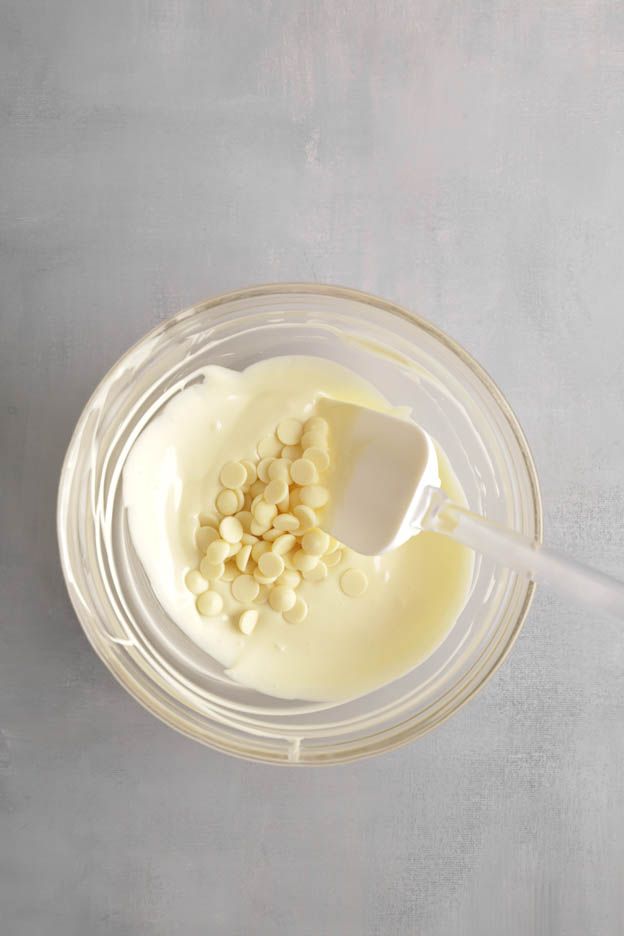
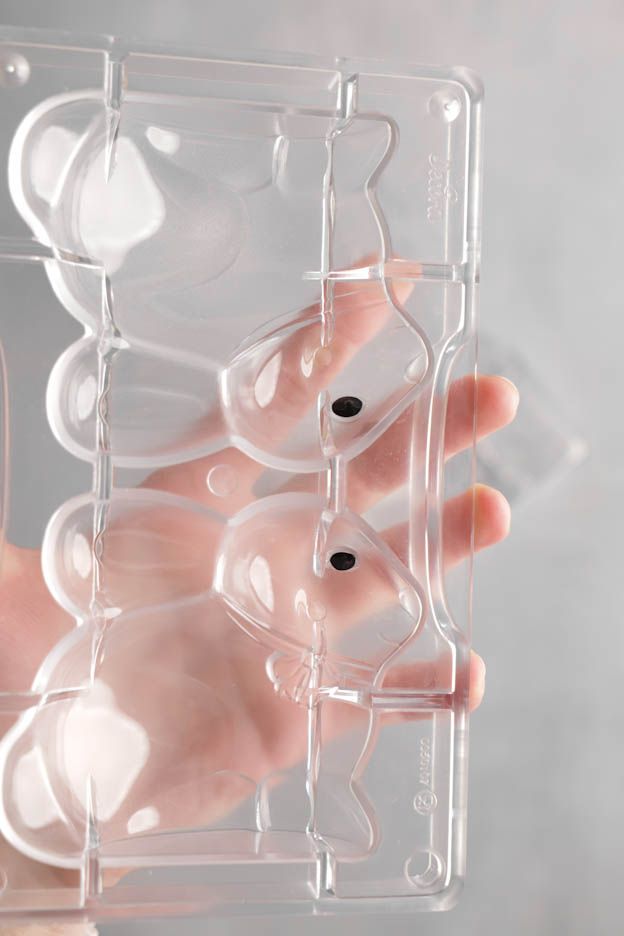
While the chocolate melts, clean your moulds with cotton wool.
This is extremely important! Even if your mould looks clean, there may be small water marks, limescale deposits or leftover chocolate. The cotton wool will remove all of that.
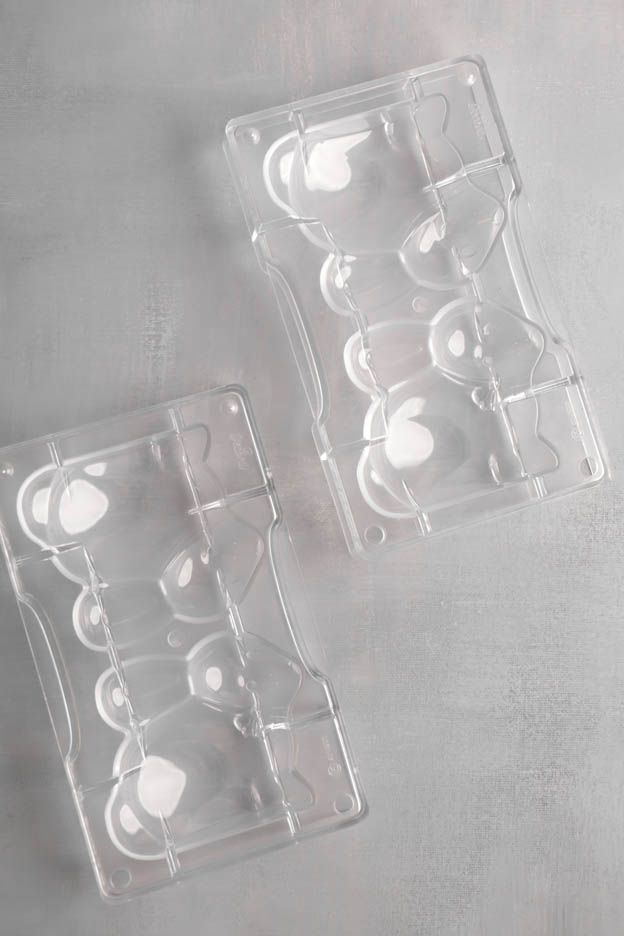
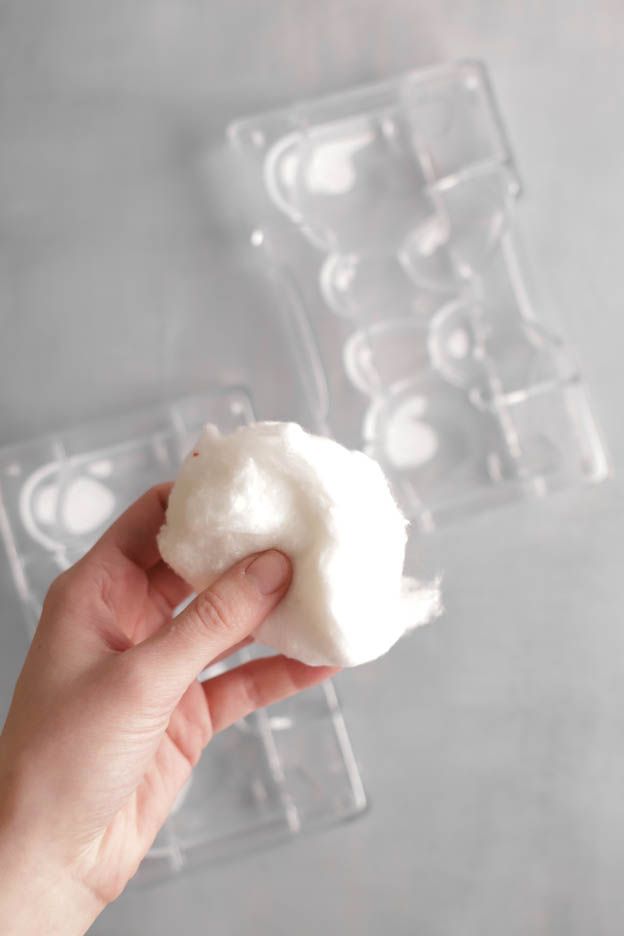
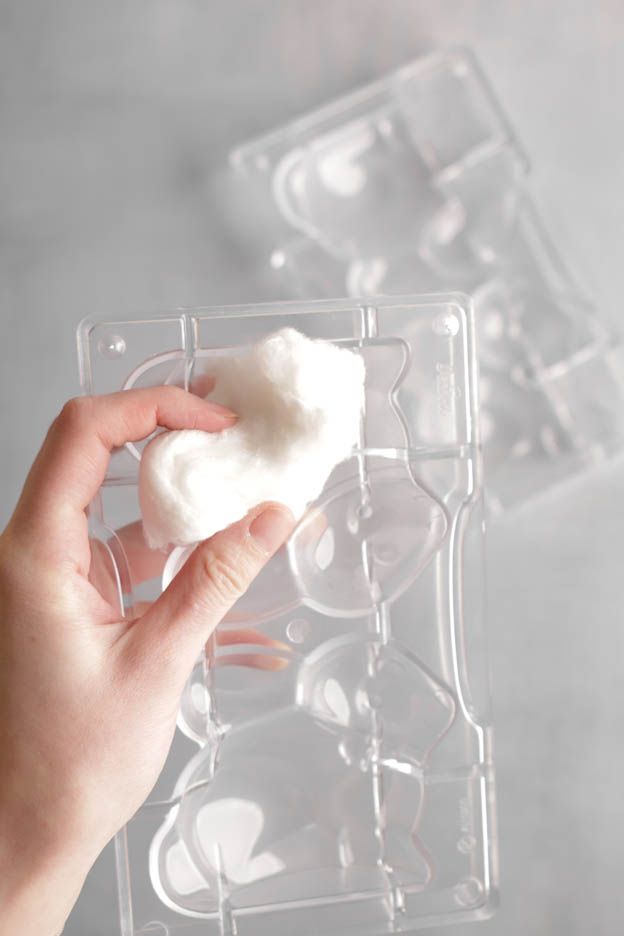
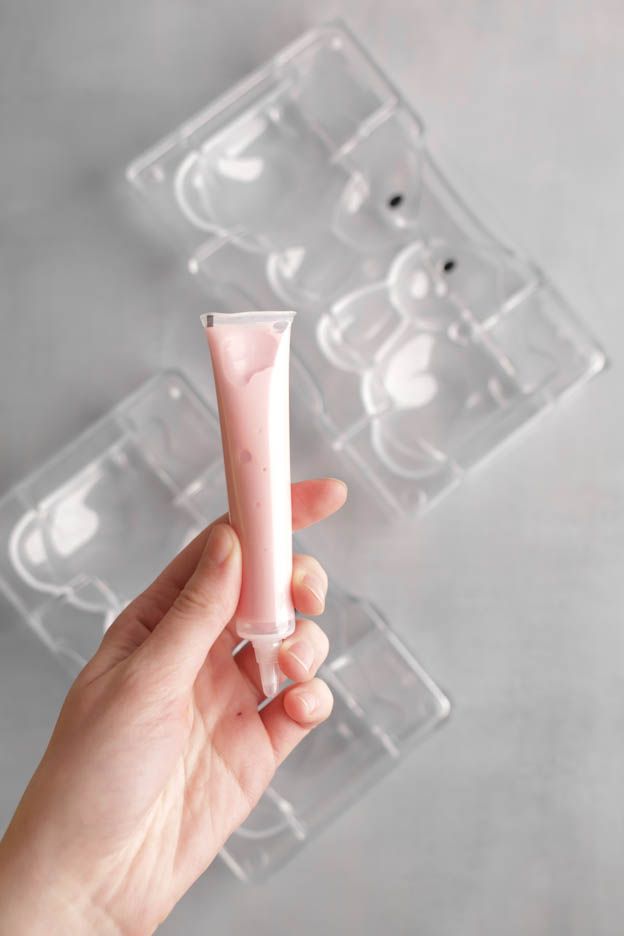
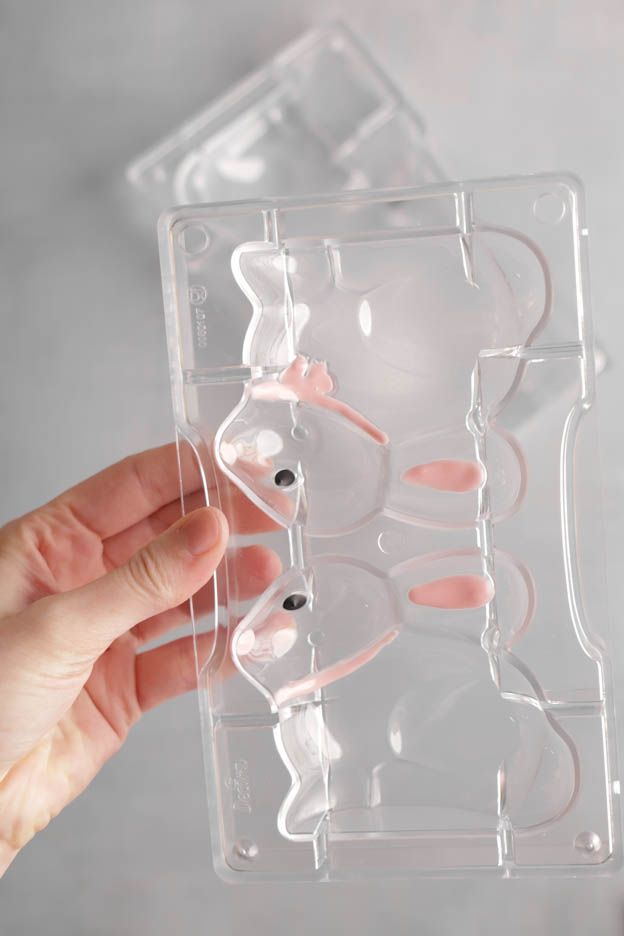
Once our moulds are nice and clean, we can add the details to our bunnies. For this, I used the chocolate pens. The pastel pink pen for the ears and the collar, and the black one for the eyes.
Simply pour boiling water into a jug and let the chocolate tubes soak for a few minutes before using them.
I really love these little tubes, they're so handy! They're also very easy for children to use. :o)
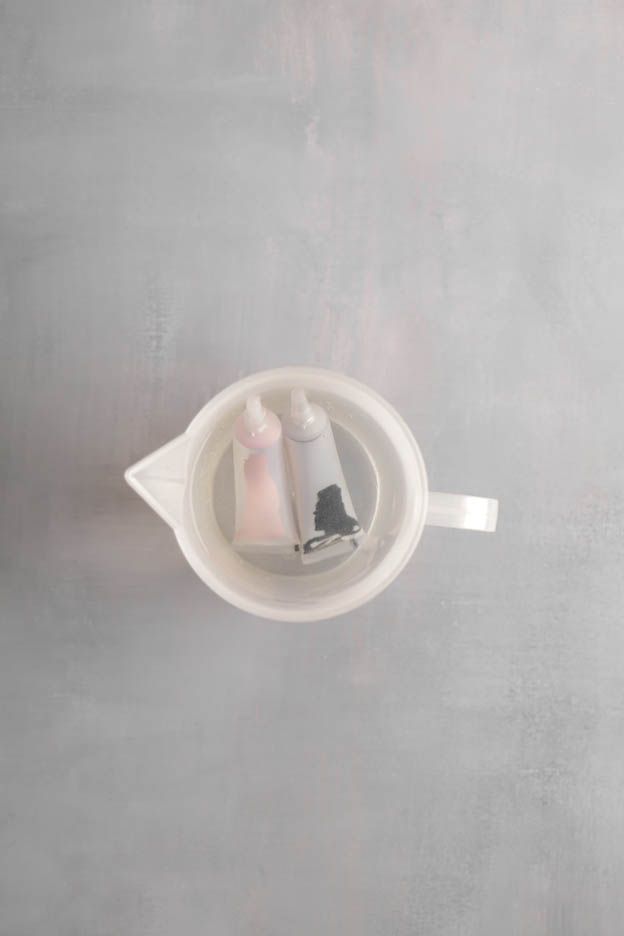
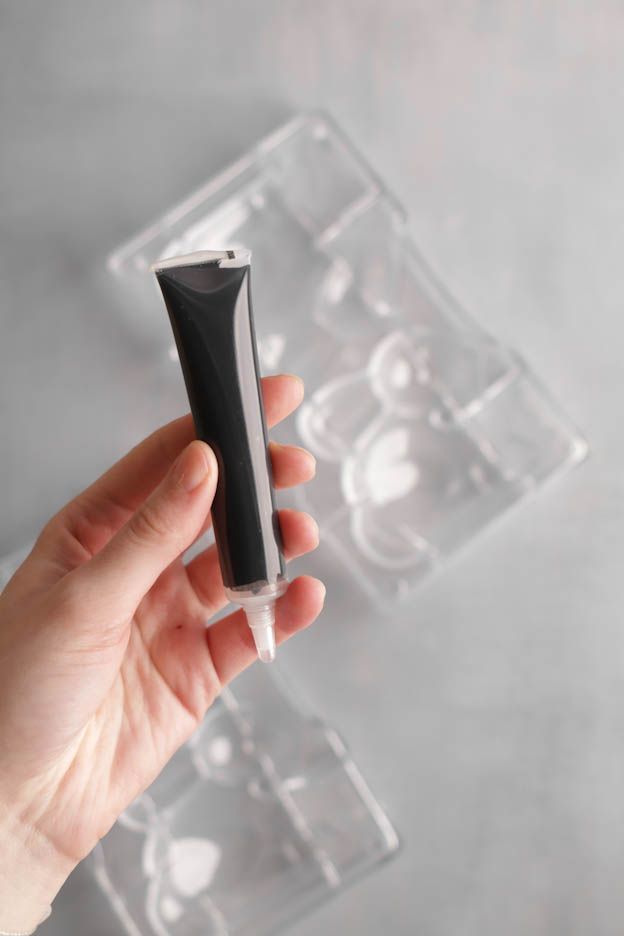
Once the contents are fully melted, draw the eyes in black and the inside of the ears and the collar in pastel pink.
Let the chocolate set for a few moments at room temperature.
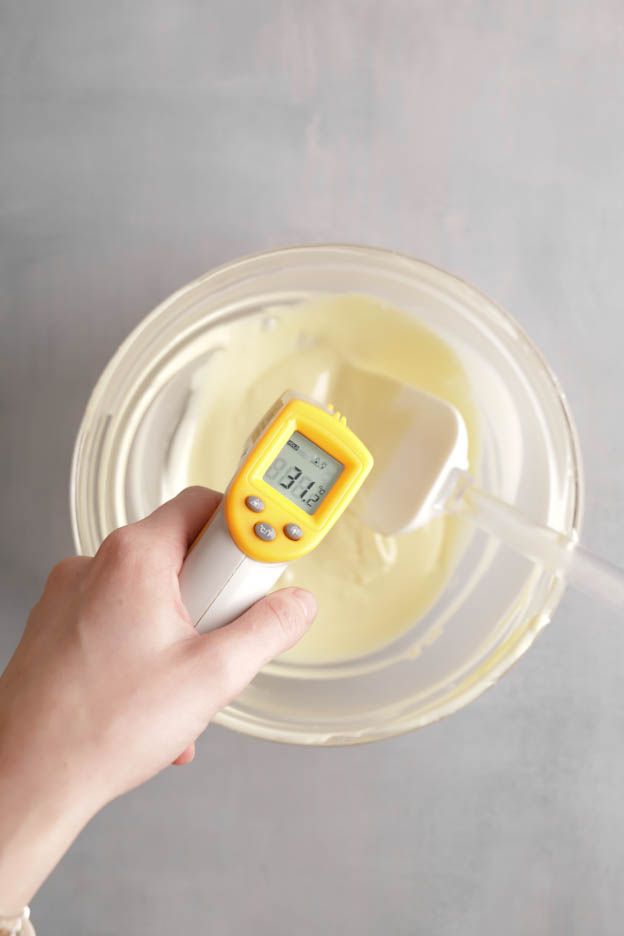
Your chocolate should now be at the right temperature. It should be between 30°C and 32°C maximum. If it's too warm, let it cool down by stirring it with a spatula. If it's too cold (below 30°C), place it in the microwave for 5 seconds.
As you can see, I now use an infrared thermometer, as it is extremely precise. A basic thermometer will work just as well. :o)
Pour 80g of chocolate into each mould. Tap your mould firmly on the work surface so that the air bubbles rise to the top.
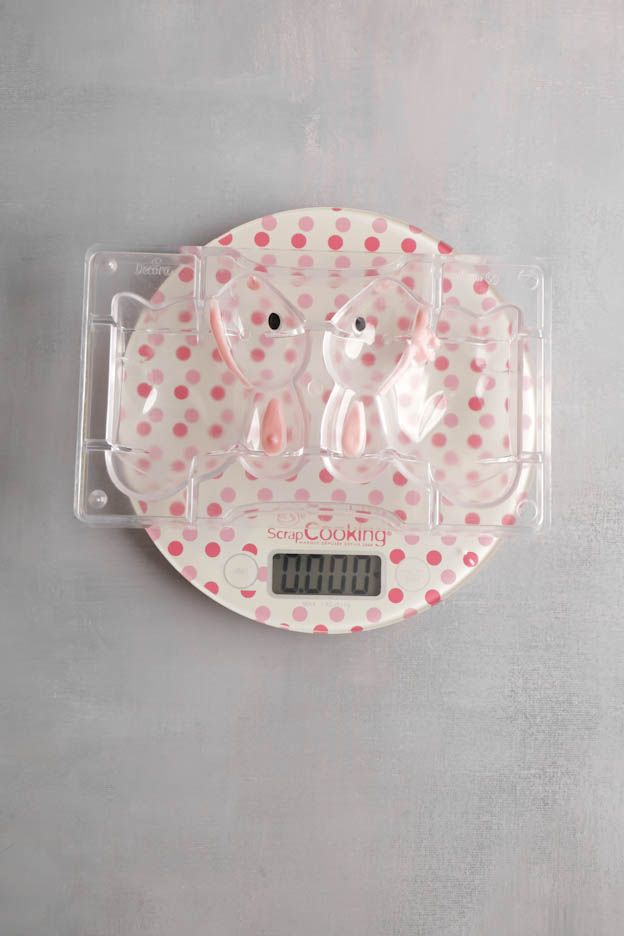
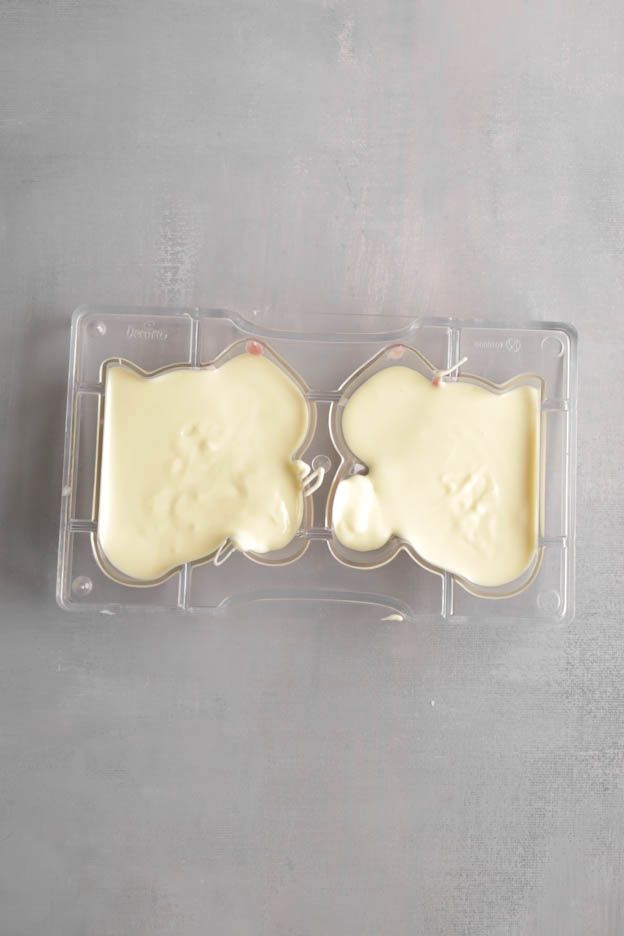
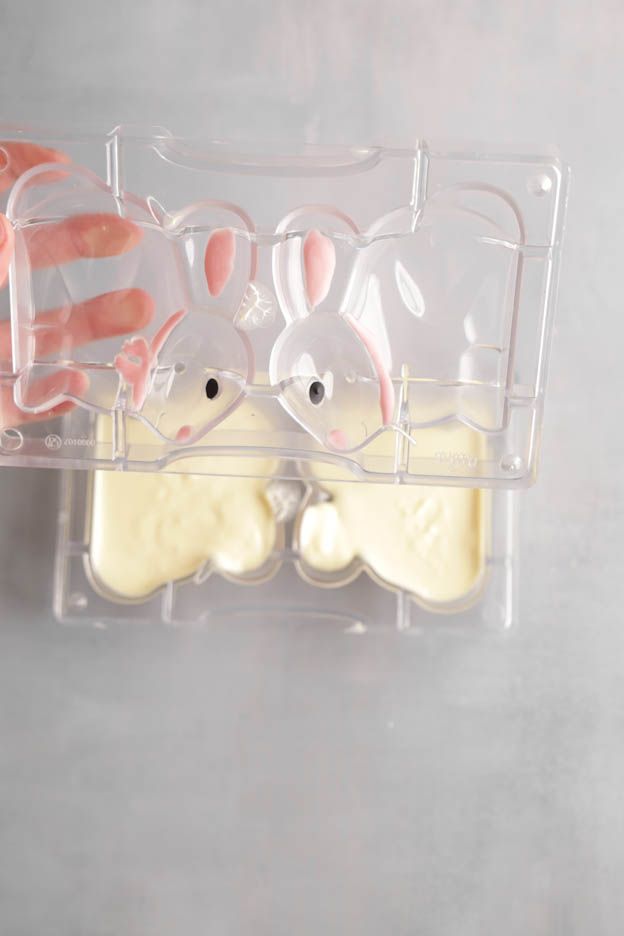
Place the second mould on top of the first, making sure of course that the head and ears are aligned. :o)
The moulds have small notches so it's super easy.
Then place the 4 clips on the mould. Here I placed one clip at each end of the mould — two on each side.
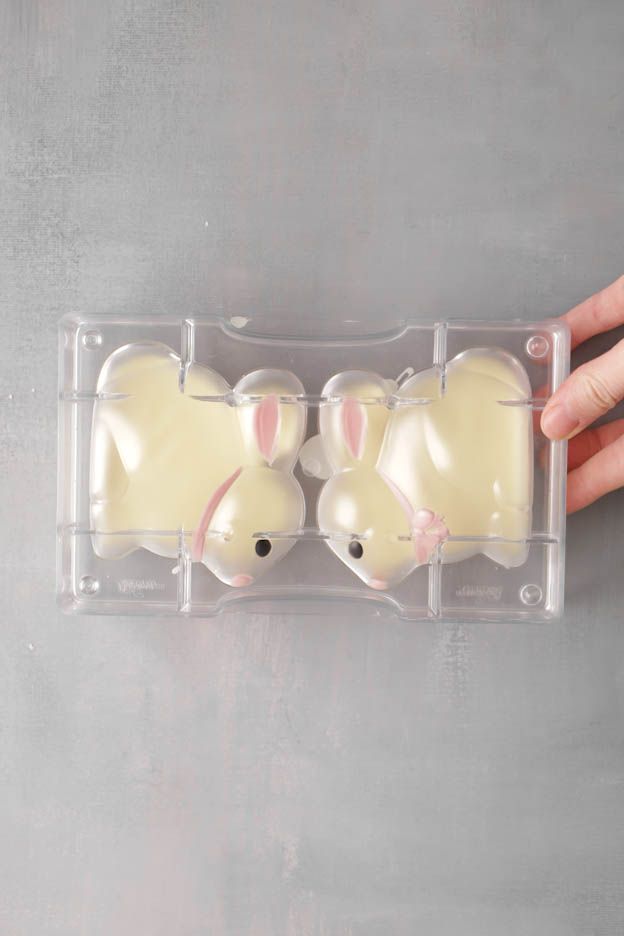
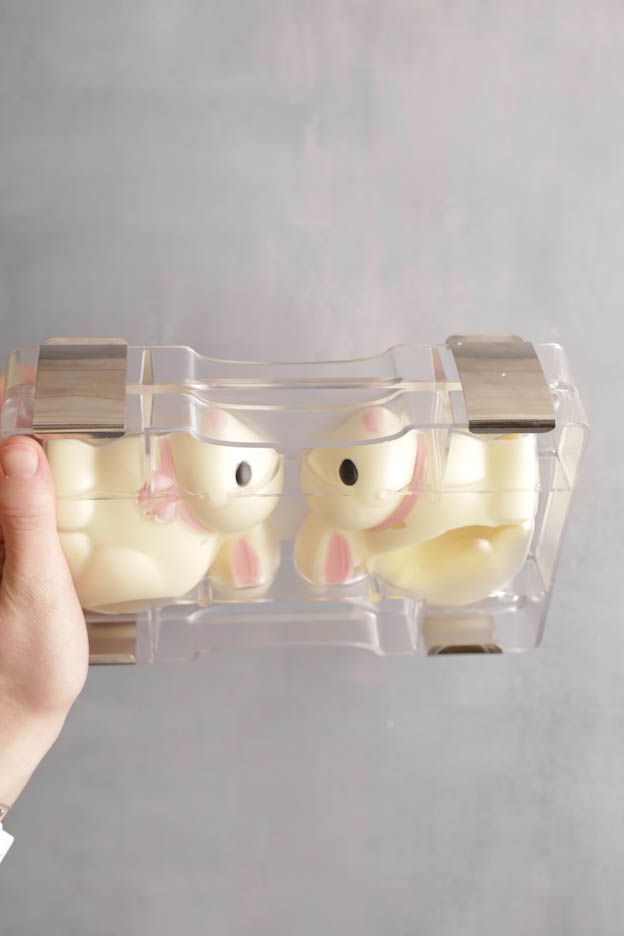
Once the mould is properly clipped, turn it and move the chocolate around the entire mould.
Don't hesitate to tap your mould against the work surface on each side to make sure the chocolate gets into all the notches and cavities.
Turn the mould for about 1-2 minutes and check that the chocolate is evenly distributed and that no area is missing chocolate.
Once well tapped and turned, place your mould in the freezer for 20 minutes.
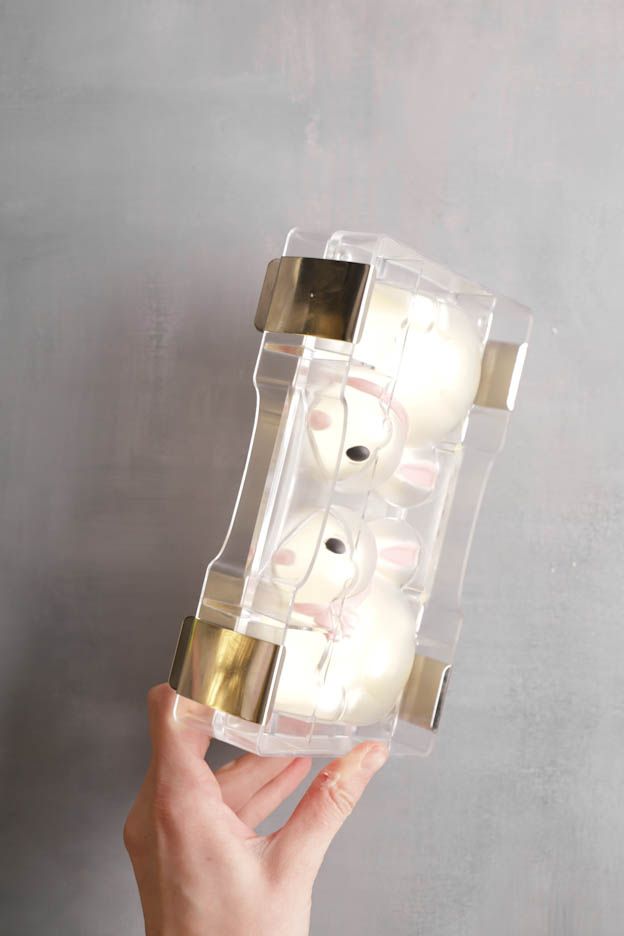

After 20 minutes in the freezer, take out your mould and remove the 4 clips.
Then carefully separate the two moulds. If your chocolate has been properly tempered, the two moulds will come apart on their own. :o)
All that's left is to take your bunnies out of the moulds.
Watch out for warm hands! Touch your bunnies as little as possible.
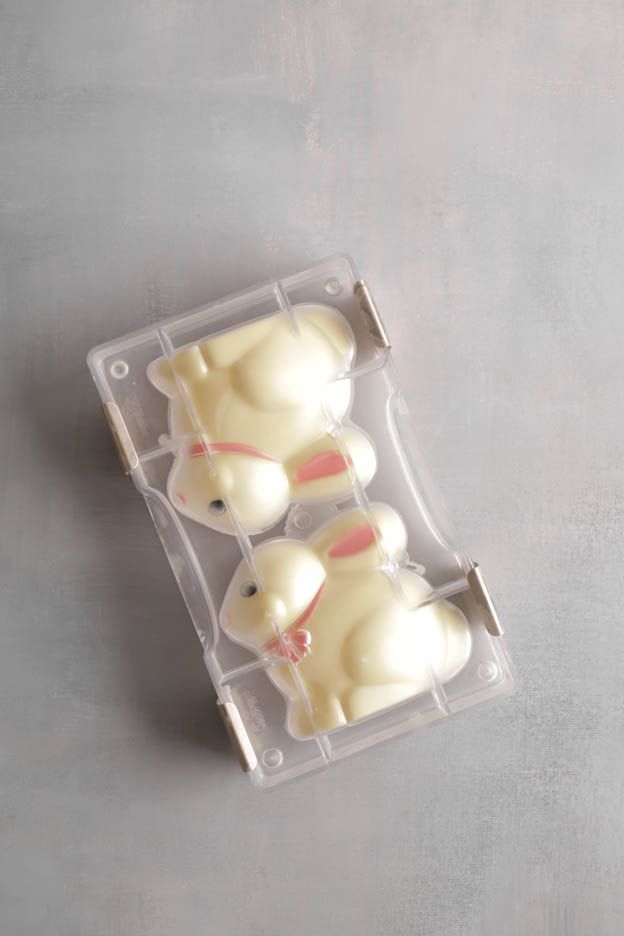
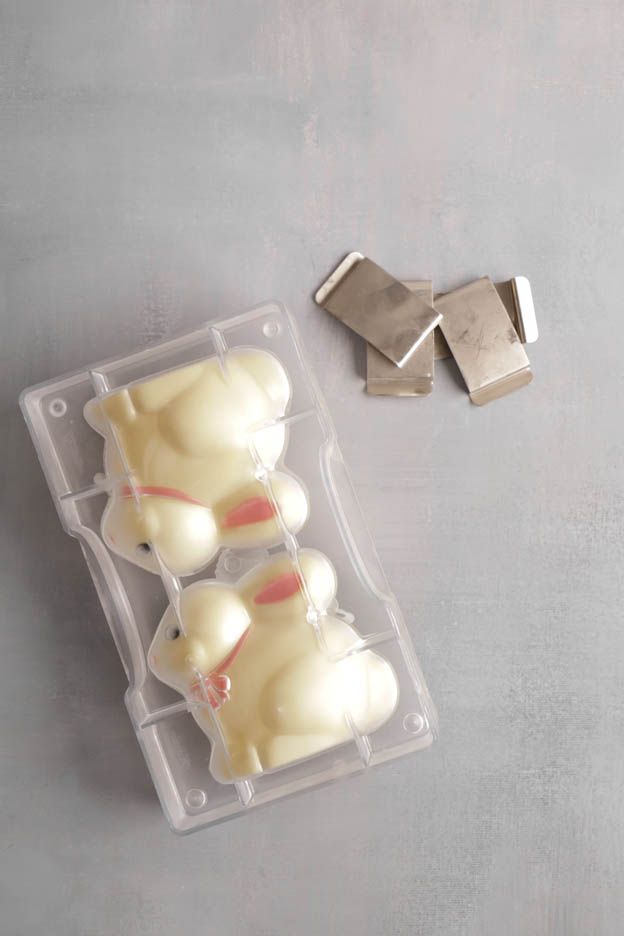
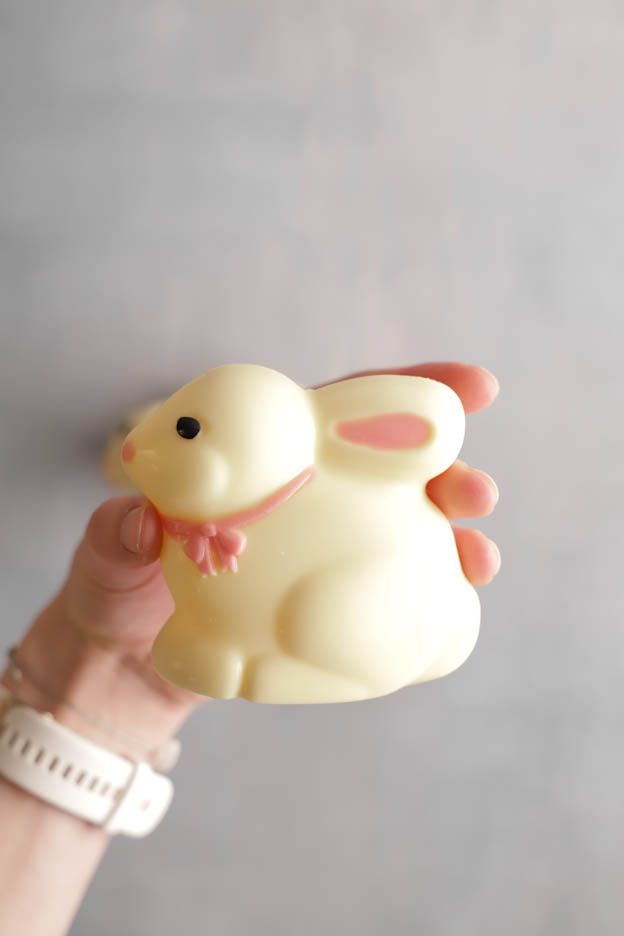
And here are my little decorated bunnies!
I can tell you that my children really enjoyed my various tests. :o)
And they had a great time decorating them.
I hope you enjoy this tutorial and that you give it a try.
If you're having trouble despite all my explanations, it may be because you're not using the right chocolate. I often have customers come back to me because it didn't work out for them… If you're using bar chocolate (M-Budget or similar) that's not ideal. It's best to use couverture chocolate. :o) The quality is much better.
Have a lovely Sunday!
Karin
P.S.: All the materials used can be found at the bottom of the recipe.


Related posts
 Juicy Matcha Muffins with Pecan Nuts & White Chocolate
Matcha Iced Latte & Coconut Variant
Pull-apart bread with fresh wild garlic pesto
Mini Banana Bread with Chocolate Chips
Juicy Matcha Muffins with Pecan Nuts & White Chocolate
Matcha Iced Latte & Coconut Variant
Pull-apart bread with fresh wild garlic pesto
Mini Banana Bread with Chocolate Chips
Leave a comment
Comments
Question de Lydie
By: Lydie G. On 2025-02-21Bonjour, je vois pour cette recette il faut deux moules à lapins, j'ai personnellement acheté le moule lapin debout réf. 0038-0691.
L'avant t l'arrière sont côte à côte, comment dois-je procéder pour les coller? faire chauffer les bords sur le fond d'une casserole chaud? cela suffit sans bombe à froid?
Merci
Replied by: Karin On 2025-02-24
Question de Nadine
By: Nadine B. On 2022-04-07Même problème chez moi avec cette peinture. J ai essayé 3x mais à chaque fois c est impossible à appliquer, elle n adhère pas, elle glisse, coule. Du coup plan B j ai pris les stylos chocolat et là le résultat était au top.
Replied by: Laura On 2022-04-08
Replied by: Laurence F. On 2022-04-13
Replied by: Laura On 2022-04-14
Question de Wendy
By: Wendy W. On 2022-04-06Bonsoir,
Je vais tenter cette recette tout bientôt pour Pâques ? Si j’utilise le chocolat Callebaut Ruby au goût de baies, quelle température doit-il atteindre ?
Merci d’avance pour votre réponse et une belle soirée.
Wendy
Replied by: Laura On 2022-04-07
Question de Anne-Laure
By: Anne-Laure S. On 2022-03-27Bonjour, recette suivie à la lettre, le problème au démoulage, le lapin c'est cassé car dans 1 côté du moule j avais une masse de chocolat et de l autre qu'une fin couche.... avez vous une astuce pour que le chocolat soit bien répartis ? Sinon top. D avance merci pour votre aide. Anne-Laure
Replied by: Laura On 2022-03-27
Replied by: Anne-Laure S. On 2022-03-27
Replied by: Laura On 2022-03-27
Réponse à Oui
By: Karin On 2021-03-30vous pouvez sans autre utiliser le chocolat Dulcey. C'est comme le chocolat blanc pour le tempérage ;)
Belle journée
Question de Eva
By: Eva G. On 2021-03-29Bonjour!
Est-ce qu’on peut faire cette recette avec le chocolat dulce? ? si oui, y’a-t-il des changements à faire?
Question de Géraldine
By: Géraldine V. On 2021-03-14Bonjour j’ai eu le même problème que Justine G. la peinture se rétracte et ne tient pas. J’ai utilisé le chocolat Blanc Caillebaut. On peut conserver combien de temps? Au frigo je suppose?
En vous remerciant d’avance
Replied by: Karin On 2021-03-15
Question de Justine
By: Justine G. On 2021-03-13Bonjour, la recette est top et mes lapins sont magnifiques brillants etc. Par contre au moment de les décorer avec cette peinture, ça a beaucoup de peine à adhérer la couleur, ça glisse, ça se rétracte un peu. Car le chocolat est gras j'imagine... Est ce normal ? Y'a t il une astuce ? Merci
Replied by: Karin On 2021-03-15
Replied by: Justine G. On 2021-03-15
Replied by: Karin On 2021-03-15
Replied by: Justine G. On 2021-03-15
Replied by: Karin On 2021-03-16
Question de Geraldine
By: Geraldine F. On 2020-04-10Bonjour, imposdible de demouler.... pouvez-vous me dire pourquoi ? Merci
Replied by: Karin On 2020-04-11
Question de Corinne
By: Corinne Z. On 2020-03-22Bonjou,
Pour le moule grand lapin 130x110, vous savez quelle quantité de chocolat il faut?
Replied by: Karin On 2020-03-23
Replied by: Corinne Z. On 2020-03-23
Question de Romina
By: Romina E. On 2020-03-18Bonjour, merci pour la recette.
Par quoi peut-on remplacer les pinces vu que vous n’en avez plus en stock?
Merci
Replied by: Karin On 2020-03-19
Replied by: Romina E. On 2020-03-24
Replied by: Karin On 2020-03-25
Replied by: Romina E. On 2020-03-25
Question de A
By: A K. On 2020-03-15Merci pour la recette ! On se réjouit de tester.
J’ai une question en utilisant du chocolat au lait, est-ce que les degrés à respecter sont les mêmes ?
Merci
Replied by: Karin On 2020-03-15