
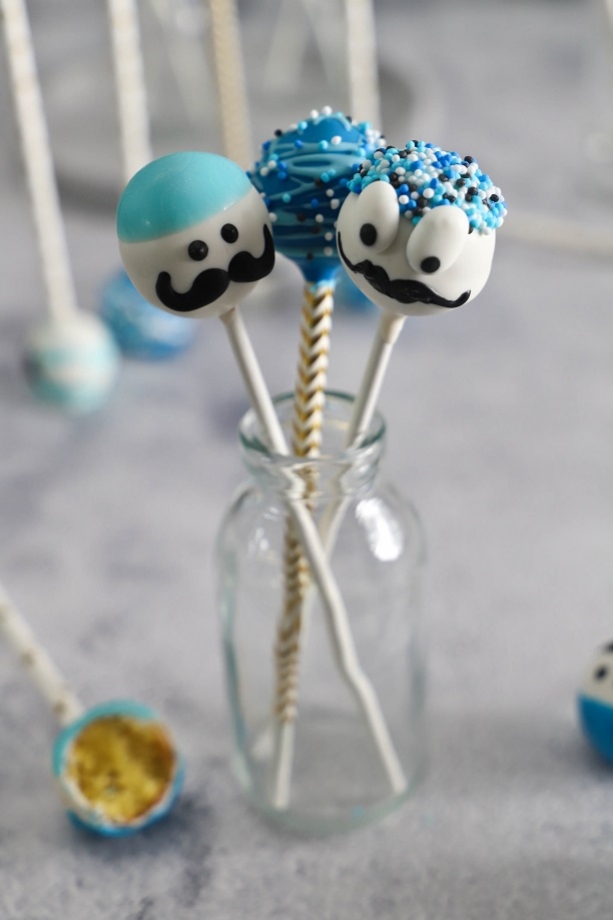
Cake pops
Hello sweet tooths,
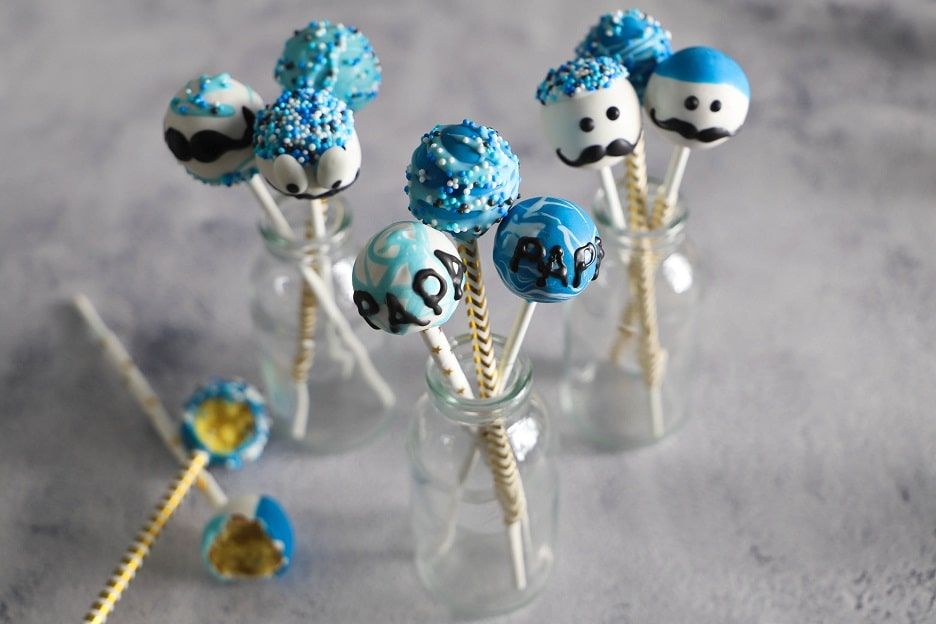
June 5th is Father's Day! For this occasion, how about a cake pops recipe for your dad? :o) Of course, you can also make them for your grandfather, stepfather...
Easy to prepare, convenient to eat, delicious and so cute, these cake pops are sure to be a hit!
Plus, they can be personalised with different decorations.

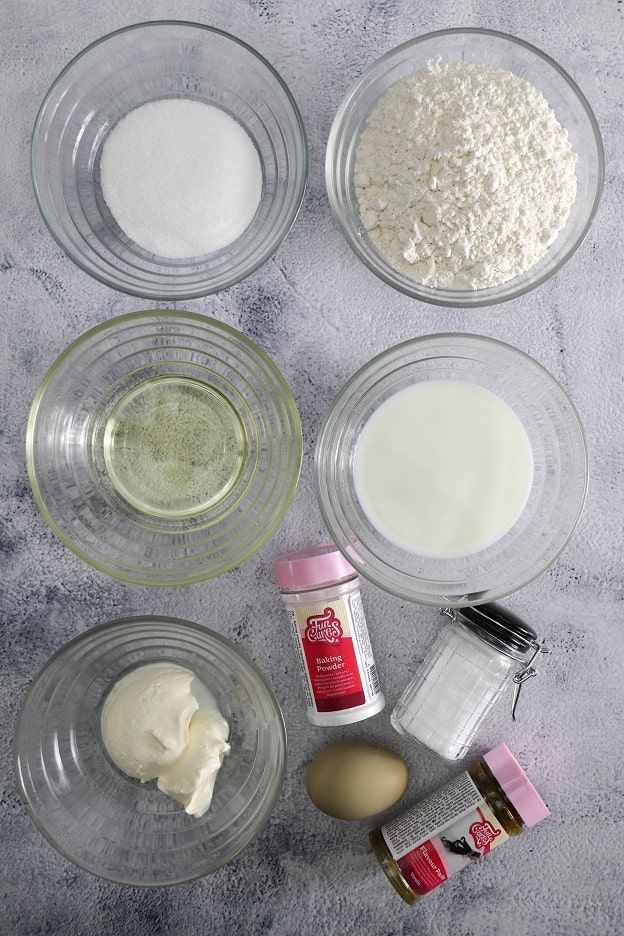
For 60 cake pops (made in this cake pops mould), you will need:
- 170g flour
- 70g sugar
- 1 tsp baking powder
- 1/2 tsp salt
- 100g milk
- 50g rapeseed oil
- 60g sour cream
- 1 egg
- 1 tsp vanilla extract
Decoration
- Cake pop sticks
- Straws
- White Déco Melts
- Light blue Déco Melts
- Dark blue Déco Melts
- Sugar eyes
- Nonpareils mix
- Dark chocolate flavour pen
- White chocolate flavour pen
Cake pop batter
First of all, you should know that cake pops can be made in two different ways.
The first option (not shown here) is made from sponge cake and (usually) cream cheese. The two ingredients are simply mixed together and shaped into balls. Personally, I don't find this very tasty. The only advantage of this method is that it allows you to reuse leftover sponge cake.
The second option (which we will use here) is simply a cake batter that is poured into a silicone cake pop mould. The ball forms on its own during baking, so the batter is airy and less dense than in the first version. :o)
This recipe is made with a silicone mould, but it also works with a cake pop machine if you have one.
Let's now start preparing the cake pop batter.
Preheat the oven to 180°C, fan-assisted.
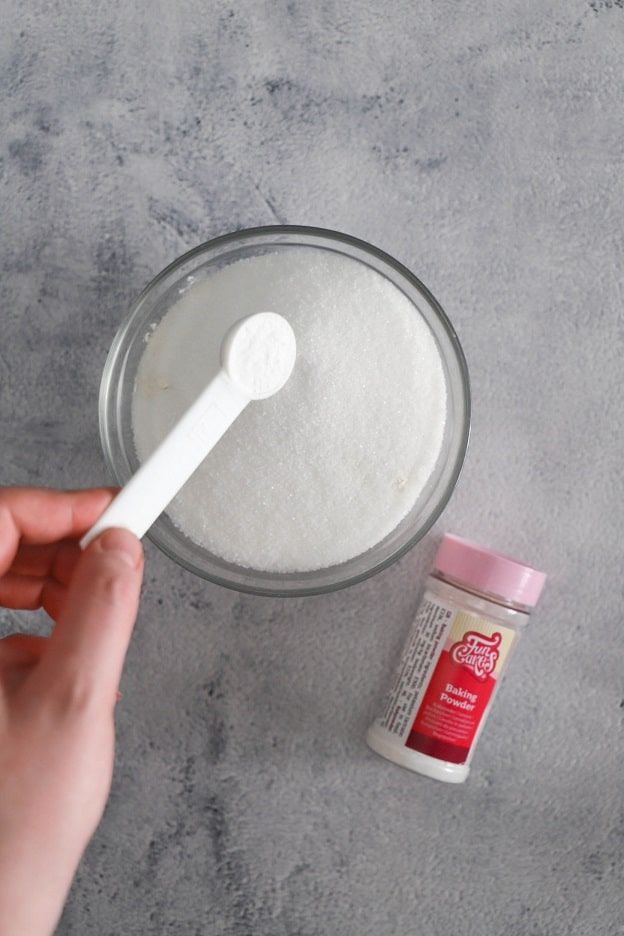
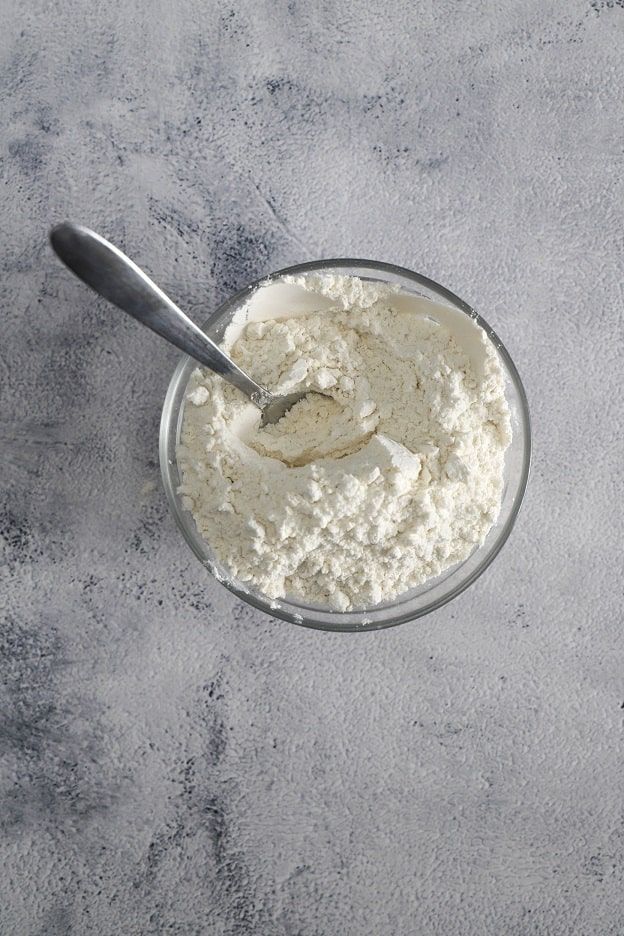
Add 170g flour, 70g sugar, 1 tsp baking powder and 1/2 tsp salt into a bowl and mix everything together with a spoon. Set aside.
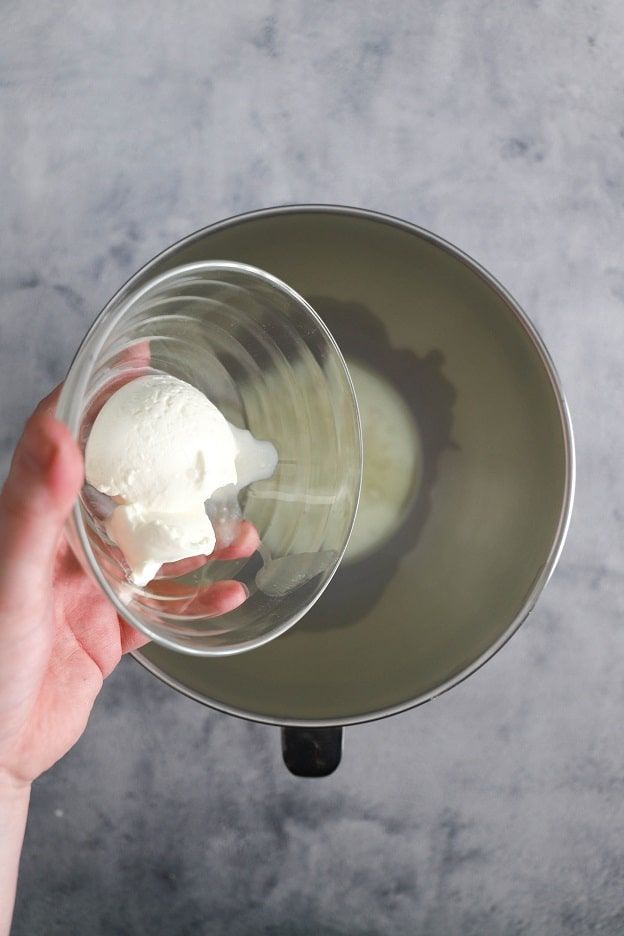
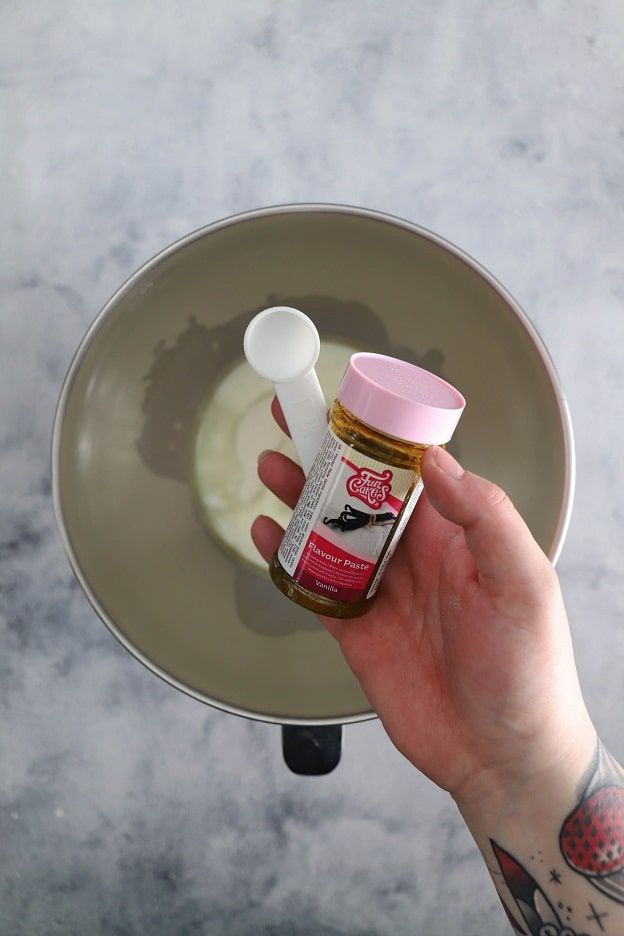
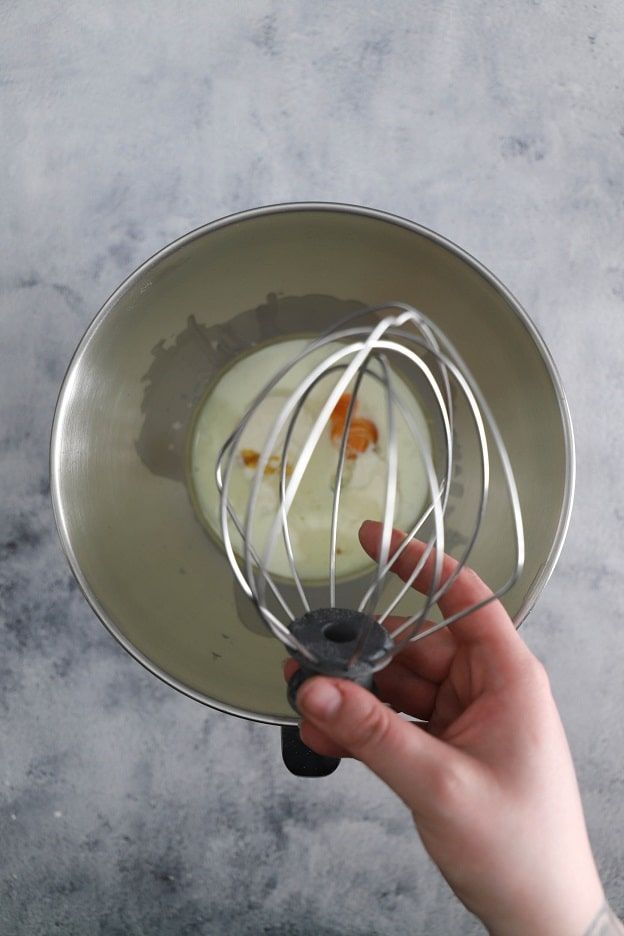
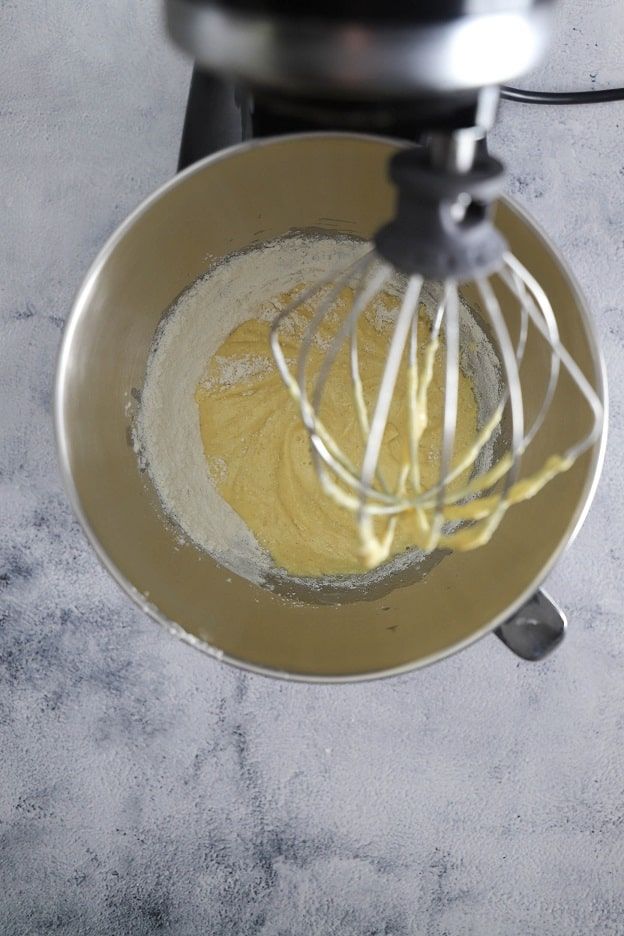
In the mixer bowl, pour 100g milk, 50g rapeseed oil, 60g sour cream, 1 egg and 1 tsp vanilla extract and whisk everything together.
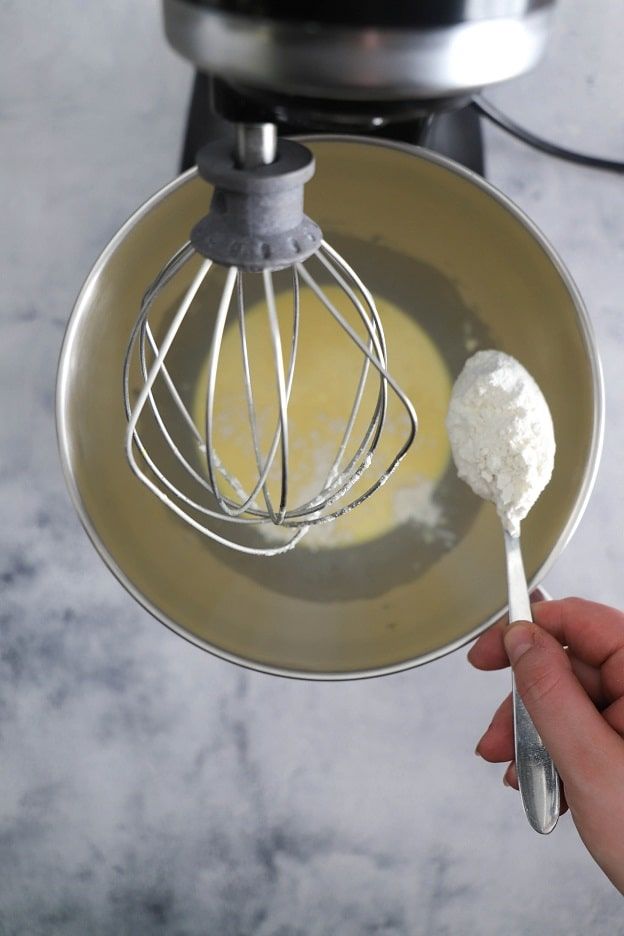
Set the mixer to its lowest speed and gradually add the flour mixture (flour, sugar, baking powder and salt).
Once the flour is fully incorporated, you should have a smooth, even batter.

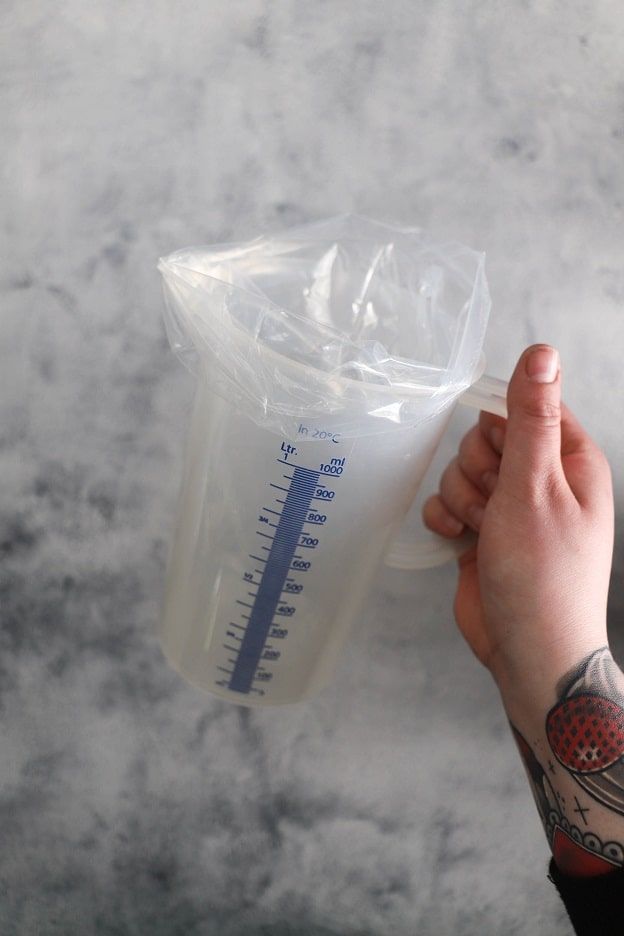
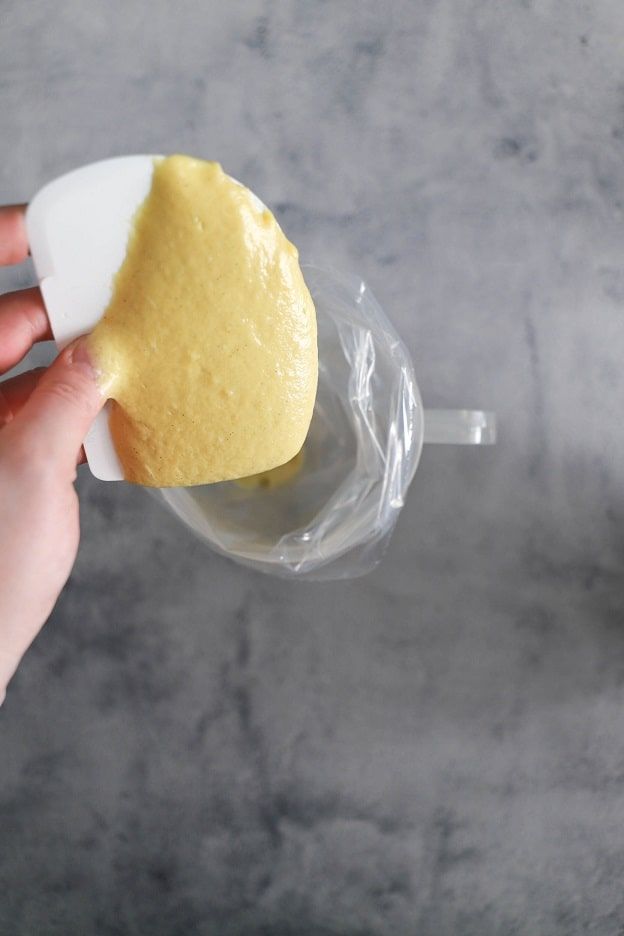
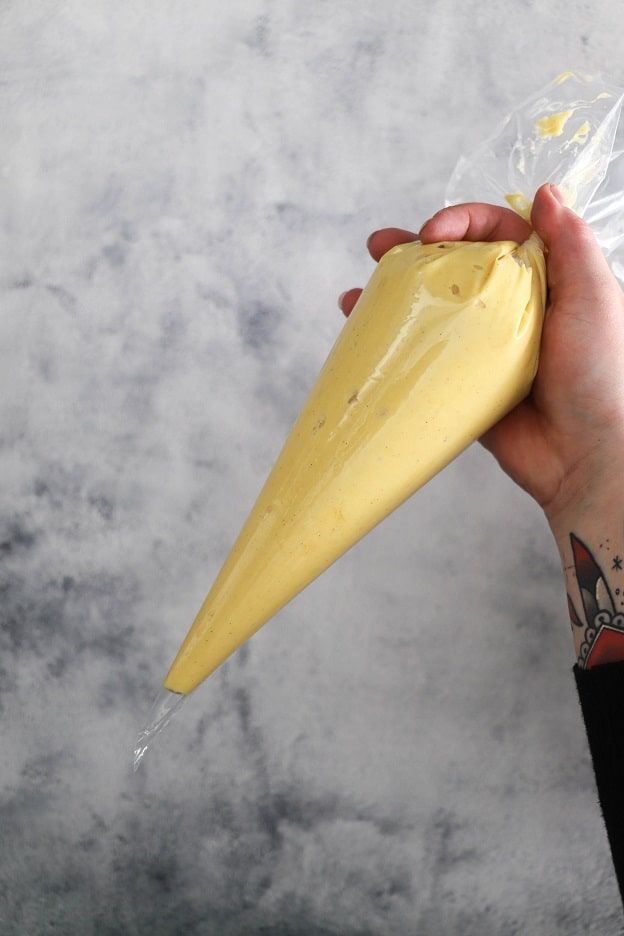
To make it easier to portion the batter, I always use a piping bag. To fill it, use a jug, fold the piping bag over it and fill it with batter, using a scraper to help.
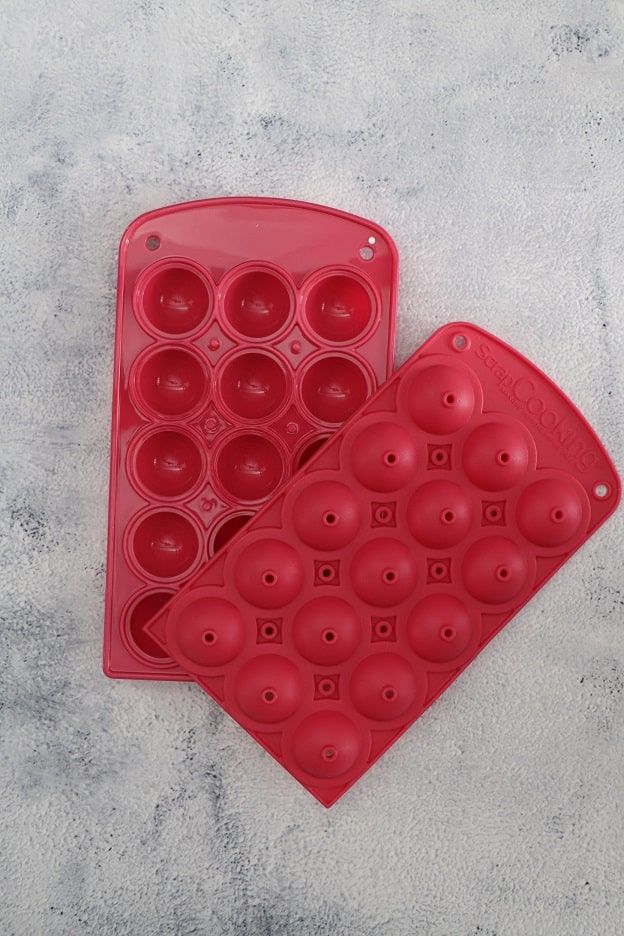
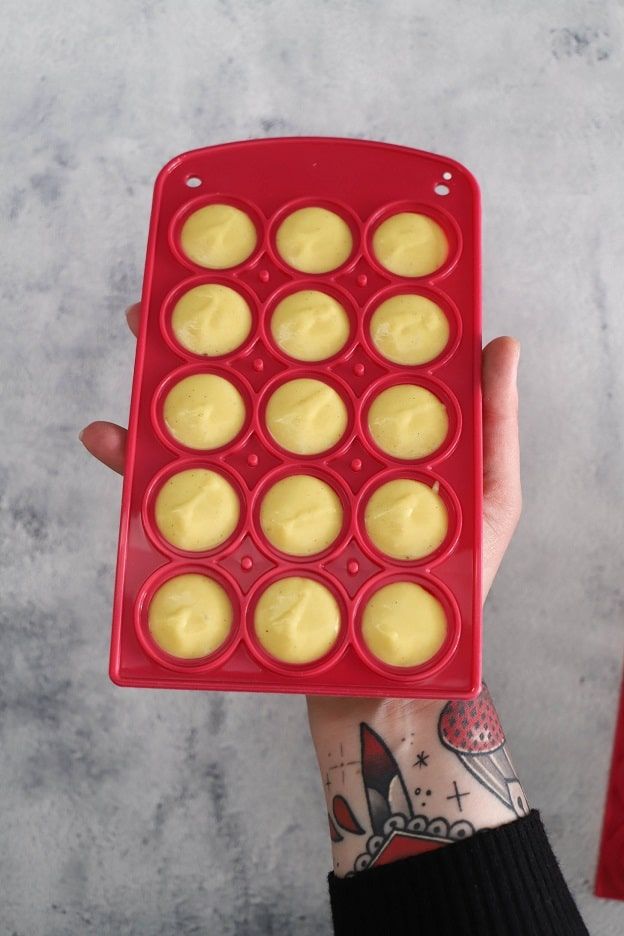
For this recipe, I used the Scrapcooking cake pop mould. With this mould, the cake pops have a diameter of 3 cm.
I was able to make 4 batches, giving 60 cake pops. Please note that larger moulds exist, so you will need more batter per ball.
For example, if you have a cake pop mould with balls of 4 cm in diameter, you will get about 40 pieces with this recipe.
Fill the cavities of the mould all the way to the top. The batter should not overflow the edges, otherwise the balls will not be perfectly round.
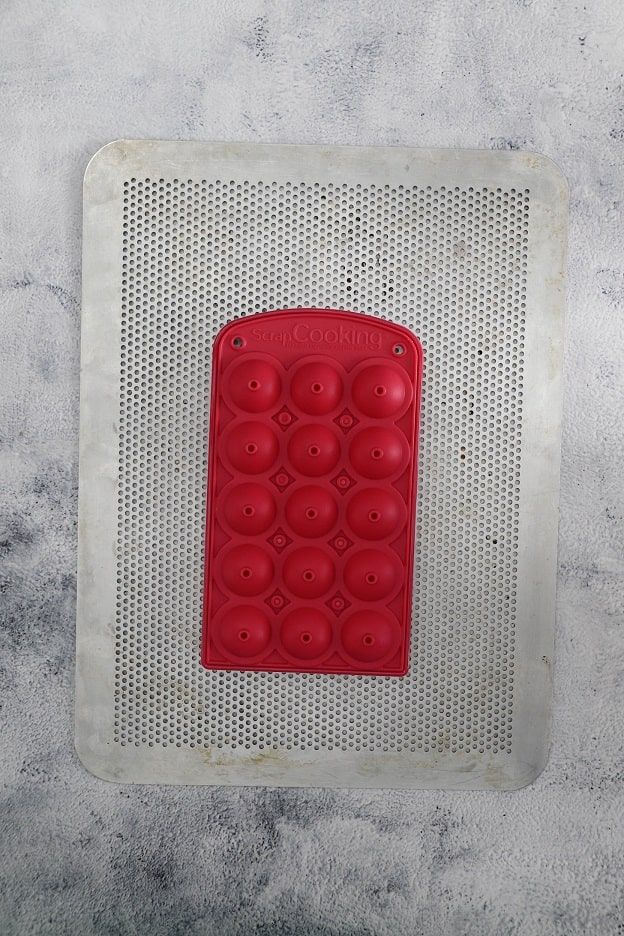
Then place the top (empty) part of the mould over the filled bottom and bake the cake pops for 15-20 minutes at 180°C fan-assisted.
If you have a cake pop machine, the batter will cook more quickly (3 to 6 minutes).
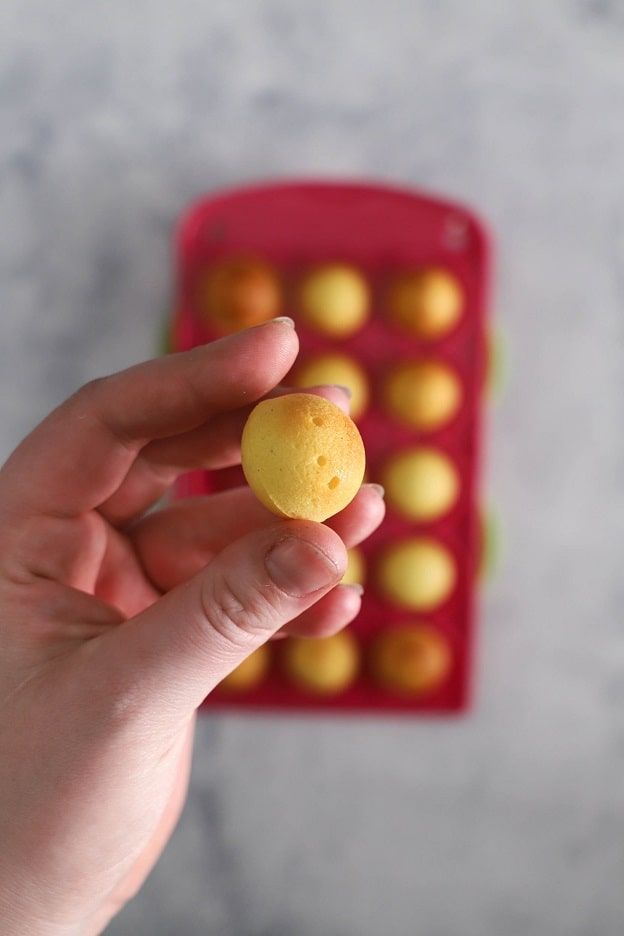
Once baked, the little balls will be nicely golden. Place them on a wire rack to cool.

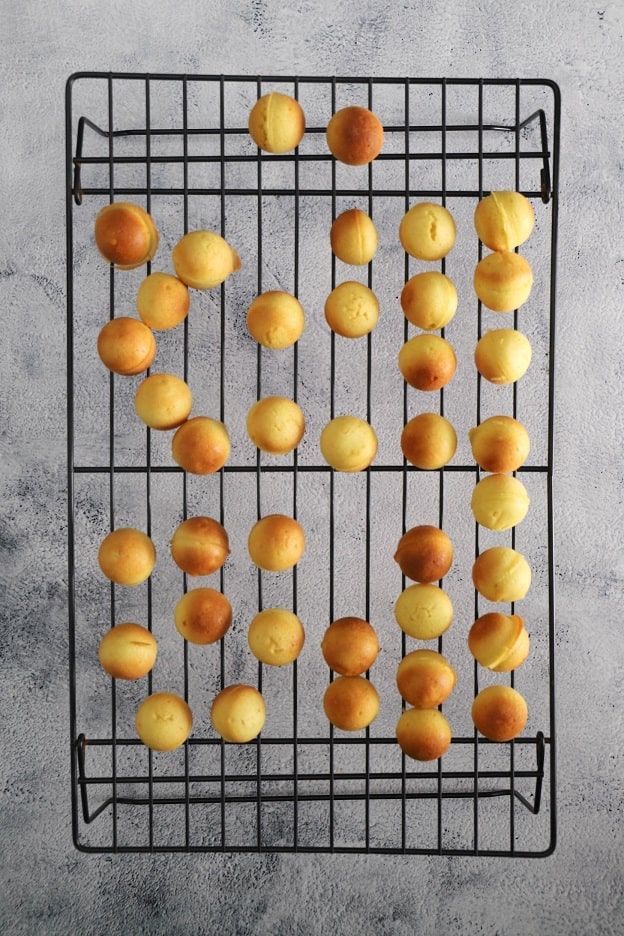
Decoration
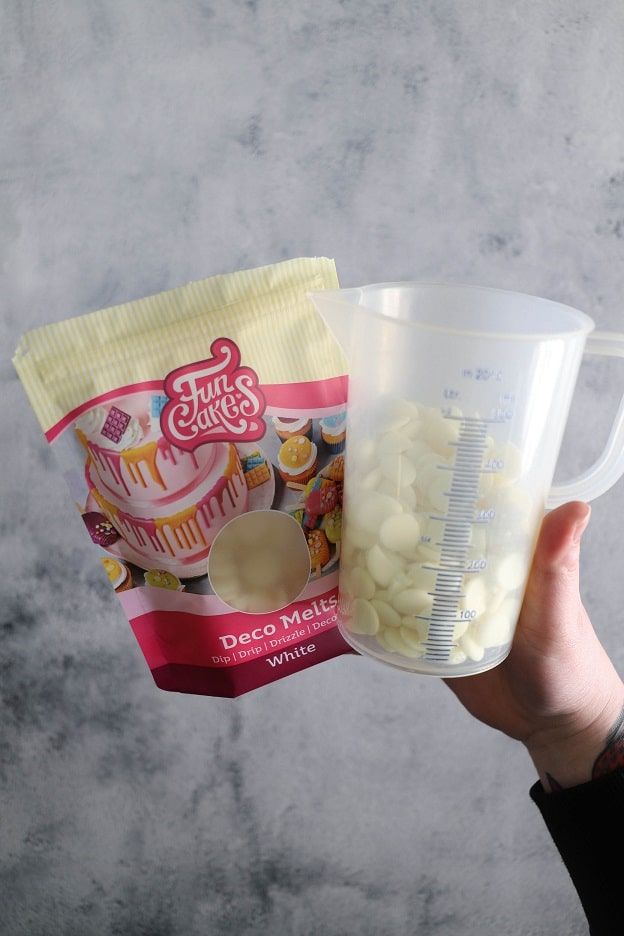
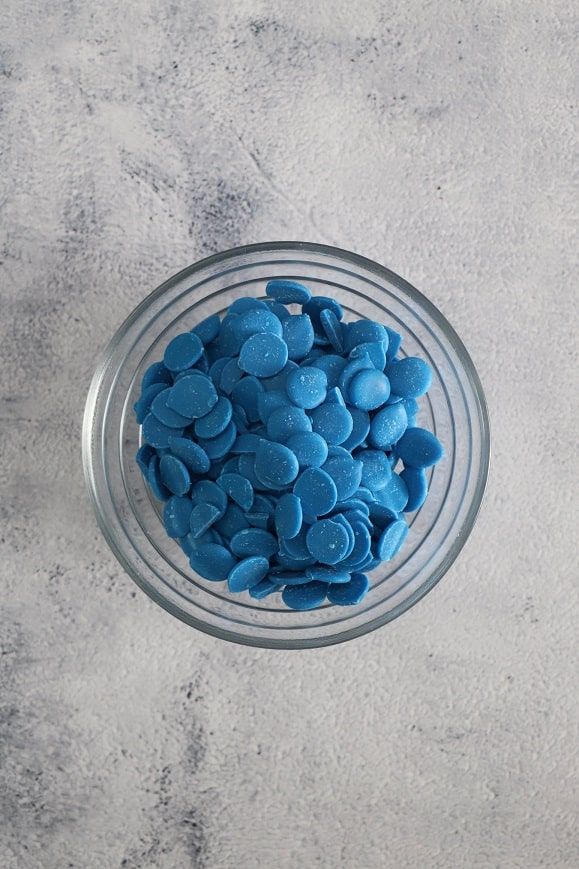
For the decoration, I coated the balls with Déco Melts. Déco Melts are coatings (based on vegetable fat) that do not need to be tempered — you simply melt them and they are ready to use.
Here, I chose white, dark blue and light blue colours.
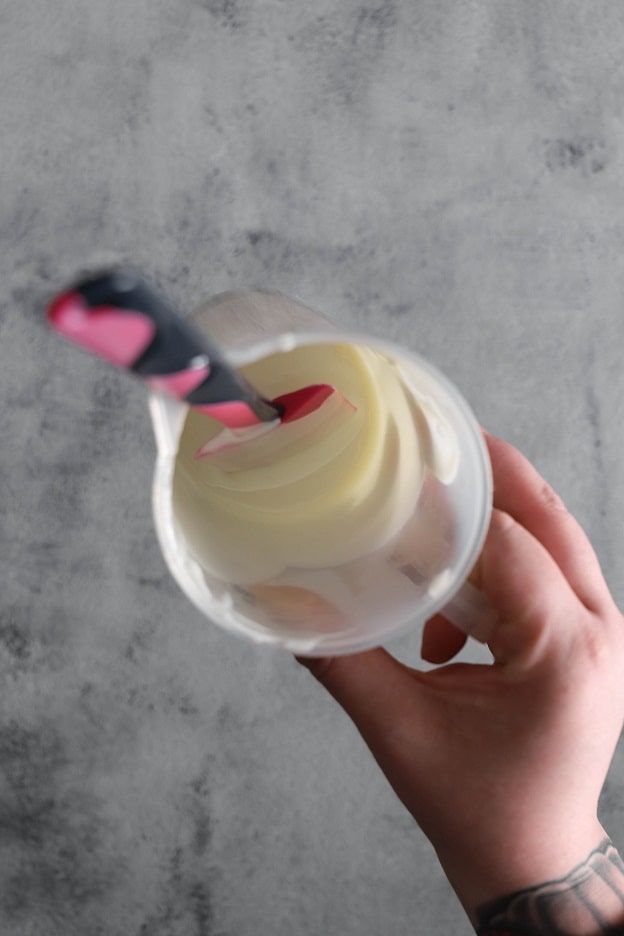
Pour the white Déco Melts into a bowl or jug and heat them in the microwave in 30-second intervals at 600W. A bain-marie also works.
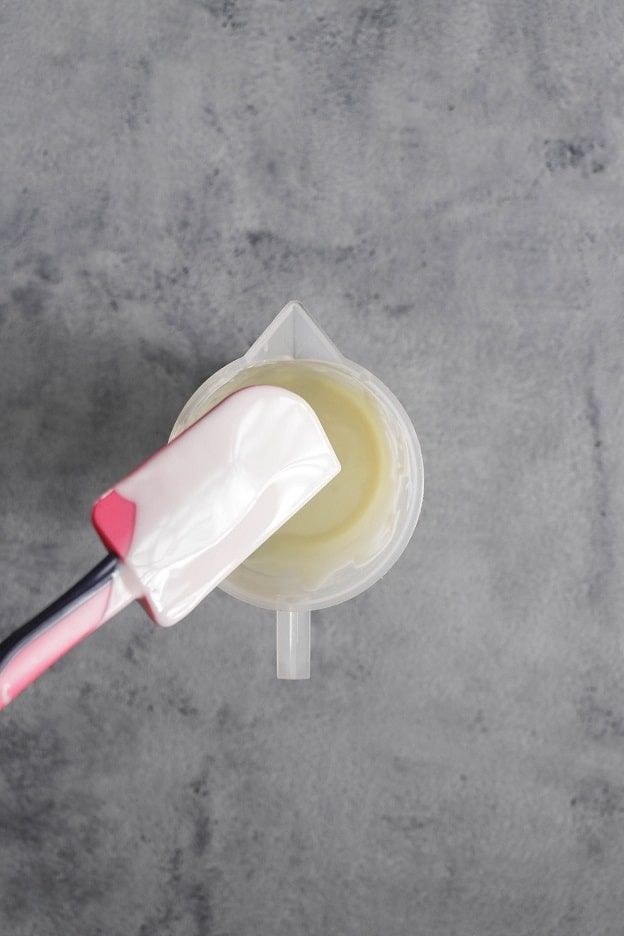
Stir the Déco Melts occasionally with a spatula so that the heat is evenly distributed. If you don't, they may burn and become unusable. Stir until the Déco Melts are smooth and completely melted.
To prevent the balls from falling off during coating, you first need to secure them.
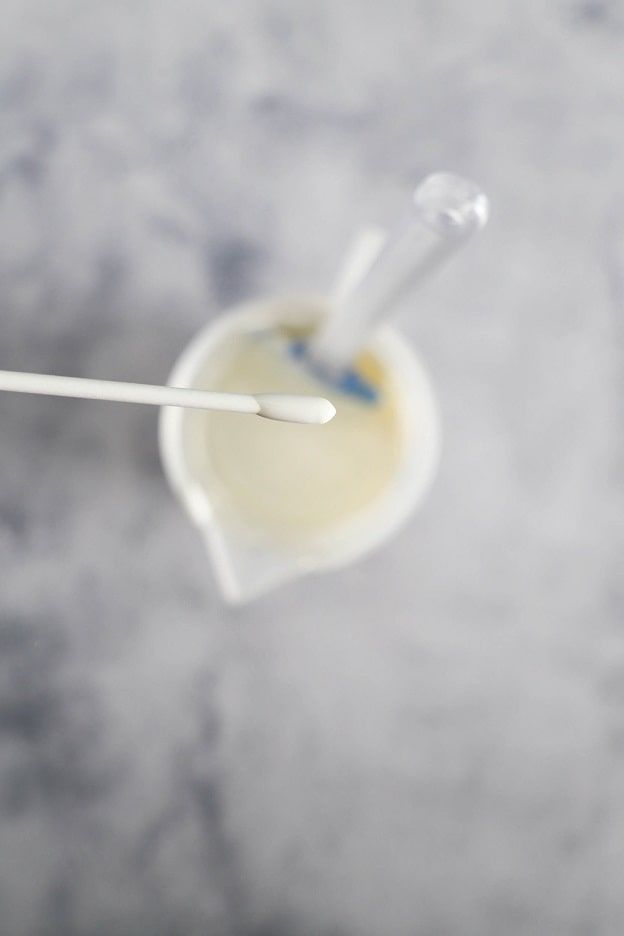
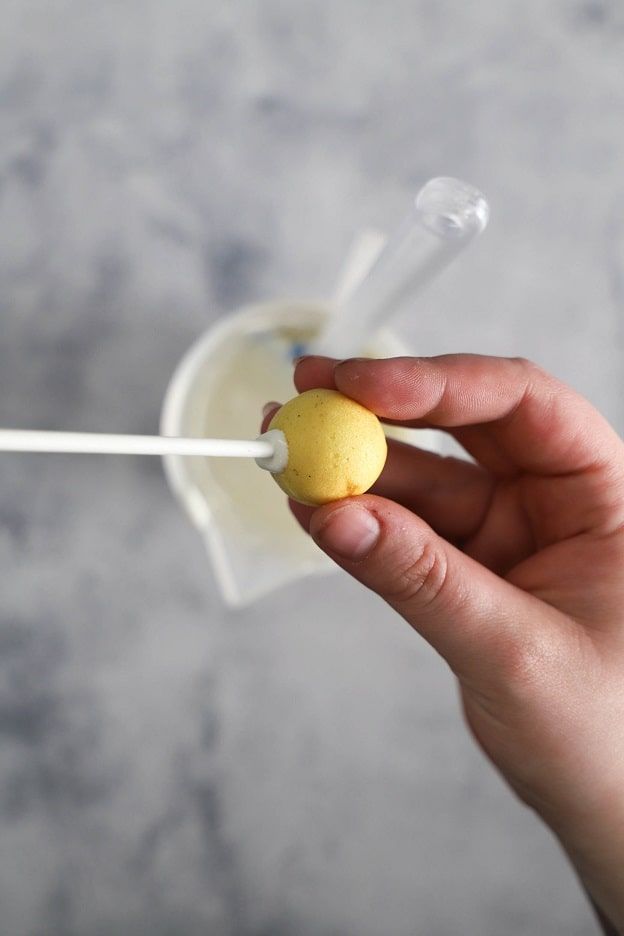
Take the cake pop sticks, dip the tips into the melted white Déco Melts and insert them into the balls.
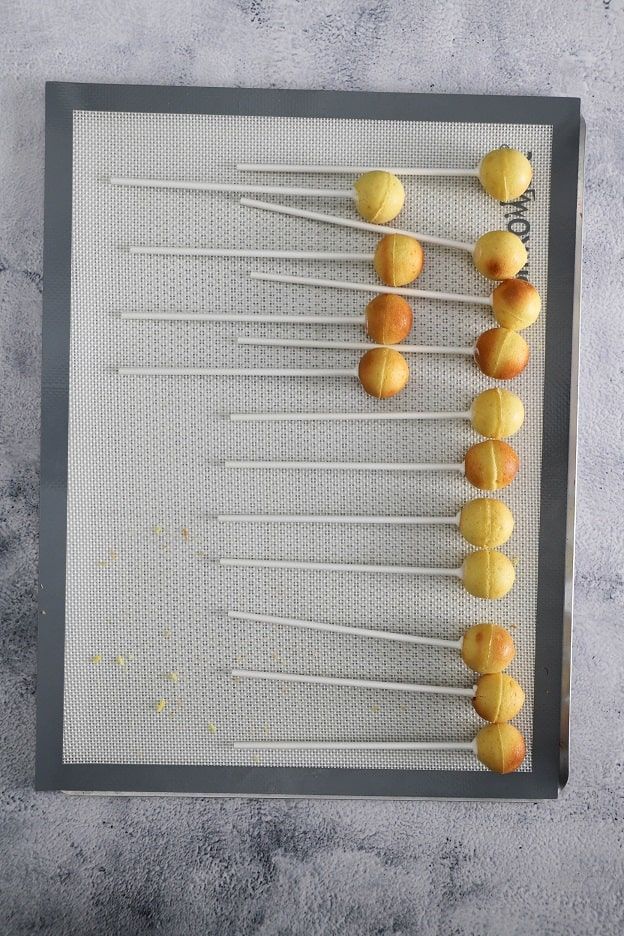
Then place them on a tray lined with a silicone mat and put them in the fridge for about 10 to 15 minutes.
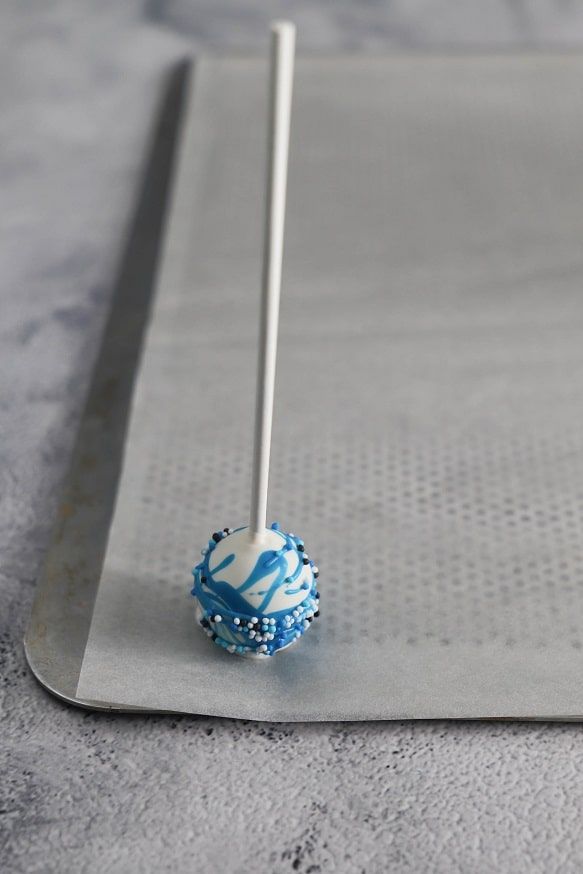
There are countless ways to decorate cake pops. Here are a few examples.
First melt the light blue and dark blue Déco Melts. If, like me, you only have one jug, you can also use tall bowls — the important thing is to be able to fully dip the cake pop into the coating.
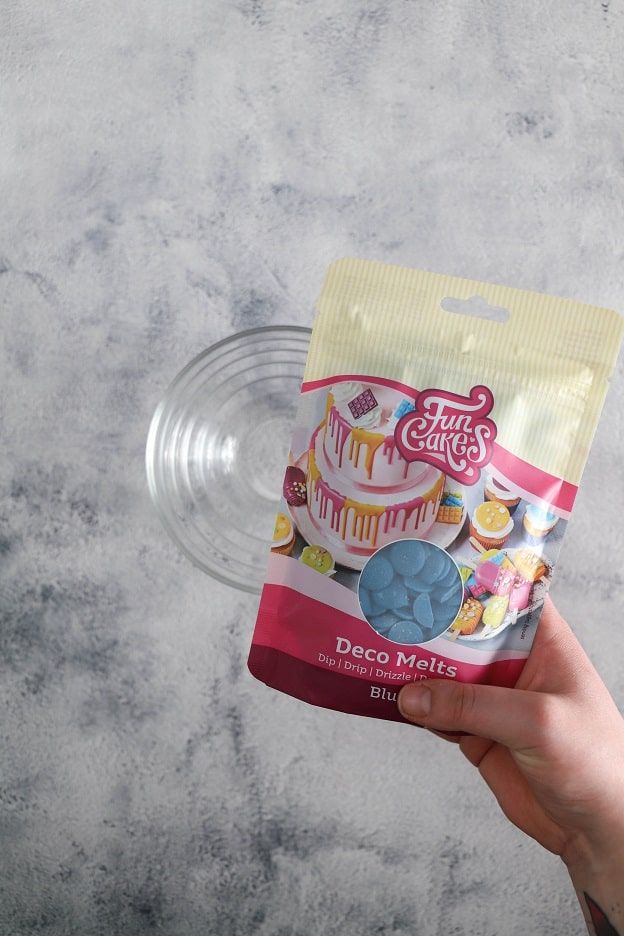
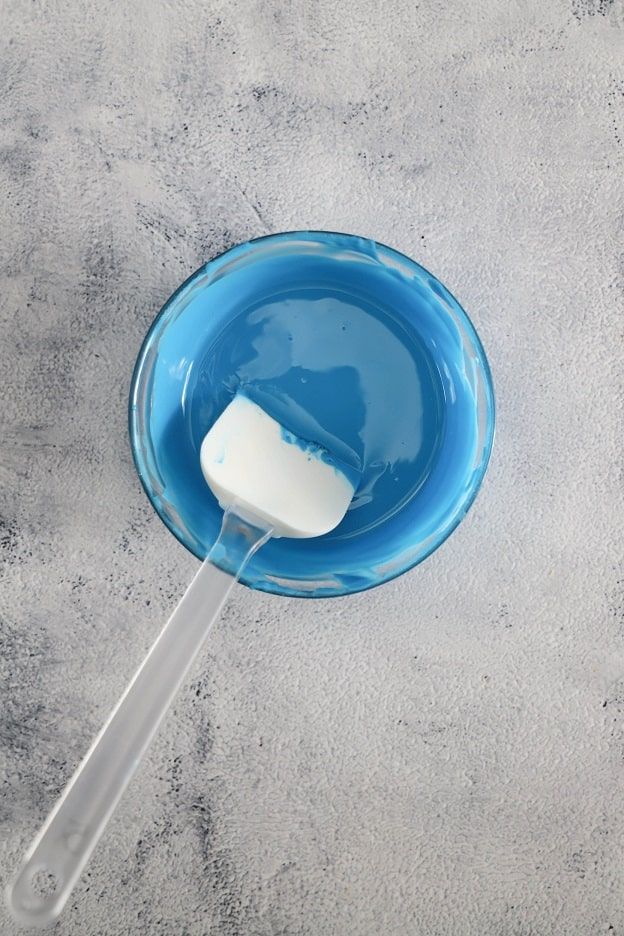
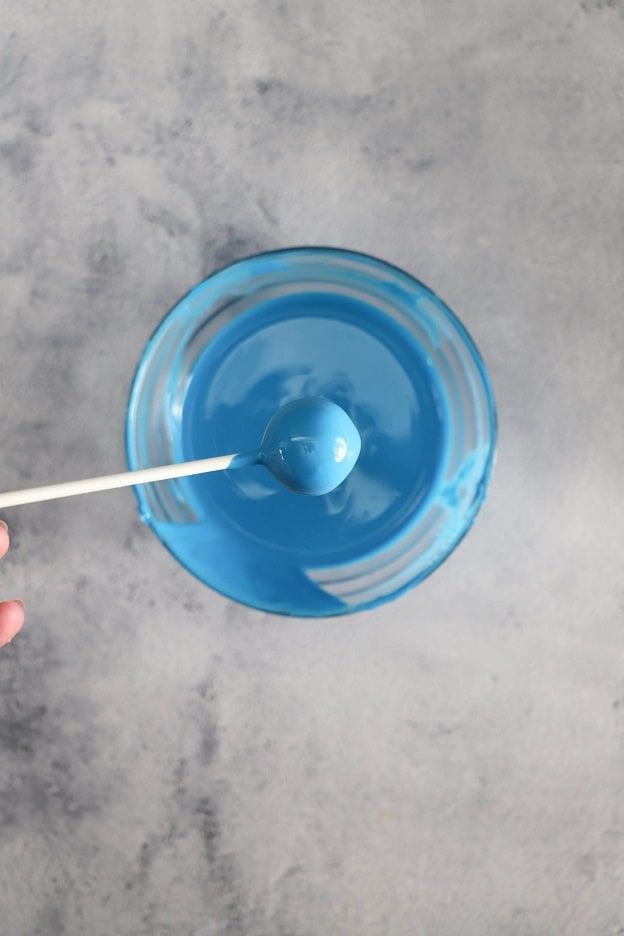
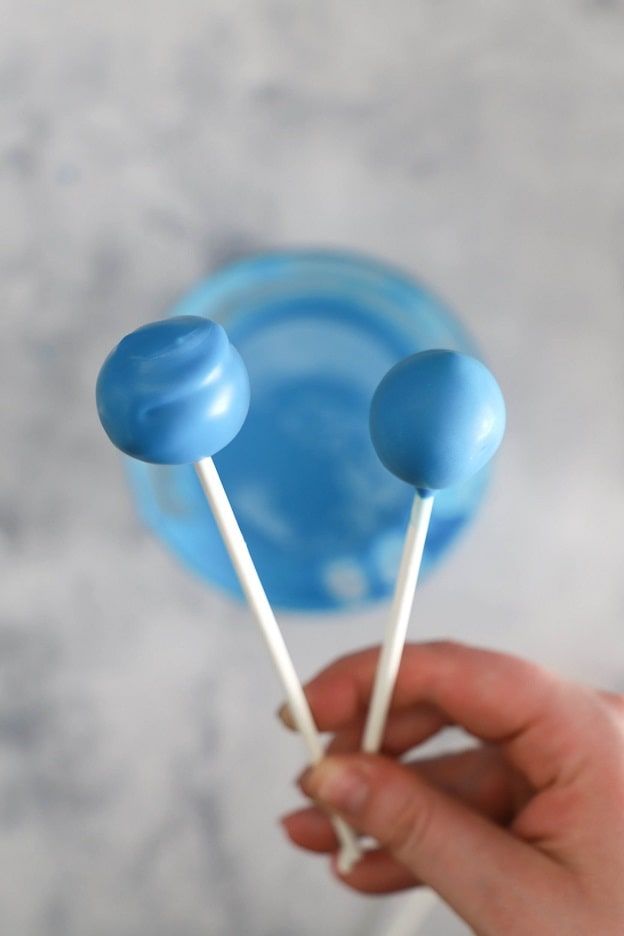
Dip the cake pop into the coating, let the excess drip off for a moment and allow it to set.
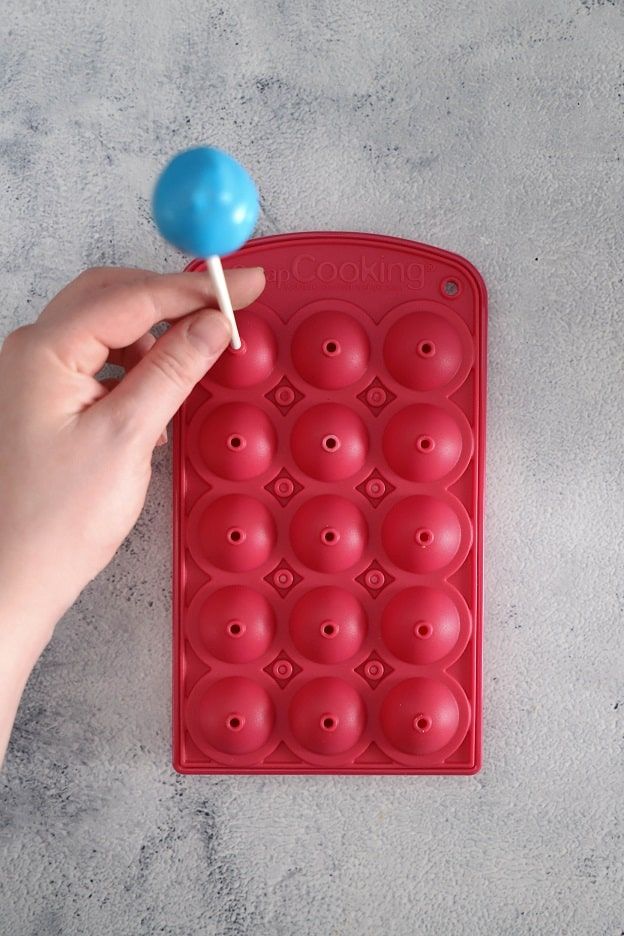
Once the coating stops dripping, you can either place the cake pop back in the cake pop mould to dry (polystyrene also works great, especially if you have more than 15 pieces), or lay it upside down on baking paper.
It all depends on how you want to present the cake pops at the end. Those placed upside down will stand on their own; the others need to be placed in a glass or similar.
Always check the temperature of your Déco Melts. If they become too thick, reheat them in the microwave for about 30 seconds at 600W.
In the first photo, you can see on the left a cake pop coated when the Déco Melts were too cold, and on the right one coated at the correct temperature.
To vary the decoration, add a little Déco Melts of a different colour to your coating and swirl with a spatula using a back-and-forth motion. Dip the ball like this for a beautiful marbled effect! :o)
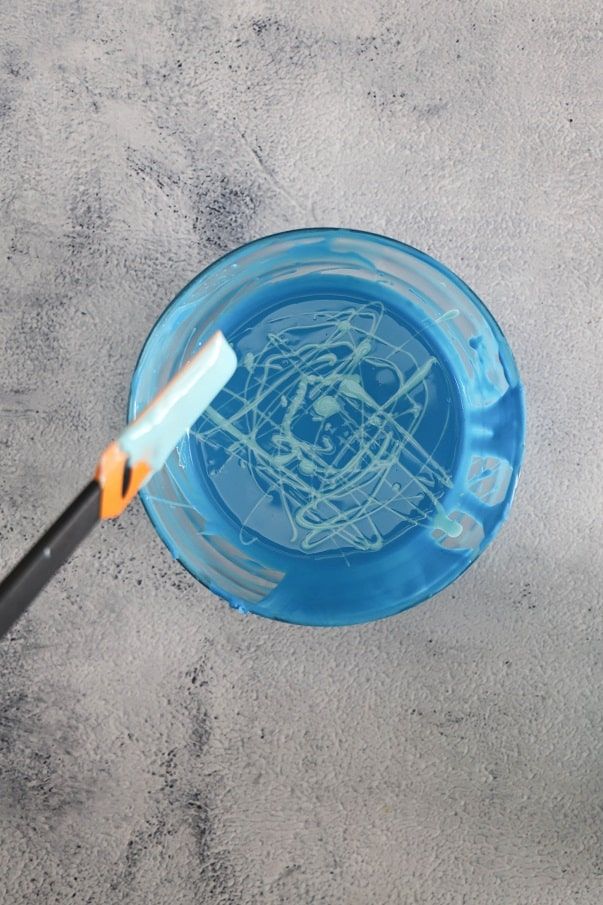
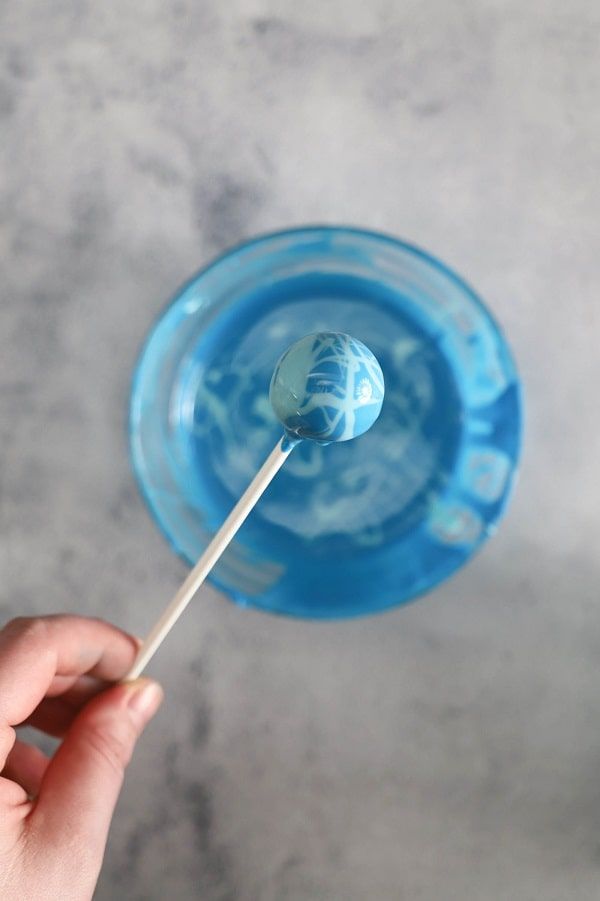
You can also liven up plain-coloured cake pops (once dry) by drizzling coating over them using a back-and-forth motion with a spatula or spoon. Then sprinkle with nonpareils before the coating sets.
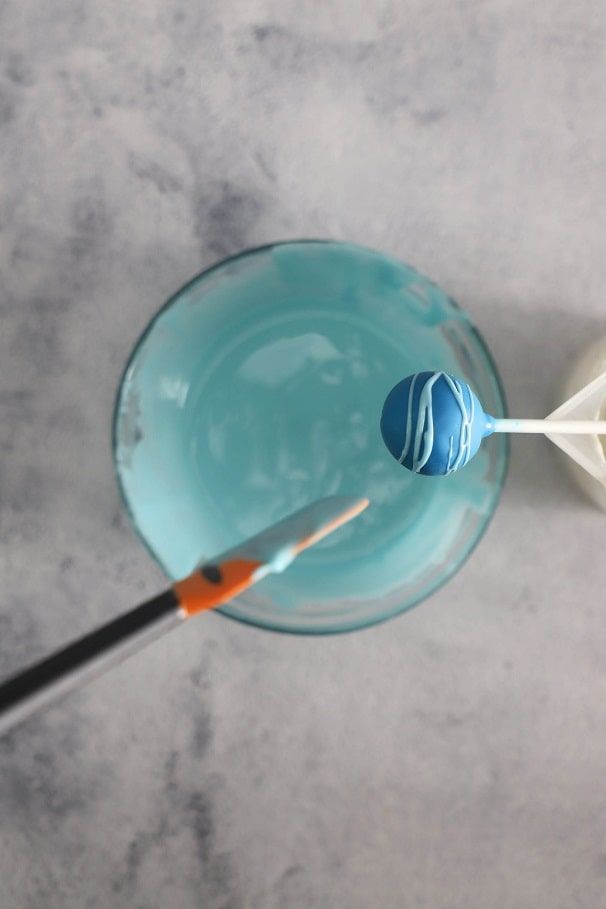
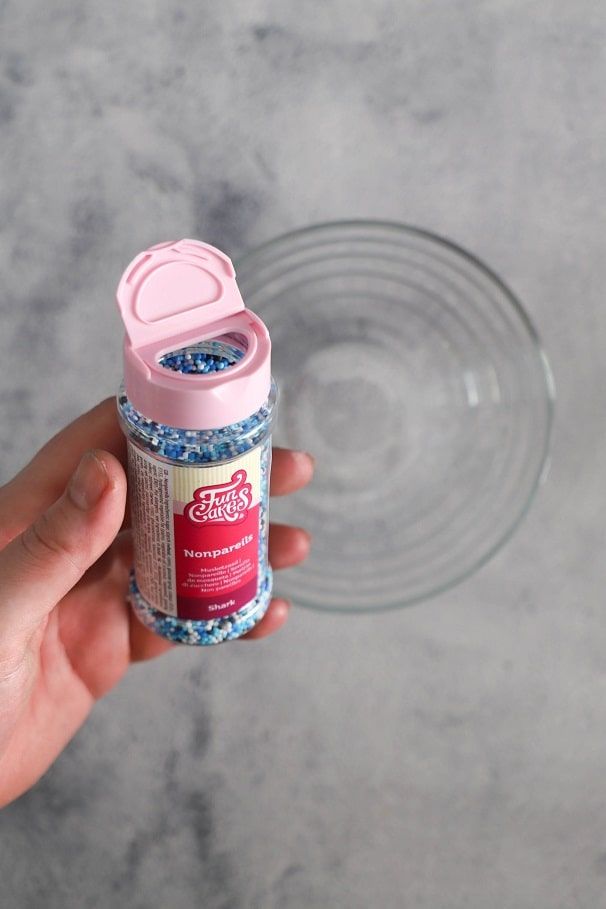
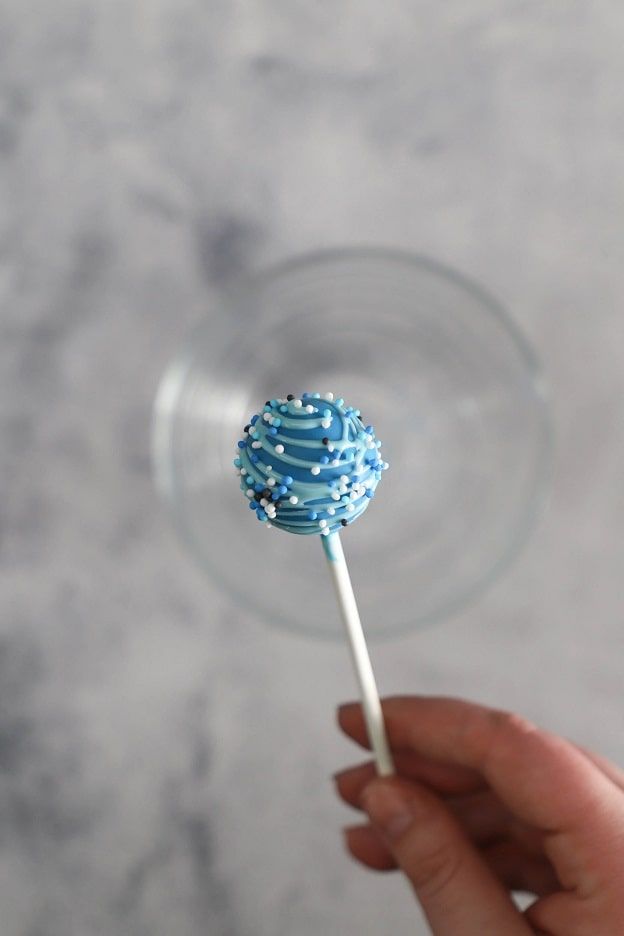
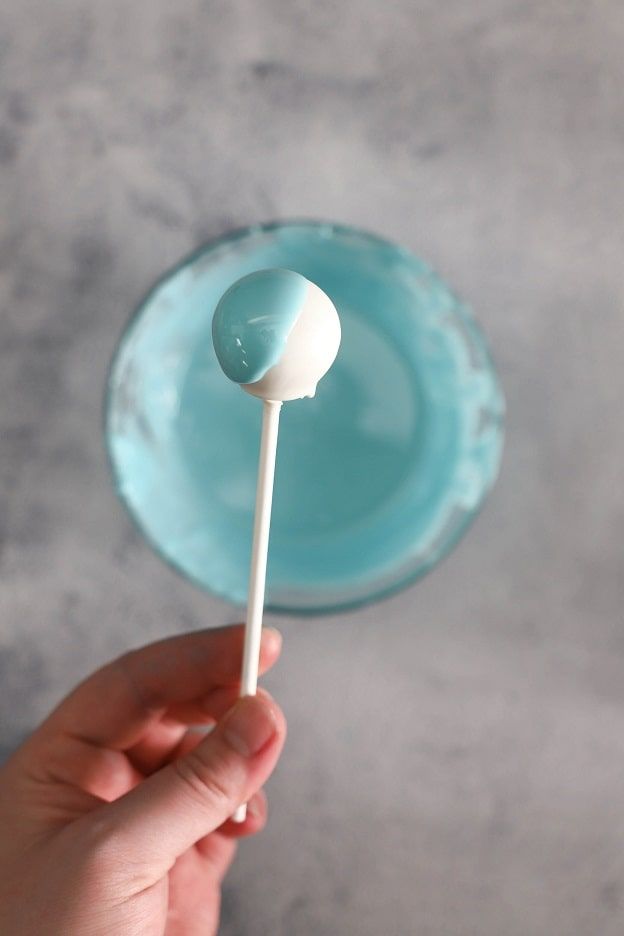
Another option: Coat the cake pop in white and let it dry. Once dry, coat one half in light blue (let it dry). Then finish by coating the other side in dark blue.
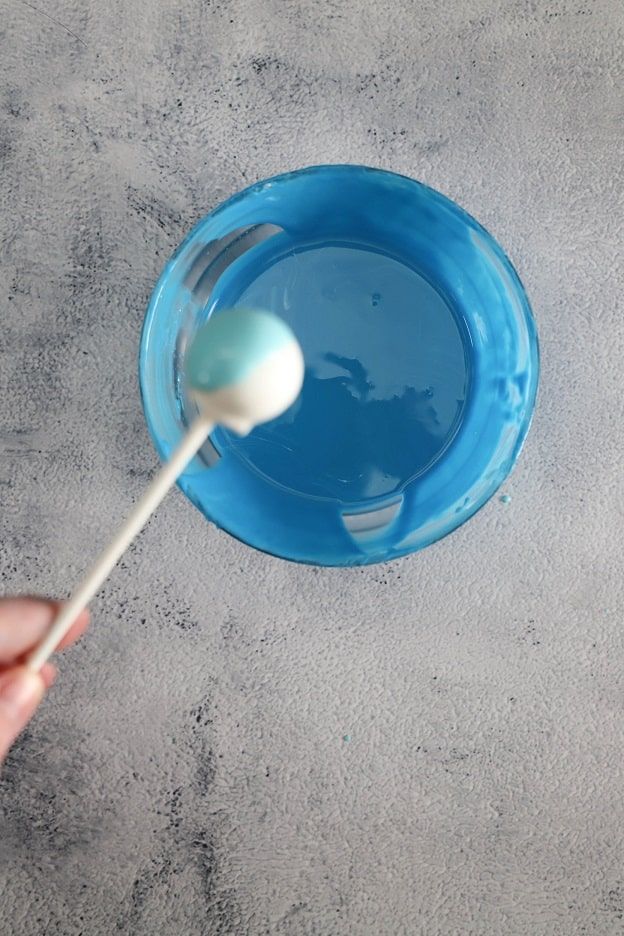
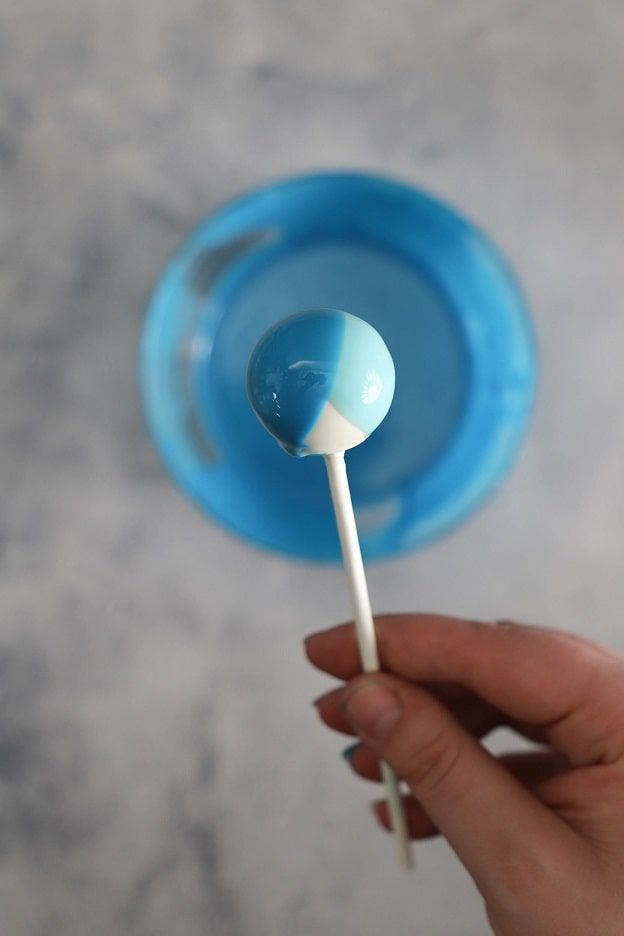
For the small decorations, I use the Scrapcooking chocolate pens.
Just like the Déco Melts, they are easy to use. Simply place the pens in a jug of hot water to liquefy the chocolate inside the tube. You can then draw a fun moustache (see the third photo).
You can also attach sugar eyes using the pen. Just make two small dots on the cake pop and gently place the eyes on top.
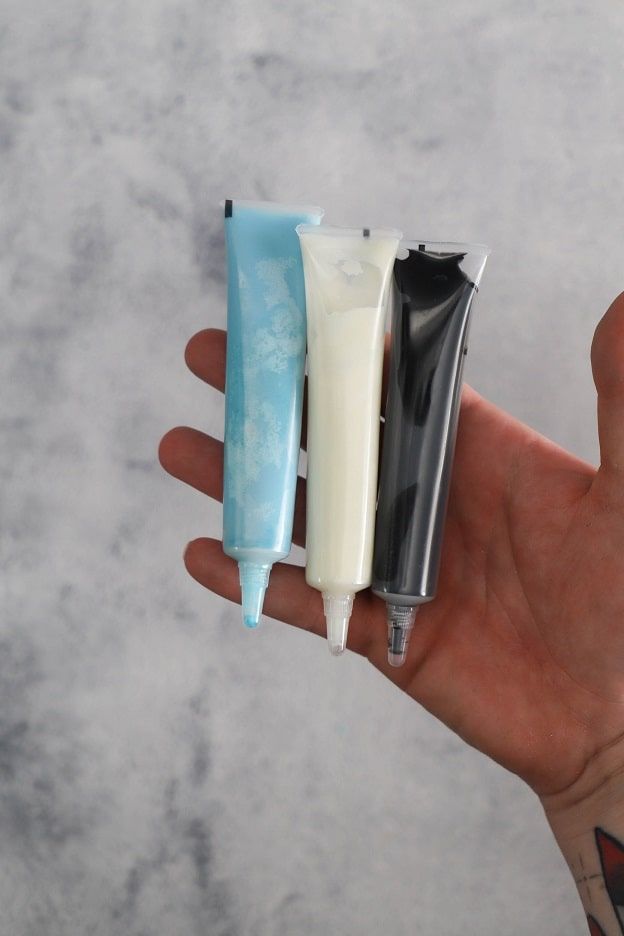
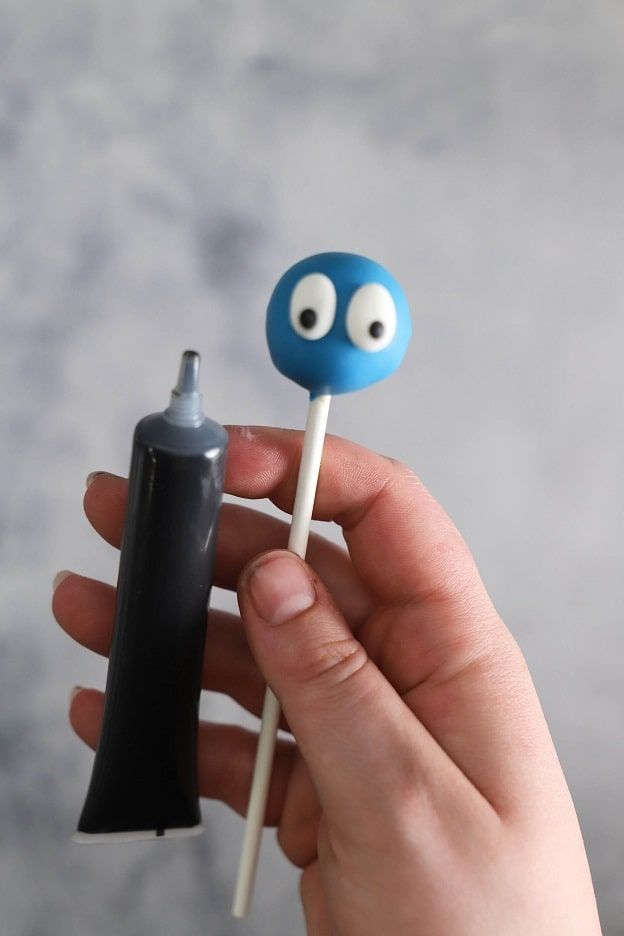

In the first photo, a face is drawn on my cake pop using only the pen. To give it a hairstyle or a hat, dip one end of the cake pop into the coating and plunge it into the nonpareils.
For the nonpareils to stick properly, it is important that the coating is nice and liquid. As mentioned above, you can always put your bowl of Déco Melts back in the microwave for about 30 seconds at 600W.
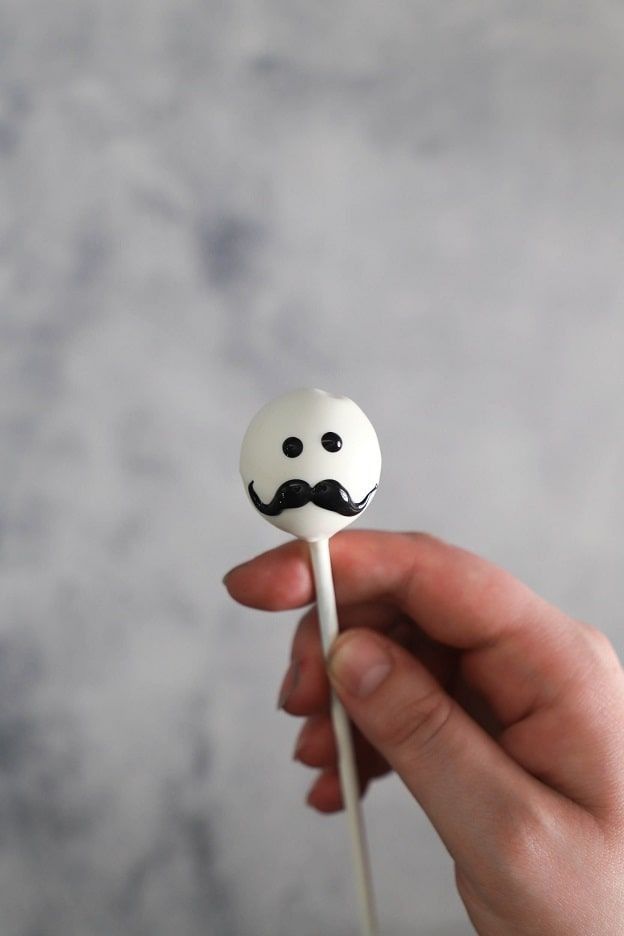
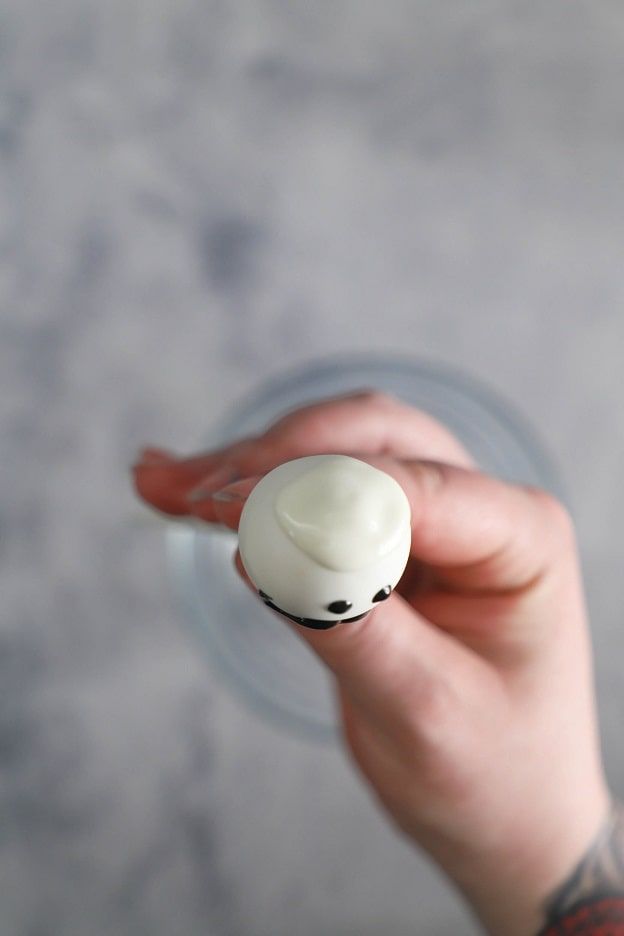
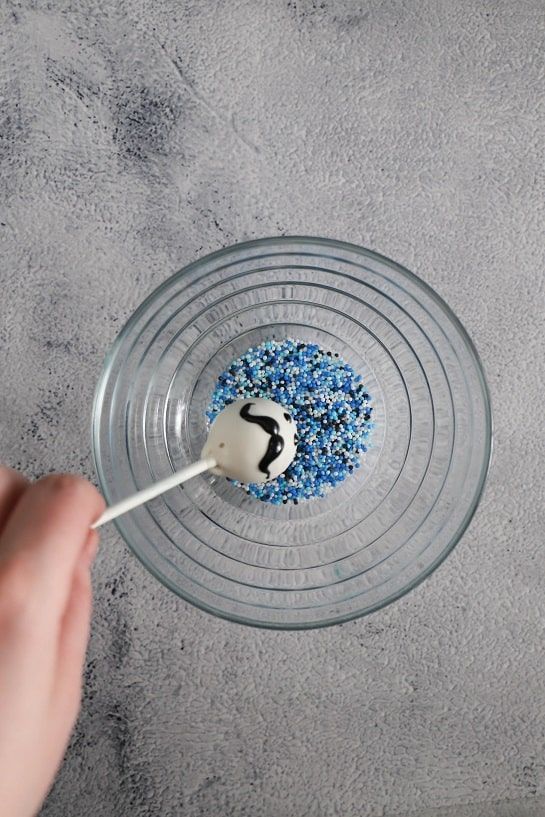
You can also write something with these pens, such as "Dad" for Father's Day. ;0)
To make the cake pop sticks look prettier, slide paper straws over them. We have a whole assortment in our online shop.
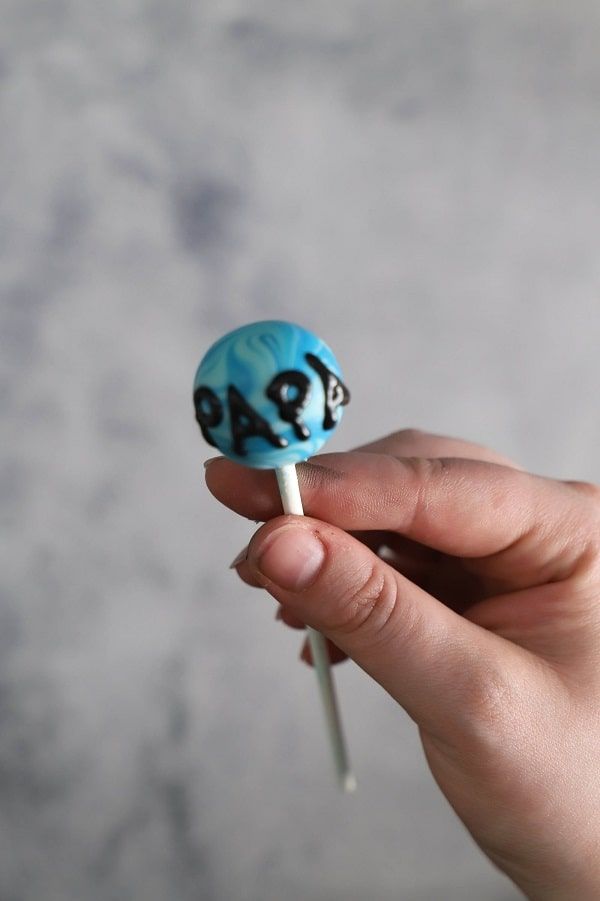


Yay, the cake pops are ready! :o)
They keep for at least 3 days in the fridge. To give them as a gift, you can wrap them in small plastic bags to keep them protected.
I hope you enjoyed the recipe and that you'll treat your dad! :o)
Have a lovely Sunday!
Jenny
P.S.: All the materials used can be found at the bottom of the recipe.

Related posts
 Juicy Matcha Muffins with Pecan Nuts & White Chocolate
Matcha Iced Latte & Coconut Variant
Pull-apart bread with fresh wild garlic pesto
Mini Banana Bread with Chocolate Chips
Juicy Matcha Muffins with Pecan Nuts & White Chocolate
Matcha Iced Latte & Coconut Variant
Pull-apart bread with fresh wild garlic pesto
Mini Banana Bread with Chocolate Chips
Leave a comment
Comments
Question de Océane
By: Océane M. On 2025-04-17Bonjour, est-ce que les restes de glaçage (déco melts) peuvent se conserver et être réutilisés?
Replied by: Karin On 2025-04-17
Réponse
By: Karin On 2023-05-01Oui, vous pouvez, mais nous vous conseillons de congeler vos cake pops avec le bâtonnet inséré. De cette manière, une fois décongelé, vous pourrez directement réaliser la décoration en chocolat. Belle journée et bonne pâtisserie ;-)
Question de Yerly
By: Yerly M. On 2023-04-29Bonjour,
C’est possible de congeler les cake pops une fois cuits sans les chocolats ? ?