

Blueberry-Raspberry Ice Creams
Hey foodies!
It's hot! Summer is just around the corner! Woohoo!
Here's something to cool you down a little. :o)
I felt like having fruit ice creams but without cream this time. Let's go for a blueberry-raspberry sorbet!

Here is the ingredient list (for 12 to 16 mini ice creams):
- 150g water
- 55g sugar
- 35g dehydrated glucose
- 200g blueberries
- 100g raspberries
- 1 tsp lemon juice
Let's get started with the recipe!
For this recipe, I used an ice cream maker. I splurged this year and bought one, because really, it makes all the difference!
The texture is much smoother and less icy.
For your information, I bought the yellow Betty Bossi one that churns (photos to follow).
Start by pouring 150g of water into a saucepan, bring it to a boil then remove from the heat.


Off the heat, add 55g of sugar and 35g of dehydrated glucose.
Let the sugars dissolve, stirring occasionally.
The dehydrated glucose will prevent our sorbet from melting too quickly and will help maintain a creamier texture.


In a jug, pour 200g of blueberries with 100g of raspberries and 1 tsp of lemon juice.
Then blend everything using an immersion blender to obtain a fruit purée.


The sugar syrup is now completely liquid (no visible sugar grains).
Add the sugar syrup to the fruit purée and blend again.


Here is my ice cream maker! :o) I'll admit I tried every possible way to find one that wasn't yellow (I hate yellow, don't ask me why...) But after several weeks of searching, I made peace with the yellow and bought this one because it churns (no need to put the bowl in the freezer), it holds up to 800 ml of liquid, it's not too big and the price is reasonable.
Back to the recipe!
Pour the mixture into your ice cream maker and churn for 40 minutes. :o)
Personally, I stop the ice cream maker once or twice during churning to scrape off a bit of the ice that forms along the edge of the bowl.
And there we go, our ice cream is set! Note that if you want to put this ice cream in a tub, you can churn for an additional 5-10 minutes.
But here we are going to place it in mini ice cream moulds, so it shouldn't be too firm... Otherwise the ice cream won't fill the moulds and you'll have holes... What a shame.
Here I filled 12 cavities, so 3 mini ice cream moulds. Place the moulds on a perforated tray to make it easier to transport to the freezer.


Once the ice cream is slightly set (40 minutes). Pour it into your mini ice cream moulds.
Spread the sorbet into the moulds using a small offset spatula.
Gently tap the mould on your work surface so that the ice cream slides into the corners and edges of the moulds.


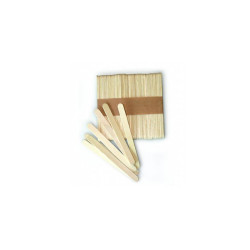
Insert a wooden stick into each ice cream and smooth with the offset spatula so there is no ice cream outside the moulds. :o)
Now it's time for a minimum of 2h in the freezer. Yes, yes, we wait a little longer and lick the bowls in the meantime. ;-)


And there we go! We're almost there!
Carefully unmould your ice creams and enjoy them! ENJOY!


It's fresh, fruity and indulgent!
I hope you eat loads of ice creams this summer! :o)
Happy Sunday!
Karin
P.S.: All the equipment used can be found at the bottom of the recipe.


Watch our recipe in video!
Related products
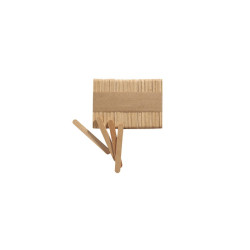
Mini wooden stick for ice cream
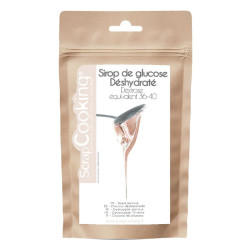
Dehydrated Glucose 200g
Plastic graduated spoons
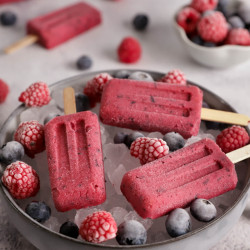
Ice creams mold "Mini vintage"
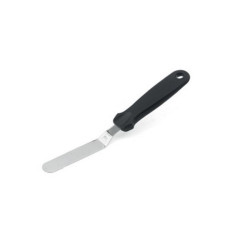
Angled spatula in steel
Spatulas set in silicone
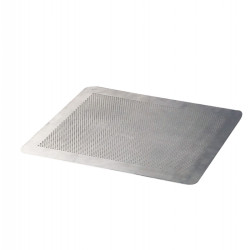
Flat perforated aluminium plate 40 x 30 cm
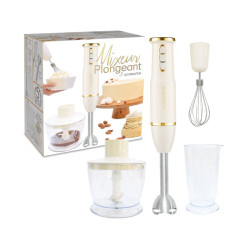
Hand blender - chopper 3 in 1
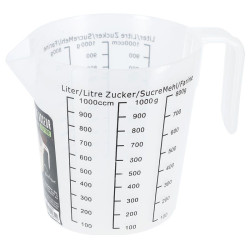
Graduated measuring cup 1 liter
Whisk 30.5 cm
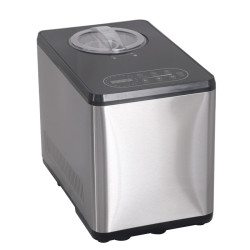
Ice cream maker 1.5 liter with compressor and timer

Related posts
 Juicy Matcha Muffins with Pecan Nuts & White Chocolate
Matcha Iced Latte & Coconut Variant
Pull-apart bread with fresh wild garlic pesto
Mini Banana Bread with Chocolate Chips
Juicy Matcha Muffins with Pecan Nuts & White Chocolate
Matcha Iced Latte & Coconut Variant
Pull-apart bread with fresh wild garlic pesto
Mini Banana Bread with Chocolate Chips
Leave a comment
Comments
Question de Marine
By: Marine L. On 2024-07-13Bonjour,
Si je ne possède pas de sirop de glucose déshydraté, puis-je le remplacer par le sirop de glucose (sirop) ou un blanc d’œuf monté avant de mettre en turbine ?
Merci pour vos recettes et bel été
Marine
Replied by: Karin On 2024-07-15