
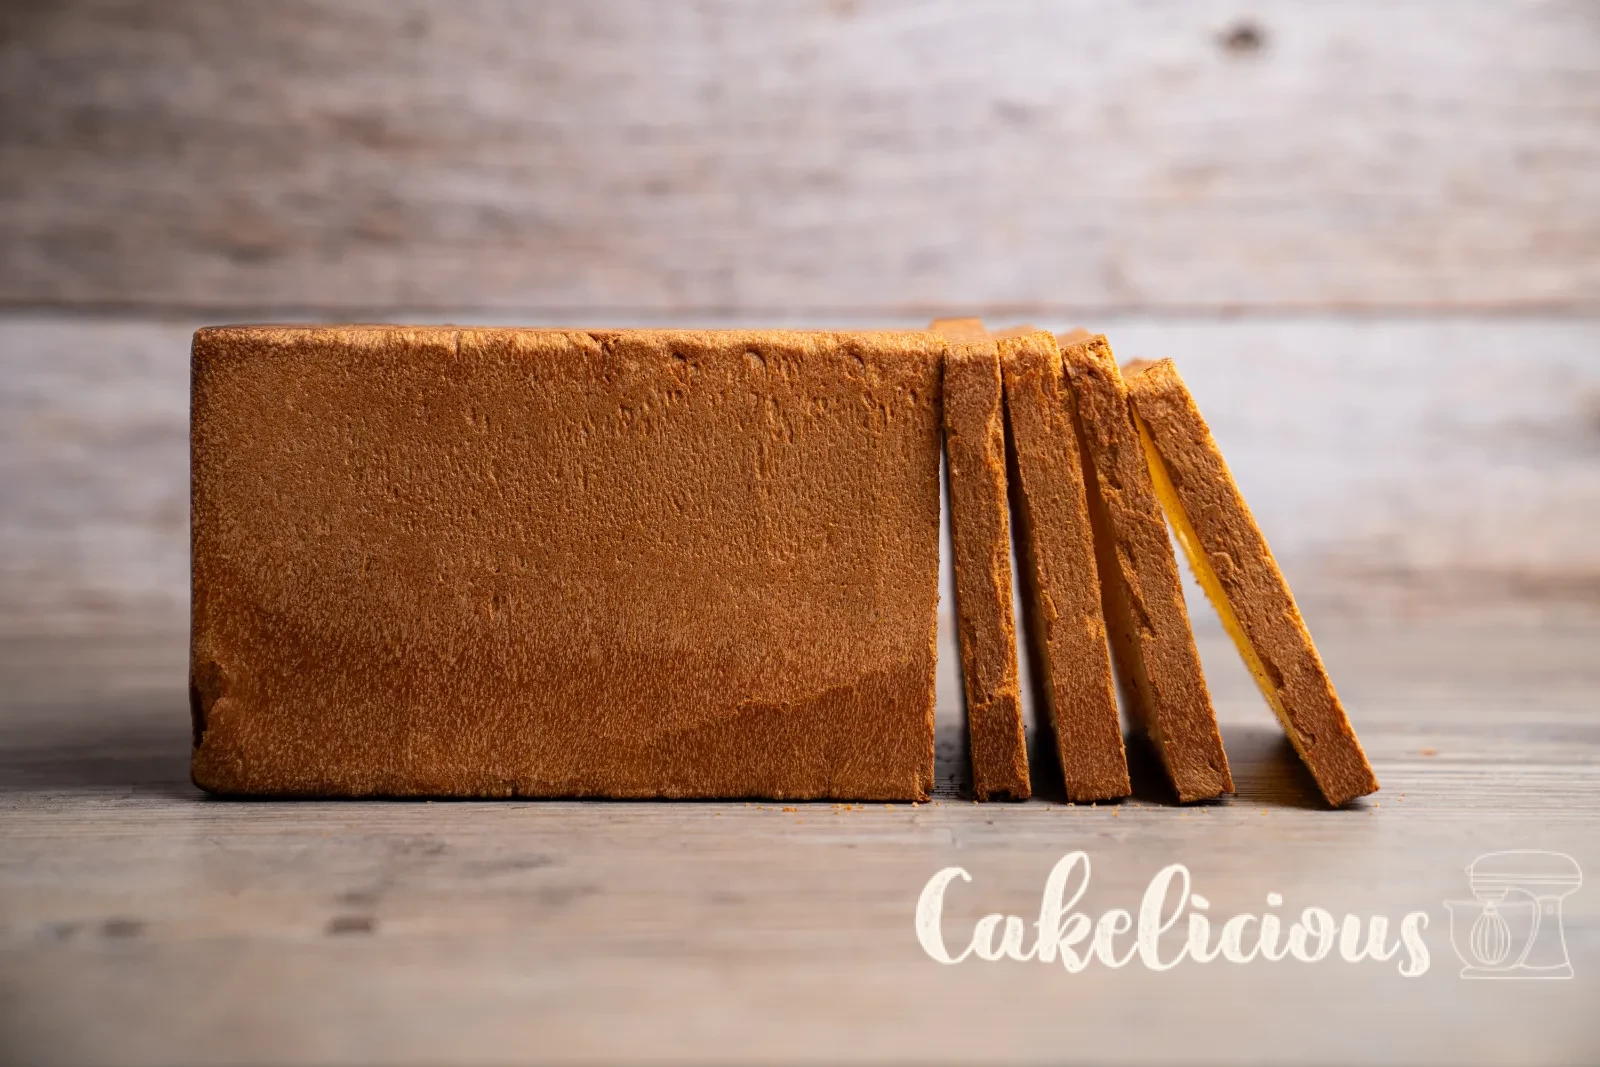
Make your own toast bread – soft, buttery, just like from the baker
Soft, buttery and just like fresh from the baker – your toast, homemade
Hello gourmets
Tell me – is there a better start to the day than a freshly toasted slice with butter and jam? I don't think so. And when this toast bread comes straight out of your own oven, breakfast almost turns into a little celebration.
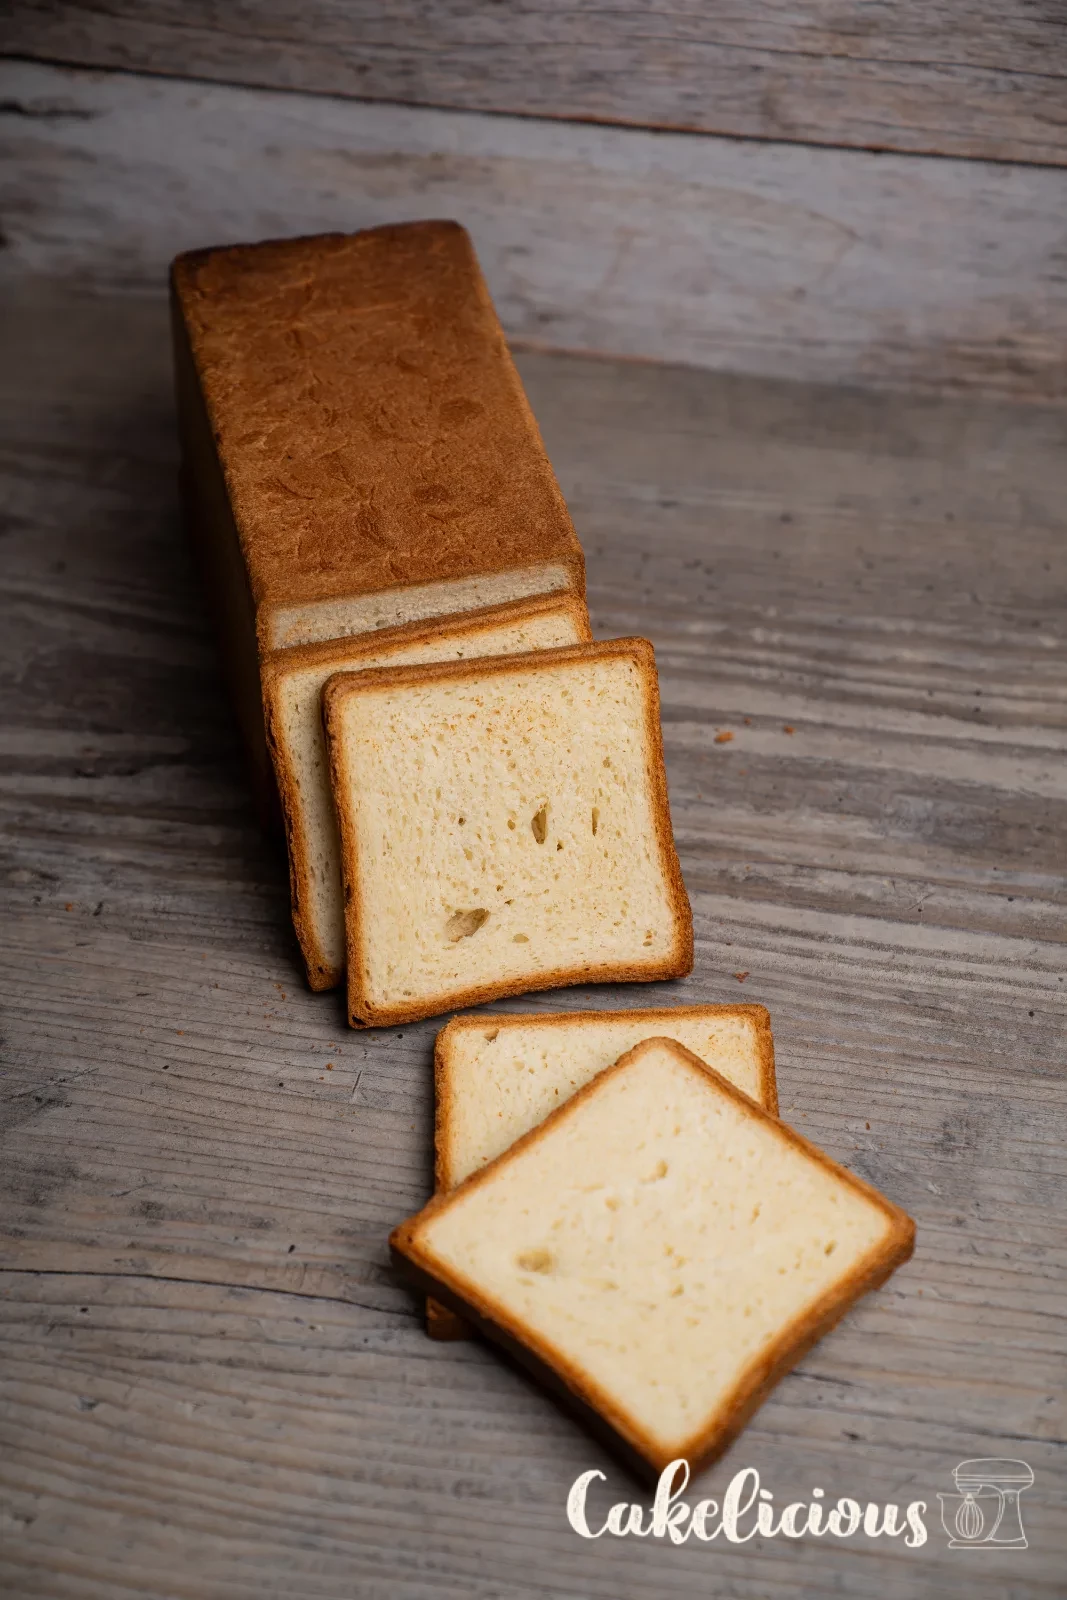
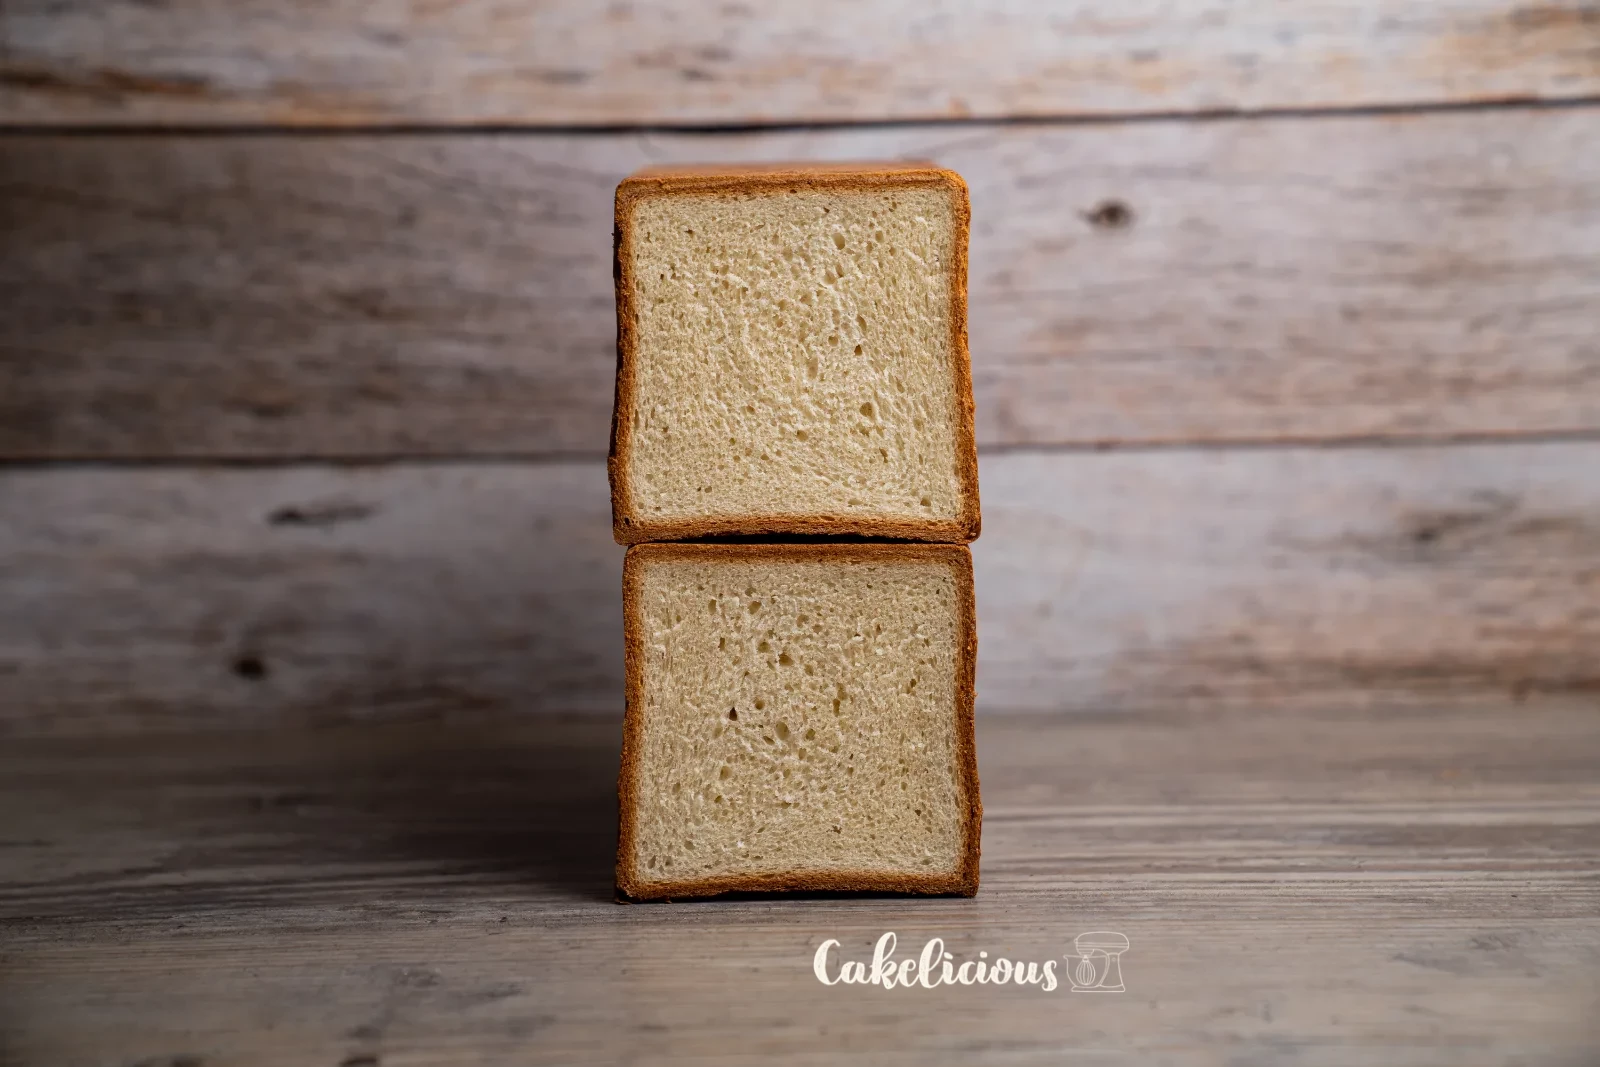
What sets homemade toast bread apart from the store-bought kind you notice the moment you slice it: a fine, soft crumb that turns crispy on the outside when toasted while staying tender inside. That comes from the combination of milk and butter in the dough – bought loaf bread or sandwich bread simply can't compete.
You need two things for this, and neither is rocket science. First, a little patience: two proving times totalling around one and a half hours, during which the dough does the work for you. And second, a loaf tin with a lid – that's the only way the bread gets its typical square shape, where every slice is the same size and fits perfectly into the toaster.
The rest is surprisingly simple. I'll show you every step with a photo, including the windowpane test that tells you when the dough is really kneaded enough. And when the aroma drifts through the kitchen while it bakes, you'll know why it's worth it.
Ingredients
Step by step
Making the dough
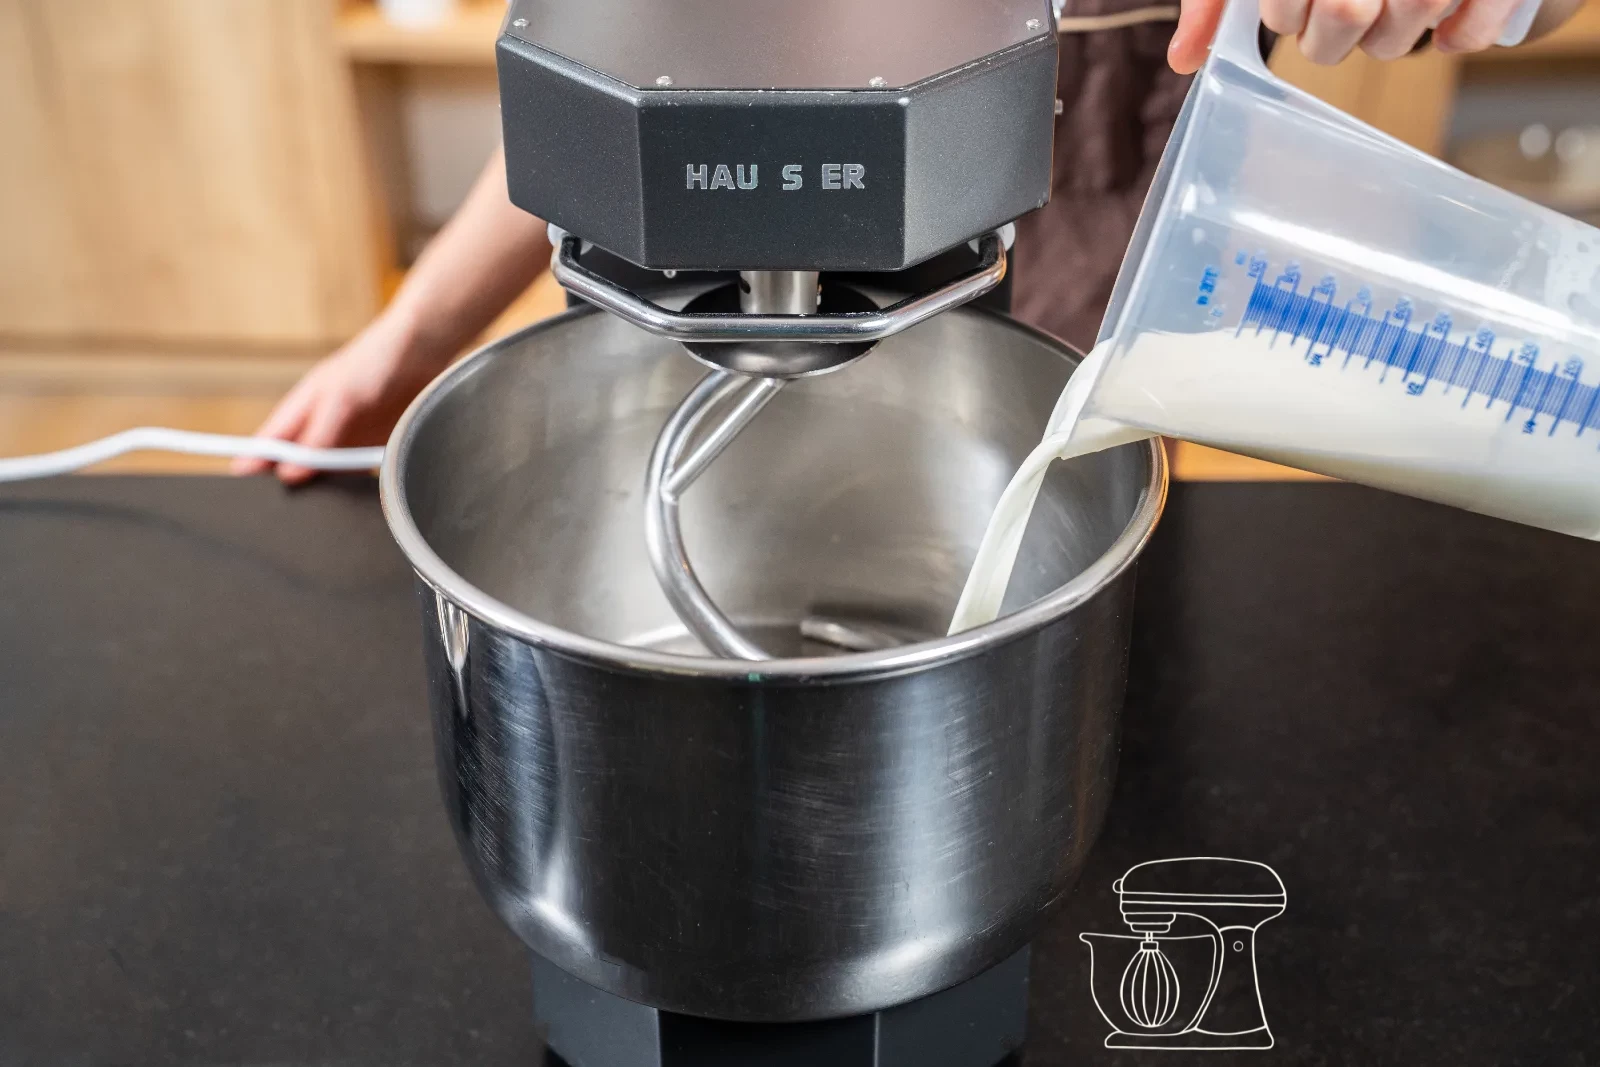
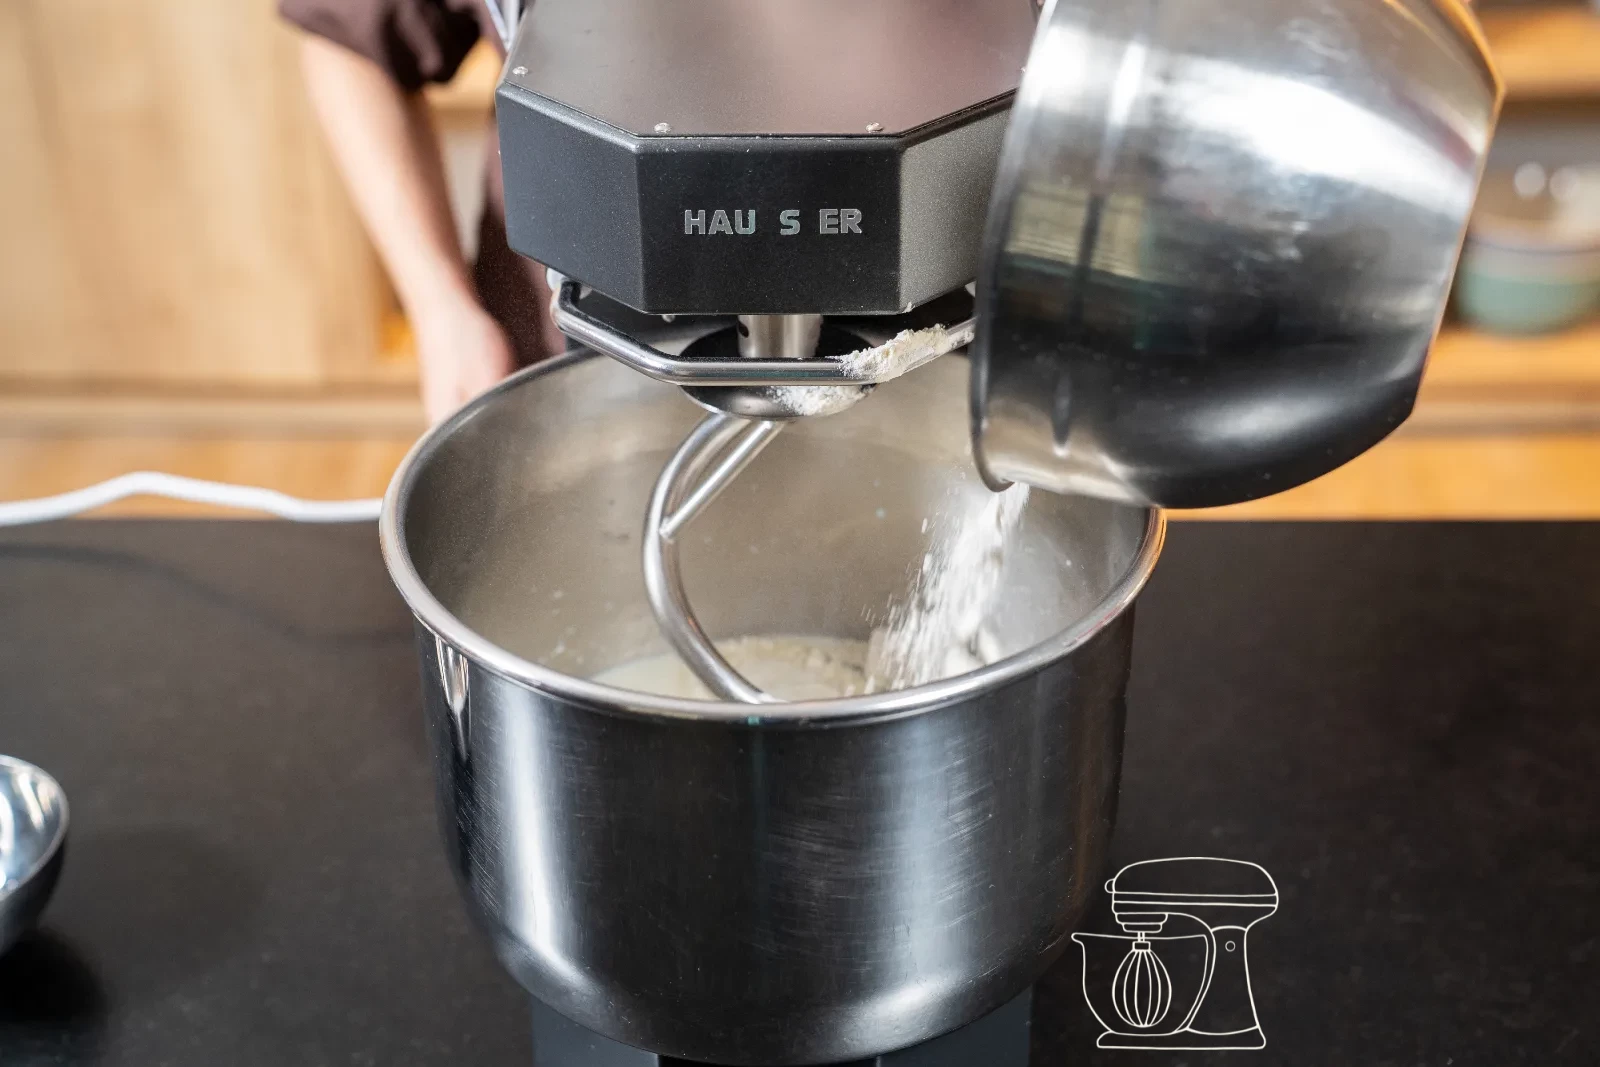
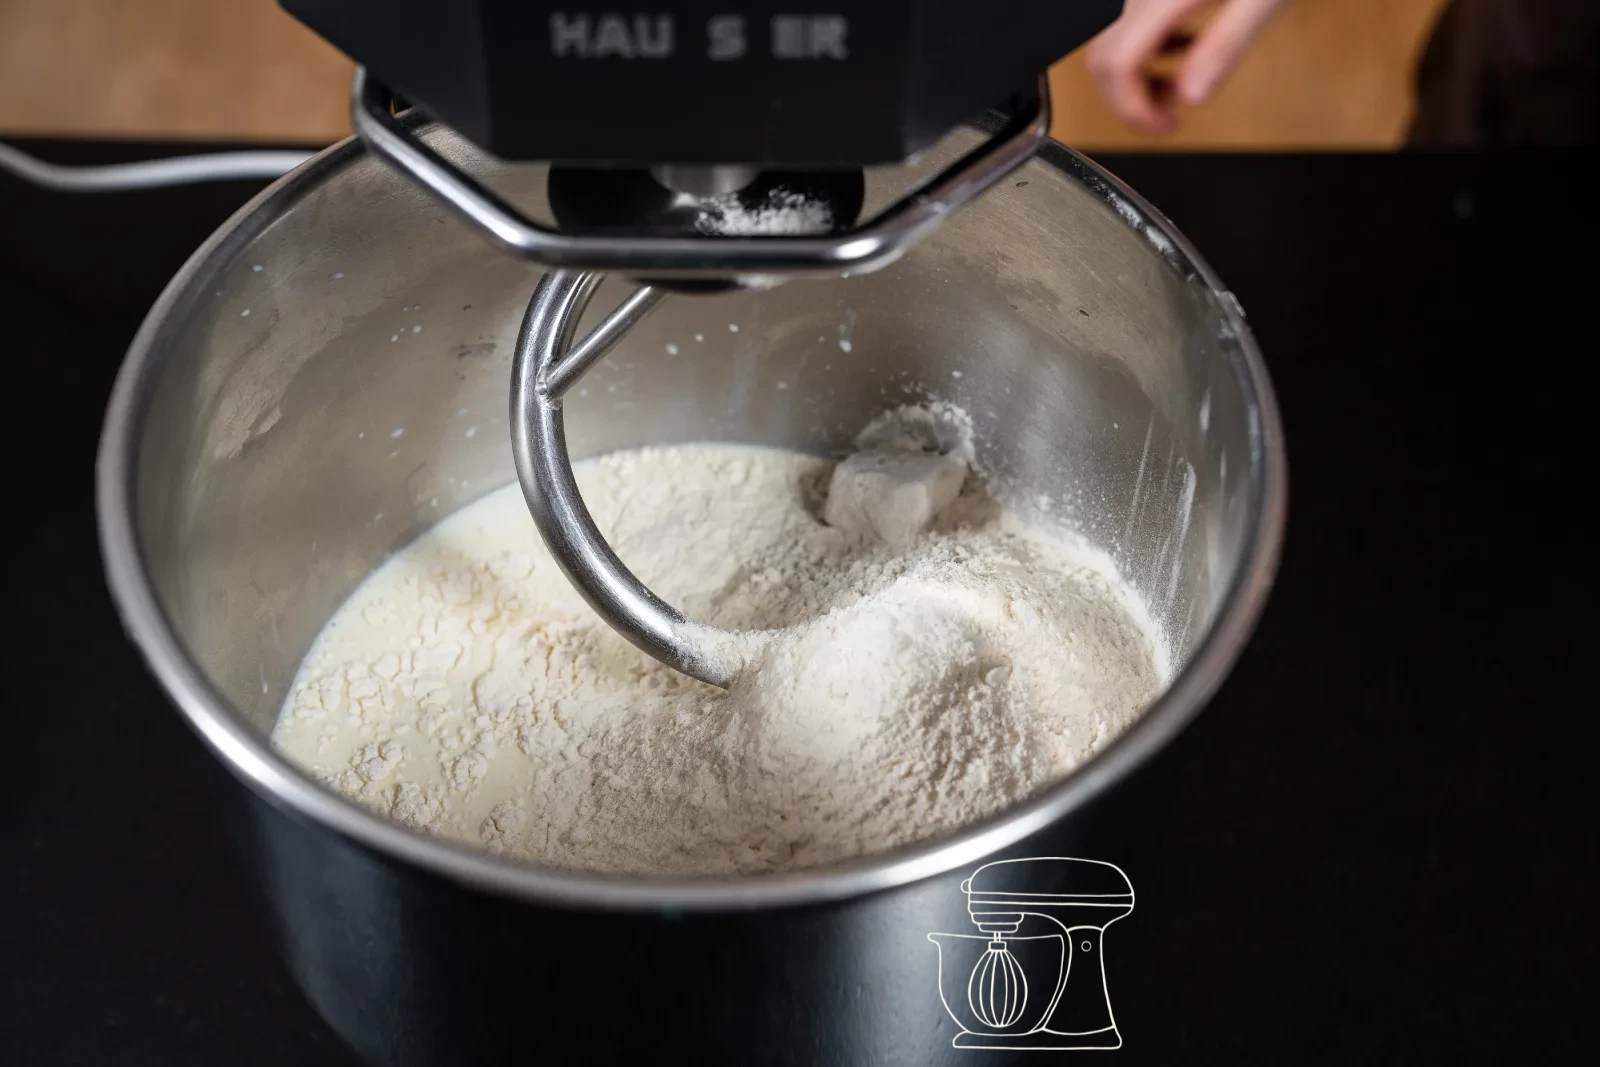
Mix the ingredients
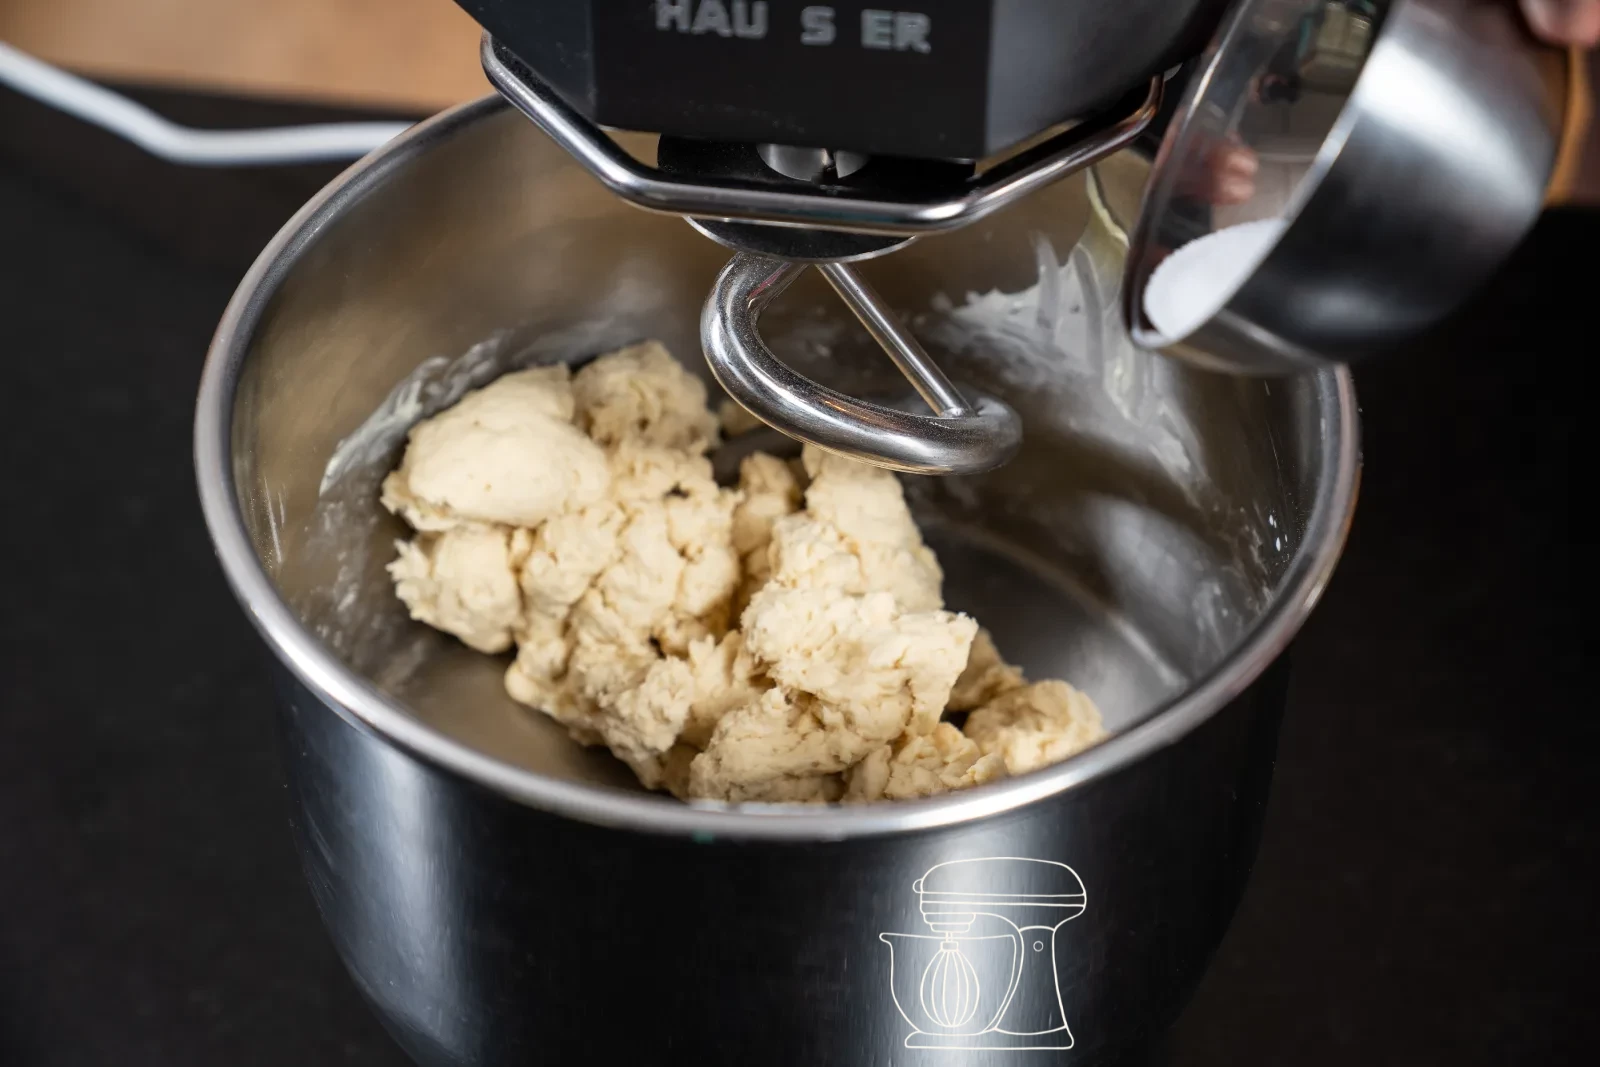
Put the flour, the yeast, the sugar and the milk into the Mixing bowl of your food processor. Mix everything for 3 minutes on setting 1 until you get an even, still coarse dough mass.
This first step isn't about developing the dough yet – you just want to combine the basic ingredients and dissolve the yeast nicely in the milk. Everything else comes right after.
Swiss White flour, 1 kg
Dough hook for NOVA Dough mixer
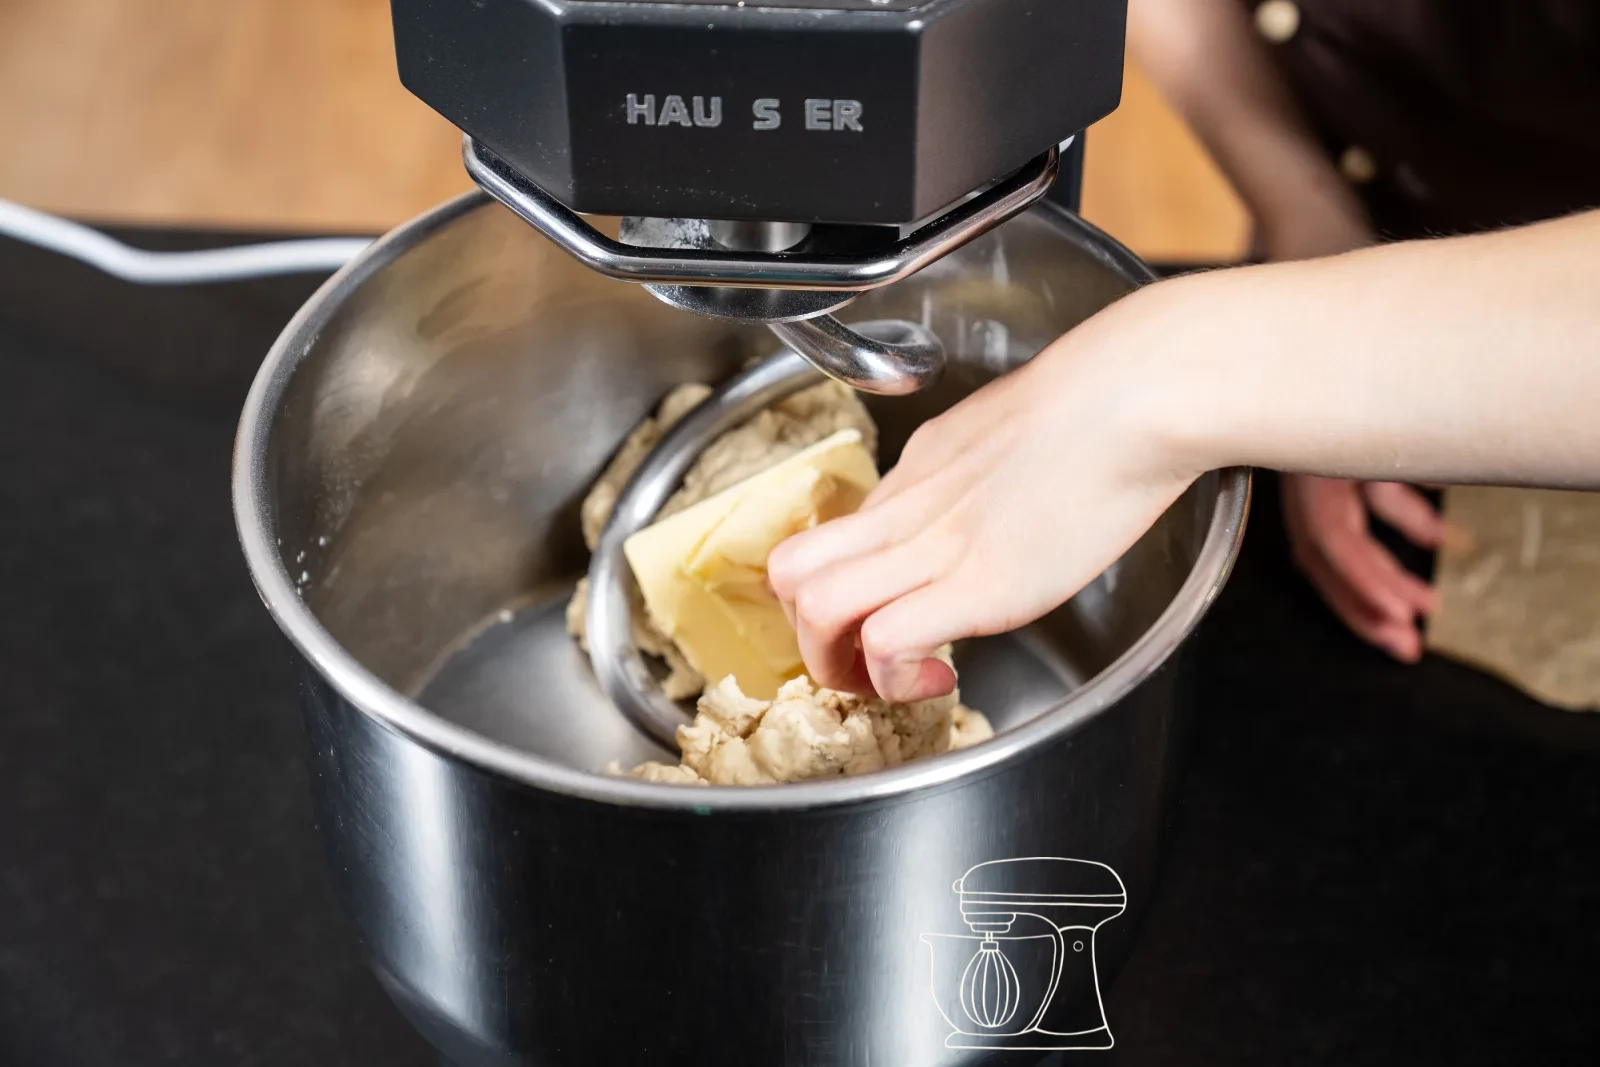
Work in the butter, knead and do the windowpane test
Now the soft butter goes in. Knead for another 3 minutes on setting 1 until it is fully worked in – it is the reason for the tender, buttery texture of your toast bread. Then add the salt and keep kneading for 10 minutes on setting 2 until the dough is smooth, supple and elastic.
Why the salt only at the end? Because it slows down the yeast and affects the gluten structure. If you add it too early, the dough works more slowly and becomes less elastic.
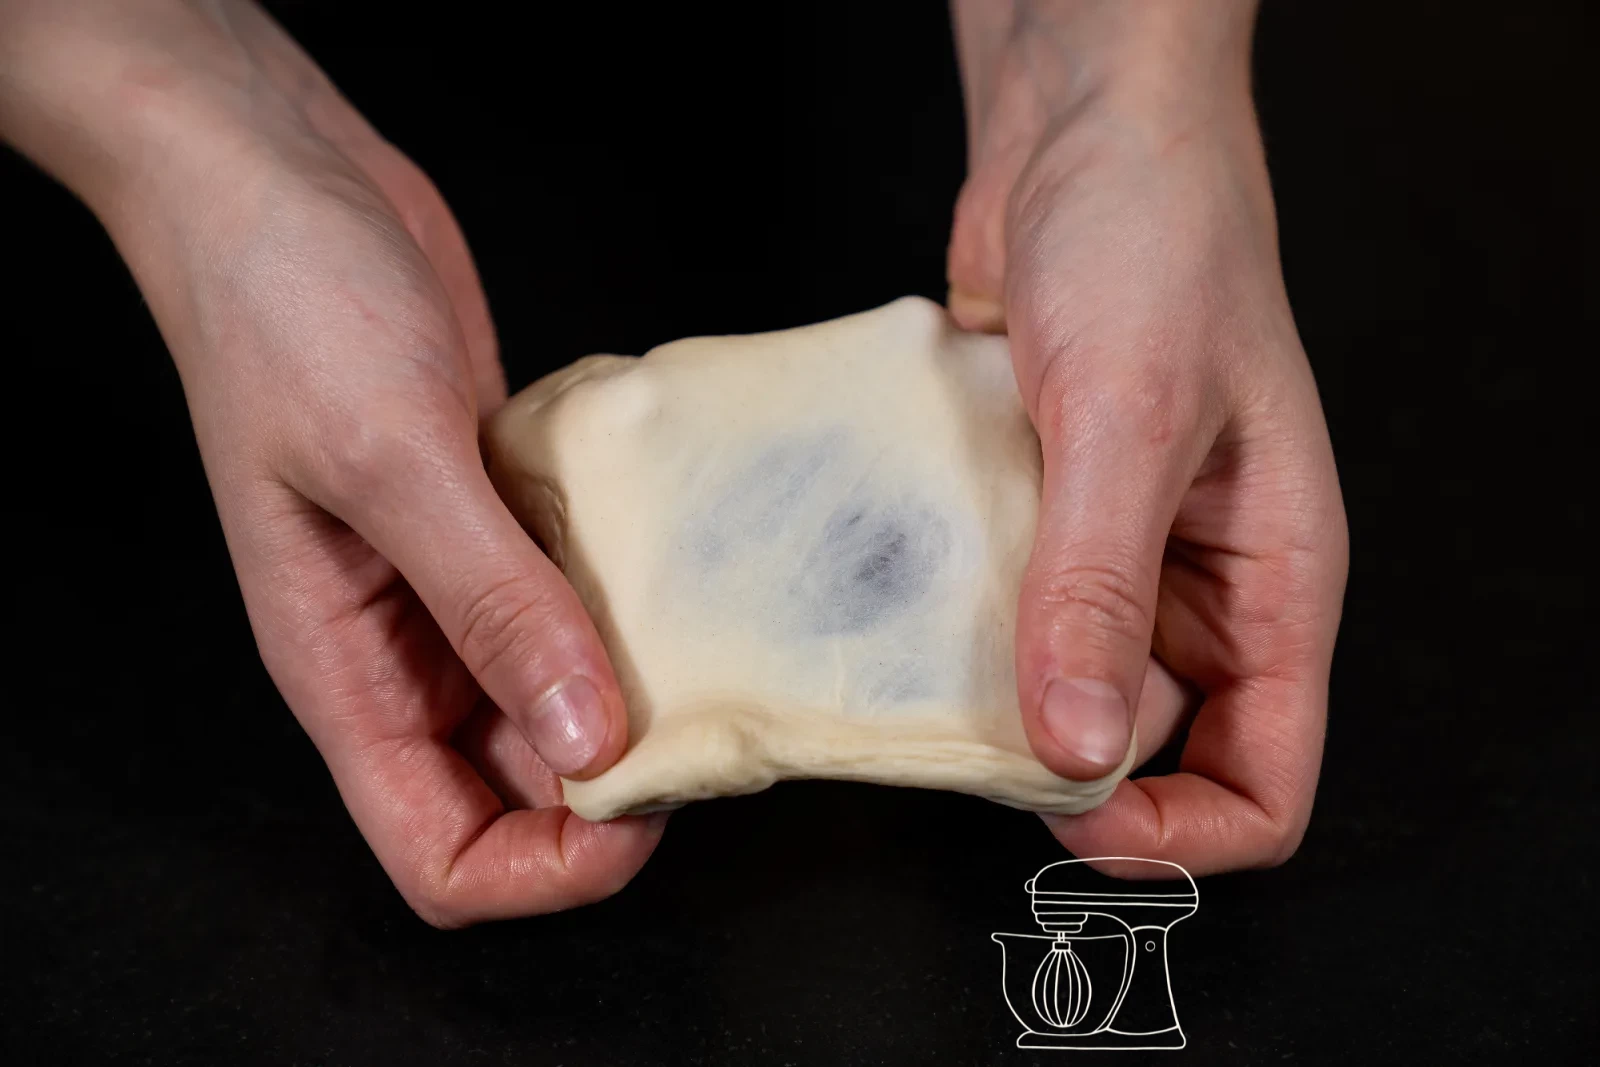
And how do you know it's kneaded enough? By the windowpane test. Take a walnut-sized piece of dough and gently stretch it between your fingers in all directions. If it can be stretched out paper-thin without tearing, and the light shines through the dough membrane, the gluten structure is perfect. If the dough tears too soon, keep kneading for another 2 to 3 minutes and try again.
Bulk fermentation – 30 minutes of rest
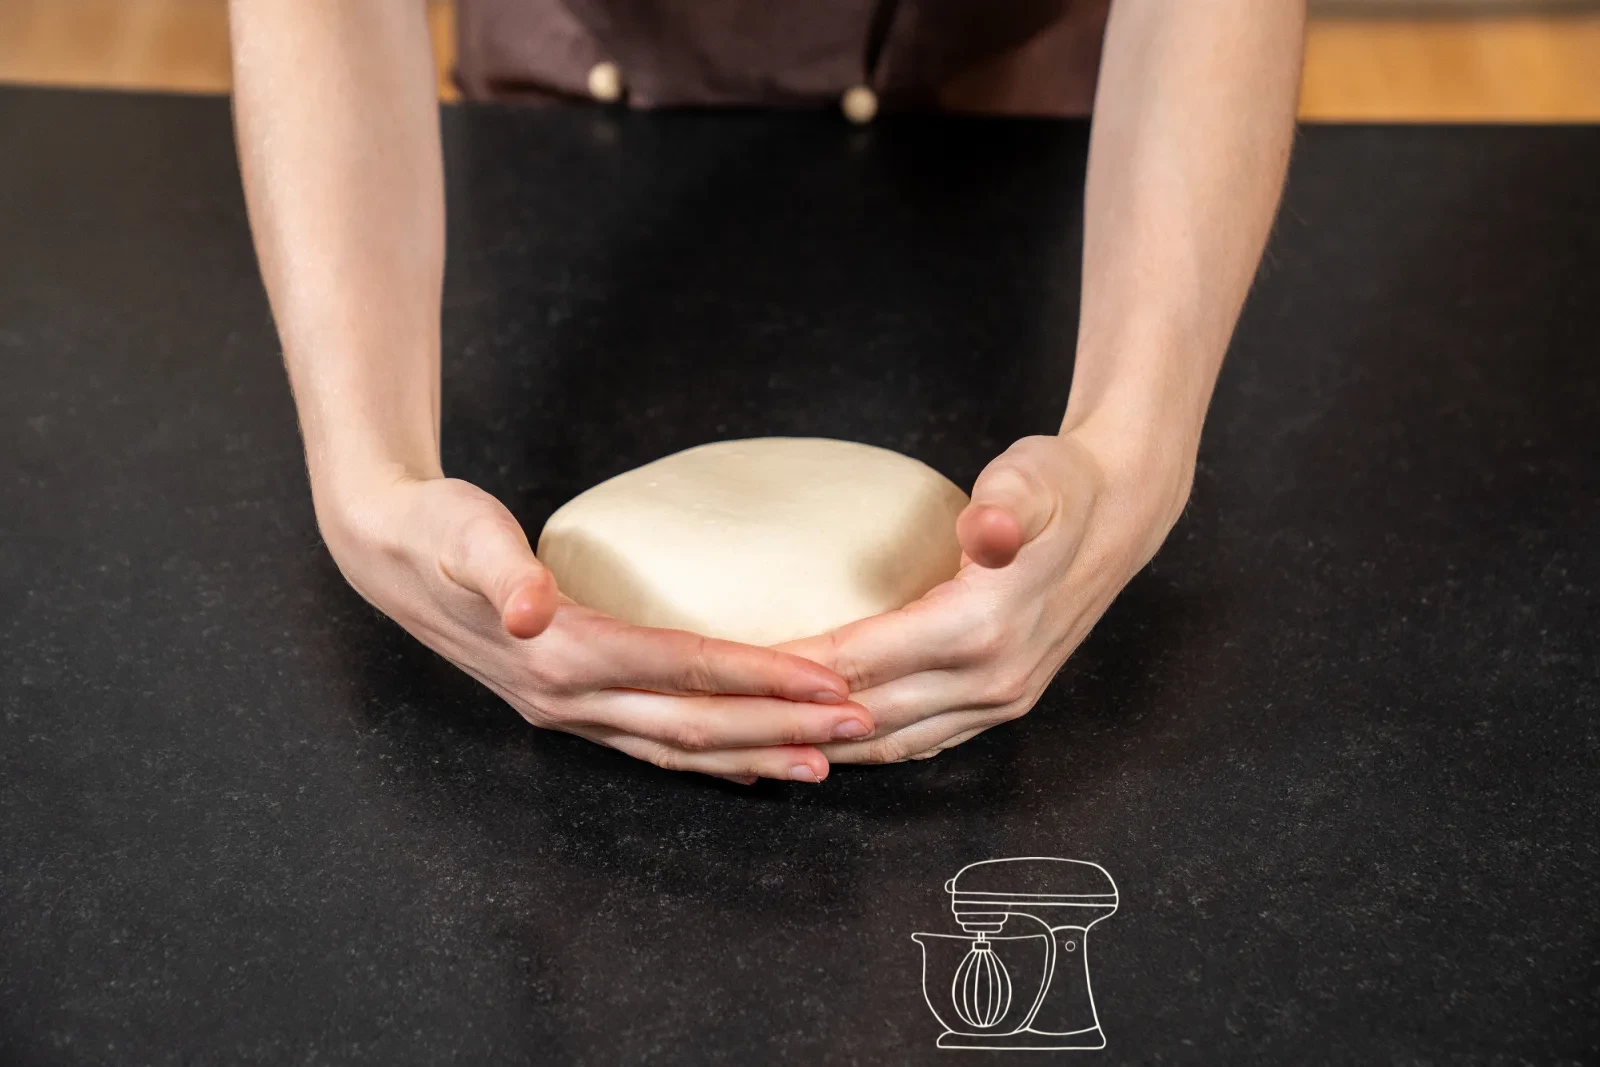
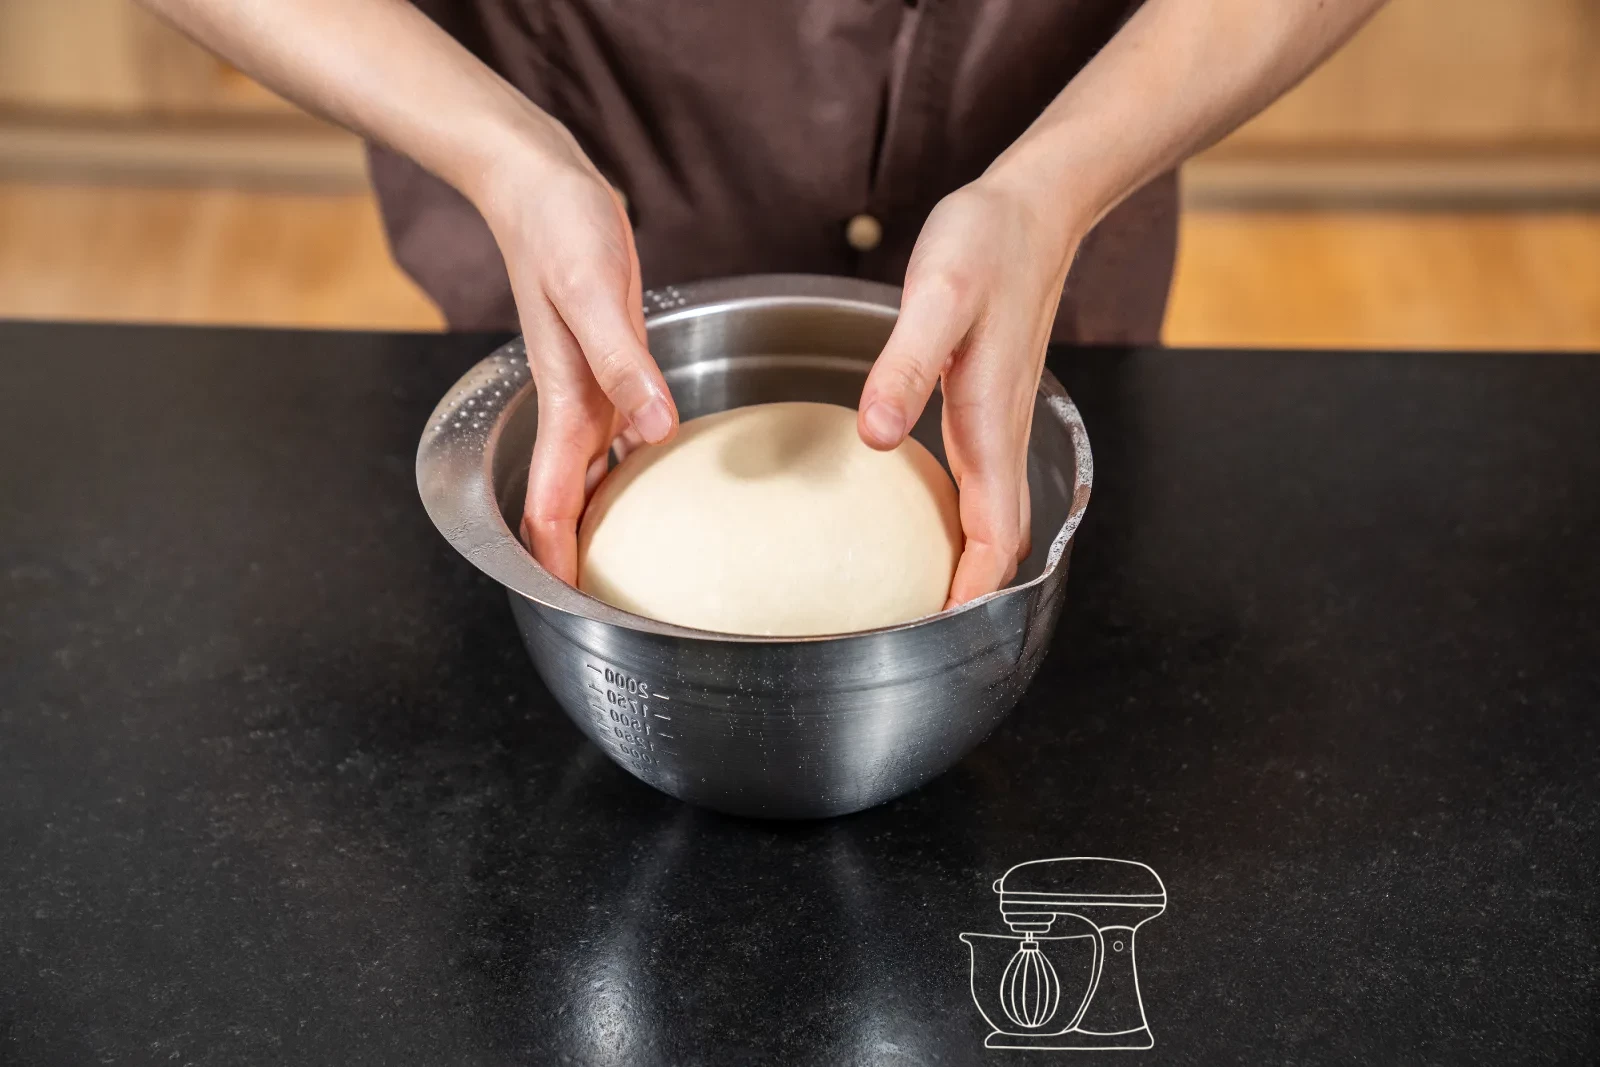
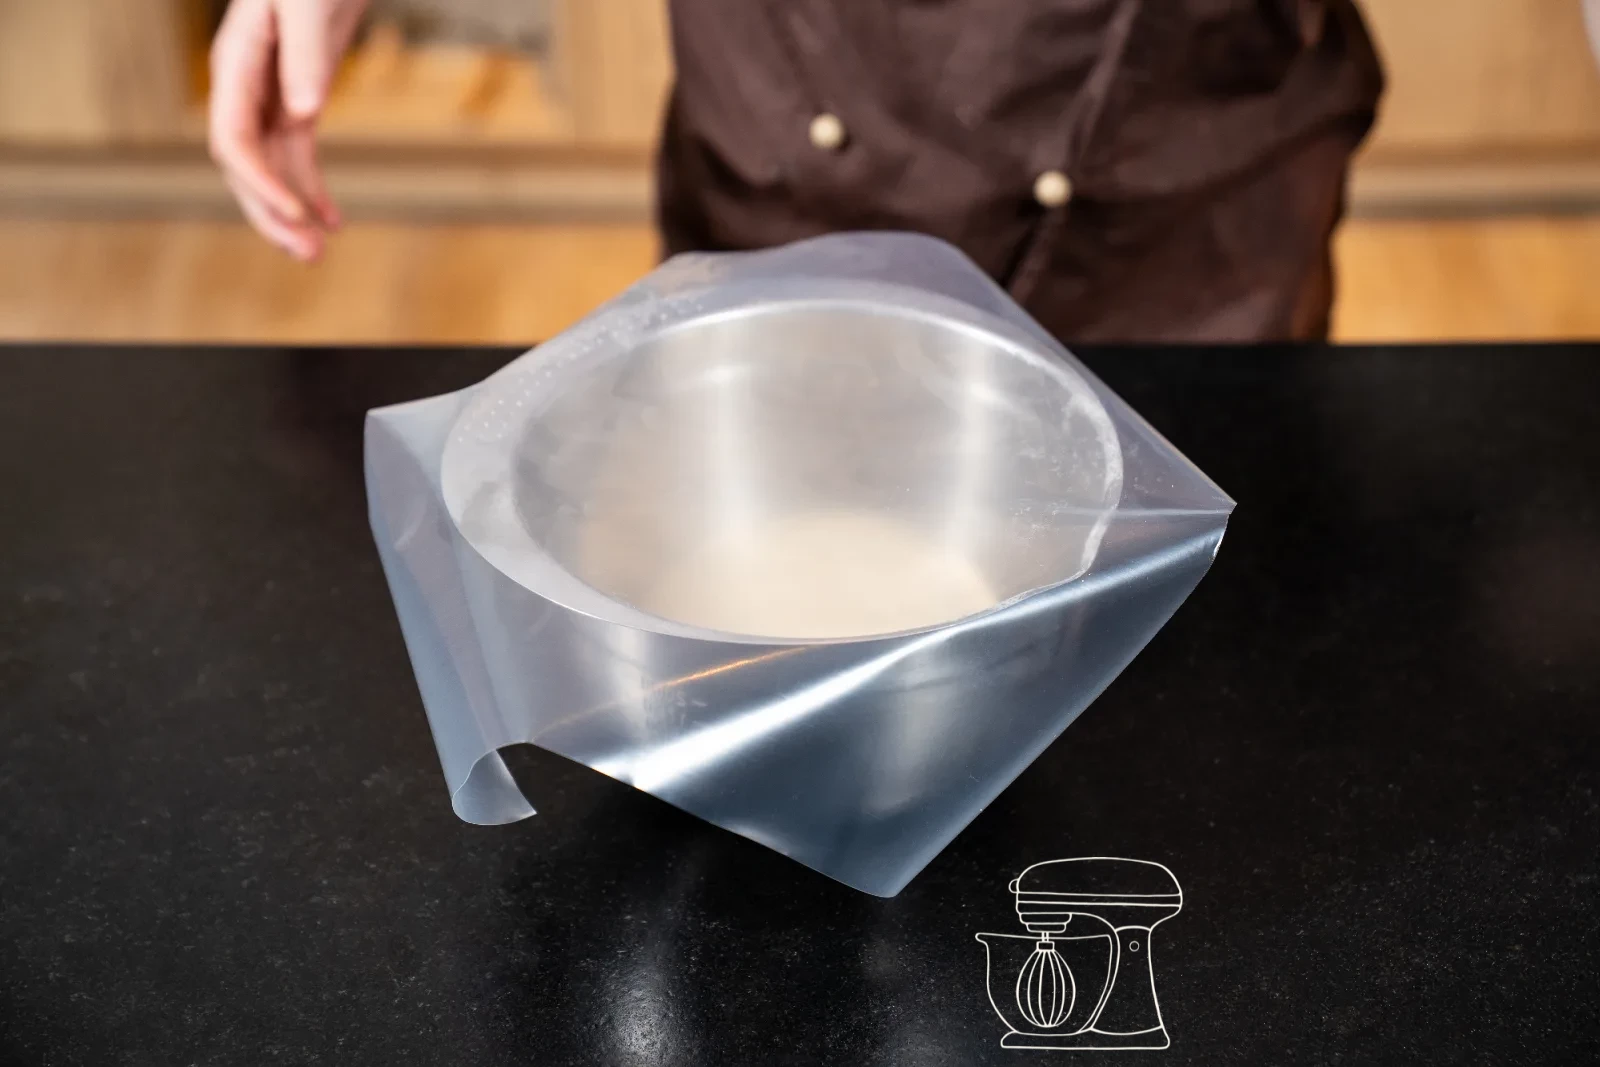
Once the dough is ready, shape it into a ball. Put a little oil into a Bowl and spread it all around, then place the dough inside. This keeps it supple and makes it easy to lift out again after the resting time.
Cover the Bowl and let the dough rest for 30 minutes at room temperature. During this first proof – the bulk fermentation – it develops its flavour and visibly starts to rise. This is the time when you can calmly get the Baking tin ready and set the table.
Shape, prove and bake
Shape the dough
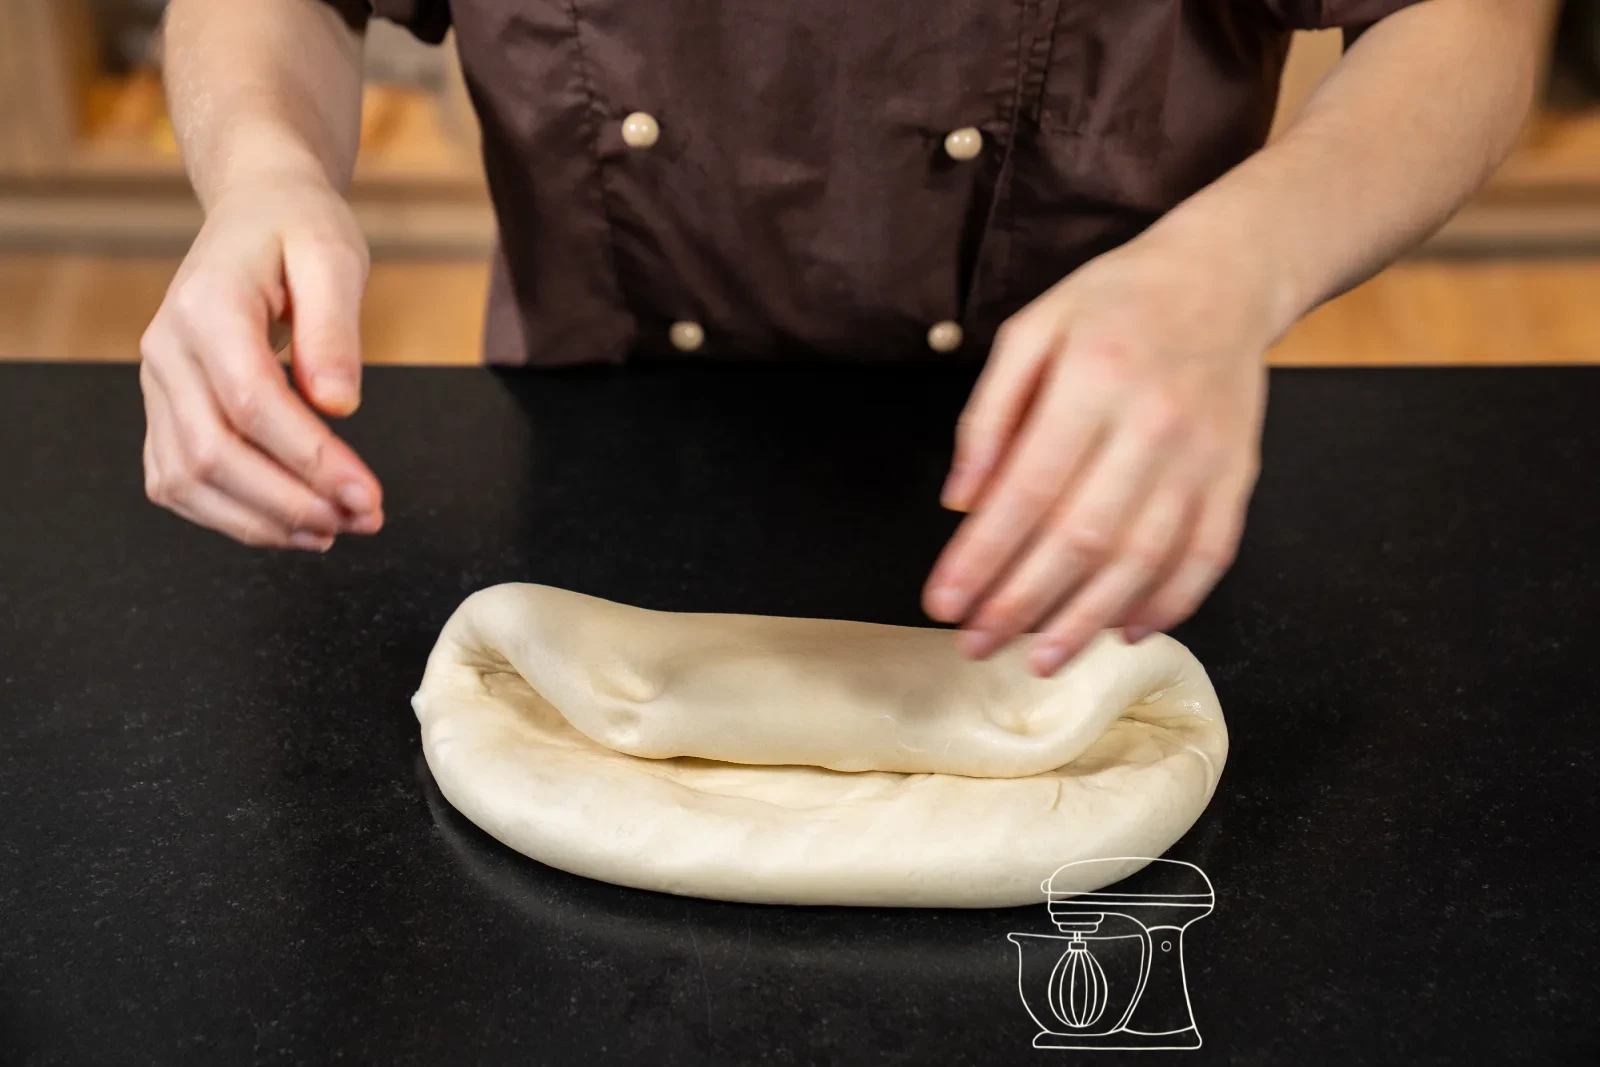
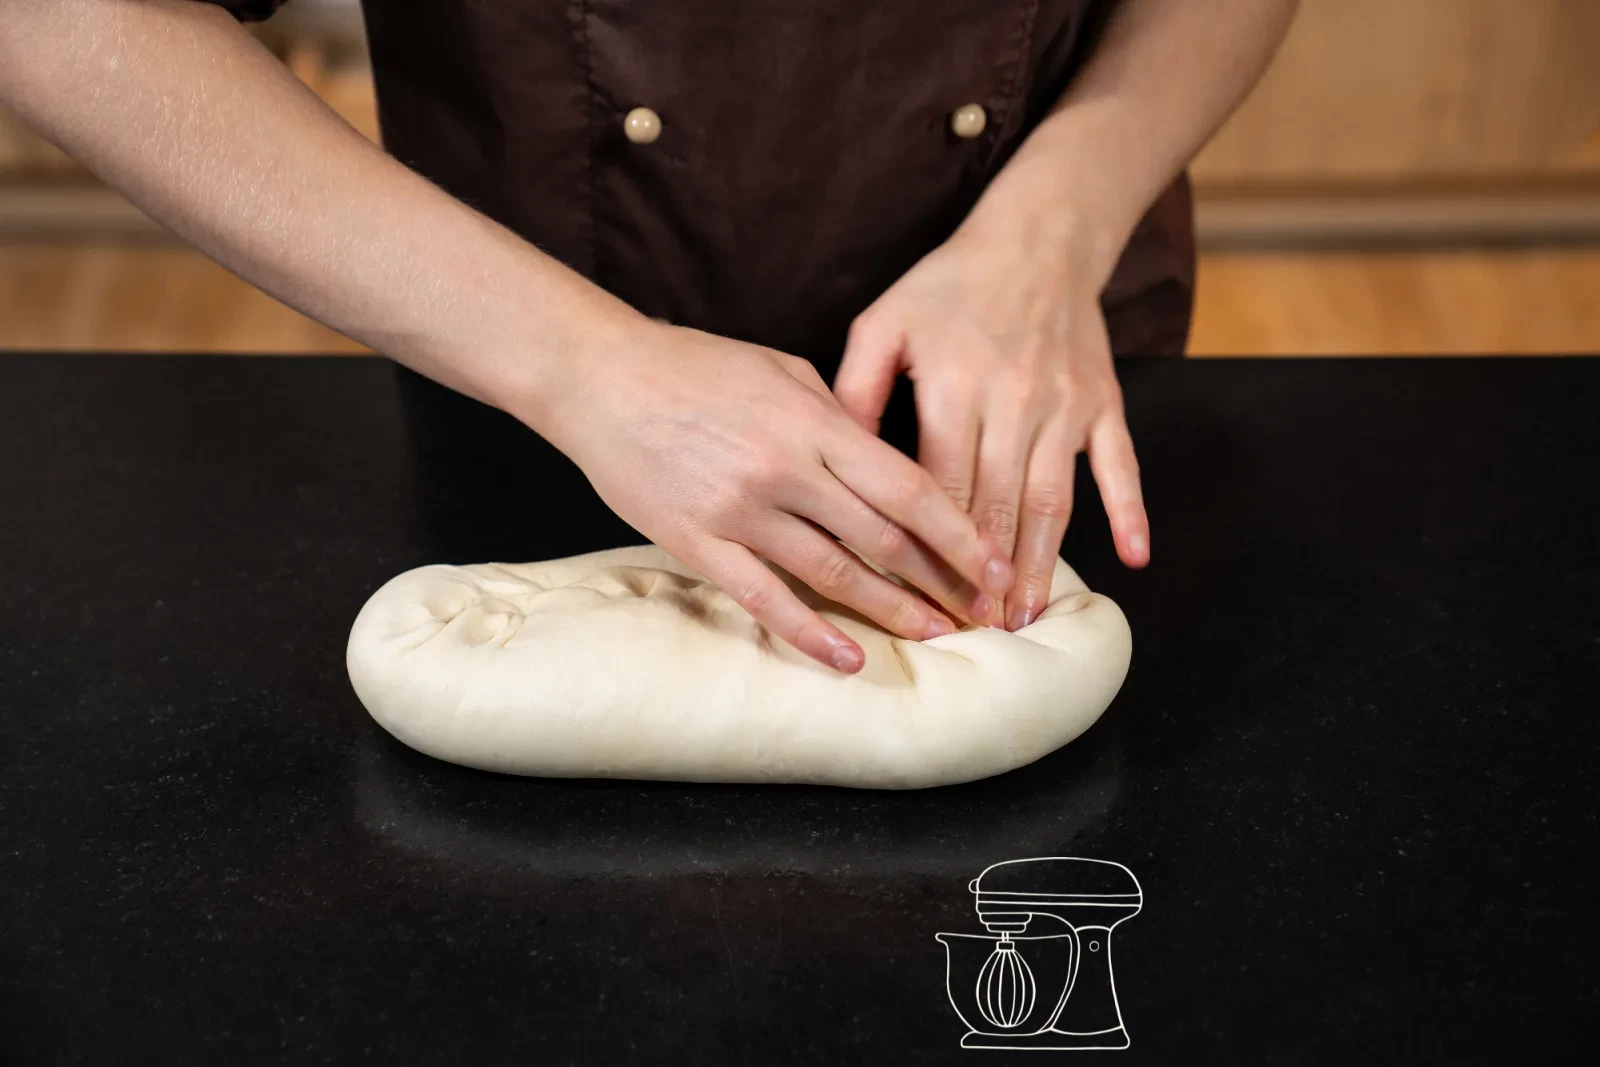
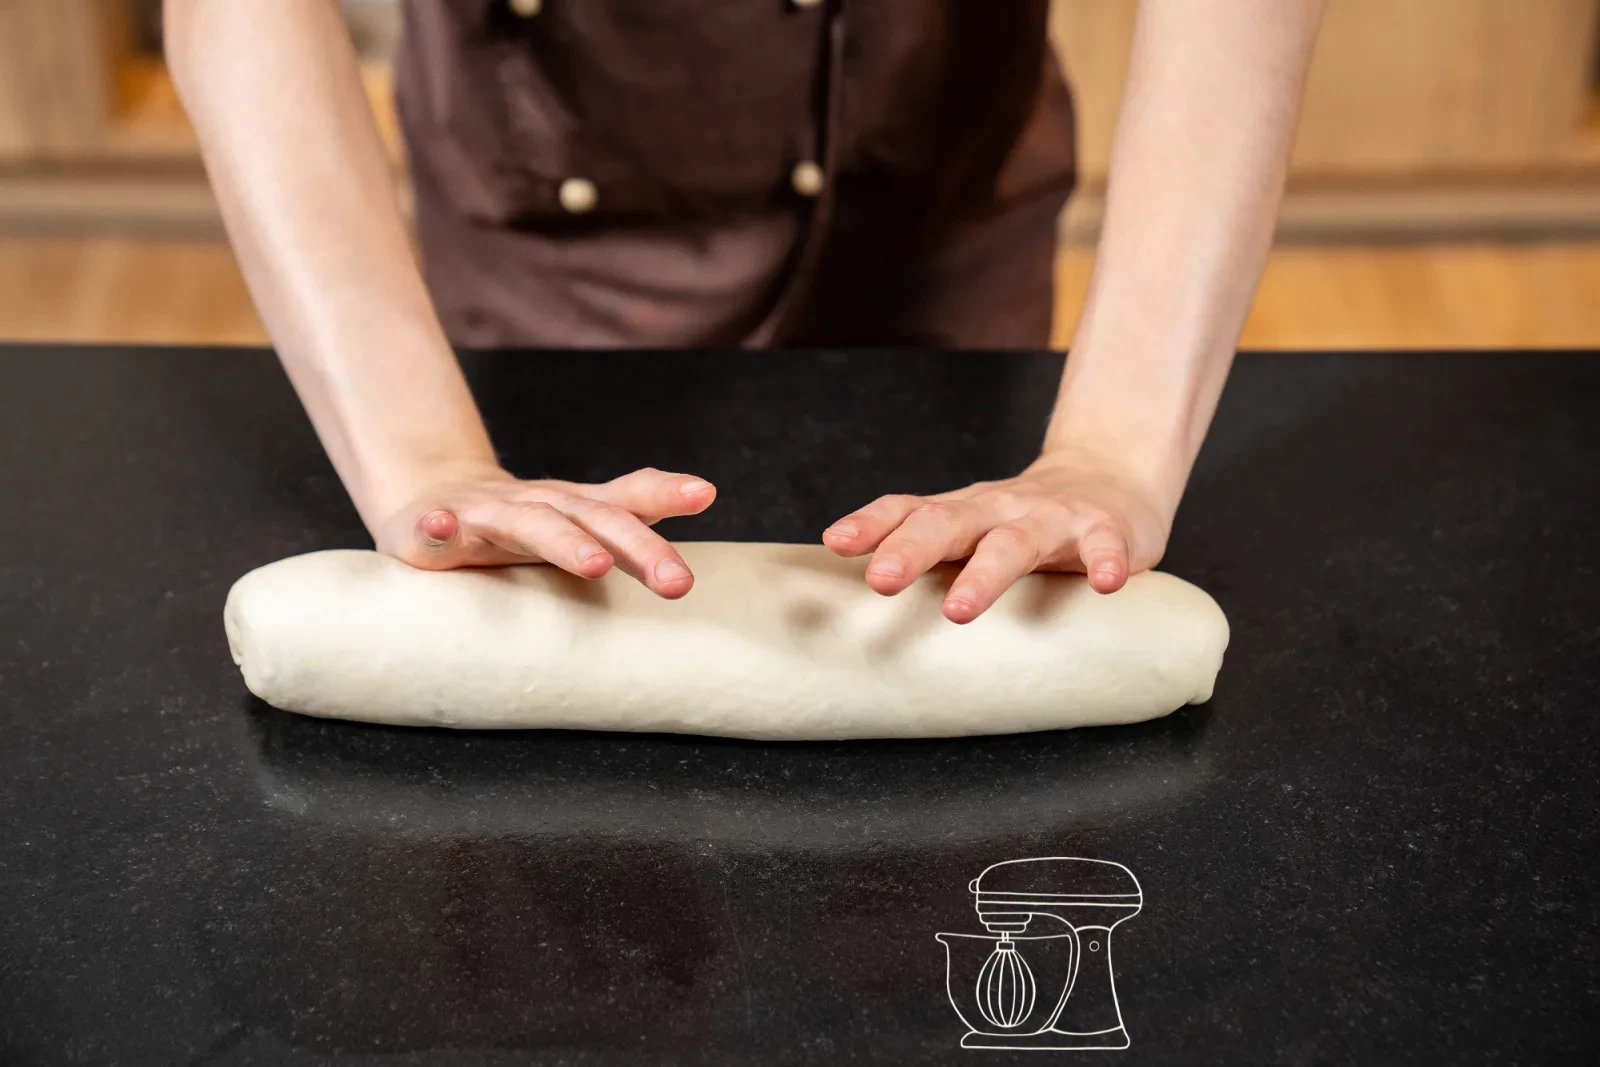
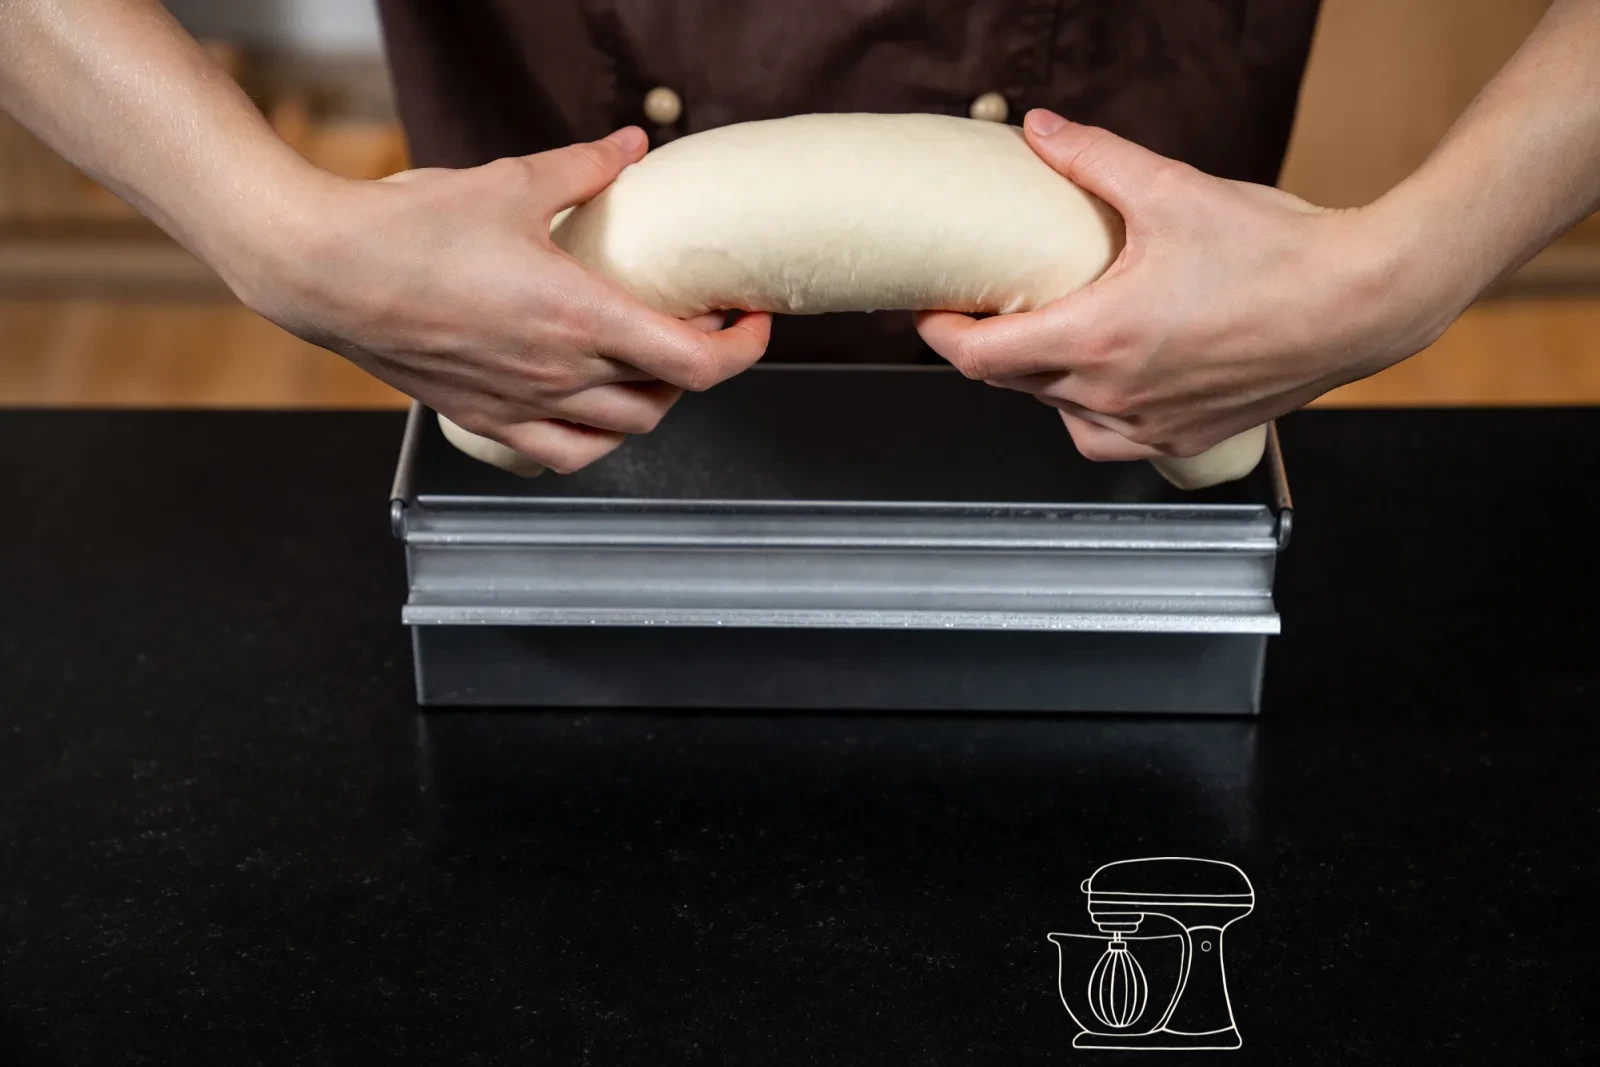
Turn the dough out onto a lightly floured work surface and shape it into an elongated rectangle: press the edges from the outside towards the middle and then roll the dough up evenly.
Make sure the shaped dough is roughly the same length as your Baking tin. That way it can later be laid in neatly, with no folds that would show up as hollow pockets in the finished loaf.
Rigid metal horn made of stainless steel
Prepare the Baking tin and lay in the dough
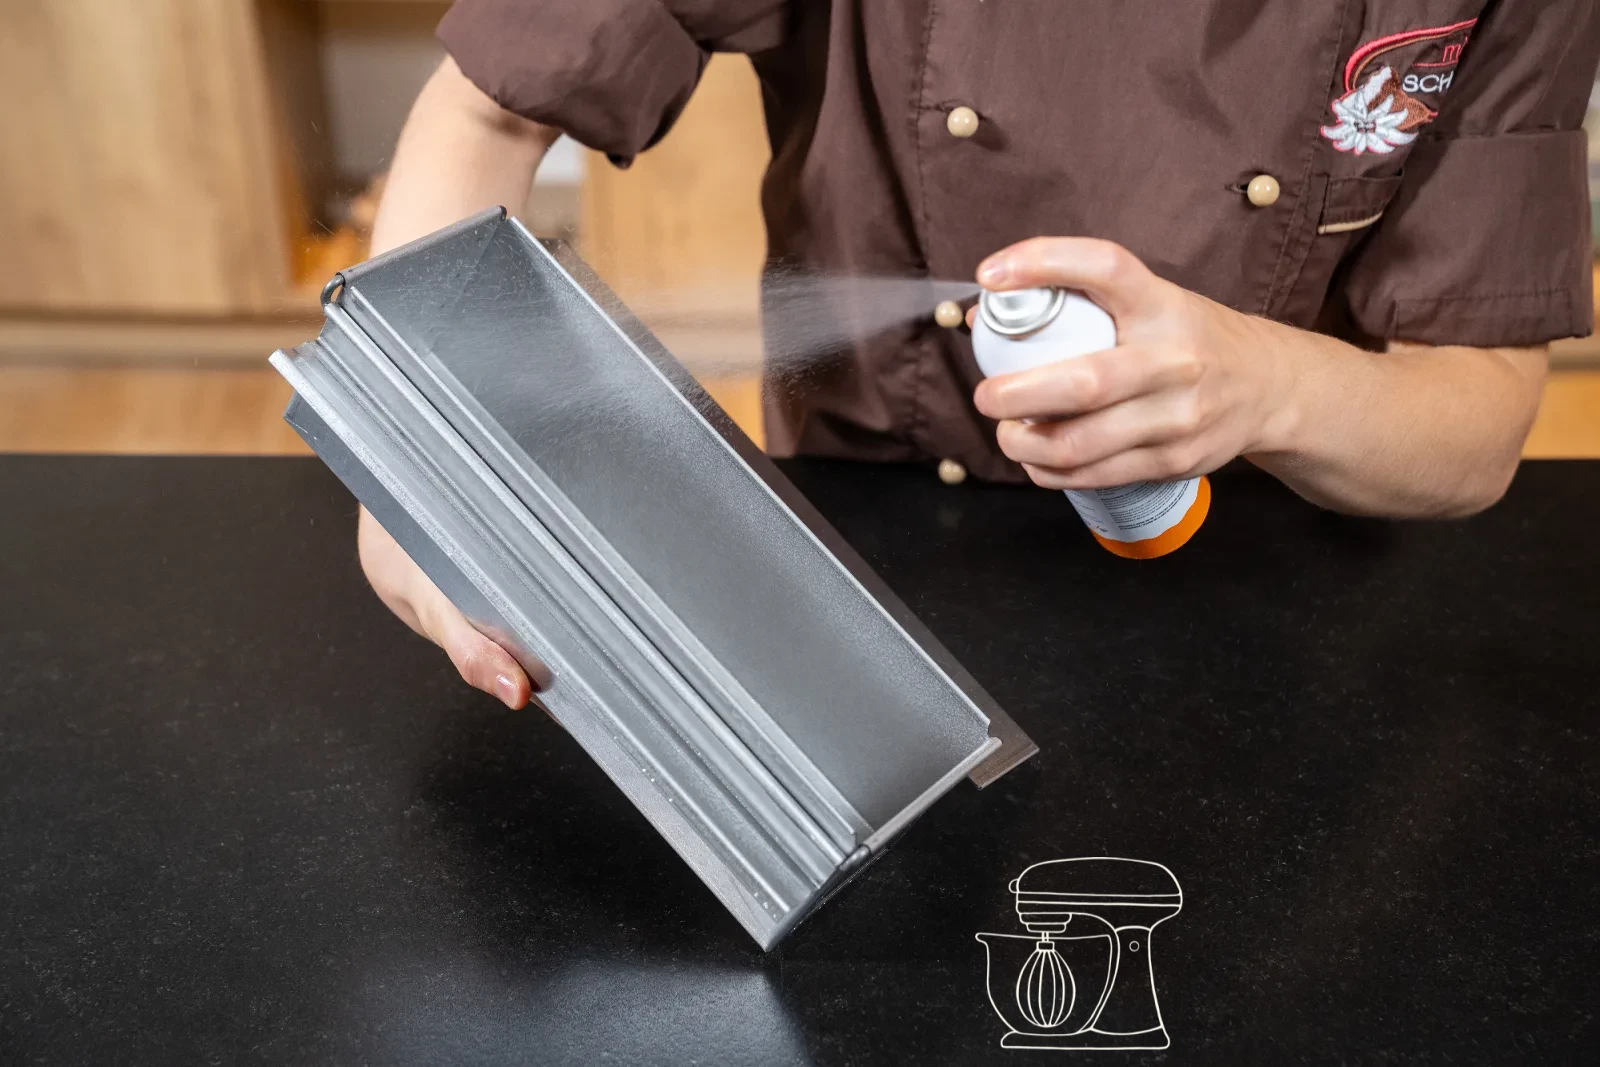
Spray the Baking tin generously all over with Non-stick spray – base, sides, corners and the lid too. The spray ensures the bread comes cleanly out of the tin after baking. If you don't have spray, grease the tin with soft butter and dust it thinly with flour.
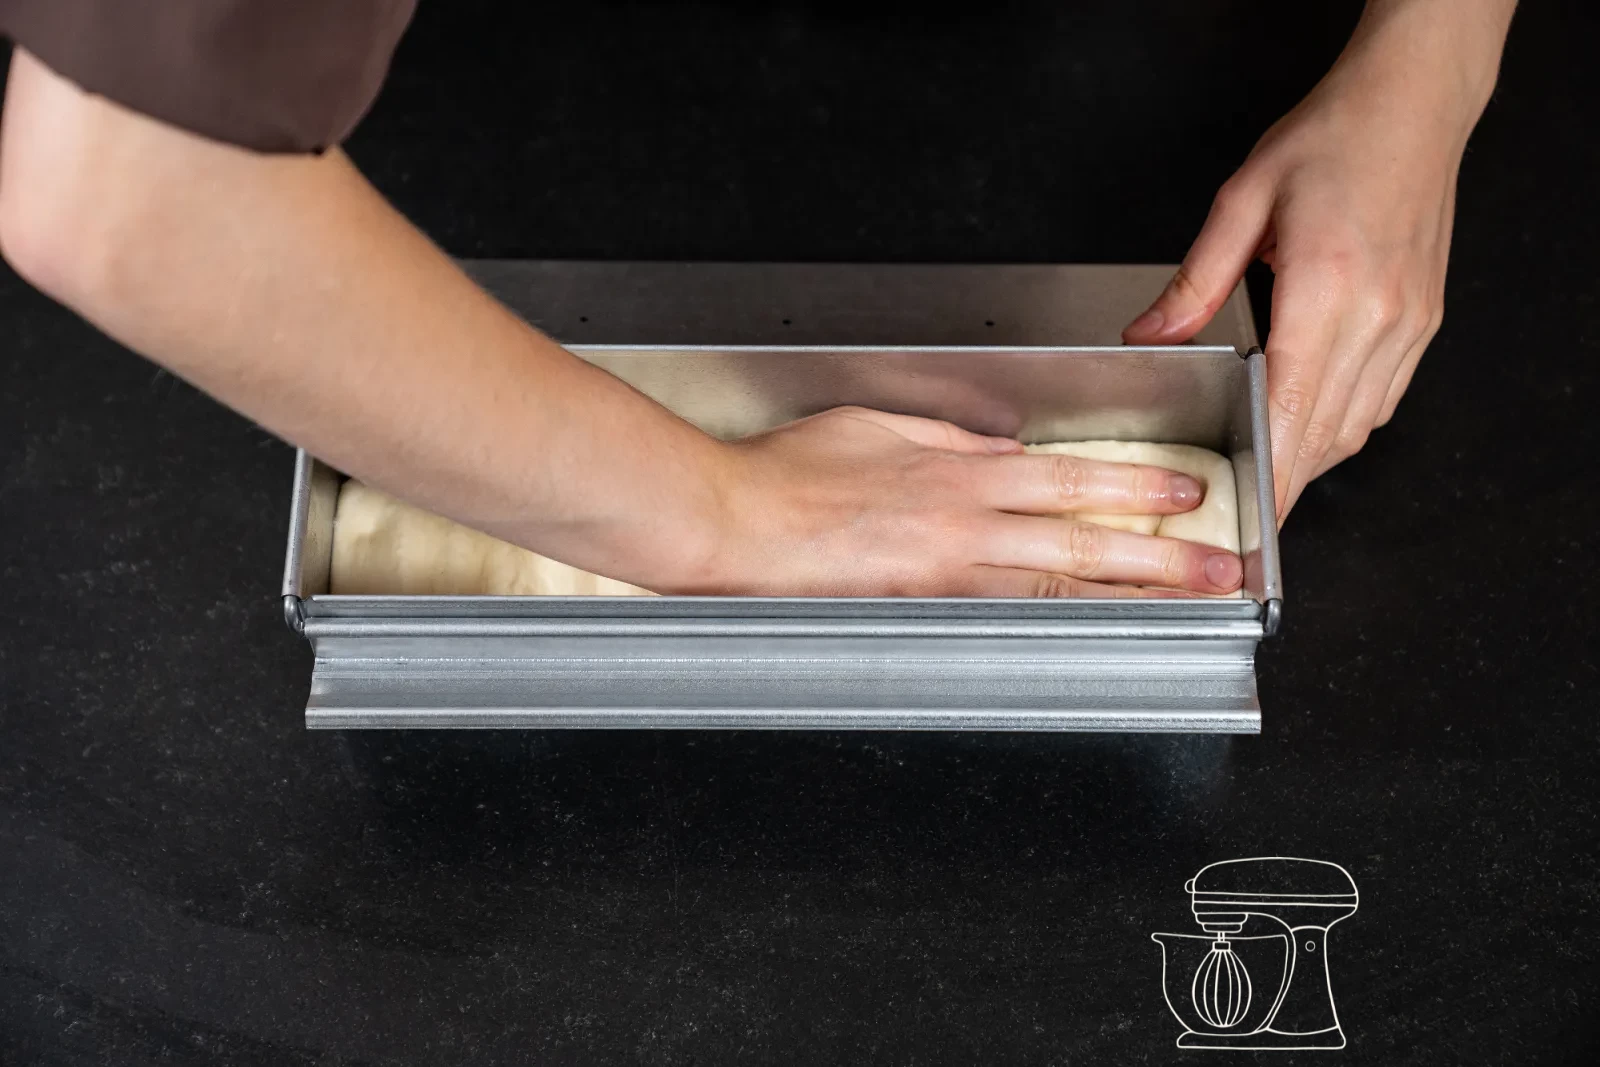
Then lay the shaped dough into the tin and press it firmly into all the corners with your hands and fingers. This step determines the shape: only if the dough is evenly distributed and sits in the corners will it fill the tin completely as it rises – and that's exactly where the typical square slice comes from.
Toast baking tin 30 x 9 x 9 cm
Toast baking tin 30 x 10 x 10 cm
Toast baking tin 30 x 9.5 x 7 cm
Non-stick spray, 400 ml
Final proof – 40 to 60 minutes
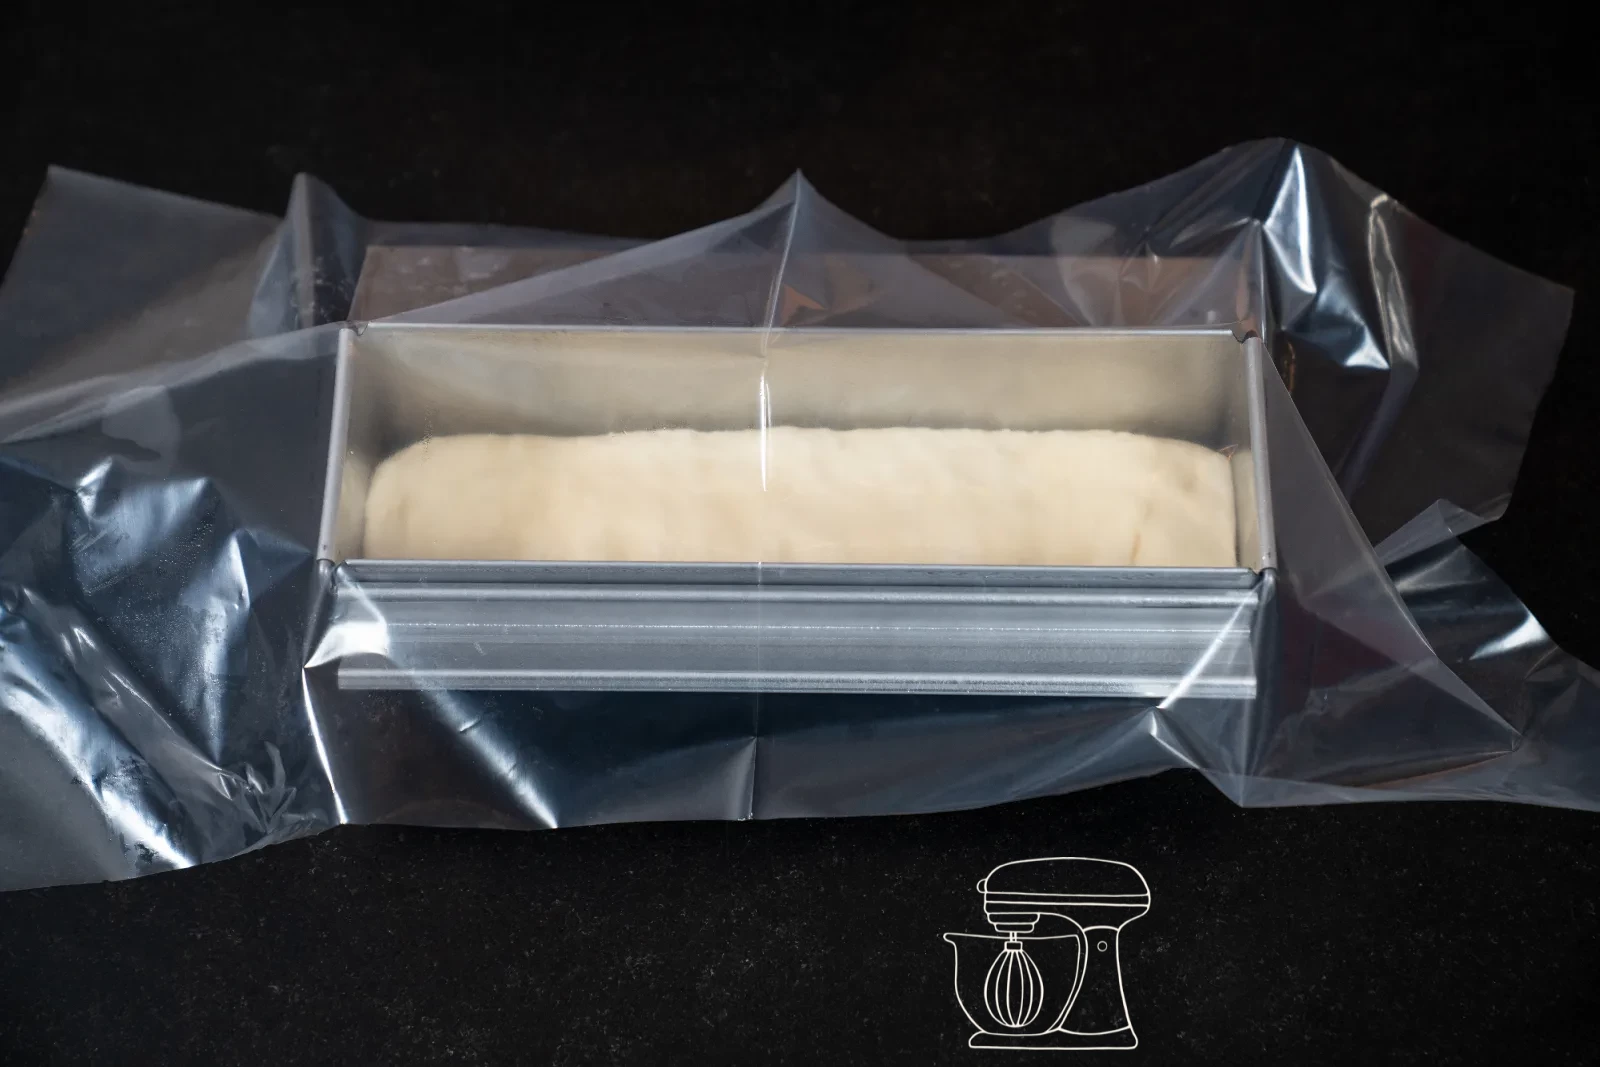
Cover the Baking tin with a plastic pastry cloth – not with the lid! The cloth protects the dough from drying out without hindering it as it rises. The lid would slow it down at this point.
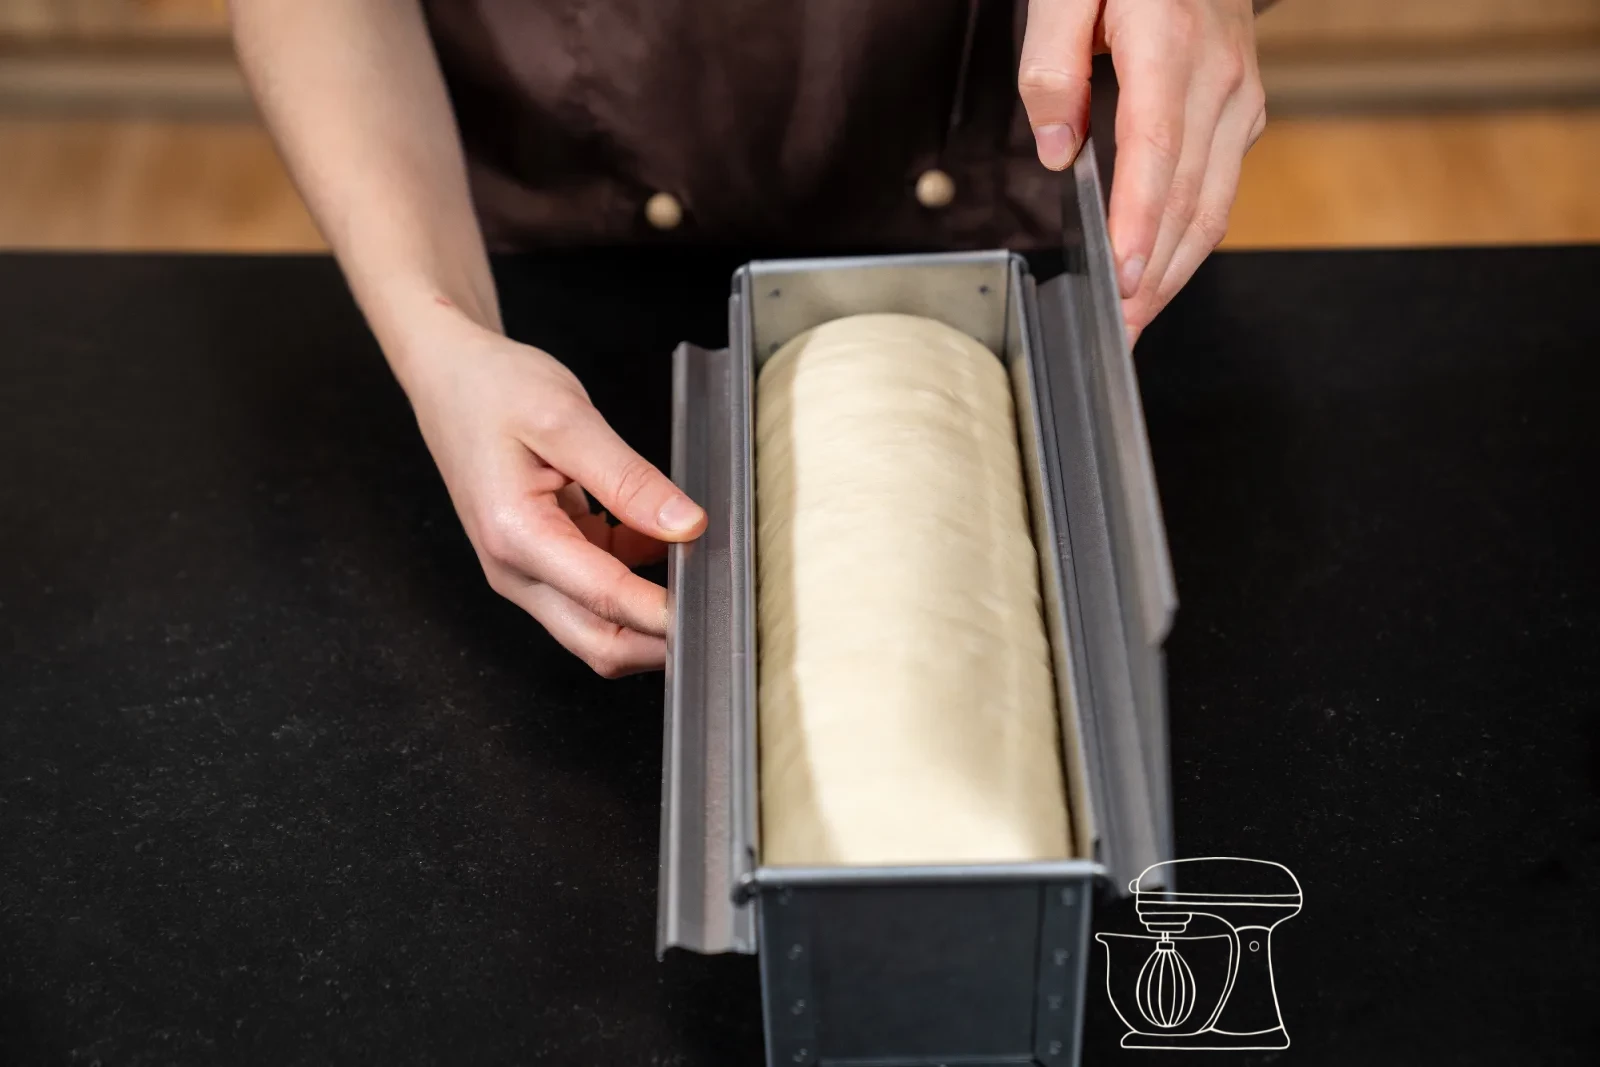
Let the dough rise for 40 to 60 minutes in a warm, draught-free spot. It should rise visibly and come up to about 1 cm below the rim of the tin. Towards the end of this time, preheat the oven to 200 °C fan.
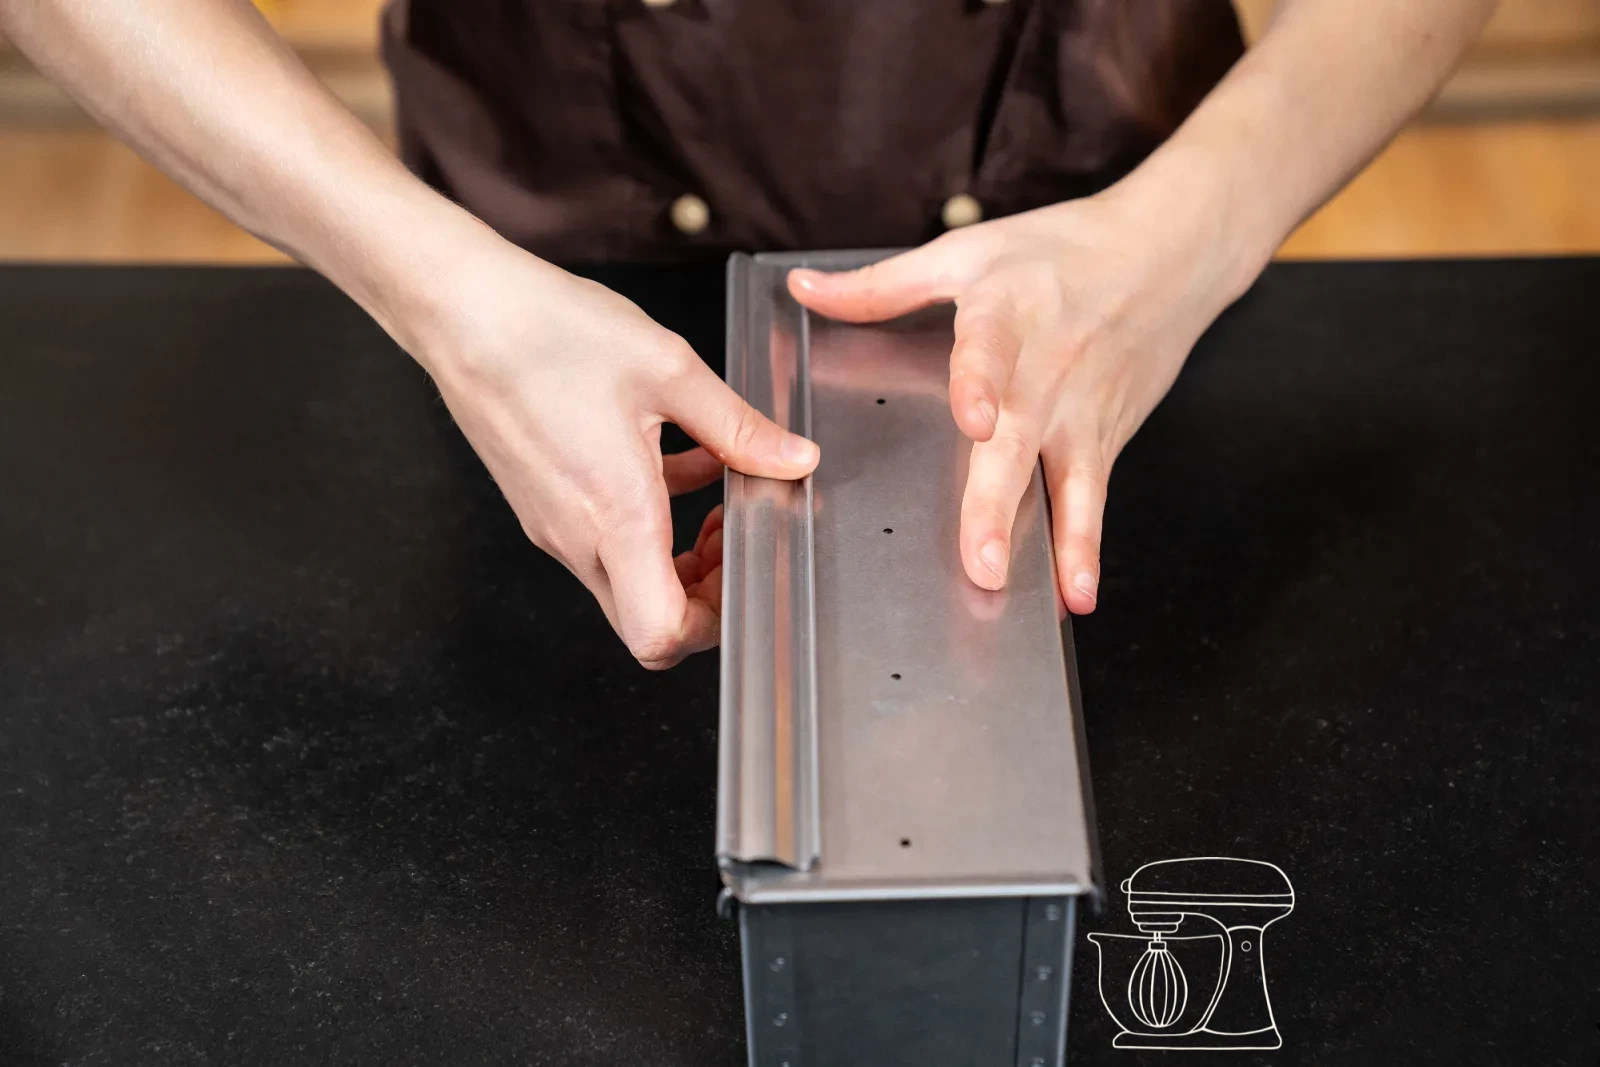
As soon as the dough has reached the right height, remove the pastry cloth and close the tin with its lid. Then into the preheated oven.
Plastic pastry cloths 20 m x 64 cm, cuttable
Bake and cool
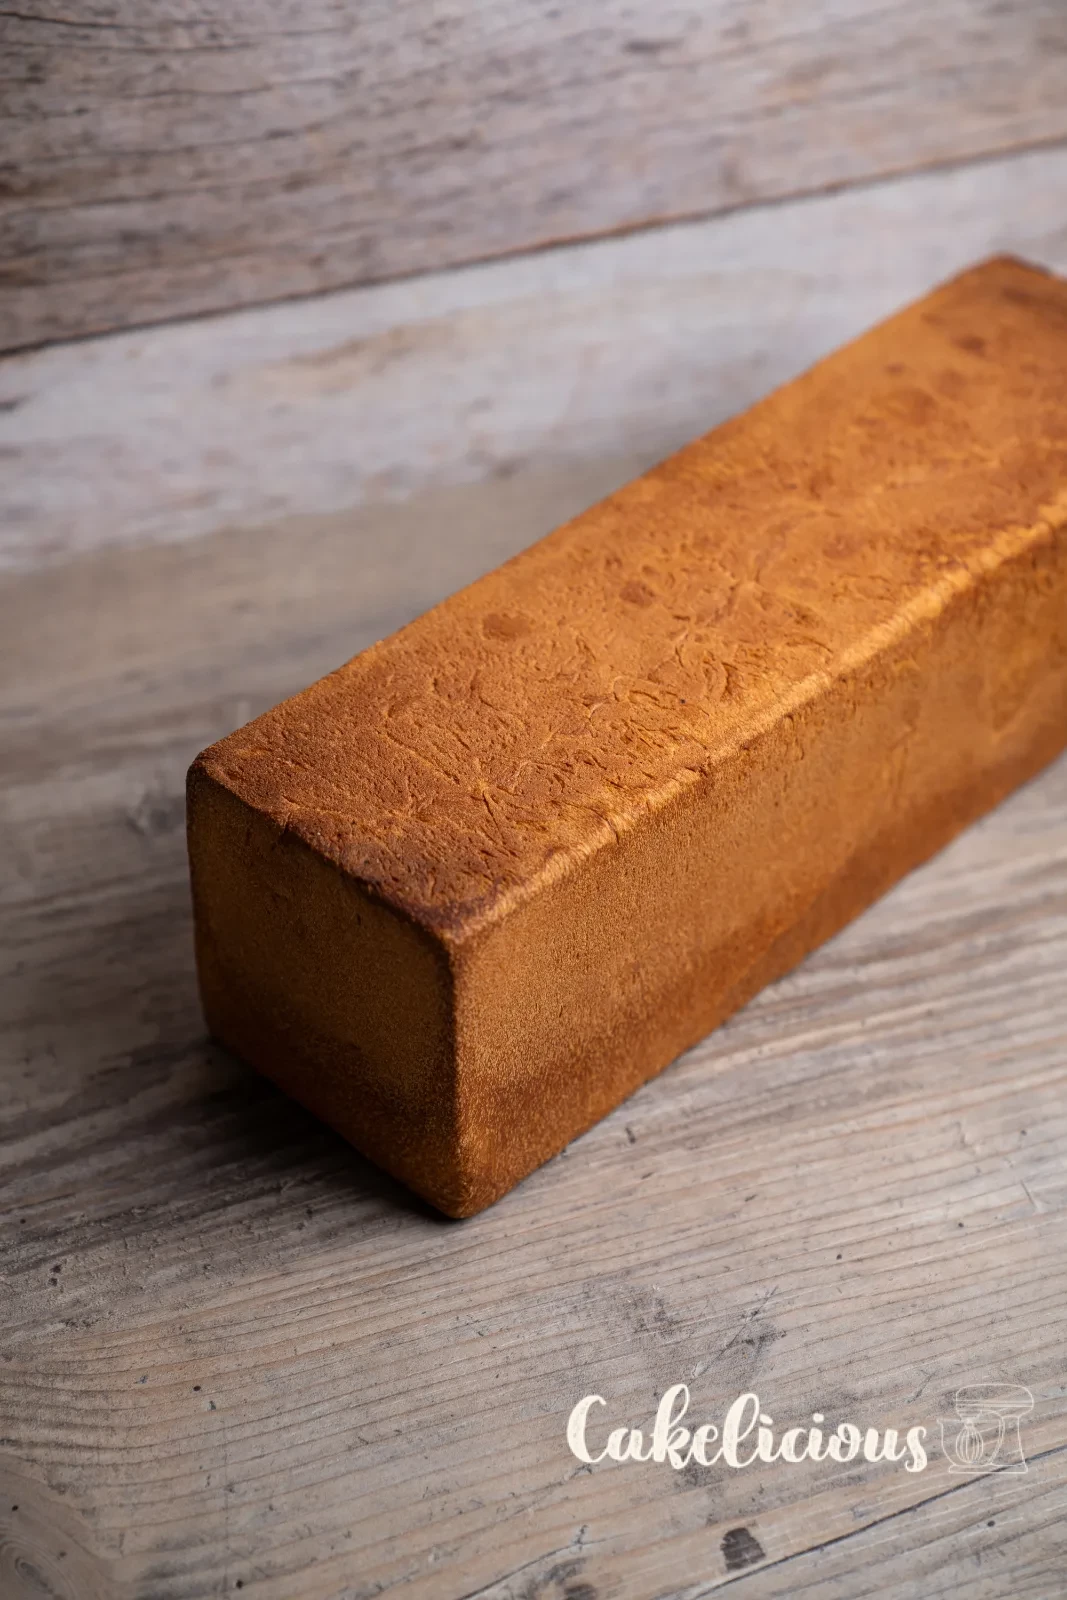
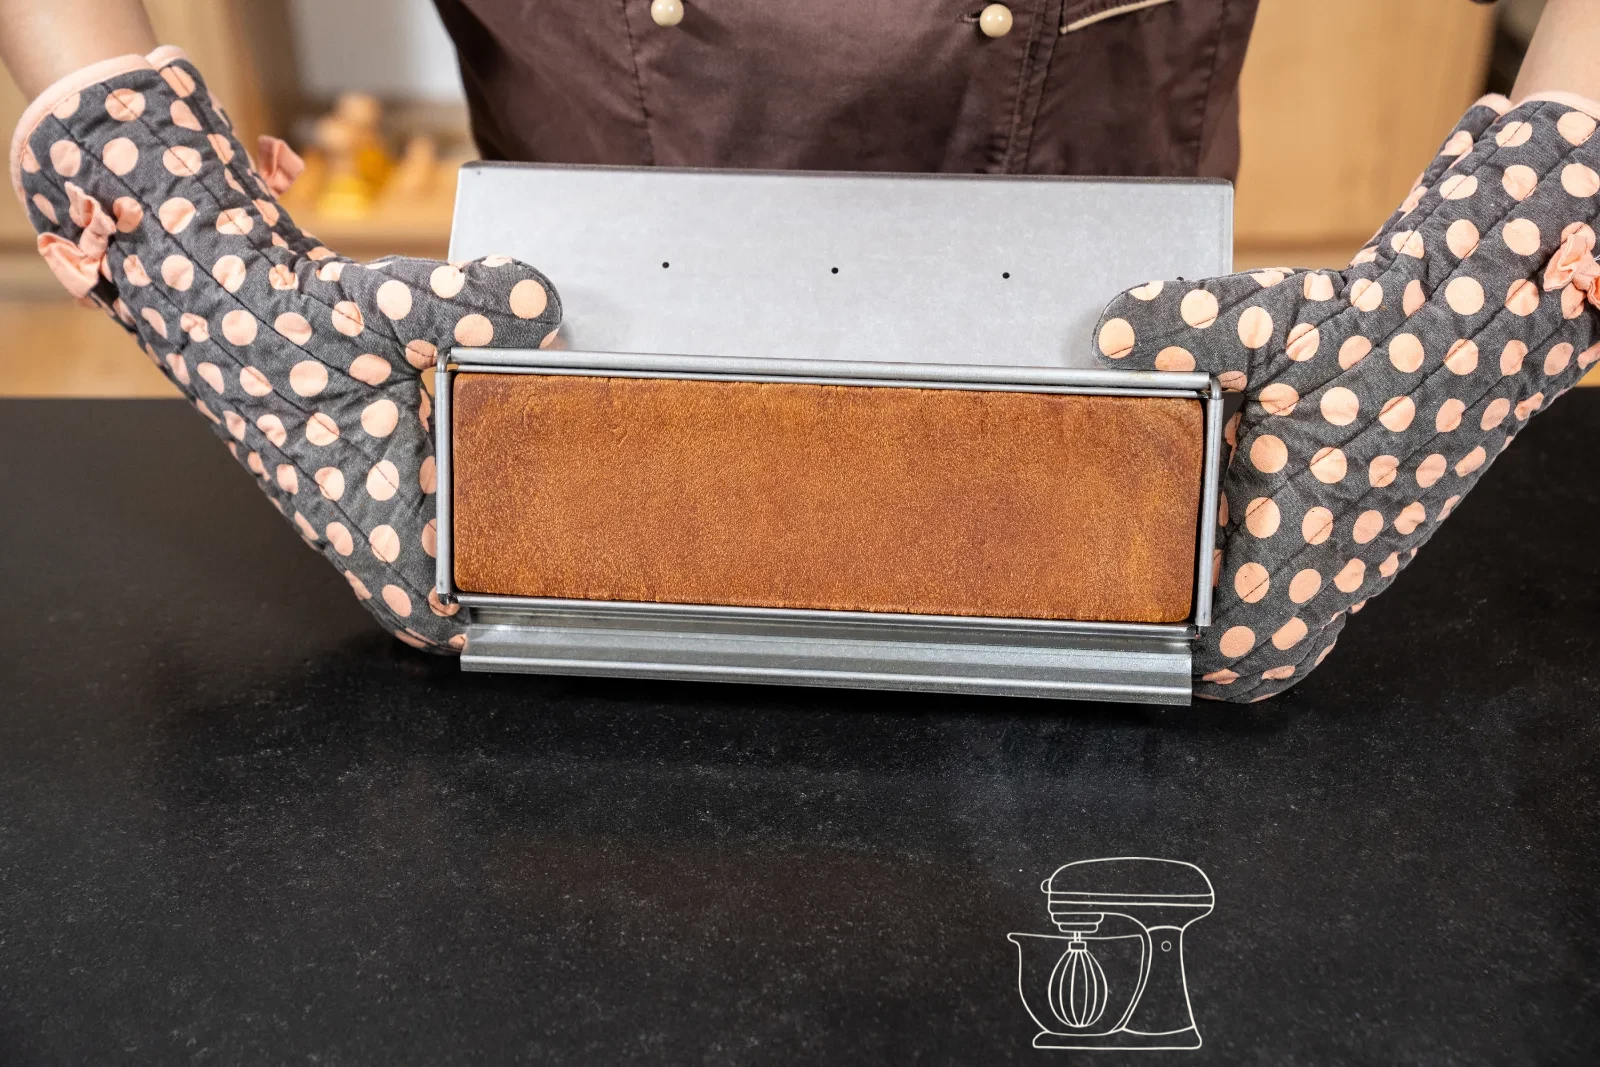
Bake the toast loaf at 200 °C fan for 40 minutes. After 30 minutes, open the lid and let it finish baking uncovered for the last 10 minutes – this gives the surface its fine golden-brown colour and the typical crust.
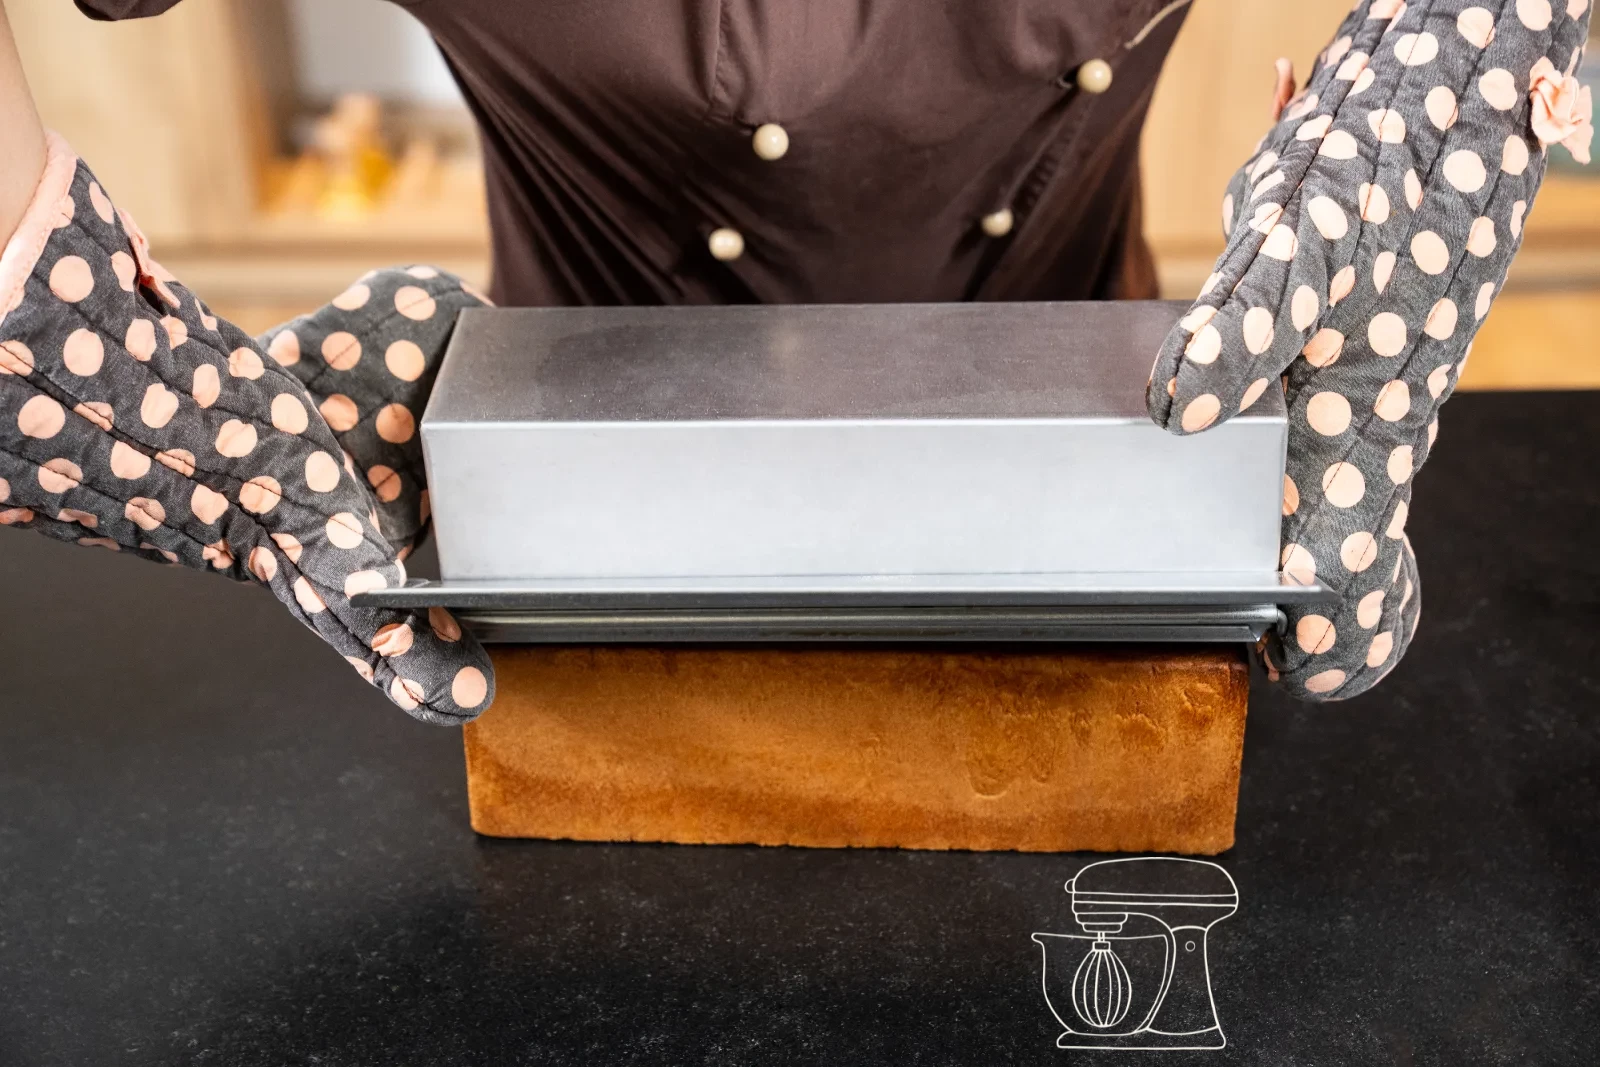
And now comes the step where many people ruin it: take the loaf out of the tin **immediately**. If it stays inside, condensation forms, the edges bulge and the loaf turns rubbery. Onto a Cake rack with it and let it cool completely.
I know the waiting is hard when it smells so good. But only a fully cooled toast loaf can be cut cleanly into even slices – and toasted it tastes best anyway.
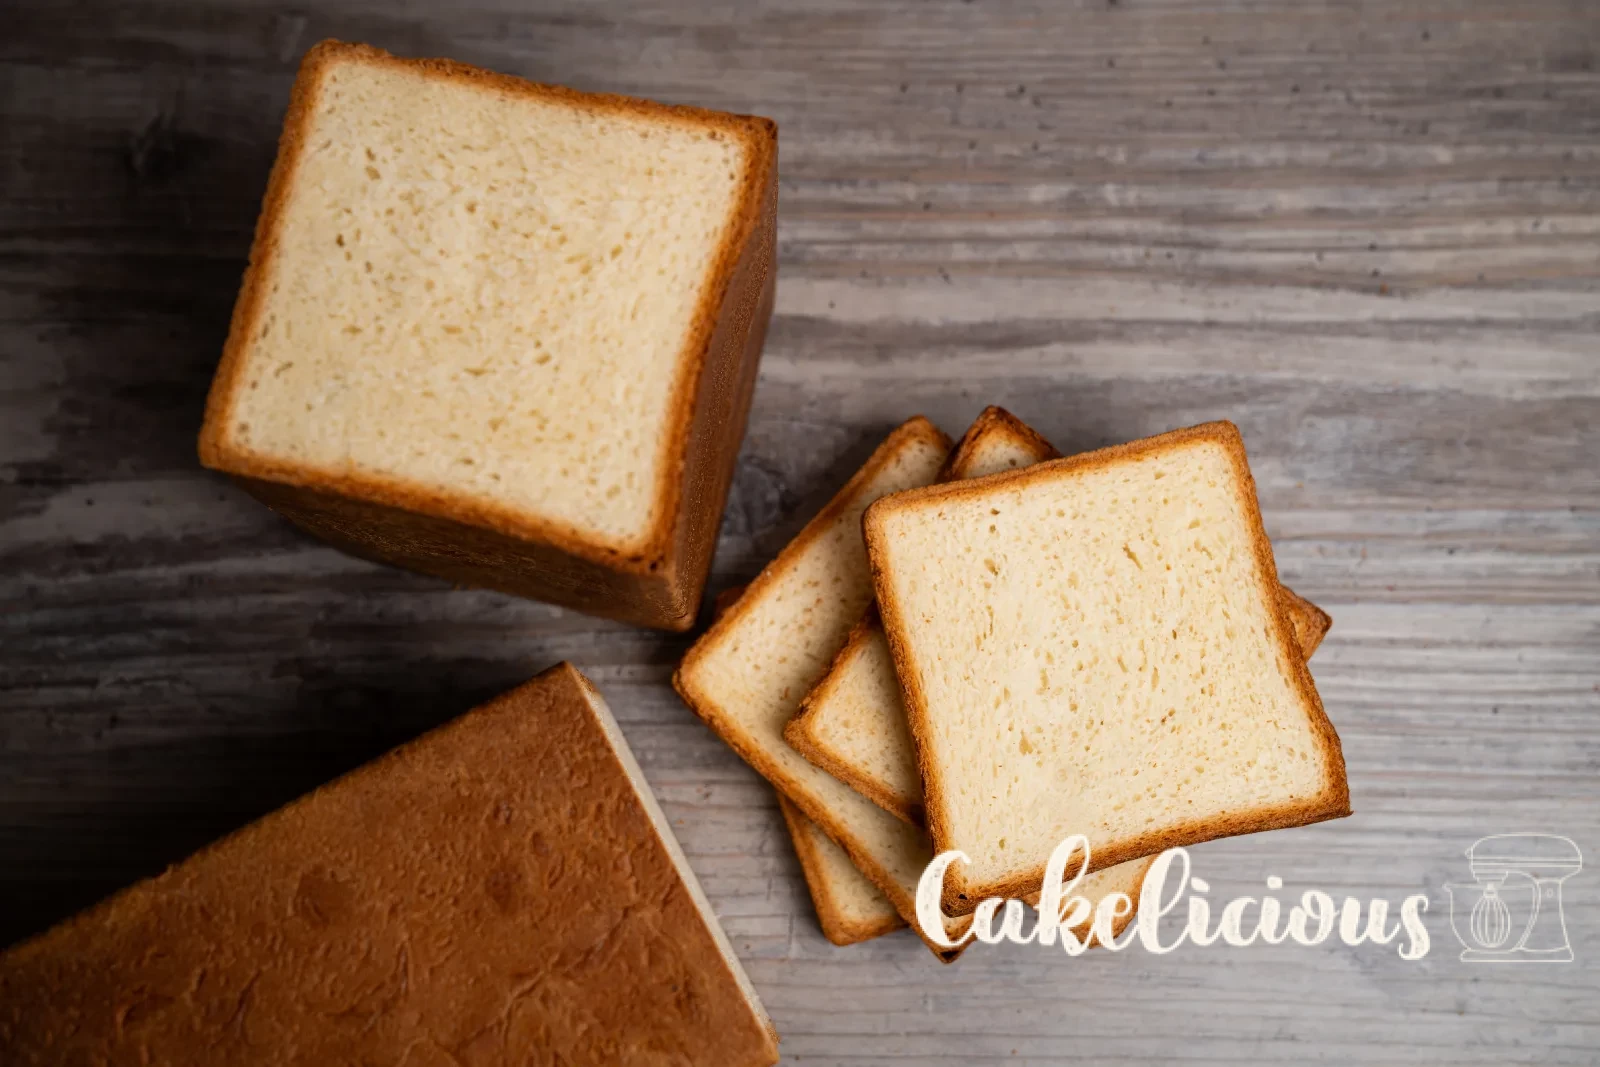
Toast bread
Ingredients
DOUGH
Preparation
- Knead the dough: Mix all ingredients except butter and salt for 3 min. on speed 1. Work in the butter for 3 min., add the salt, knead for 10 min. on speed 2.
- Bulk proof: Place the dough in an oiled Bowl, cover, and let rest for 30 min. at room temperature.
- Shaping: Shape into a long rectangle and place it in the greased loaf tin, pressing firmly into all the corners.
- Final proof: Cover with a pastry cloth, let rise for 40–60 min. until the dough is 1 cm below the rim. Preheat the oven, then close the lid.
- Baking: 40 min. at 200 °C fan. Open the lid after 30 min.
- Cooling: Turn out immediately and let cool completely on the Cake rack.
Nutritional values per 100 g
Storage & shelf life
Everything for this recipe
Recommended from our bakery — exactly the sizes the recipe was tested with.
Ingredients
Accessories
Toast baking tin 30 x 9 x 9 cm
Plastic dough sheets 20 m x 64 cm, cuttable
Stiff stainless steel metal horn
Rubber scraper black, large
Delivery in 1–2 working days · Free shipping from CHF 100
A nice touch
Not needed for the recipe — but it fits nicely.
Toast baking tin 30 x 10 x 10 cm
Toast baking tin 30 x 9.5 x 7 cm
Dough hook for NOVA Dough mixer
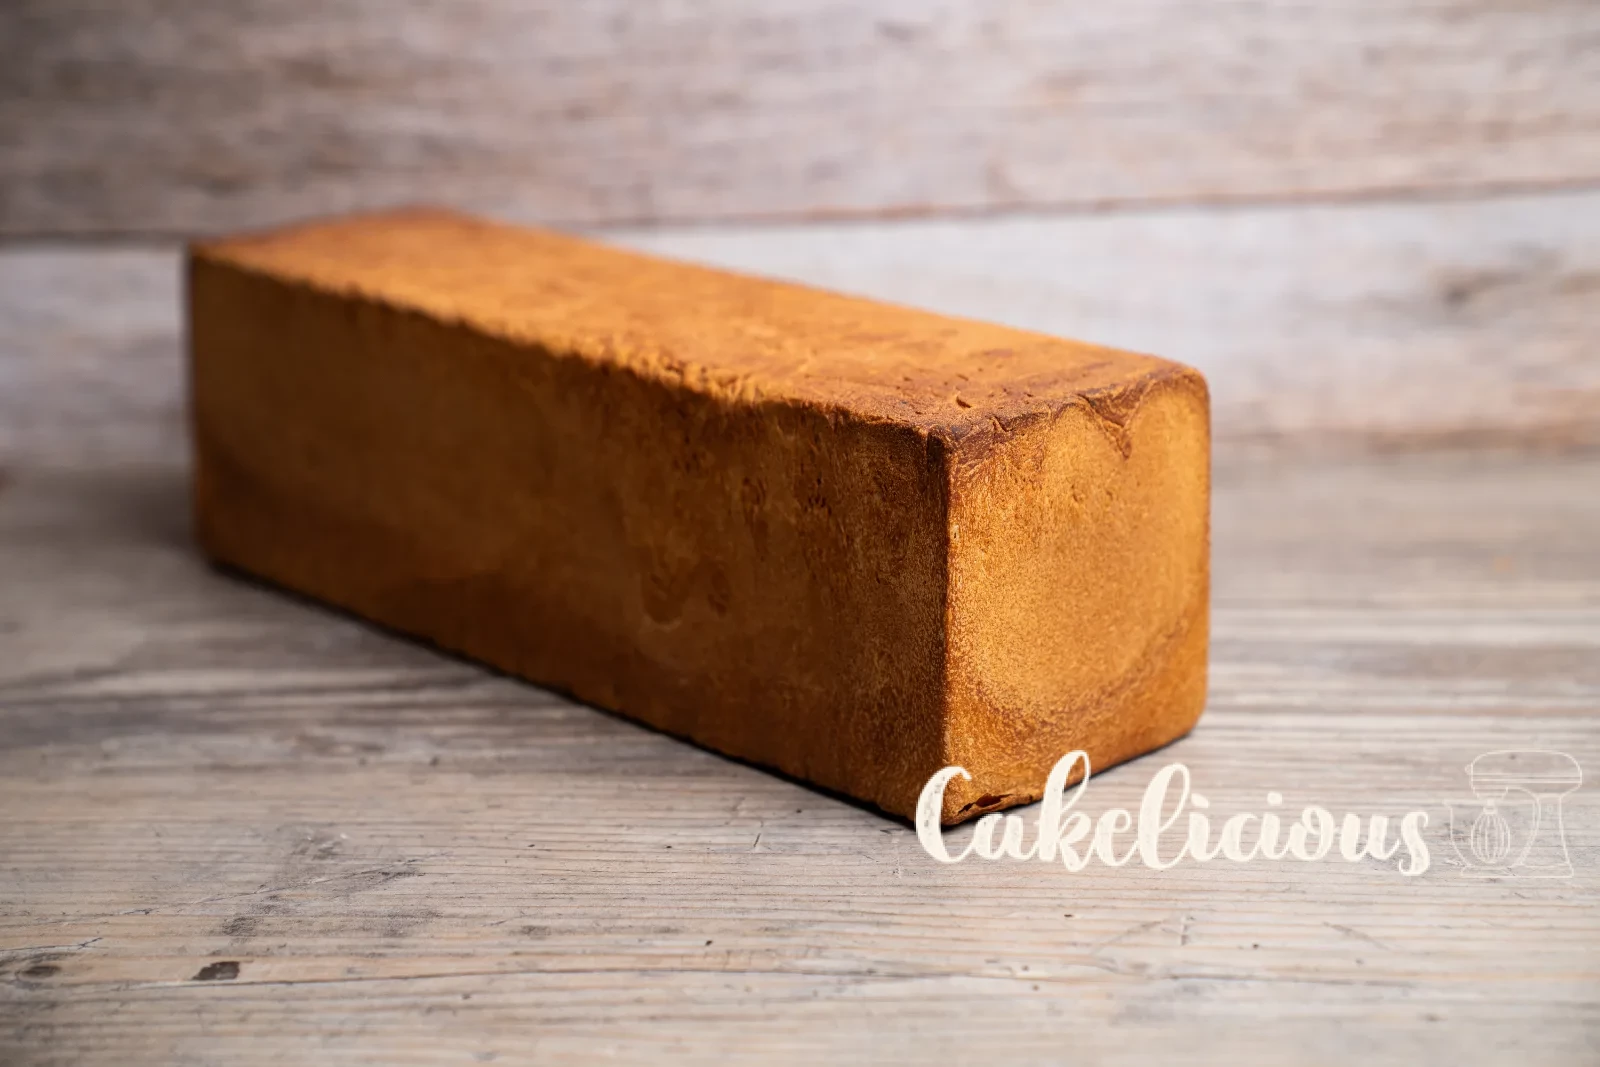
To make sure it turns out perfectly
If you want a perfectly square toast loaf, you can reduce the amount of butter to about 40 g. This way, the edges curve inward less after baking. In return, the flavour becomes a little less buttery – a small compromise between shape and taste.
During the final proofing, keep the lid open with a pastry cloth on top – otherwise it holds the dough back. Only just before it goes into the oven does the lid go on, and it stays closed for the first 30 minutes. That's the only way your toast loaf gets its typical square shape.
Take the toast loaf out of the tin right after baking. If it stays in, condensation forms along the edges and the bread curves strongly or turns rubbery. On a cake rack it cools evenly and the crumb stays nice and airy.
Frequently asked questions
Yes, very well in fact. It's best to slice it and freeze the slices in portions in a freezer bag. This way, you can put individual slices straight from the freezer into the toaster – no thawing needed. Frozen, it keeps for up to 3 months.
You can use a normal loaf tin and cover it with a suitable Baking tray or a second loaf tin turned upside down. The only important thing is that the tin stays closed during the final proofing and the first 30 minutes in the oven – that's what gives it the typical square shape.
In a bread bag or an airtight container, 3 to 4 days. After a few days it becomes a little drier – but toasted it still tastes excellent. For longer storage, freeze it in slices.
Print recipe
Choose what should appear on the printout.
Related posts
 Juicy Matcha Muffins with Pecan Nuts & White Chocolate
Matcha Iced Latte & Coconut Variant
Pull-apart bread with fresh wild garlic pesto
Mini Banana Bread with Chocolate Chips
Juicy Matcha Muffins with Pecan Nuts & White Chocolate
Matcha Iced Latte & Coconut Variant
Pull-apart bread with fresh wild garlic pesto
Mini Banana Bread with Chocolate Chips
Leave a comment