
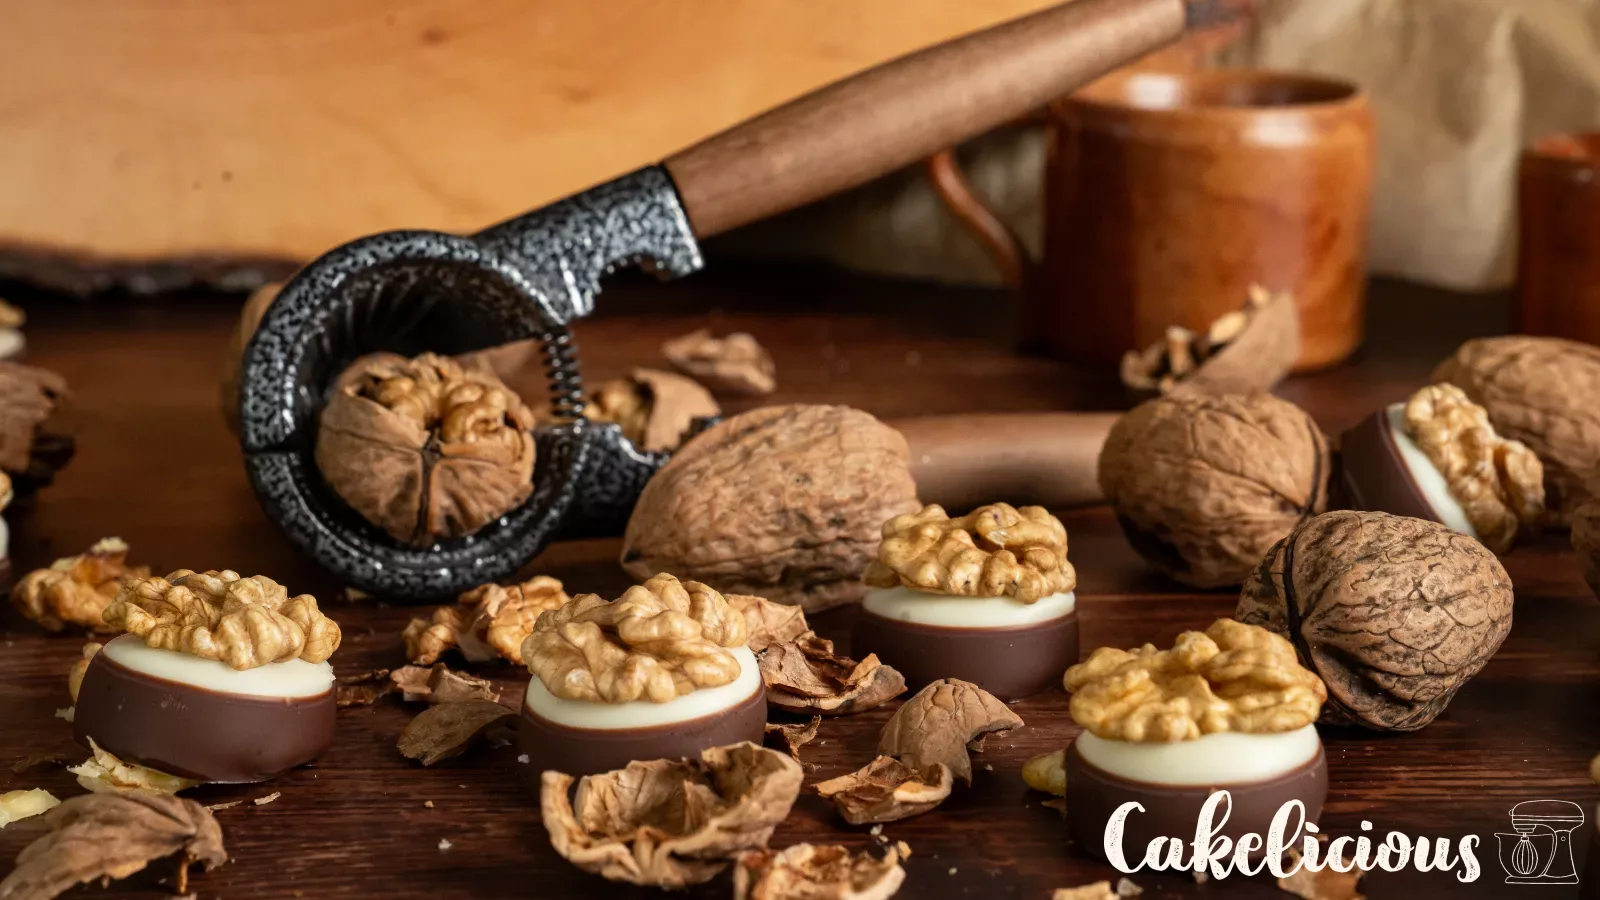
Pine nut praline: marzipan in a white and dark chocolate coating
Walnut marzipan, white and dark couverture
Hello foodies,
these pralines look like they came from a confiserie and are still very easy to make. The only prerequisite: you love marzipan!
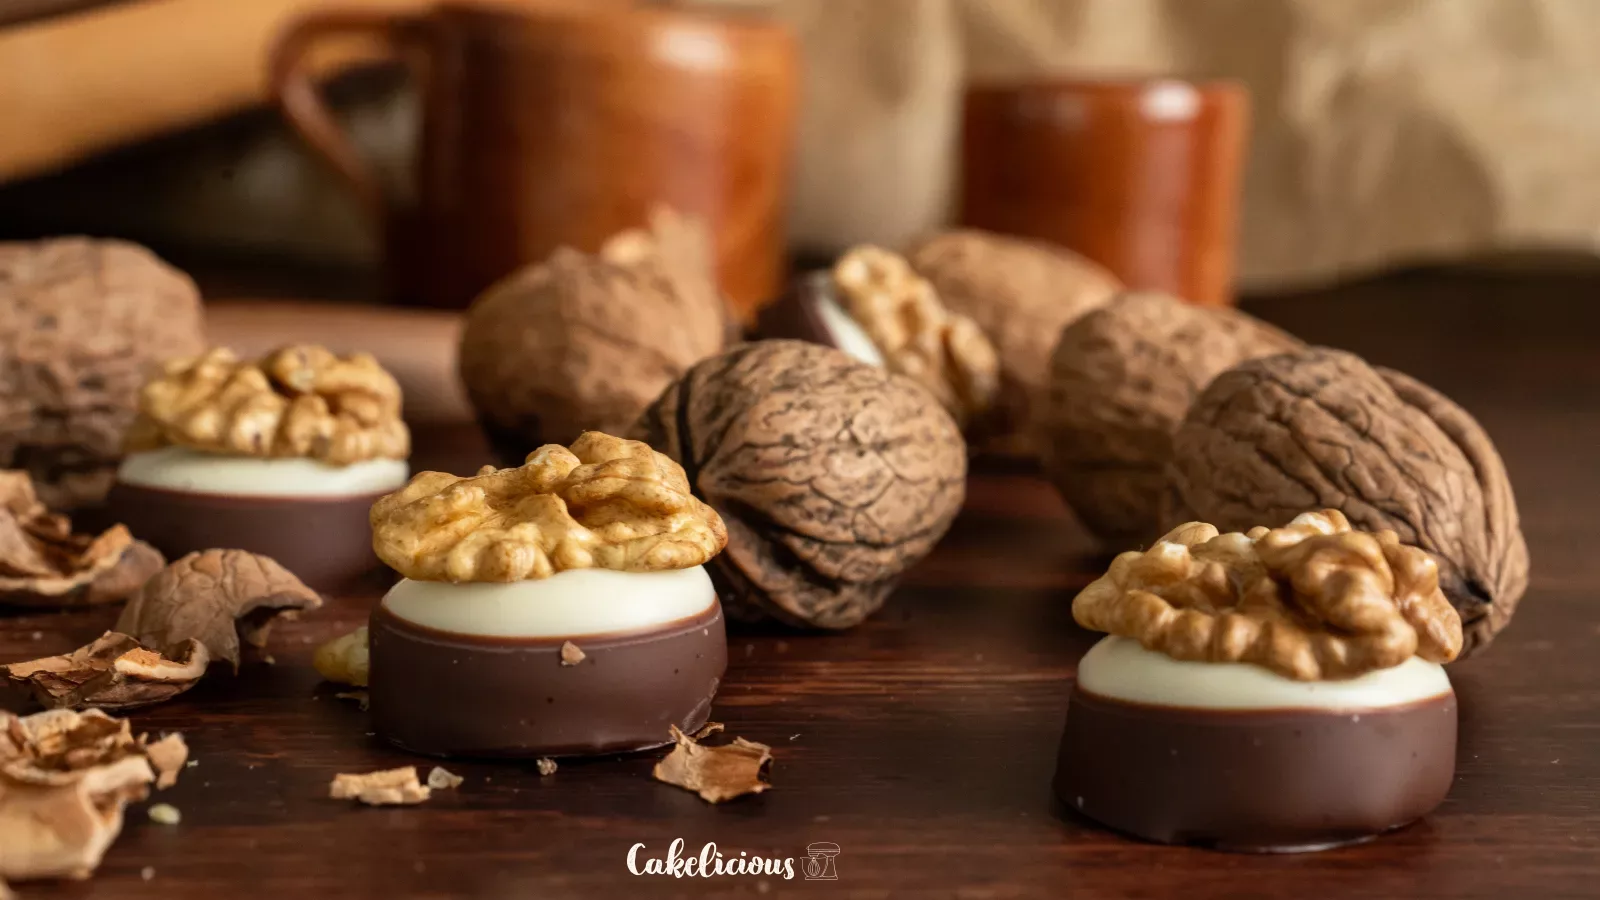
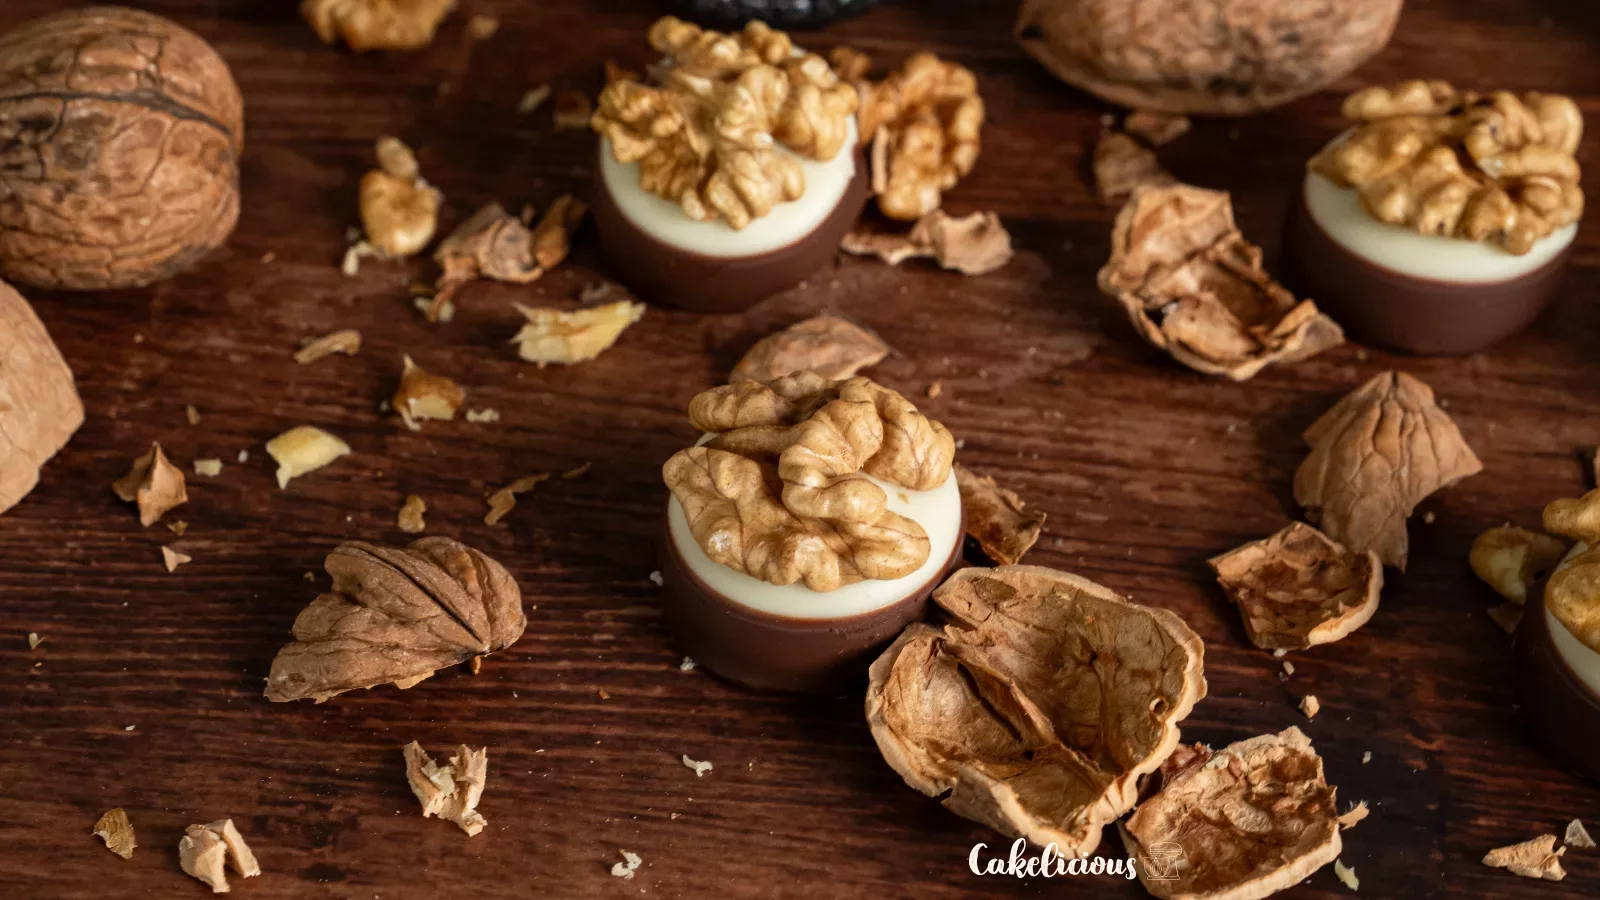
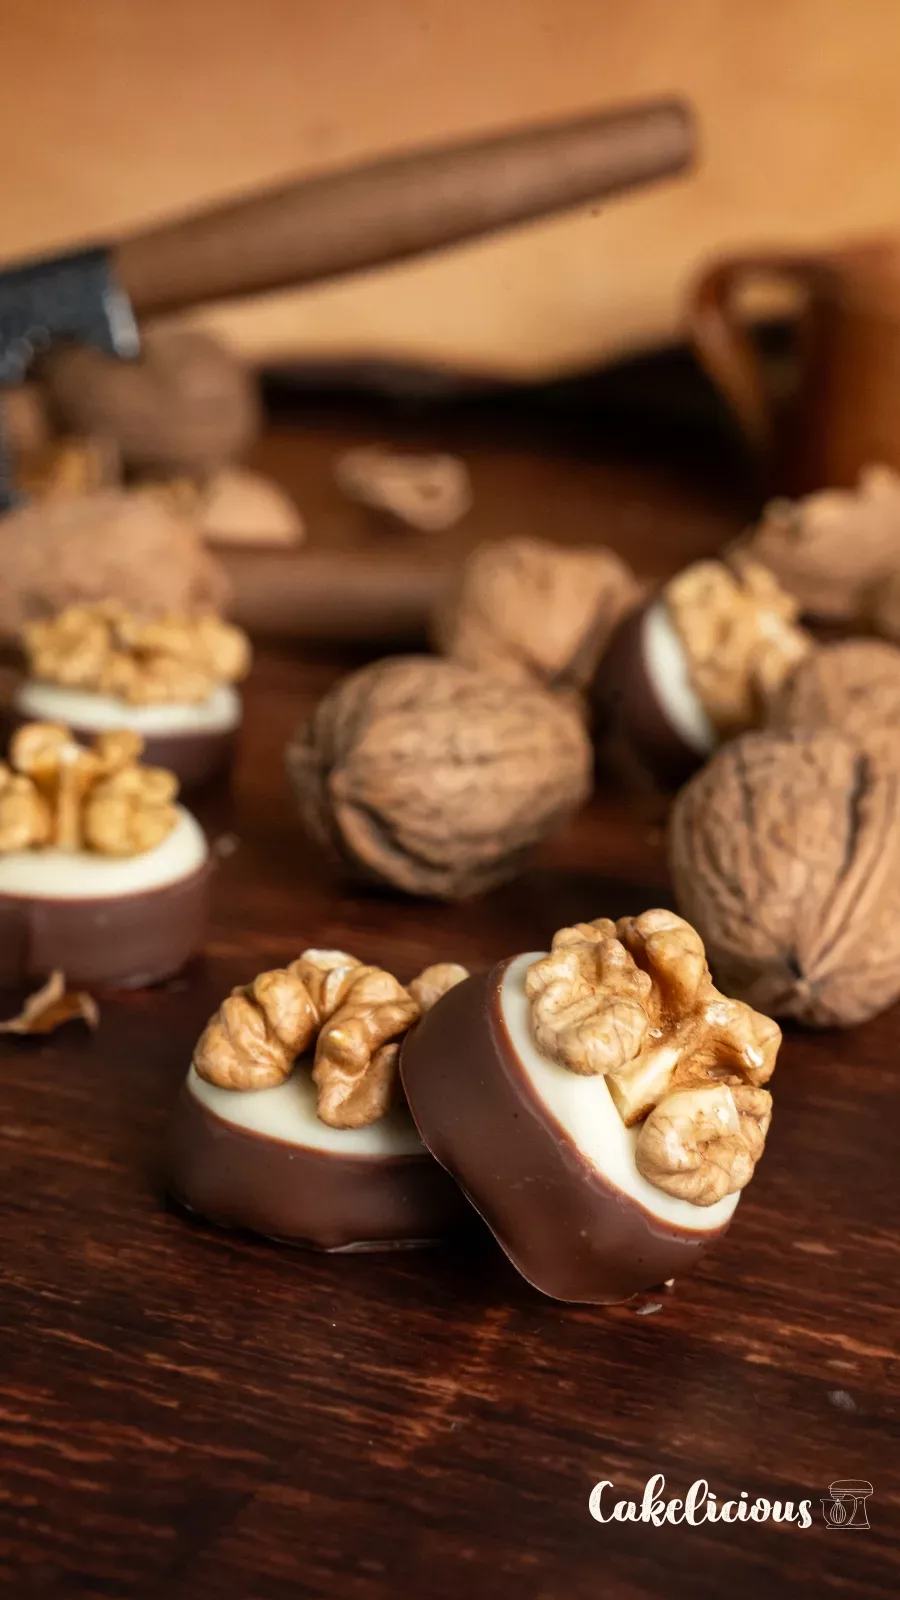
The core is cut-out walnut marzipan. It first gets a coating of white couverture and half a walnut as a crown. Then we dip it three quarters of the way into dark couverture, so a white strip remains visible at the top.
Since this recipe has no step-by-step photos, we explain every move to you in detail. It's best to read through the instructions once before you start. Nicely packaged, the pralines also make a wonderful gift from the kitchen!
Ingredients
Step by step
Preparation
Set up your workspace
Pralines need to be shaped quickly, so get everything ready beforehand: a baking tray lined with baking paper, the dough sticks, a round cookie cutter, the dipping fork and the walnut halves. Pick out 30 nice, whole halves. Broken ones you can simply snack on yourself. Ideal is a cool kitchen at around 18 to 20 °C.
Baking paper sheets, 25 pieces
Dipping fork, 3 prongs
Knead the marzipan until smooth
Knead 250 g walnut marzipan briefly with your hands until it is soft and pliable. It should feel smooth and have no cracks. If it is very firm, kneading for another minute helps, as the warmth of your hands makes it softer.
Walnut marzipan, 250 g
Cutting out marzipan
Roll out to 1 cm thick
Dust the work surface and the rolling pin lightly with icing sugar. Place the dough strips on the left and right of the marzipan and roll it out evenly to 1 cm thick. Always roll from the middle outwards and turn the marzipan now and then, so the sheet is the same thickness everywhere and doesn't stick.
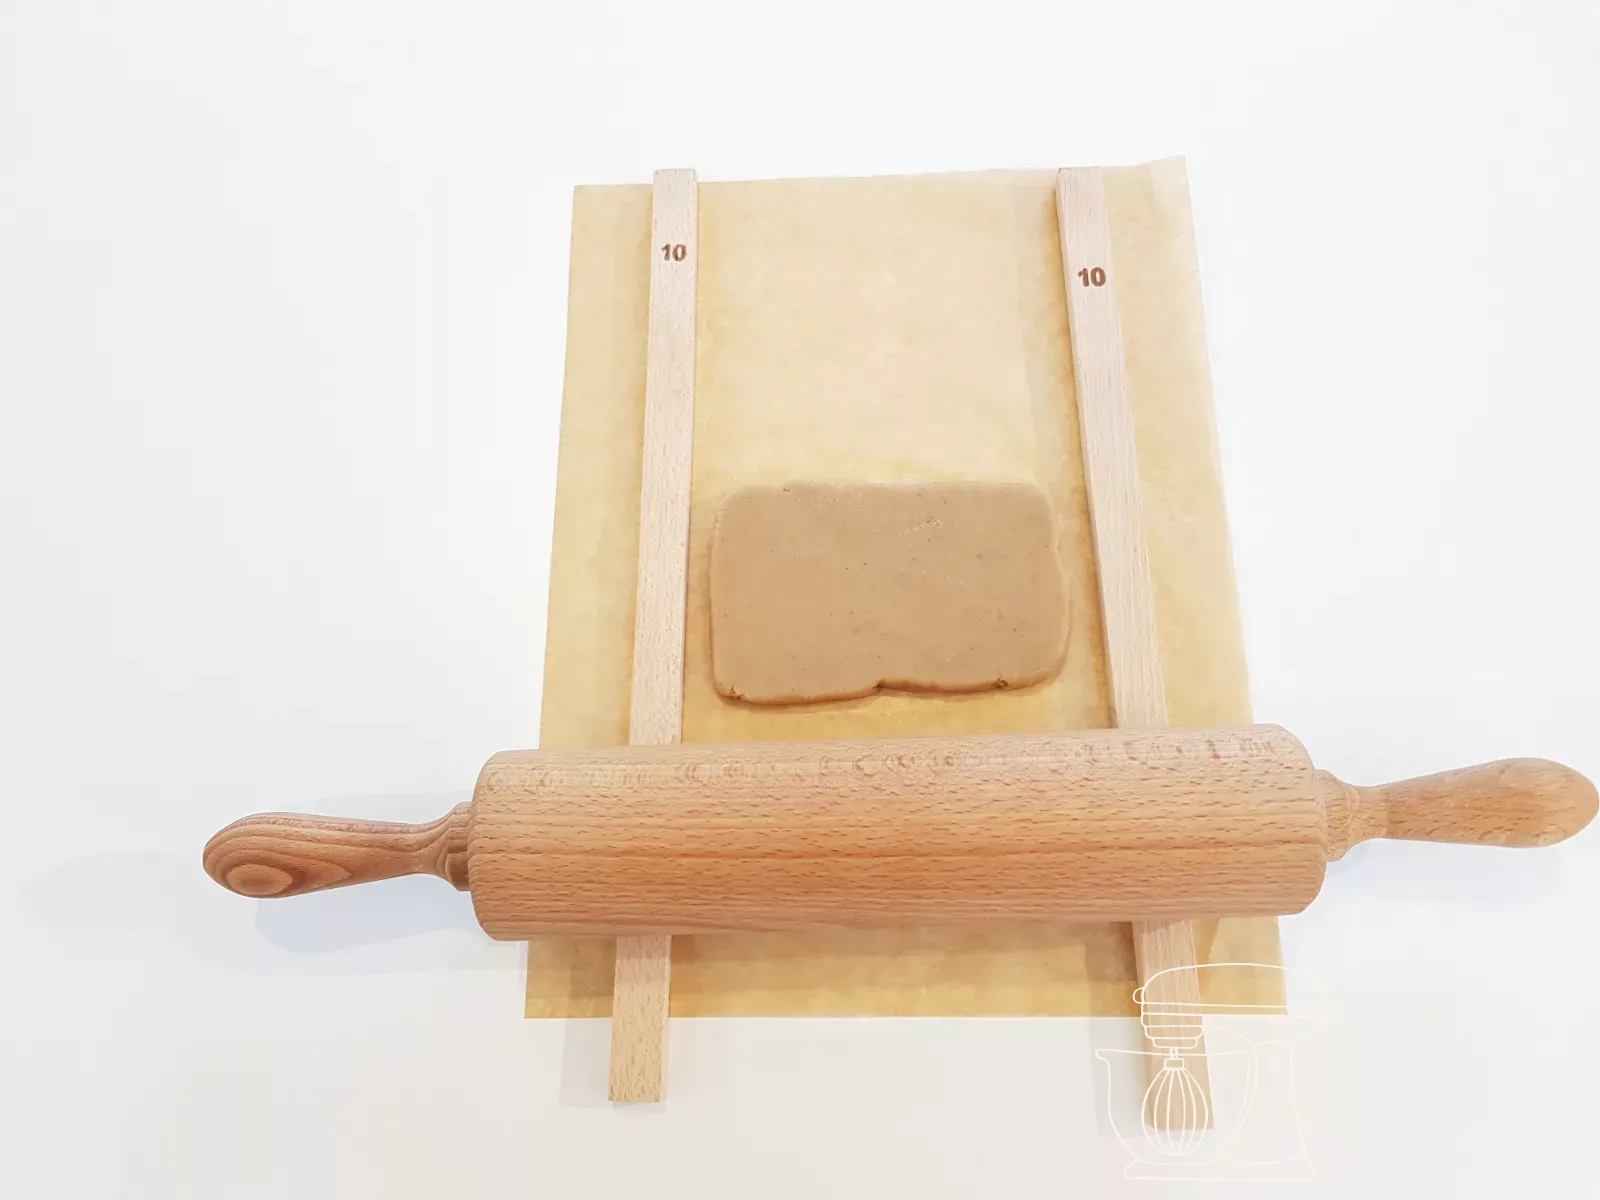
Dough strips
Non-stick Rolling pin 50 cm
Shaker for icing sugar and cocoa
Cut out circles
Dip a round cookie cutter (approx. 3 cm) in icing sugar and cut out circles, placed as close together as possible. Gently press the circles out of the cutter so they keep their shape. Knead the leftovers together, roll them out to 1 cm thick again and keep cutting until everything is used up. This gives you about 30 pieces.
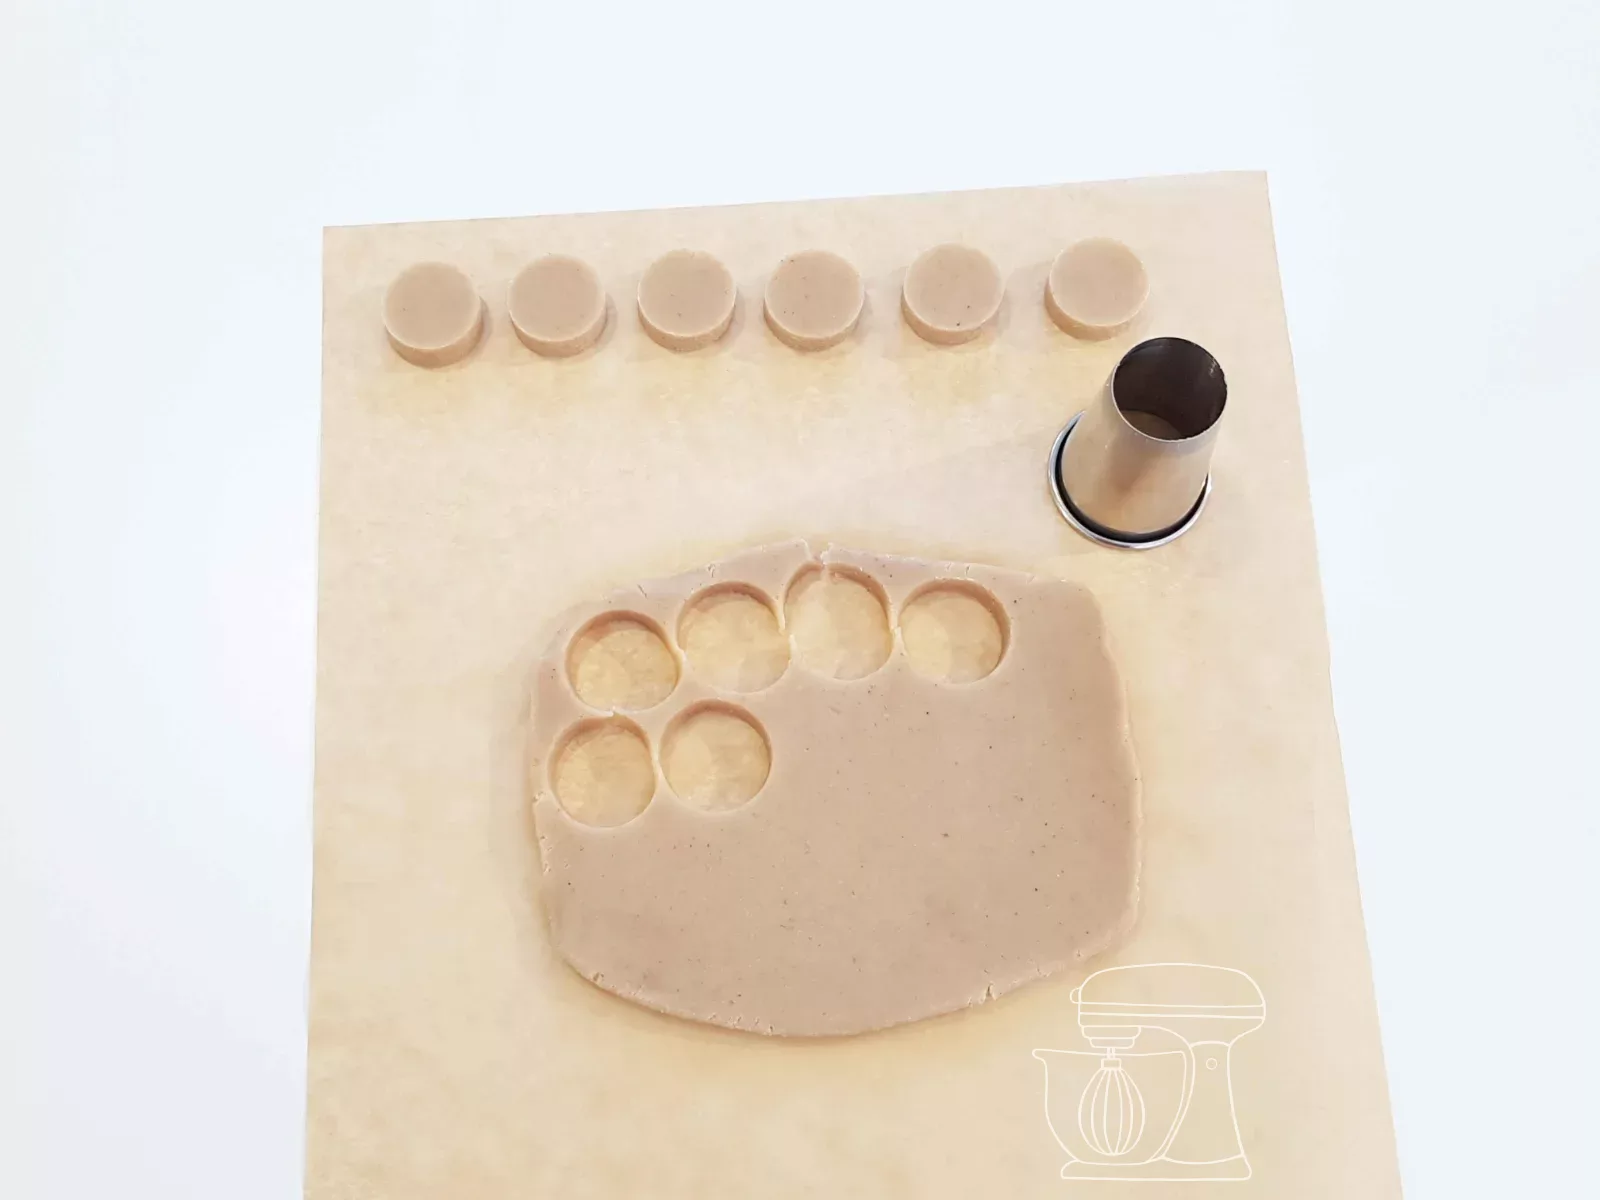
Round cookie cutters
Brush off icing sugar
Brush the icing sugar off the circles with a dry brush, including the underside. Otherwise the couverture won't adhere properly. Then leave the circles to rest uncovered for 15 to 30 minutes: the surface dries slightly, and they can be dipped much more cleanly.
Silicone baking brush
The white coat
Tempering white couverture
Temper 200 g white couverture: melt it in a tempering device or over a water bath to 40 to 45 °C, cool it to 26 to 27 °C while stirring, then warm it again to 28 to 29 °C. Do a test with a knife: if the couverture is firm and glossy after about 5 minutes, you're ready to go. We show you exactly how this works here: How to temper chocolate properly
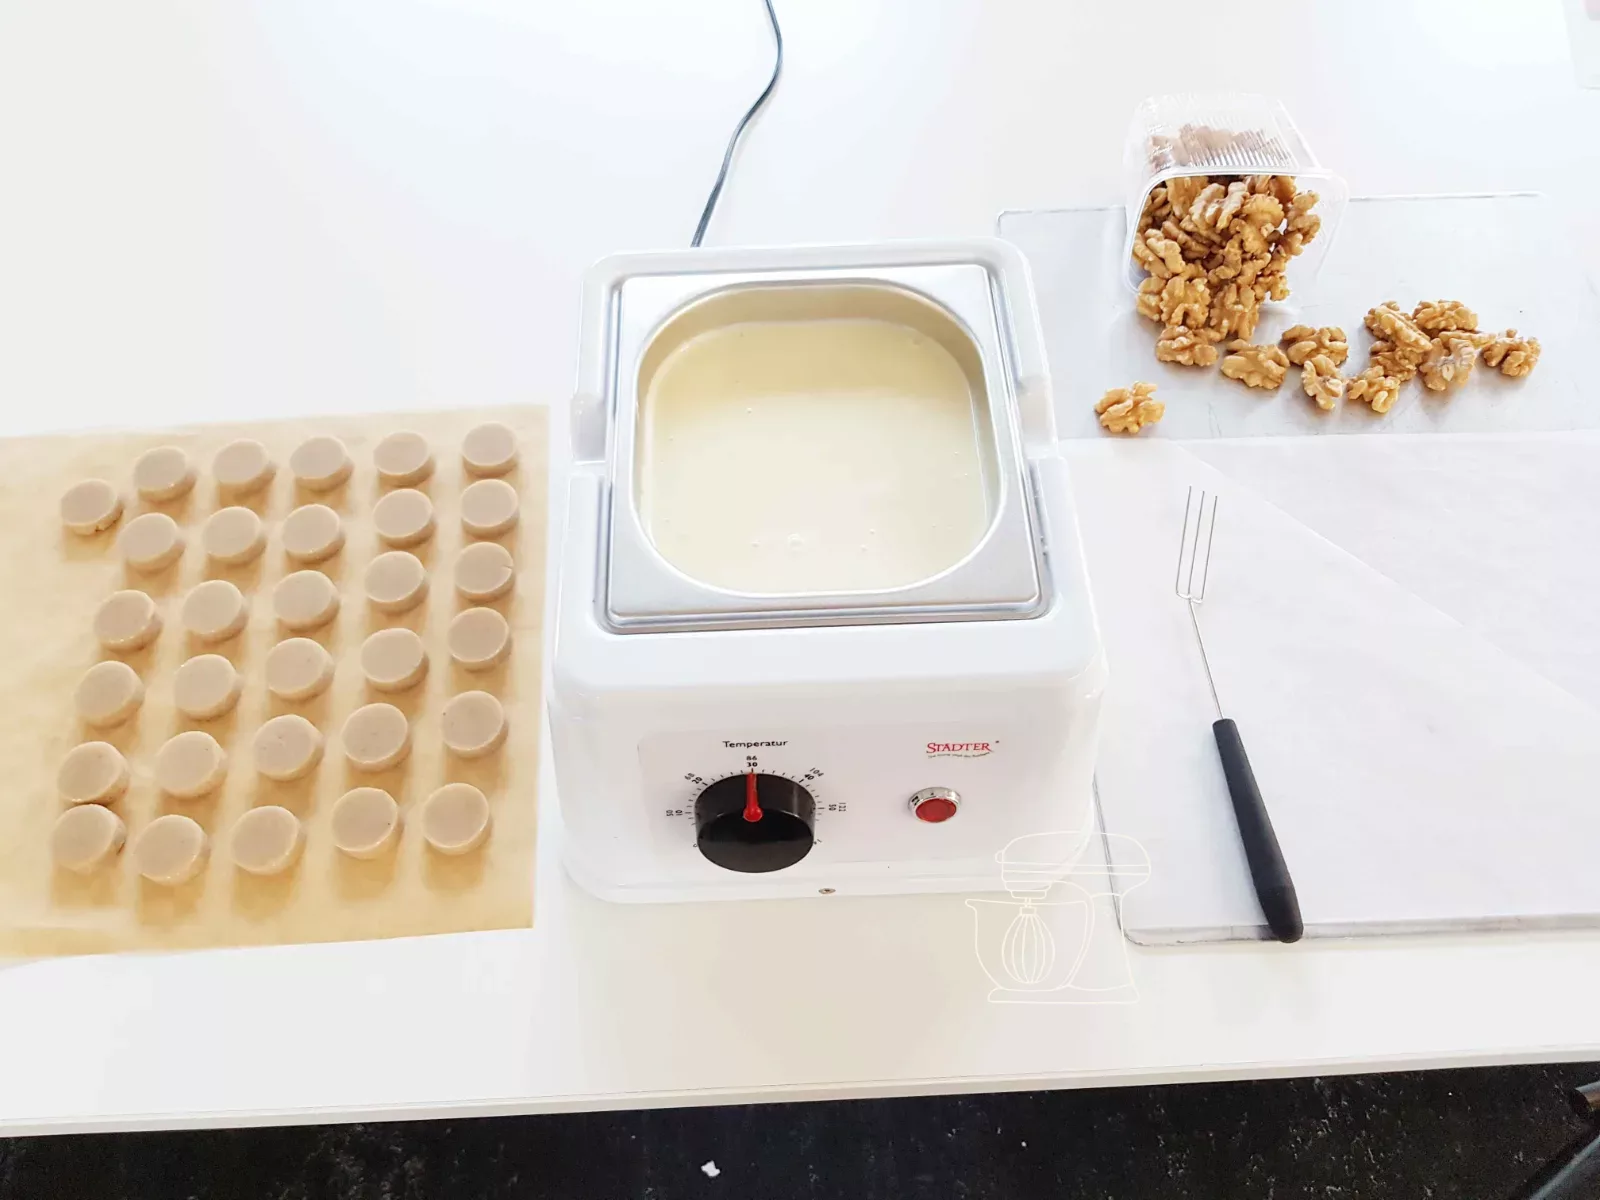
White couverture, Edelweiss 36%, 0.5 kg, Felchlin
Tempering device, 1.5 litres for couverture and chocolate
Digital food thermometer
Dipping
Place a marzipan disc flat on the couverture. Use the dipping fork to press it down at the edge so that it is fully submerged once and covered all round. Then slide the fork underneath and lift it out, it now lies flat on the fork.
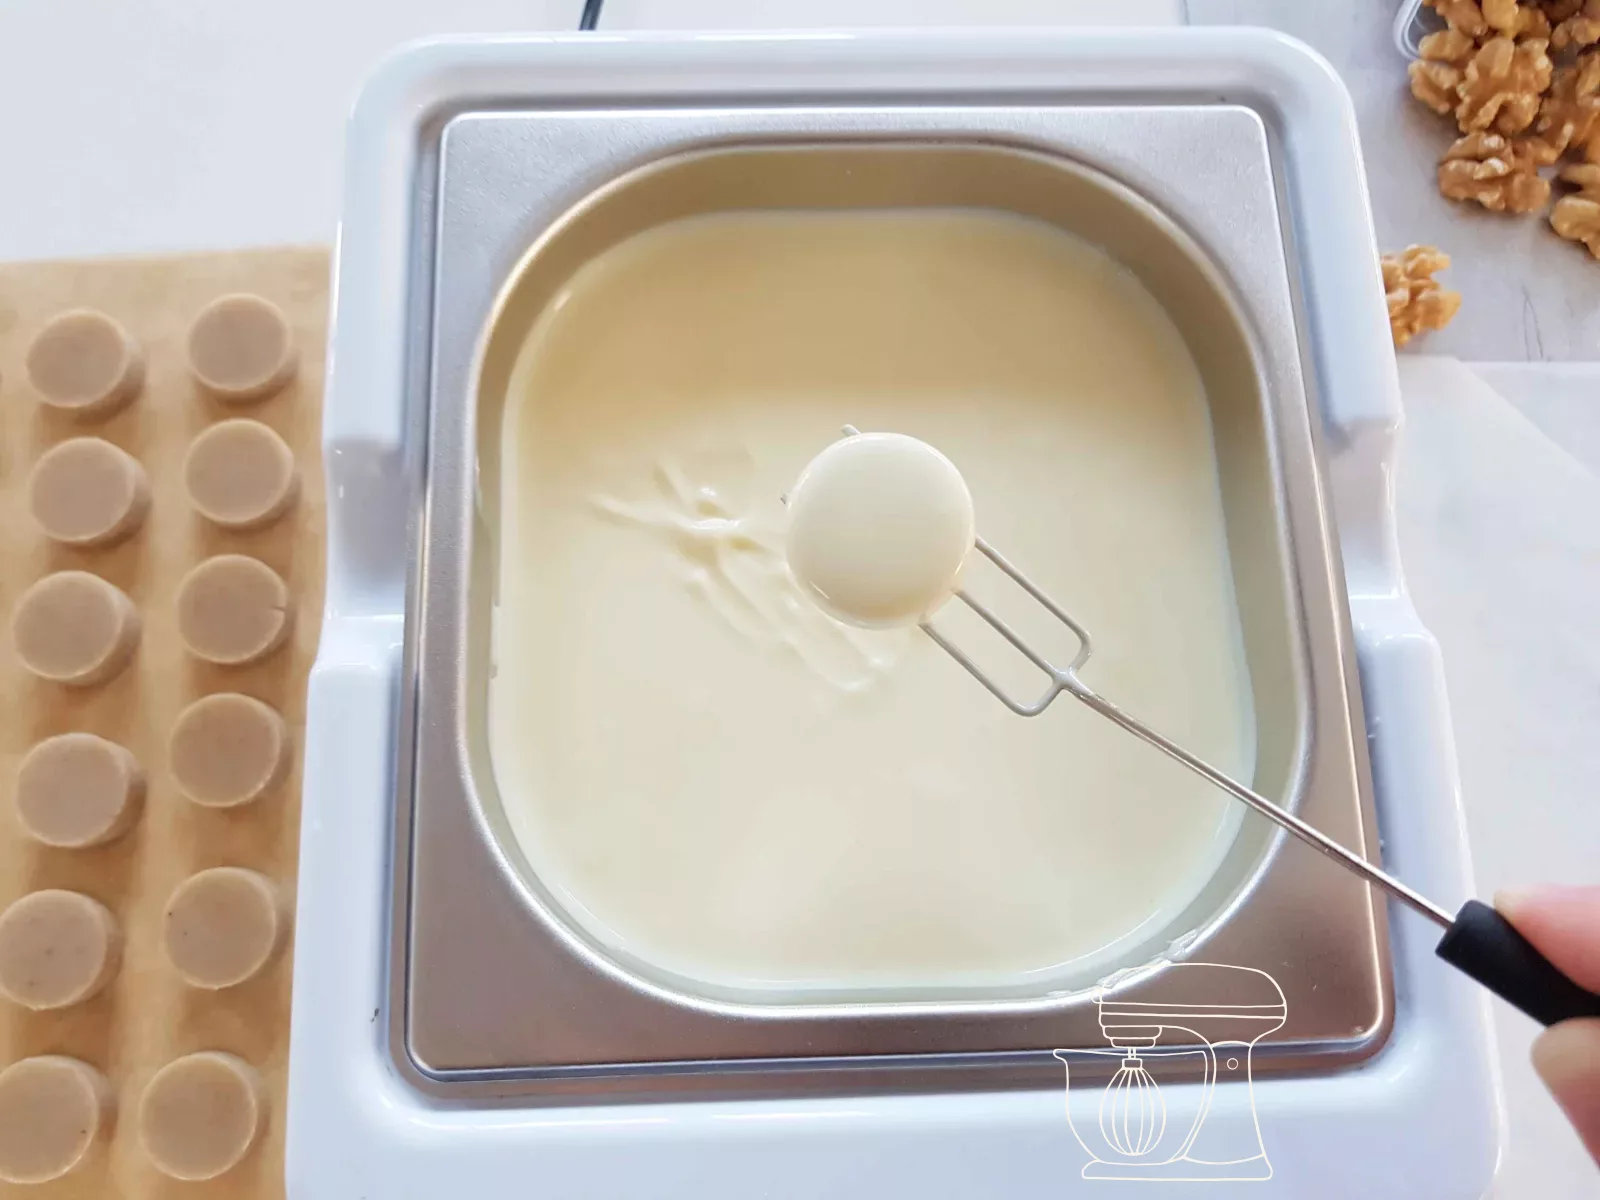
Dipping fork, 3 prongs
Draining and scraping off
Tap the fork lightly several times on the surface of the couverture and lift it again so that the excess drips off. Then scrape the underside of the fork against the edge of the bowl. This prevents a chocolate foot from forming at the bottom, and the praline will later stand nicely straight.
Setting down and placing the tree nut
Hold the fork just above the baking paper, tilt it slightly and pull it away from under the praline. Wait until the couverture begins to set and turns matt at the edge, which takes about a minute. Then gently press a tree nut half onto it. If the couverture is still too liquid, the nut will slide off; if it is already firm, it will not stick. When all the pralines are finished, place them in the fridge for 10 minutes.
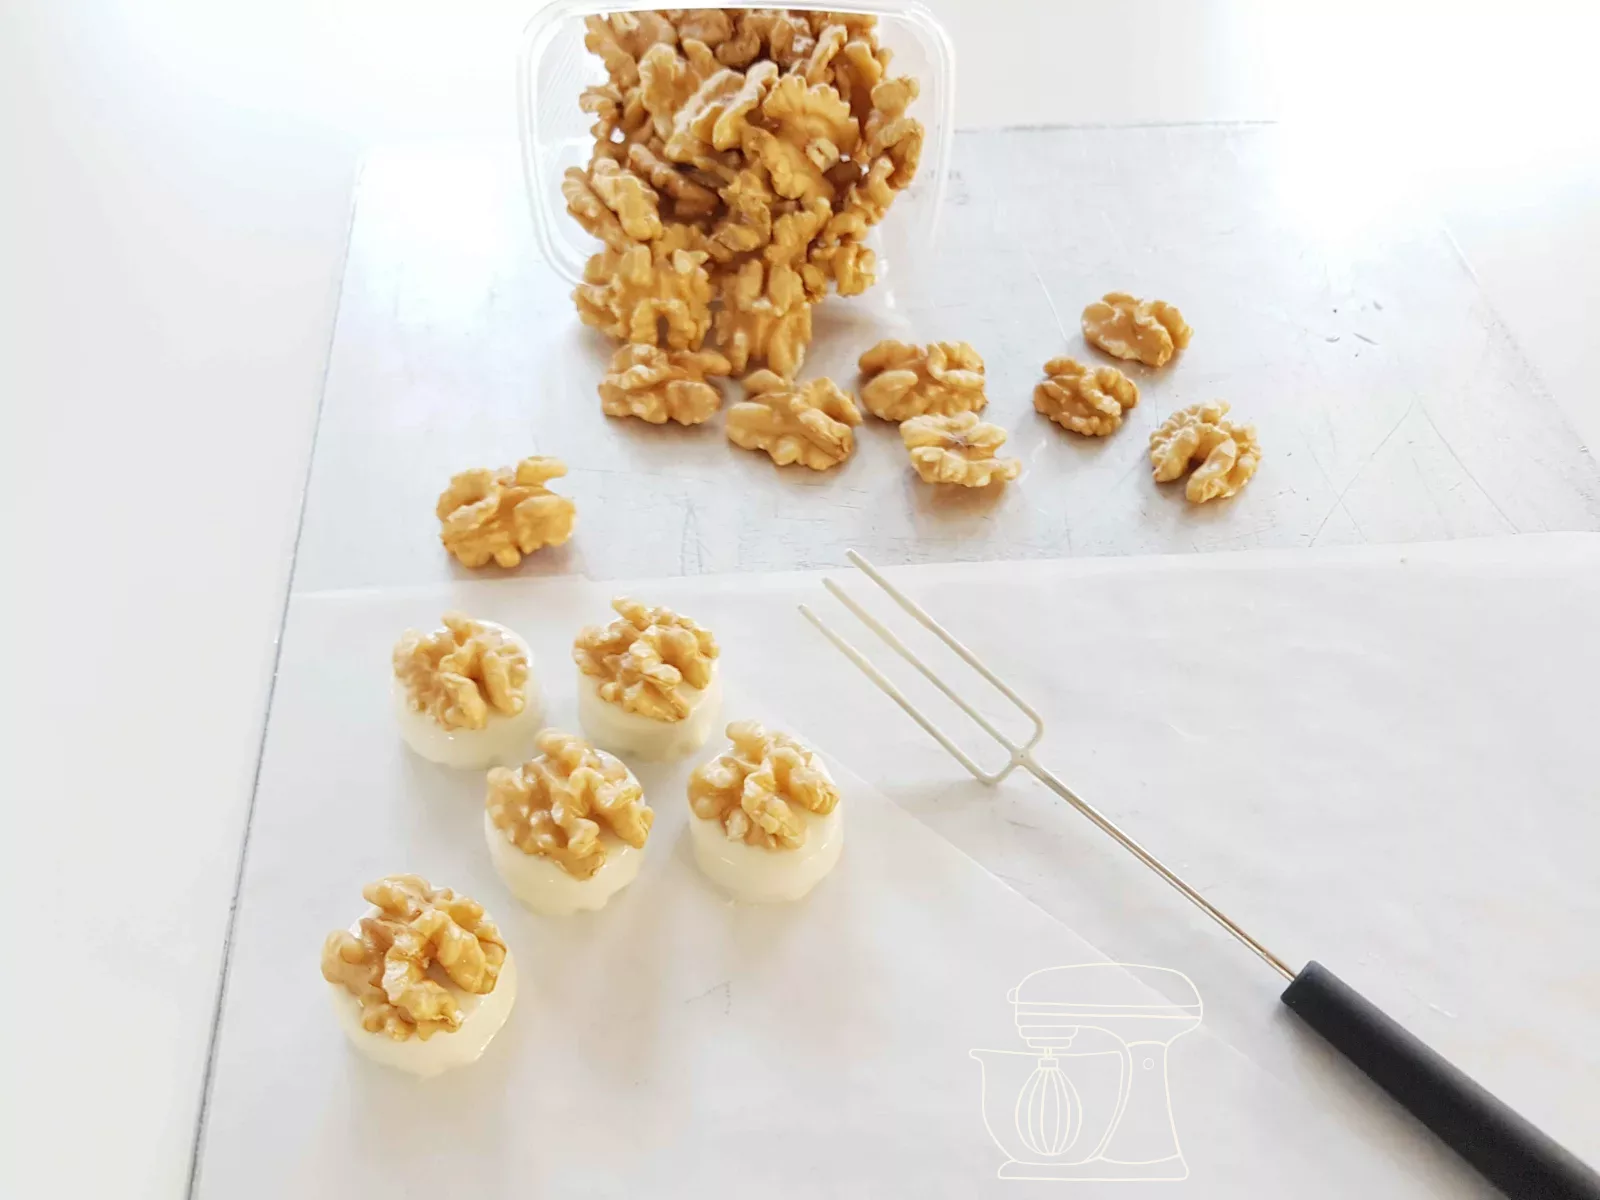
Baking paper sheets, 25 pieces
The dark coating
Tempering the dark couverture
Now temper 100 g of Dark couverture: melt it at 45 to 50 °C, cool it to 27 to 28 °C and then warm it back up to 31 to 32 °C. Here too, first do the test with the knife.
Grand Cru Maracaibo 65% couverture, 0.5 kg
tempering device 1.5 litres for couverture and chocolate
Dipping to three quarters
Take a Praline off the paper and hold it by the upper edge on the side, so that the tree nut faces up. Dip it bottom first into the Dark couverture until roughly three quarters of its height is covered. The top strip with the tree nut stays white.
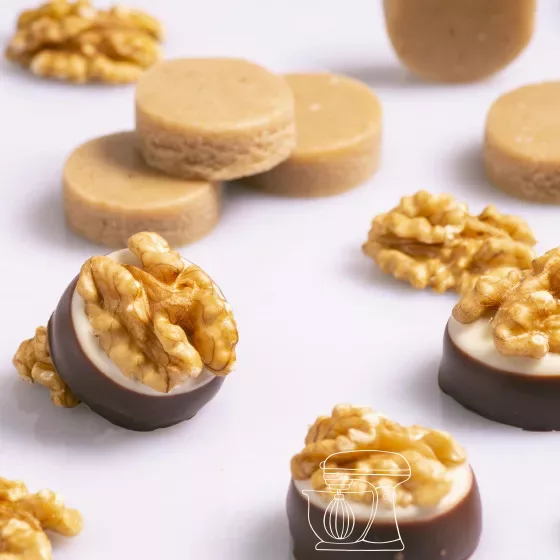
Dipping several times
Lift the Praline out and dip it two or three more times, each time a little less deep. This lets the excess couverture drip off on its own and creates a clean edge. Finally, only gently wipe the underside along the rim, otherwise the tree nut will come loose.
Letting them set
Place the Praline back on the baking paper. Once all of them are dipped, let them set in the fridge for another 10 minutes. Then take them out so that no condensation forms.
Baking paper sheets 25 pieces
Enjoy
Your pine nut pralines are finished! Packed in a nice box, they make a gift everyone will enjoy. Who will you give them to?
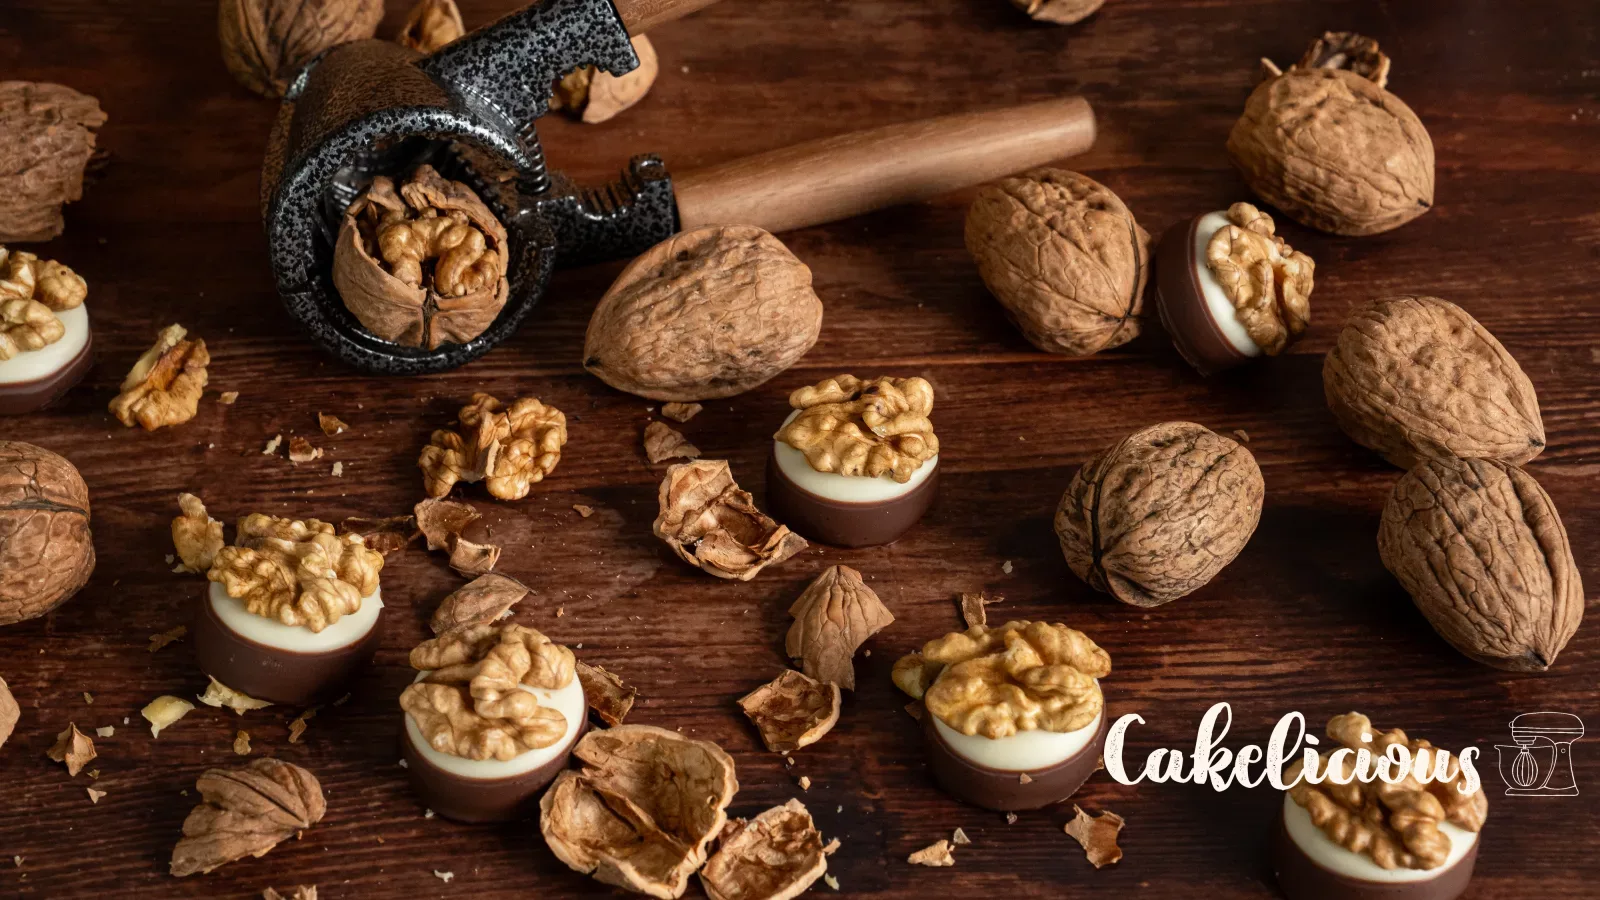
Pine nut praline
Ingredients
For the pralines
For coating
Preparation
- Cut out: Roll out the pine nut marzipan with icing sugar to 1 cm thick, cut out circles of approx. 3 cm, brush off the icing sugar.
- White: Dip in tempered white couverture, scrape off, set down, place a pine nut on top, chill for 10 min.
- Dark: Dip three quarters into tempered dark couverture, immerse several times, let set for 10 min.
Nutritional values per 100 g
Storage & shelf life
Everything for this recipe
Recommended from our test kitchen, exactly the sizes this recipe was tested with.
Ingredients
Walnut marzipan, 250 g
White couverture, Edelweiss 36%, 0.5 kg, Felchlin
Grand Cru Maracaibo 65% couverture, 0.5 kg
Dark organic couverture 60% Huayabamba, 2 kg
Choba Choba Oswaldo couverture 71%, 2 kg
Choba Choba Milk couverture Pasiona 41%, 2 kg
Dark organic couverture 70% by Choba Choba, 2 kg
Domori dark couverture, Peru 72%, 0.5 kg
Elmer Choba Choba couverture 64%, 2 kg
Accessories
Baking paper sheets, 25 pieces
Dipping fork, 3 prongs
Dough sticks
Non-stick rolling pin, 50 cm
Shaker for icing sugar and cocoa
Round Cookie cutters
Silicone baking brush
Tempering device 1.5 litres for couverture and chocolate
Digital food Thermometer
Delivery in 1 to 2 working days · Free shipping from CHF 100
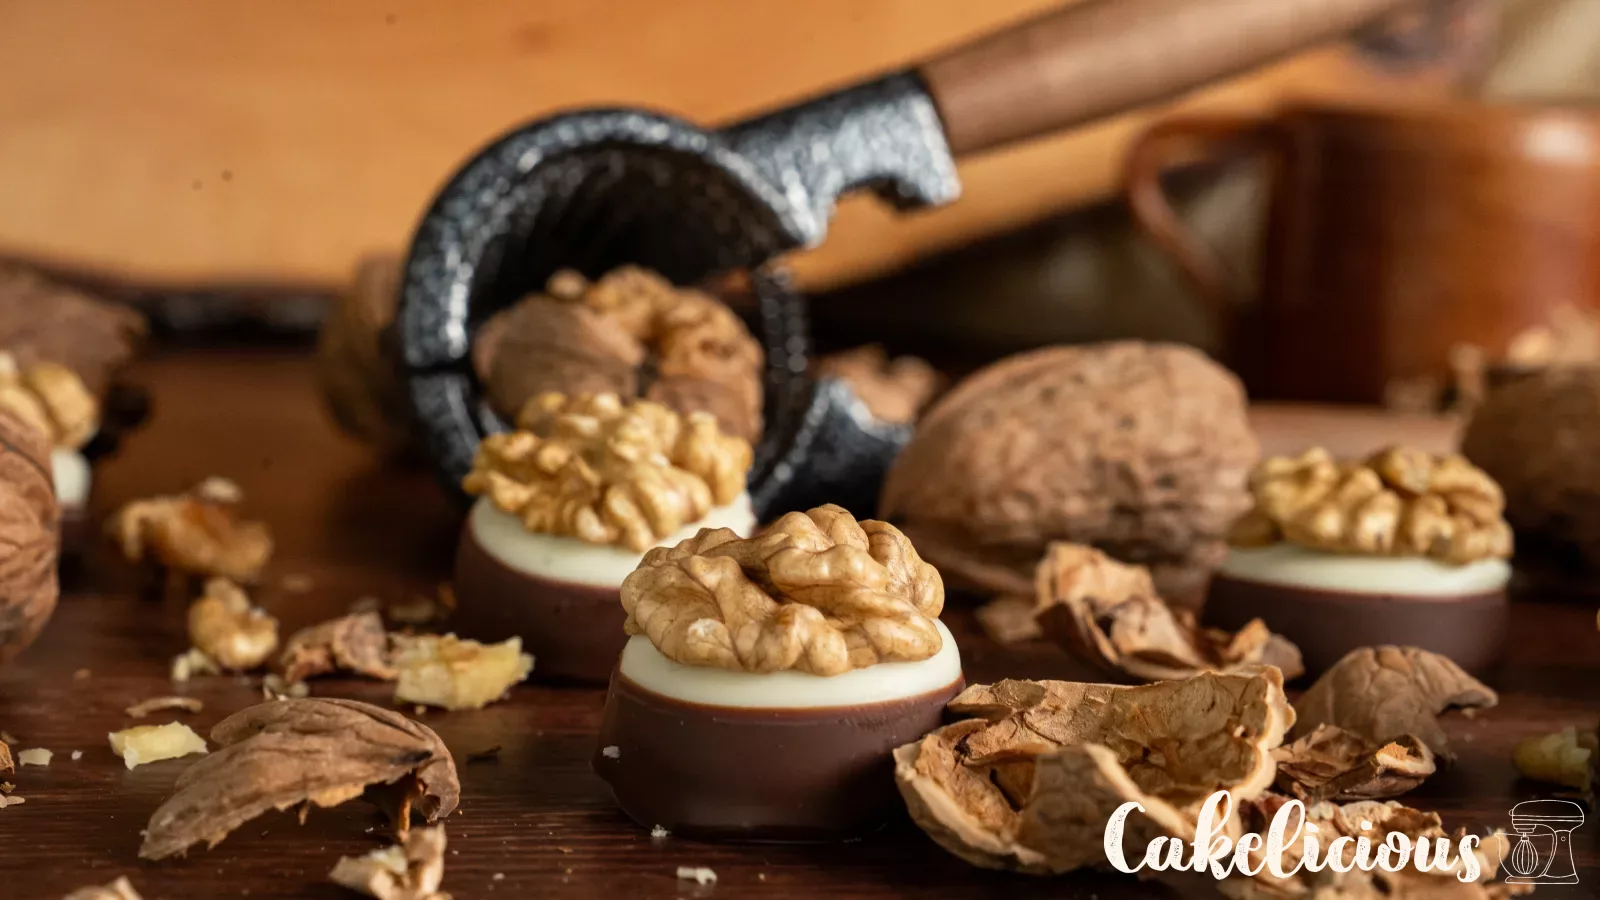
So gelingen sie garantiert
Only place the walnut once the couverture has turned matt at the edge. Then it stays exactly where it belongs.
With more couverture in the bowl, dipping becomes much easier. Whatever is left over, let set on baking paper and use it the next time you bake.
Pistachio or hazelnut marzipan works just as well with this recipe. Simply adjust the nut on top.
Frequently asked questions
Yes. Only tempered couverture gleams, snaps cleanly and sets properly at room temperature.
Yes, Baumnuss is simply the Swiss word for walnut.
The underside was not scraped off enough. Always wipe the fork against the edge after dipping before you set the praline down.
Print recipe
Choose what should appear on the printout.
Related posts
 Matcha Muffins with Pecan Nuts and White Chocolate: Fluffy and Moist
Golden Milk: the warming turmeric drink for little moments of rest
Matcha Iced Latte: creamy, cool and ready in 5 minutes
Pull-apart bread with wild garlic pesto: for sharing, no knife needed
Mini Banana Bread with Chocolate Chips: Moist Snacks for On the Go
Leave a comment