
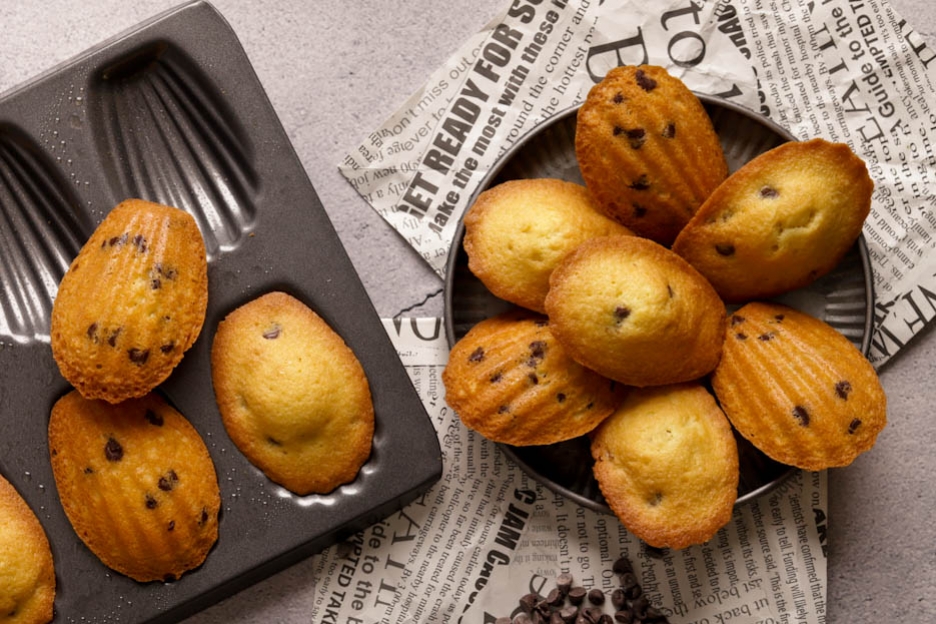
Madeleines
Hey there, foodies!
Today, I wanted to share a madeleine recipe with you! In my family, we love making our own homemade afternoon snacks and my daughter loves cooking with me. This recipe is very simple and also accessible for children.
This recipe is mine! Well, almost… taken from a book and adapted my way with my personal touch.

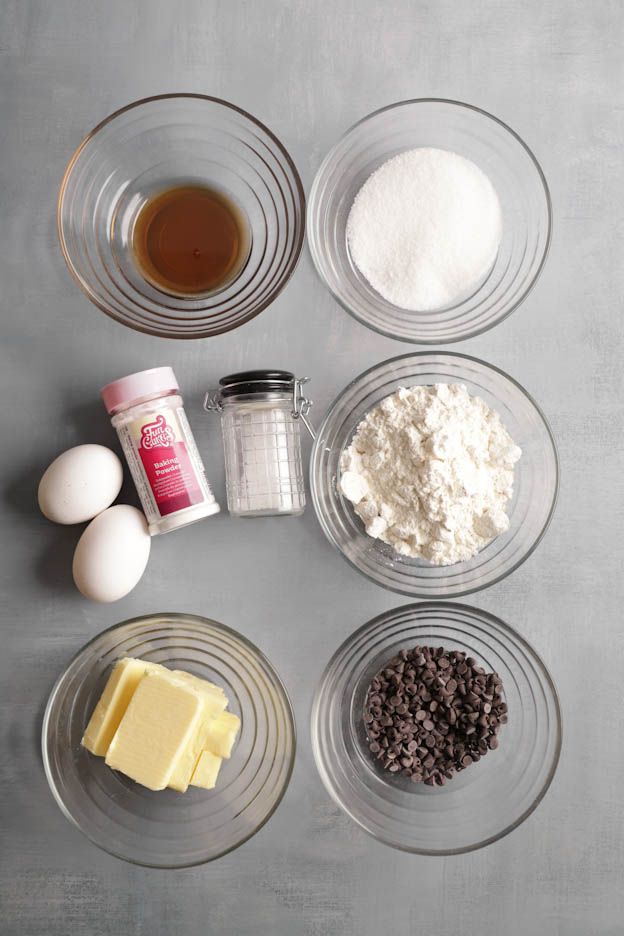
For 20 to 30 mini madeleines (depending on your mould), you will need:
- 110gr of butter
- 100gr of sugar
- 100gr of eggs (2 eggs)
- 20gr of maple syrup
- 4gr of baking powder
- 100gr of flour
- 1 pinch of salt
- 40gr of chocolate chips
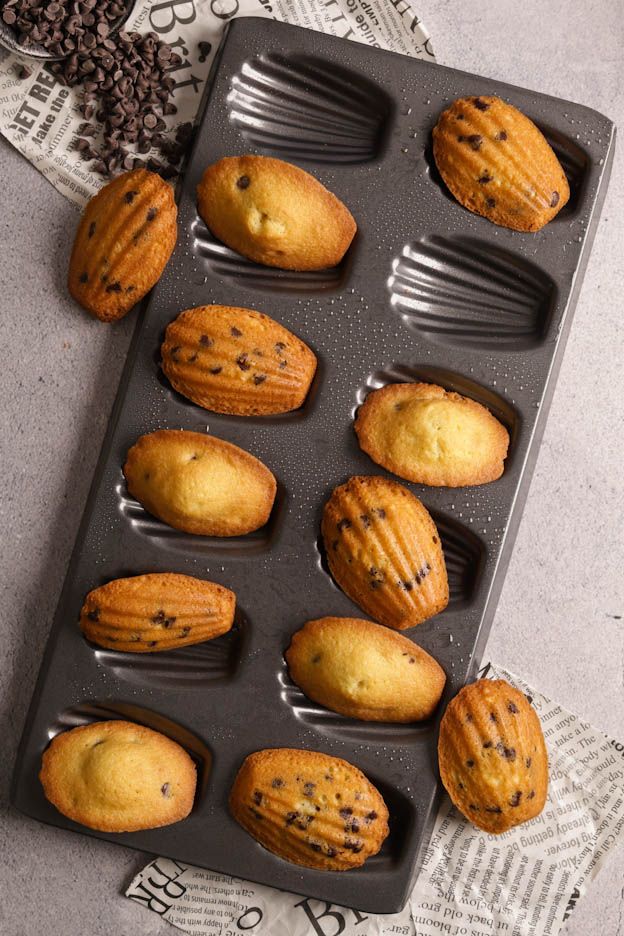
For this recipe, I used a silicone madeleine mould and a stainless steel one. This way, I can tell you the pros and cons of each.
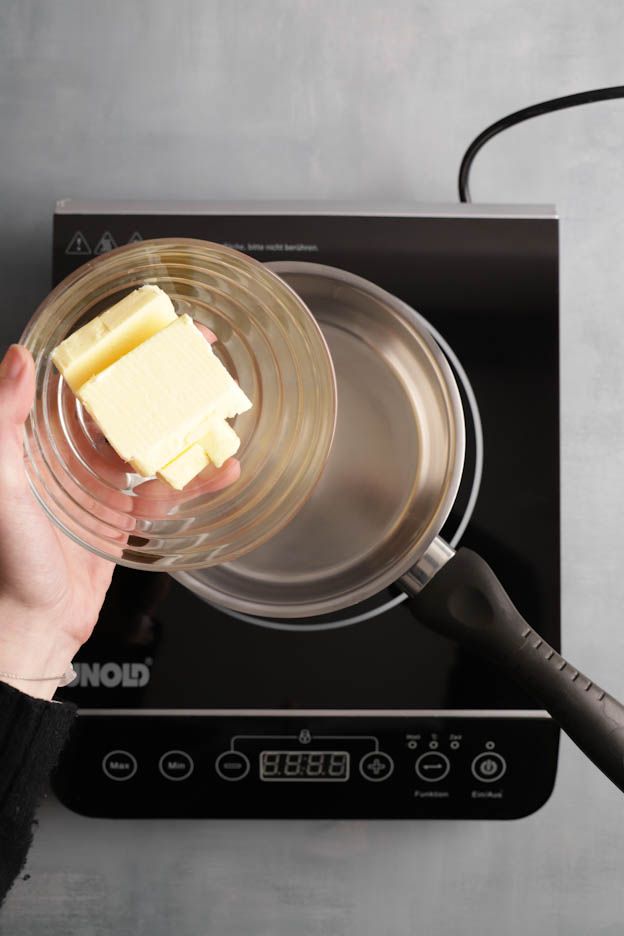
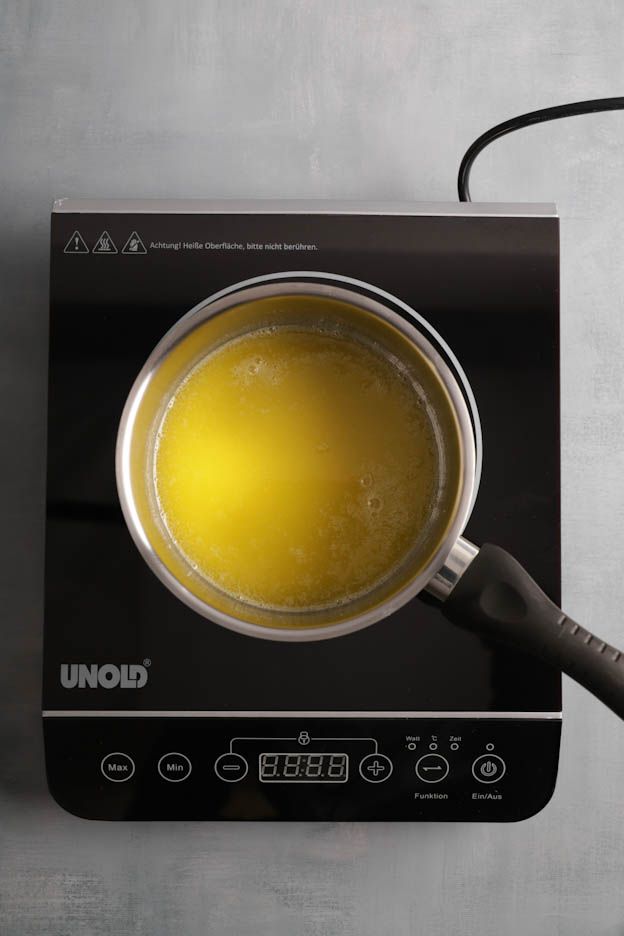
Start by melting 110gr of butter in a saucepan. Once melted, set it aside.
In your bowl, whisk together 100gr of sugar, 100gr of eggs (2 eggs) and 20gr of maple syrup.
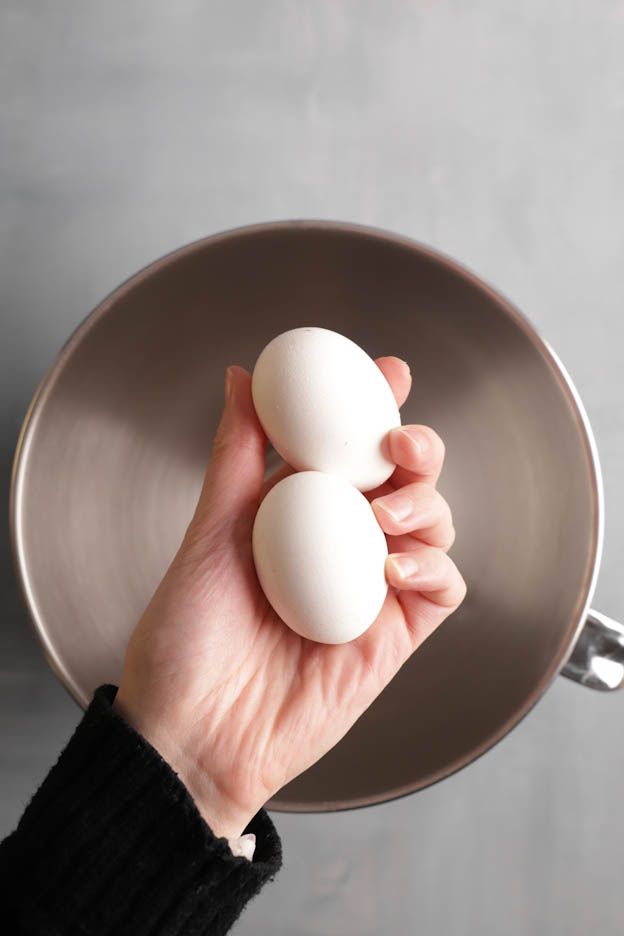
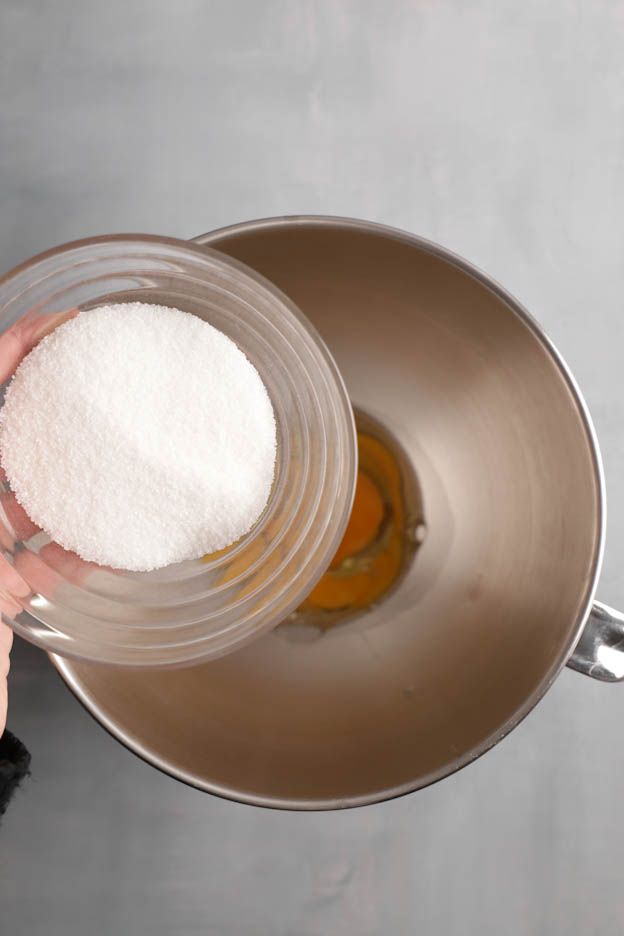
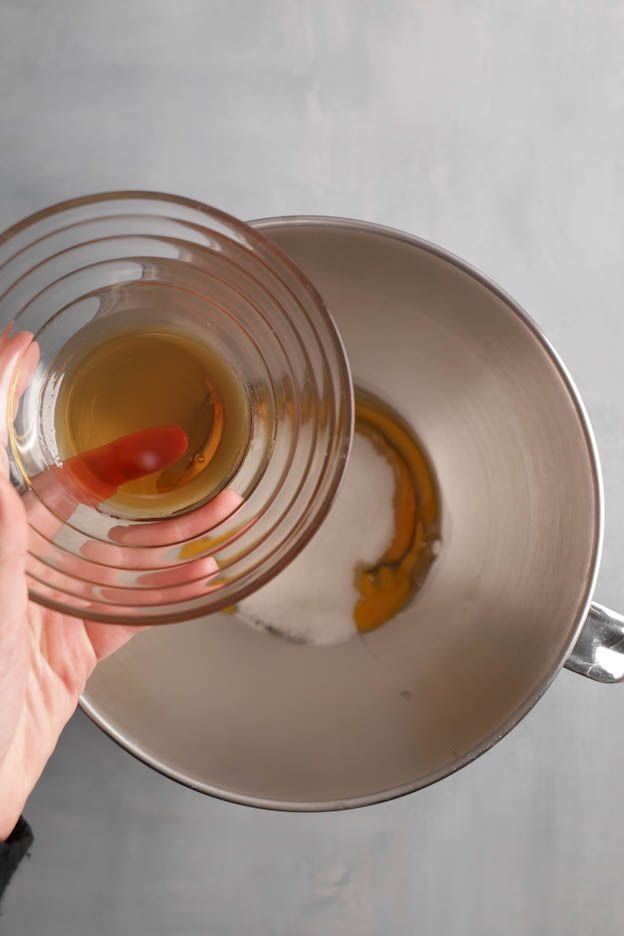
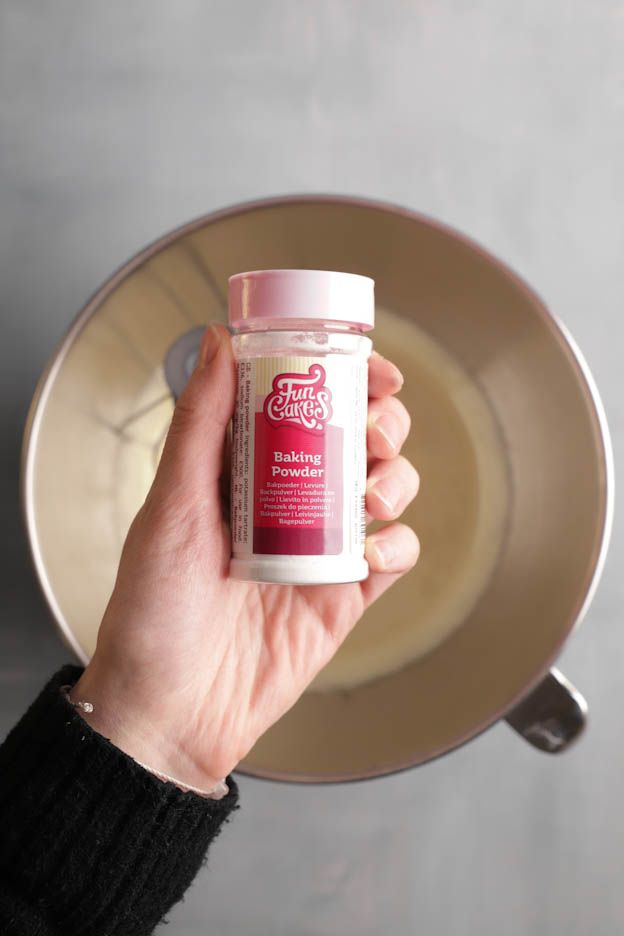
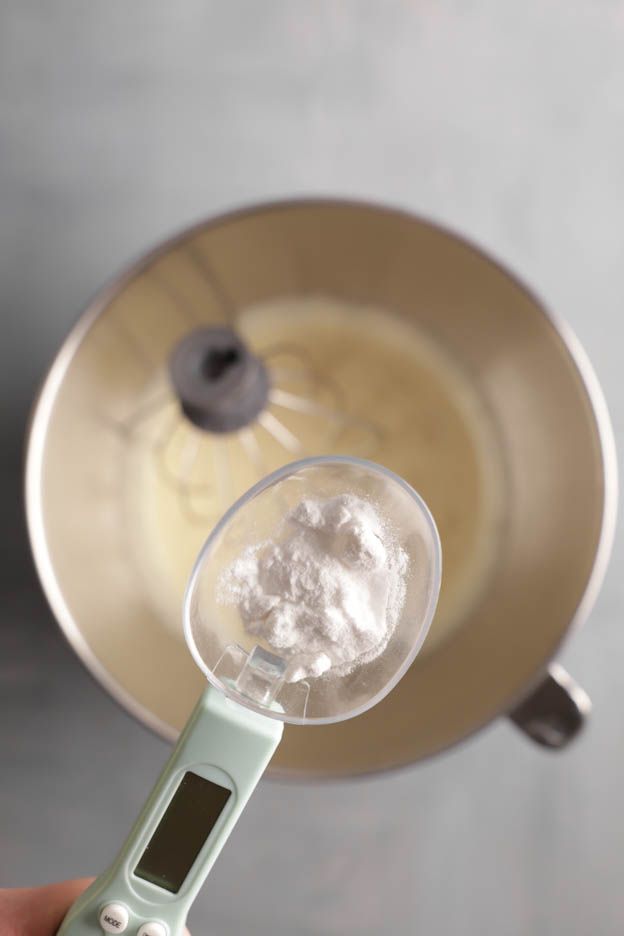
Once the mixture has turned pale and fluffy, weigh 4gr of baking powder and add it to the previous mixture.
For baking powder, I always use my measuring spoon scale. It's super practical and very precise. It avoids disasters! Because if you measure your baking powder incorrectly… it's the beginning of the end!
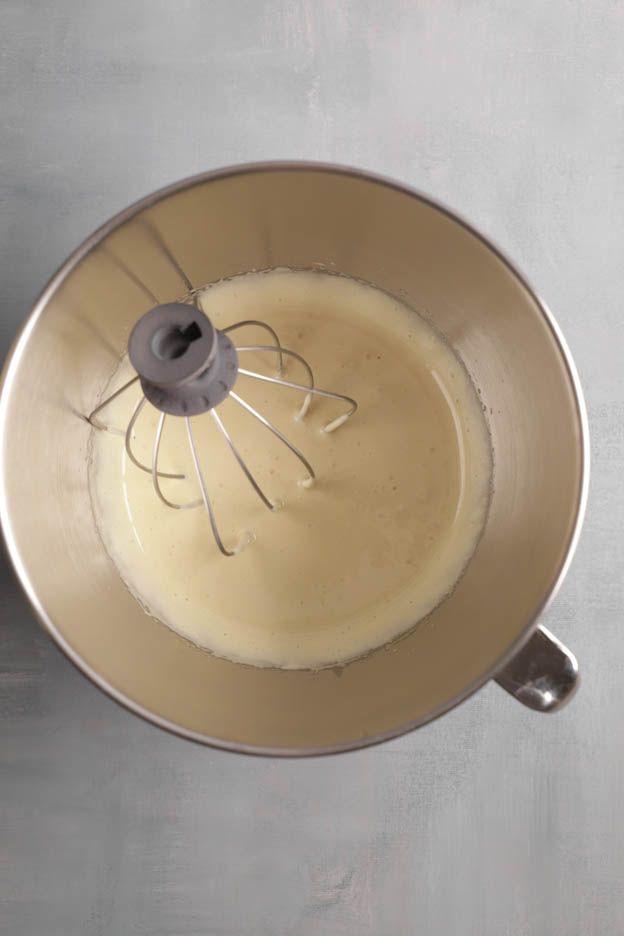
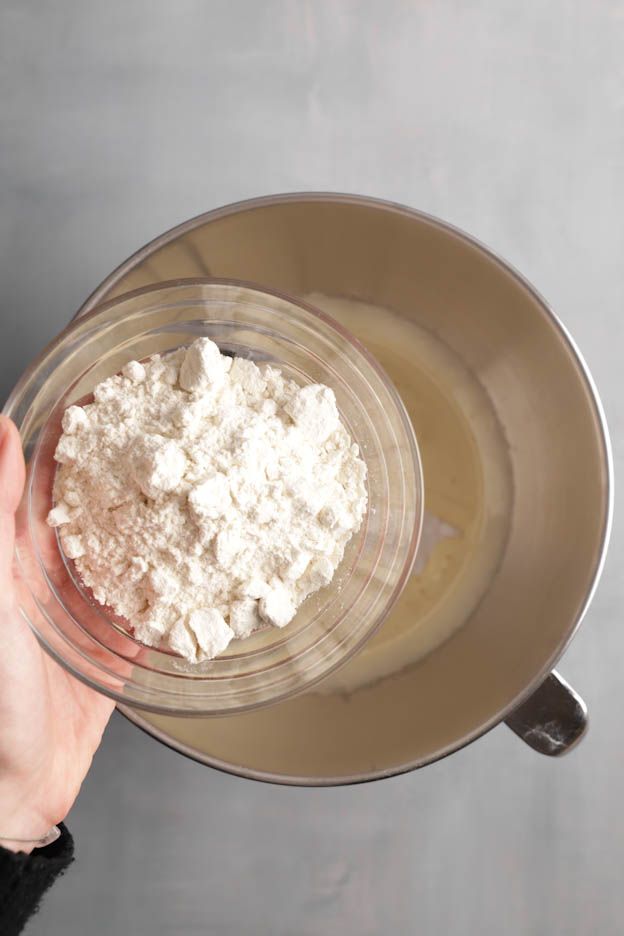
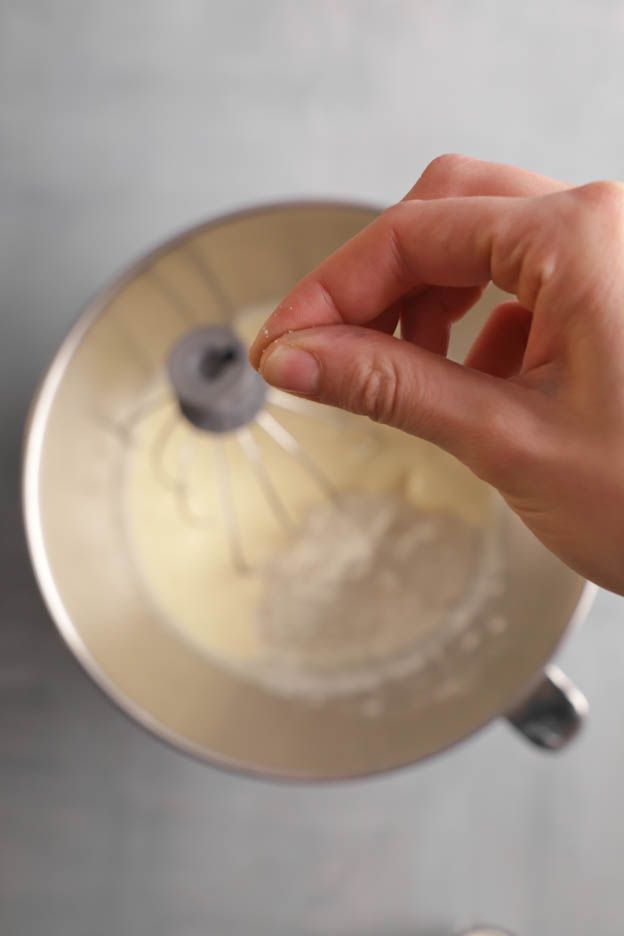
Pour 100gr of flour and 1 pinch of salt into your mixture and whisk again until the consistency is smooth.
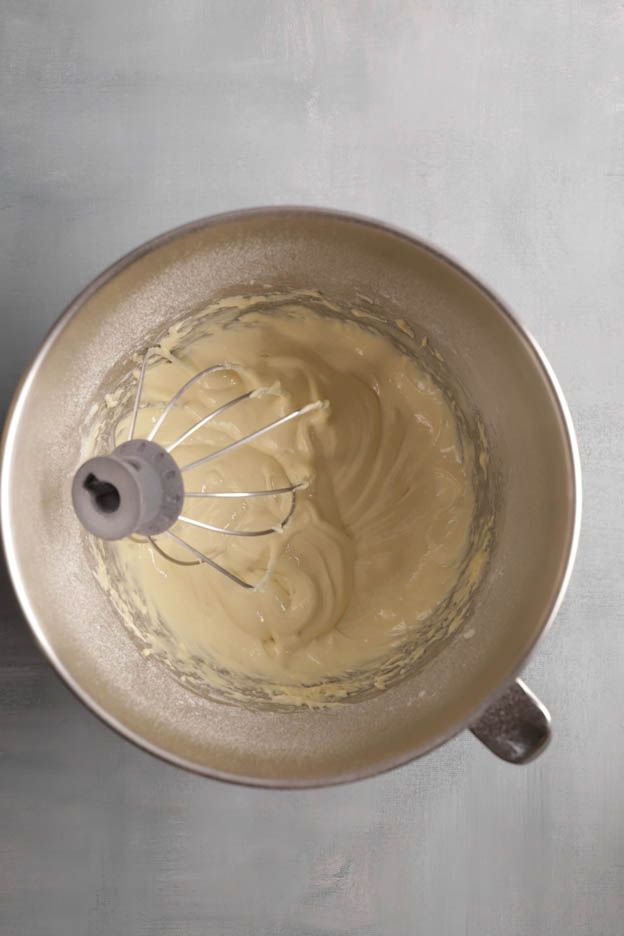
Add the lukewarm butter and mix again.
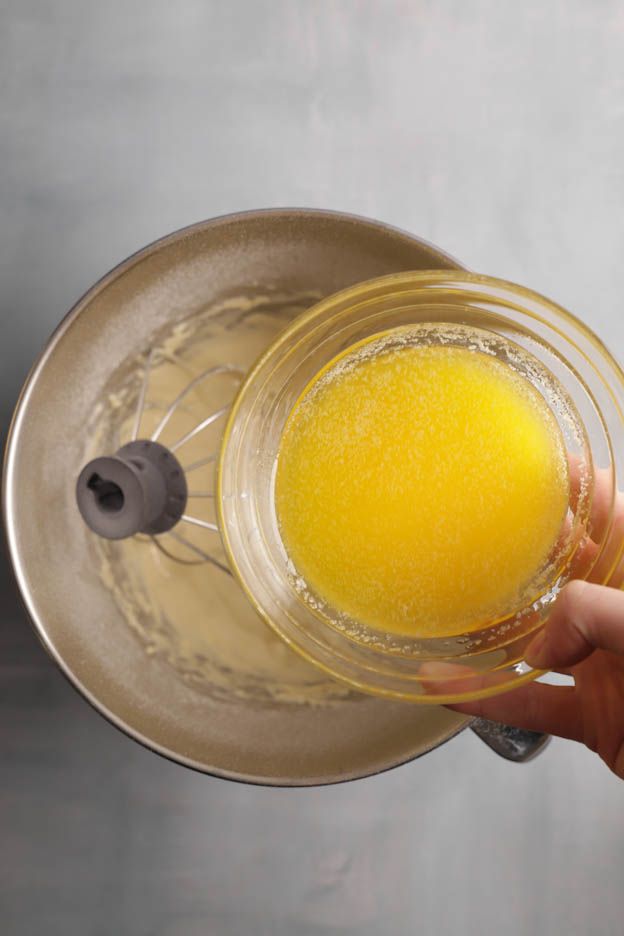
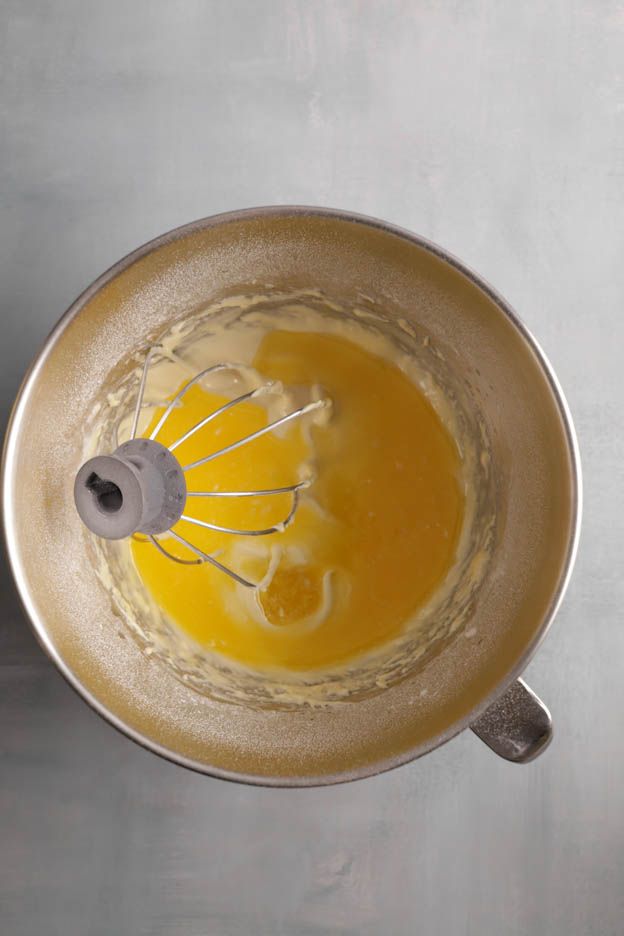
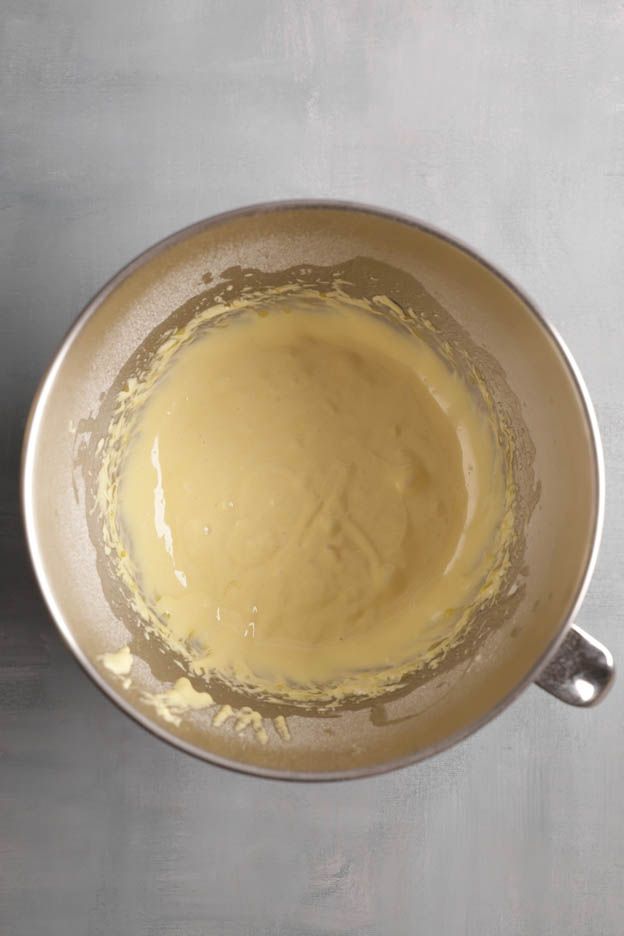
Your madeleine batter is ready! It needs some rest and cold! Cover it with cling film touching the surface and refrigerate it for at least 3h.
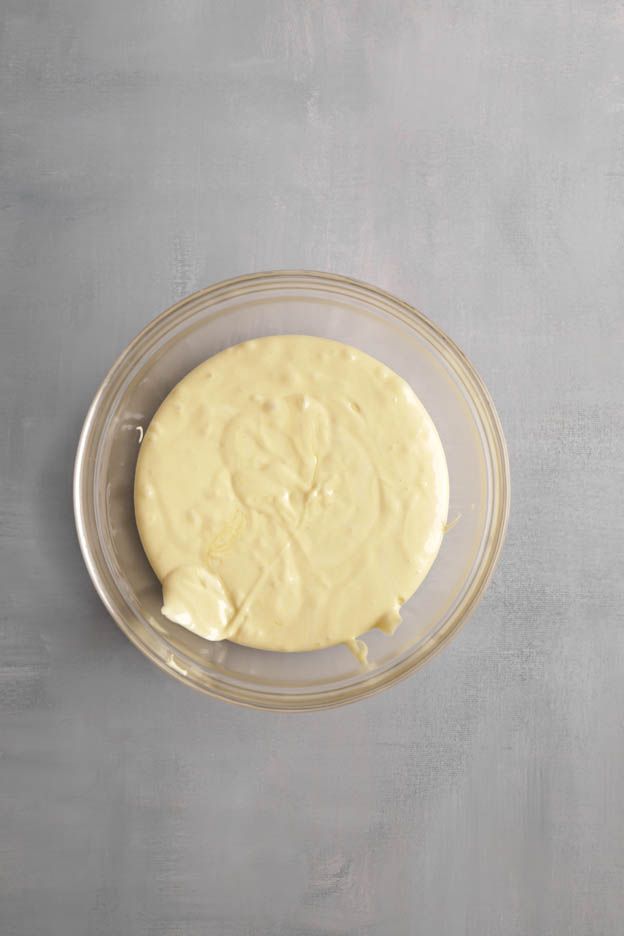
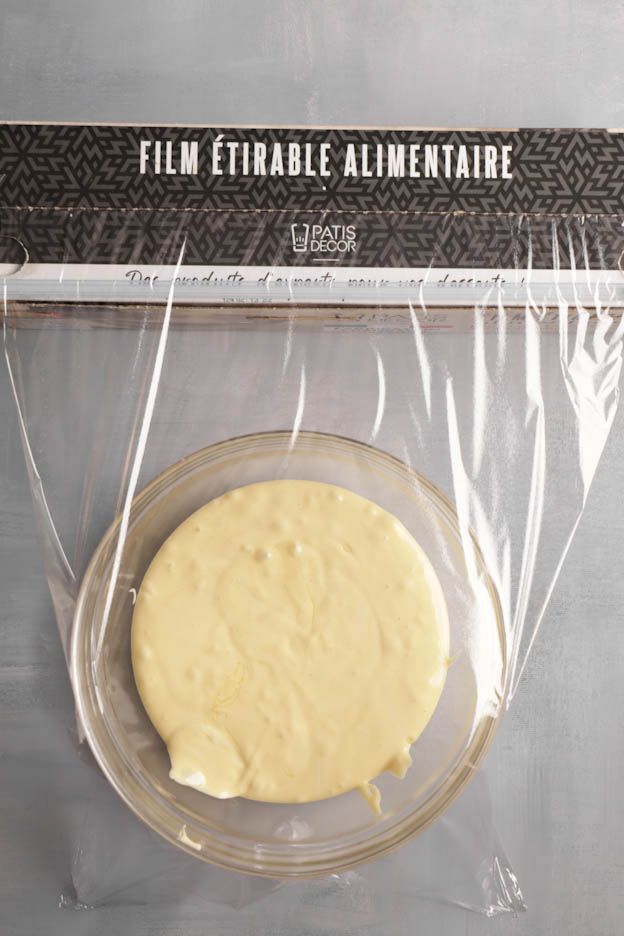
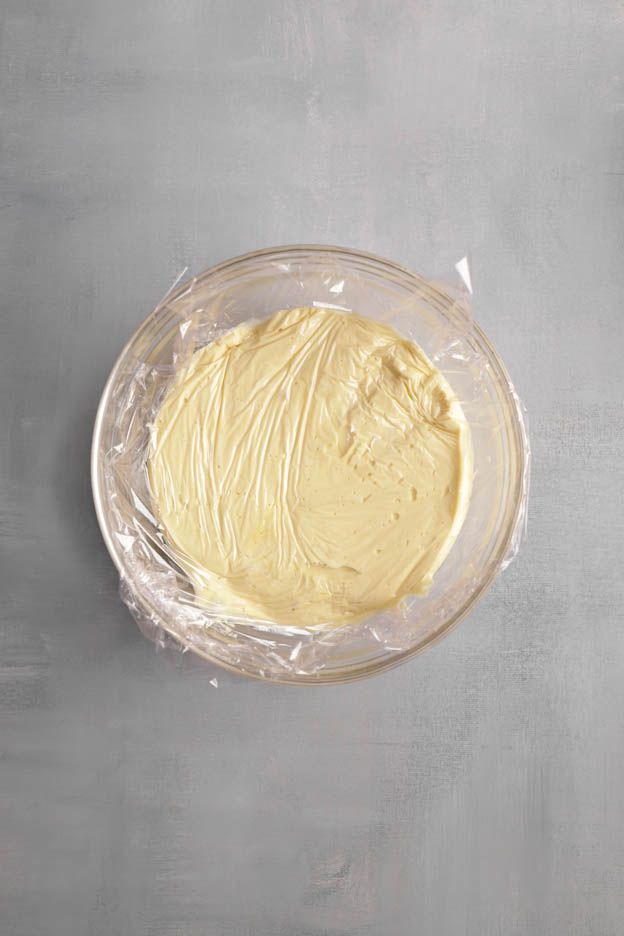
After 3h of resting, preheat the oven to 220°C.
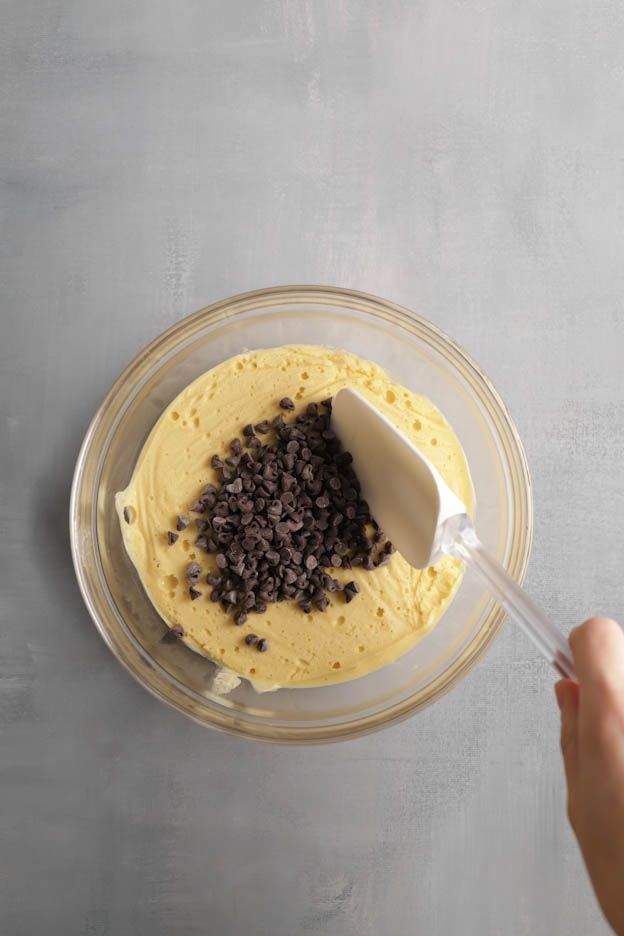
I start by adding 40gr of chocolate chips to my madeleine batter.
Make sure to use baking chips and not melting chocolate! These chips are made for baking and will stay whole. I use them for waffles, cookies, muffins or as today for madeleines! They're great! They're called drops.
Quickly fold the chips into the madeleine batter without over-mixing.
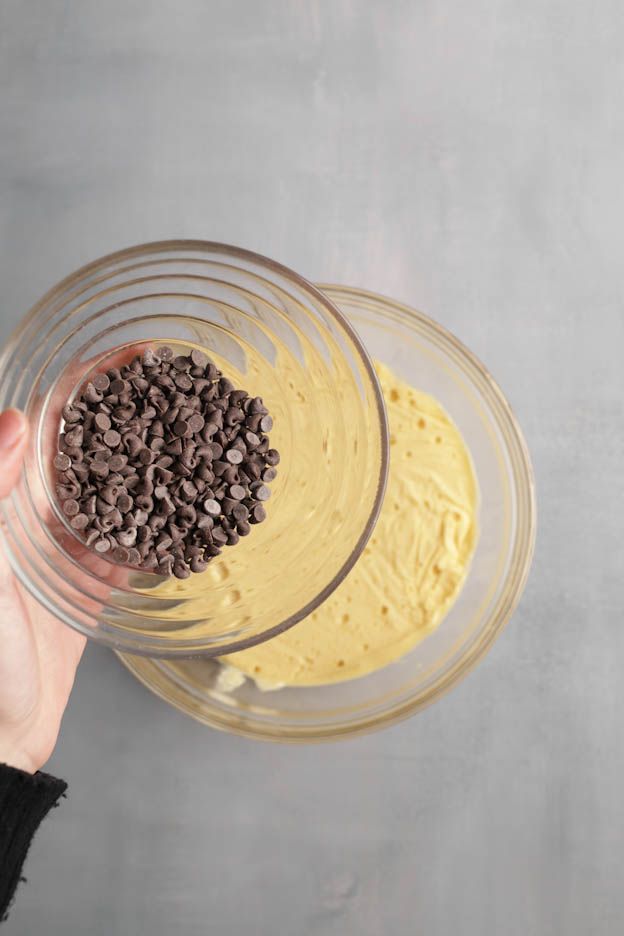
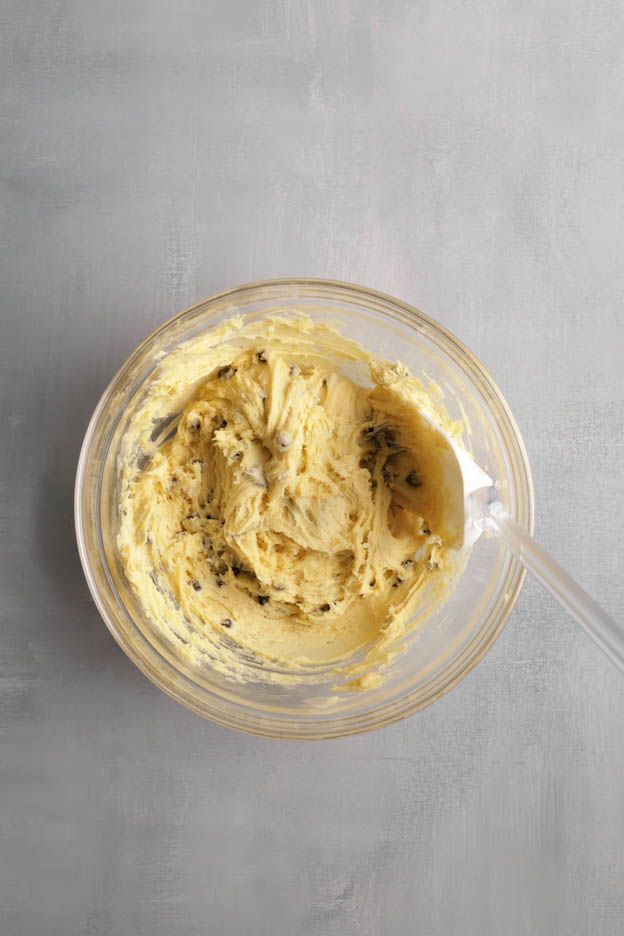
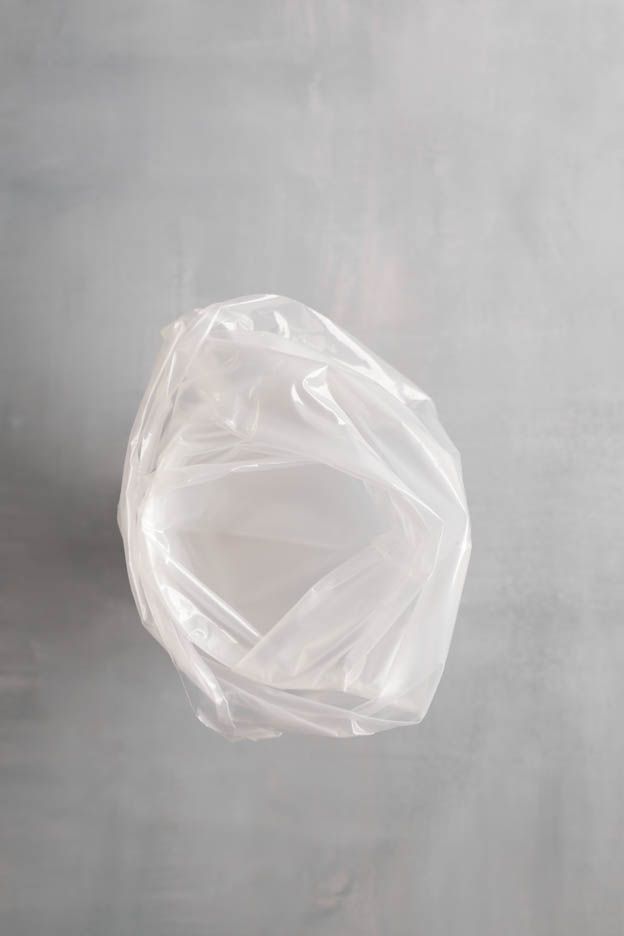
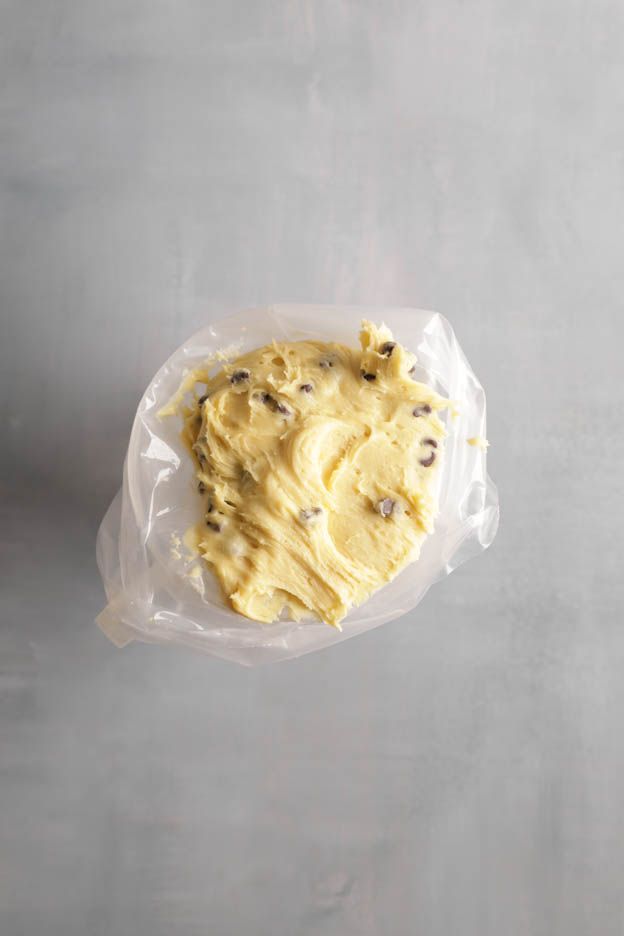
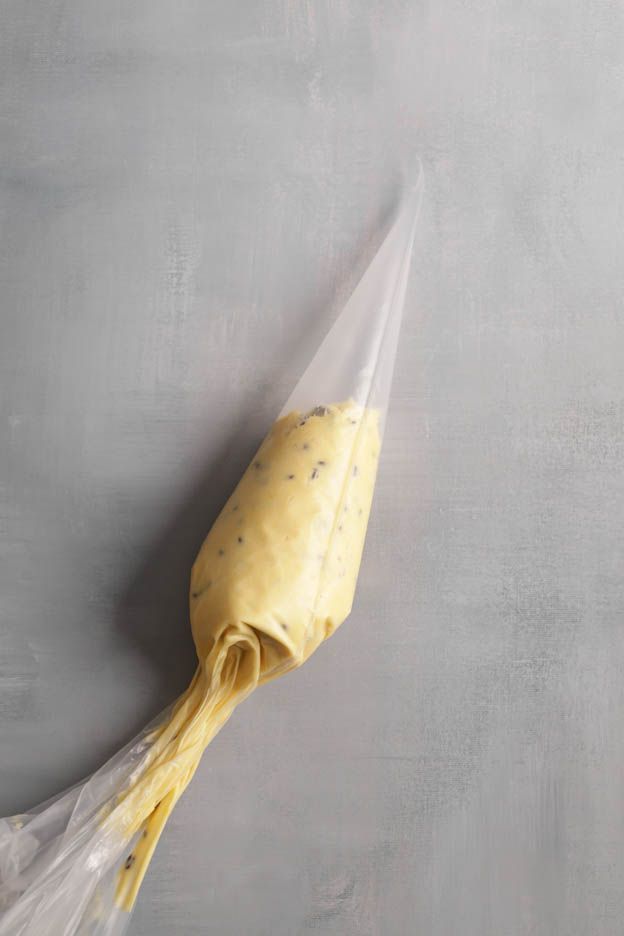
Pour the mixture into a piping bag, as it is much easier to fill the madeleine moulds.
Personally, I always use disposable piping bags; use a pitcher to fill the piping bag neatly.
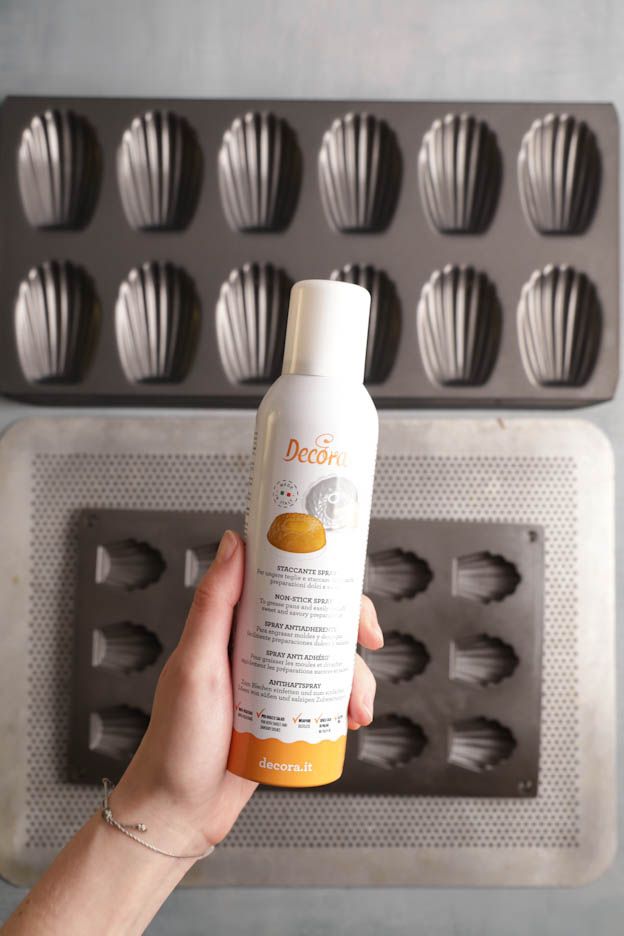
Before piping the madeleine batter into your moulds, it is very important to grease your moulds! Whether they are silicone or stainless steel moulds, it doesn't matter.
It's been a long time since I stopped greasing my moulds with butter and flour… Nowadays, I spray my moulds with a food-grade release spray. It's an oil-based spray that will prevent your baked goods from sticking. I use these cans for all my moulds! Even for my crepe and waffle makers! It's just brilliant! :-)


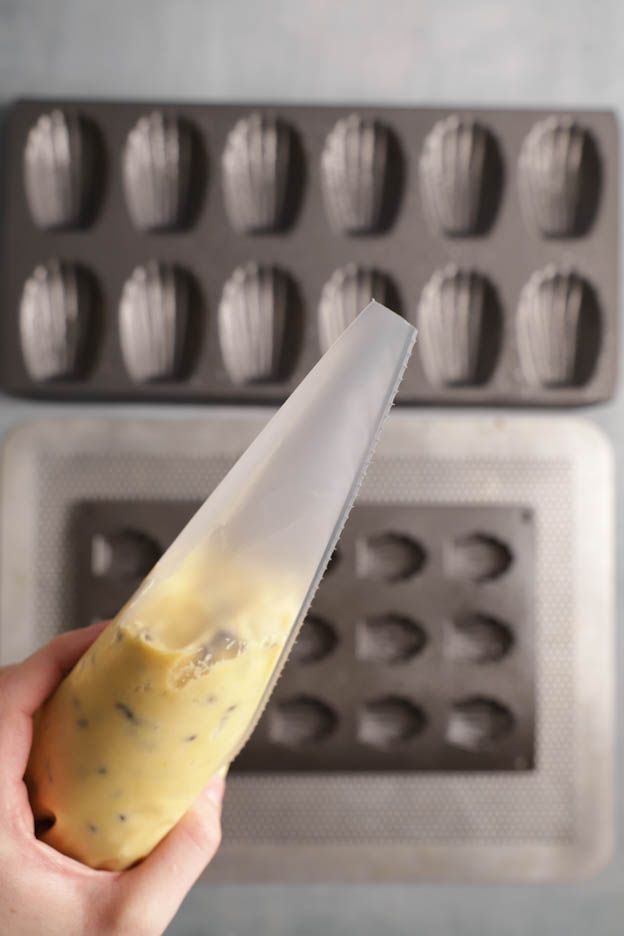
It's time to pipe our madeleine batter into the moulds. Careful! Don't overfill your moulds, as the batter will rise and overflow if you've added too much. Fill them to a maximum of 3/4.
If you have time, you can put your filled moulds back in the fridge for 1h. This way, the madeleine batter will be nice and cold and you will get a beautiful hump during baking.
If you don't have time, no worries… you can bake them straight away. The hump will be a little less pronounced, but honestly your madeleines will be just as delicious!
Lower your oven temperature to 170°C and bake your madeleines for 8 to 15 min depending on their size.
The madeleines are ready when the sides are nicely golden.
For this recipe, I prefer my silicone mould as I find the size nicer… my stainless steel mould makes mini madeleines that are a bit crispier. I therefore prefer silicone for the soft and fluffy texture.
With the silicone mould, you need to bake your madeleines longer (15 min) and let them cool in the mould.
With the stainless steel mould, you need to bake your madeleines for 8-10 min and unmould them 1 to 2 minutes after baking.
Tips: Always bake your madeleines in moulds placed on wire racks or perforated trays.


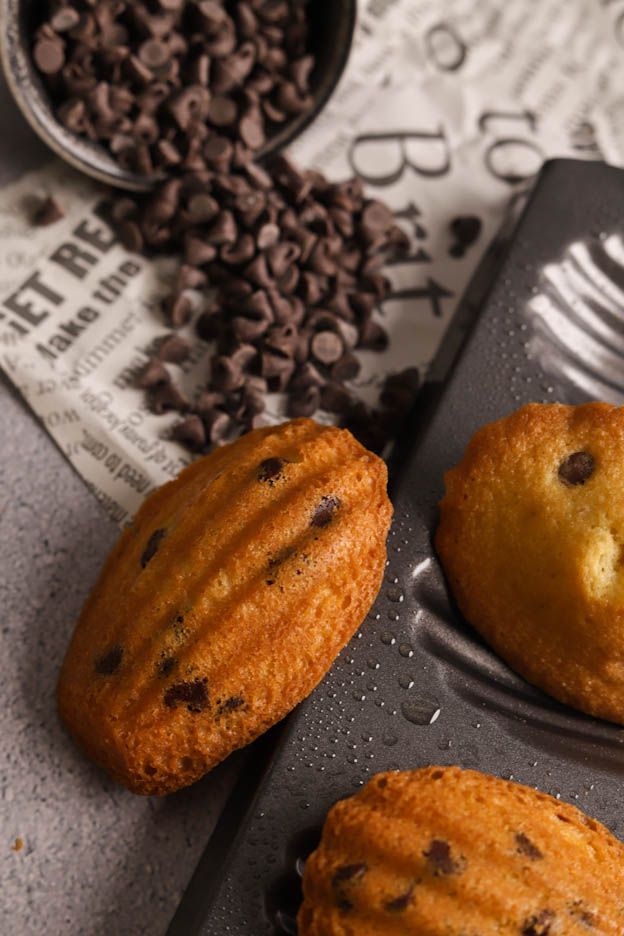
And there you go! Delicious madeleines for snack time! :)
I added maple syrup to my recipe, but if you don't like it, you can replace it with flower honey or invert sugar.
I hope you enjoyed this recipe and that you'll give it a try!
Karin
P.S.: All the equipment used can be found at the bottom of the recipe.


Related posts
 Juicy Matcha Muffins with Pecan Nuts & White Chocolate
Matcha Iced Latte & Coconut Variant
Pull-apart bread with fresh wild garlic pesto
Mini Banana Bread with Chocolate Chips
Juicy Matcha Muffins with Pecan Nuts & White Chocolate
Matcha Iced Latte & Coconut Variant
Pull-apart bread with fresh wild garlic pesto
Mini Banana Bread with Chocolate Chips
Leave a comment